Made a 1000 mile round trip to spend some time with my family and pick the last one up from my parents house over the weekend. I’ll be working on this one only to restore it to its original finished build appearance and maybe add a windshield, side windows and back glass to it. I’ve already cleaned the hood up and dipped it in Future and have a kit spotted to replace the headlights and windows with. This is what the rest of what I have would have looked like had I not had them in a case for all these years…
Ah yes…I remember this kit well-I built mine as the Gasser that was on the box-it was orange I believe…unfortunately mine has been gone for many years-however I’m fighting the urge to add the latest release to my stash…
Looking forward to your restoration job-please keep us posted on the progress.
Thanks Bob! Go get it man!!! lol! I’ve got my spare kit on the way to replace all the missing/ broken/ damaged parts on mine. I’ll keep you guys in the loop alright…[H]
I thought about that briefly but I can’t resist bringing her back to the teenage freshly built status. Believe me, I gave that one some serious thought.
Thanks for the comments fellas! I aint gonna go all out like I did with my Challenger. I’m doing that right now with a Revell 56 Ford F-100 (that I should make a WIP out of) and can’t do two builds like that at the same time as I’ll go Koo Koo . What I am going to do is put this thing back to as fresh as the day I initially finished it…with just a few added tricks and tweeks here and there. I’ve already polished some of the body and that’s definitely better than when I first finished it. More pics tomorrow.
Great stuff and I agree with you. Bring it back to your kid stuff with today’s skills.
I recently built a whole collection of the little Monogram biplanes in 1/72, painted with a brush and only the basic Testors B/W/R/B/Y paints, mixed of course as needed.
I know that feeling - just a thing here and there and oops! - I’m going all out again! Wanna bet this is going to be more intensive than initially planned?
And also it’s kinda funny, but once you get into rebuilding your old models it’s somehow hard to stop it!
GMorrison: Tube glue…there was a lot involved in this build!!! lol I’ve done my fair share of brush paint jobs back in the day too. Thanks G.
Pawel: Oh hell no we aint going overboard with this one. I just wanted this one back the way it was with a couple of newer ideas to make it pop a little. Thanks for the encouragement.
OctaneOrange: Thanks for the comments. We’ll see where I can take this jewel.
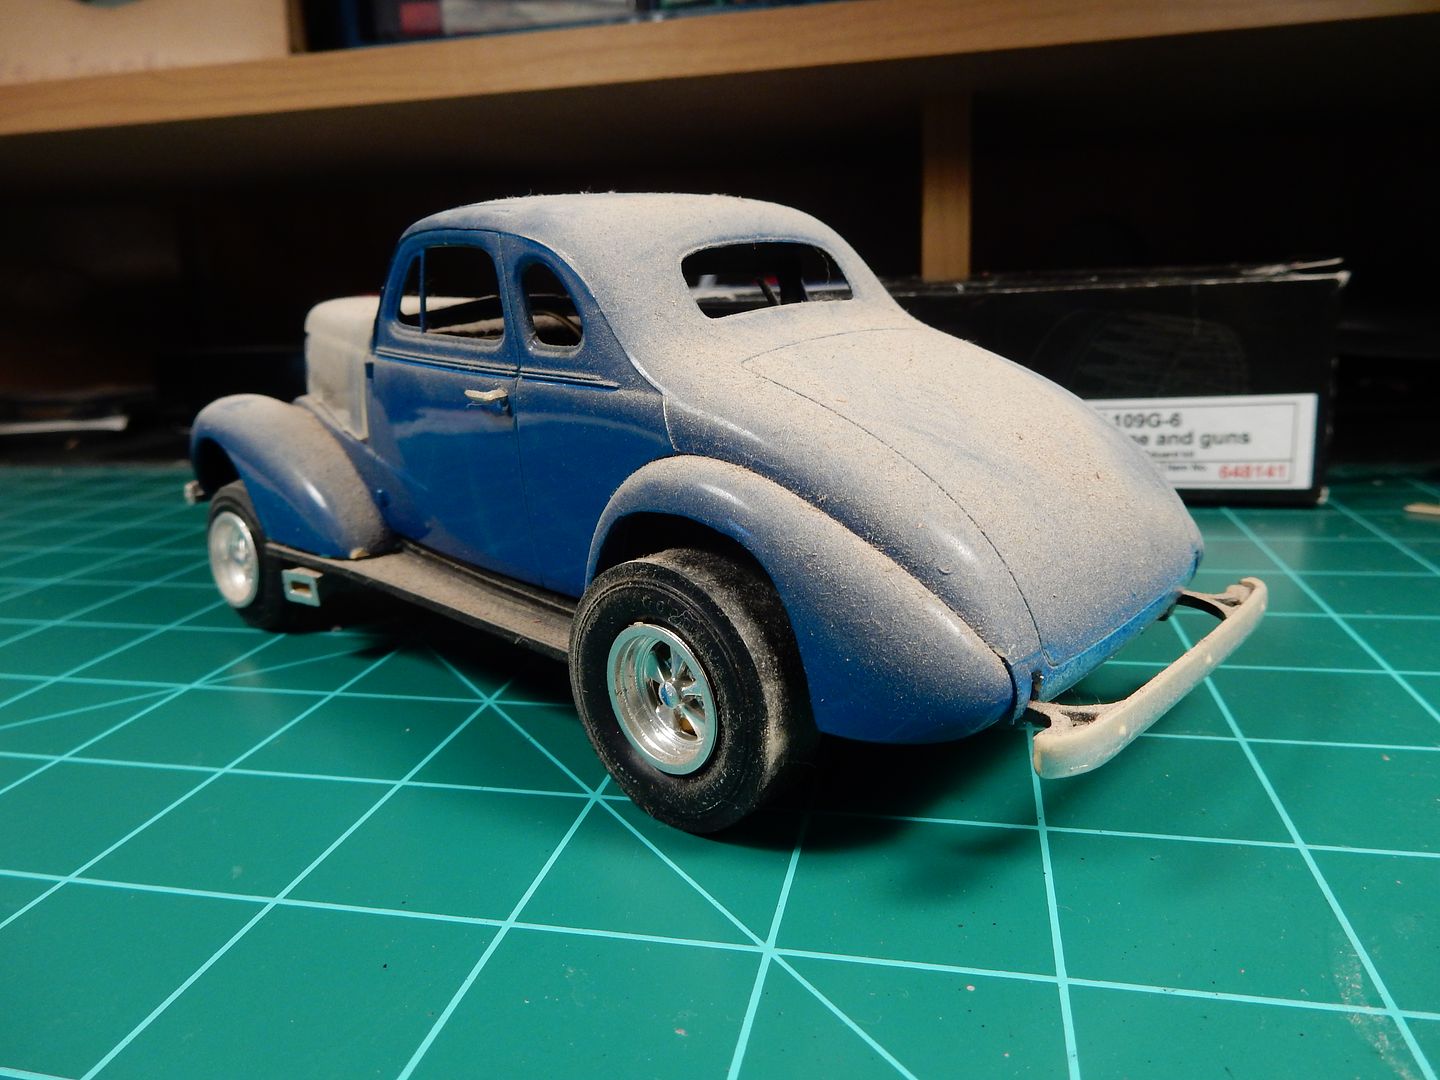
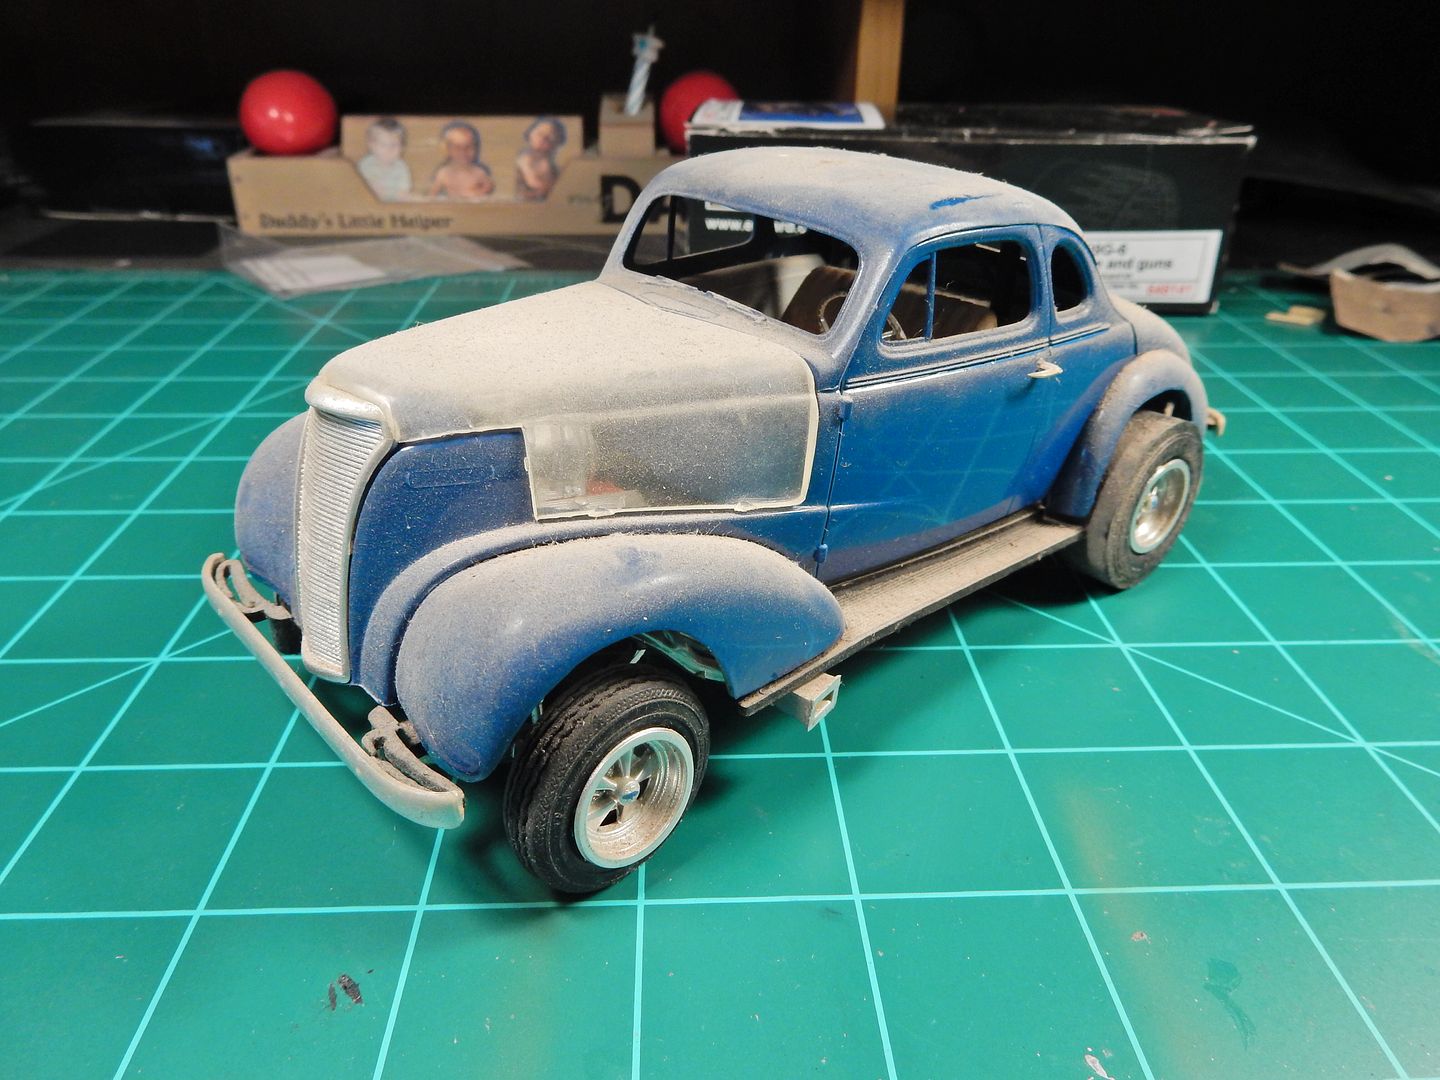
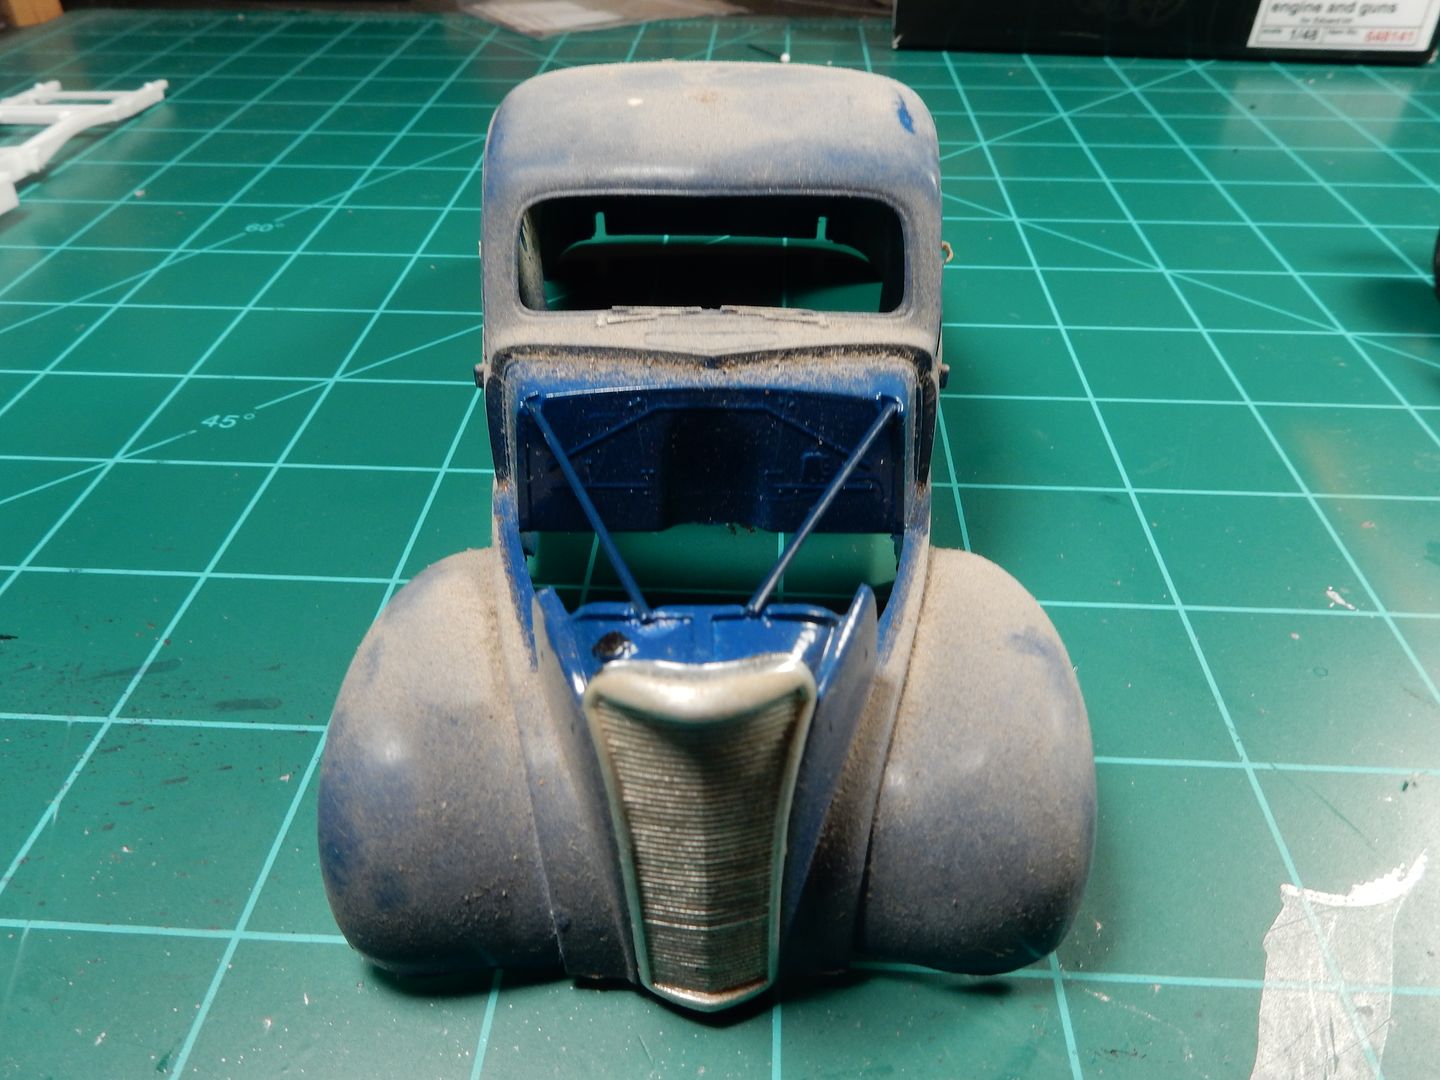
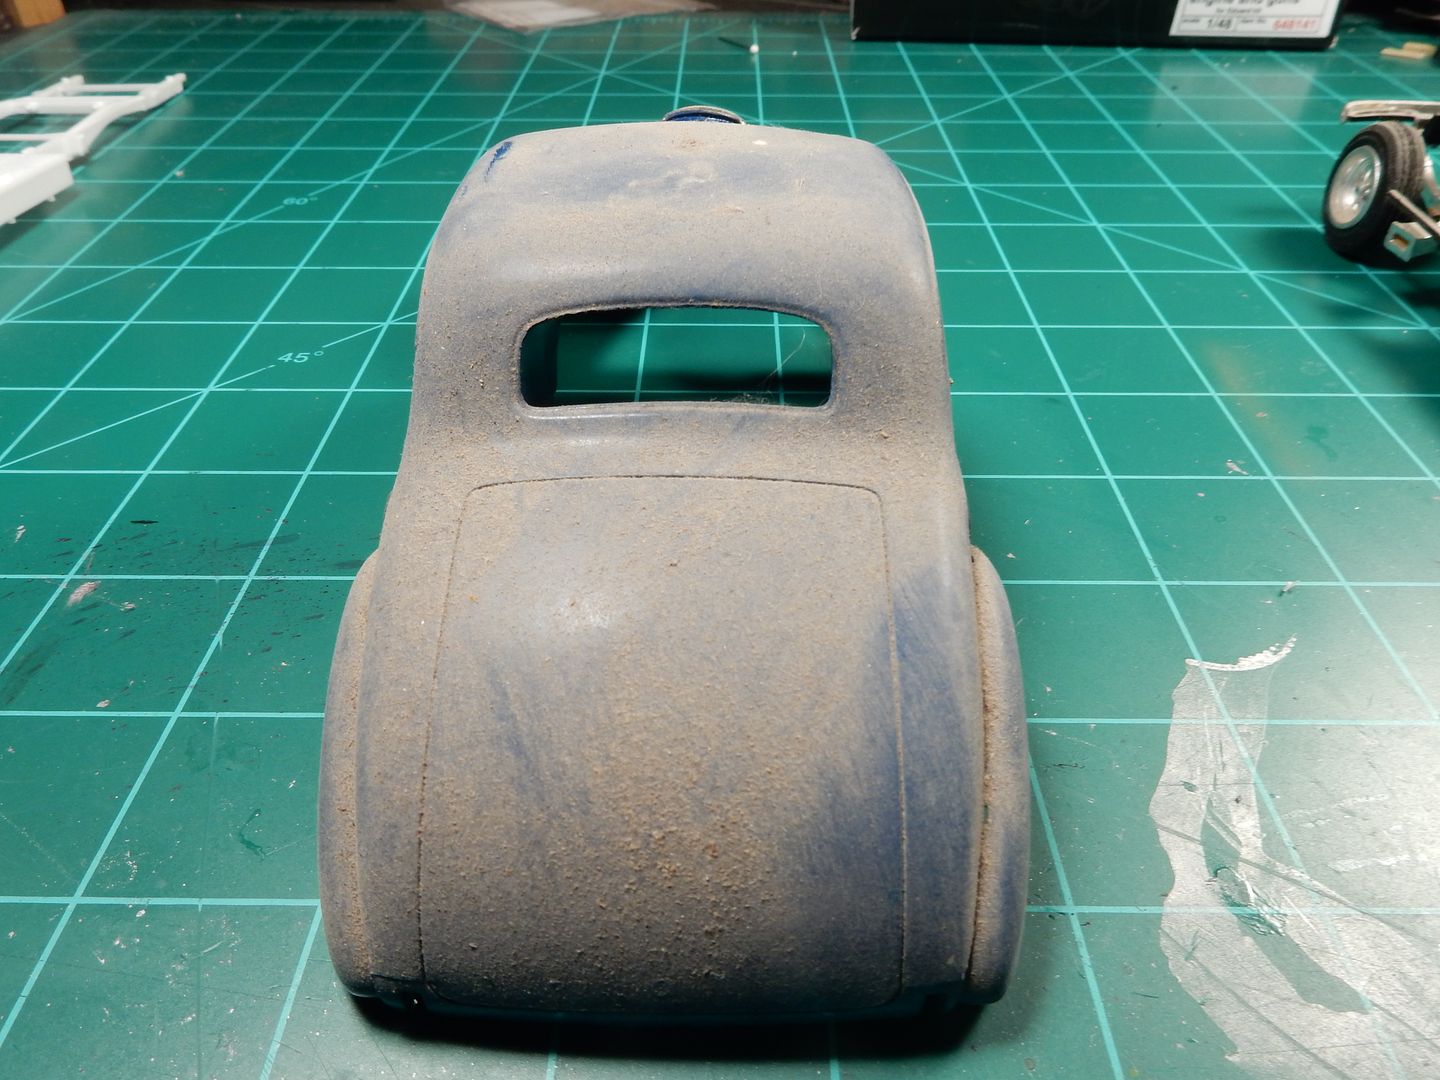
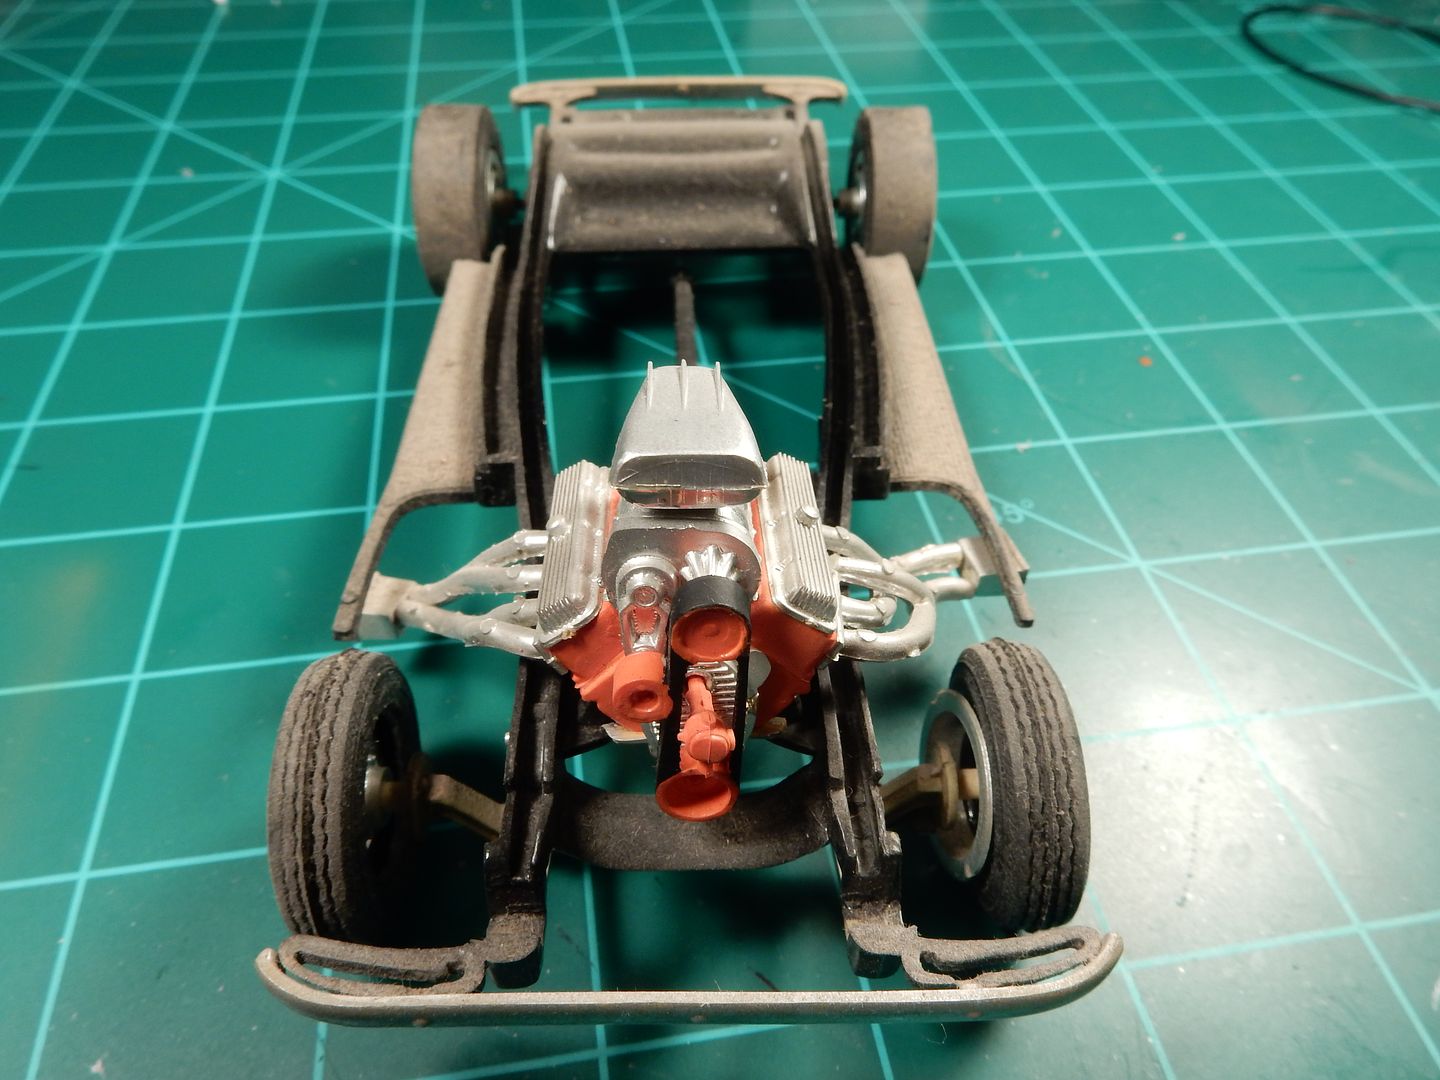
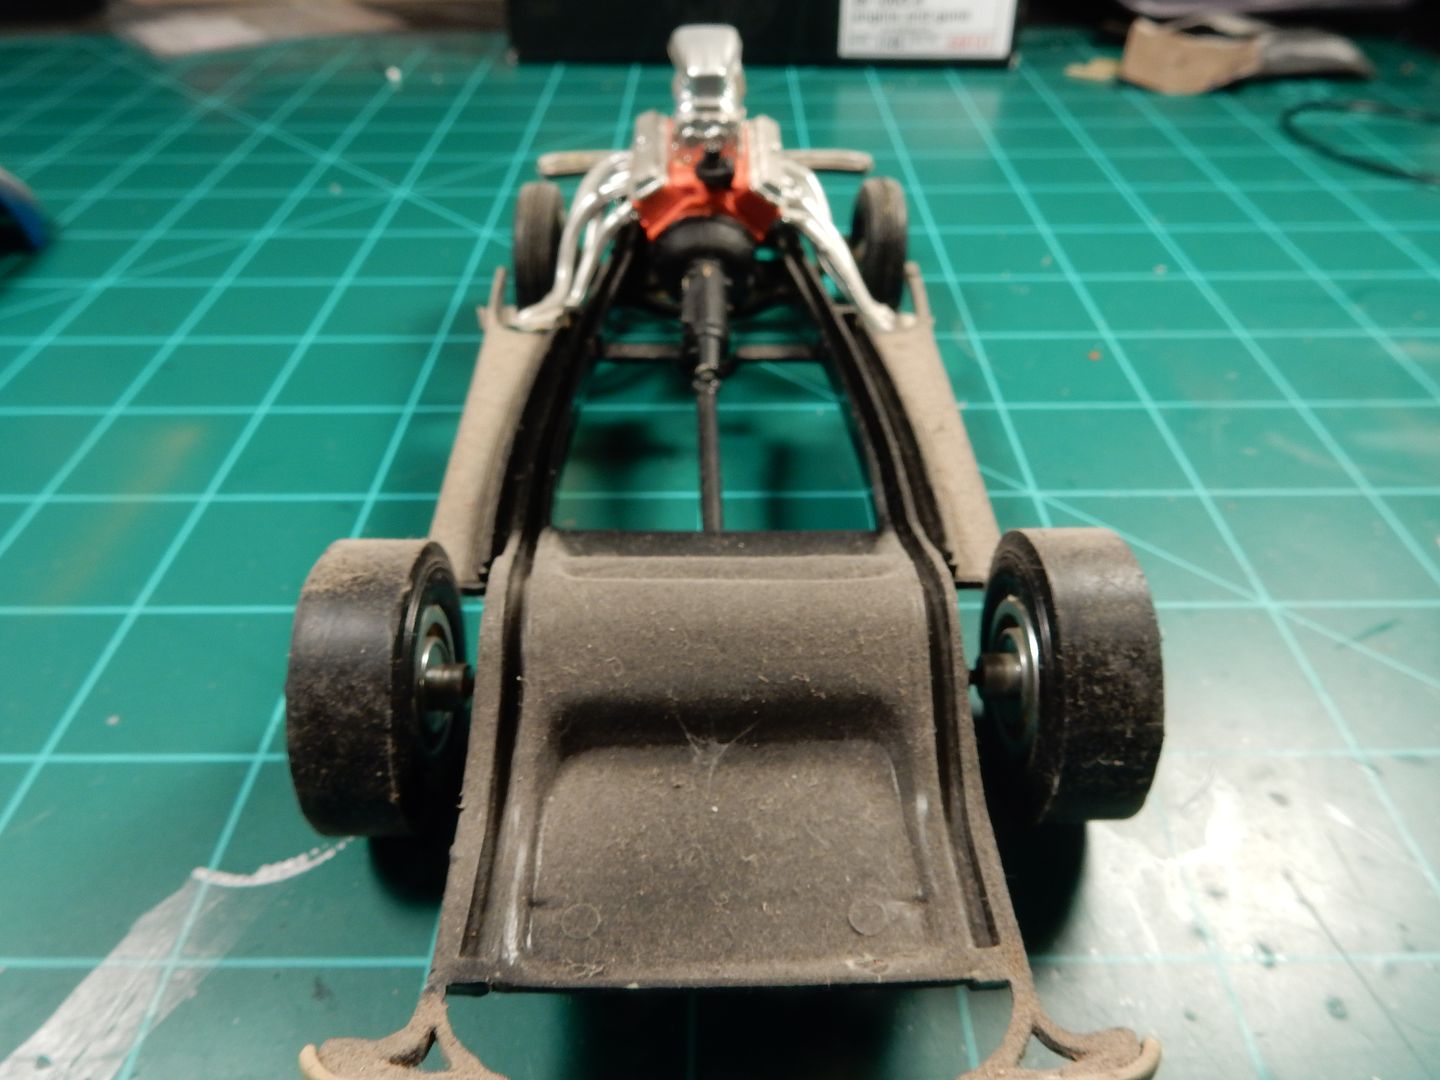
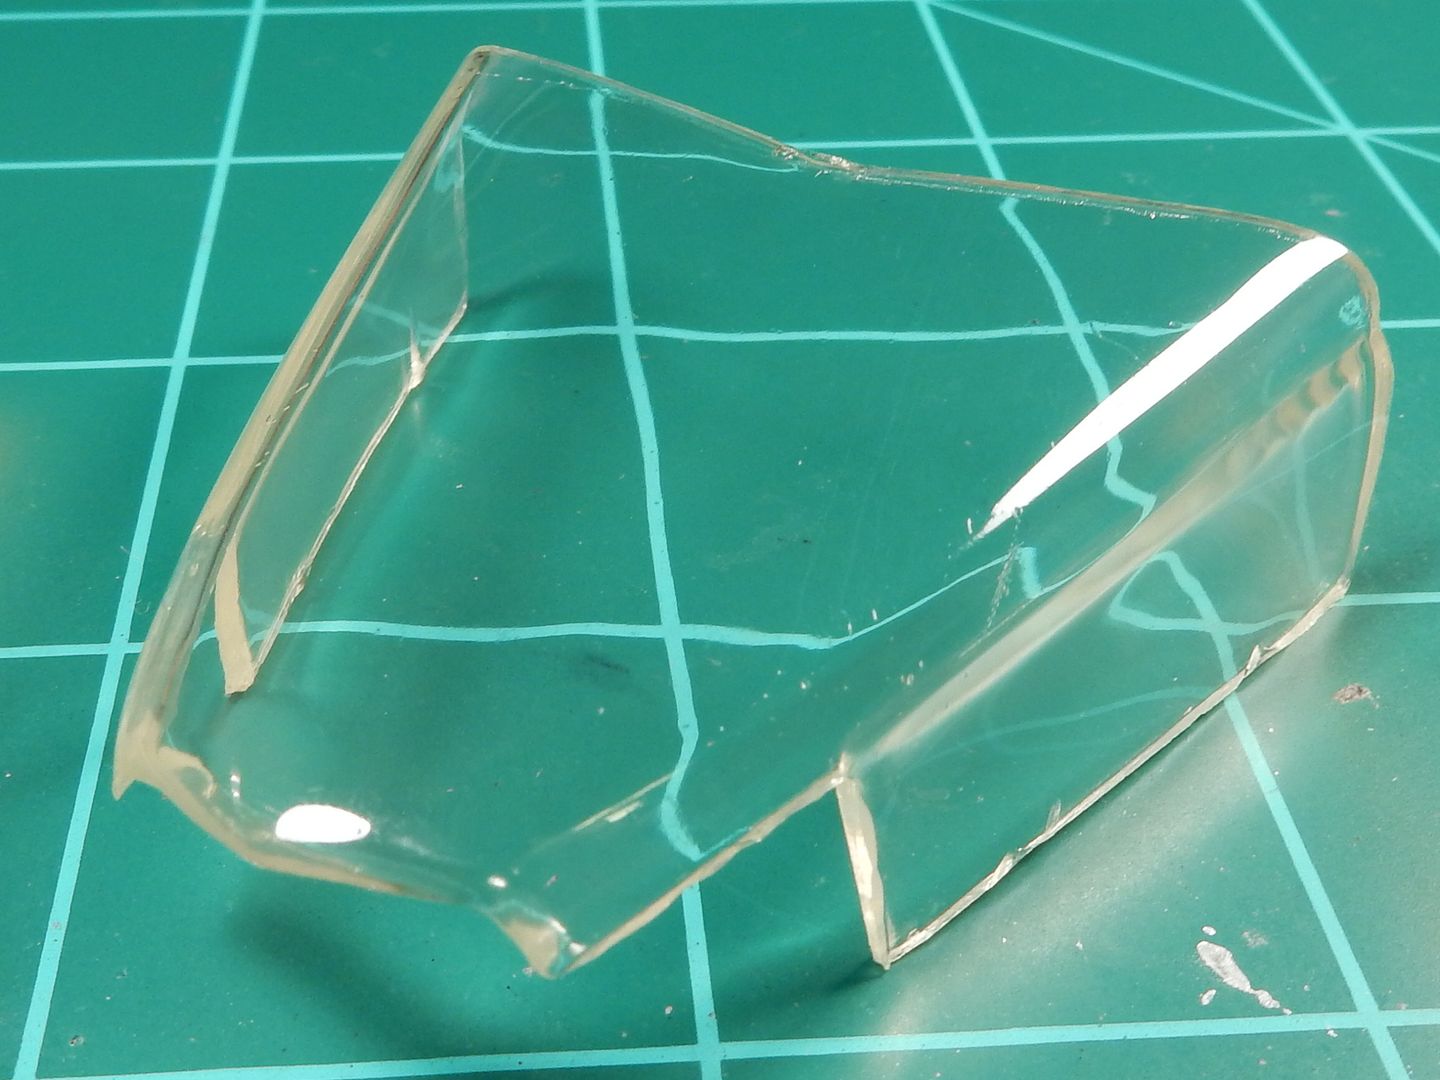
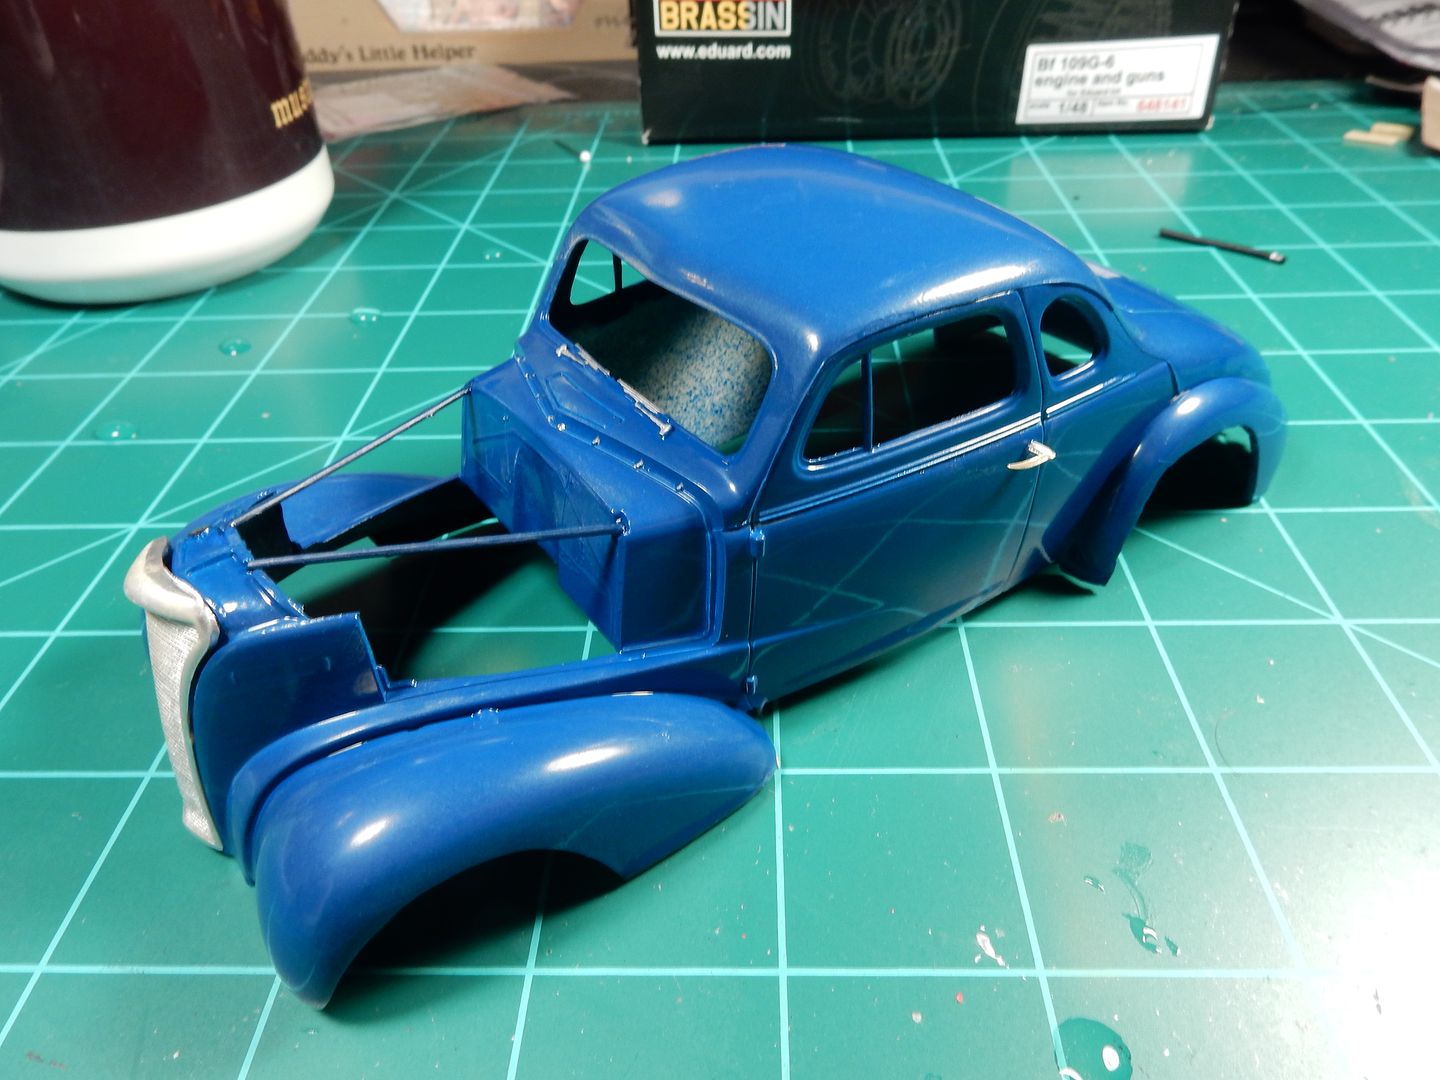
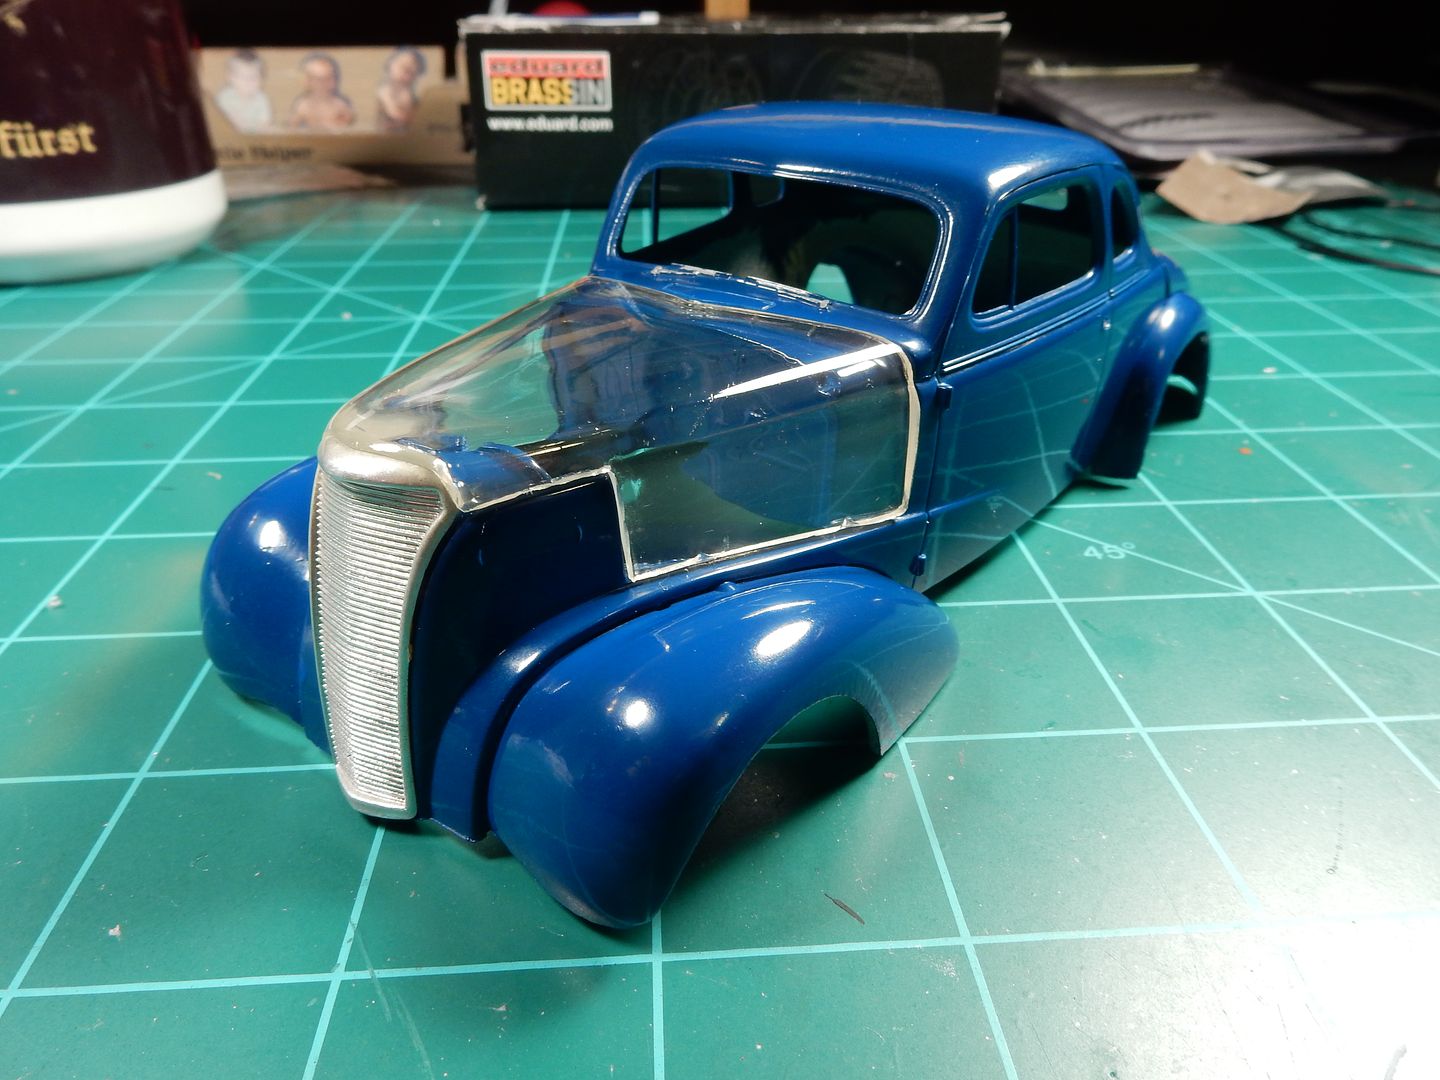
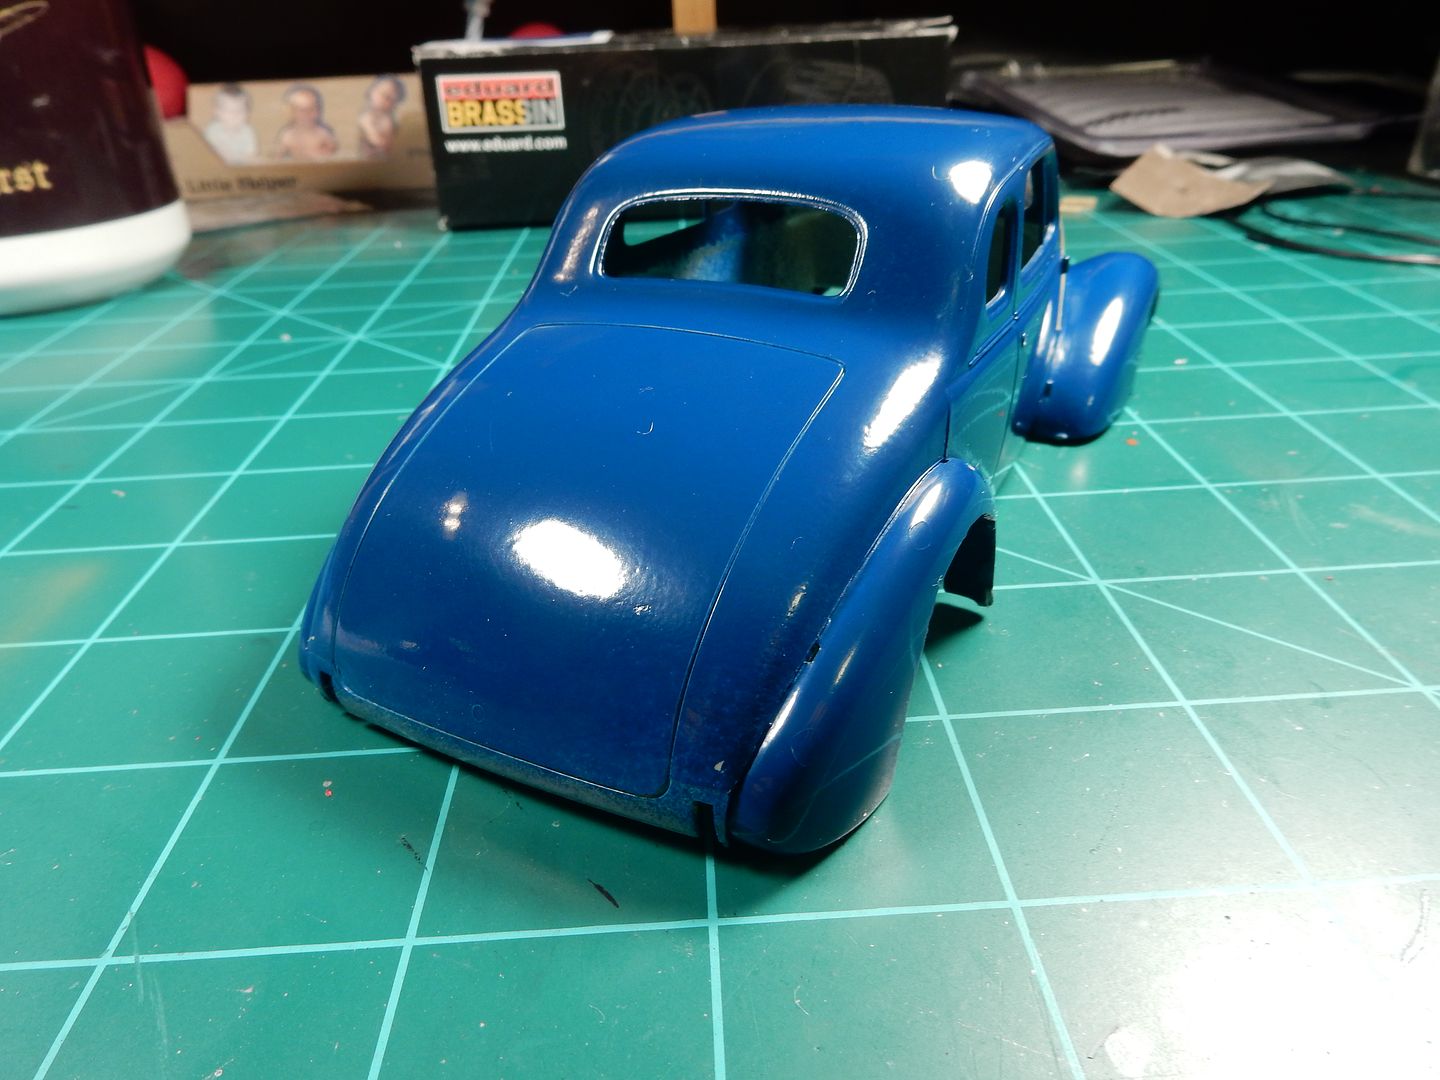
Here we go. This is just after a washing with mild soap and warm water with everything nice and clean.
and here is a day later after polishing with Novus #2 and then I hit it with Novus #1. I was shocked really because the original paint didn’t look like this!
and a shot of the rear of the body…
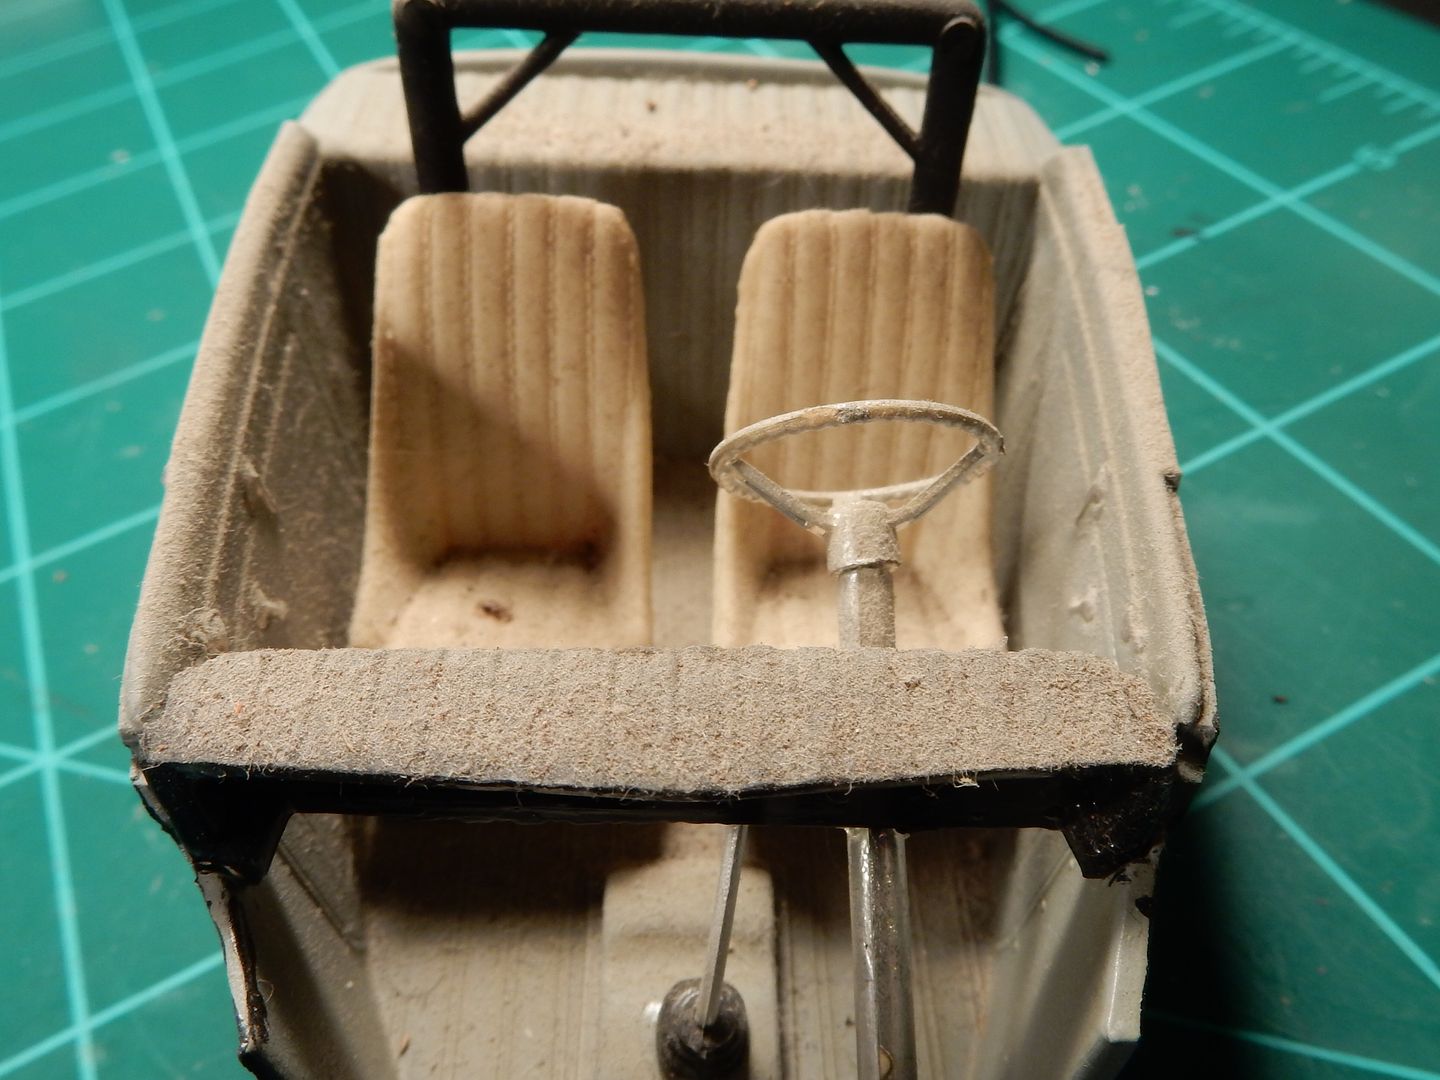
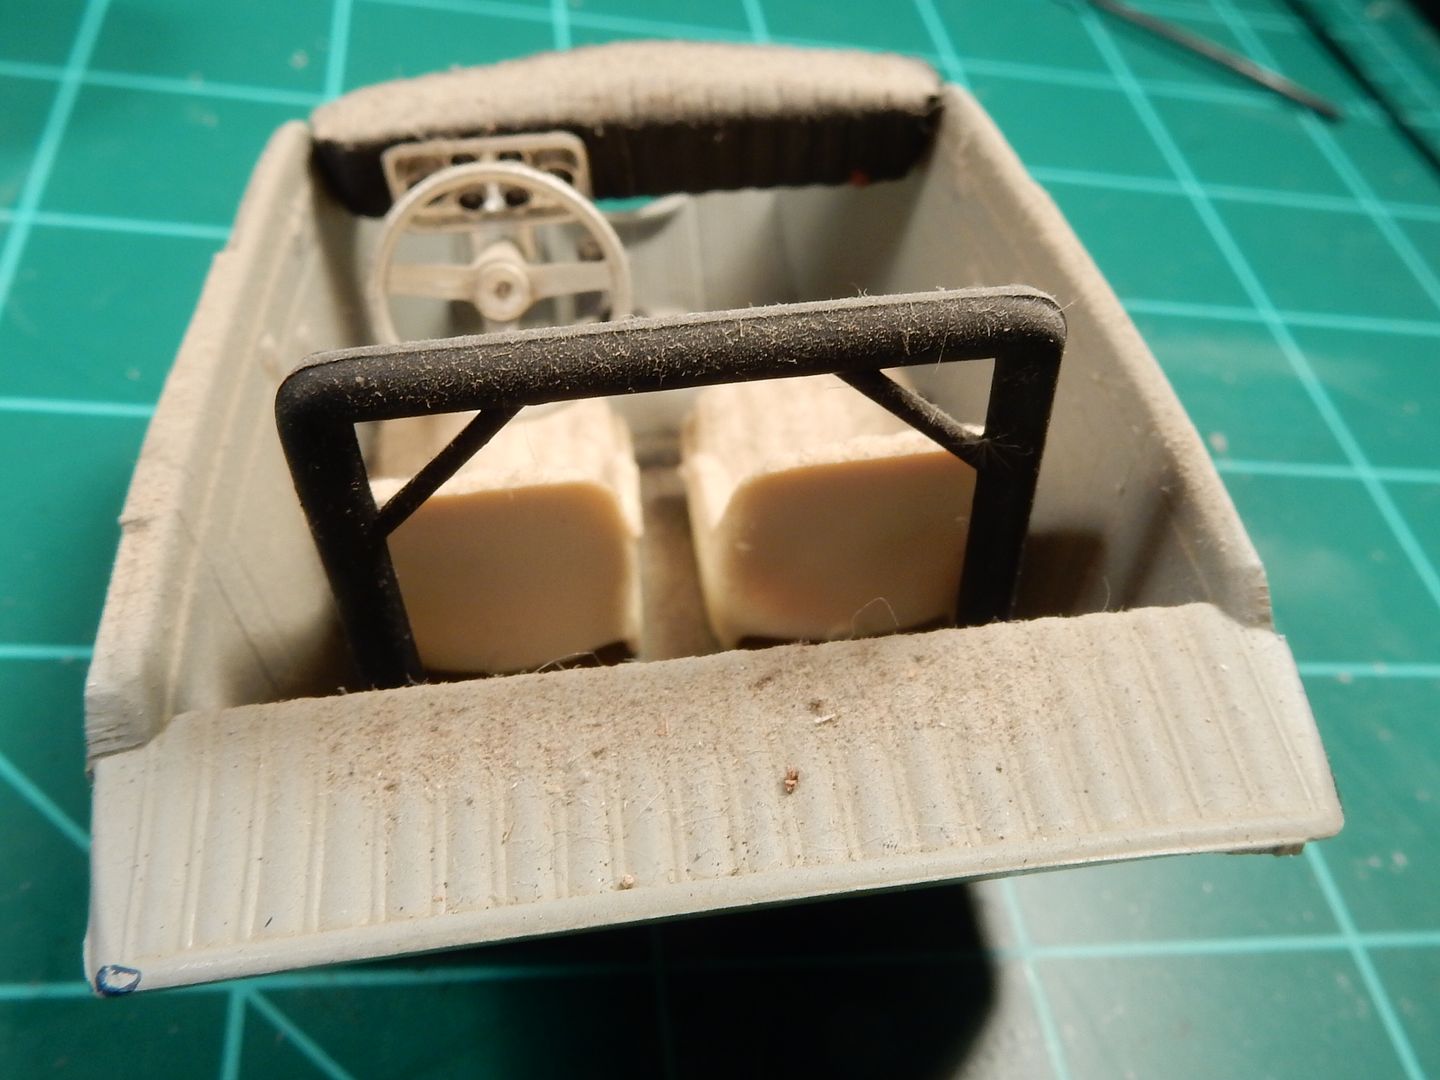
As one can plainly see, paint coverage wasn’t a strong point of mine back then. lol
Anyway, The initial work you’ve done so far is really bringing it back to life Joe. It is a great deal of fun to watch you take on these restore jobs. I’ll be to following along with you over the next several months.[;)]