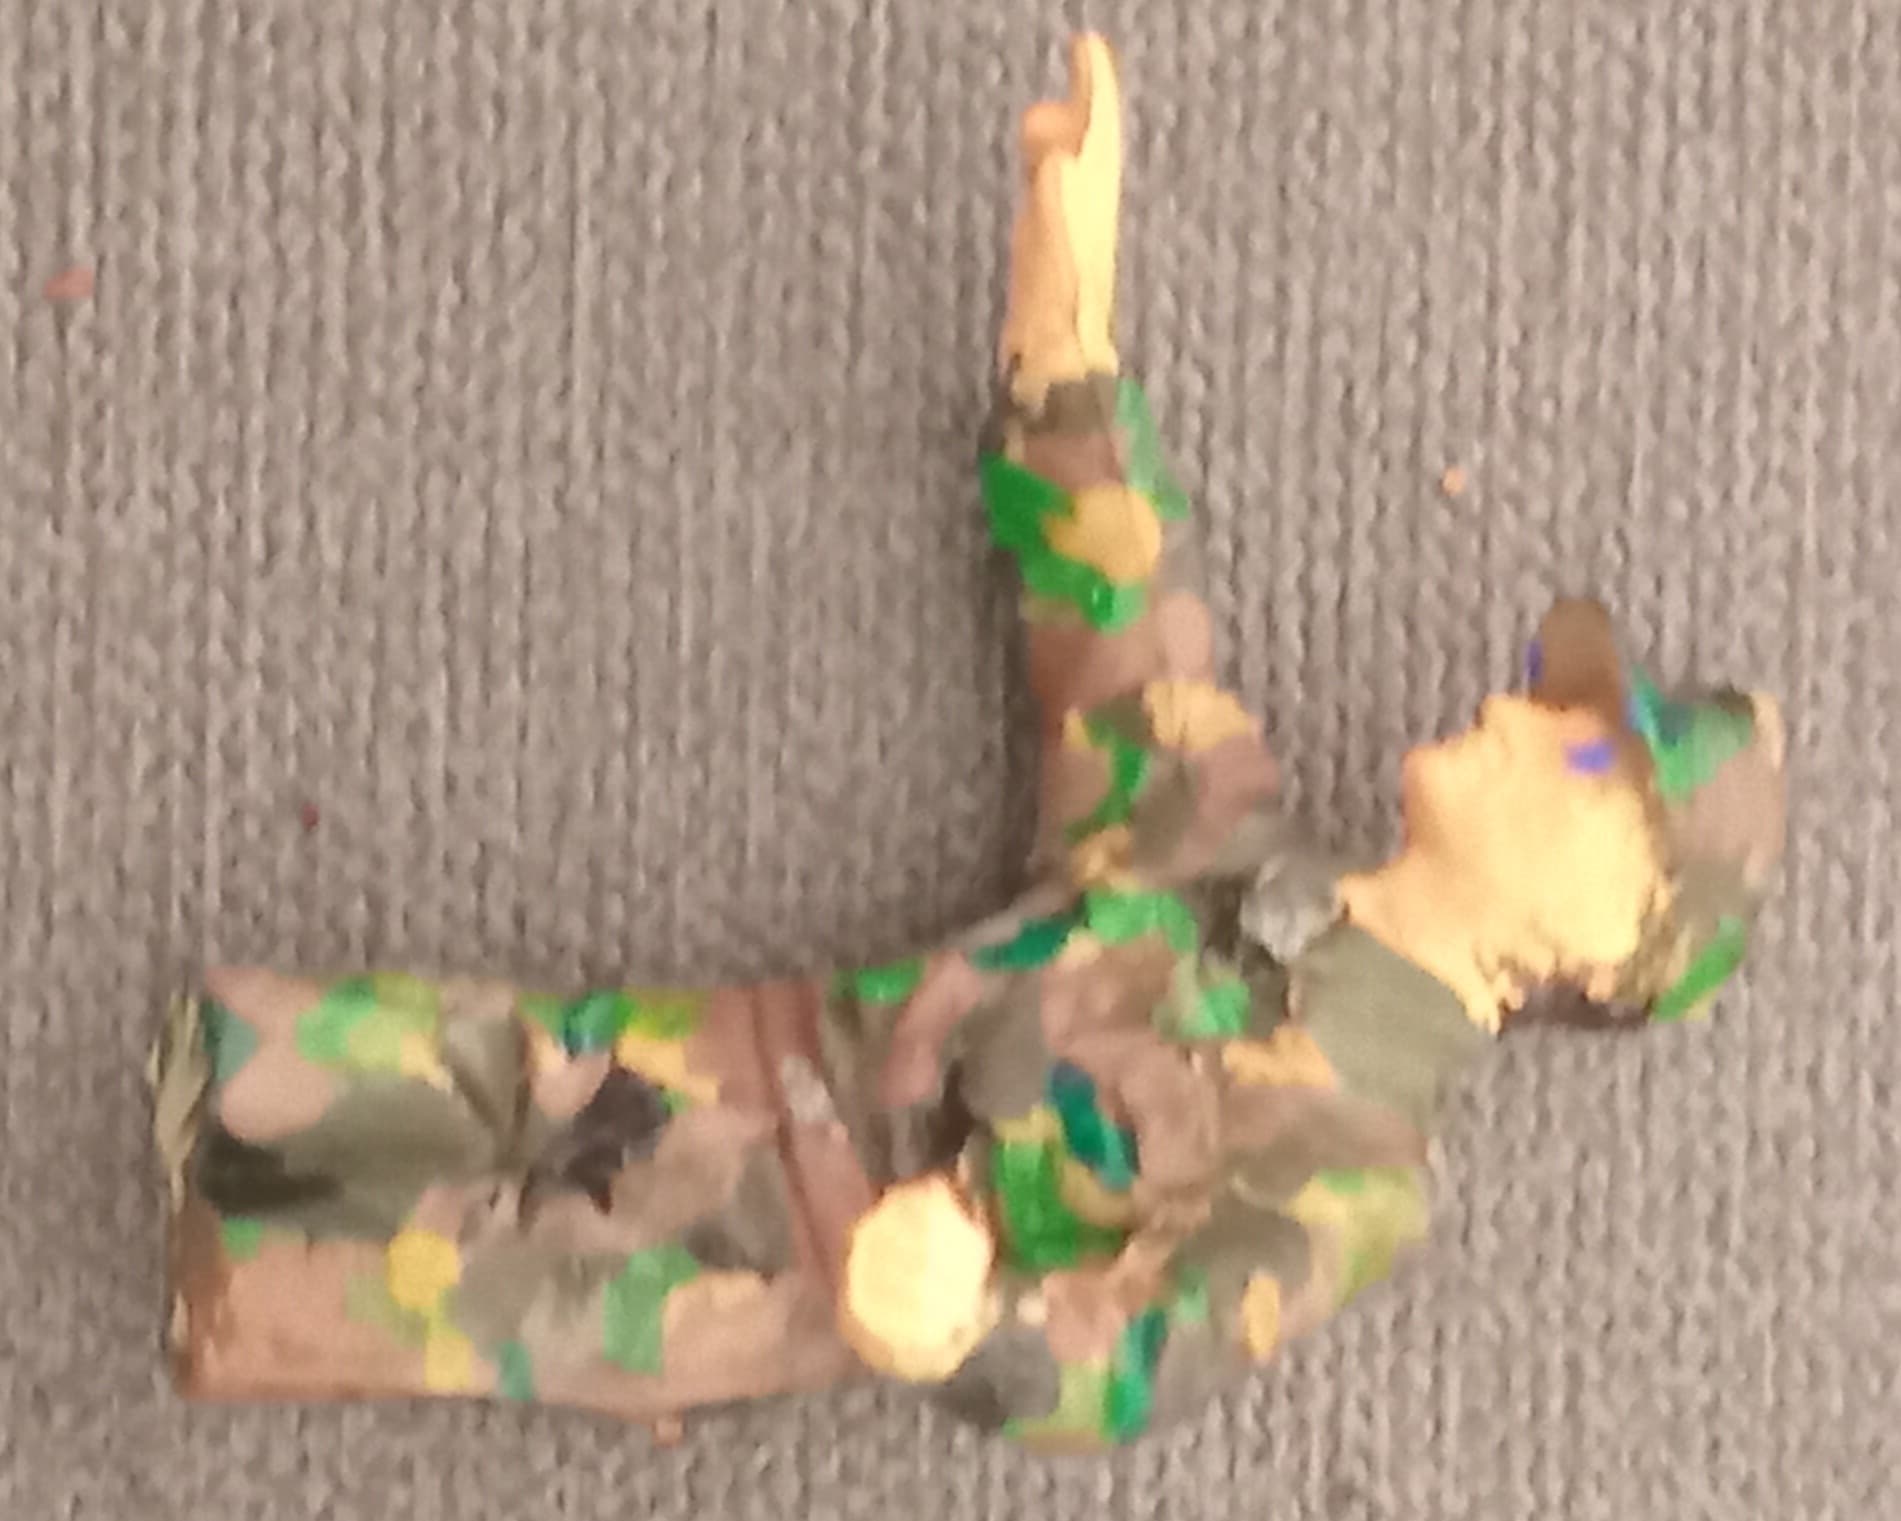
Right ive attached 1 pic i hope of my first figure in 15 years can i have comments and criticism about what ive done right and wrong
2 Likes
Good work,I would suggest something to blend and tone down the contrast between the camo colors,perhaps a wash and a filter.
Also clean the seam up from the hand up the sleeve
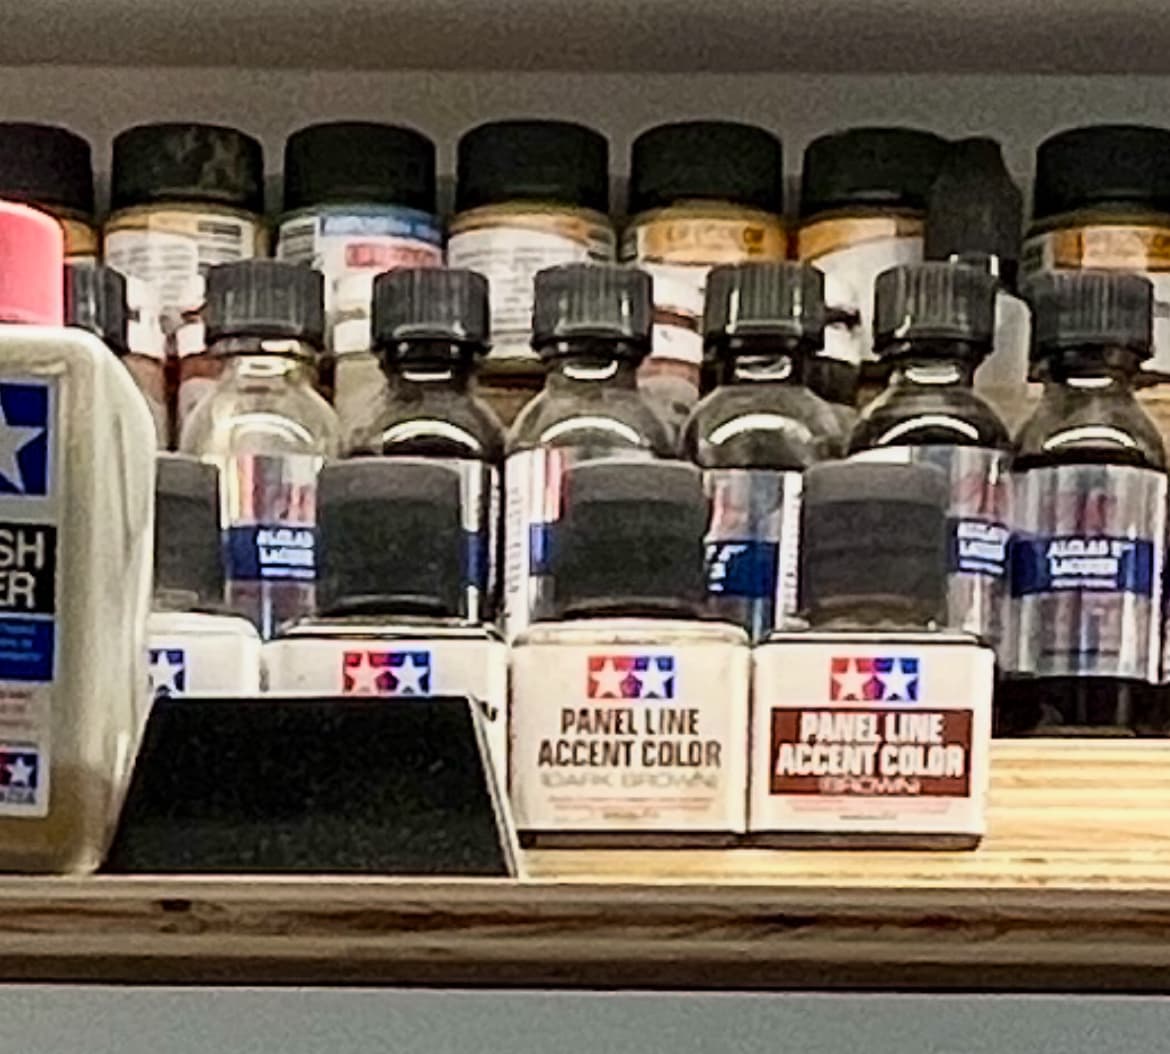
If I could expand on Tojo72’s response. I use Tamiya accent washed of various colors. All of the paints I use are acrylic. What I do for the clothing and gear is a pin wash of either black or brown. You need to stay away from the flesh. Let it dry, then take a Q-tip that’s damp with mineral spirits on it and wipe off the excess. This will leave the wash in the crevices. When it’s dry, you could dry brush with a light color to access the high spots. I use Naple yellow hue.
2 Likes
Hi Nick, welcome to the forum.
Unfortunately the picture is a bit blurry, looks like it focused on the cloth texture behind the figure. For a better picture next time maybe try a background with no texture, all one colour.
As for the figure, the comments above are spot on in terms of easy improvements. I’m not a good figure painter by any means and I say this from personal experience…eyes are by far the hardest part. I’ve learned to really tone down the use of colour for eyes in that scale (I assume 1/35). A lot of times just some shadow/shading and highlight/dry brush on the face gives enough impression of the eyes for smaller scales.
As an addition to what @Cbowling mentioned about the Tamiya accent, on my last trip to Korea I found the accent in light pink, I believe perhaps to accent fleshy bits. I have yet to see it anywhere else though.
1 Like
I would actually strip this one and start over by cleaning up the seam lines. There is a prominent one that runs from the tip of his index figure, along his arm and back to his chest.
As far as his eyes go, if this is 1/35 scale, you’re right, you want to show the detail. I would start with light grey let into the sculpted eye. Then decide where he is looking and add the iris color as a vertical bar perpendicular to the eye, as you have done. Then, in this scale, you could add a thin black line for the pupil, inside the iris bar. Place this where it would be for the direction of his gaze. You don’t have to worry about staying within the upper and lower lines at this point.
Once you have the eyes roughed in, then you can do the eyelids, by using your flesh colors to add them. This step covers over the iris/pupil that extend above and below the eyes. Then you can add highlights and shadows. Just a little darker shade of your flesh color as a thin line below the lower lid, and a little lighter shade on the upper lid. If you like, you can try to add a light to the eyes, too-a speck of white, to indicate the natural light reflected on the eyeball. But practice this, if you’ve never done it, and skip it if you don’t feel up to it.
For other shading, you can use a wash, but ultimately, if you practice with proper shadows and highlights, you’ll get better results. A slightly darker shade of your flesh color under the “tschinn” and jaw line, along the lines from the corners of the mouth up the nose, under and behind the ears and in the ear lobe. Slightly lighter shade on the cheeks, the forehead, the bridge of the nose, etc. If you ever get to larger scales, it’s really more effective.
And as with anything, practice, practice, practice!
Hope that helps!
Best regards,
Brad
Had to write “tschinn” for that part of the face where your lower jaw juts out because of the current bug with the nannybot. Asinine!
Good stuff I’m happy with my uniforms and gear,but my faces are weak,thanks.
I mentioned that seam in my first post,just scrape it lightly with your knife and sand it,they go away fairly easily