Hi!
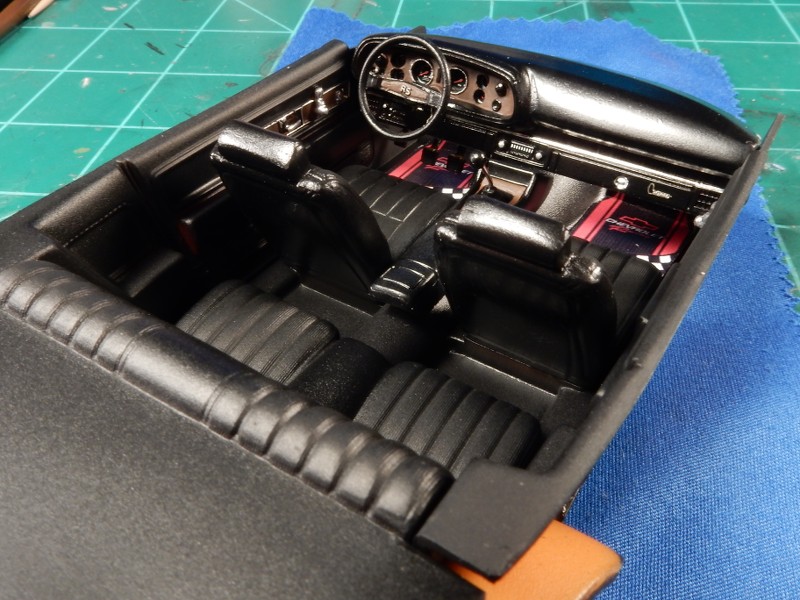
That second photo near the bottom Almost had me saying, "Liar, Liar, Pants on Fire!"You did a bang up job duplicating that Camaro! Fooled me for a moment!!
Hi!
That second photo near the bottom Almost had me saying, "Liar, Liar, Pants on Fire!"You did a bang up job duplicating that Camaro! Fooled me for a moment!!
Hey:
Looks like you have a handle on it! I too, dislike the Square exhaust openings. I think they look weird. I would always shorten the pipes, bend the opening, downward and out, The Glasspacs in pairs after the Complete rebuild from a crossover system to real Dual exhausts.
The car seemed to like breathing better. Much more so that all that factory engineered Back-Pressure from the stock setup!
That is looking good. I like what you have done so far. I redone a 1 to 1 when I was in highschool. Had to sell it when I joined the Navy in 1982. The person that bought it totaly destroyed it 3 months later. 2 1/2 years worth of work went down the tubes. Man I miss that car.
John: Dude…thanks. There’s alot I wish I could go back and change in past builds but hey…It’s all part of the modeling growth. Yeah this kit is no picnic.
Brandon: Do I ever miss the good ol’ simple days. Glass packs and duals were the ticket back then. Thanks friend.
Joe!!! : Good to see you back in these parts and on board brother!!
disastermaster: A 69 GTX??? You lucky dog !!
TB: Thanks potna!!
lurch: I know the felling. I rebuilt my brothers 67 Mustang. He drove it for a few years and sold it to a fella who did the “telephone pole wrap” remodel to it. Sad. Thanks for following along and for the comments.
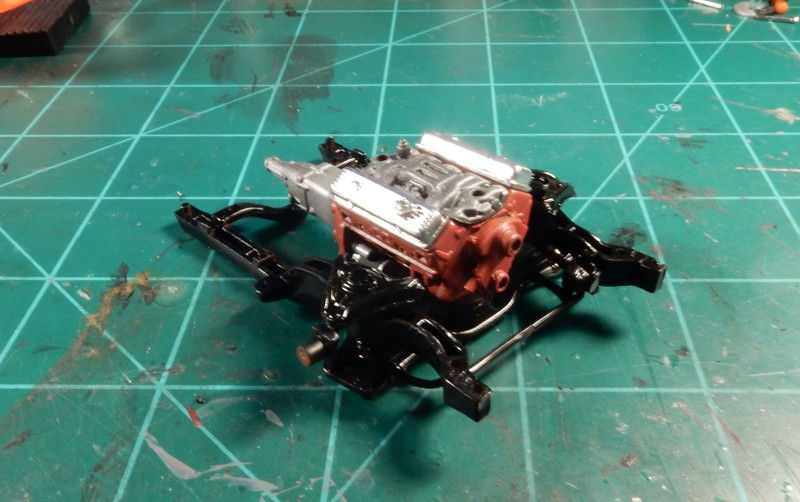
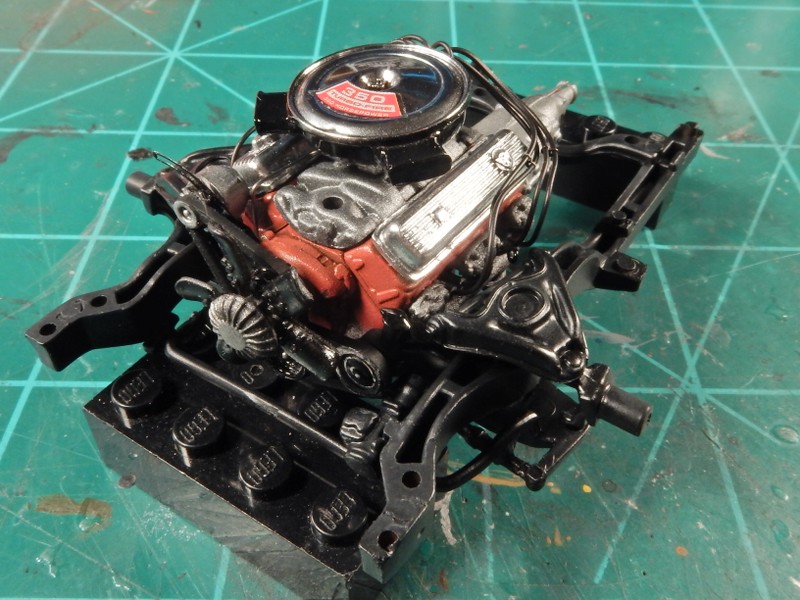
Completed subframe with modified spindles to drop the front end a little bit along with the mostly completed bare engine:
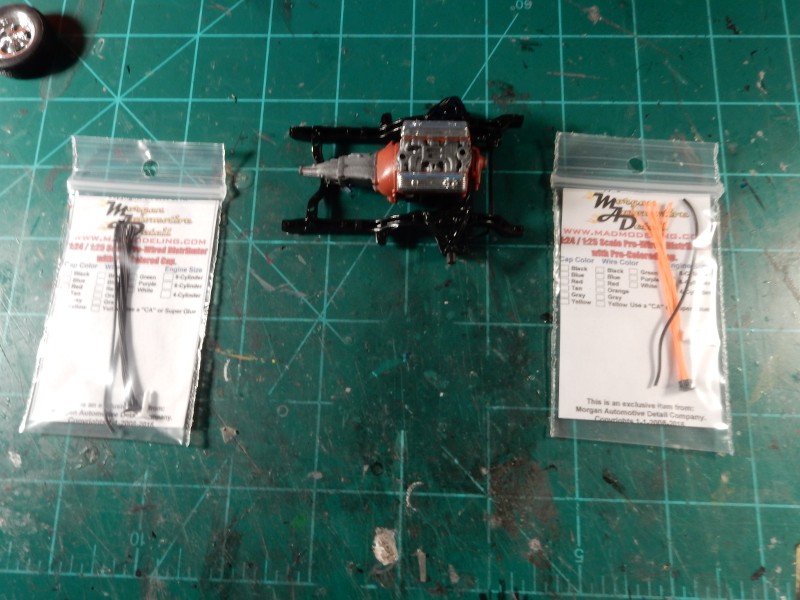
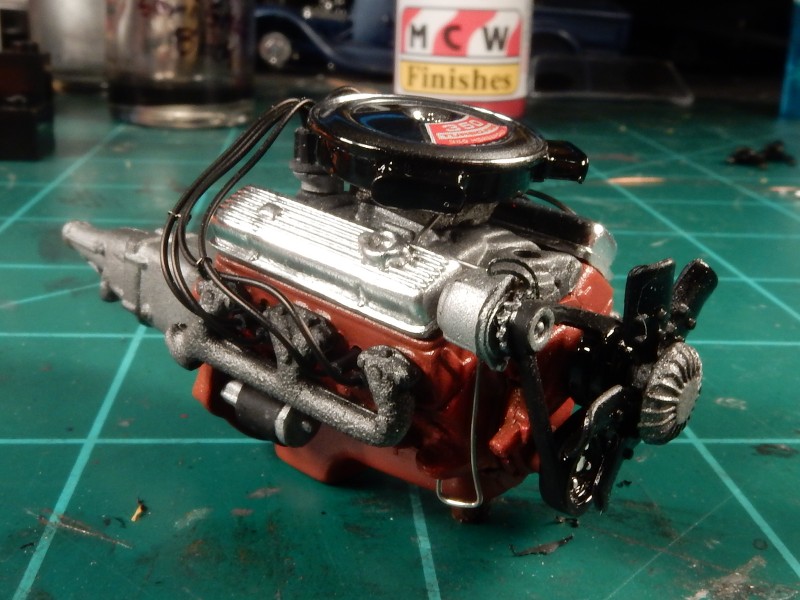
I purchased my first two MAD prewired distributors. I’ve gotta say that I am definitely impressed. This cut my time in like 1/10th of the time from drilling the OOB distributors and inserting the ignition wire myself. They come in all kinds of cap and wire colors.
Howdy 'Stang, been lurking around an watch’n. I have owned about 4 of this gen Camaro but don’t shoot me, I cut em all up and used em on those circle tracks. I’m gonna watch this and see how I SHOULD have built em back then. We sure do some odd things in our youth! Gloo on bro.
Thanks for chimin’ in bud and glad to have you aboard. There were alot of these cars used up like that so I’m no stranger to hearing that. And…yes we do some crazy stuff in our youth. I’m lucky to be here now. lol
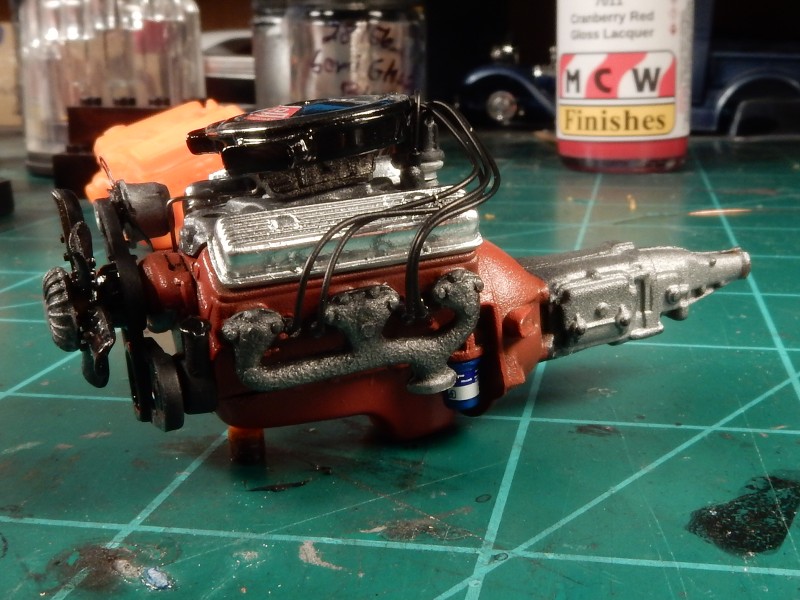
Managed to get the engine mostly done on this rascal. I’m about 90% happy with this but that goofy looking fan clutch I’m glad to say will be hidden in the fan shroud.
Positively stunning Joe. You have some righteous realism going there.
Looking great, Joe. As always! [Y]
The engine looks great! I like the prewired distributor.
Thanks Joe, Steve and Johnny! I managed to shoot a coat of semi-gloss black on the chassis followed by a light over coat of super thinned out gray which helped to tone things down some and bring out some of the details. I also installed an engine oil dipstick on the drivers side of the engine. Here’s everything all fitted up and ready to go now.
This is not the easiest of dashes to negotate in terms of modeling. I feel that I’ve turned out alot better ones than this, but you’ll see what I have to work with.
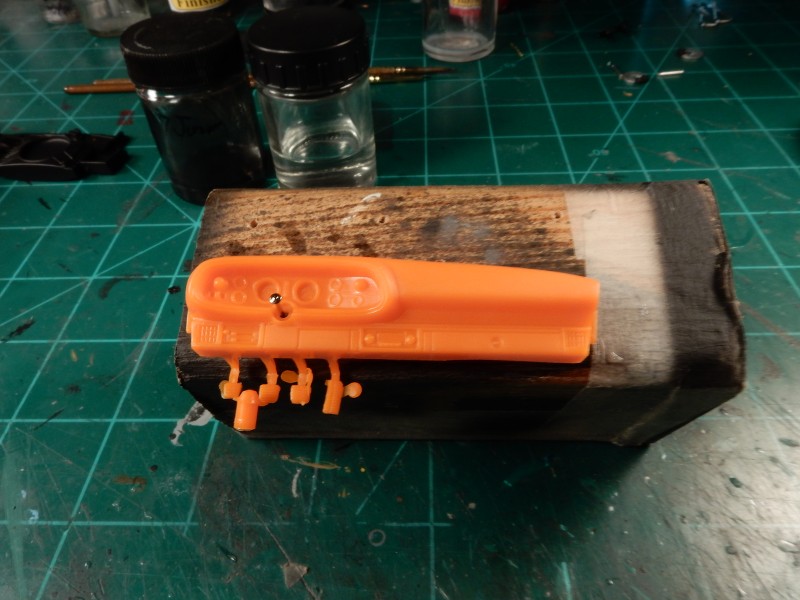
I ended up cleaning a BUNCH of flash off of this thing and drilled through all of the gauge impressions.
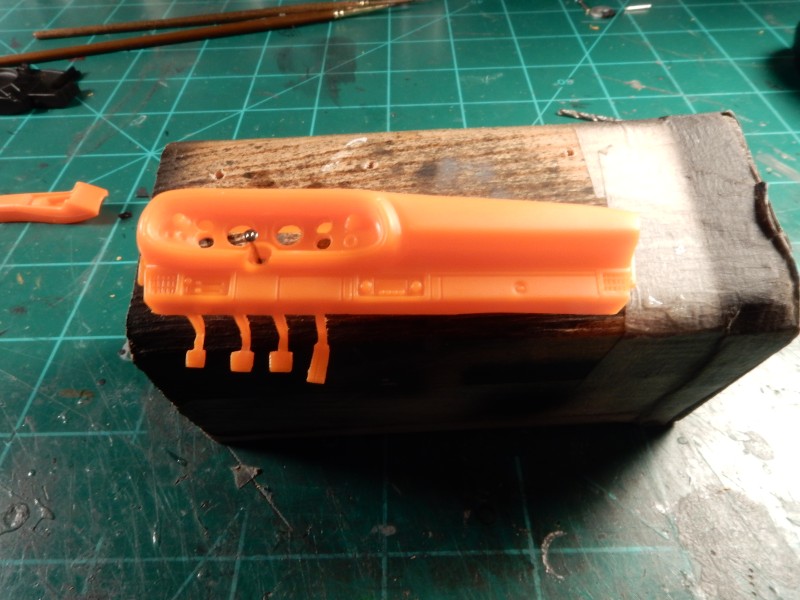
I had some gauges from Goffer Racing that I used for the smaller gauges but used the OOB ones for the speedo and the tach to stay as close to OEM look as possible. I then cut them down to squares and glued them in from the back side. The swing pedal levers were then thinned out to a truer to scale thickness and the whole dash was pained up and detailed. The “Camaro” emblem on the glove box was a PE offering from Model Car Garage and the radio face station tuning decal was from the spares box.
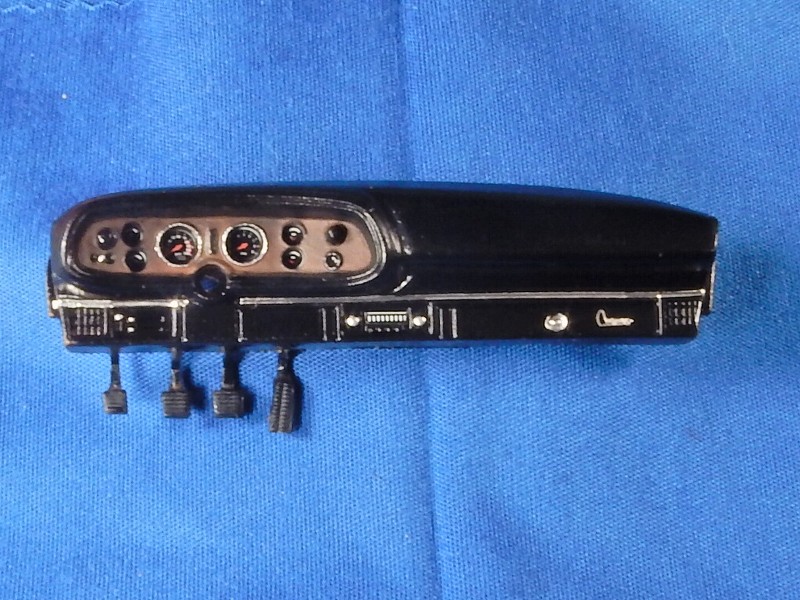
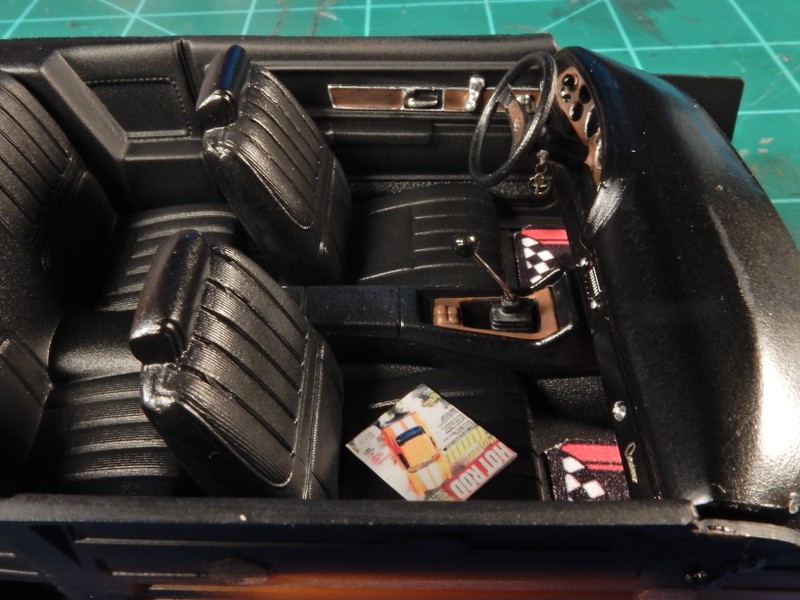
I made a couple of changes and a few upgreades to what was already there OOB. I didn’t like the fake looking OOB shifter so I made my own from a bobby pin. PE adorns areas of the dash and a set of keys now hang from the ignition switch.
Hi Mustang!
I gotta pipe in again. I was thinking about something thats was mentioned on a car forum(1/1 Scale!!) That front end with the large center Mouth(Grille?) was to me with the mini bumpers on each side, the Cat’s Meow. The Camaro finally achieved a look that said Watch Out! to Mopar and Ford owners!
Wow, the interior looks fantastic. Keep it coming.
BK
Wonderful work so far, especially the extra details for the engine. And the rework of the dash is great too. Looking forweard to your next update.
Ben / DRUMS01
Thank you TB, Brandon and Ben.
TB: There were only a few years of the Camaro that I really didn’t care for but those were much later and it wasn’t so much for the looks with those. I just couldn’t stand the HP numbers that were put up in the early 80’s. Just terrible.
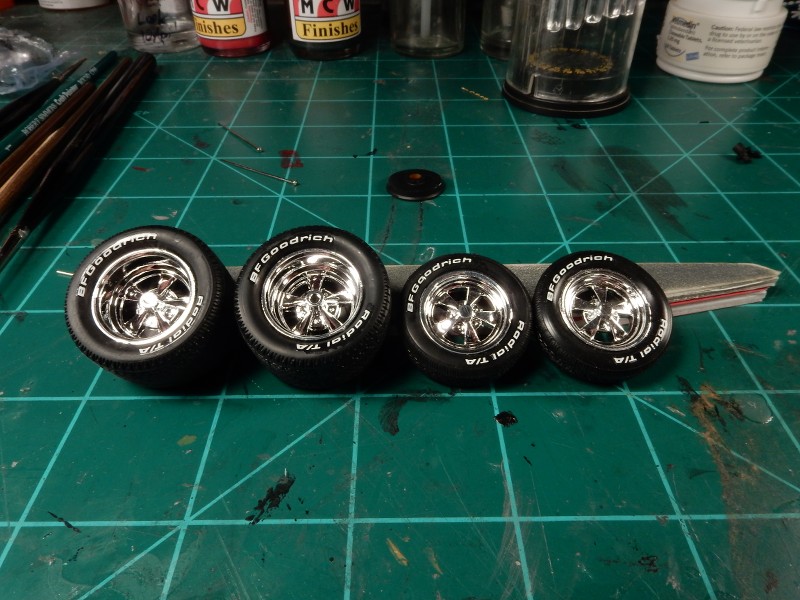
Next step…wheels and tires. As you can see in the comparison photo below, molded tire lettering removal in progress and the replacement logo decals below…
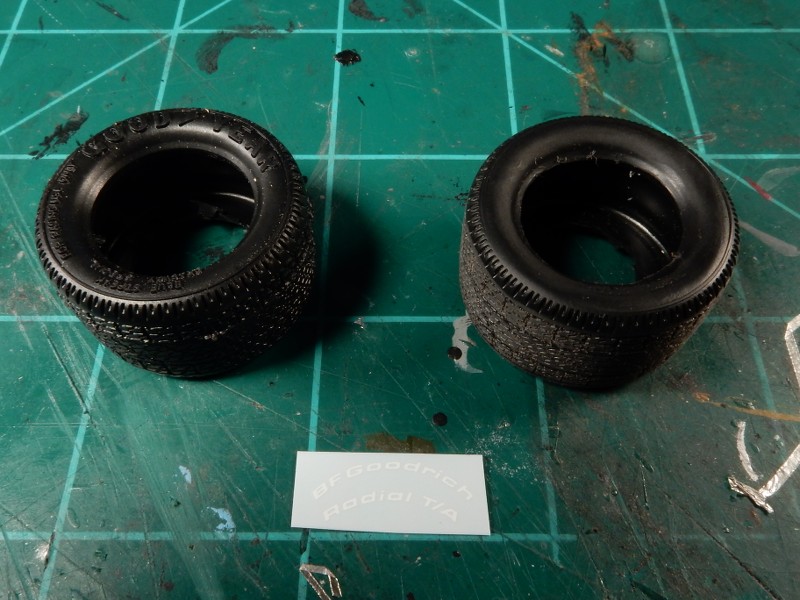
and then after the molded lettering removal and decal application. These are now ready for the dullcoat treatment.
V - E - R - Y nice work Mustang! Going to be a headturner for sure. [Y]
Jim [cptn]
Stay Safe.
Absolutely thrilled to see an update from you. And what an update it is. Woo Buddy, that interior is all about being the real deal. Tremendous effort Joe. The engine and chassis detail is superb in its own right. Love how your tires came out. Very righteous technique there. All in all, you are popping out yet another masterpiece. Just makes me shake my head in wonder. Choice stuff Bro!
Thank you Jim and Joe. I’ve had this kit in my stash for a LONG time now and had the base engine completed already before starting it up recently. This is mostly an easy kit to negotiate if you have a heads up on a couple of things.
Good luck on the build. I have the AMT Baldwin kit as well. My favorite model camaro in 1:1. Ill build it one of these days haha. Cant wait to see the finished product!
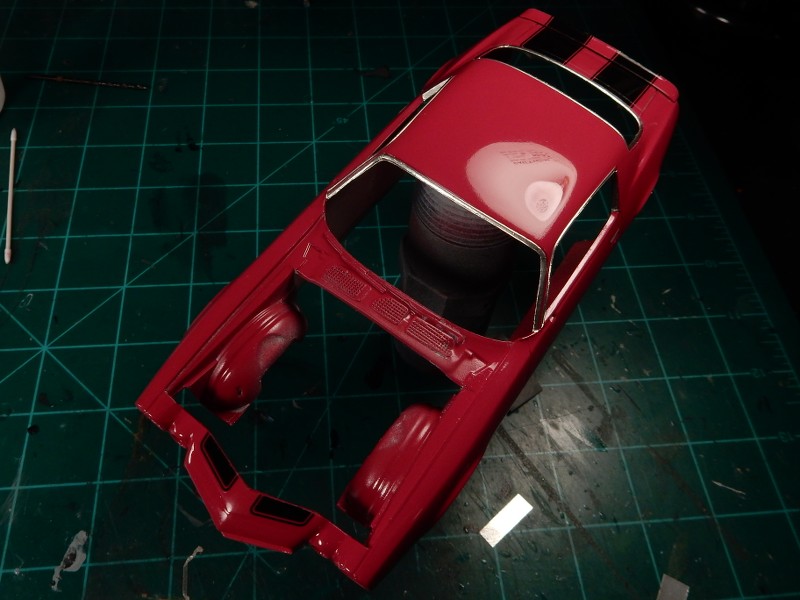
Here’s with the body prepped, primed and the color shot on. We’ll be going with Raspberry Red from MCW finishes.

Here’s with the stripe decals applied. Working on the display settings on the camera to improve upon the correct shade of red in pictures.
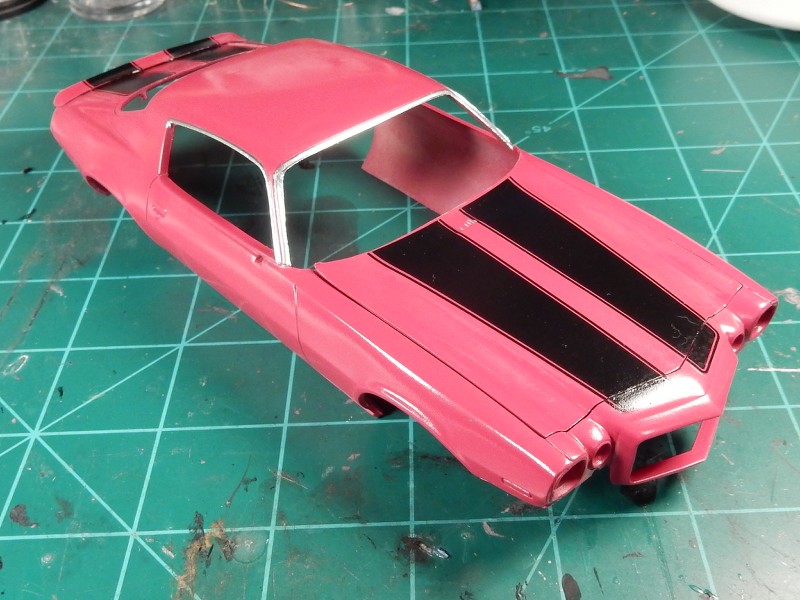
I’ve been playing around with the exposure setting on the camera in order to bring out the correct shade of red that this Raspberry Red actually is.
Got the gloss / clear coat applied. I’m very happy with this.
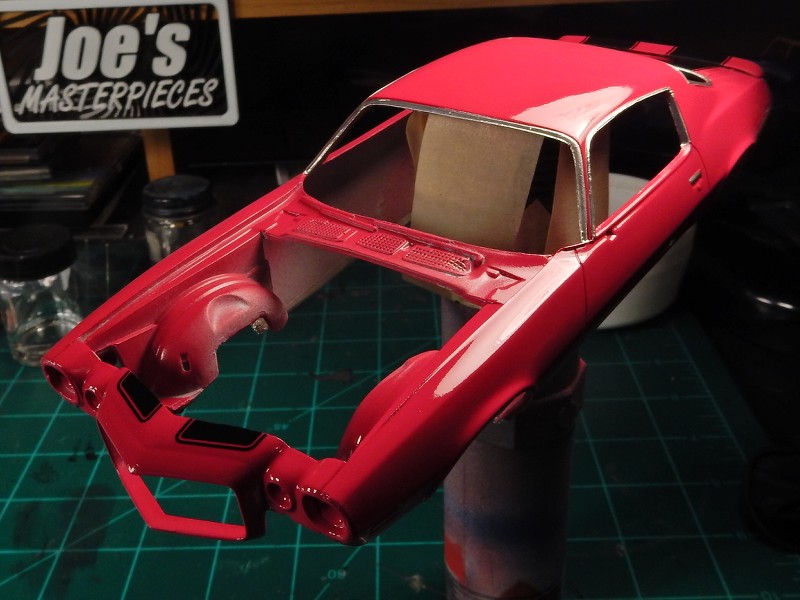
After letting this gas out for a couple of days, I hit the body with some fine sanding paper and some polish…