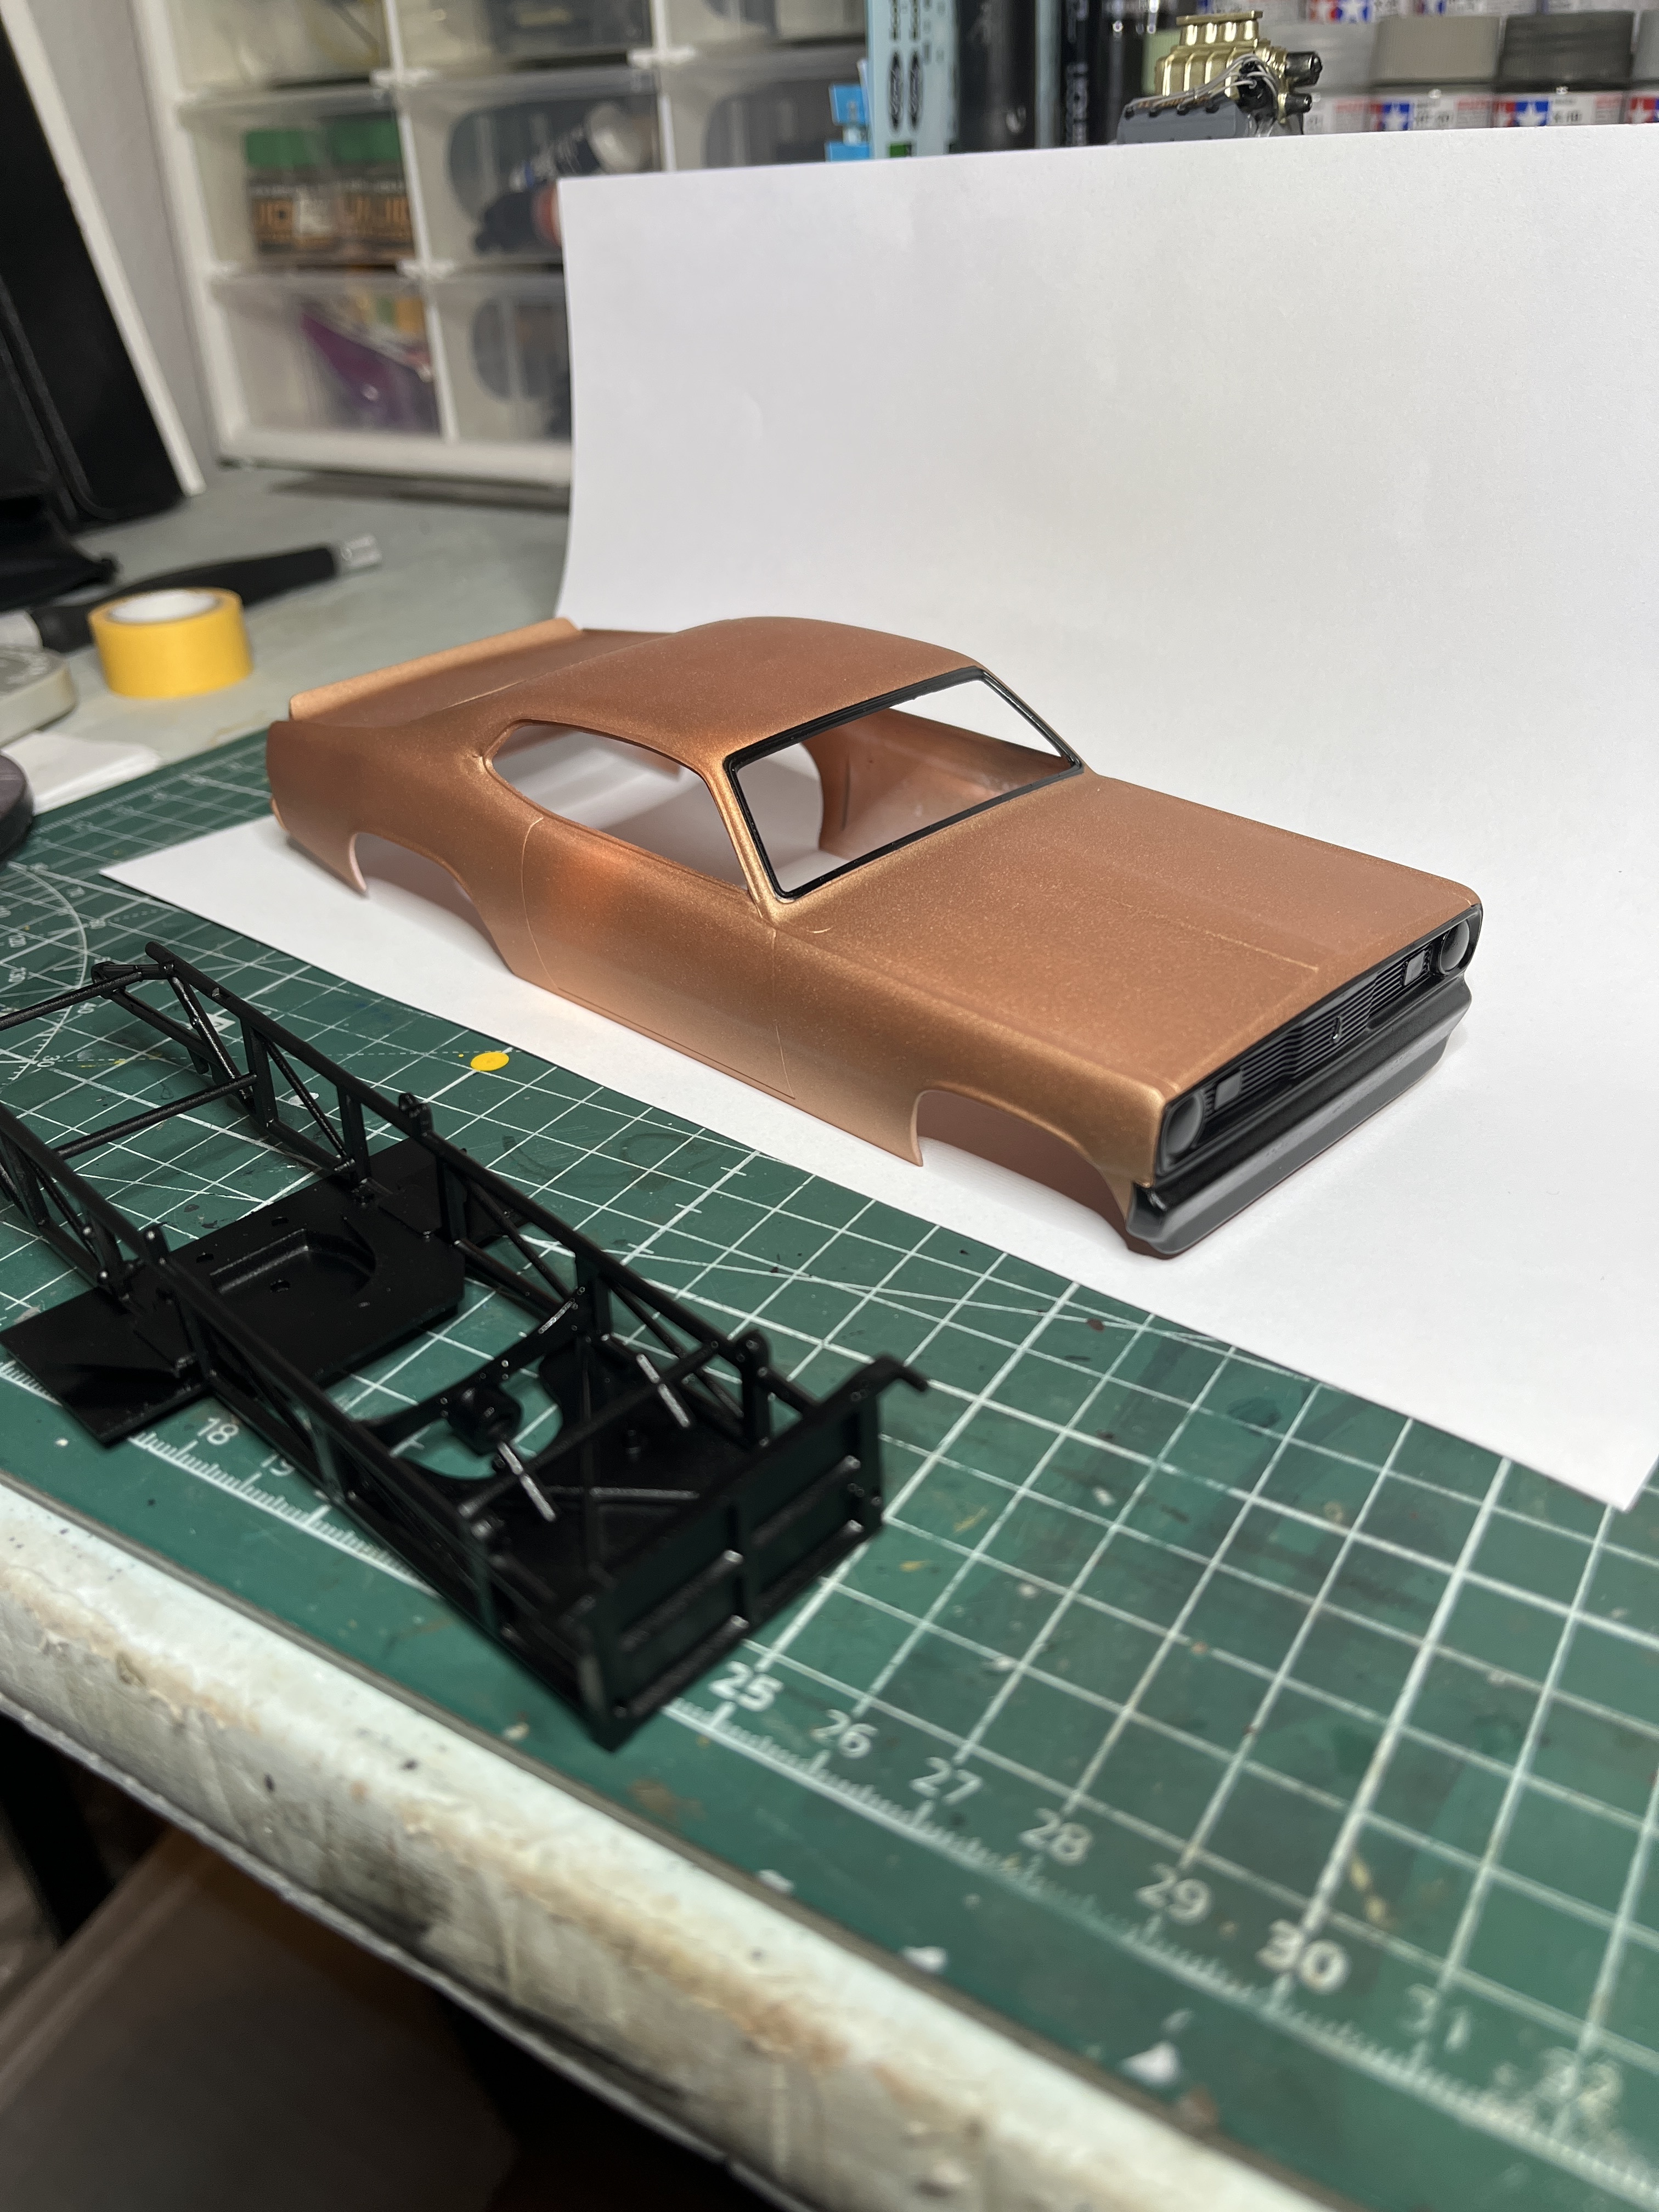
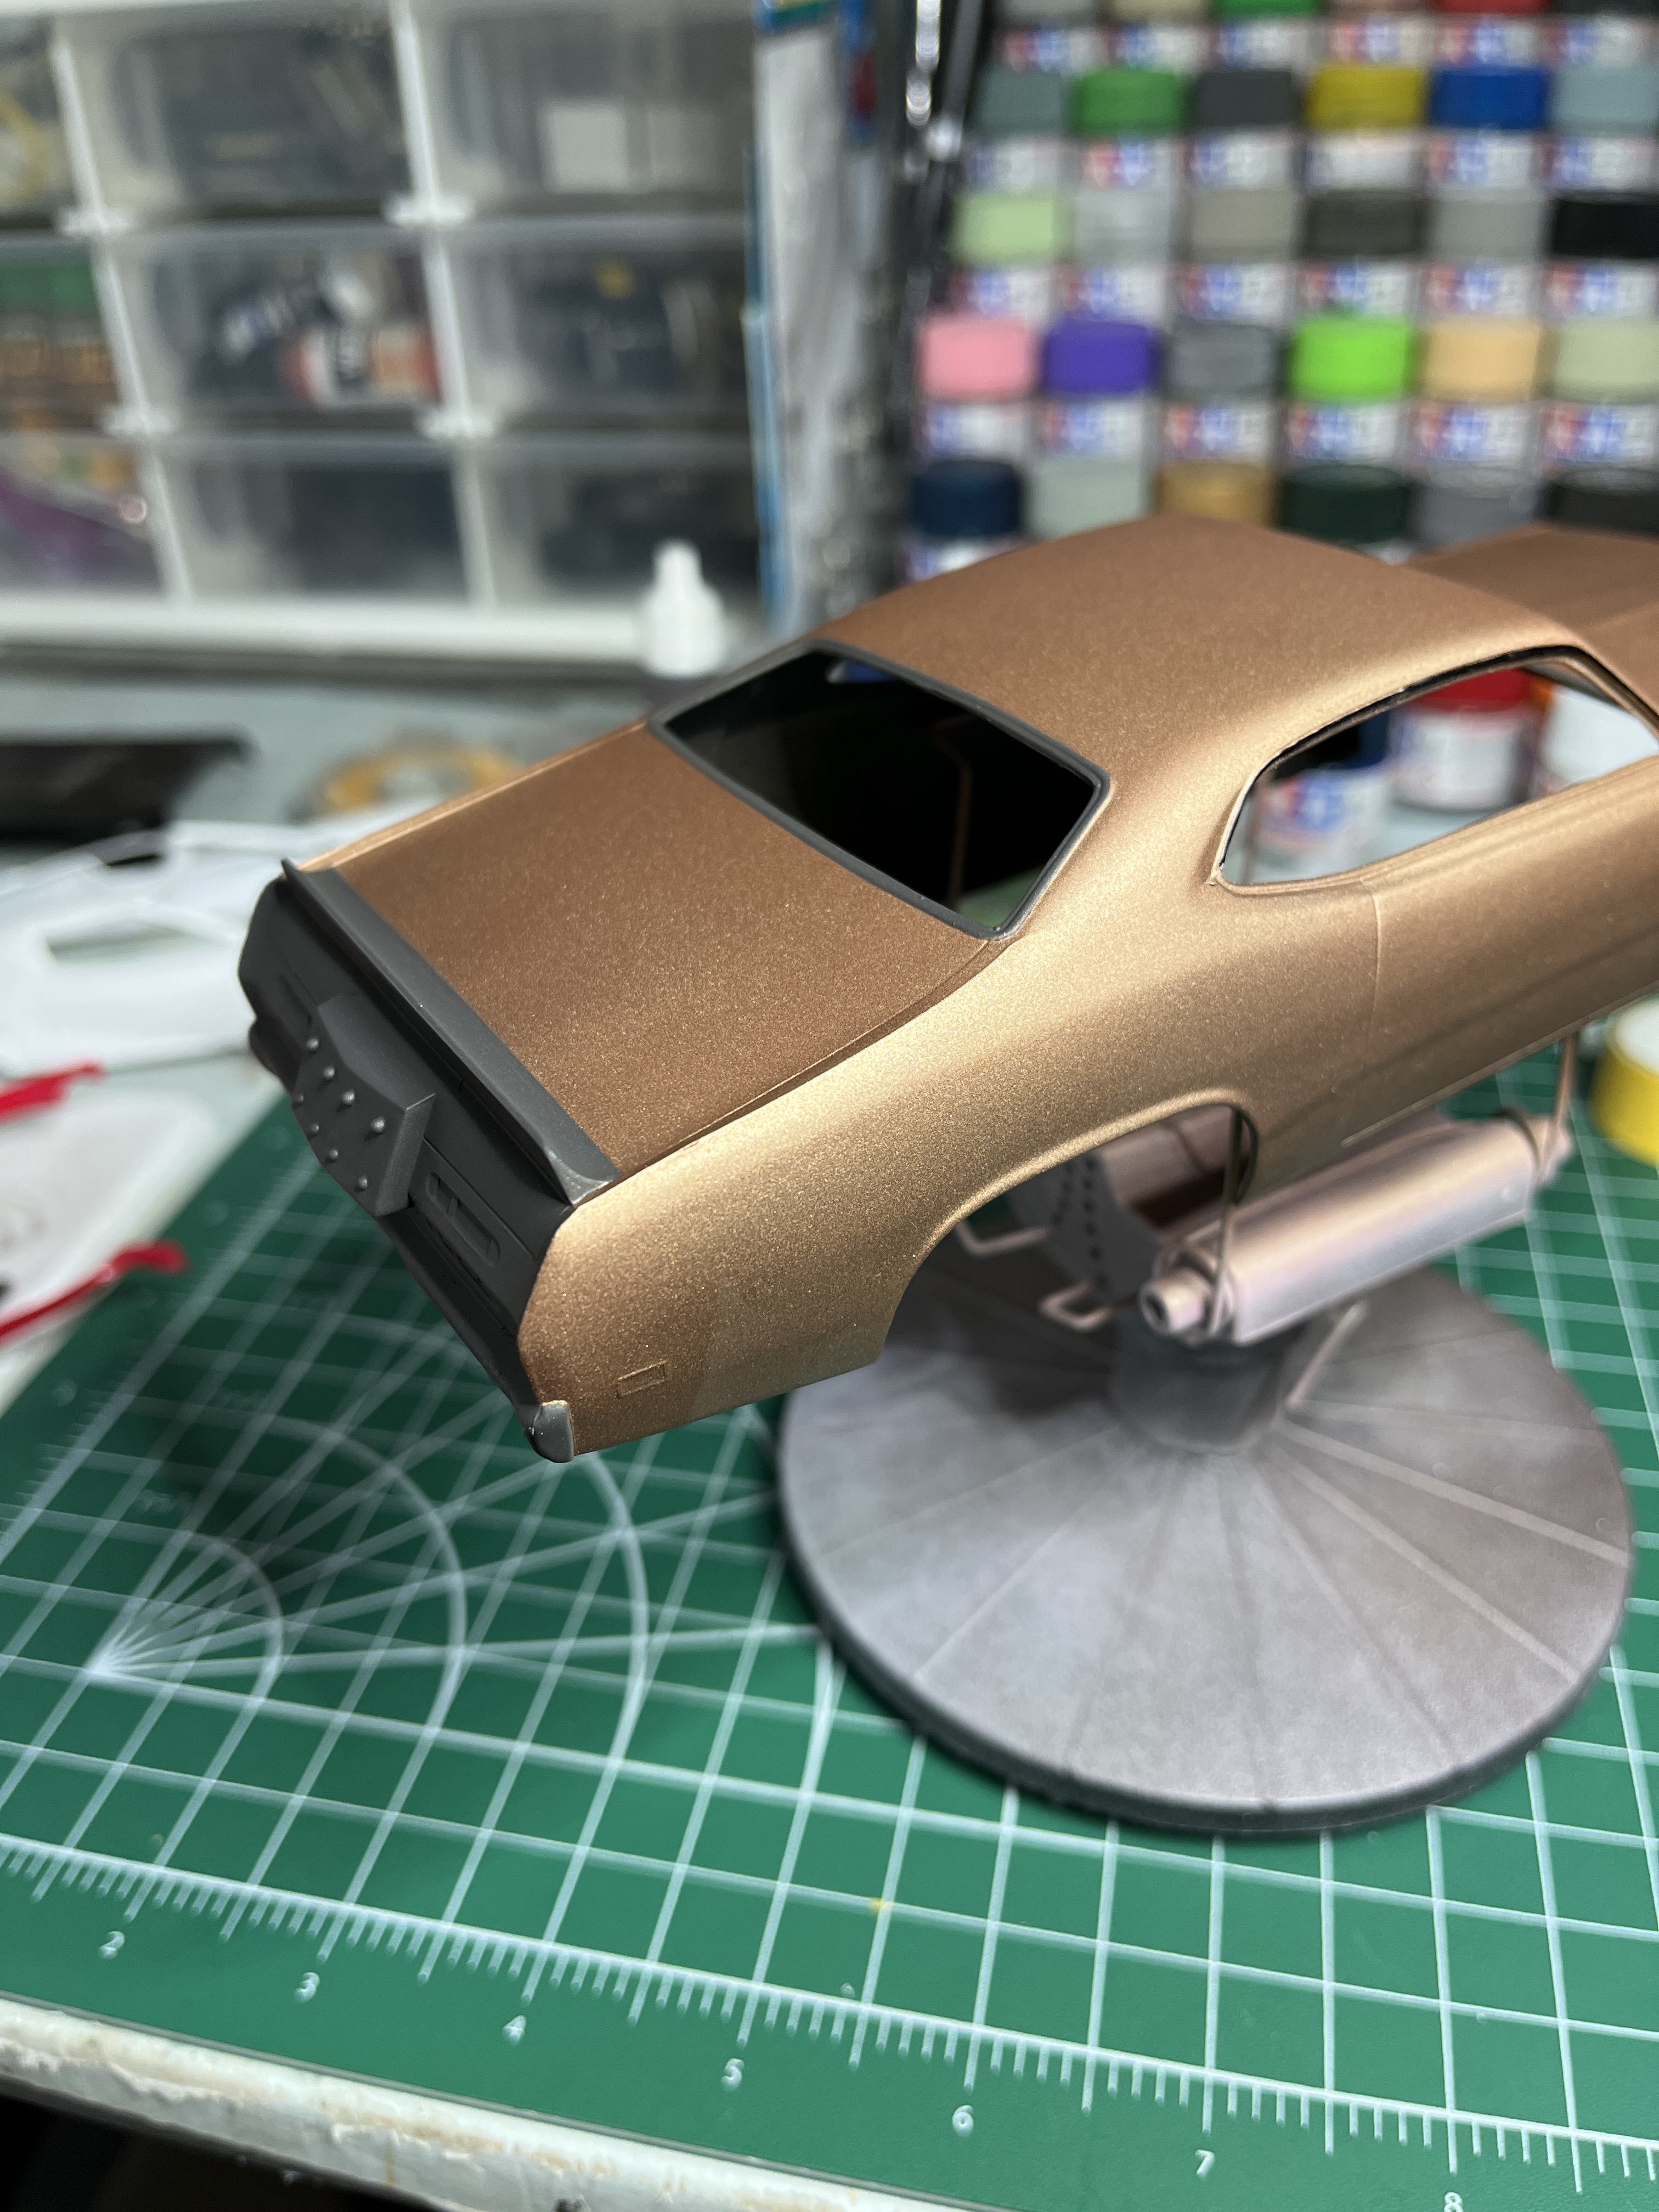
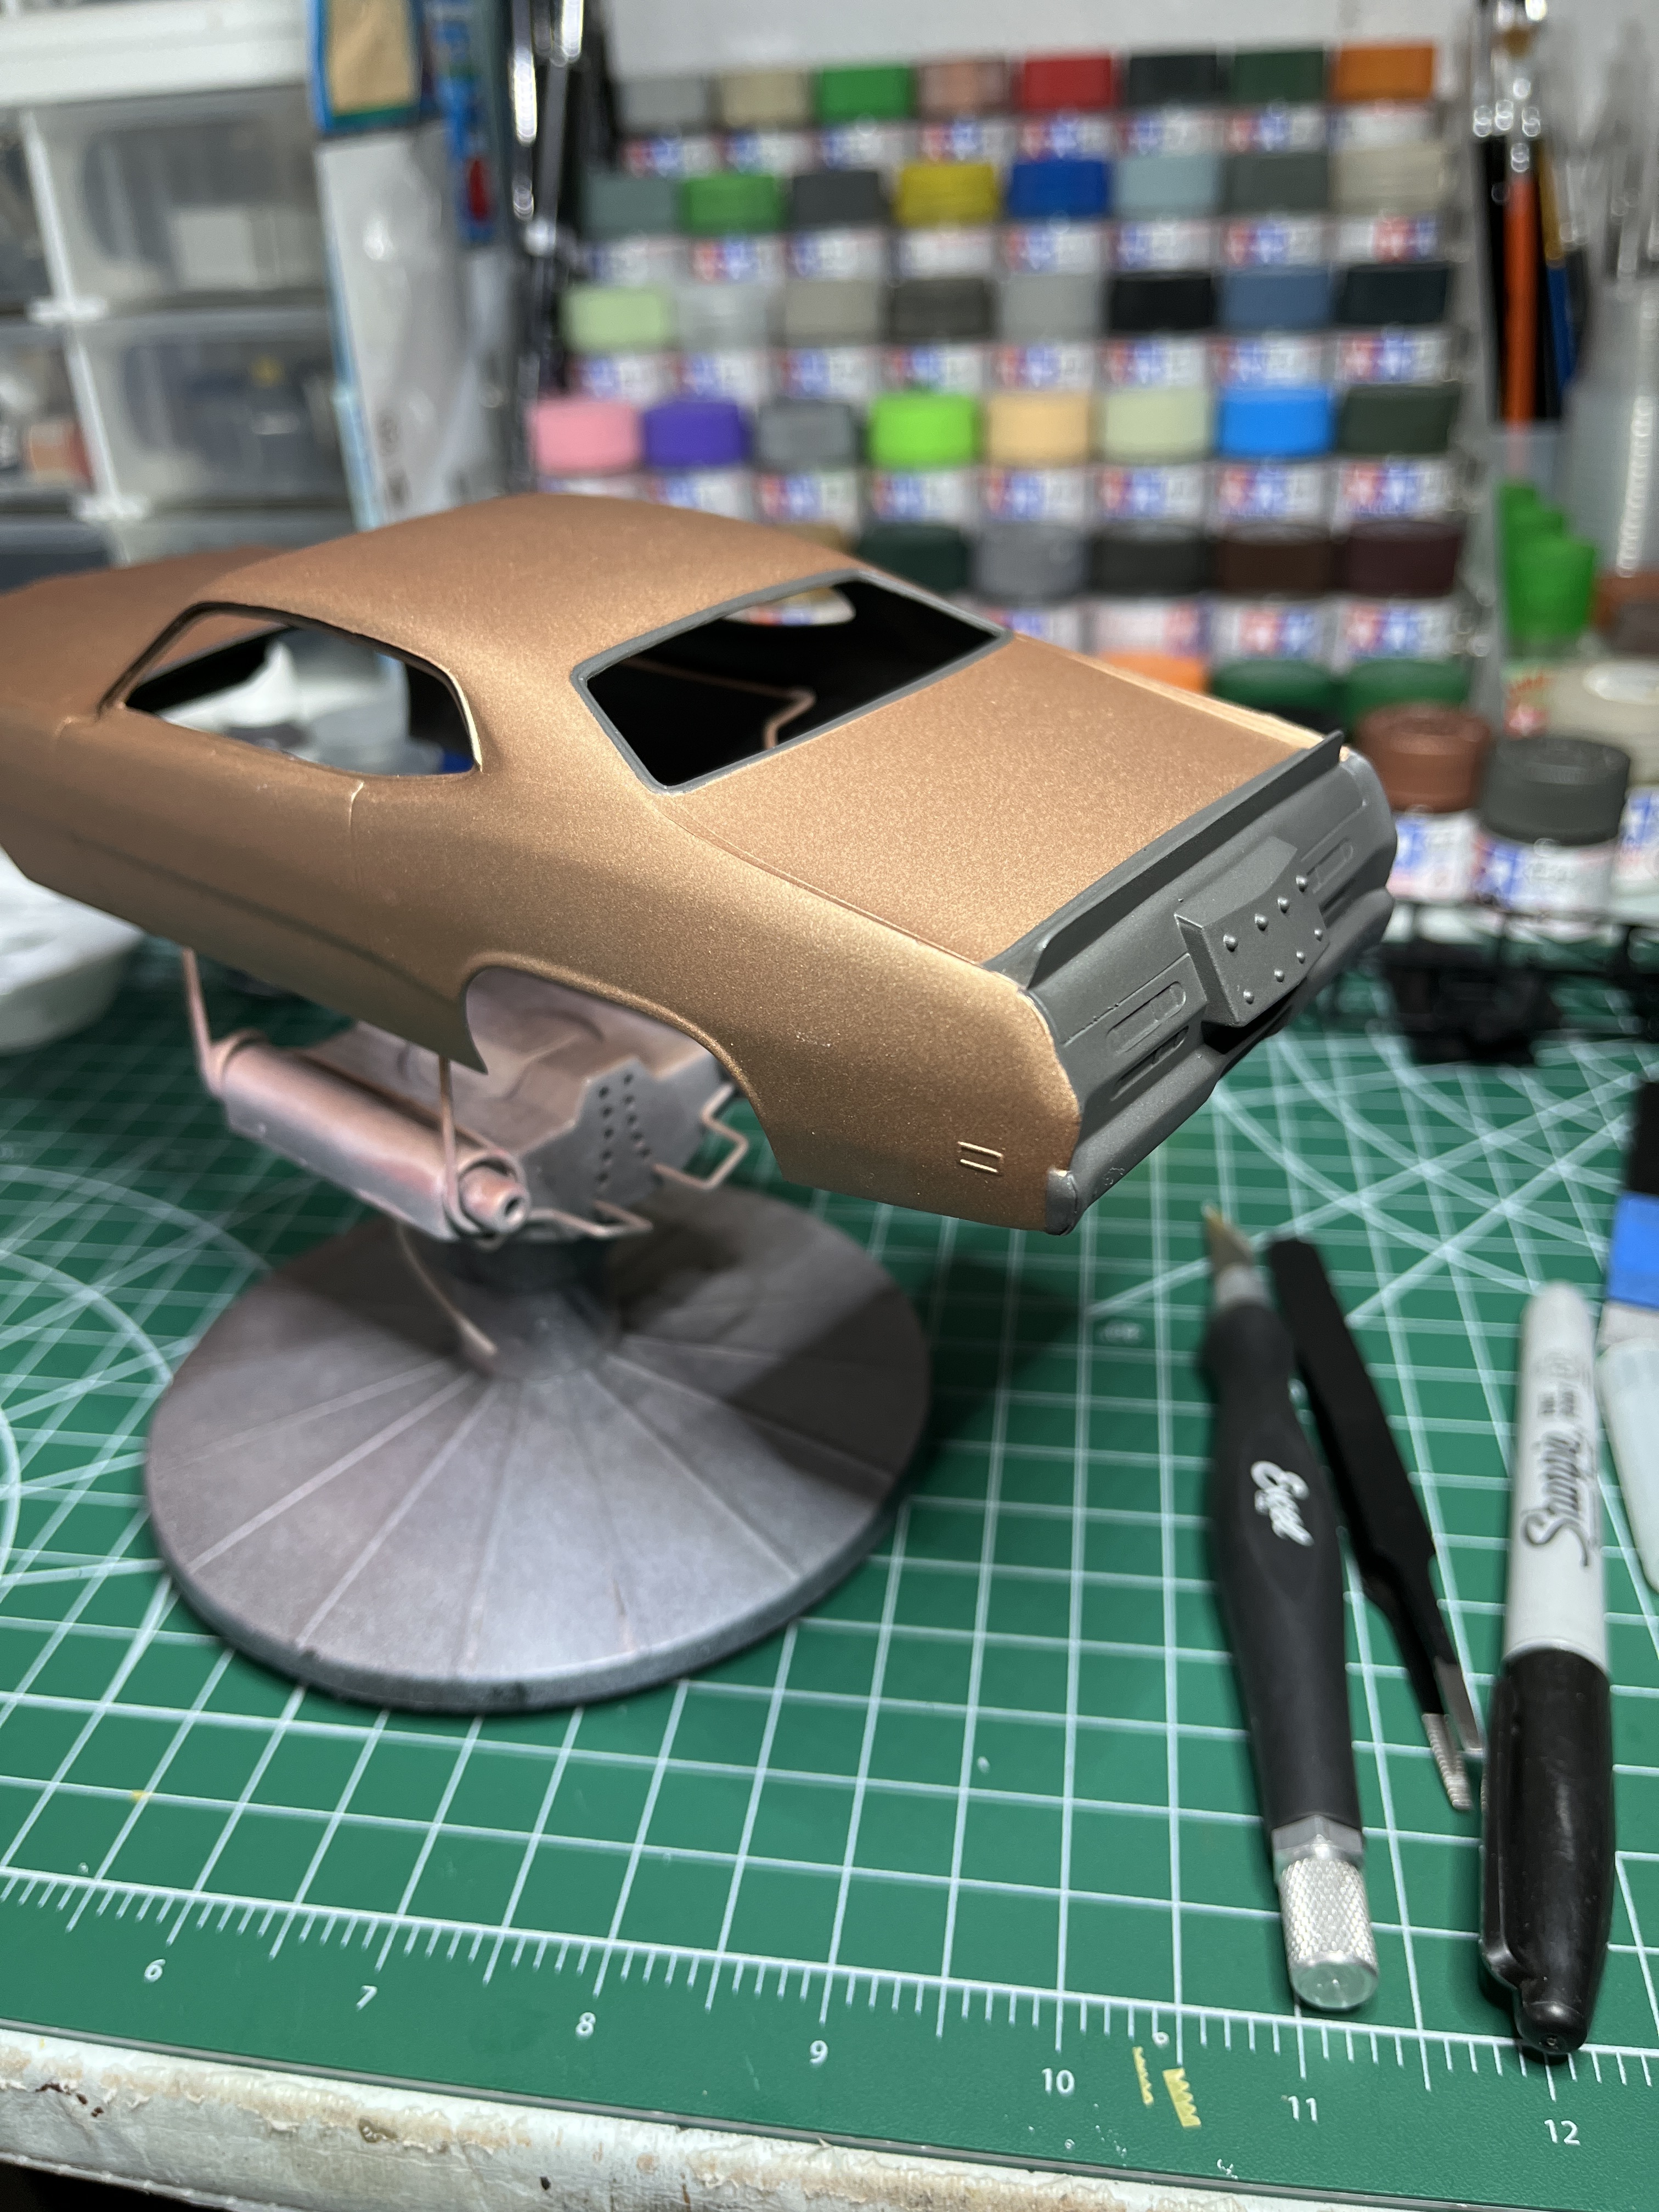
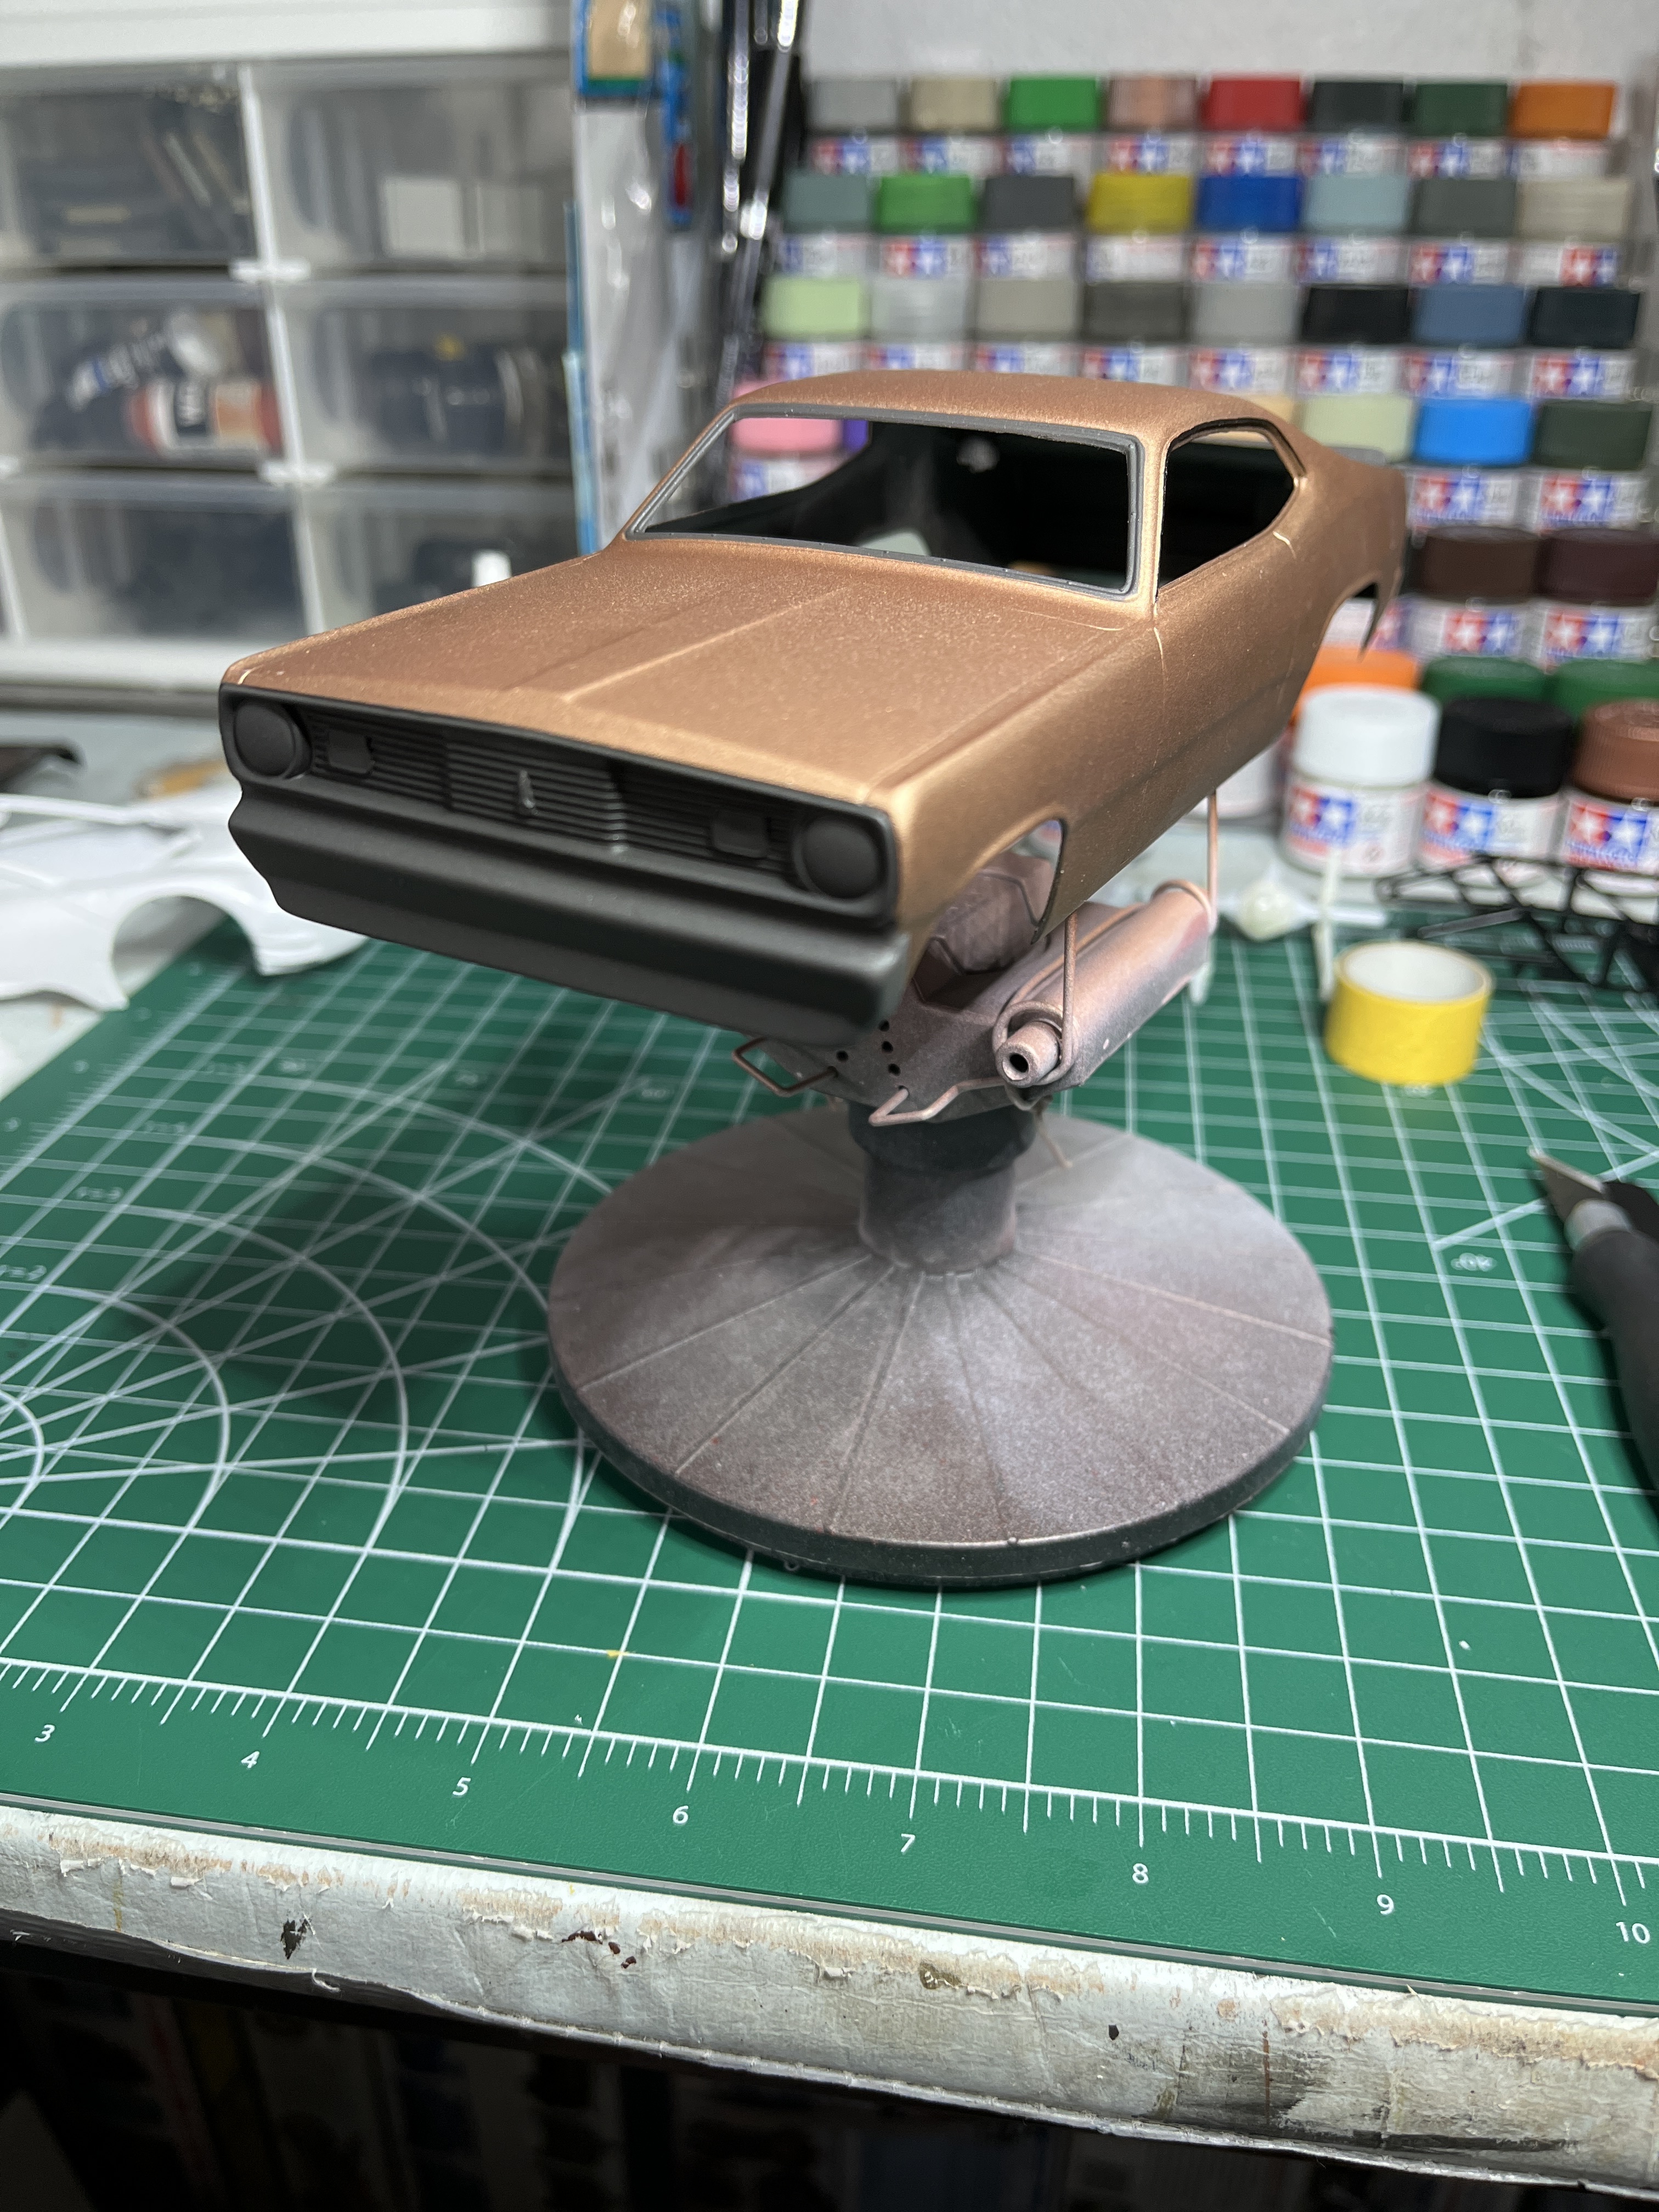
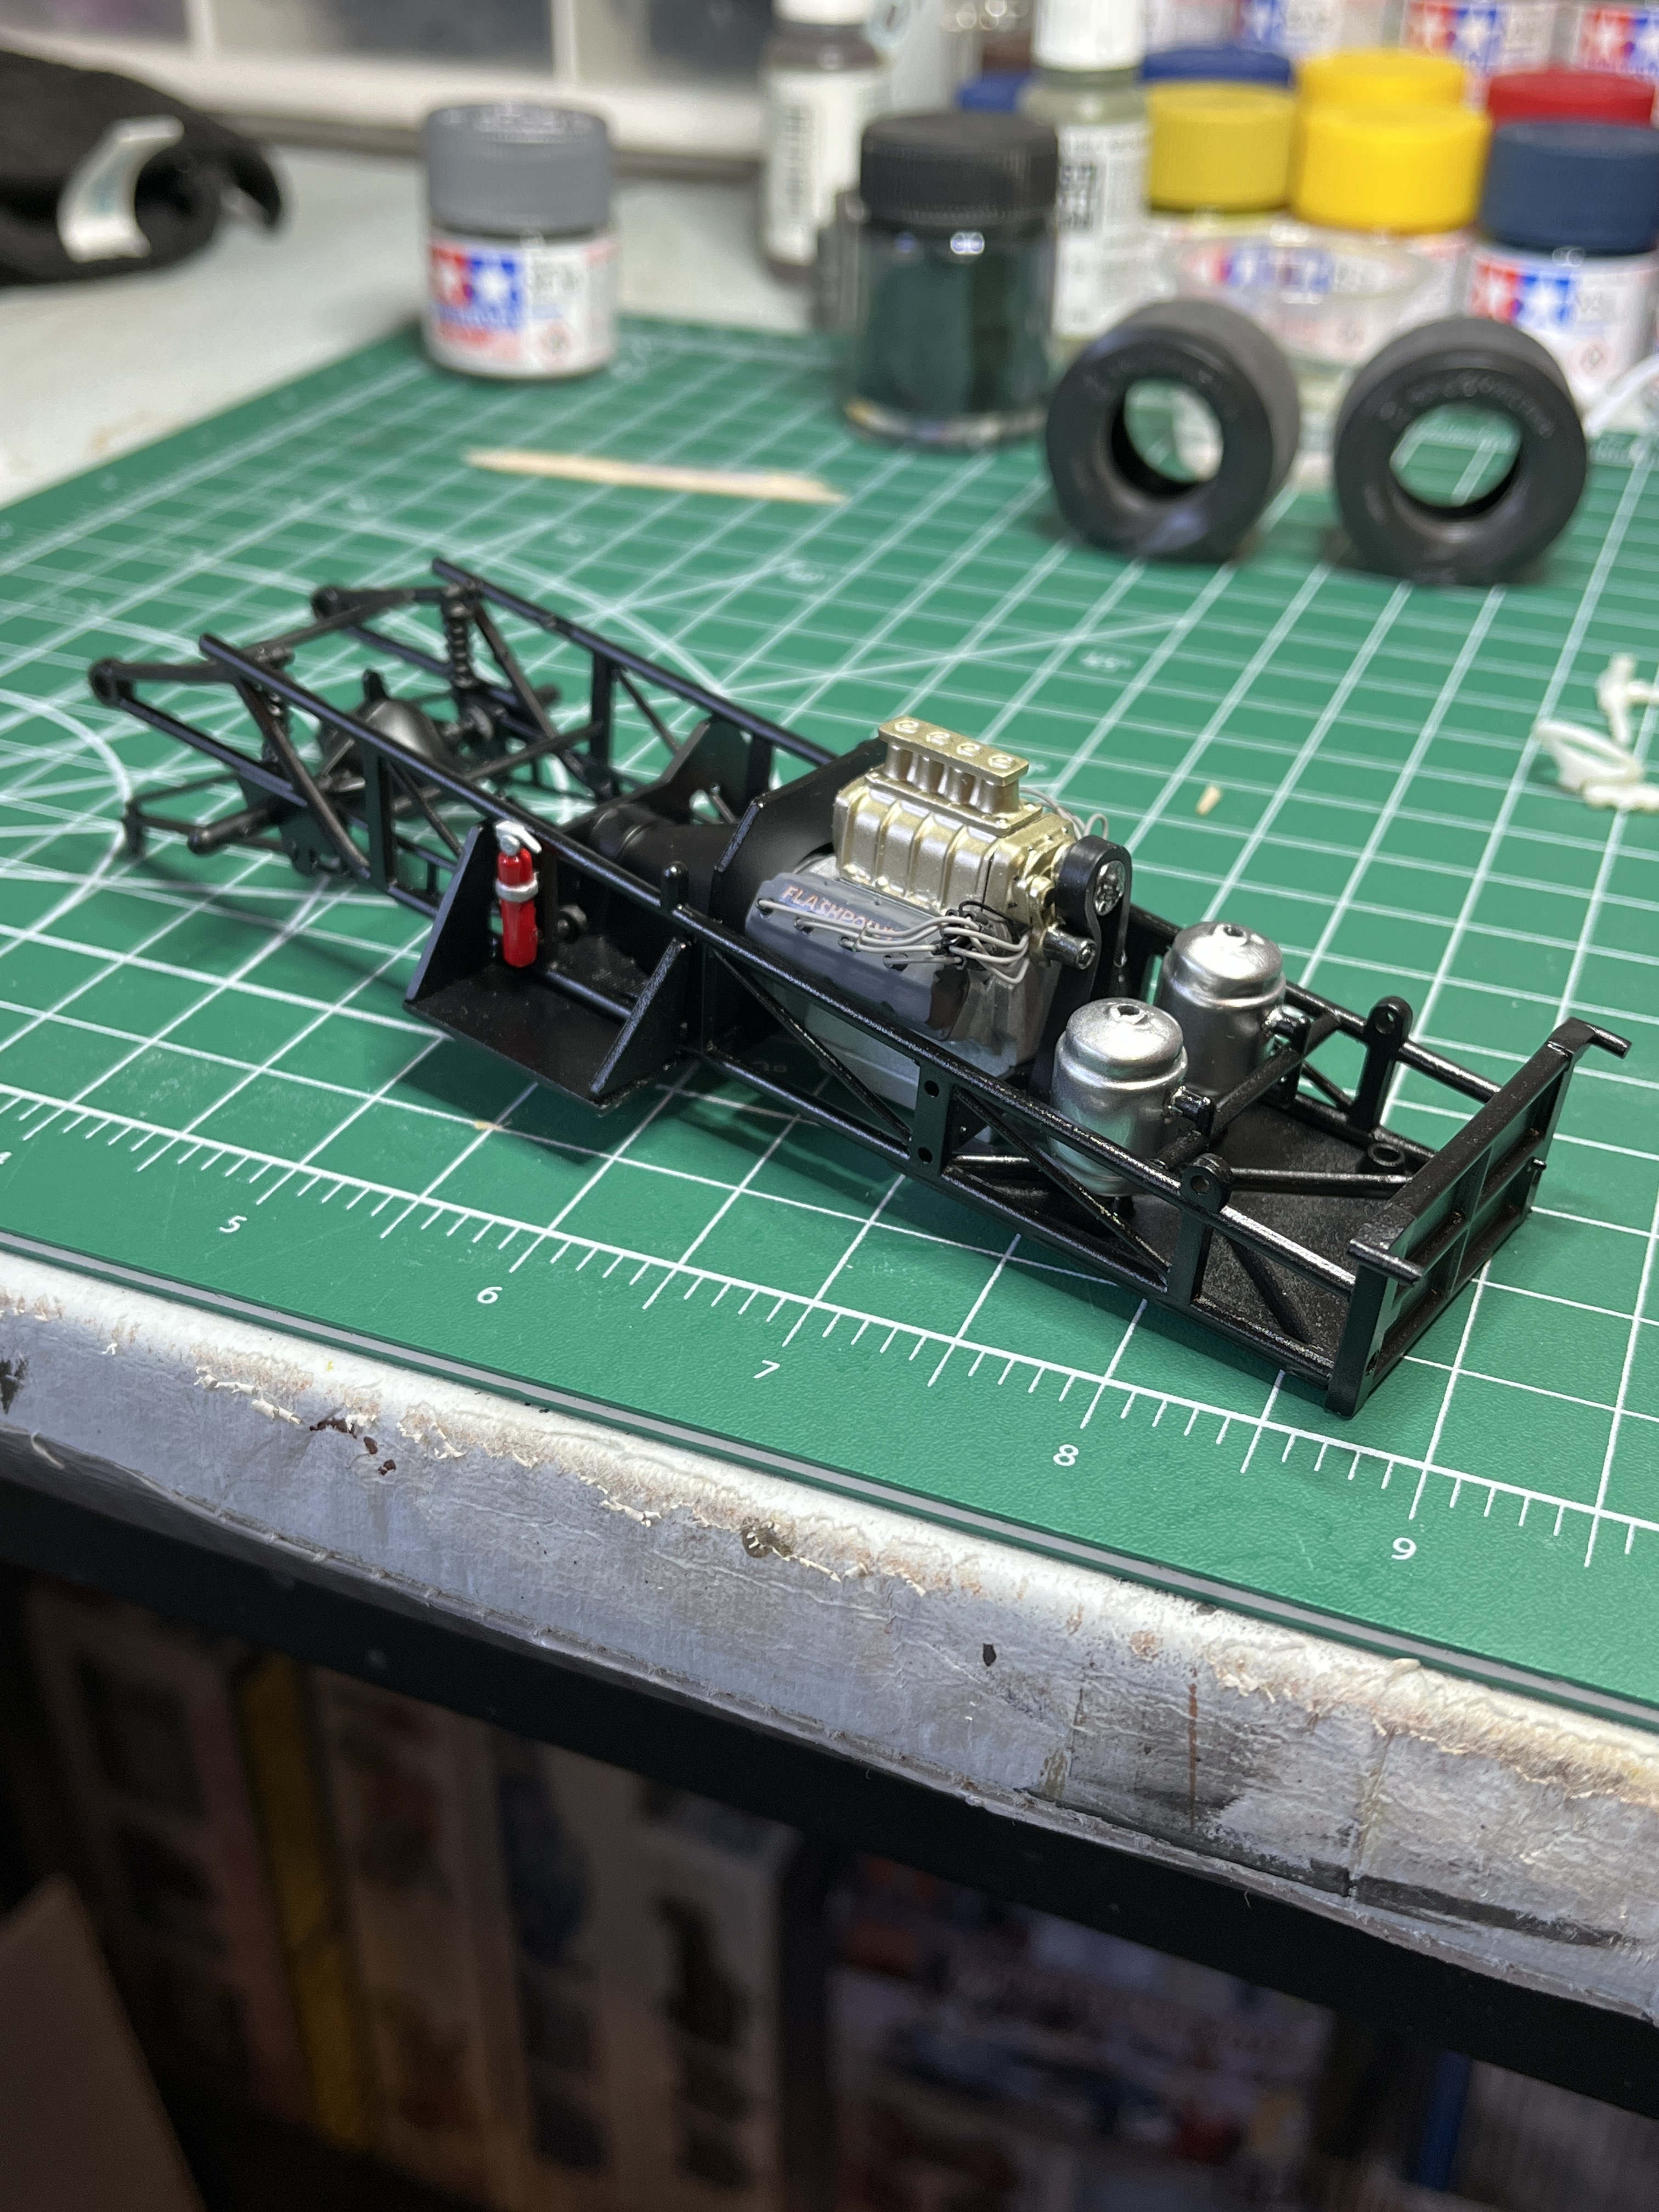
Got a little bit of time today, shot the body with tamiya xf-28 dark copper, masked off around the windshield and grill/bumper and shot those gloss black. Not used to the grill and bumper being a molded part of the body, usually they are separate. Shot the frame with gloss black and I tried to emulate a rough powder coat. The last two coats I held the air brush extremely far away to get the powder coat texture. Came out pretty well seeing it just just a spur of the moment idea.
3 Likes
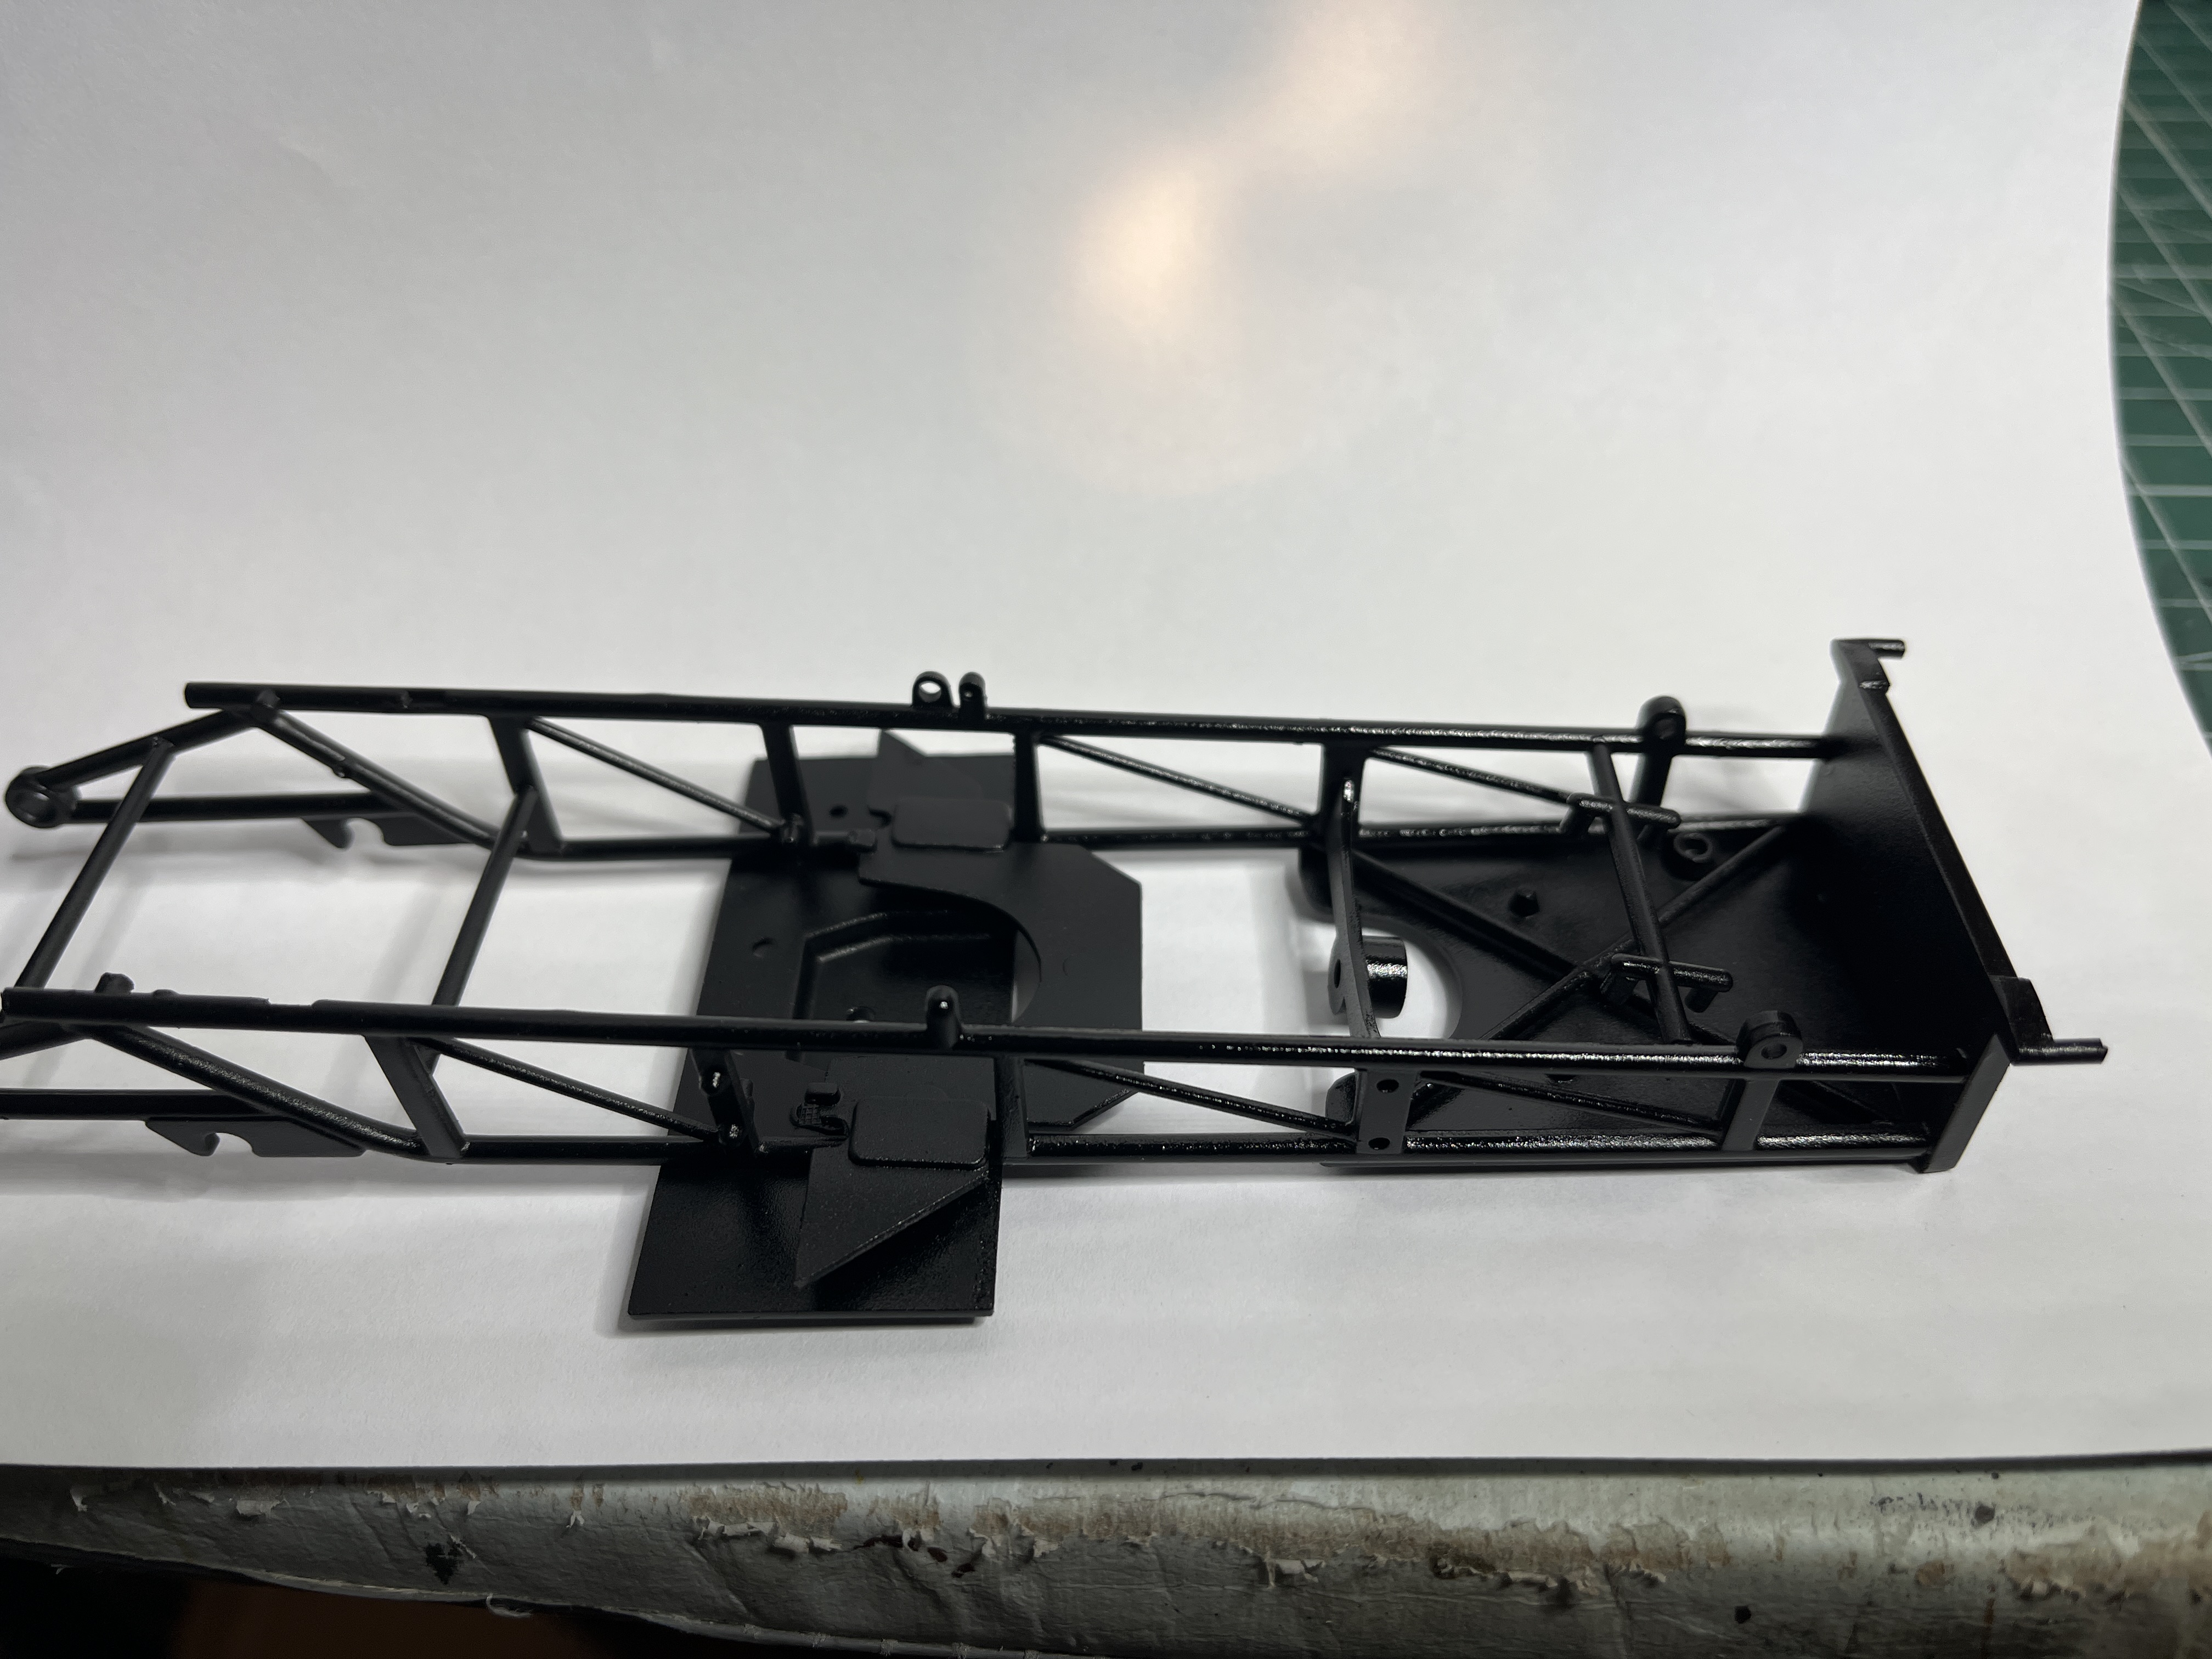
I can see it. That’s a clever idea. Looks the part for sure.
1 Like
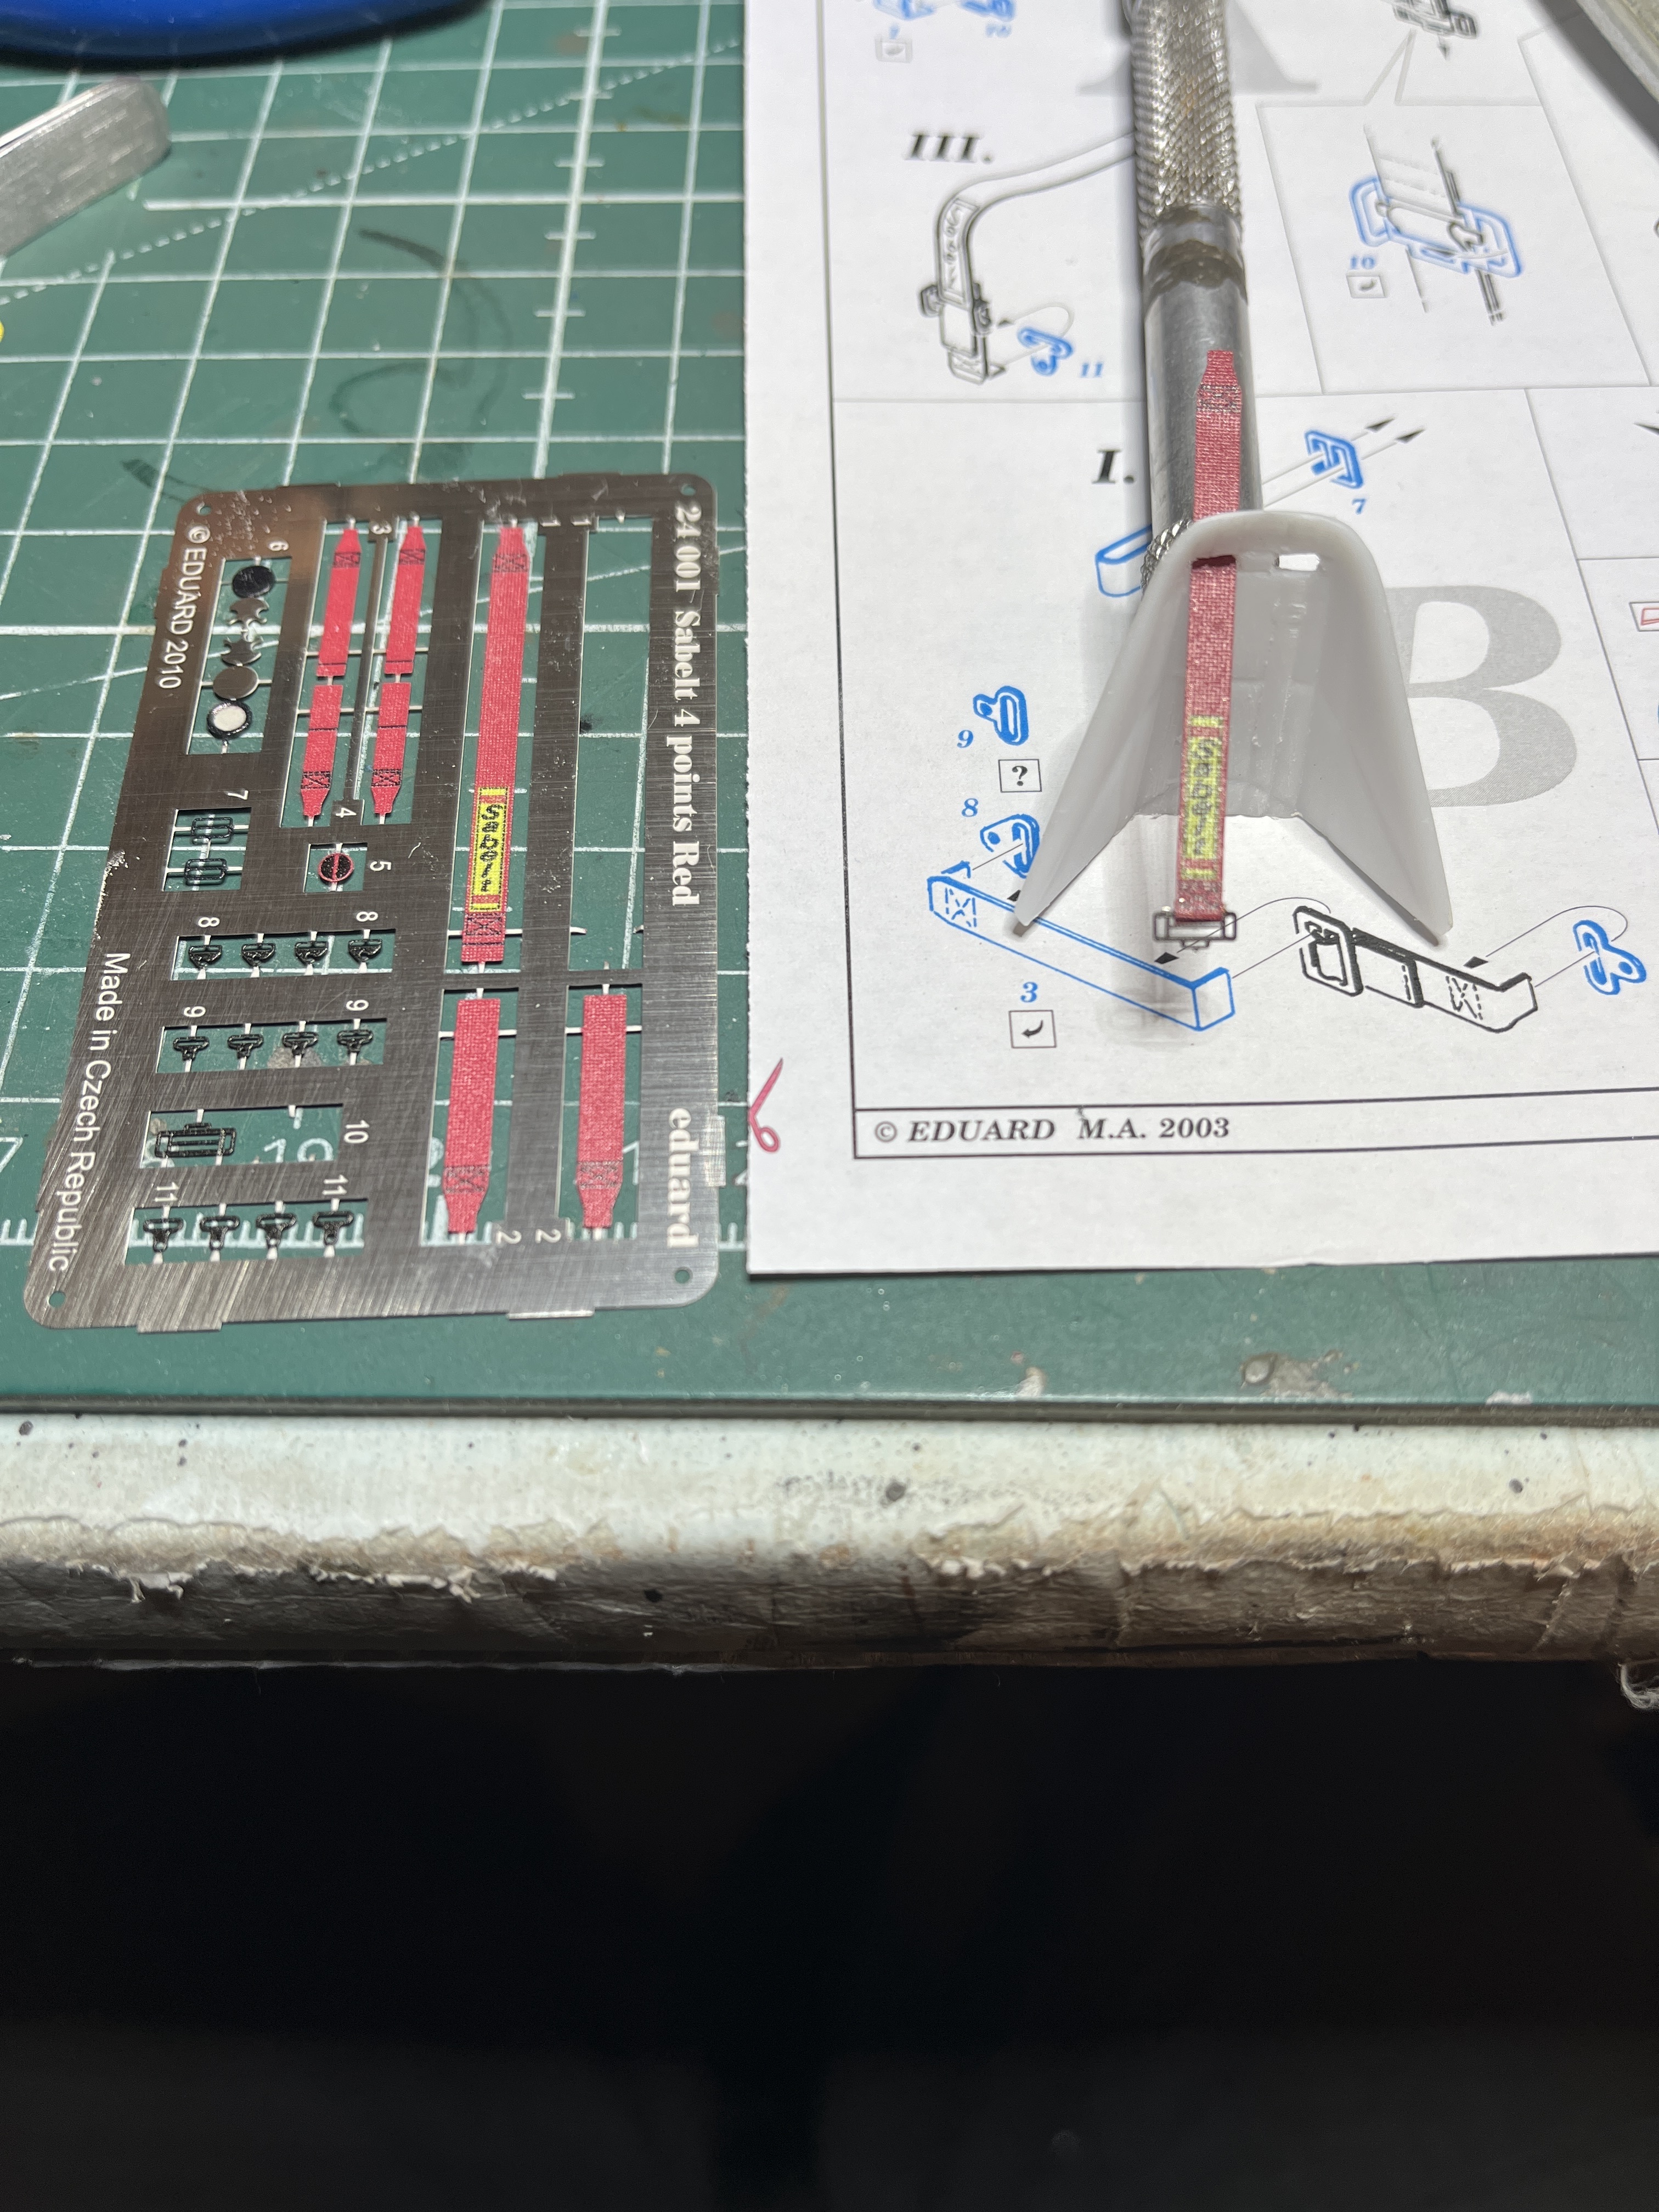
Picked these photo etched seat belts up, pretty neat comes with the buckles and everything. Sanded the molded belts down and started cutting out the seat for the belts.
4 Likes
I don’t know if you finished this kit yet but I smear a little super glue in the join lines then resand them. After that I spray some Tamiya TS-82 rubber blackon them and they look almost real when they’re dry. Hope this helps.
1 Like
I am in fact still working on this thing, I appreciate the tip! And welcome to the forum.
1 Like
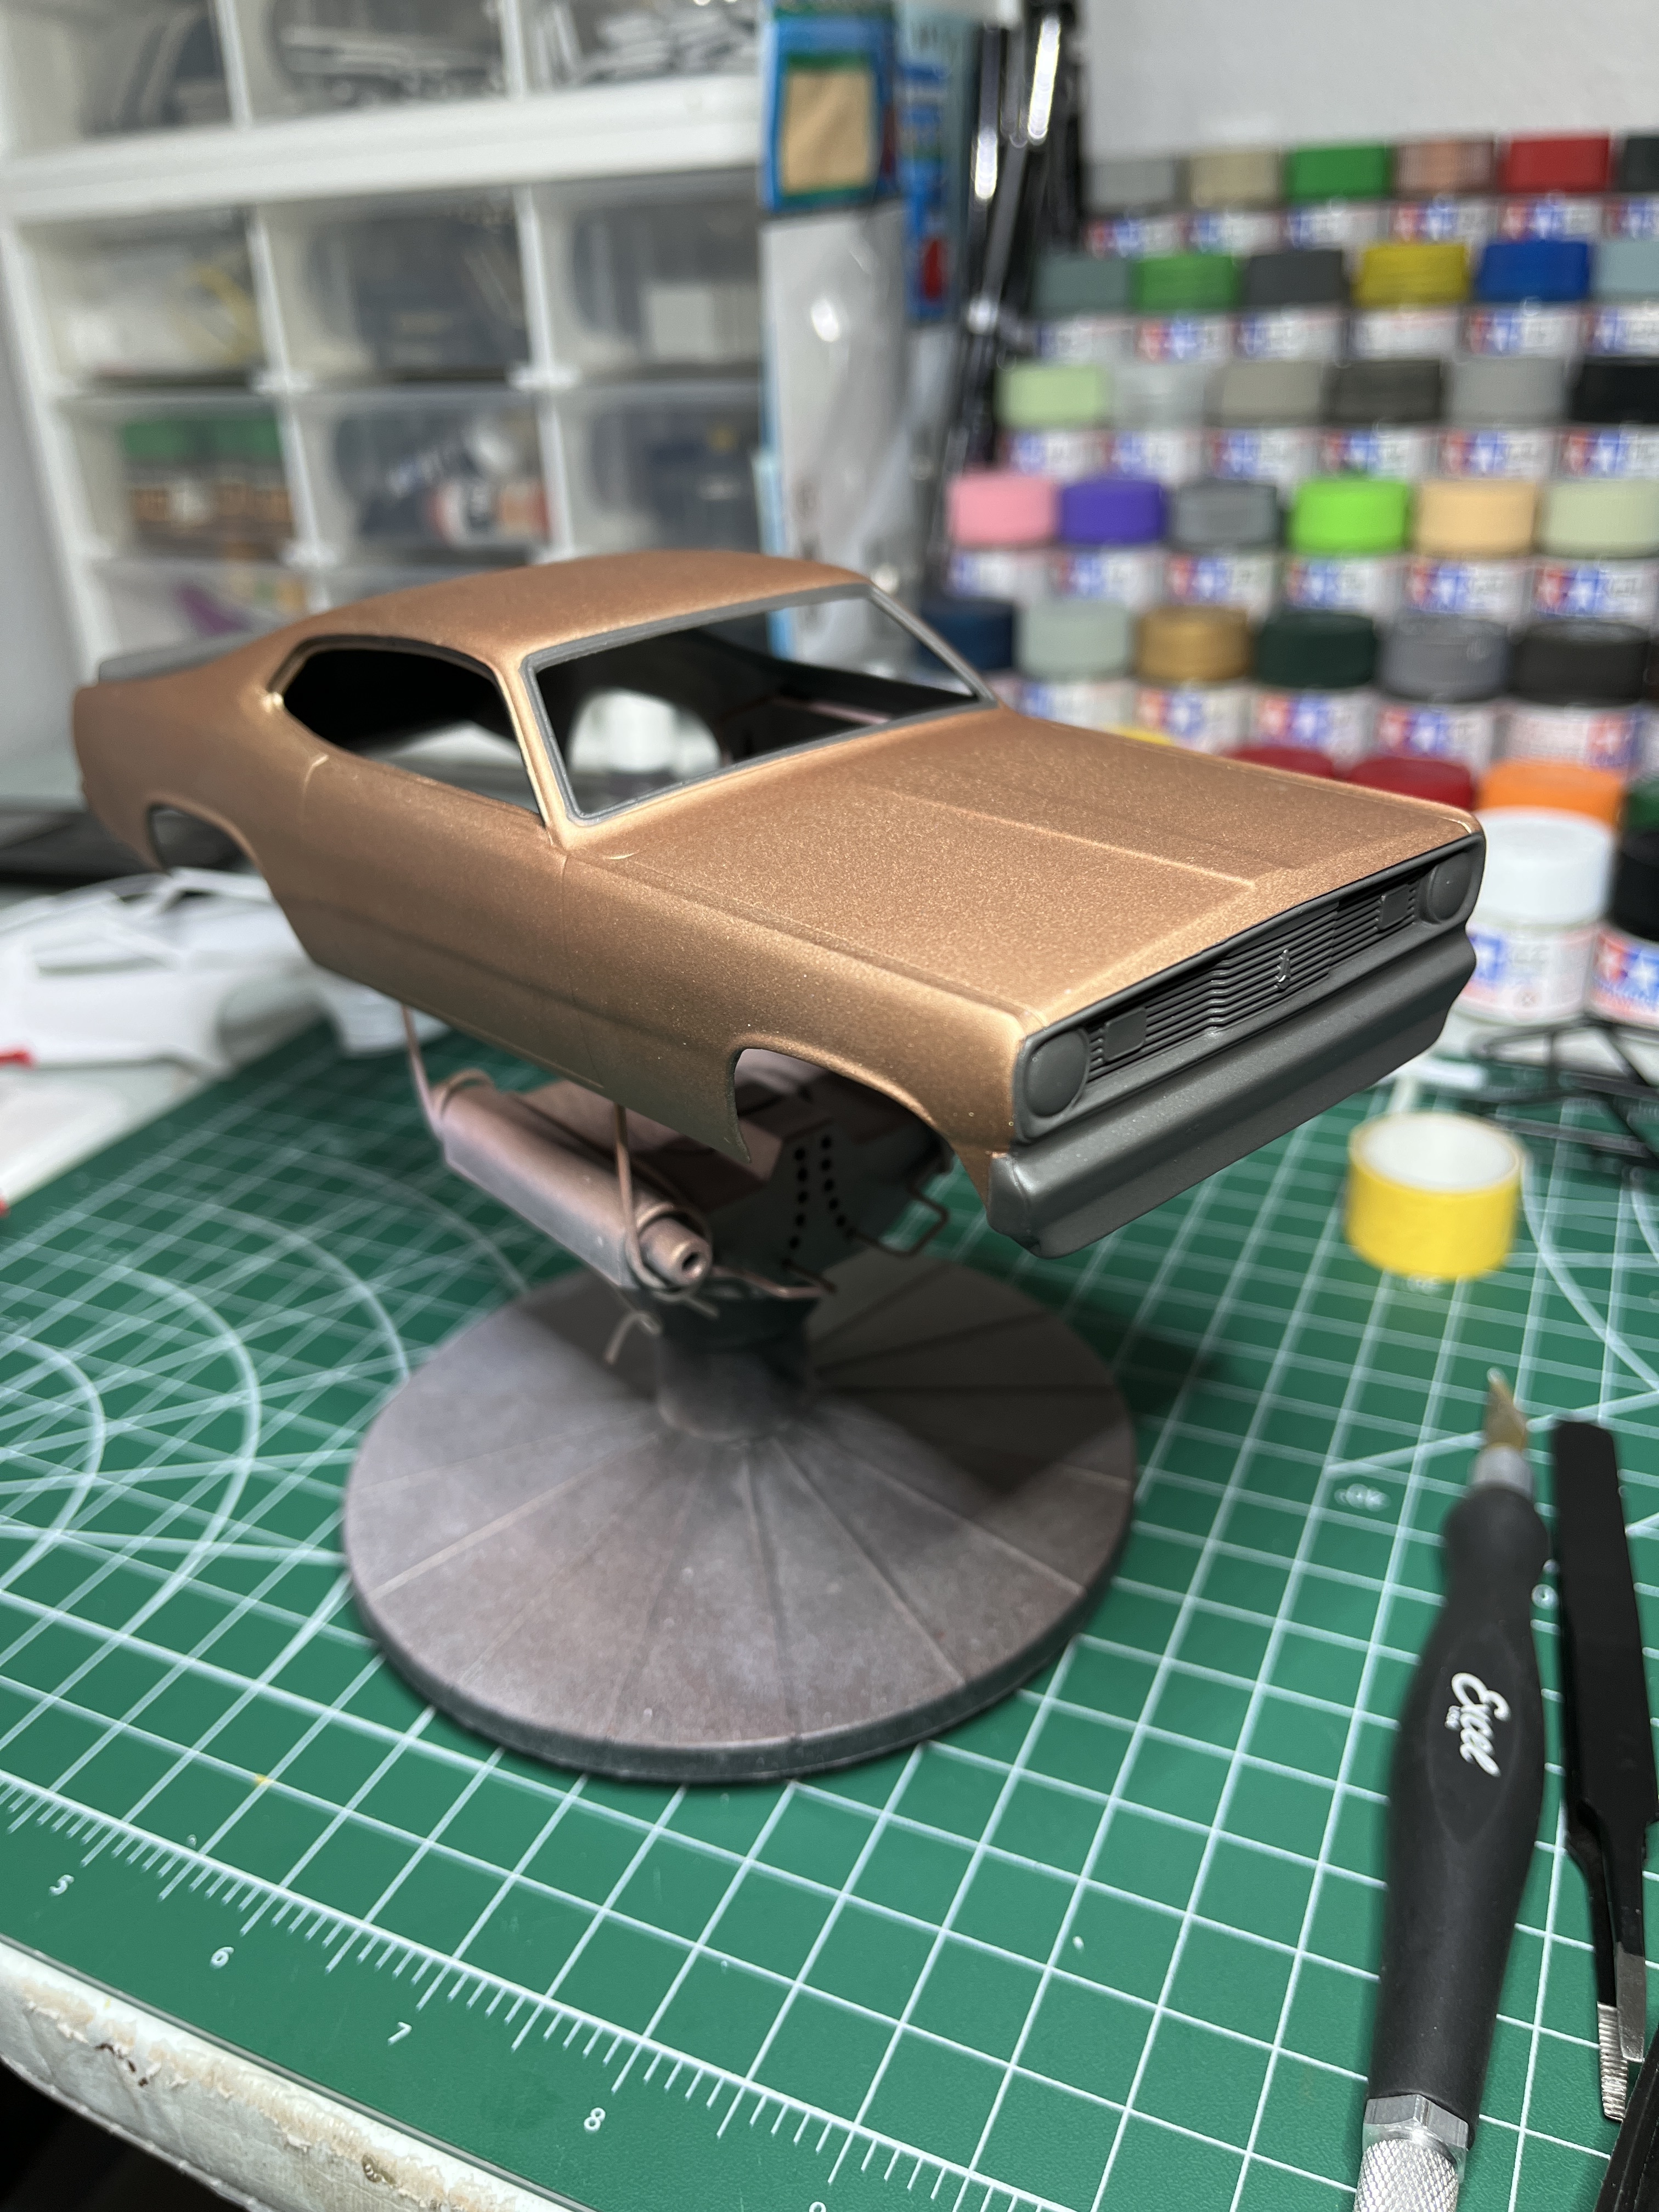
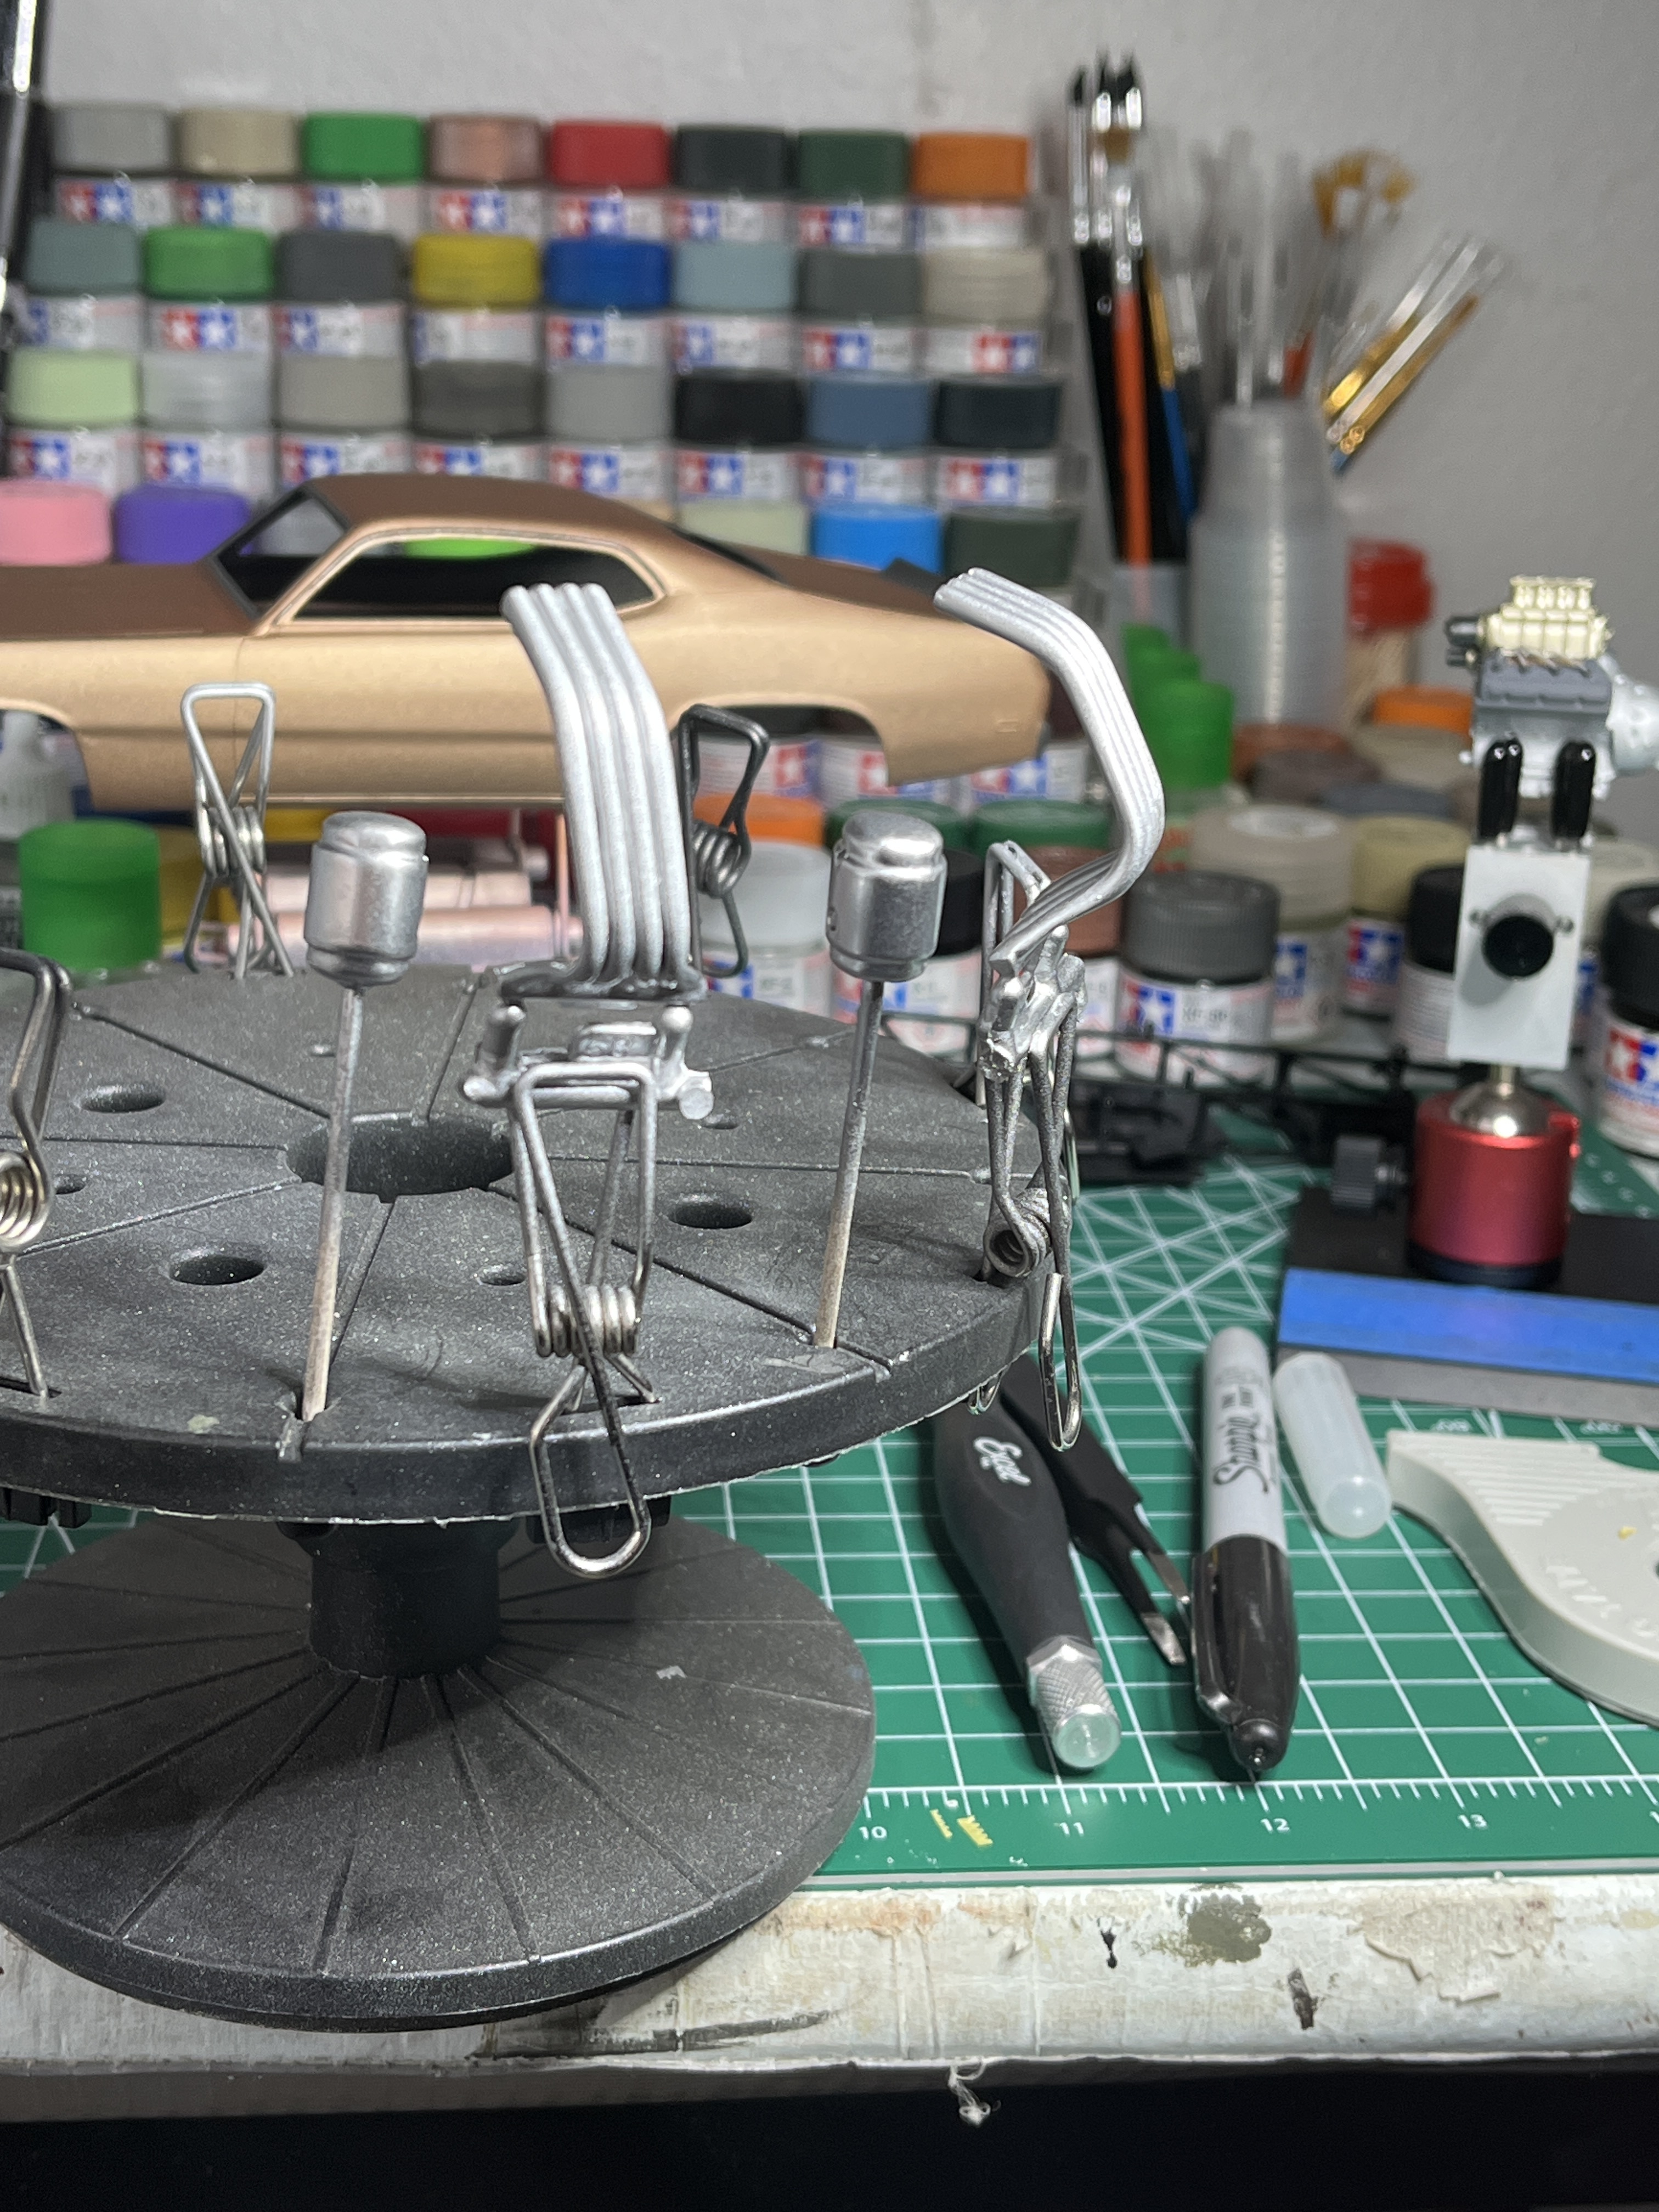
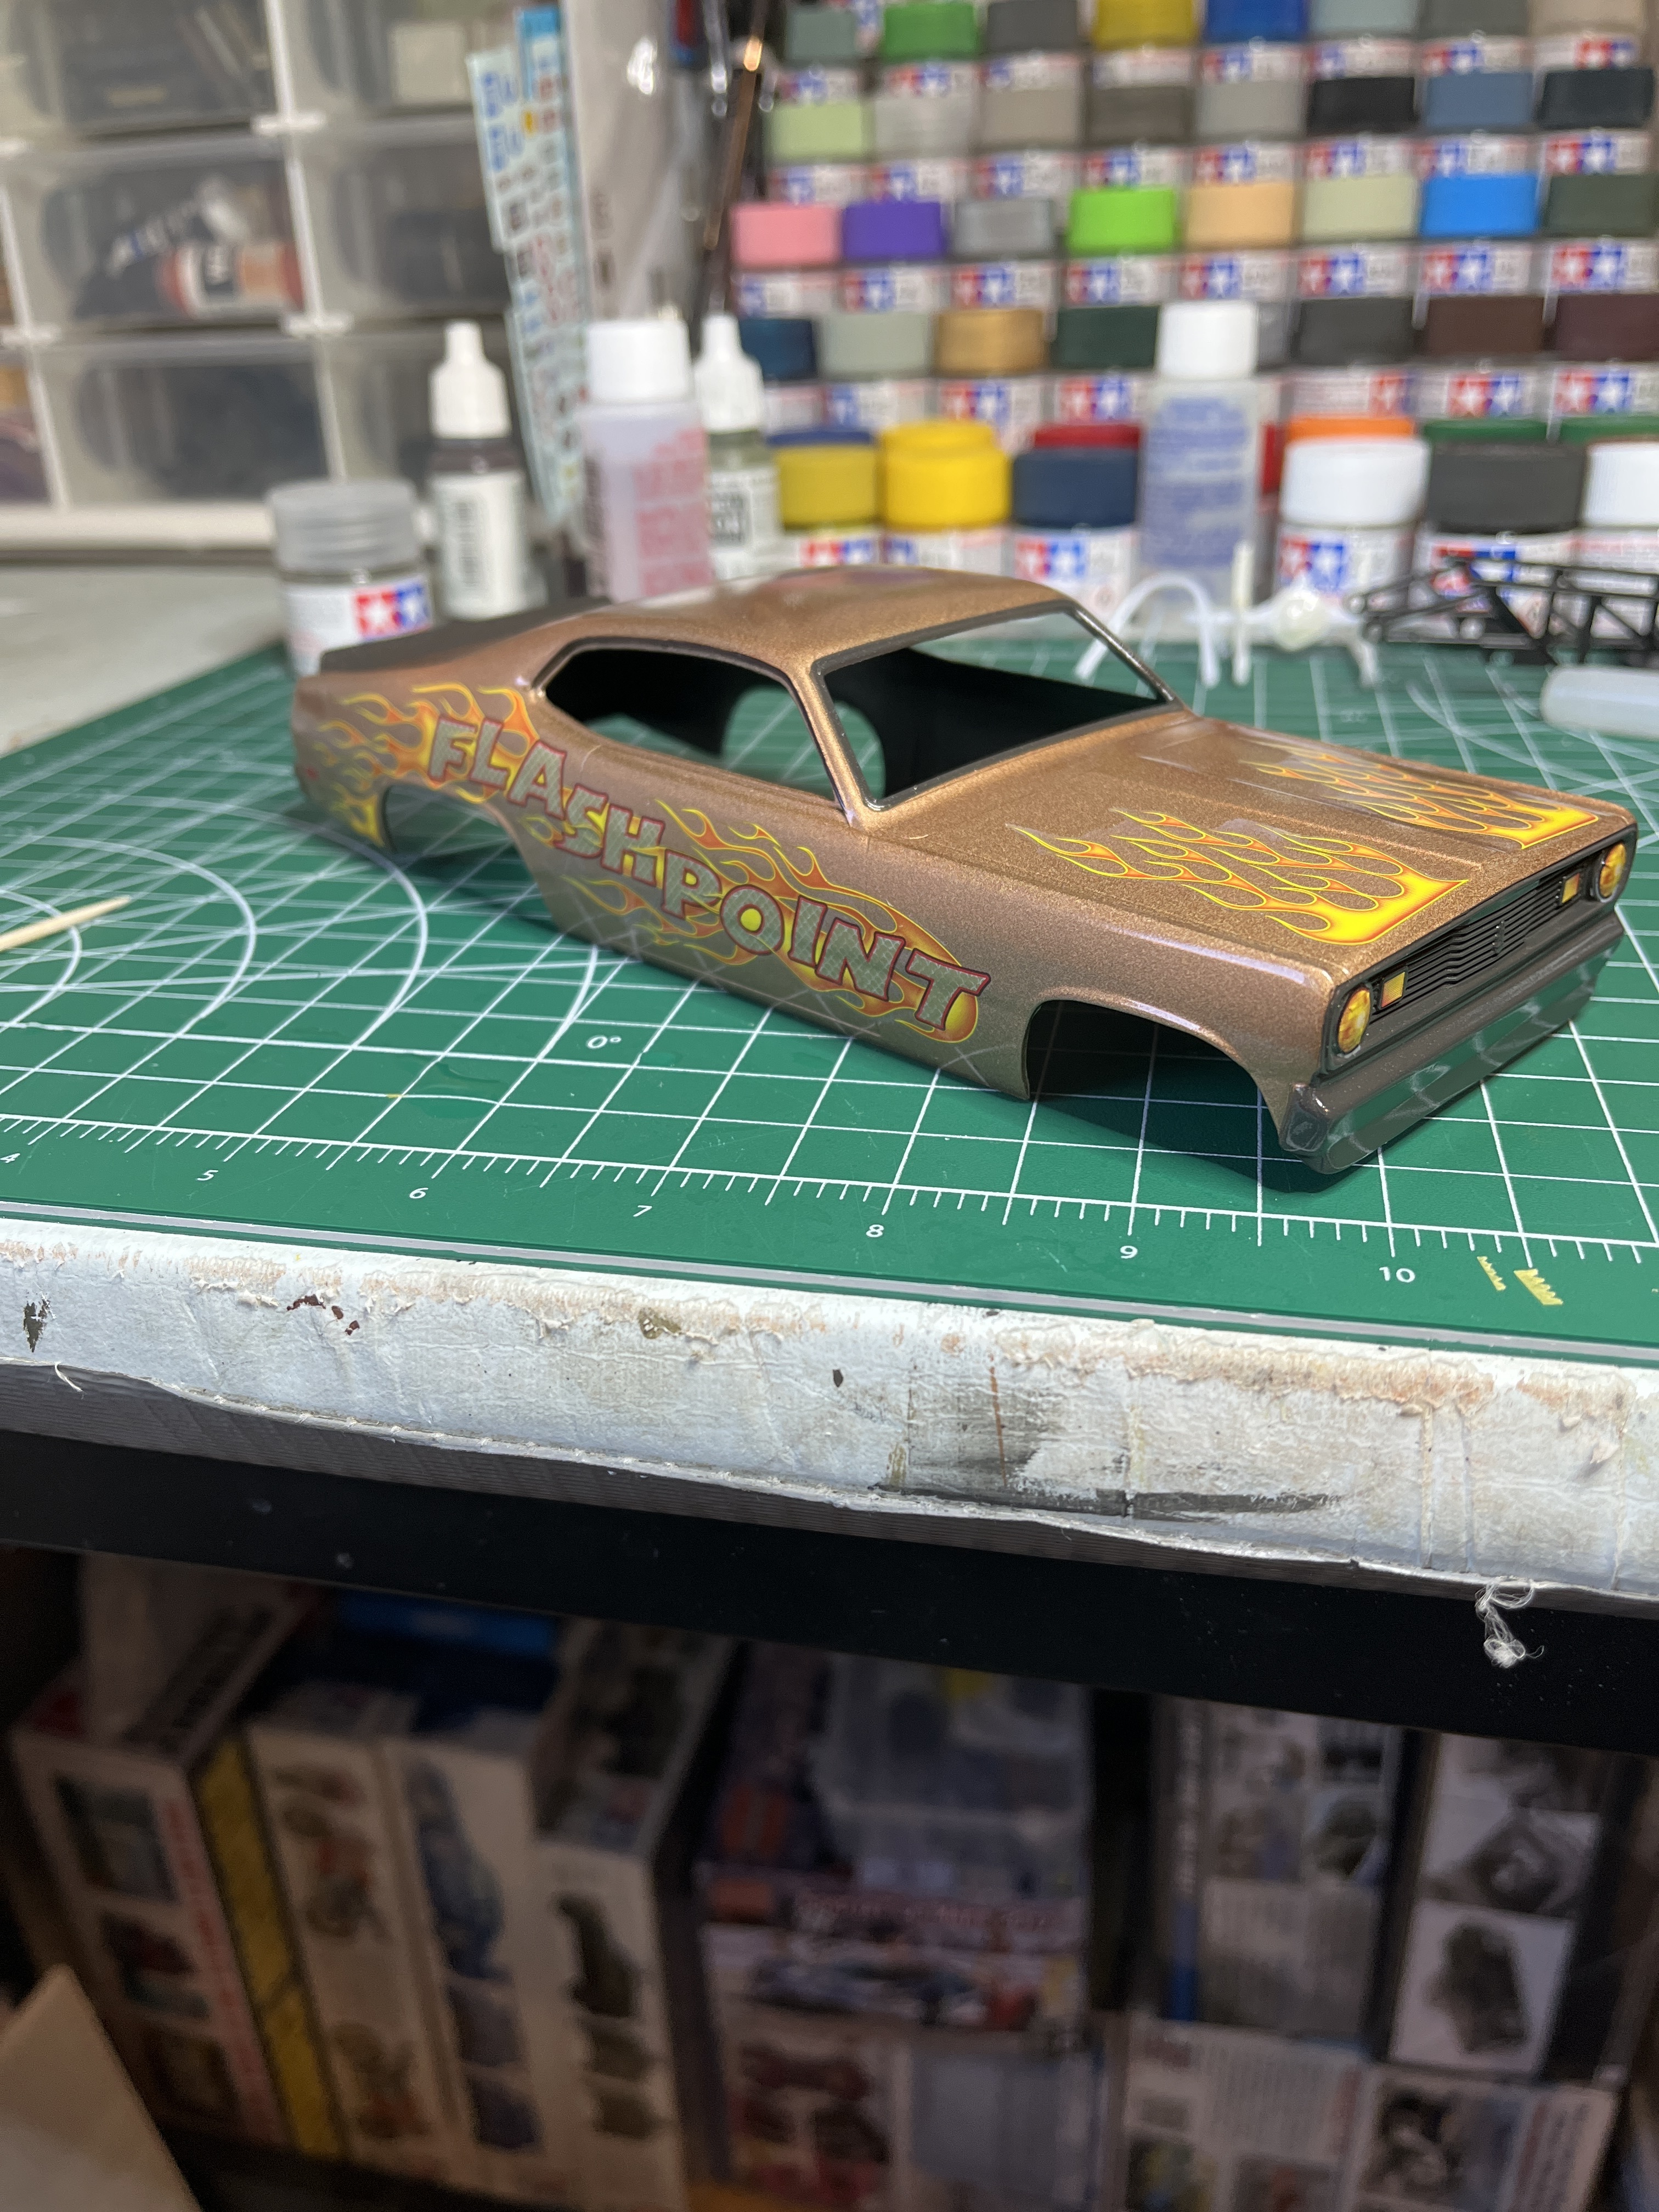
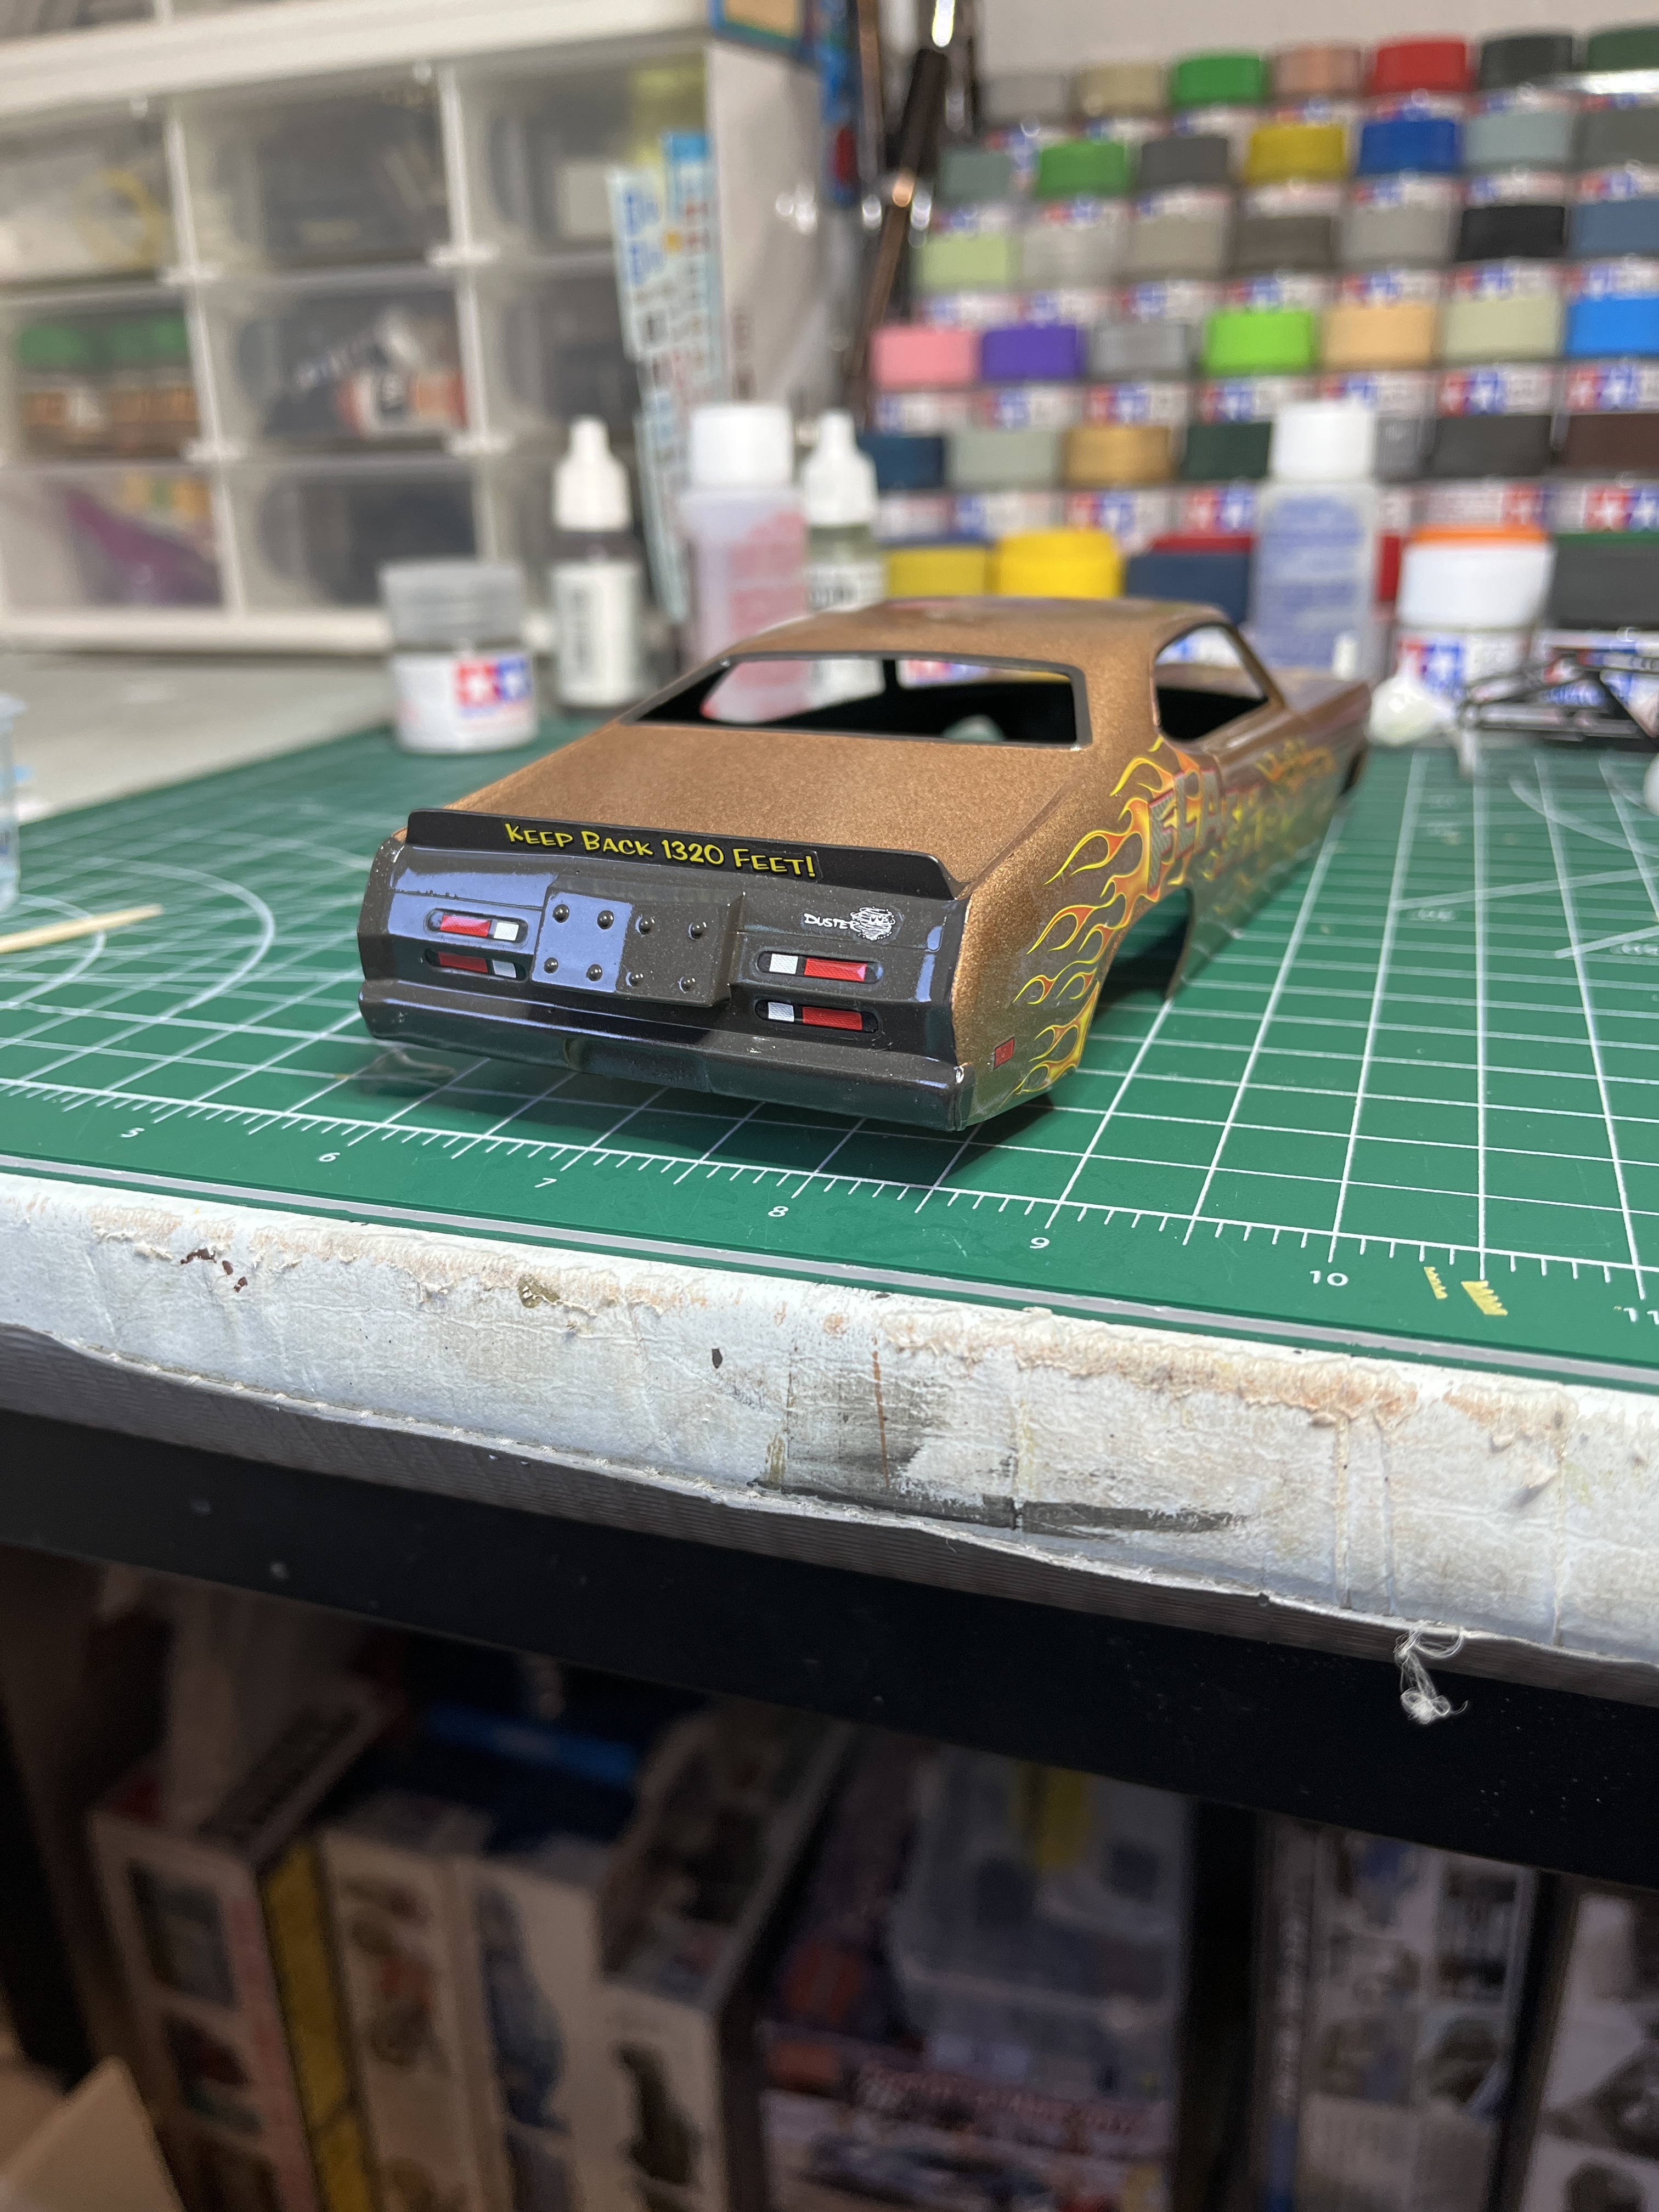
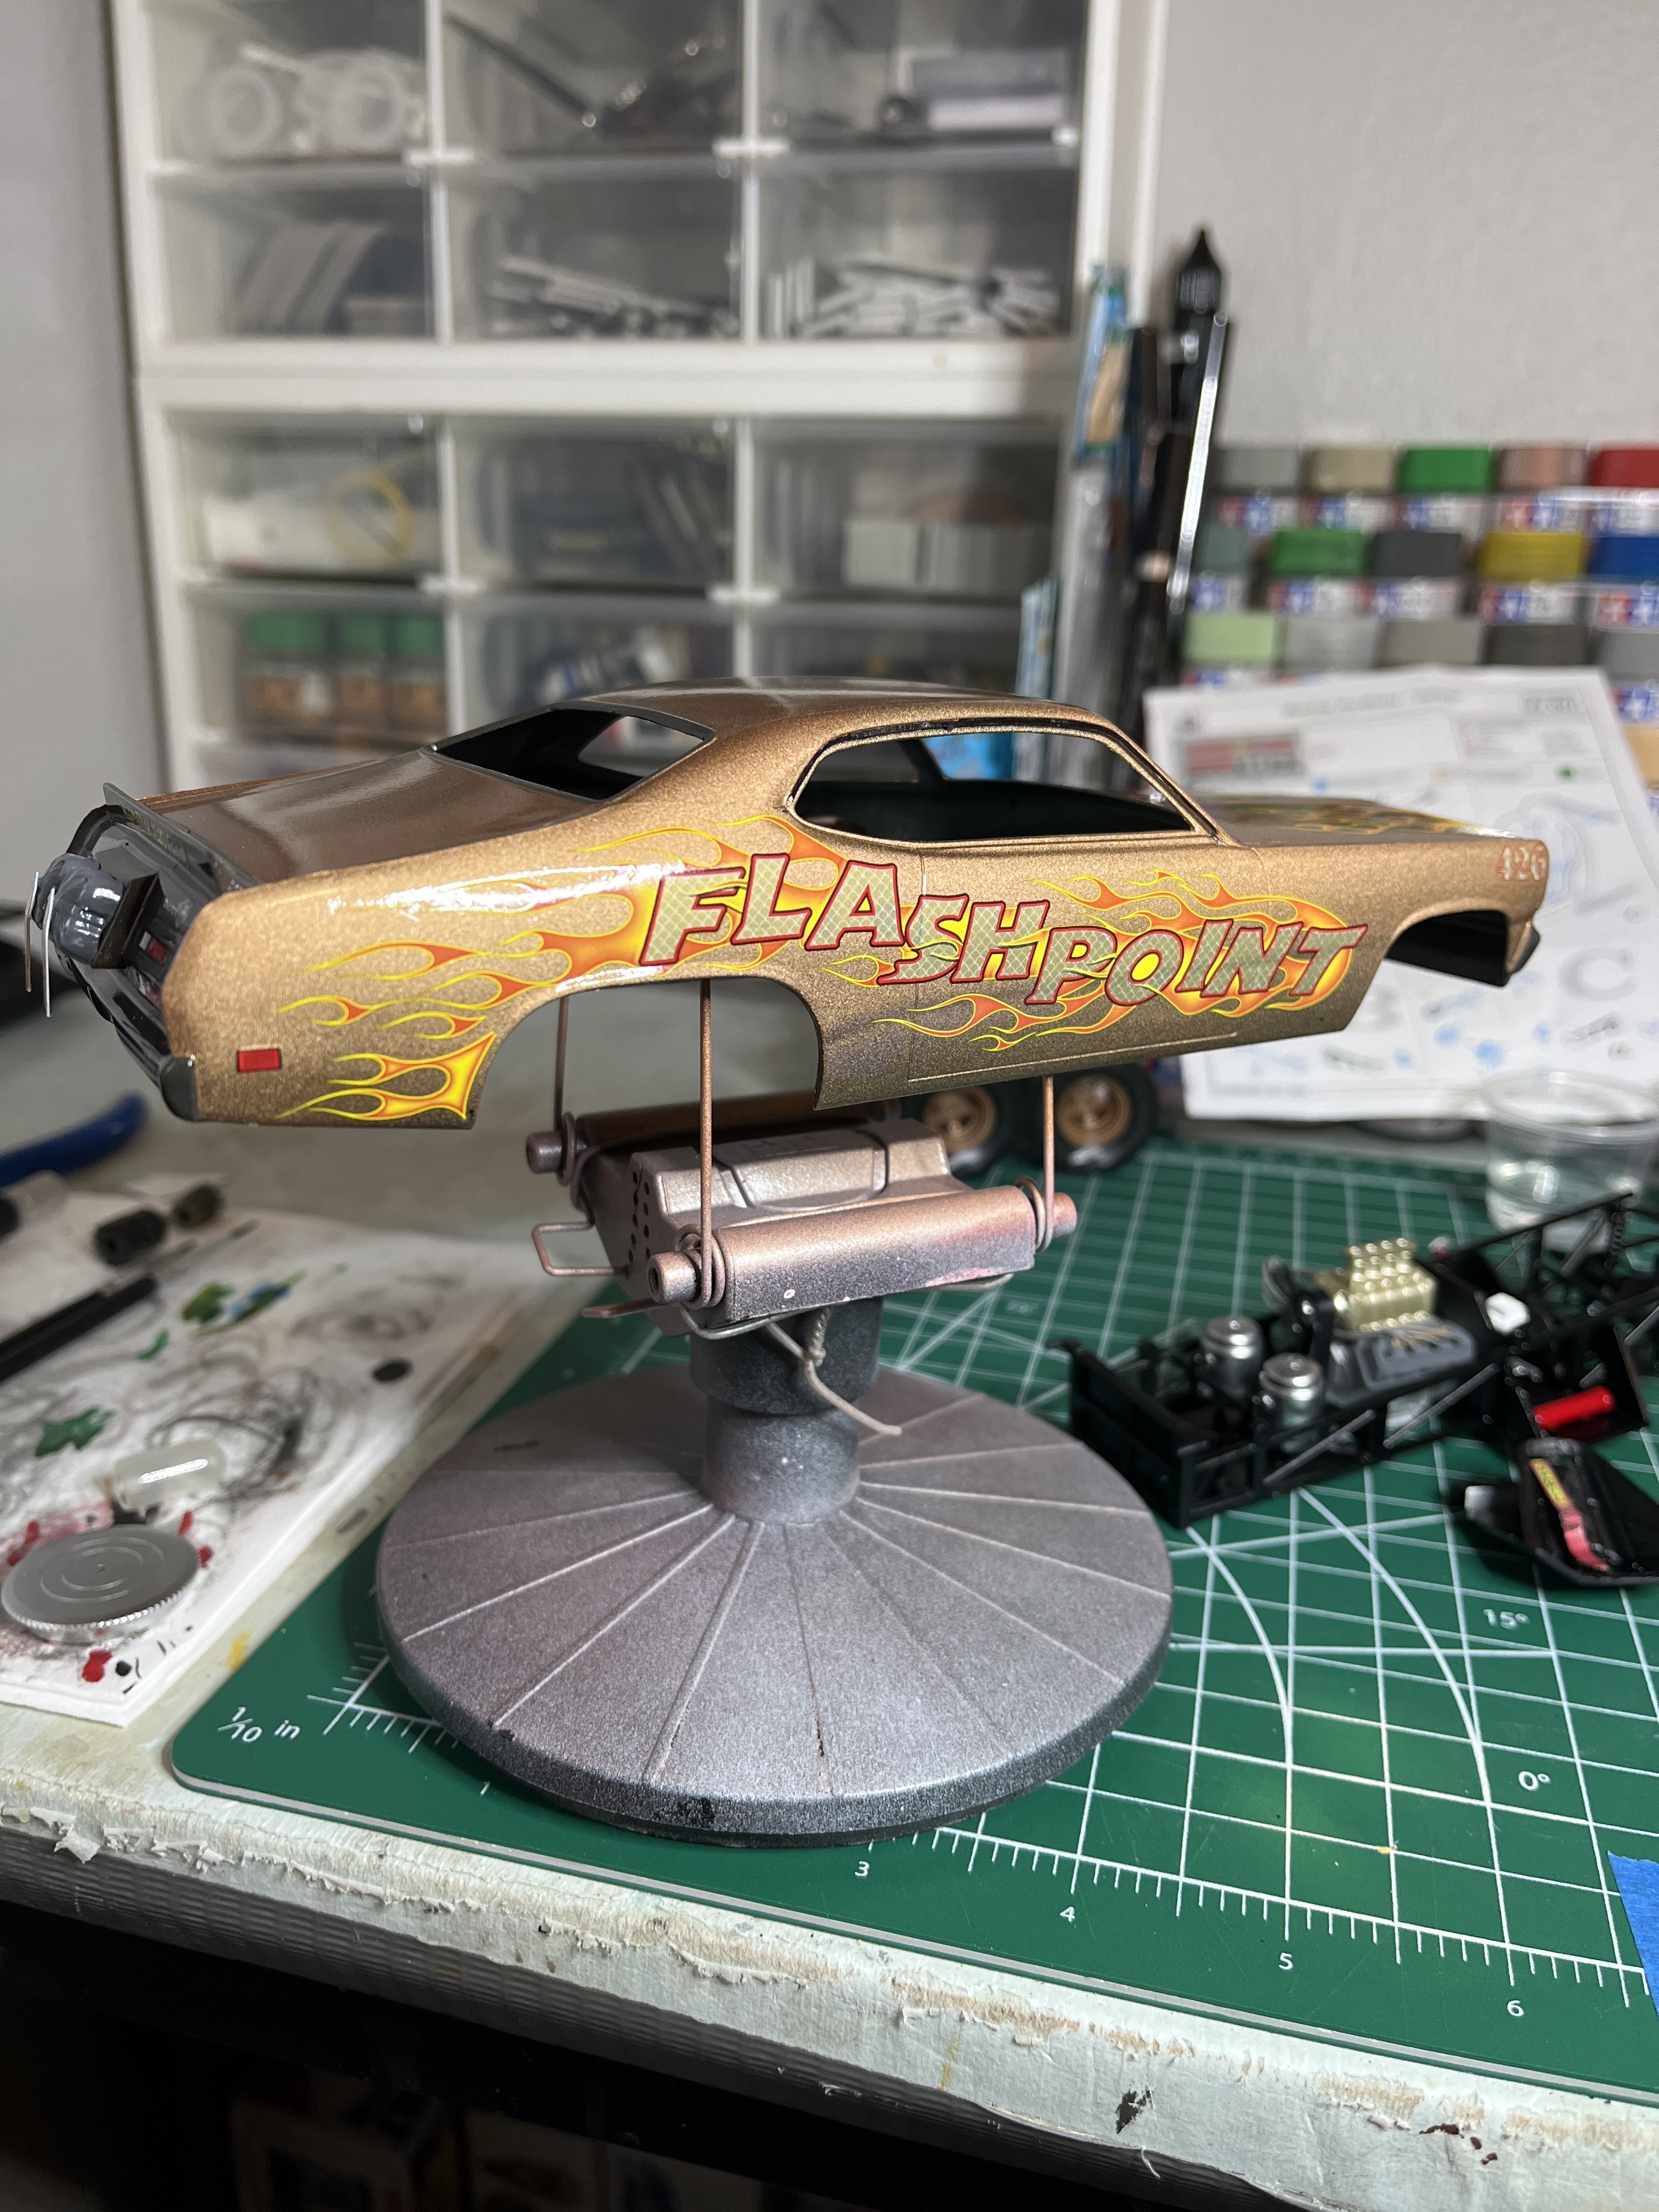
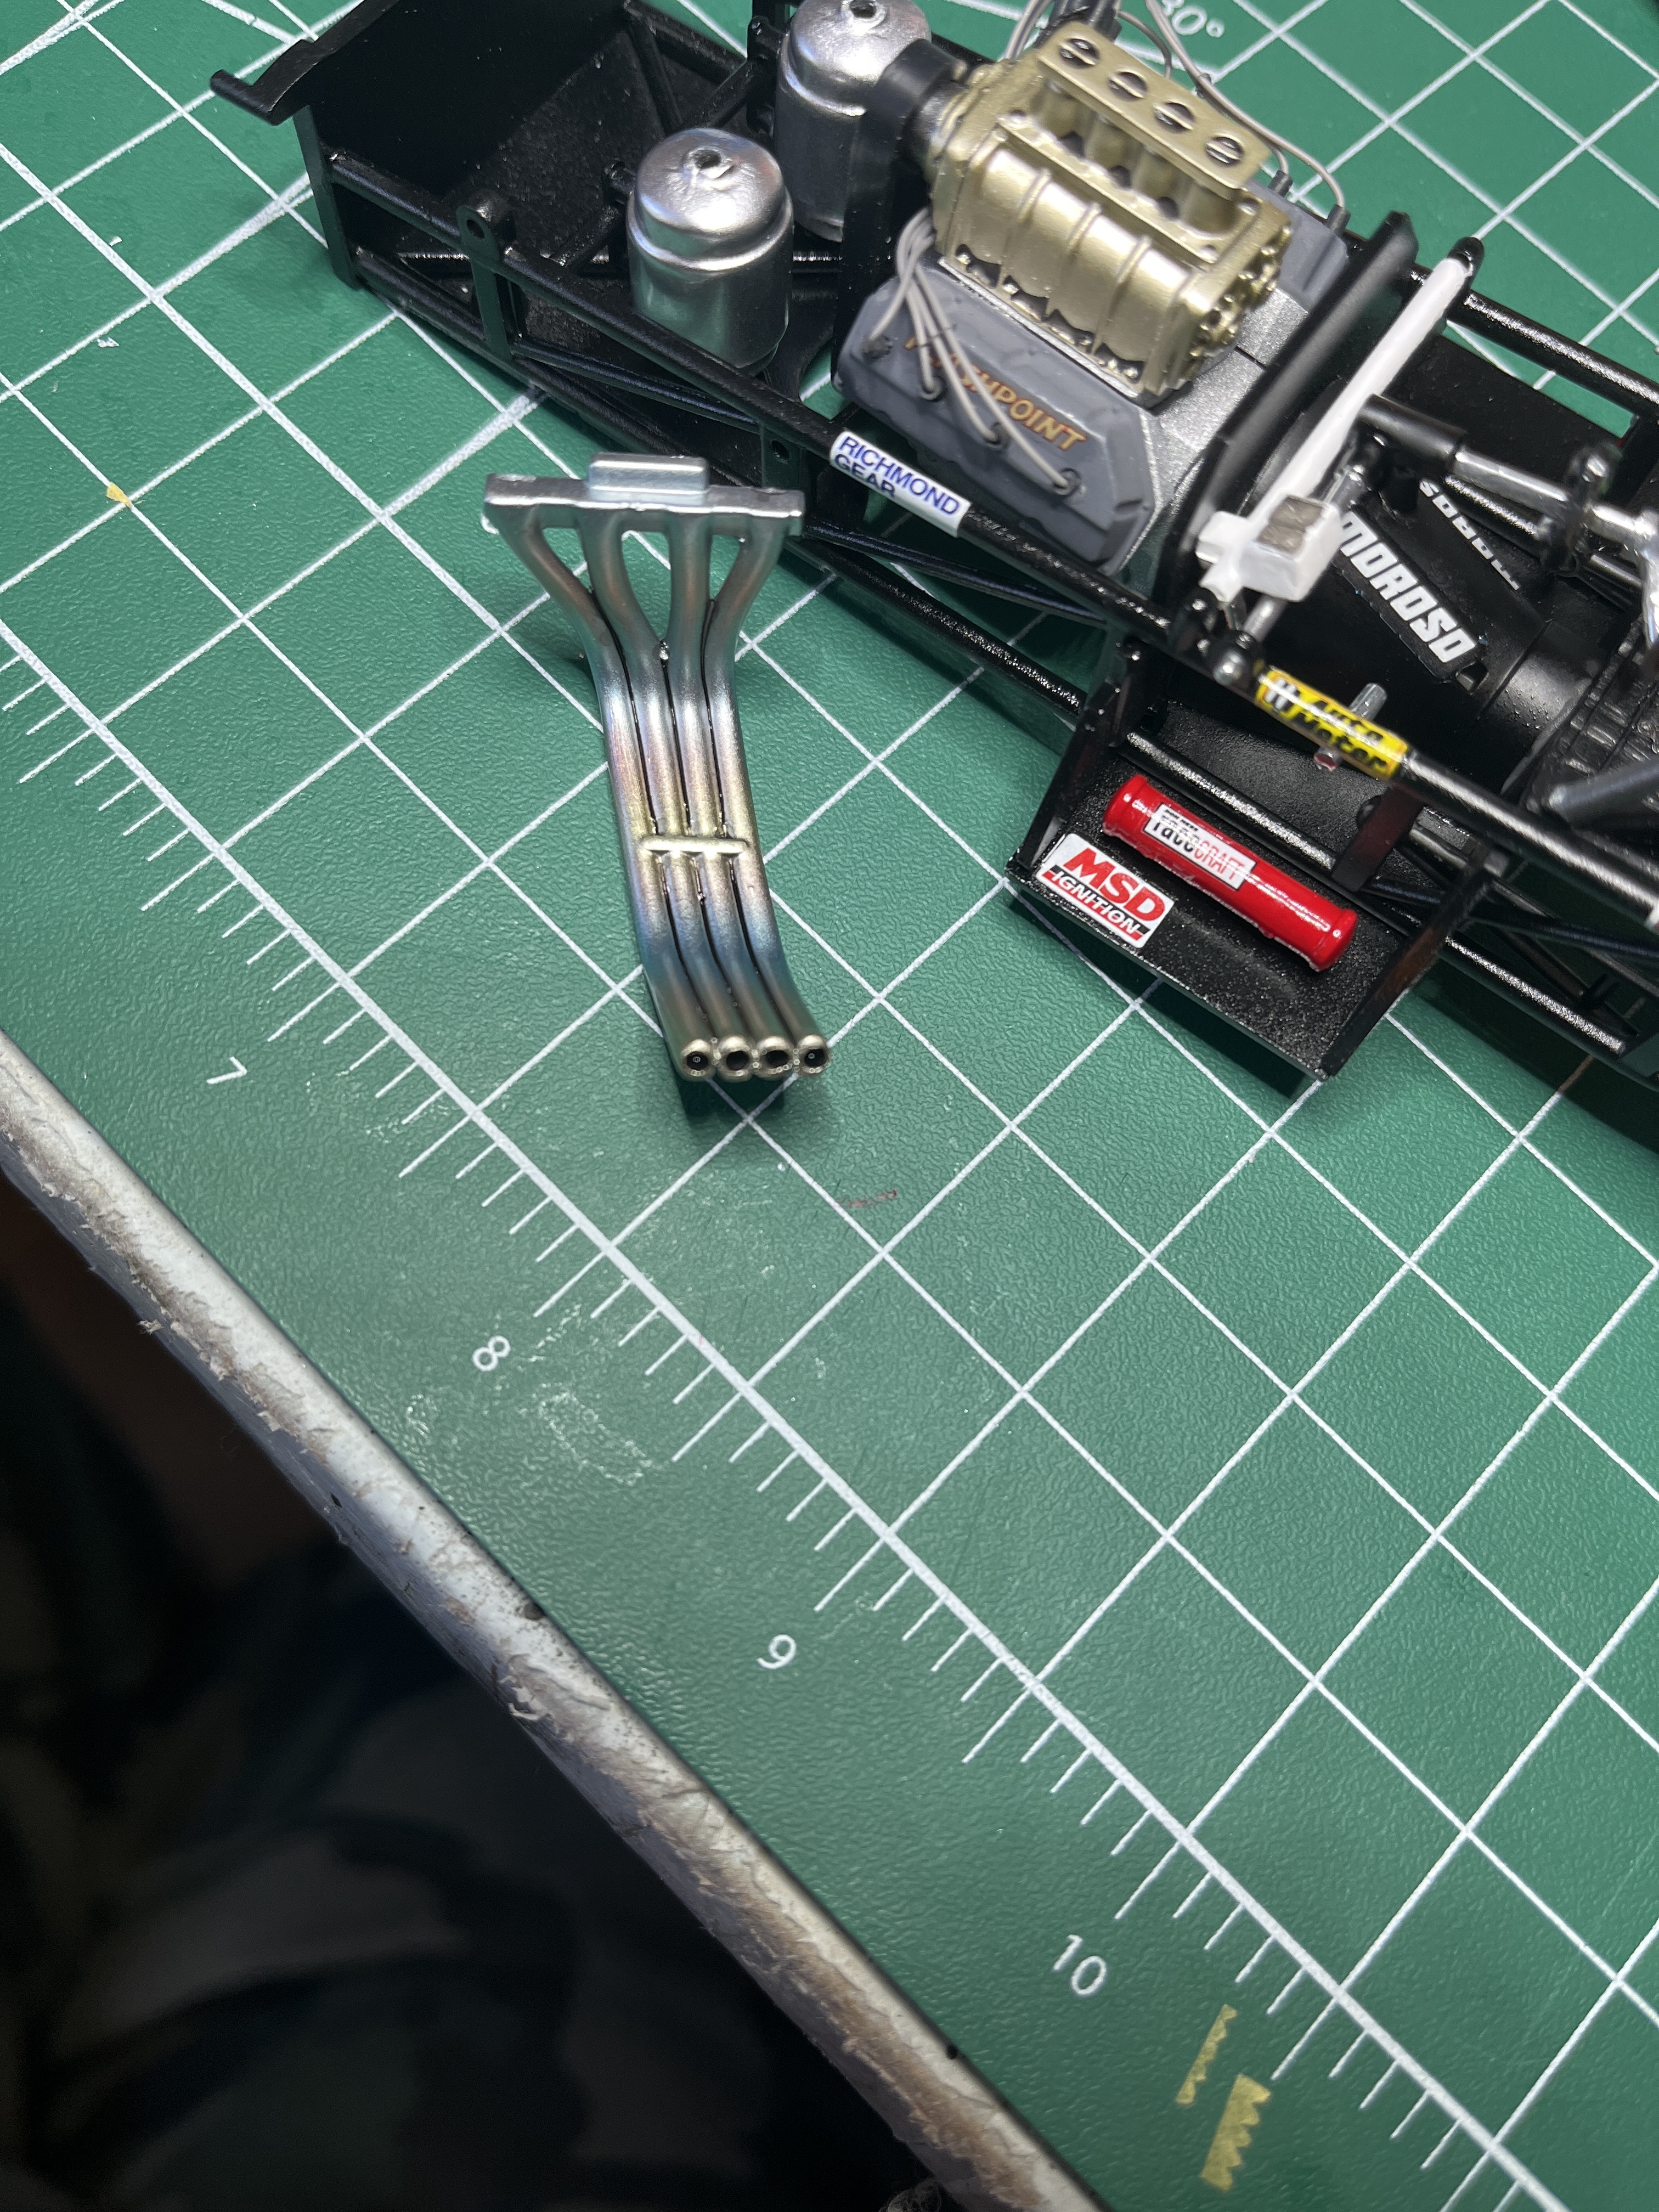
Alright, got some time in this morning for a few things, I repainted the body. I had a few areas I didn’t like from the masking job and it was bugging me, so I shot the inside with tamiya black, shot the outside with tamiya dark copper a few weeks ago. I masked off the front, rear, and windows and shot them this morning with tamiya dark iron, the black was nice but I was looking for something not so drastic. When I removed the tape I was much happier this time. I struggle with masking in general so I just try to avoid it. Anyways pretty happy with it. So about 3 weeks-ish ago I shot the tanks and exhaust with Molotow liquid chrome. It looked fantastic, but just going off what others have said about handling it and it dulling I decided to clear coat it before install, I shot it with Mr. Super clear gloss and as it sits right now just about 20 min later, it now looks like aluminum, not sure if the shine will come back but it will still work for me. First time trying the chrome. So I’ll let this stuff sit till next weekend and shoot the body with a clear coat and hopefully start progressing a bit more.
4 Likes
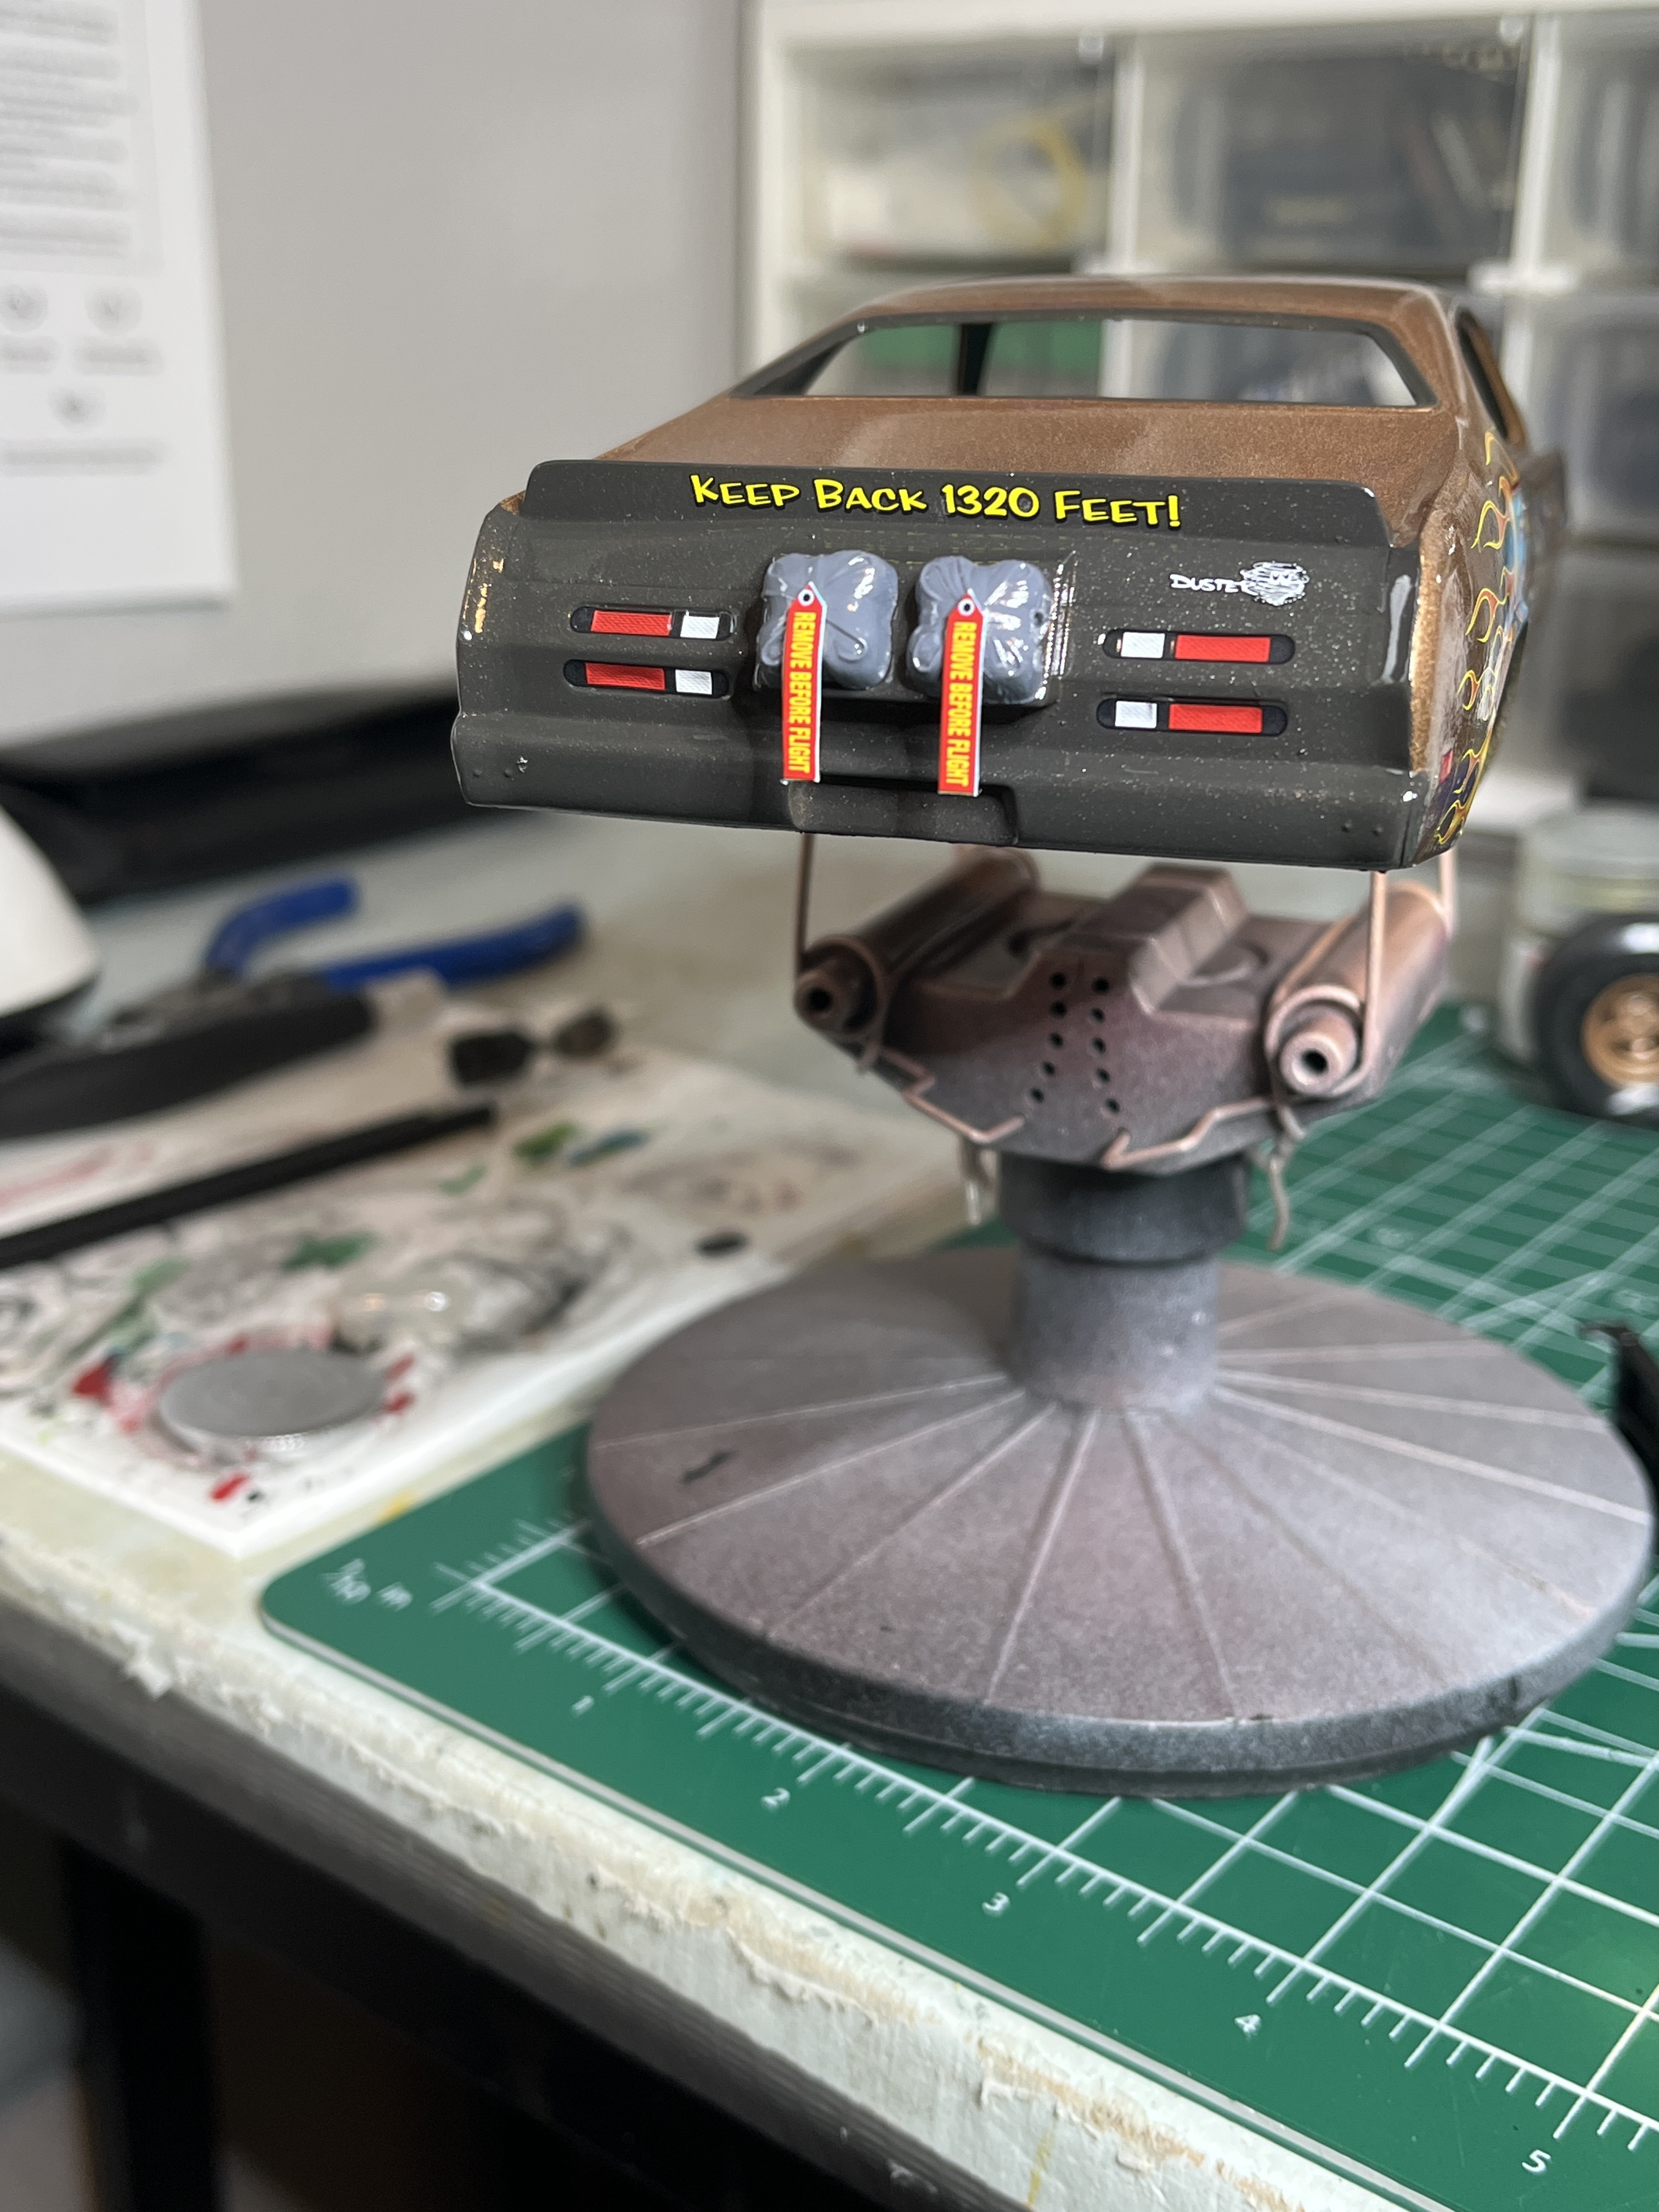
Starting the decals today, it’s going good so far, once I get the decals on I’ll work on the chassis a bit before the day is over, that’s my plan anyways….
5 Likes
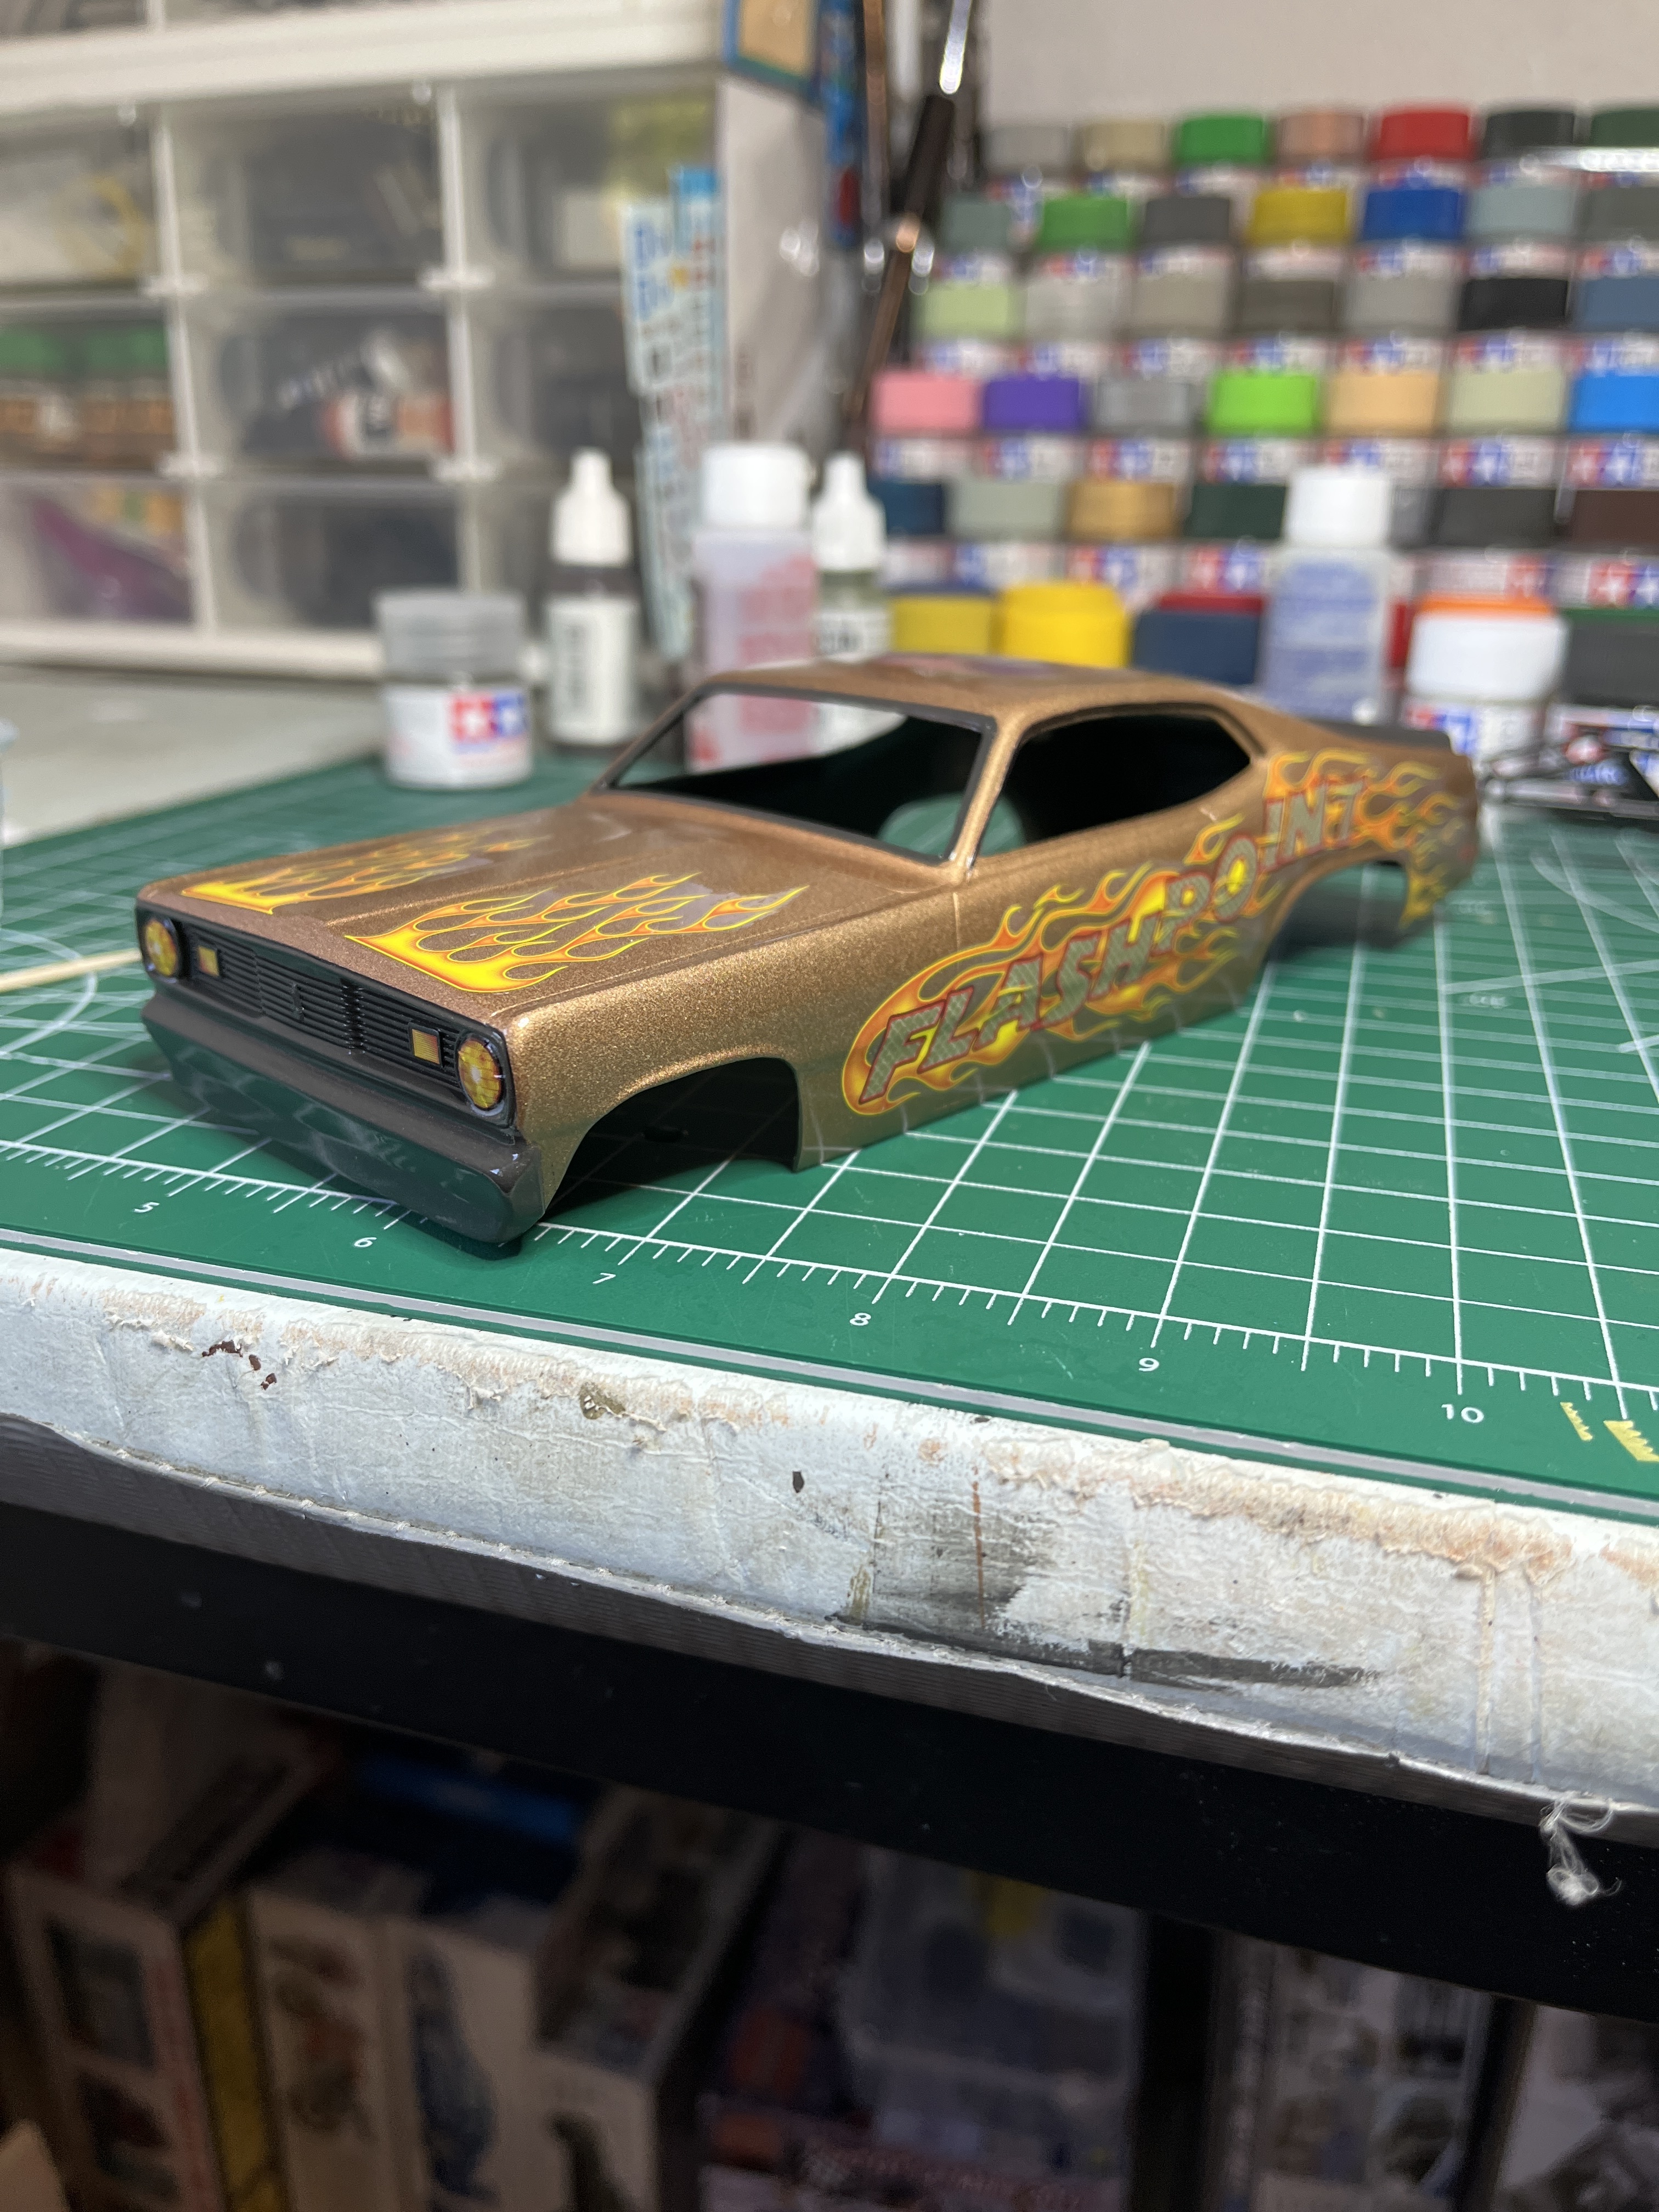
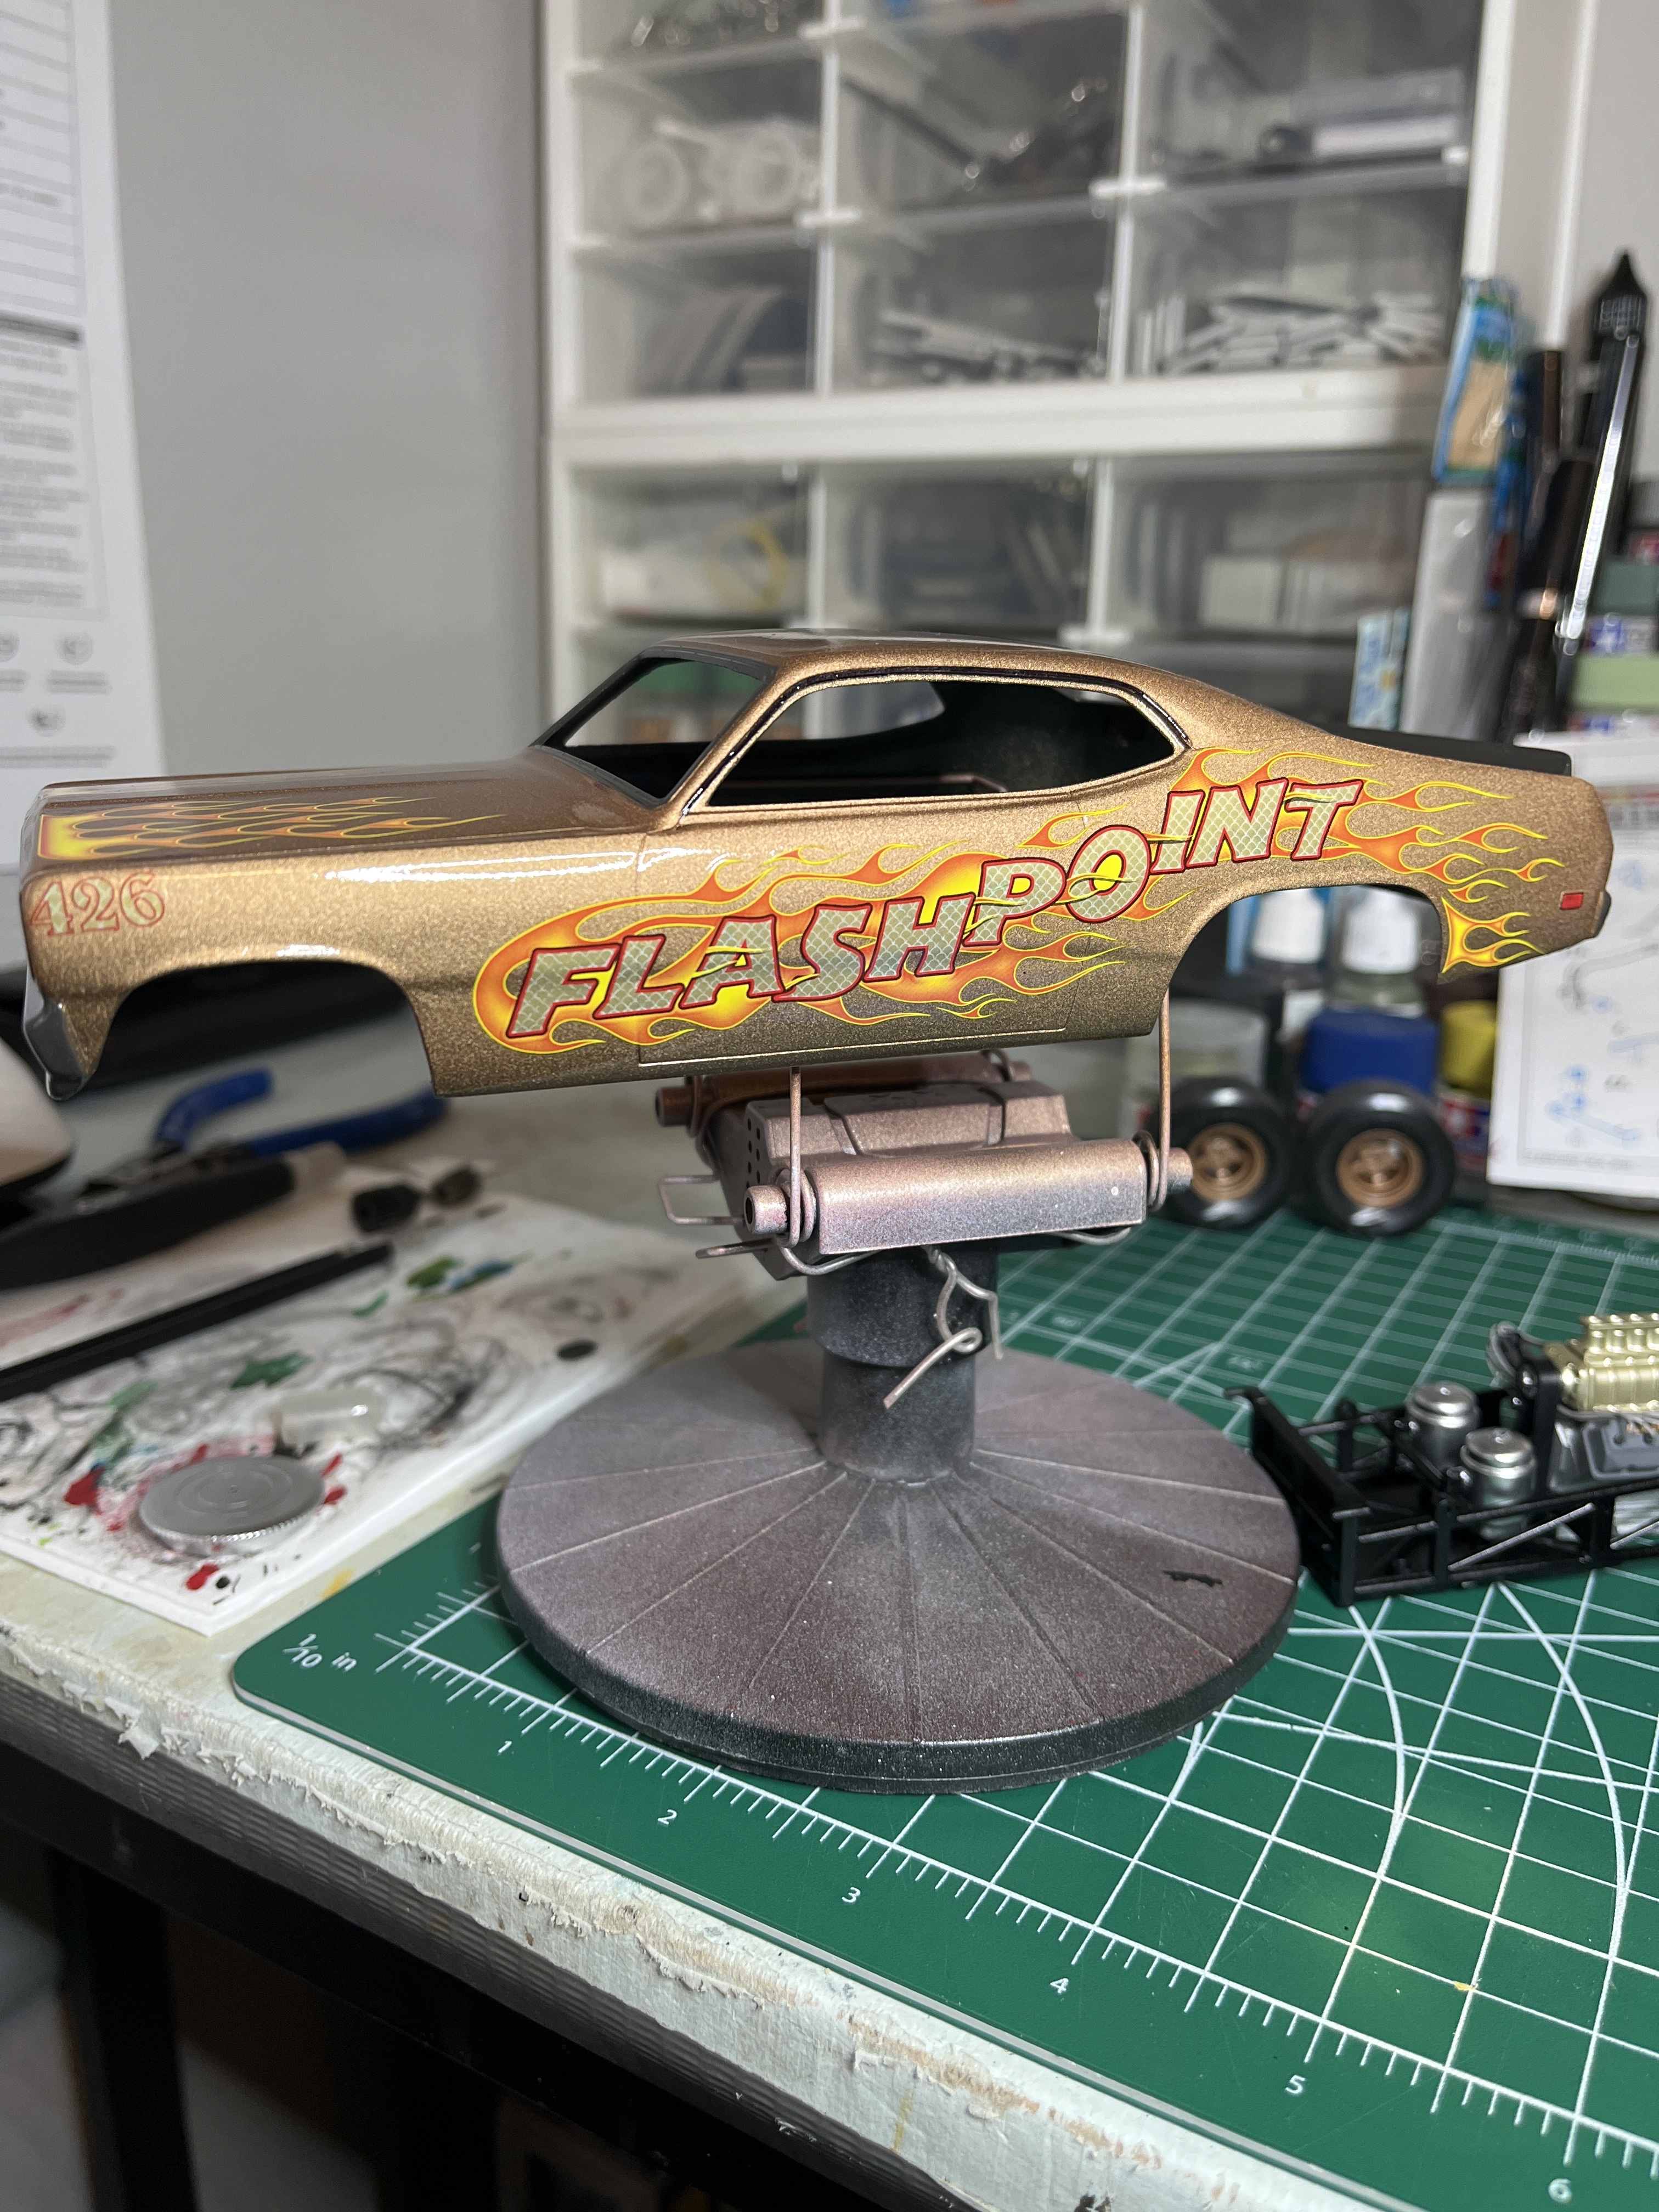
I love that gold paint and flames on that Duster’s body! This is going to be a sweet looking car when it’s completed.
1 Like
Thanks Tom, I was going for a deeper color, even shot it black first but that’s how it came out, its “ dark copper” Tamiya acrylic, ( not much of a dark copper if you ask me) I think it looks good even though it’s lighter than I wanted.
1 Like
The Duster is looking BOSS
1 Like
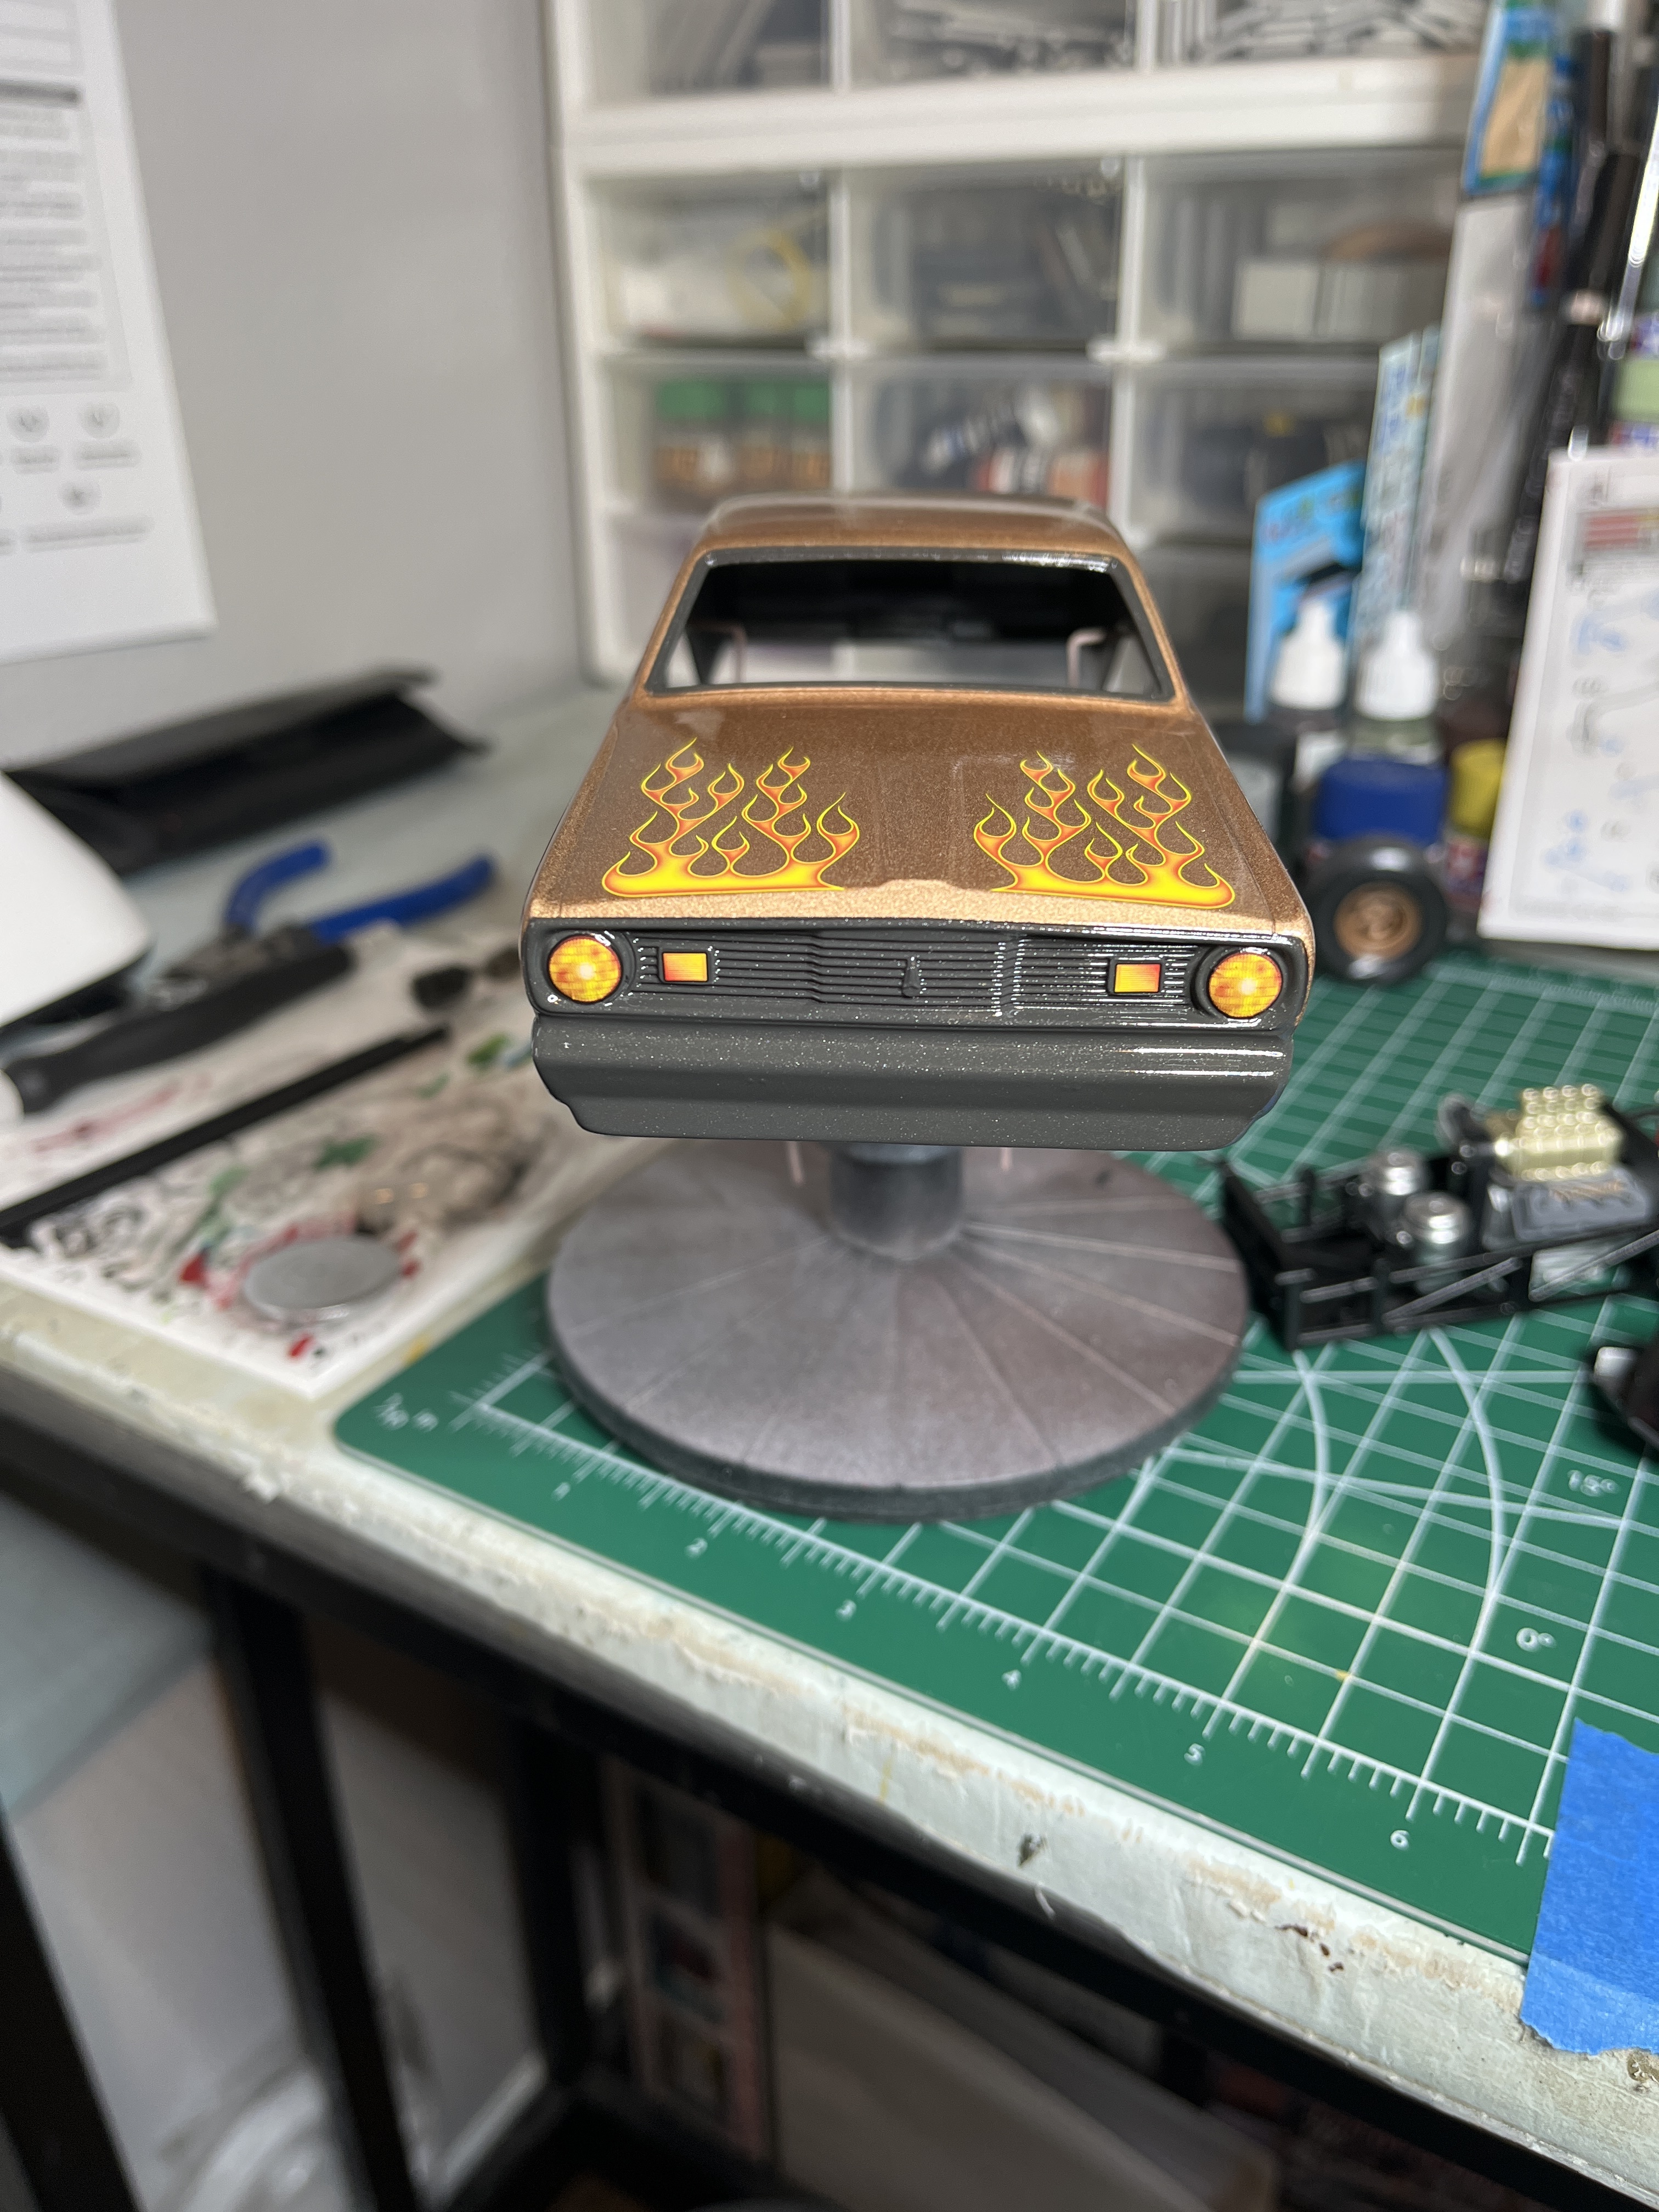
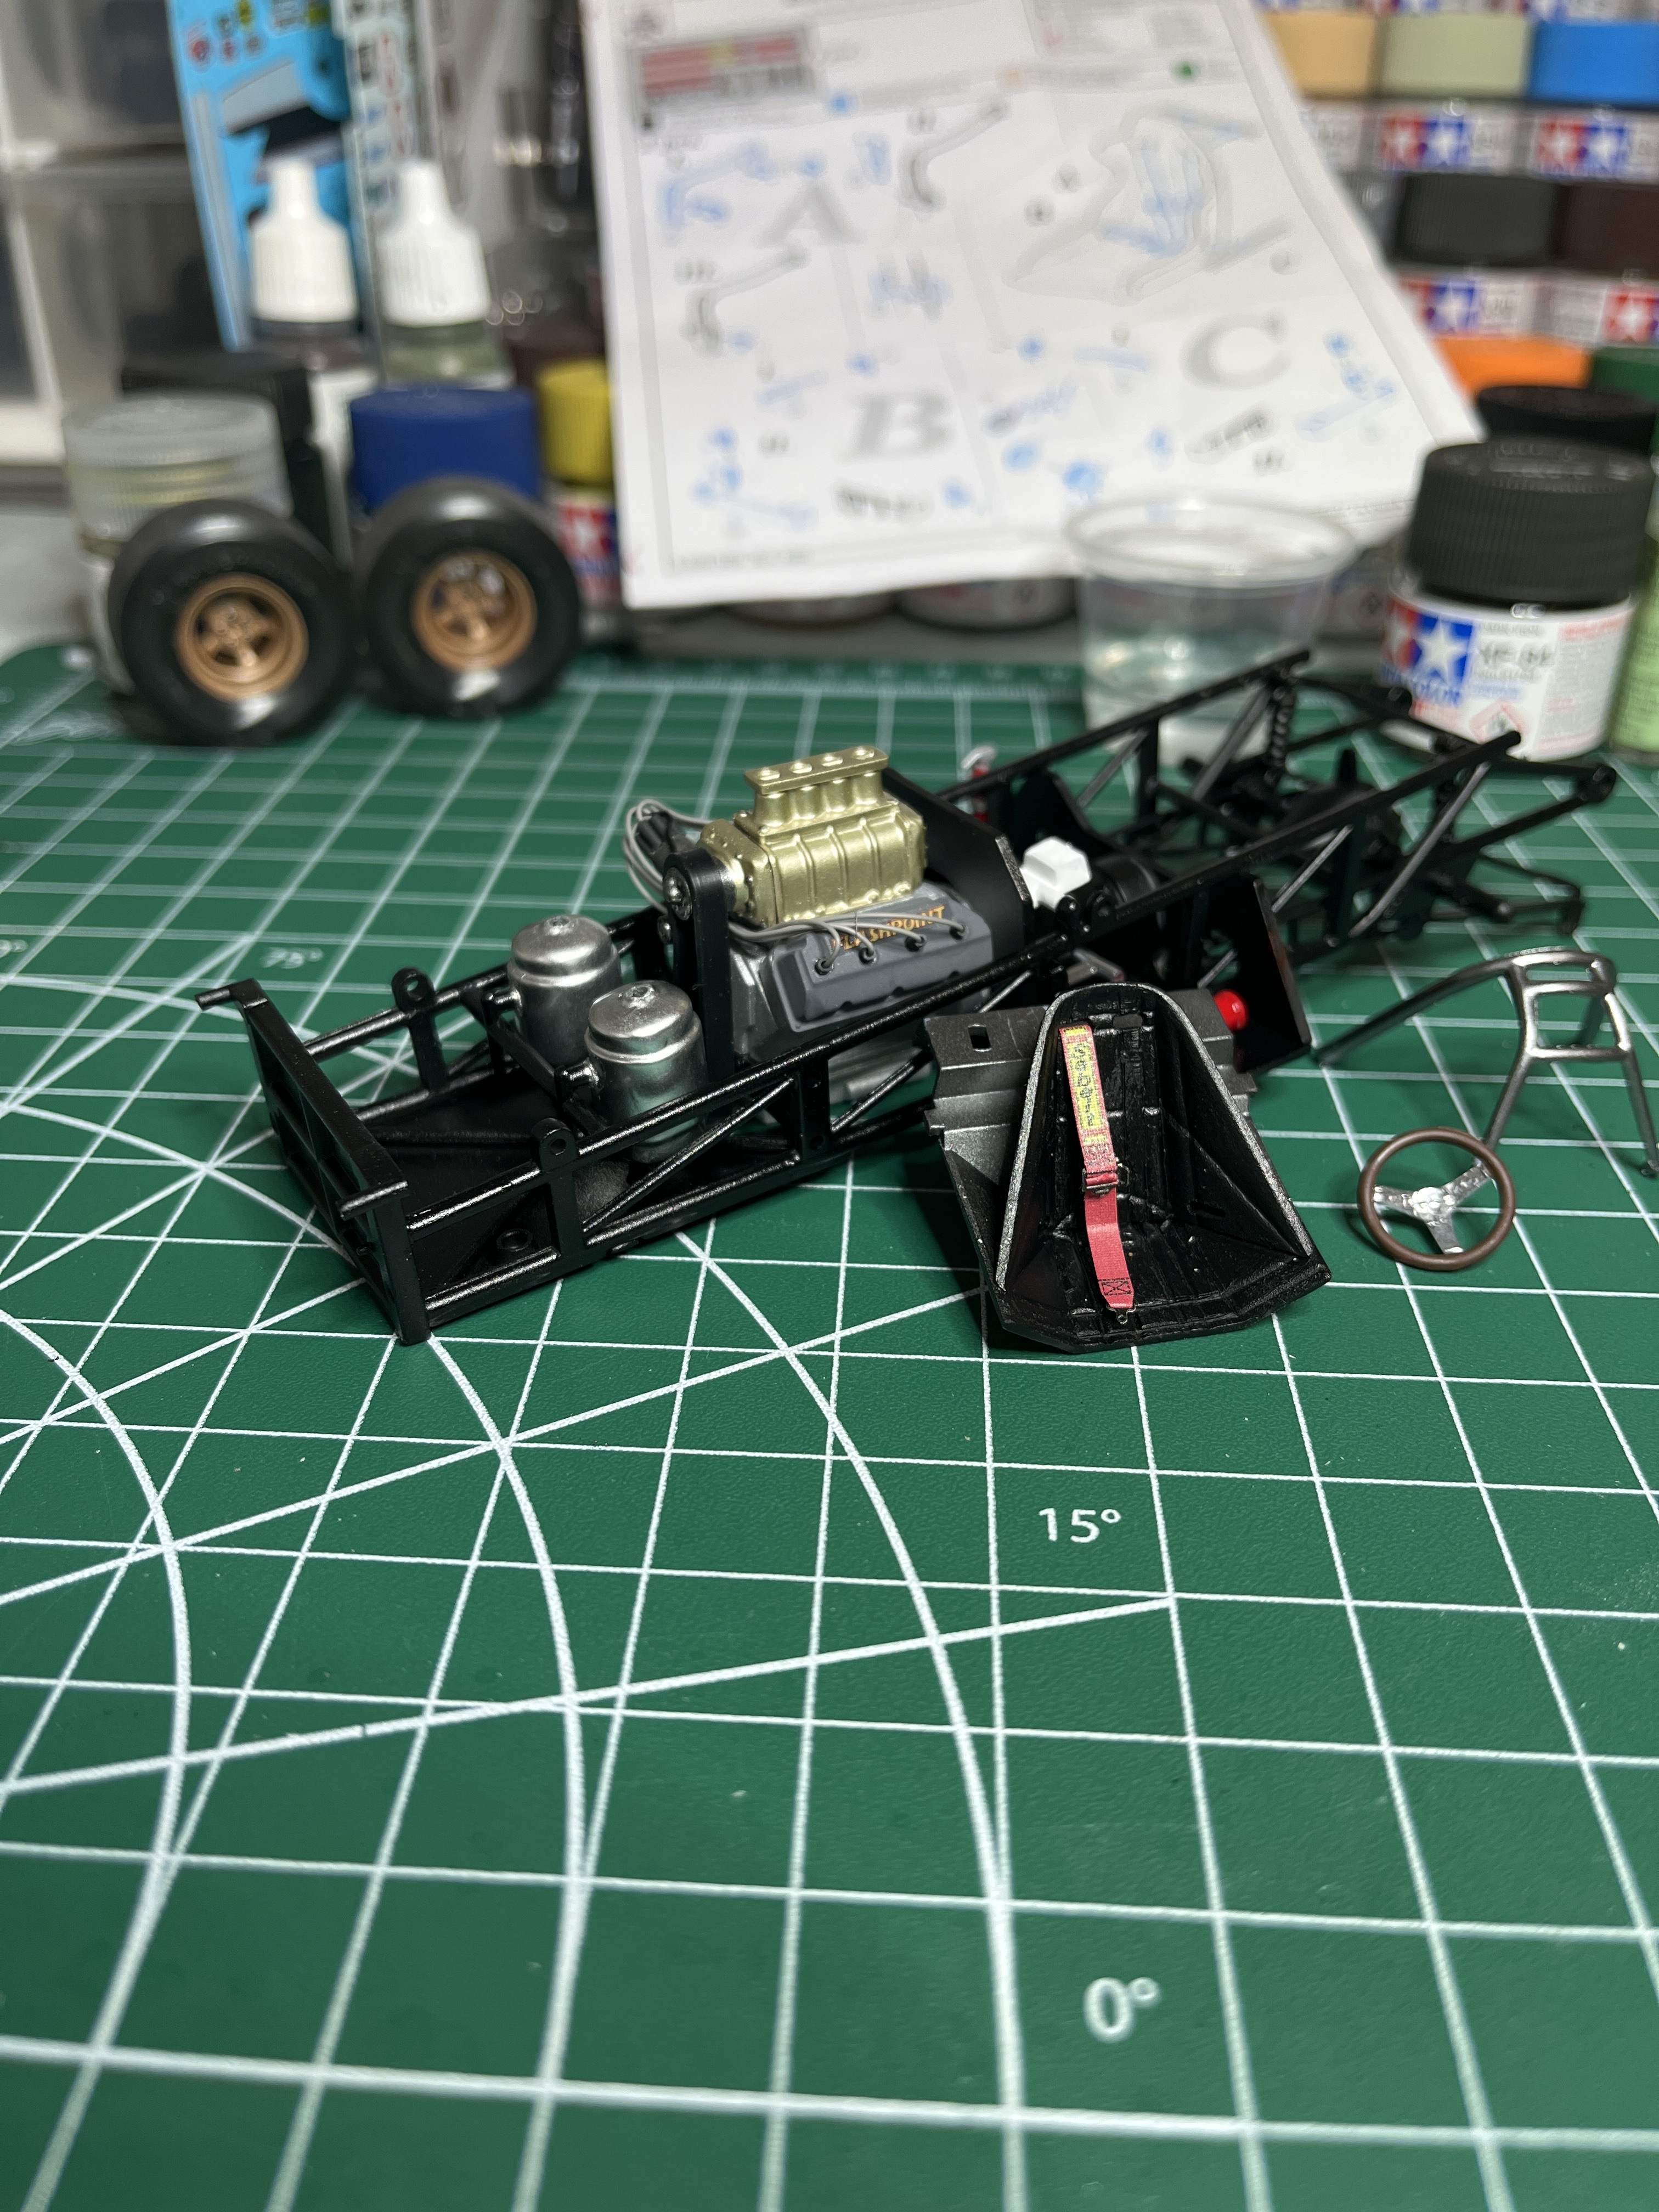
Got the clear coat done, looks pretty good I must say. Got some of the odds and ends started as well, seatbelts, wheels, cage… starting to look like something….
6 Likes
Outstanding work Demo… The paint looks fantastic. You’ve done a wonderful job and this build.
1 Like
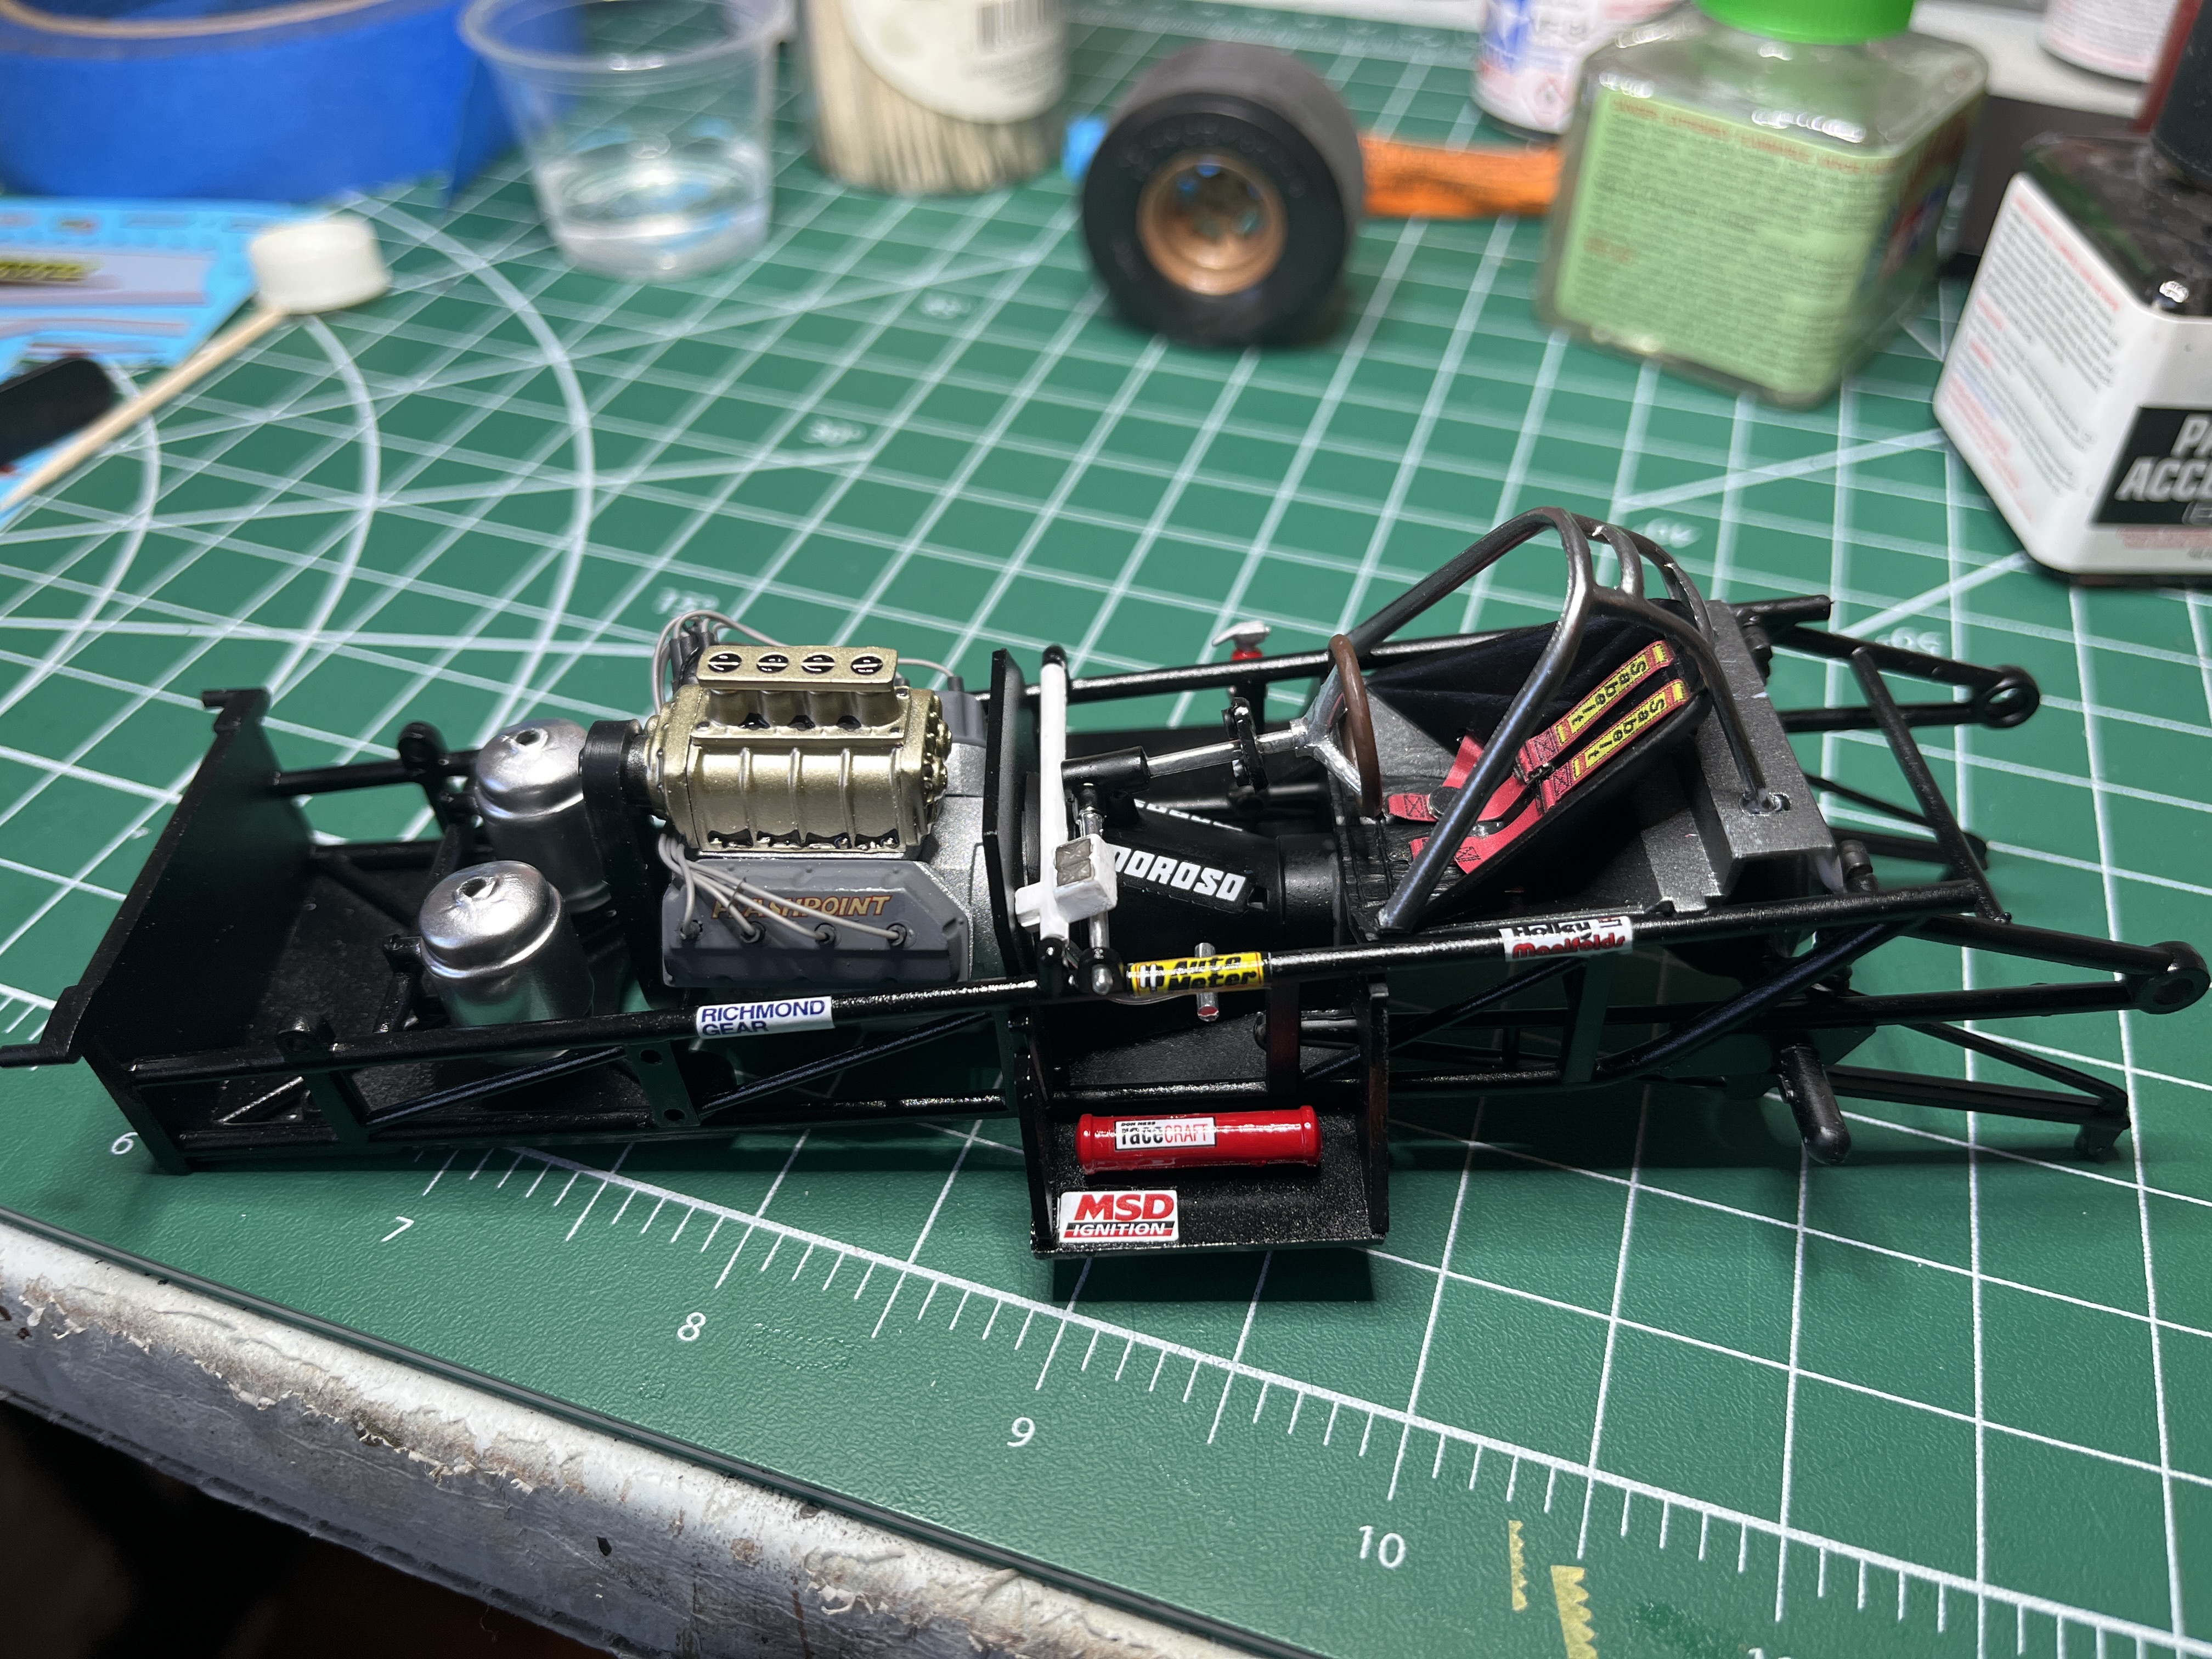
The body turned out great. The details on the engine really dressed it up nice. (Especially the name on the valve covers). Two things I’ve not seen before. The back tires with wrinkles, and a flat spot. The socket and sandpaper trick. Thanks for posting. Gives me inspiration to start mine.
1 Like
Coming along nicely! I have that kit (I think) but in the Hotwheels boxing so following along.

2 Likes
First time running into the tires myself, I would avoid dealing with them again if I could. Hopefully I can sit down and finish this thing soon.
2 Likes
I think the tooling has been passed around quite a bit, I haven’t had time to sit down and finish this thing and it’s starting to bug me every time I walk by it ![]()
2 Likes
