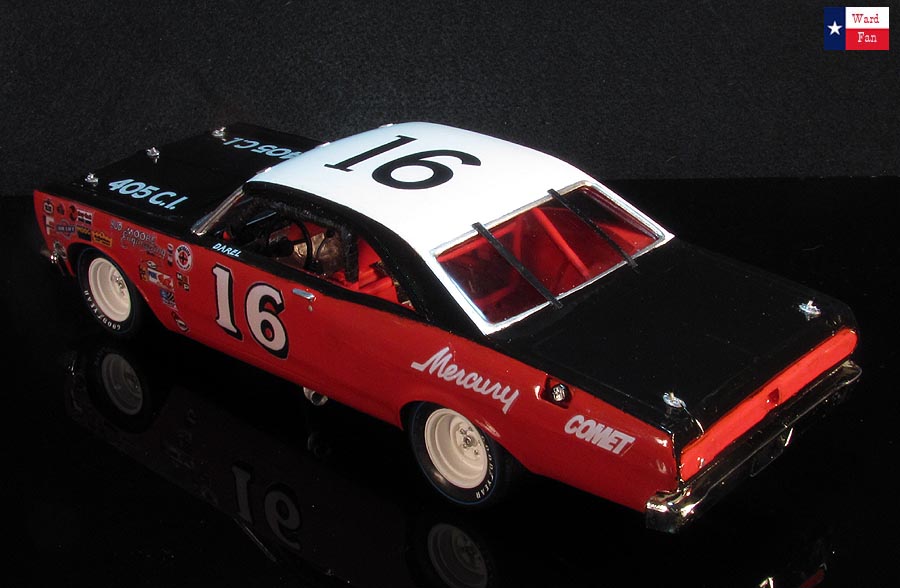
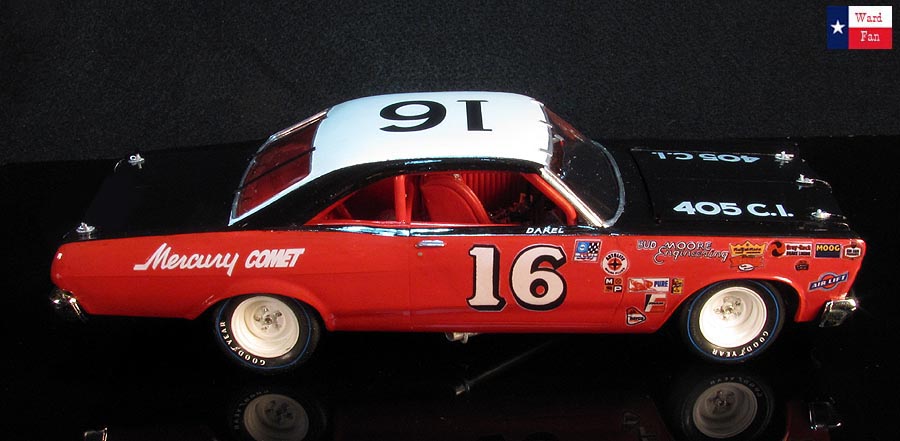
This model depicts the car that won the 1966 Southern 500. I’ve been trying to build as many Southern 500 winners I can from the 50’s and 60’s. This car had a 390 bored to 405 cubic inches. It also sported 2 4-barrel carbs. AMT kit. P.P.P. tires and wheels. homemade laser decals using the ghost white toner cartridge. Brush painted using Vallejo acrylic paint in the little bottles. Polished with Novus polish, the second and 3rd formulas after wet sanding with 6000, 8000, and 12000 grit sanding cloths.
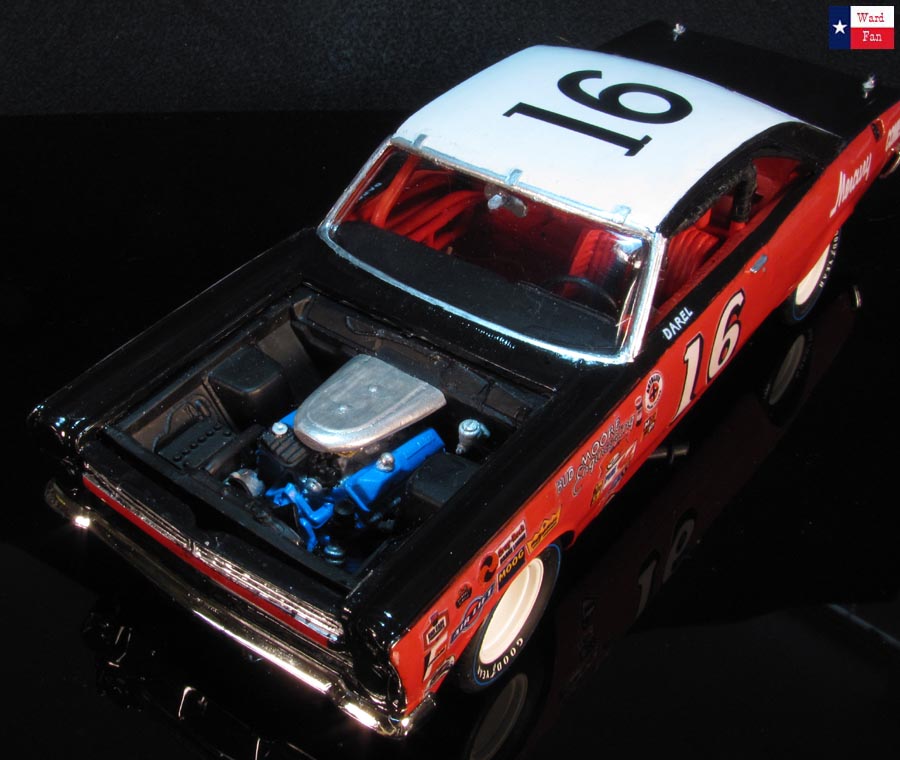
Thanks, Mustang. It seems a shame to hide the nice carbs. Those are the stock carbs that came on the 66 comet cyclone. I guess they didnt allow Holleys yet. you could only get the one carb set up from the factory . Nascar allowed 2 4 barrel carbs if you were running a wedge engine. Which this car had.
Would ya do me a favor Please ? As a fellow TEXAN it would be nice to enjoy those car pics on a white Background. You can do this, get a large piece of Craft Board for a backdrop! I could then really enjoy what looks to be fine work!
Thanks, John. Tanker, I will probably go back to a gray background like I always use. I realize trying to get a mirror like background was a major fail but a white background would be too. Thanks for your input.
It’s so cool that you brush painted Vallejo. That’s proof of a couple things; That Vallejo hand-brushes well (still gotta know what you’re doing, which you apparently do…I do not) and also that that tried and true multi-step sanding followed by Novus truly works.
I’m presuming you sealed the Vallejo with a clear coat? May I ask what you used?
Greg, I used an old bottle of model masters acrylic clear over the vallejo. That is a must before you sand or polish.Tamiya also makes an acrylic clear but I will have to order that over the internet. The key to brush painting is to thin the paint at over 100% so it flows out after you apply it so the brush strokes flatten out before the paint drys. You have to trial an error it and use a paint pallette to mix the drops of vallejo paint with the thinner. I might even use a couple of drops of retarder next time to make sure the paint flows out smooth before drying. then I might not even have to use the sanding cloths, but go straight to the novus polish. After it drys and I apply the decals, I then use good old future floor wax which is just acrylic clear formulated for floors. They dont call it future anymore but you can still buy it. Its called pledge floor care or something like that and you can buy it at the grocery store. Hope that clears things up a little. The beauty of brush painting is you can do it where you build the model and you dont have to worry about orange peel or runs or caustic fumes. No fancy venting systems are required. And you can clean your brushes in the kitchen sink with Dawn dishwashing detergent. Makes modeling more enjoyable for me to take the spraying out of the equation.