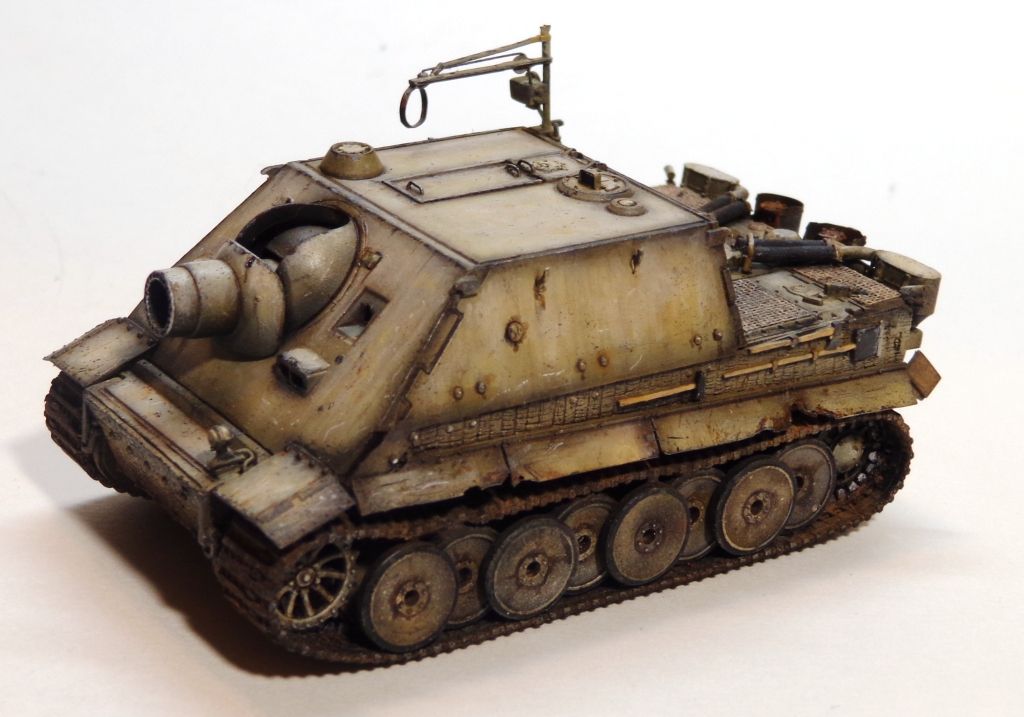
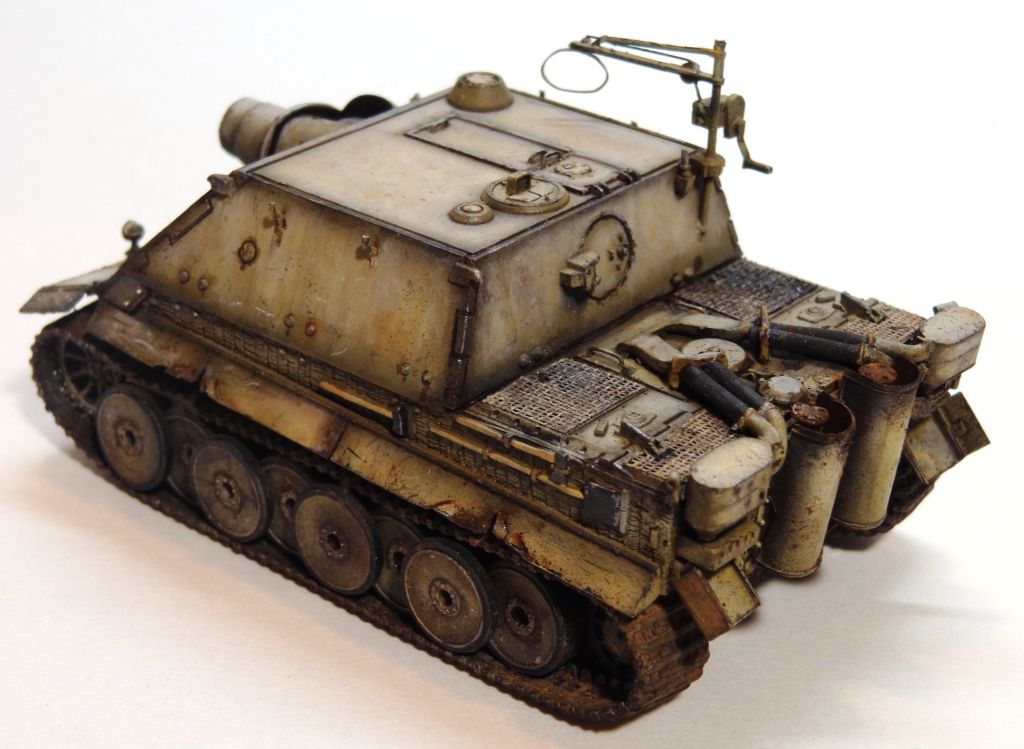
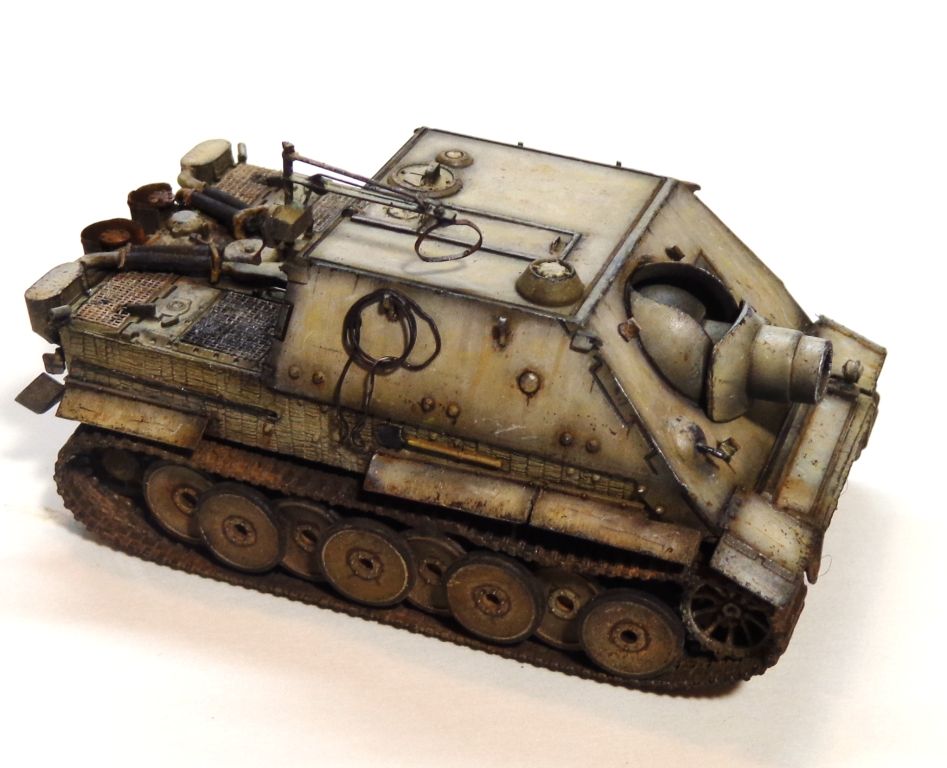
1/72 Sturmtiger- DONE!! -- FINISHED pics

Awwww, you’re all making me blush,…! [:$]…[:D]

I appreciate, sincerely, all the positive comments from all here.

Thank you, Shawn M, Guney, Bill, IBuild48, Ernest, Steve, Jack, Tigerman, Terry, CallSignOwl, and Marc!—and Cliff too!

Jack, I’m definitely a student of the “Spanish school”. I learned a lot of my technique from the old “Armor” magazine where MIG and a lot of his Spanish buddies were highlighted in their groundbreaking finishing techniques. Thanks for noticing!

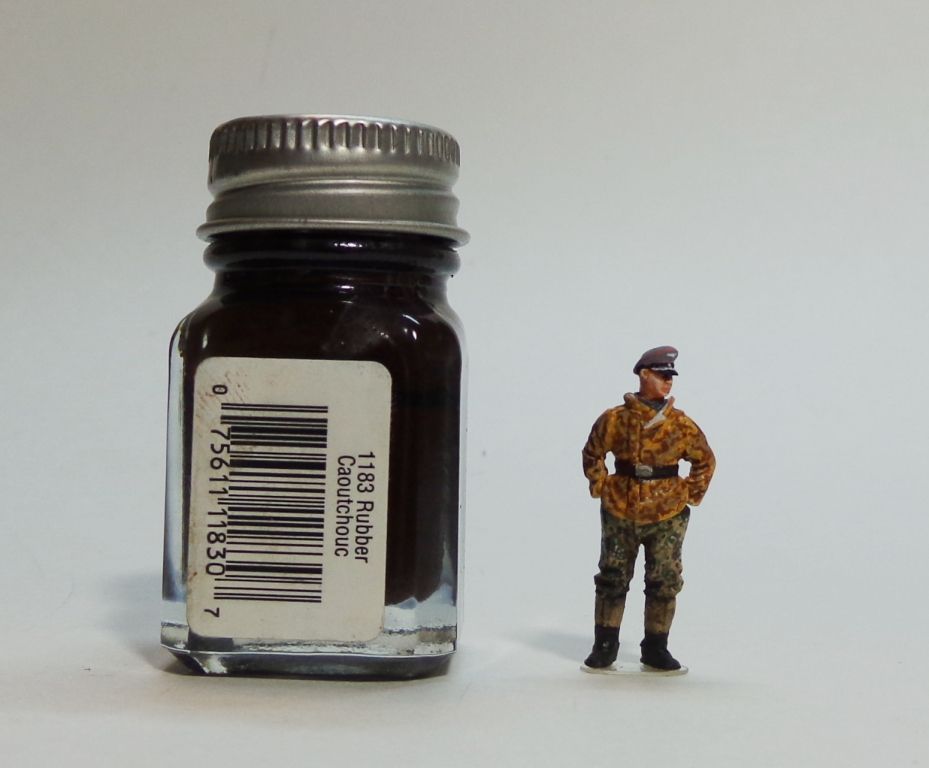
Marc, I appreciate the [Y] on the tracks. I’m not 100% thrilled with them, but at least they’re on there and can pass for decent. This bugger sure is tiny—check out this size comparison!

Again, thanks everyone! [t$t]

Oh, and thanks too, Cliff! Glad you stopped in! You posted just as I was answering this post!

fascinating AND informative!

Your efforts make that tiny little thing look MUCH bigger in the photos.

An amazing little gem, Karl. And it looks like you got the road wheel problem fixed, too. [Y][Y]

Thank you, Shawn! Glad that you like the blogging and the results! Thanks for looking in!

Hi Lee! Thanks for stopping in, too! [:D]

Well, guys—I’ve been working hard, and I had a stroke of GREAT luck. The only thing that was really bugging me about this build was that I didn’t have any engine screens for the deck–well I was going through my 1/72 parts box and found these…uh,…I"m not sure what they were, but when I apparently put them in there, I knew that they had te perfect sized weave to use as screens! So…voila’! WE’VE GOT SCREENS!! (Oh yeah, and I also got the Feifel hoses on…)
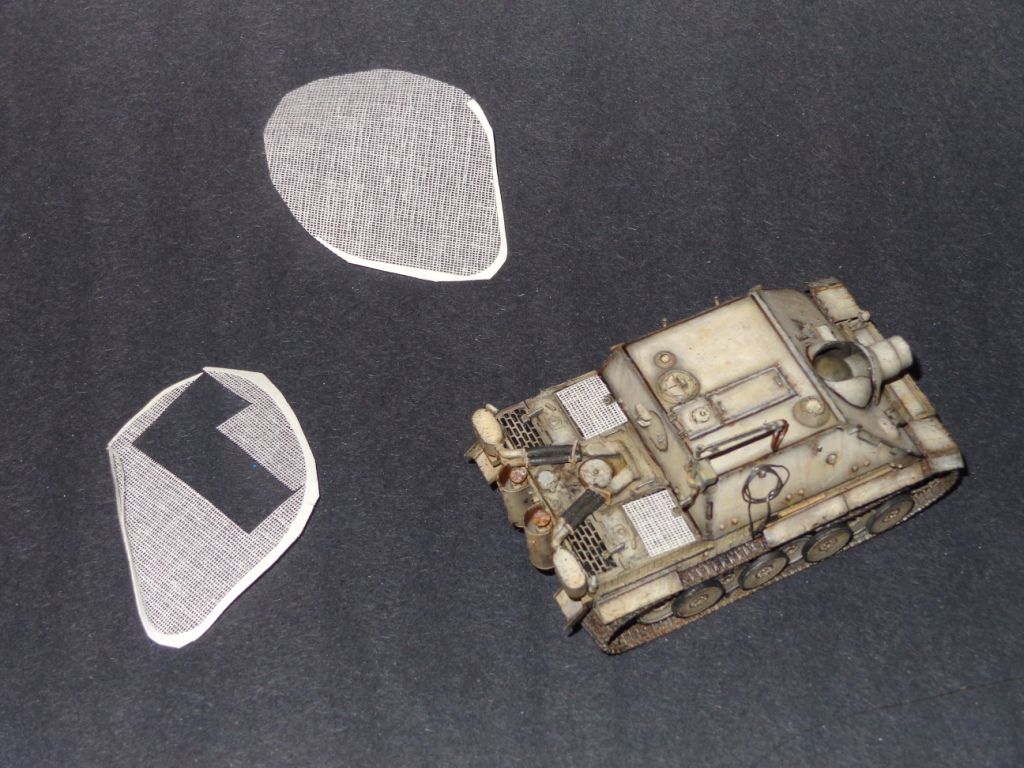
They must have had something to do with eyeglasses or something–well, now they’re the final detail that I was missing. [:P]

I cut them to shape, and then sunk them in some oil paint…
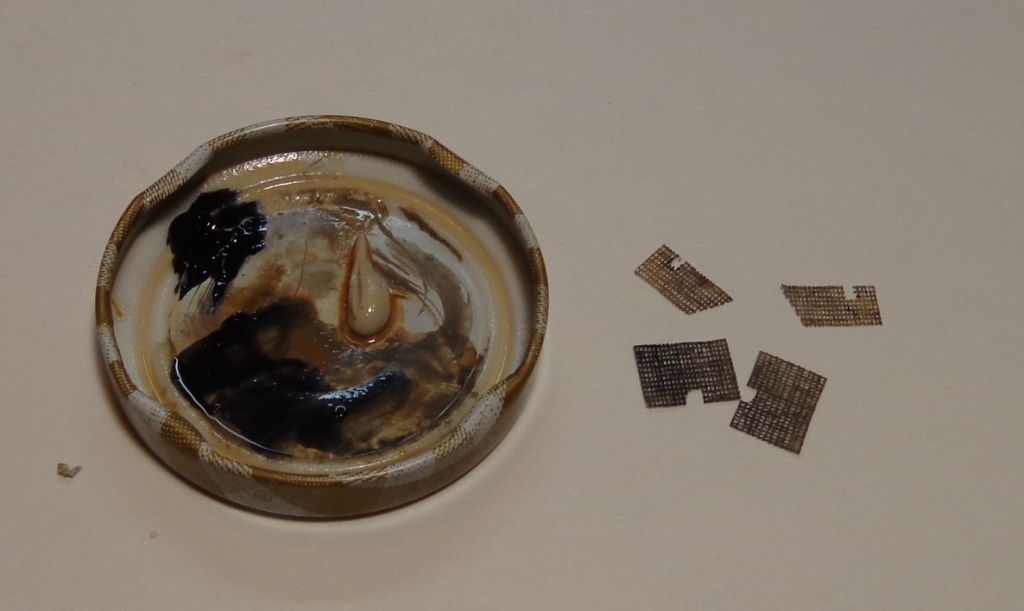
…test-fitted them…yeah, baby!
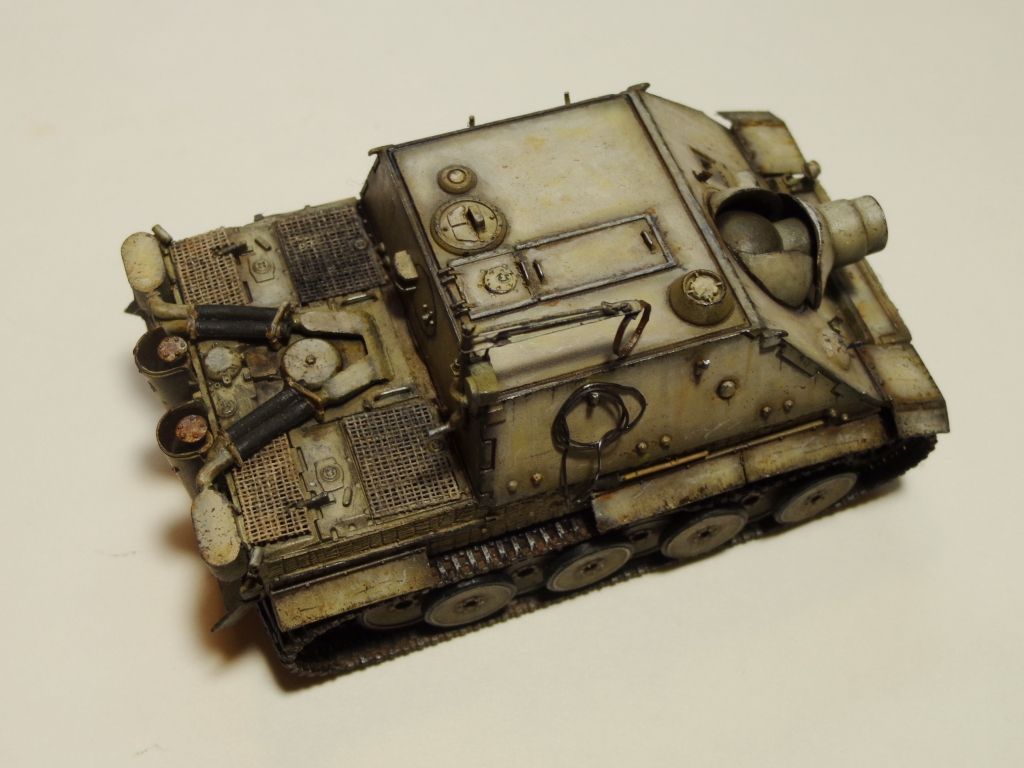
And glued them on with white glue… You’ll also note that I’ve added scratches and some grime ala’ oil washes and chipping. Nothing fancy here, just the standard pin washes and a little sponge-chipping. I also put a tiny bit of pigments on the tracks inside. I resisted putting them all over the wheels because I thought they would just obliterate any weathering that had been done, and I kinda rather liked the look of the wheels.
Next, I painted up a MIG figure. Since the Sturmtiger was used in the Warsaw Ghetto Uprising of 1944, and since I’m portraying it as used AFTER this fact–like possibly in the subsequent Ardennes conflict?–the SS figure sporting a summer pant/winter coat mix seemed appropriate–or at least excusable. This little sucker was a chore to paint!
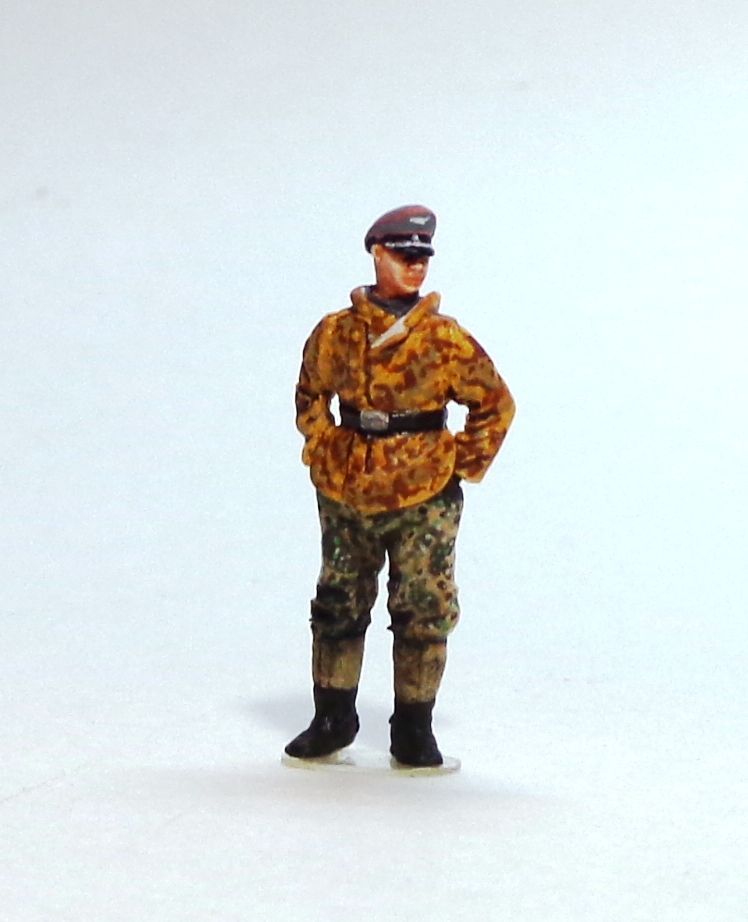
I used a combination of Craft Store acrylics, Tamiya, Vallejo, Pactra and Testor’s paint—basically anything I thought I could use to mix the colors I wanted. Oh yeah–and I used an 8x Optivisor with 5x reading glasses under that! Here’s a size comparison:
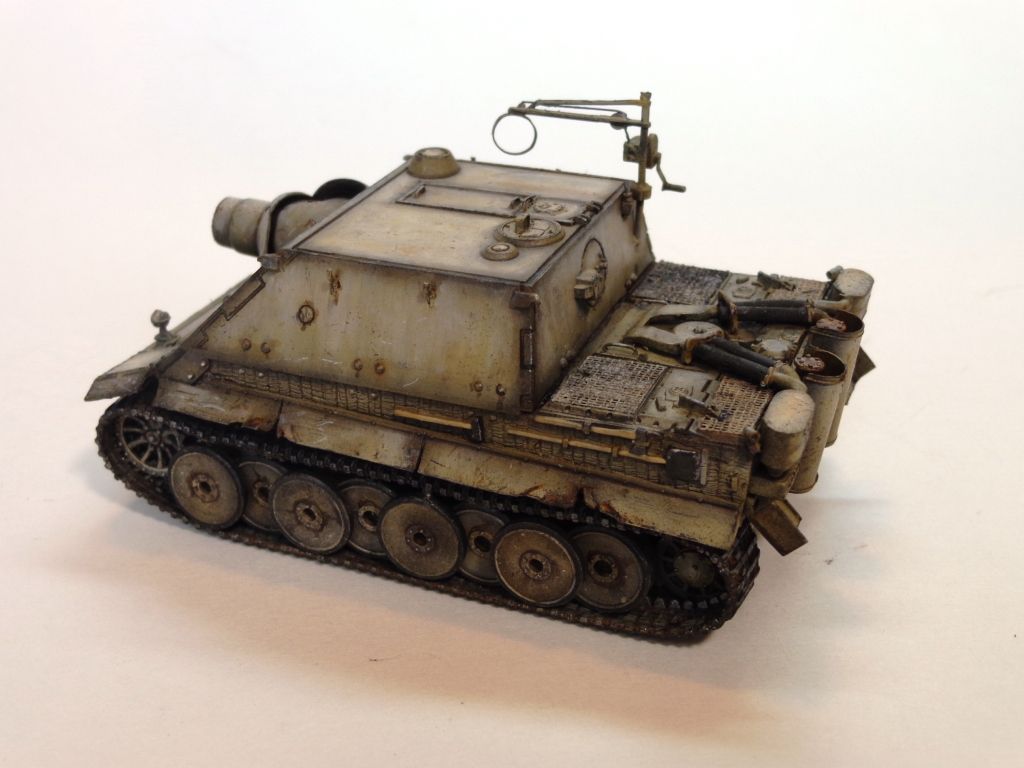
And so here’s the model basically finished—excuse that stupid shell cradle that I deformed by touching it–it’s only made of lead foil. I’ll bend it back after I post this, and before the base is done up. Enjoy! And if you see anything I missed, call it out guys!!
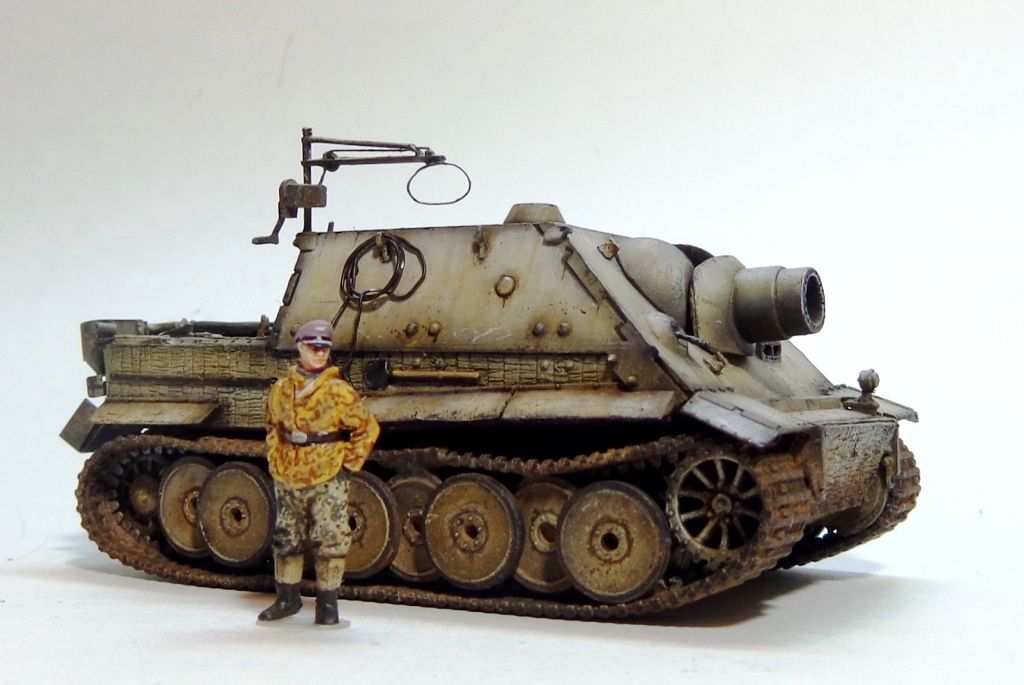
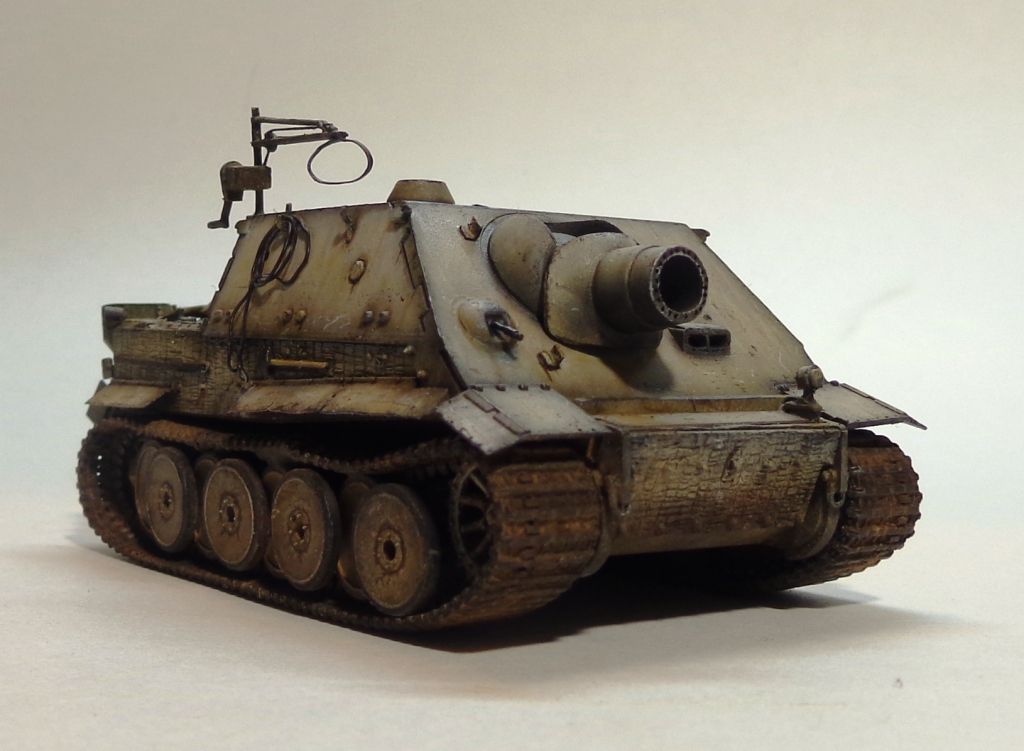
And the new Third Reich “Wunderwaffen” (wonder weapon"): The Giant Bottle of Death! Paint the entire town in Testor’s “Rubber”! BWA-HA-HAAA!!! [8o|]
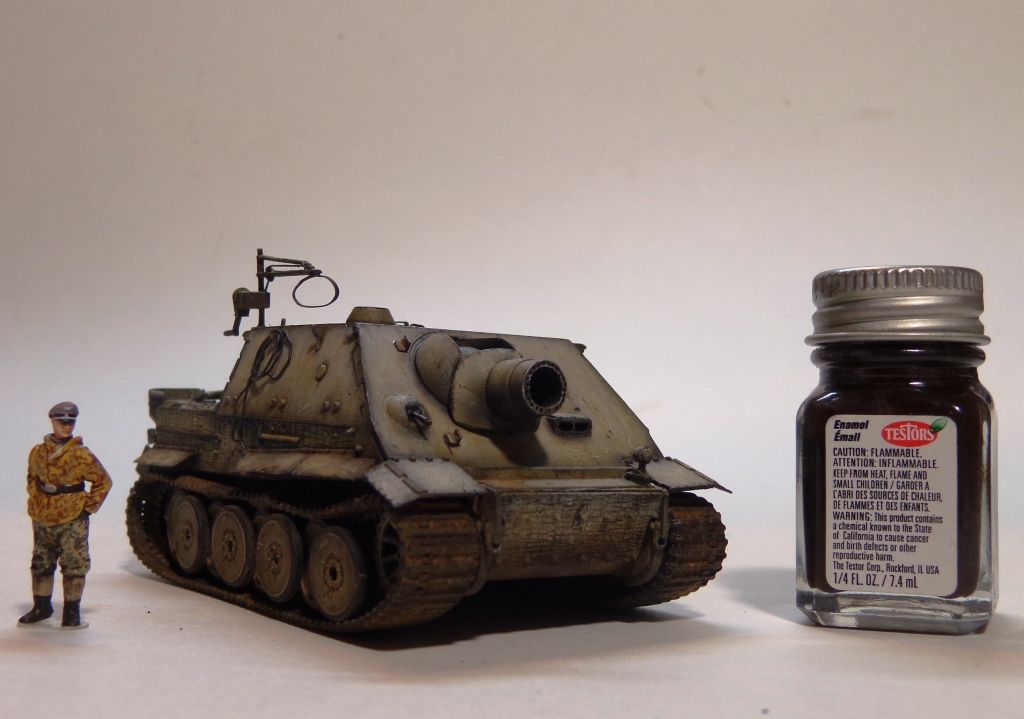
Well, it’s not over yet! I still have a base to make up–something simple; I should get it done over the weekend. I hope I’ve shown how a 1/72 model can be just every bit as fun and eye-catching as one of its “bigger brothers”? Ya’all should try one!

All comments and suggestions always heartily welcomed!! [;)]

just…wow

Paint filters, maybe???

that kind of detail at 1/72???>>>>>absolutely AMAZING!!![:D[[:D[

My eyeballs would explode if I even attempted it…[:XX]

So? where did you get a 1/35 scale bottle?

Great paint job on the figure

CallSignOwl, thanks for your, uh…reaction? [;)]…[t$t] lol. Much appreciated!

Winetanker, you may be right about those “filters”? Strange though, how they’re in “eyeglass” shapes? Man, I wish I could remember what they were, because they really fit the bill for this scale! Thank you for weighing in!

Steve–I had to laugh at what you said about the “1/35 bottle”, lol! Thanks for the nice comps! [Y]

I’m off to the American Armored Foundation’s Tank Museum again today! I’ll see you all when I get back today with more pics!

[proplr] doog

As I said before excellent w

Sorry on my iPhone as I dais before excellent work Karl, I love it. Terry

Thanks, Terry! Looks like that iPhone is a bear to manage? But thanks for the compliments!

Terry, I don’t know how you manage responding on the forums with your iPhone! I don’t even bother to try with mine! The screen is so small, and the screen keyboard…forget it! I just wait til I get home so I can bang on my BIG plastic keyboard!!

OK Karl,that is just TOO UNREAL!! Its a good thing I’m typing because I’m speechless (jaw still on ground)!! How you managed to do that in braille scale is mind-blowing!! AND that wee little figure is fantastic!! Most of us can’t even do that in 1/35 scale!! BRAVO sir, Bravo!!

I’m building some 1/72 Dragon kits for Eric’s Steel Cat’s GB and this will serve as a major inspiration! I know I won’t come close to your amazing work, but at least I have some cool techniques I can try out! Thanks doog!!

Ernest, thanks, sincerely! I’m glad to know that it’s inspired you–make sure you post pics of your model when you finish it! [:)]

Nice come back doog. The only question I have is where did you find a 1 quart size bottle of Testors paint? That is a crazy amount of detail in that scale!!

[:D]

Eric, ha ha–I think someone else asked the same thing, lol It’s good to be back and be modeling again. Man, have I missed the bench!!

Thanks, my friend! [;)]

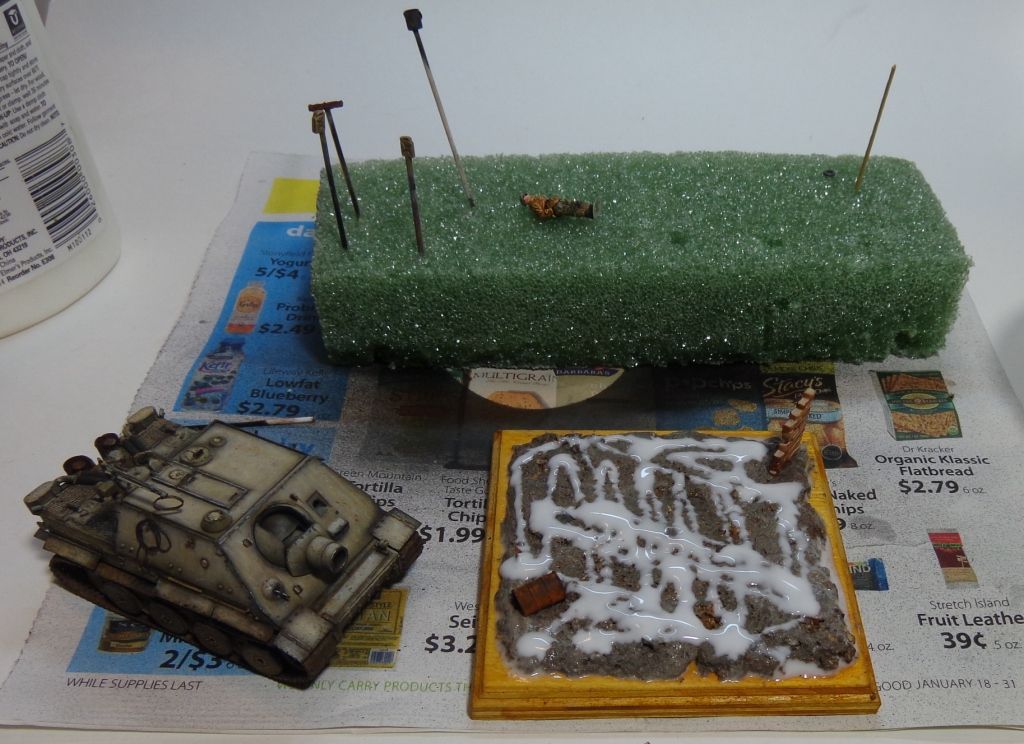
OK, so I’ve gotten around to doing the base…this is going o be a little demonstration of a “quickie”—a base built in about 10 minutes!

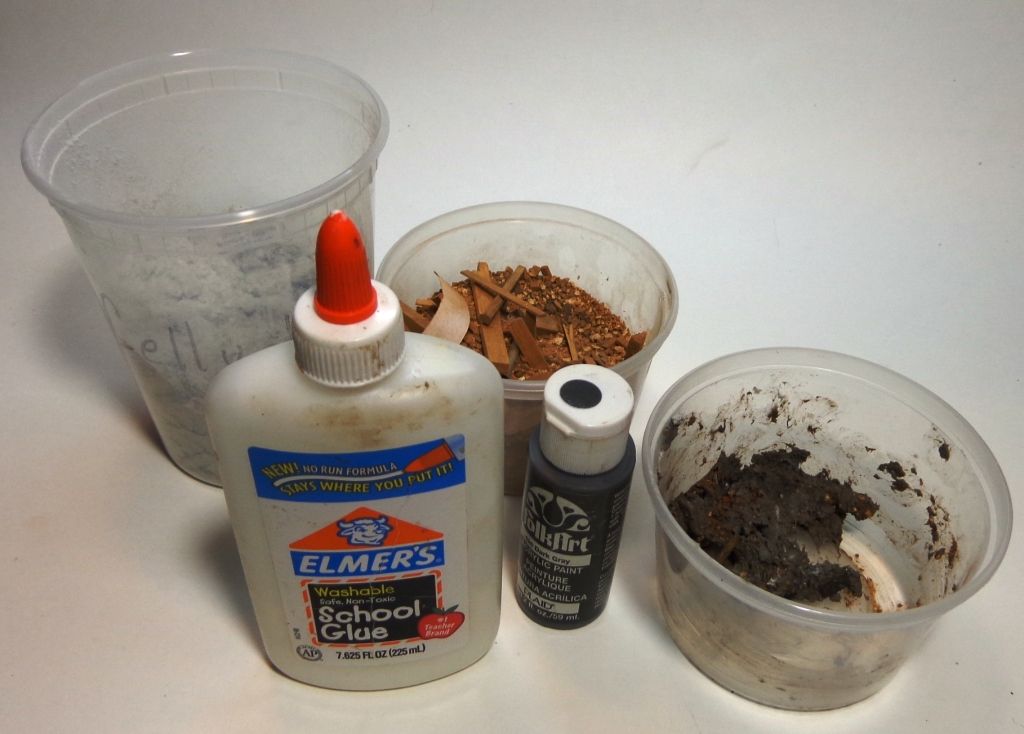
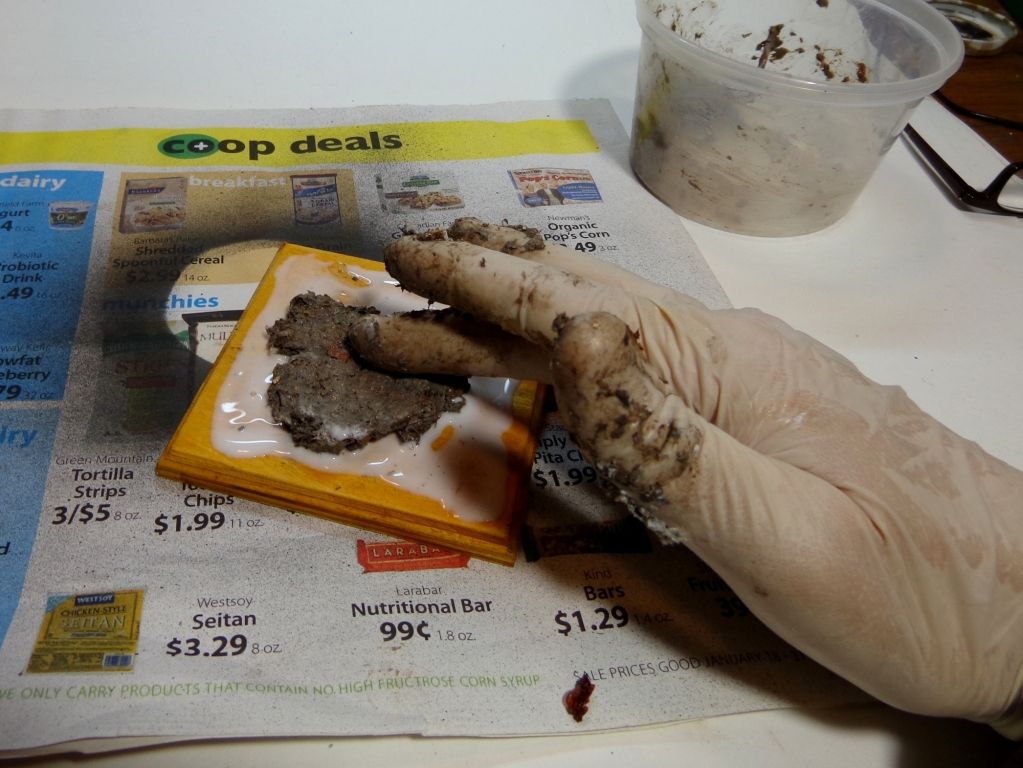
Here’s what I used: a good ol’ bit of Celluclay, some pre-mixed rubble, white glue, and some craft store paint to tint the Celluclay. In the right container, I’ve already mixed up the Celluclay with some white glue and #246 Dark Gray craft store paint. I’m using Dark Gray because I want to have a nice dark dirt base. I’m using a simple 4X4’ plaque for a base. This has been already pre-sealed with a spray lacquer sealer.

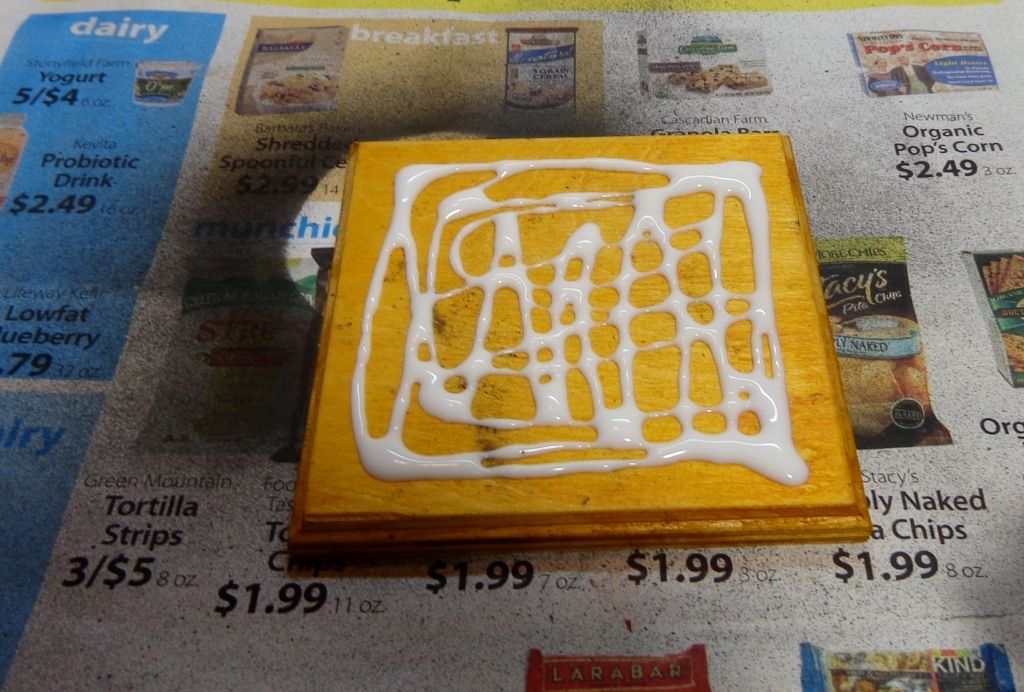
Next, coat the plaque with whie glue.

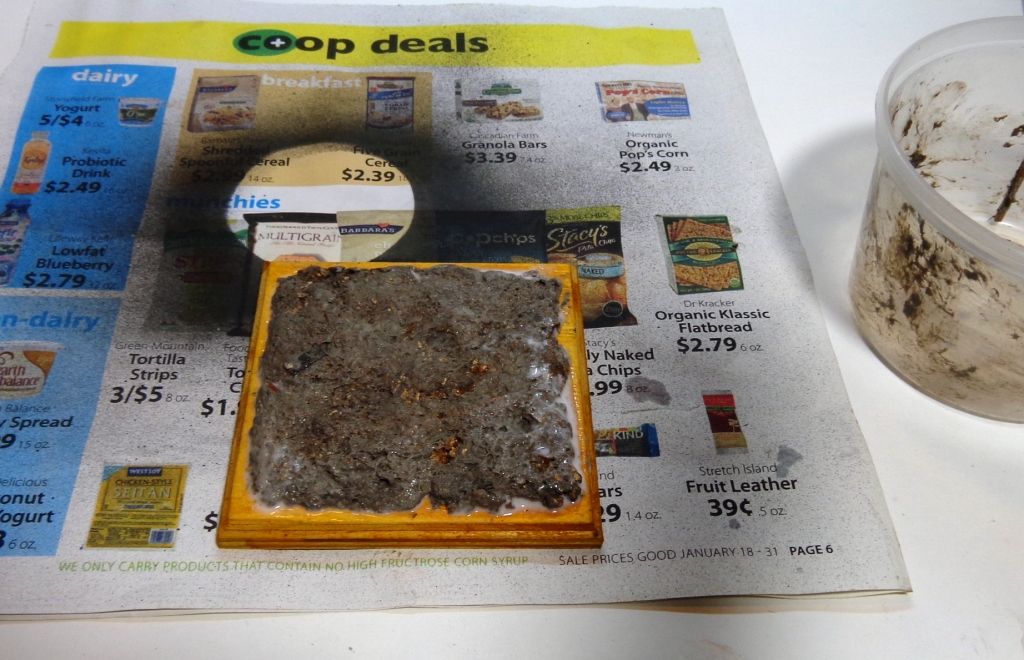
Put the celluclay mix on the base and form it with your fingers. Dip your fingers into water to help.

Like so…

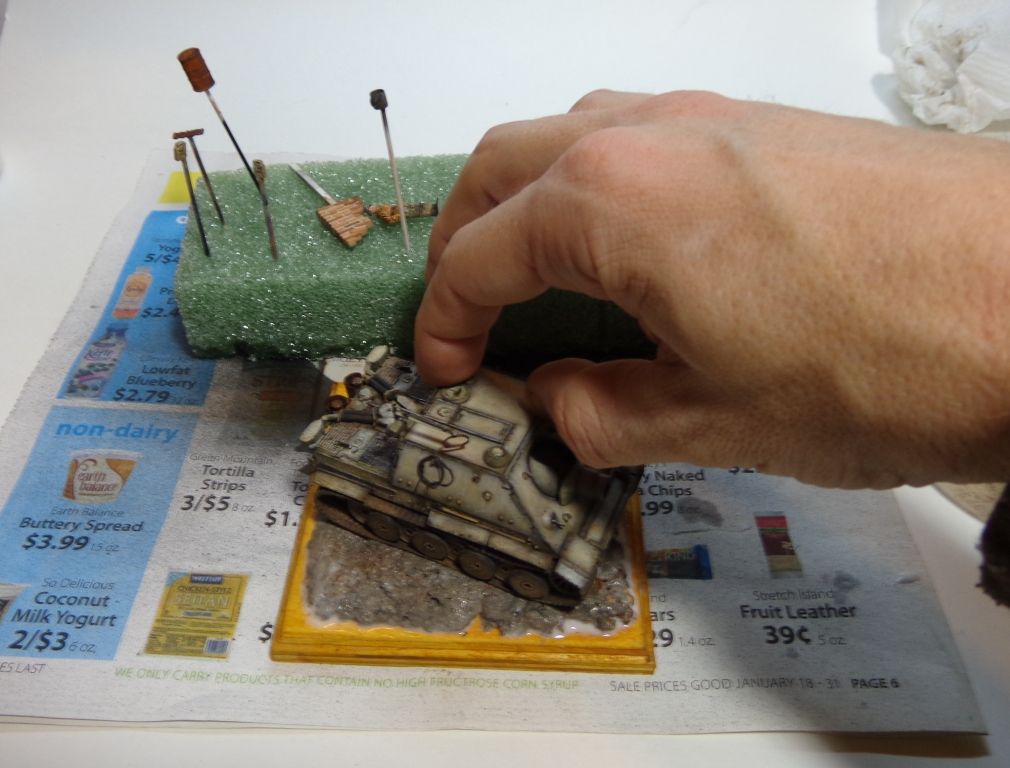
Now, press your model into the mix to get a good “sit”.

Then put some more glue onto the still-wet celluclay…

Put some more white glue onto the still-wet celluclay…press in any details that need to be set in the ground.

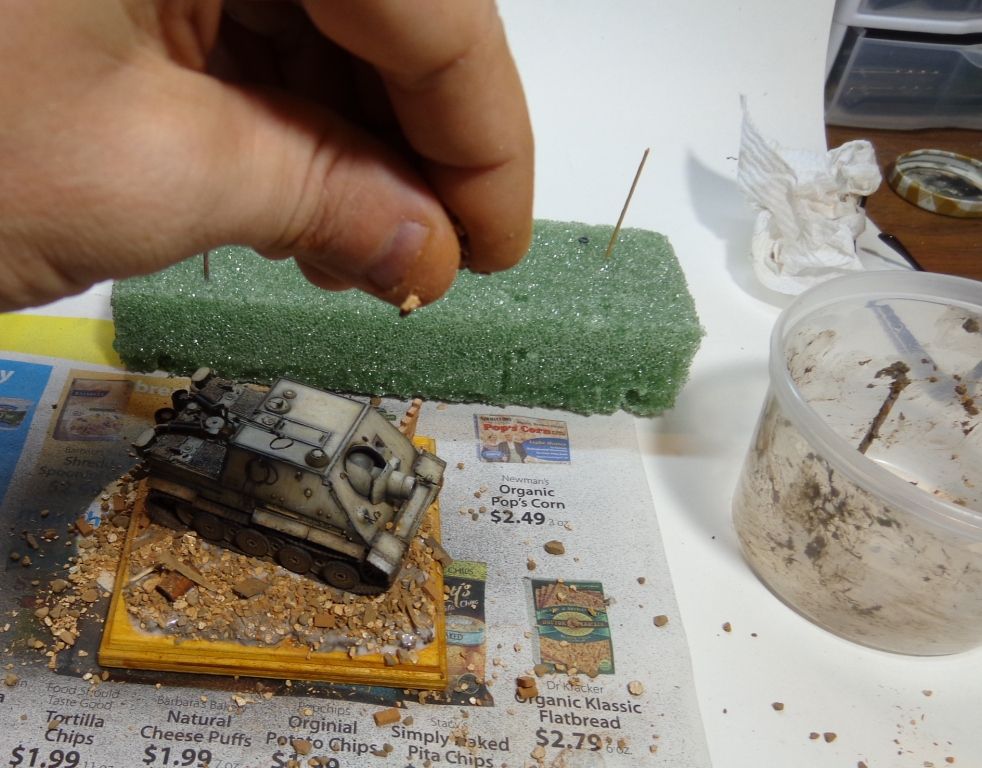
Next, add rubble. Just sprinkle it on…

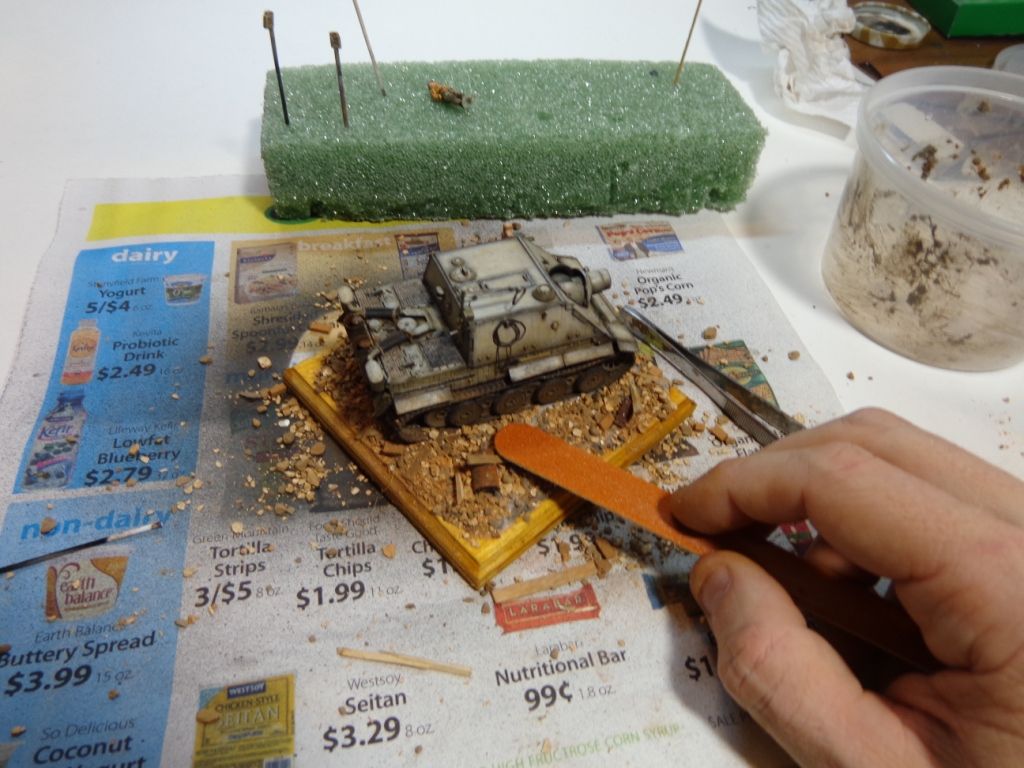
I then placed the model into the base and glue. Press the rubble

into the celluclay with an emery board—glue usually doesn’t stick to these, nor does much anything else…

And that’s it! You just built a base in like, 10 minutes!

Tomorrow I’ll have completed, finished pics. Thanks for looking in, guys! Comments always welcomed!

what is your rubble mix made from?

CallSIgnOwl, I wish I could remember where I got that from? It’s some kind of pre-mixed “Rubble; Brick and lumber” from some AM company that I got years and years ago. The “bricks” are actually some kind of tinted foam material, and there’s rock and small pieces of wood and things that look like small shingles in it.

Wish I could give you more info on it—I was actually sheepishly trying to remember what it was called yesterday when I was posting it yesterday…