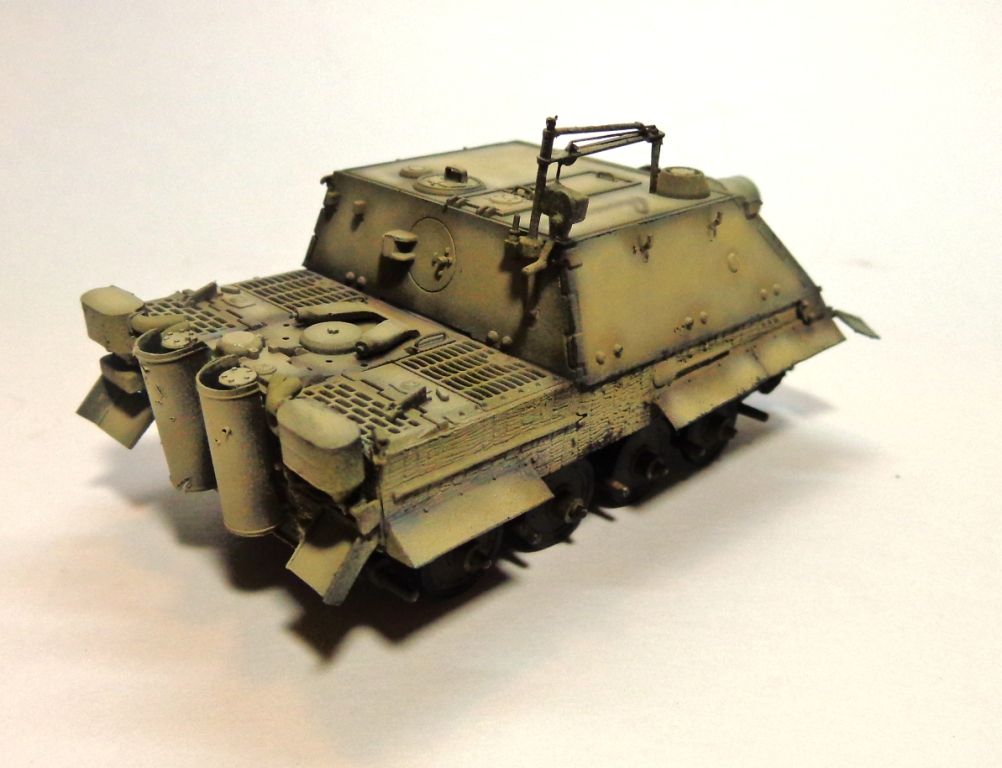
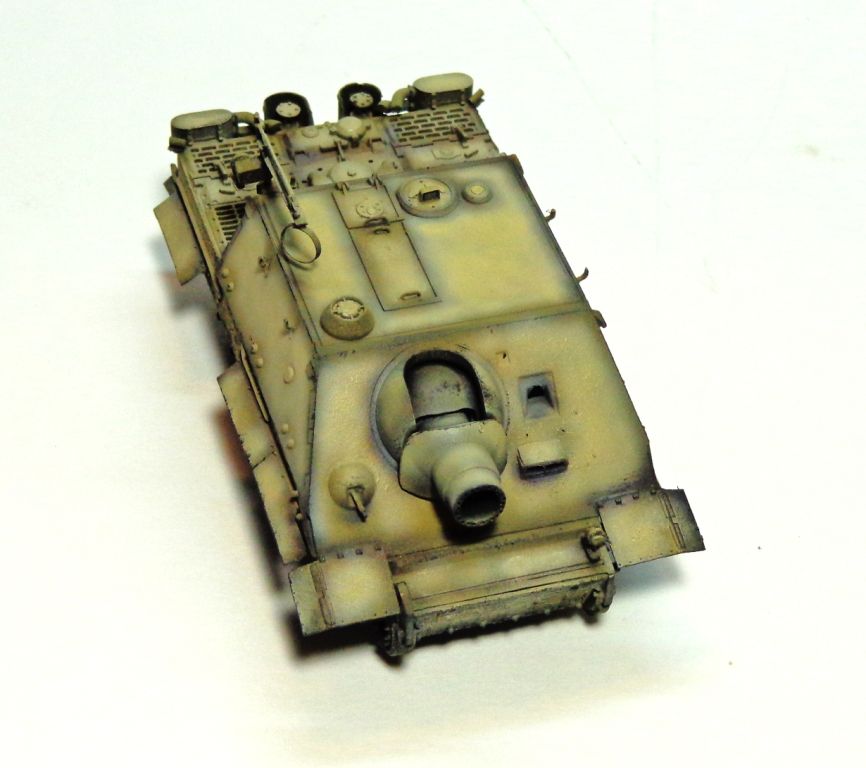
1/72 Sturmtiger- DONE!! -- FINISHED pics

Hey guys,

Well, I actually started this one up in New York, visiting for Christmas, after being snowed-in by lake-effect snow–18 inches. Man, I miss Carolina! (I’m back now; just kidding!)

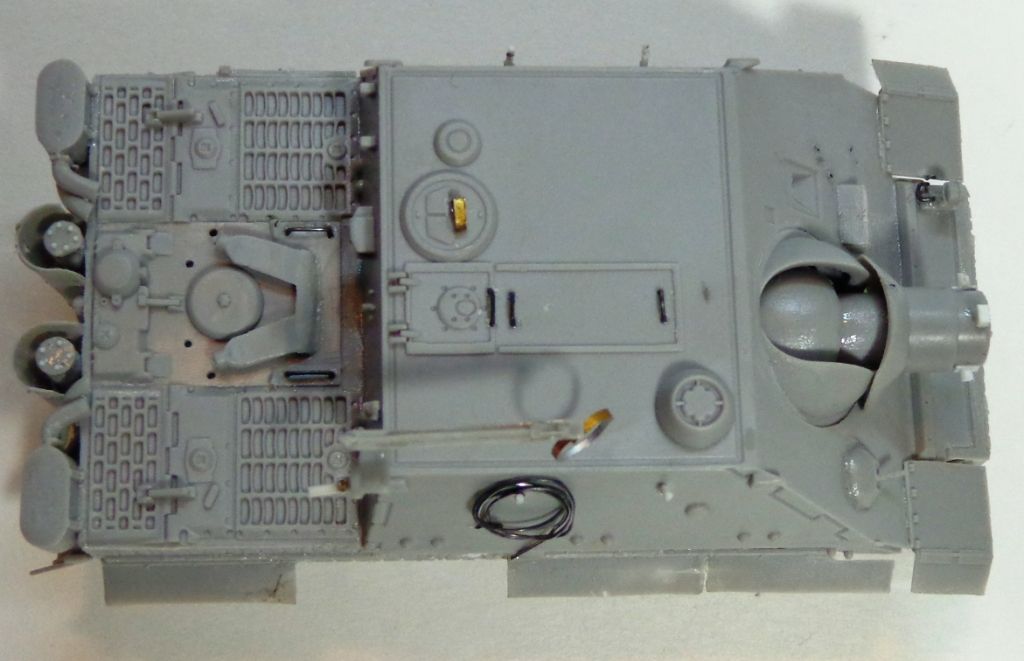
Anyhoo. this is the enigmatically-titled “early” Sturmtiger, presumably with a “Feifel” air cleaner deck–something I’ve been unable to find photographic evidence for, although I’m not going to say it never existed. In any case, as I would presume that THAT would mean it was built on a hull from a possible Eastern front Tiger, I had to scrape zimmerit into it with an exacto. Not hard to do, just time-consuming. Here’s where it was after a few hours of tinkering on the kitchen table…
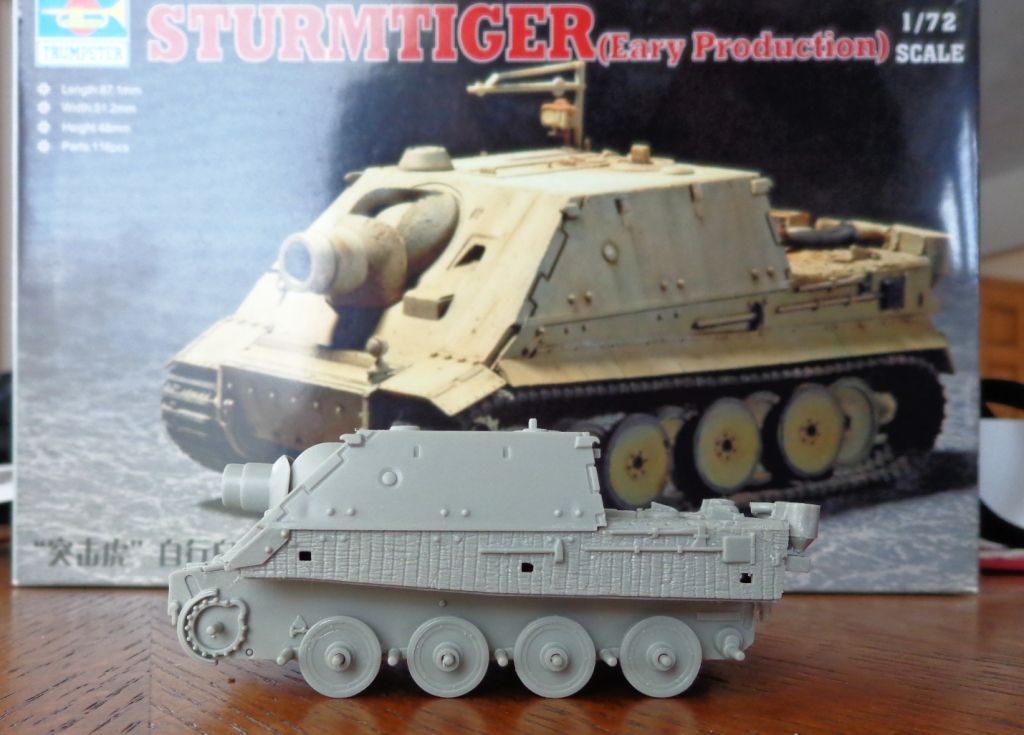
The kit is missing a lot of minor little details. The first thing I noticed was that the rear exhausts were one blocky piece of plastic. I decided to make the exhaust tops a little more detailed. I cut off the tops, and drilled holes for the supports, which I"d make from .009 guitar string. When I tell you this was TINY, I mean it was TINY!!
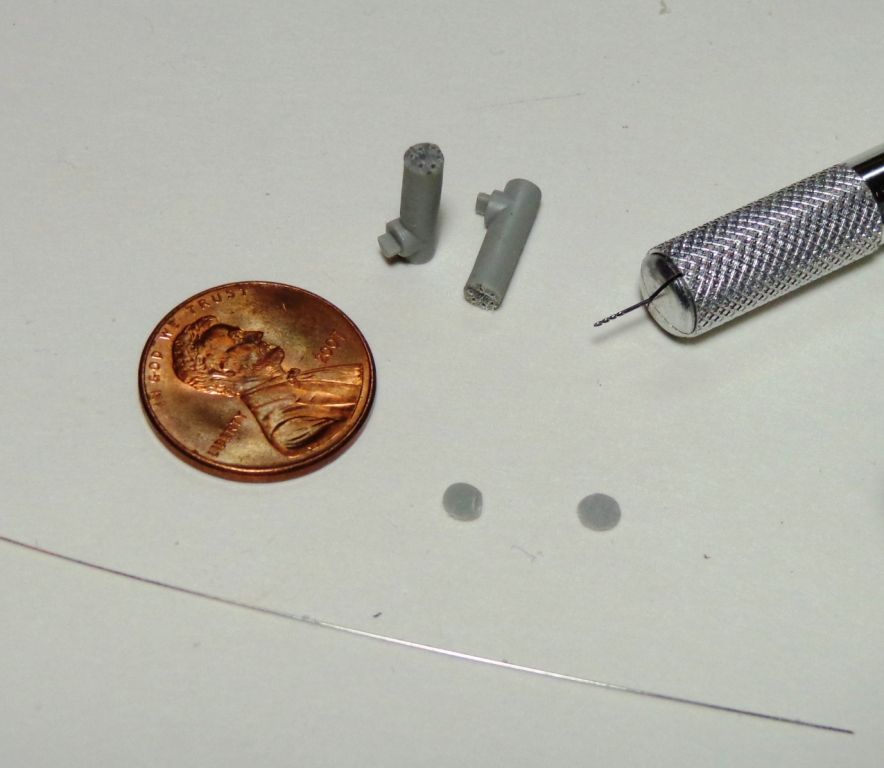
And in progress:
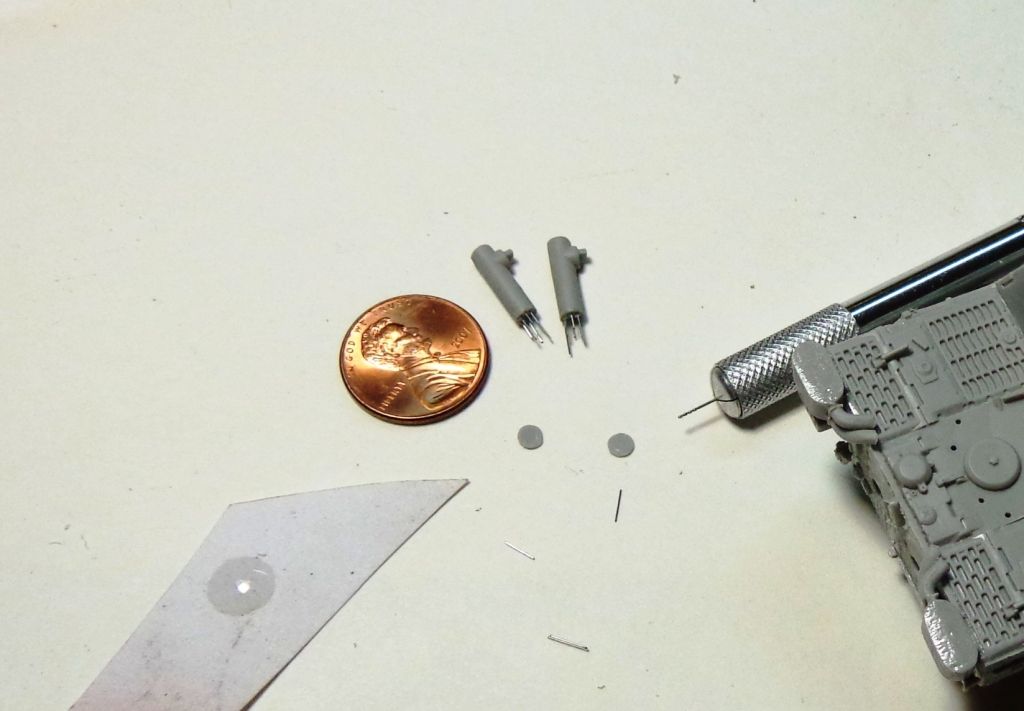
And done…
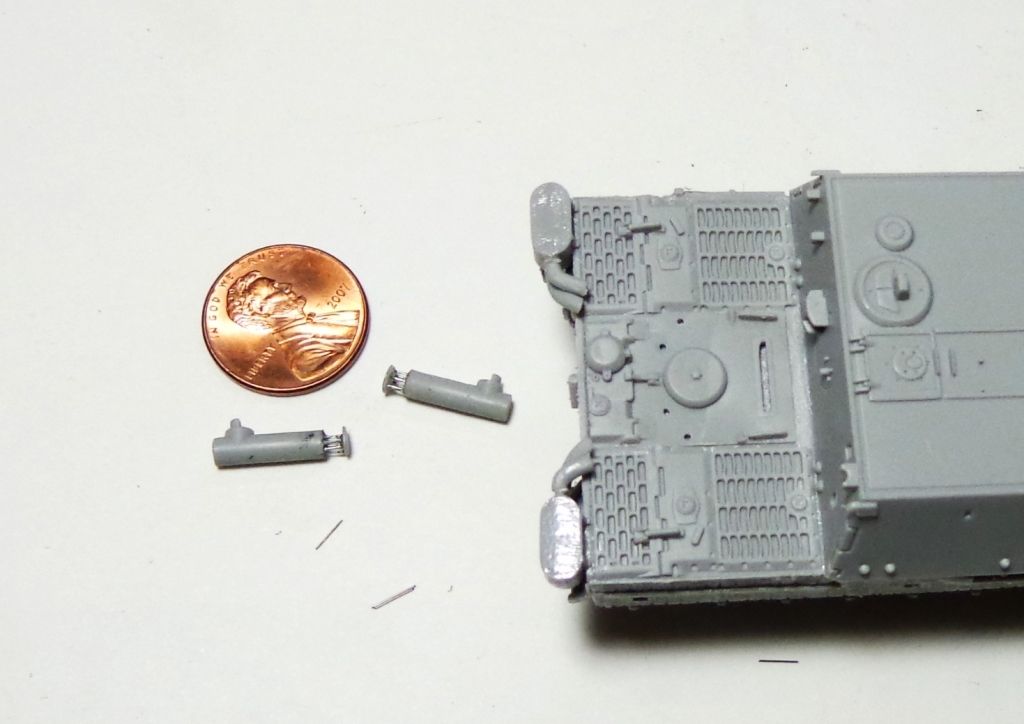
All that, just to hide behind the shields…sigh…[:(]
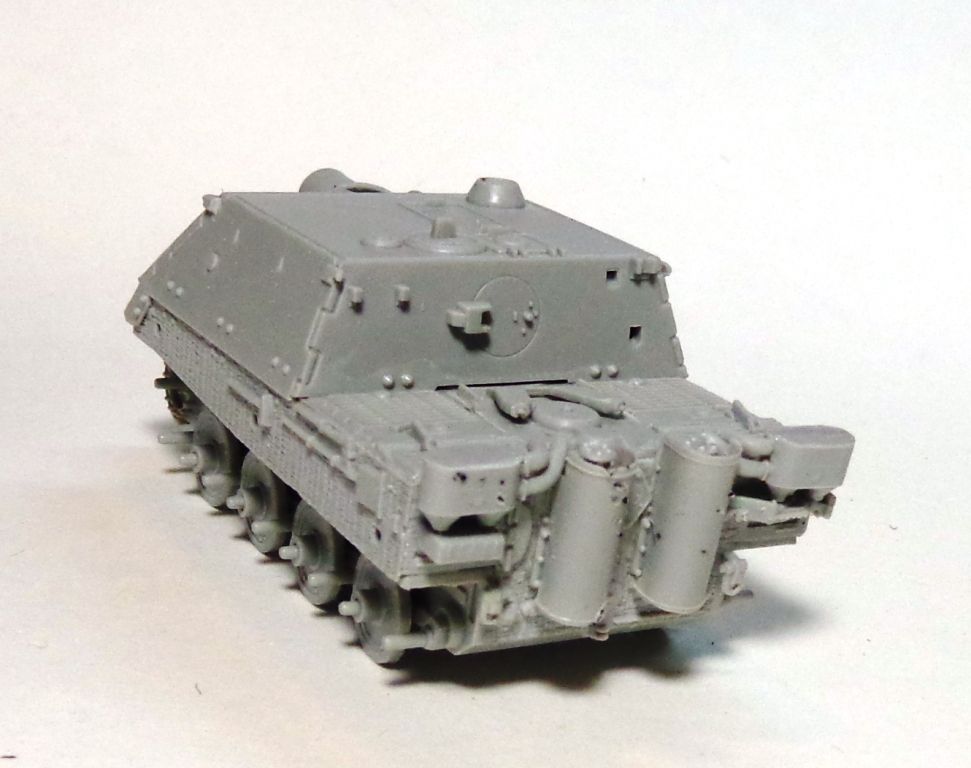
Next, the front driver’s visor was just a shapeless hole, so I thought I’d correct that:
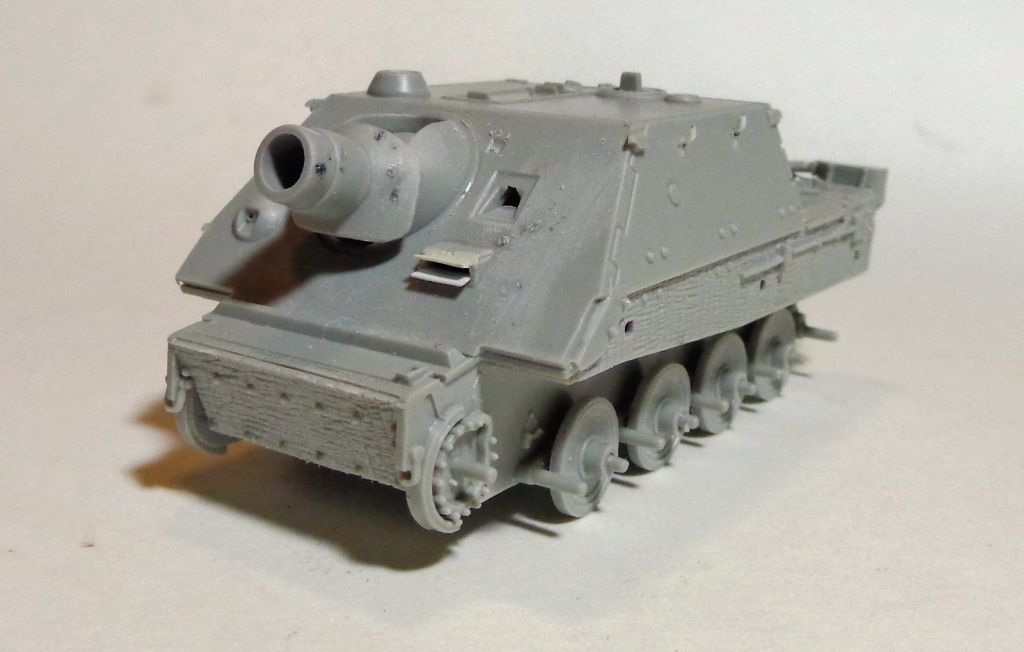
And filed down…I’ve also added the side skirts at this point; thinned down and battle-damaged. Note the annoyingly simple gun tube!? I’m about to correct that as much as I can next…
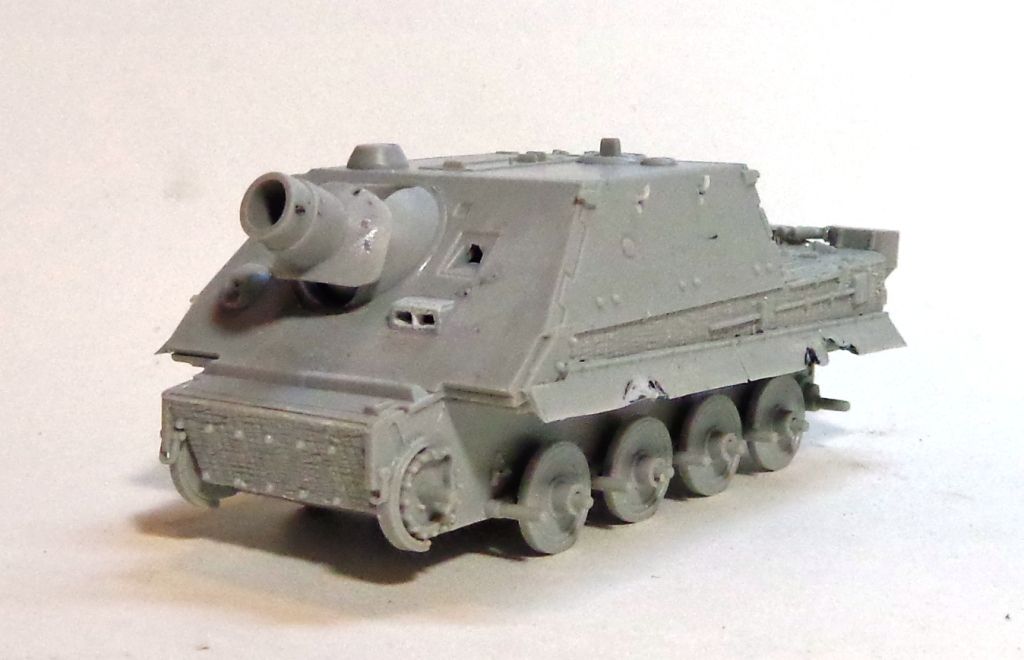
I used a sewing needle heated in a candle flame to score tiny holes in the gun tube, and then carefully drilled them out with a mini-micro drill–the smallest I could find! I also added the counter-weight stays on the mantlet too.
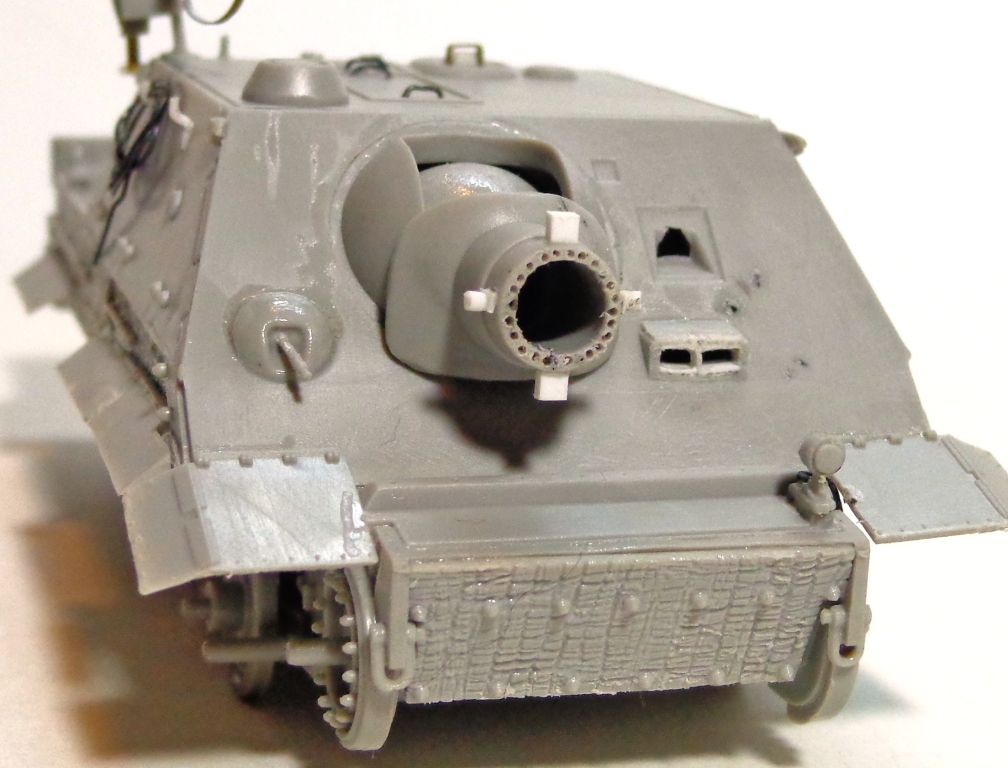
It’s ready for paint. I replaced the molded bars representing grab and hatch handles with fine wire, and also added a wire to the front light. I added hooks to the side where they should be, and detailed the crane some more. I built a new handle, added a rope/wire from fine, stretched sprue to the crane itself, and added that circular shell cradle from lead foil.
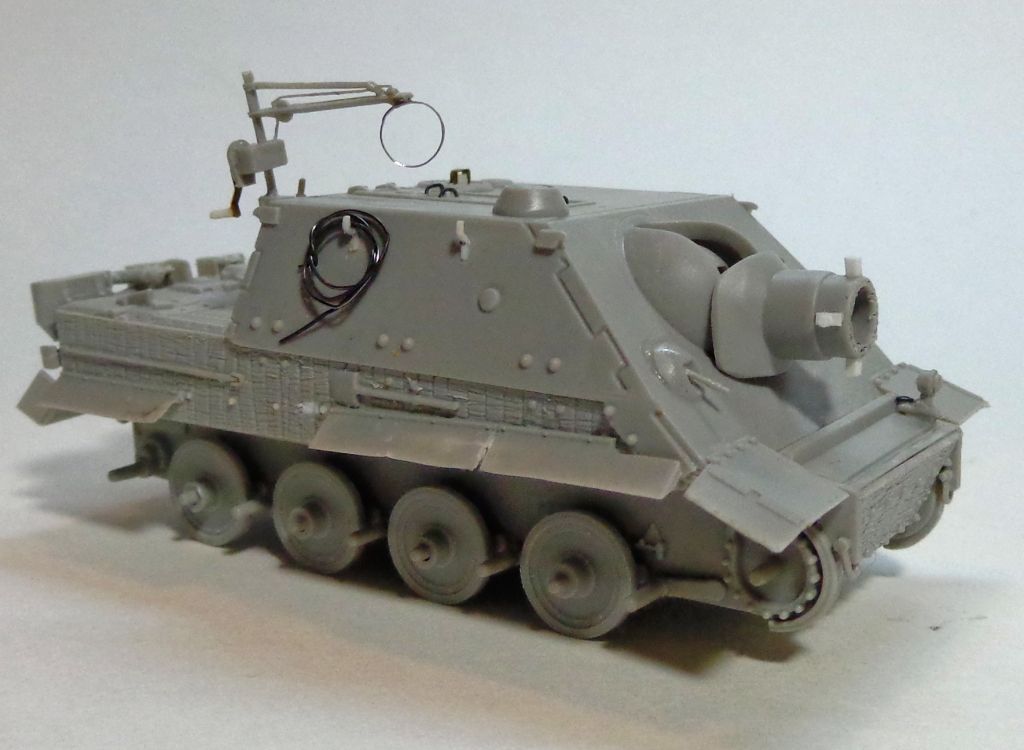
I also added a PE periscope cover. OOPs–gonna have to fill that small gap there under the upper hull…
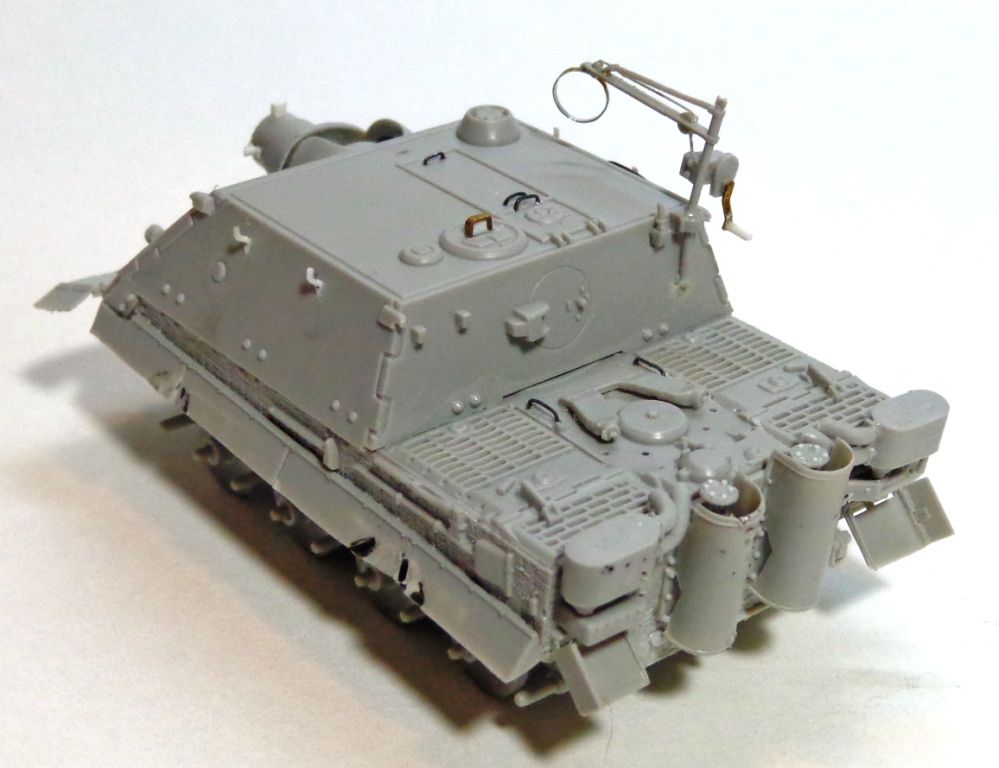
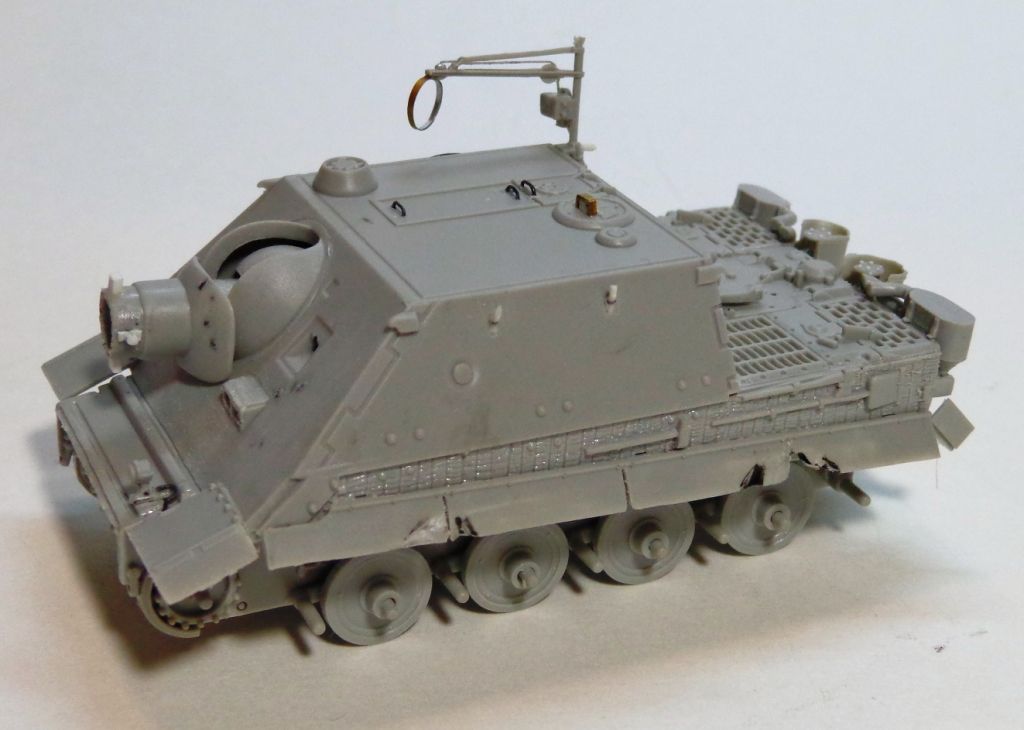
I’ll ad some paint tomorrow. I think I’m going to go with a monotone DY scheme, or maybe just a one-color light line. Not sure yet. Whatever “hits me” in the morning…

Suggestions and critiques gladly welcomed, guys!!
Wow! Back in the saddle with another braille scale beauty Karl!! I love what you’re doing with the detail on this tiny Tigger and I cant’ wait to see it all painted up! Are you going to do a vignette with this?

Yes, tiny, very very tiny.

I like your obsession to details [B]

This is actually the prototype vehicle, not “Early Production” as Trumpeter claims, as only the prototype had rubber-rimmed wheels. There are photos of this vehicle in Tankpower 16, along with detailed drawings. There should be the complete Feifel system installed, at least according to Zajaczkowski’s drawings and as it appears to be shown in one of the photos. There are no lugs present on the barrel, these are found on the production vehicles. There were 4 different arrangements of gas openings found on Sturmtigers, there should only be 20 gas openings on this version’s muzzle flat, later vehicles had 30, 31 and 40. Two S-mine launchers were also mounted on the rear corners of the hull.

Nice work Karl, very interesting thread so far. Terry

Hello Karl, I like your approach to detailing! Good luck with this build and have a nice day

Paweł

Thanks, Ernest! Yeah, I’ve got a vignette in mind with some Preisser figures I’ve got. Should be pretty neat–“evocative” is the word that jumps to mind…[A]

Thanks, SprueOne, and Terry, and Pawel! Glad to have you following along!

Ixion,

Ahh, good to know, good to know! I always appreciate a correction! Well, those lugs on the barrel shouldn’t be hard to remove. I don’t think I’ll get crazy about the number of holes. And the Feifel will of course go on. I can gin up those smoke dischargers on the outside rear hull, too, I guess.

.

Man, I wish I"d known all this before I went and “zimmed” it. Looks like I have a hypothetical proto-panzer then?!

Thanks sincerely for the information! At least now I can defend or excuse my errors! [:$]

Some nice work upping the detail on this little Sturmie Karl! Looks like 1/72 may be your new niche for a little while so you can ‘scratch the itch’ of building without involving larger projects, keep it up! [B]

Here is a photo and artwork that might be useful;

http://planetarmor.com/forums/showthread.php?t=6631

The molded-on Zimmerit is a problem too. Trumpeter kind of punted on this one. Sorry to be the bad news messenger, but I hope this helps.

Thanks, Bill! 1/72 is a nice little forgiving scale when you want to drumup a quick project, Unfortunately, I have a hard time building OOB, especially if it’s WWII! Gotta always throw in a few extra details! ANd sometimes, I get the wrong, lol.

Have you ever done a 1/72 build, Bill? You ought to give one a go!

Thanks, Ixion; I appreciate the link; I actually found that thread the other night when I went looking for “prototype” Sturmtiger! Darned box mis-labelling! I DO appreciate the call-out though; research is my weakest aspect of my modeling sometime when I’m more excited than well-informed!

Oh well–I know that I am committed to the zimmerit at this stage; can’t really putty it up or scrape it off… Well, I guess that, at this point, I’ll just put my Sturmy out there as if it was build as a prototype and then put out in the field and zimmeritted after-the-fact.Kinda like when they used to build prototypes and then throw them into battle as an expedient measure? I mean, it’s theoretically possible…(just don’t tell anyone that the prototype here was soft steel…!) [:#]

After reading up on this particular machine, a few things have come to light. The mild steel prototype was actually sent into combat trials, (what little there was for these machines),on August 12, 1944 in Warsaw. On August 28th, it was sent back to Alkett-Werke and rebuilt with an armored superstructure. This would have been before the Sept. 9th cut-off date for Zimmerit, so maybe it received a coat then? I don’t know of any photos of this vehicle after it was rebuilt. So, it looks like you can get away with a Zimmerit job after all. [:O]

Thanks again, Ixion–nice to have the input. And it’s good to know that I can plausibly fudge the zimmerit-thing if I get asked about it. Thanks again for following along and for the information! [B]

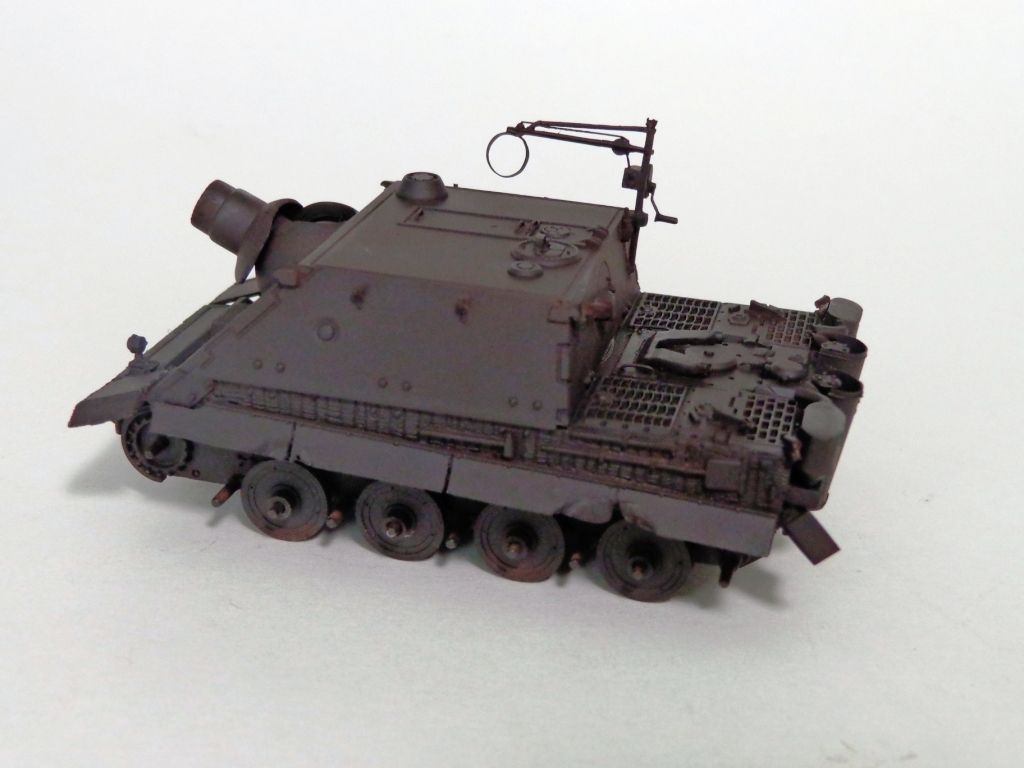
Painting update!

Ok, I preshaded the model with some very dark Tamiya Brown, tinted with black.

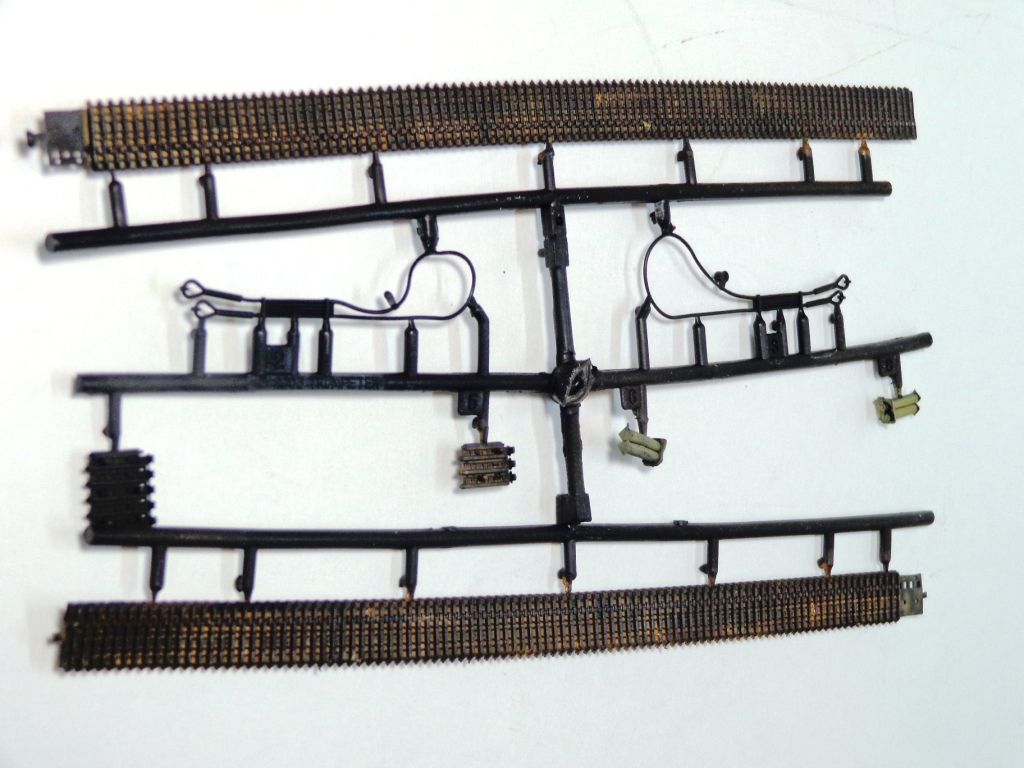
The tracks got the same coat, and then a wash of MIG 502 Abt LIght Mud–which looks like rust–went over them.

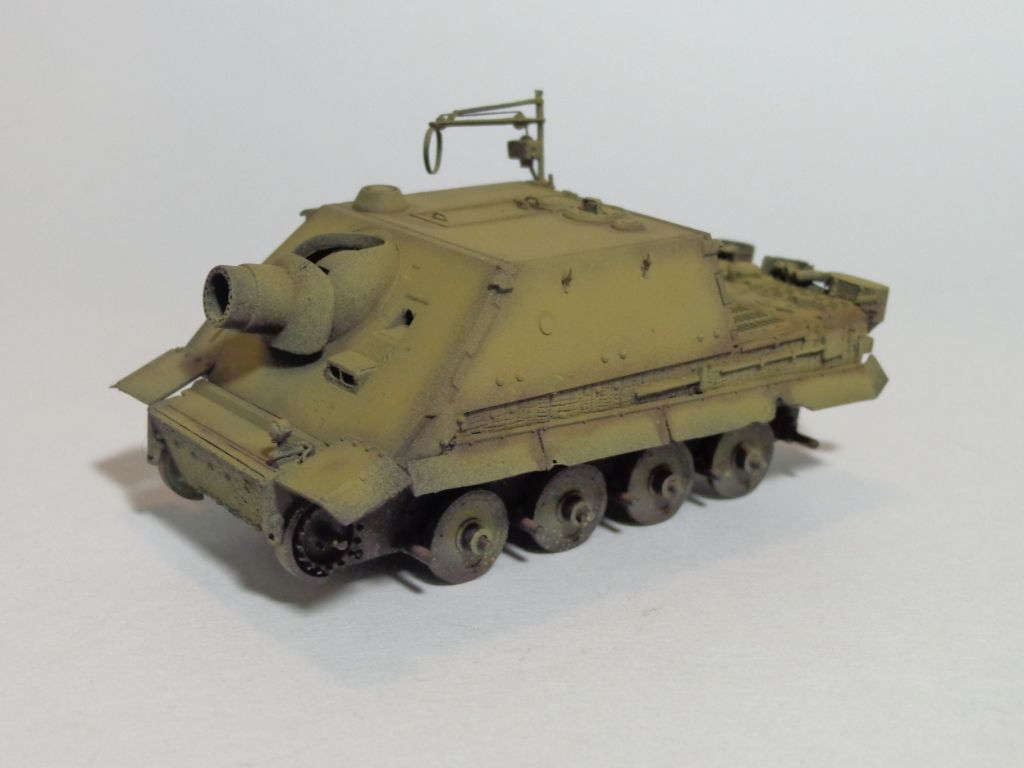
Next, I painted a coat of untinted Tamiya DY, leaving the edges very lightly painted. This has the cool effect in 1/72 of providing an intriguing kind of “highlight” that defines the lines of the vehicle–especially a boxy hull like this. I later went over the edges again in Brown, adding a bit more depth to it.

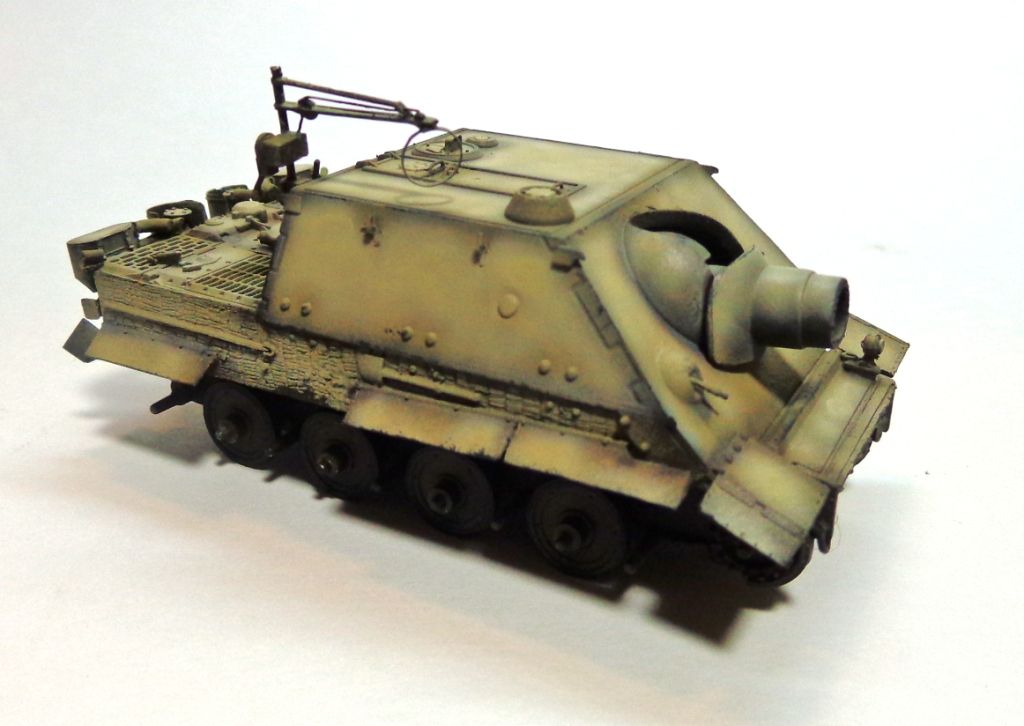
Then, I lightened the DY with about 70% White, and highlighted the vehicle inside the panels. This almost makes the model look weathered to a degree already. Ironically, it looks a little like it’s “mapped”–what we’ve been discussing in one post here. But it’s mostly only from the airbrush–I did the slightest bit of chipping-highlighting on the edges just to see what it looked like, and it looks like it’s going to be perfect for what I want.

This should be pretty fun to weather! I’m going to leave it in DY and see what I can do with it!

Next update should have the wheels and tracks on 'er!

All comments always welcomed!! [8-|]

Shaping up now,it helps when I expand the picture so I can see the little bugger[;)]

Tony lee

that paint job is coming along great!

Looking good there Karl, nice work on the pre-shade. [B]

Man that is some lovely preshading on the ST Karl! I’m very eagerly waiting for your weathering! I’m building a 1/72 Jagdtiger for Eric’s Steel Cats GB and I just may use your Sturmtiger as my painting inspiration!