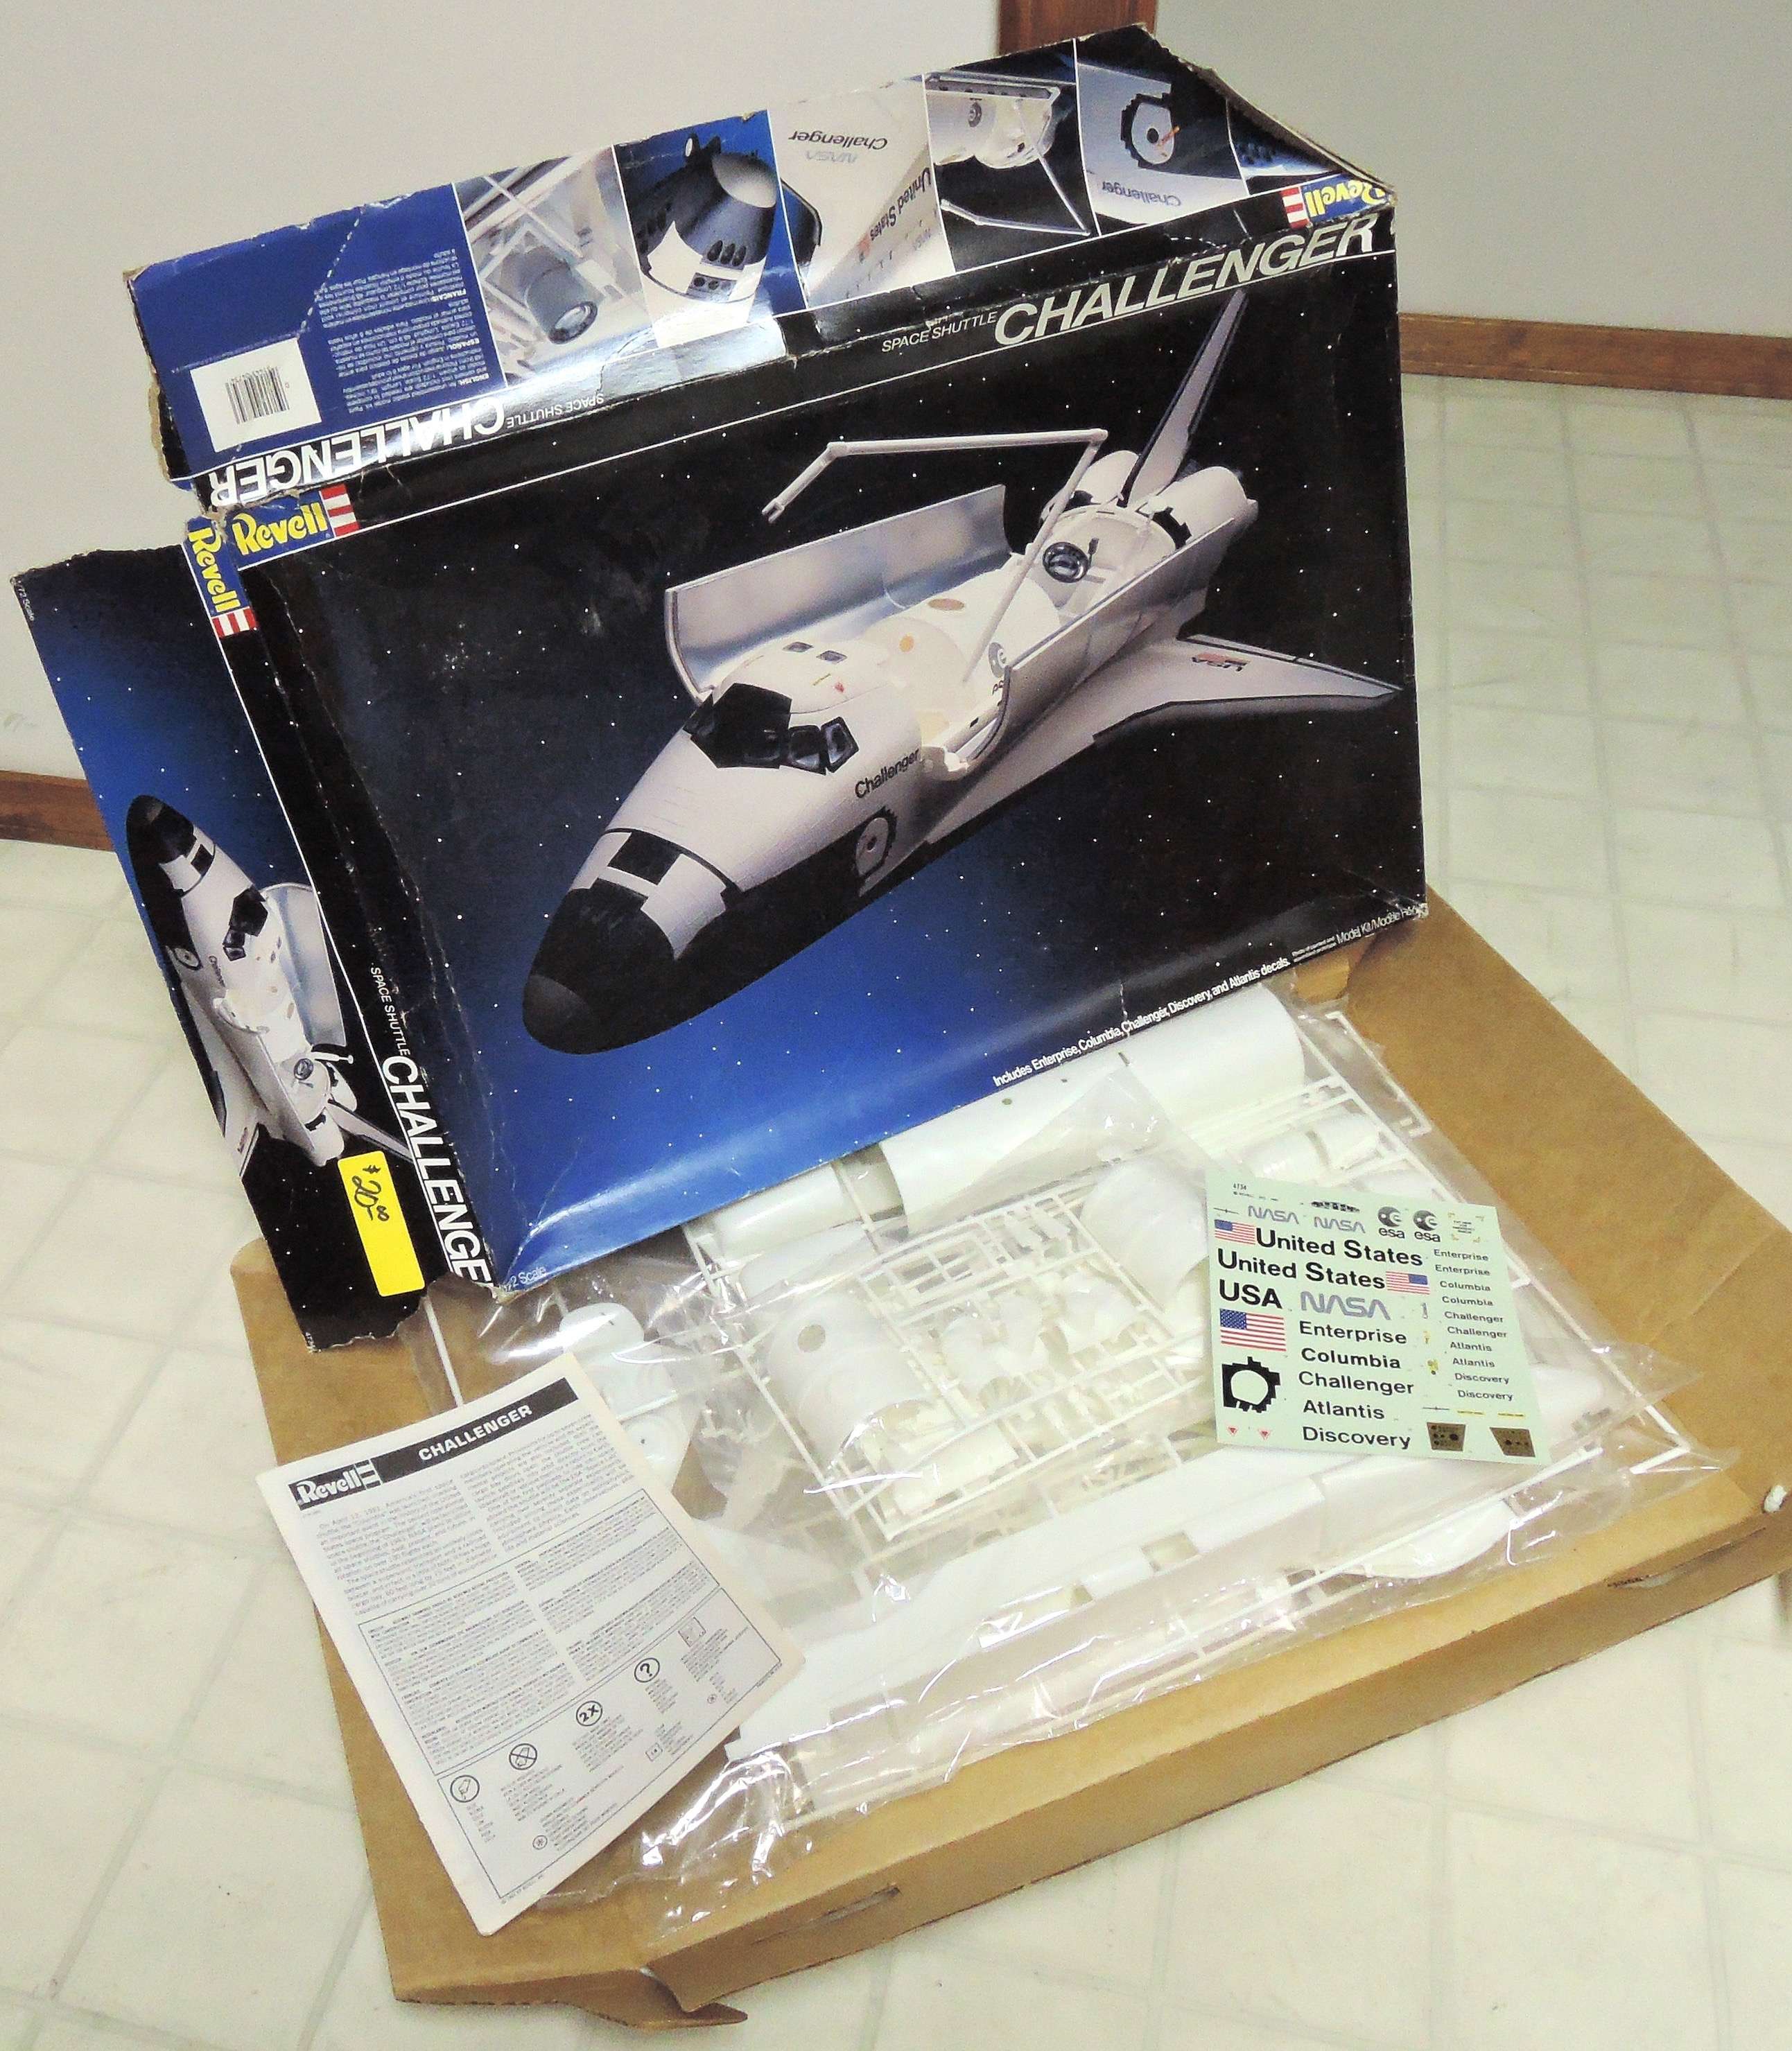
I’ve already made a report on the Aircraft post about finding this 1/72 Space Shuttle at a vendors booth at a model show over the weekend. There it was, in a well worn exploded box with a $20 price tag! A brief inspection of the product confirming all was well, the low dollar offer, which it never hurts to ask, lol, and I’m off with the gem for $15. Watta buy on something I’ve been looking for or at least been considering for my Museum which is really just my office. [8-)]
I’d just started my next kit on the list, a 1/48 F-4C which at my speed will probably take months. The Shuttle looks to be simpler and more fun and I think I’ll tackle it first for a pre-Phantom break.
This looks to be a good one for a W.I.P. and I’ll keep you posted.
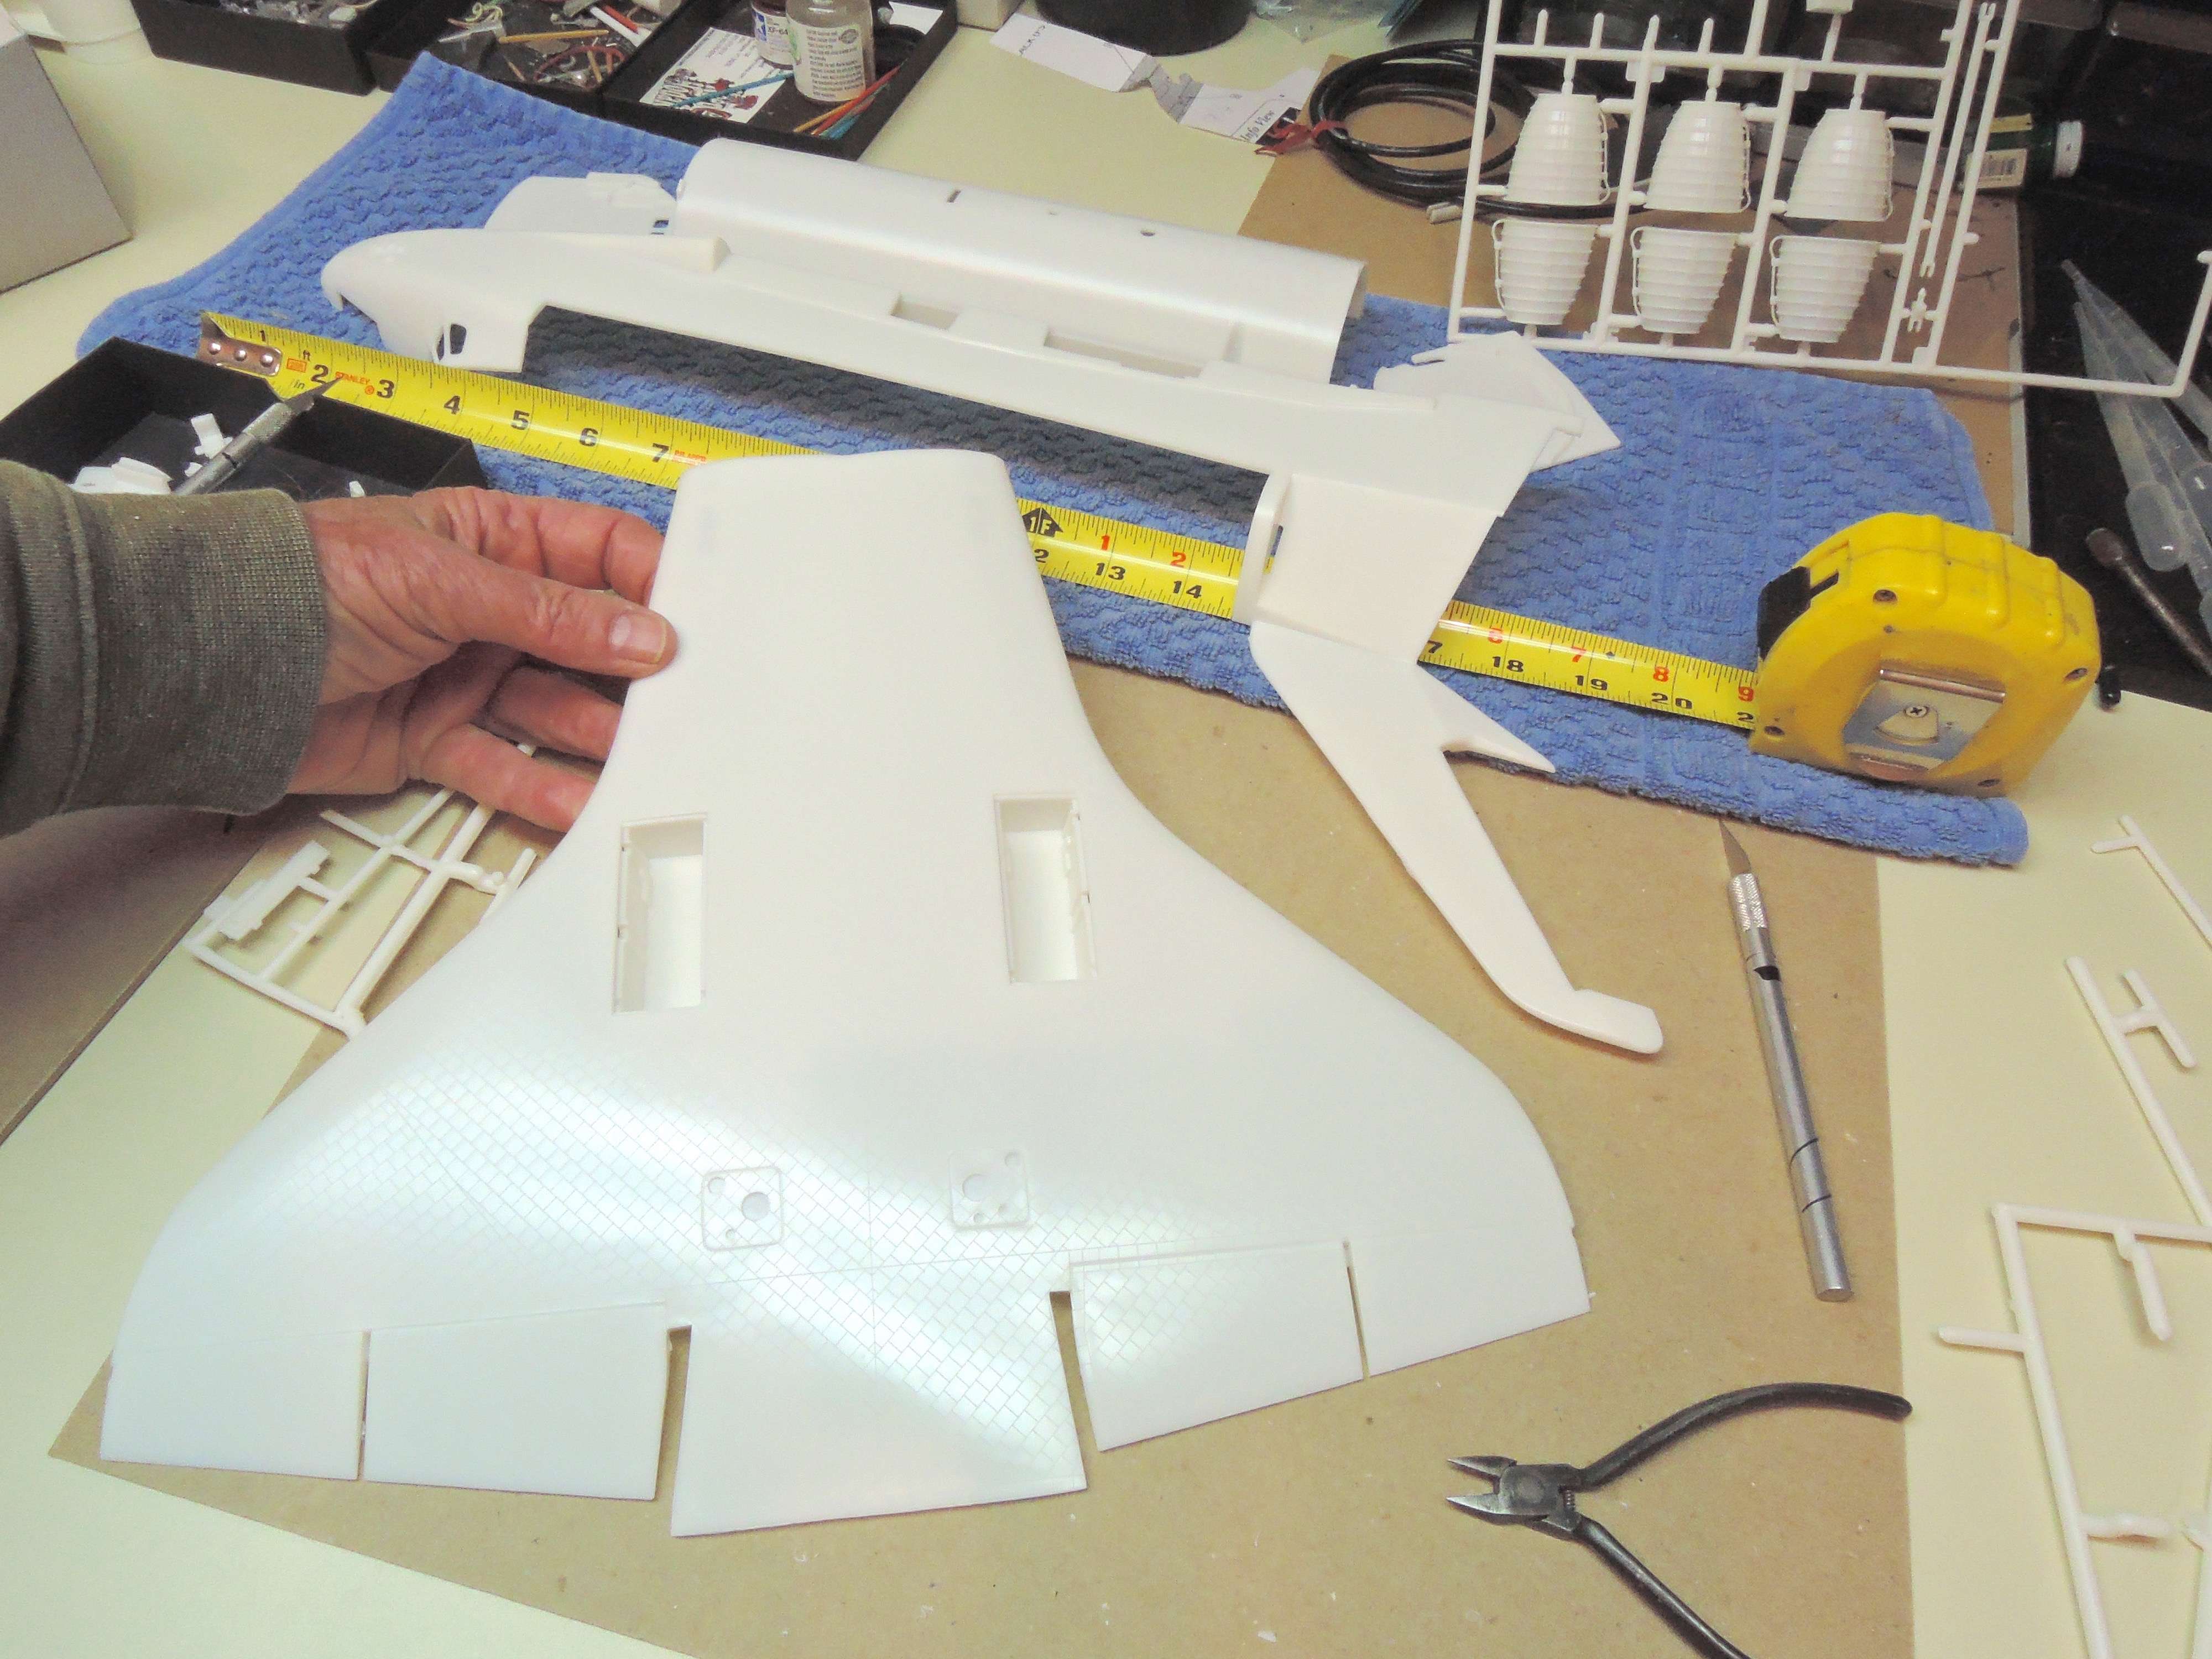
Hey thanks Pat and Steve. The kit assembly is really basic. I was worried about tile detail which actually looks pretty good. I visualize some detail washes or powders to make the tiles stand out. Shuttles up close look incredibly detailed and this model should be a fun one. At least it’s big, all good for my old large hands, lol! The overall length of the Shuttle is about 20’’ compared to a 1/72 B-52 at 27’'. This is a big model!
OK, It’s on the bench. Again, this thing is a whopper even at 1/72. The mold says 1979, rather basic but enough detail that I think it will work. I’m behind in life itself and this season is a bad time to build models. Starting is always step one, lol, and I have!
Holy cats, Max. This is a monster kit that you are building. This should be interesting.
Question: as far as the base coat and/or primer…will you use a rattle can? Or are you airbrushing it? I always wonder what you guys do for the larger kits.
Hmm, all good questions! I have used rattle cans on the B-52 and B-36. I’ll certainly test some. On my smaller Shuttle I sprayed clear matte over the white plastic which was a bit stark. I’ve been studying Shuttle pictures and trying to decide all of this, actually part of the fun of modeling at least for me. I’m certainly open for input on this one! [*-)]
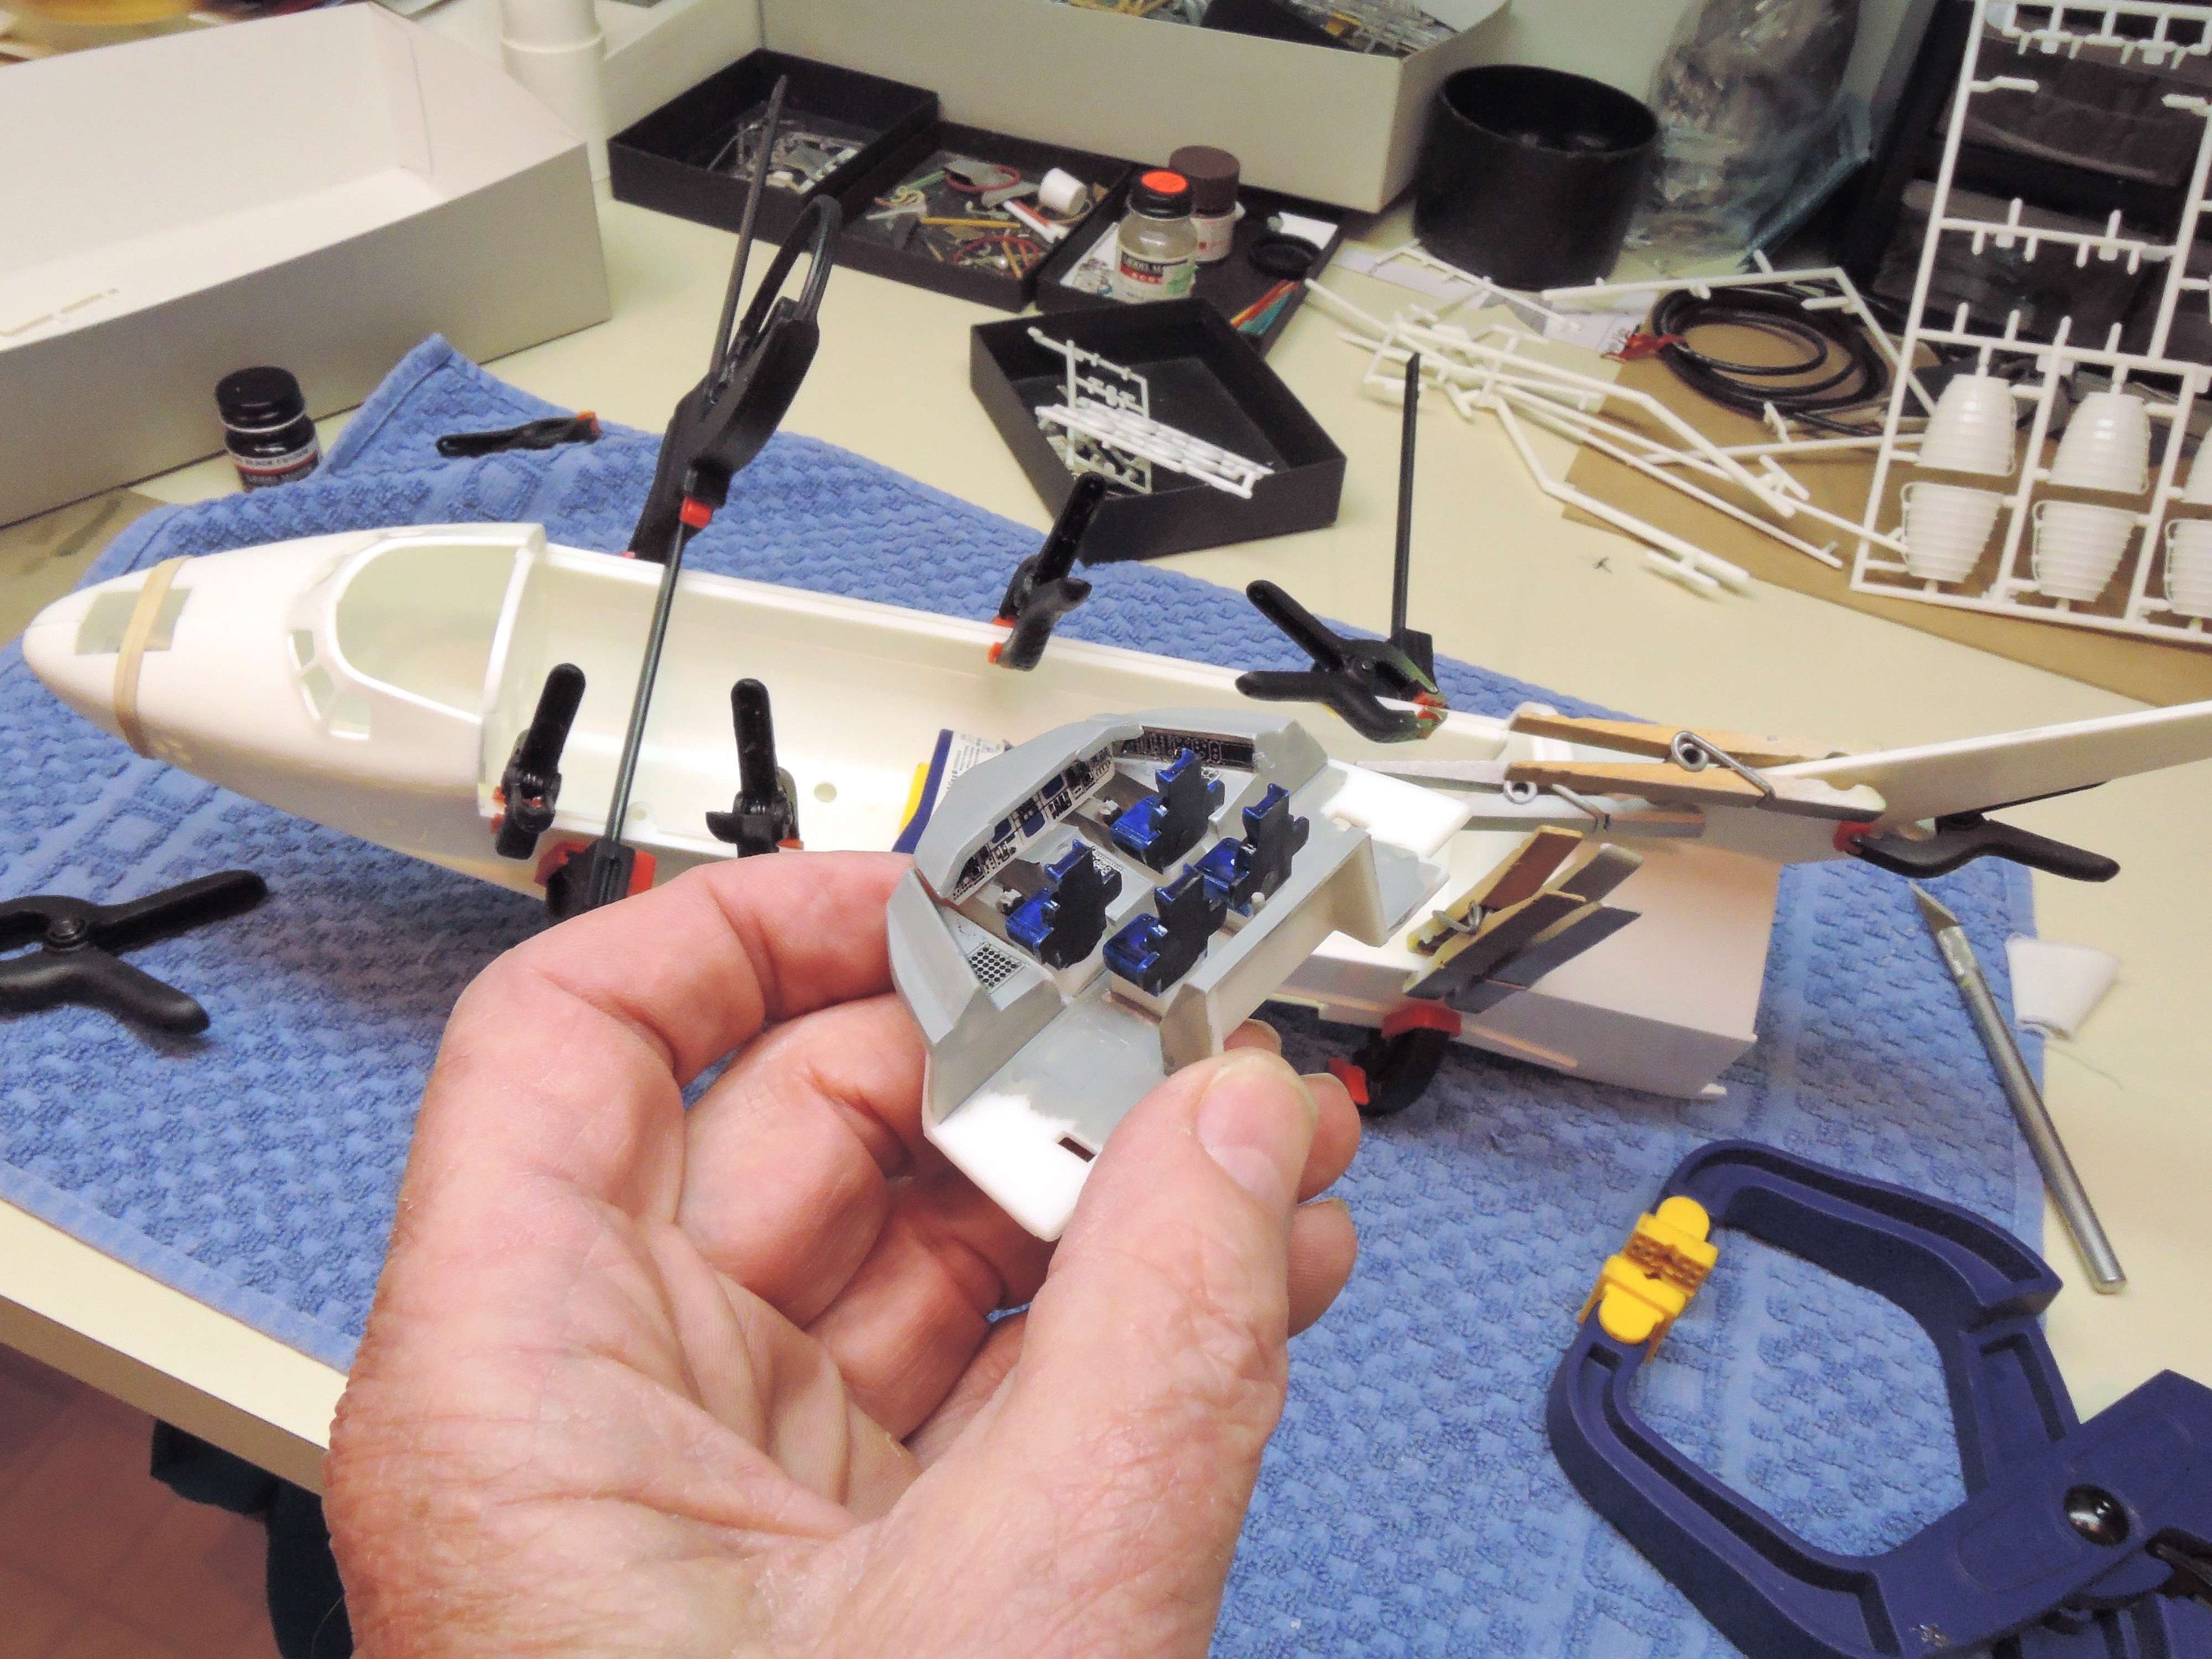
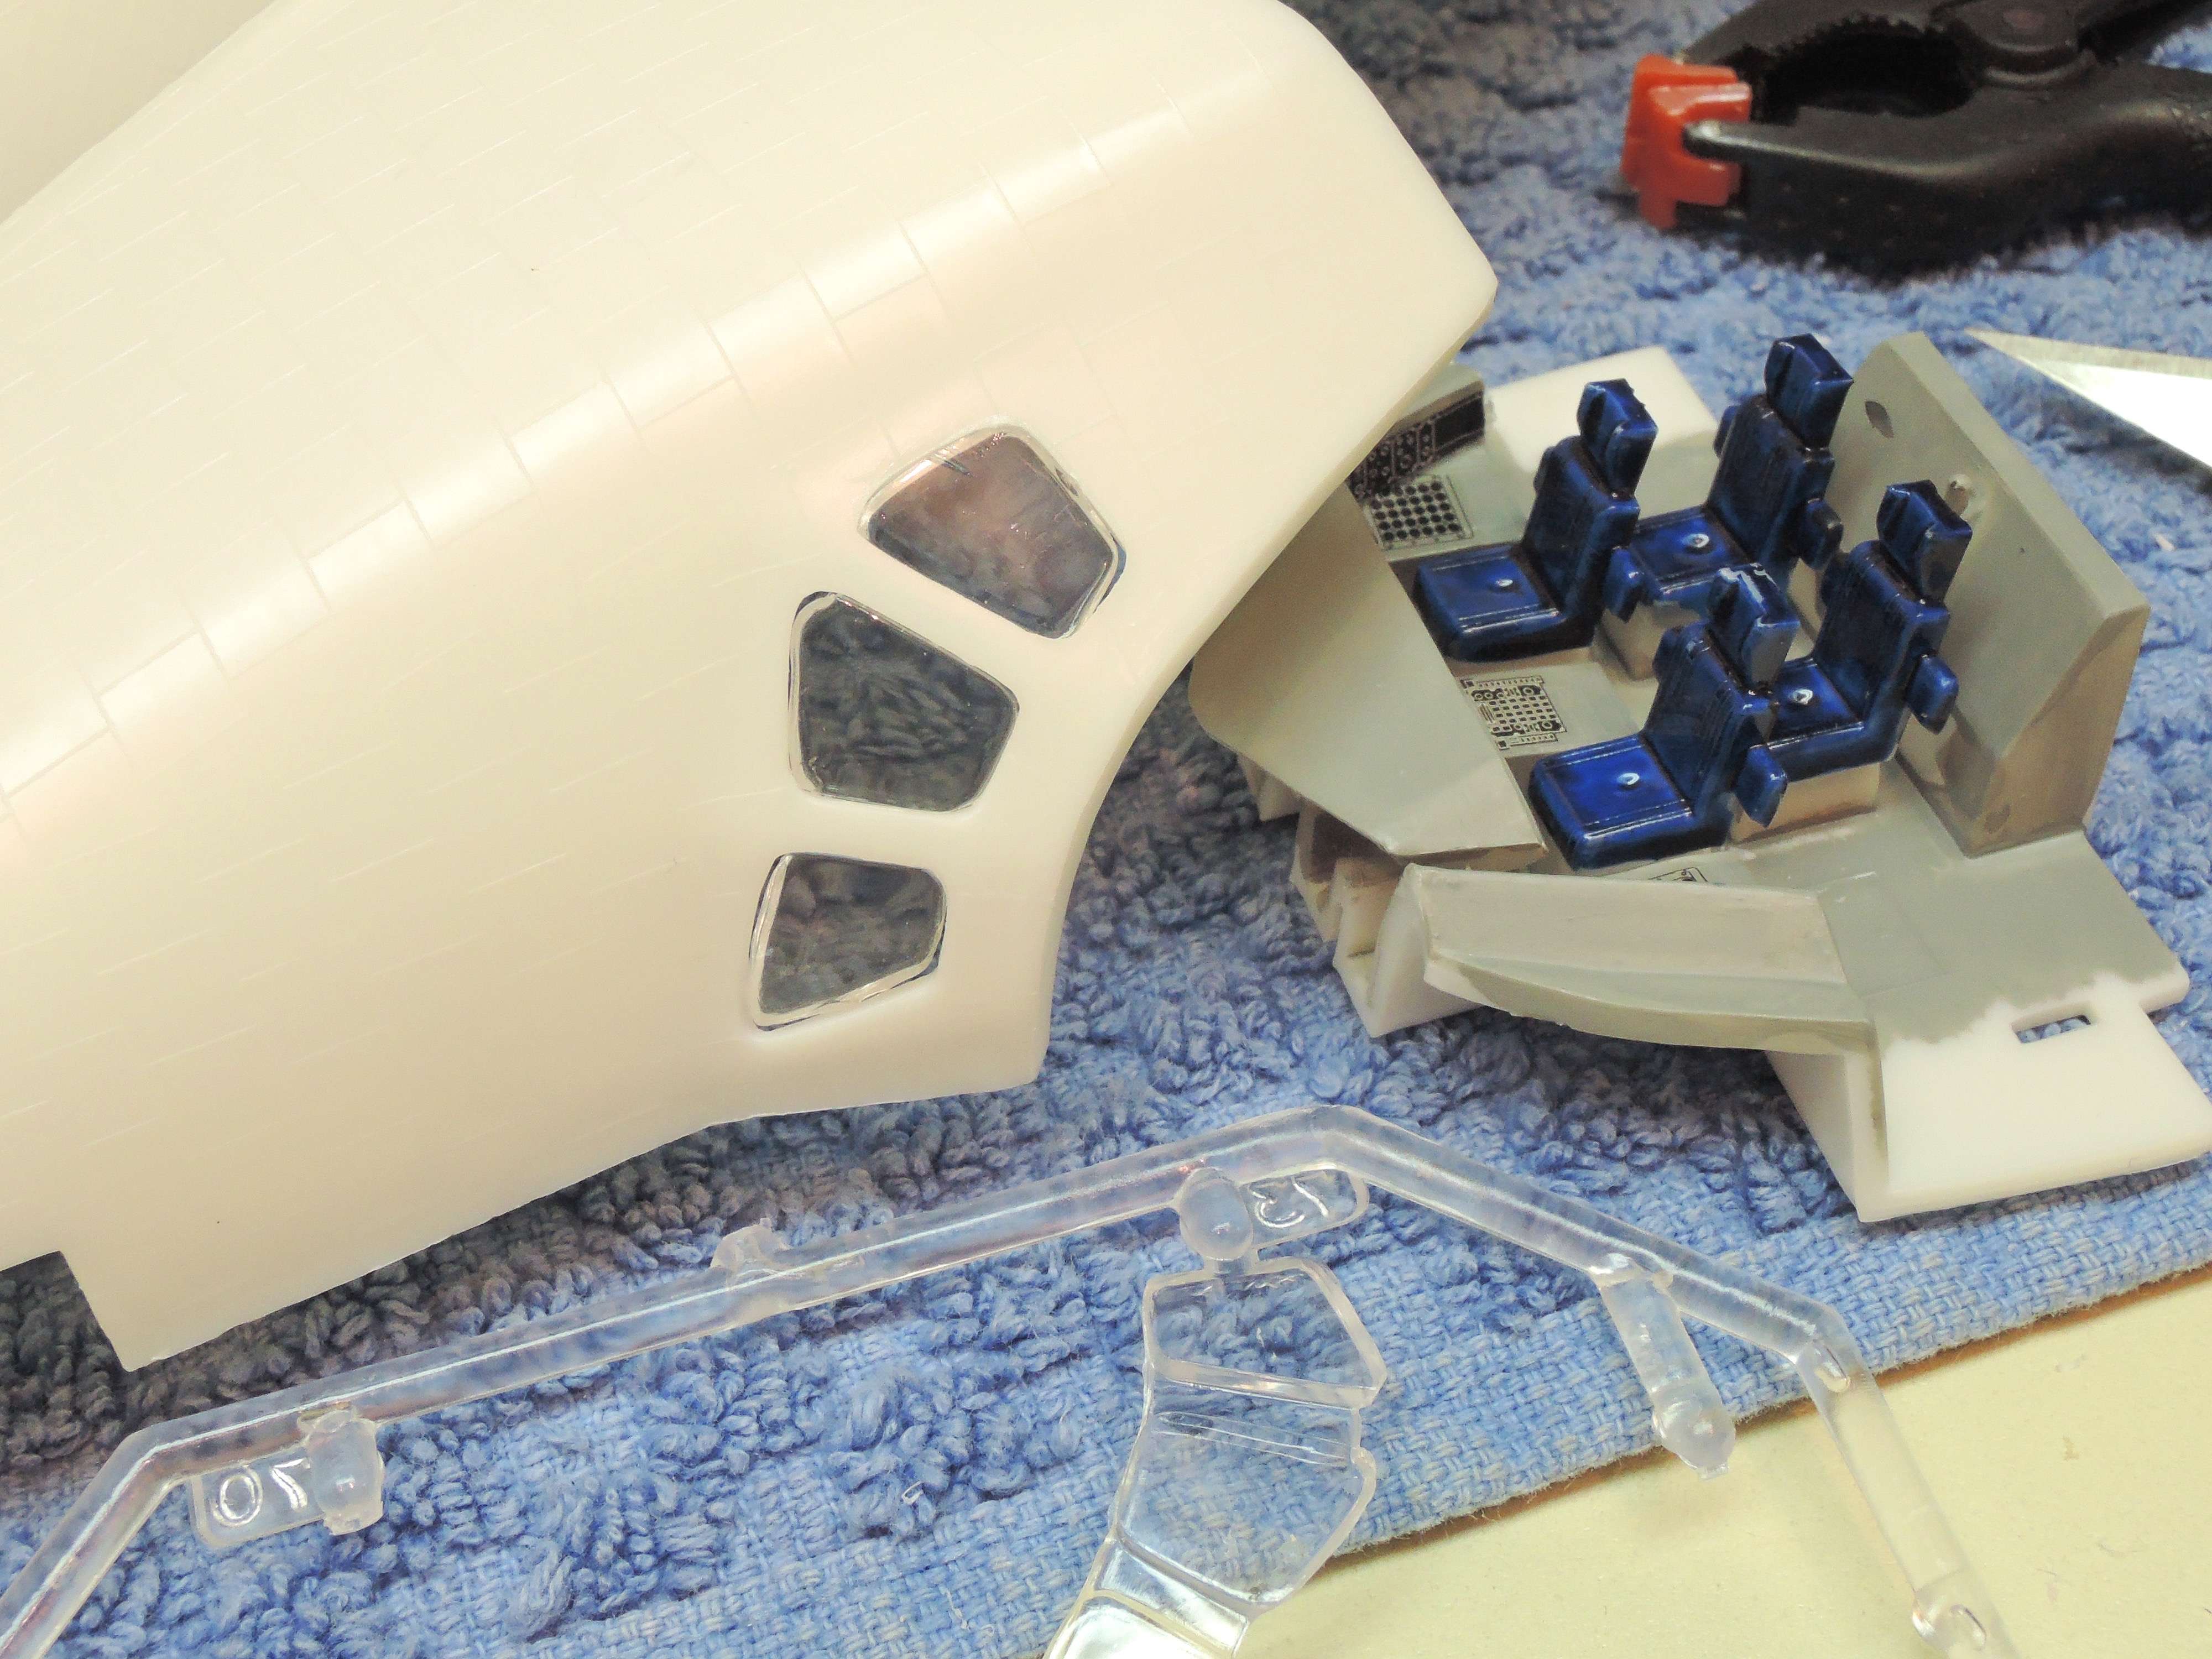
Hey, first progress. The cockpit looks to be hard to see in but I suppose if you were curious and had a flashlight you could kinda see the basic layout. It did have dash decals probably to make the builder happy but the cockpit detail is sorely lacking. Four seats and a dash decal just didn’t seem to be enough. The whole kit is era crude but it’s what was available at the time and one shouldn’t spend too much time making one part exceptional only to shame the other part of the build.
I went through the decal box and found some various technical looking but not exactly accurate decals for the side panels and did build a pair of control sticks and their mounts to add to the meager reality. Actually for the available view this is probably overkill but it did entertain me for awhile.
Next to the initial fitting of the fuselage halves. My, this is going to be quite the trial. Two 20’’ floppy fuselage halves with a few twists, turns and warpage used up almost ever clamp I own before even considering cement. You will never glue this together in one run. After considering the problem I think my plan of attack is to glue together the front cockpit area first. Back of that glue seams will not show as they are in the cargo bay and the wing assembly hides the bottom seam. After the cockpit has dried I can pry apart the back seams and force glue in the seams, aligning as I go. At least that’s the plan. Still many fit issues on a design like this. This was to be a quick simple kit. lol.
Another problem is many of the seams have tile detail preventing fill and sand. We’ll face that problem after the align/glue/fit problem.
OK, that’s the report. This still looks to be a fun kit if I can finess the fuselage halves together and still look acceptable. This looks to be the challenge. I don’t think this is going to be a show winner but maybe I can coax a nice display model out of this for the Museum.
OMG! I had this kit and built it about 30 years ago. Same box and description of kit.
Even though it was molded in white, I used rattle can white, black and gray to paint it.
Masking the areas for the three colors was not that difficult, but took time. I didn’t weather the model due to lack of experience, but it turned out in my own mind quite good.
I don’t remember how the actual build went, but it couldn’t have been too difficult.
The model is long gone, but I do believe I still have the landing gear in my spare parts box.
Good luck and may the force be with you, or is it proudly go where no man has gone before?
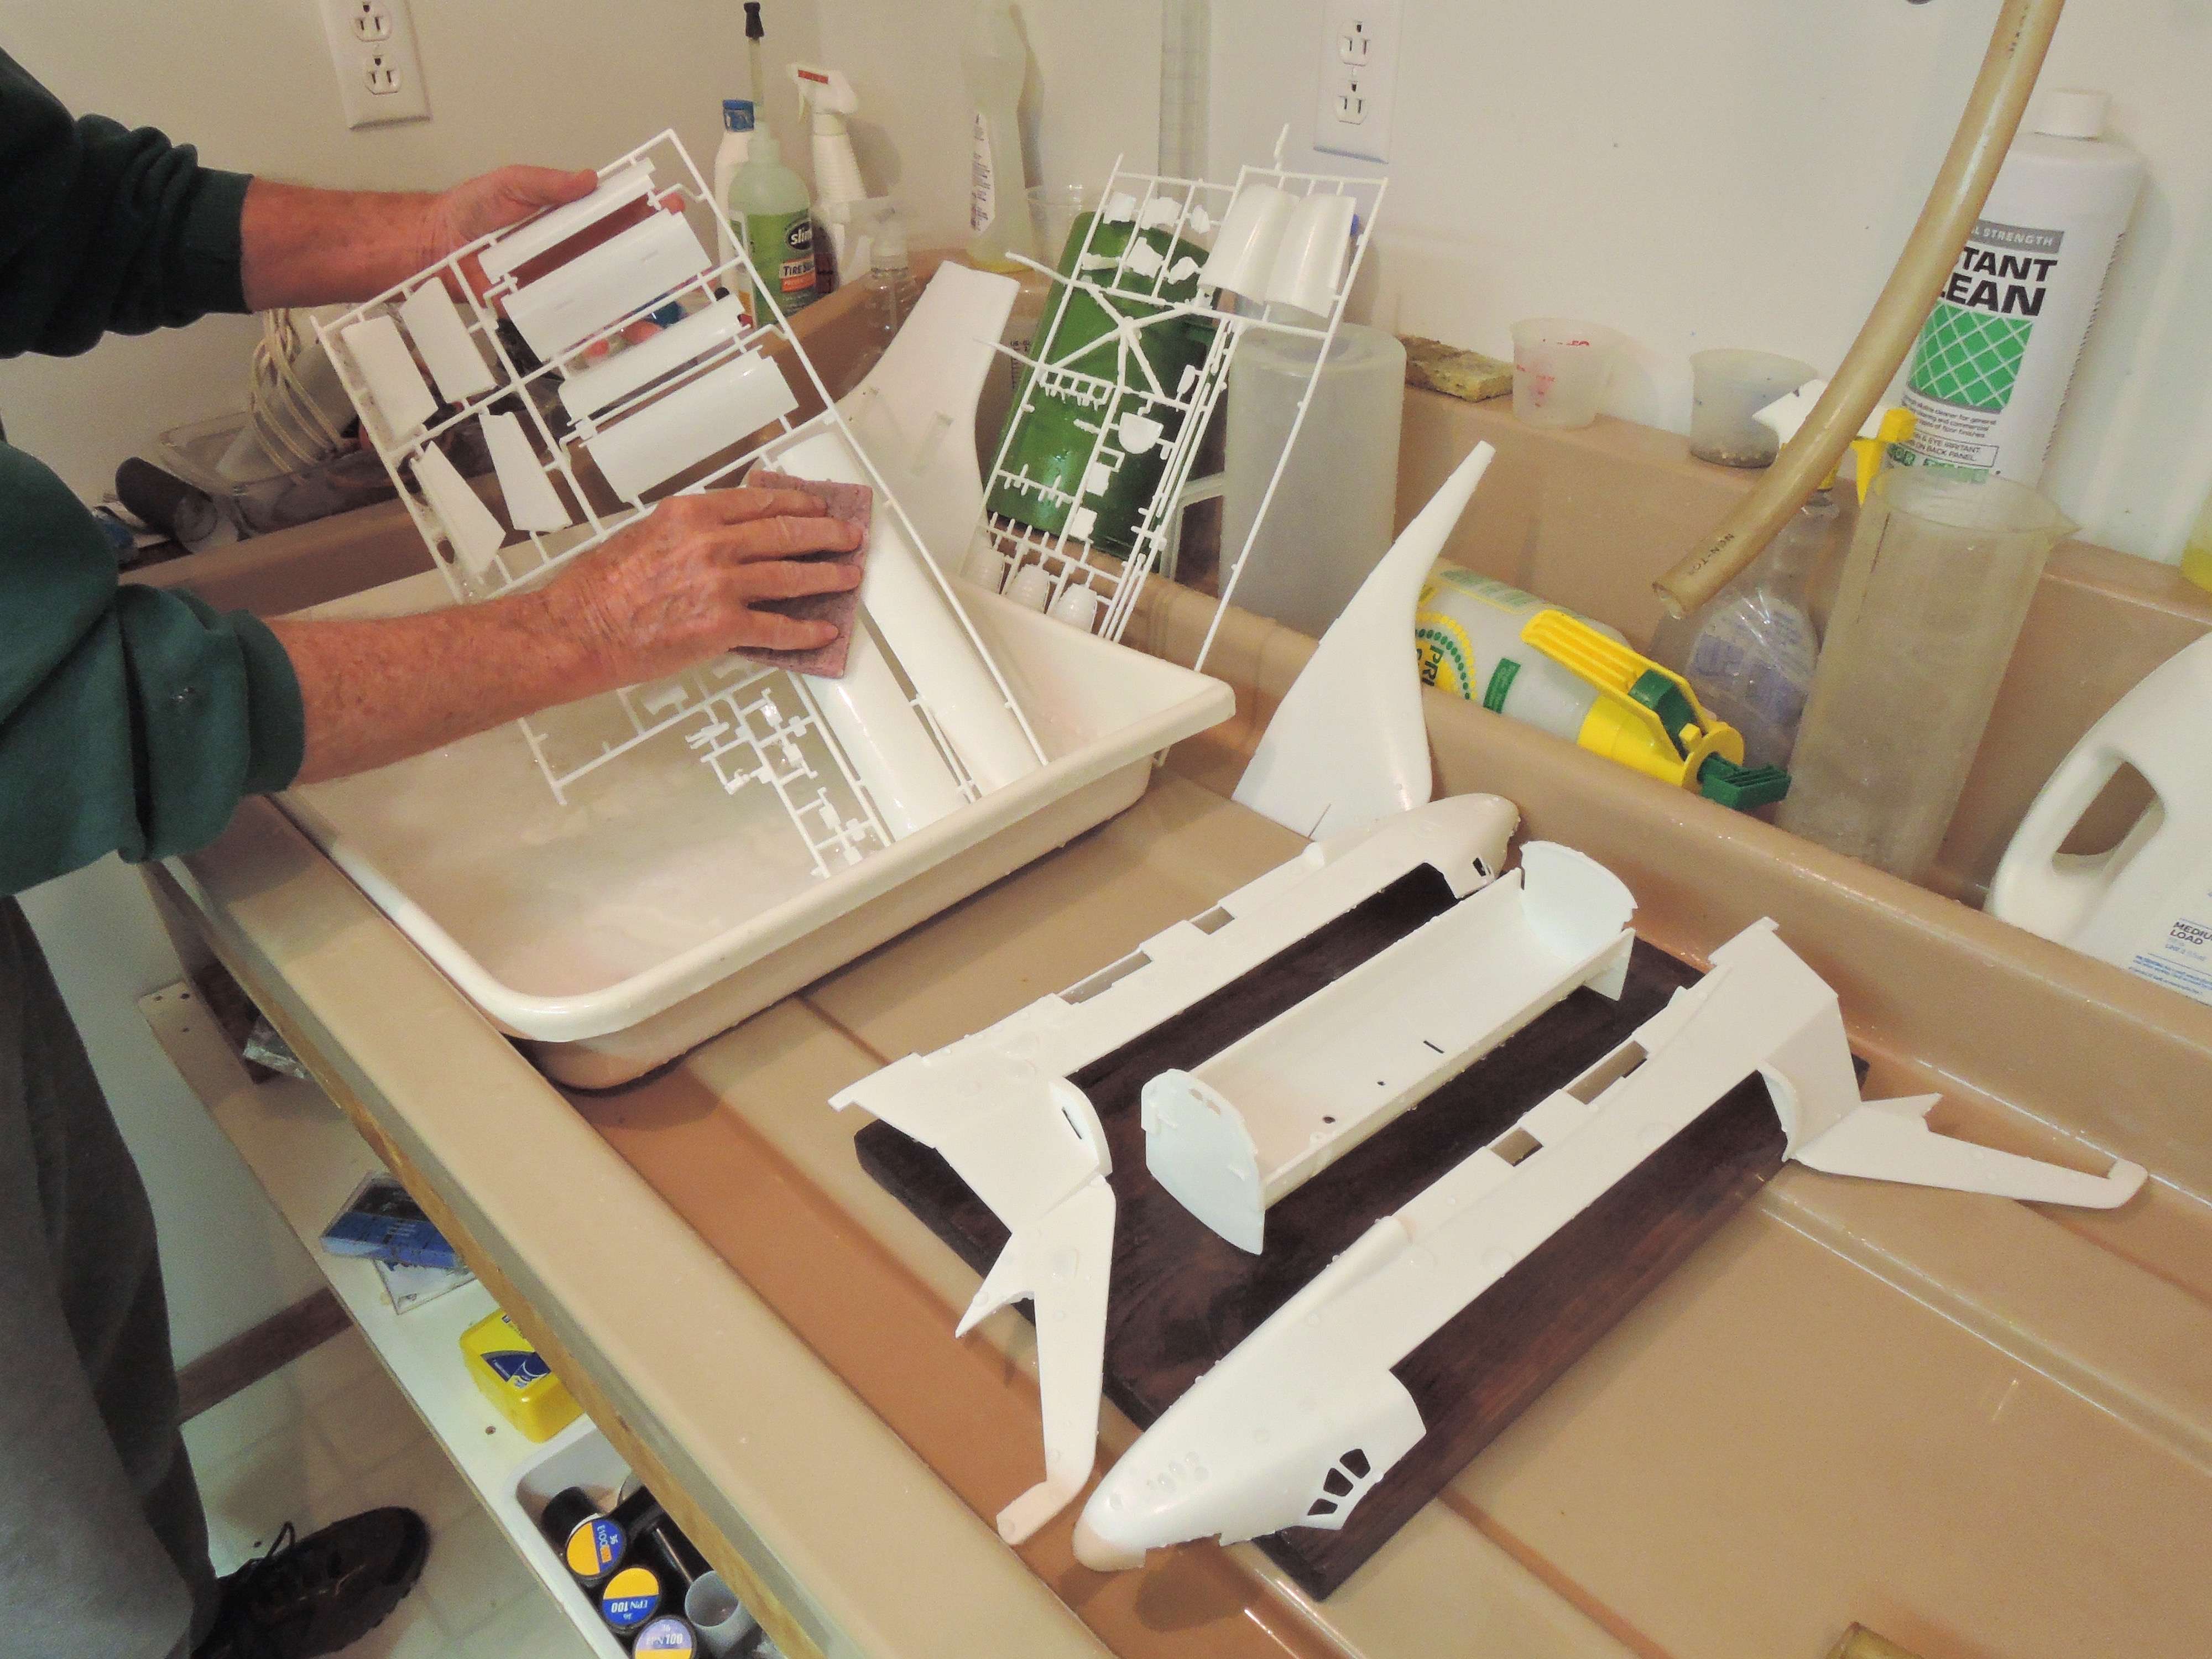
Just checking in. The weather has been great and I’ve been getting the outdoor Spring things done. It’s cold, drizzle and wind today, time to fiddle with the Shuttle a bit. This thing consumes a lot of space and even the bath was a project! I’ve got this thing scattered over the entire model assembly room and I really do need to at least consolidate some sub-assemblies and try to gain back some working space. I think the model is even happy after being in that box for almost four decades!
Well, another great outdoor week-end which only means no Shuttle progress. I did make a minor discovery on the last page of the instructions that shows that the top of the cabin is not to be cemented and you can remove it to view the cockpit. I think I may have to go back and rethink what you can see and maybe do a few more cockpit details if people are going to be peeking inside. Also in the back of my mind lingers a painting plan. The windows have to be installed from the inside and appear to need some putty here and there. I might at least partially paint the exterior before installing the windows and putting the fuselage halves together which will save a lot of masking.
This is why it takes me a long time for me to build something, I think way to much before proceeding!
This was a build project for me several years ago.
I got pretty far along with, but no matter how much I tried, I couldn’t get the cockpit removable top the way I wanted it.
To get around the tile problems and the raised detail, I’d read a WIP write-up where the builder had used white tape and stock strip to overcome the lost detail sanding problem. The smooth white tape was cut to size and stuck in place. The stock strip replaced sanded raised lines between the tape. I gave it a try but still couldn’t make it look correct.
I abandoned trying to show the bay doors open early in the project.
Hey Mike, thanks for the tips and guidence. I did check out the cool aftermarket engines. I’ve only got $15 in the whole deal, I’ll play it by ear and see how this thing works out. I’ll be happy with a ceiling hanger on this one. I don’t see it at the show but it looks like there’s at least a good display in this one. I’m in no hurry and I’ll see if I can wear it down! LOL!
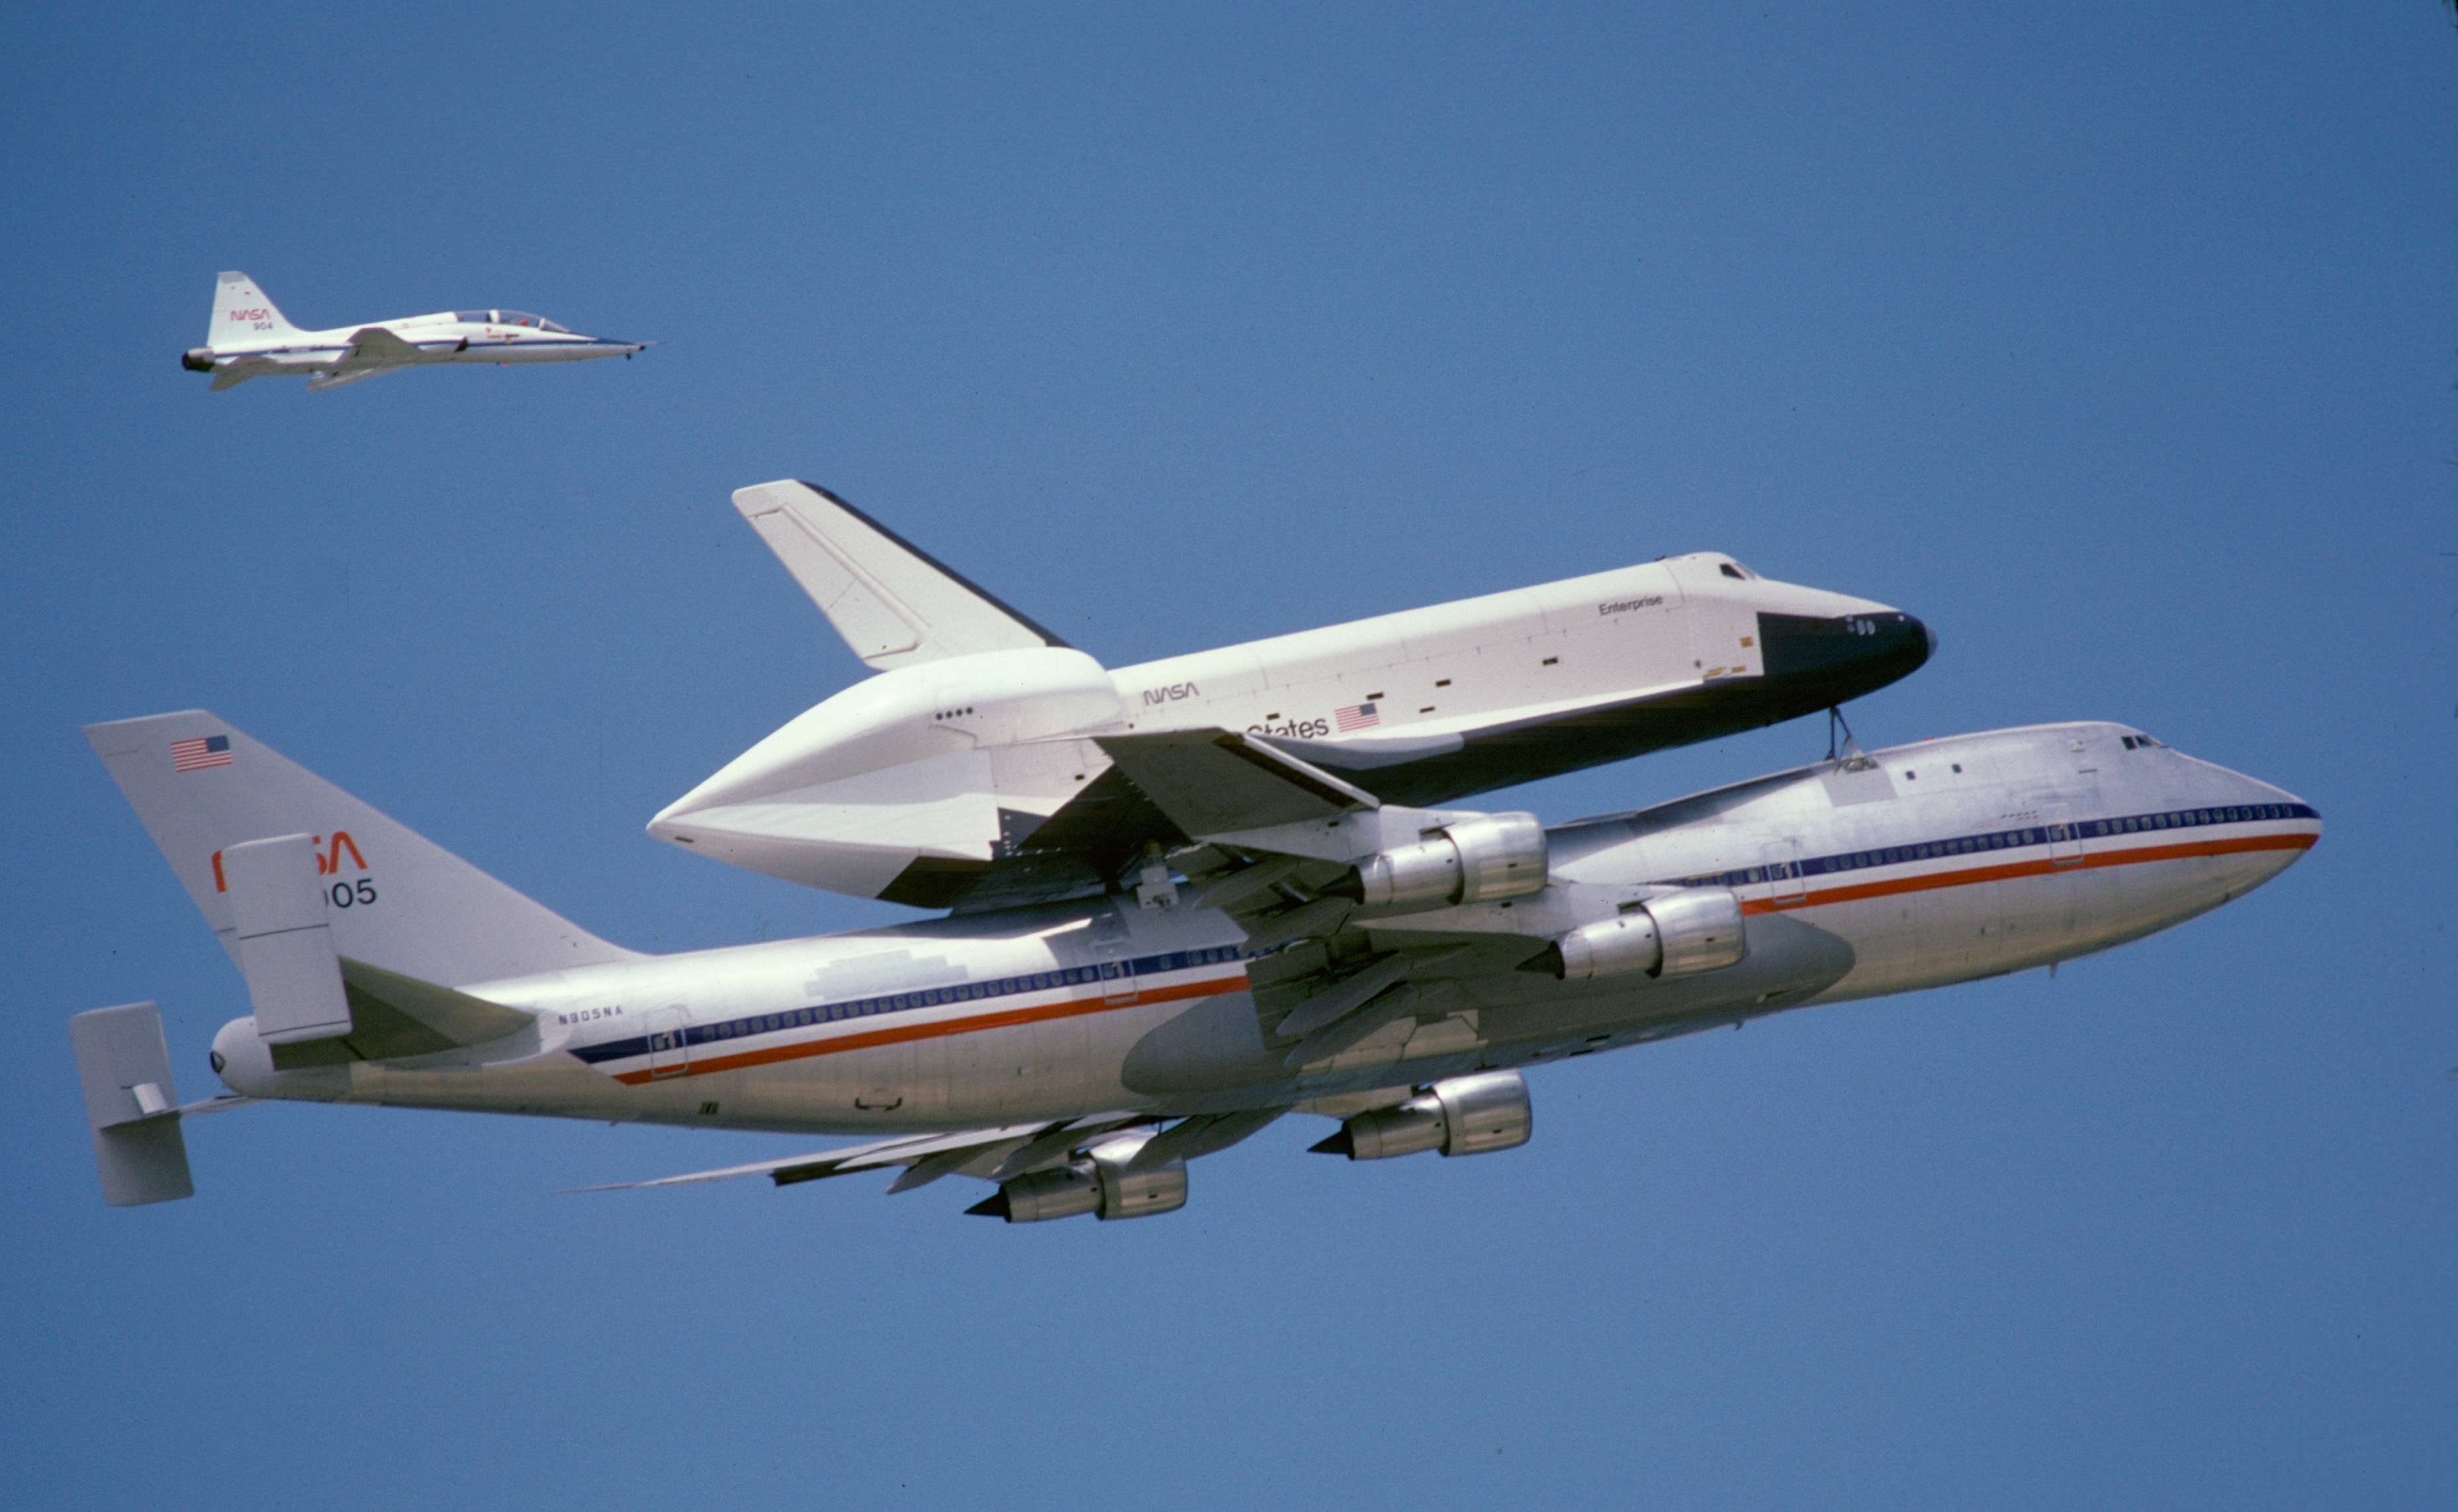
Allright! What scale? Shuttles are definitely cool. What a machine. When introduced they were the most complicated machine ever built. Always missed the launch, saw them on the pad, met and talked with Joe Engle while on assignment, second and 24th shuttle pilot and also flew the Enterprise drop tests and the X-15. Twice I even heard their sonic booms in Kansas on their way home. I photographed the Enterprise on the back of the 747 and would see it parked at the Dulles airport waiting for a building. Definitely one of the most historic aircraft/spacecraft ever built. Did I miss anything? Sad to see them go. Here’s my shot from long ago. Why wouldn’t I build models of it! LOL!