Welcome to my another WIP. This time it’s the long-awaited styrene M109, meaning you don’t have to tackle resin anymore to get this important model in 1:72 scale.
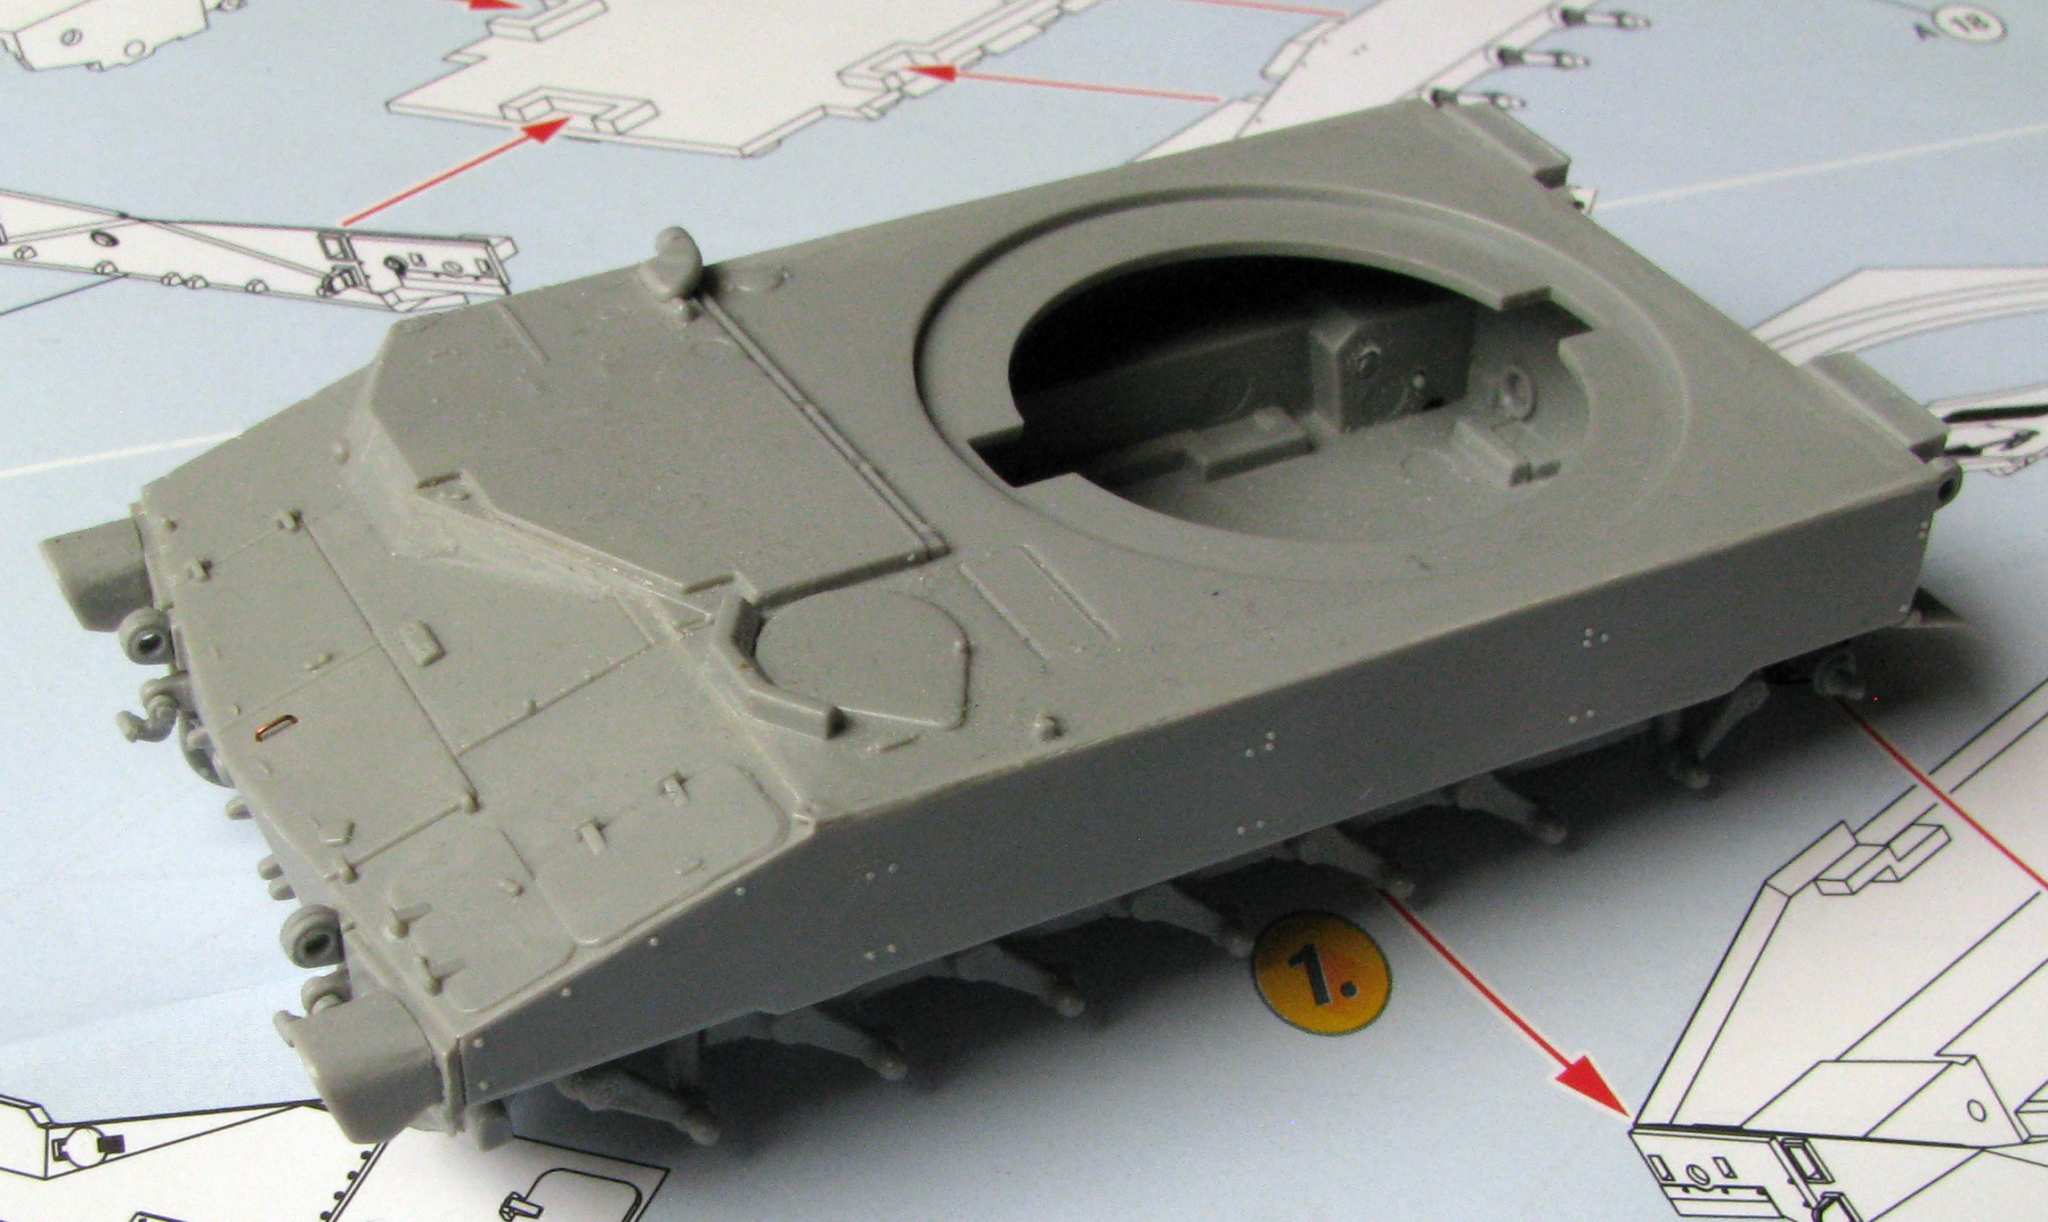
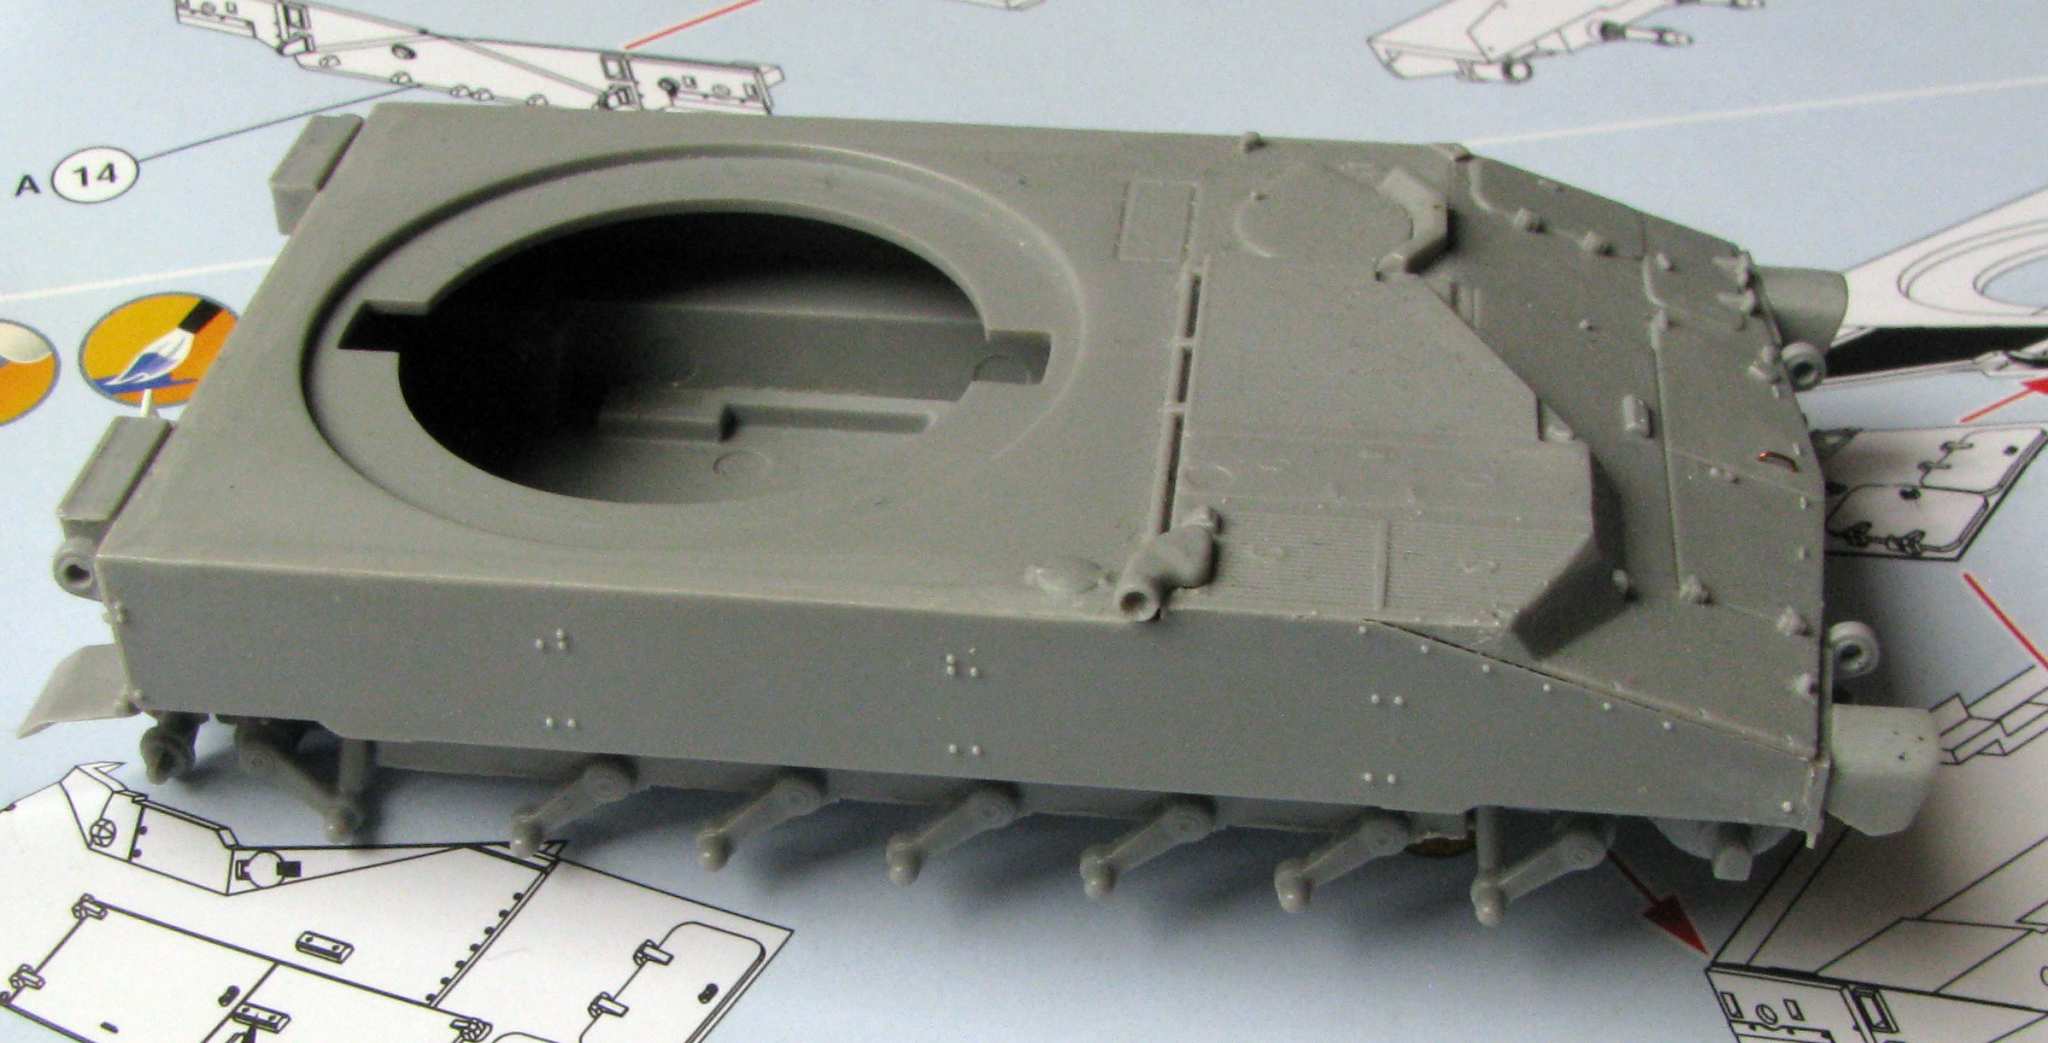
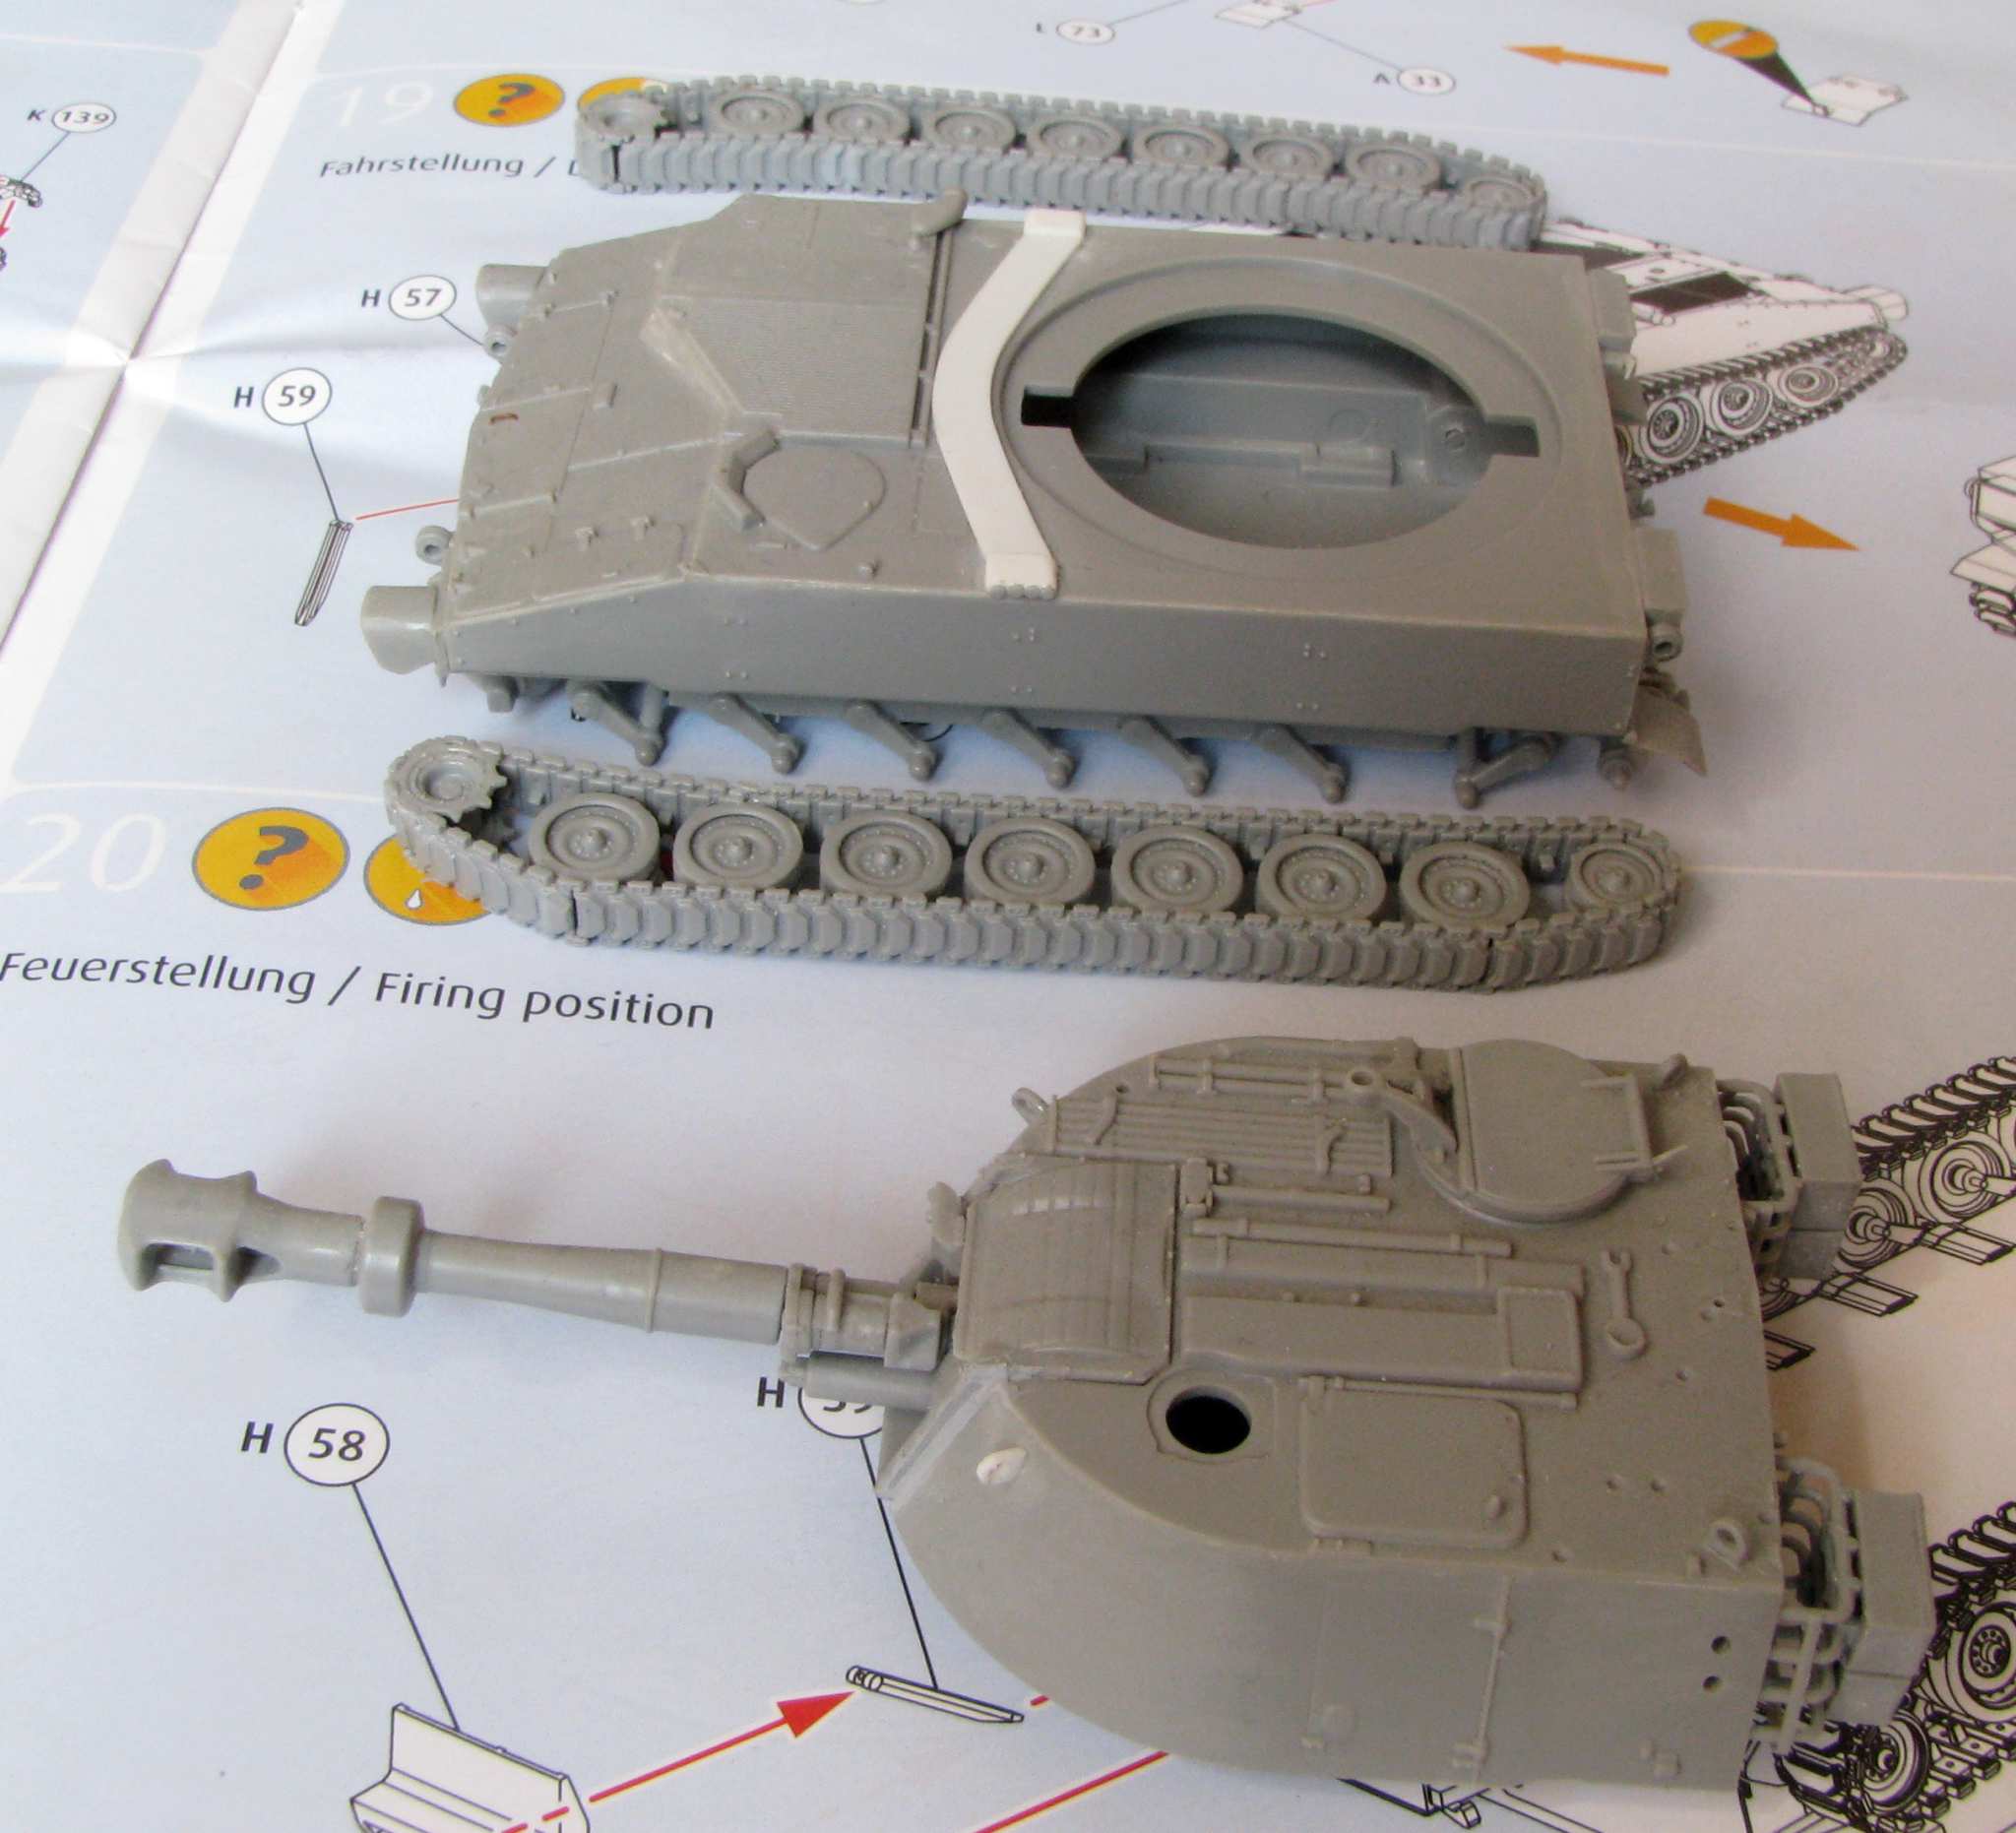
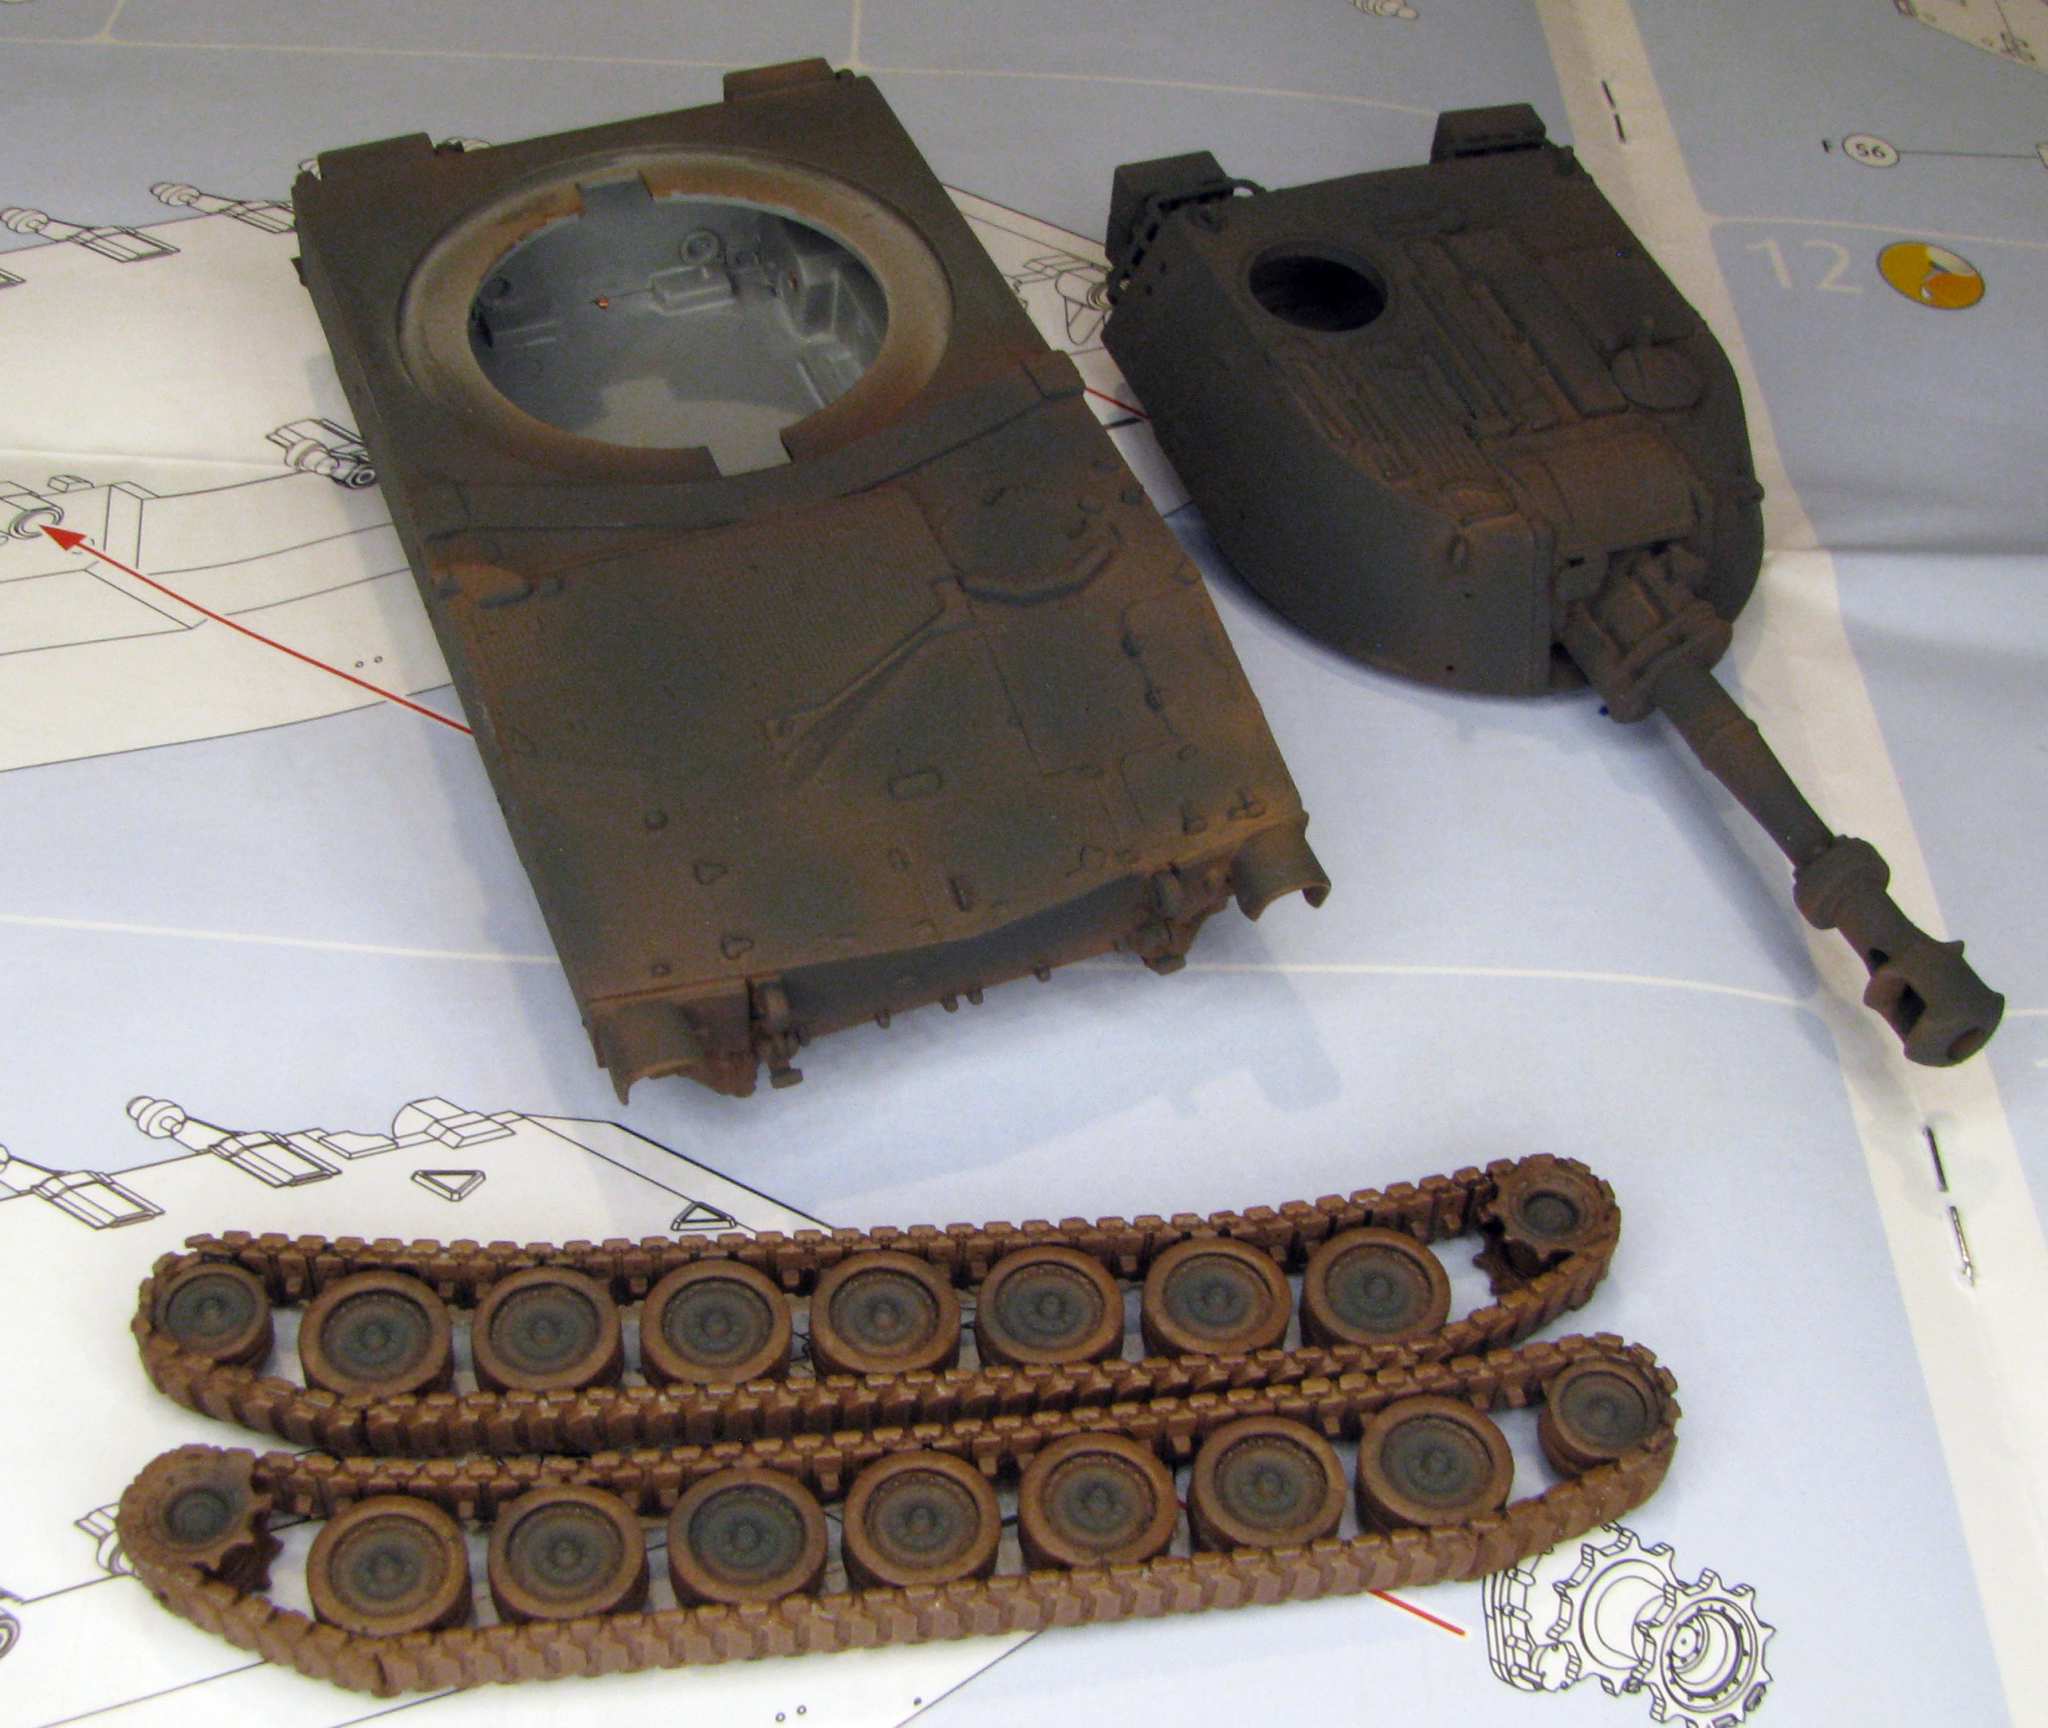
The build starts with the hull, that doesn’t consist of the upper and lower half, like in some other models, but every wall is a separate part. That could potentially cause problems, especially if you’re not careful, but luckily the Revell parts fit very good. A little filler and the hull is done:
As you can see I have made the grabhandle on the transmission door out of thin copper wire. The road wheel arms are cast together with the hull sides and in some kits they are short-shot (the material is missing), so it’s good to check for if you have this kit in stash. Revell replaces the defective parts for free.
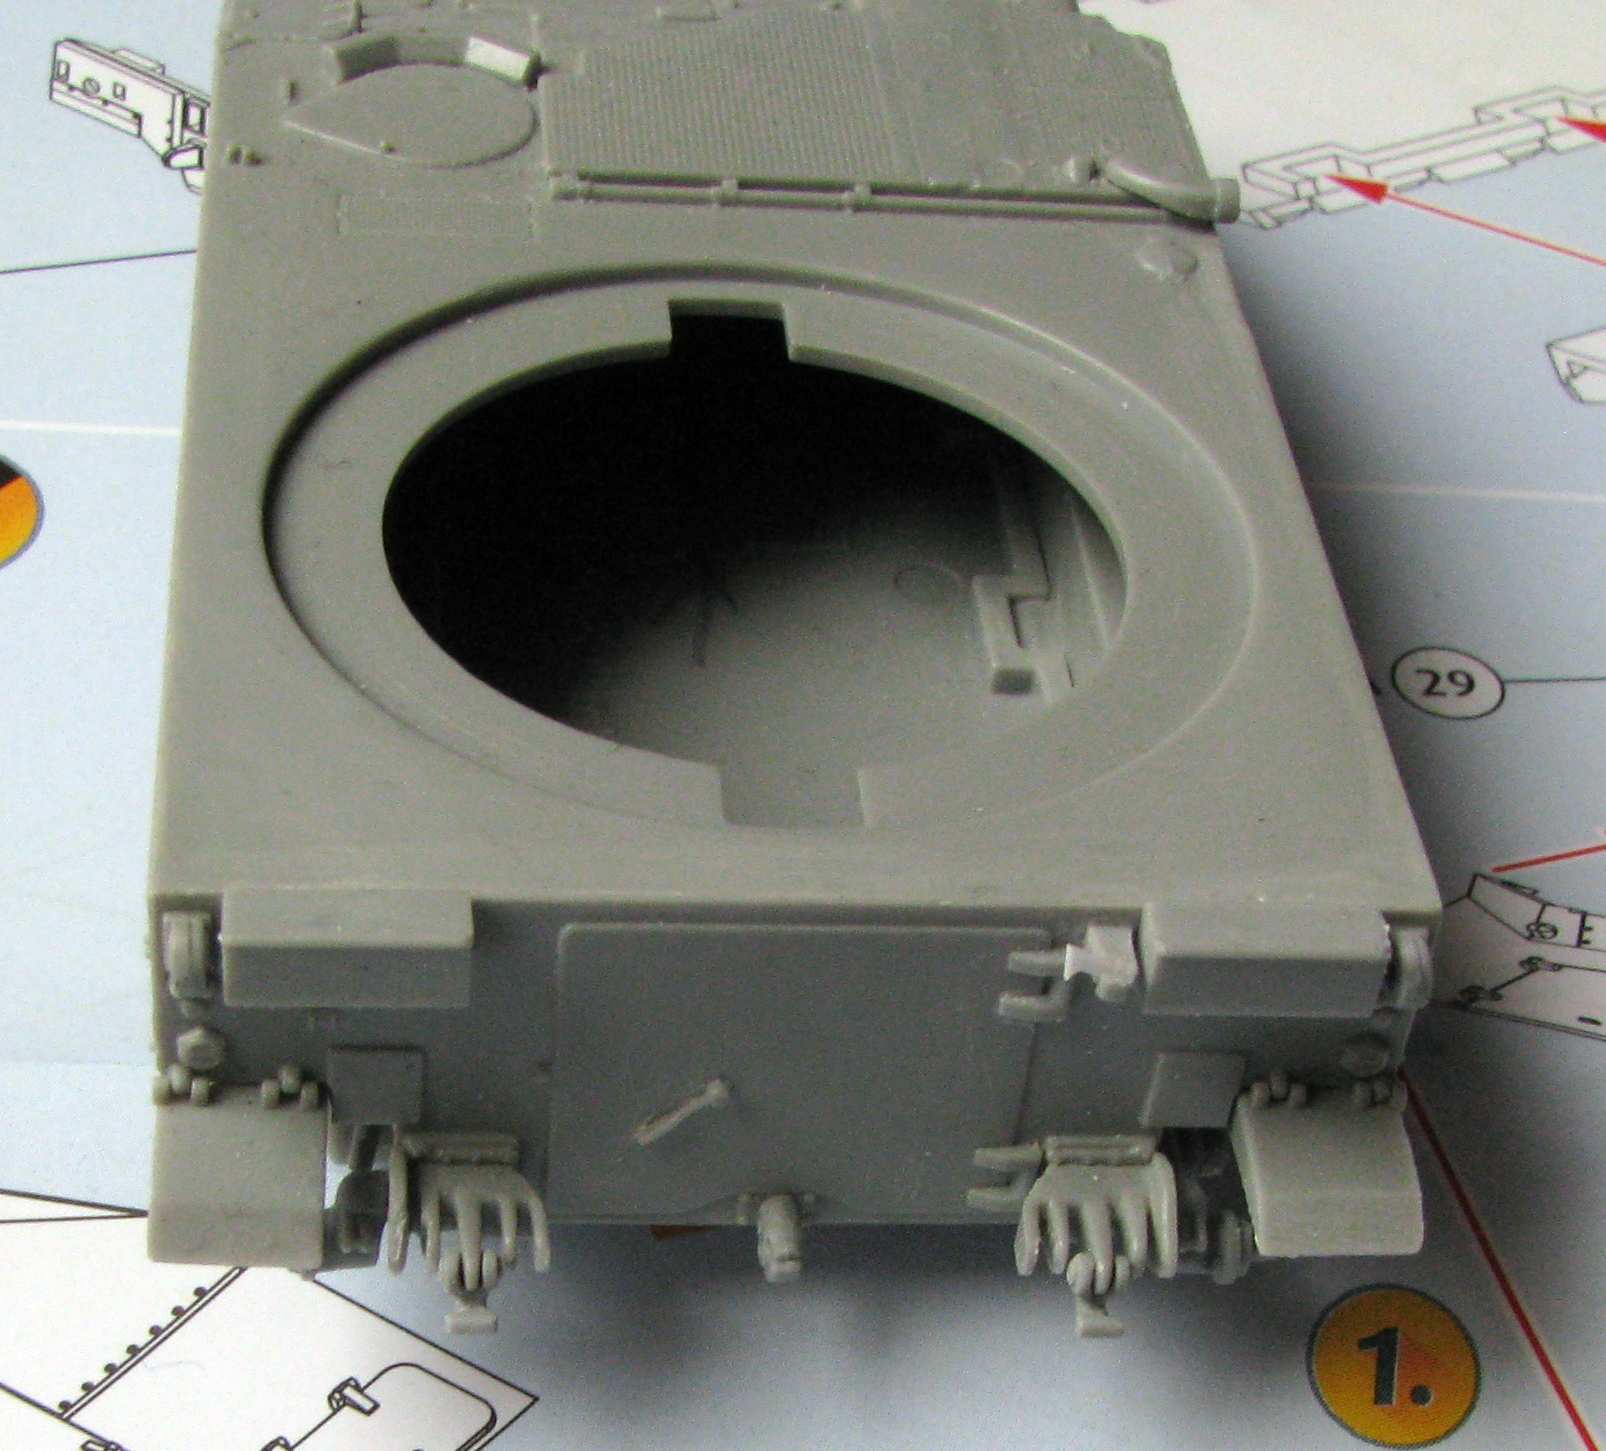
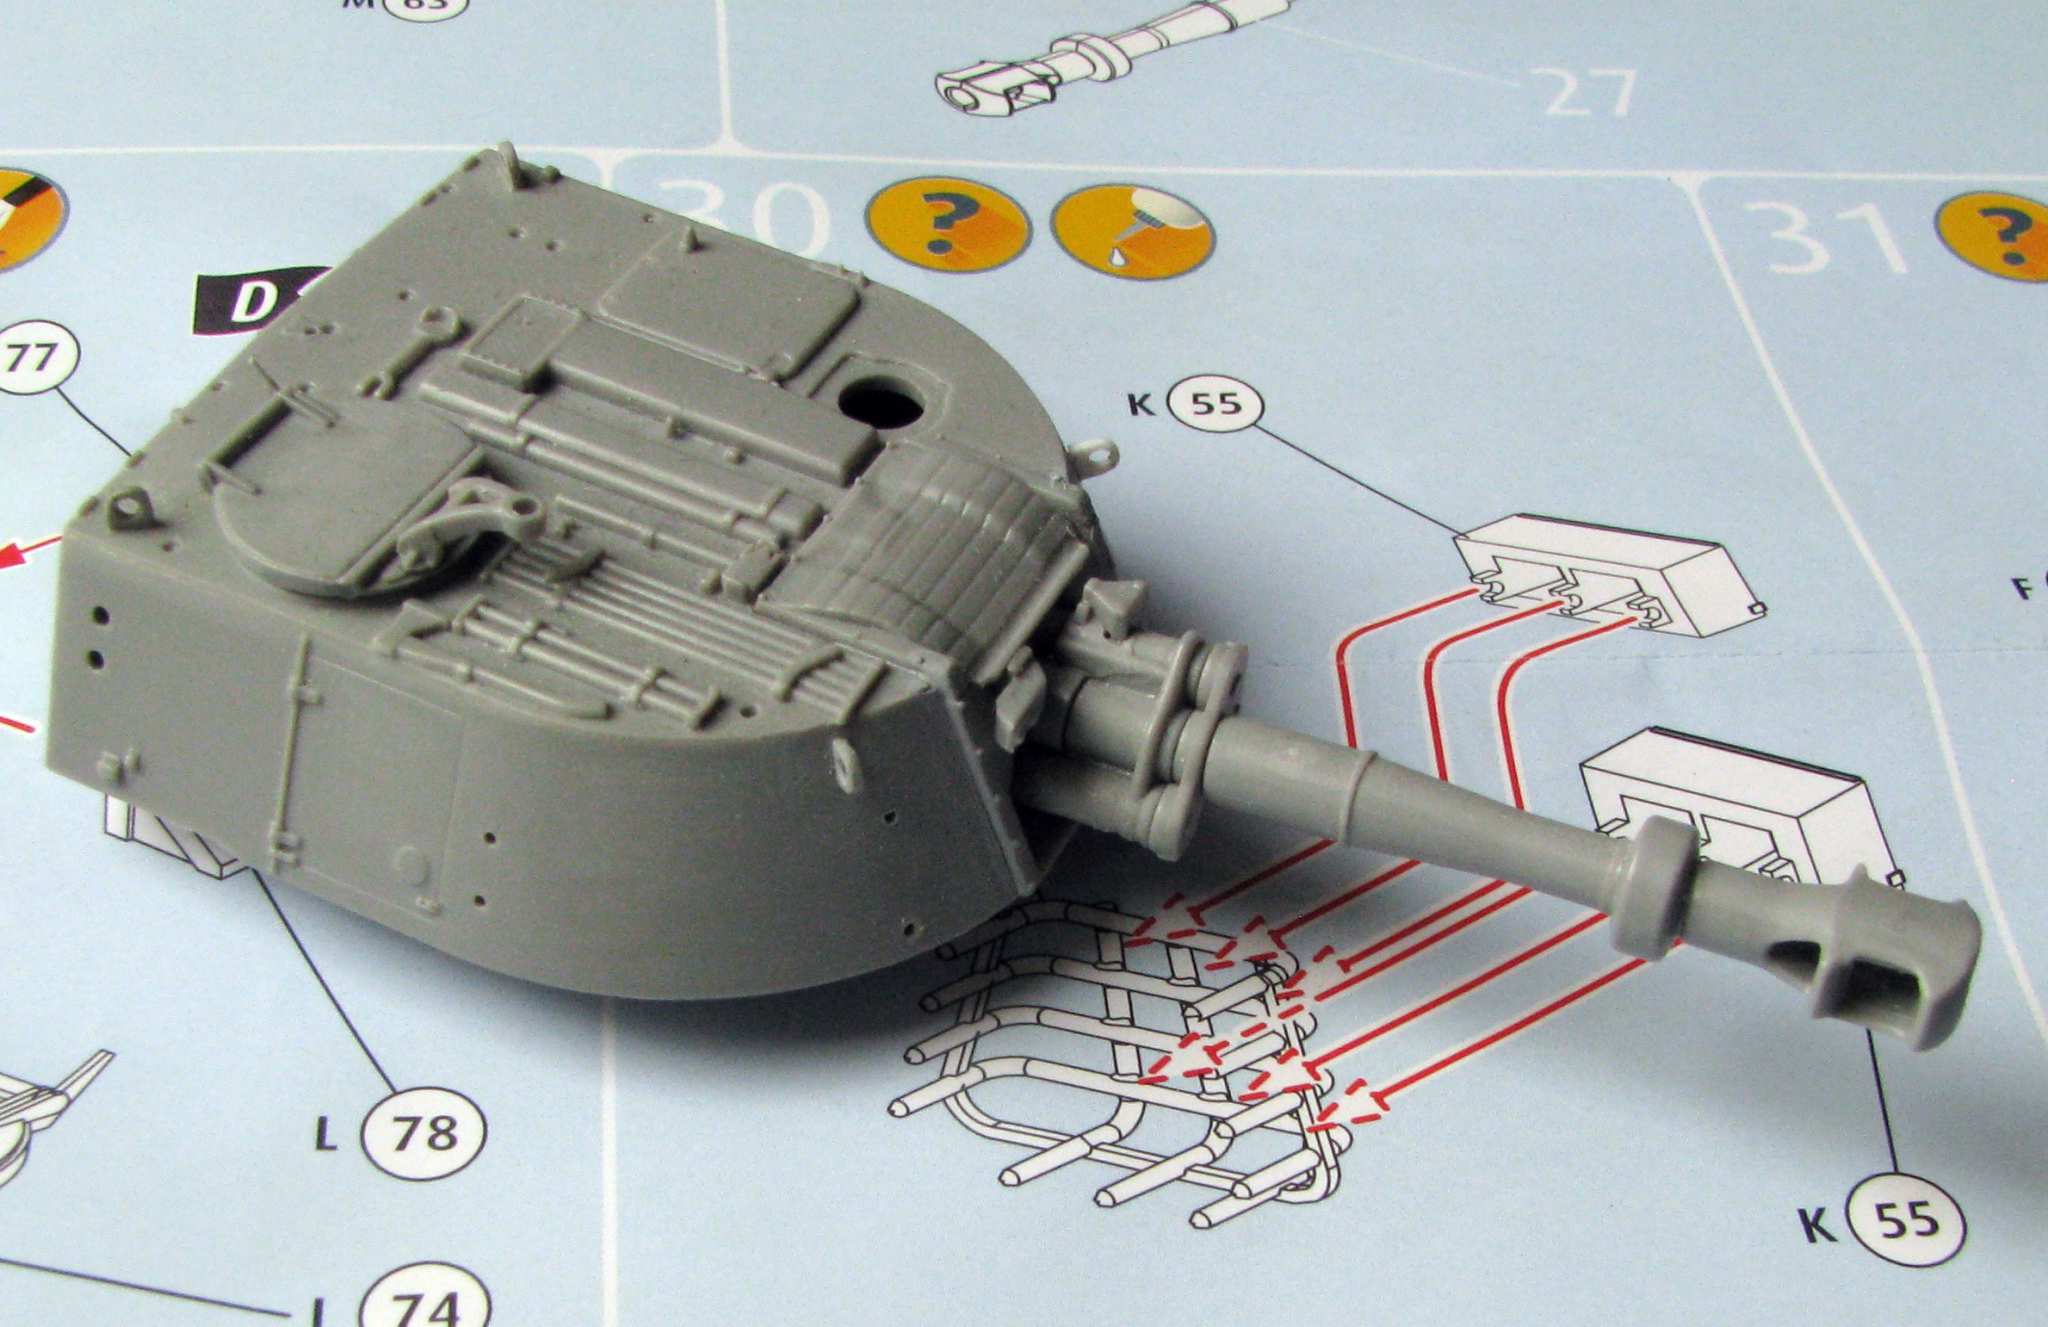
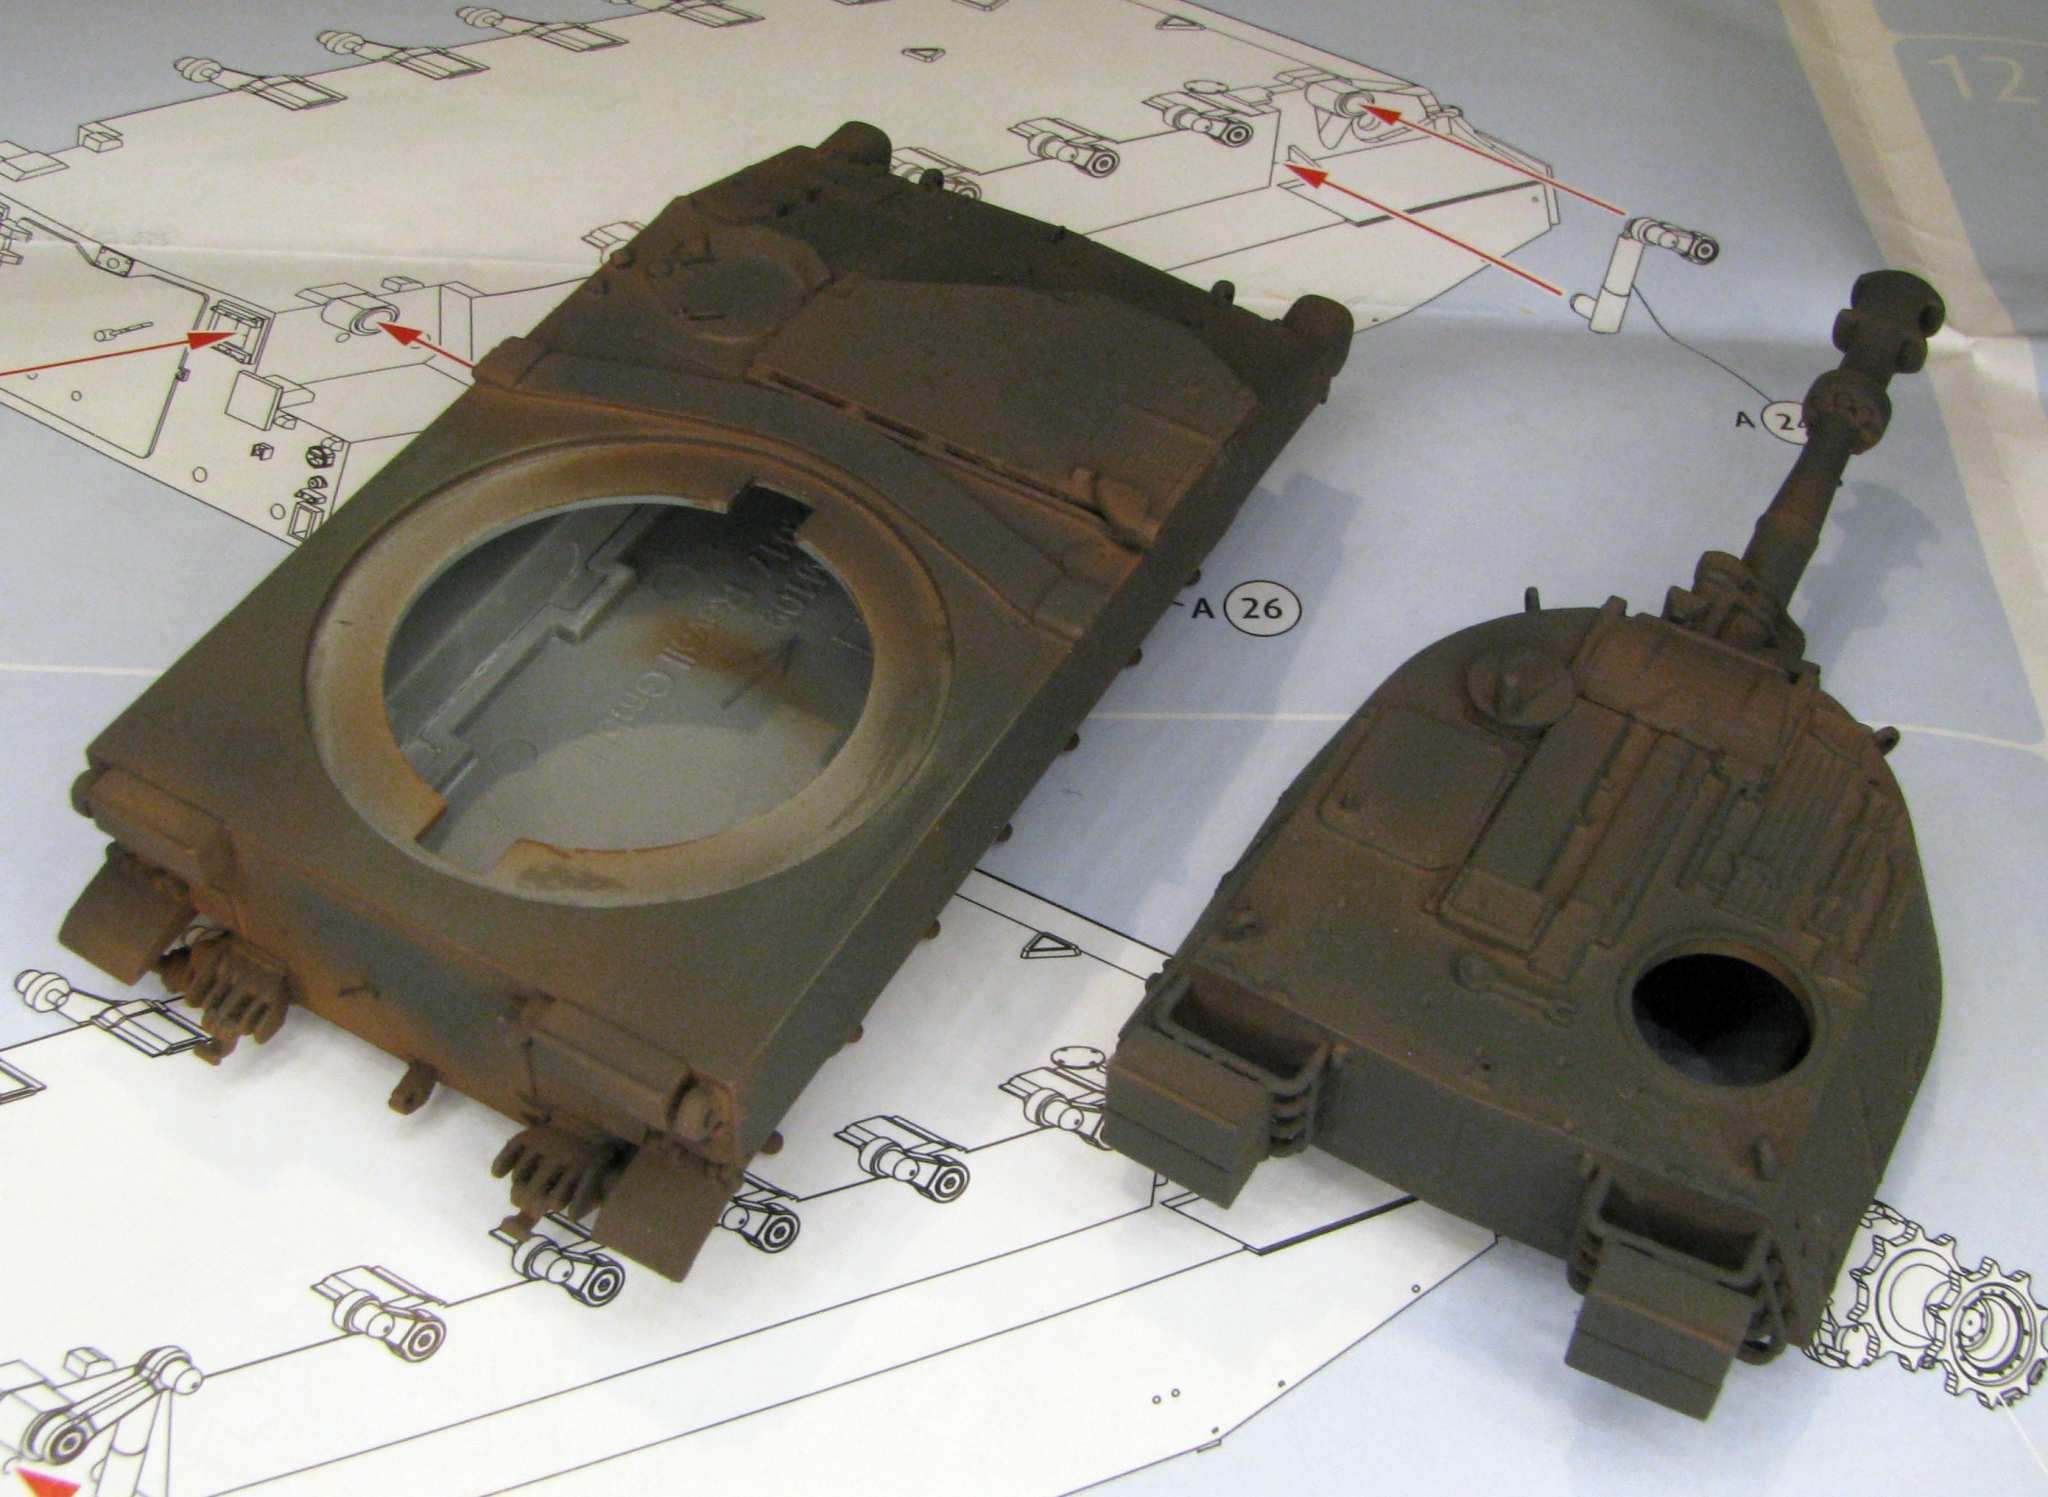
Then came the turn for the turret. This also consists of several parts, so it’s good to be careful here, too, to minimize the amount of filler necessary:
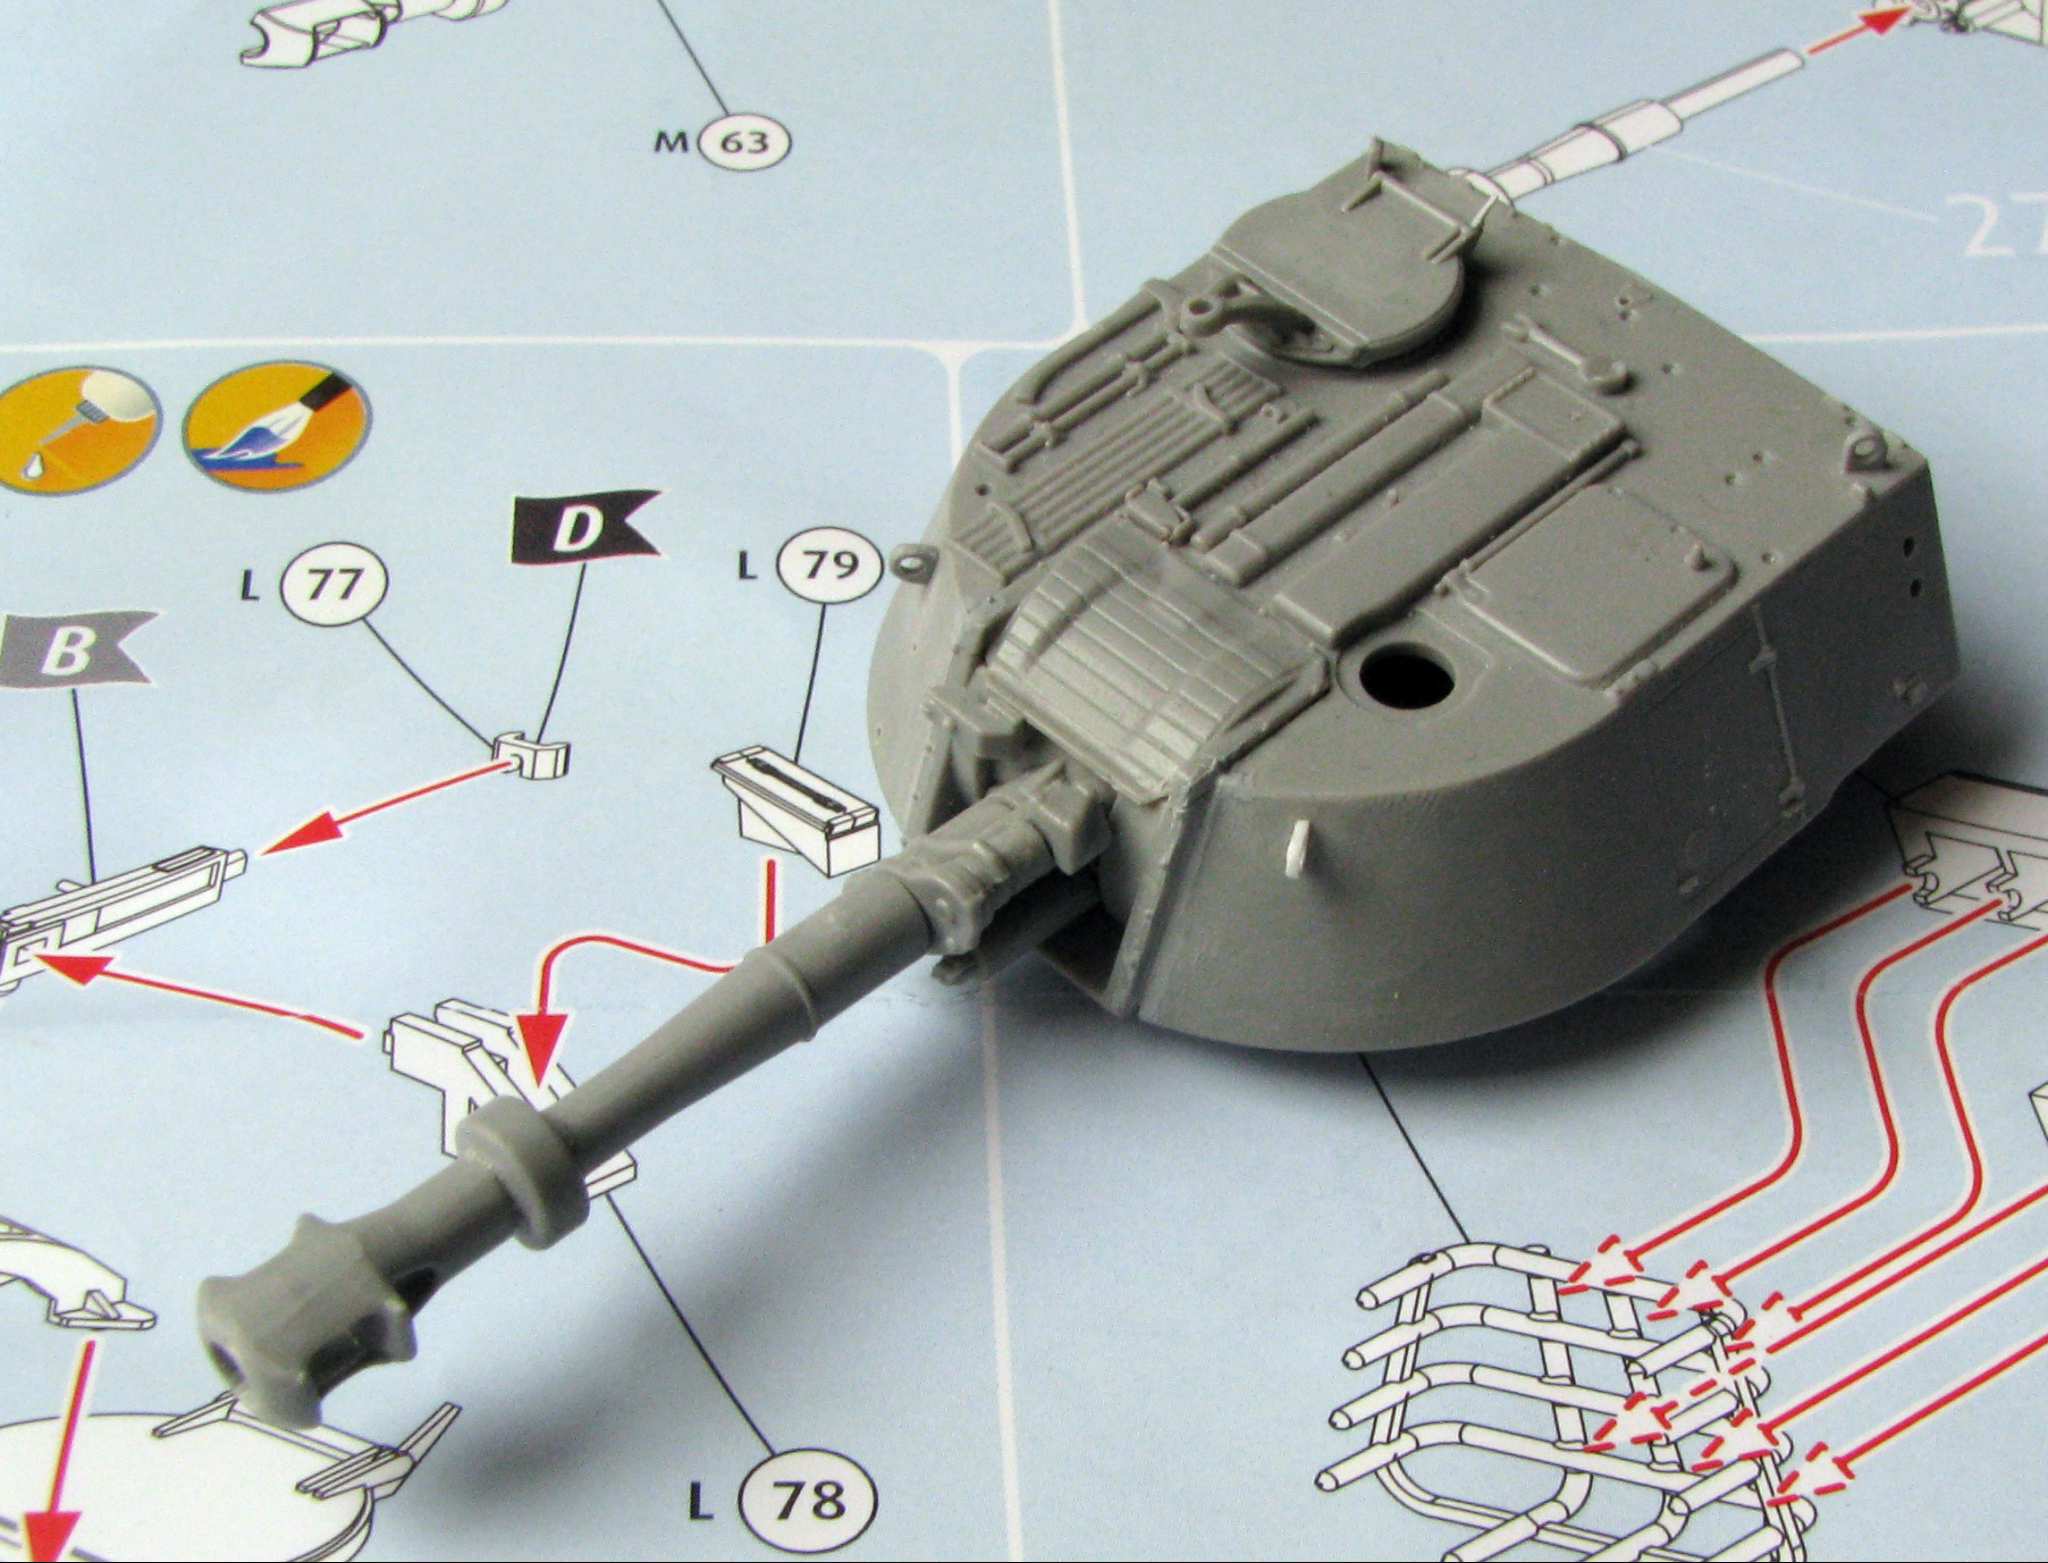
In some parts you have to drill some holes for American equipment (there’s also another kit showing the German variant). I have unfortunately broken off one of the lifting eyes for the turret and it got lost, so I had to scratchbuild a replacement. It’s also worth noting, that the fume extractor (that funny round part just behind the muzzle brake) has a flat spot and that spot is supposed to look down. I’m writing about it, because the picture on the instruction sheet has the flat spot up - such a funny thing.
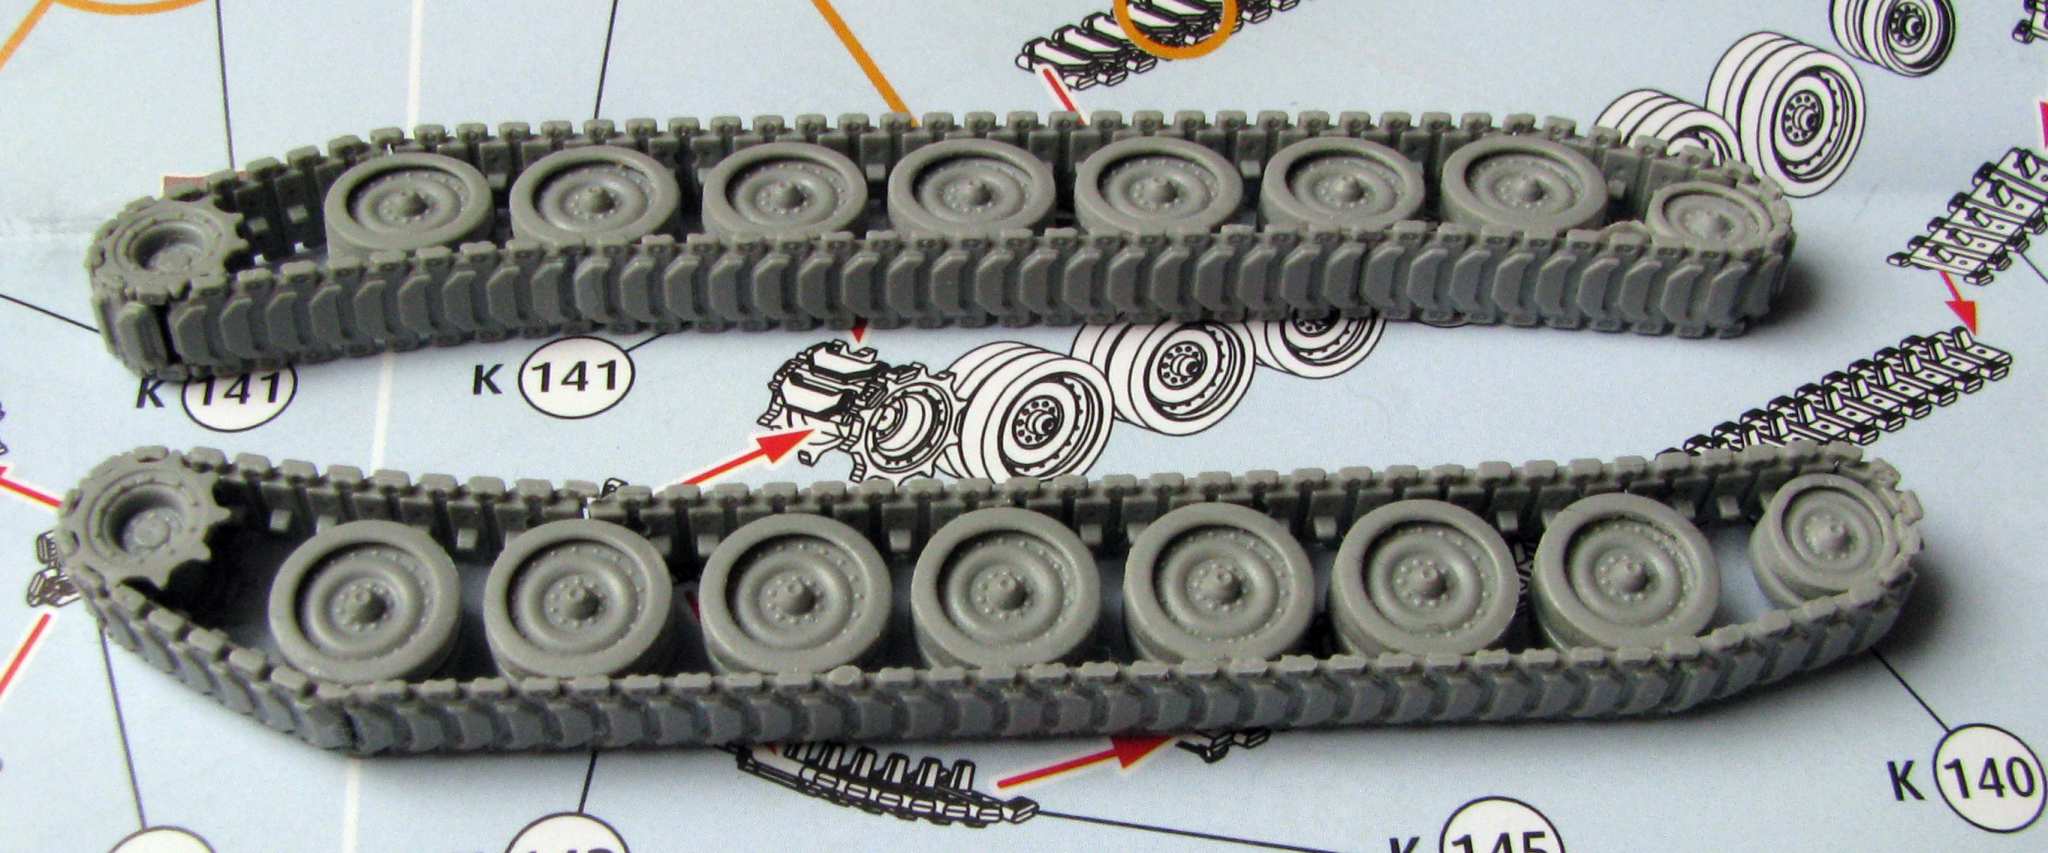
The track is very nice, as are the road wheels that eeven have the correct undercut. Track is link and length, with single links around the sprocket and the idler. I have dry fitted the wheels to the axles and then glued the tracks to the wheels. This way I have two removable track assemblies - I hope this will help me with painting everything.
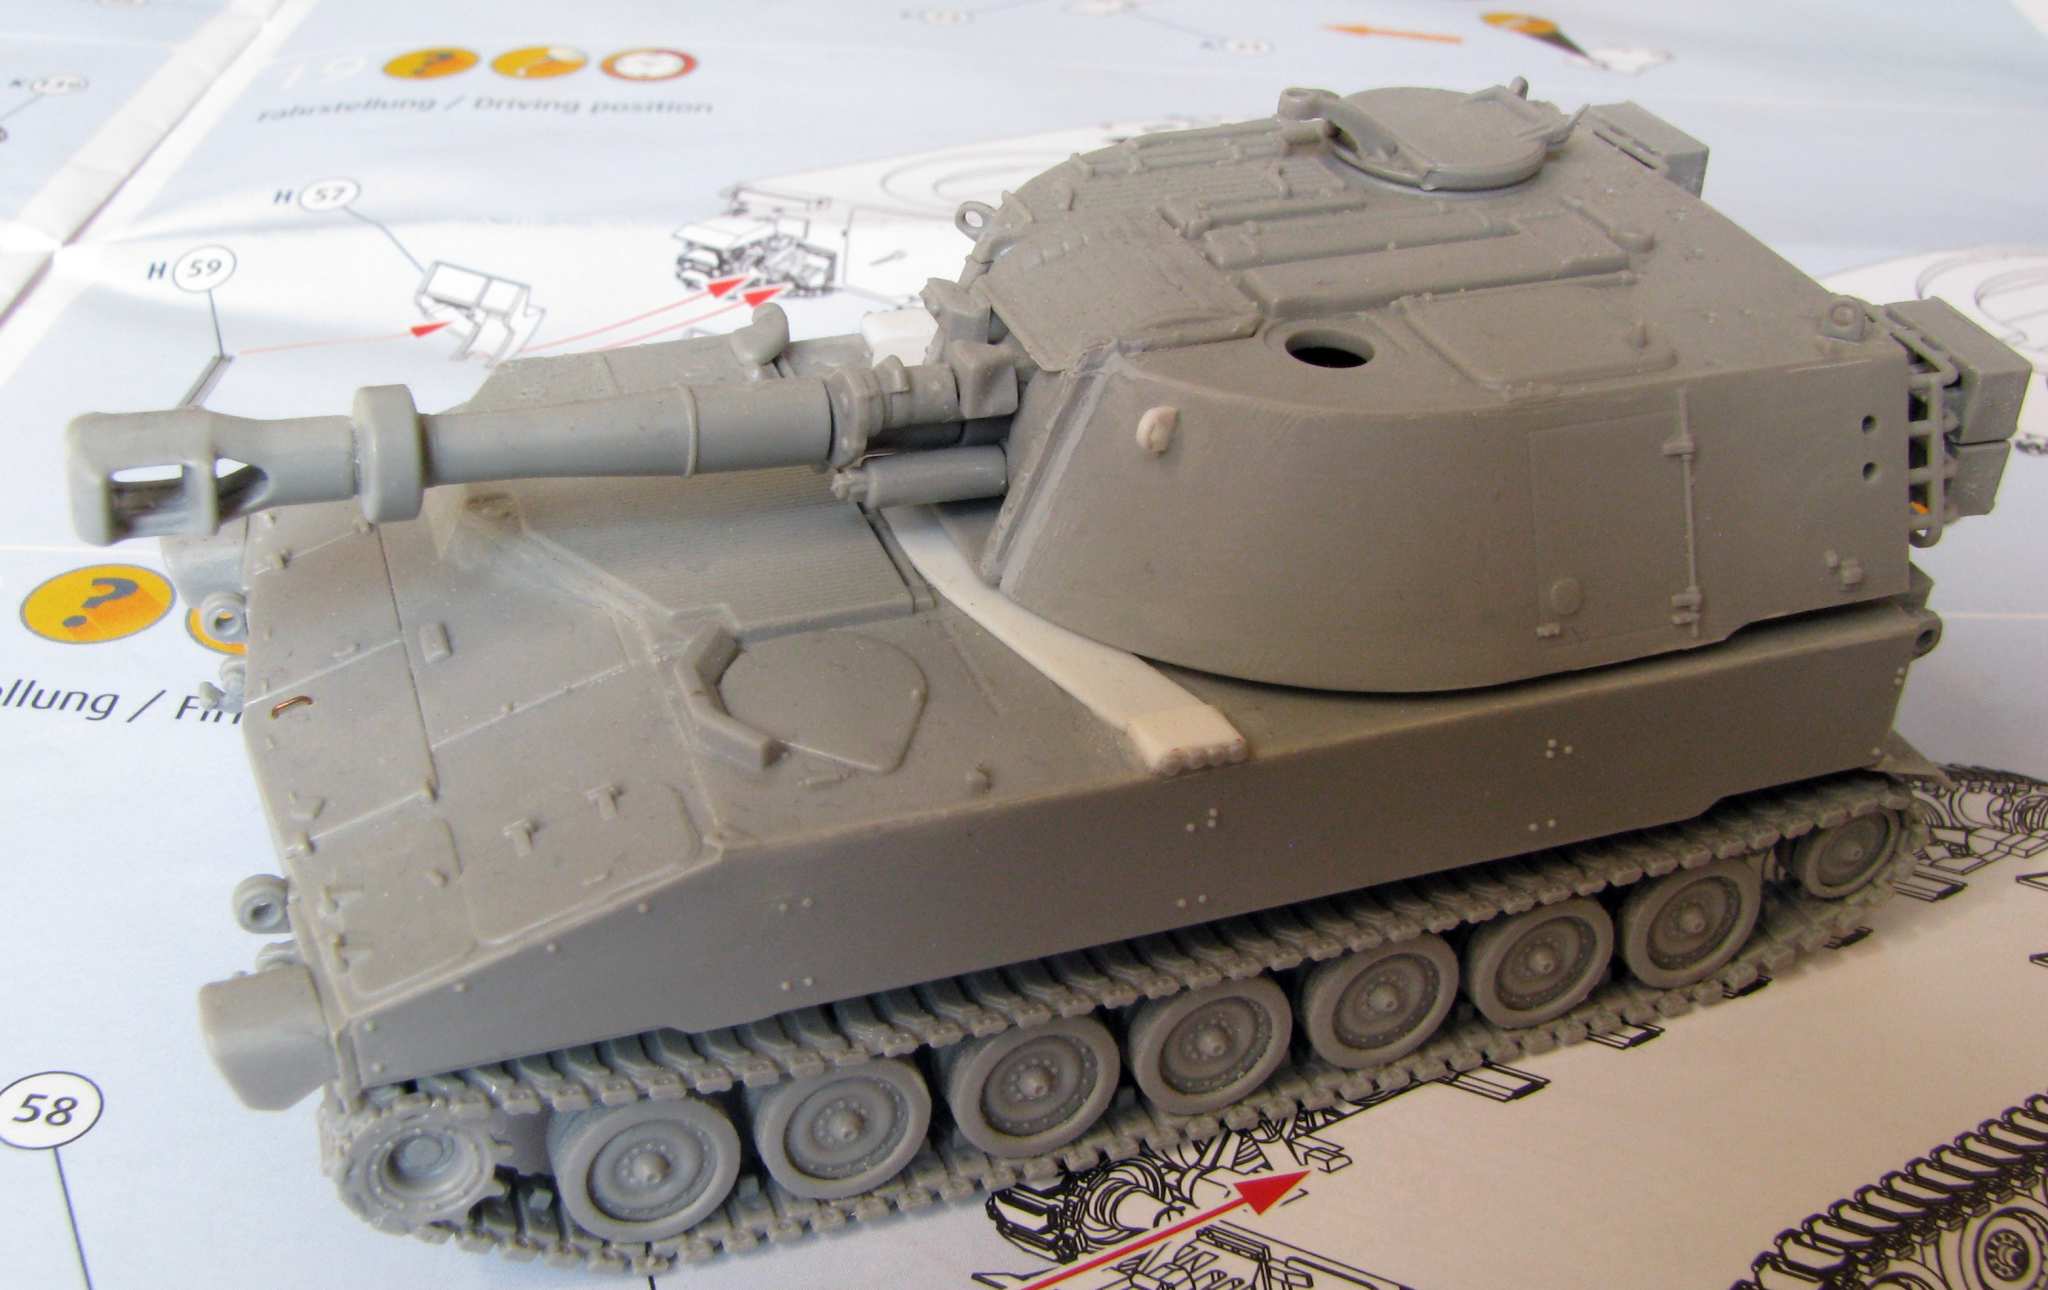
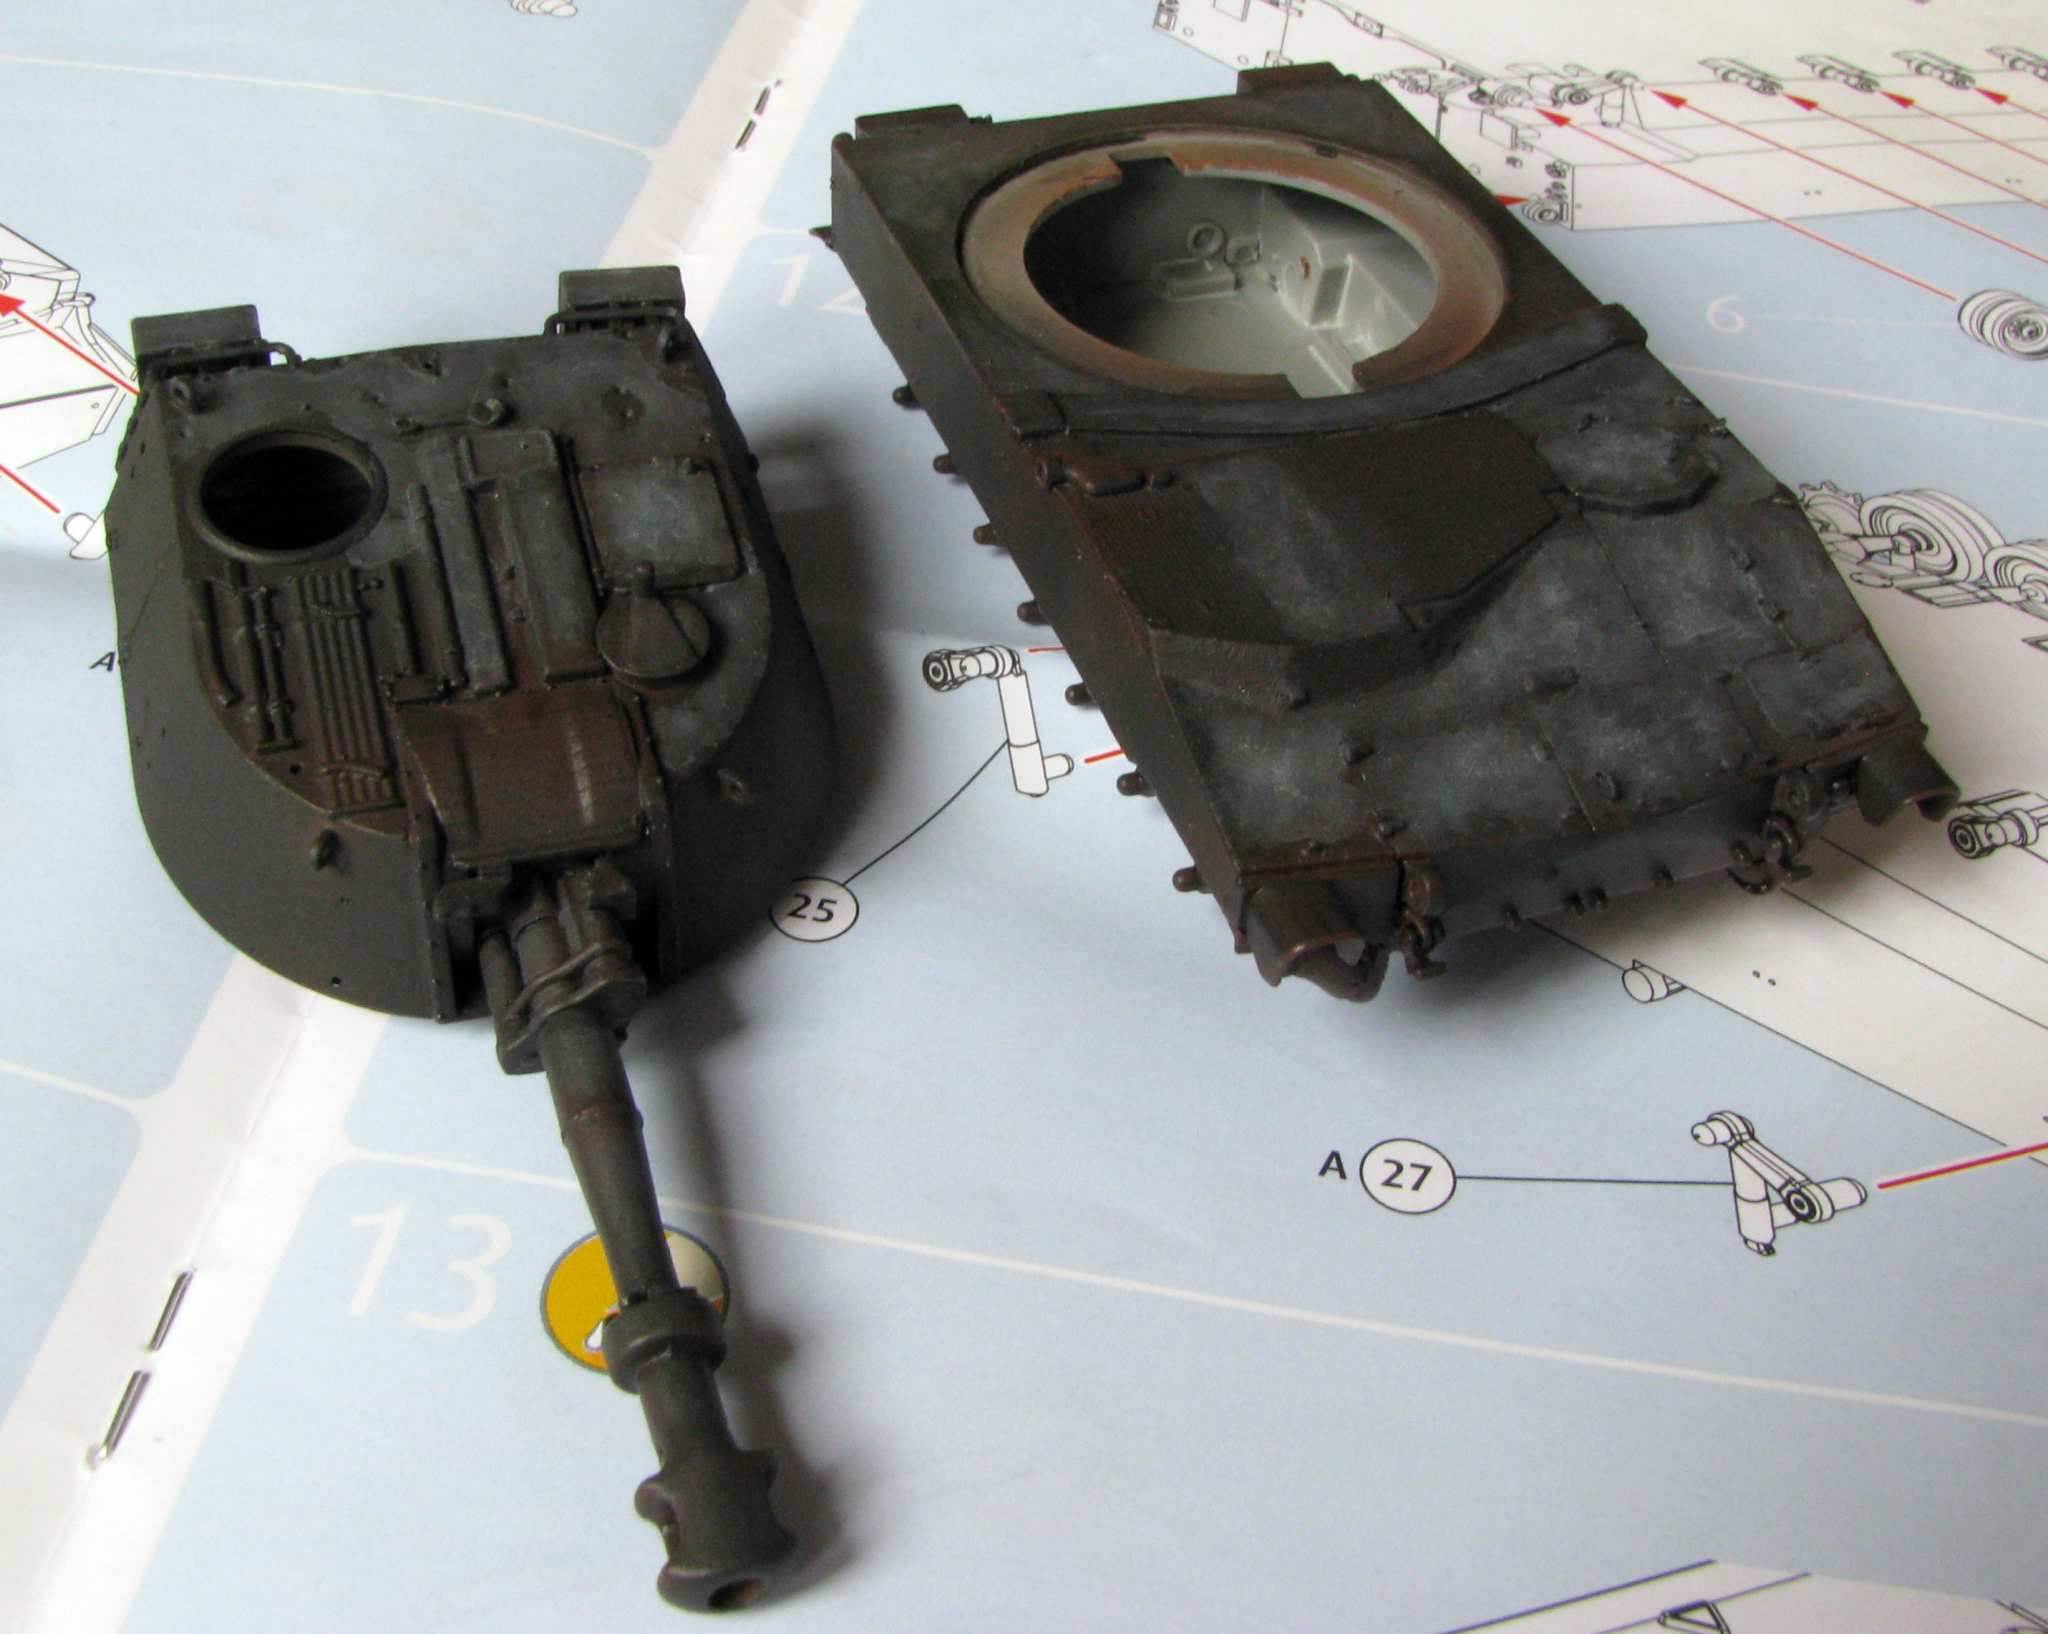
Now I have to add one more important thing Revell missed - I guess all our M109 experts know what I’m talking about…
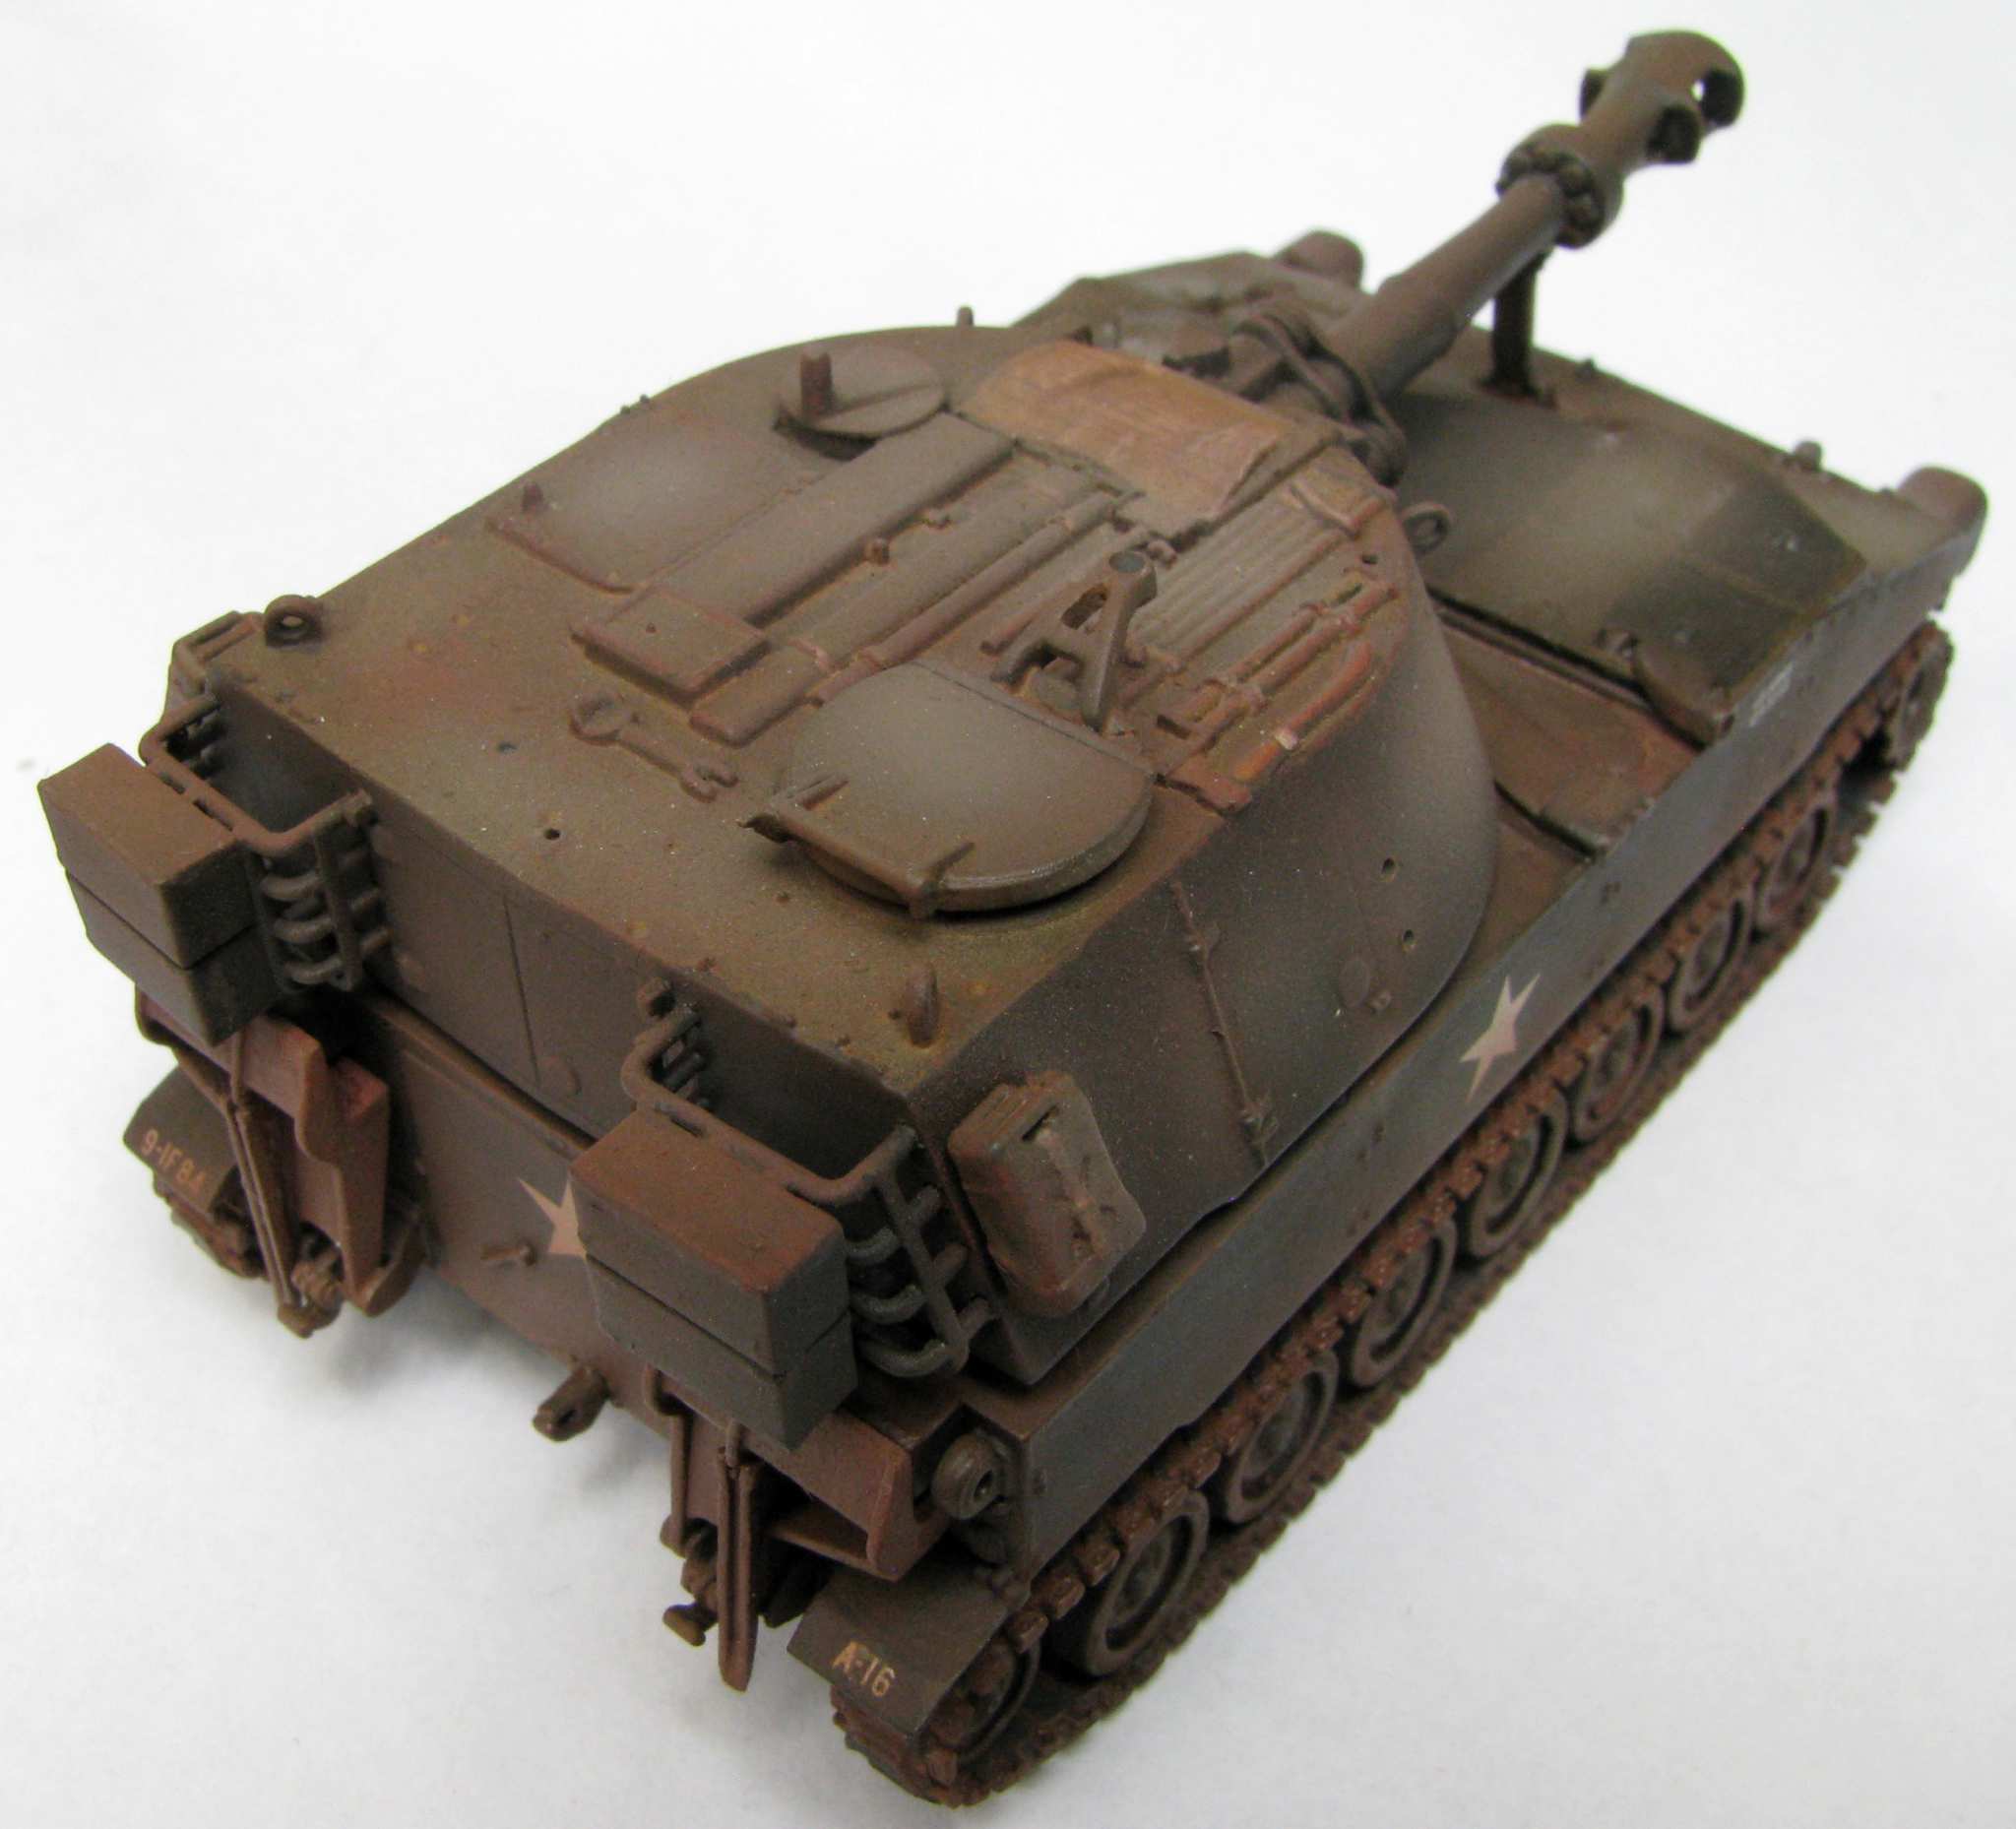
As you can see I’ve added the flotation gear piping cover and receptacles in fron of the turret - I think this is the biggest single omision of the Revell kit.
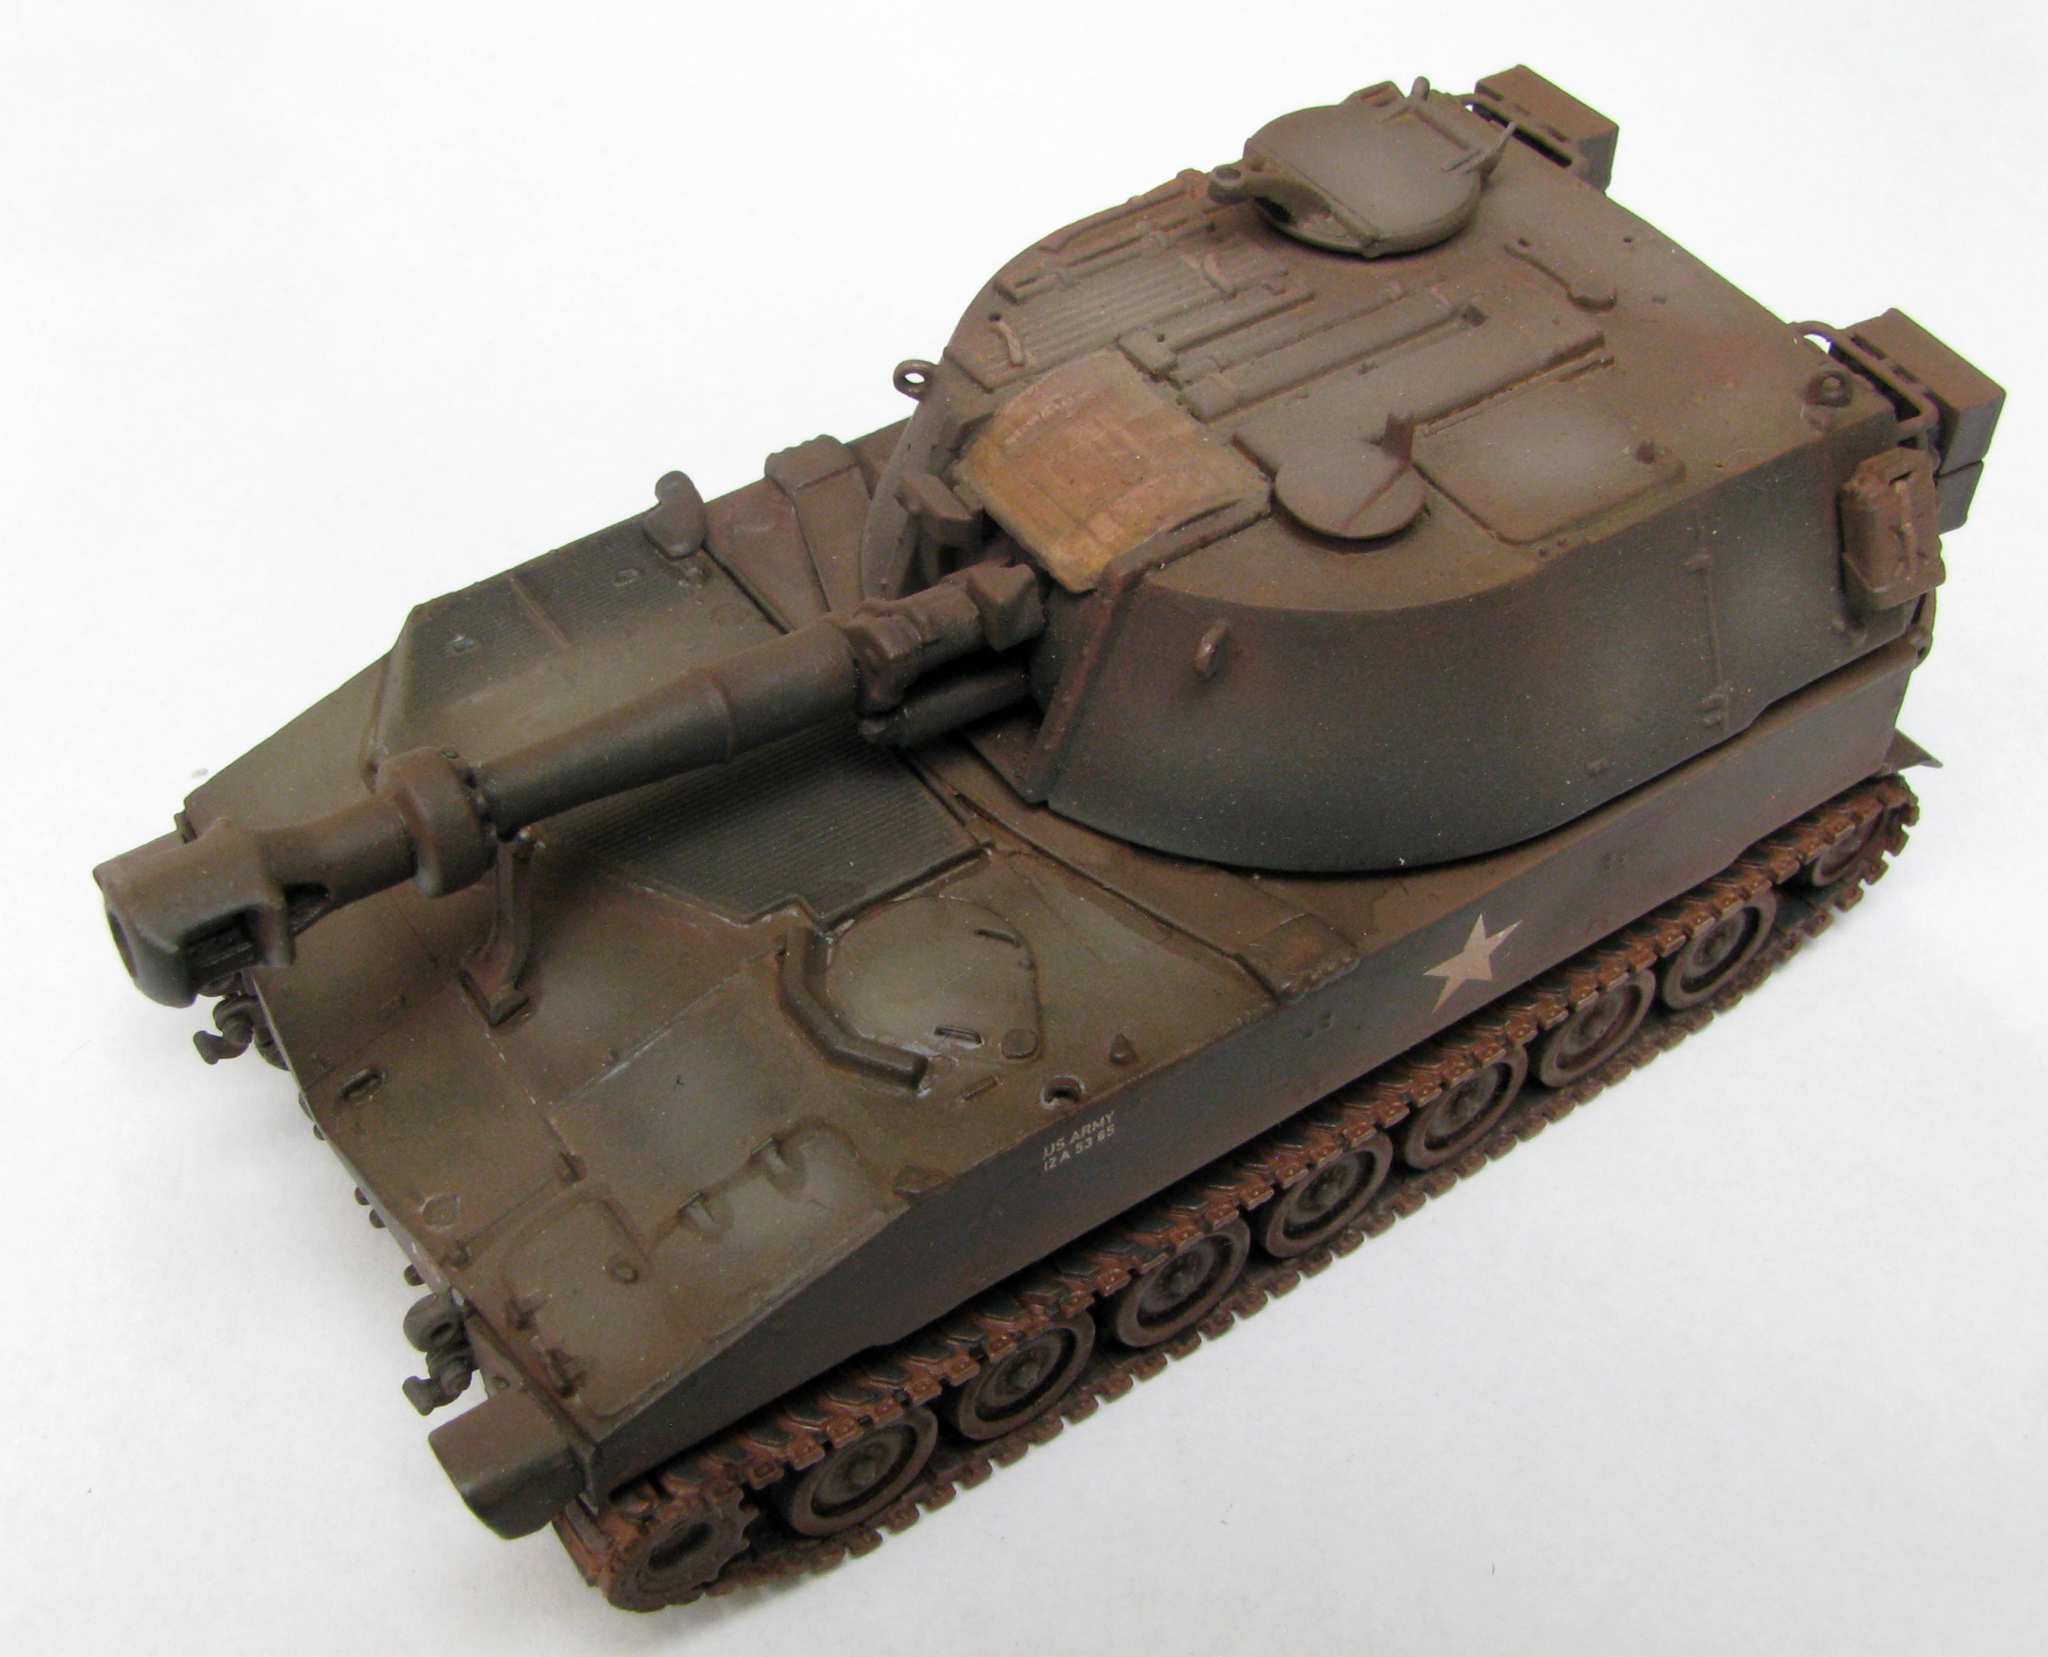
I have tried to add some variation to the paint, so I tried something new - lightening with artist oils. It came out like this:
Then I have put on a blend of two pigments - curiously, both of them are Czech-made. One is Sira SA011 Vietnam - more yellow and CMK Star Dust SD04 Vietnam Earth - very red:
I have concentrated on the top surfaces that would be the most sun-faded but also that’s where the dust would accumulate - this can also be seen in some period photos:
OK, so now I’ll work more on the tracks and on “stuff” hanging on the howitzer. Thanks for looking and have a nice day
Awright, I’m pulling this one off the shelf of doom…
I didn’t like the previous painting so much, so recently I got to use my airbrush, so I tried to improve this one some… I like it a lot better now. Here’s how it looks like:
Now I have to work on some stowage so that my little baby isn’t looking so bare anymore…
We re-visit when you were a glutton for punishment, Huh? BUT!! You certainly punished our builders who are mediocre in Armor. Like Me! Great Job, Pawel!!
Gamera - yeah, it’s nice and I think it will last me for a few vehicles more…
I noticed the photos of the M109s from Vietnam don’t show a whole lot of stowage on them - I guess that’s because most of the stuff travelled on the ammo carriers and trucks. In comparison today’s Paladins sometimes look in the photos like they are loaded sky high with all kinds of stuff.
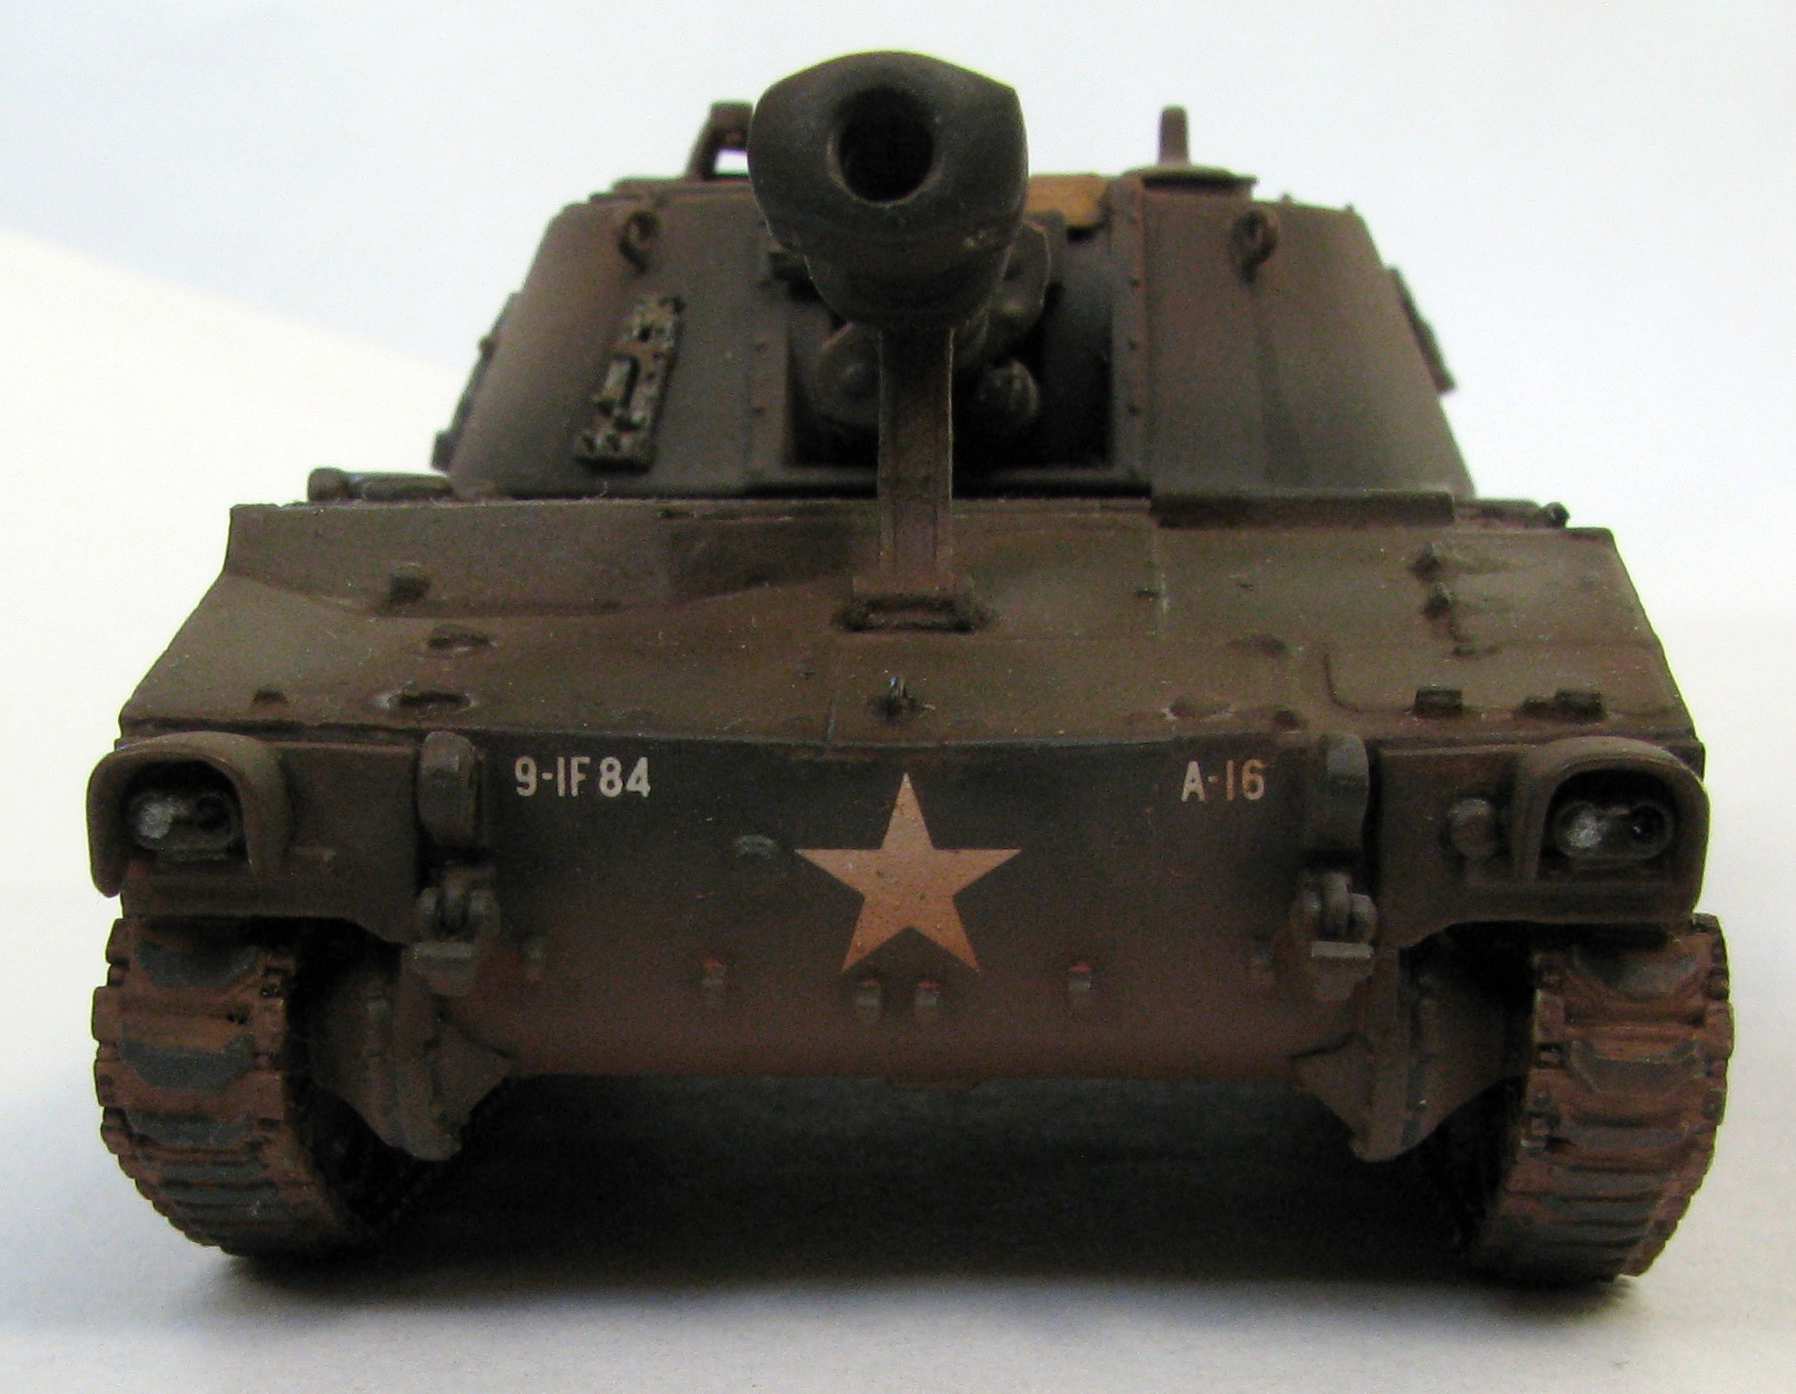
Meanwhile I have installed the headlights:
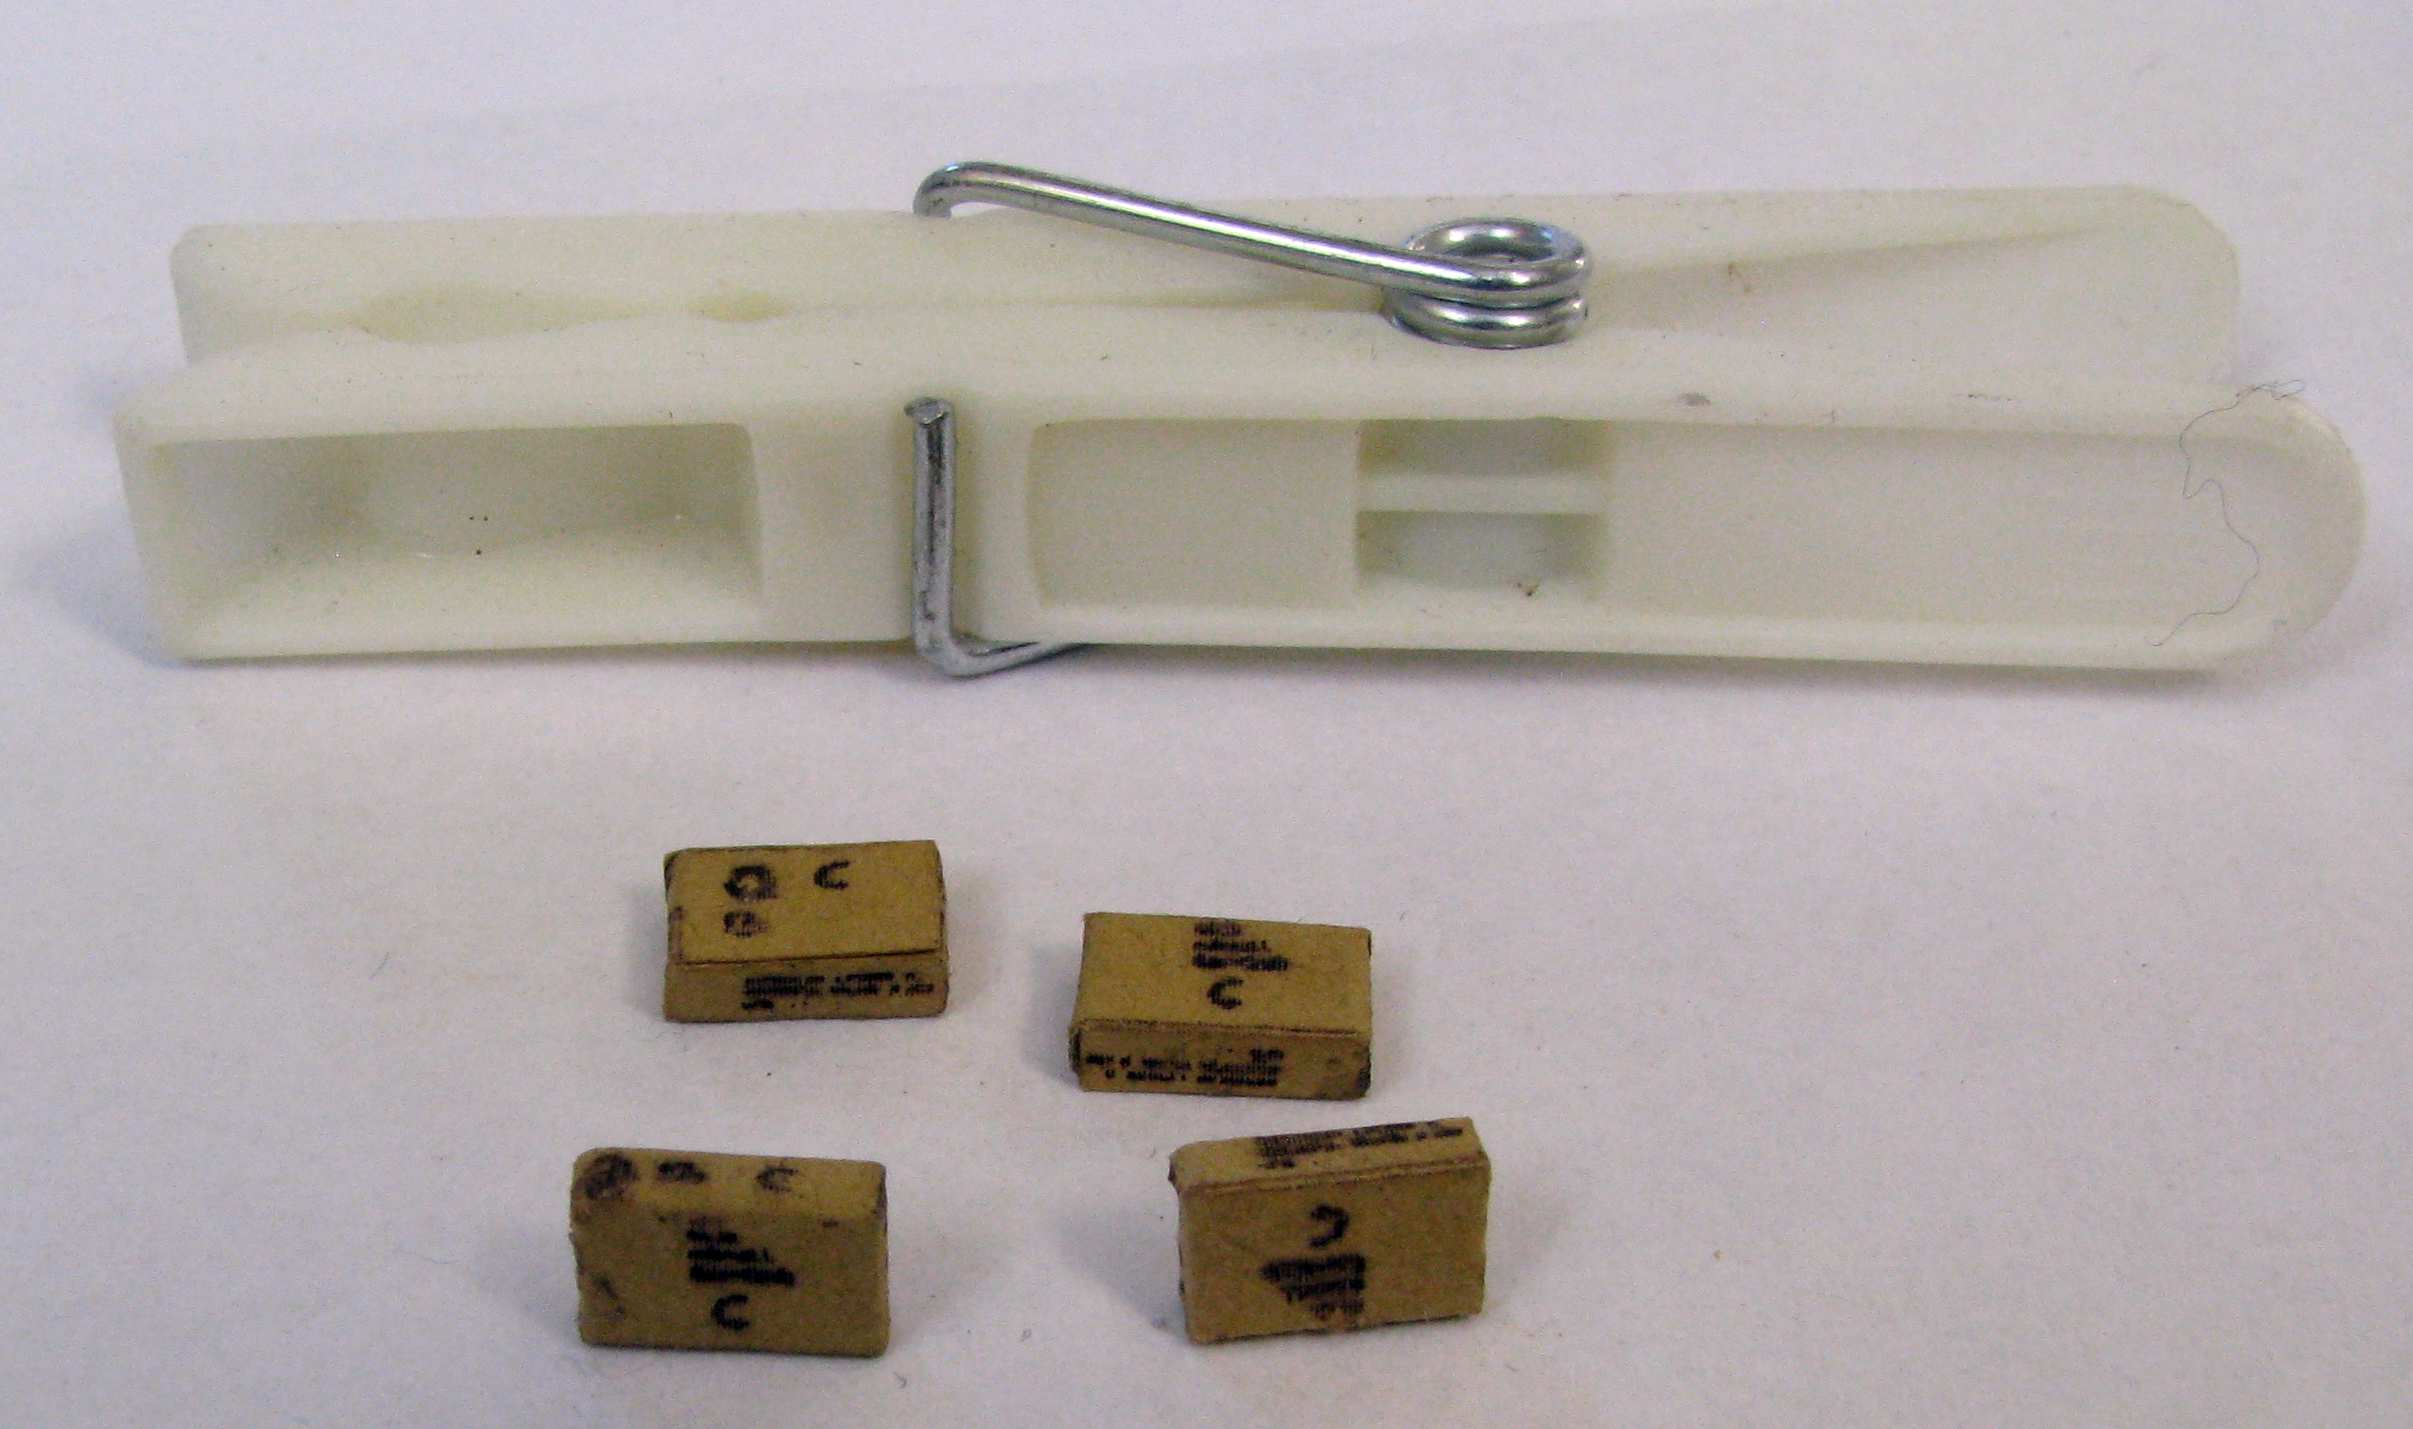
I also HAVE to supplement the mentioned stowage kit with some more stuff - and I begun with the cartons: