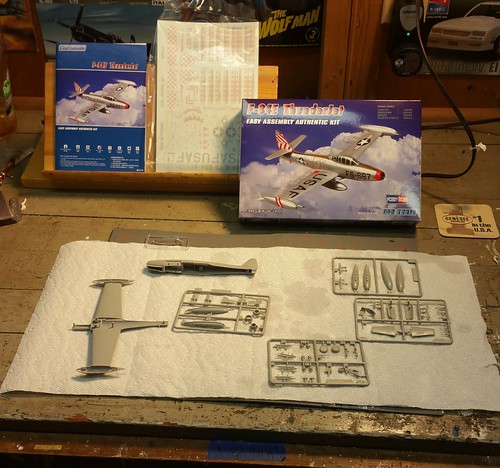
Sometimes I’ve got to wait a few days after finishing a kit before I can dive into another one. Other times, I jump right in! And that’s exactly what I’m doing tonight after I get back from dinner. I’ve been waiting to start this kit for quite some time in fact. The F-84 has to be my all time favorite jet plane. Ever. It looks like a beast and could take on any ground target it came across. This will be the first jet plane I’ve ever built, so I’m looking forward to it! I might even add some aftermarket surprises as well!
One of my heros flew a thunderjet when I was a Kid. He still lives today and I remind him often that he’s still my hero. He did the Korea thing and even later practiced tossing a early nuclear weapon from the F-84. I built the 1/48 Revell kit with the nuke for my collection. I highly recommened the kit as it is excellent for an inexpensive Revell. It’s posted several months ago on the forum. One of my favorites. Anyway, good choice and I’m looking forward to your progress.
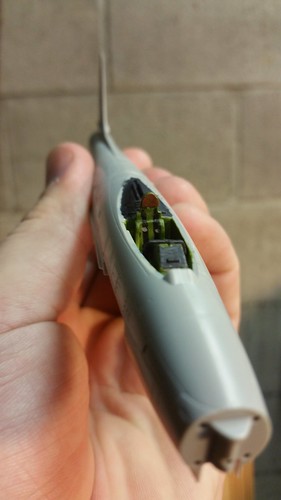
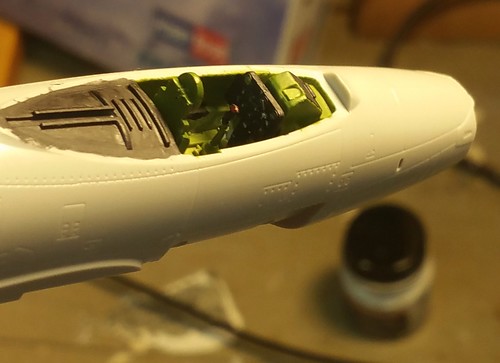
I started working on the Thunderjet tonight folks! I’ve got the ejection seat, instrument panel and control stick painted and in place. The interior of the cockpit is all set as well. You guys were right about this kit- it’s definitely easy so far. I dont even have to glue together the fuselage halves!
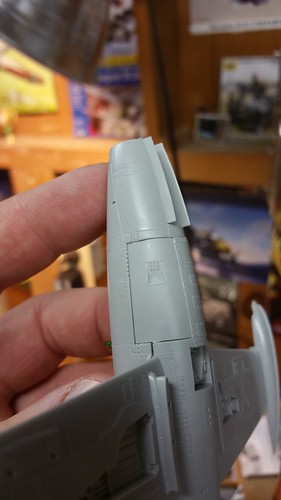
More progress on the Thunderjet. There are two side panels that belong underneath the cockpit on either side of the fuselage. There are tabs on each of these panels that attach to the fuselage. If you plan on building this kit, do yourself a favor and cut those tabs right off. They cause the panels to line up incorrectly, and it’s easier to arrange the panels without them.
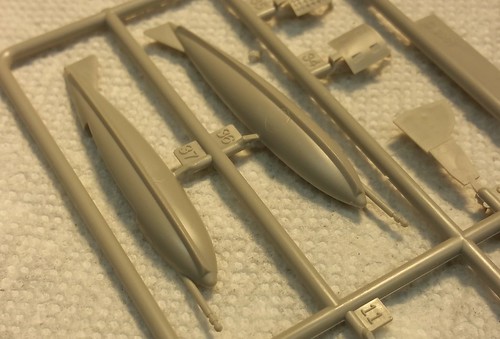
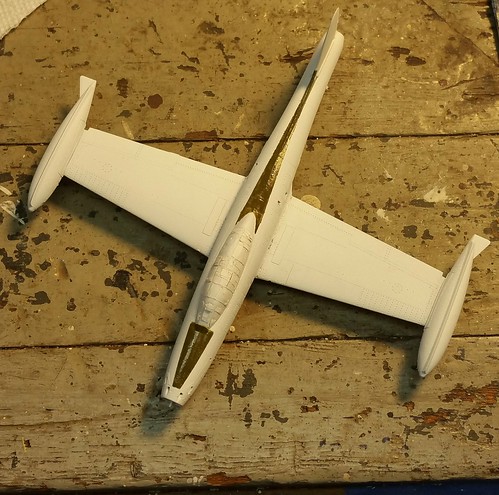
The wingtip tanks needed a bit of…shall we say, backdating? Some Thunderjets were equipped with inflight refueling probes on their wing tanks…but not the one that I’m making. Regardless, Hobbyboss molded them onto the tanks. A sharp no. 11 blade took them right off.
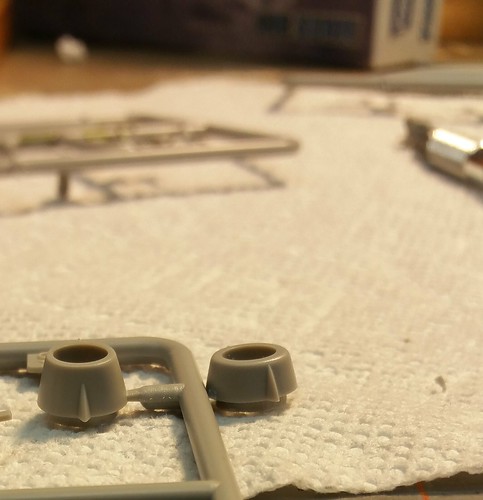
Hobbyboss also molded two different exhausts. Since my Thunderjet will be the “E” variant, I used the smaller one.
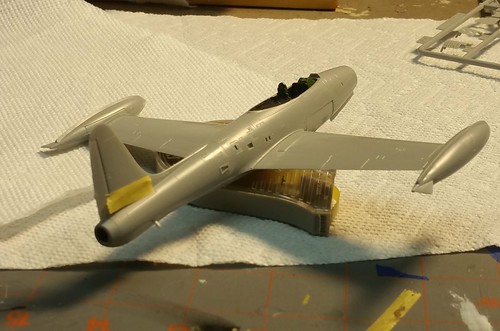
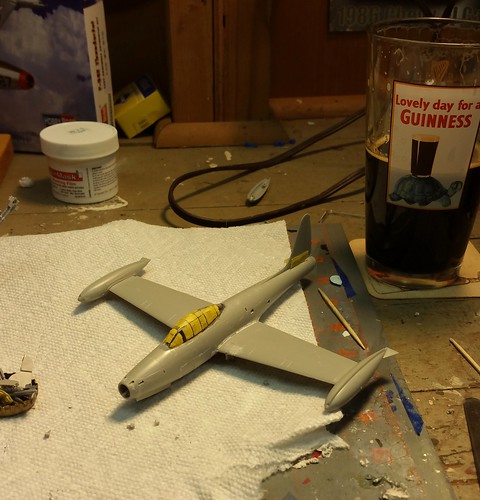
It’s starting to look like a jet, but there’s still work to be done!
Thanks!! I ended up getting a lot done tonight. I had to perform a little cosmetic surgery on certain parts of my thunderjet. For starters, I didn’t like how the perforations on the air brake were more like indentations. I drilled them out with the smallest bit I had for my dremel. I must have stared at photos of air brakes for a good half an hour before i decided to add what I can best describe as baffels to each hole. Unfortunately I made the holes a bit larger than they should have been, but I’m not trying to win any awards with this. It’s just going to look awesome on my shelves, especially in a sea of prop jobs!
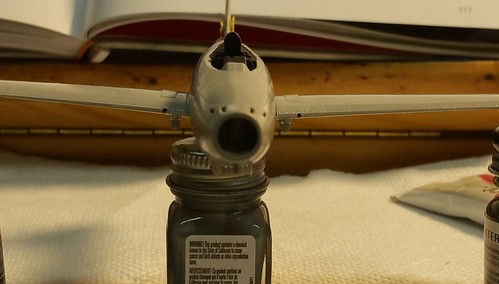
The other issue I had with this kit was the machine gun ports, or lack there of. There was no attempt by Hobbyboss to create any ports on the engine intake. Panel lines marked where the wing guns and guns near each corner of the ammo access panel would be. But that’s the fun in these easy assembly kits: they put your detailing skills to the test! I used the smallest bit for my Dremel yet again, and made six gun ports. The four ports on the nose weren’t the easiest things to drill out. I had to think hard about how I was going to put them in. I decided to drill a hole straight down first, and then angle the bit backwards against the surface of the nose. This created the desired effect I was looking for.
That’s all for now. Hope everyone is having a good start to their weekend!
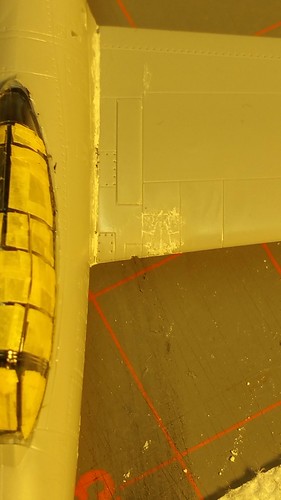
I got a chance to work on my Thunderjet a bit more this weekend, seeing as how this week is going to be nuts with Thanksgiving coming up. I’ve sealed off the engraved in-flight refueling port on the wing with squadron putty. I’ve also filled any seams along the wing roots.
I also masked the canopy, and attached it to the airframe using clear parts cement. There was one section that required me to use liquid mask, as there is a circular porthole-style frame set within the canopy. I’ve checked all of my sources, and none of them explain this design in the canopy. But regardless, it’s going to look great when it’s all done! I will hopefully start priming/painting at the end of the week.
After waking up from a turkey-induced sleep this morning, I decided to take full advantage of my day off from work and work on my Thunderjet. I had primed it the day before Thanksgiving, and this morning it was ready for a bit of paint. I started with the anti-glare panel in front of the cockpit and behind it.
Thanks Dirk! You got any photos of that swift boat?
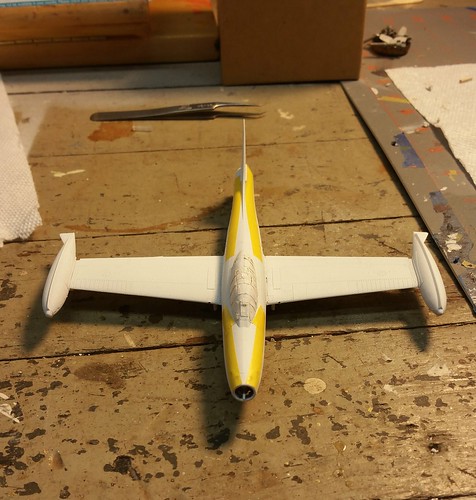
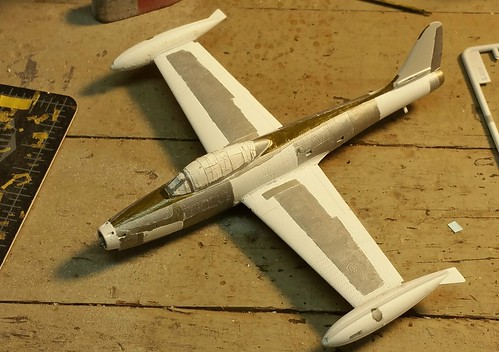
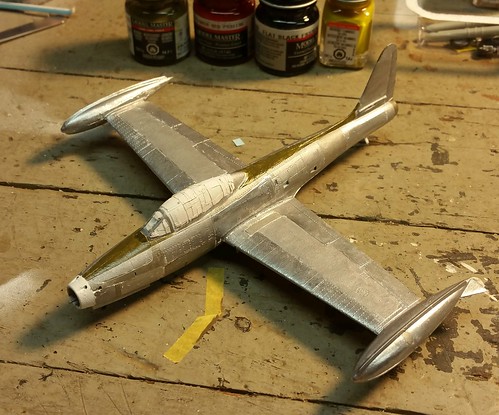
I’ve done a bit more painting in the last few days. I’m using four different model master paints - Aluminum, Steel, Chrome Sliver and Jet Exhaust- to paint my Thunderjet. I’m working without an airbrush in my workshop, so I’m hand painting it. All of the reference photos I’ve found of Thunderjets in Korea show that some panels on the aircraft look tarnished and grungy, while others look bright and shiny. That’s why I’ve decided to use the three differenty metallic paints. So far it’s looking good, I’m hoping to have it all squared away in a few days.
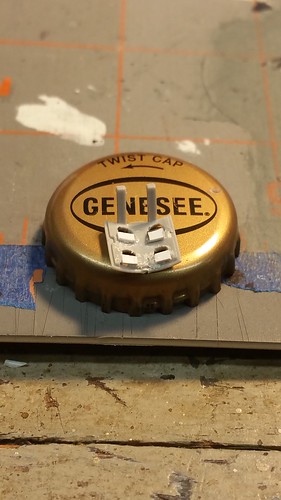
A package came in the mail yesterday: twin Tiny Tims! I glued the fins on to the bodies as soon as I opened up the package. These are the True Details Tiny Tims, and overall they’re pretty awesome. There are no exhaust ports molded into the rockets however, so I’ll have to make use of my dremel tomorrow night. Once they’re all squared away and painted, They’ll look mighty awesome on my Thunderjet. Took a bit of a break tonight from model building- work was especially killer today and I’m resting comfortably in front of the tv with no real inclination to do much of anything. Rest assured, I’ll be back in the workshop tomorrow night!
Got a bit more work in last night. With the exception of the tip of the nose and gear bays, this jet has it’s first coat of paint on it! I’ve decided to paint the nose red, as opposed to using a long red band decal that was provided in the kit.