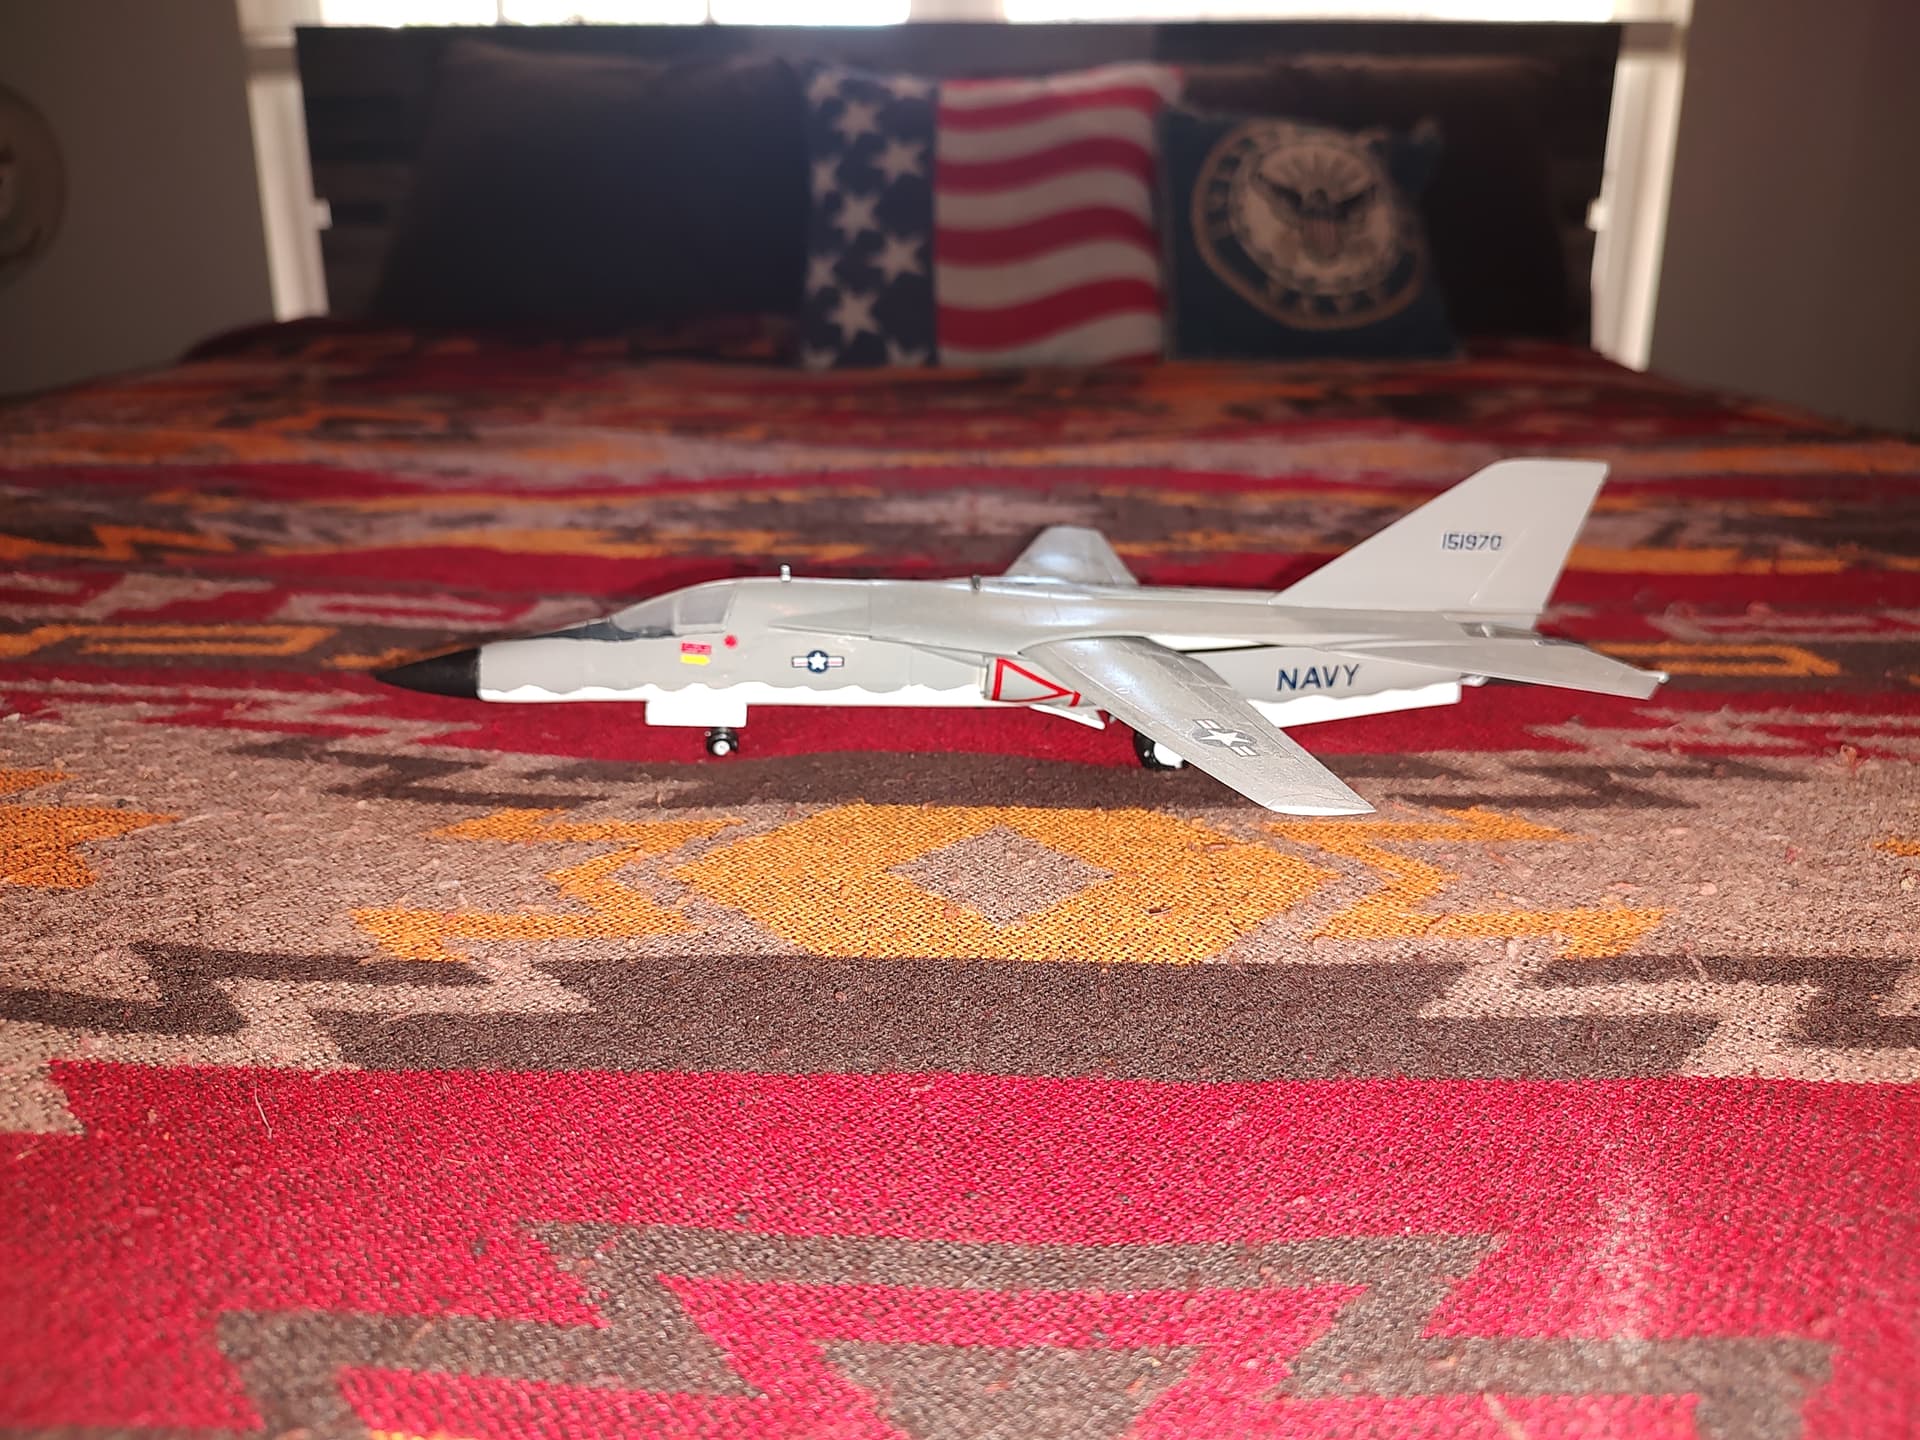
I wanted to build the F-111A for a long time… Years ago I’ve bought a Hasegawa kit of the FB-111A (only one I could get my hands on back than) - but it wasn’t the right variant for Vietnam, so I traded it for this one:
Since then Hasegawa reissued (and they are gone again) the “righteous” F-111A, but I decided to stick with my plan of converting the above kit to an F-111A. Most of the necessary parts are there anyhow, what’s actually missing is the lower hull. Then again, from my friends in Poland I got two lower hulls with wide air intakes (thanks a lot guys!). So I’ll try to put it all together, let’s see how this turns out.
I’m starting with the toughest nut, the lower hull, but first I have to take care of the main landing gear bay and the air intakes. Here’s how the bay looks now:
I added some simple details. The rear wall will be detailed with the kit part for the main landing gear. This part will be installed after the hull is done. The front bulkhead would stay blank as per kit instructions, but I intend to put some gizmology ther to make it look as busy as it should be.Then again I don’t think a lot will be seen of it, because it looks like the airbrake/gear door will obscure the view.
Right after glue dried on the gear bay and the intakes I broke out the saw and let it rip:
I installed two ribs pointed to by two red arrows that will help to stiffen the rear hull that is surprisingly flimsy. Those ribs are 6mm high for those who would like to build something similar in their models:
So the hull is already drying and in the meantime I started working on the cockpit:
That’d be it for now - thanks for looking and have a nice day!
Oh Boy! Another Pawel classic in the making. I just love the fact you started with the main landing gear bay. and got the problem of the rear hull out of the way first.
Hello!
Thanks a lot for your comments! @PropDuster - thanks a lot for your kind words! I think that’s a healthy approach - try to tackle the problem first, before the risk of effing a lot good work up grows bigger… @keavdog - I say go for it, it’s a nice BIG machine! With a great historical significance, too!
I know you are well underway with the build and this may be a little late but hopefully helpful.
I have 2 1/72 Hasegawa Varks in my collection. An A and an E (basically one in the same). The E was purchased for an upcoming Upper Heyford Vark build that I peronally spent 3 years with in the early 80’s when stationed with 20th Tactical Fighter Wing in the UK. I got mine on Ebay.
Unfortunately Hasegawa varks are pretty much hens teeth now but i have found they are making a comeback under the Hobby2000 banner.
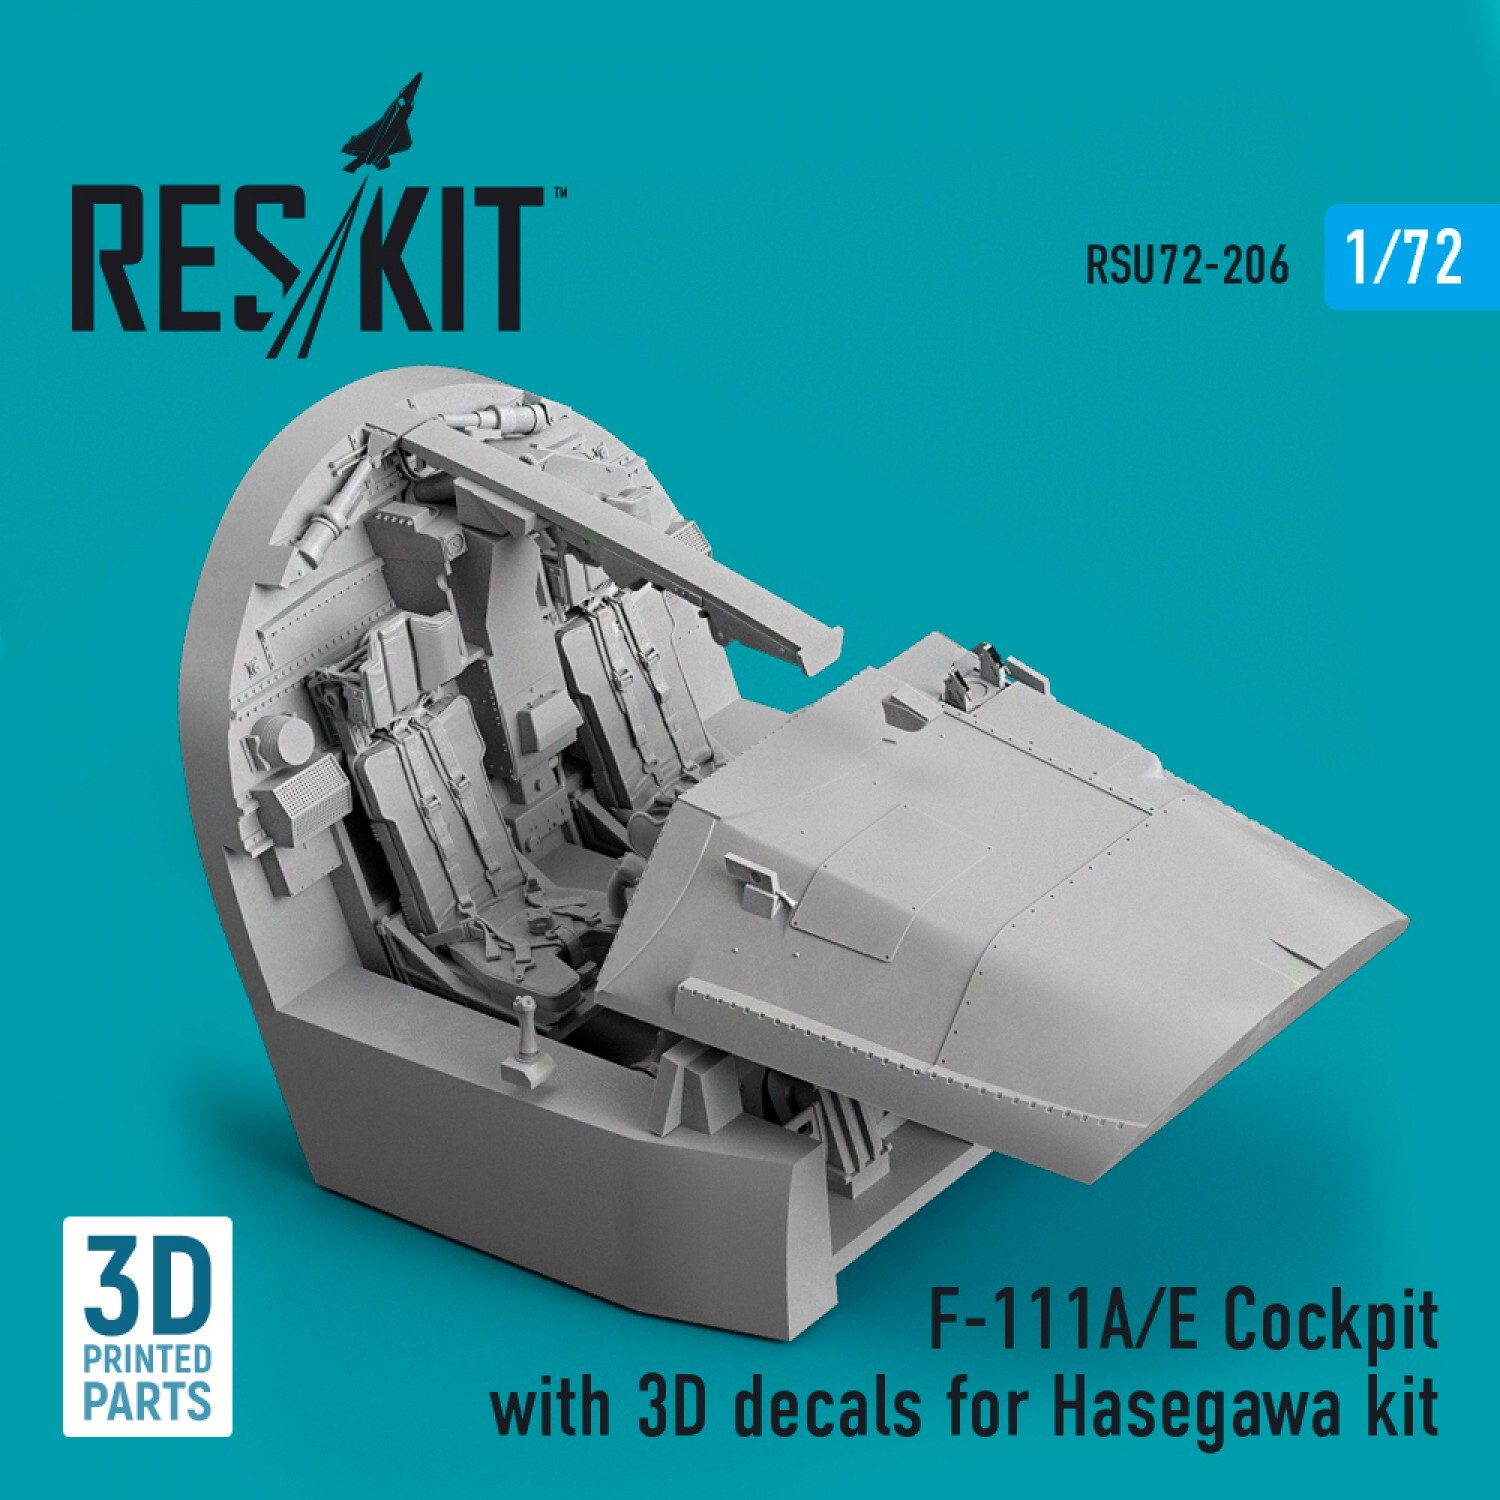
Also Reskit (out of the Ukraine) features a ton of resin upgrades for the vark from complete cockpits w/ 3D decals to wing tanks, pylons,and complete burner sets. To me they are reasonable for resin. Check them out. I have received numerous items from them in the US in as little as 3 weeks.
I know this is probably a little late but it worth a look if you ever want to toddle off down the 1/72 Vark trail again.
Your progress looks awesome and I’ll be watching this build closely.
Hello everybody!
Thanks a lot for your comments! To my astonishment this thread made it to the newsletter this week! @Ozr1 - cool to have somebody with hands on experience with the 'vark on a thread like this. I have some aftermarket for this project, but I don’t want to go bananas with the spending - so for example I have some PE and I will use it instead of getting a complete resin cockpit.
Back to working on another update - thanks again for your comments and have a nice day!
Hasegawa is re-releasing the F-111A next month. A couple of Japanese vendors have it for preorder. It will include two decal options and the same incorrect weapons stores for a Vietnam-era 'Vark, but that’s easily remedied.
You’re off to a great start on this F-111. Your cockpit detail work looks amazing. Didn’t some manufacturer just recently issue a cockpit/nose section of a F-111 as a kit by itself?
Hello! @Striker8241 - Russ, it’s good to see you here on the forums and especially in my thread!
Plan is to have the wings “for slow flight” - that would be extended, right? That’s the stock kit option. The instructions don’t tell you that, but the wings also have second slot for swept installation - but using that would require to cut out the fuselage sides differently.
And I have a small update - I was working on the front bulkhead of the main gear bay, to have it done before joining front and rear parts of the fuselage.
First I scratchbuilt this:
If I was building out of the box the gear bay would look like this:
After installing my scratchbuilt (and painted) part it has a chance to look like this:
Probably little or nothing of it will be seen above the open airbrake, but I’d rather not have a “bald spot” there…
Pawel, Nice upgrade. Looks very cool, if only my bald spot was as easly remedied
As we know, “you” know it’s there and we can try to see it. So the work is worth it.
Hello! @PropDuster - you’re right! Plus I like how it looks!
And now I joined the fuselage halves - and for a change this time its front and rear
As you can see I’m starting to build up the air intakes. I painted the splitter plates black before installing them to not have to worry about reaching the tight spots under them - and there is the intake sucking up the boundary layer shown there.
But I have to say that the parts for the air intakes don’t fit too good. avoiding the gaps here will take some work.
Thanks for looking and have a nice day!