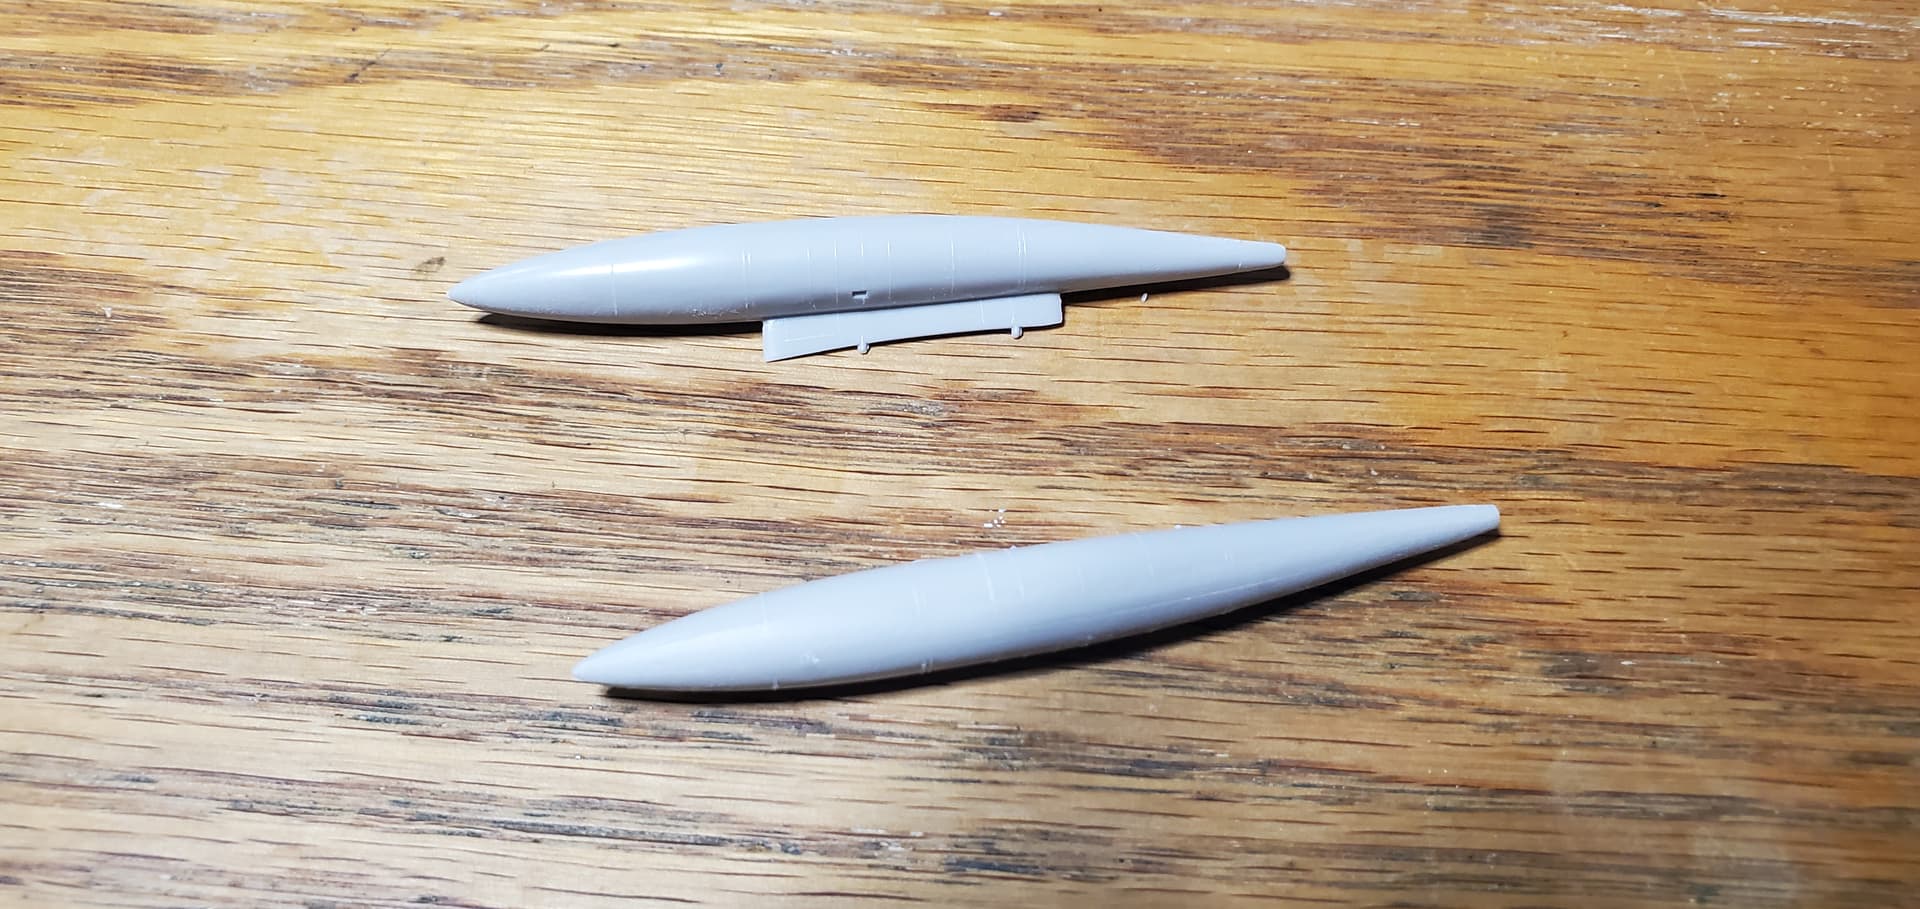
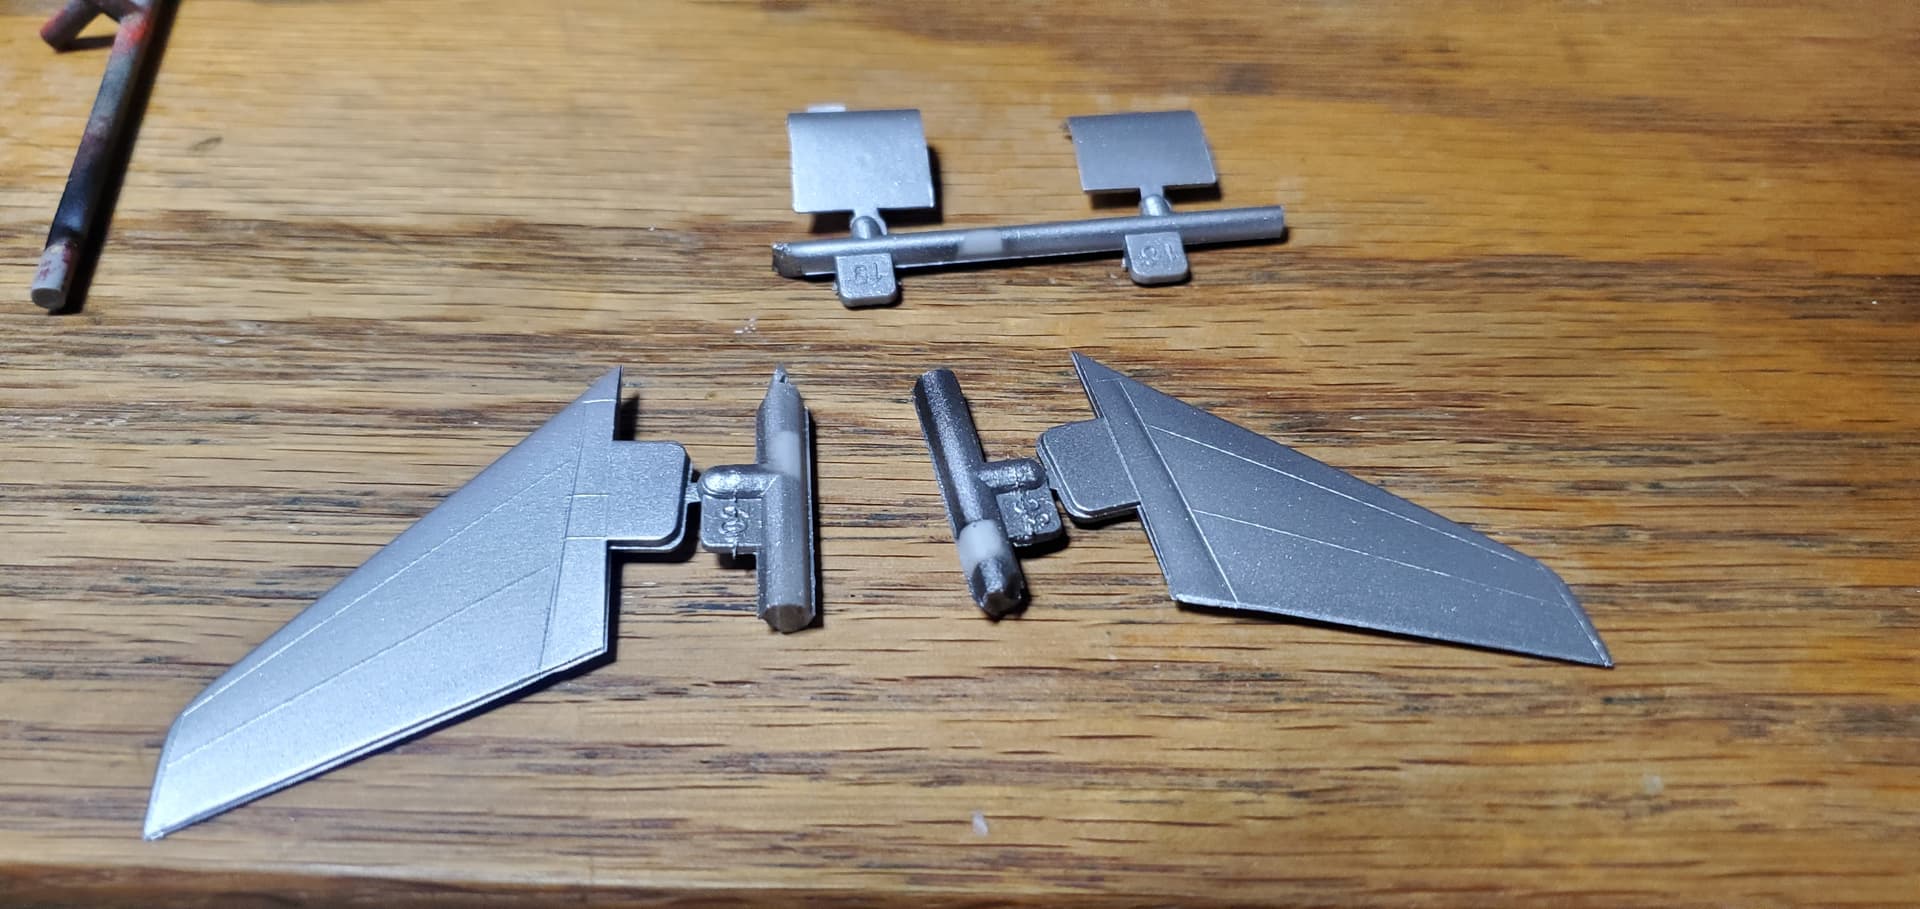
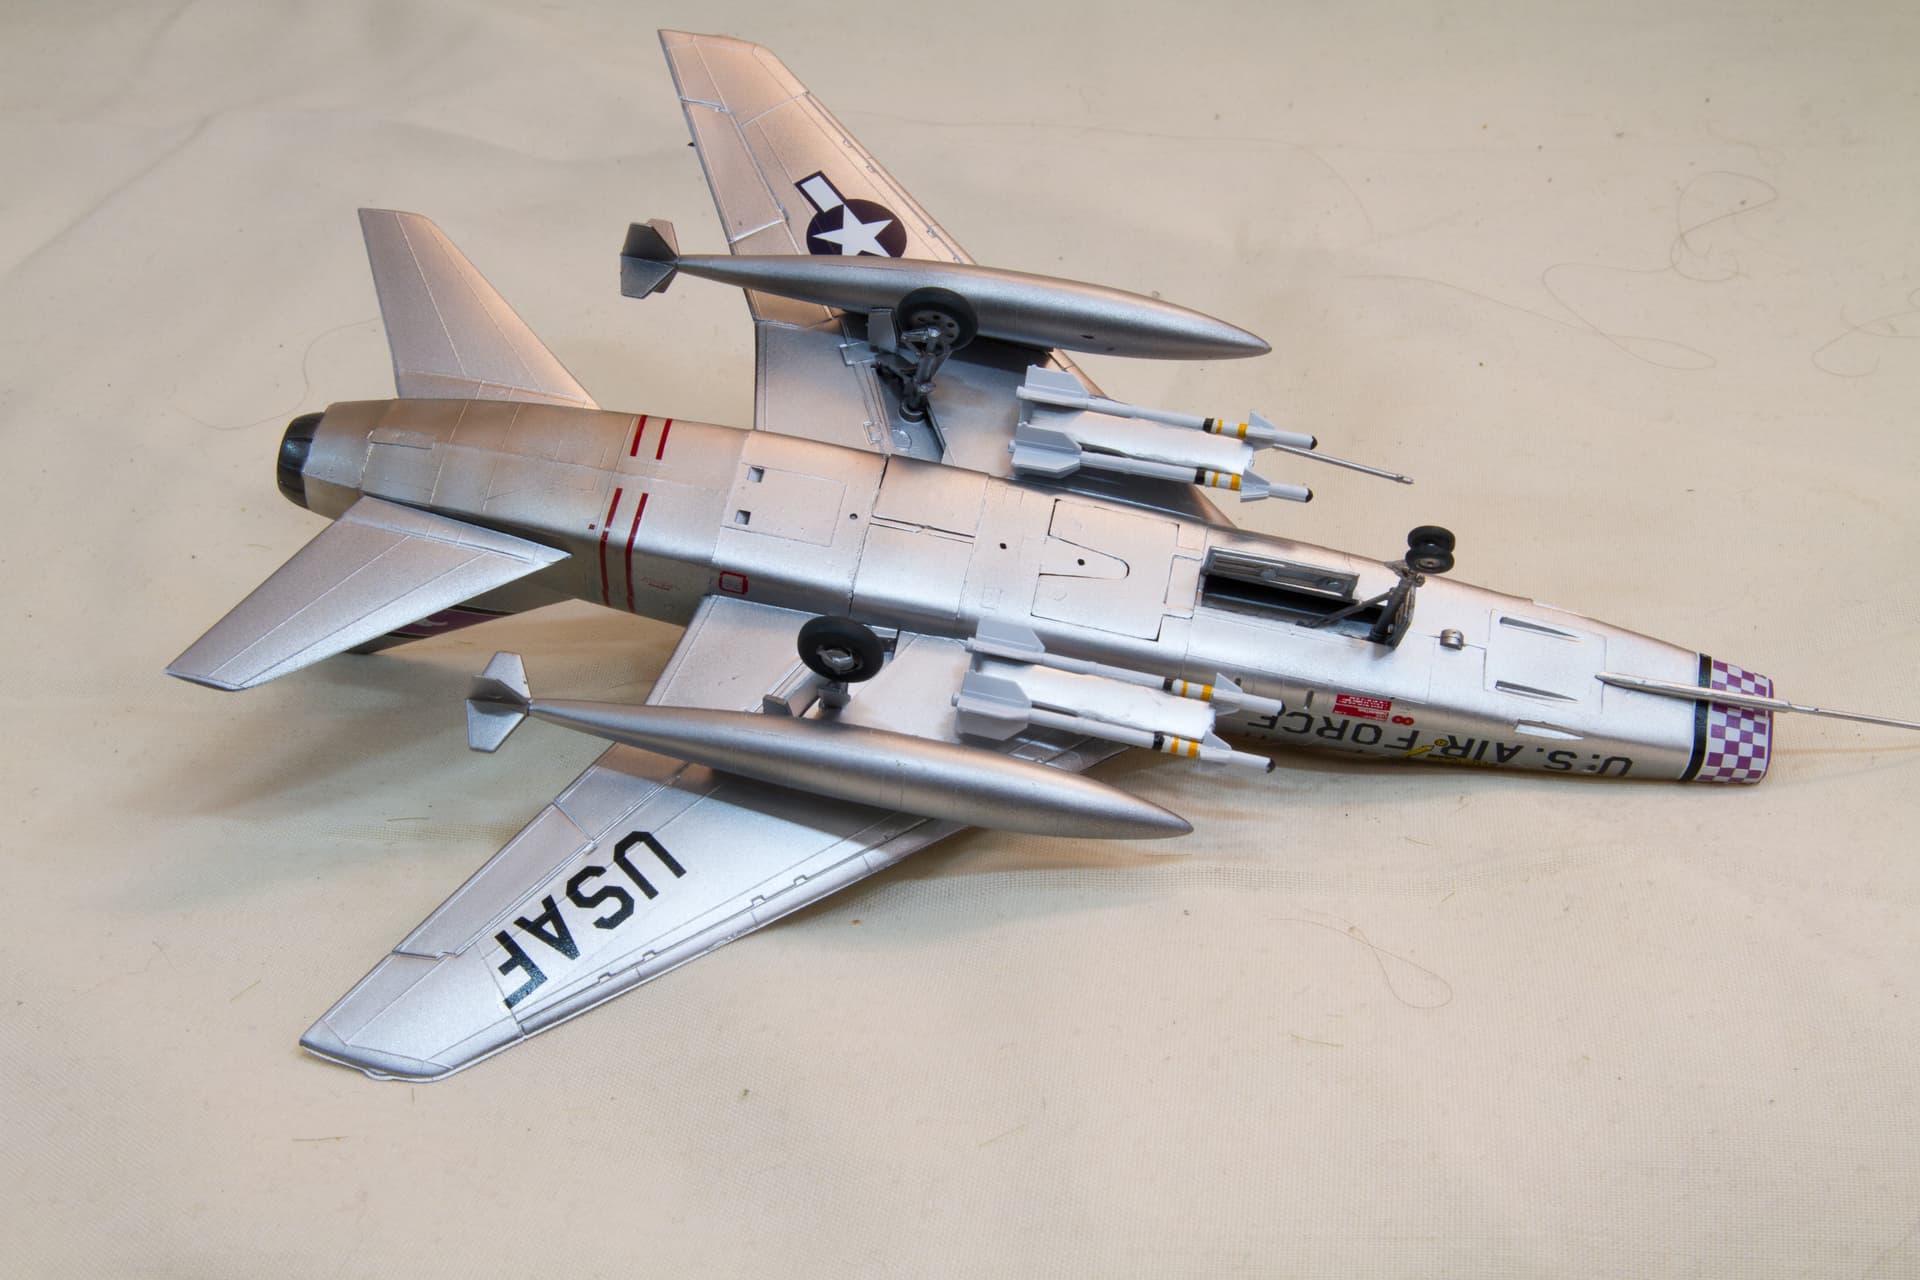
Next did the drop tanks, assembling the two halves on the sprue before cleaning them up off the sprue. Not pictured is the results of adding the tails.
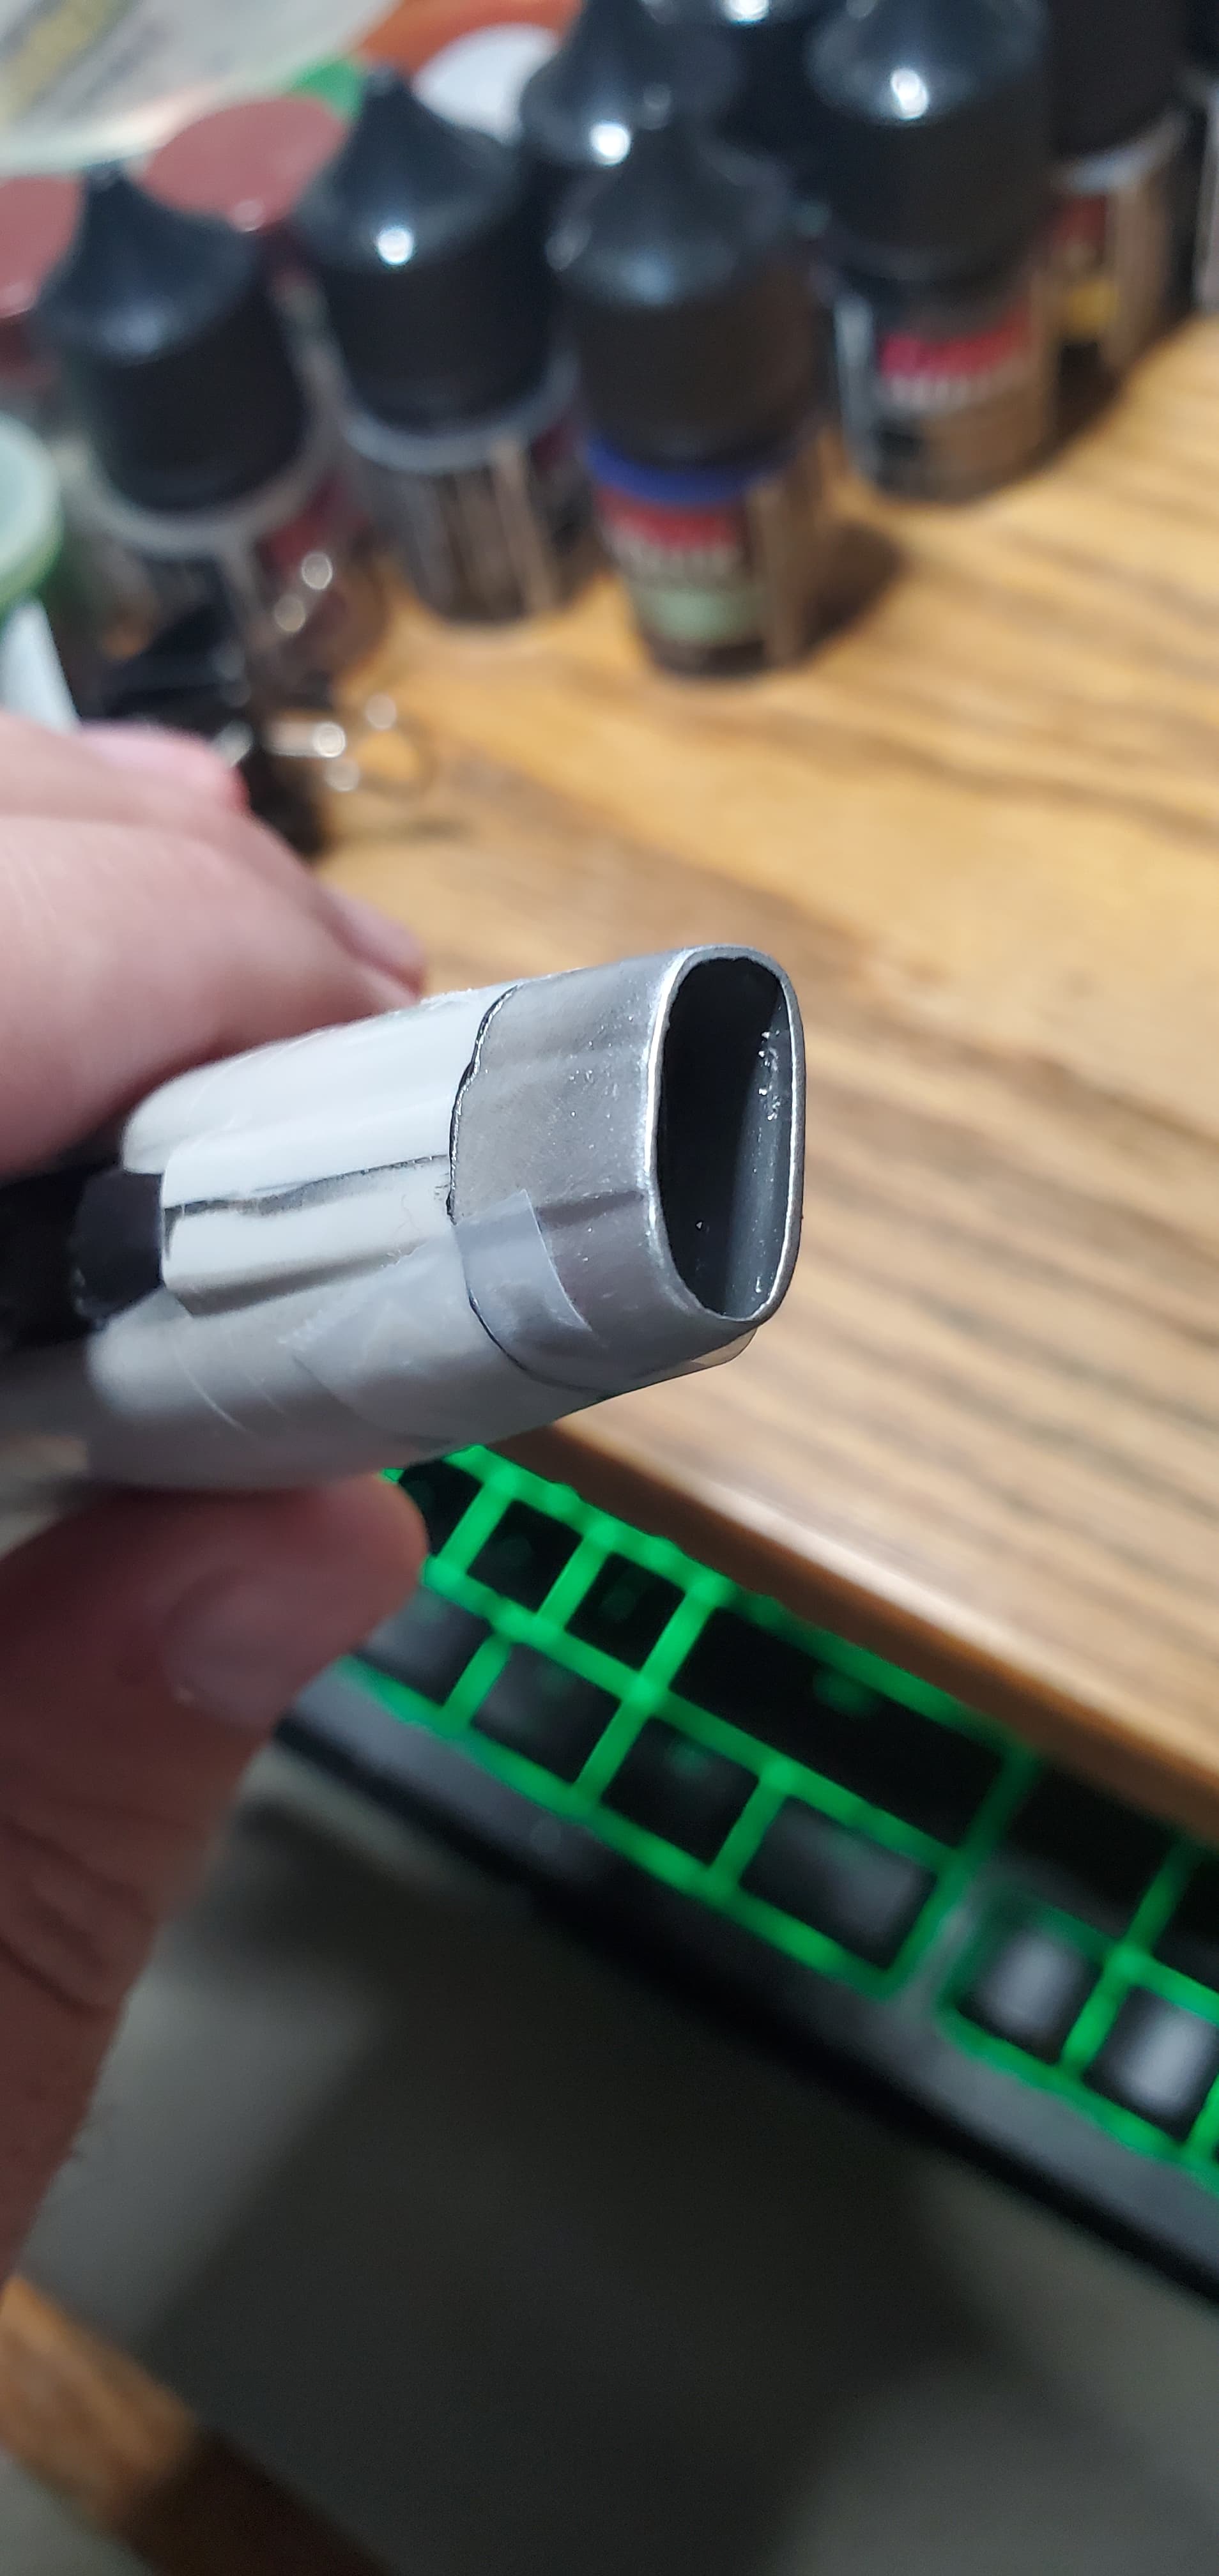
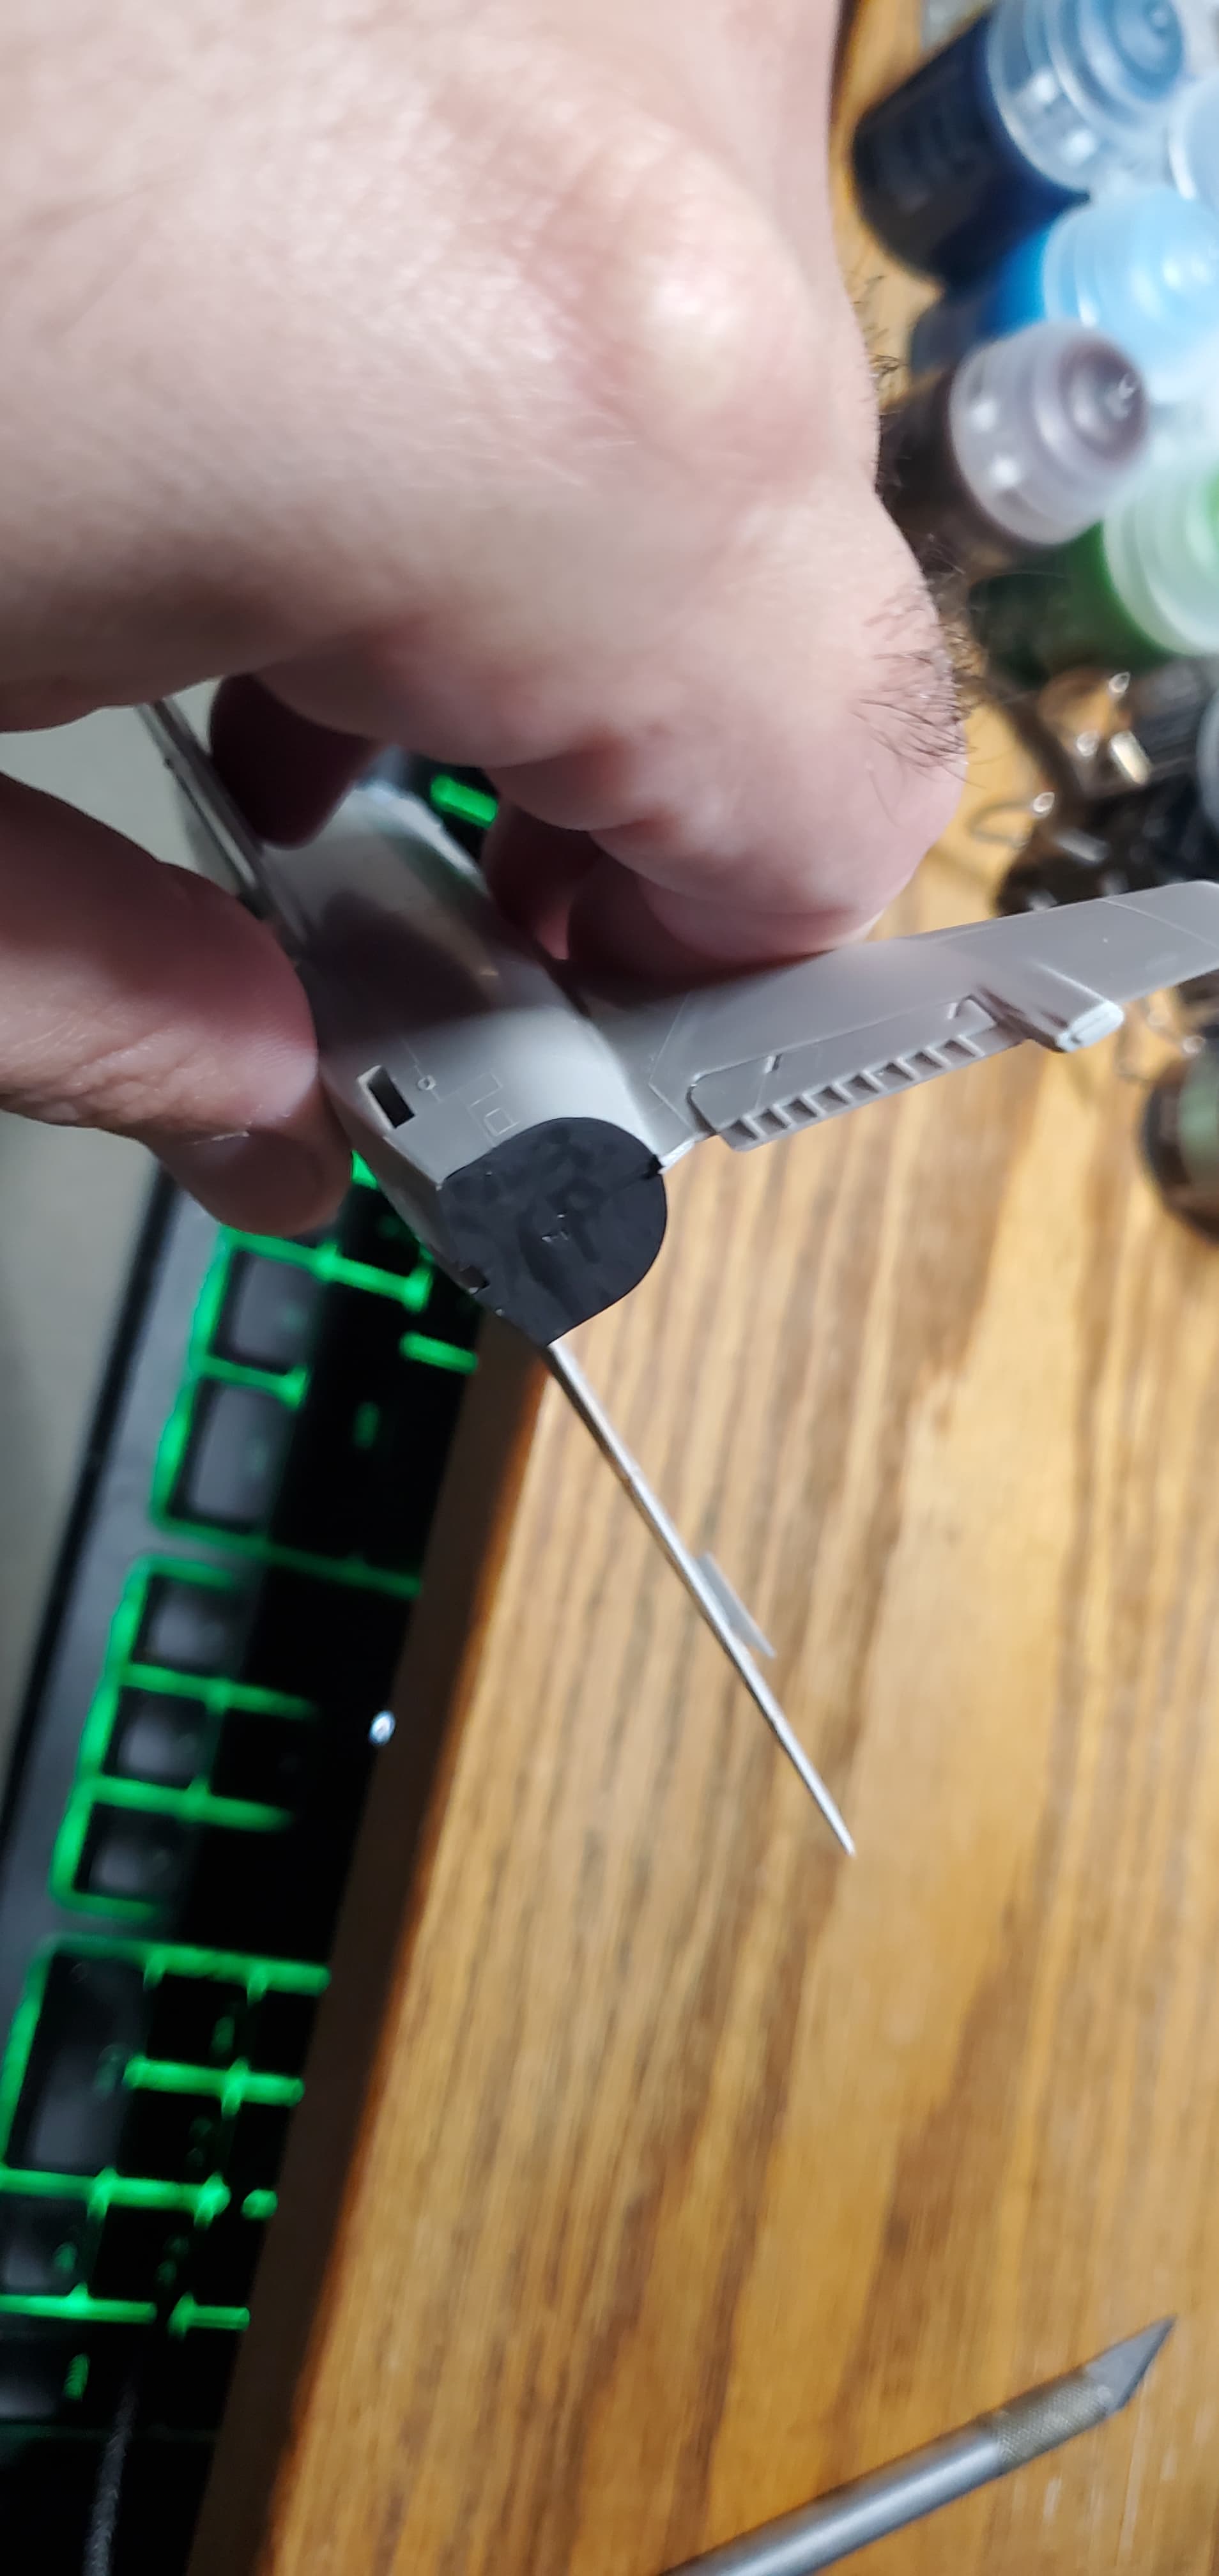
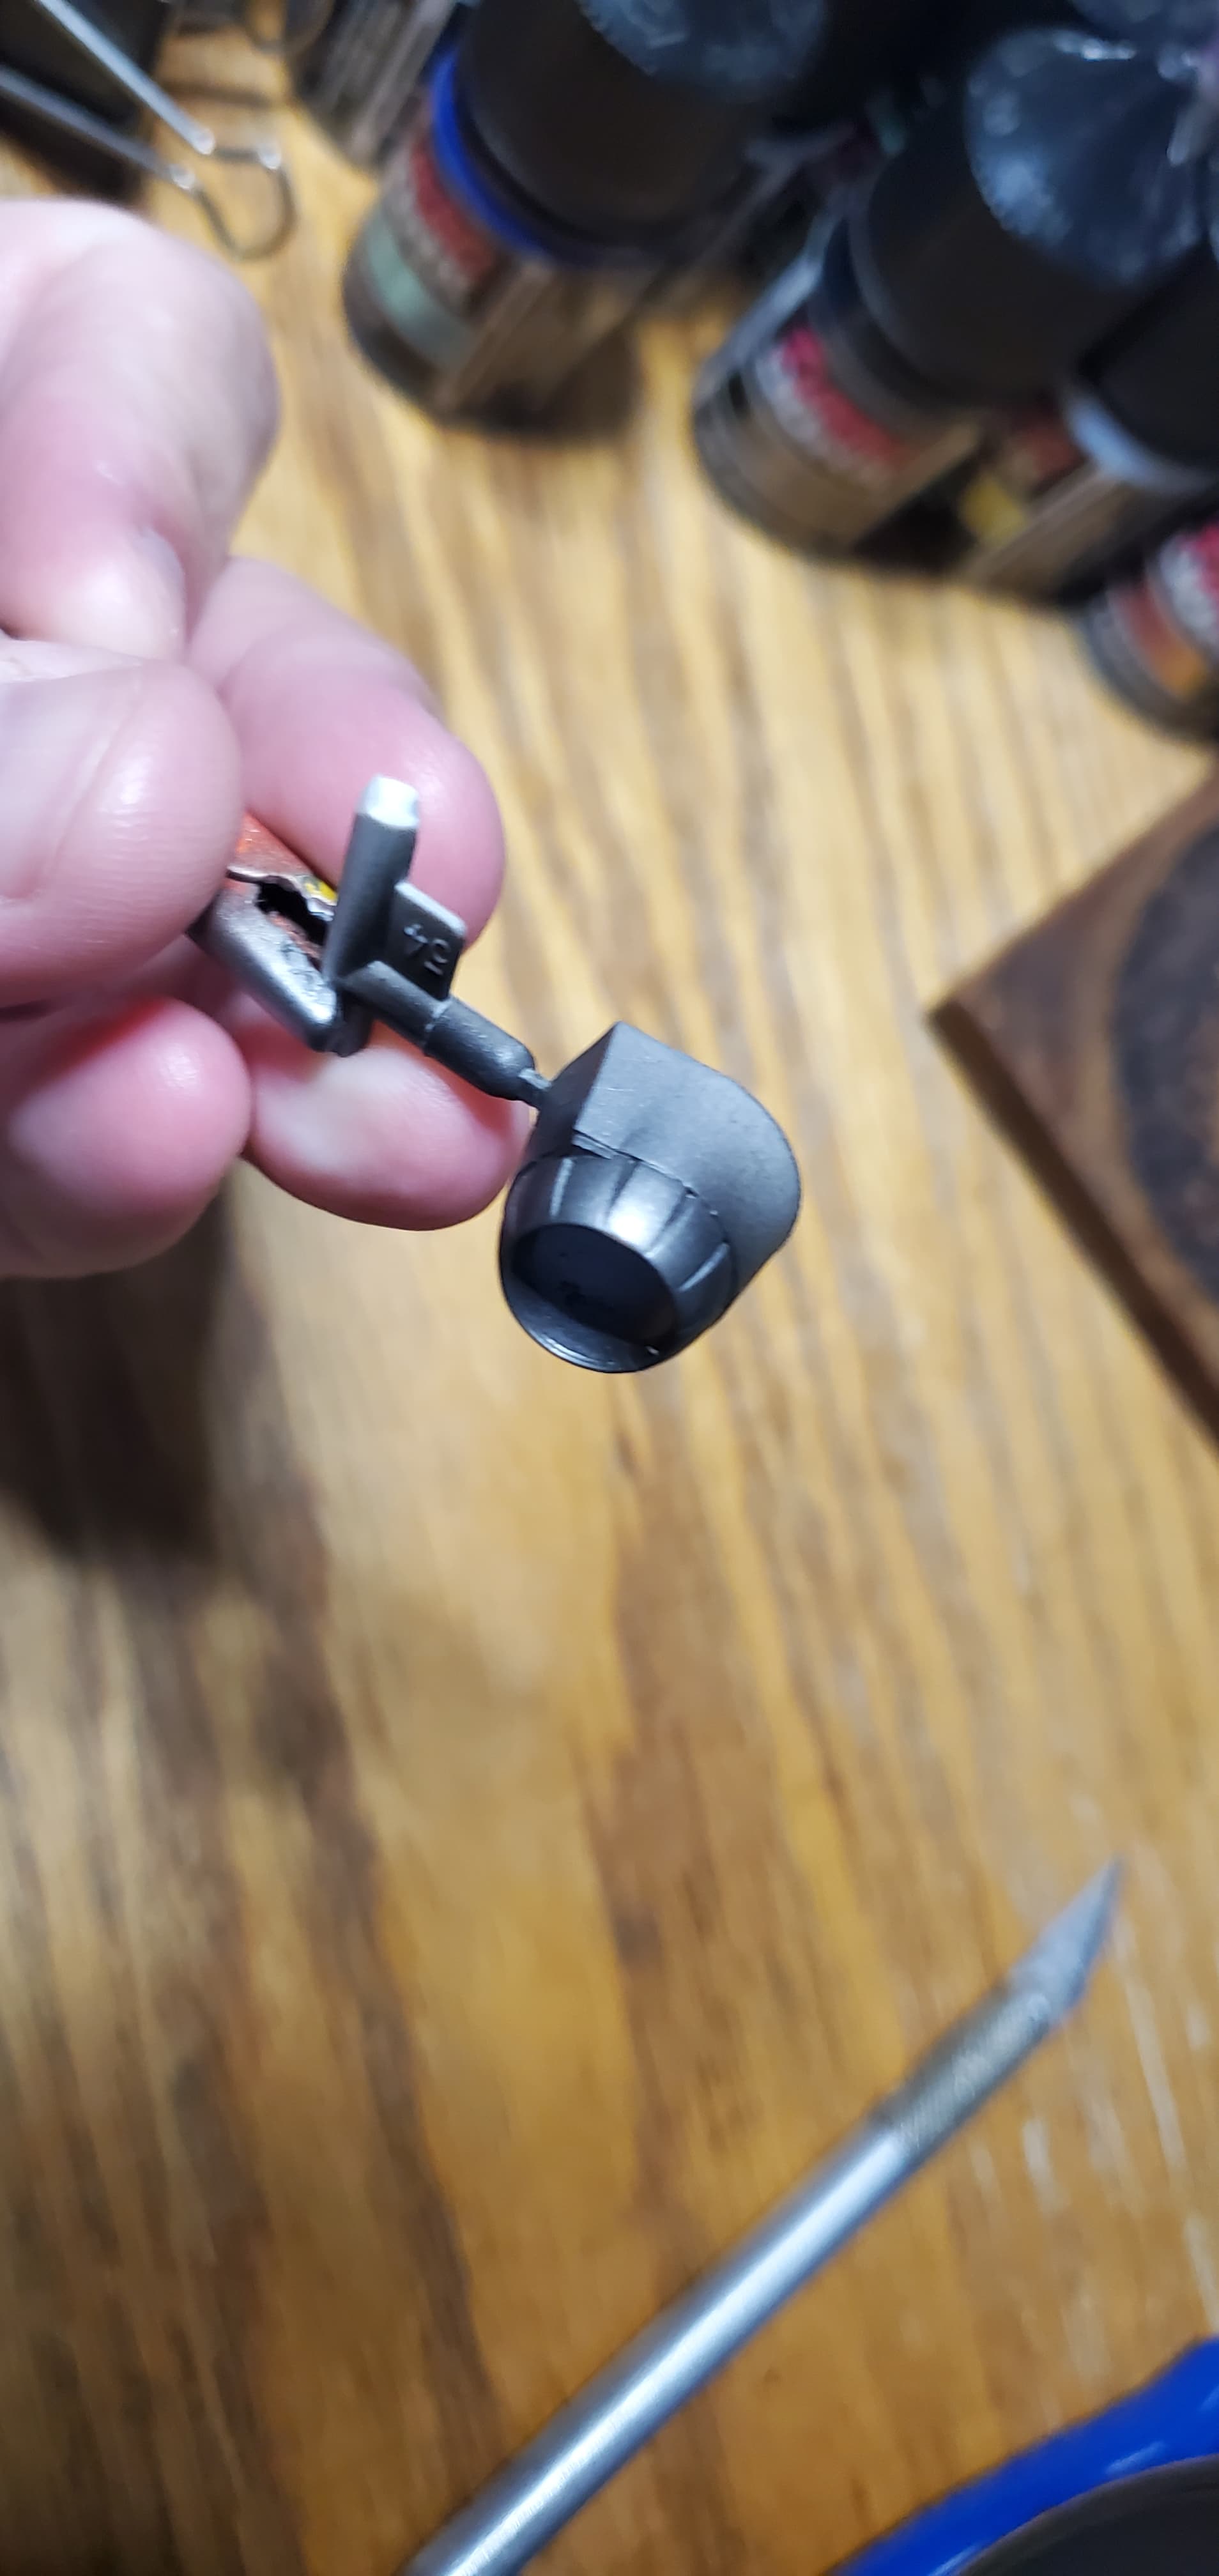
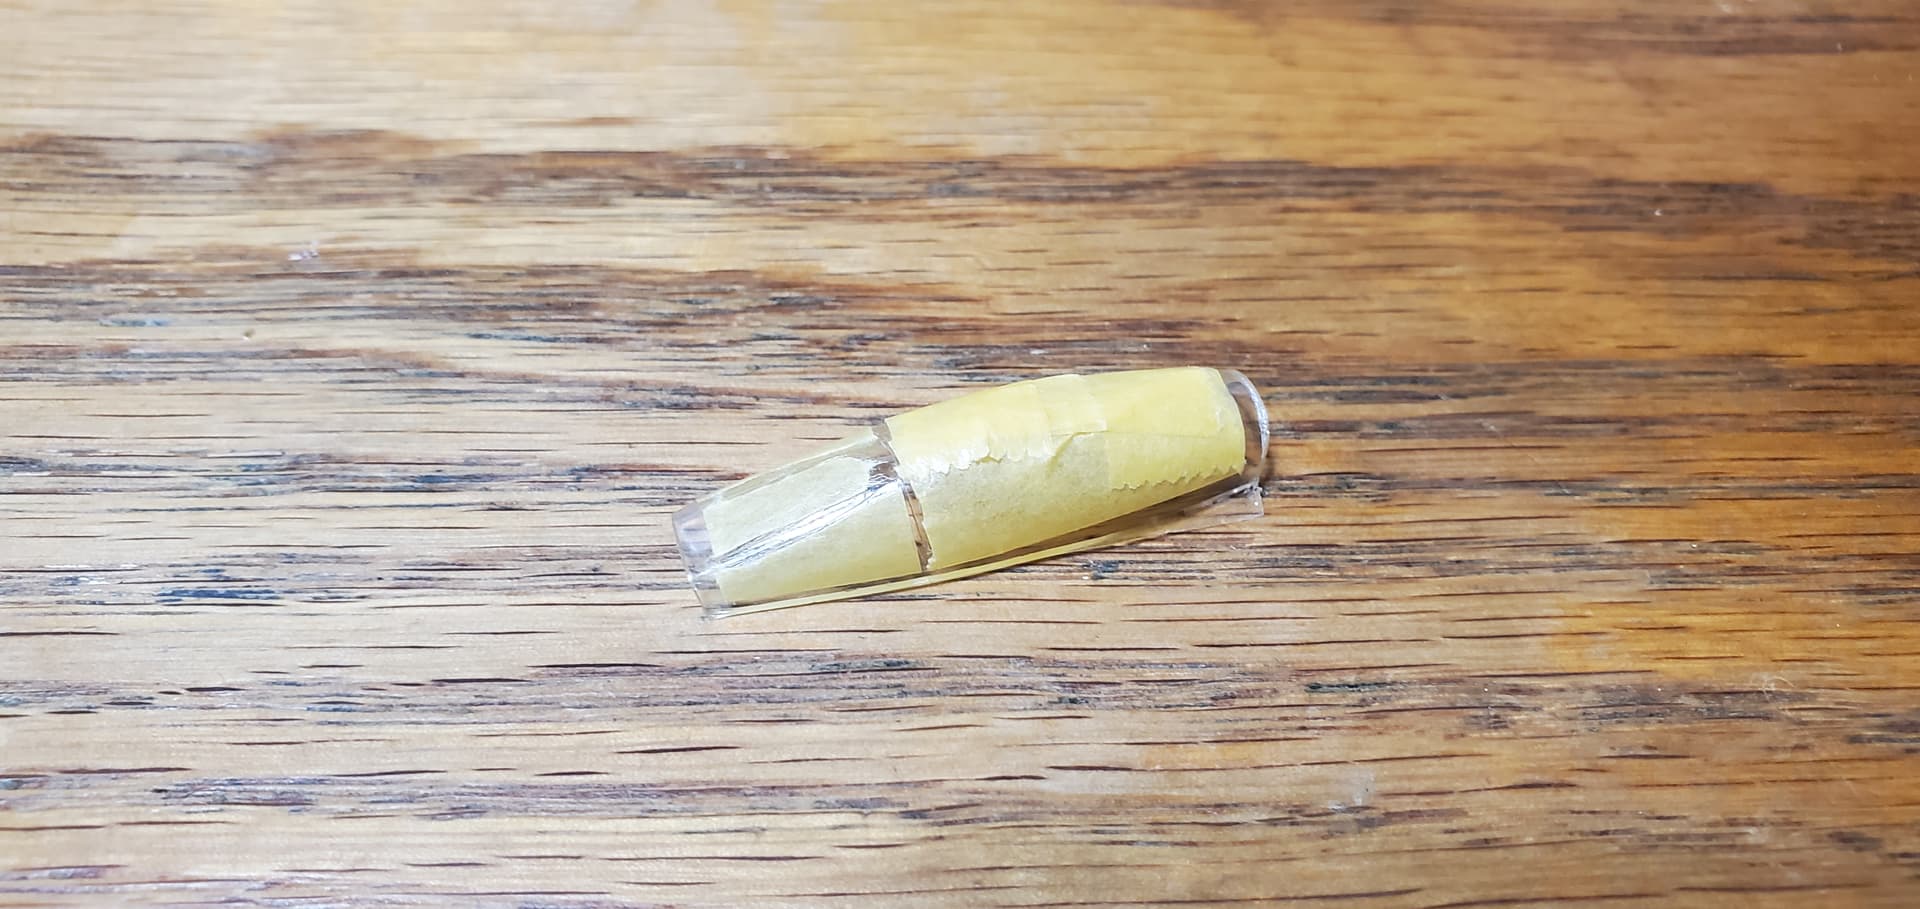
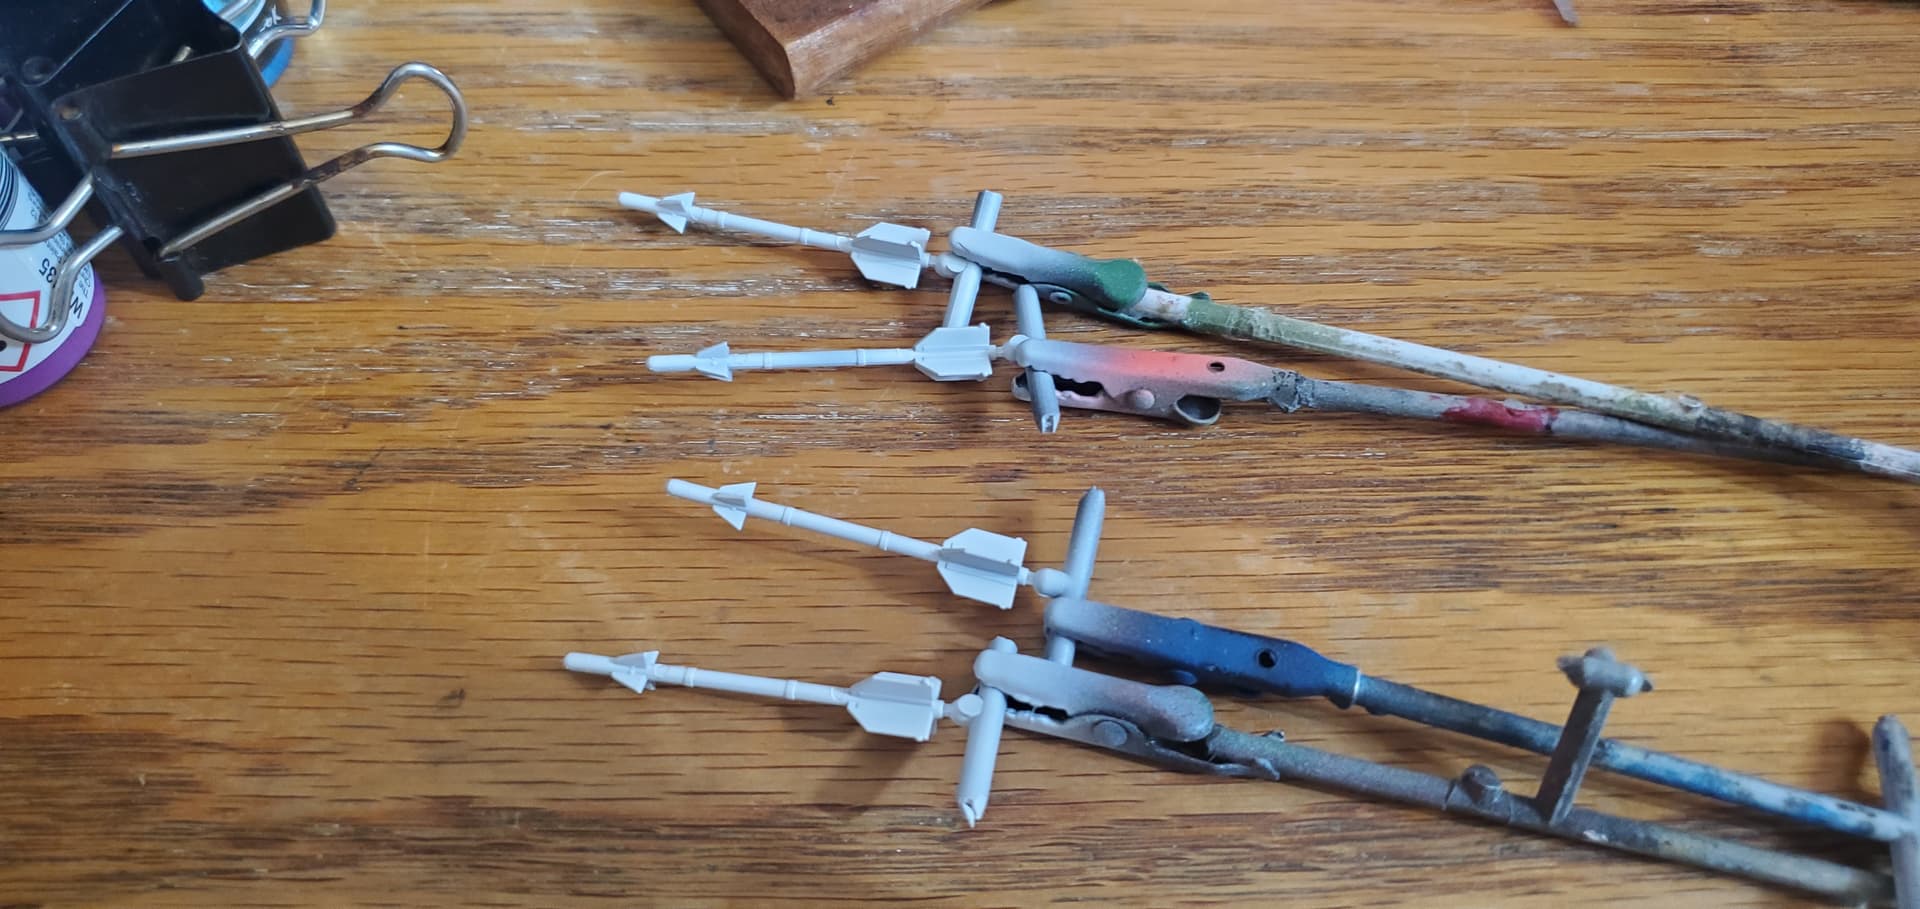
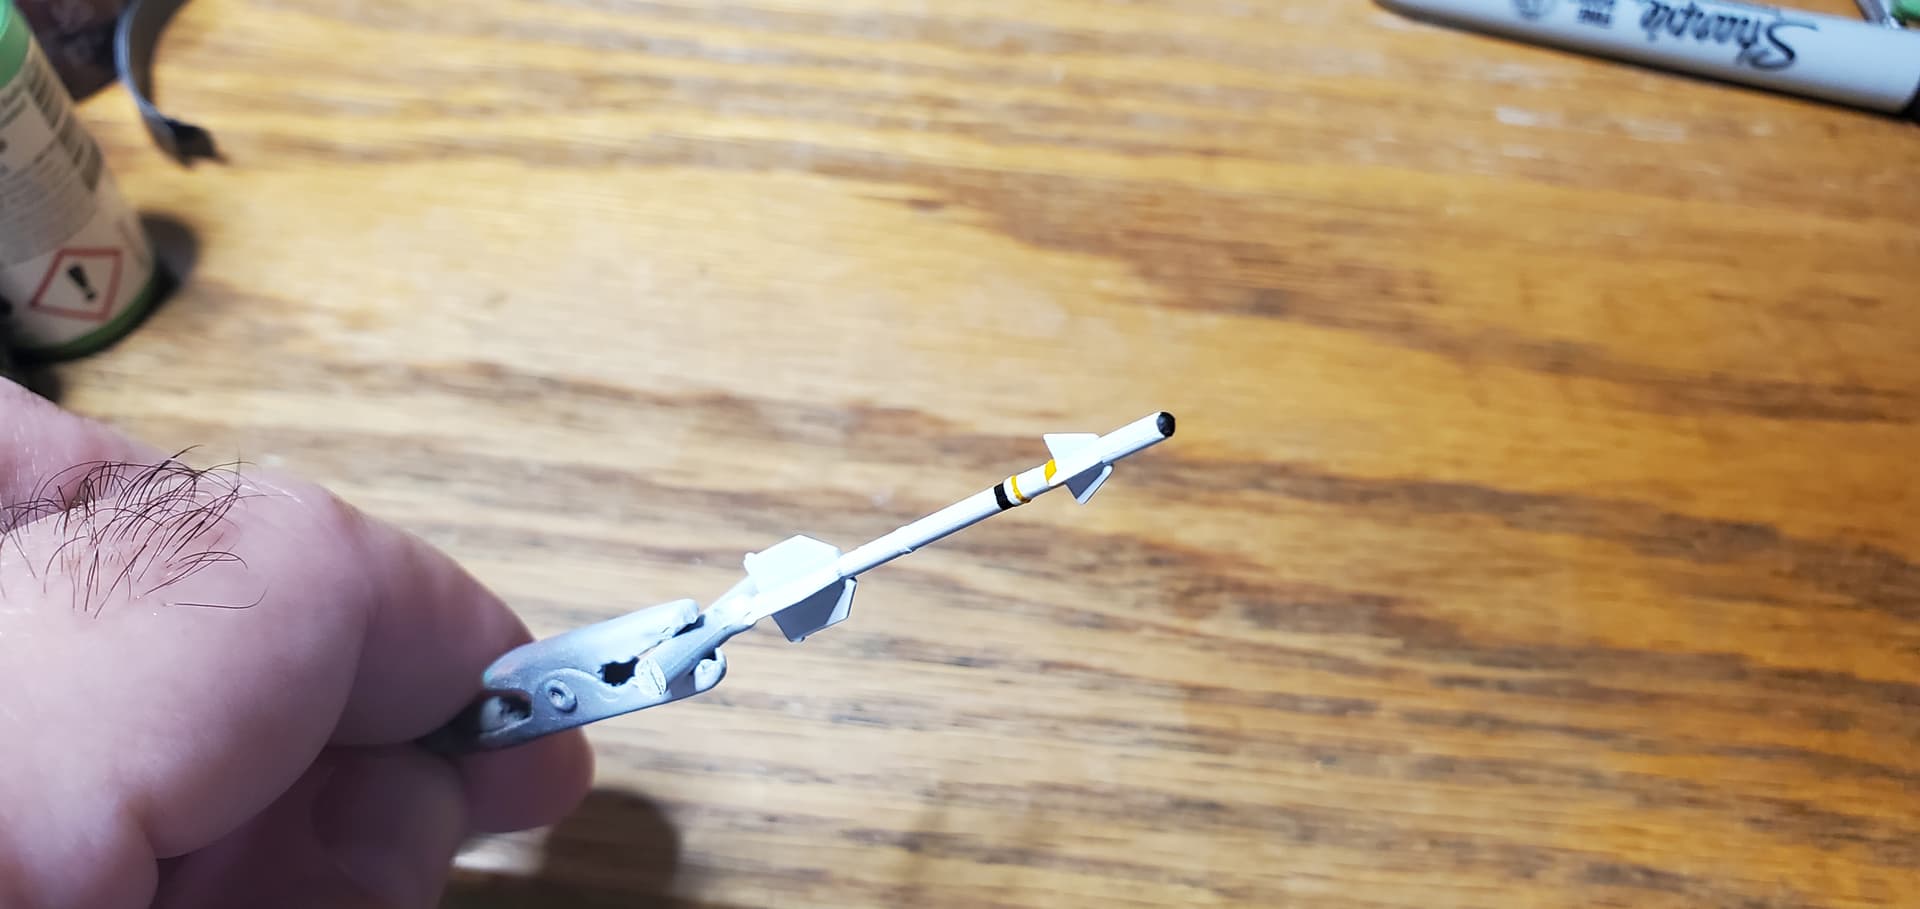
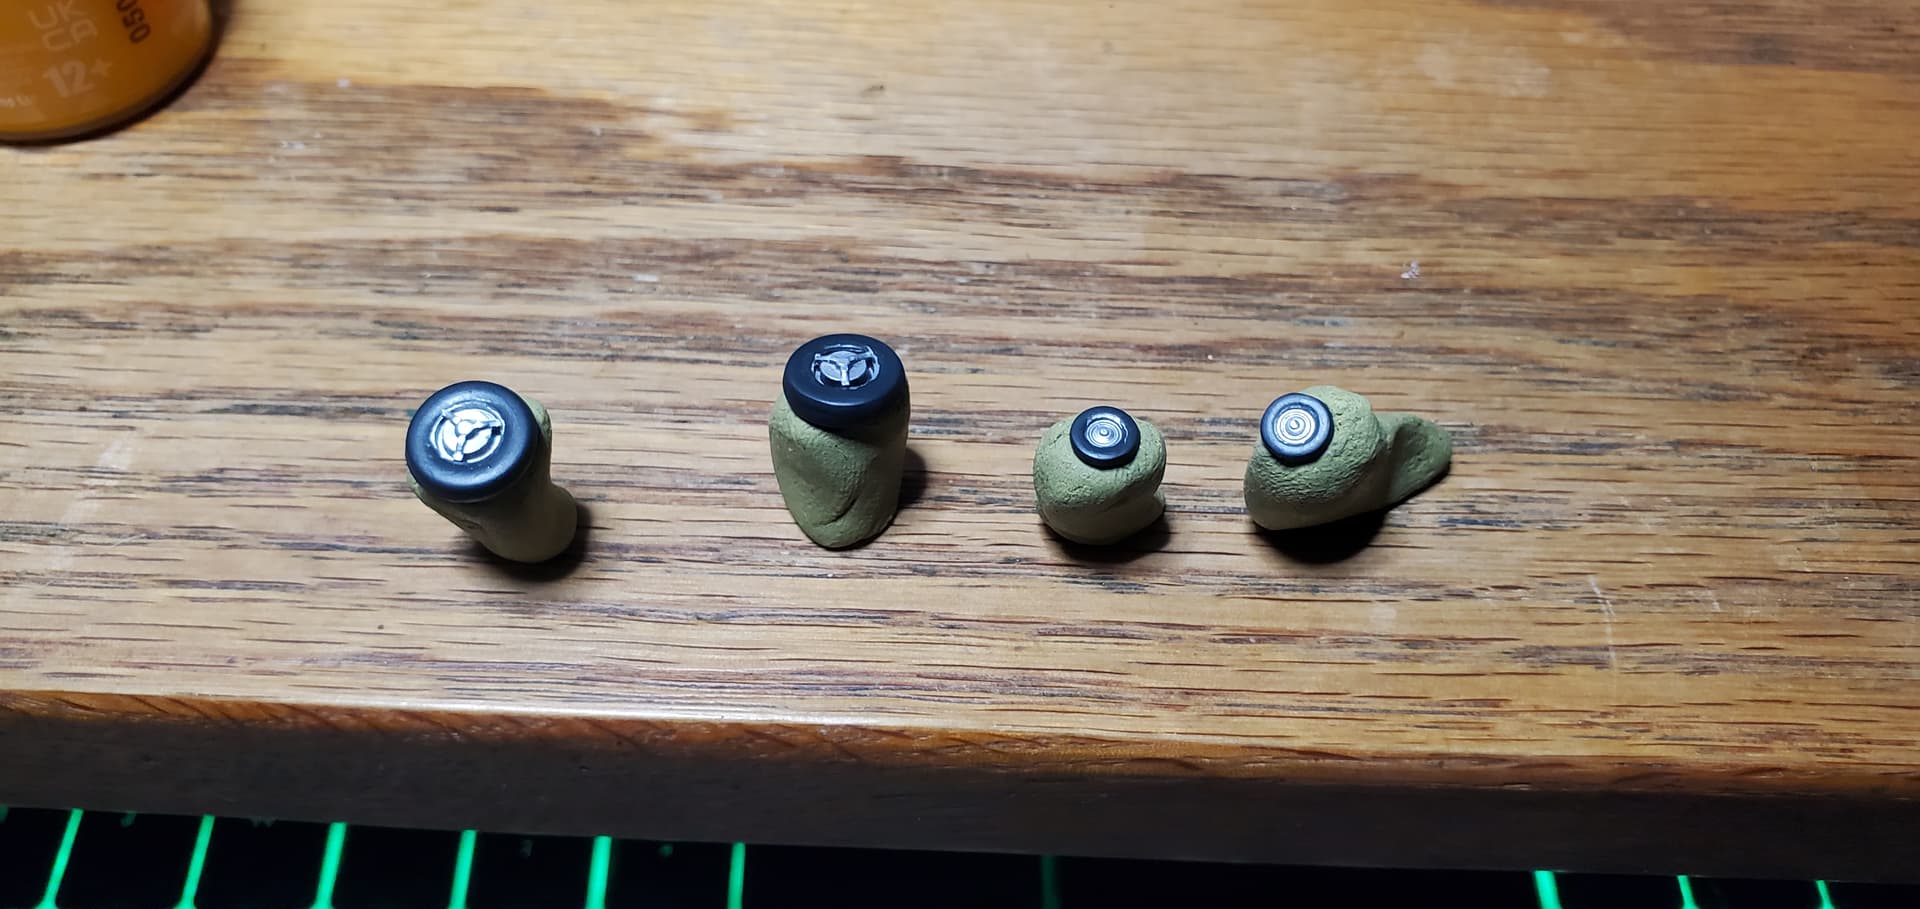
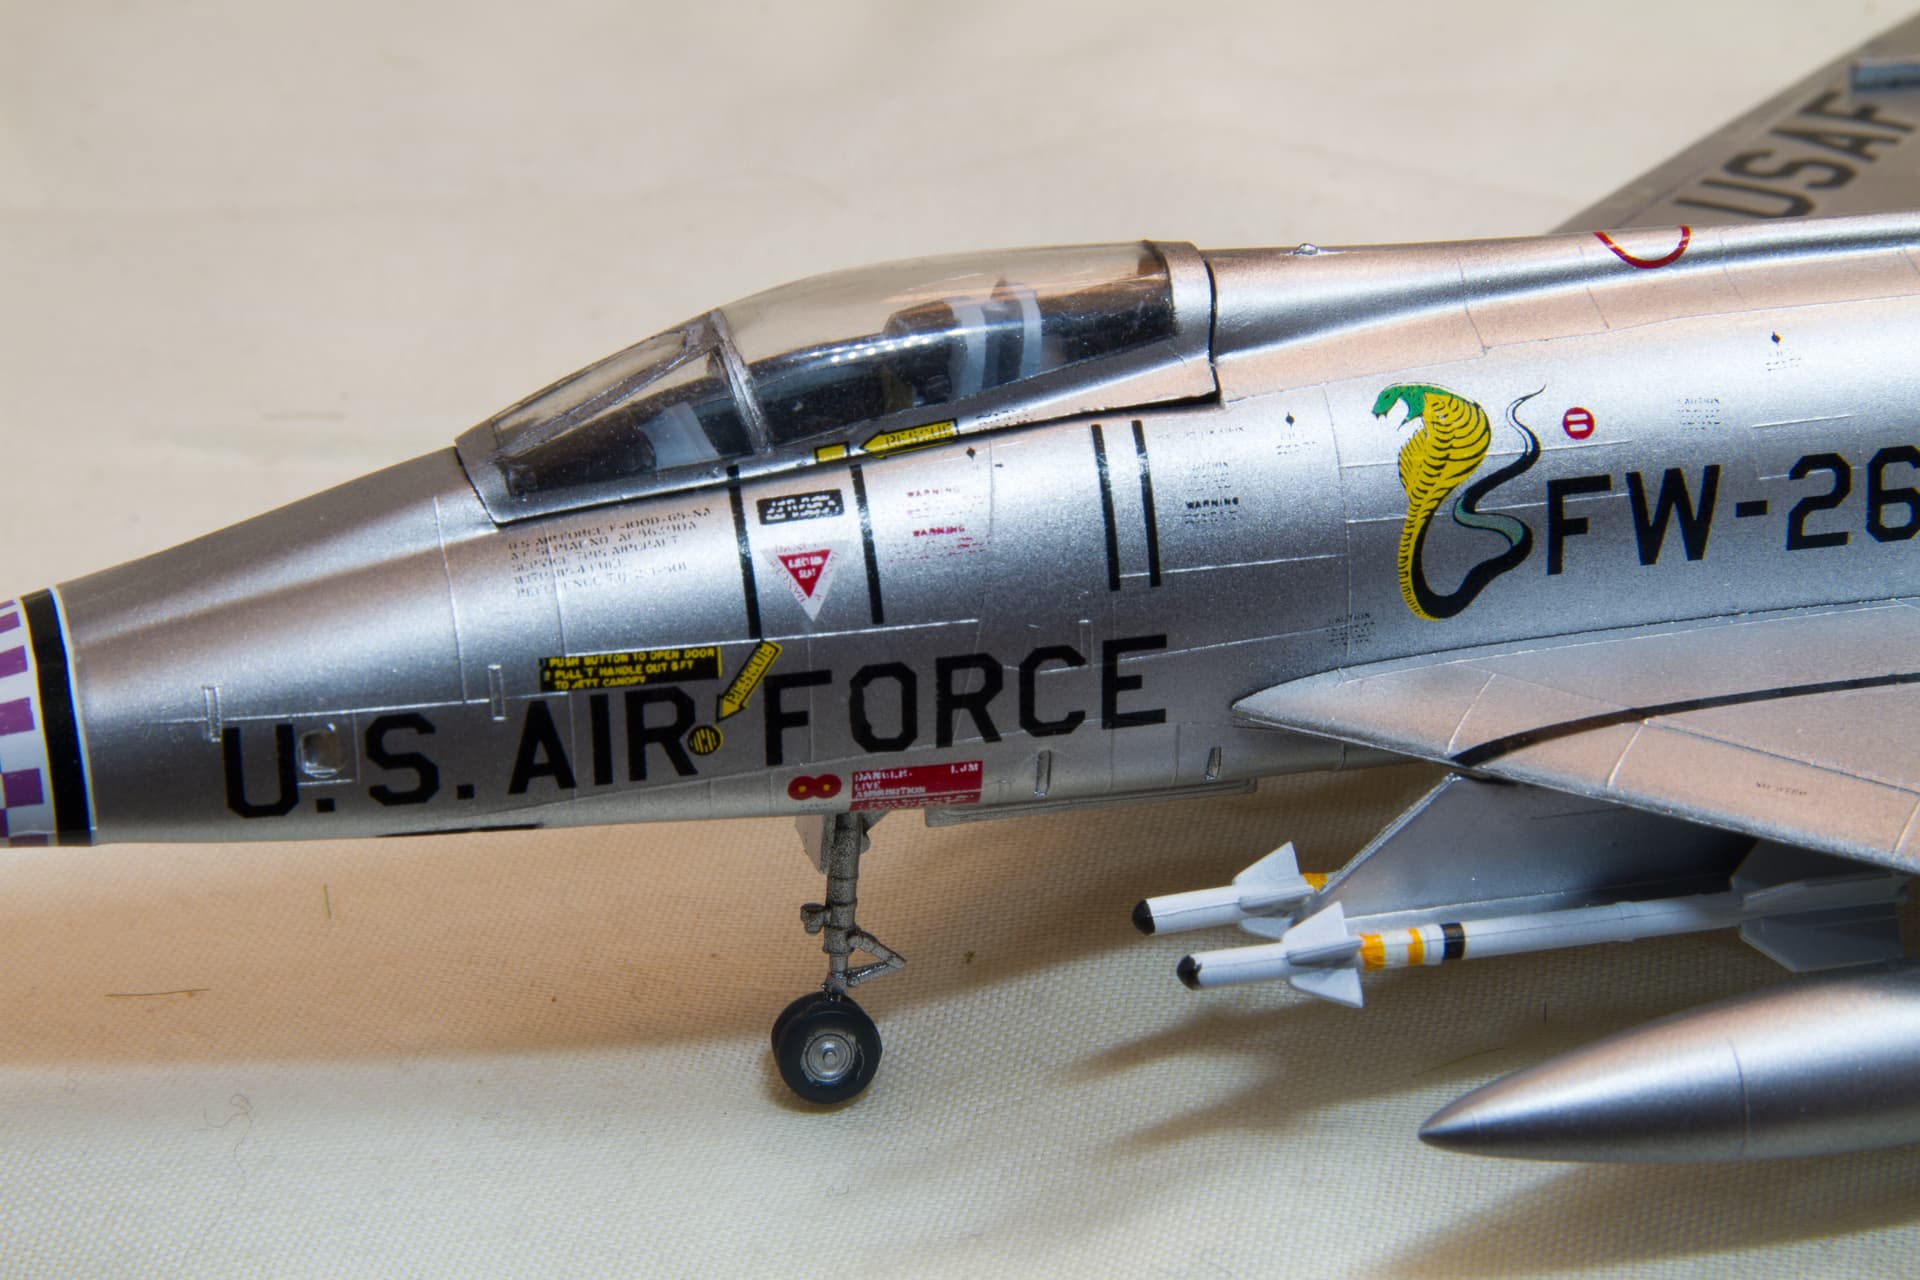
Lastly, the Sidewinders. I found these to be in fairly poor condition. Initially i considered replacing them with either some from one of Hasegawa’s weapon sets or Eduard’s resin ones. This was scrapped however due to both being unavailable. So will have to make due with these.
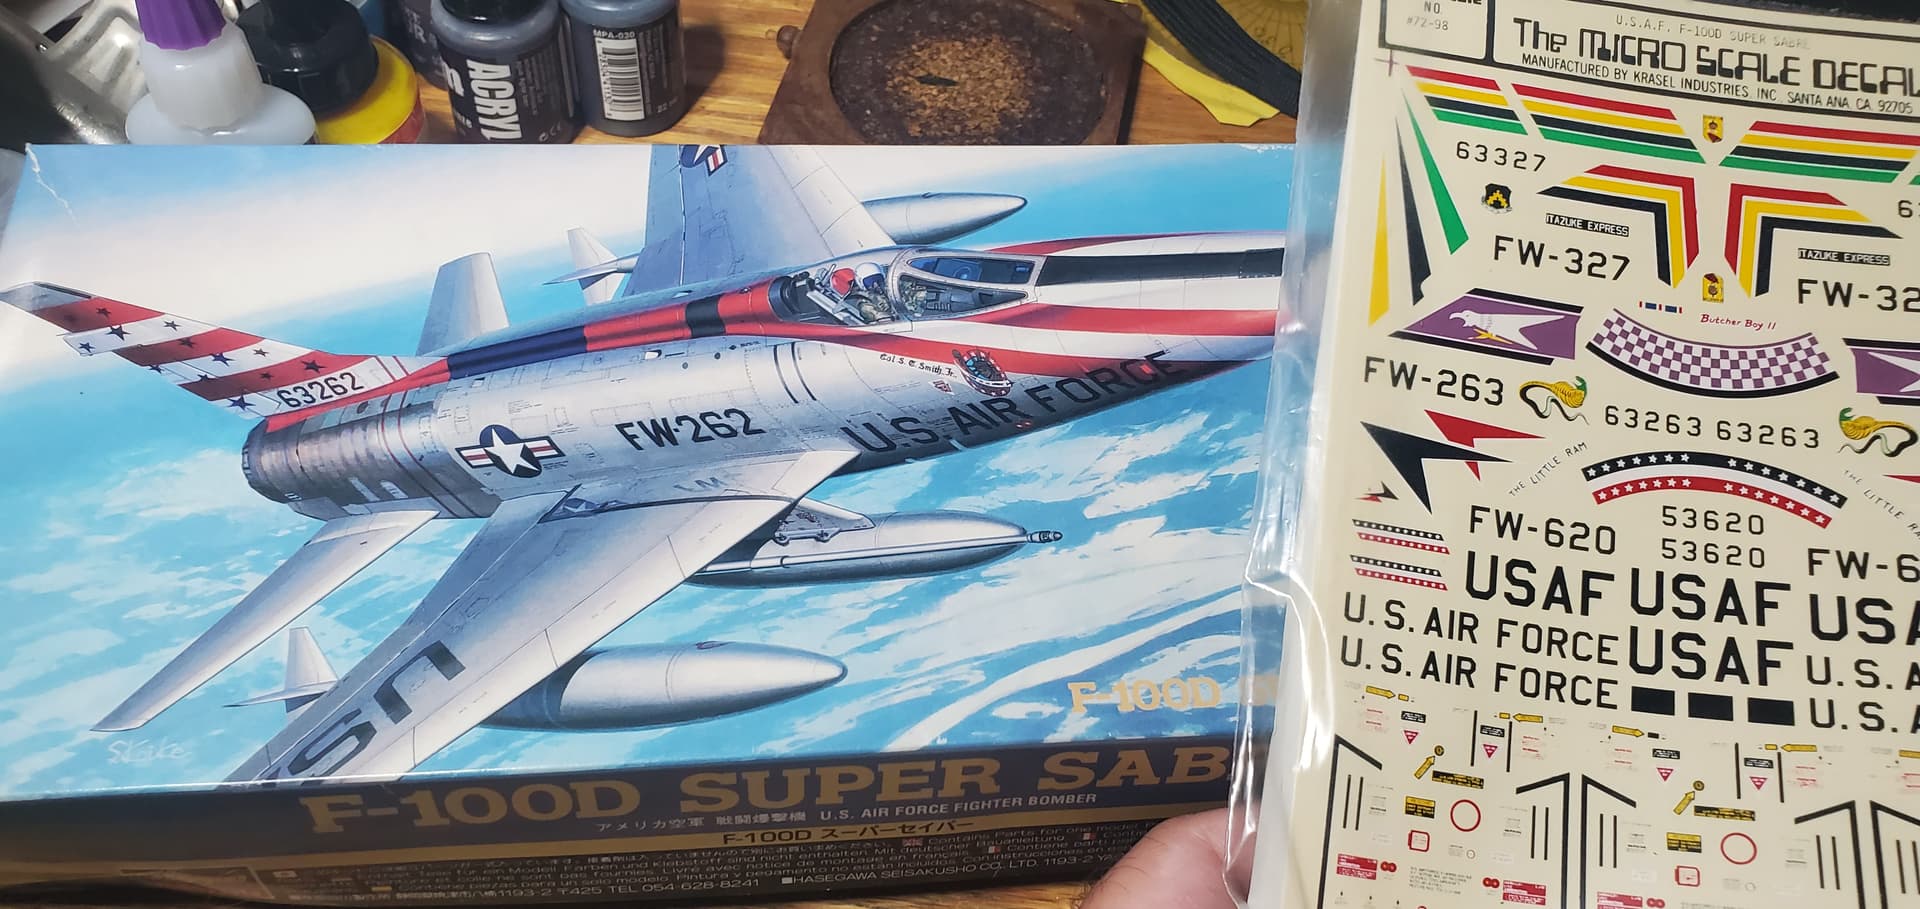
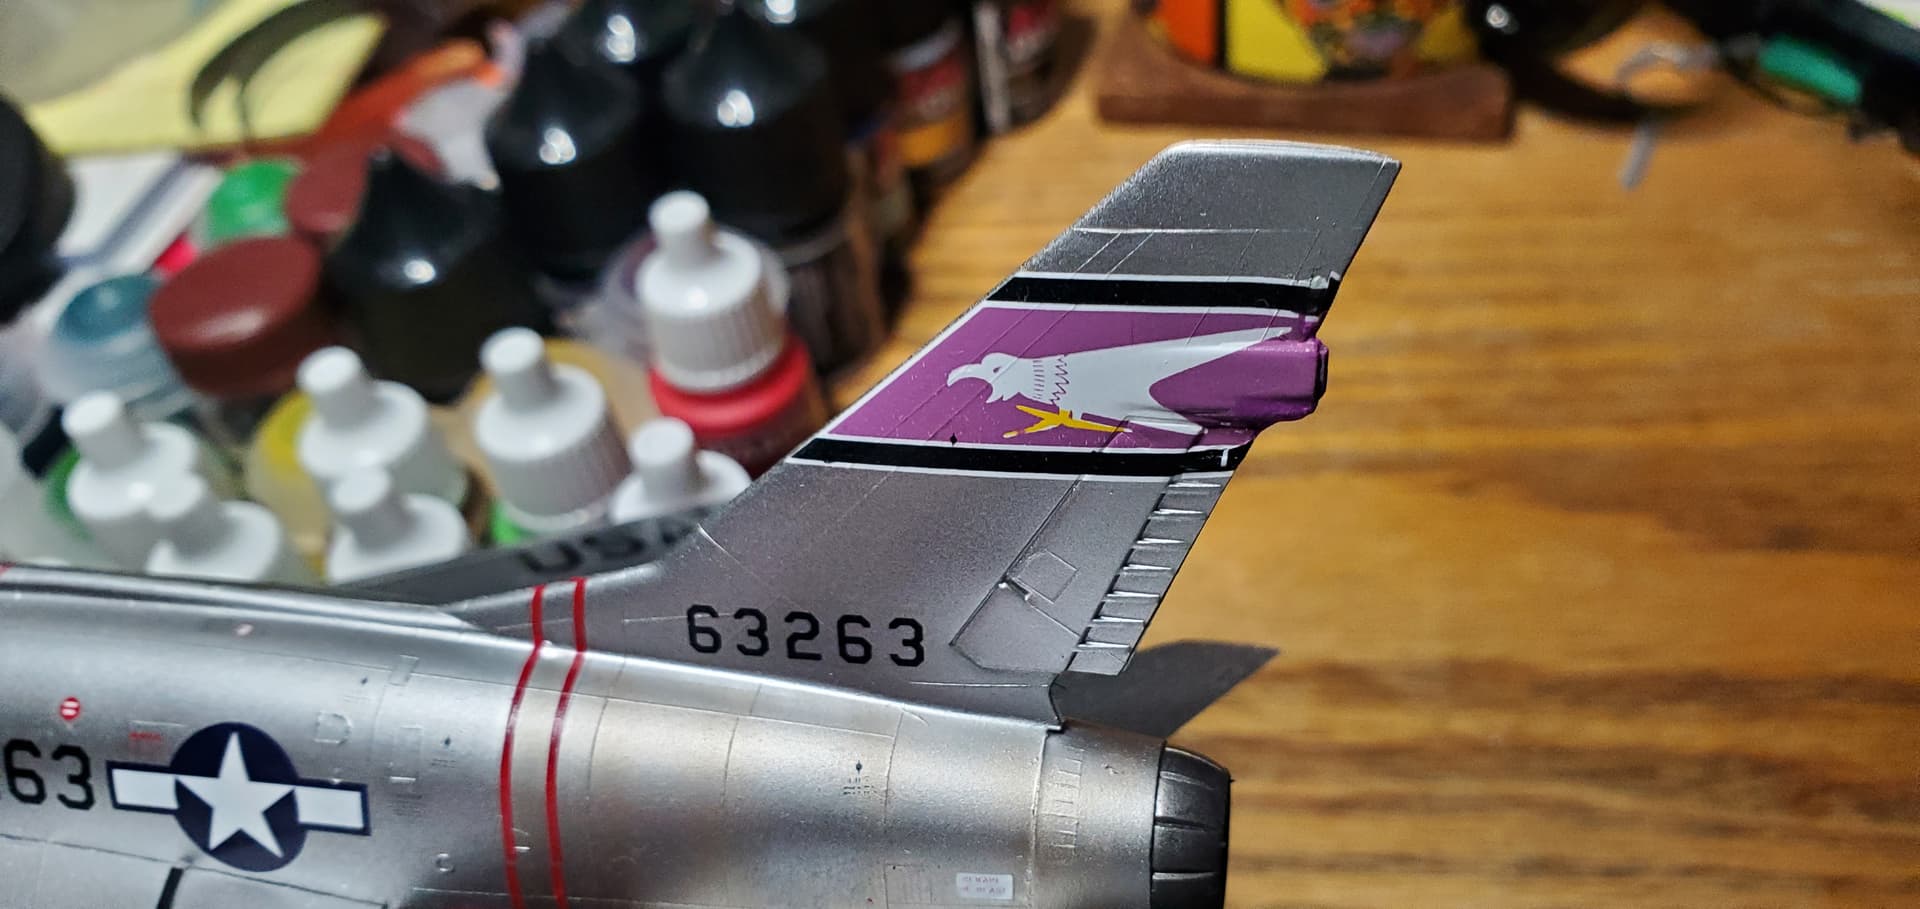
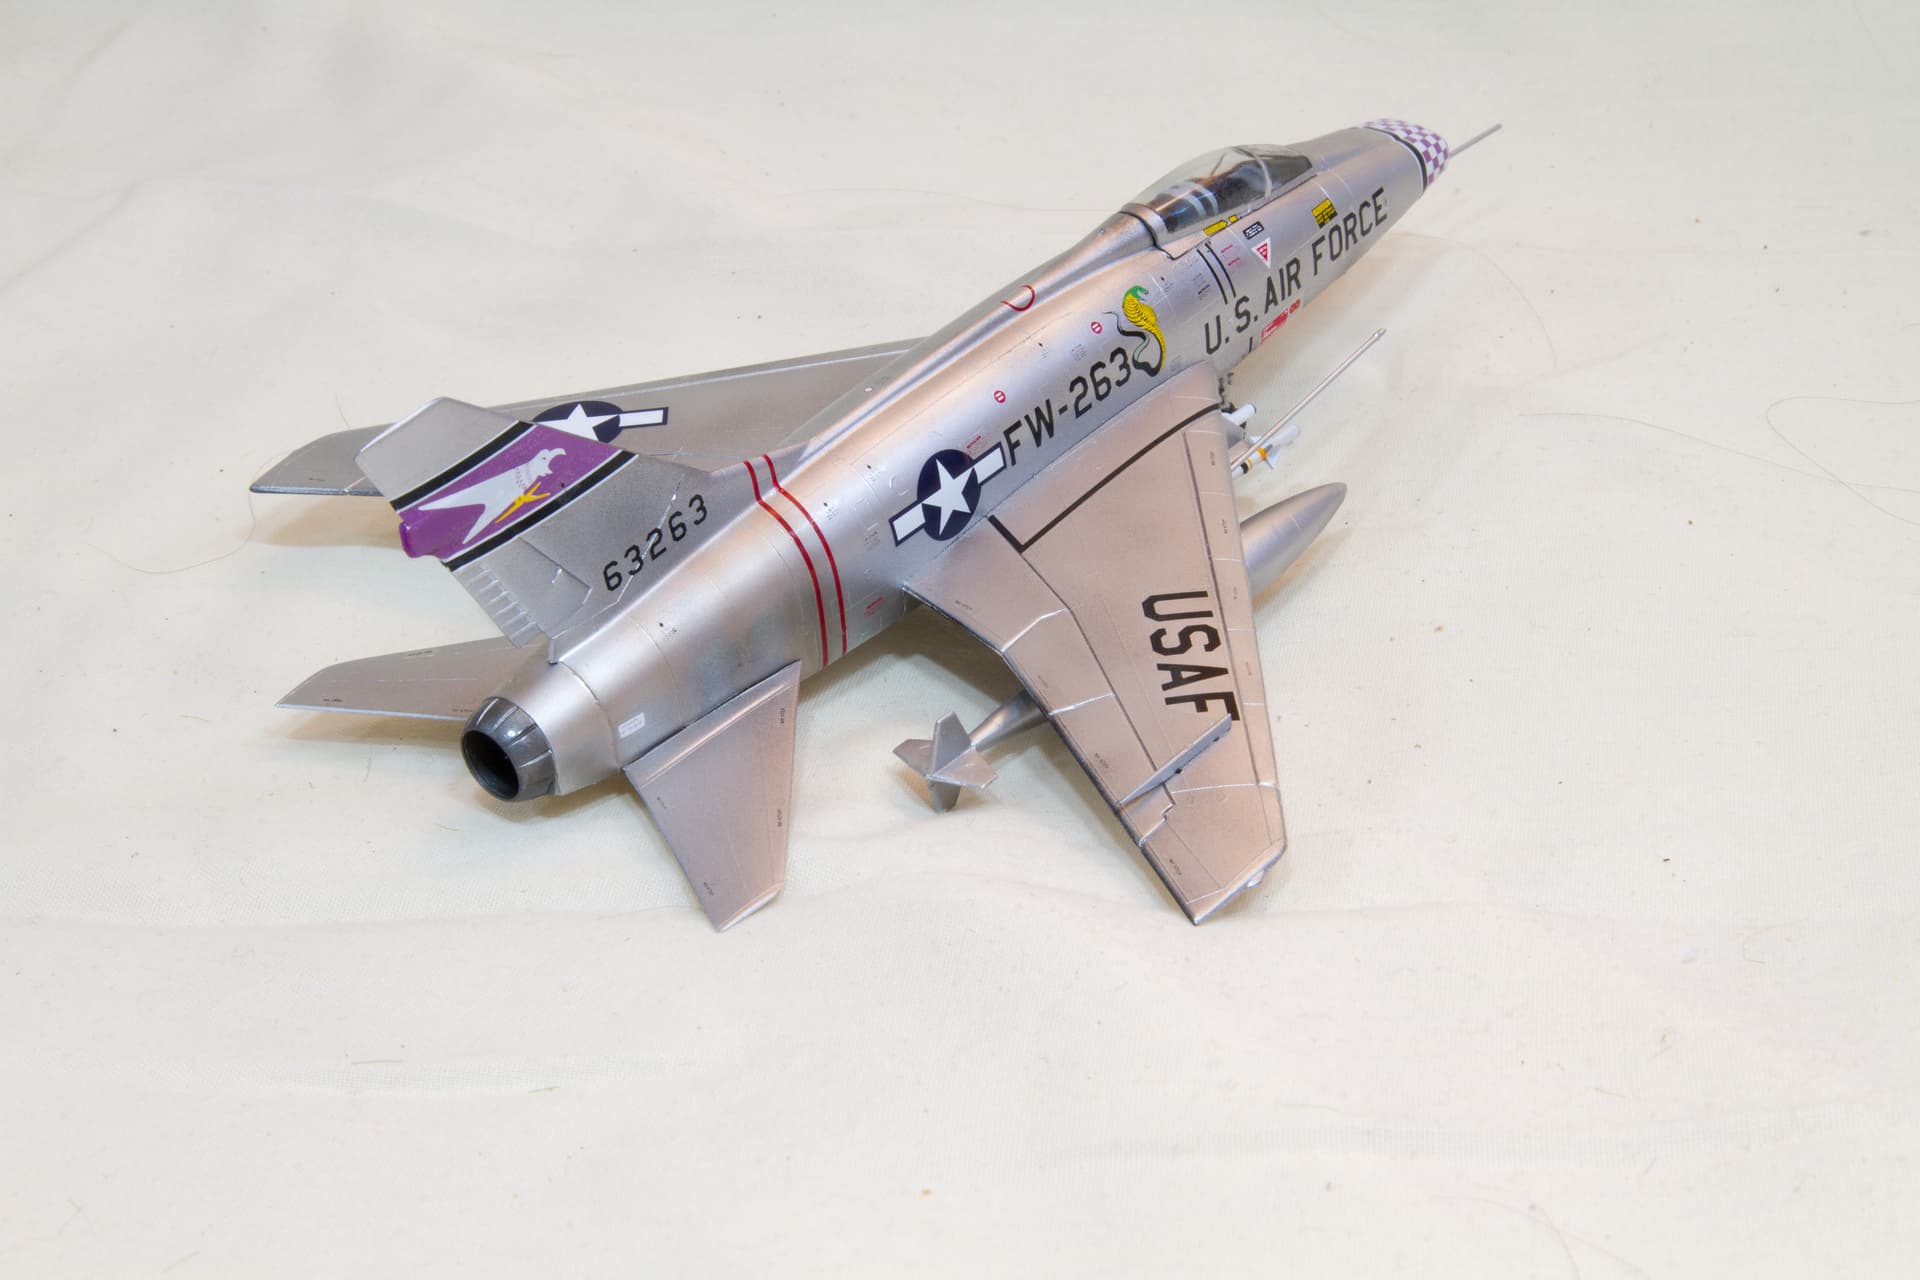
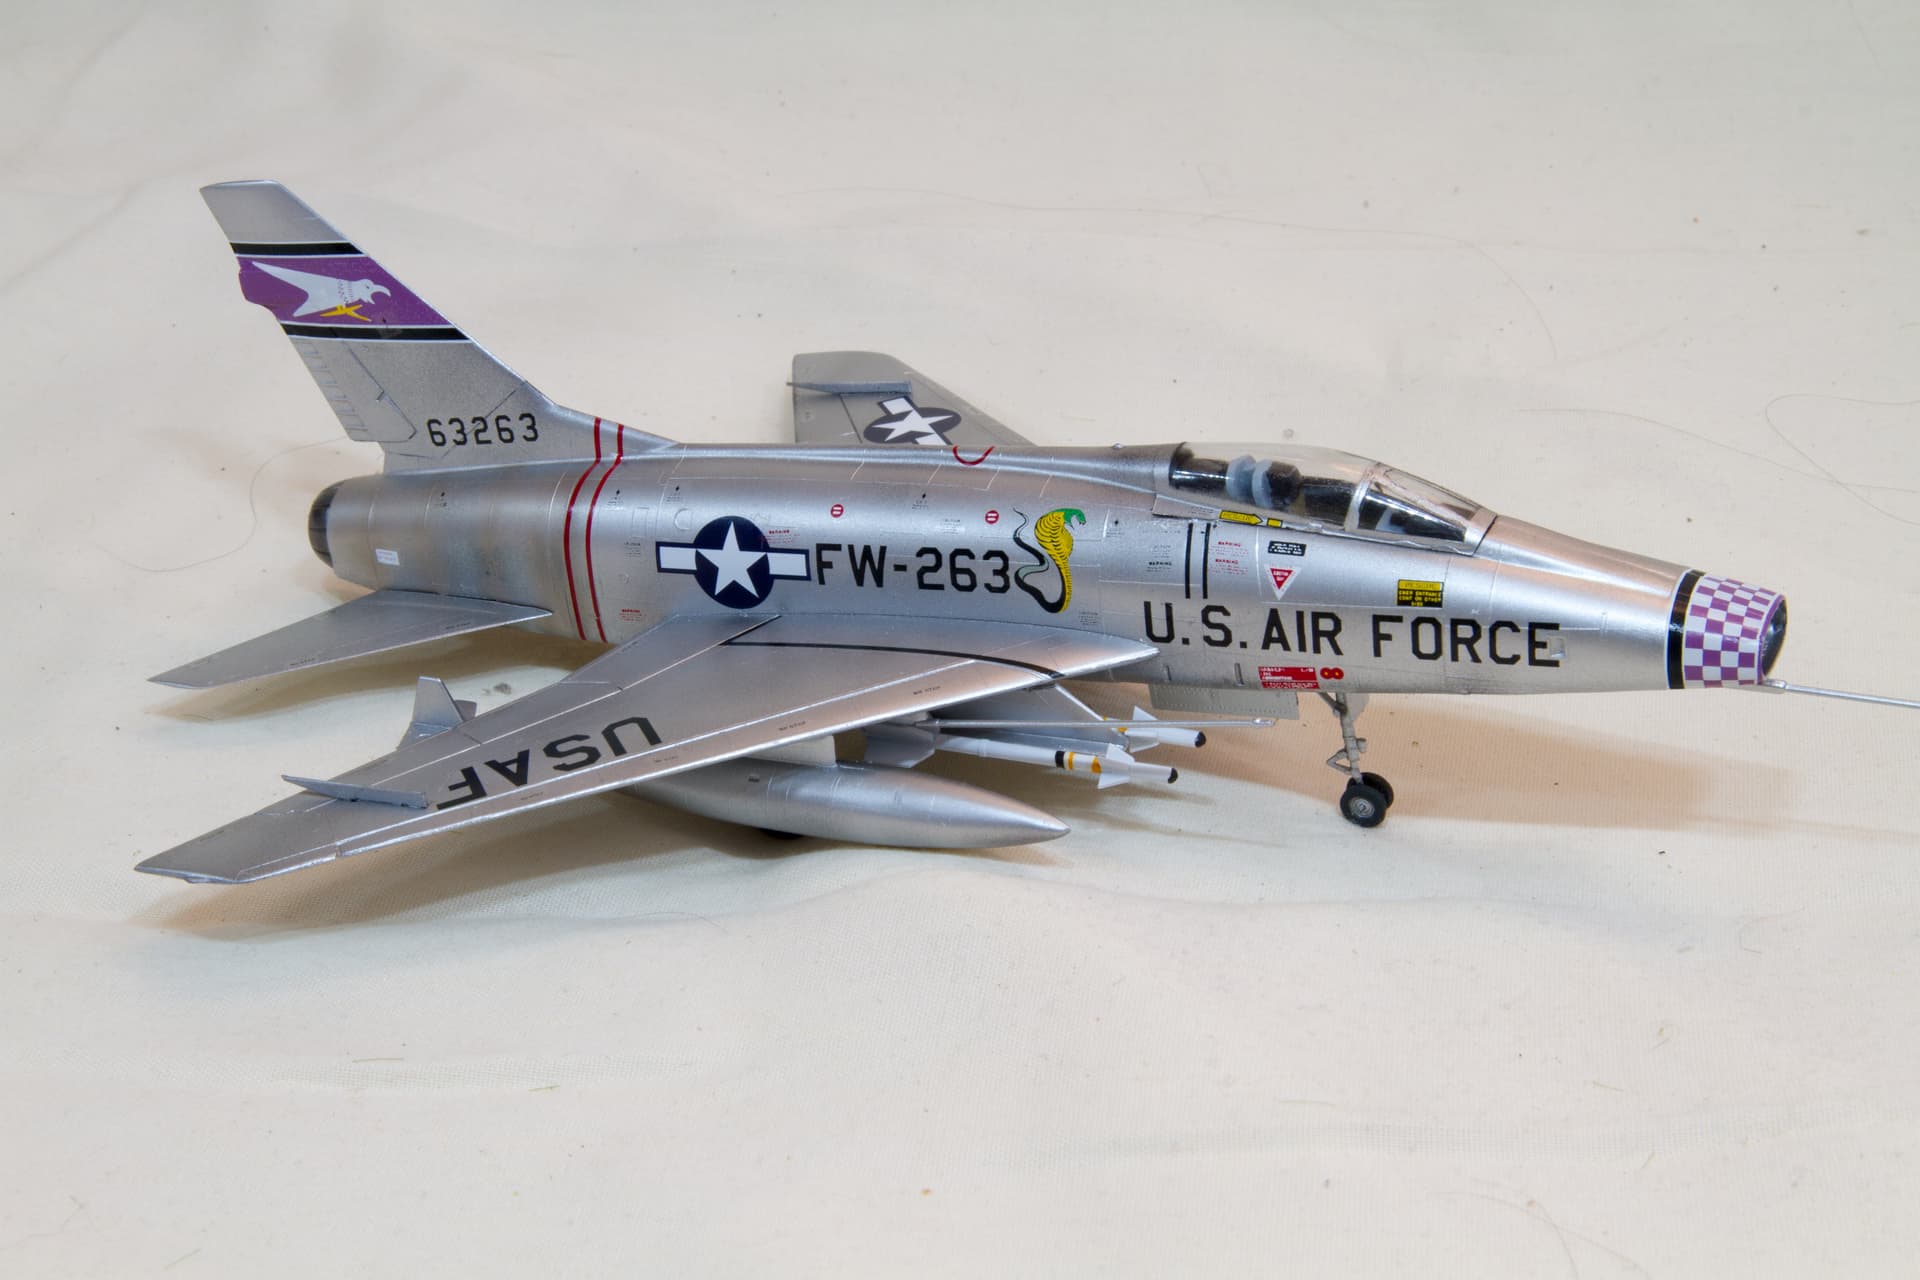
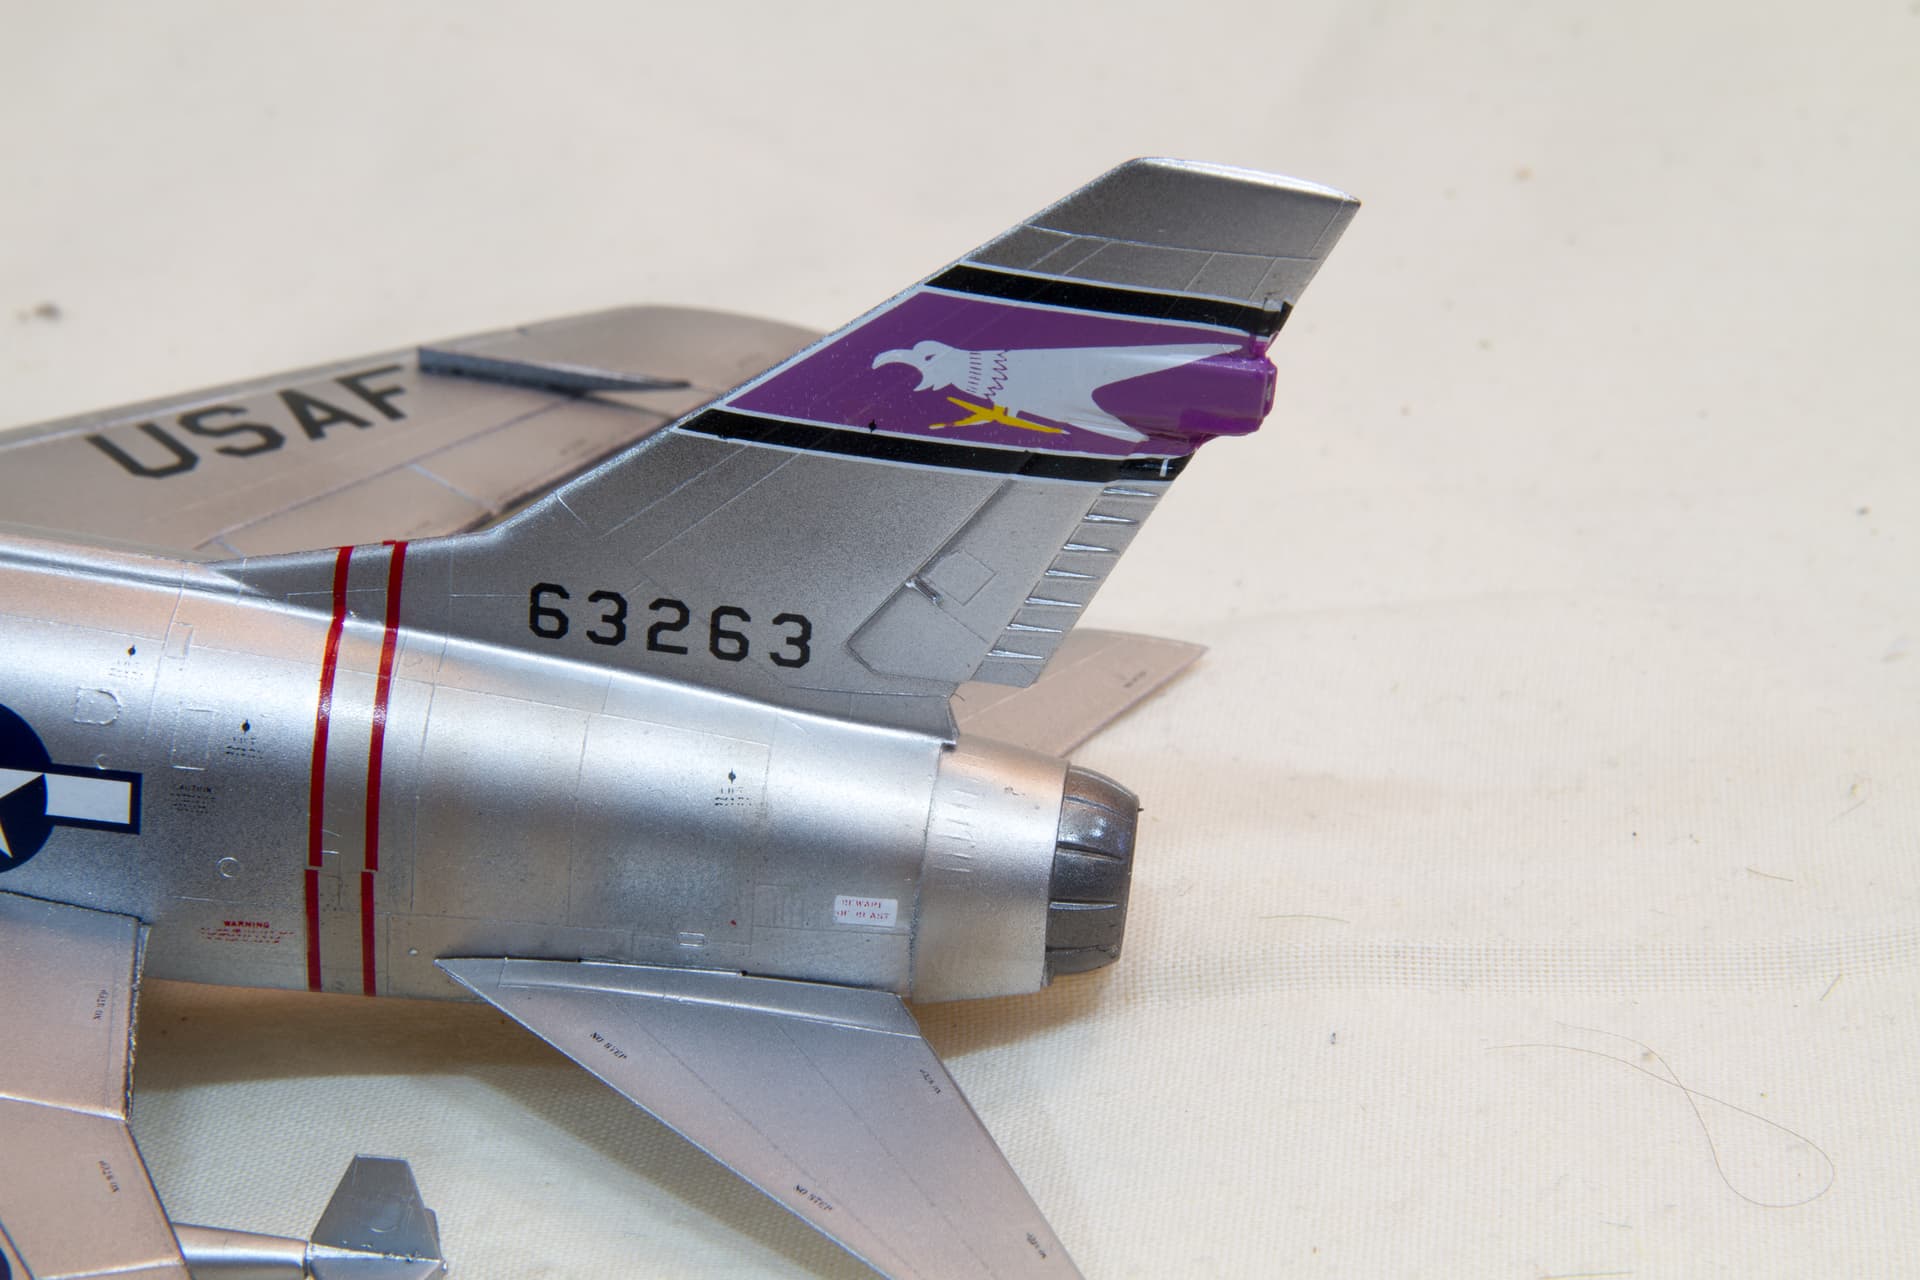
Those purple markings are so eye catching. Many years ago an aftermarket sheet with those markings convinced me to attempt the Monogram 1/48 Super Sabre. My skills at the time weren’t up to the NMF challenge and it didn’t end well, but I did manage to at least sell the decal sheet again, recouping some cash. Looking forward to seeing what you can do with this one.
Been a while since I was able to post about this project. This is due to dealing with a slab leak which required storing a bunch of boxes in front of my spray booth. Was only able to get around to moving them out this week.
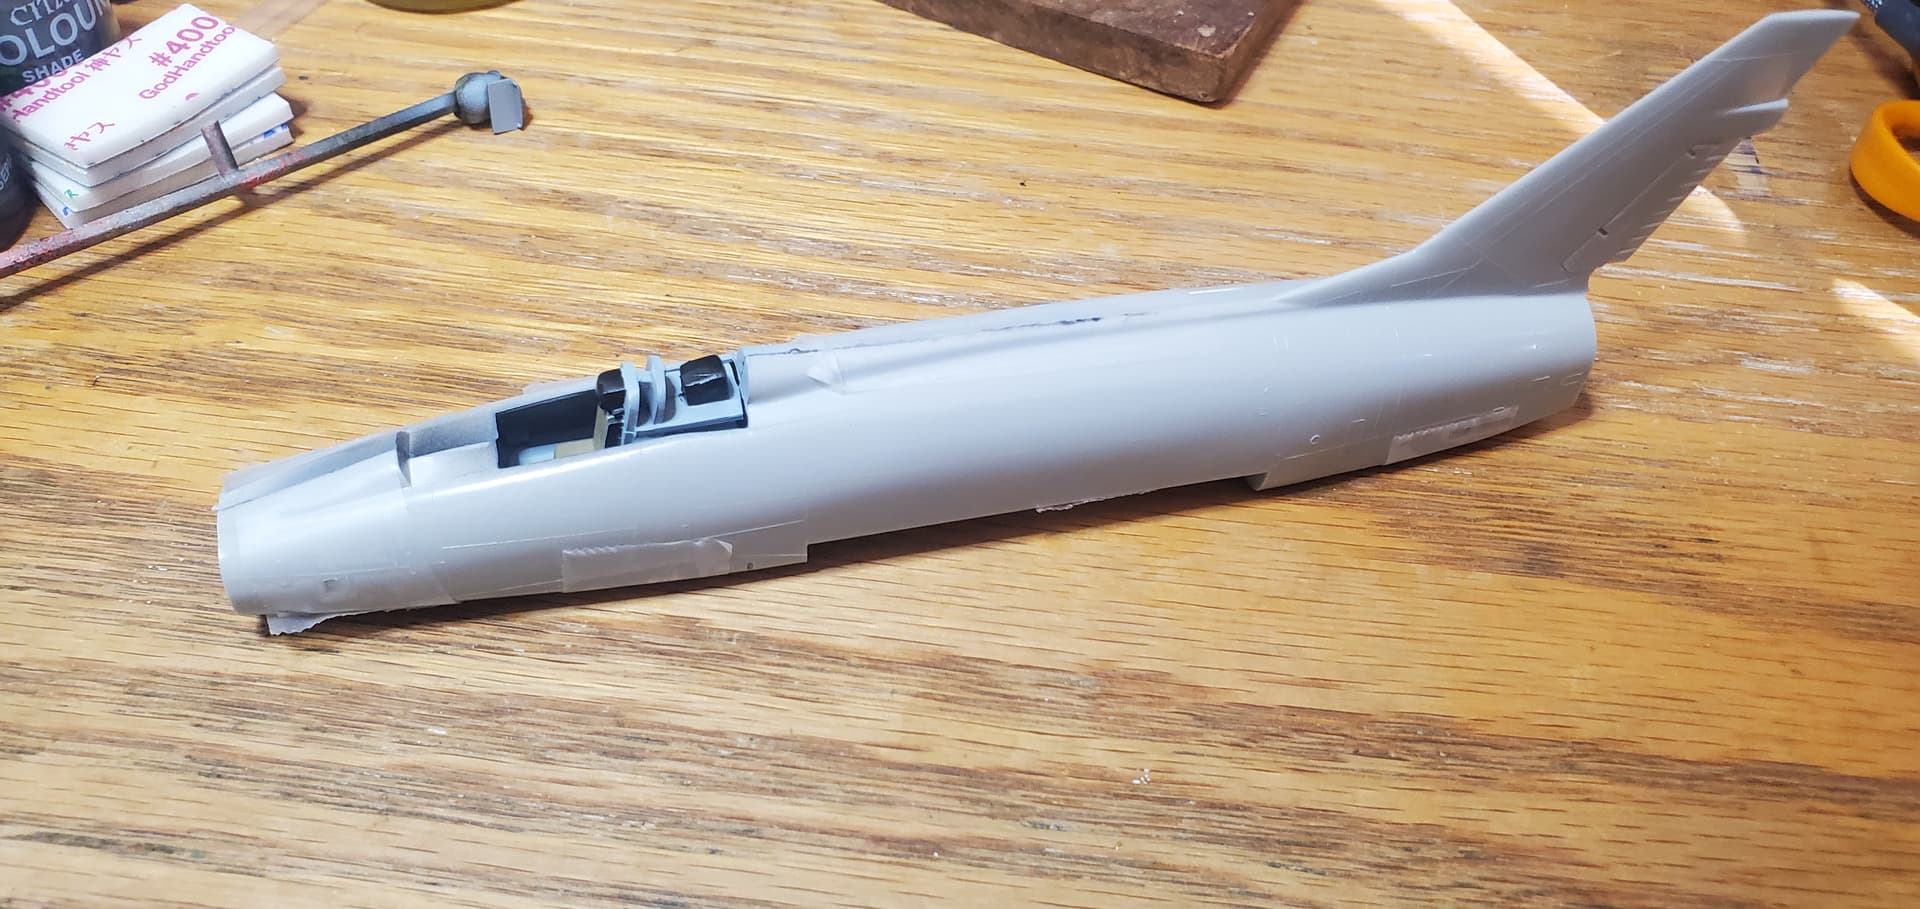
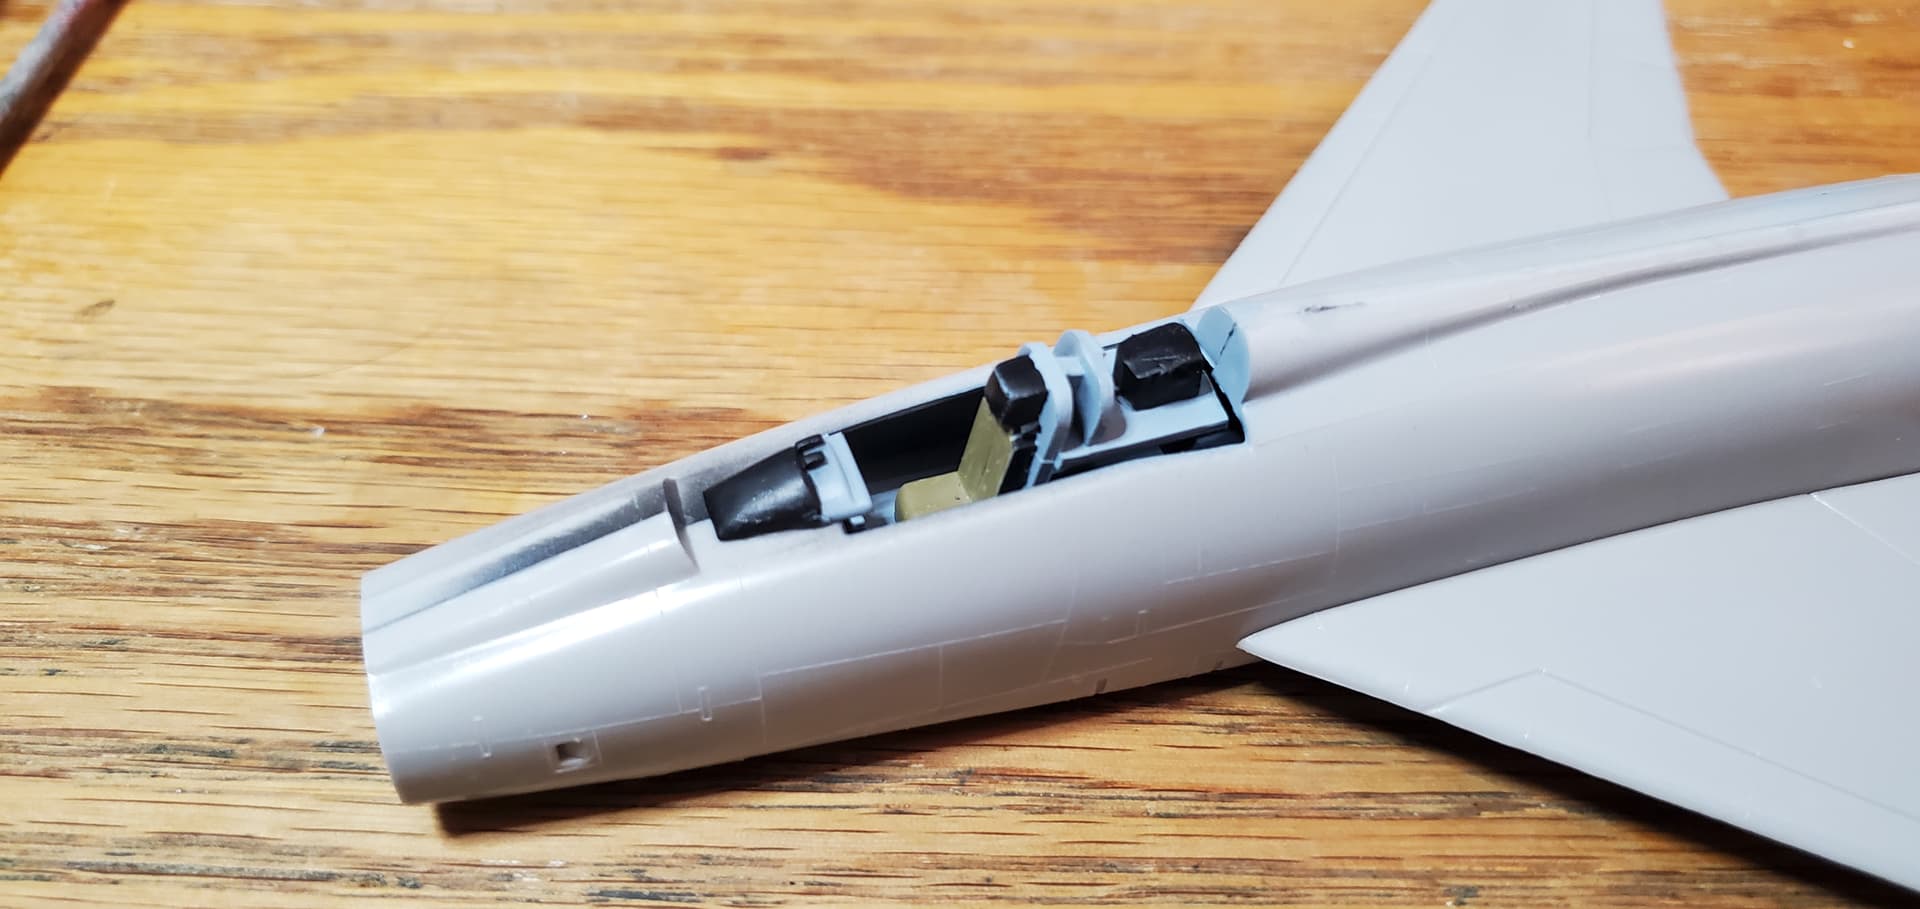
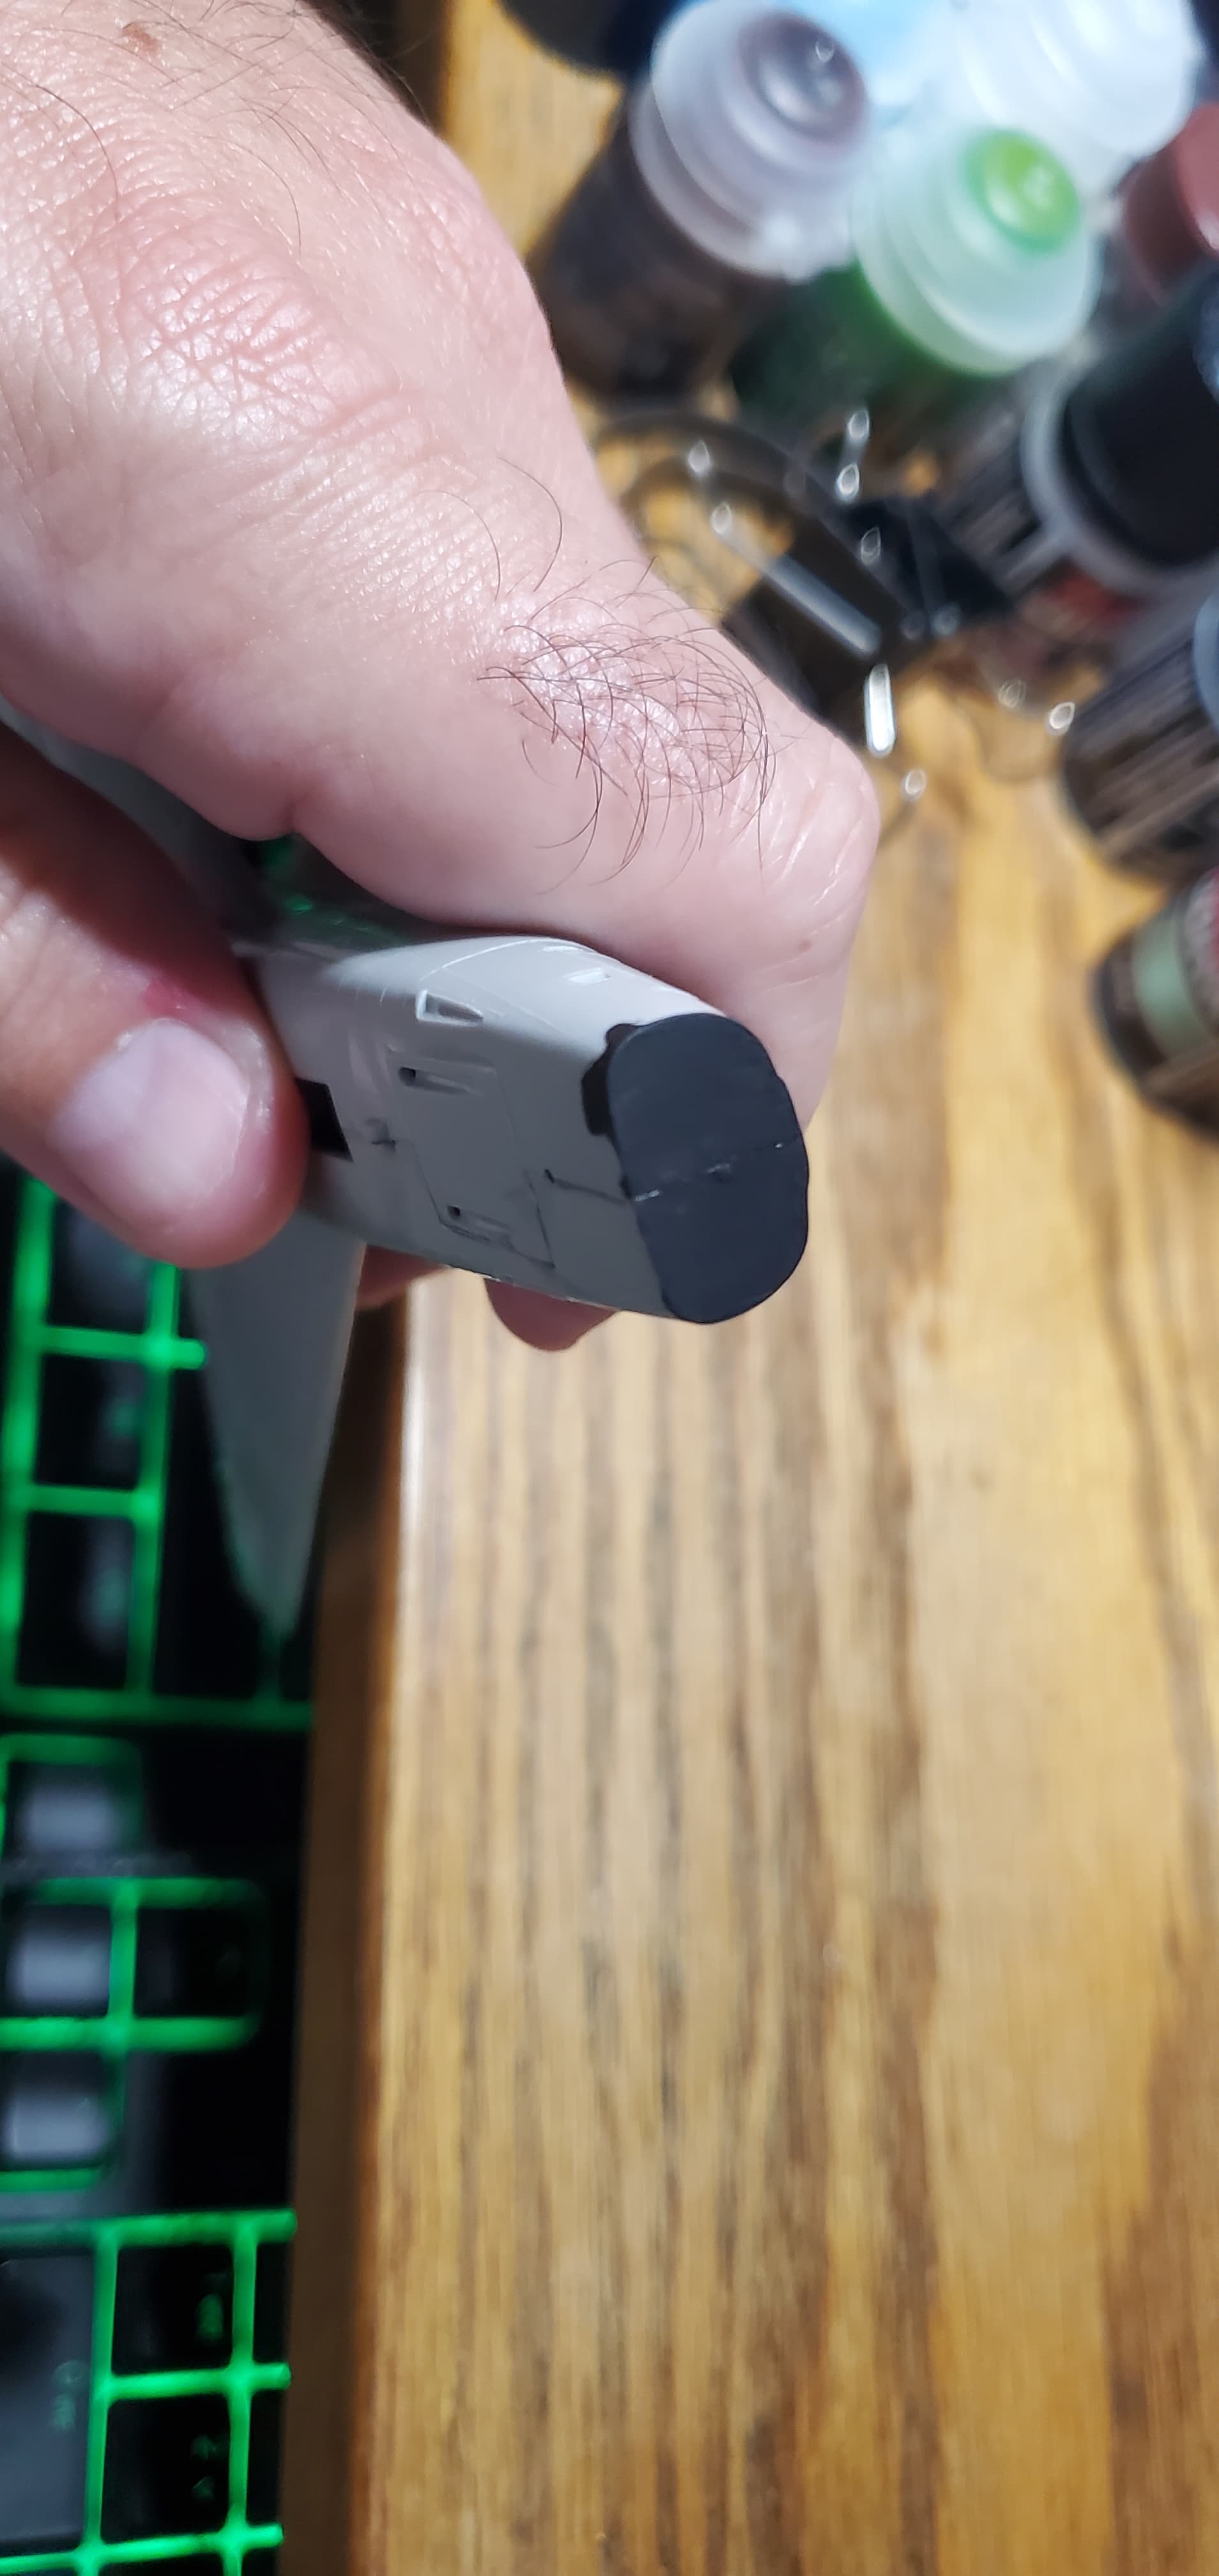
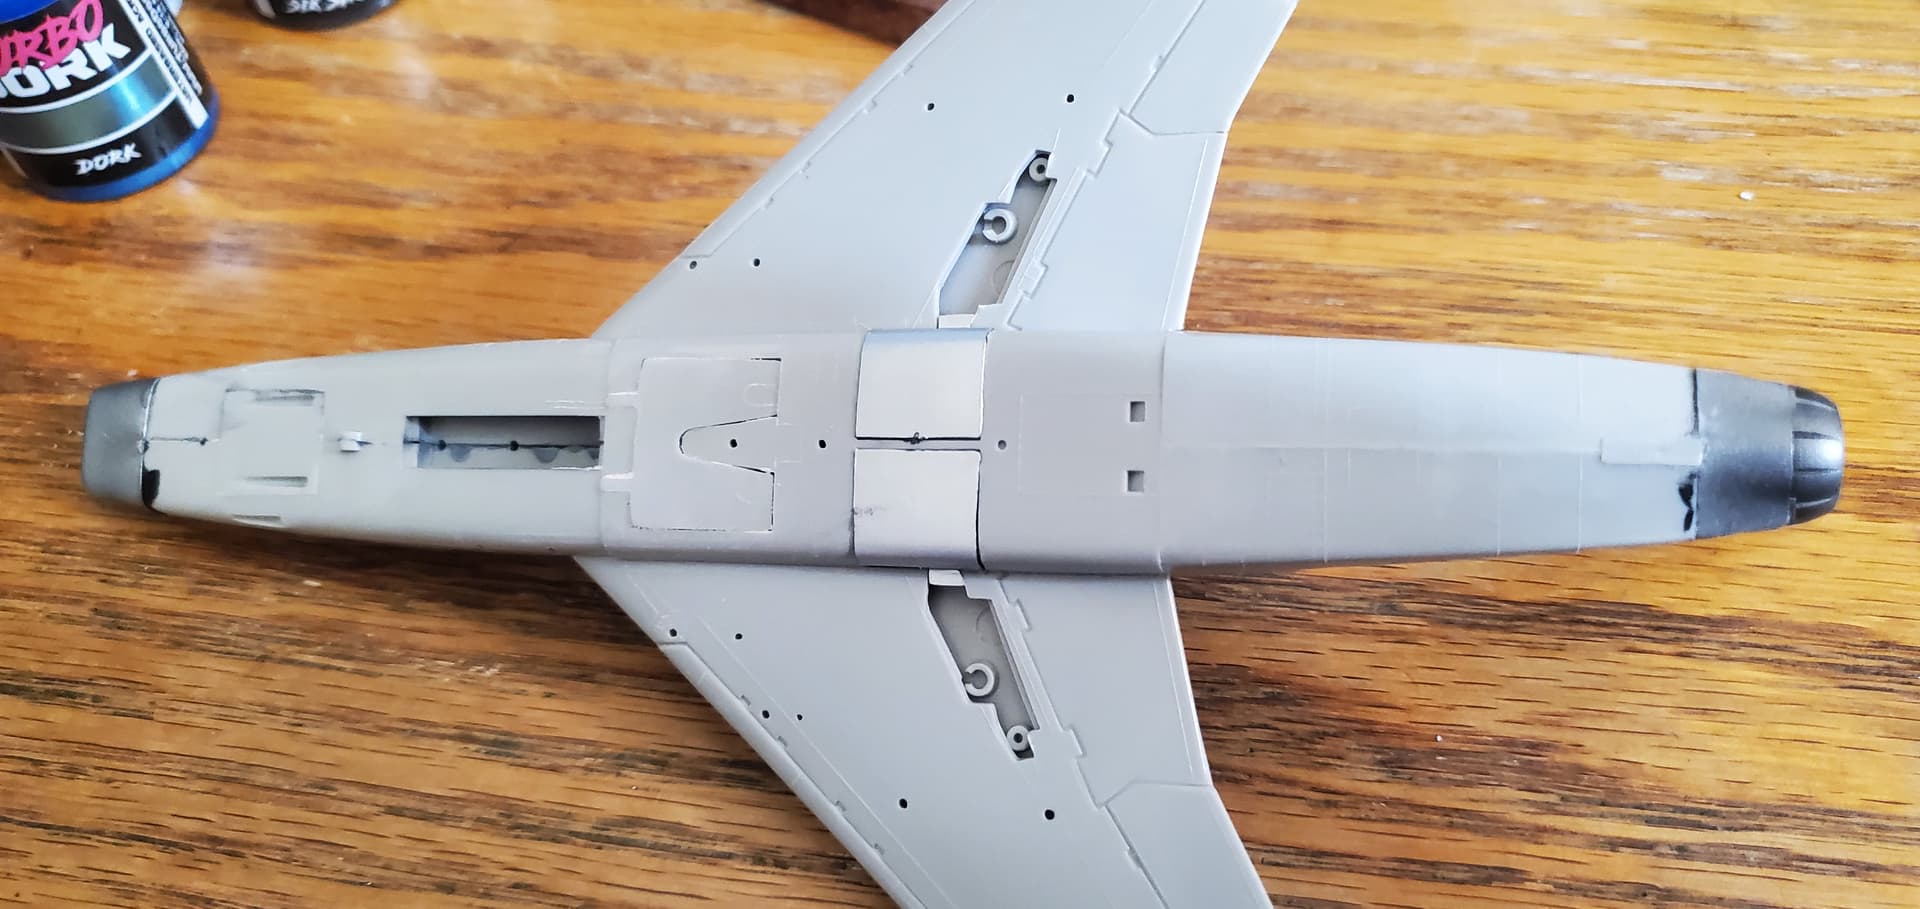
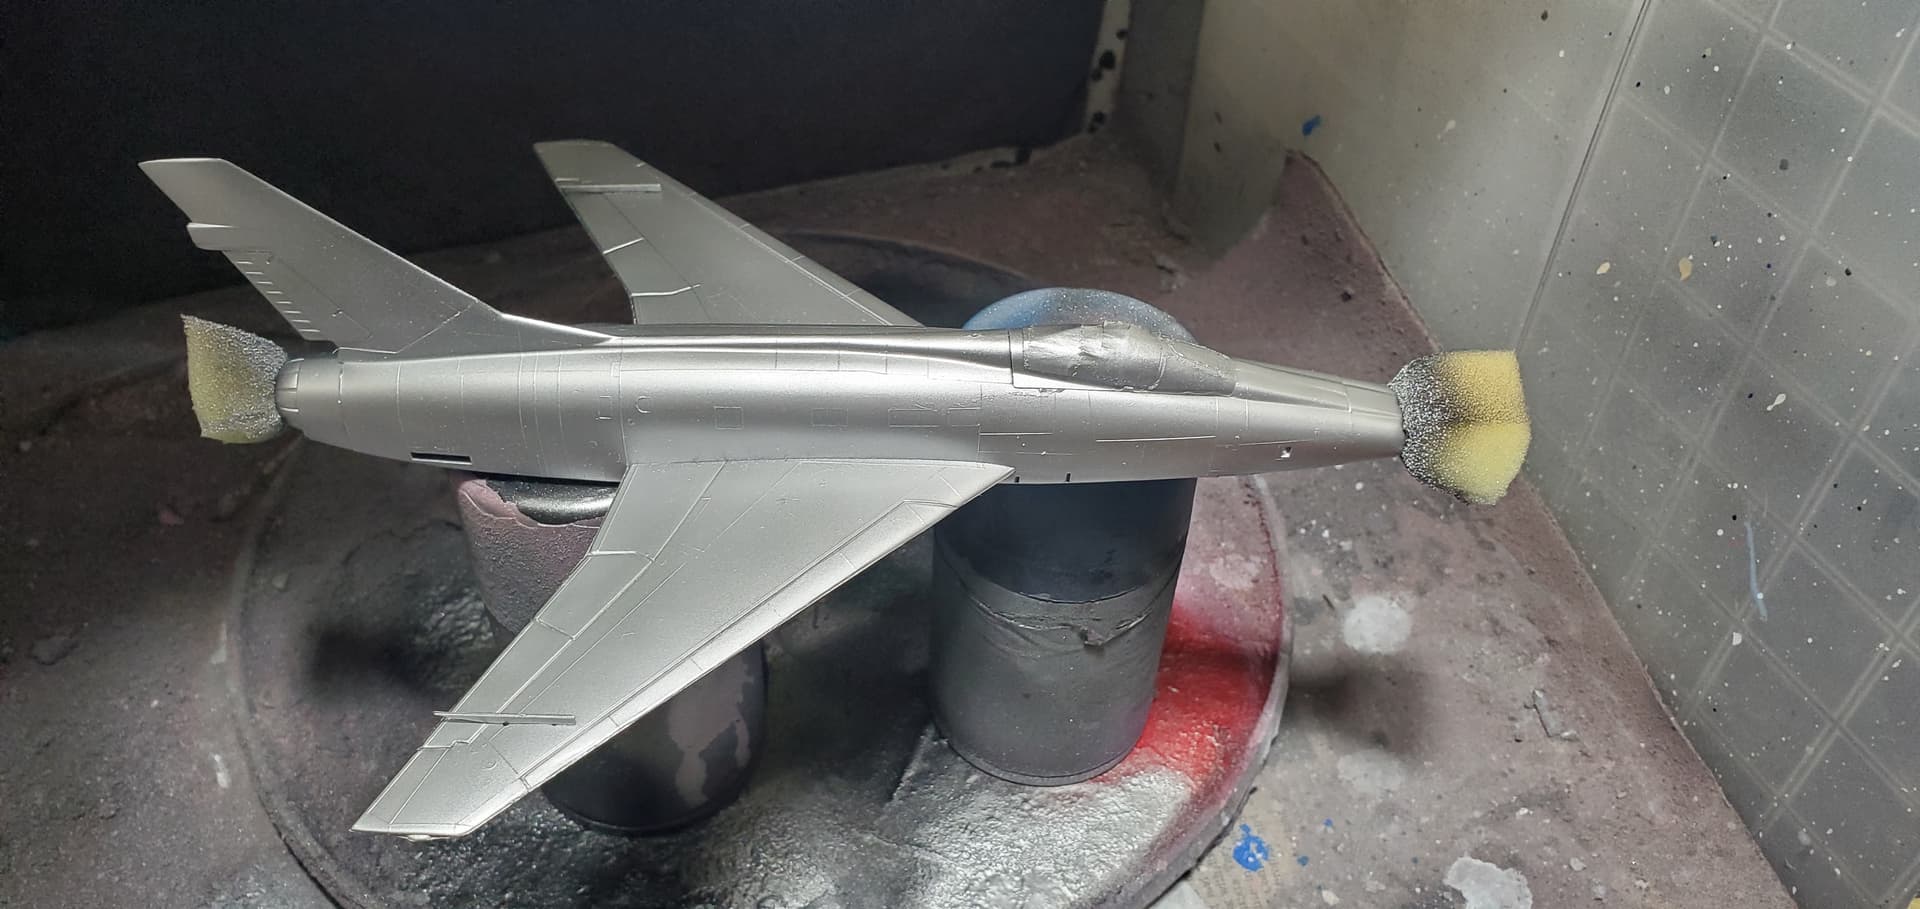
As stated was not able to get much done in the interim. So today i did manage to paint the base of the inlet black and get the painted inlet attached. Not pictured but i also got the landing gear painted.
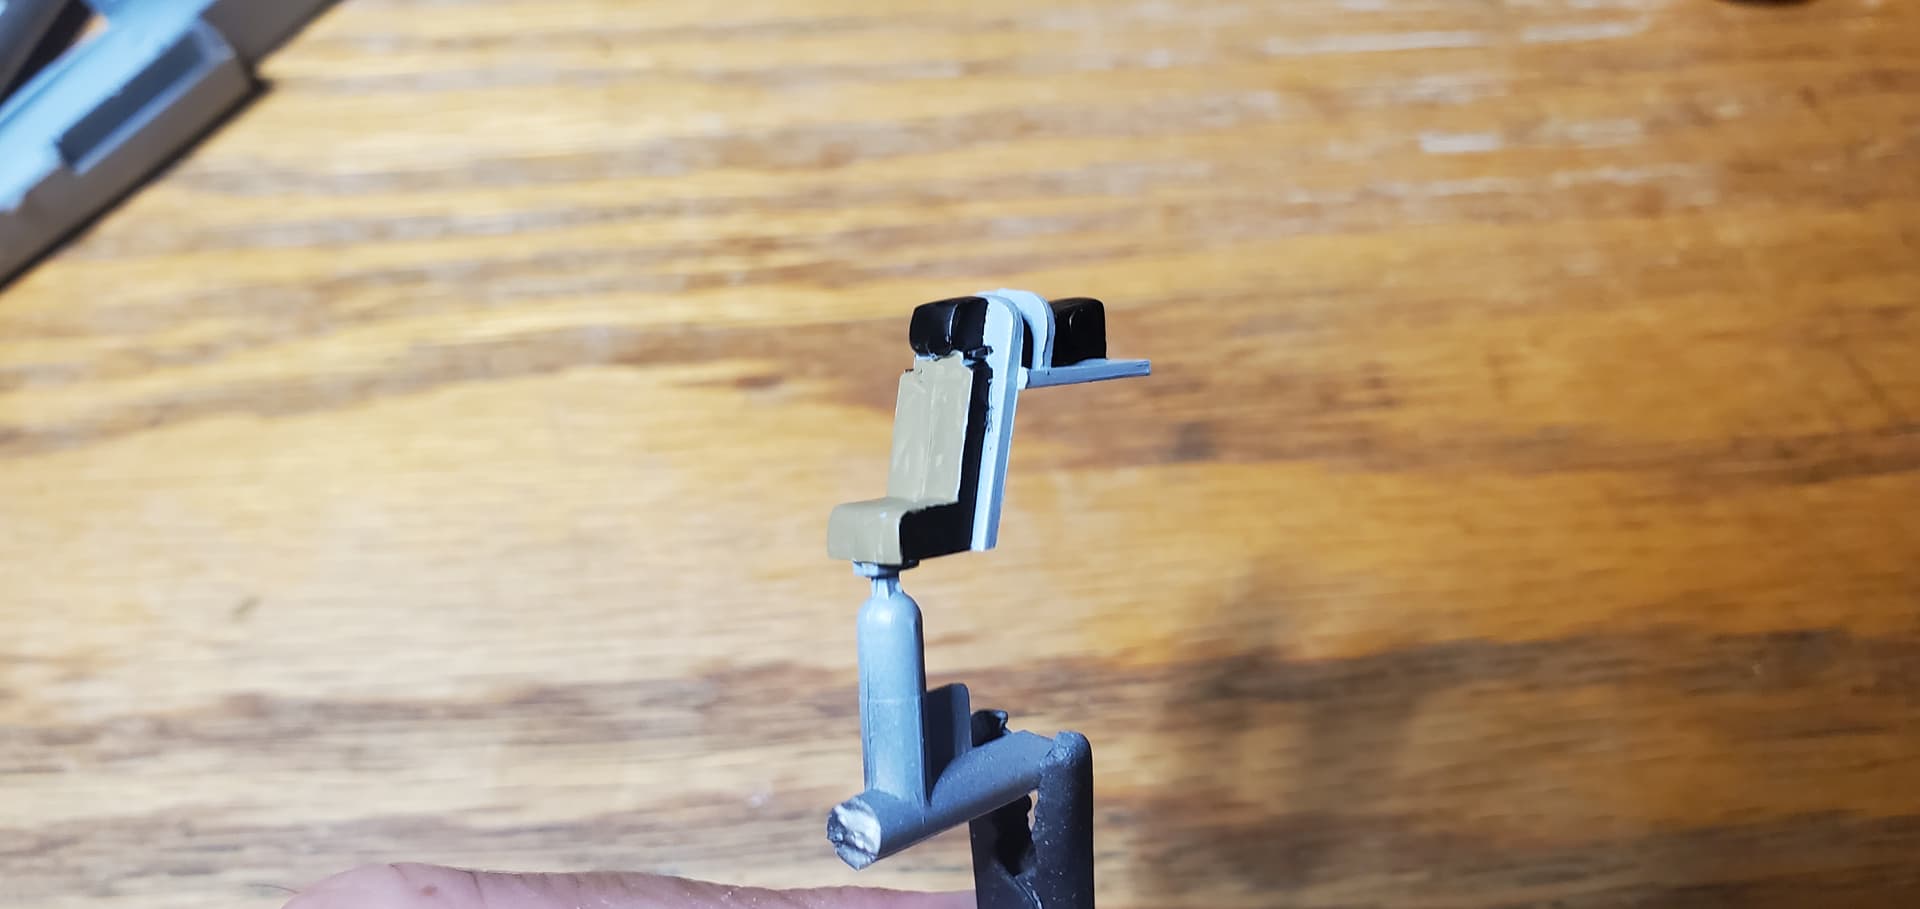
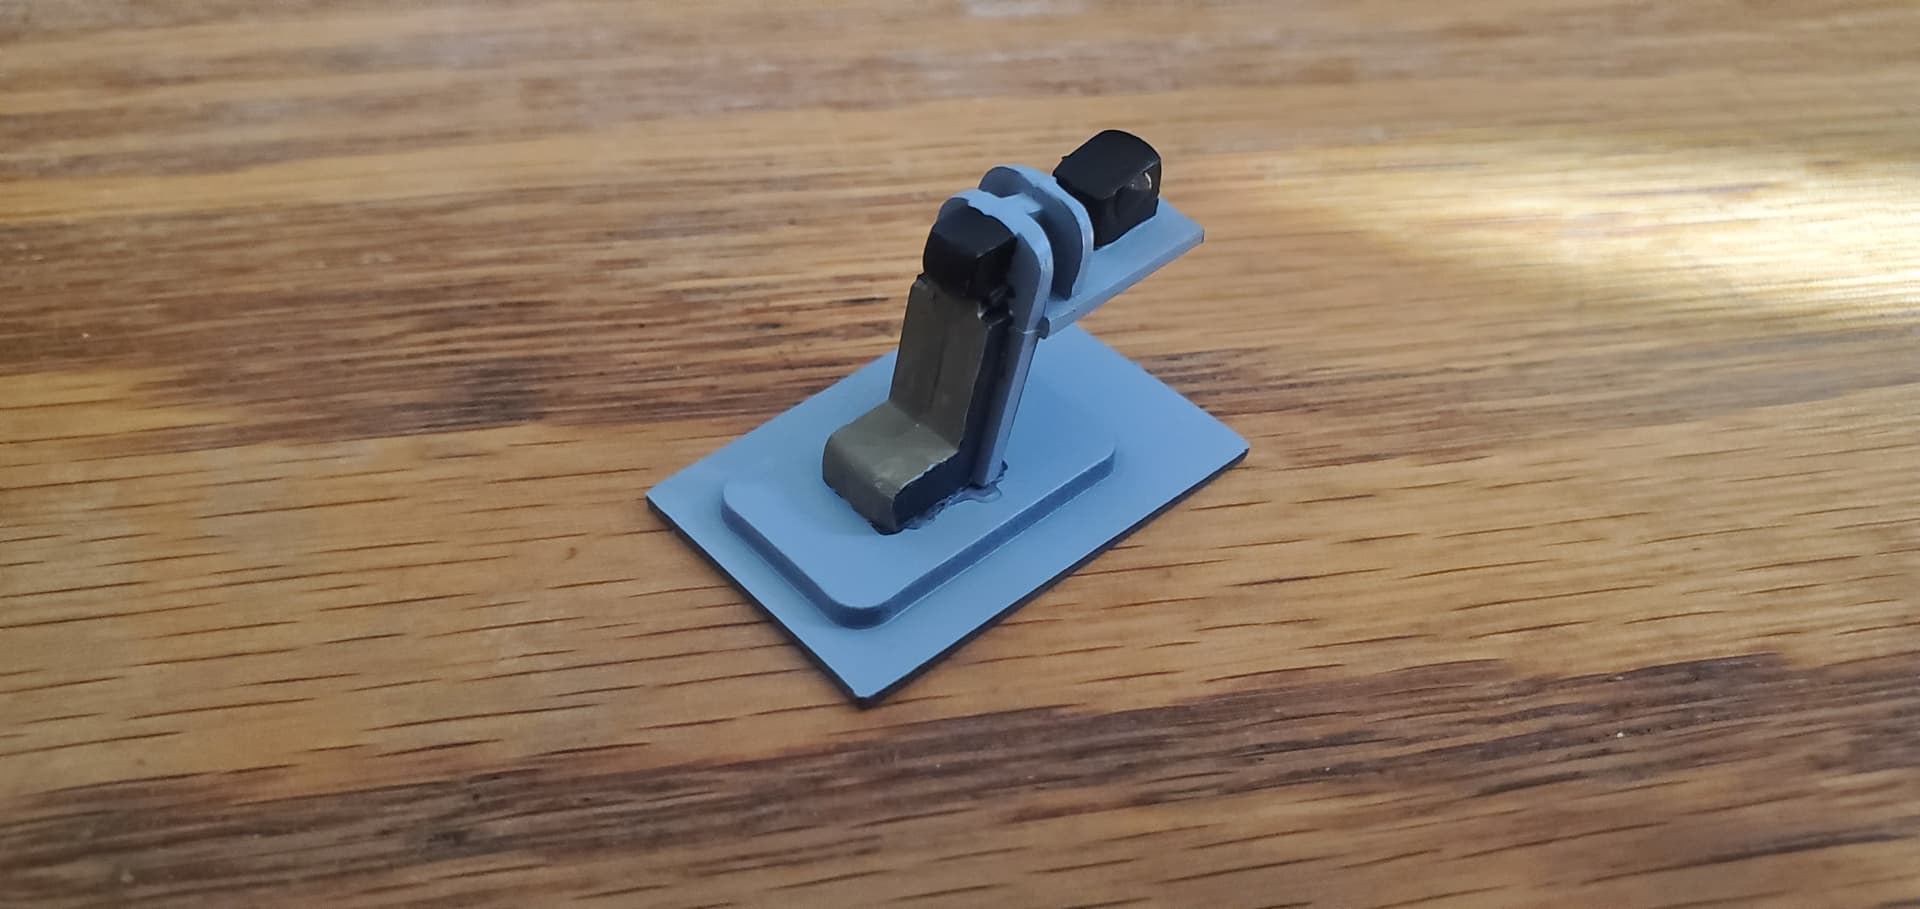
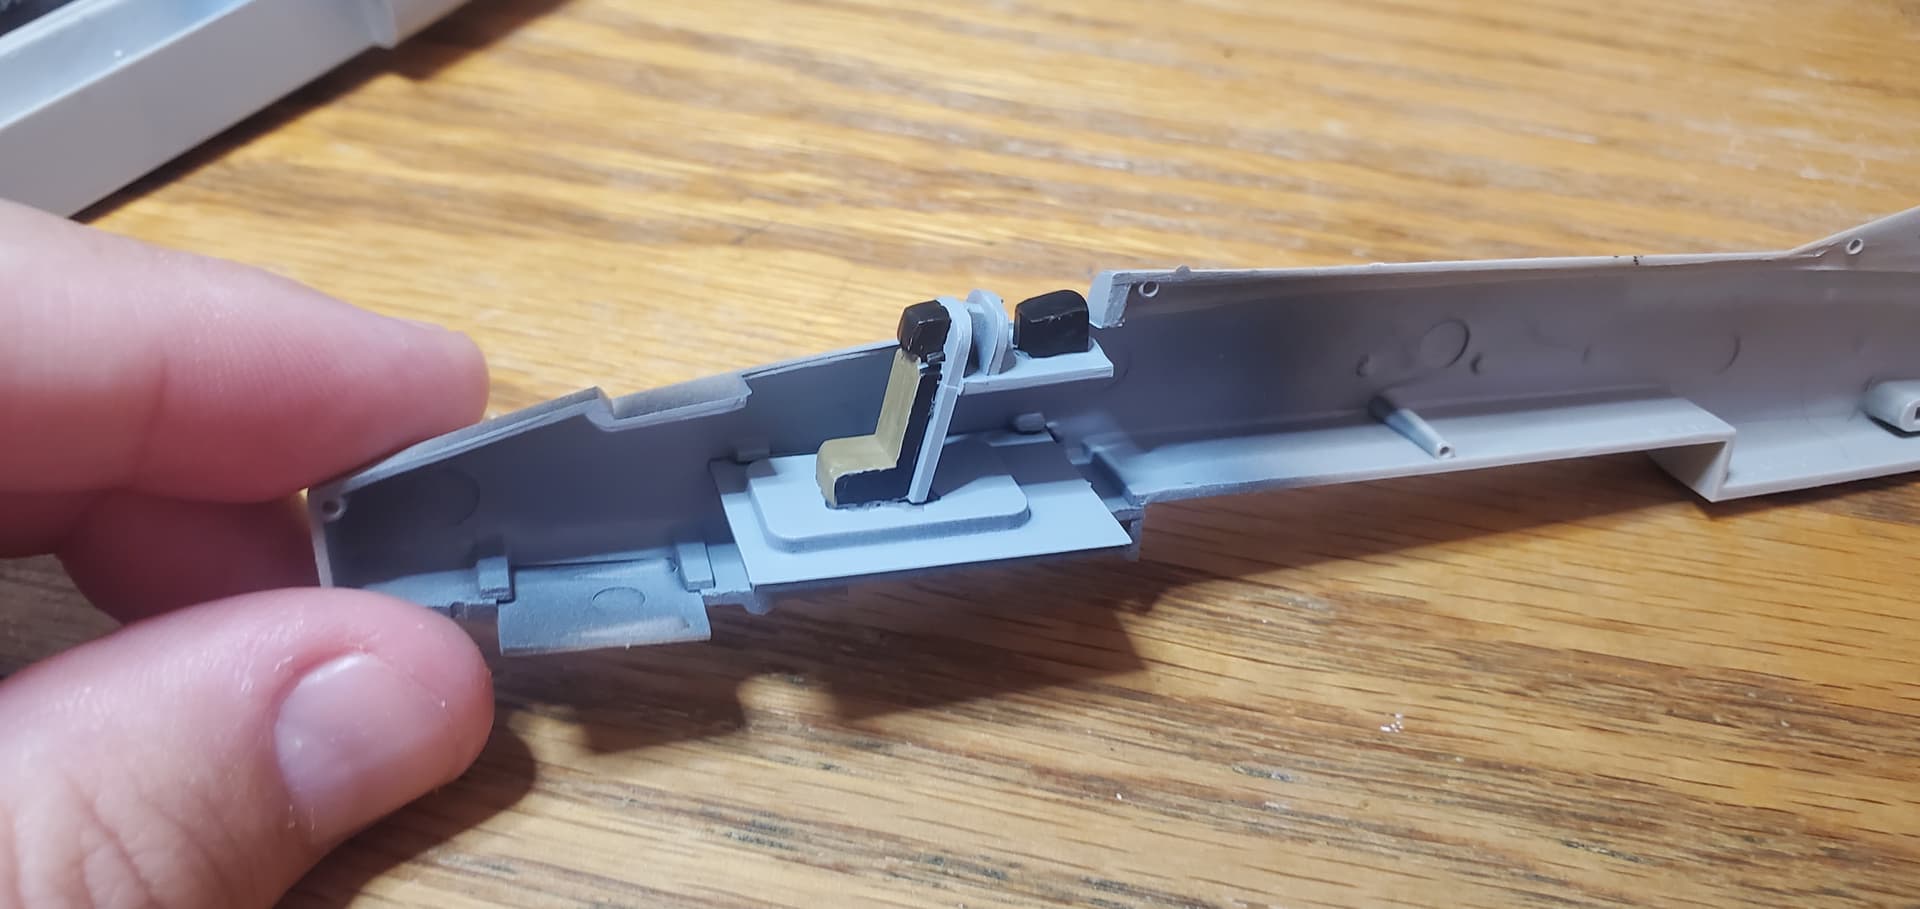
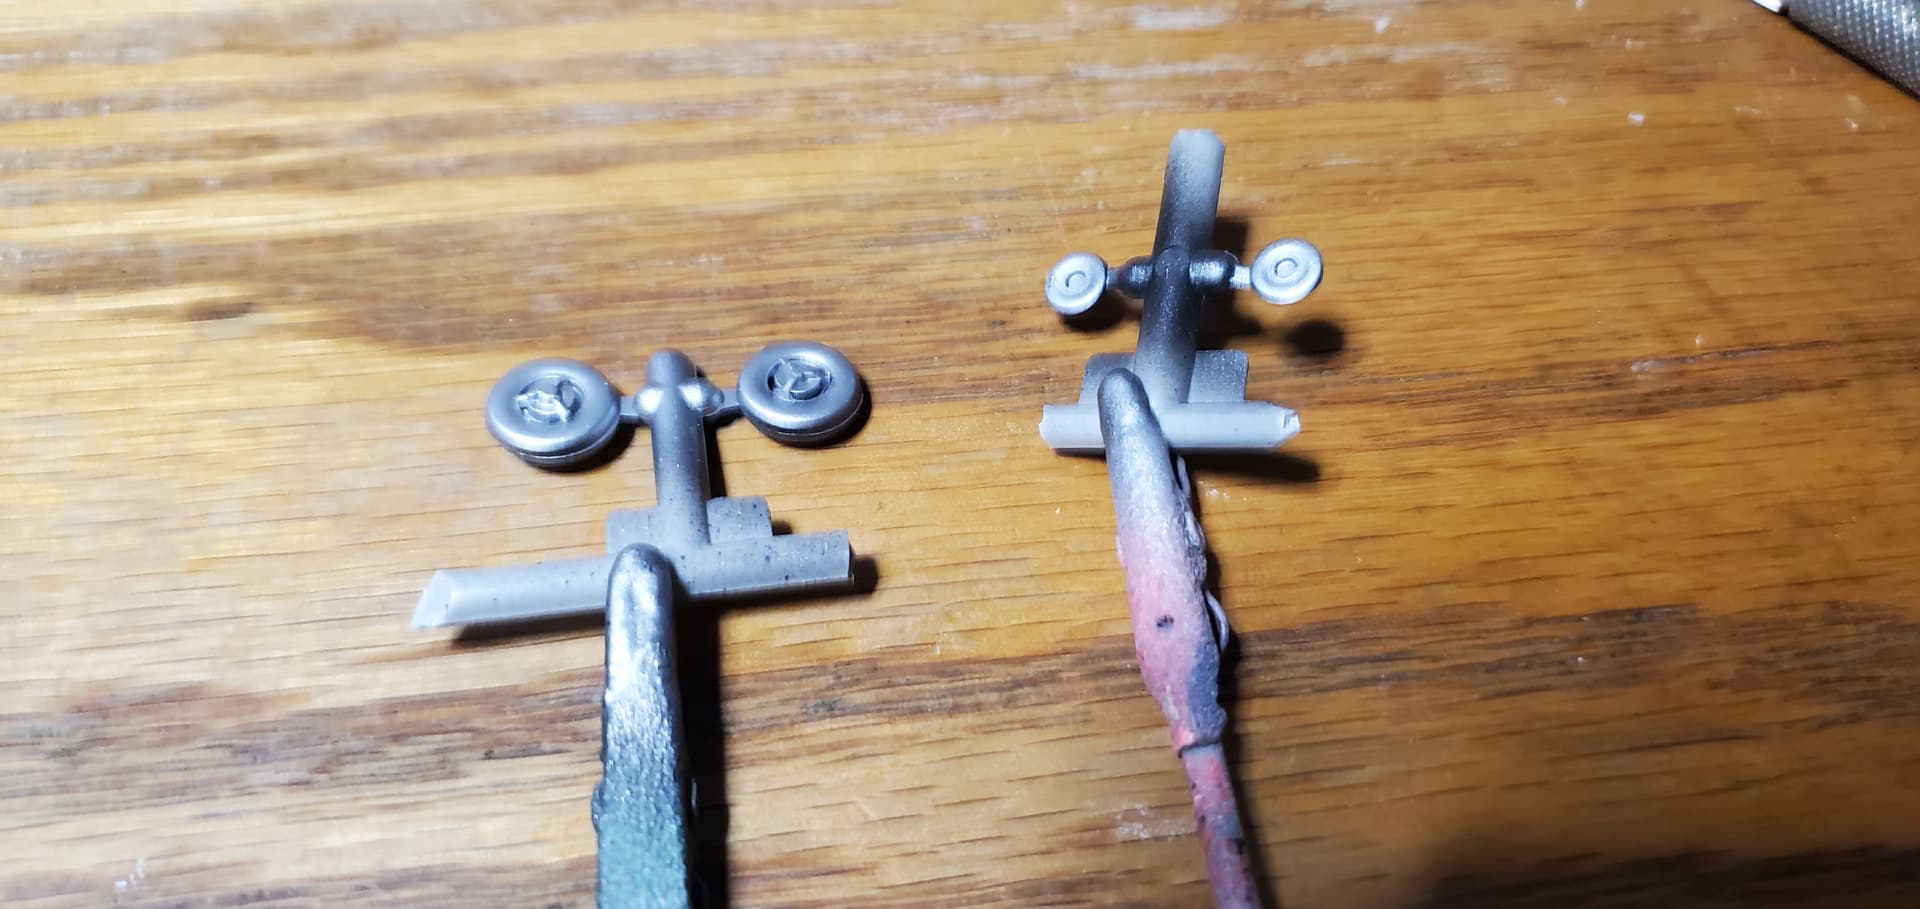
Next i focused on getting the underside preped for painting by attaching all of the positionable components. Going with everything in the closed configuration to make things easier. The main gear doors are already painted as i initial thought more of their inside would be visible. In hindsight this was not necessary.
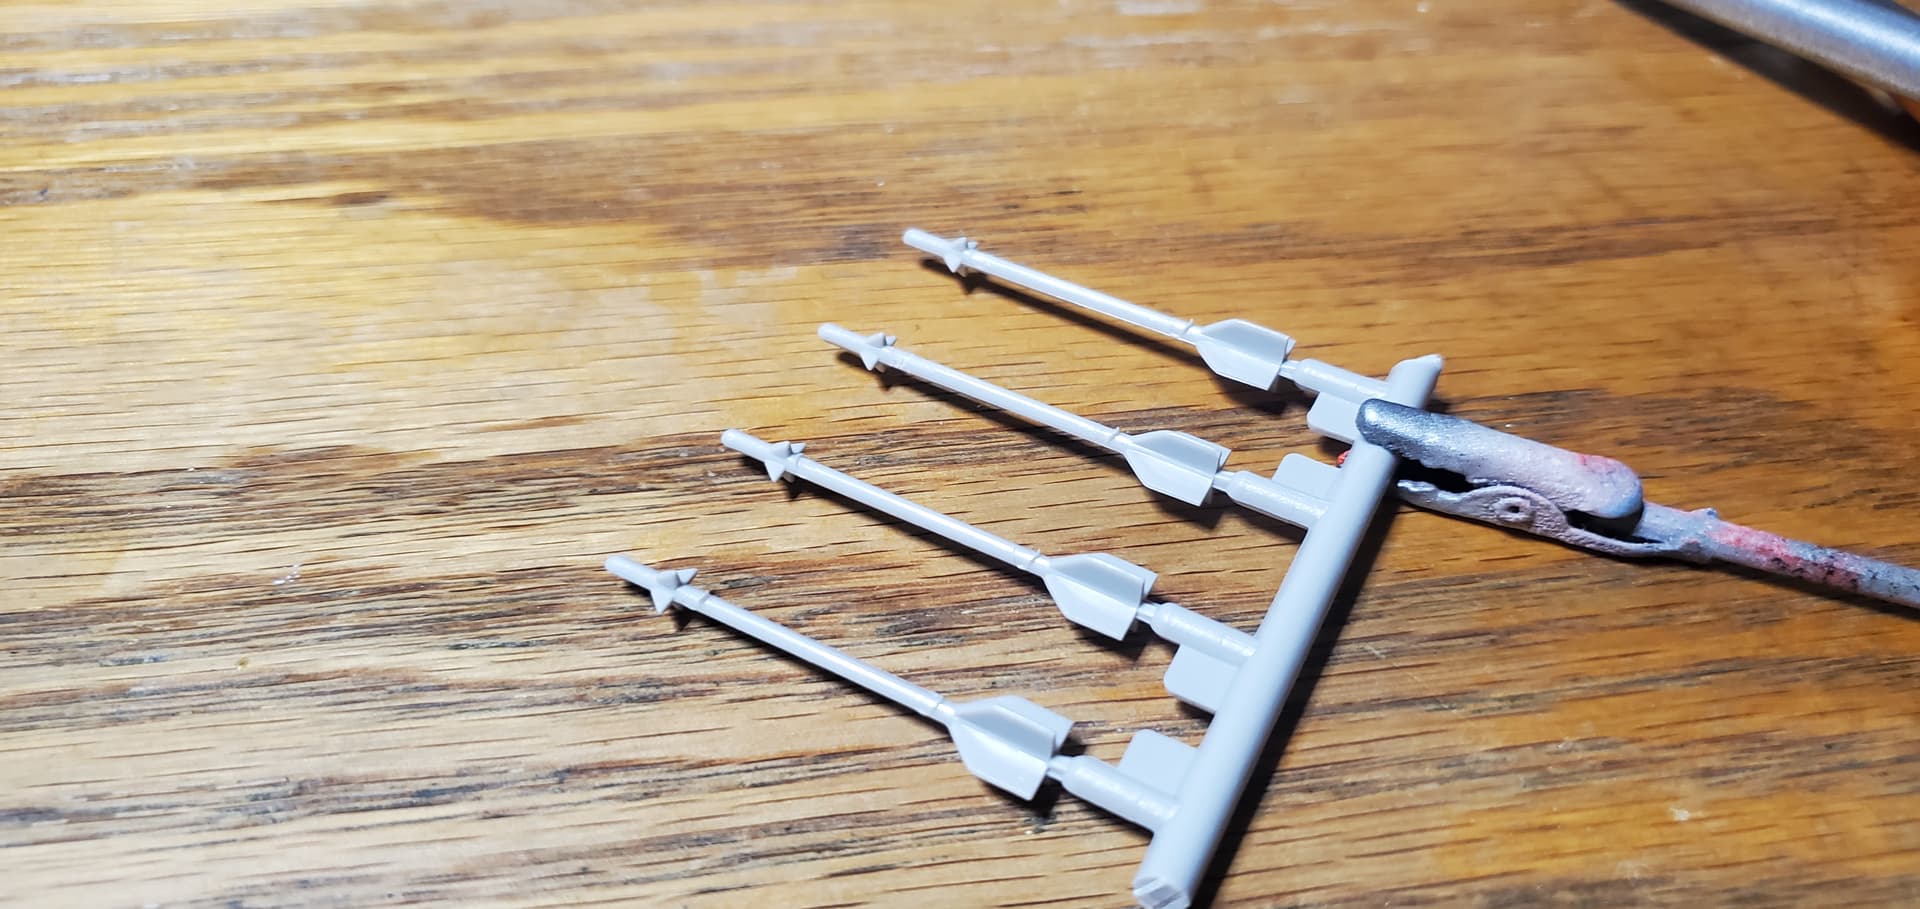
Lastly in a bit of a stroke of luck earlier today, one of my LHS got in a 1/72 missile set. So the kit Sidewinders are out and better ones are in.
Larger update to start off the year. Got bad about posting due to family stuff after Christmas and also being gifted a cold. Have made decent progress on the Hun though.
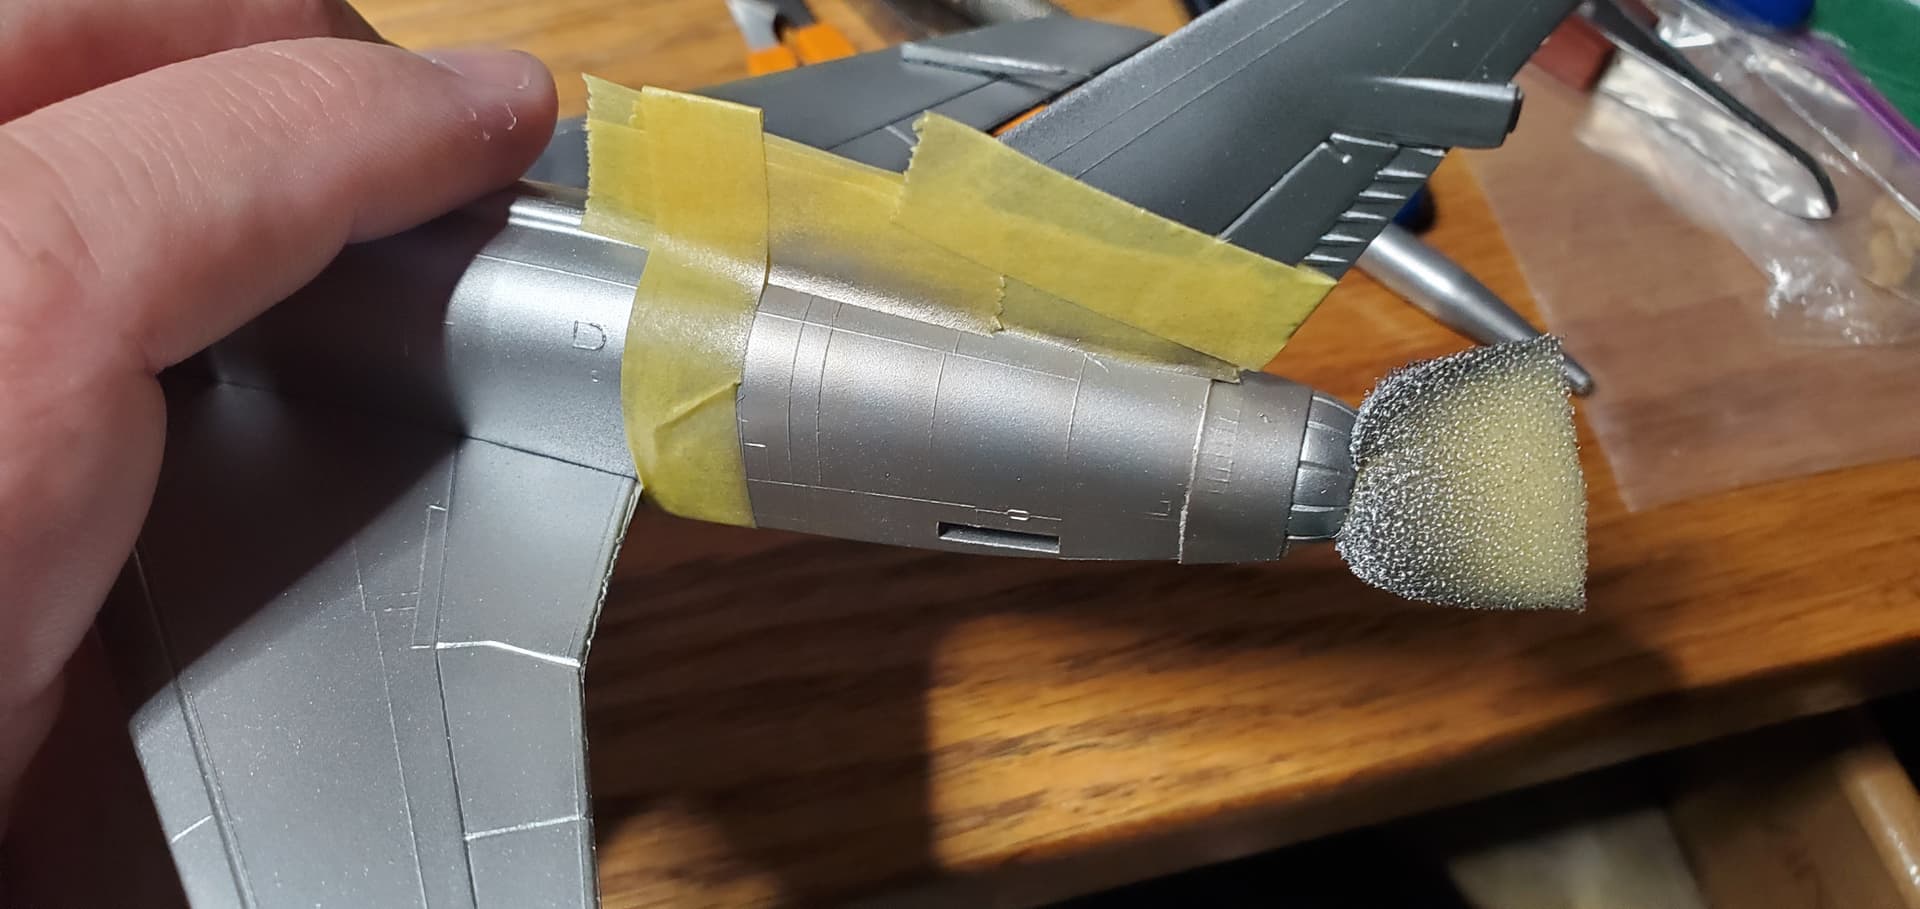
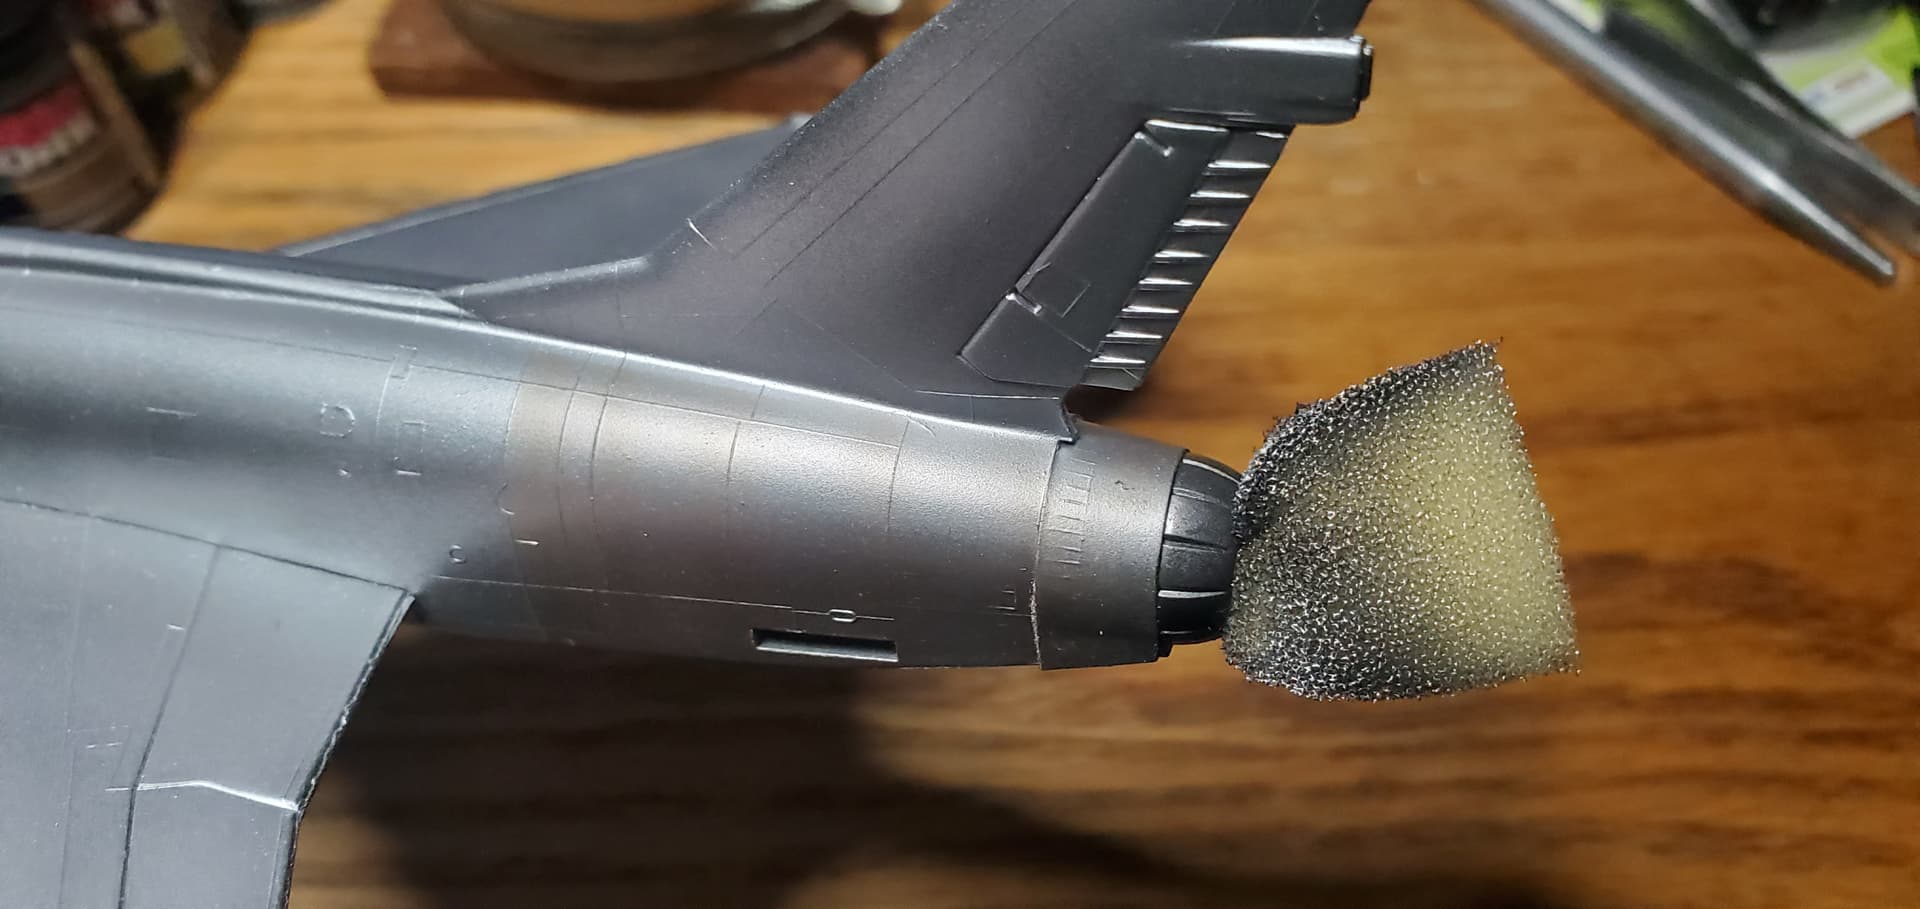
I then masked off and did some heat discoloration on the engine section. First time trying this so went with a less is more approach. Unfortunately it does not show up great in photos, but its there.
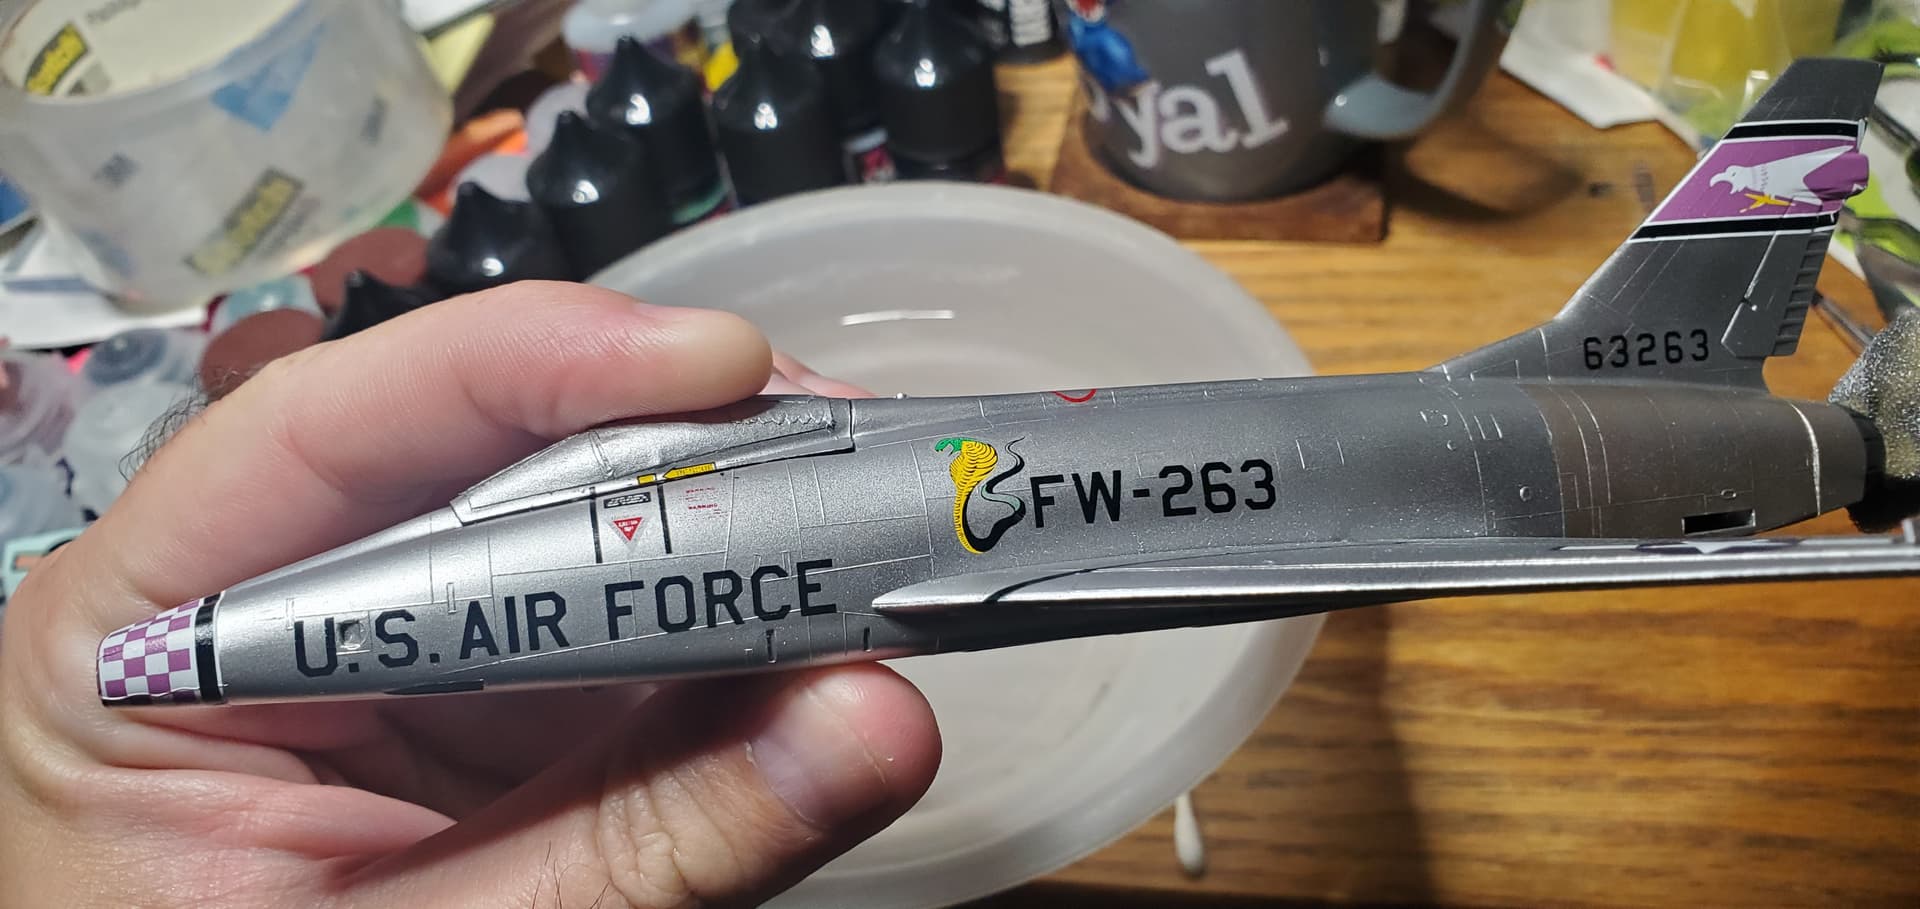
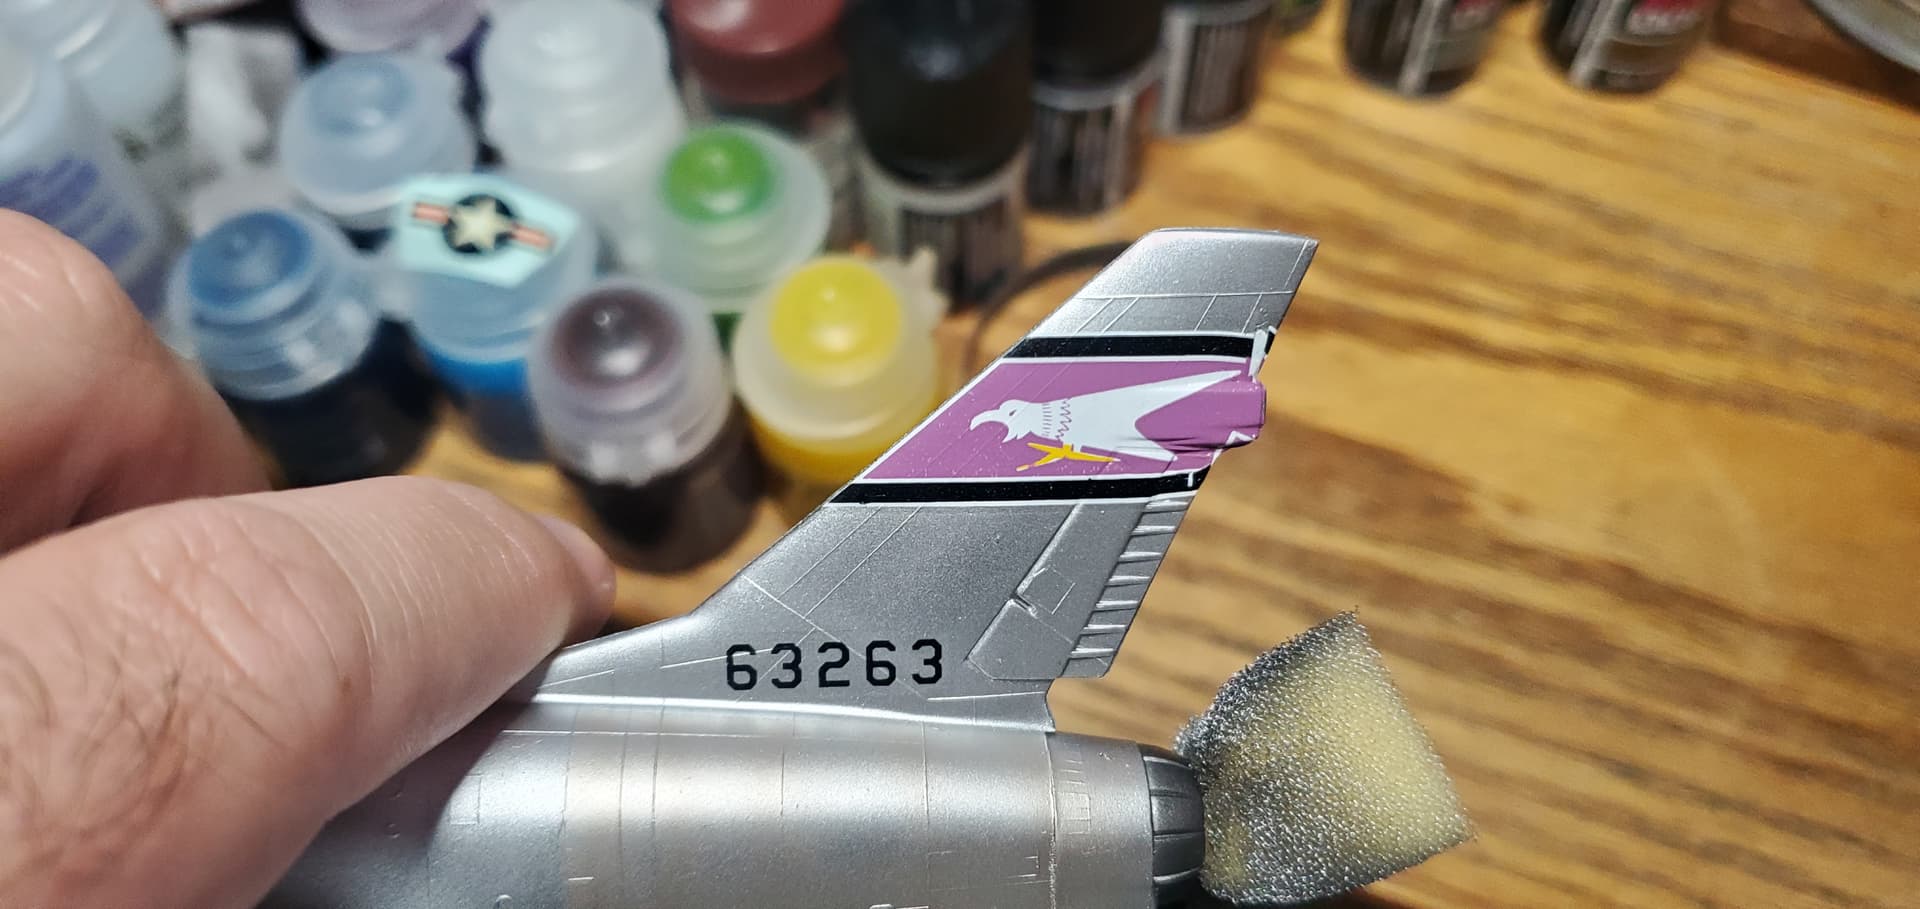
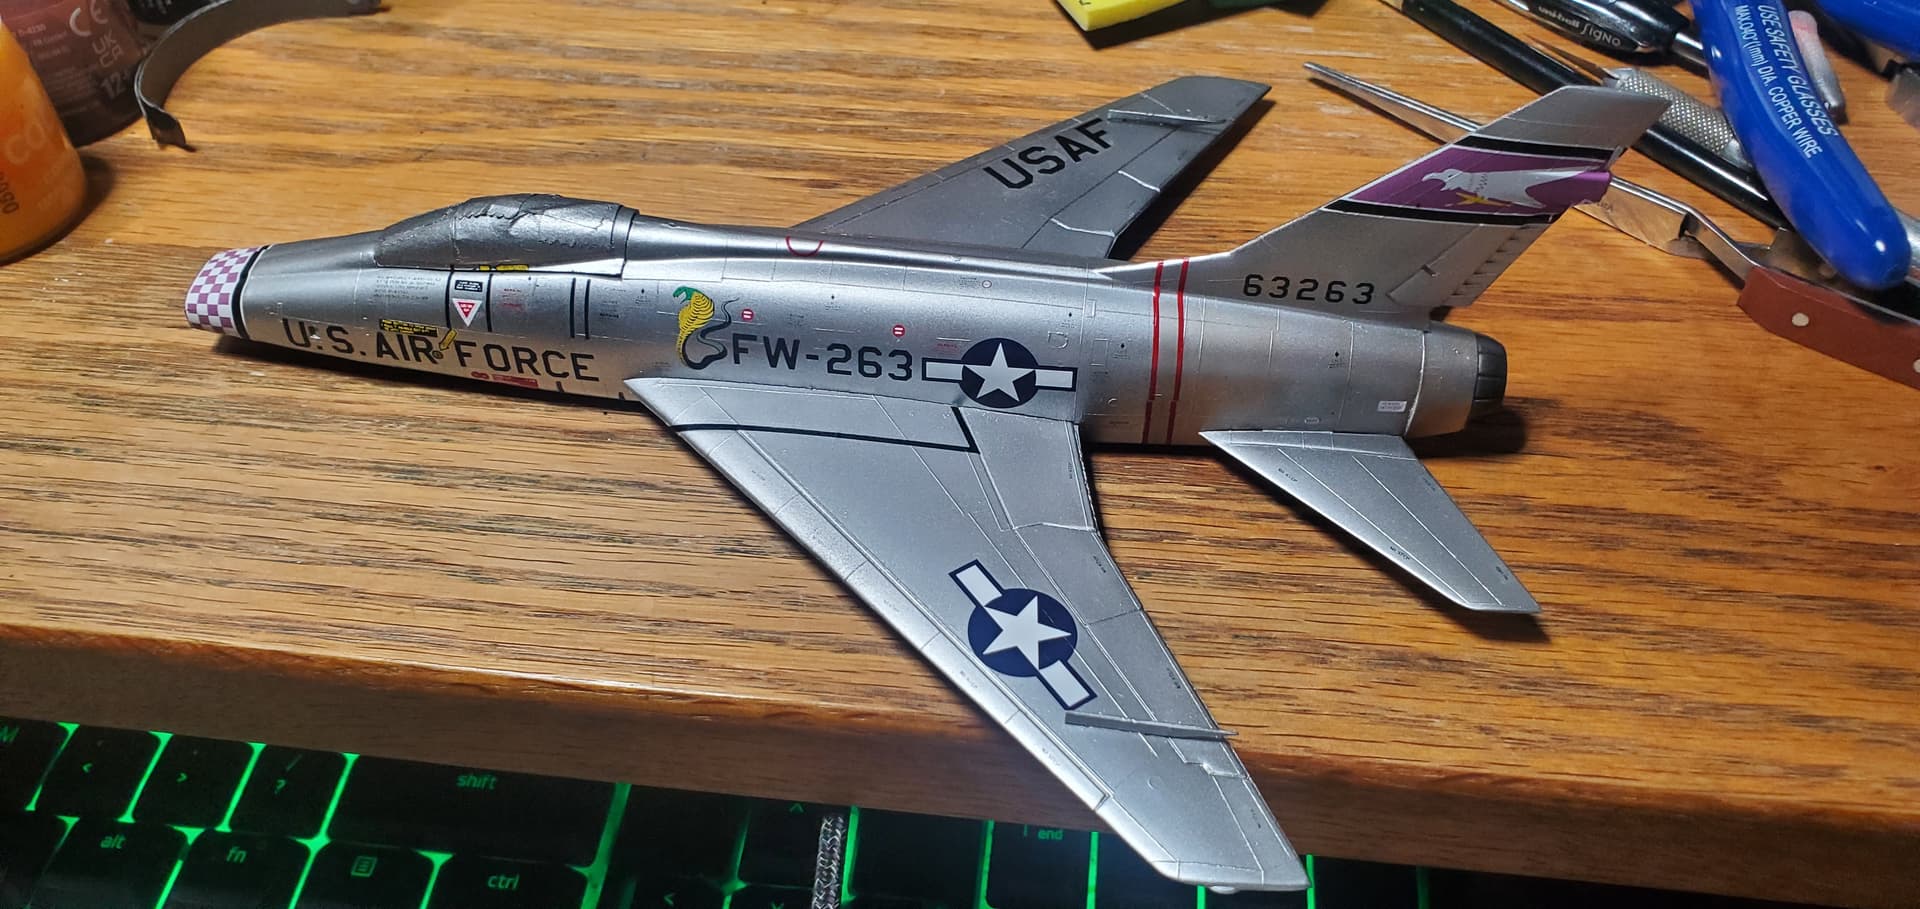
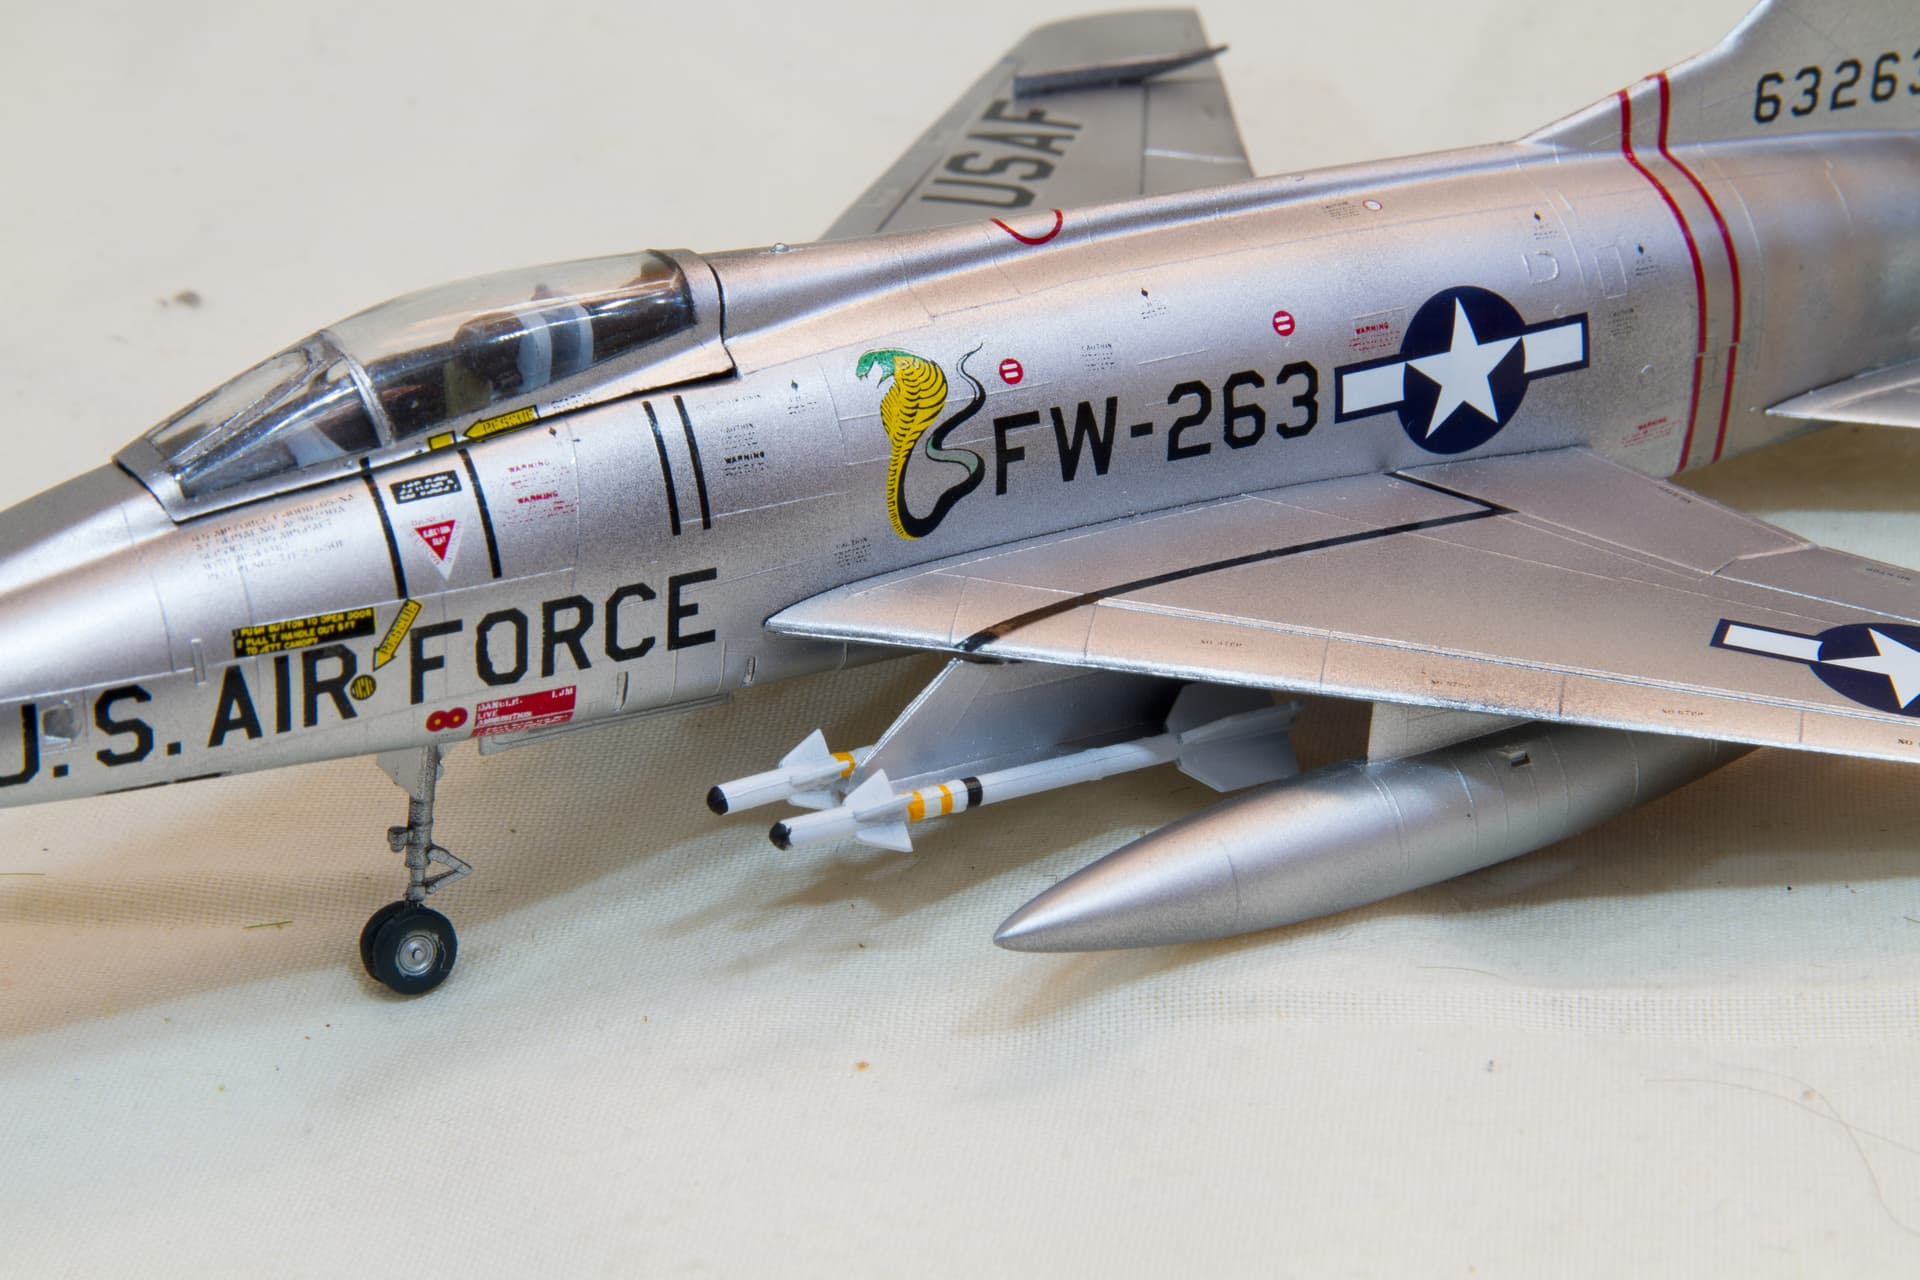
One issue i ran into is with the tail marking decals. I do not think they were properly sized for this kit, despite it recommending this one. So part of one side folded onto the other in a odd way. This means going in and retouching it, which i already got the paint for. Going to wait to do it when i finish decalling as i dont want to deal with it right now.
Despite the sizing issue i am surprised how well this decal set is working despite its age. That can not be said of the kit’s decals.
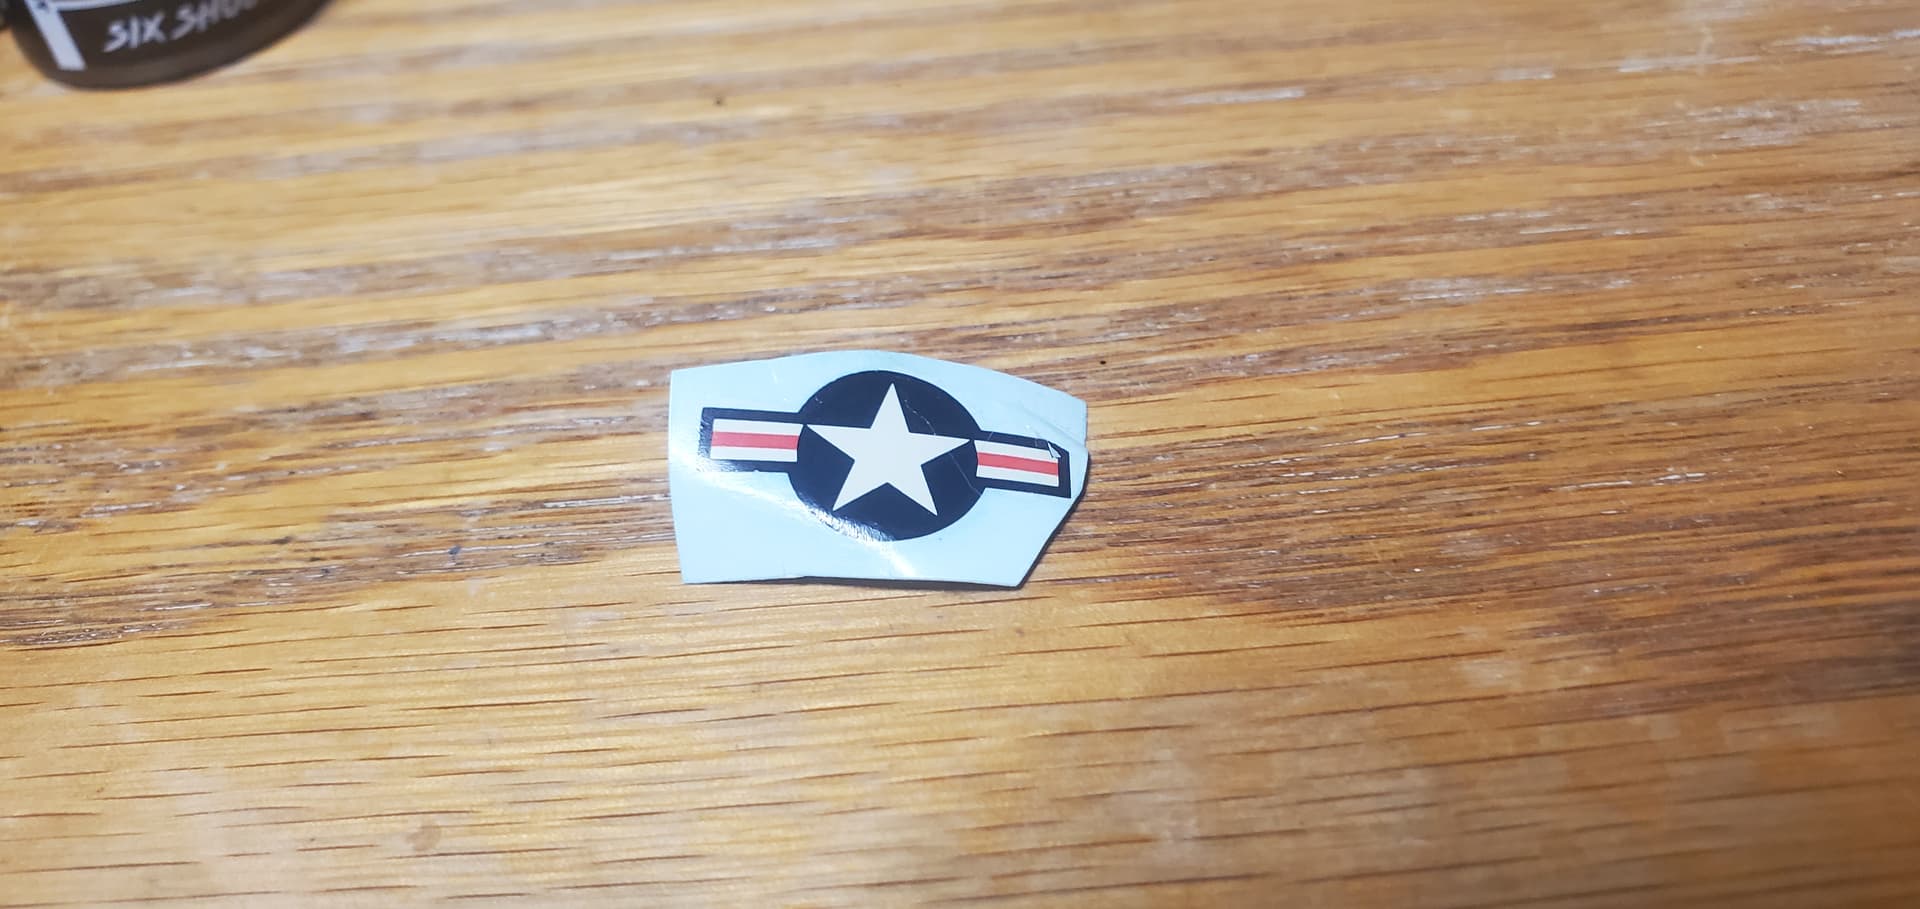
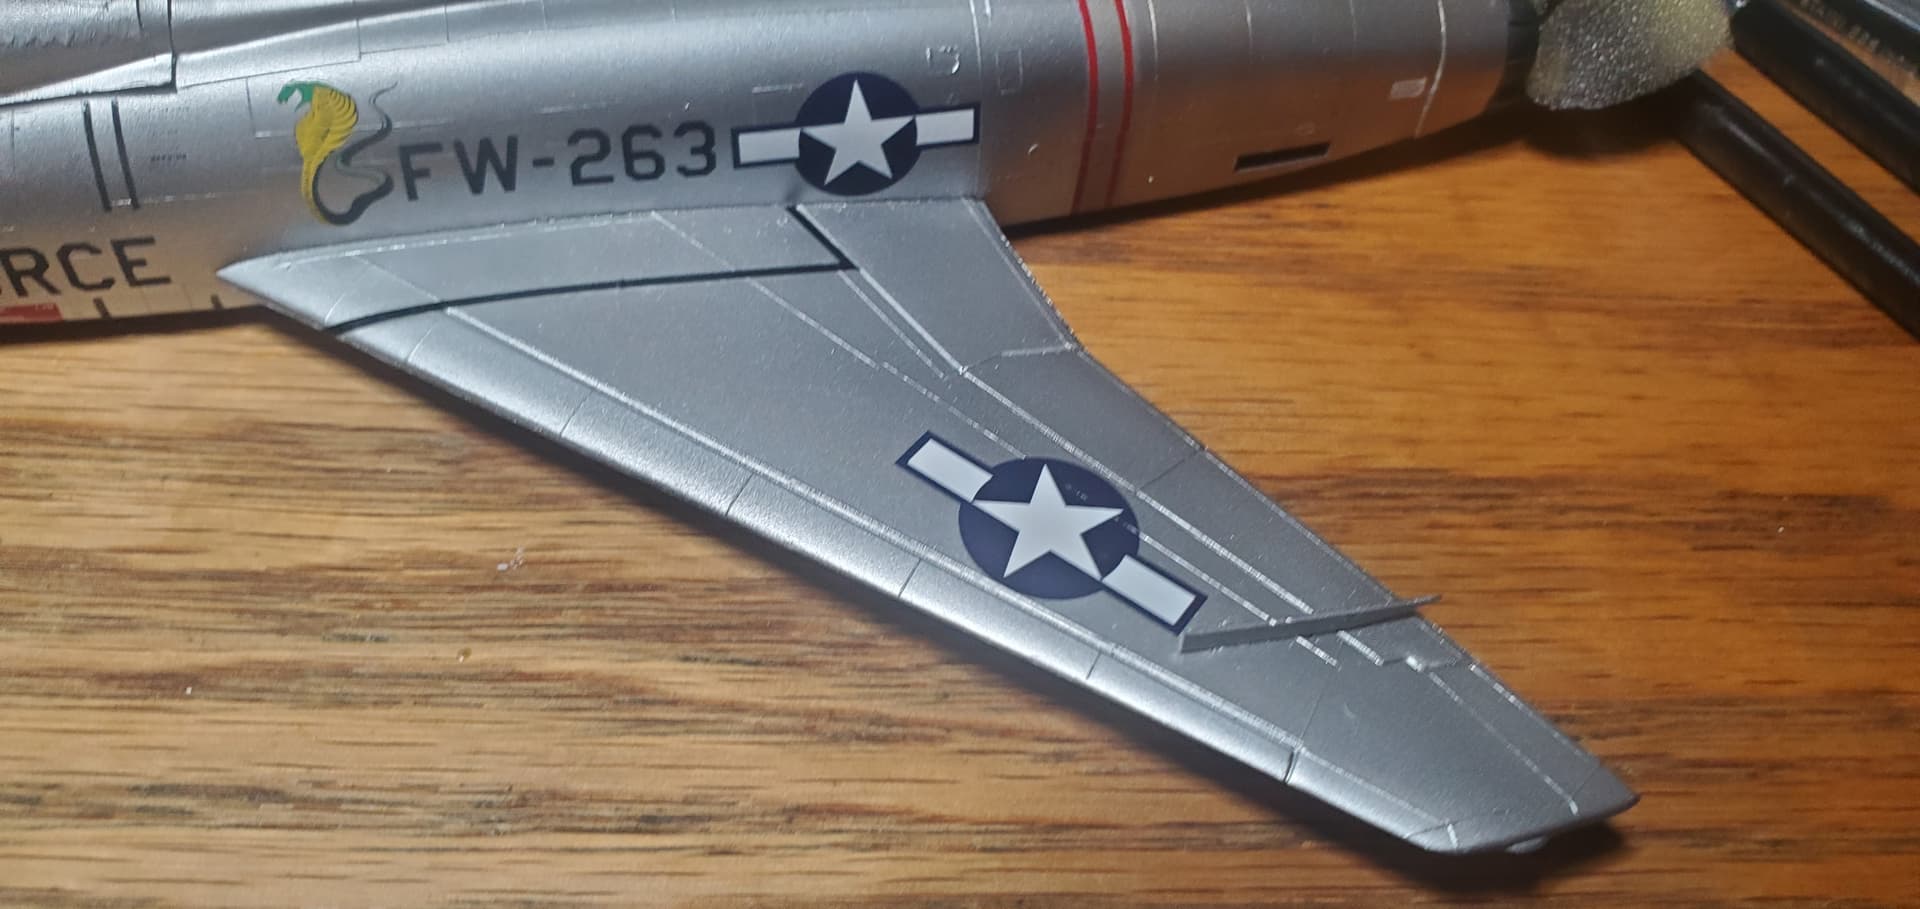
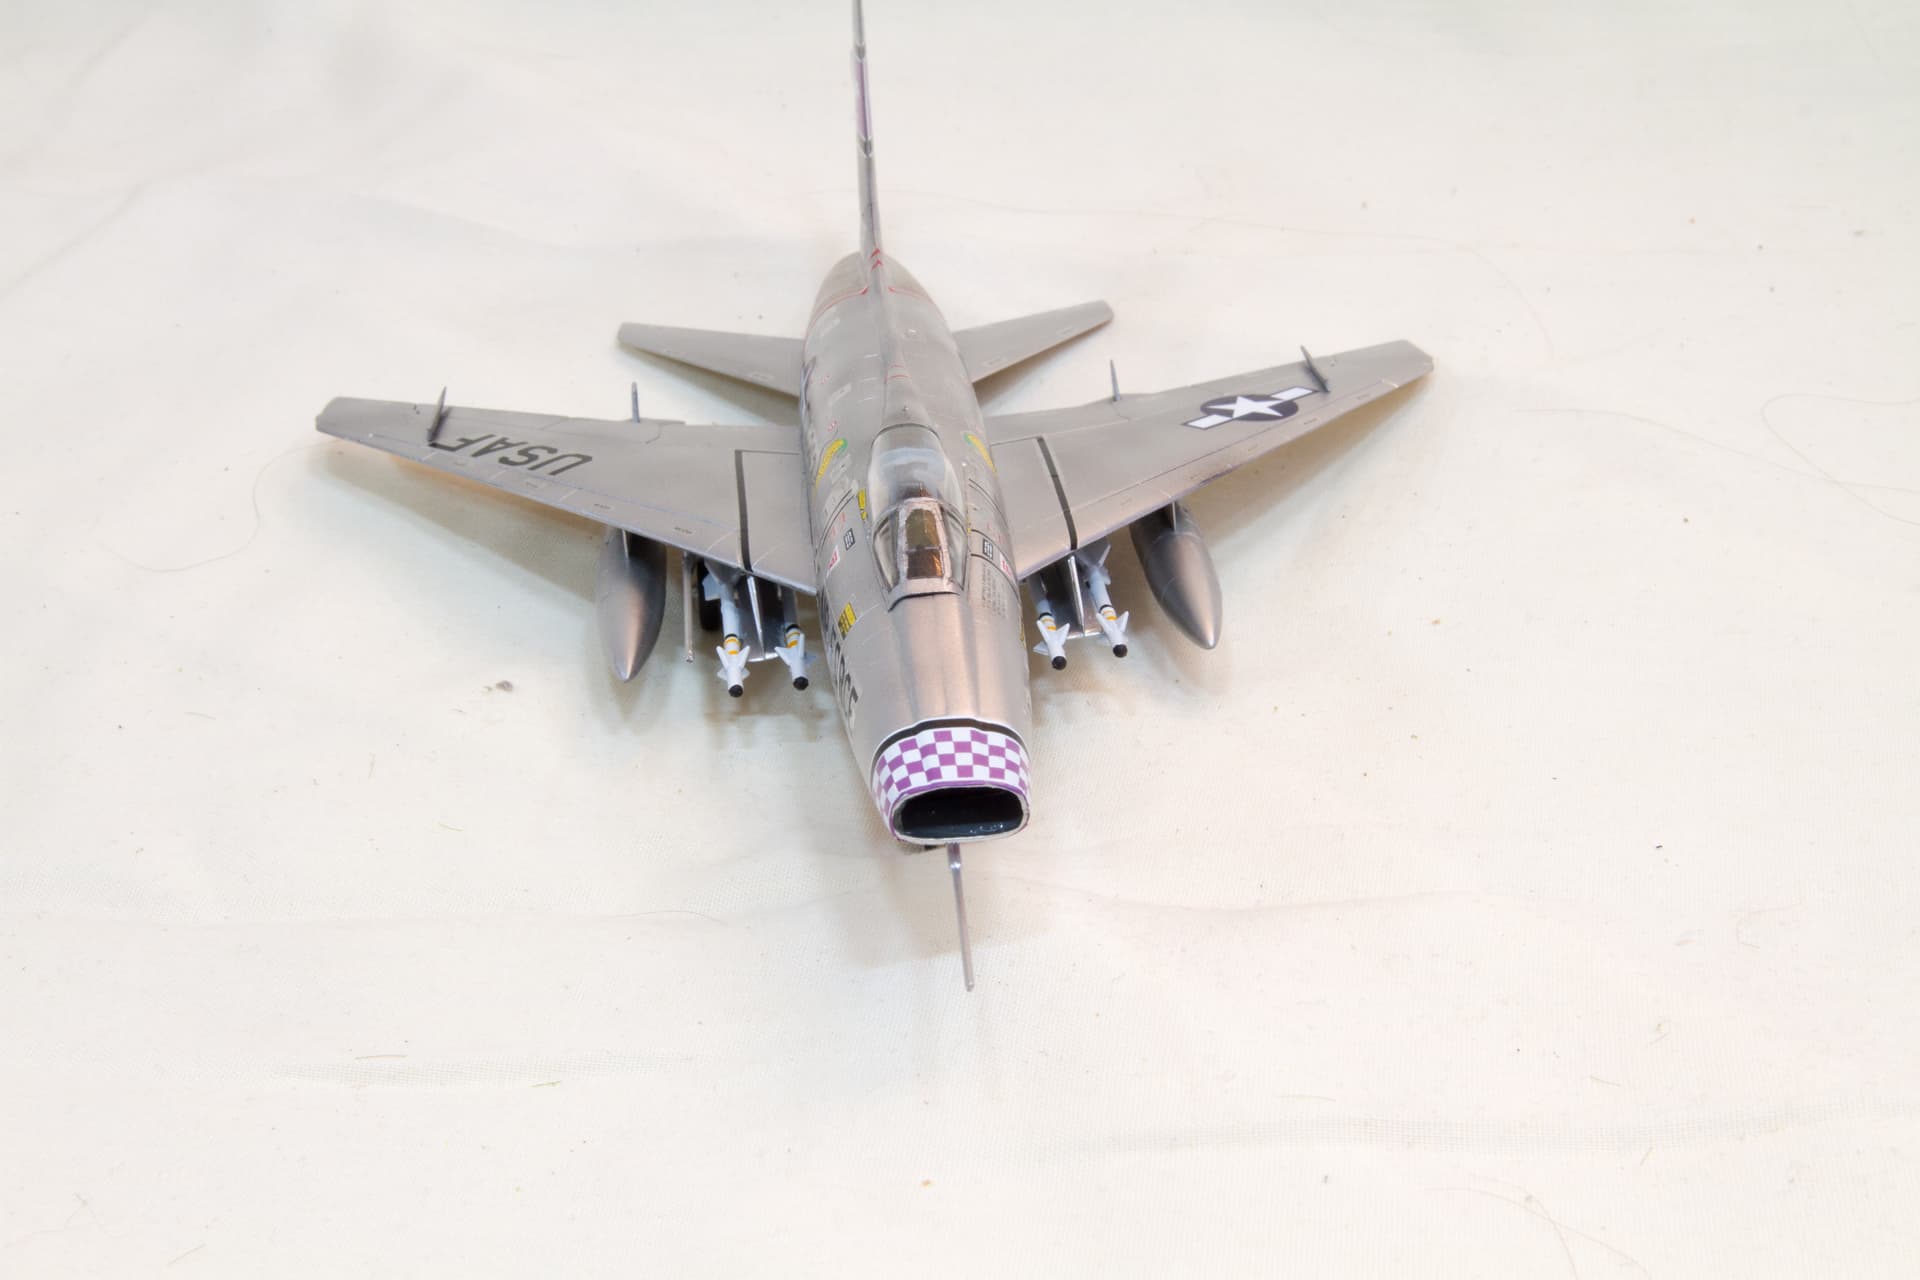
The decals did not come with national insignias so i tried using the ones that came with the kit. Im guessing because of age and/or ambient moisture the decals will not come off the sheet.
So i made the judgment call to cannibalize the insignias from the airfix Mustang kit i finished recently as they were the correct scale. Know they are not the exactly right ones but at this point they are close enough.
Surprisingly, they were not that hard. Only area I had a problem was the tail emblem and that was mostly due to it not being the best fit. Outside of that everything went well, which given the age of the decals was surprising.
Exactly how I want mine to look on my shelf. Well done. I started a 1/48 Monogram kit years ago to go with those decals, but that scale just didn’t hold my interest enough. I also was going to use SNJ aluminum powder for the NMF. That was the be-all-and-end-all at the time. Wonder where that stuff went when I reorganized all my paints.