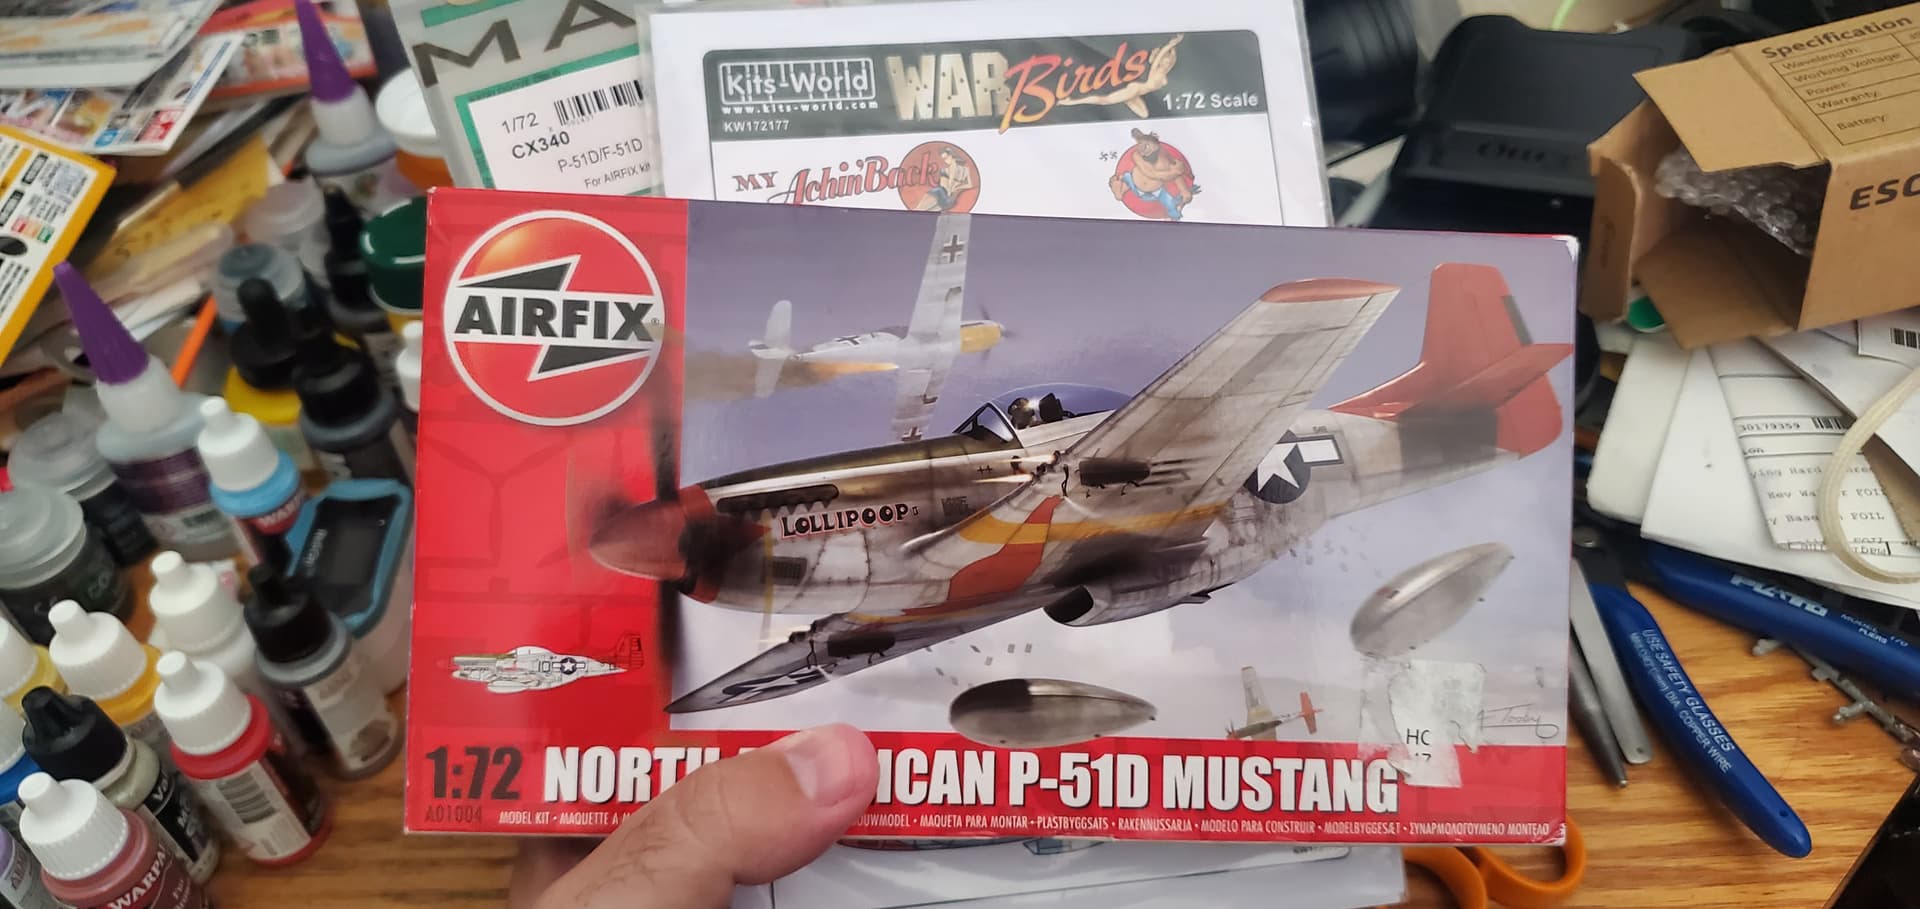
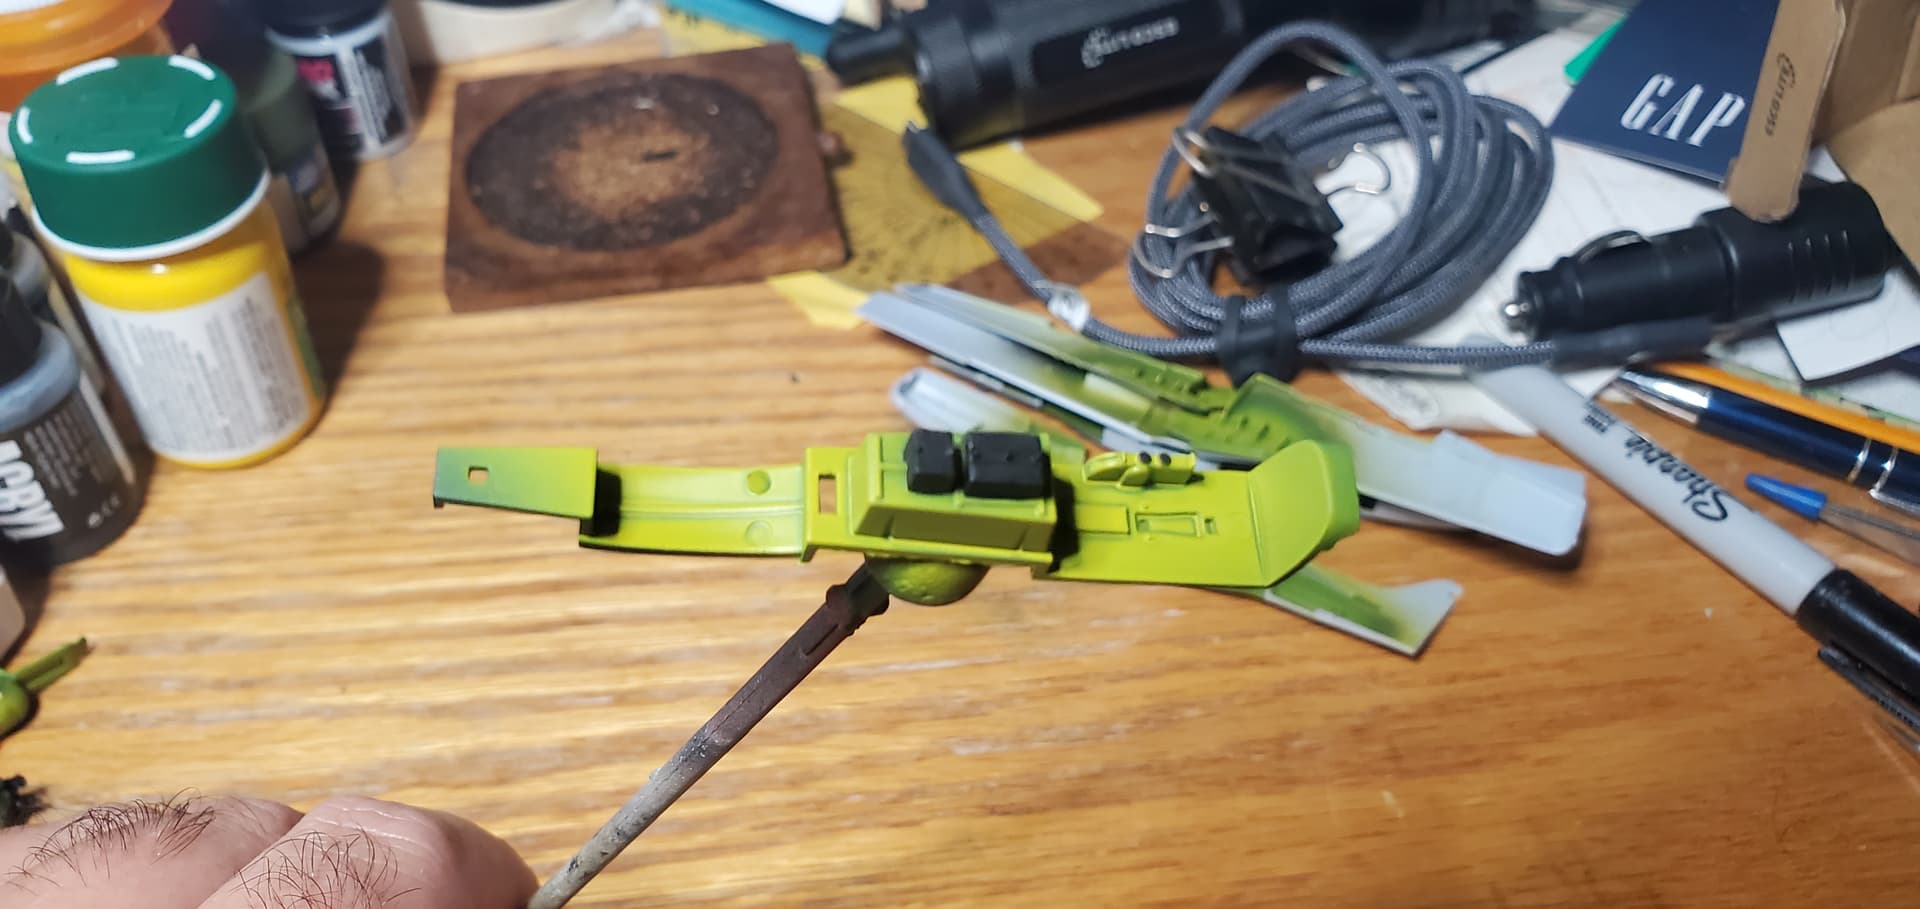
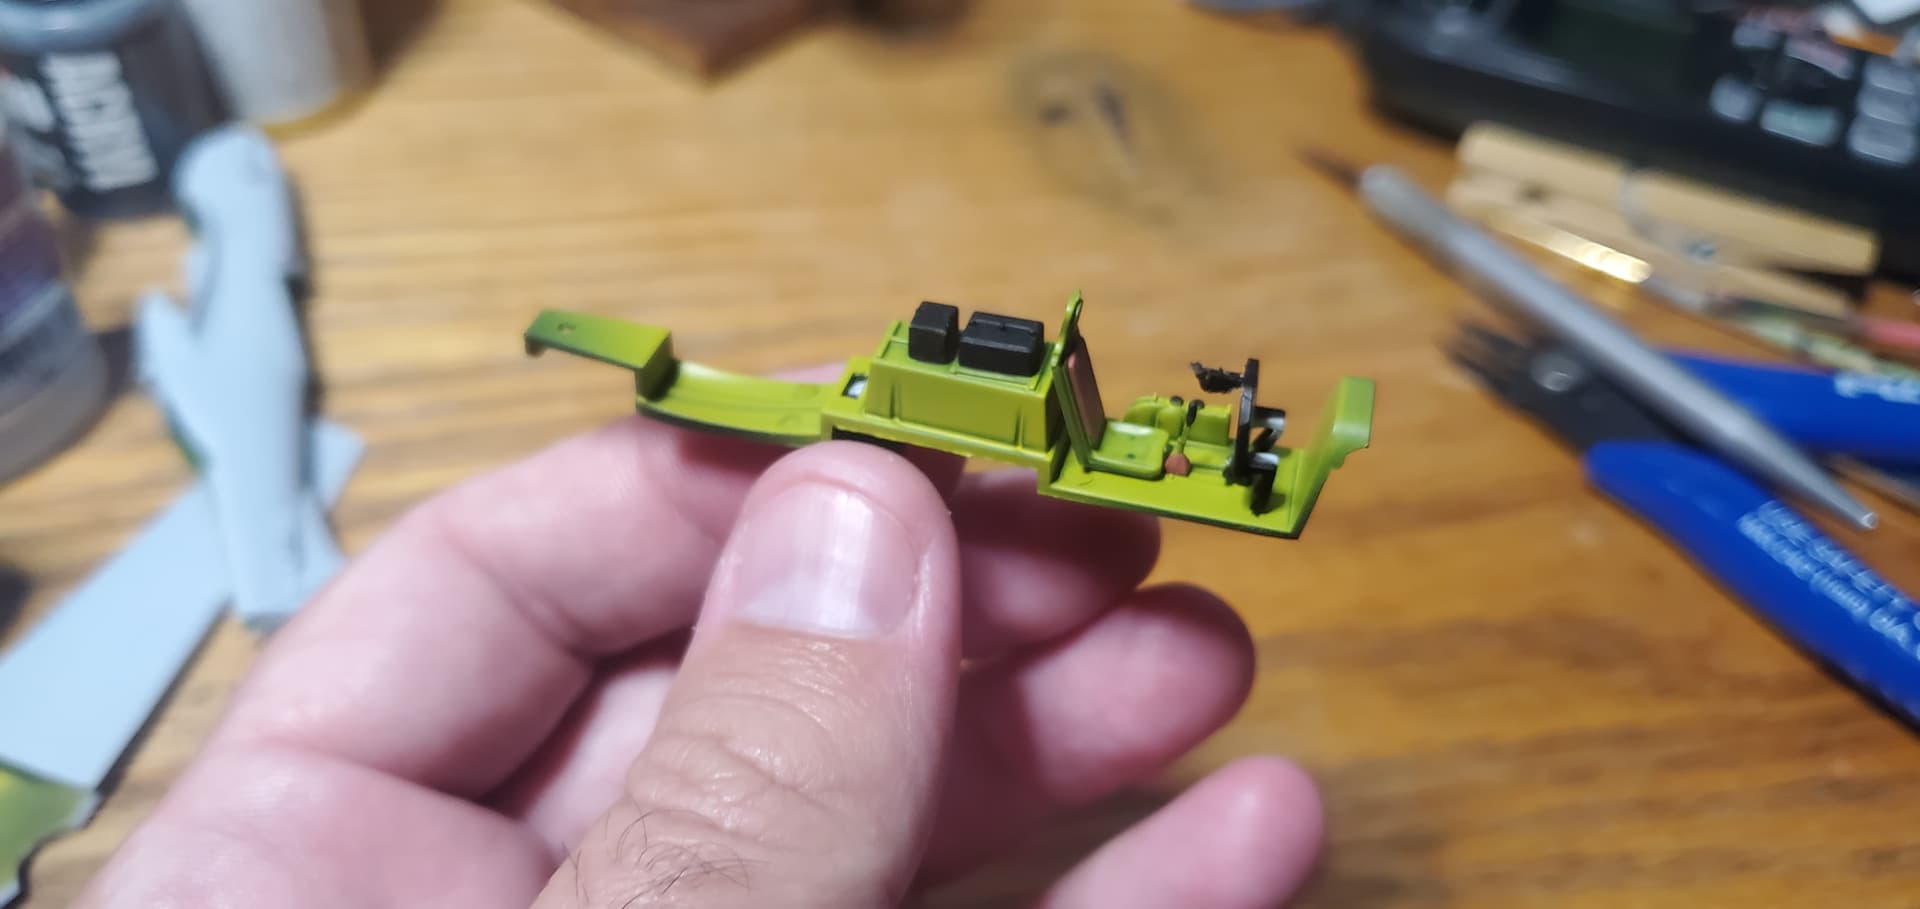
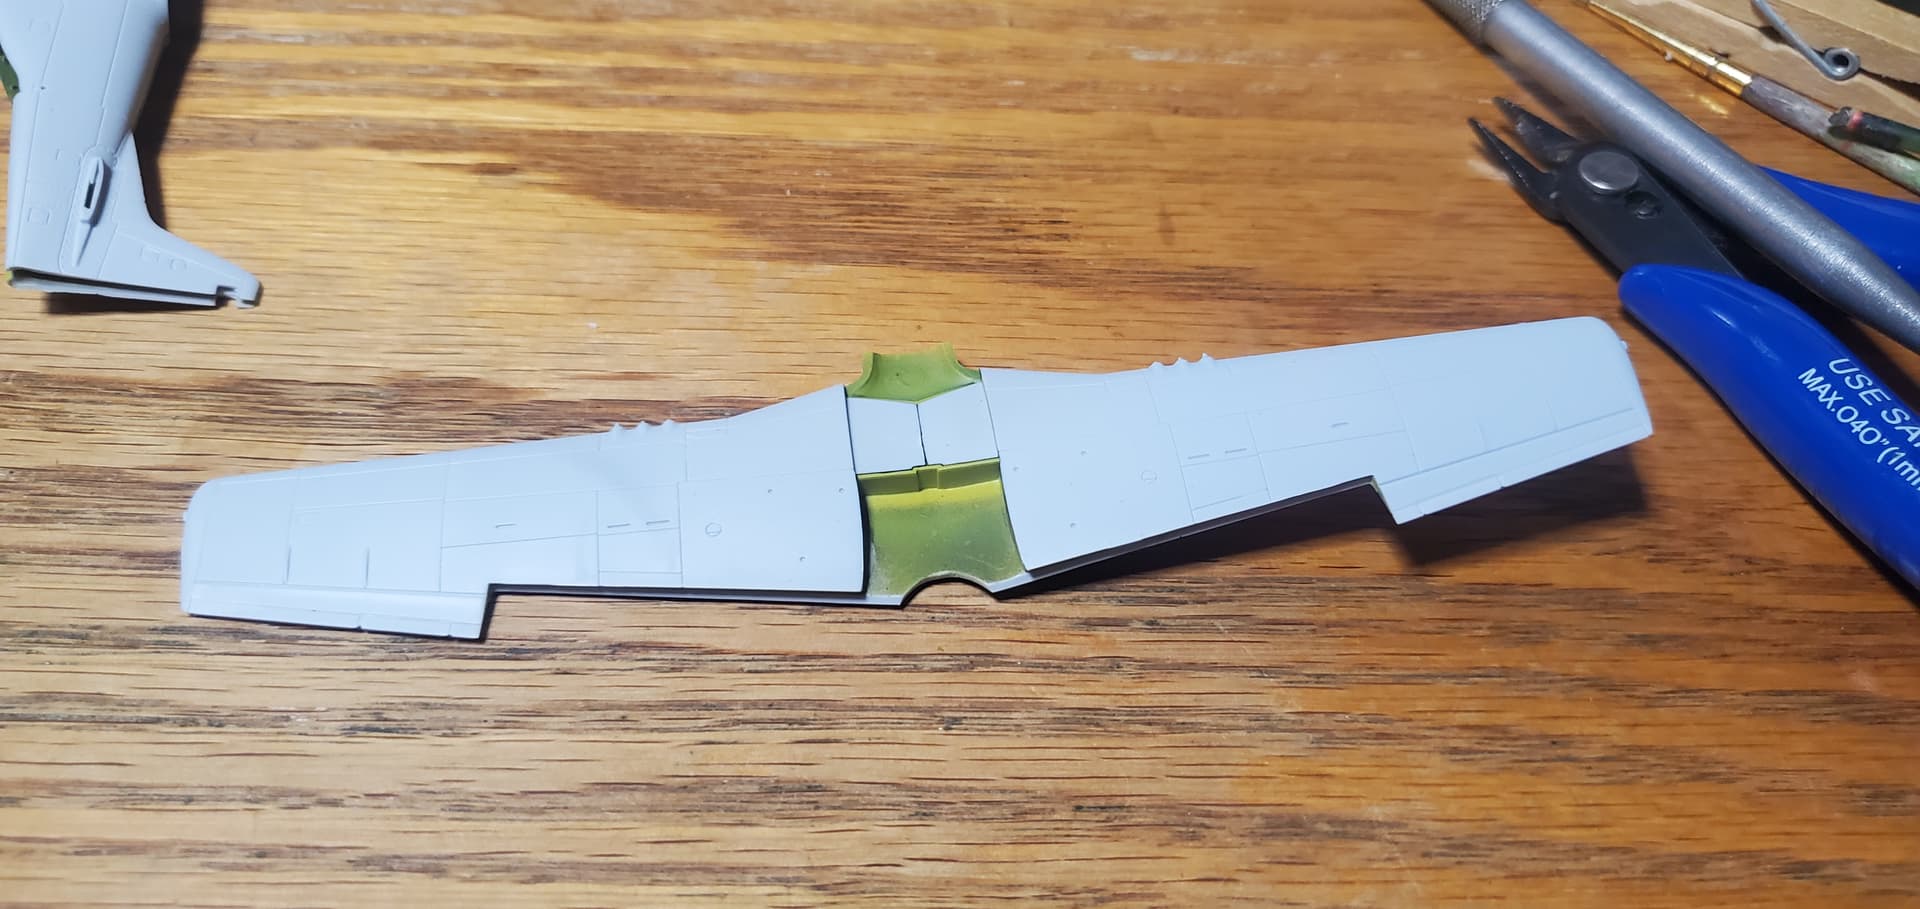
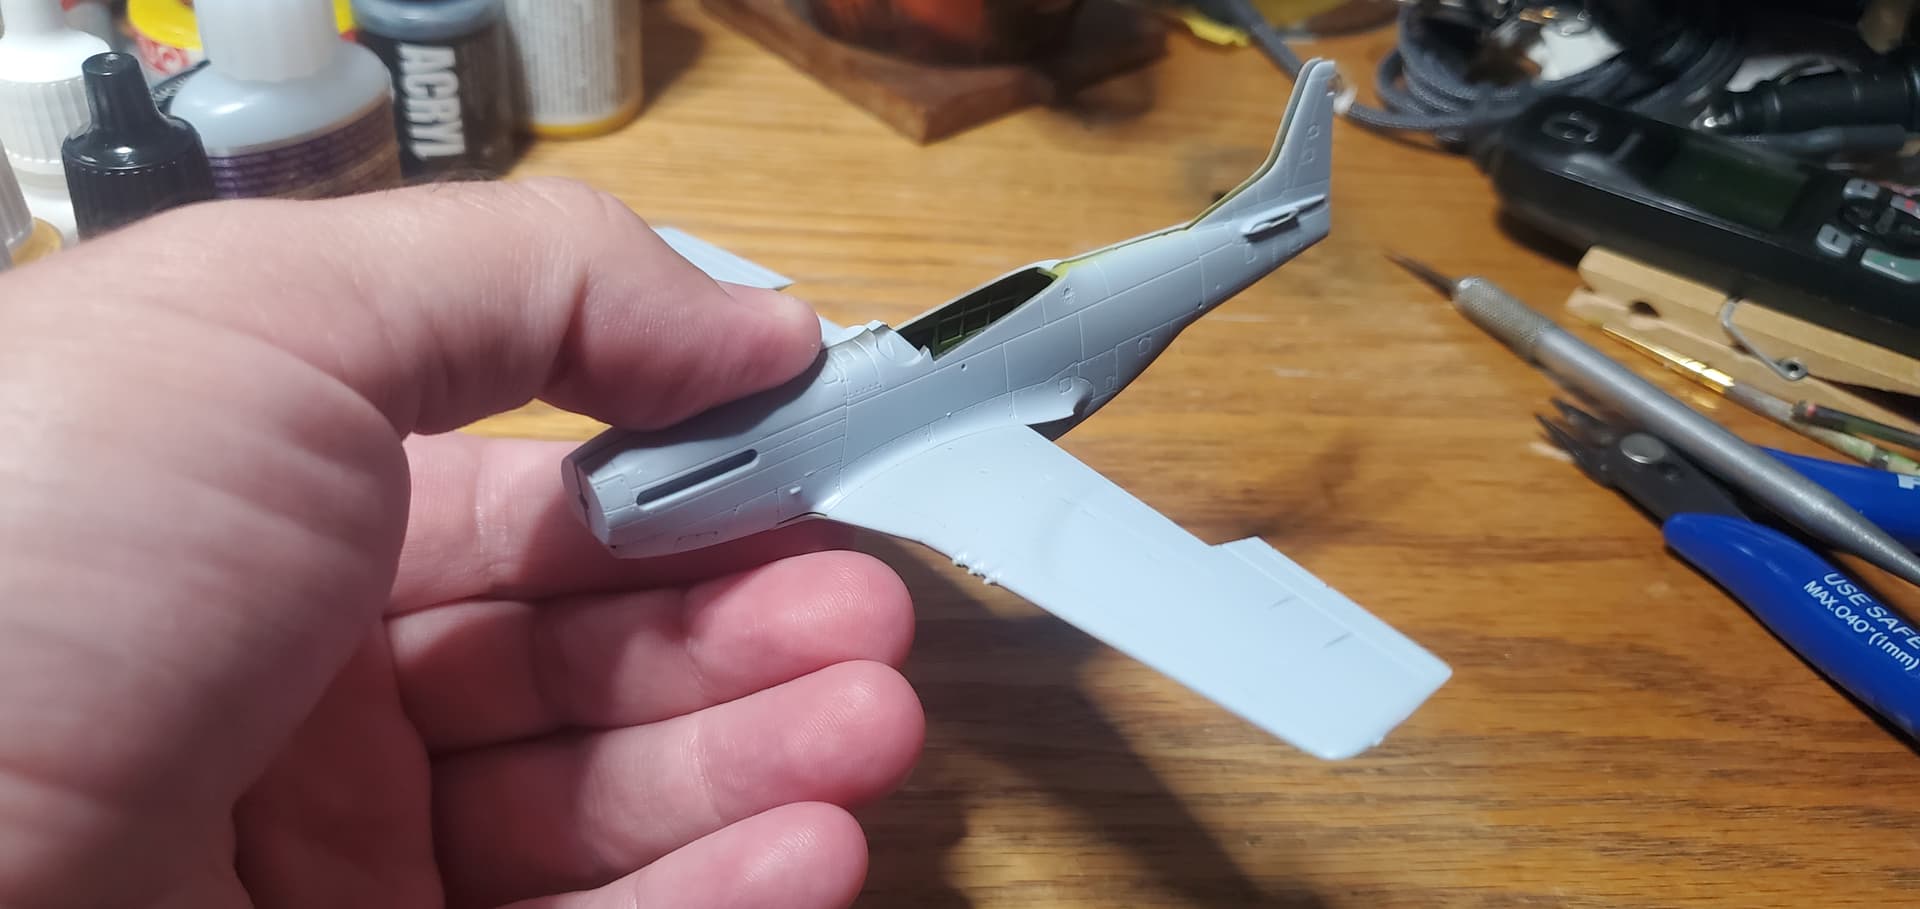
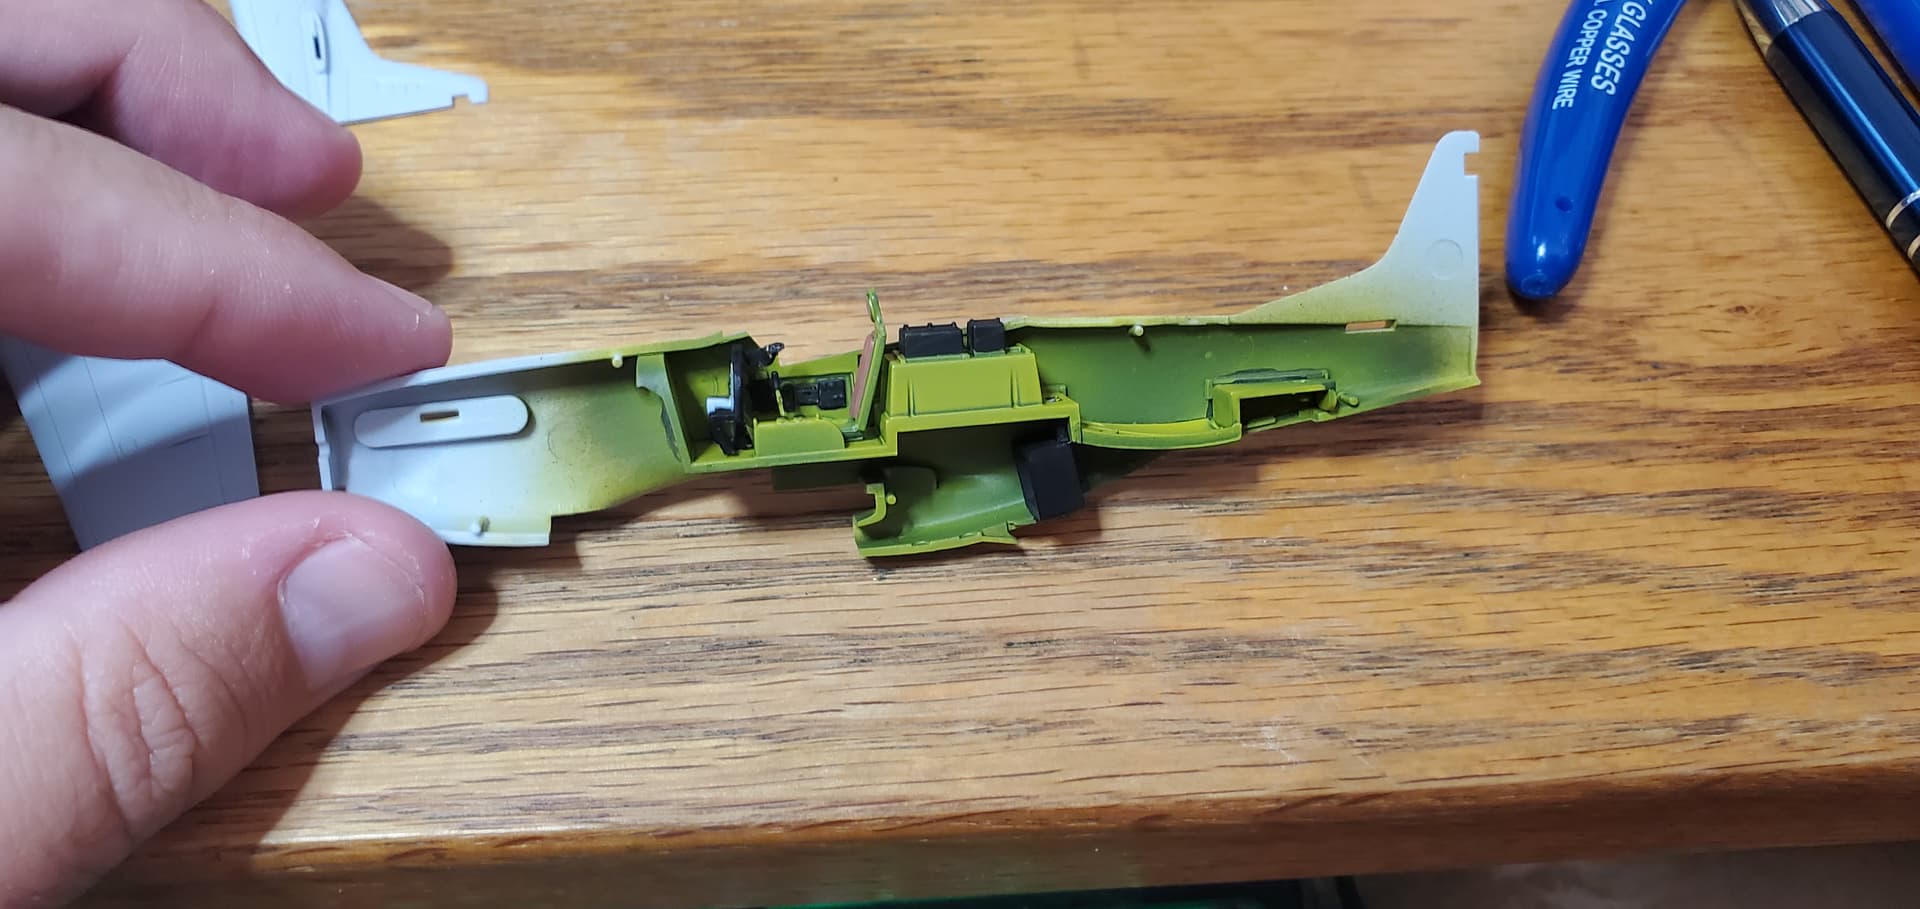
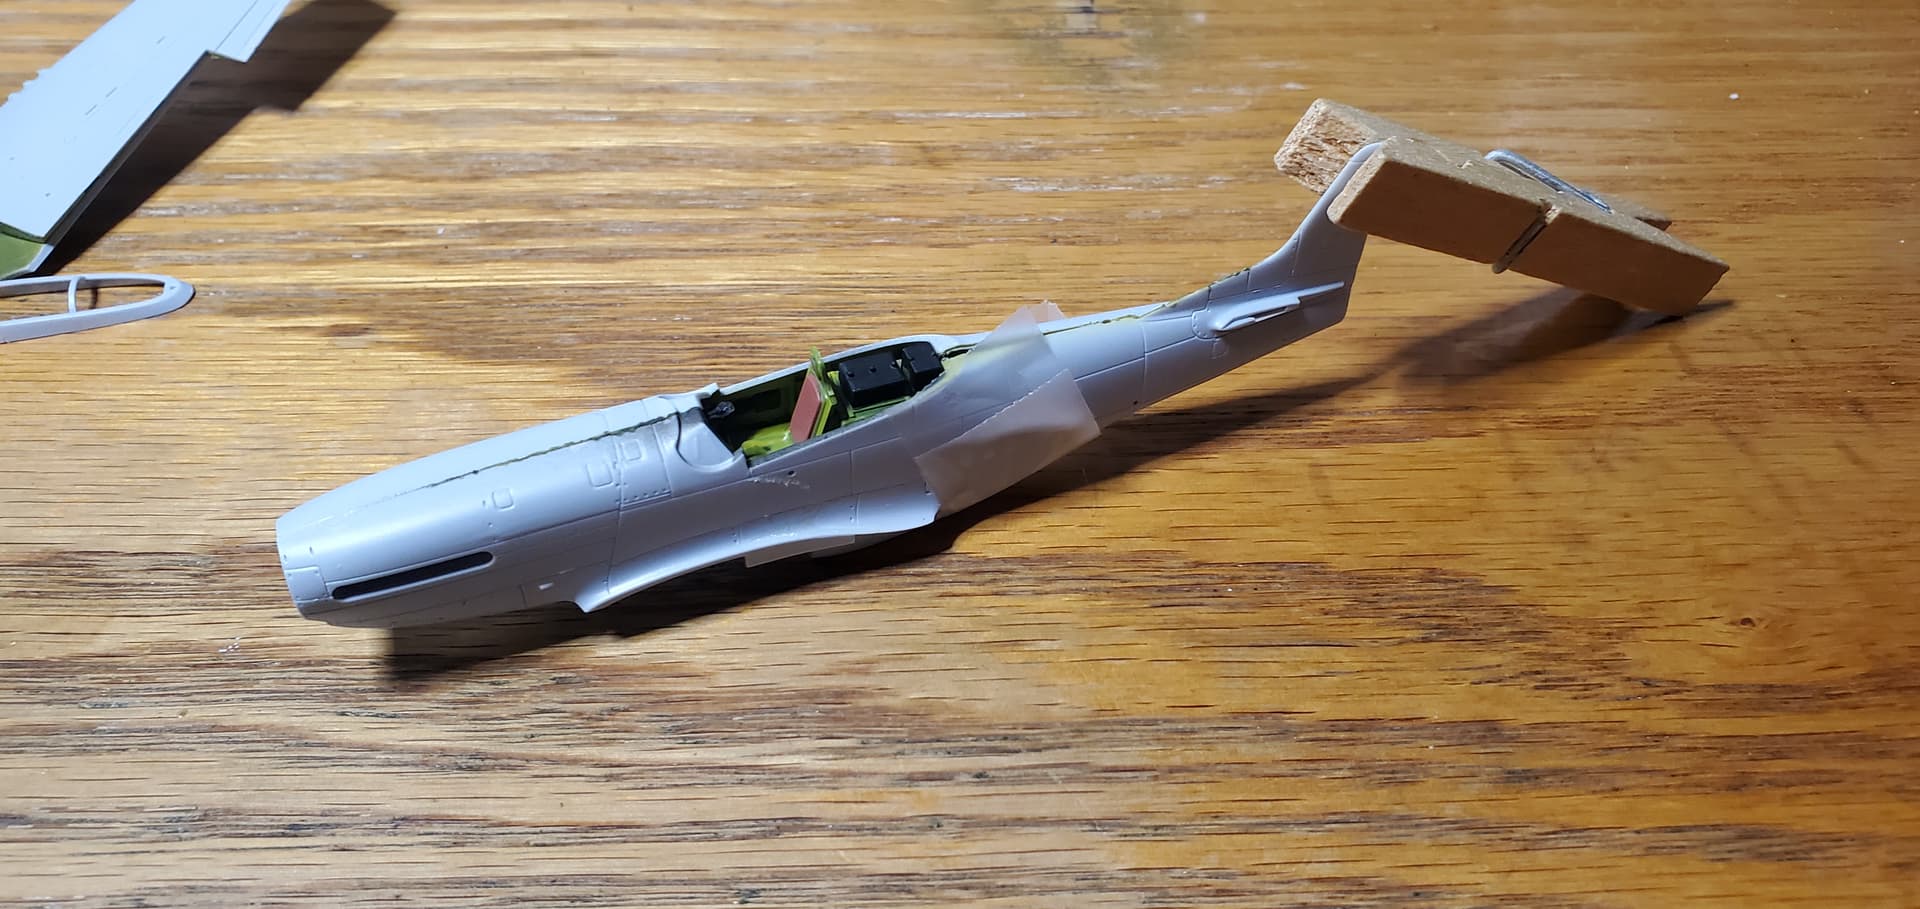
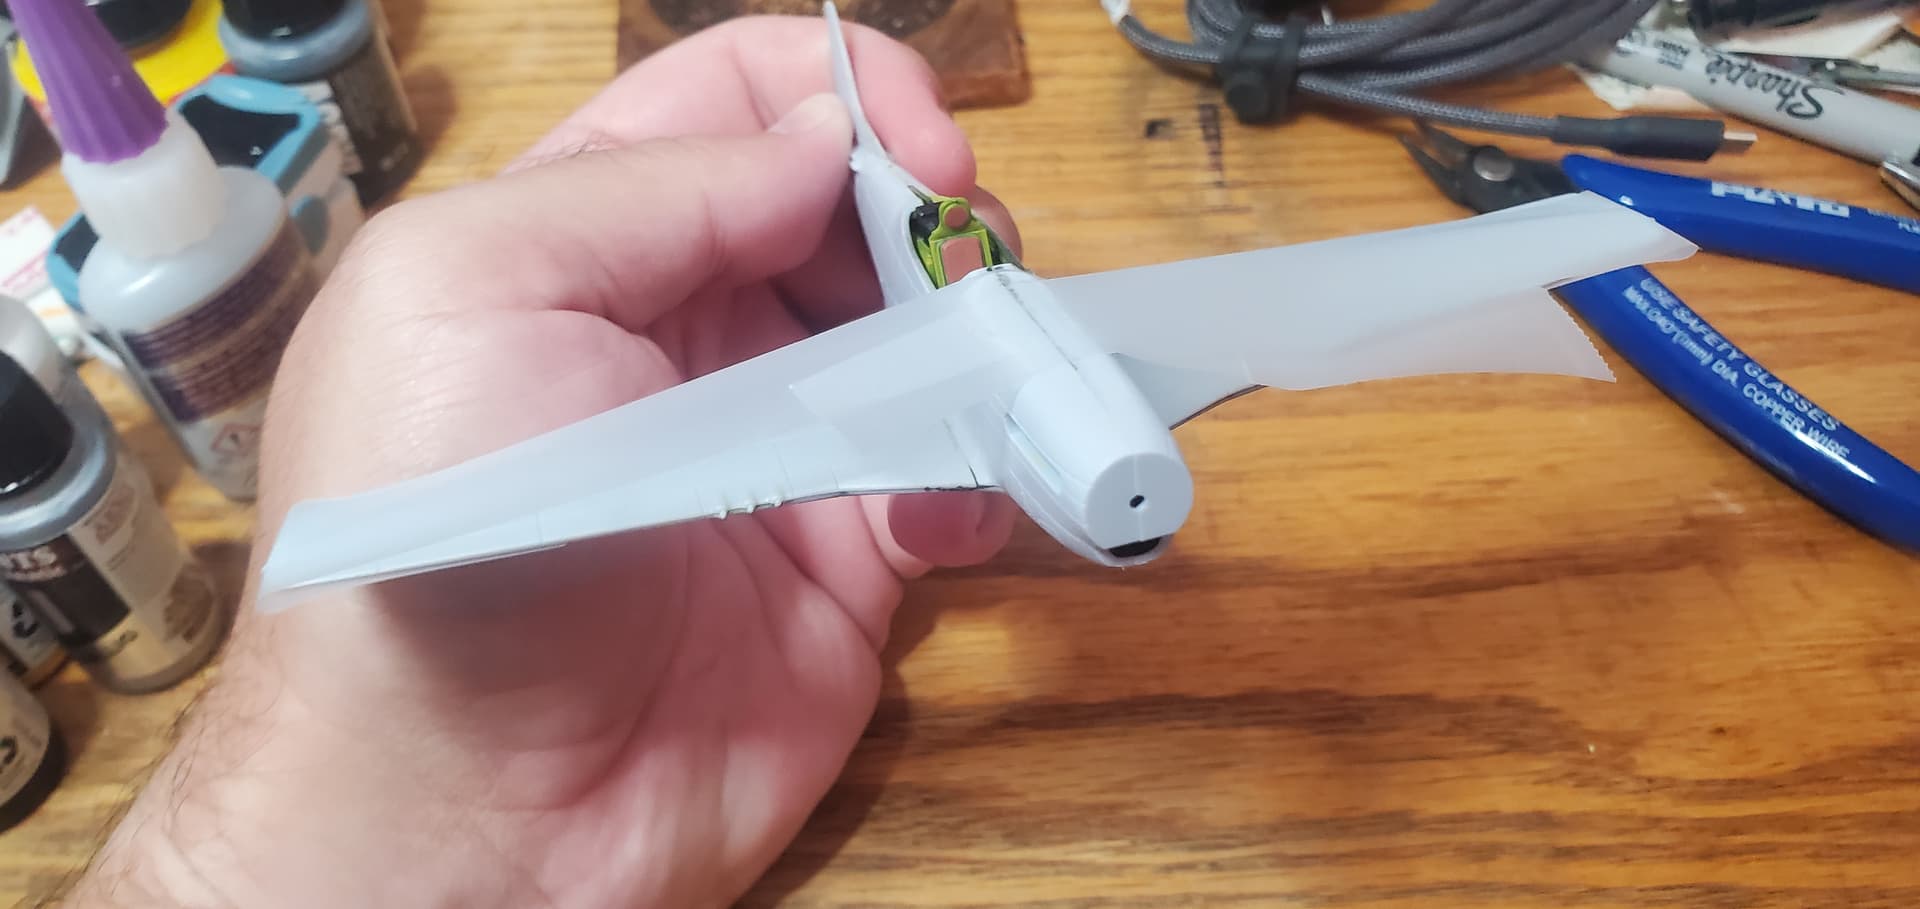
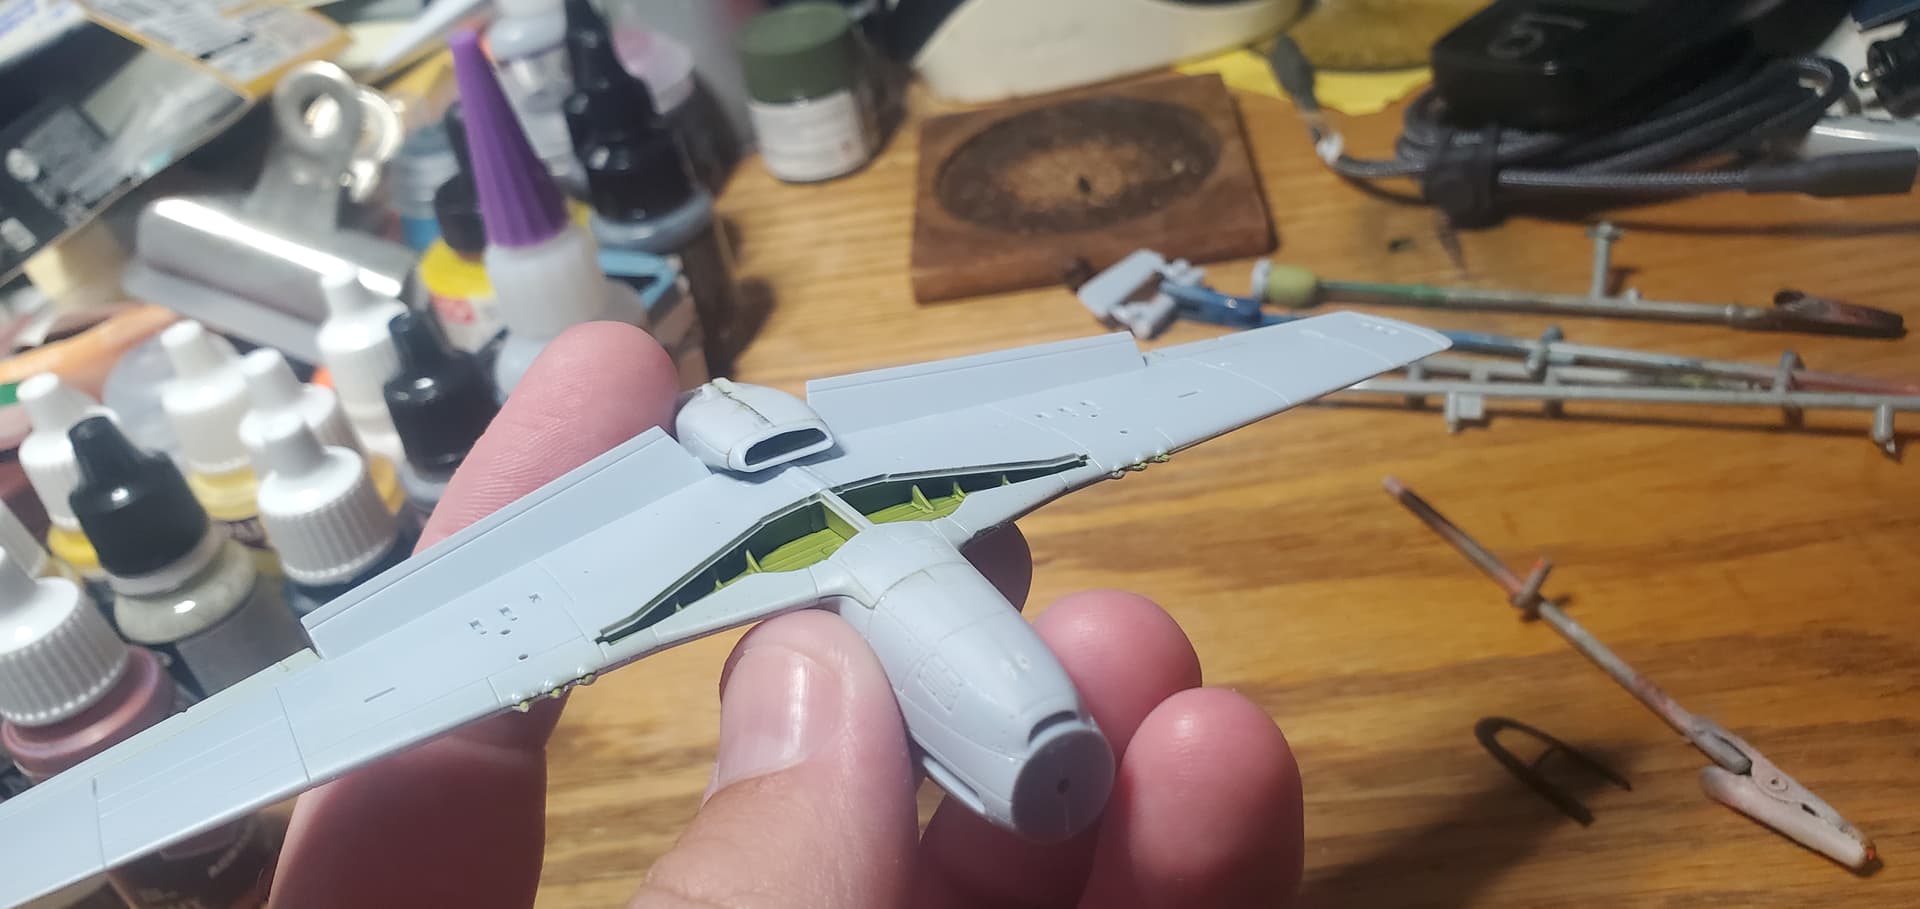
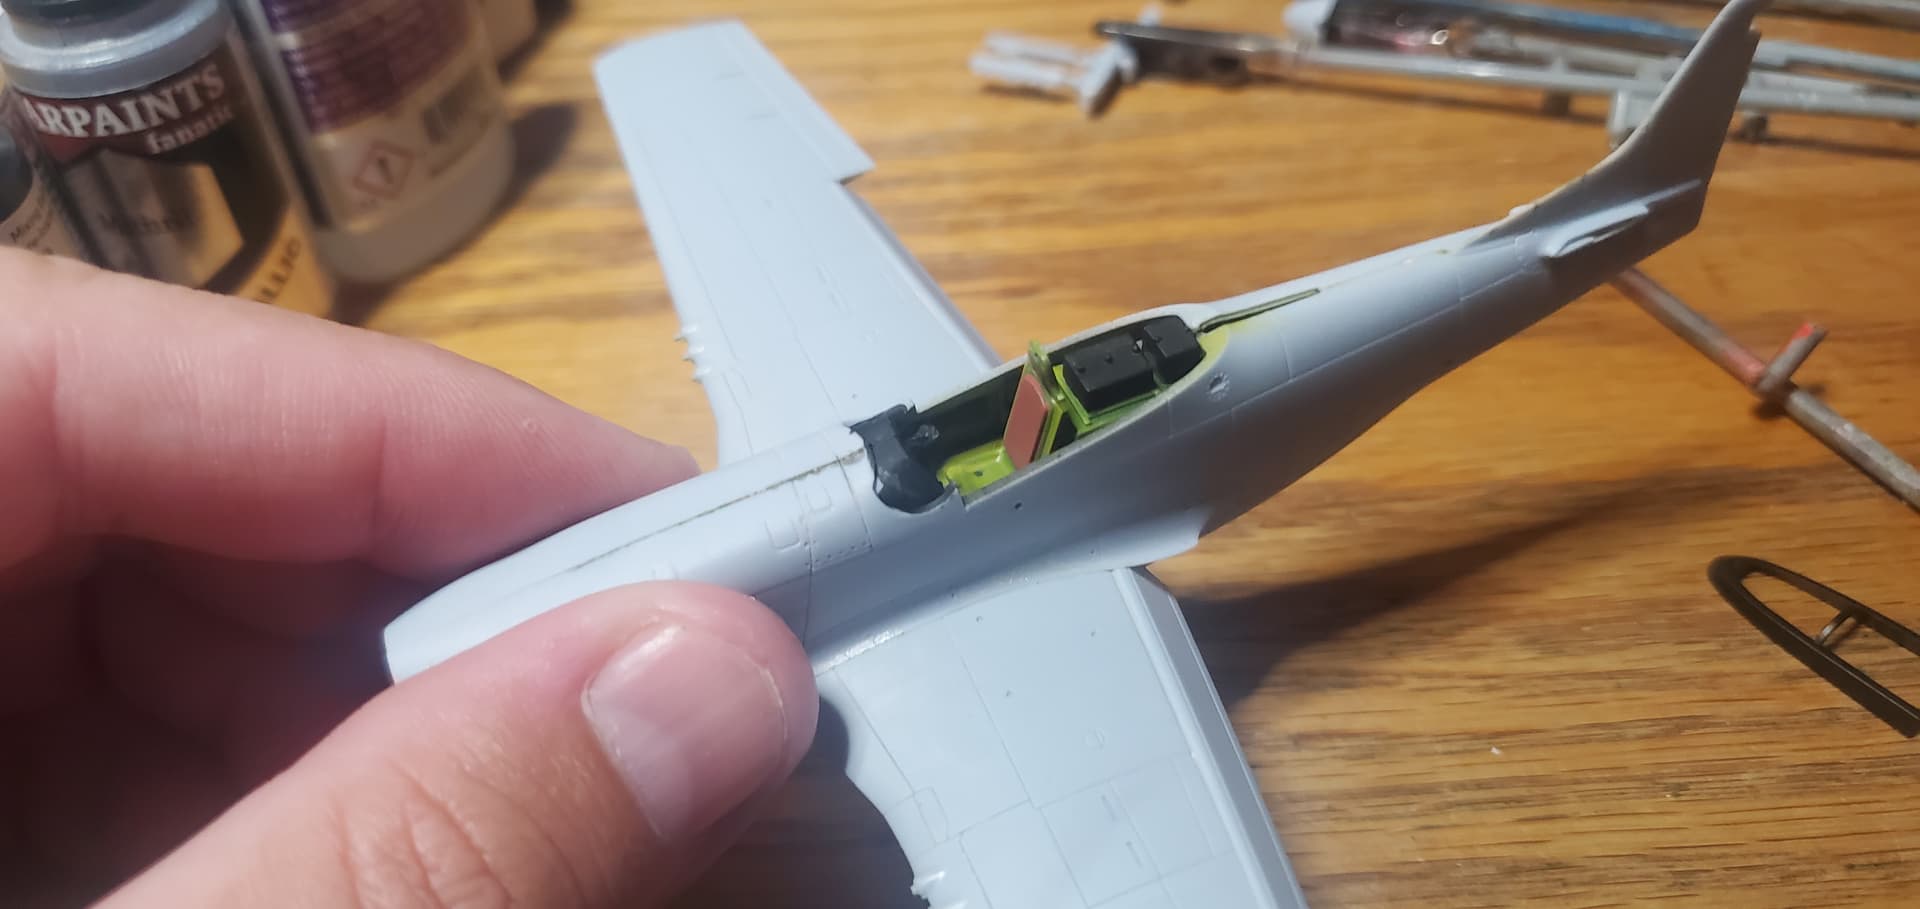
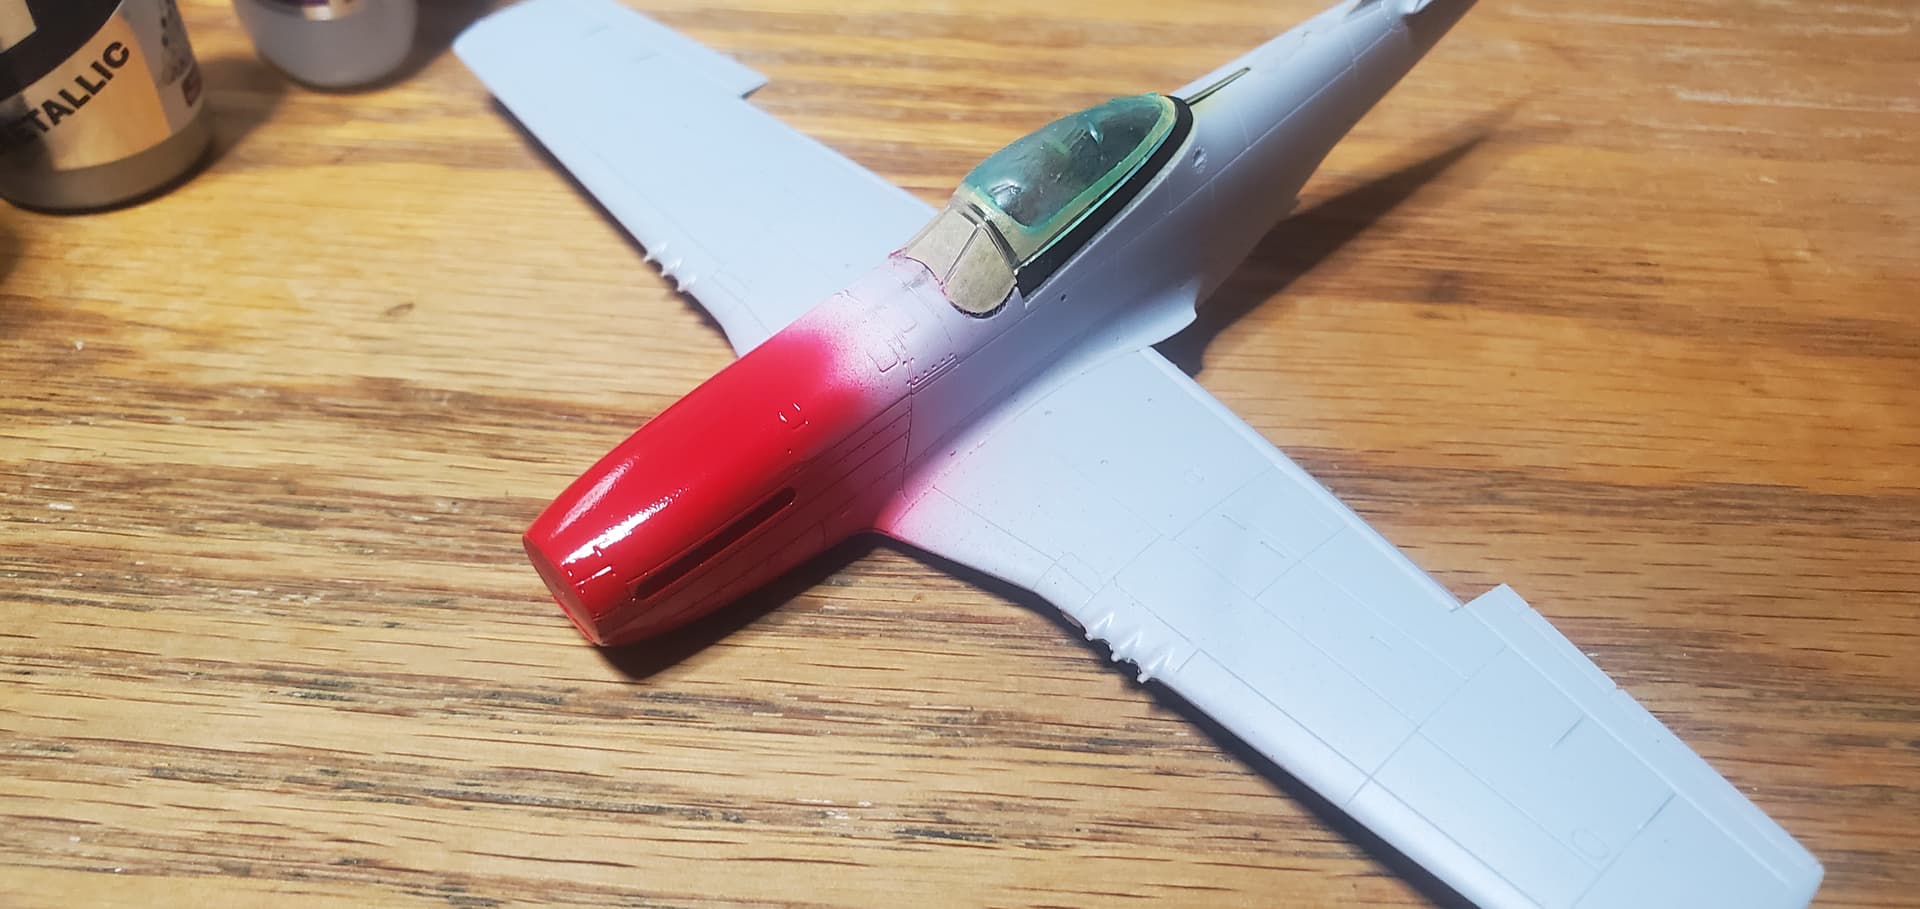
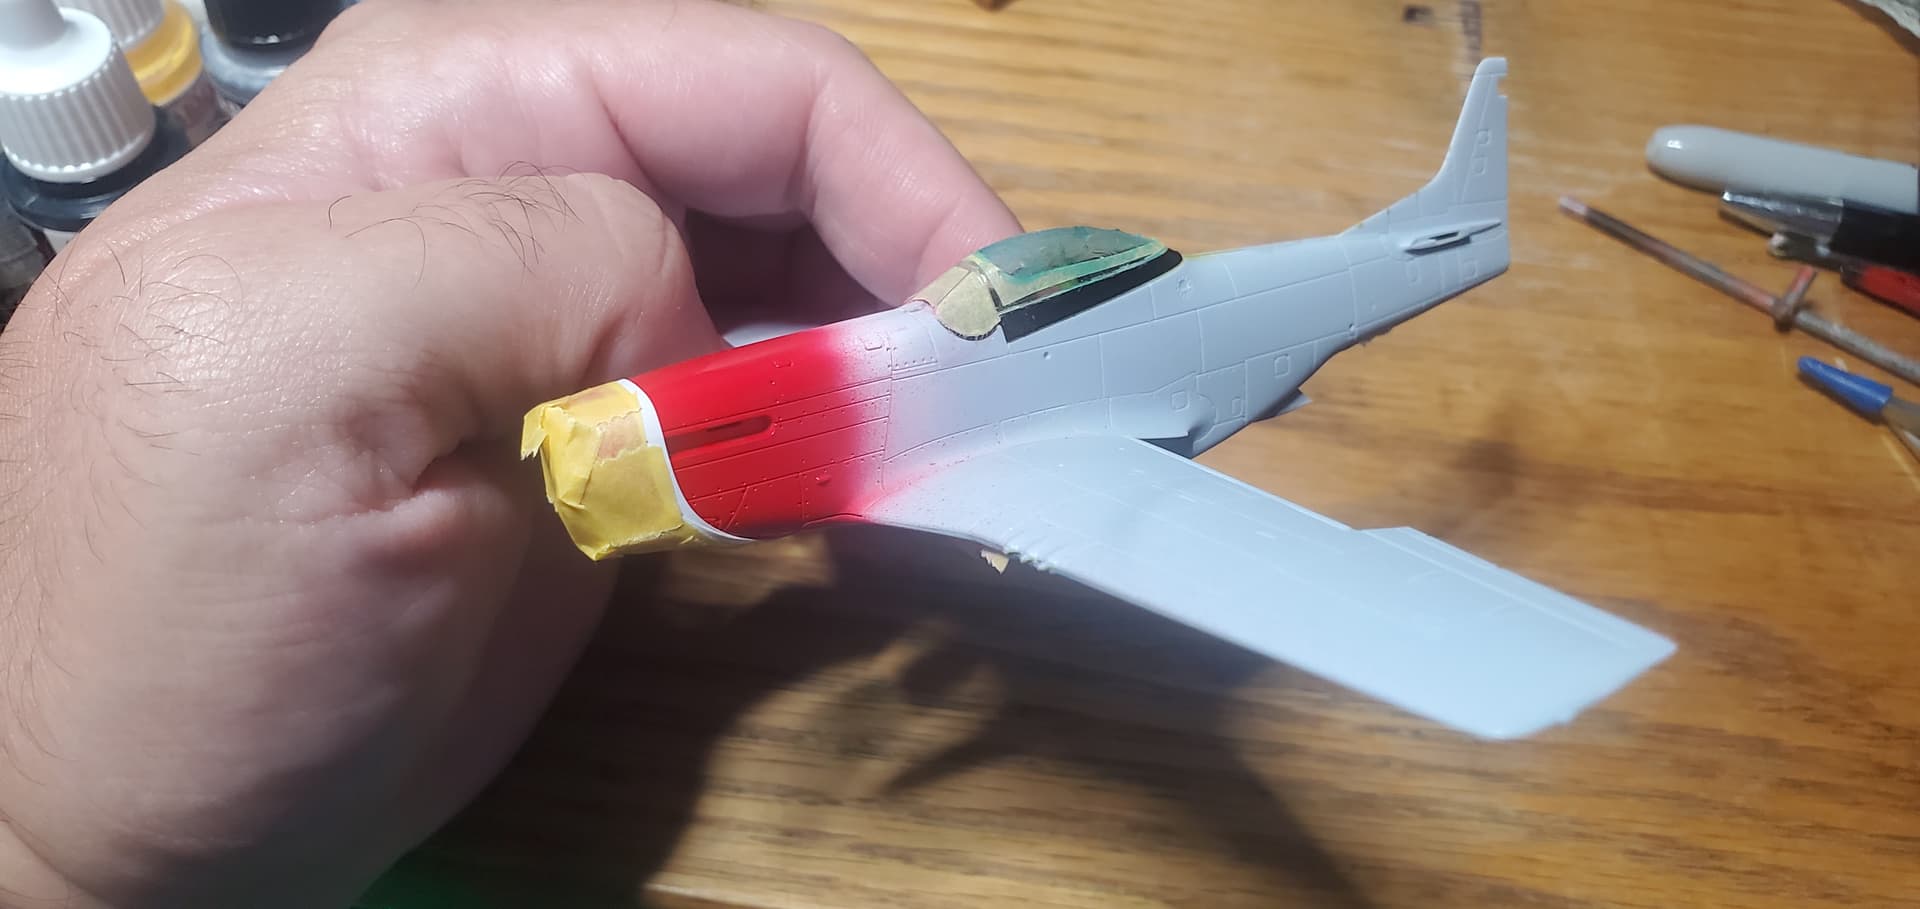
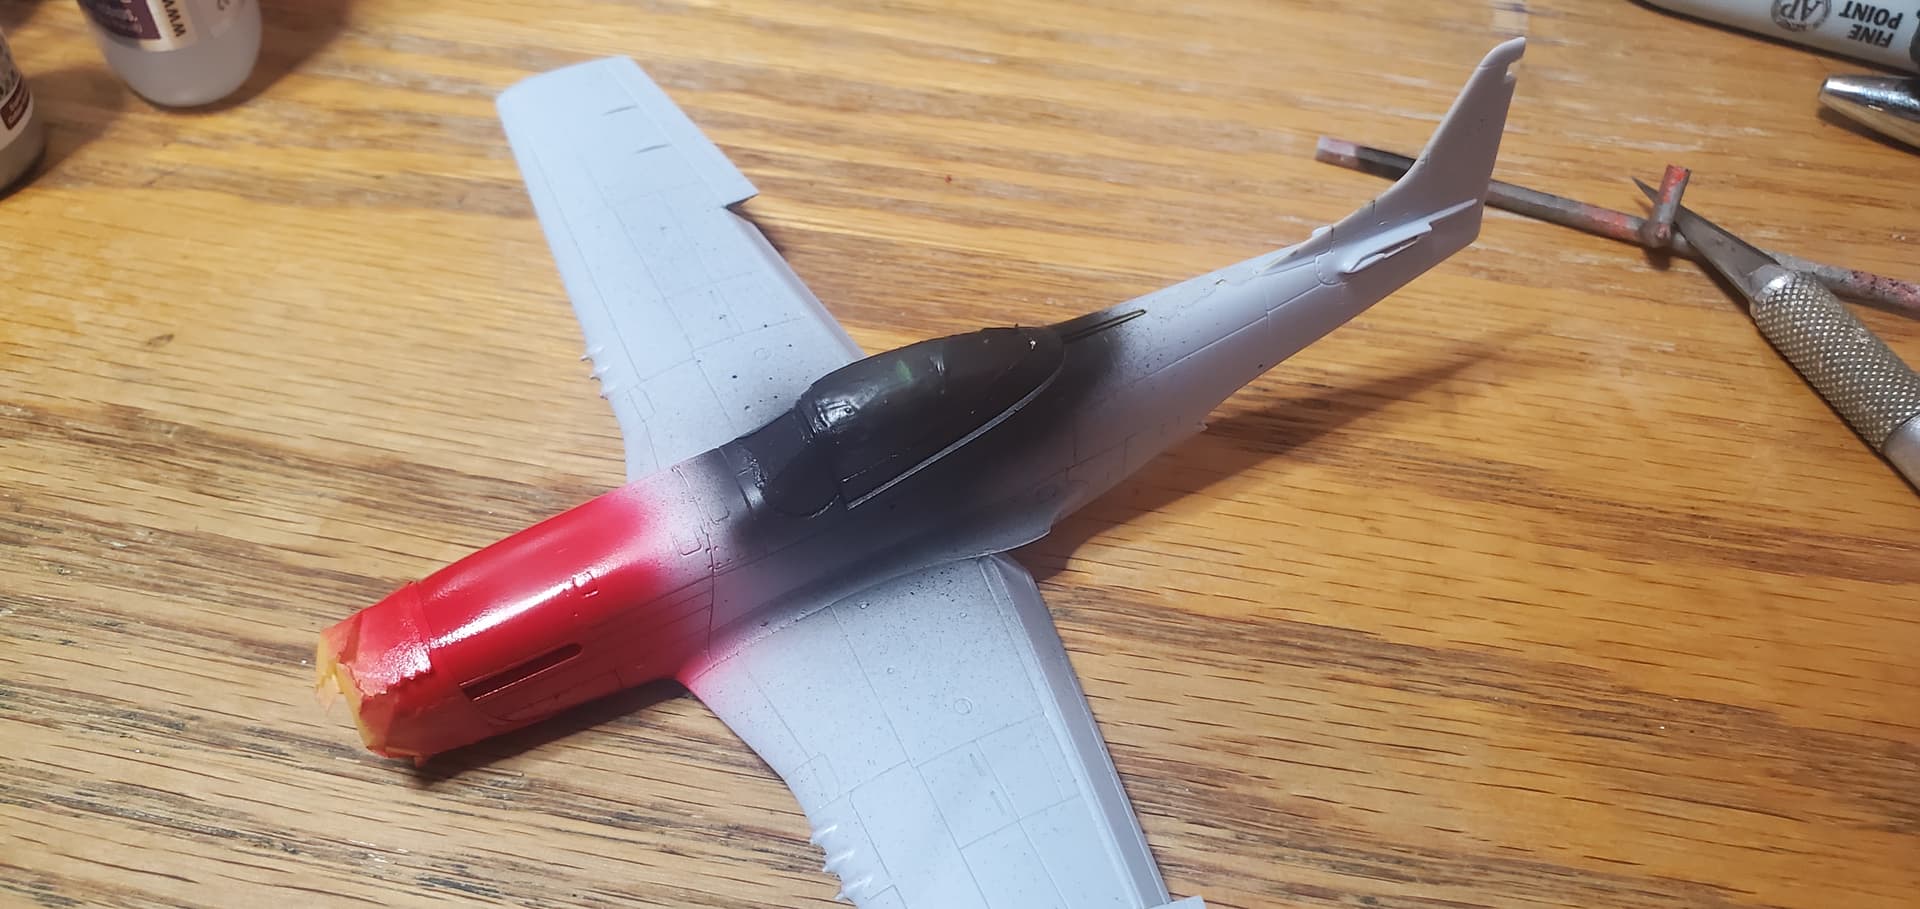
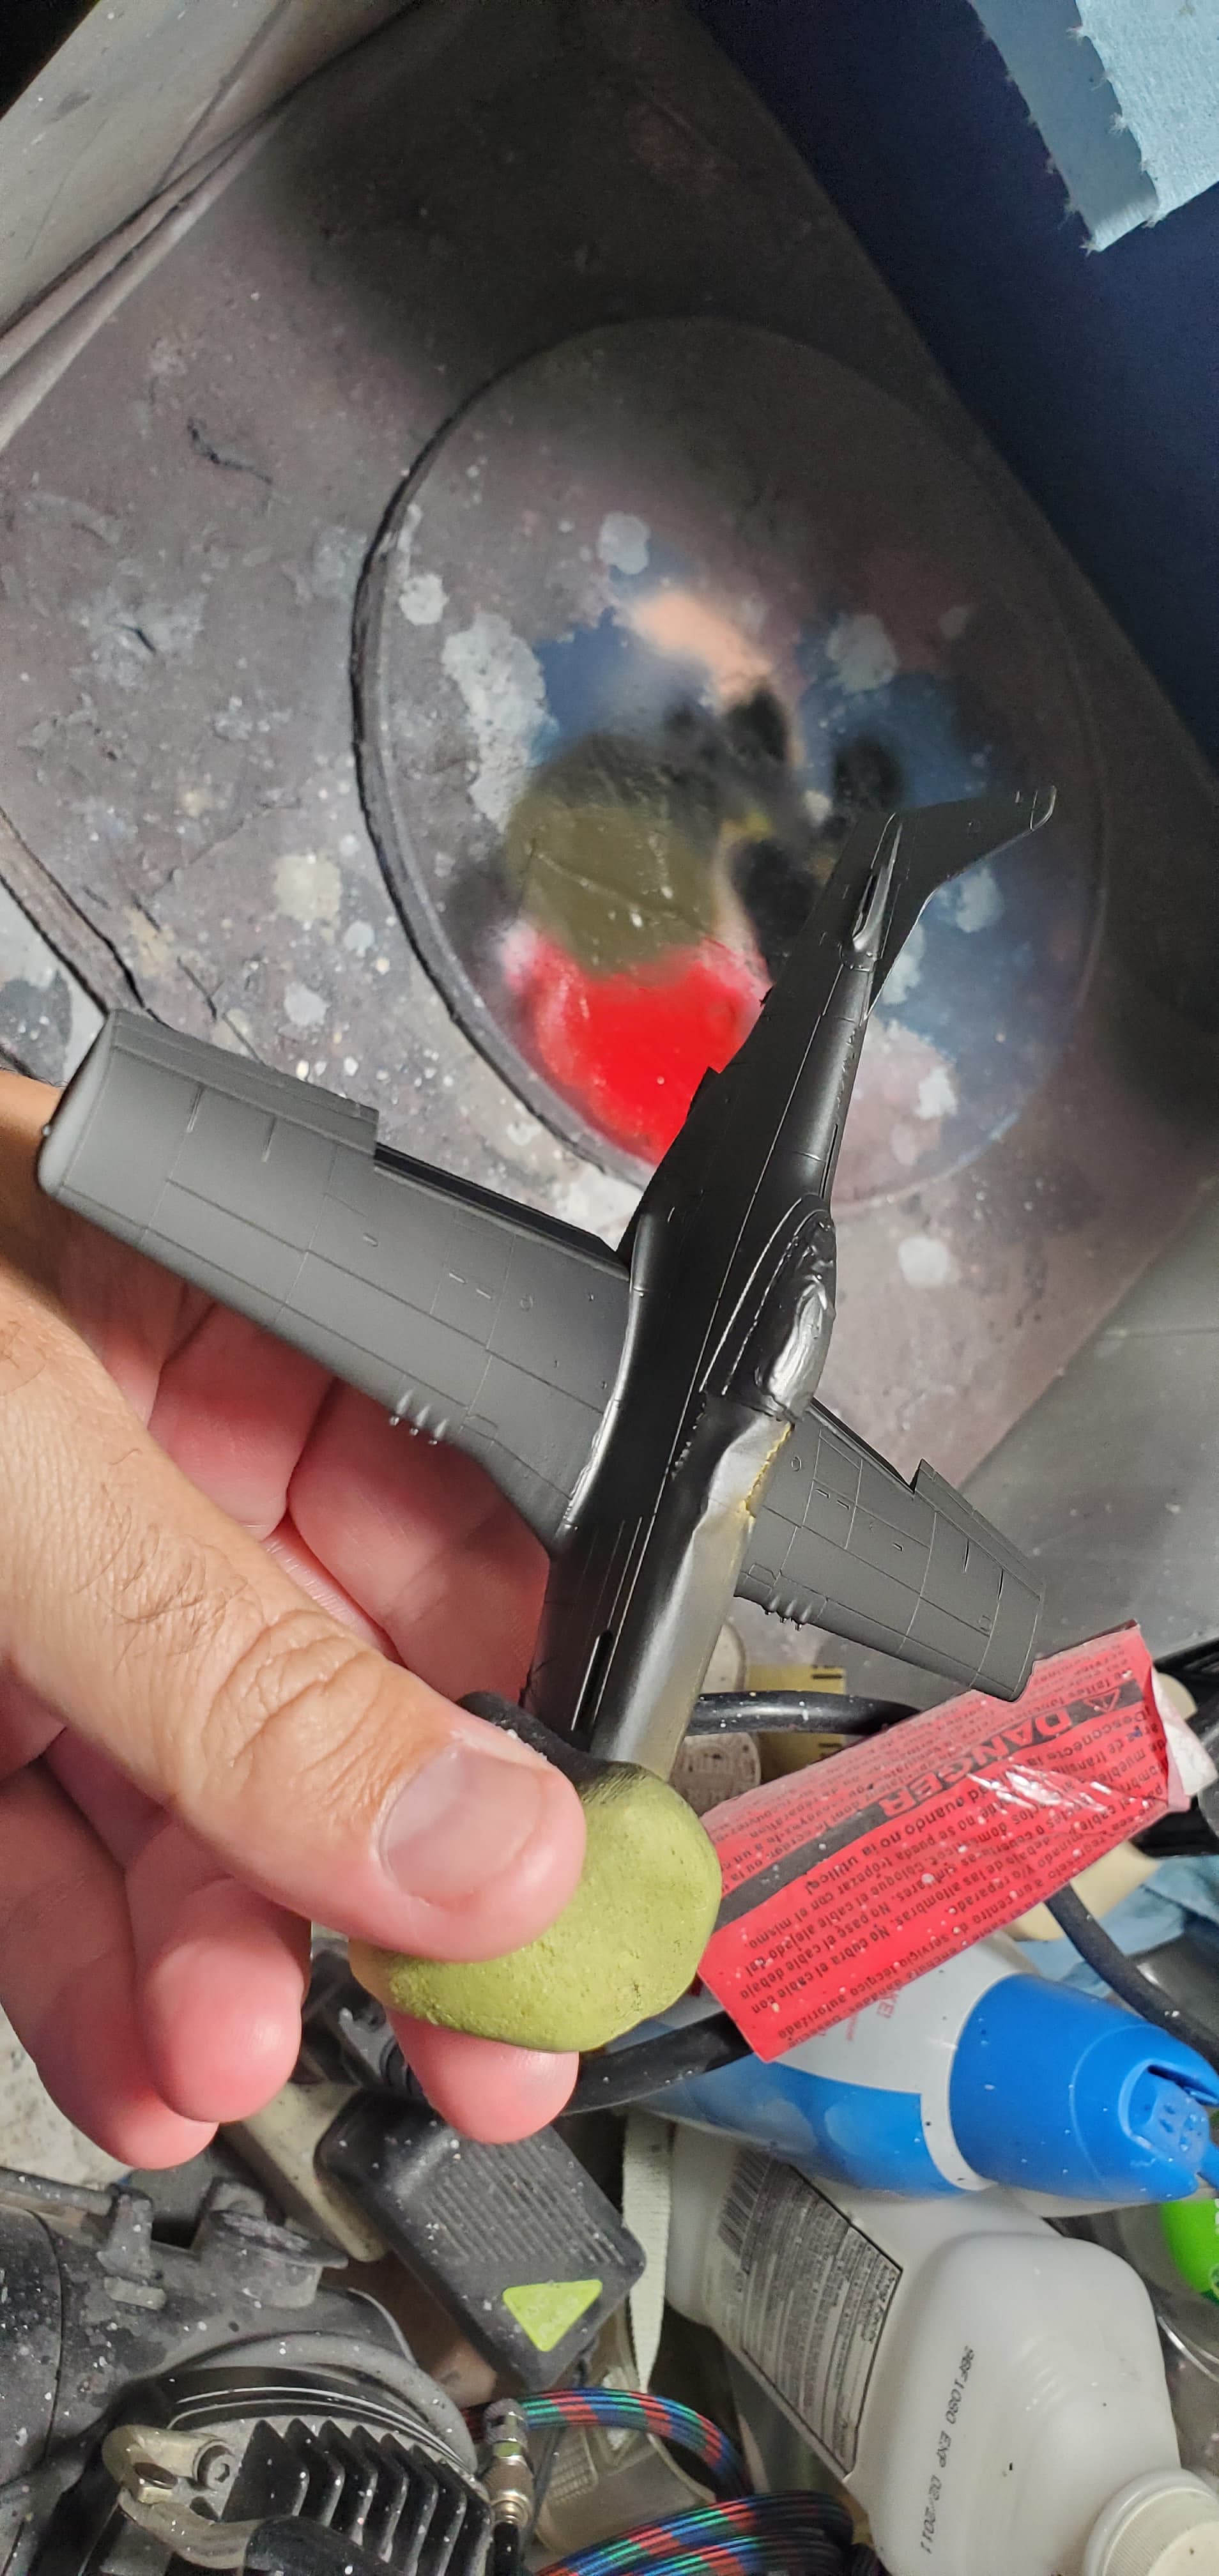
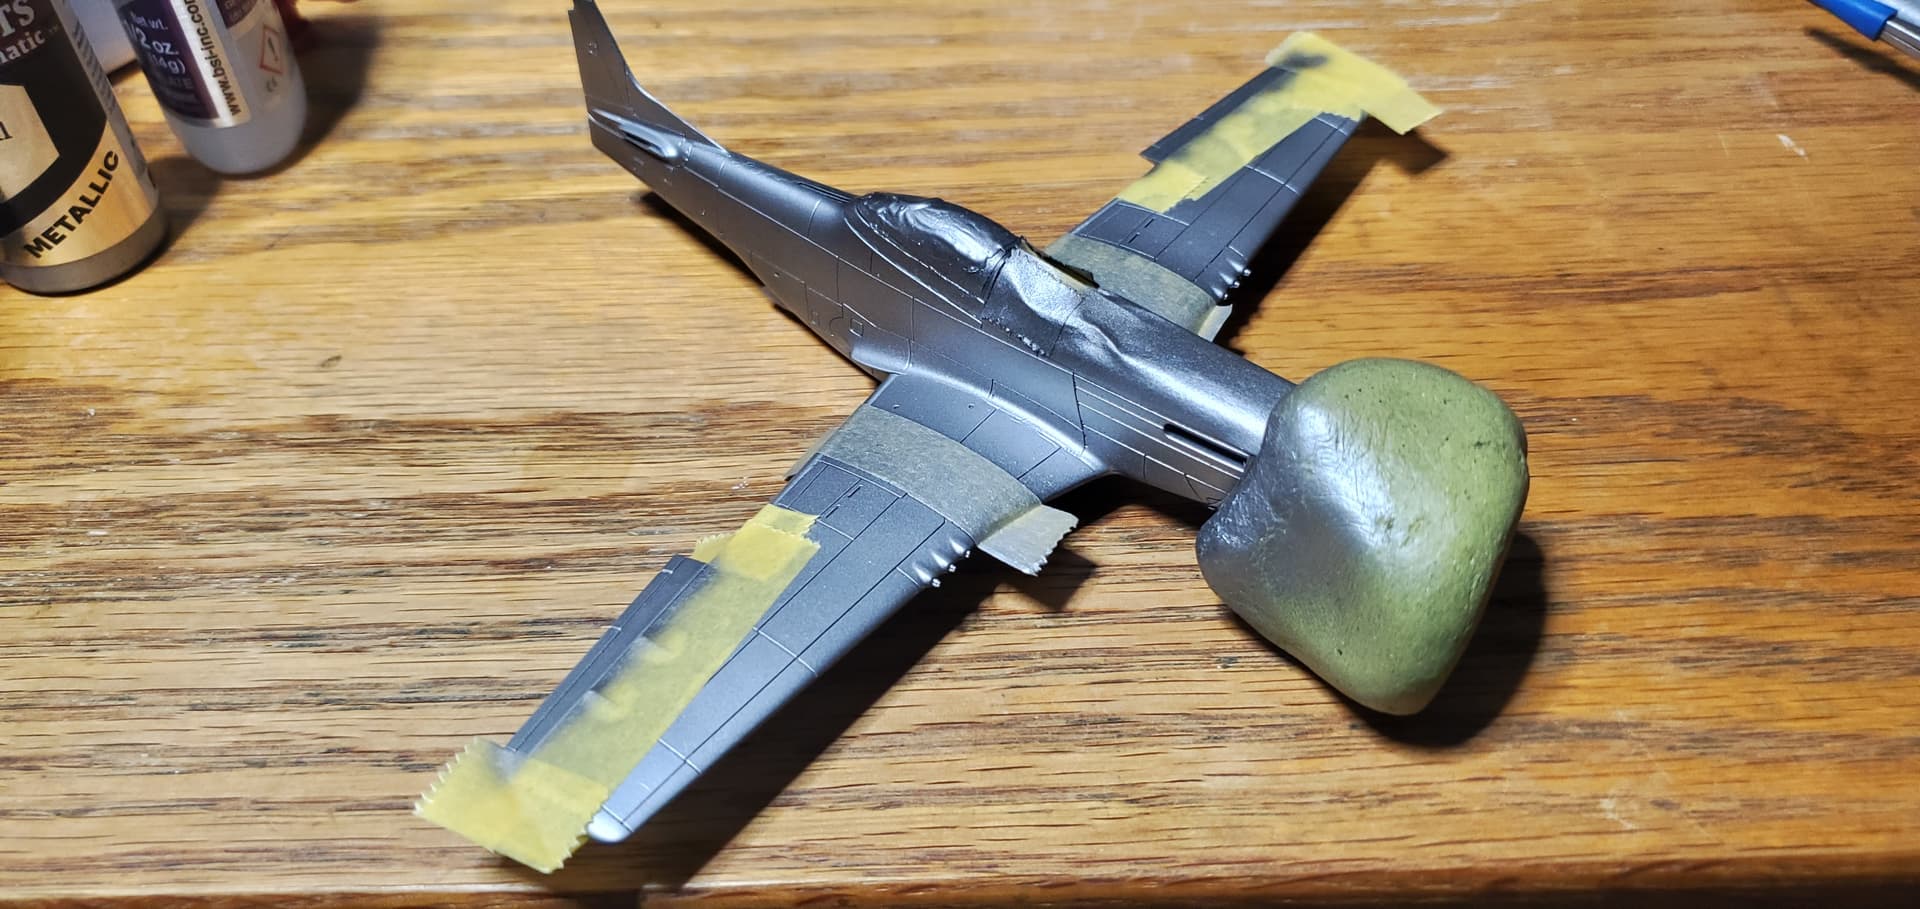
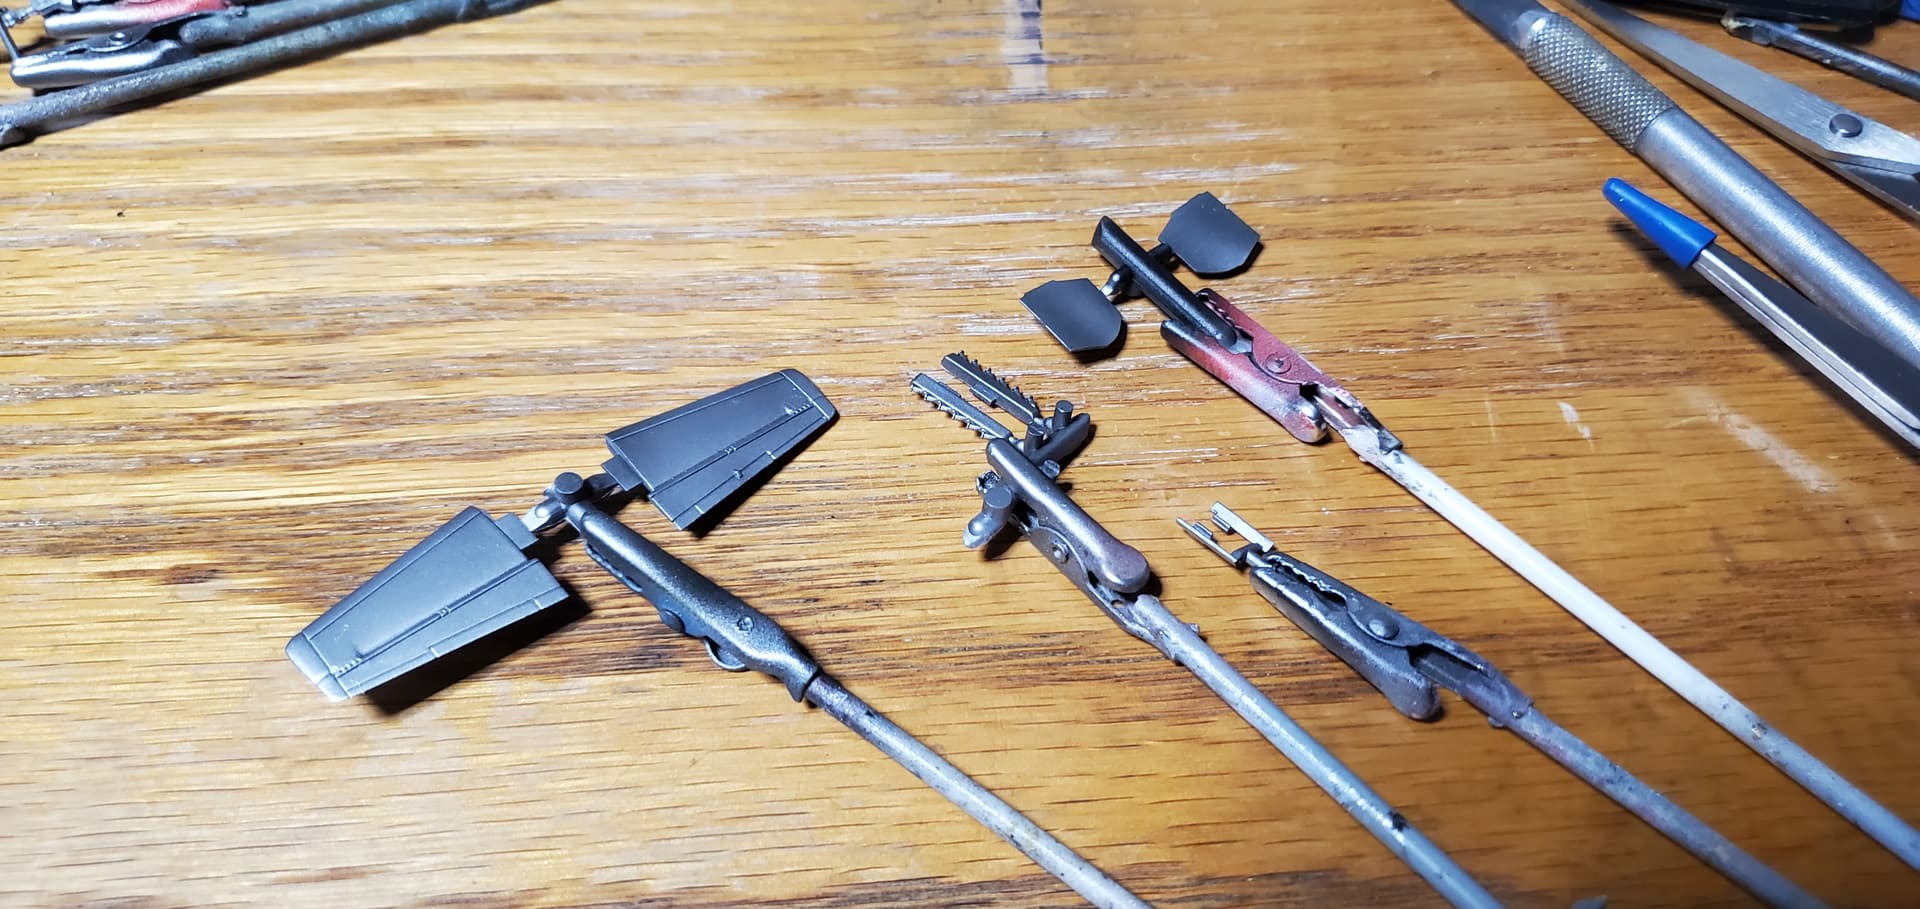
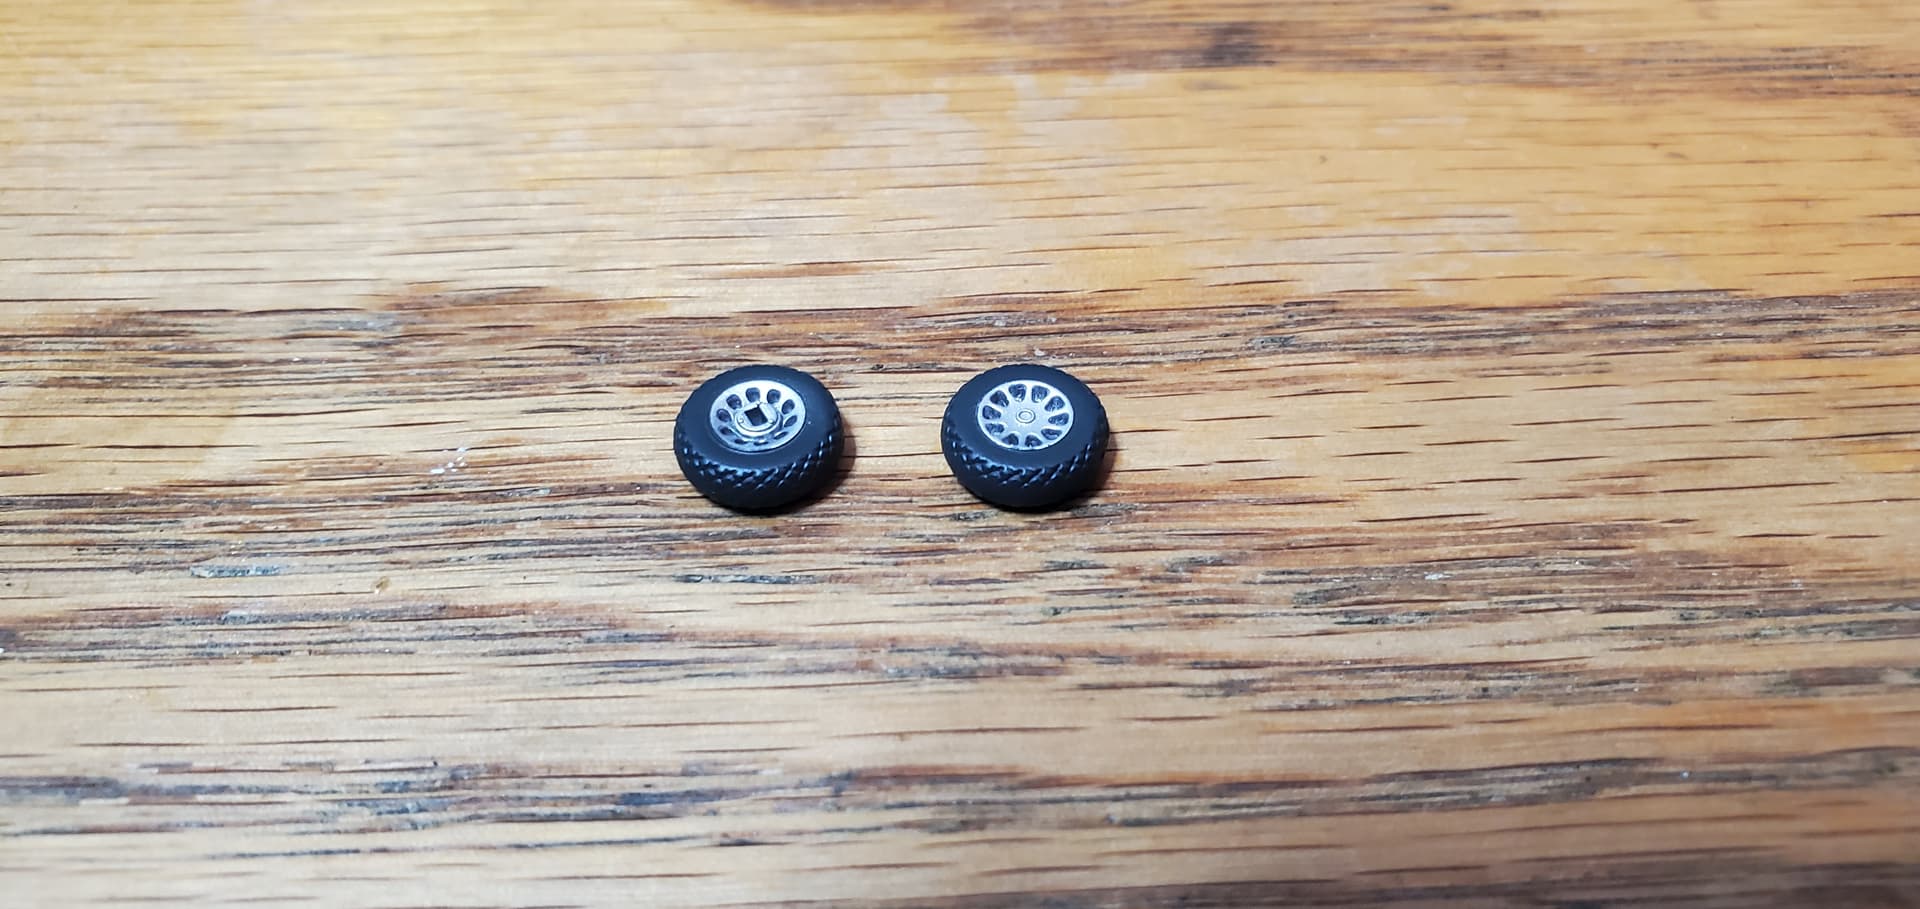
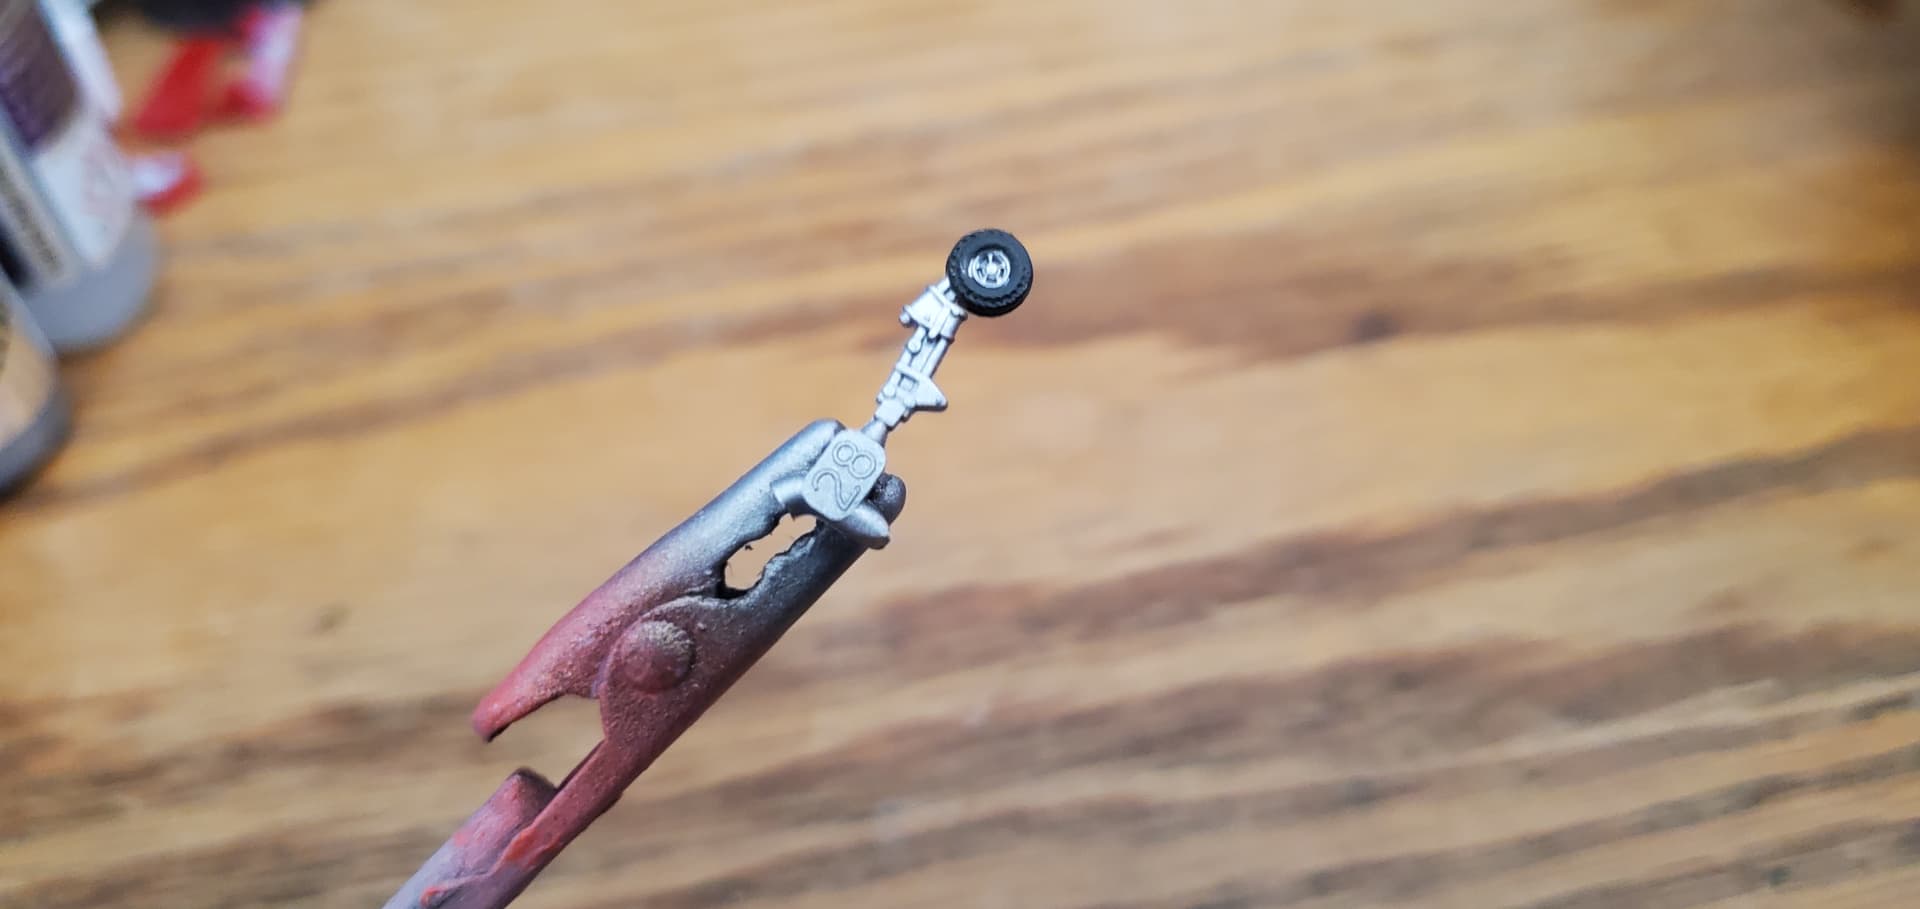
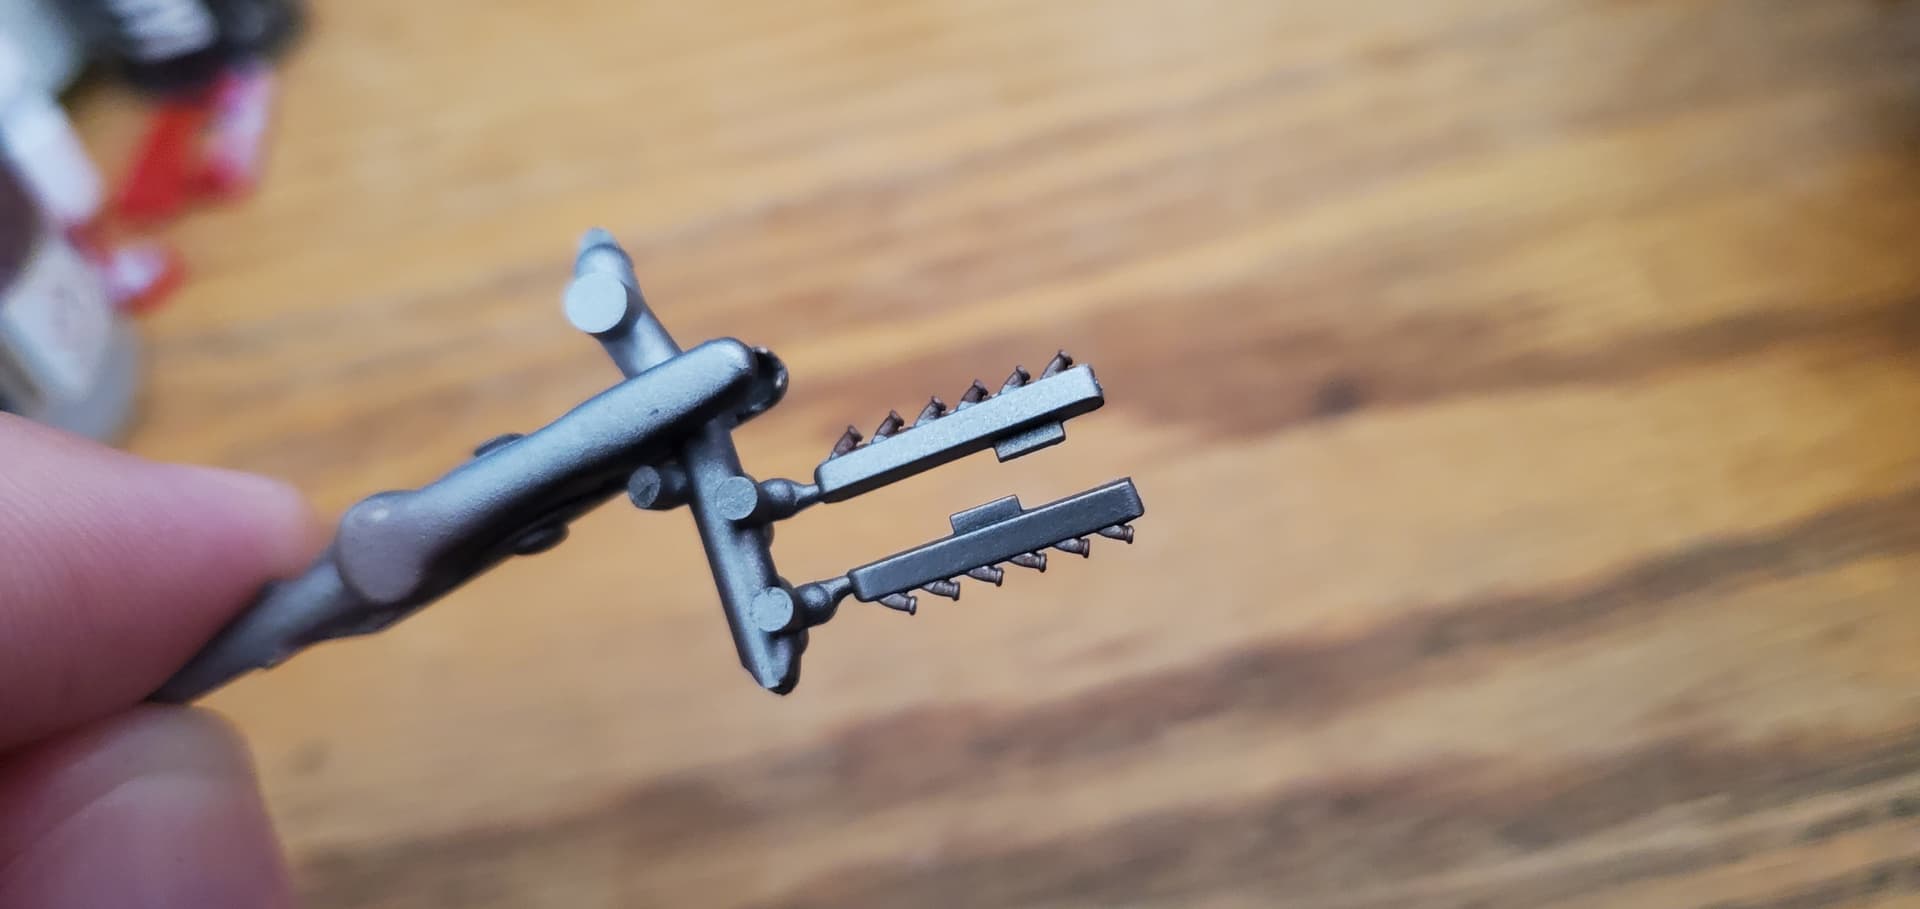
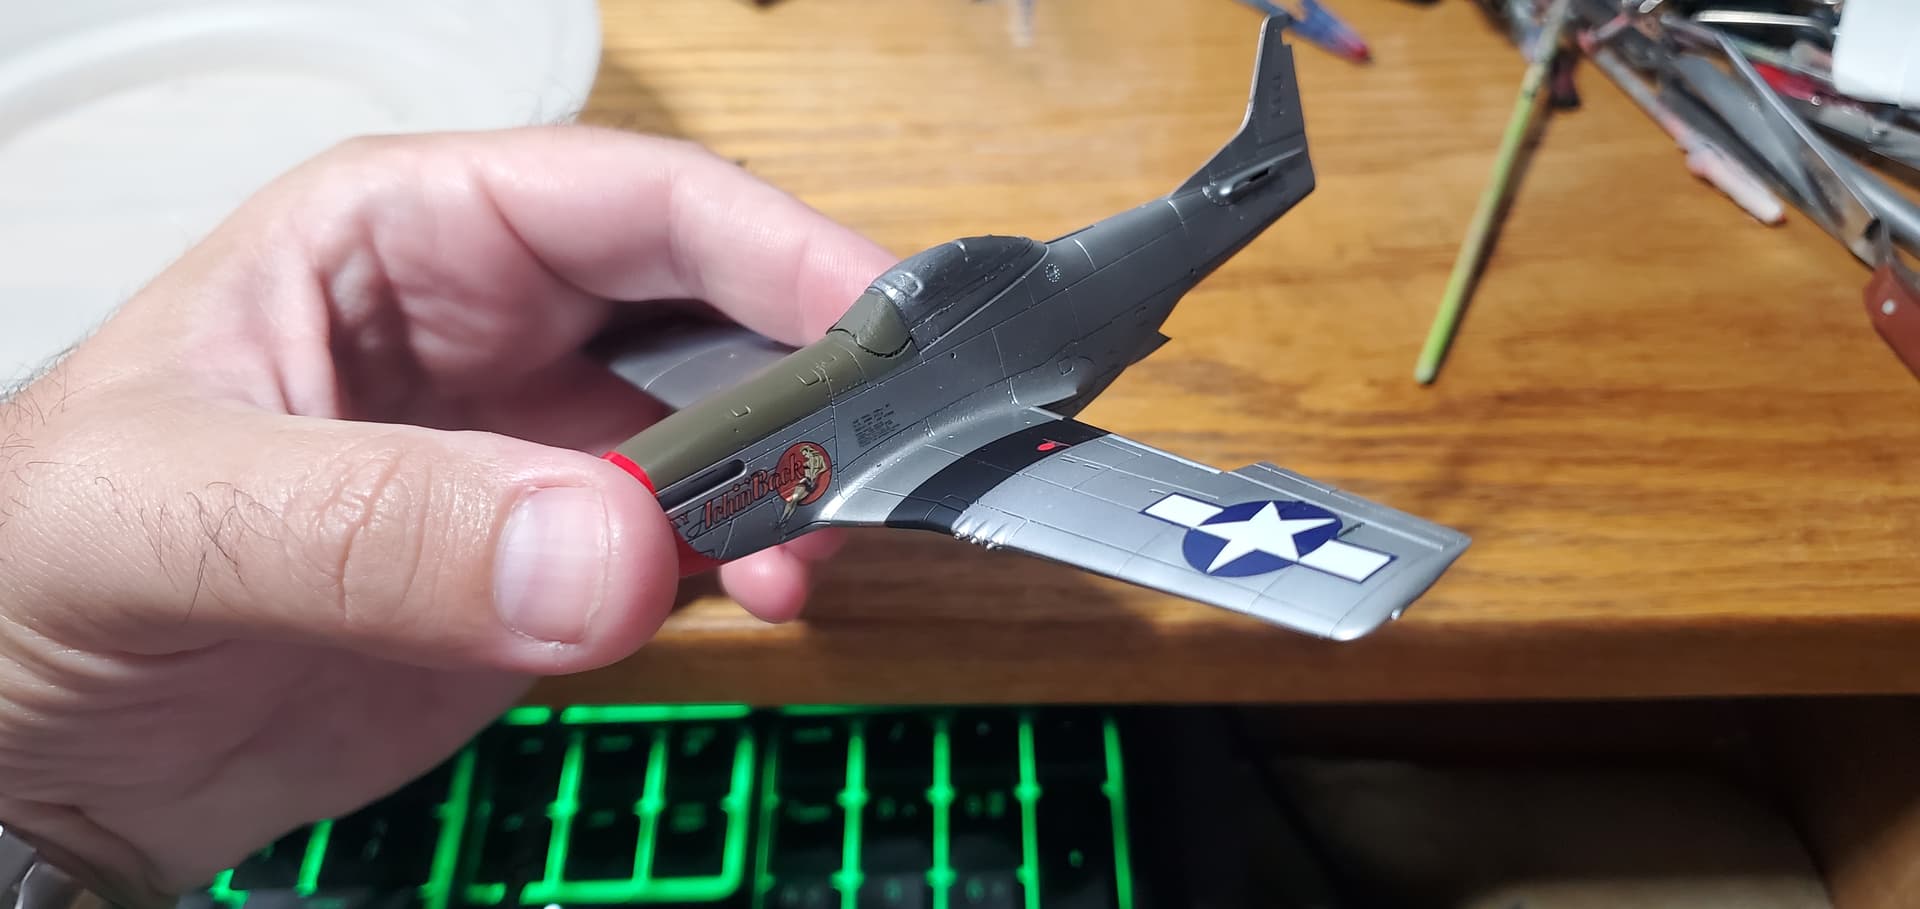
Next project thats going to be a bit of a quicky. Building this little P-51 with the hopes of getting it done in time for Orangecon. Will be using Kit World decals and an Eduard mask along with the Airfix plastic.
This Airfix P-51D is a really nice kit. I built this kit several years ago. Mine was finished as “Angels Playmate”, dedicated to Col. Bruce Carr. I’m looking forward to seeing your progress and the finished build. Oh yeah, I posed mine in flight with the included stand.
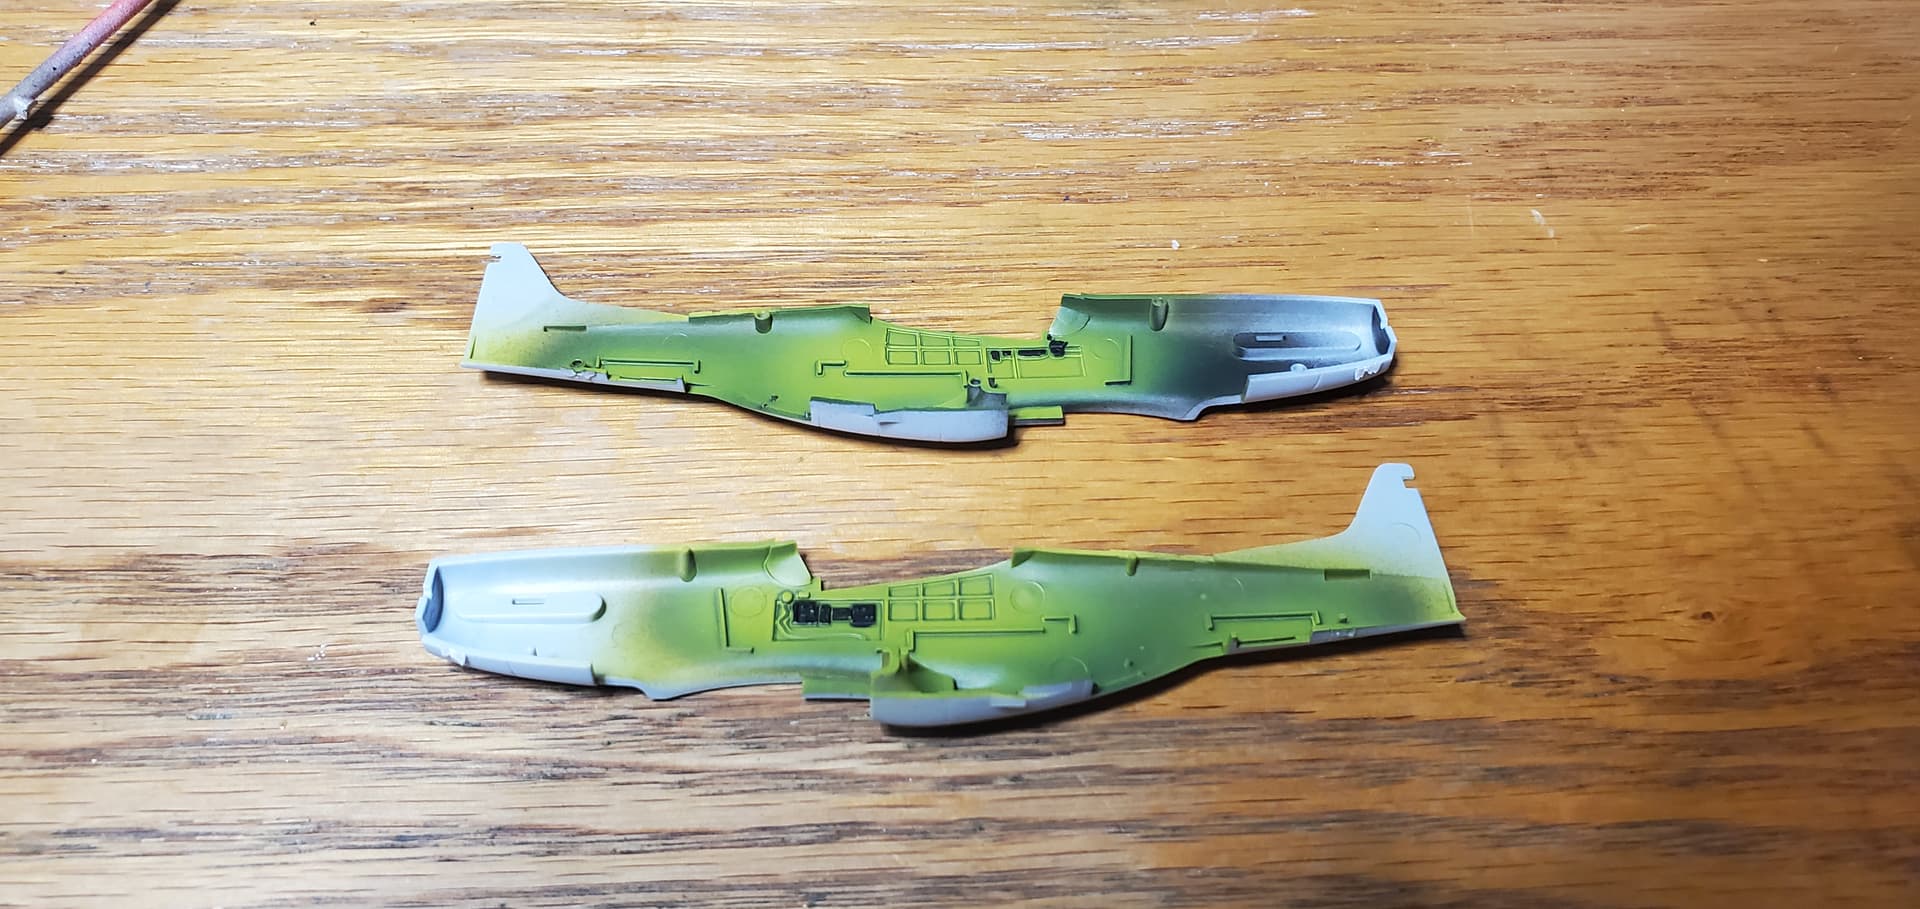
Once the glue was set the other half was mated with the first to finish this sub-assembly. One thing i decided to leave off was the part the prop is supposed to seat into. Looking at the instructions and how it is supposed to attach would be a bigger headache to align then I want to deal with. So it is being omitted and ill just ca glue the prop on.
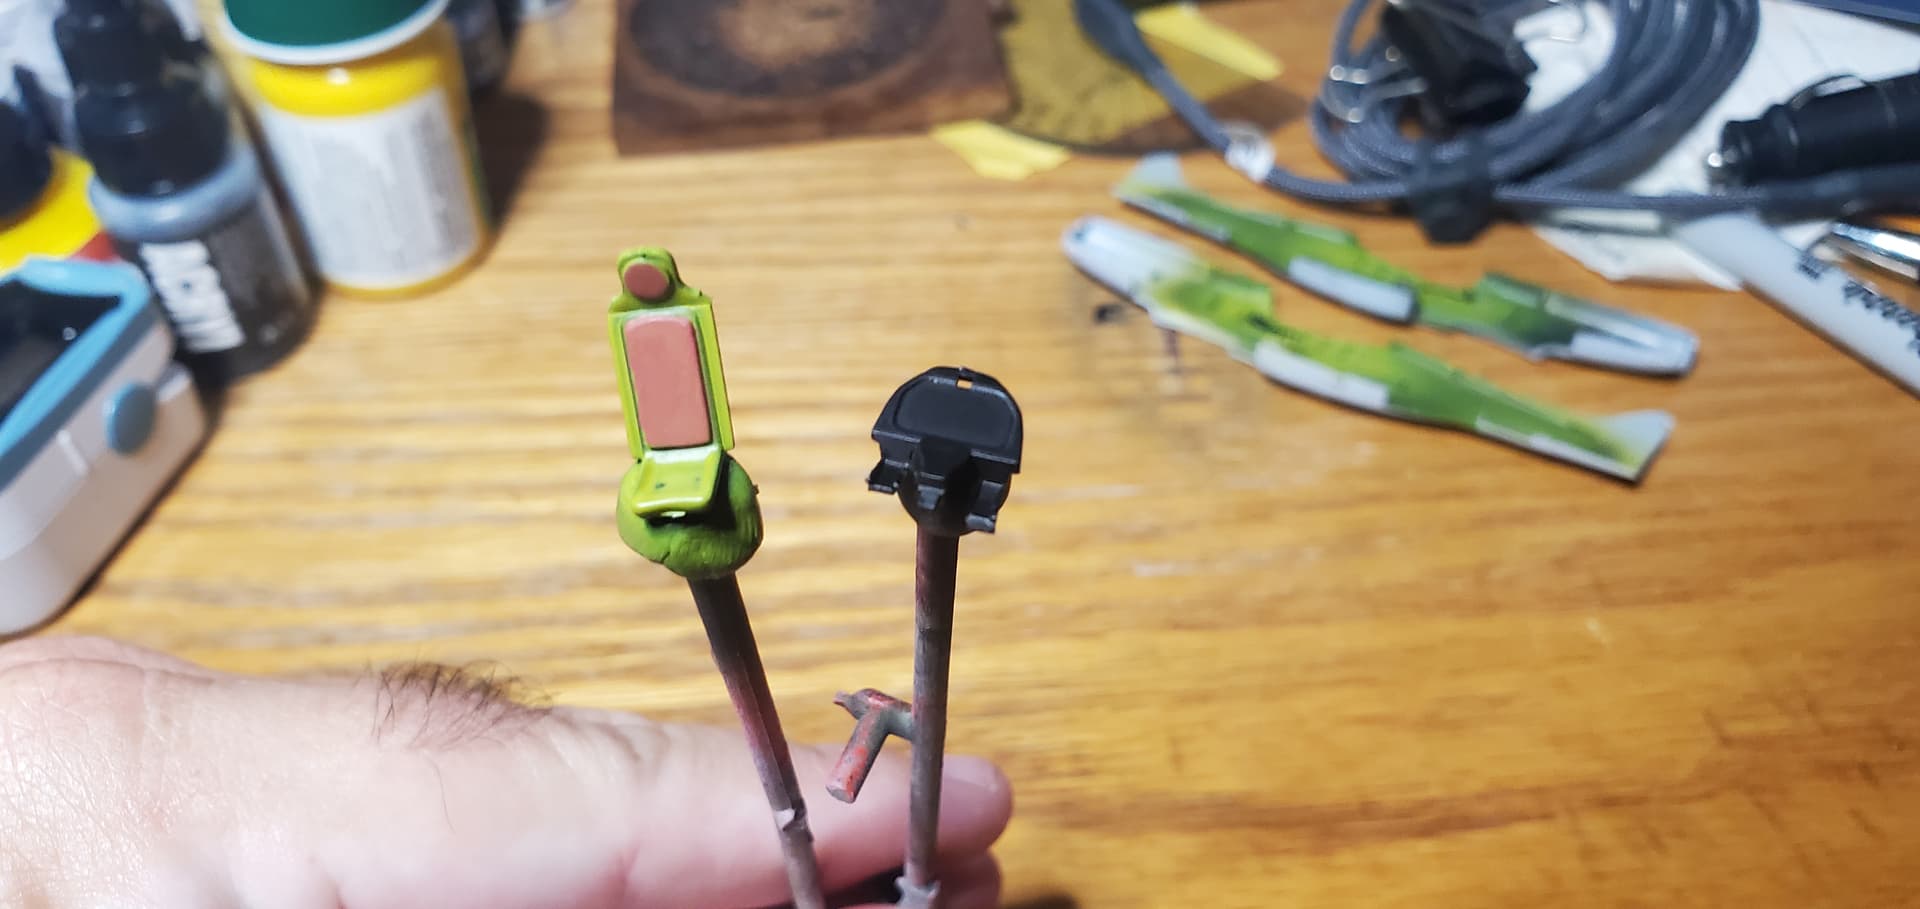
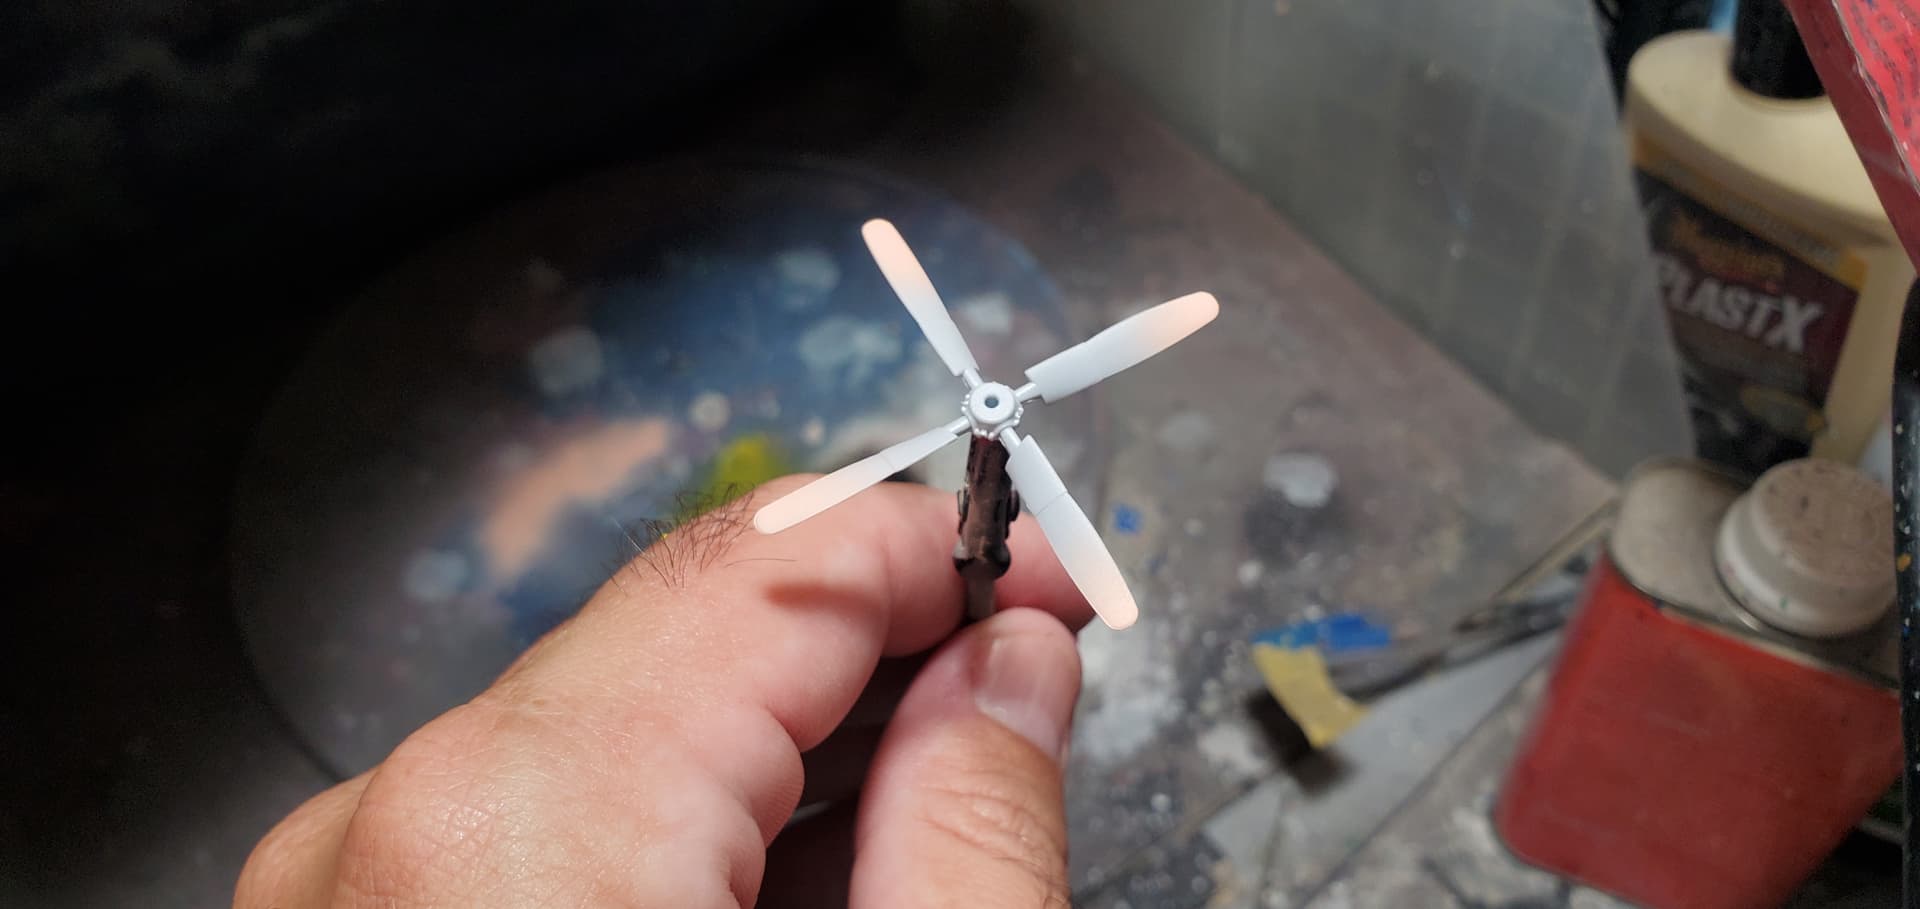
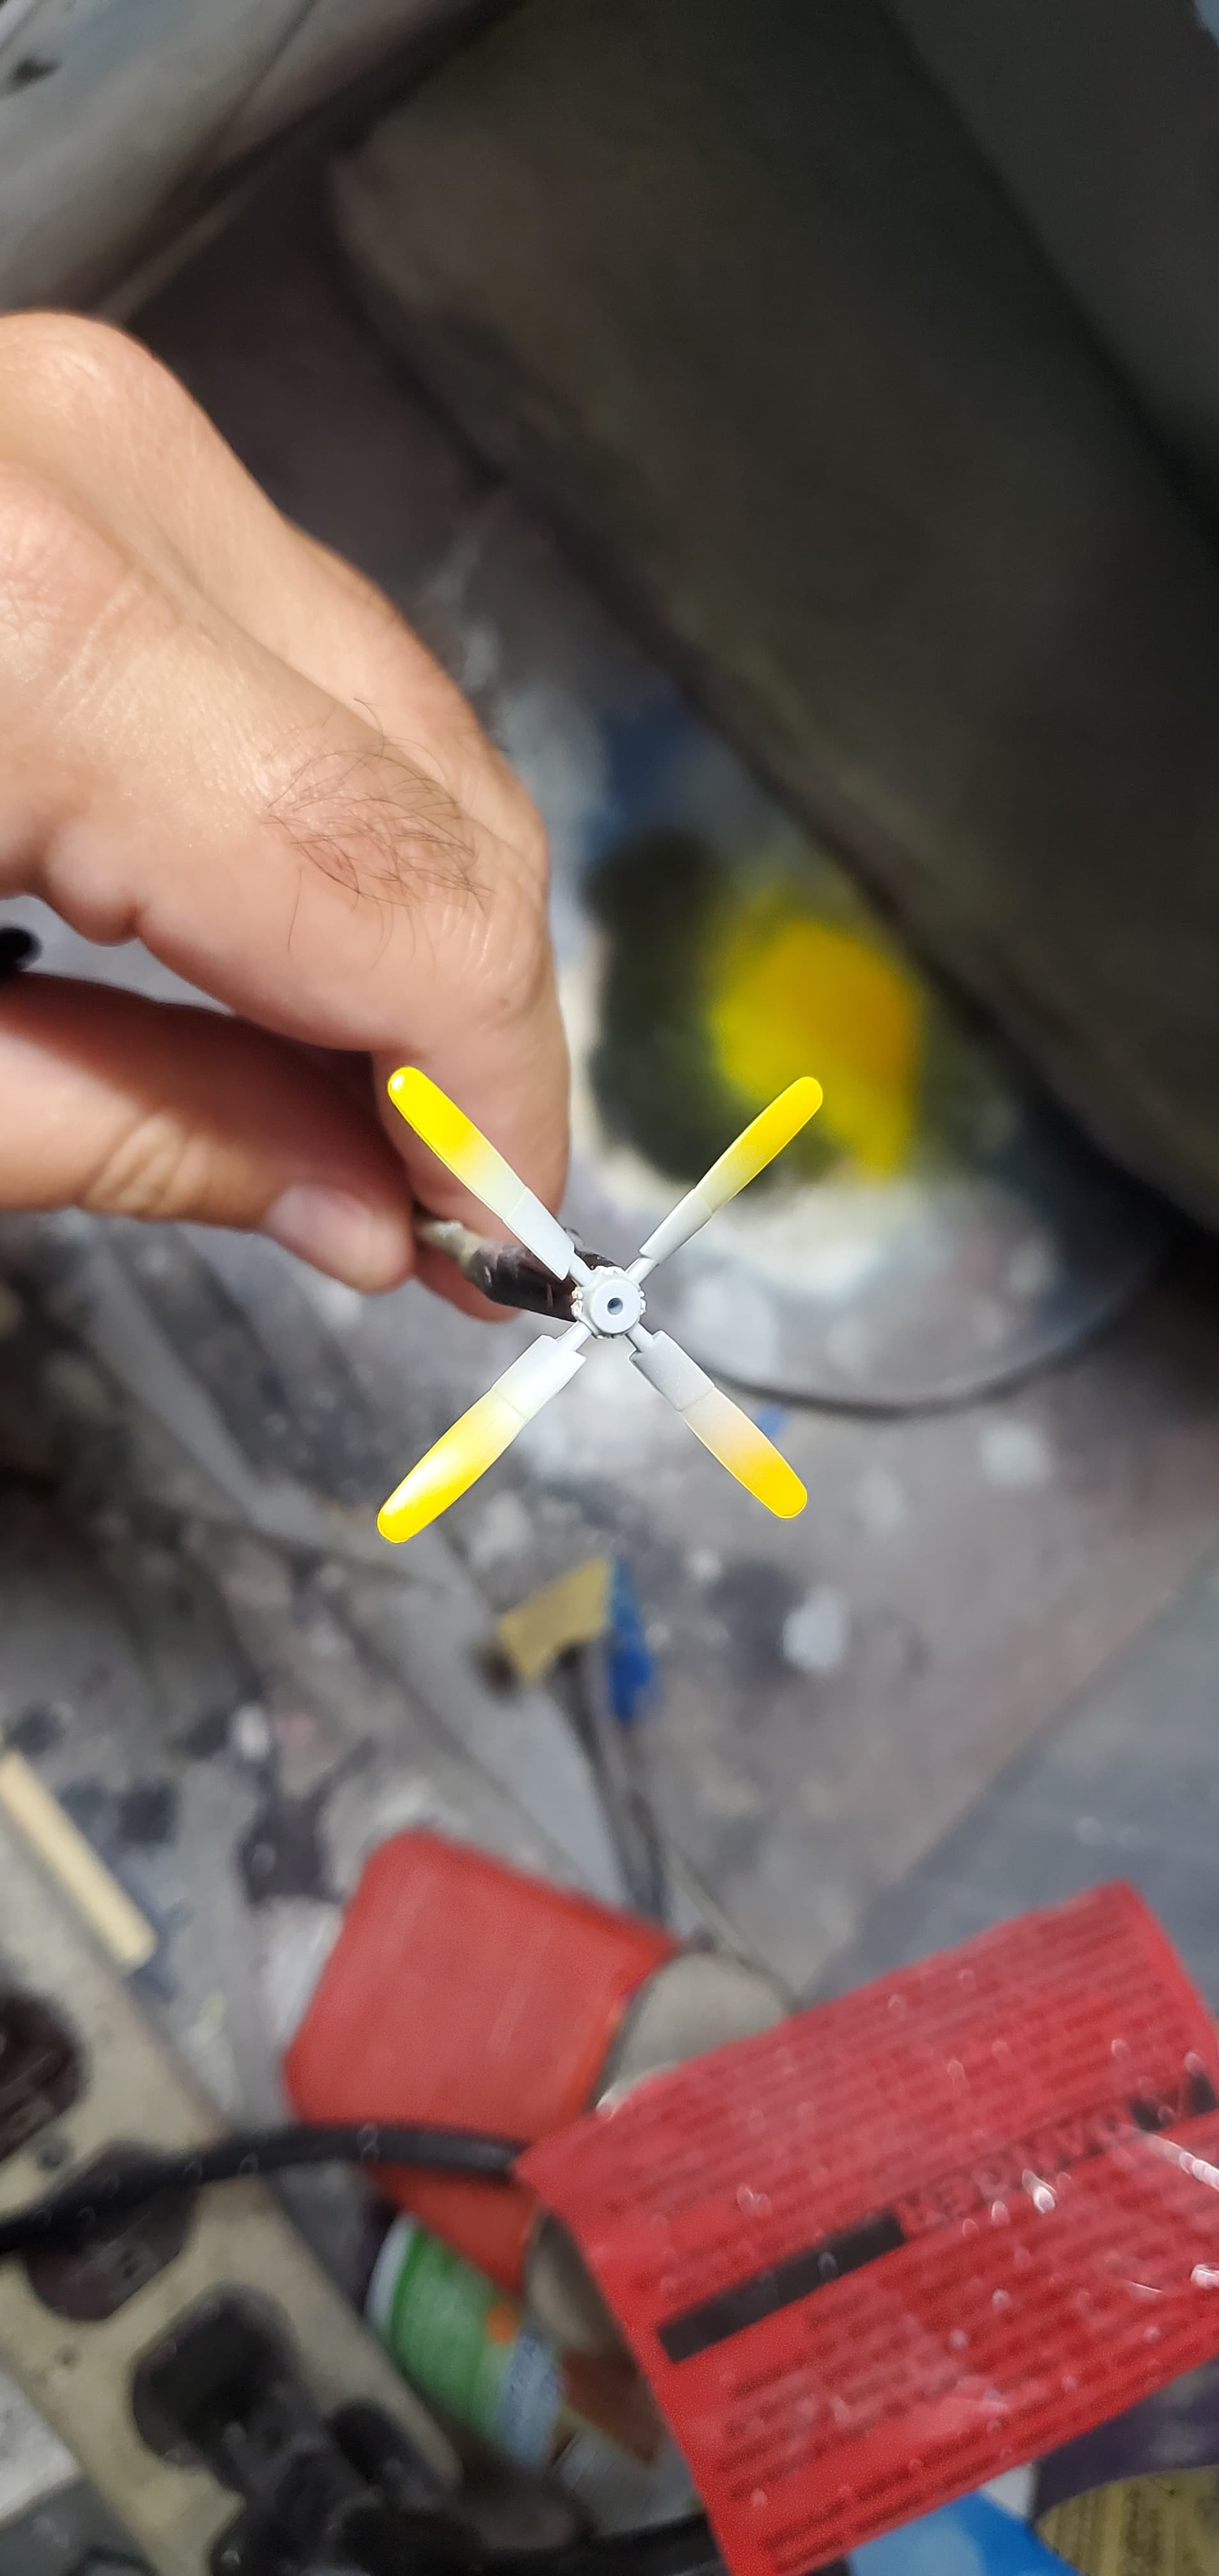
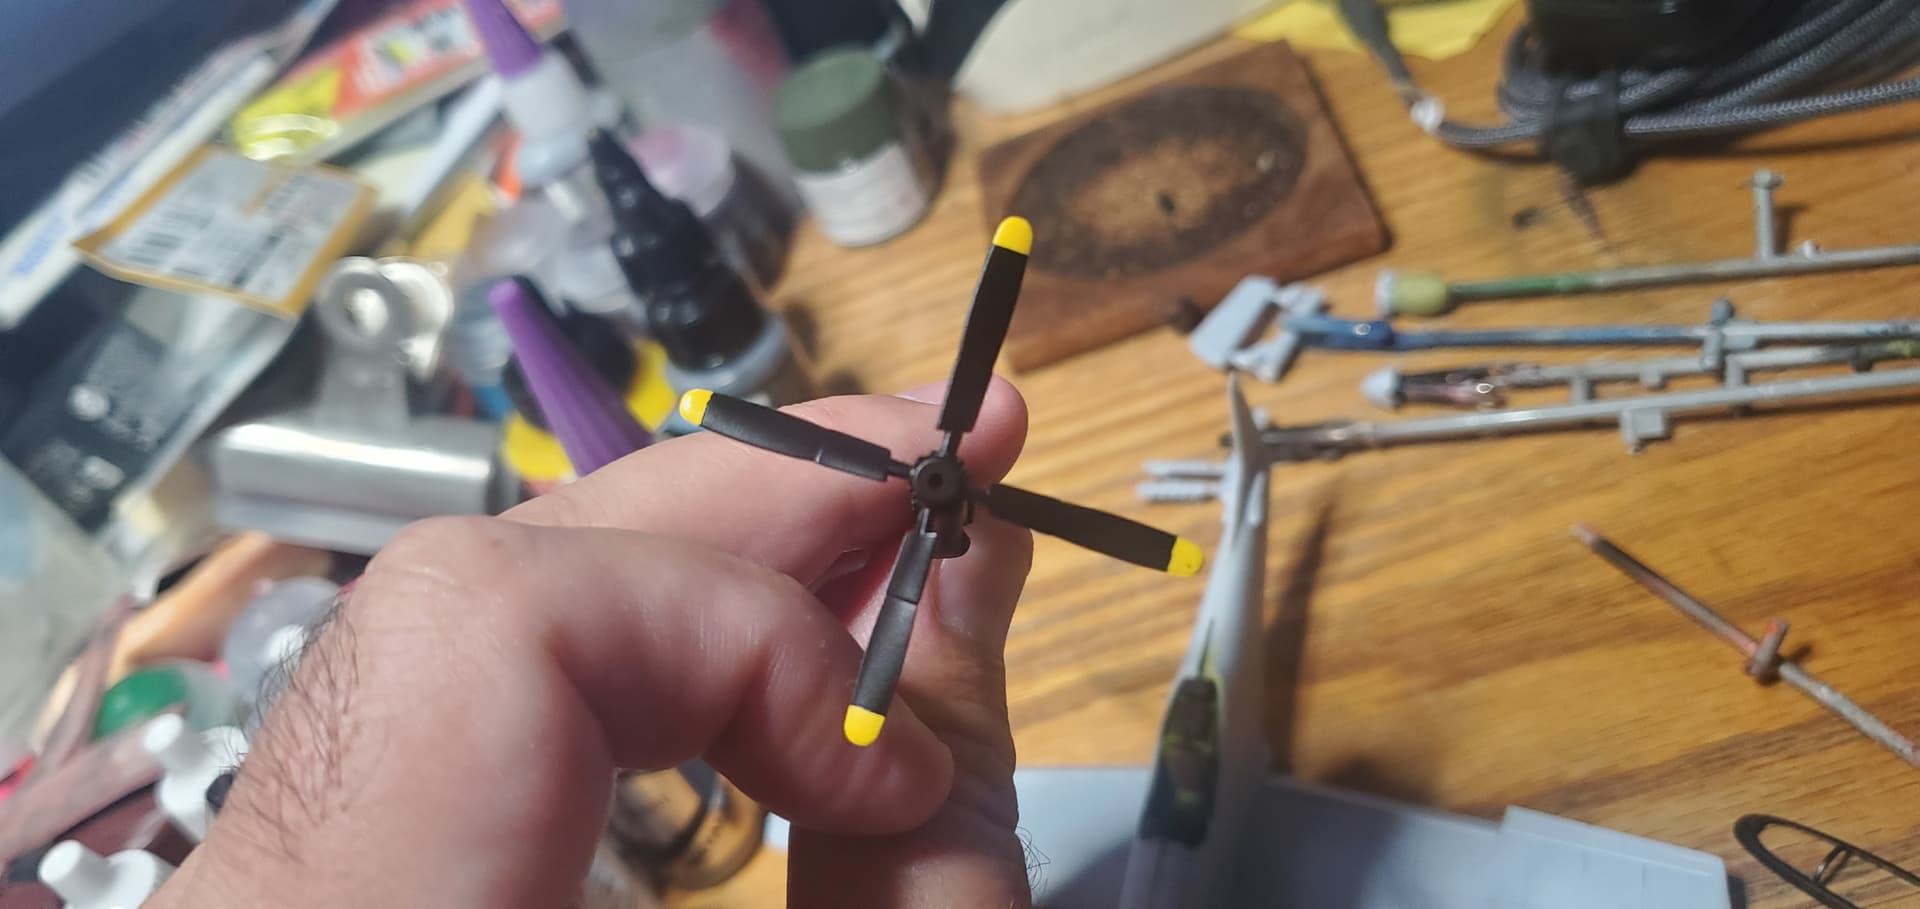
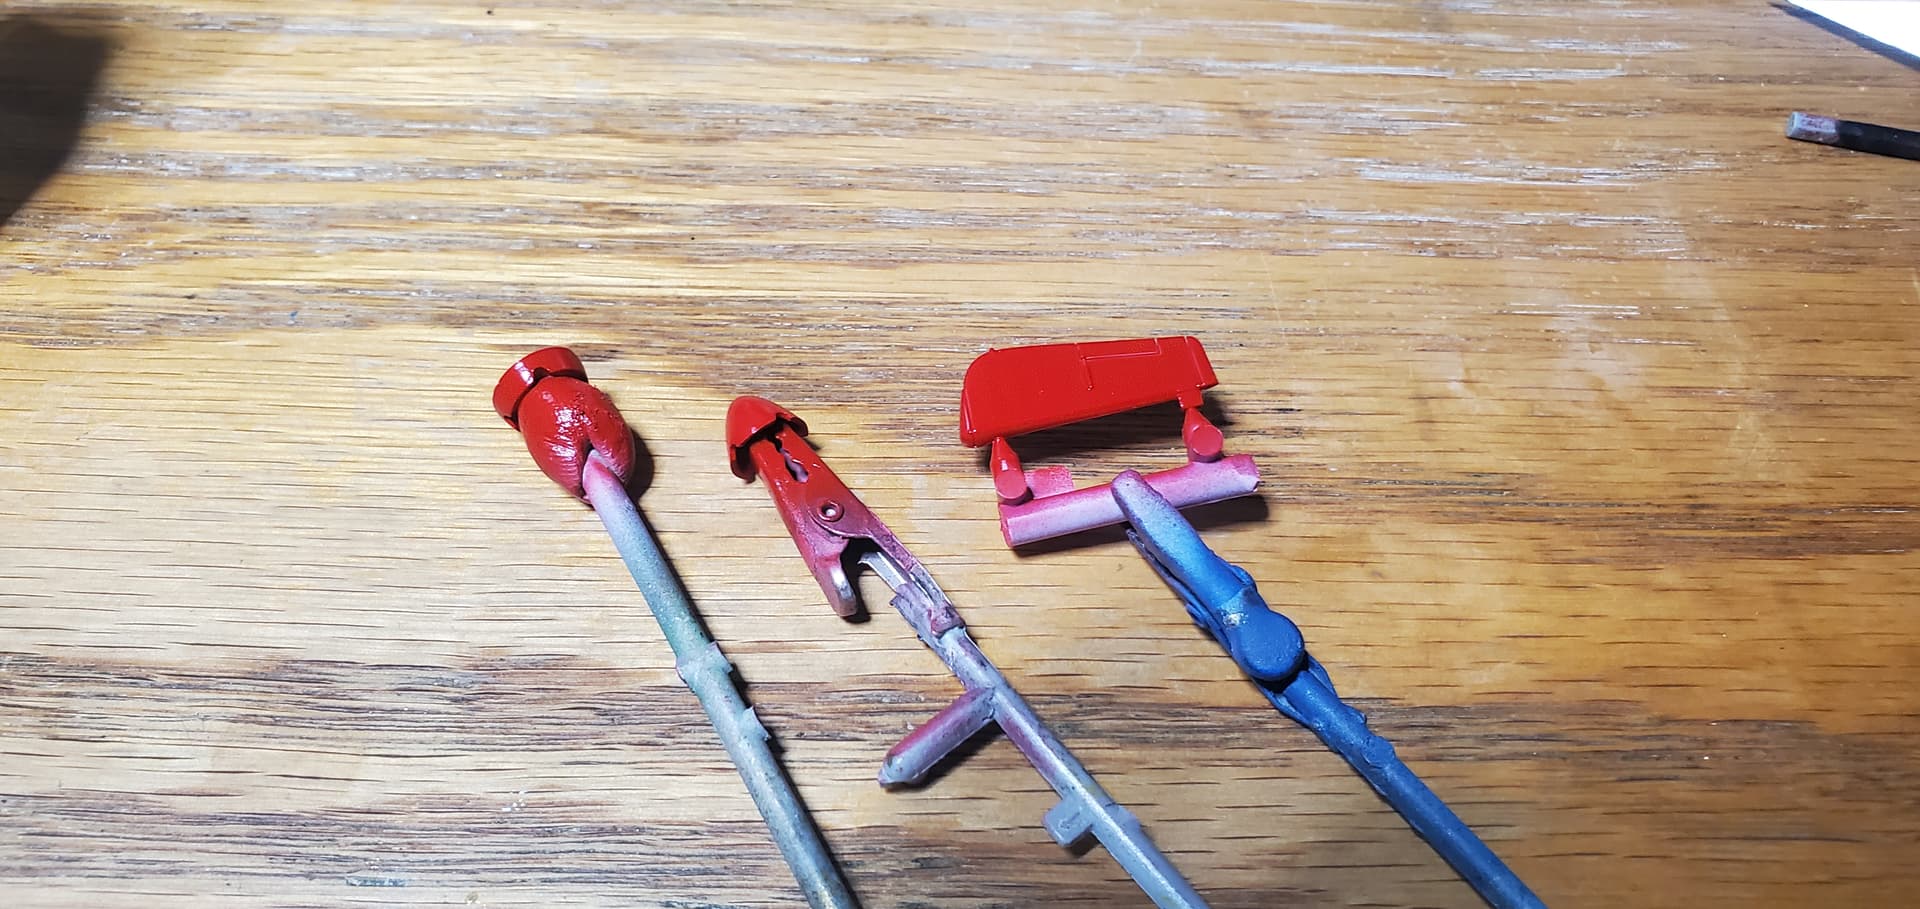
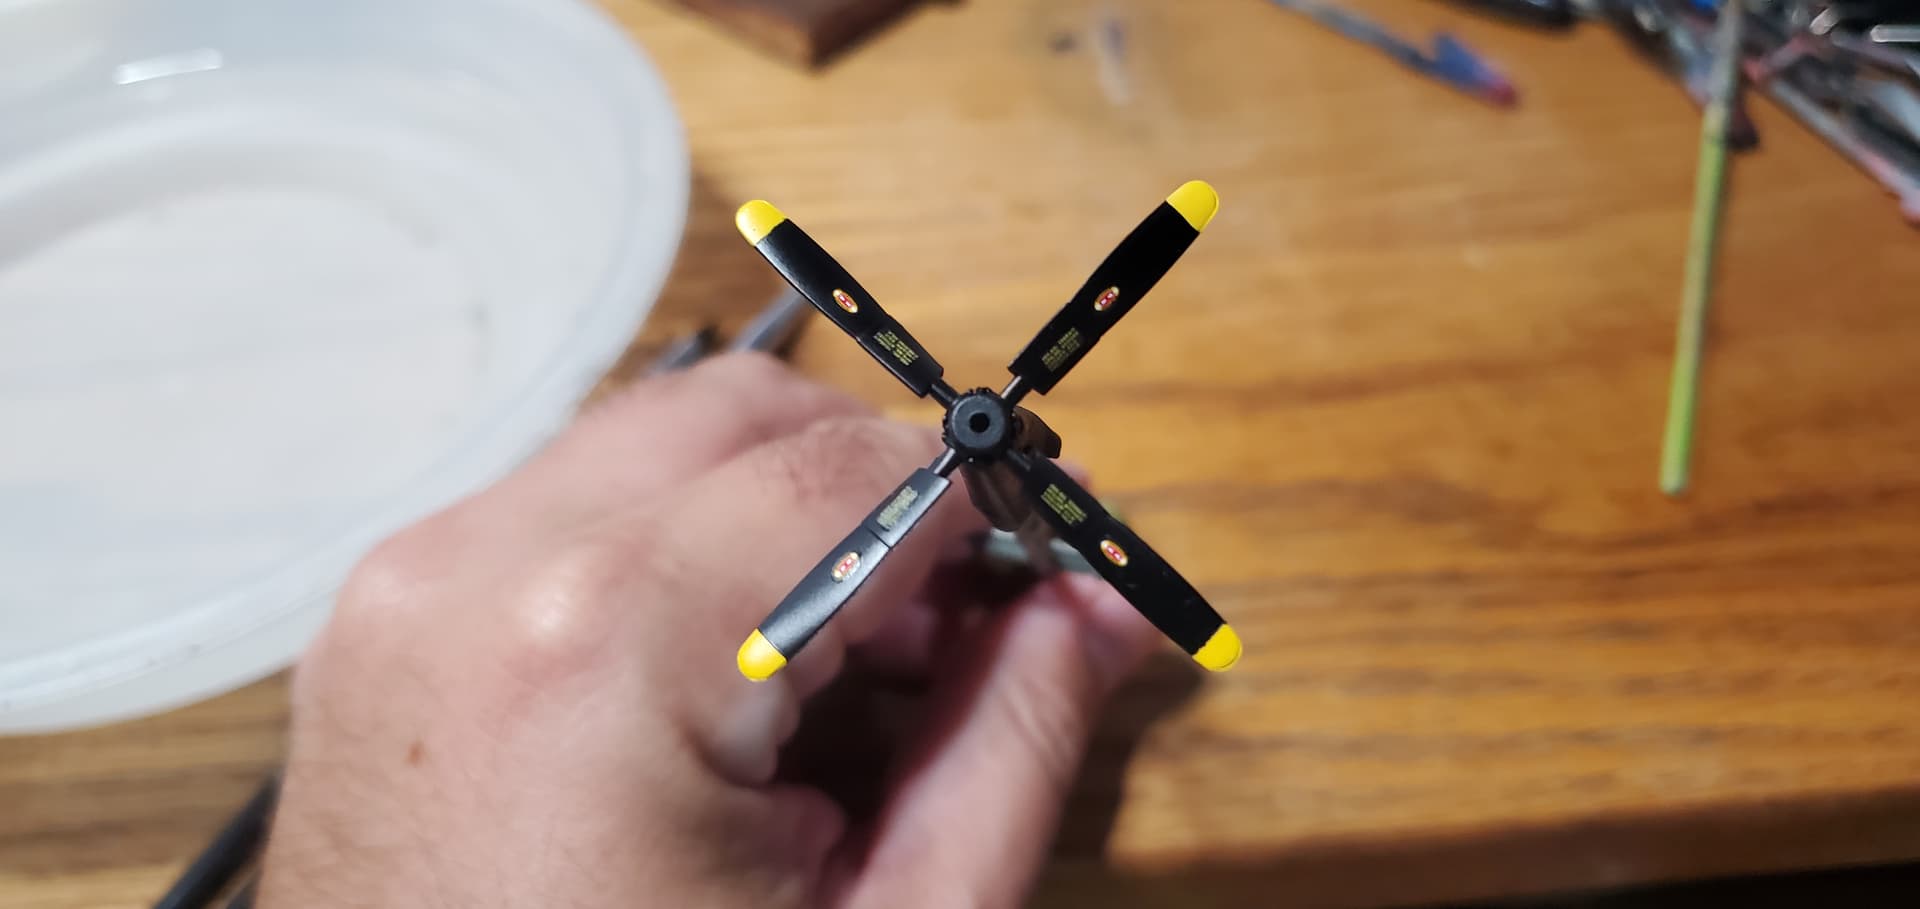
Speaking of the prop I decided that is would be a good opportunity to do a little experiment. I had heard that you can get a better finish for yellow using a pink base instead of white. Since I have some Mr. Surfacer pink i decided to give it a try.
Overall I think the results speak for themselves. The yellow has a greater vibrancy to it, giving a warmer tone. It is a trick worth playing with depending on the look you may be trying for.
I usually leave it off till finish, too, or modify the parts as necessary to be able to take the prop off and install it again, for transporting the model.
Sont recall if it was here or a youtube video I heard to use it, but it works. As i mentioned in my post I would still use white for a cool yellow.
Thats not what i am talking about, there is a part that is supposed to attach to the back of the hole where the prop attaches. To put another way it is supposed to attach to the base of the prop shaft behind the front fuselage parts.
It sounds like it is, though. I would leave that piece out, if it means I can leave the prop off till I’m finished. The I would just use the kit shaft or some other piece of rod, and slide the prop into place for display.
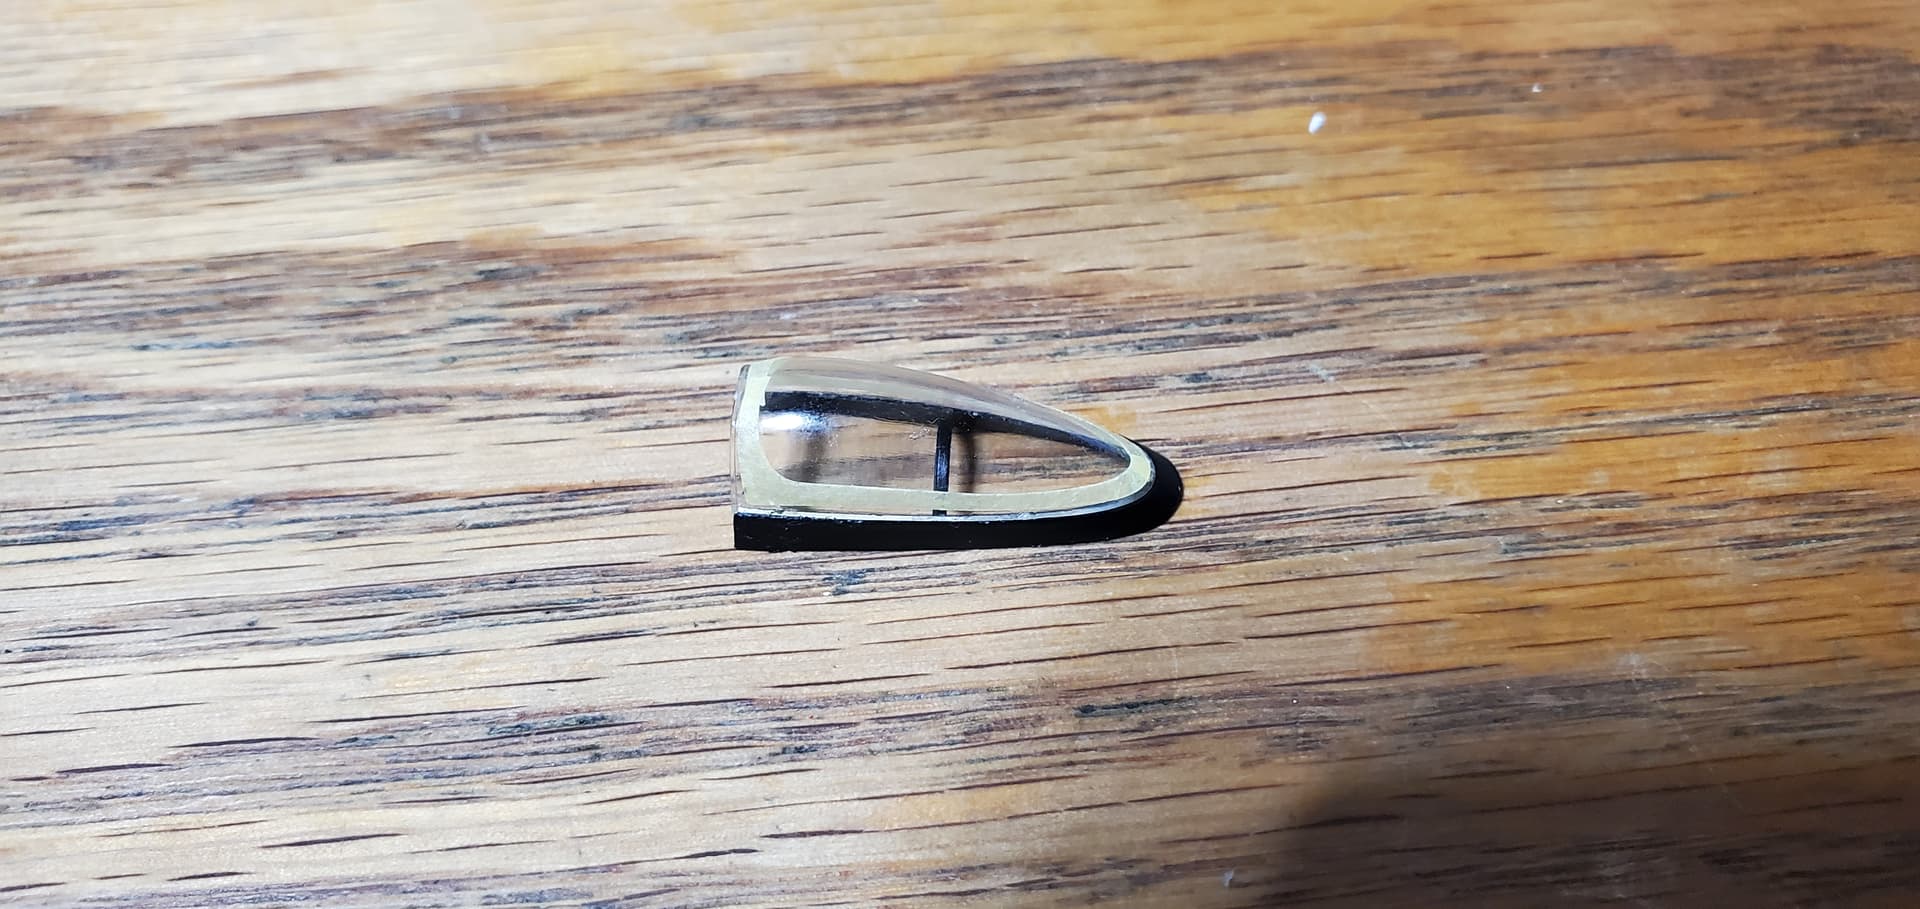
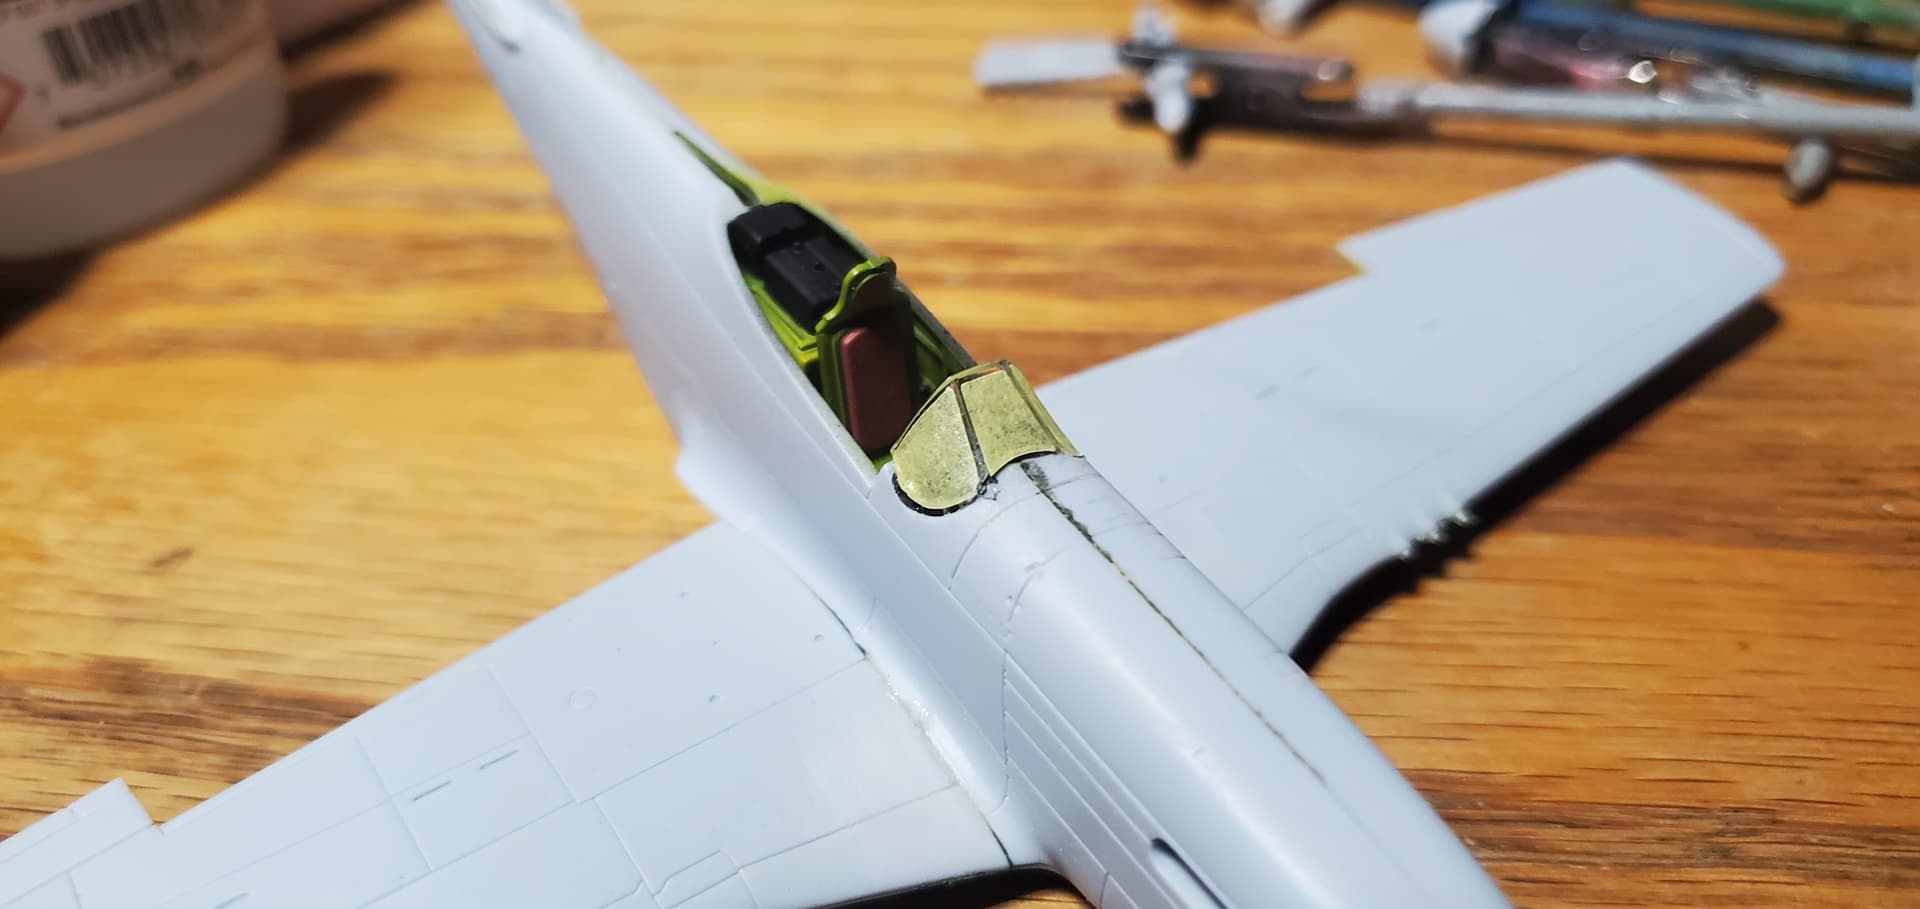
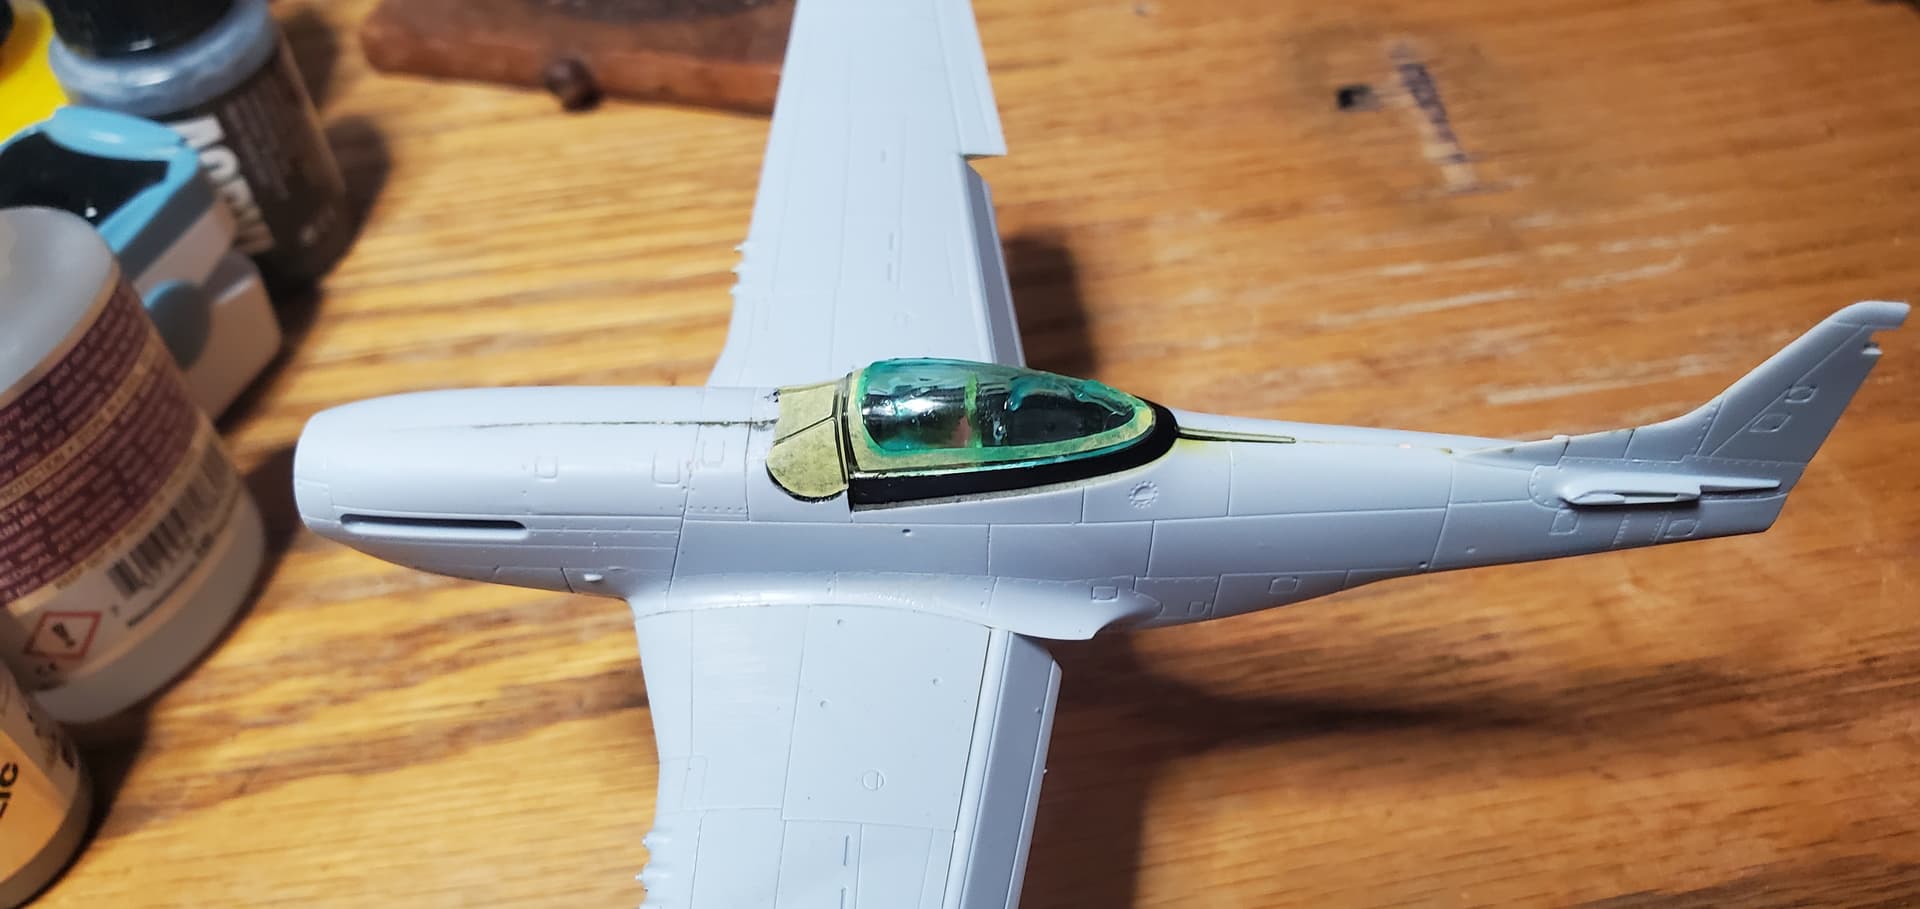
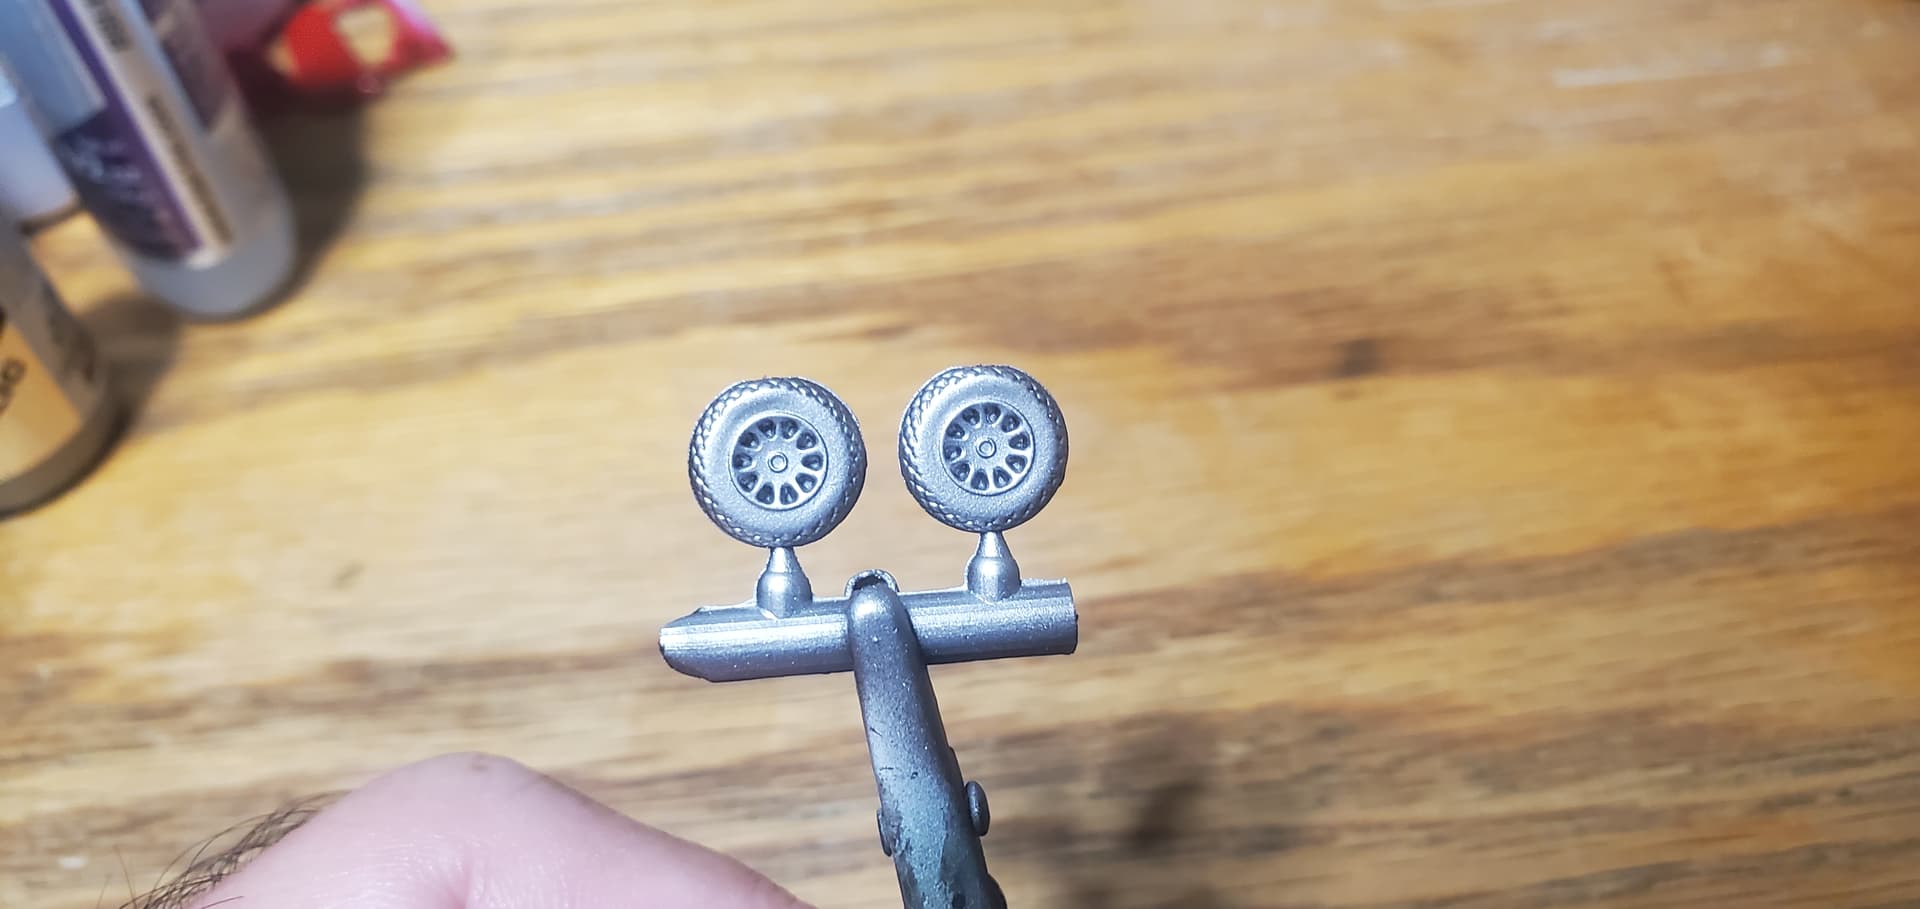
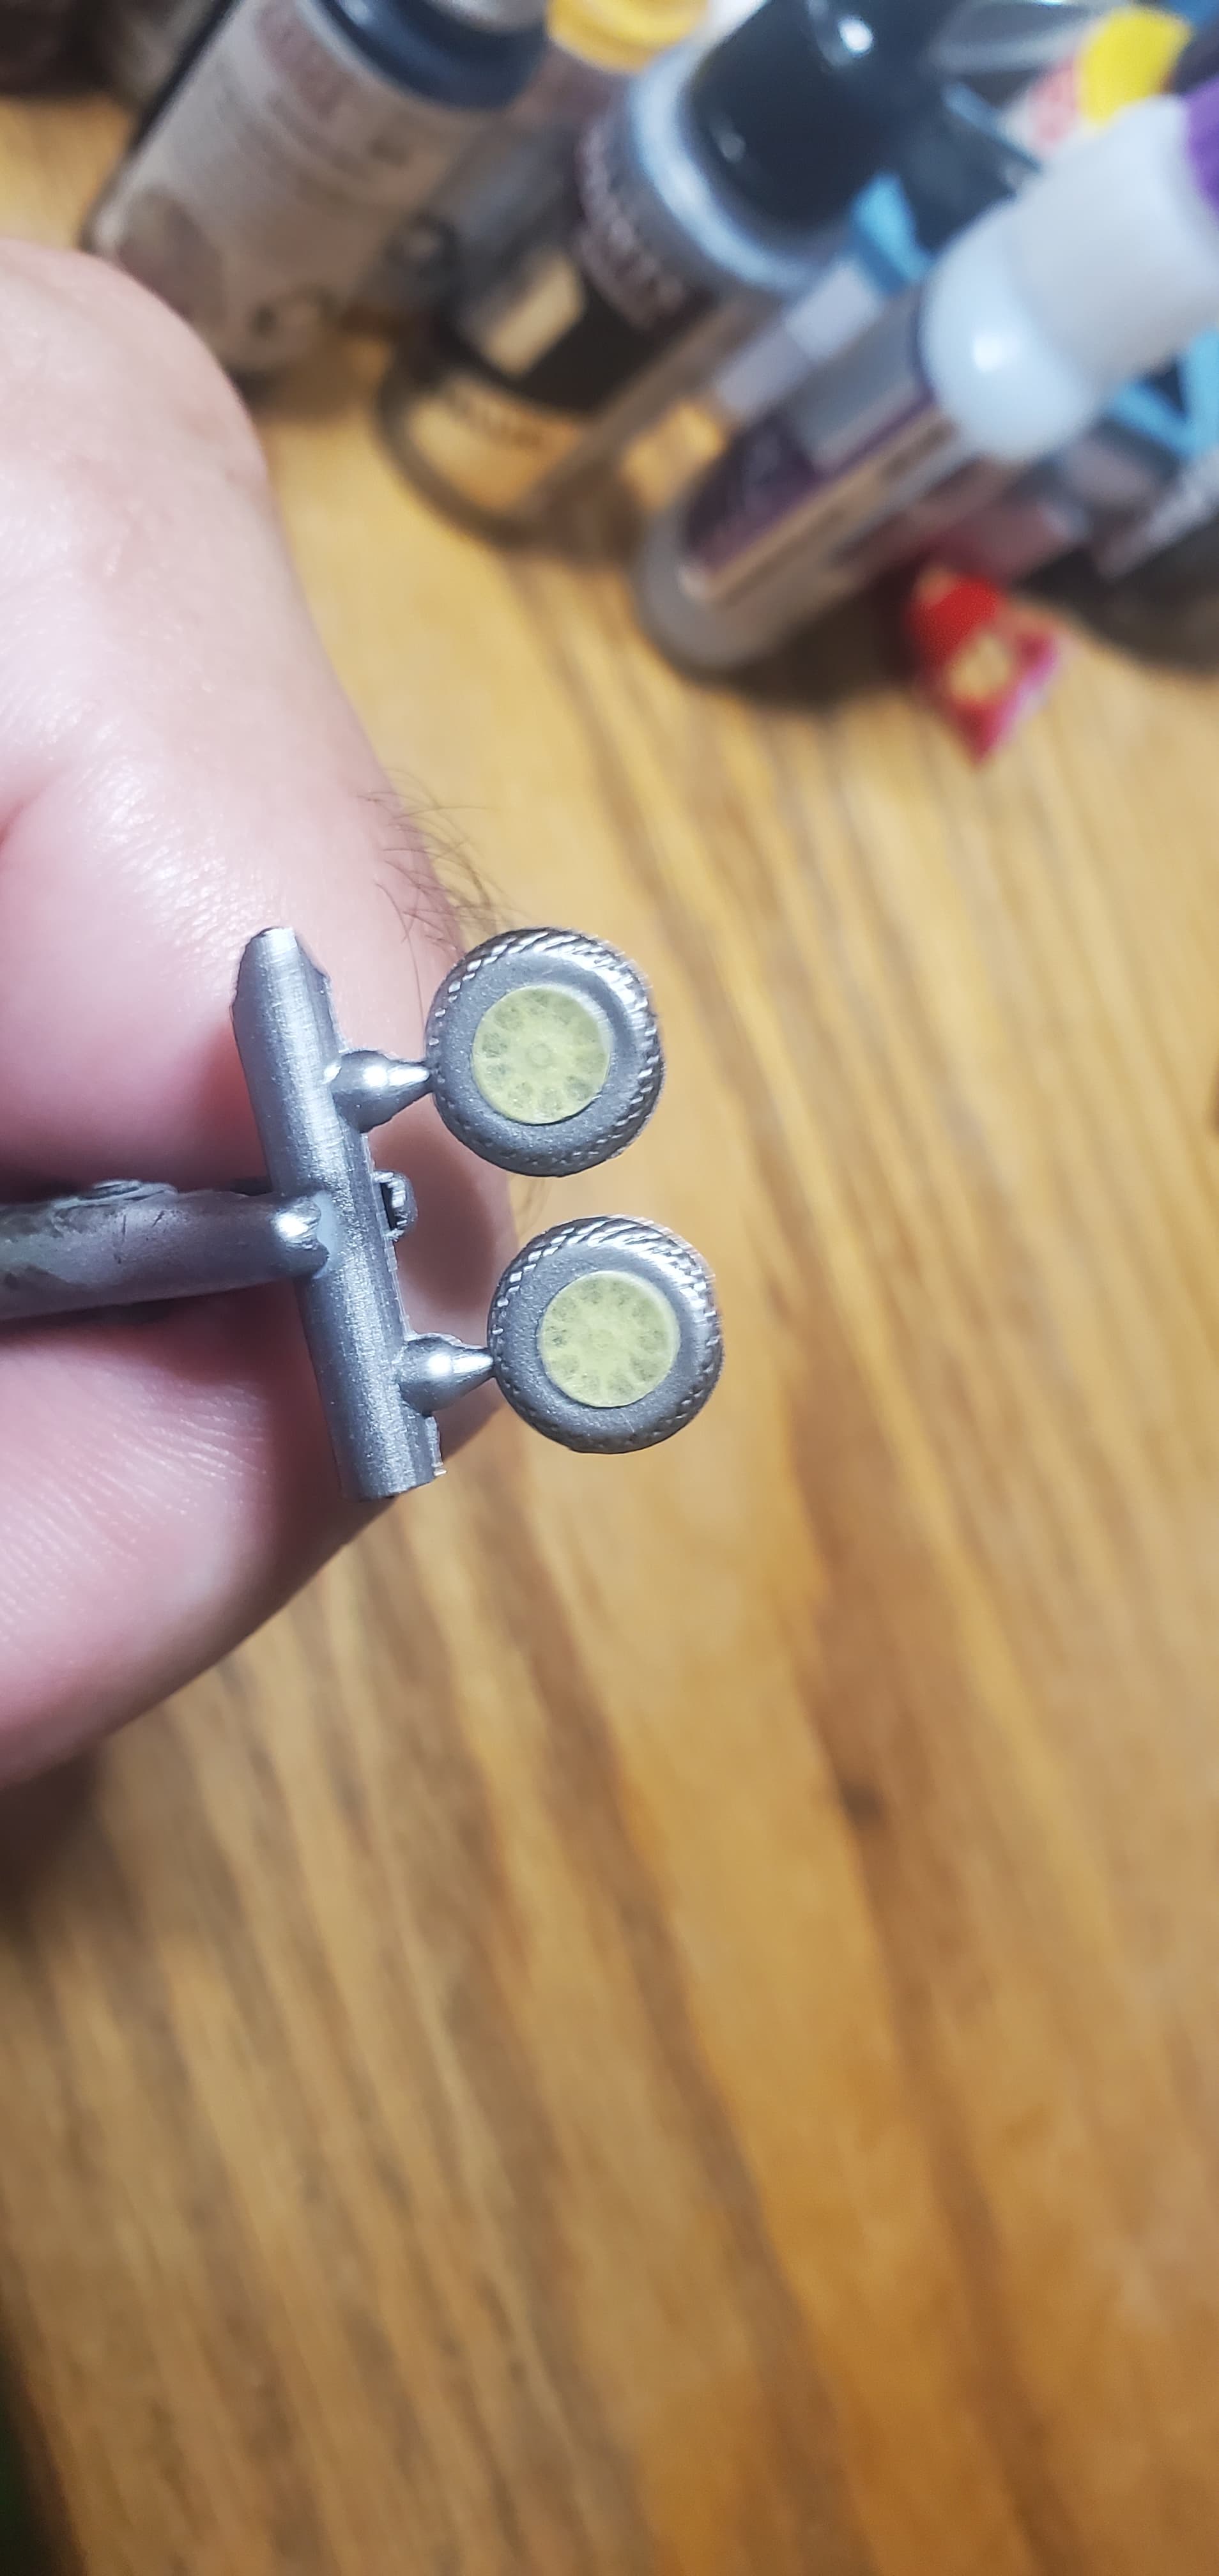
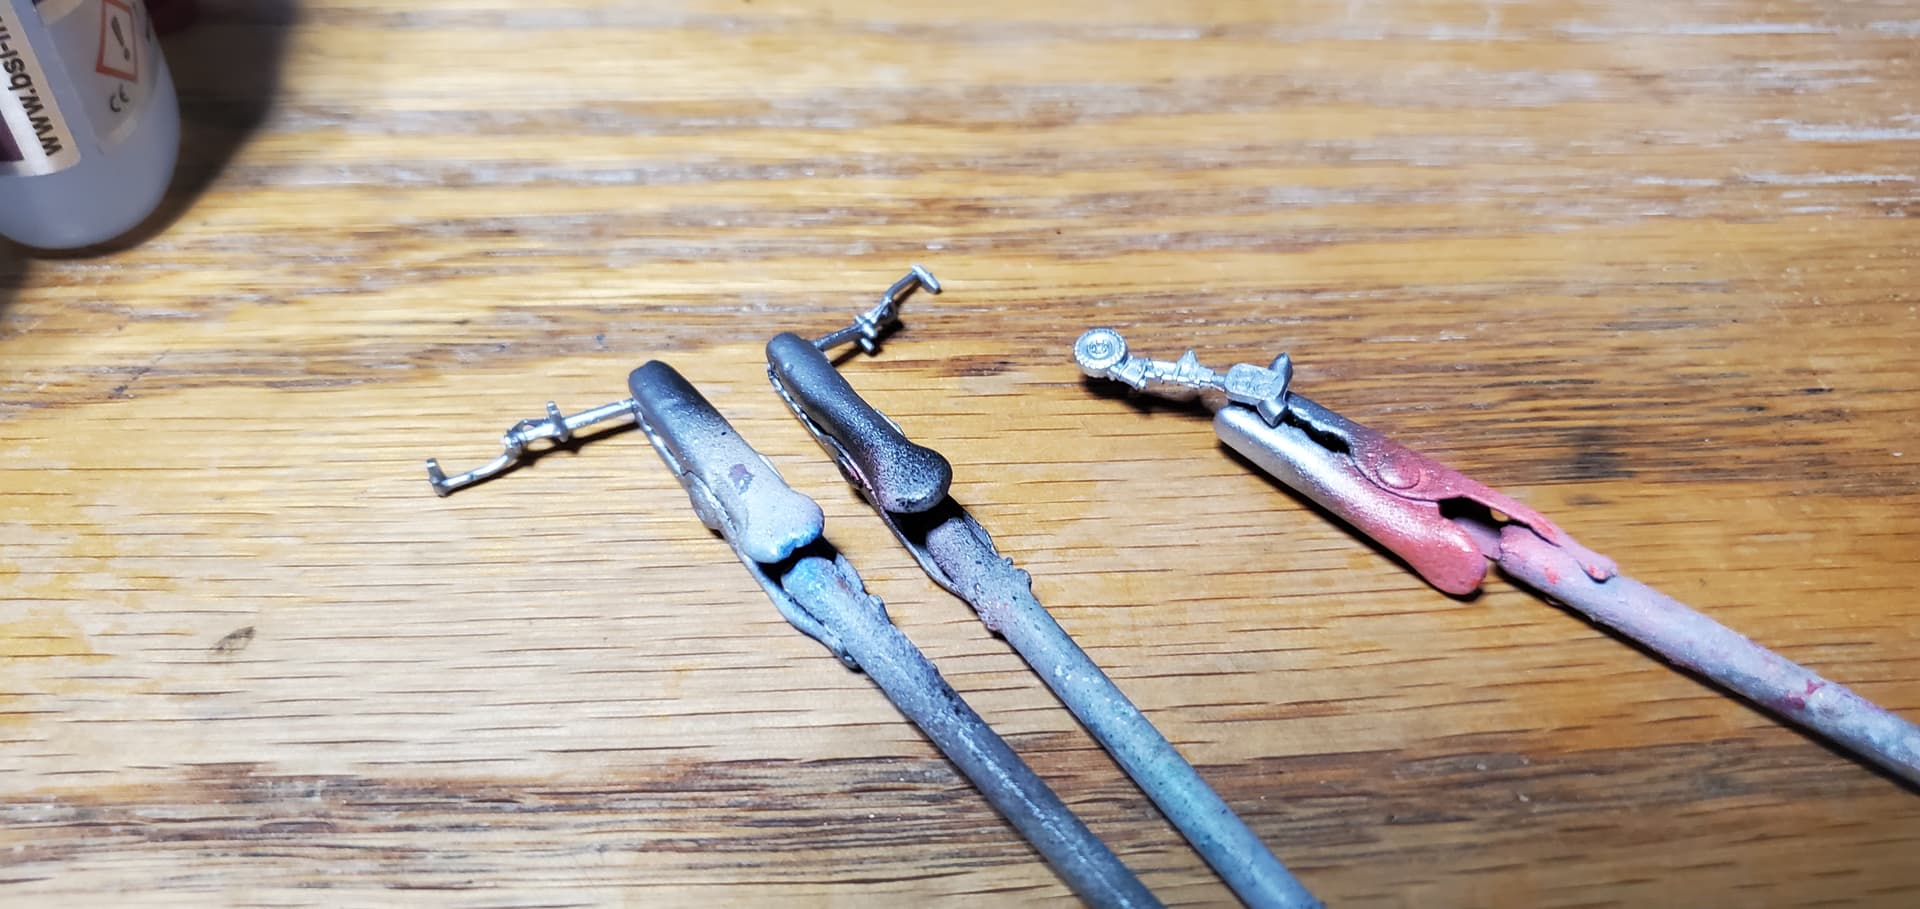
I then put the Eduard mask set into action on the bubble and front windscreen before attaching. This is where i discovered that my masking fluid had dried out. So i then decided i would go try painting some of the other parts that needed paint. Unfortunately I discovered that both bottles of Alclad Aluminum I have were empty. This delayed progress until today when I was able to get by my LHS that had what i needed.
It is amazing how well high-power cheeters work. And there are discount stores like dollar tree that have them for less than two bucks each. I recently picked up a pair of 3.25 diopter to go beyond my 3.0s
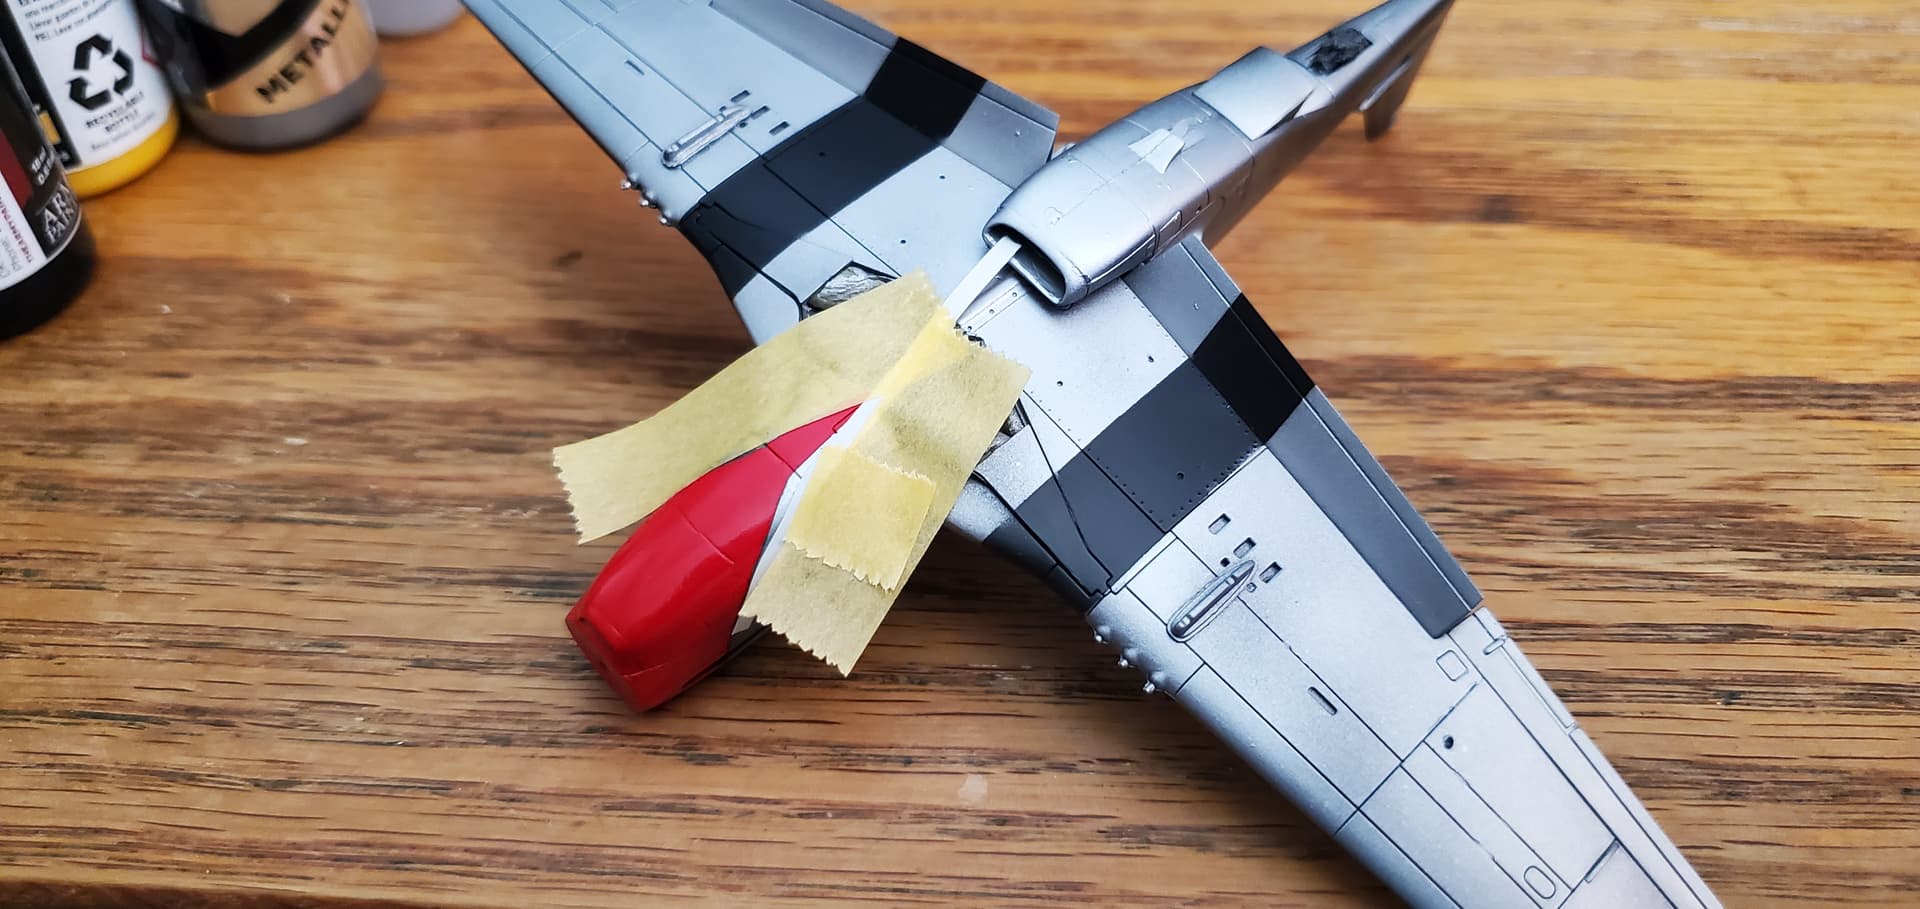
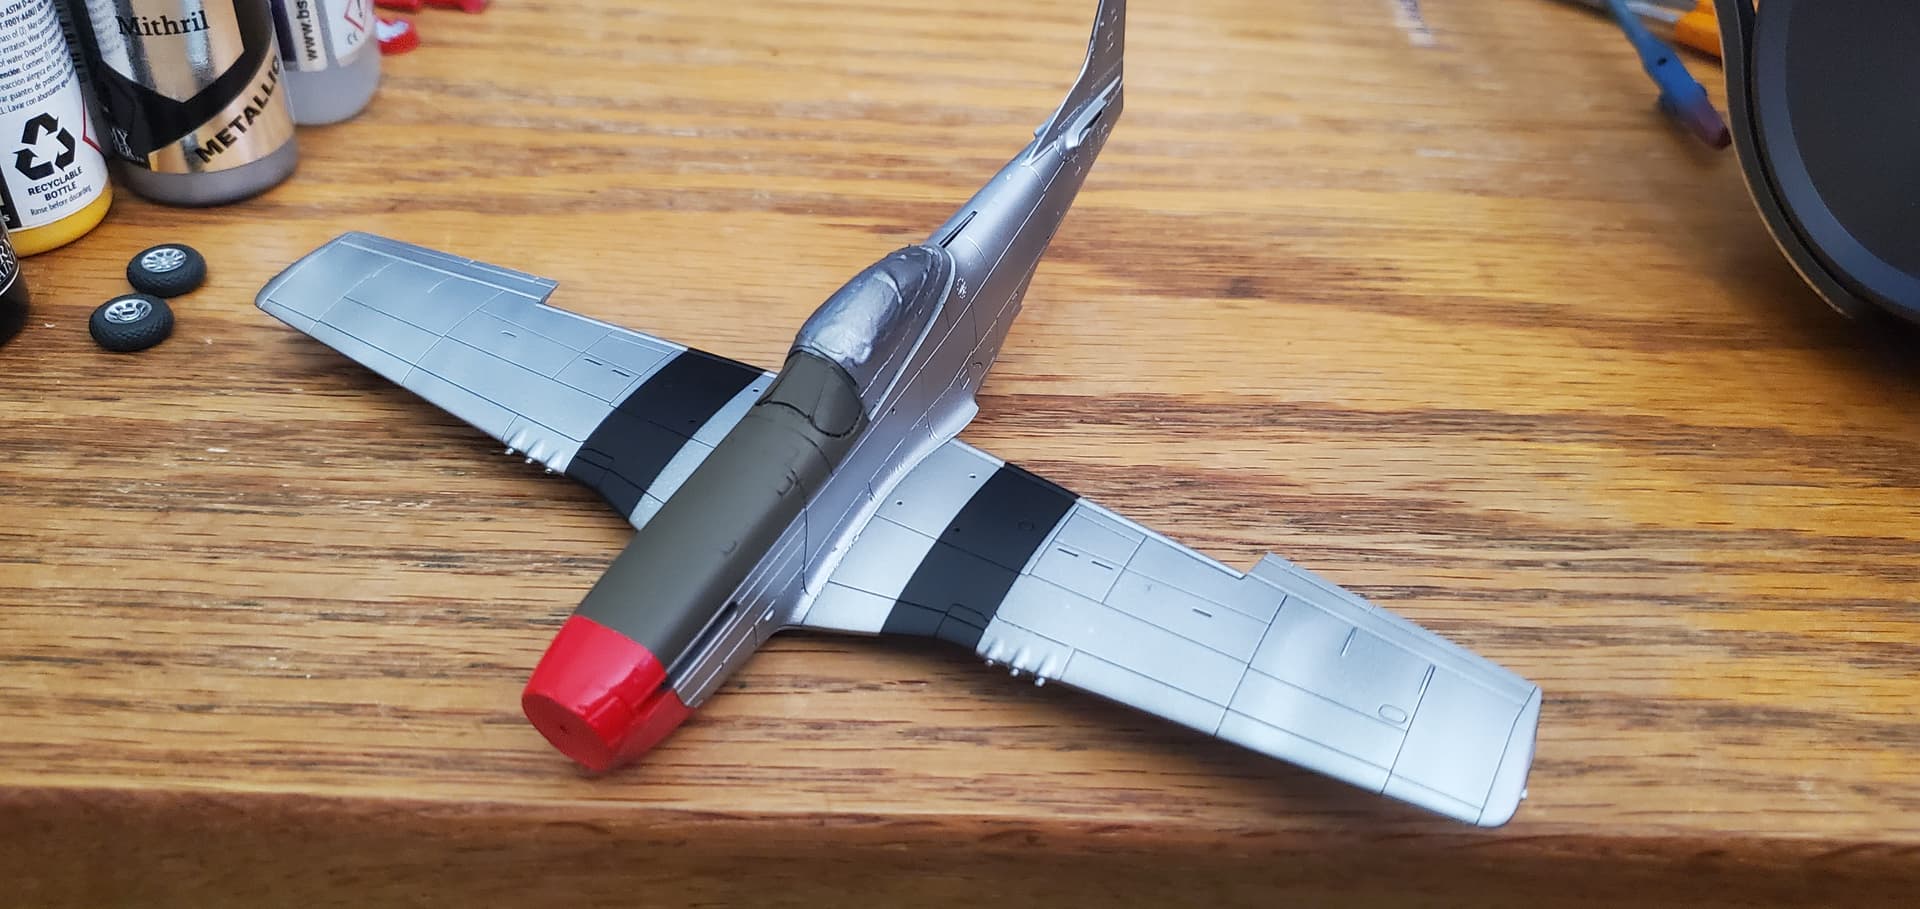
I then proceeded to mask of the red portion of the nose. I would follow this with a quick addition coat of red along the edges of the tape to help seal it.
That done it was necessary to paint the canopy frames their inner black color. This was done as the Olive Drab anti-glare panel also covers the fron wind screen. This is also something I forgot to take a photo of prior to masking.
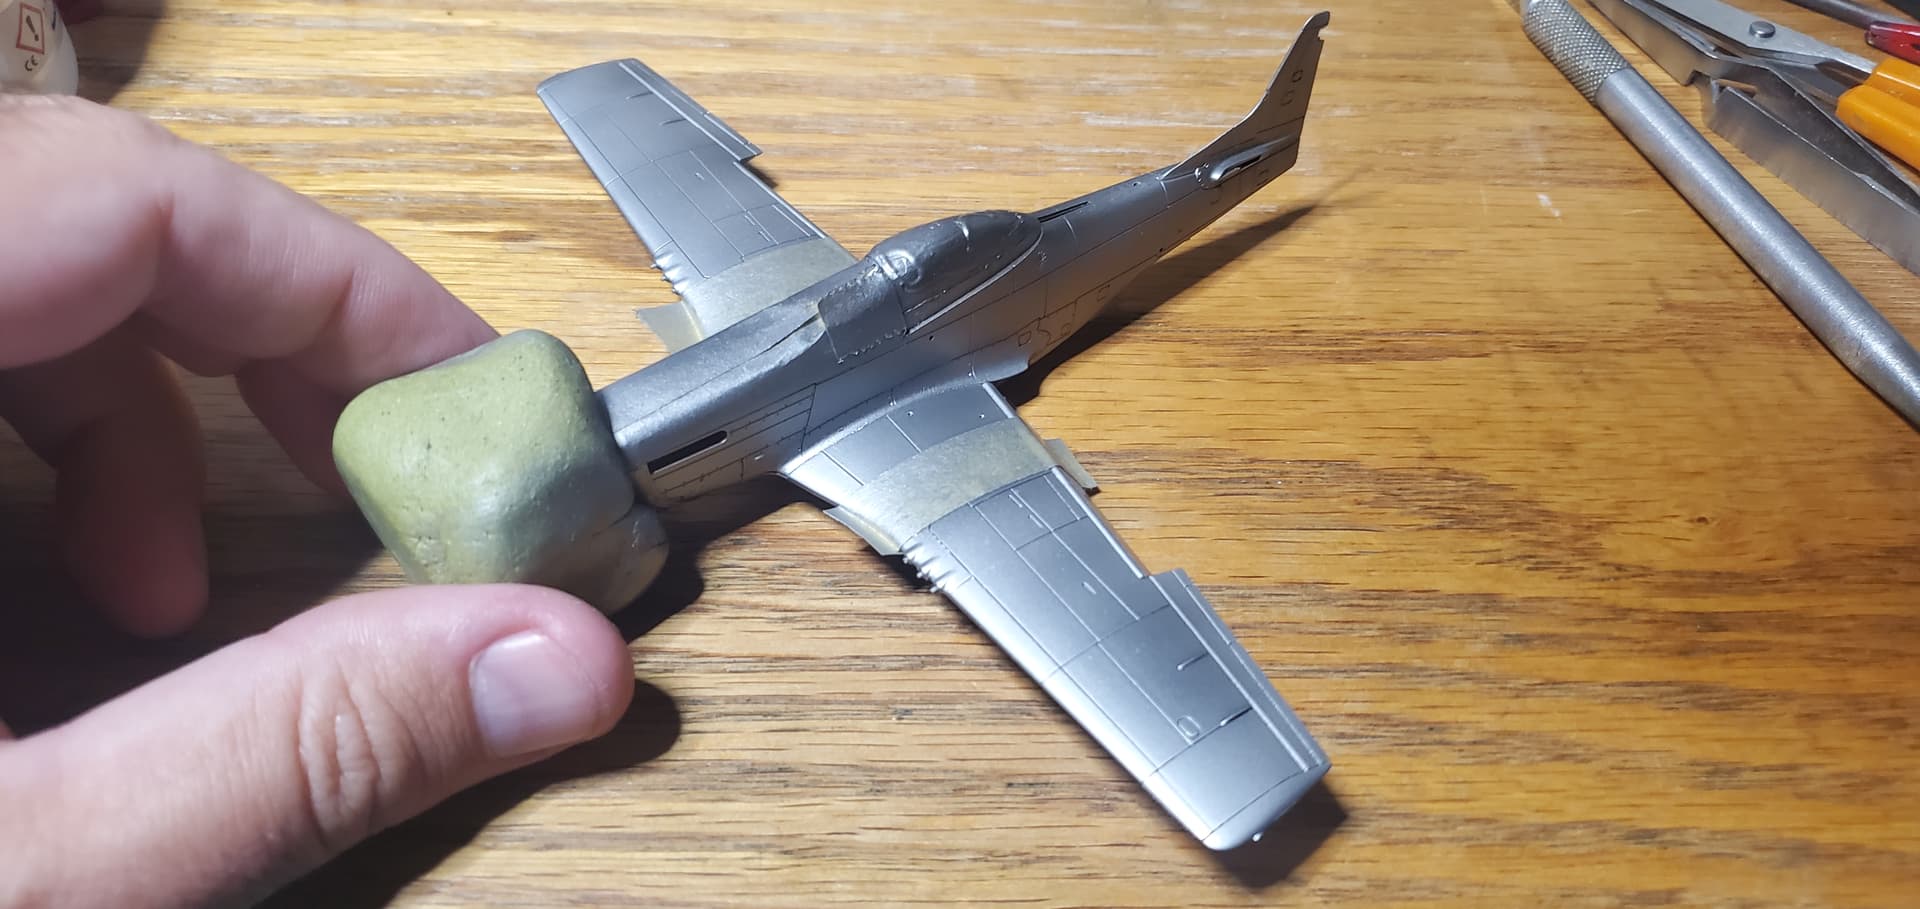
Unfortunately i discover a sizable spot that got missed when i moved some of the gear bay mask to attached the out gear doors. So this required repriming and painting that spot. After that I masked off the stripes.
Then came masking and painting the ailerons dark aluminum. This was all the work I was able to do on the fuselage today. Do plan to mask off a couple more panels for a little more variety and visual interest.
Following the last post and in an effort to make sure I dont have to rush the finish i decided to not do any additional panel difference and just start unmasking. Thankfully i did as i did find some issue.
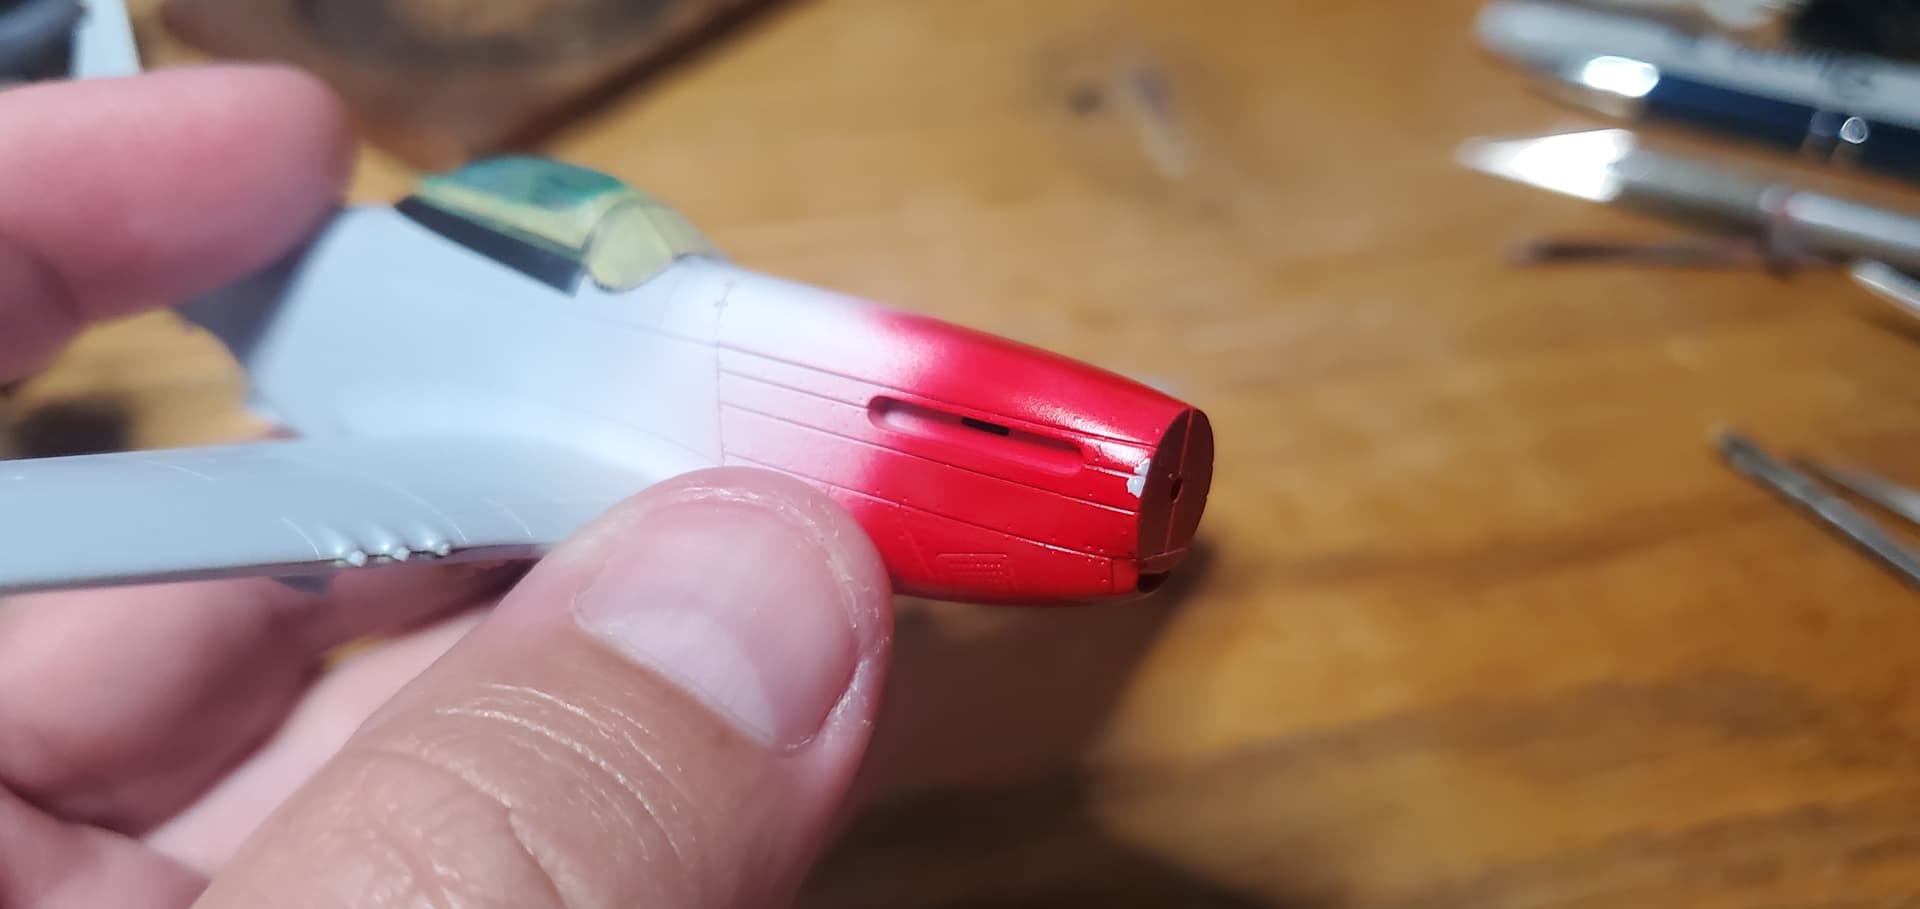
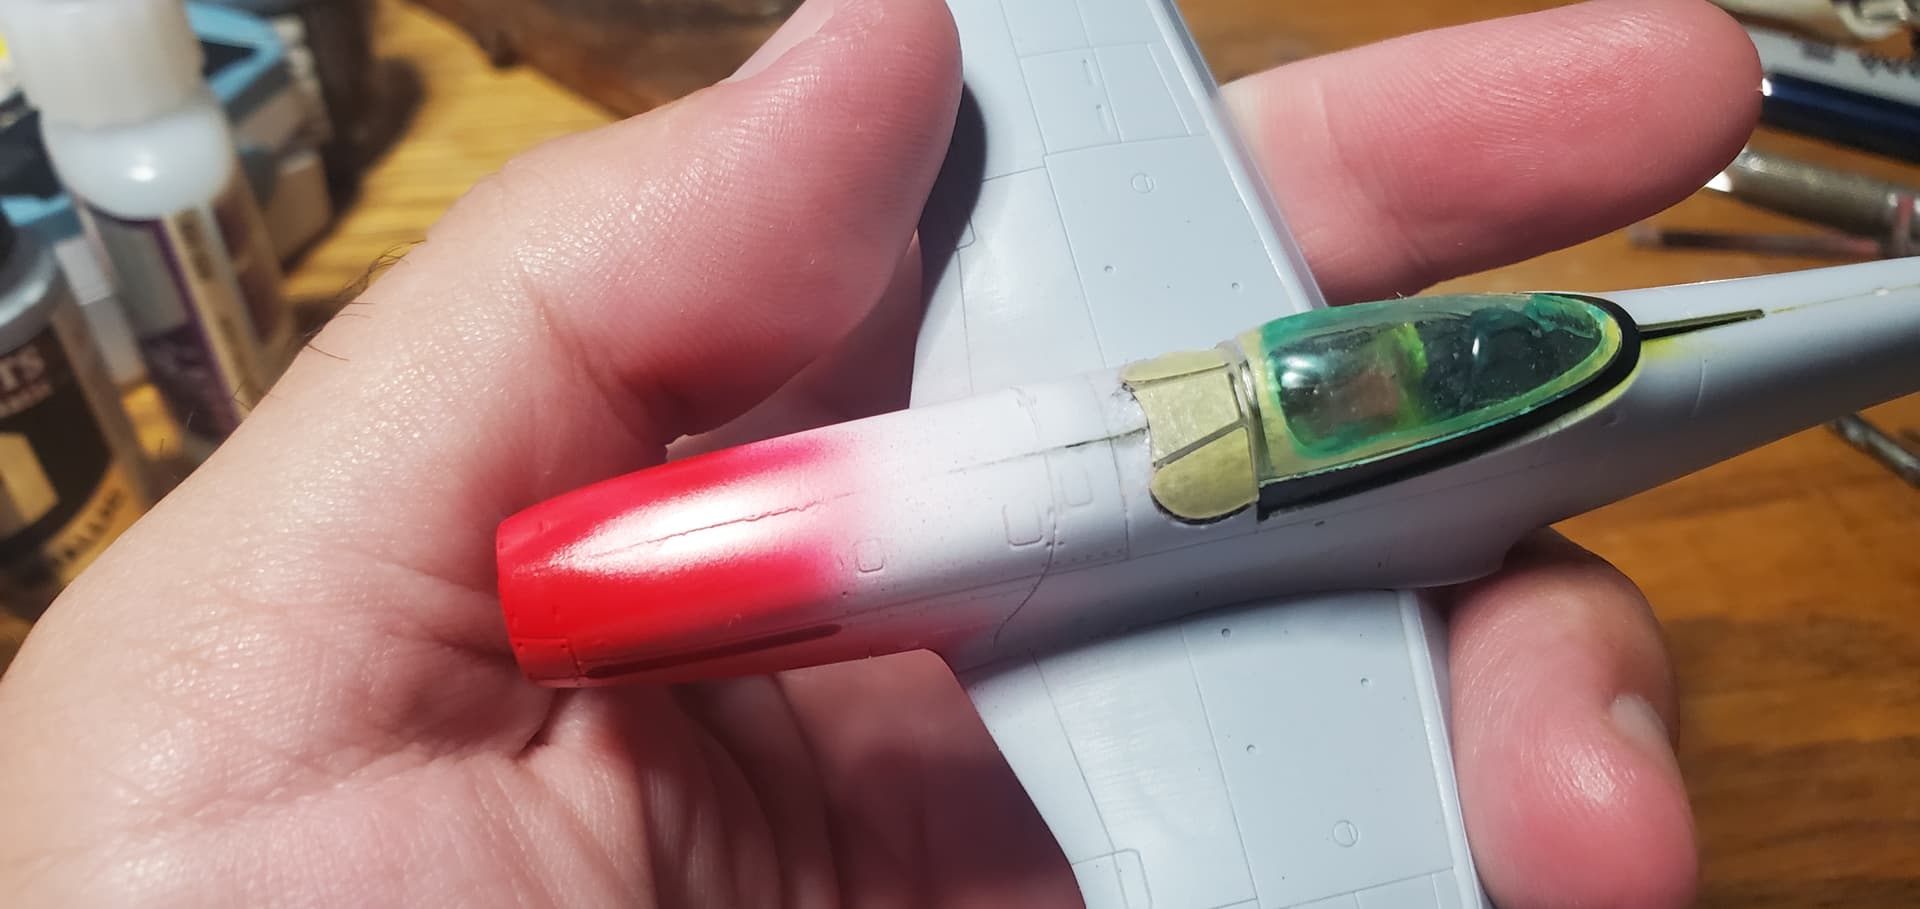
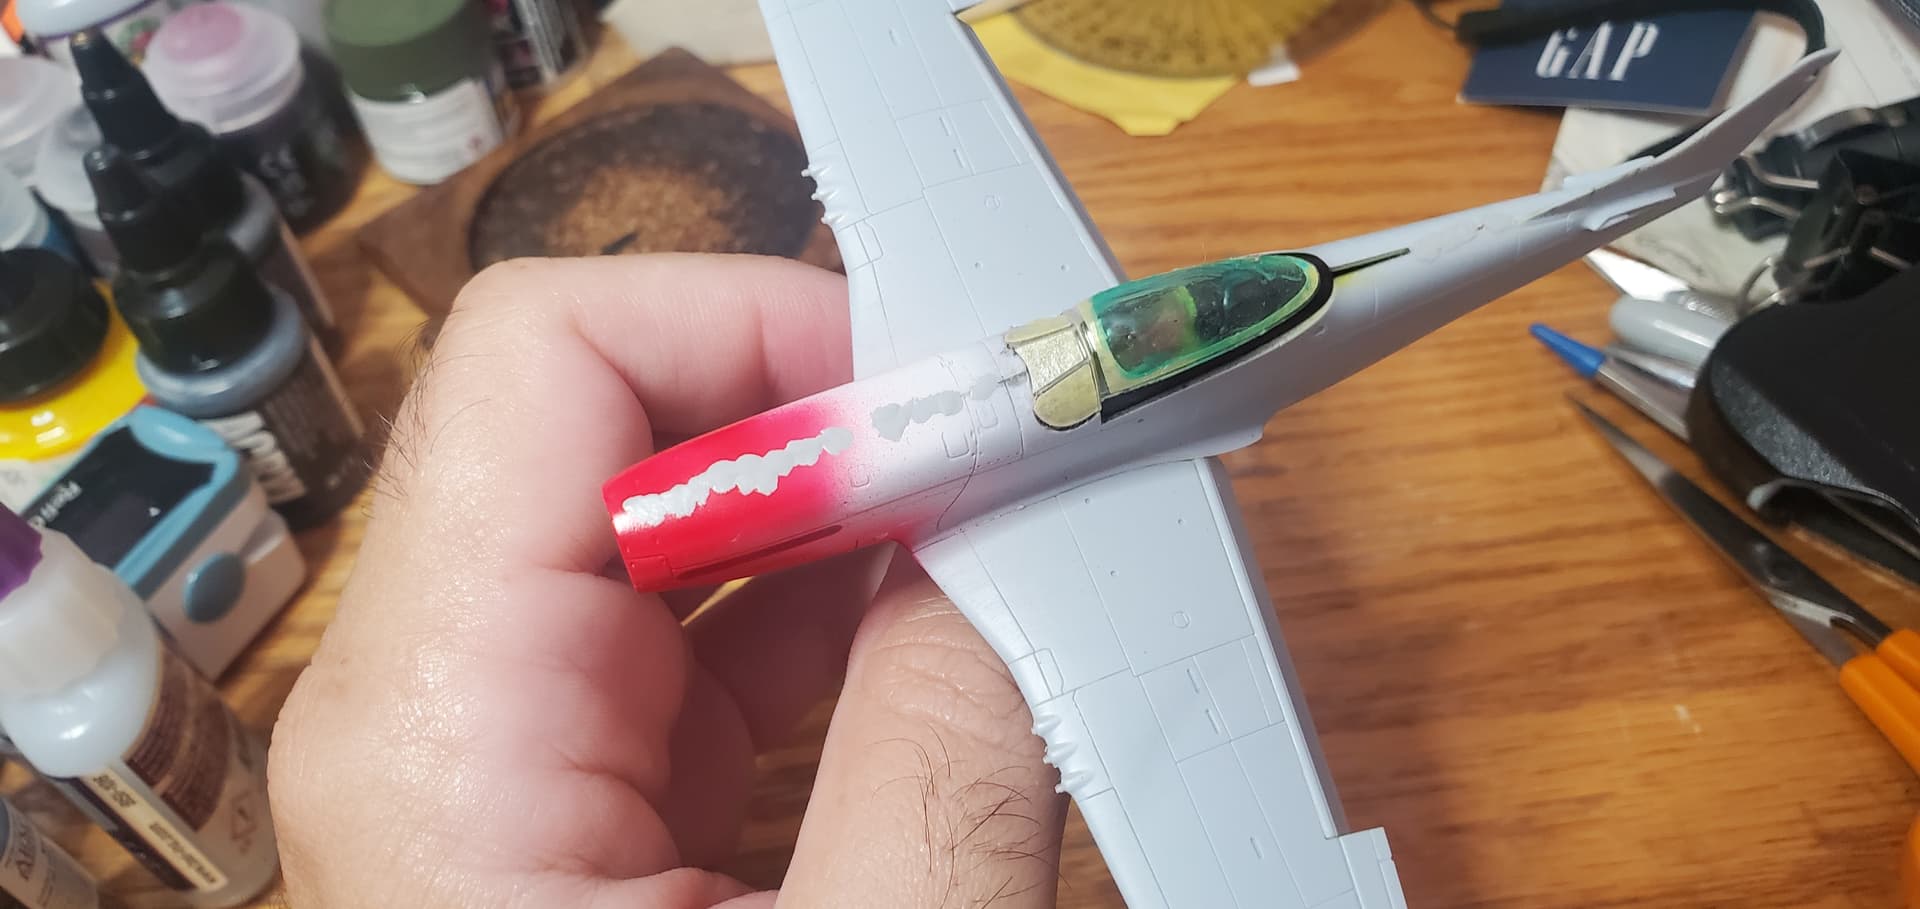
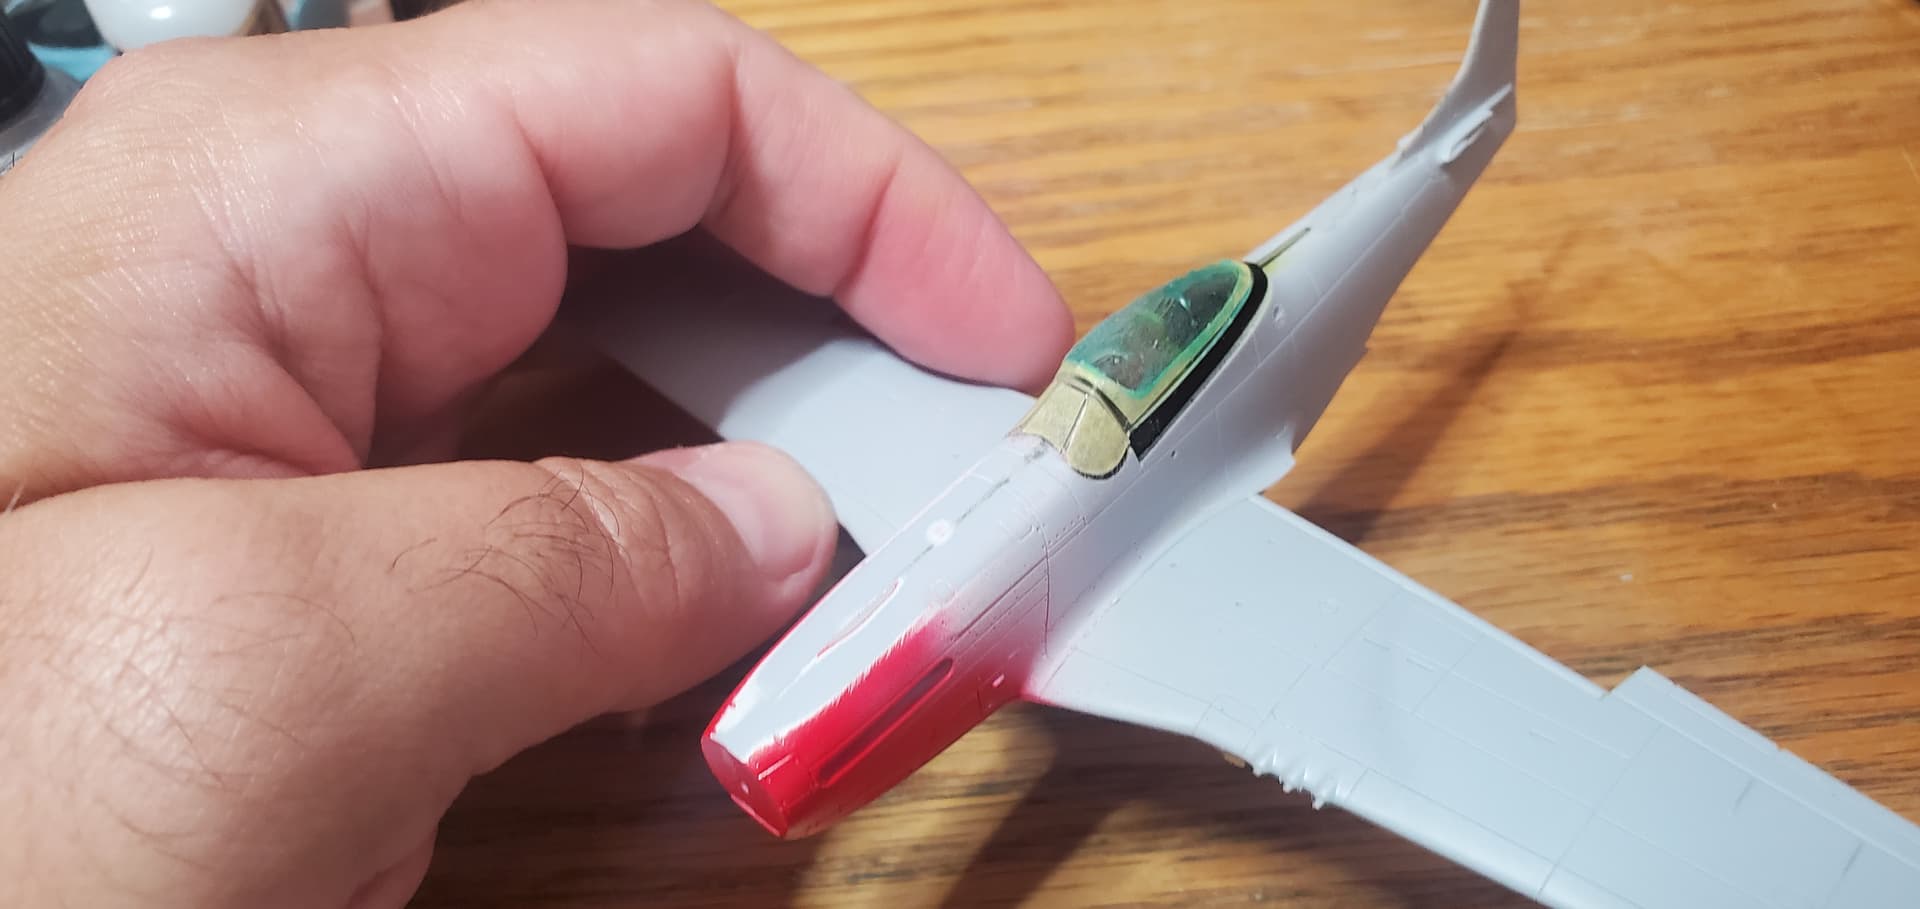
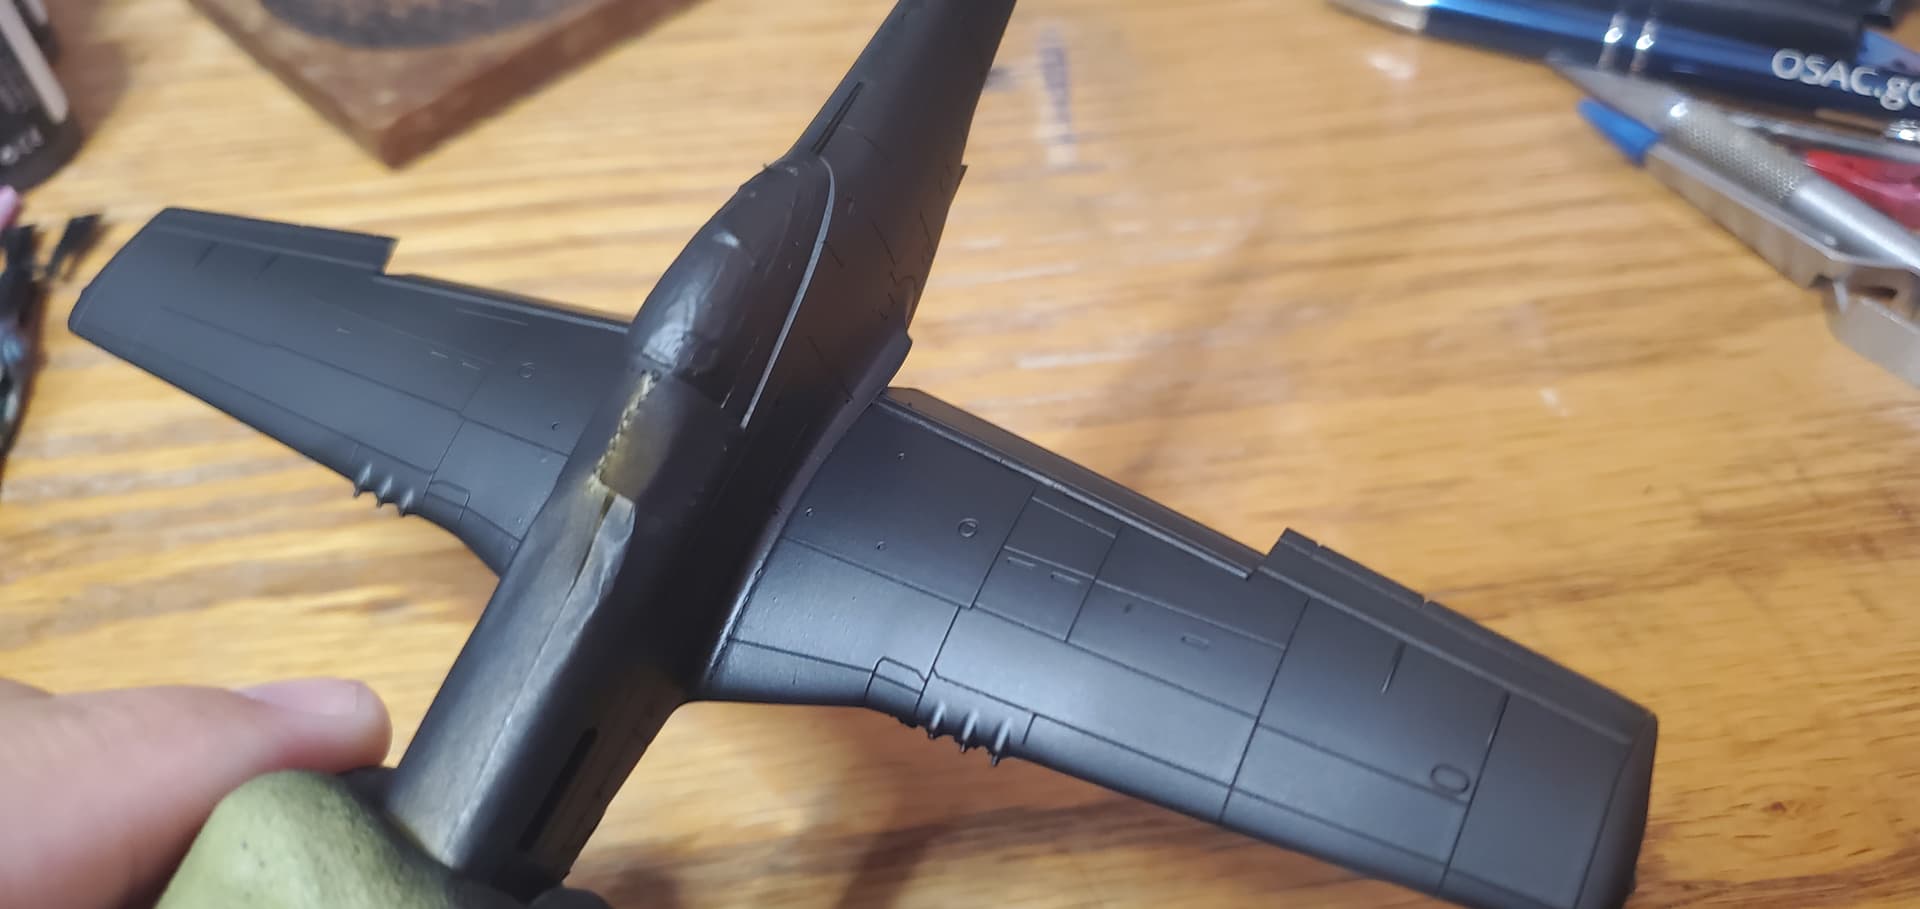
Biggest of these issues was the red nose. One of the sides was way off, and needed a correction. Not pictured but i also discovered along the back spine i had for got to sand down the filler. A quick fix but one im glad i caught.