Actually this build has been underway since last winter but I took a long break in between. My mojo came back this autumn and now that I can see the light at the end of the tunnel I thought I would create my first ever FSM WIP thread and share. Over the next few days I’ll post everything I’ve done so far and then add new posts to the thread as I continue.
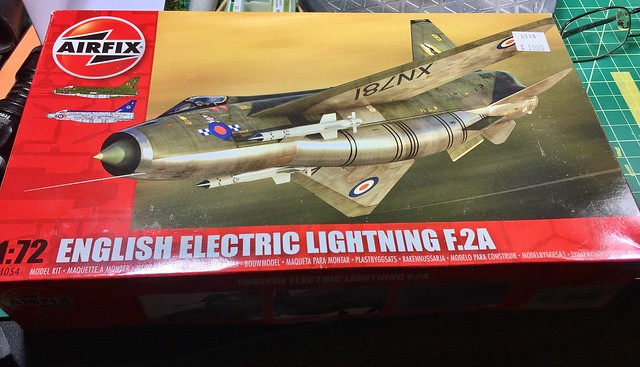
Here’s the box top if you’ve never seen the kit before. Don’t know why I bought the kit to be honest. The a/c never really caught my eye before. I had been curious about the new tool Airfix stuff though
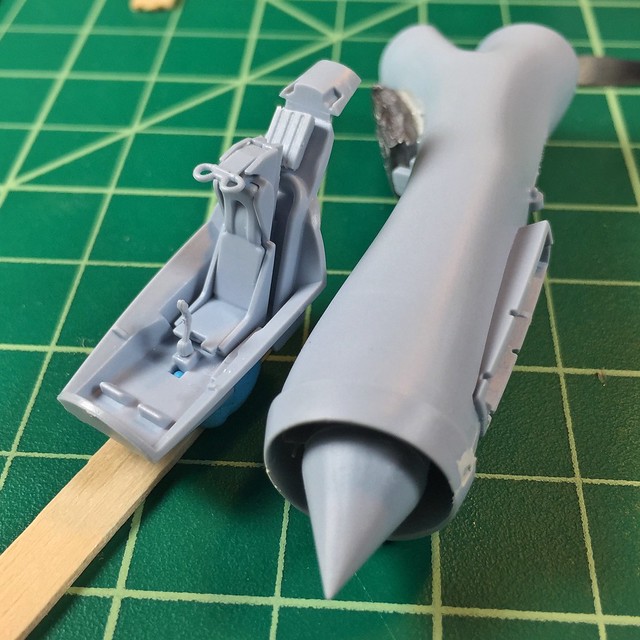
Here’s the intake trunking and the cockpit tub. Added some lead weight on the rear of the trunking to help keep her rear end off the ground eventually.
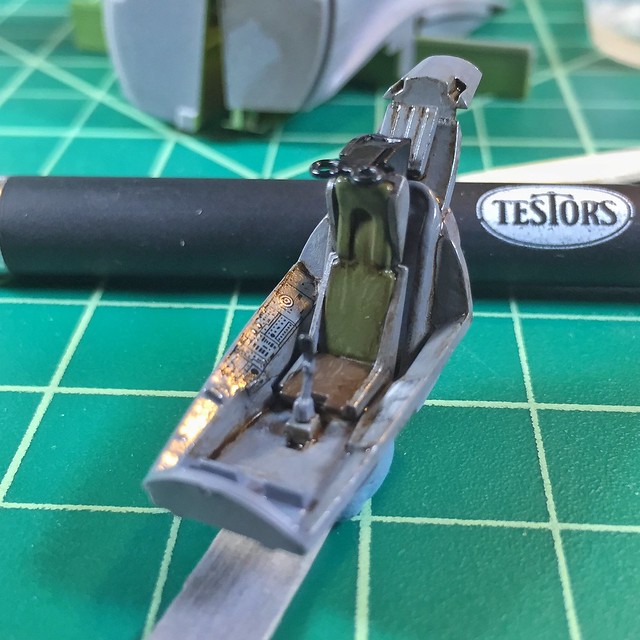
I added a couple of pairs restraints from Tamiya tape with Testors enamel Chrome paint to represent the hardware.
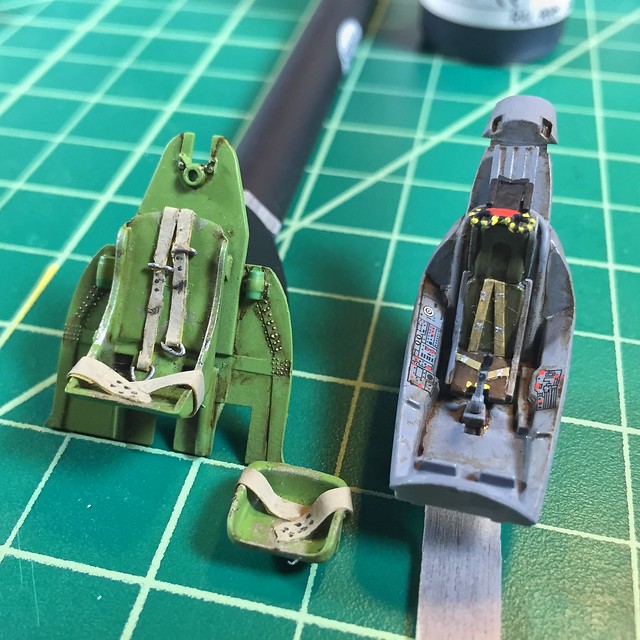
(The middle and left seats are to the 1/48 Accurate Miniatures SBD Dauntless that I was working on in tandem with the Lightning. That project is on hold at the moment but I will be returning to it at some point)
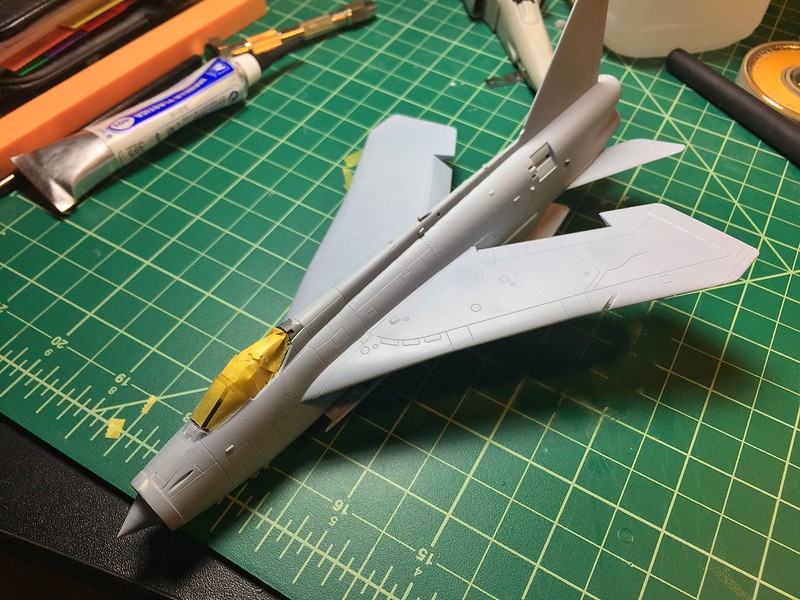
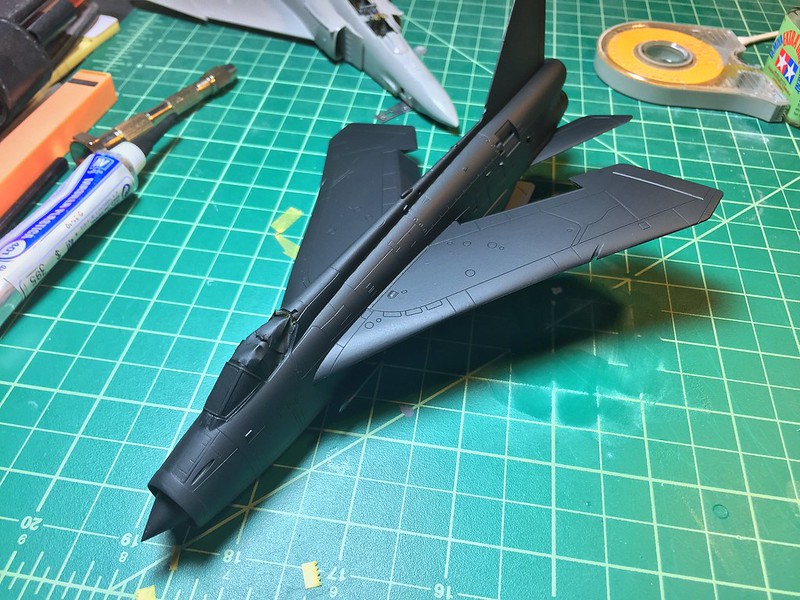
Leaping ahead… I got her all closed up, added the windscreen and masked the open cockpit. I also repaired a few panel lines along the spine in prep for the primer coat.
I chose Testors MM Acryl Ford/GM Engine Blue as a close scale match to the blue color. Its really a beautiful color and sprayed great through the airbrush with a little thinning using the MM Acryl airbrush thinner. The color is pretty close to my eye though maybe SLIGHTLY brighter than the color on the real thing. As is going to be the case throughout this build, close is just fine by me.
Its been 30 years since I have been able to actually complete a build so I’m not going to obsess over minor hickups, etc. I NEED to get this done.
This will be my first big boy attempt at a natural metal finish (NMF). I chose the AK Interactive Xtreme Metals line of paints. I was VERY pleasantly surprised at how easy they were to use and clean up. Here is an overall coating of the AK Xtreme Metals Polished Aluminum. I wasnt thrilled with the finish but that was completely MY fault and not that of the paint.
My screw ups:
NMF over the satin finish of the Stynylrez instead of a high gloss finish
Sprayed with a .4mm needle in the H&S Infinity airbrush instead of the .2mm
Misted thin coats instead of one thin coat then a couple of heavier coats.
Anyway, as I said, I can live with it and moved on…
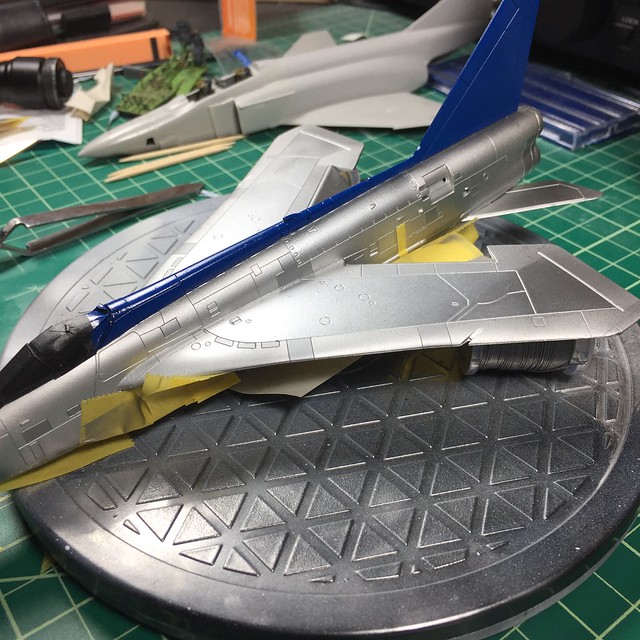
Then began the process of isolating a few different panels in different shades to make it look a bit more interesting
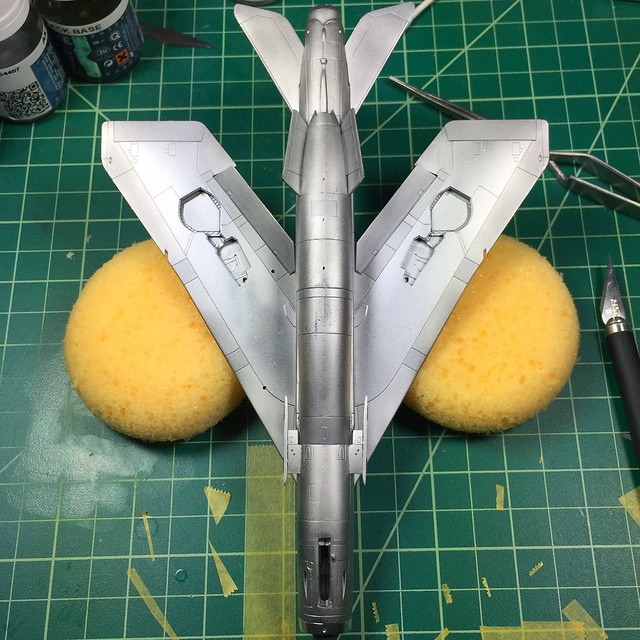
I chose to use the AK Xtreme Metals Aluminum on the central panels of the wings (tops and bottoms). Sprayed it heavier this time (and through the .2mm) and much happier with the look, though its layed over the initial flawed base layer… lumps and bumps and all…
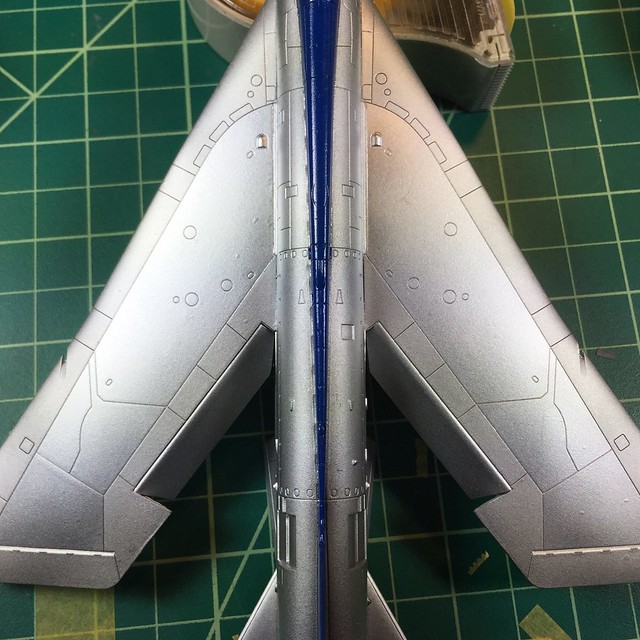
And here is the underside unmasked. I was hoping that there would not be too much contrast between the shades of aluminum. I wanted the suggestion of varying shades, not a patchwork.
A quick couple of observations here regarding the AK Xtreme Metals.
They spray GREAT and are pretty forgiving for ‘metalizers’.
They mask up beautifully with Tamiya tape that has been ‘de-tacked’ a bit. As you can see I did not spare the tape. No lifting AT ALL. ZERO. NADA. ZIPPO.
They WILL scratch easily and will wear off areas that get handled alot or rub up against your work surface, etc. Use caution with sharp implements
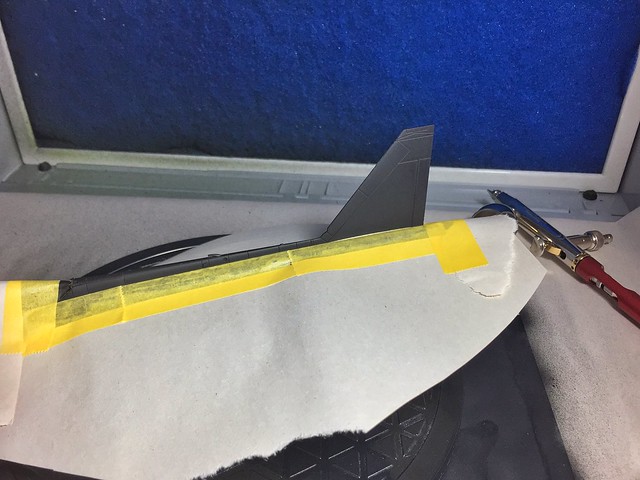
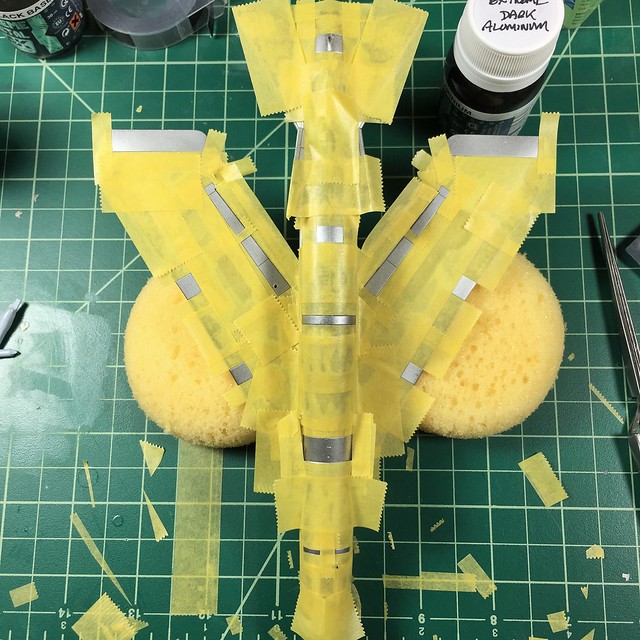
So then it was time to flip her over and mask off some panels on the tops of the wings and the sides of the fuselage for AK Xtreme metals Dark Aluminum. I ended up with LOTS of itty bitty panels so I used a sharpie to mark all the little places that needed some dark aluminum love
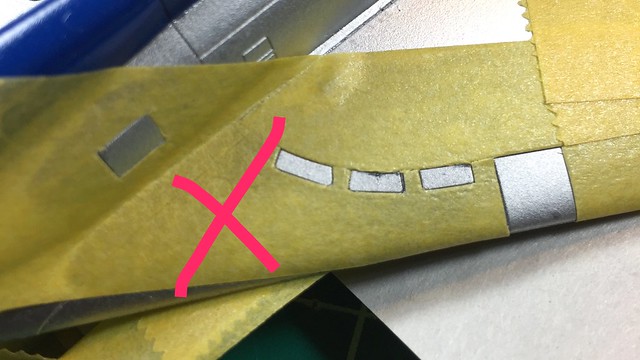
A lesson learned regarding masking of these small panels. I initially tried to get away with using one large piece of tape over 3 or four panels and then went back with a sharp blade to cut out the individual panels. I hoped this would save me time, effort and tape. It ended up being messy. The edges were not crisp and I scratched the finish in a few spots…
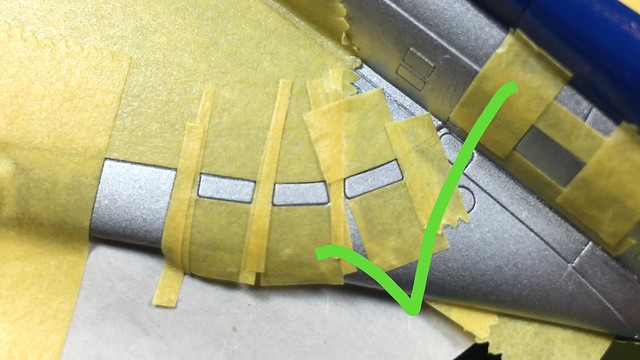
Realizing the errors of my ways, I switched went back to the tried and true method of cutting pieces of tape into small strips and then using those strips to outline the smaller panels before filling in with larger pieces of tape. The results, though more time consuming, we MUCH better. I was able to be more precise with the masking creating cleaner outlines to the panels and causing NO damage in the process. And I actually found it relaxing. Kind of like doing a jigsaw puzzle.
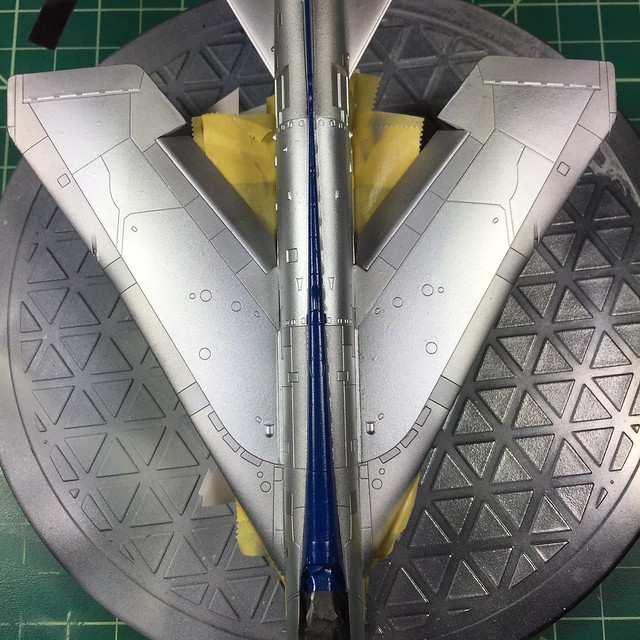
And here she is with the topside masks removed. All done with the various panels on top. Just have two big panels on the belly that I’ve decided I’d like to shade in Duraluminum or Titanium, and then its on to finishing up the little bits like the Firestreak missiles and the landing gear before a clear coat and decals!
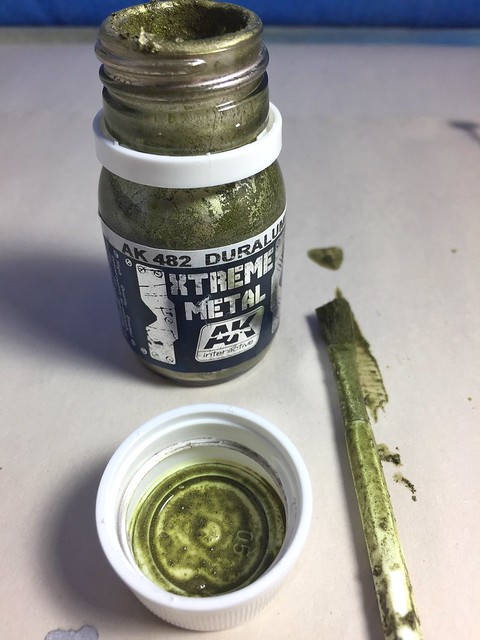
I’ve hit a bit of a snag. I cracked open a bottle of AK Interactive Xtreme Metals Duraluminum and found something wasn’t right. It had clumped significantly, would not stir or mix and had a decidedly greenish hue. This was a fresh, unopened bottle that had been purchased last spring. Figuring I had gotten a bad batch (it happens), I ordered a replacement bottle. I got it about a week later. Upong opening the new bottle I found it had suffered the same fate. Ugh.
This is a photo of what it looked like. Note the clumped paint and the greenish color. Almost looks like algae!
I have contacted AK Interactive and they were very receptive and apologetic. They tell me they have shipped a replacement to me. I expect with Christmas shipping delays it may take a little while to arrive.
I thnk I will move on to the teenie tiny missiles while I wait
Airfix best kit ever, in all scales. I like that small detailed cockpit work. Don’t be afraid to lightly sand the rough paint areas with some fine sandpaper and do some touch ups. Very good paint and masking though overall!
That looks really nice! The NMF came out well. I think that will be the paint I will try when I am ready to be a big boy and paint NMF. It can’t be too fragile if you can mask it.
 Untitled by Ted Scalemodeling, on Flickr