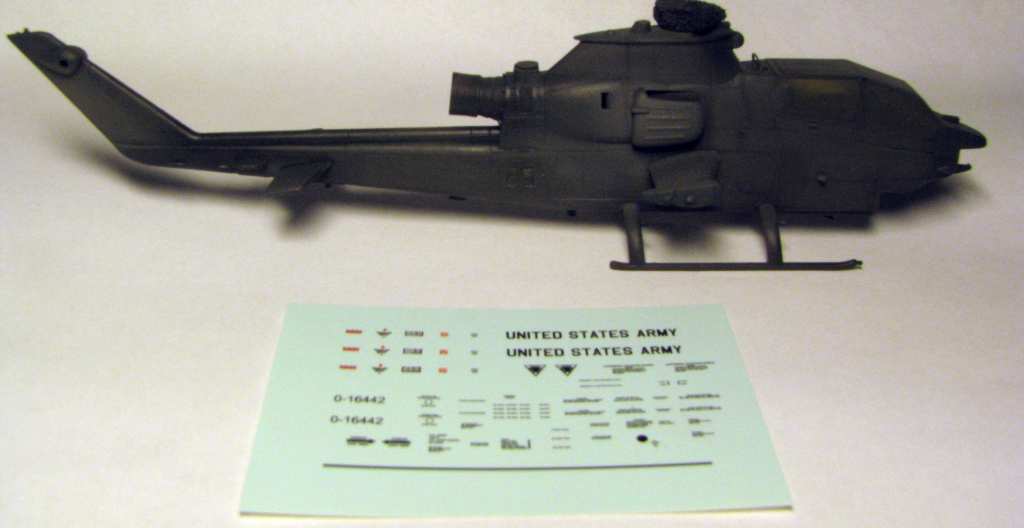
I intend to build it as a Vietnam-vet with further modifications in one colour US Army paint scheme. I secifically mean this baby currently on display in South Plainfield:
… just without all the bad things they did to it’s last original Army paint job…
The machine is 69-16442 - it served in Vietnam with the D Troop 227th Assault Helicopter Batalion.
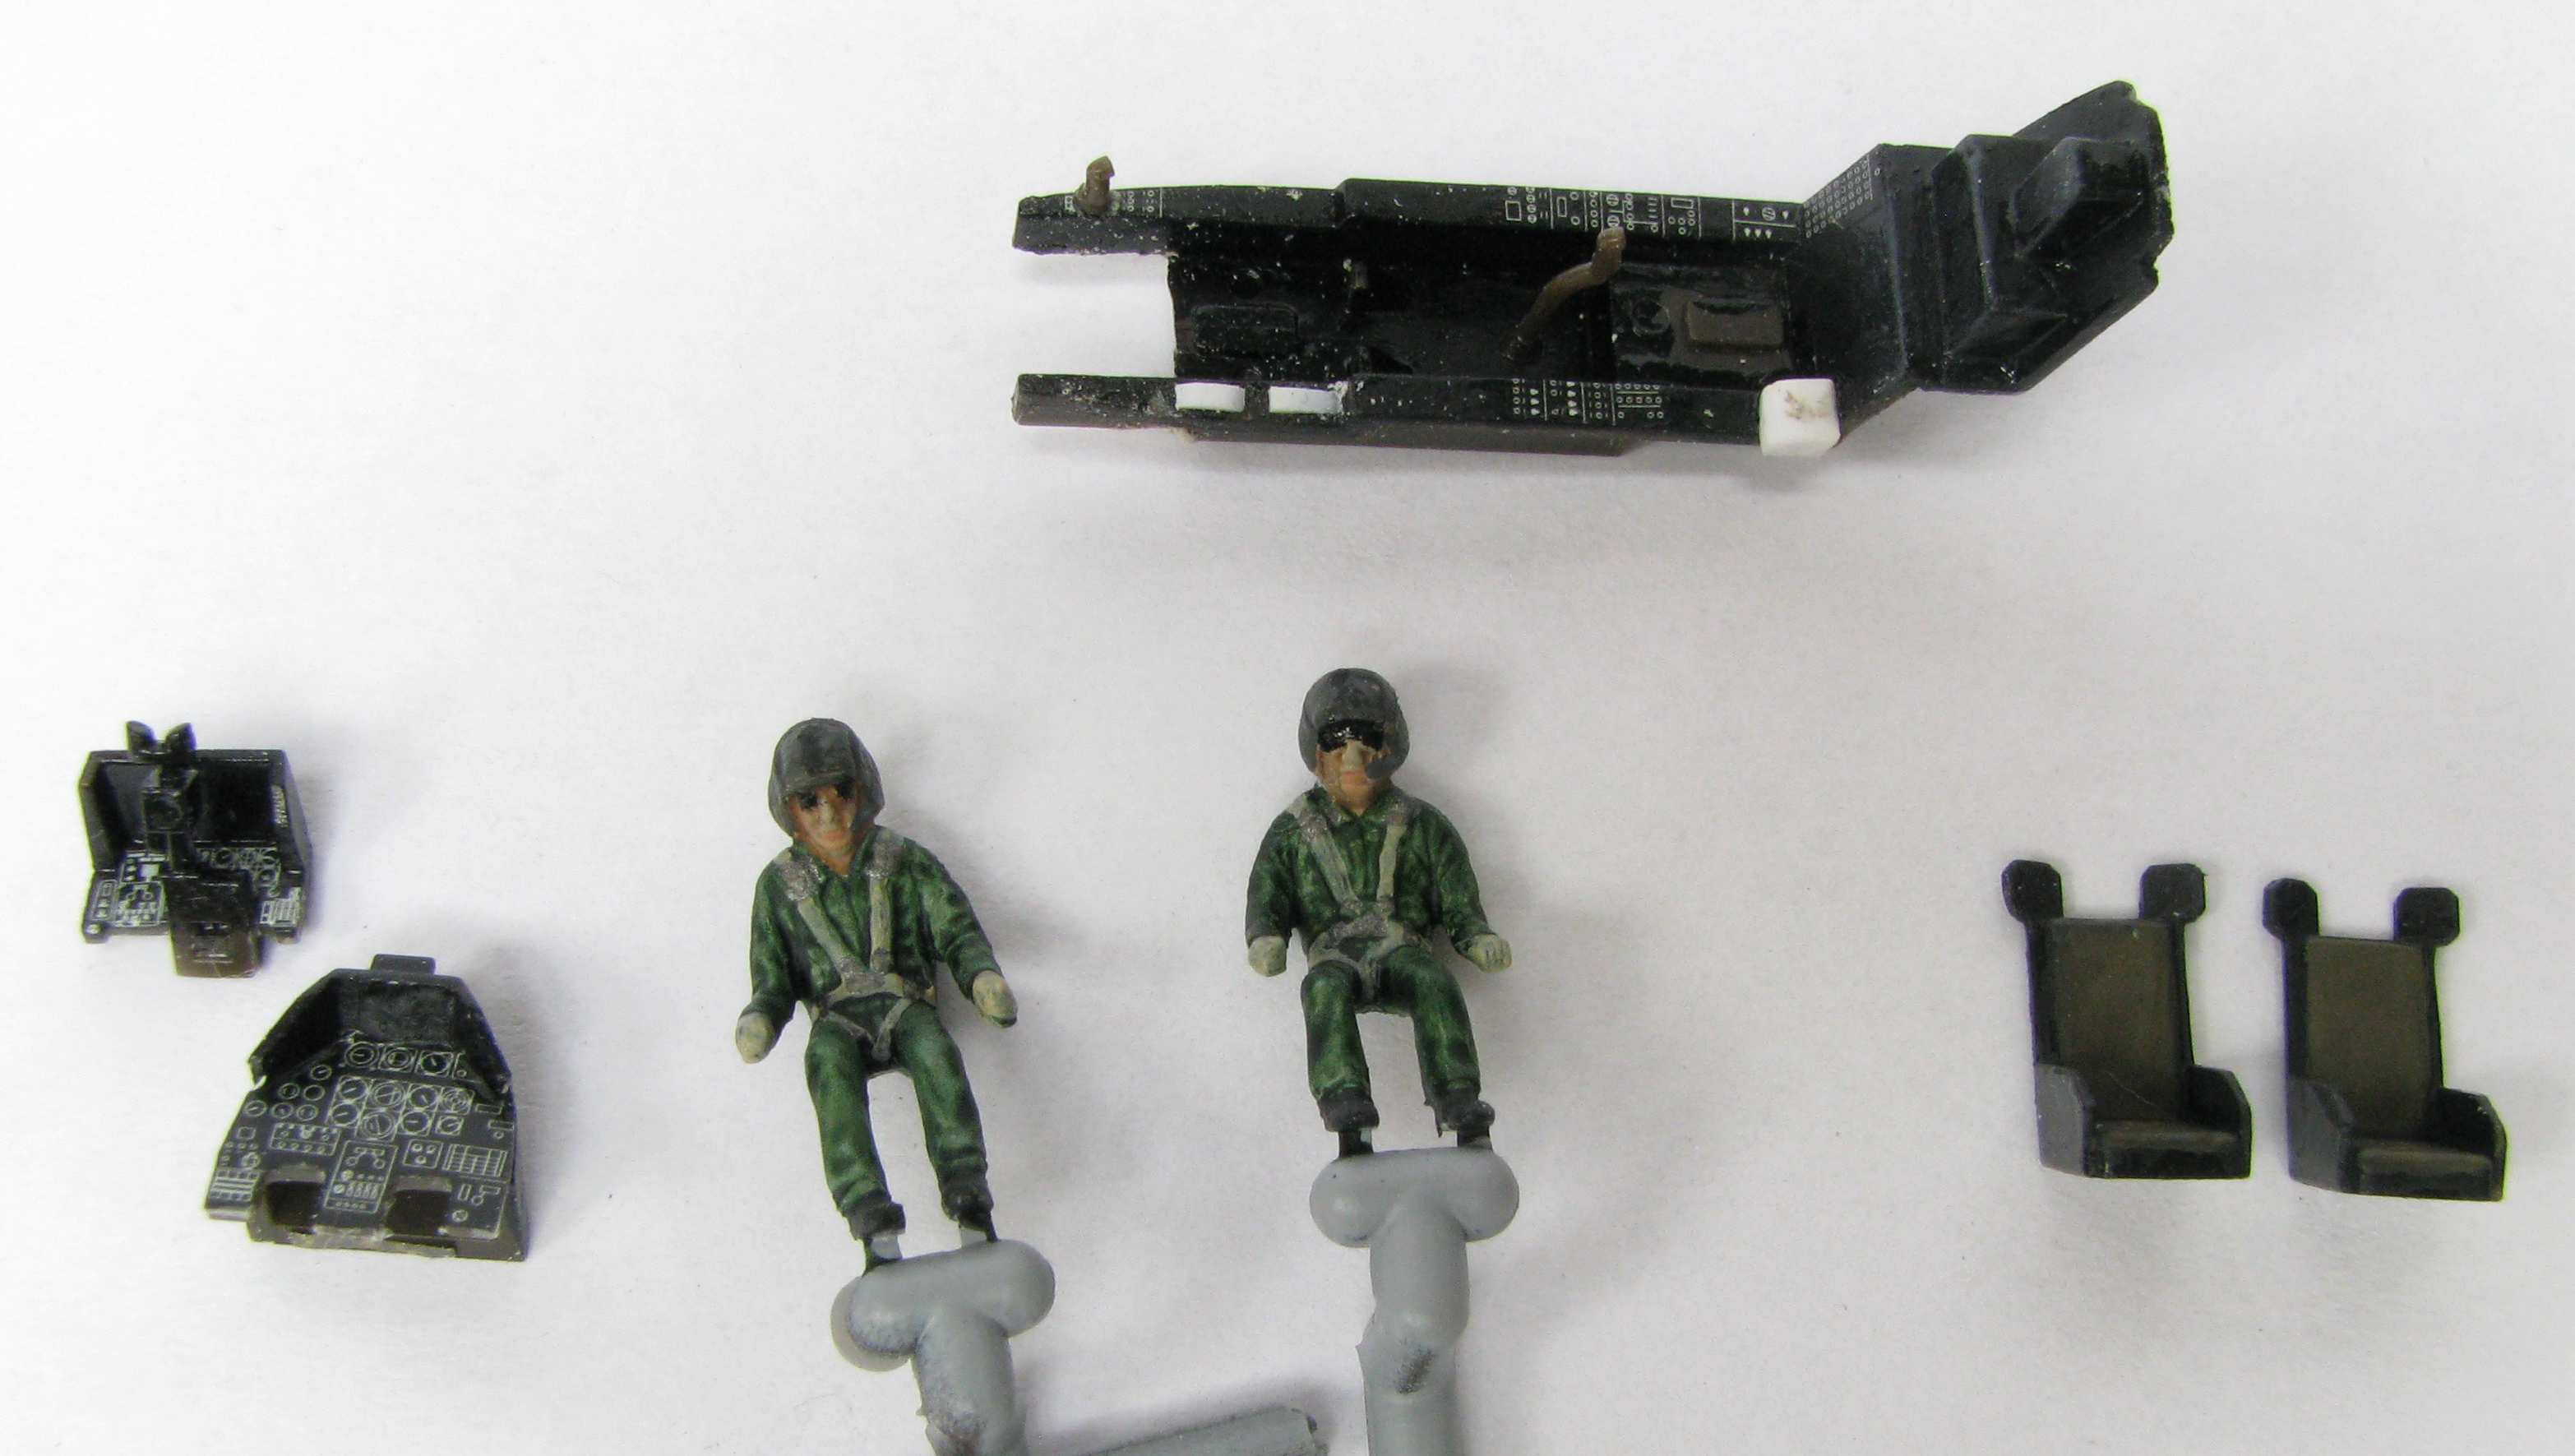
The kit itself has a beautiful surface with those delicate panel lines and rivets/fasteners, but it starts showing its age with some flash and the simplified cockpit typical for Hasegawa…
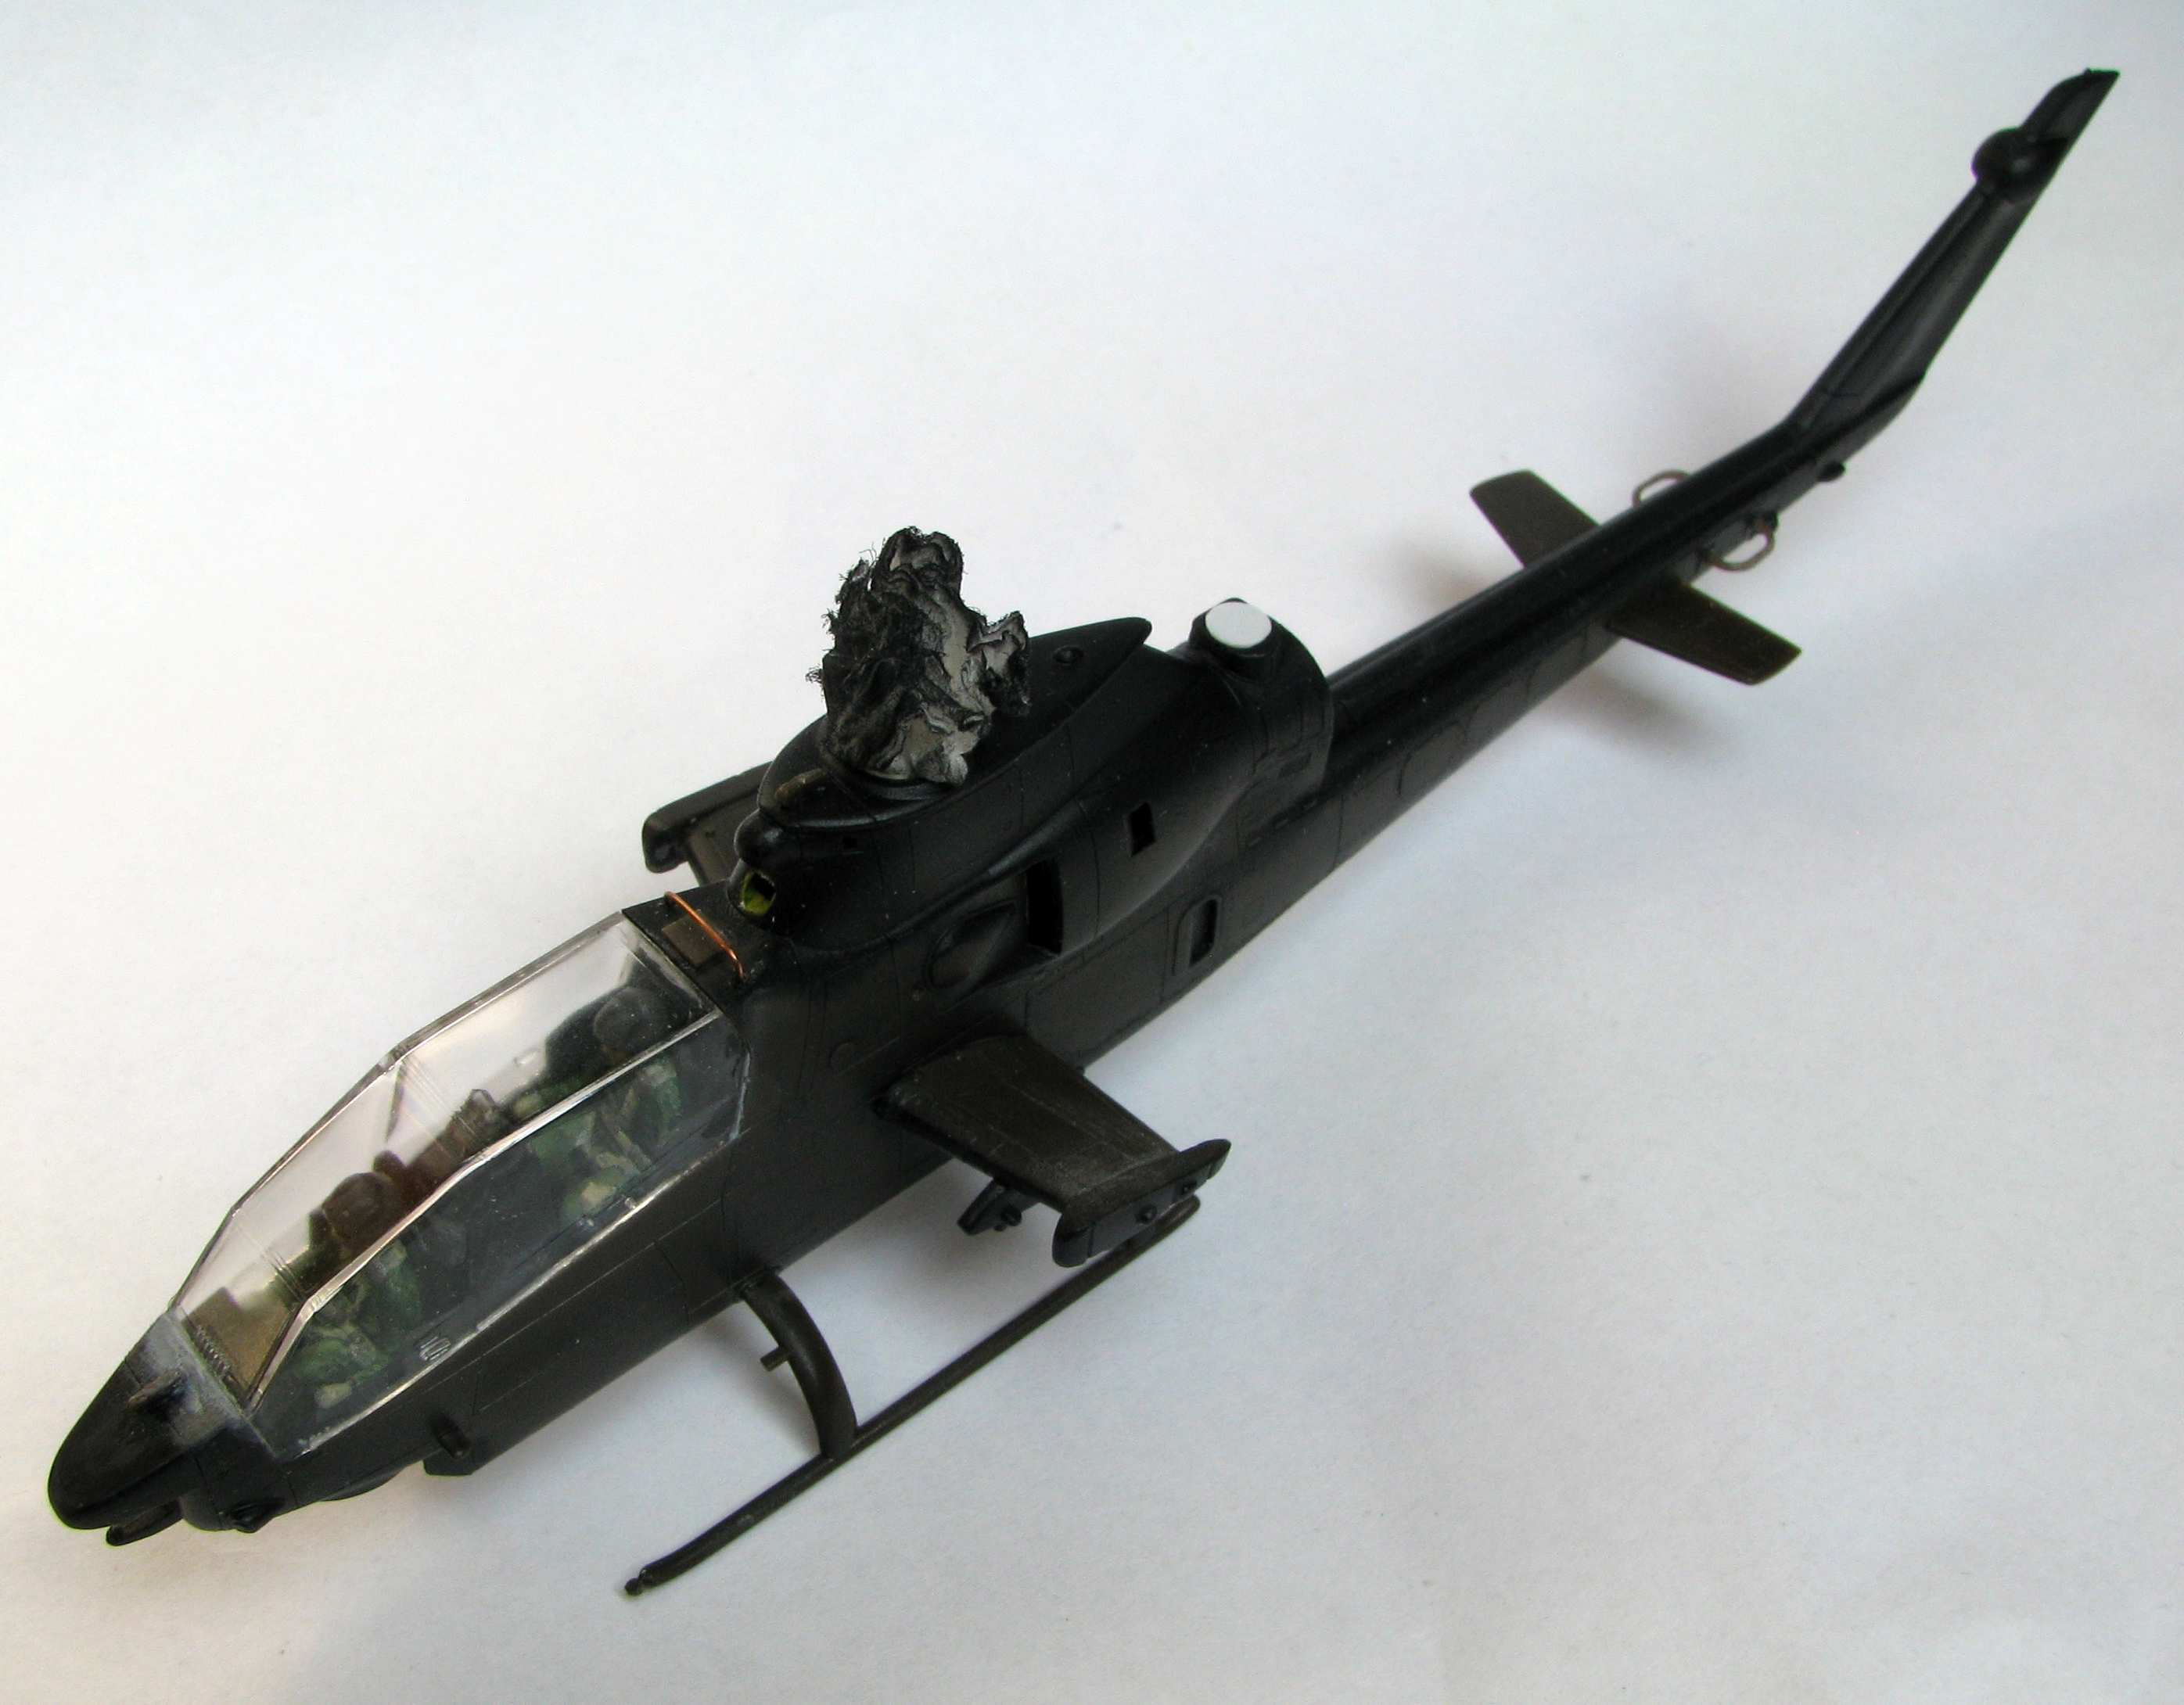
While I’m not planning to go bananas here (is anybody PLANNING to go bananas?), I just can’t let my baby be withot the CYCLIC stiks! A gaping hole under the gunners feet is a no-no, too. Here’s what I have so far:
The only correct enamel Helo Drab Green I know is by Testors Model Master. I don’t know if you can get them anymore though since the MM paint line has been cancelled.
Gino - in the oldest hobby shop in my home town I managed to find a bottle covered in moss and cobwebs with Testors 2024 in it…
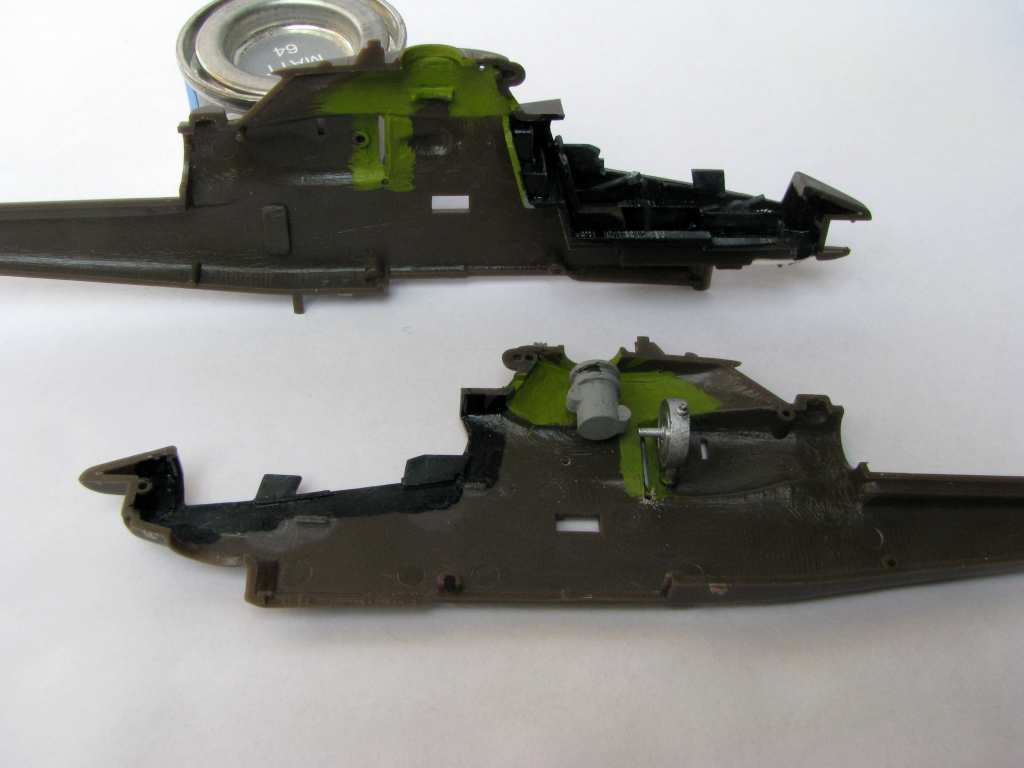
Now I’m ready to close the hull up - I scratchbuilt the collectives, painted some of the engine bay with custom mixed Zinc Chromate, glued in the tranny and fake turbine. I also drilled out the holes needed to mount the intake air diverters. Now I’ll just close up the hull - I just have to remember to put in the poly cap for the tail rotor…
Agree totally. While the new attack helicopters may have more goodies the Cobra holds a very special place in my heart. It just has that "I’m gonna get ya"look to it.
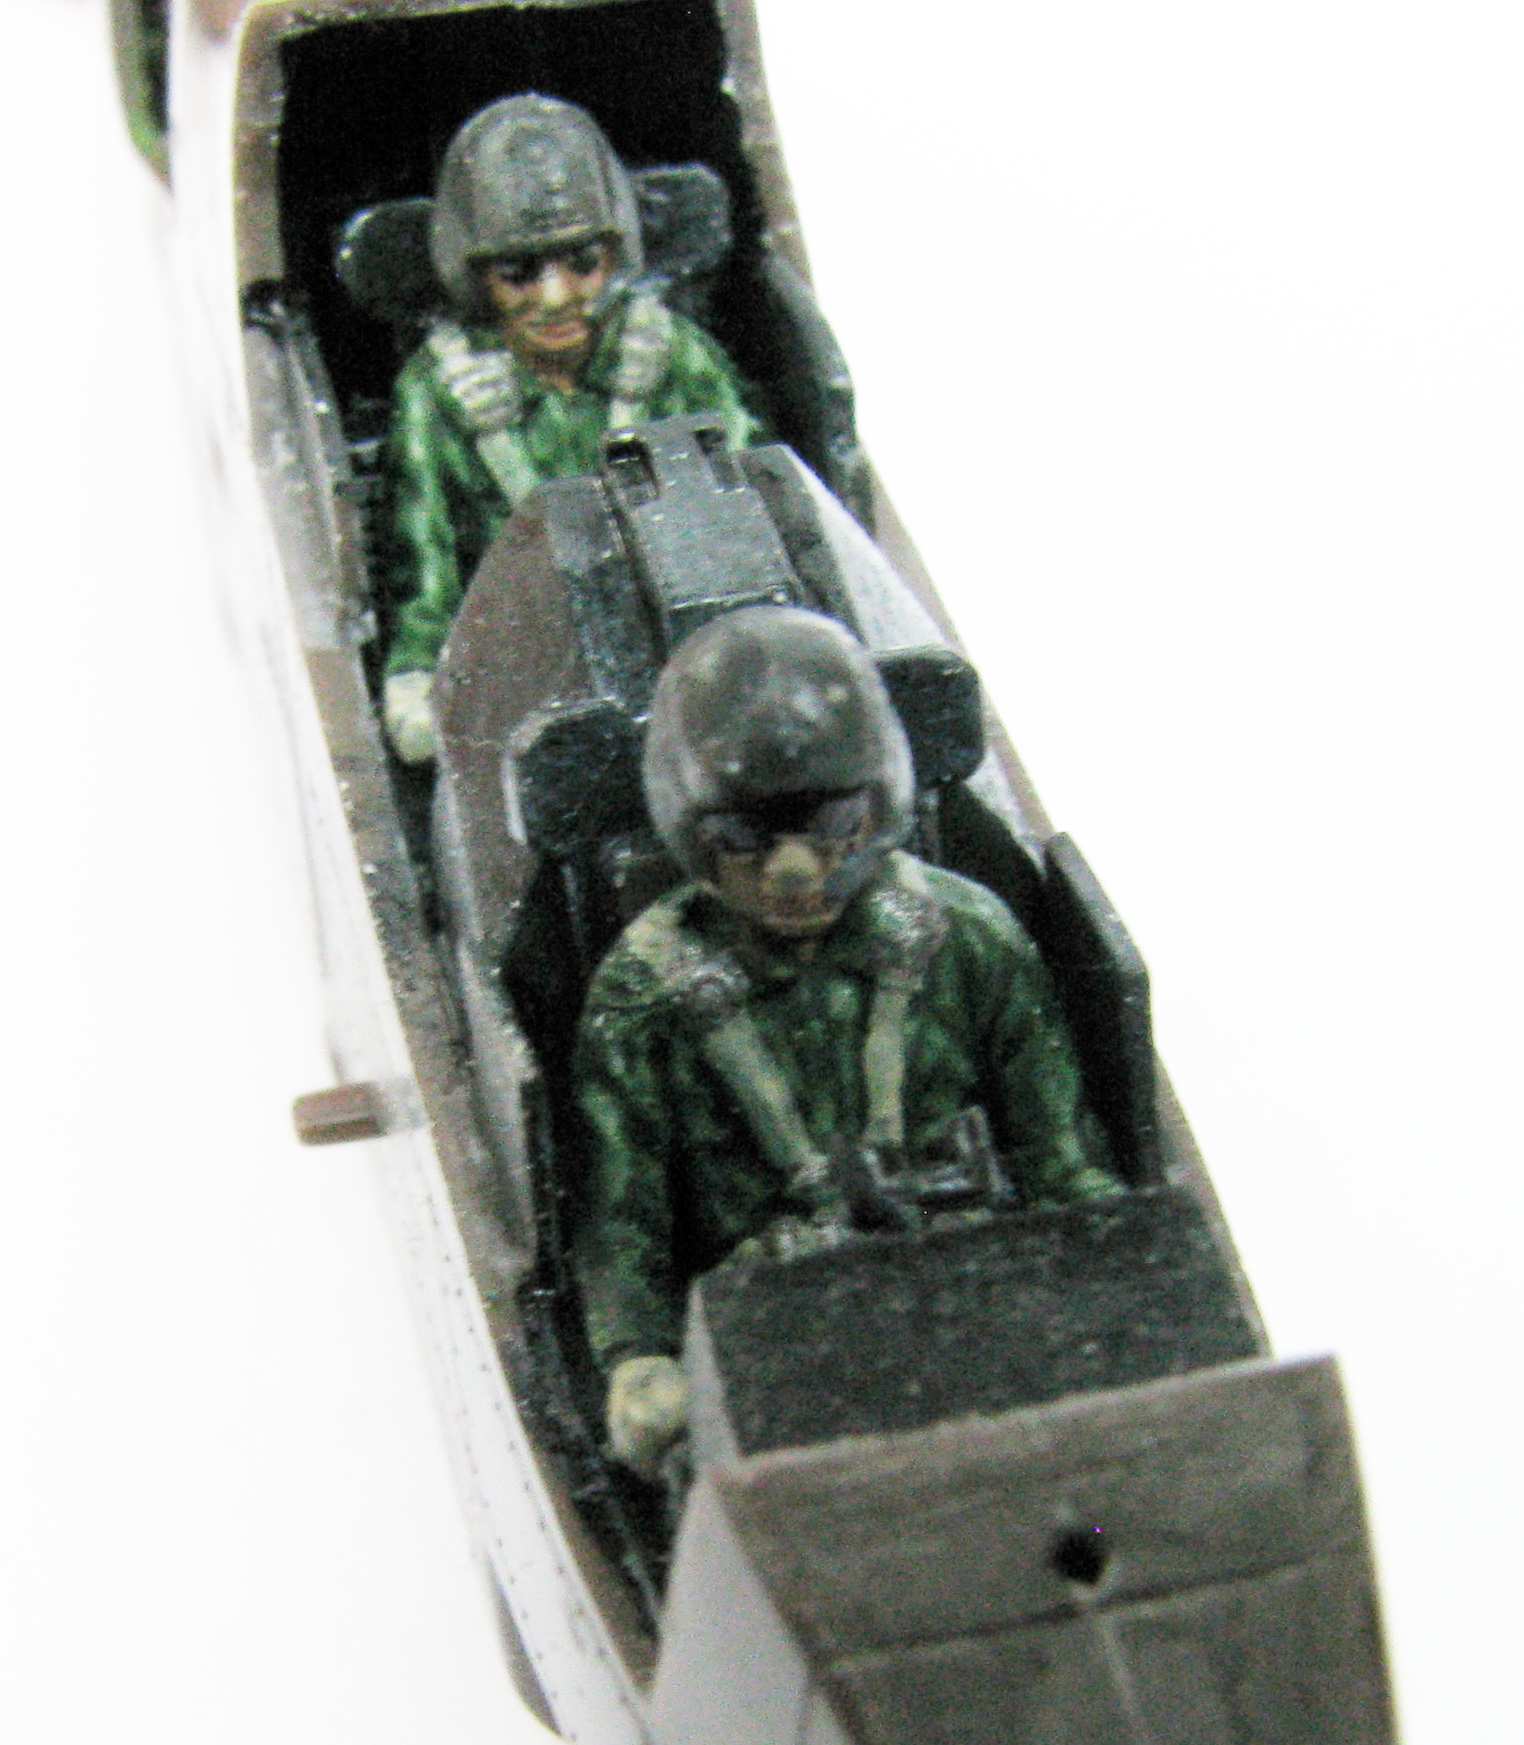
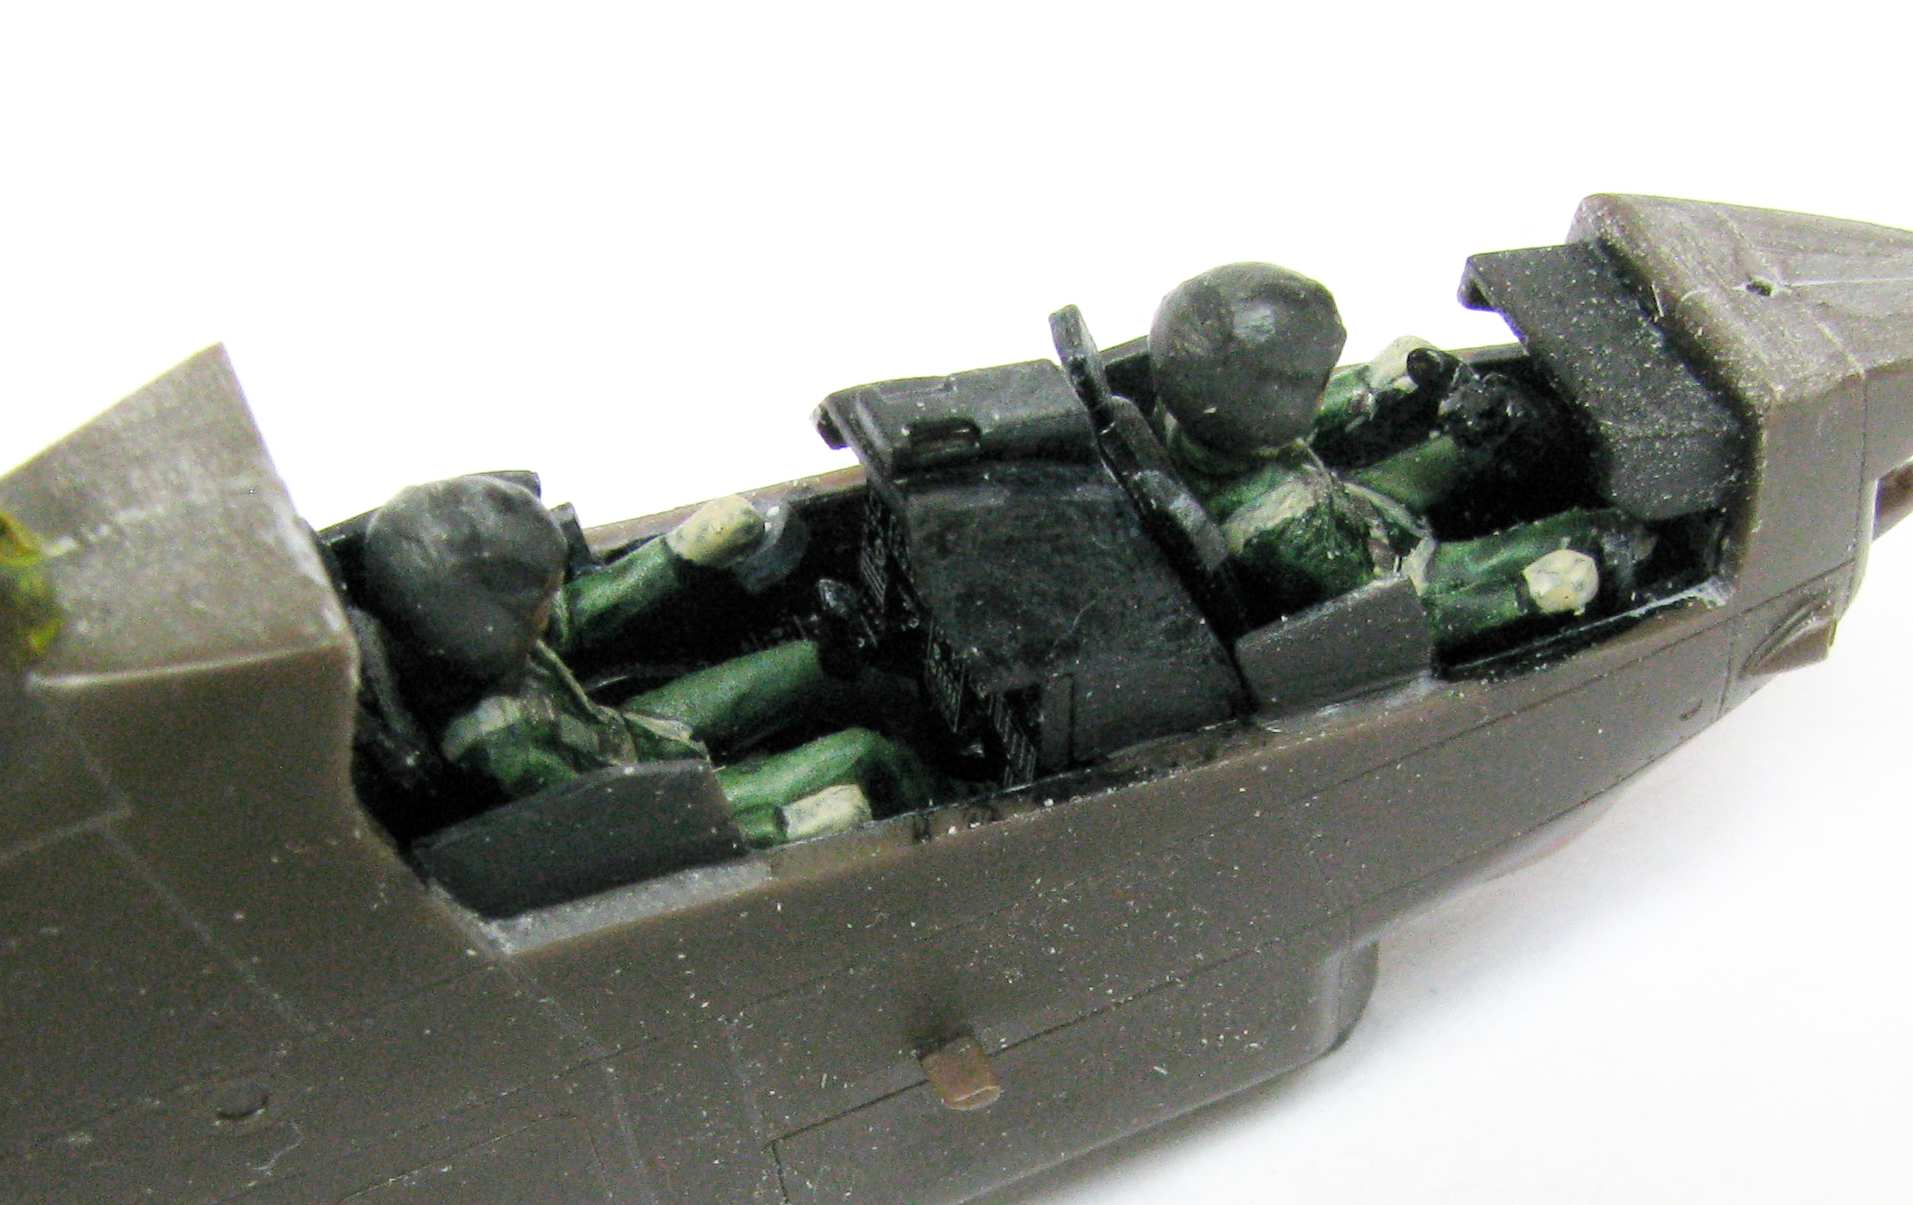
Mongoose - thanks a lot for your comment! I was happy to have something like faces on those tiny boys!
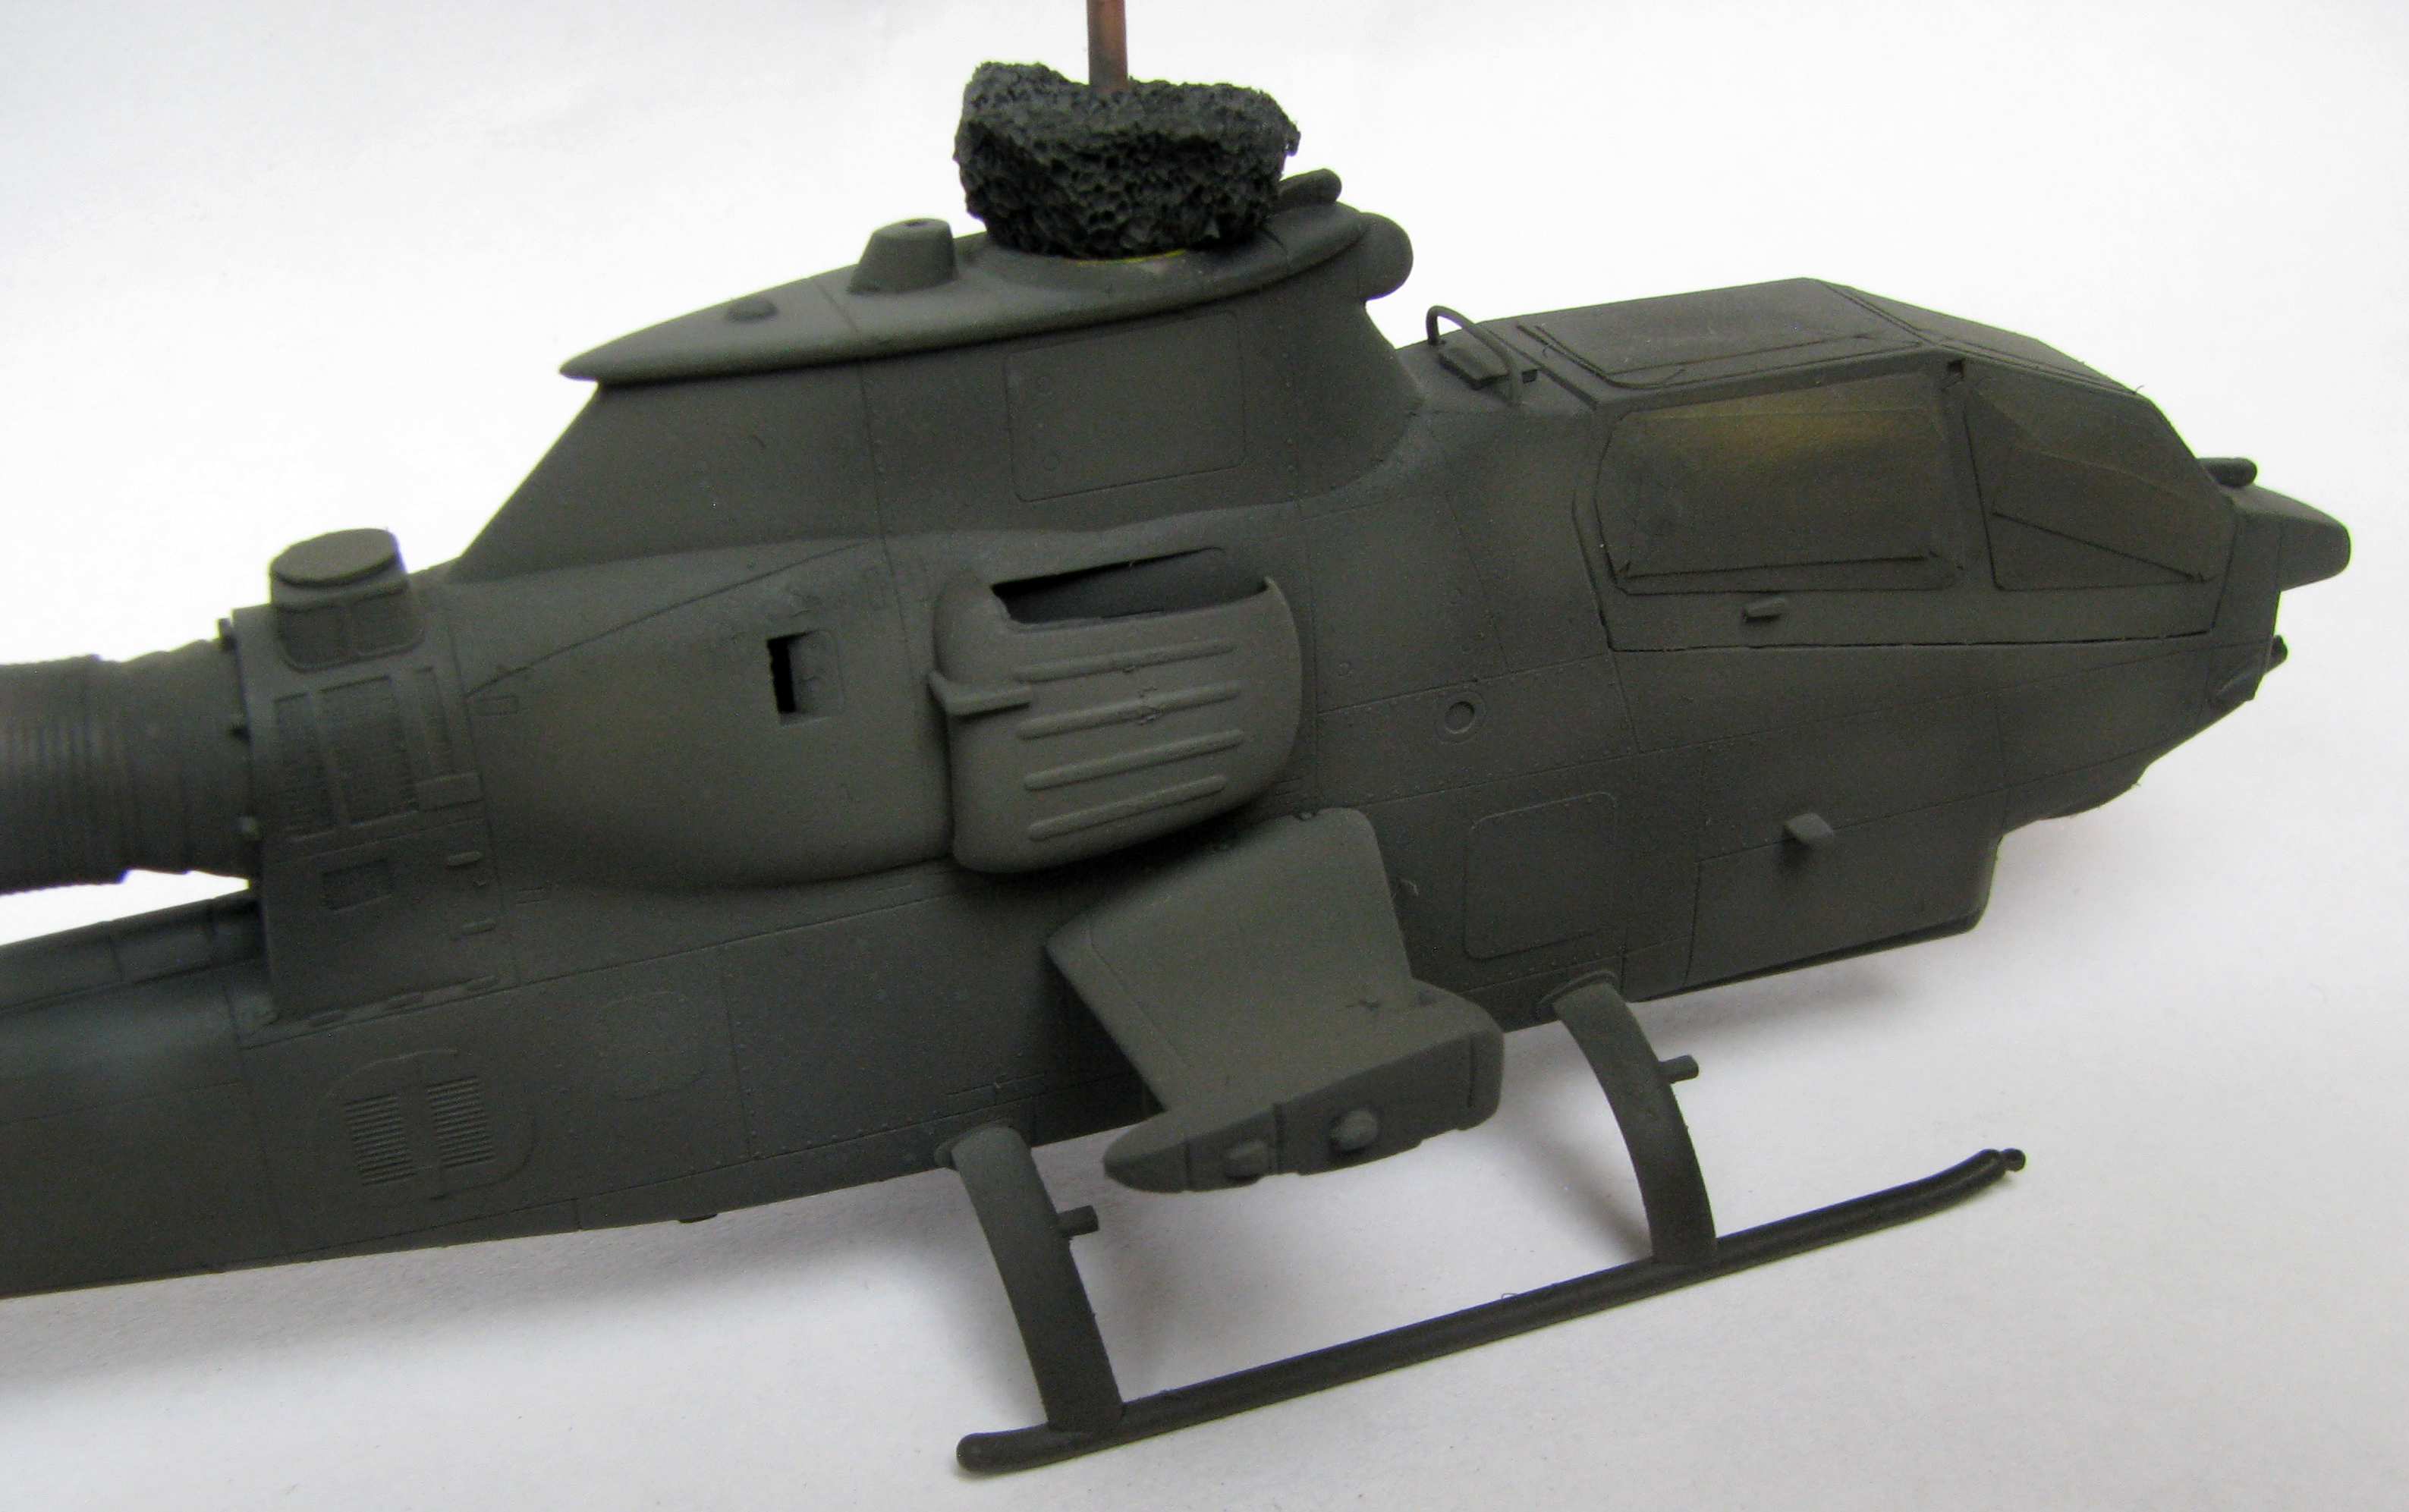
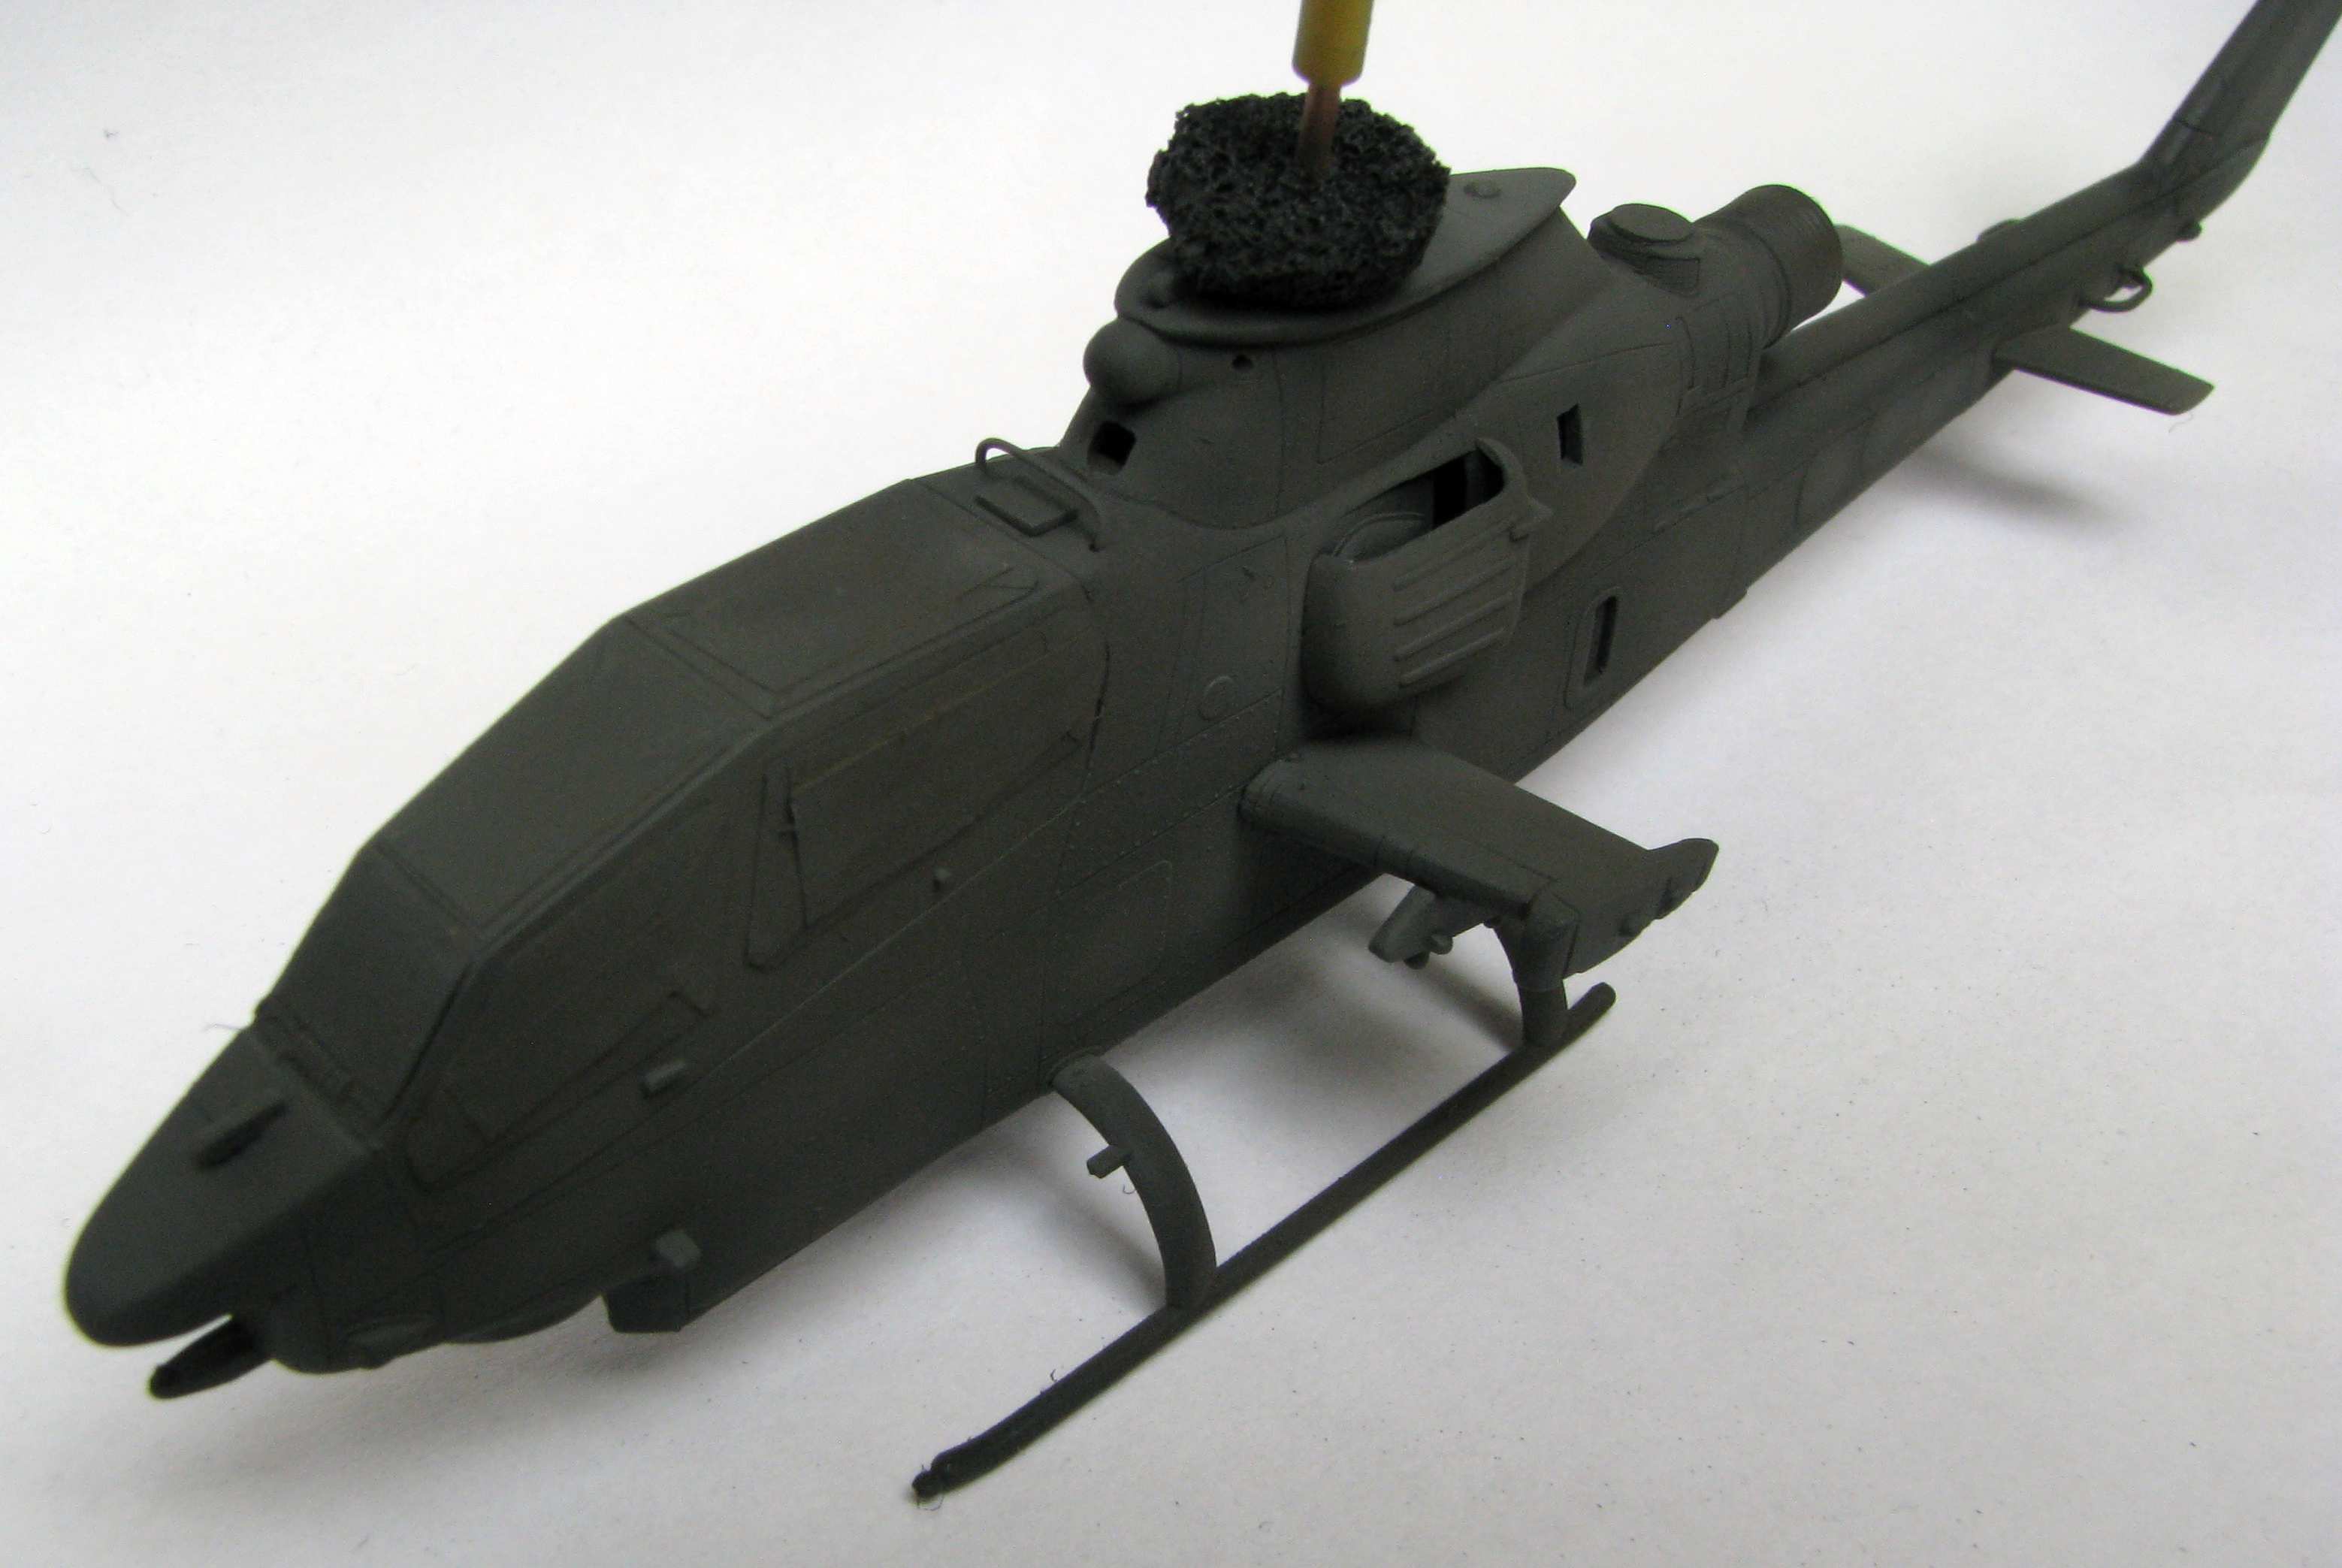
And in the meantime the snake is almost ready for painting with the exception of masking the windows. I used the black Vallejo spray primer to chech the seams for smoothness. Somehow I don’t have the best feeling about this stuff - even after severeal days it doesn’t feel completely dry. Luckily there won’t be a lot of masking because this is going to be a single colour paint job, so maybe I can get away withoput lifting paint here…
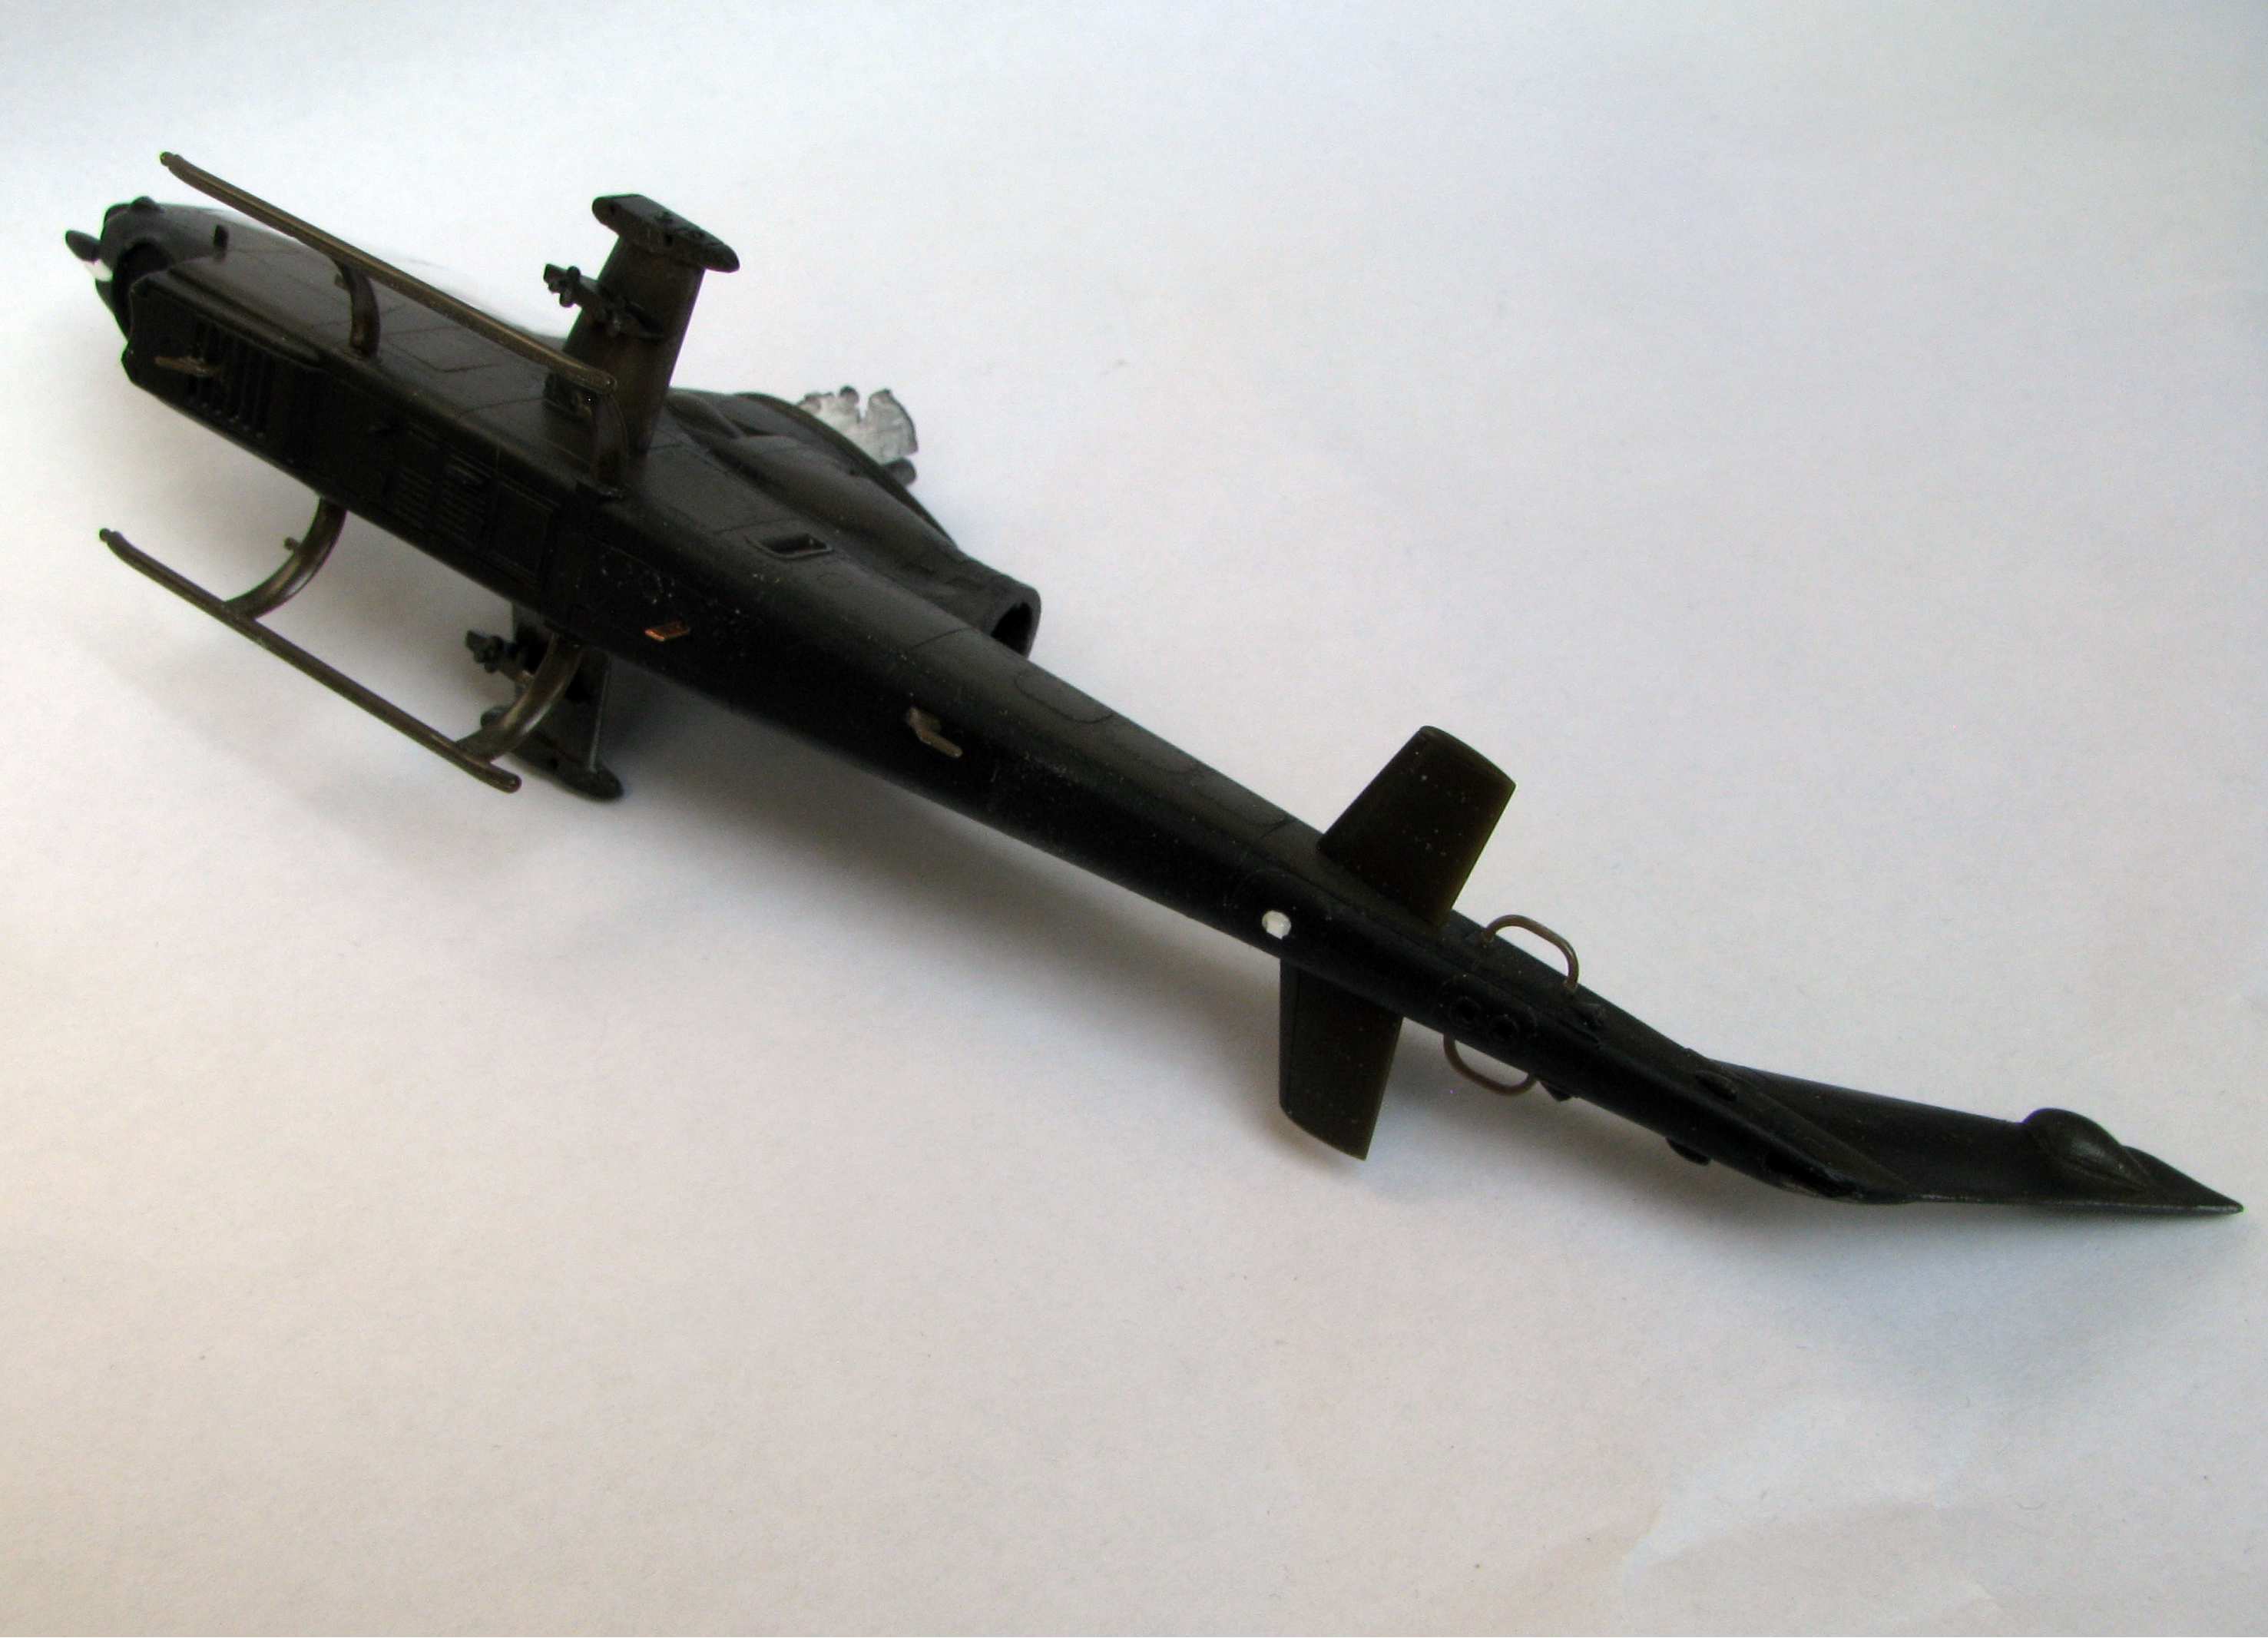
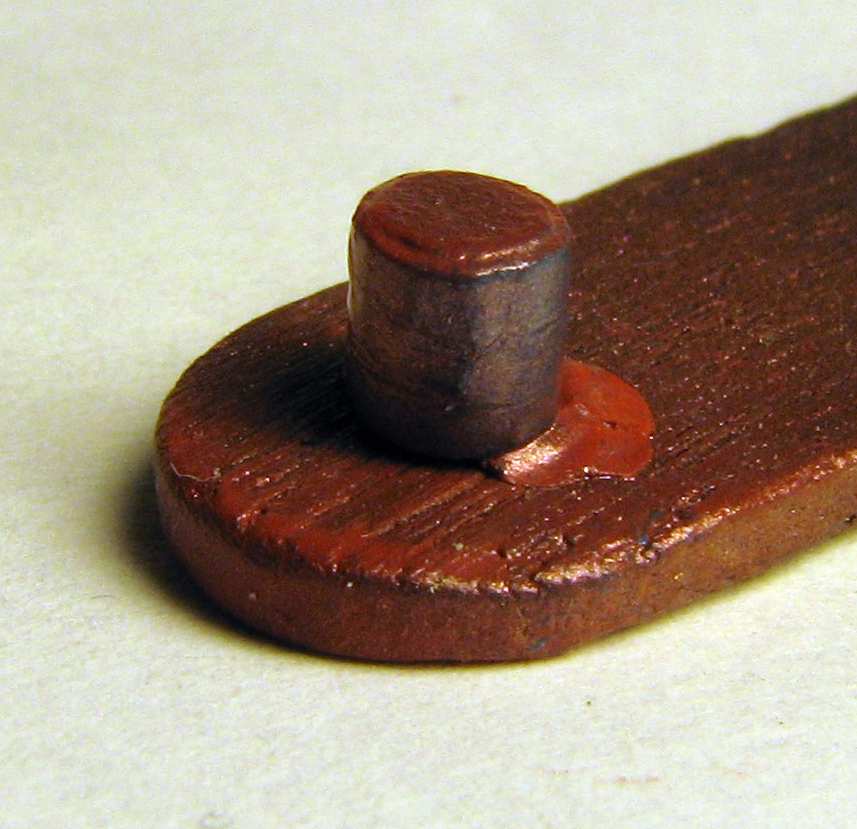
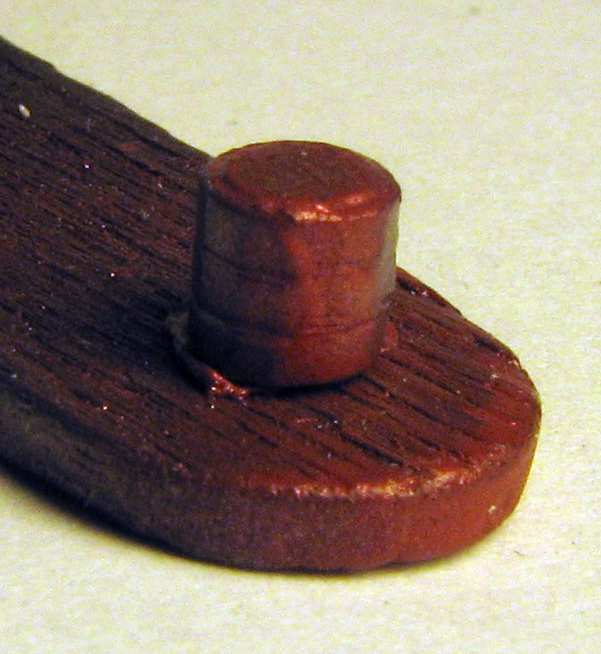
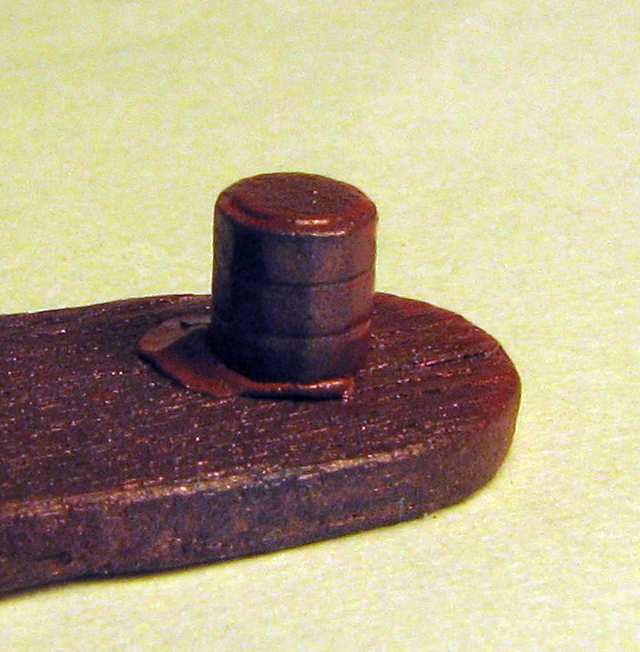
On the underside I have replaced the antennae I have cut off so they wouldn’t interfere with filling and sanding the fuselage seam. I made the bigger one out of sheet copper, and the smaller white one from an ice cream package (sheet styrene). On the front I added two WSPS (wire strike) blades - one was missing from the kit design so I have scratchbuilt it:
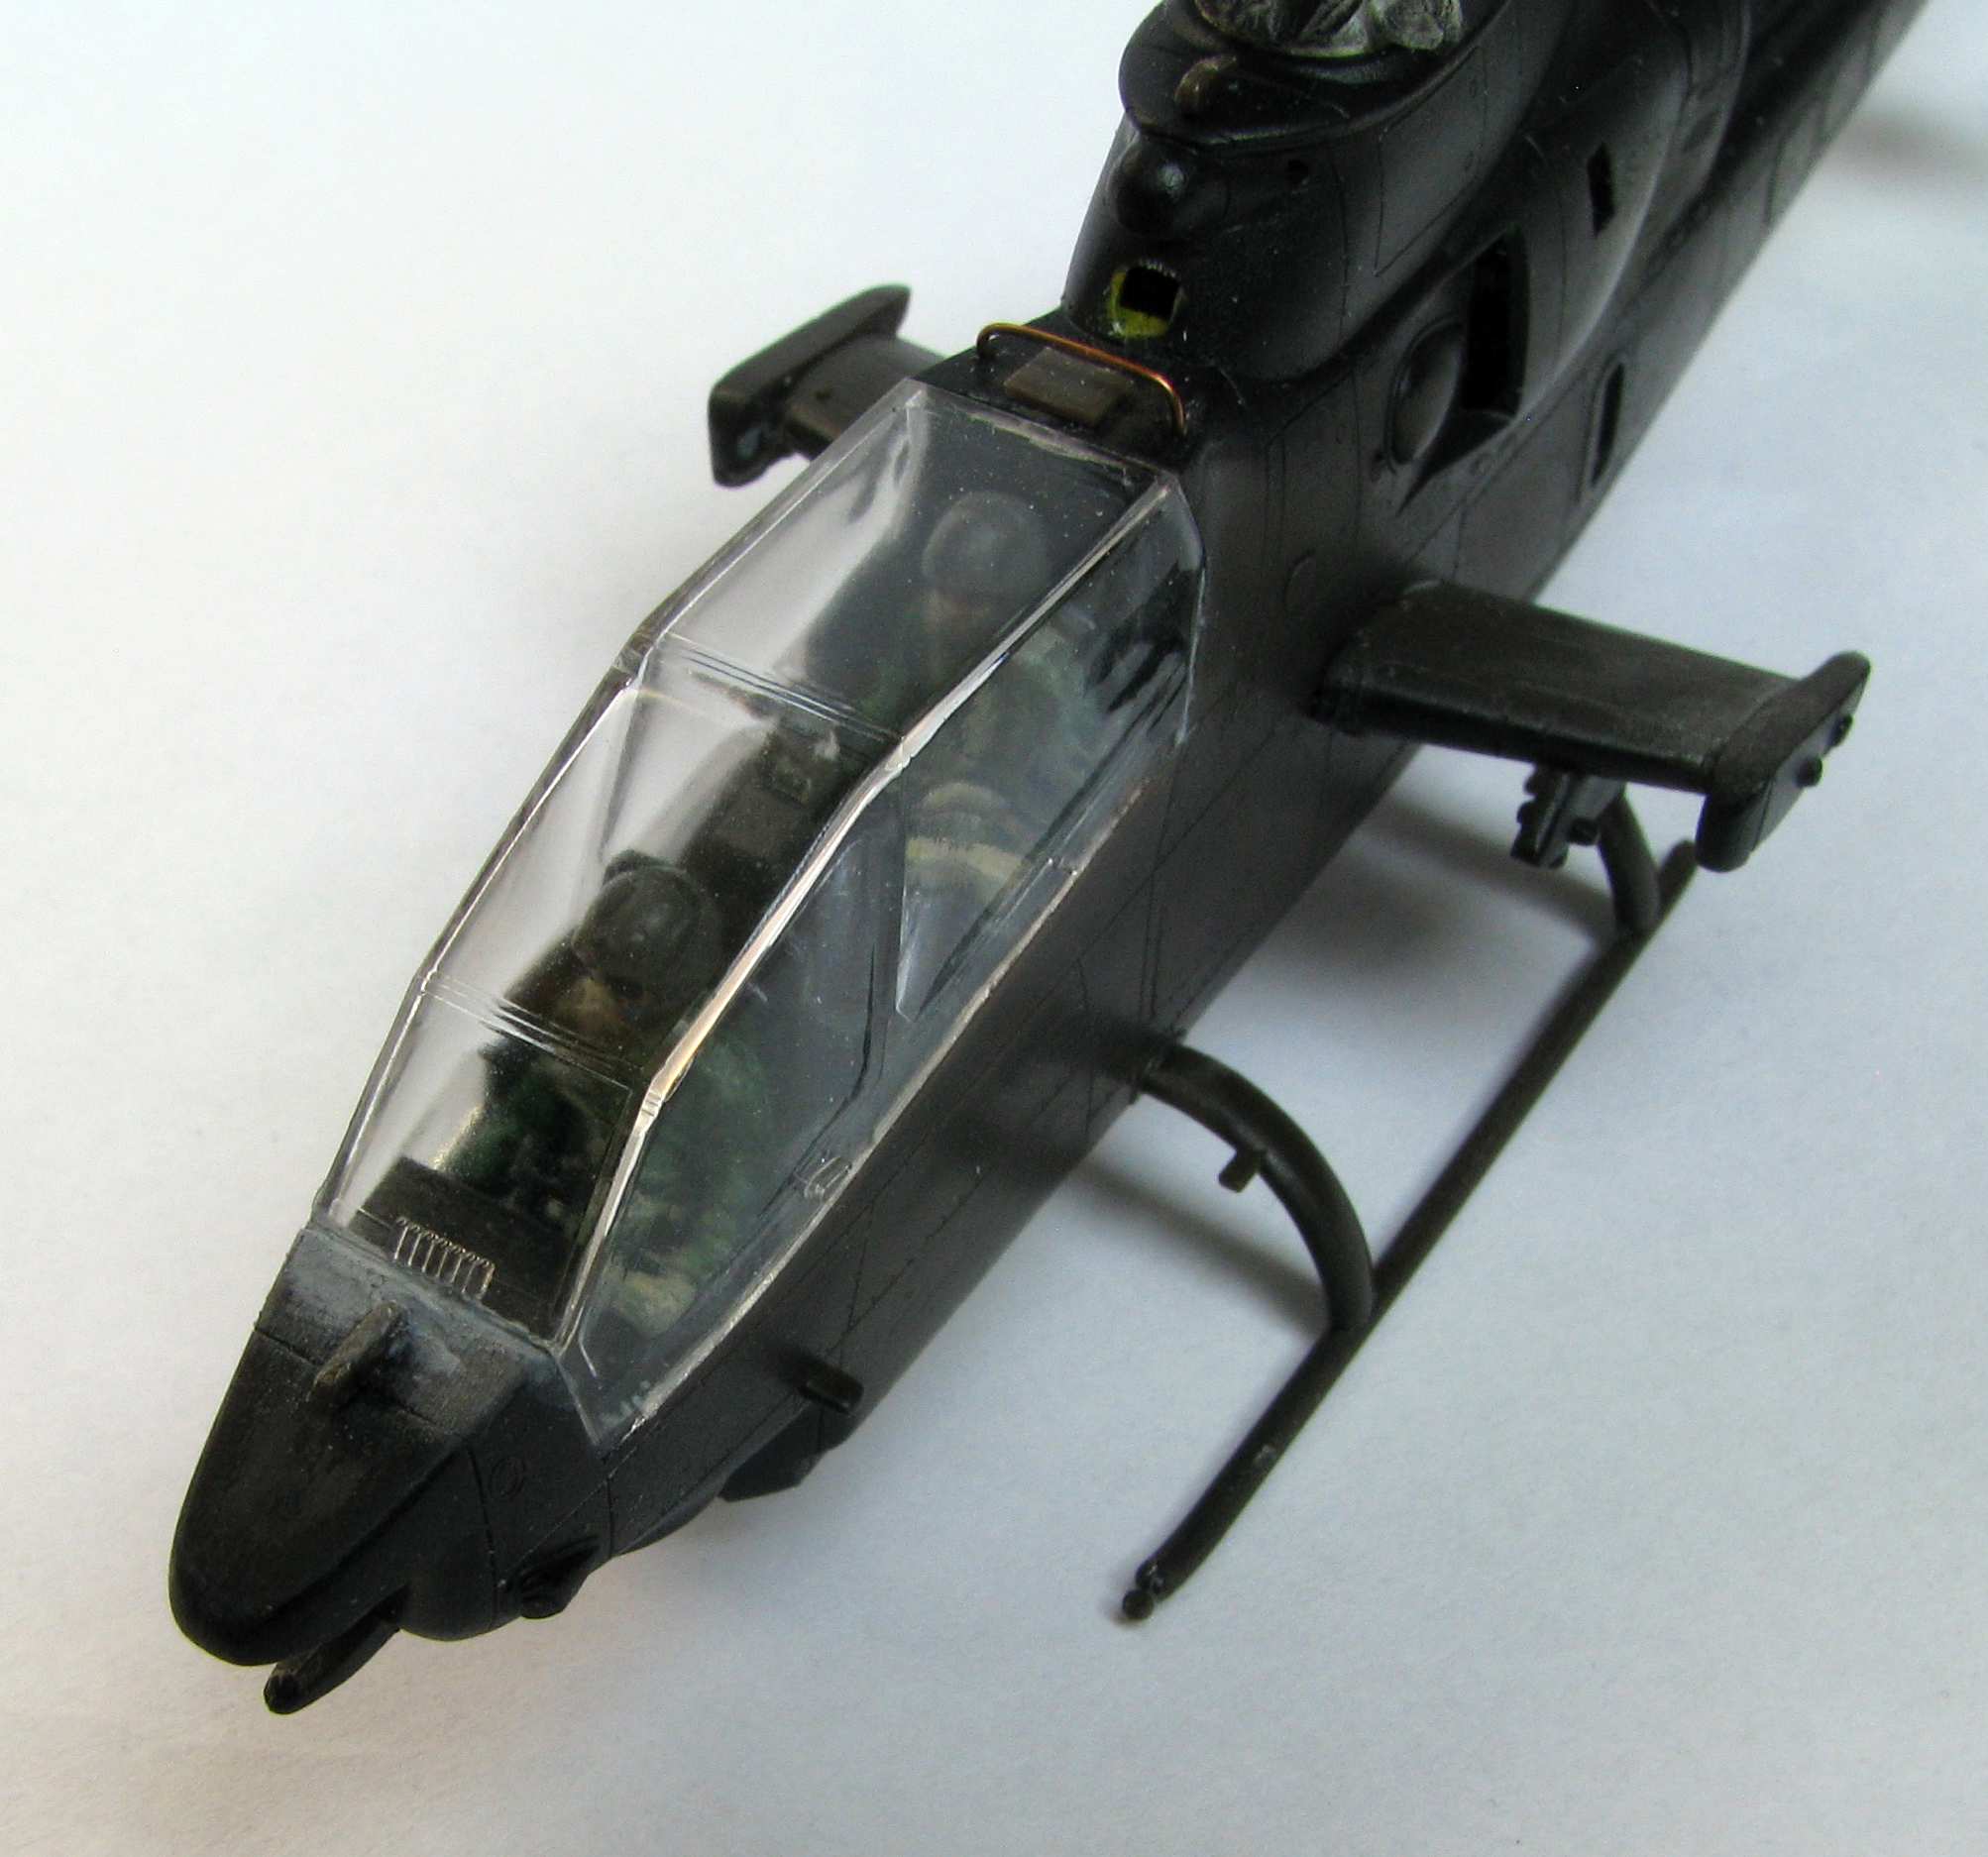
The canopy fits exceptionally well here, even without glue - infact after dry fittling it you have a hard time to remove it (!). I carefully filled the seams along the front and rear edges of the clear part. There’s one more WSPS blade to be added on the rear of the canopy, but I’m holding it off until after the painting - this will help make the masking of the glass easier:
Now I’ll mask the windows and I’ll look for a good opportunity to paint it up.
Pawel id suggest avoiding any tape if that stuff doesn’t feel right. I’ve quit using their primer all together. They can peel off in sheets. The best luck I had with it was when applying it in super thin coats. Where you do tape be gentle removing i. I tried folding the loose end back over itself so I pilled at a 180 degree angle instead of pulling up from the surface at 90 degrees. That was somewhat successful.
Thanks a lot for the tip, luckily there’s no real need for tape here, maybe except fot he wing walkways, but I think I can find a way around it here, too. I have also tried to wash everything down with Gunze thinner, I think that worked good, too.
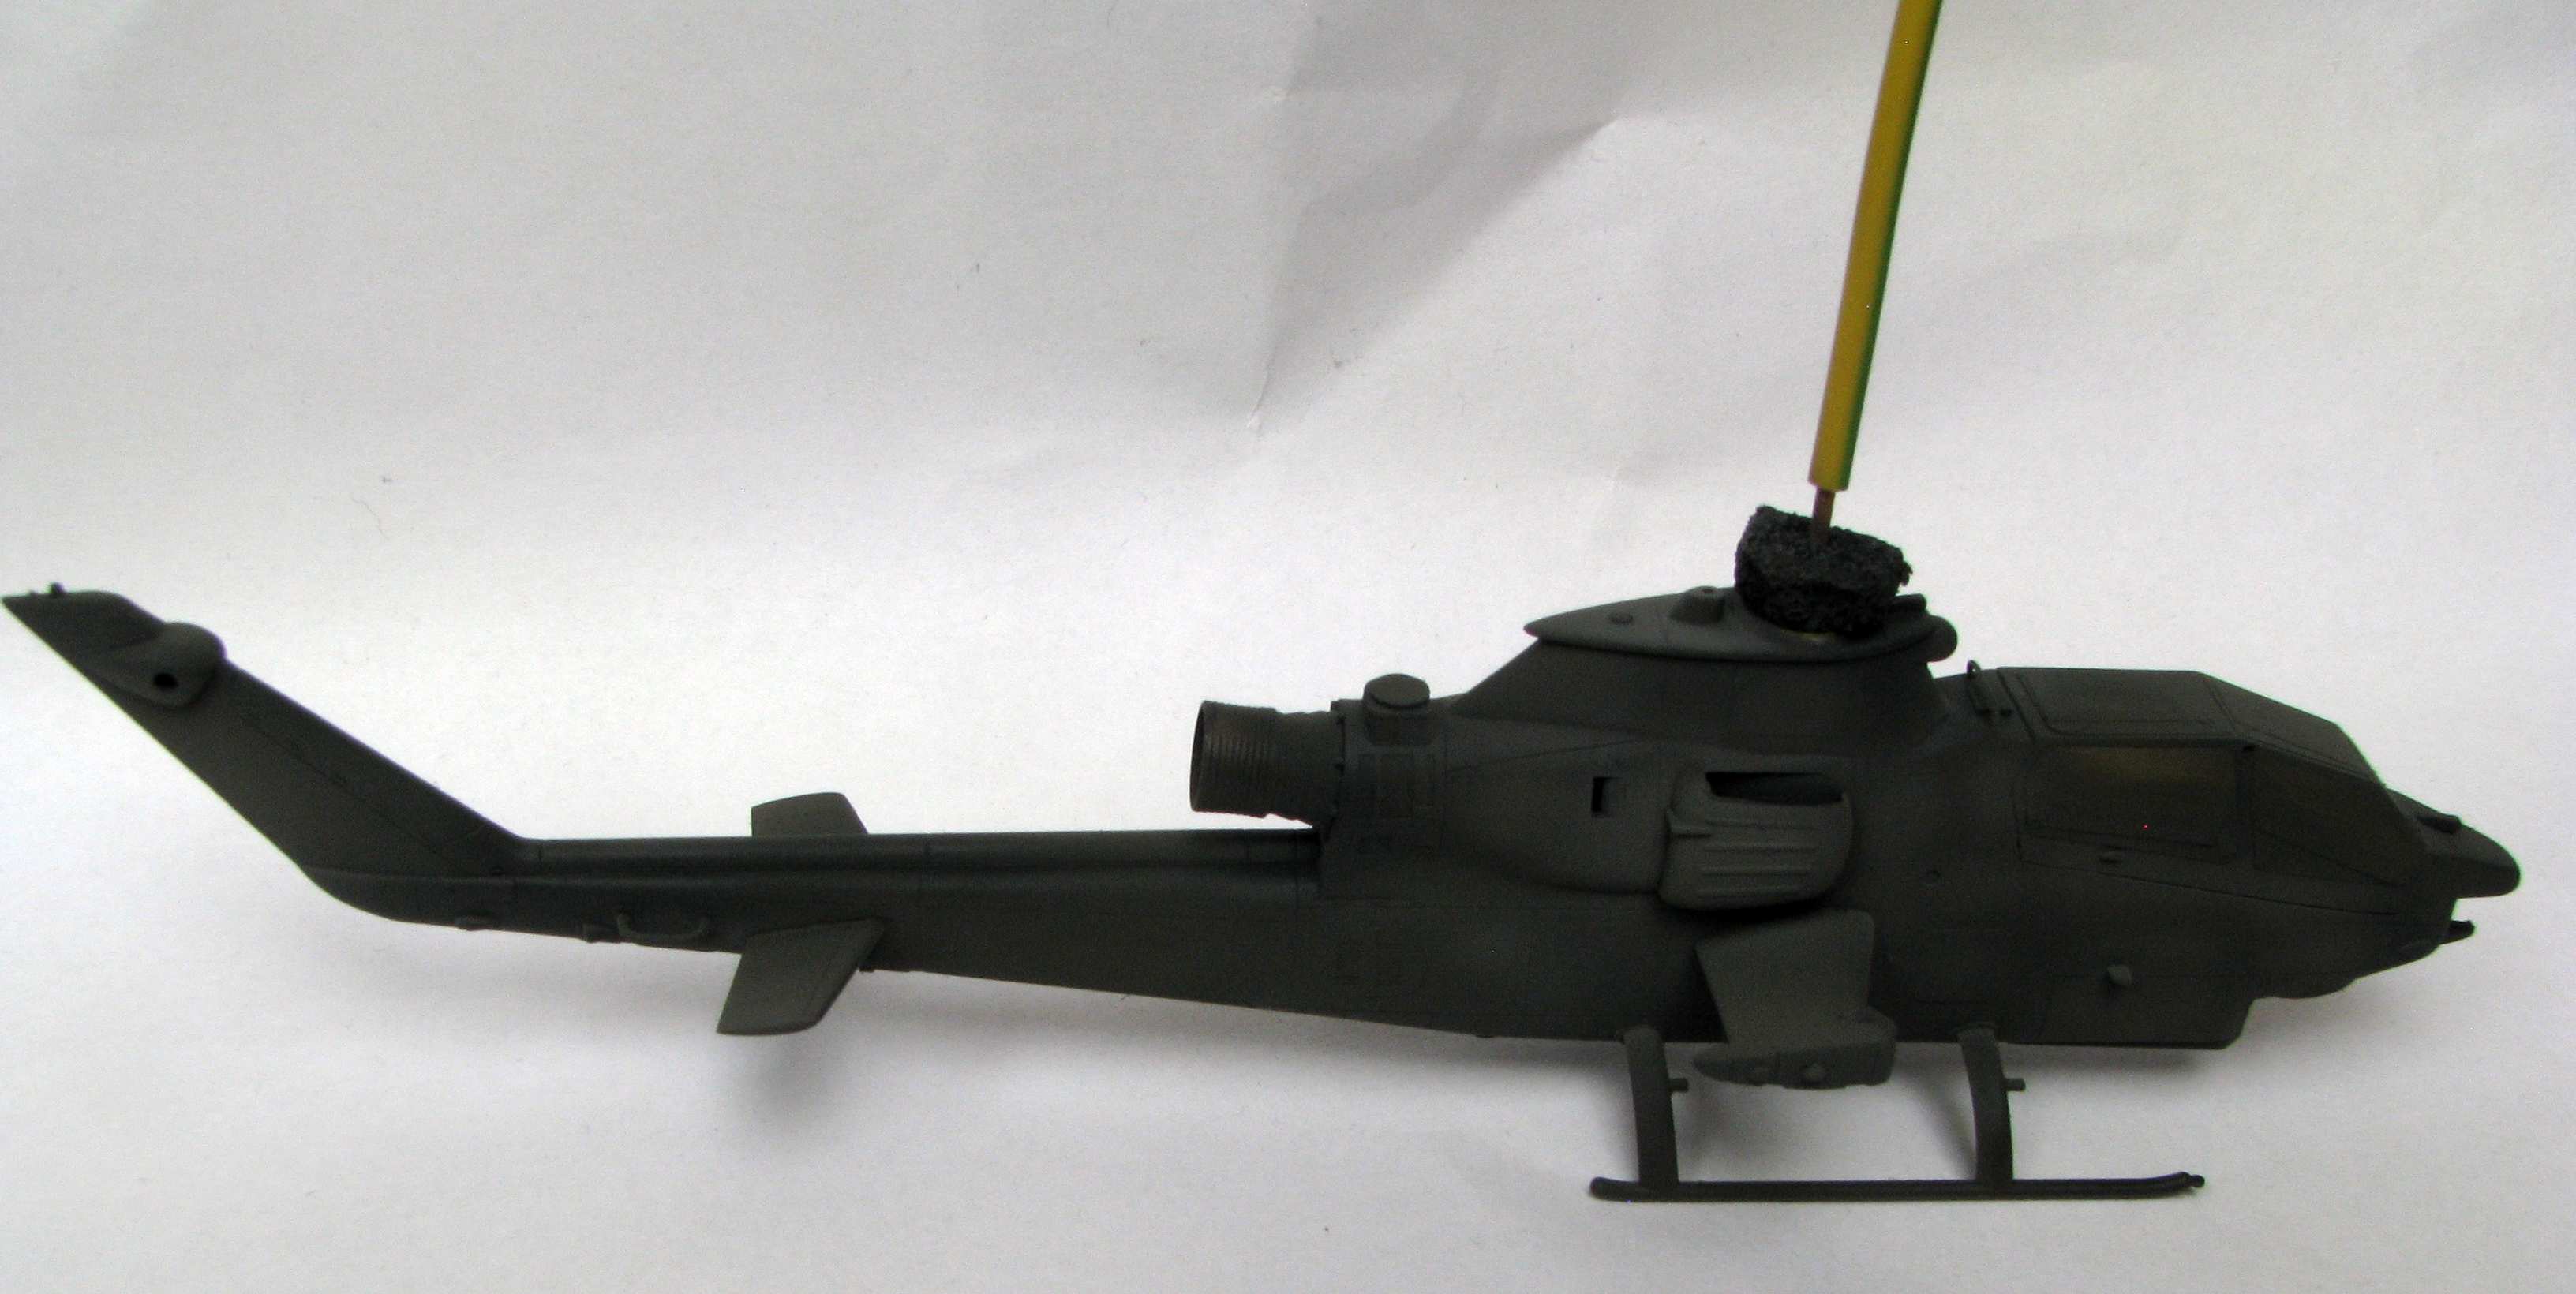
So I masked up the windows and painted my baby up trying to make the best out of this one colour scheme. The preshading is Humbrol 67 Panzergrau, Model Master Helo Drab on top of that and some lightening done with Helo Drab with lots of light gray mixed in. The wire in the main tranny is a painting holder:
I tried to apply the colours very thin to make them as gloss as possible - they are still very flat. I have to gloss them up with future a lot to prepare for decals - decals love to silver on a surface like this.
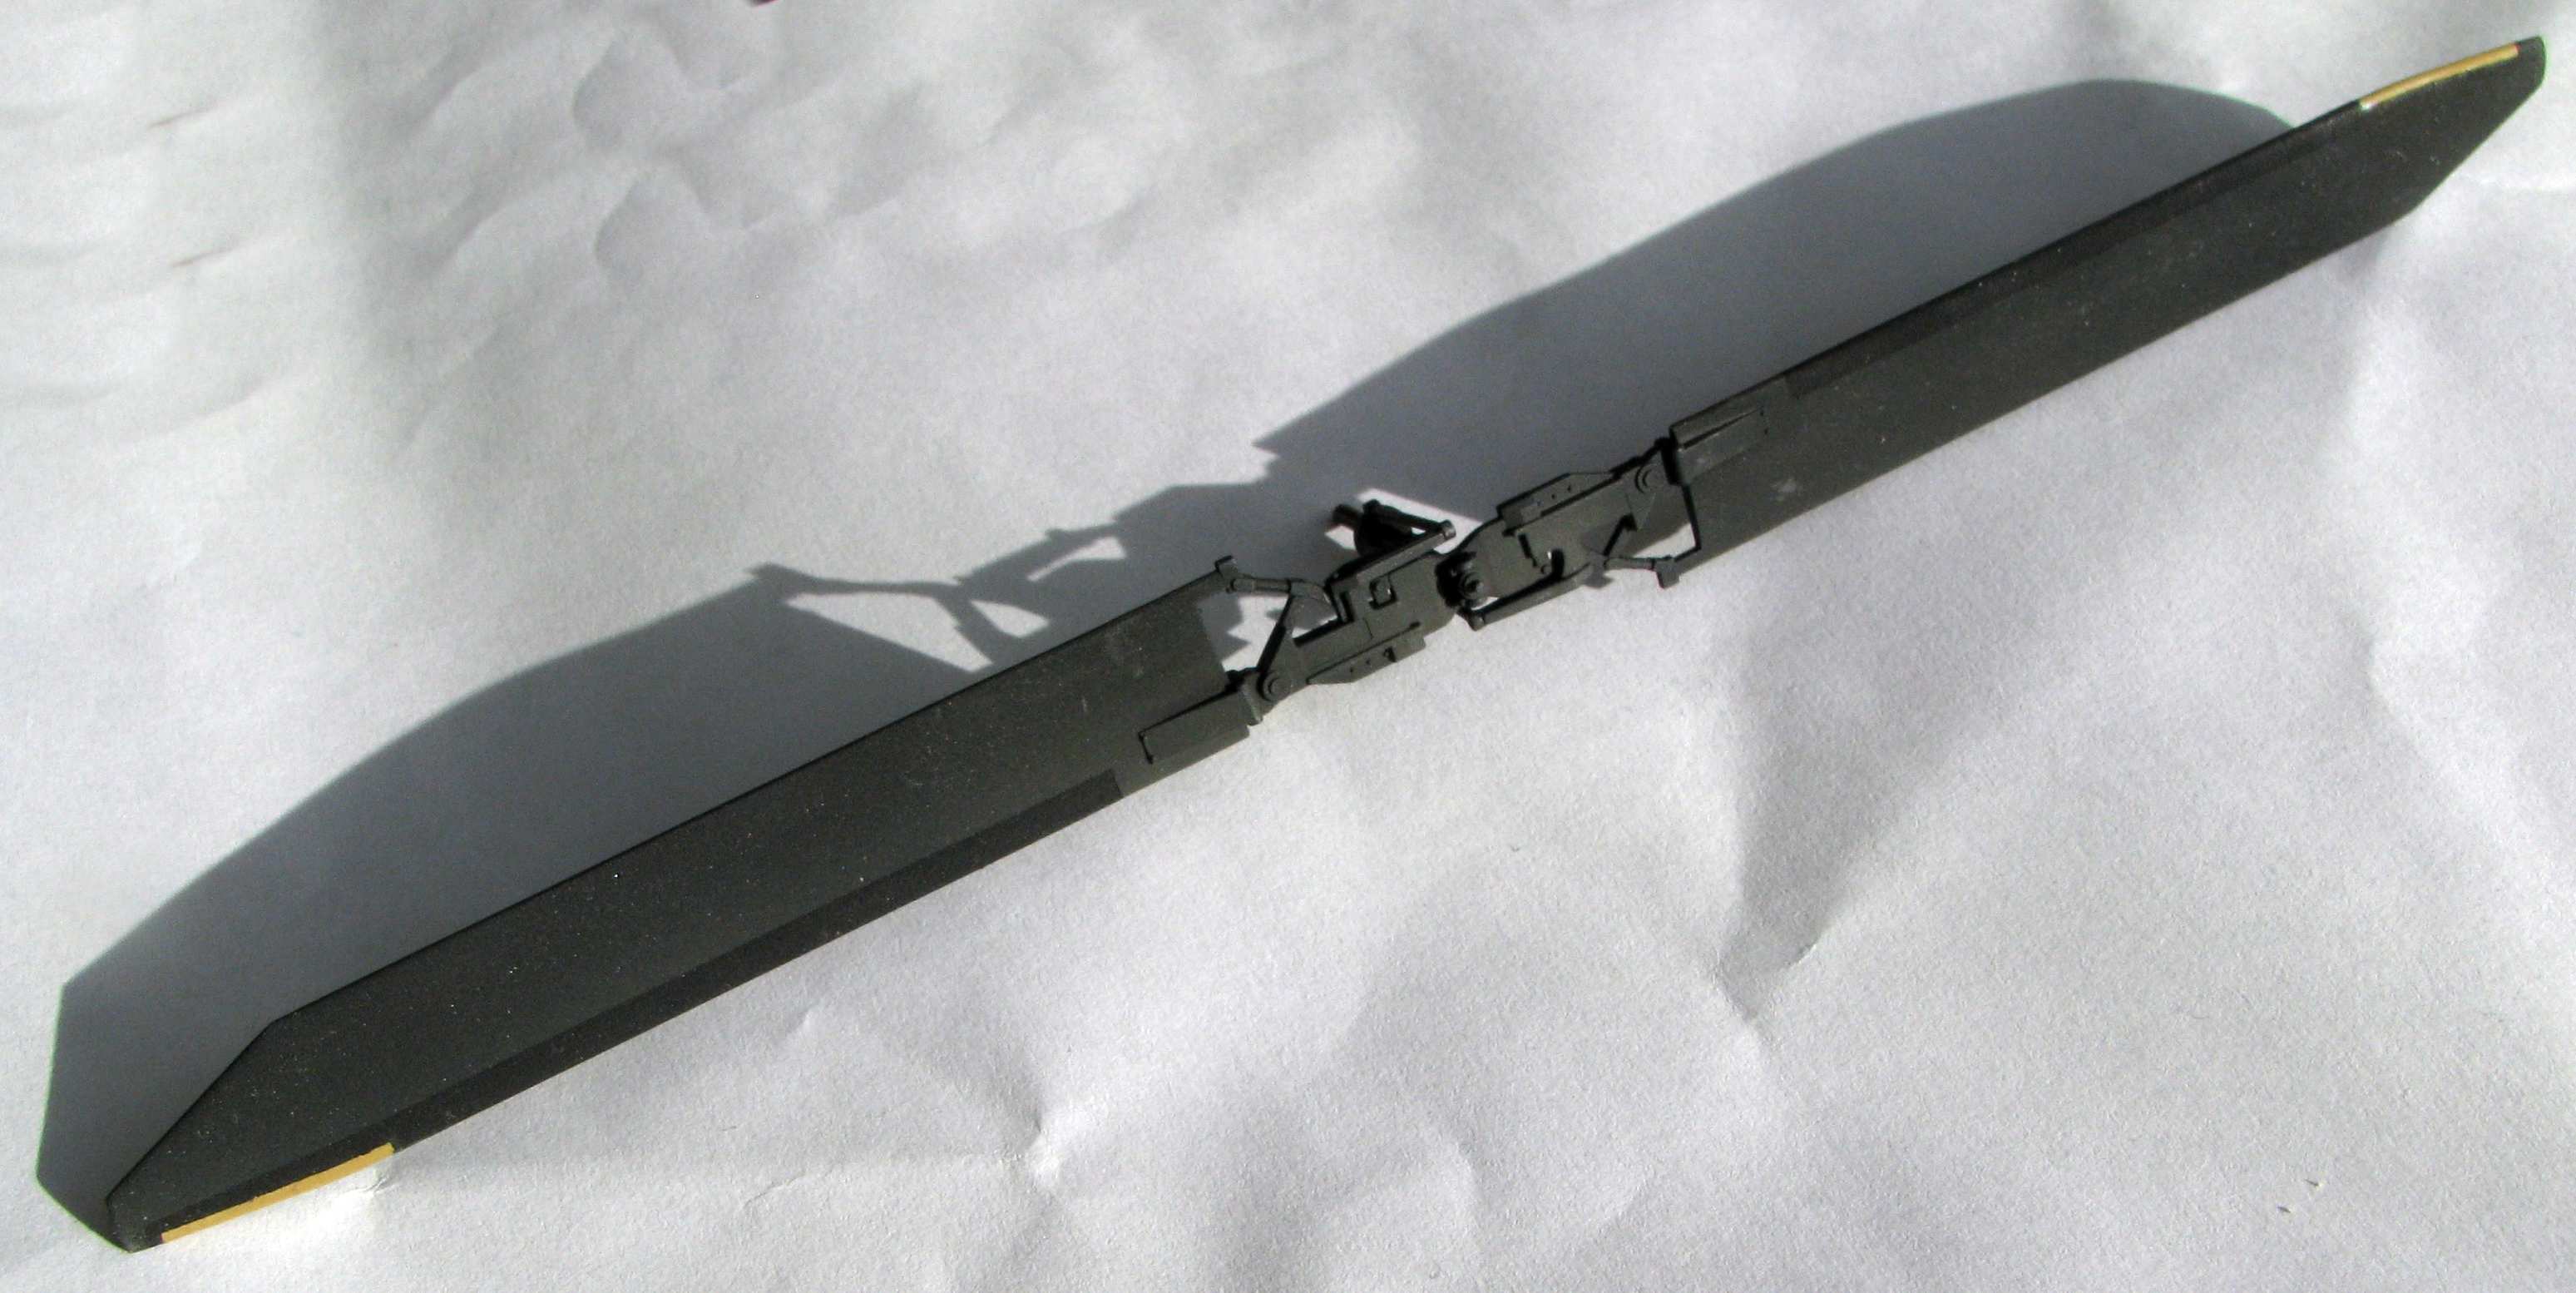
While waiting for the decals to arrive I’m working on the subassemblies… I painted up the main rotor:
I’va also had a try at the ALQ-144 disco light:
But most of the time I spent detailing and painting the TOW launchers:
BTW, you can see my method of making stripes here - I take a piece of clear decal sheet, paint it the colour I like and wait for the paint to dry. Then I cut it up with a sharp knive, and then I have the stripes.
There are still some subassemblies to do like the 20mm gun or the unguided rocket pods…
Thanks a lot for your comments - they mean a lot to me! I thought I’d write this comment a lot earlier, but I waited for my custom decals. Now they arrived at last!
Let’s see how they are going to go down on this difficult surface - I’ve already futured the whole model quite heavily, but it’s still pretty flat…
I have also decided to redo the “disco light” - the ALQ-141 jammer. This time I applied all the paint by airbrush. The prismatic paint (from the art shop) was applied over a red/blue background:
Now I’m more happy with it - I’ll just paint the top Helo drab and I’ll call it done.