Superb work you have done on this and the sheer amount of work is mind blowing. You are full of talent and cant be that short of cash either. My hats of to you dear sir.[:D]
Thanks as for the tracks I disconnected the tracks which is why they look so saggy. As for the sag the tracks sag more when the tank is finished because of the extra weight of all of the components,
I have more progress on the model’s engine deck. Most of the details have been added and the engine deck is about 98% complete.
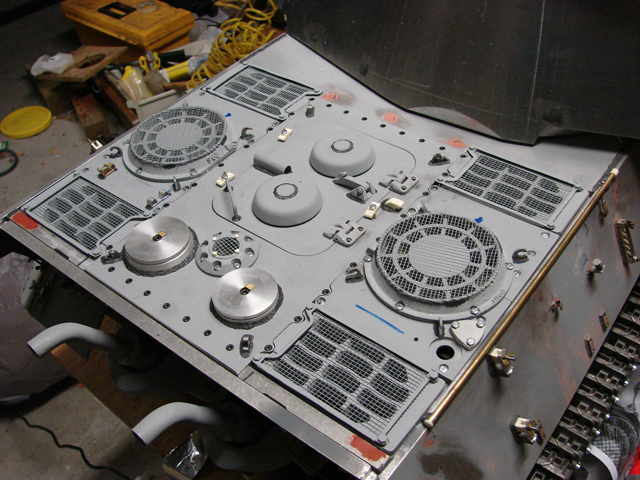
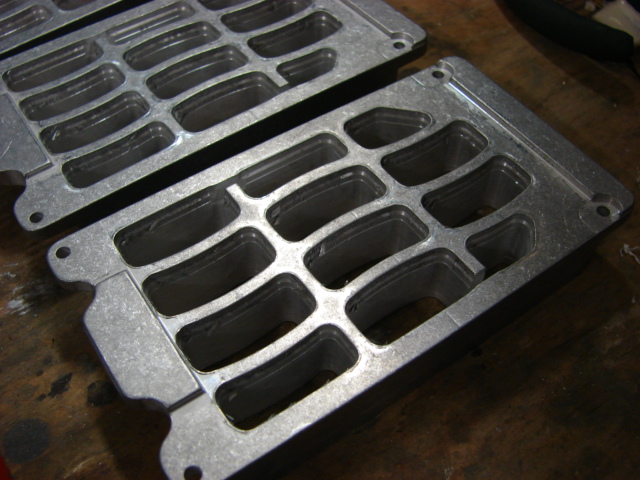
I used the kit supplied grills for the model. The kit supplied grills are all made of CNCed aluminum. They are nicely machined but needed a few minor tweaks.
Fan Grills
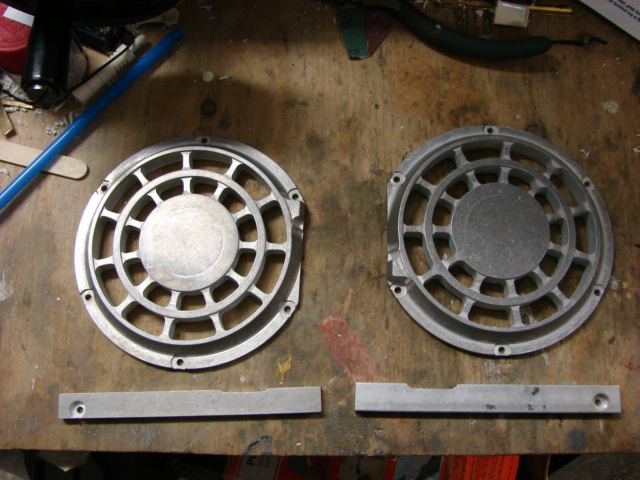
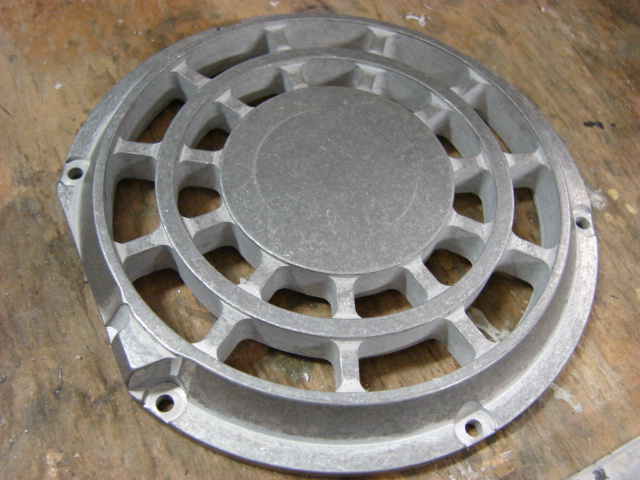
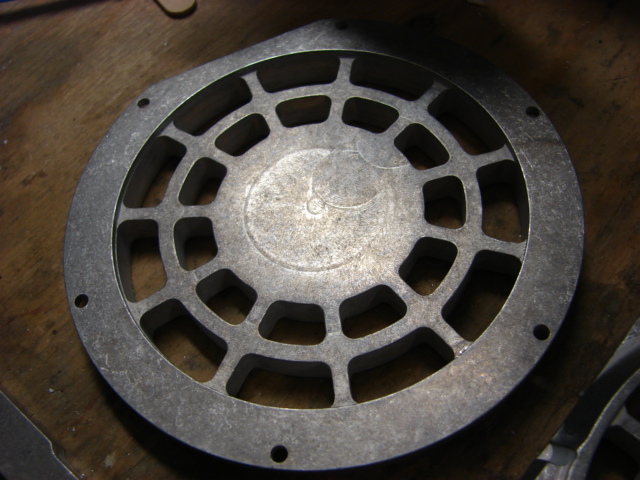
Radiator Grills
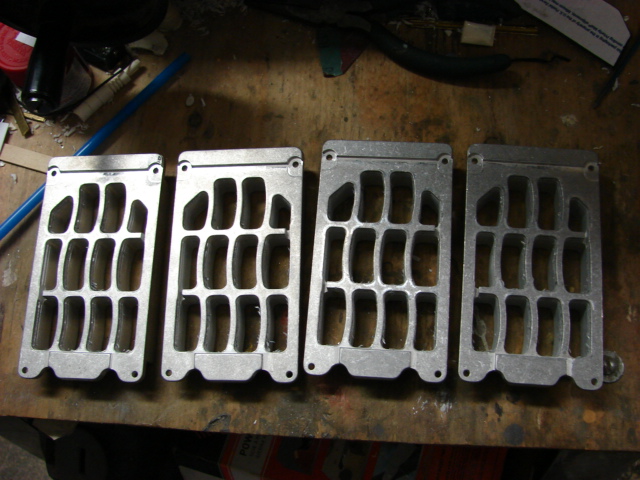
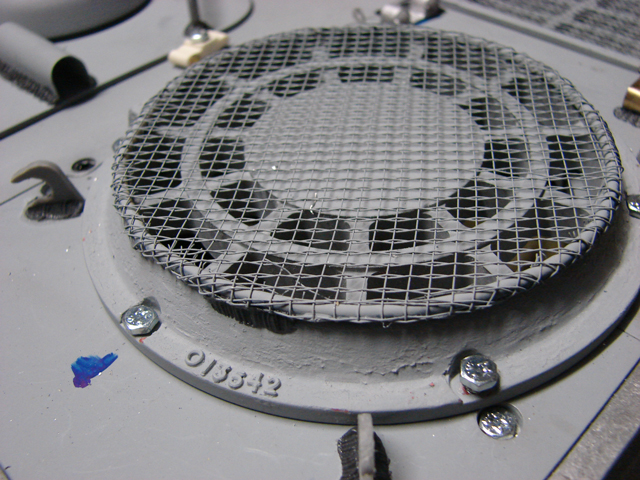
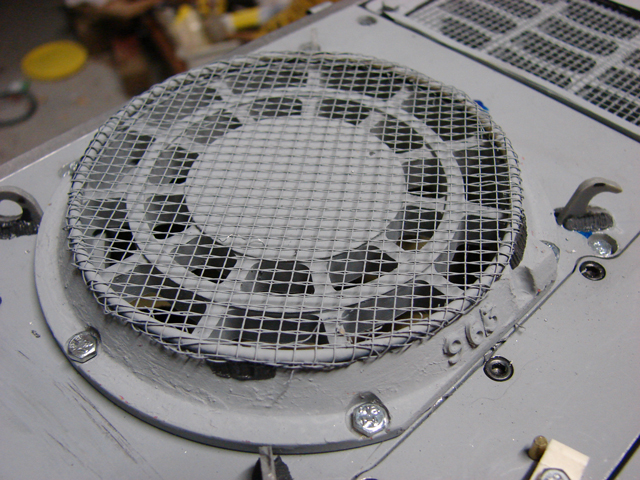
For the fan grills cast texture and foundry marks and numbers were added
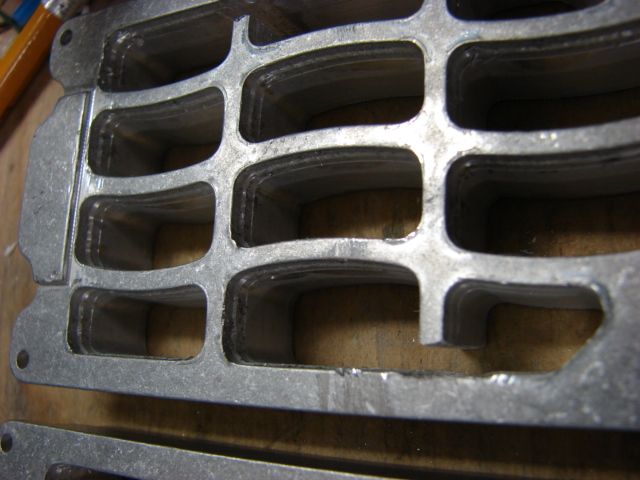
The radiator grills needed to have the one segment cut away from the rest of the grill. The stock grill does have the segment partially removed but not all the way.
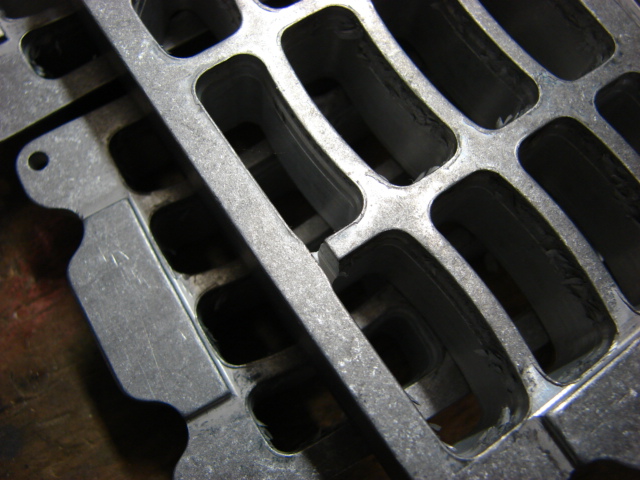
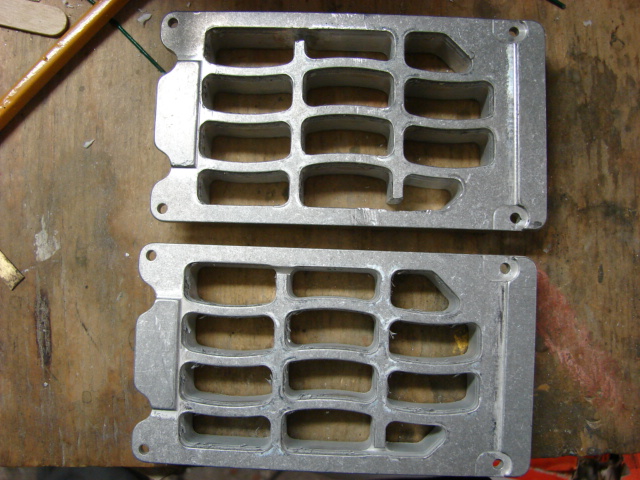
Before
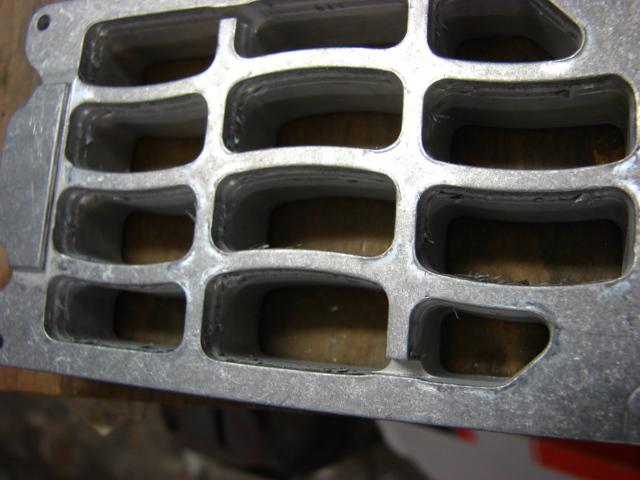
After
For the grill meshwork the kit does supply you with laser cut steel frames and metal mesh.
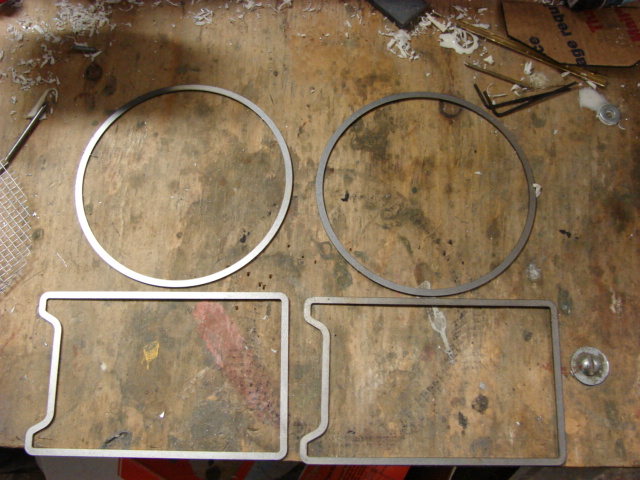
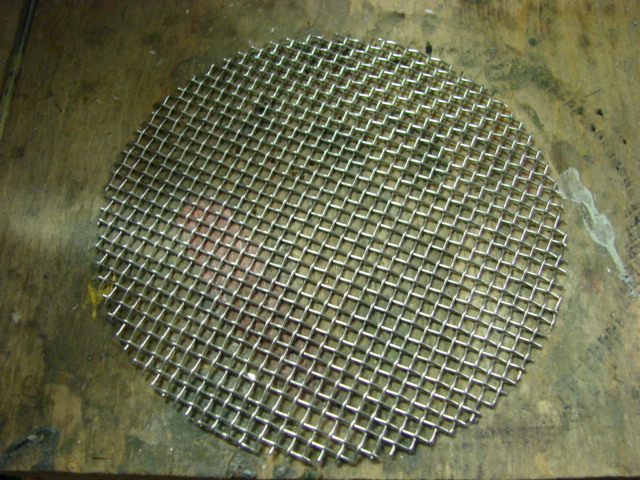
The Laser cut frames for the radiator grills were reworked to make them hold the mesh, but the kit doesn’t supply you with 4 frames, only 2. So the other two frames were fabricated out of sheet steel by using the laser cut ones as a template.
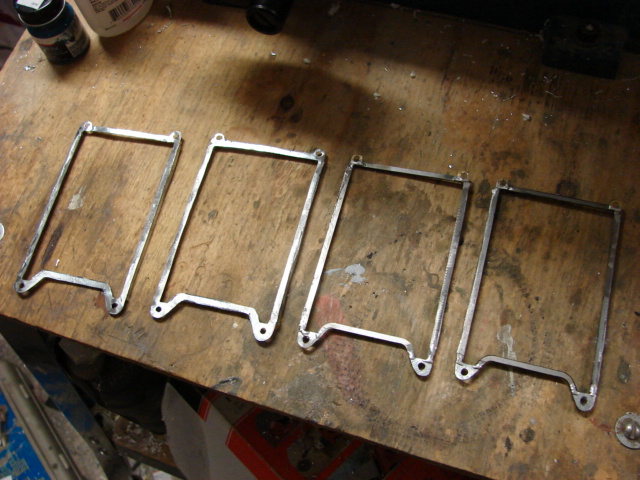
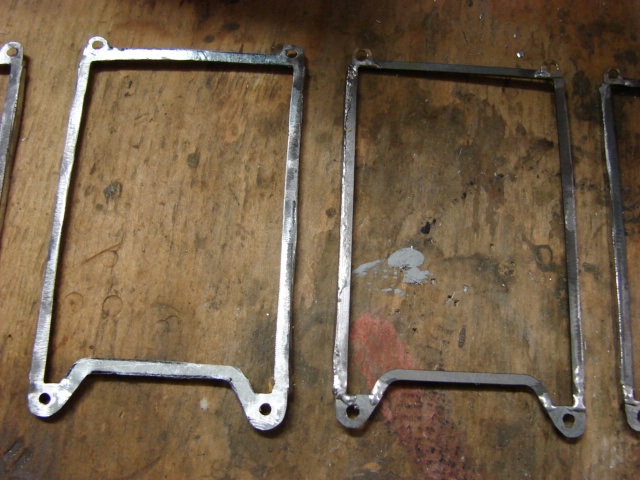
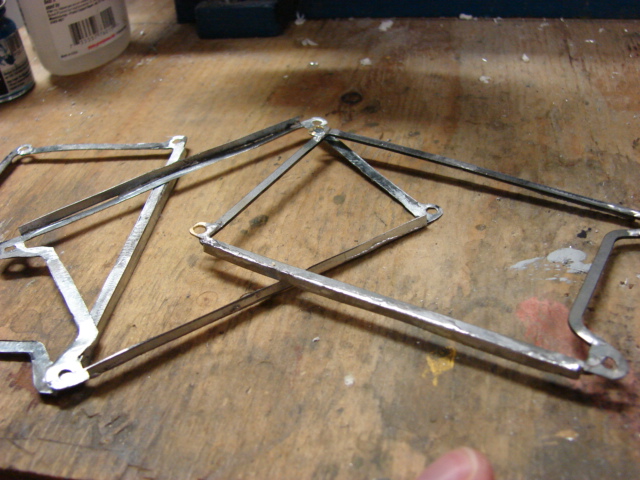
For the fan grills the laser cut parts were not used because they were flat. From the images that I have of the grills and from the aberdeen jagdtiger the fan grills were made out of a round rod that the mesh would wrap around and would then be welded to the fan grill. To fabricate the mesh work I bent two brass rods into the same size circle as the grill, and soldered them together.
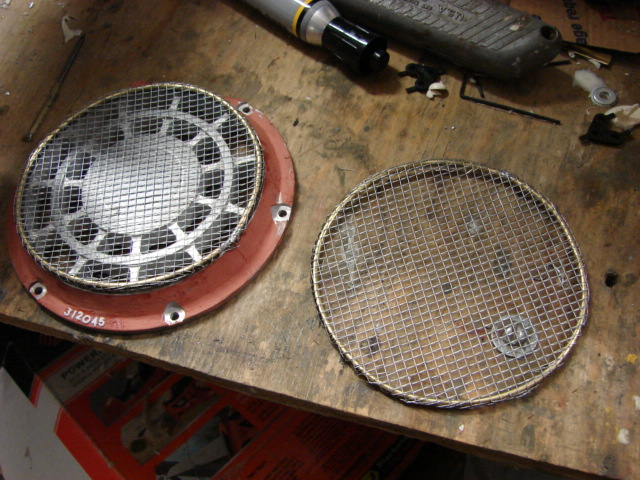
For the mesh I also didn’t use the kit supplied material. I felt that the kit supplied mesh was too thick and would not only be too difficult to work with, but would also cover up the intake and fan detail that I built into the tank earlier. Instead I went with varmint mesh that I have used on my other 1/6th scale tank models.
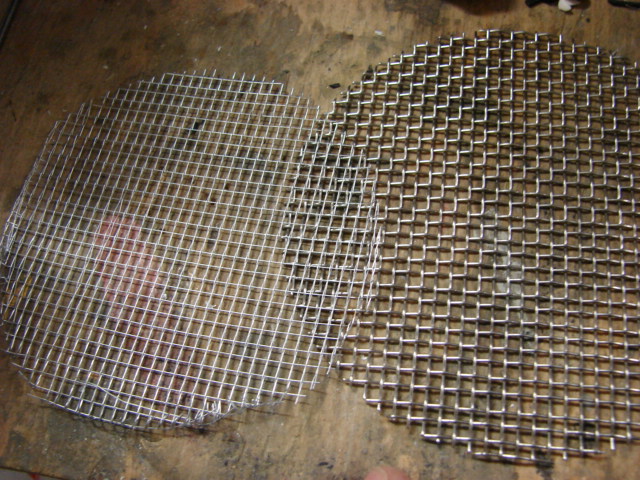
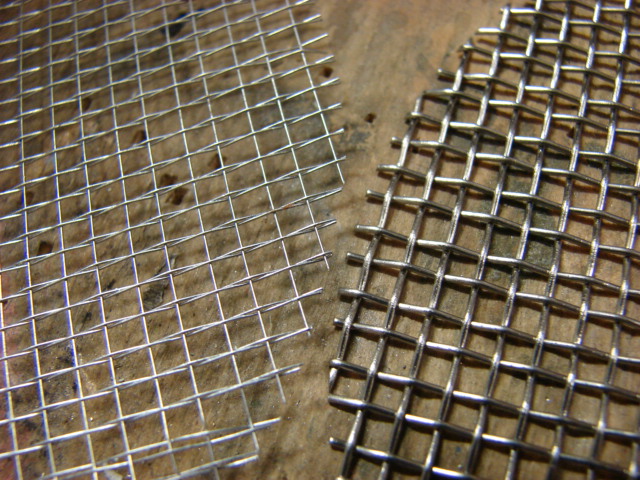
The mesh and frames were first installed on all of the grills, then were all mounted onto the tank.
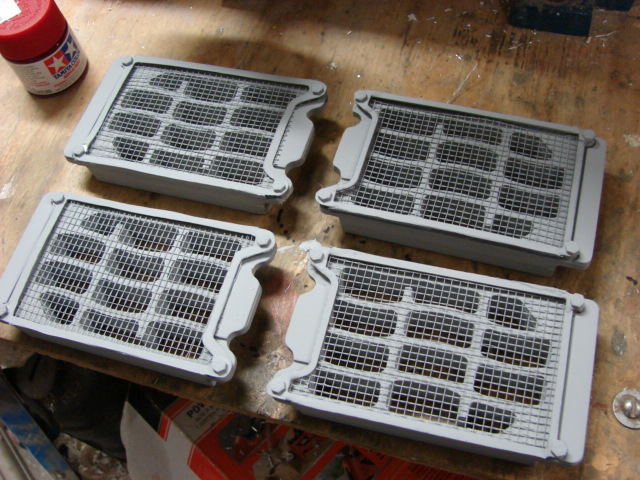
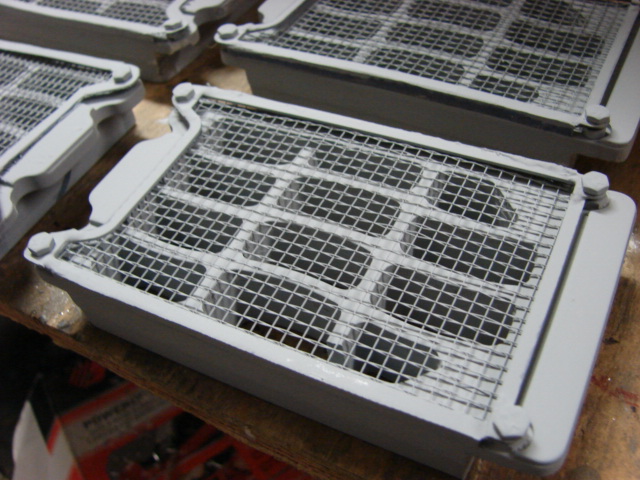
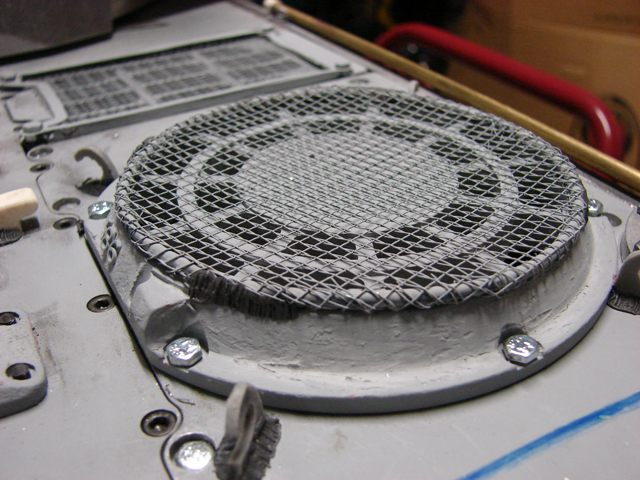
After the grill work was mounted to the tank focus was then shifted to the engine hatch.
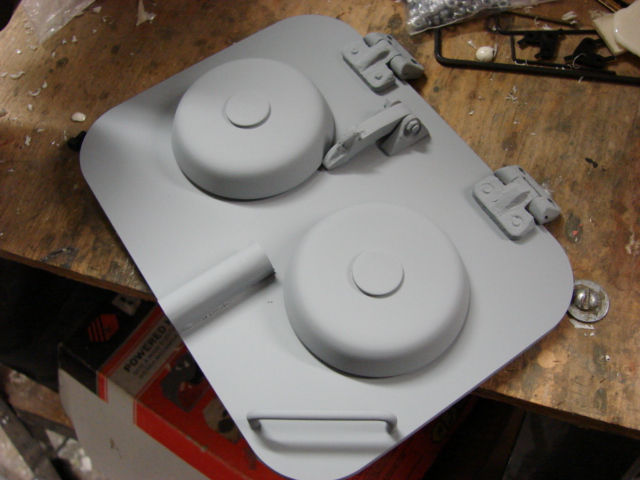
The kit supplies you with the parts to assemble one basic detailed engine hatch. As with most of the tanks parts they are all constructed out of metal
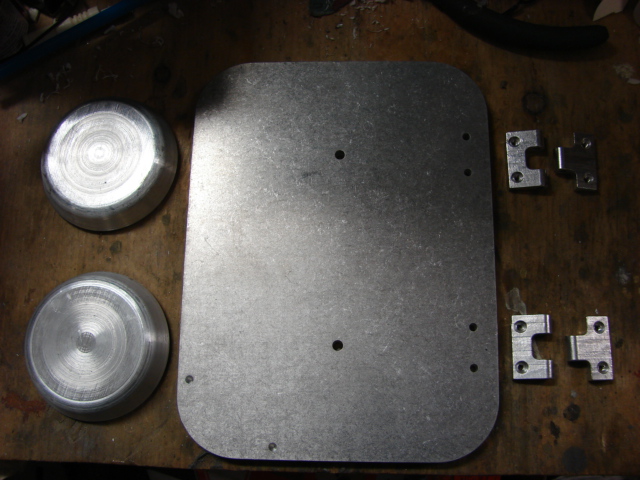
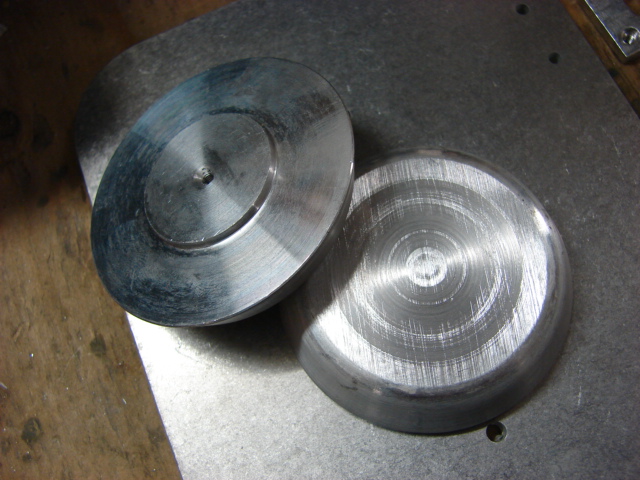
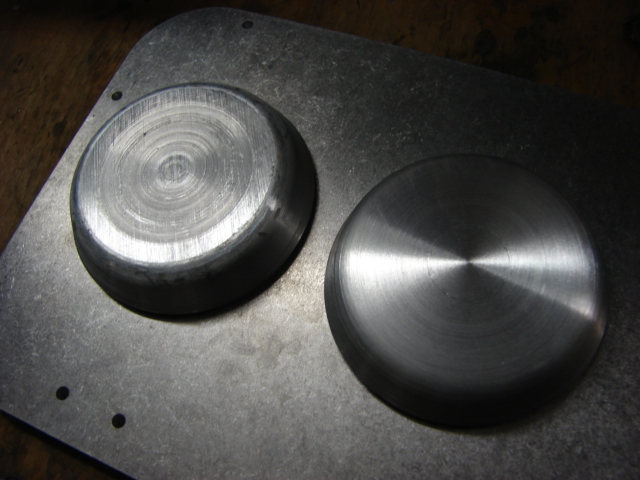
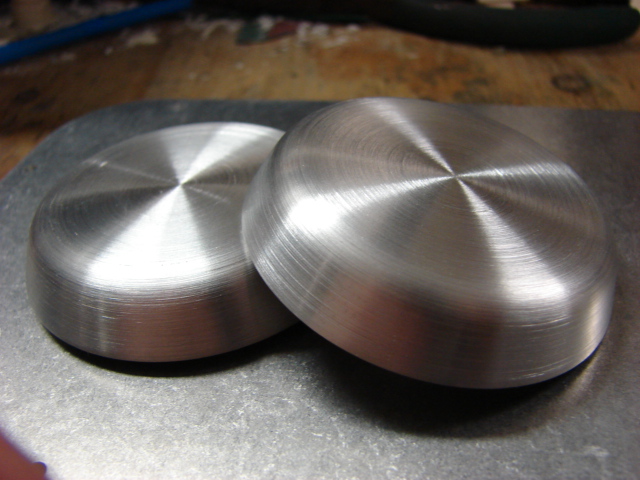
The air intakes were returned on the lathe to further sand down any tool marks left from manufacturing
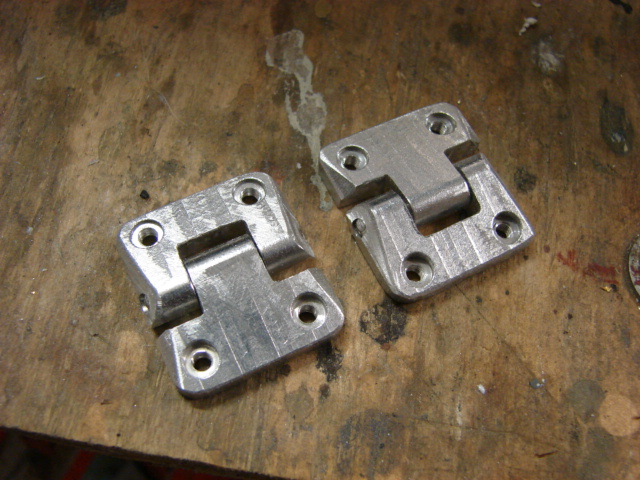
The hatch hinges were also reworked.
Stock hinge
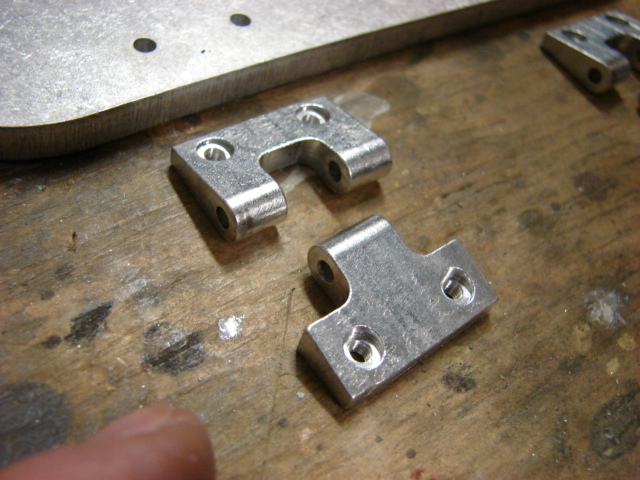
reworked shape, before the hinges were mounted hinge stops and cast texture were added.
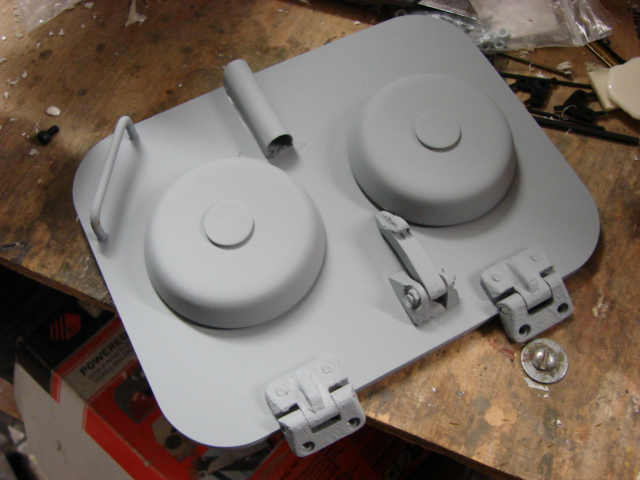
In addition to the hinges the lever mount, air intake discs, and resin hatch retaining latch were added.
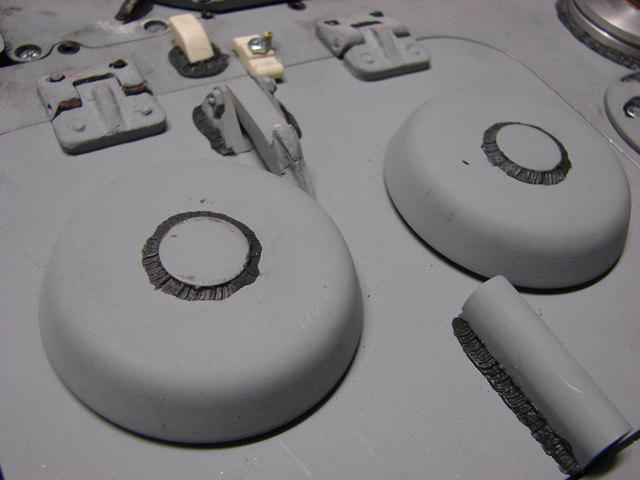
The hatch locks and latch point were also added. The locks are functional, and these parts will soon be added to the product line.
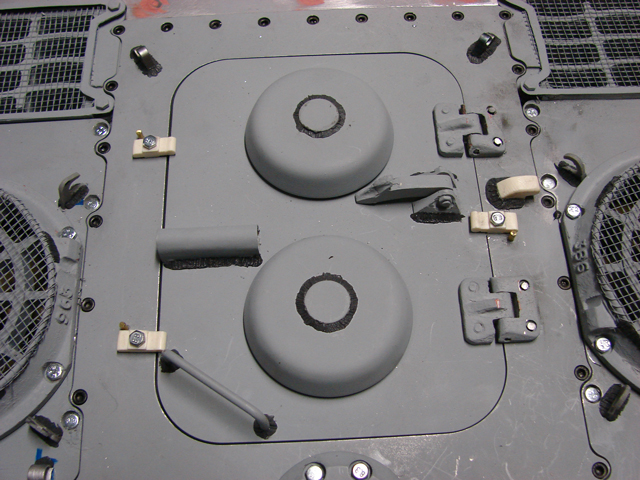
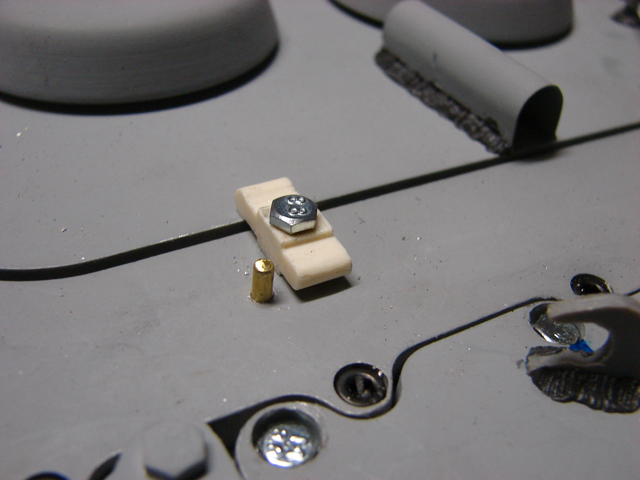
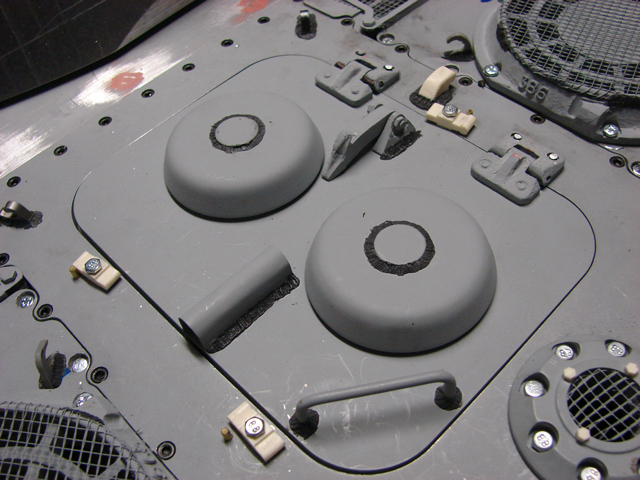
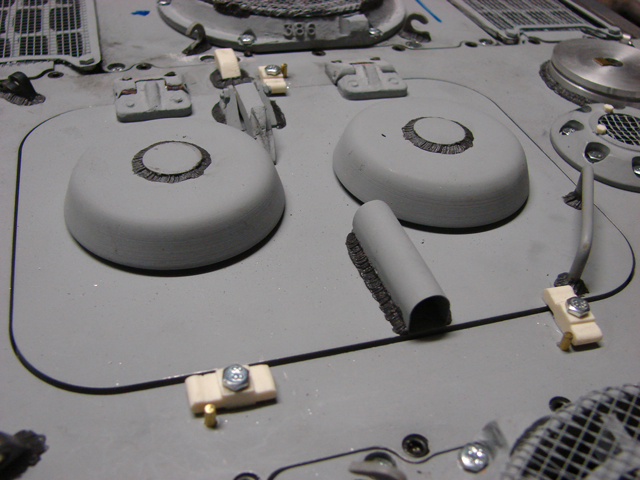
After the hatch was completed I then focused on the rear deck access panels.
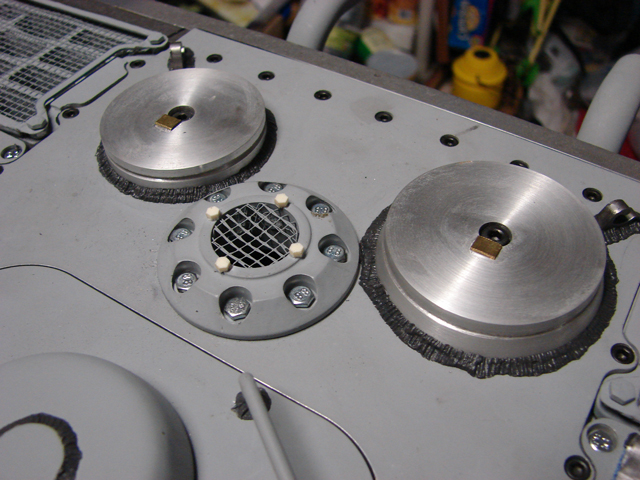
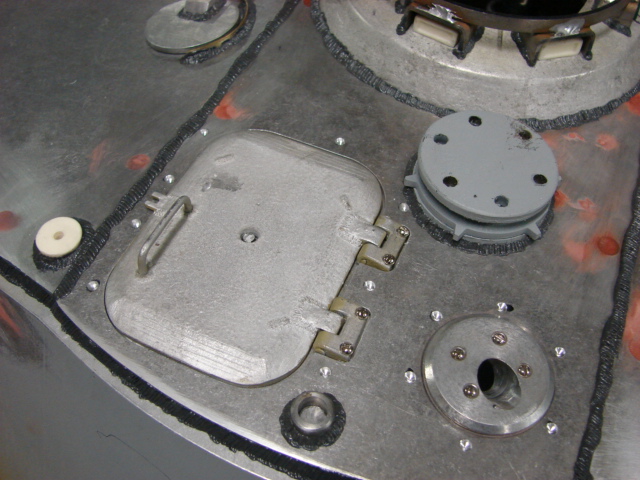
The stock components have the correct size and shape, but are missing the mounting bolt, the panel and mount is one piece missing the crease line separating the mount.
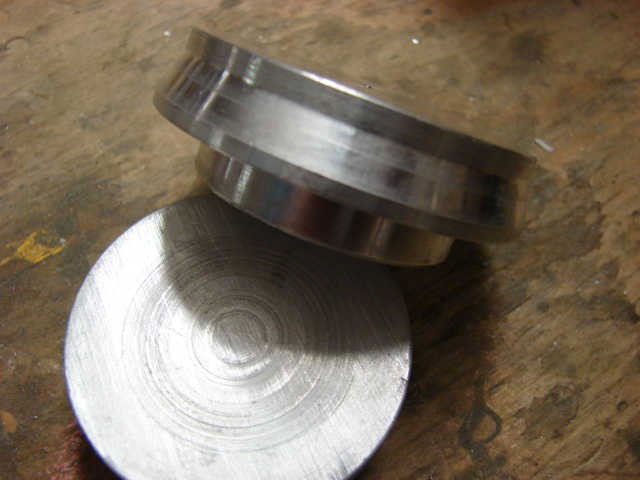
To rework the mounts the mounts were resanded on the lathe, cut the crease line into the mount, and I drilled and mounted the top mounting screw.
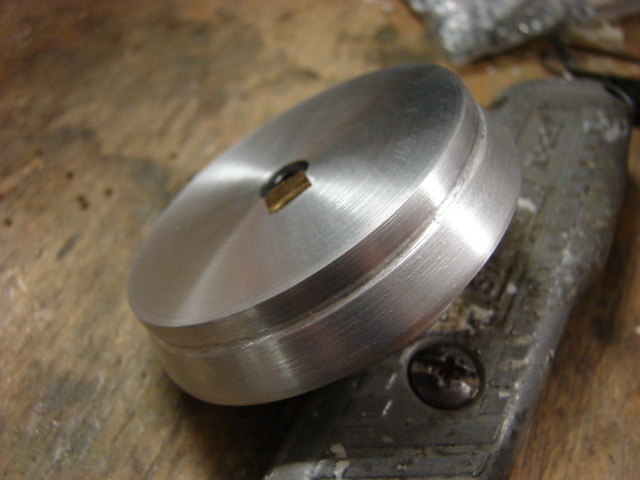
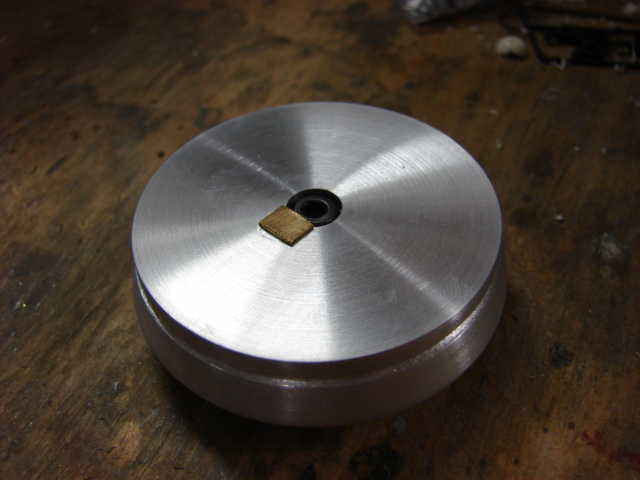
For the other air intake the kit supplied part was used as is.
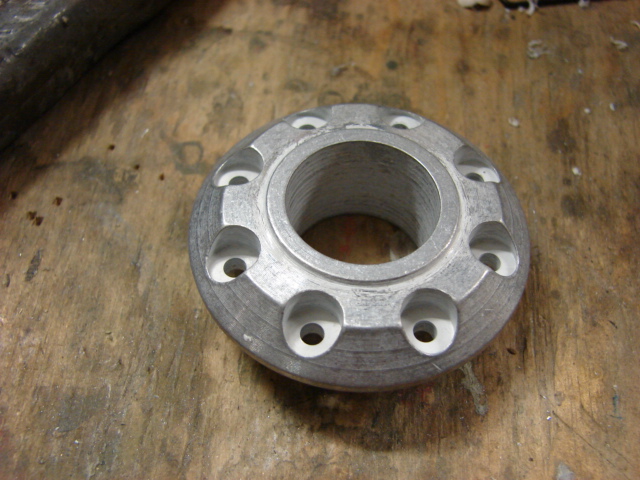
The only additions that were made were a small screen mesh cap and resin bolt heads.
For the engine deck lift hooks I used the kit supplied laser cut steel hooks. The only mod that was made was the addition of a small hole drilled into the hook’s bottom point
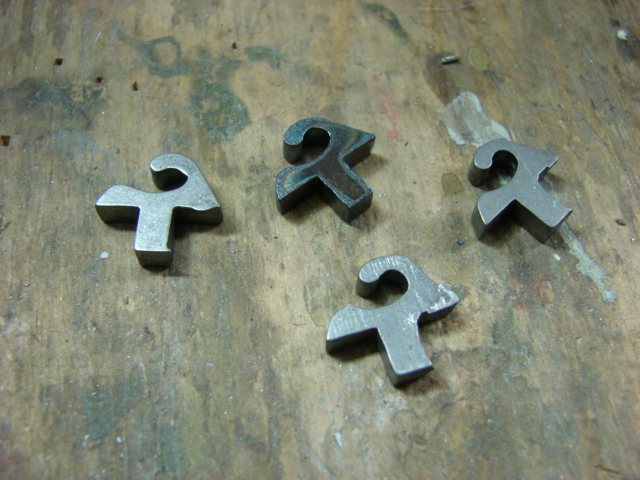
The fan plate hooks were not included in the kit and were scratch built out of sheet styrene. The antenna storage tube was another addition that was scratch built.
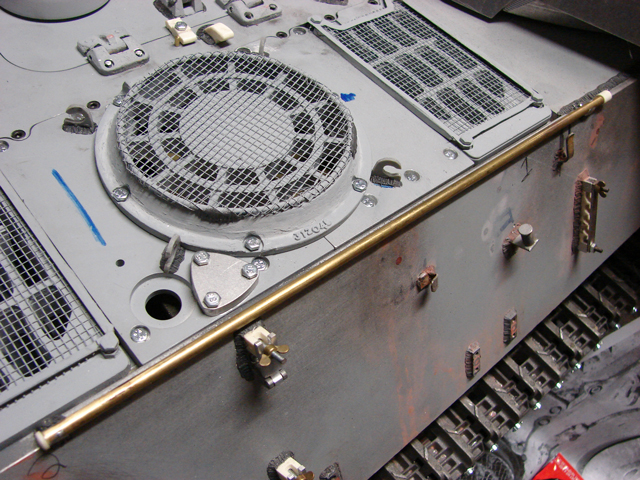
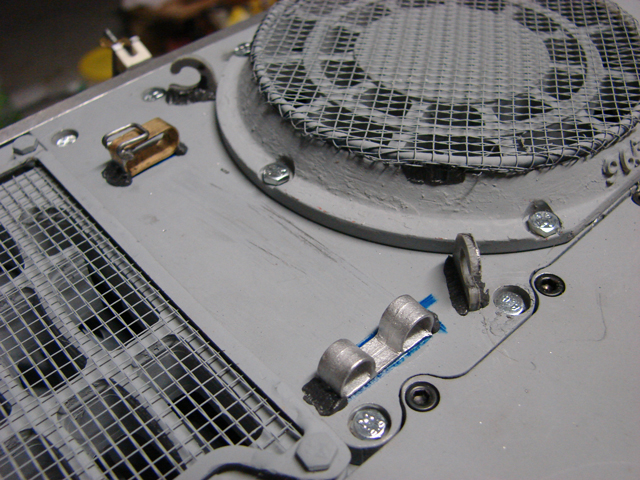
After I finished mounting the hatch I had the idea of mounting interior lighting. The purpose of the lights is that when I have to access the front or rear of the vehicle for maintenance or to recharge the batteries I can have light so I can see what I’m doing. The lights were easy to mount They consist of four white LEDs (two in the front and two in the rear). The lights turn on automatically when the hatch is opened and turn off when the hatch closes like a refrigerator. The lights activate via two impact switches, but I also have a main cut off switch so I can kill the power if the hatch will be open for a long period of time saving battery power.
I have added the last remaining details and welds to the tank’s rear deck.
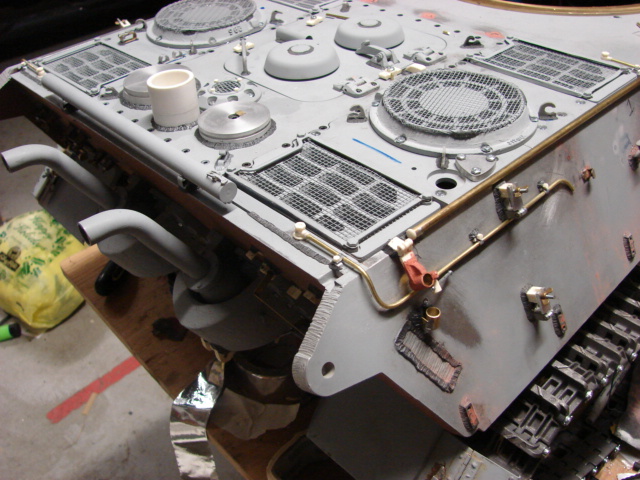
For the King Tiger’s 4 fuel vents I created the valve portion out of resin, and used a brass rod for the lines. I hollowed out the end portion of the brass rod to give the illusion that it is a tube. I will be adding these parts to the product line very soon. These components are also found on Panthers and jagdpanthers.
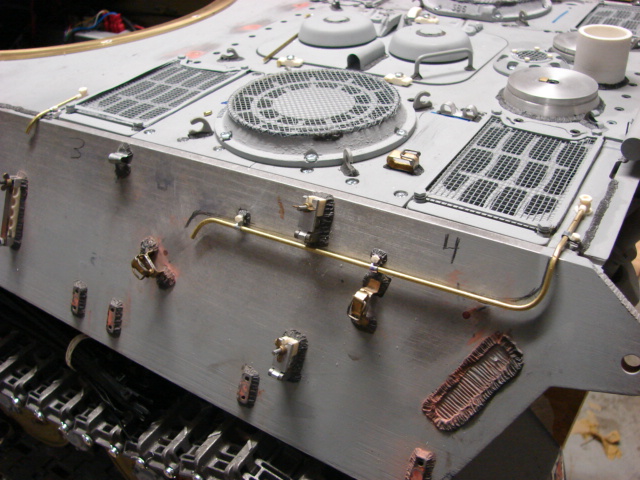
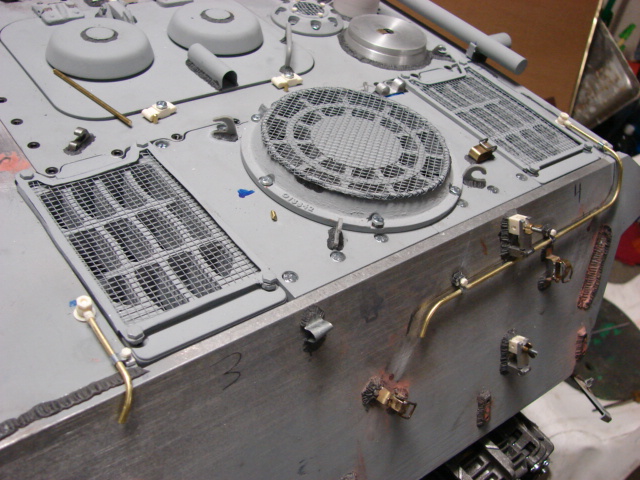
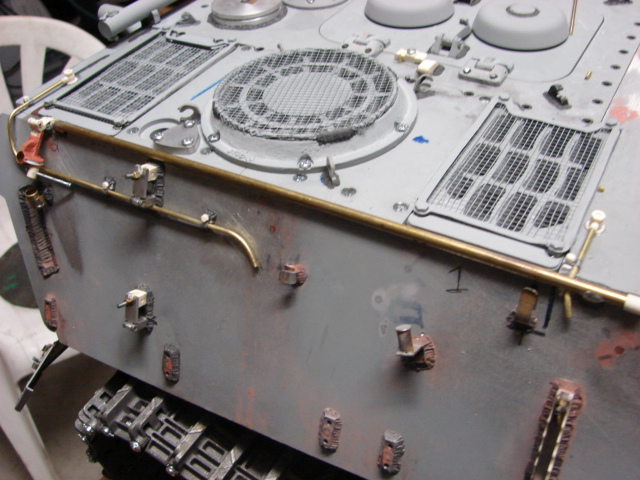
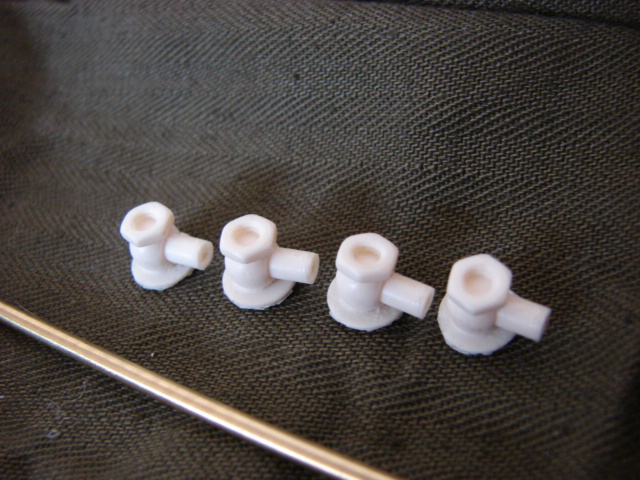
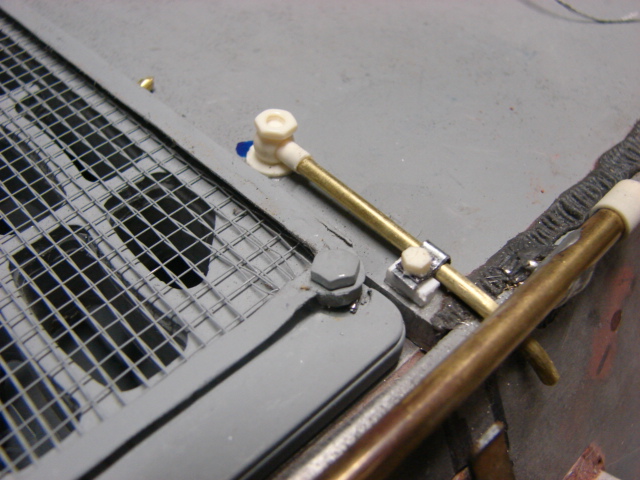
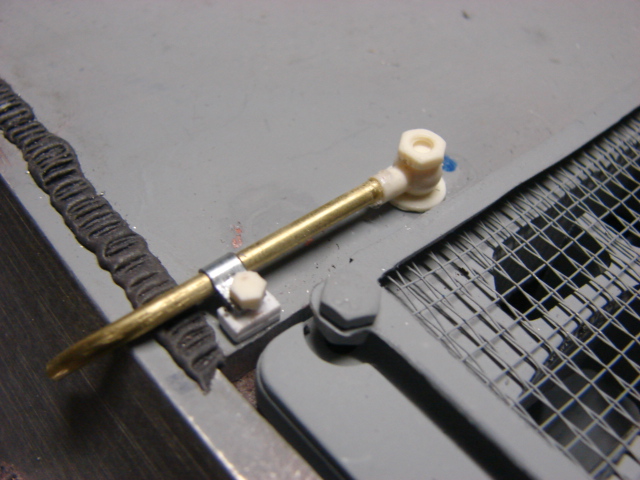

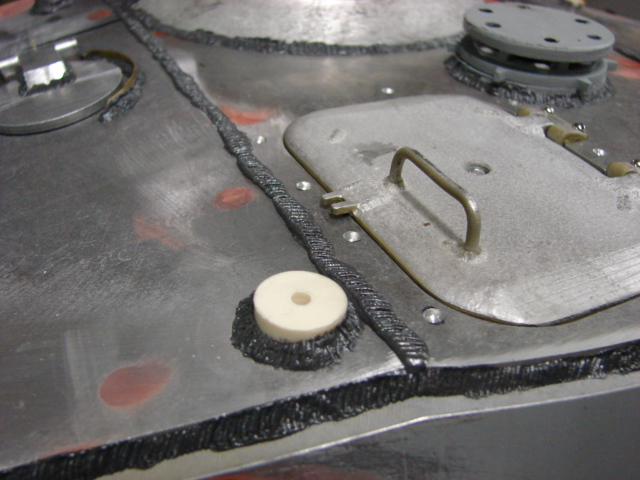
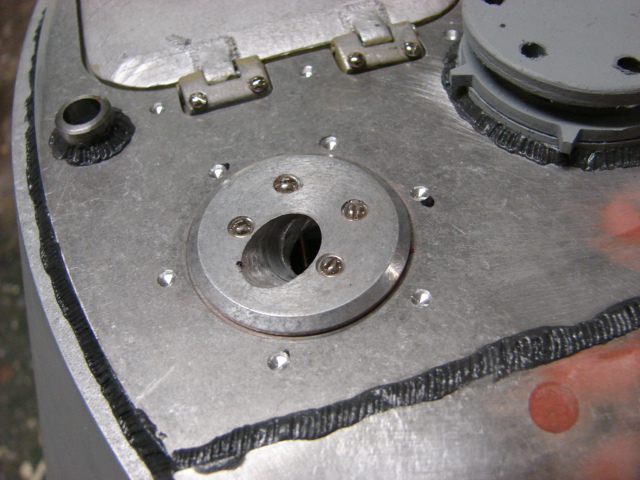
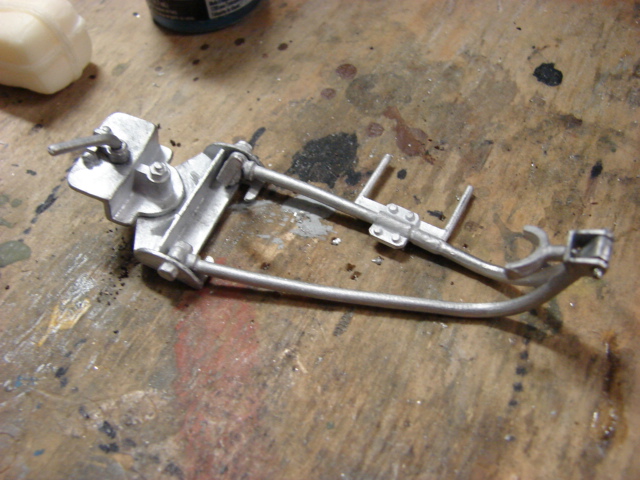
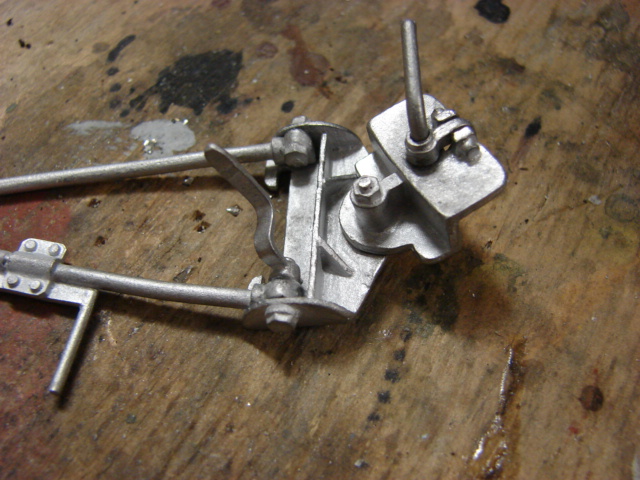
Since this model is radio controlled I decided to build this tank as a command vehicle with the Sternantenna D. To build this model as a command tank I needed to fabricate the rear insulator armored drum, Antenna storage rod tube, and retracting antenna base holder. There will also be another antenna that will be mounted on the turret.
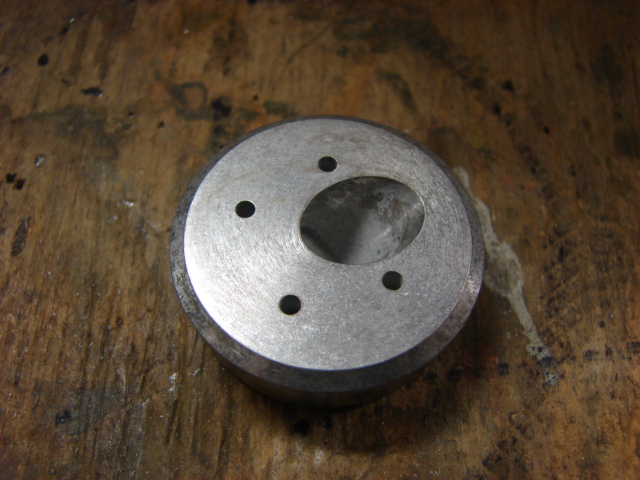
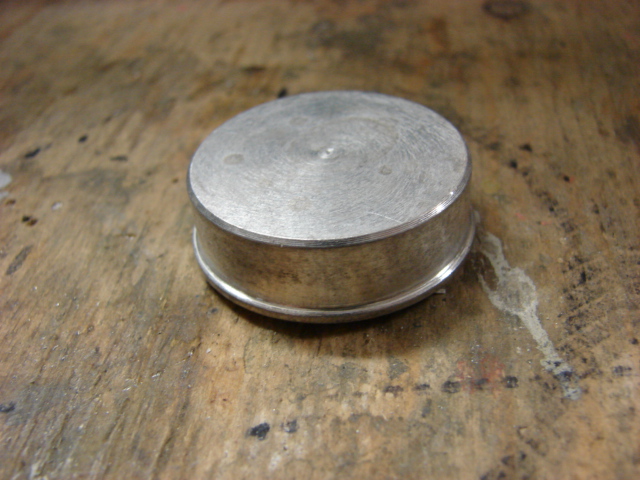
I machined the armored drum out of PVC and resin. Resin bolt heads were added to the drum’s interior. The drum will be where the Sternantenna D antenna will mount. The Sternantenna will mount directly to the tank’s Radio receiver and should give me improved radio range. The Sternantenna D itself will all be machined from brass and will be fabricated after the turret is complete.
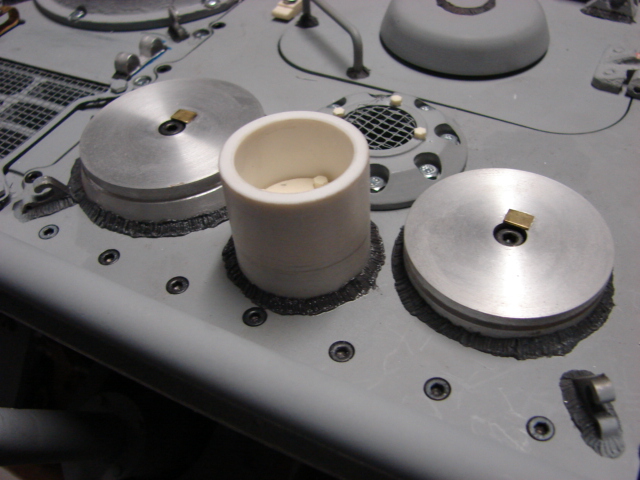
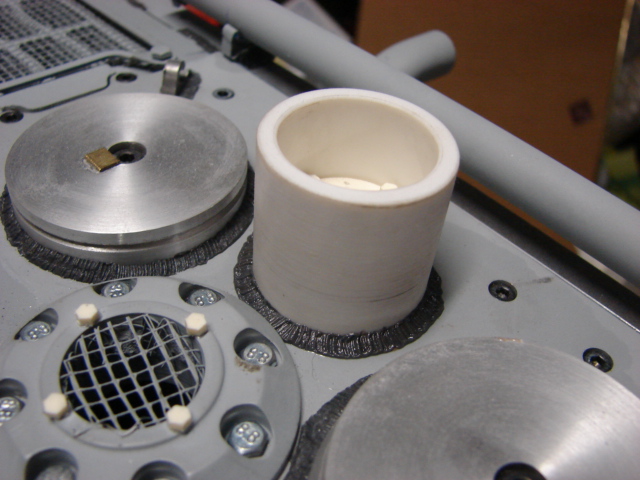
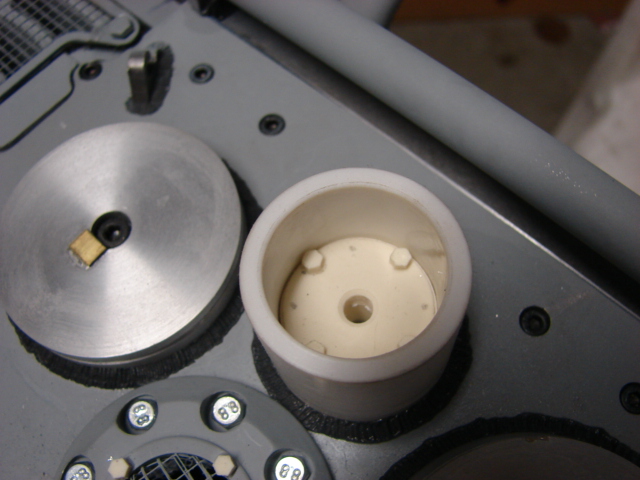
For the antenna storage tube I fabricated the component out of a solid bar of aluminum with metal and resin details added to it’s surface. The tube is solid and non functional.
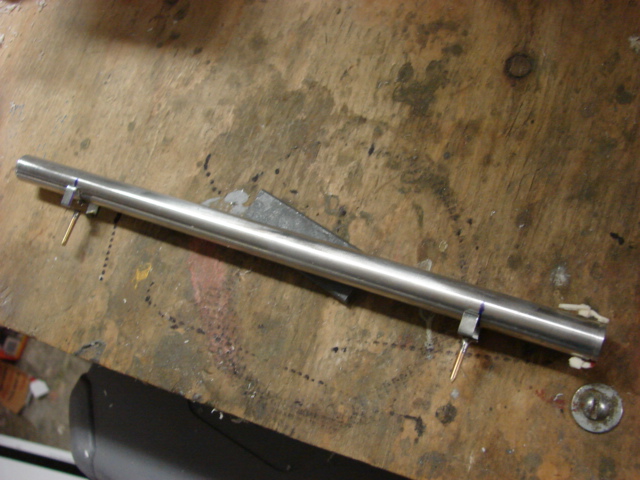
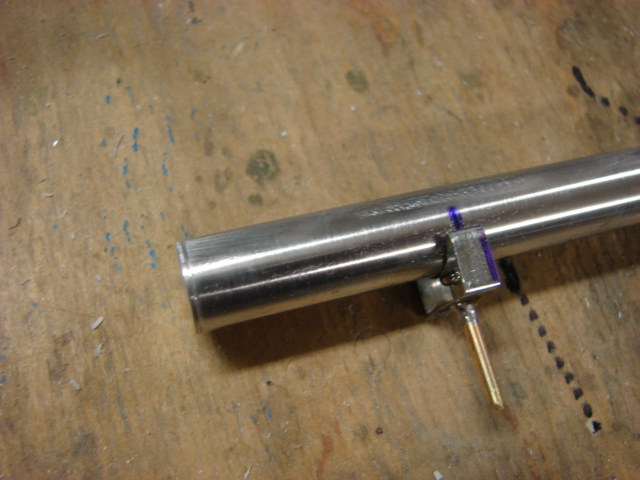
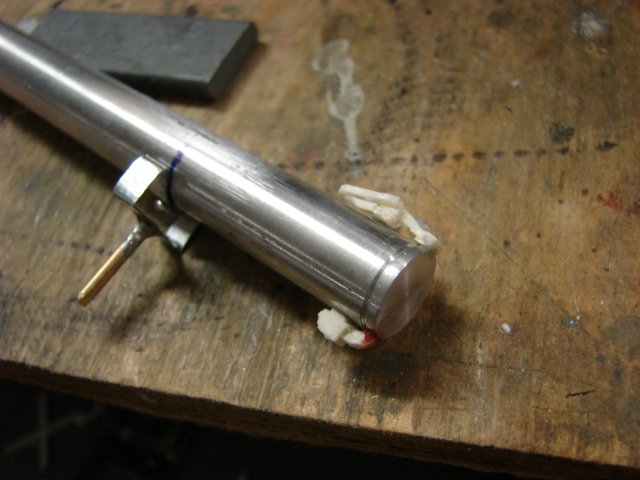
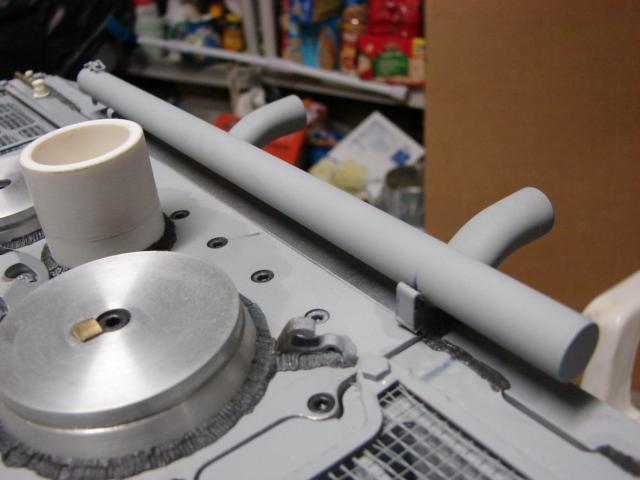
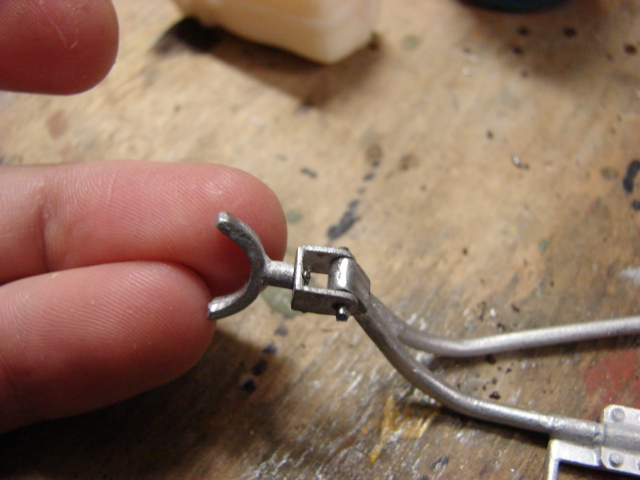
For the folding antenna holder This part was fabricated out of brass, resin, and parts from my resin Tiger I Jack mounts. For the vise mechanism in the antenna holder I used the handle from my soft skin AFV pintle mount kit. The rest was crafted from resin and plastic
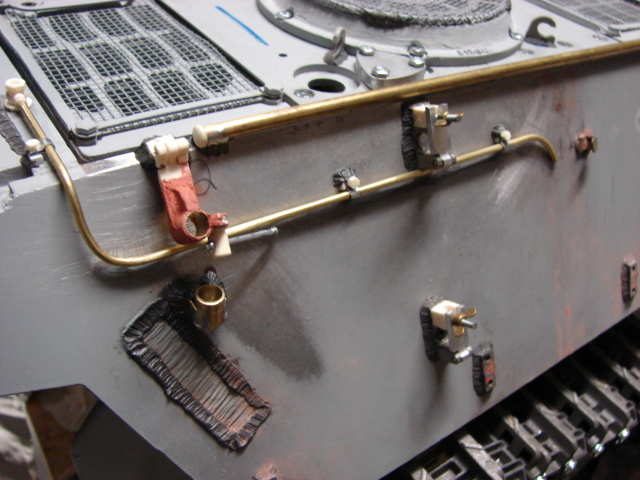
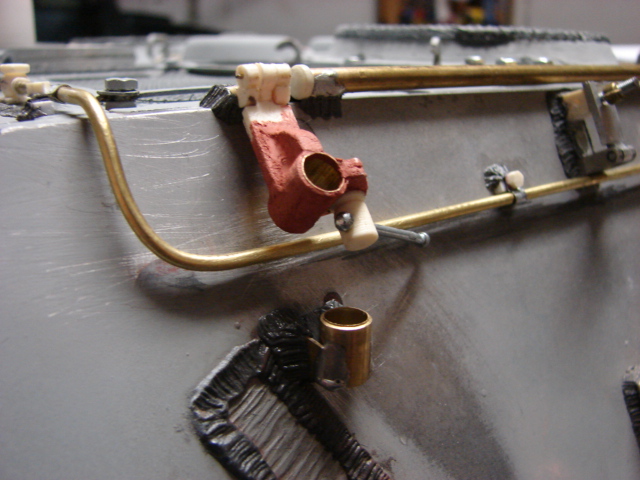
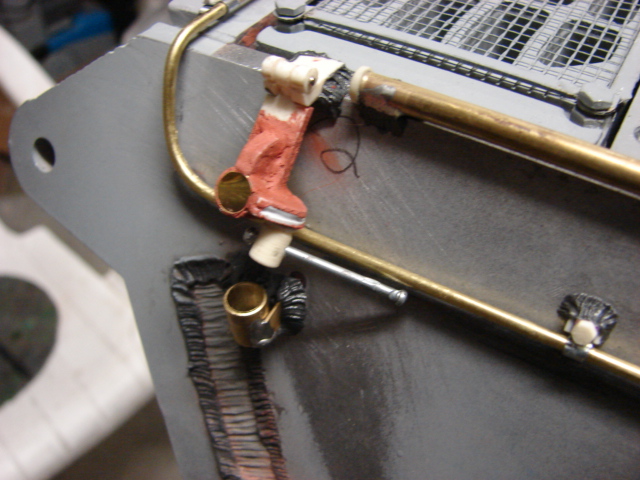
the bottom portion is all constructed out of soldered brass. a small strip of steel was soldered across to keep the antenna rods from falling out
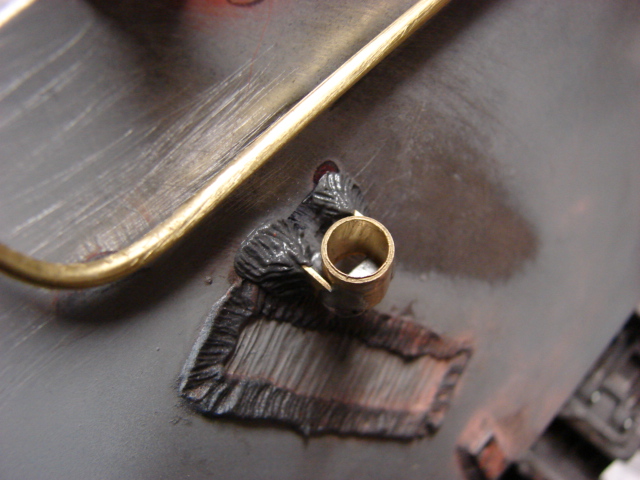
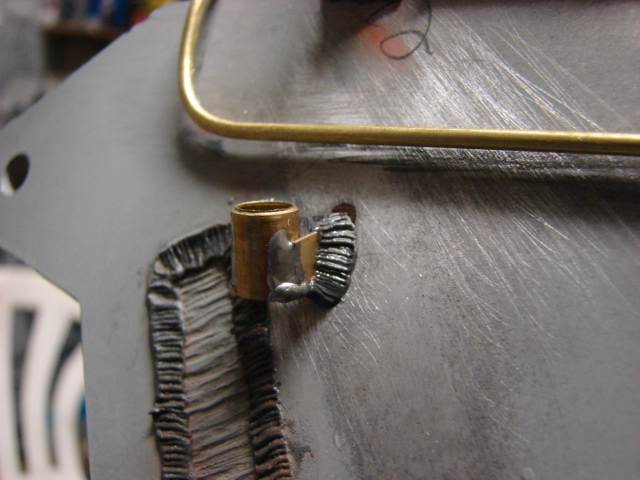
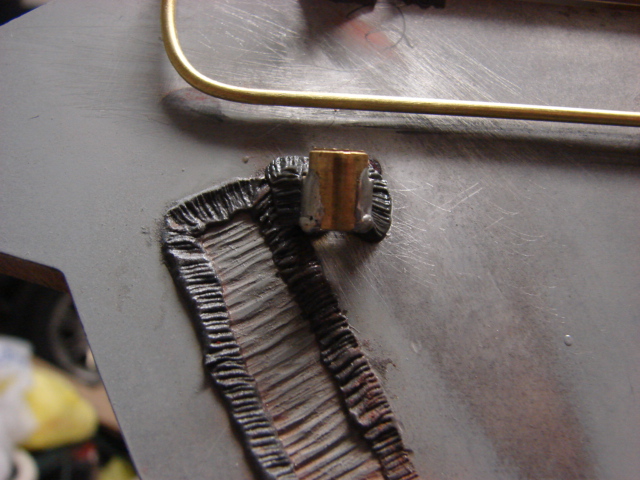
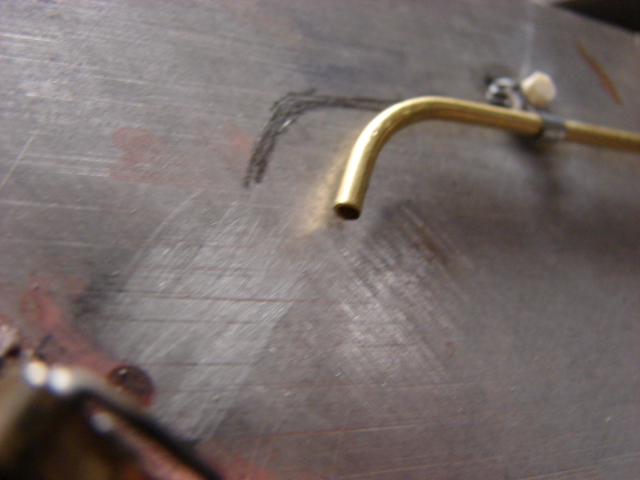
The way the part functions is then when the tank is not in motion the antenna is extended and secured inside this mount. But when the mount is not being used it hinges down ward. (Note I’m using a screwdriver to illustrate how the part would hinge outward when in use. I will not be building the extended Sternantenna D antenna for this project)
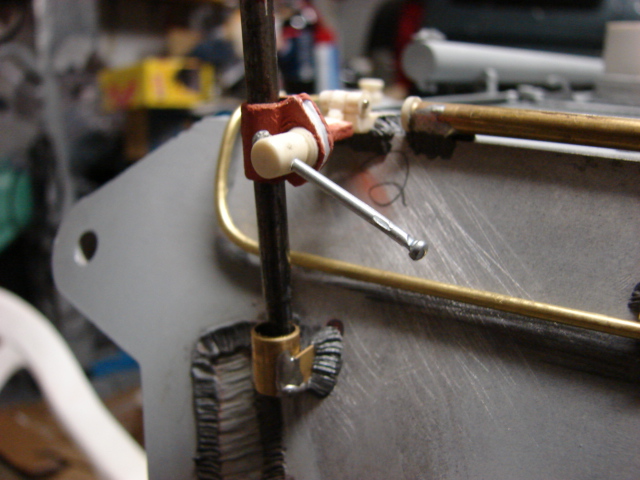
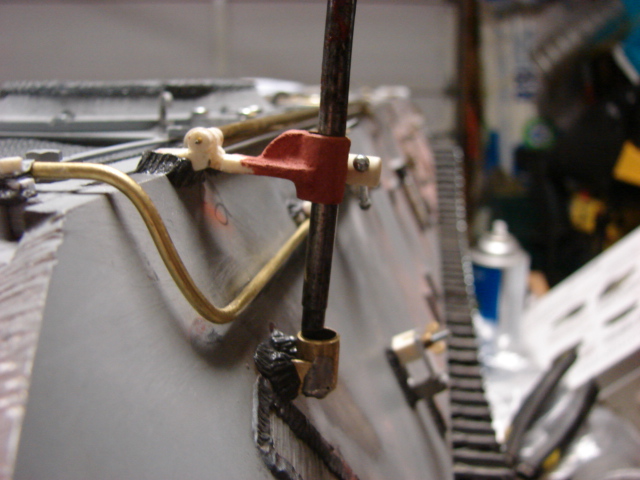
These were the last details that were needed to complete the rear deck. I will now be focusing on the turret. I will be adding the two large protective mesh covers to the engine deck, but these will be added after the lower turret armor is added. I’m doing this because I don’t want to fabricate these complex parts without first finding out how they will clear the turret.
More progress to follow!!
Your work at the top of the page looks great. I’d love to follow this thread closely, but my computer can’t process hundreds of pictures on one page… hopefully this comment will add a new page to the thread so I can actually see your next update.
Happy New year everyone, I have made some progress on the tank’s turret.
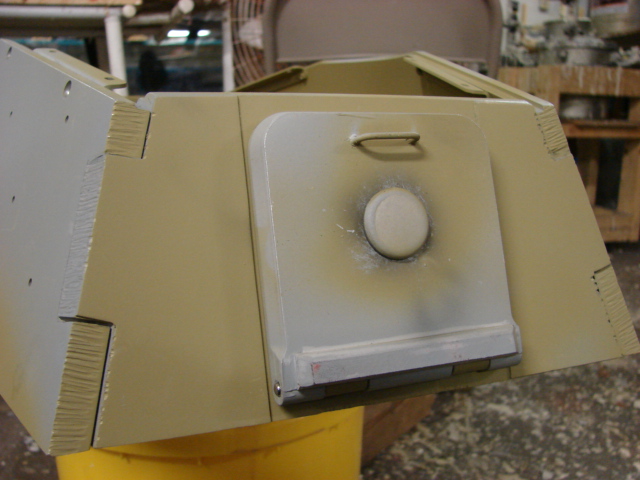
On the tank’s turret I had already had the basic turret bolted together from earlier in the construction which saved time. To get the turret ready for the electronics and machinery I gave the interior a shot of primer and a nice coat of dark yellow.
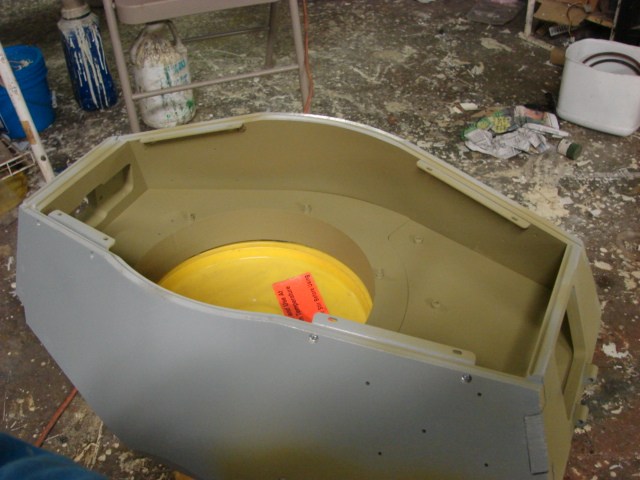
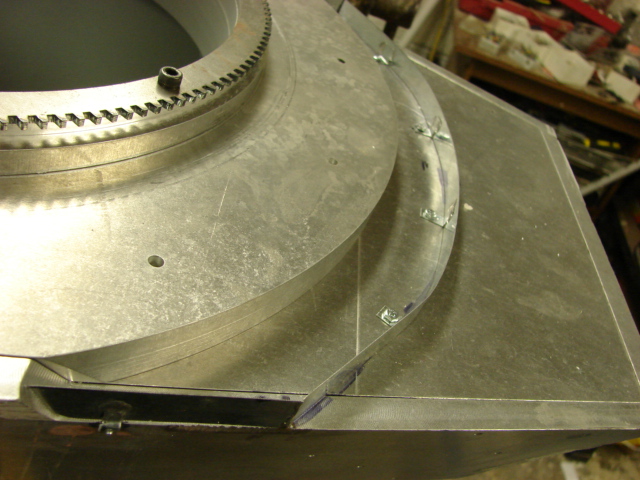
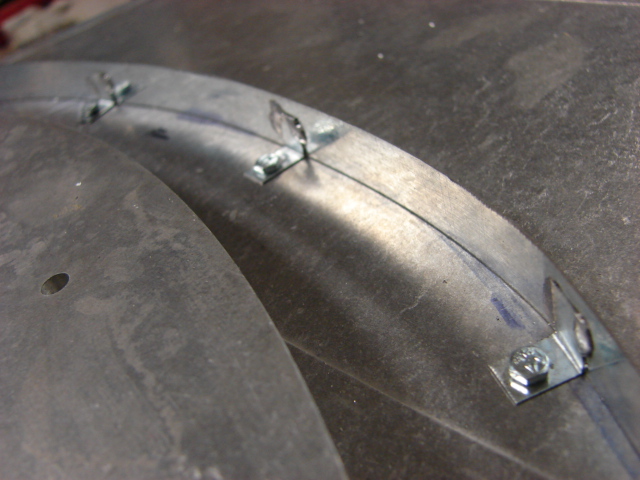
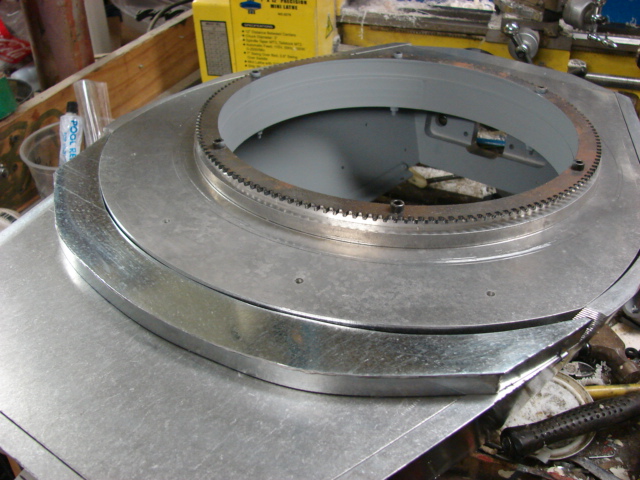
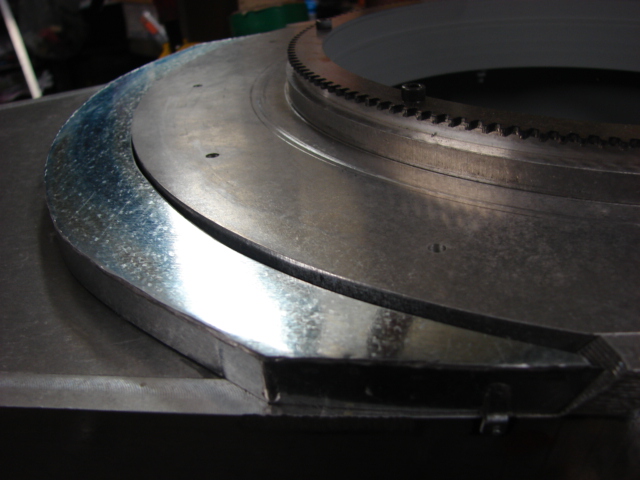
The tank’s turret grenade guard was attached. This component was scratch built out of sheet steel and was bolted and soldered together. This went together very quickly and smoothly. with this out of the way I can now fabricate the grenade guard grills on the engine deck.
[img]
Happy New year everyone, I have made some progress on the tank’s turret.
On the tank’s turret I had already had the basic turret bolted together from earlier in the construction which saved time. To get the turret ready for the electronics and machinery I gave the interior a shot of primer and a nice coat of dark yellow.
The tank’s turret grenade guard was attached. This component was scratch built out of sheet steel and was bolted and soldered together. This went together very quickly and smoothly. with this out of the way I can now fabricate the grenade guard grills on the engine deck.
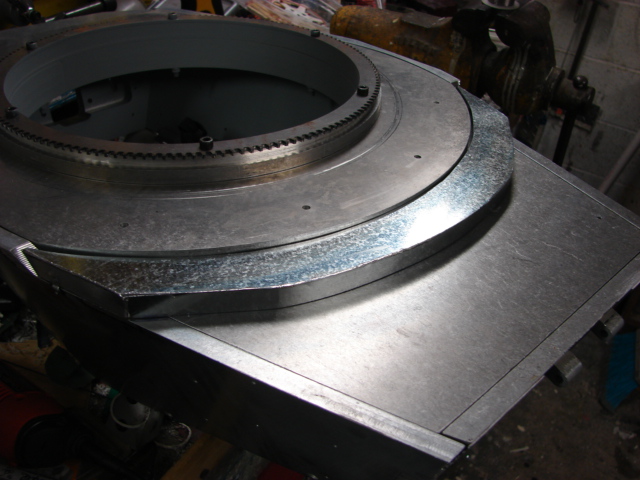
After the gueard was added the whole turret bottom got a coat of primer and dark yellow.
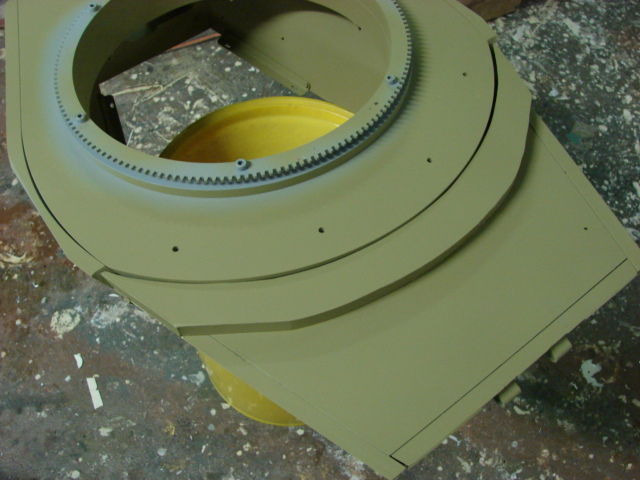
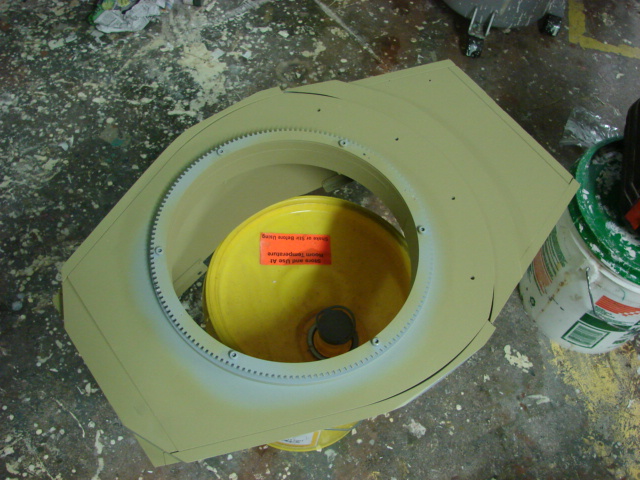
The rear turret wall is missing the indentation for the rear hatch. Instead of removing the plate and attempting to mill the recess into the plate I just added two sheet styrene plates to each side of the rear wall giving me the recess without having to do any hard machine work. In addition to the plates I also etched the torch cut lines to the rear turret panels. Welds will be the next detail that will be added.
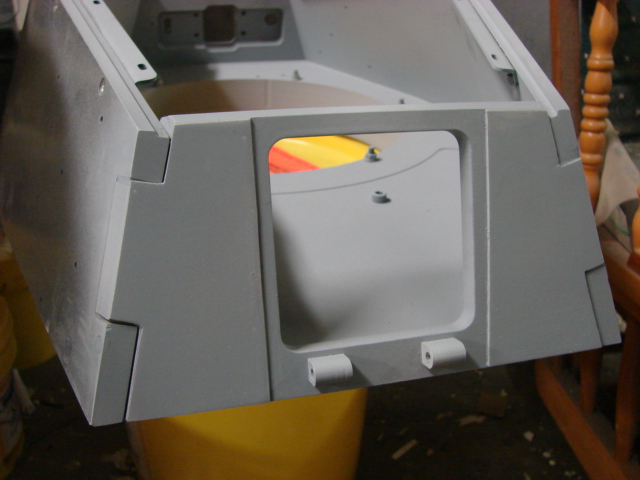
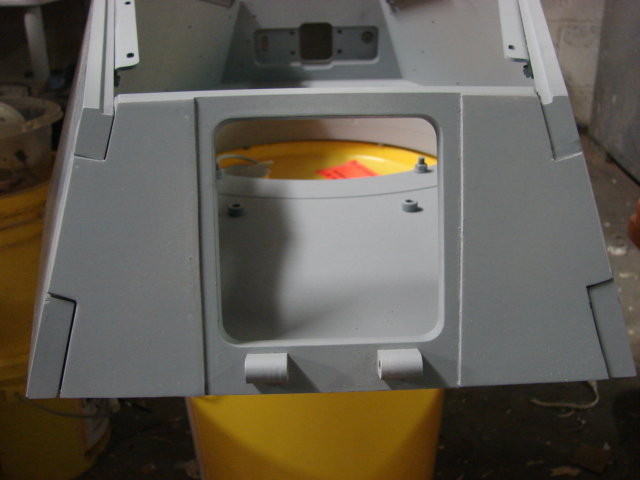
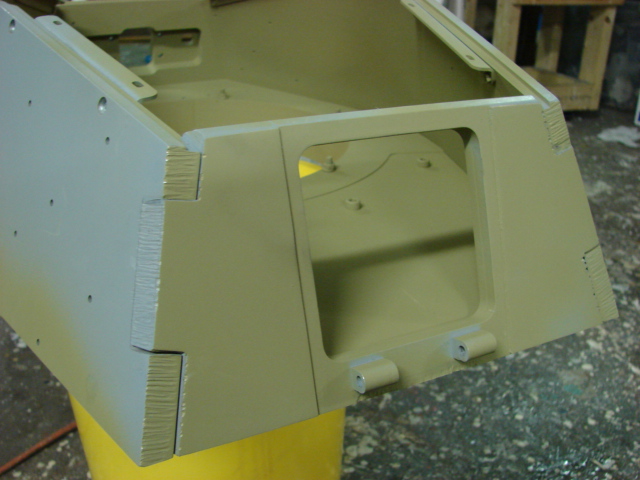
I was also able to complete the detailing on the rear hatch. For the rear hatch the kit supplies your with the basic components to assemble a basic working hatch.
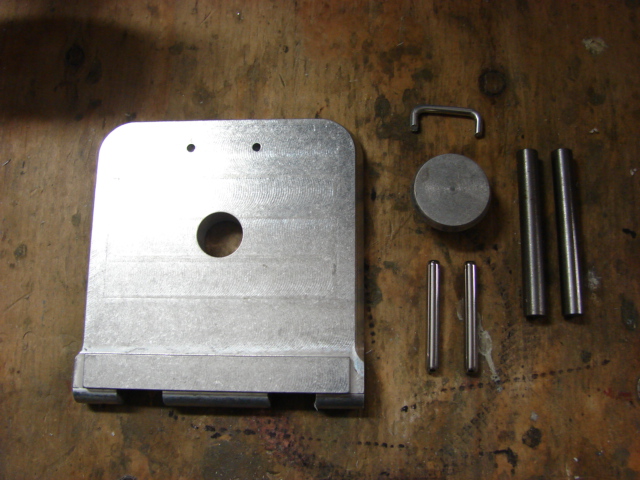
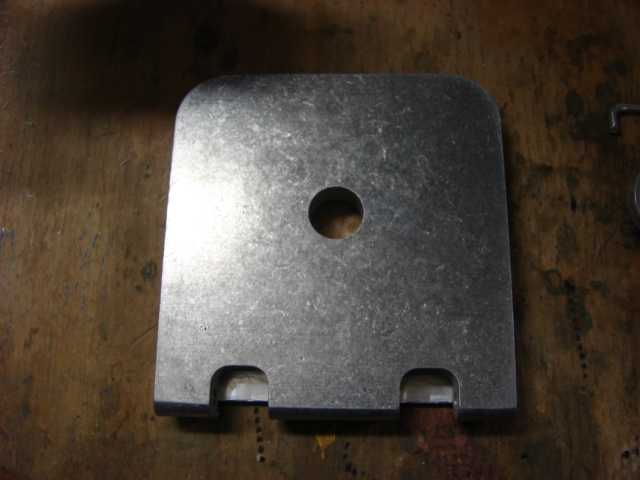
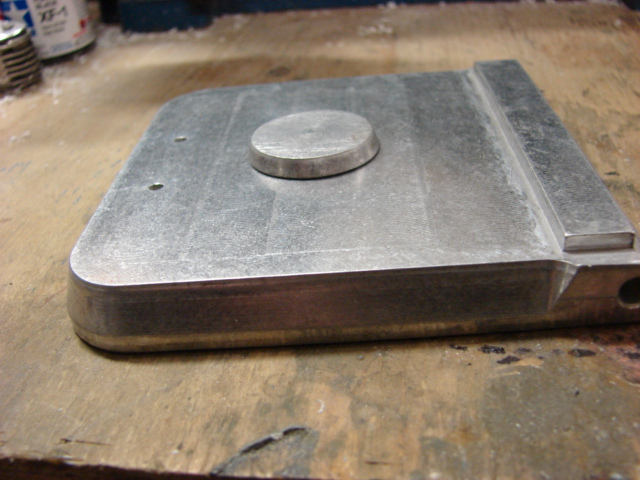
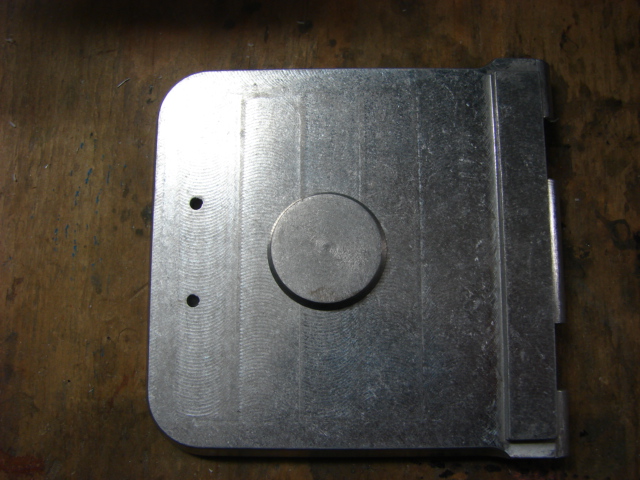
The kit supplied hatch doesn’t give you any interior detailing so all of the hatches interior detailing needed to be scratch built. I decided to make all of the functions fully functional. To do this I first had to enlarge and add a taper to the pistol port lug hole. By doing this the kit supplied lug was not used. a new machined lug was fabricated and used in its place. The pistol port lug hole
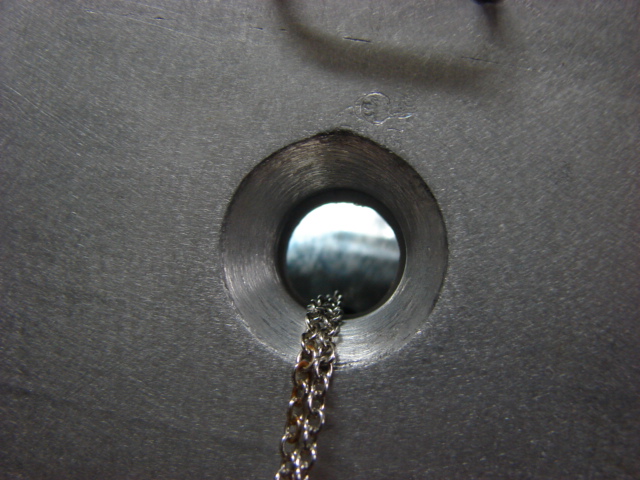
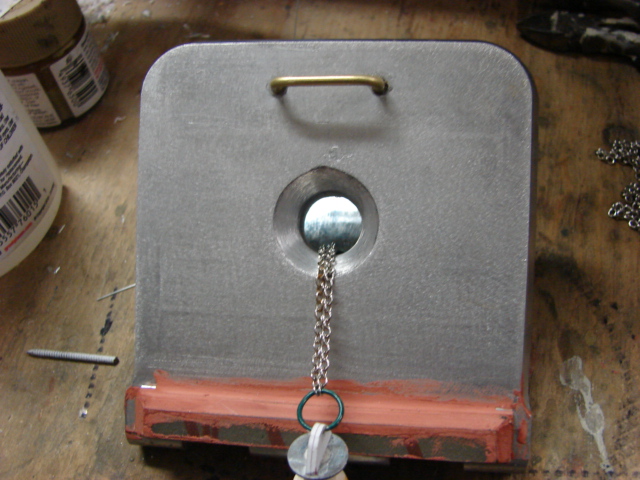
for the interior detailing the components were scratch built out of plastic, metal, and resin.
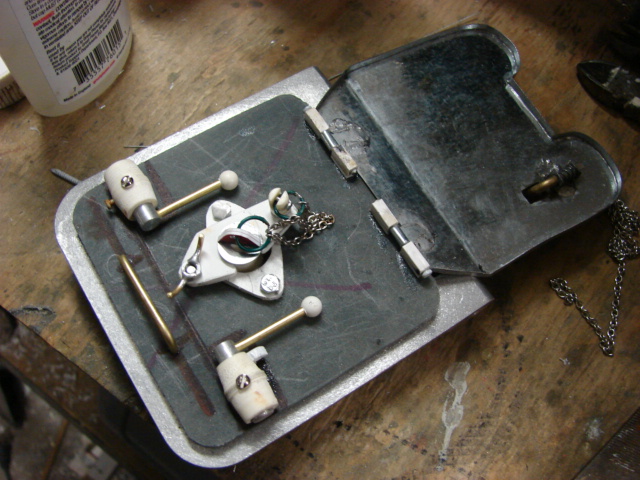
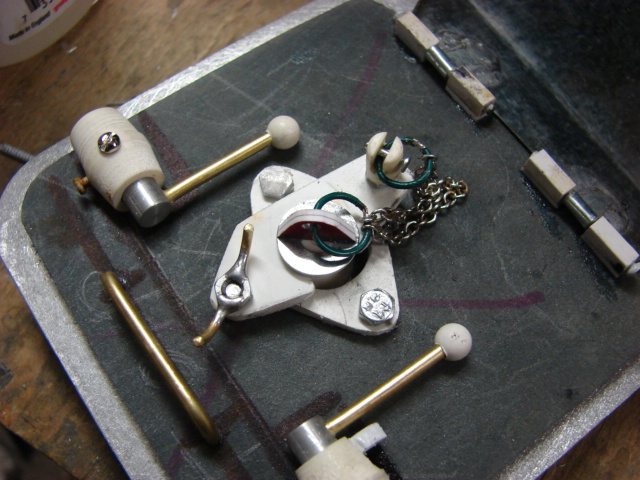
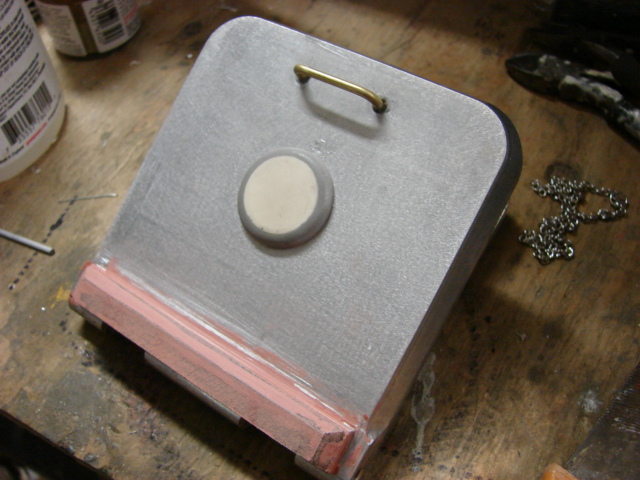
The hatch was painted and weathered, then was installed to the tank.
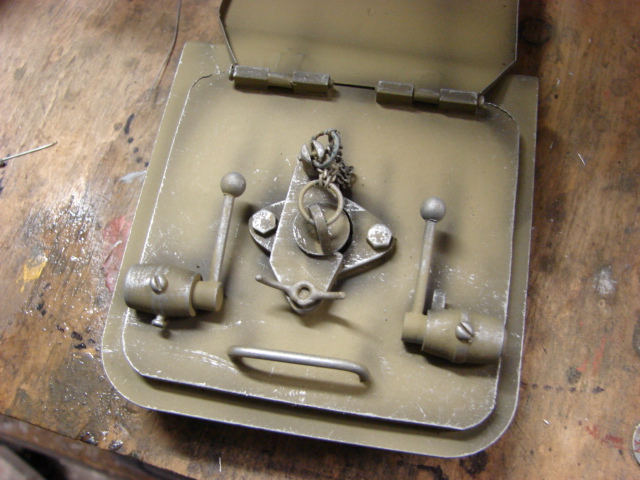
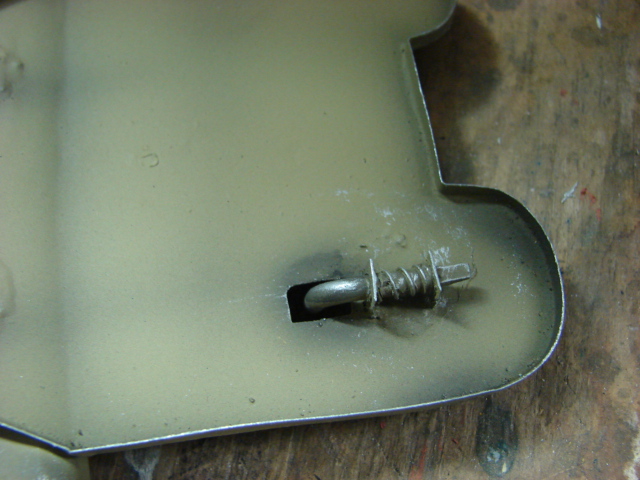
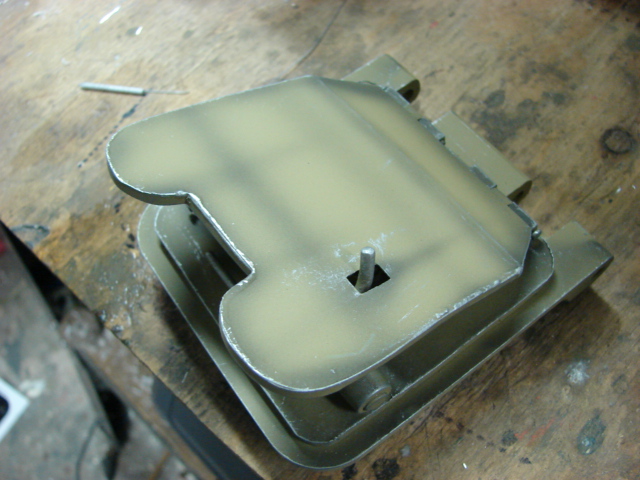
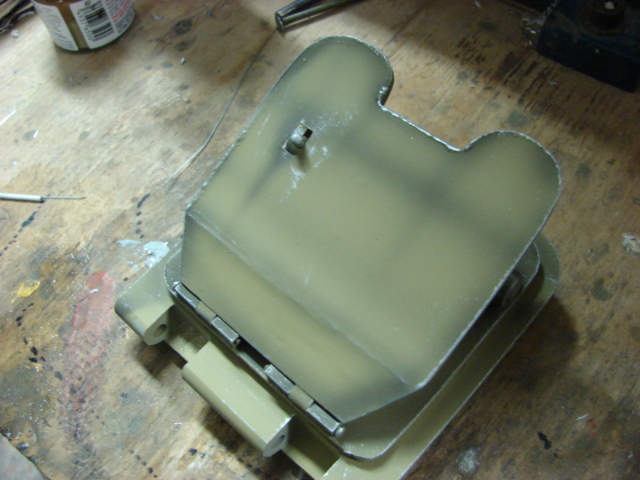
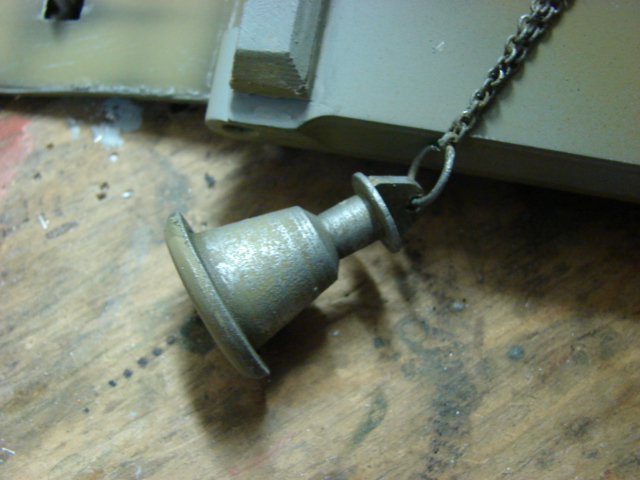
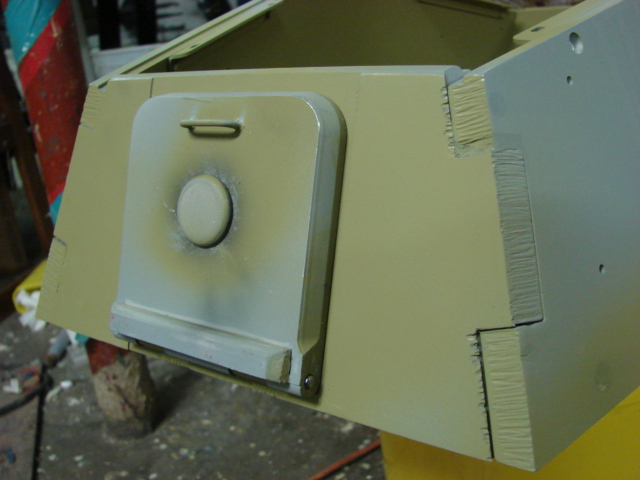
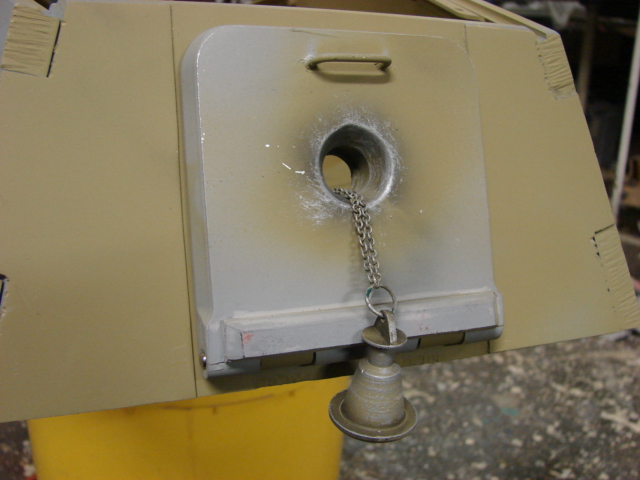
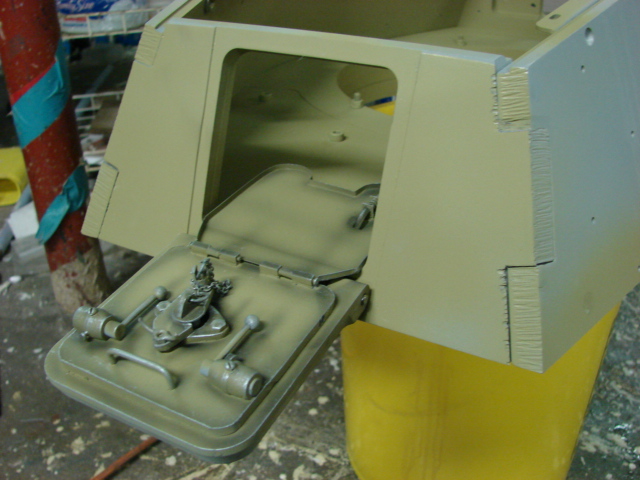
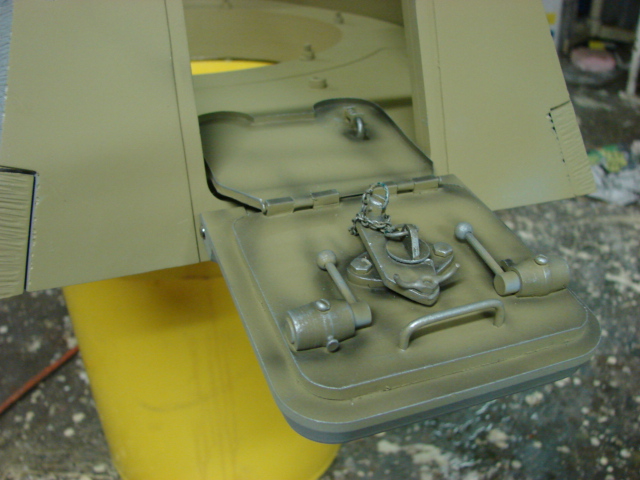
All that remains left to complete the hatch is to add the hatch torsion bar rods, Once complete I will be able to start the gun and gun elevation mechanism. More info to follow…
I have made more progress on the tanks turret.
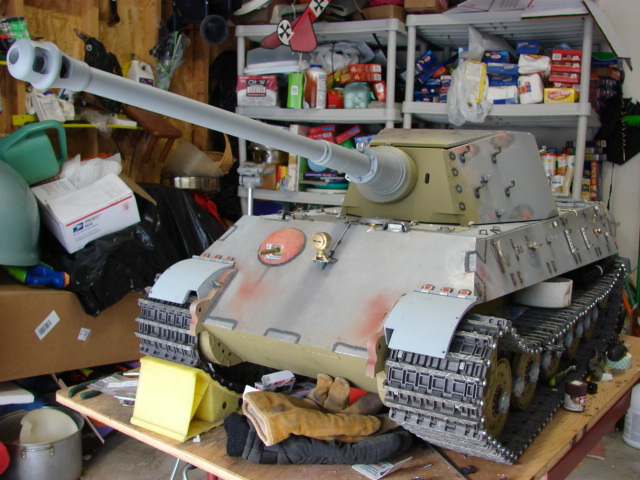
I was able to add the rear hatch torsion bars. The torsion bars themselves come with the kit and are two simple steel rods. The rods were missing the tapered end tips which I fabricated out of turned resin.
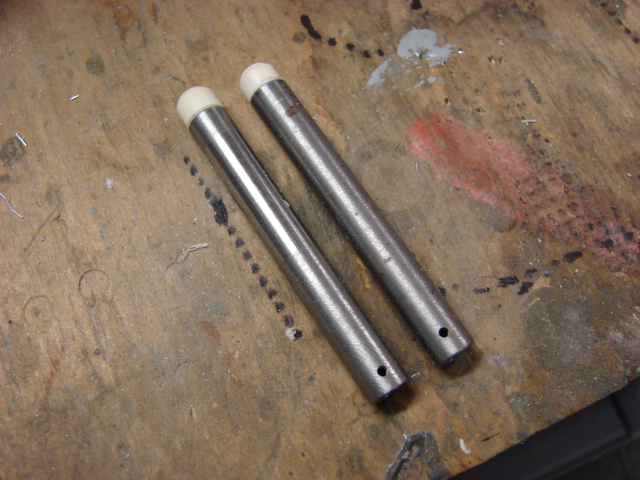
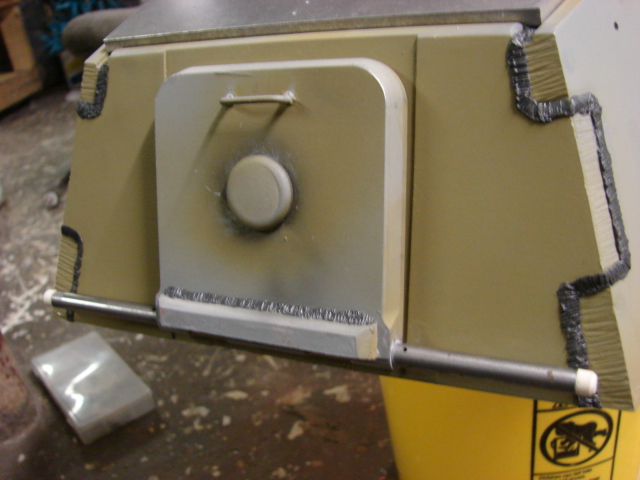
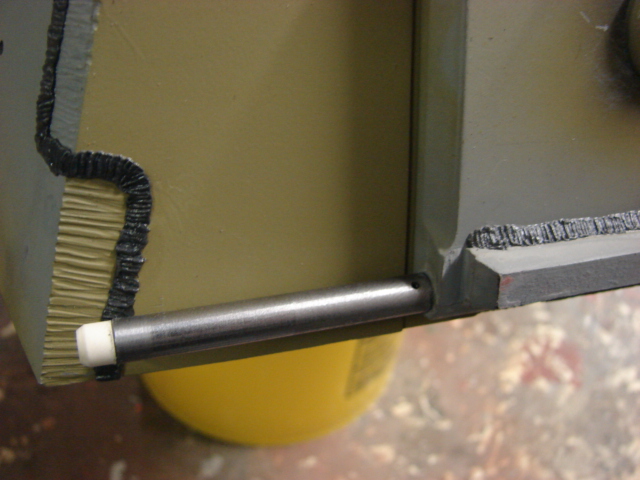
After the bars were added I fabricated and mounted the torsion bar armored covers out of length of PVC pipe. With the addition of these guards the rear portion of the turret is now complete.
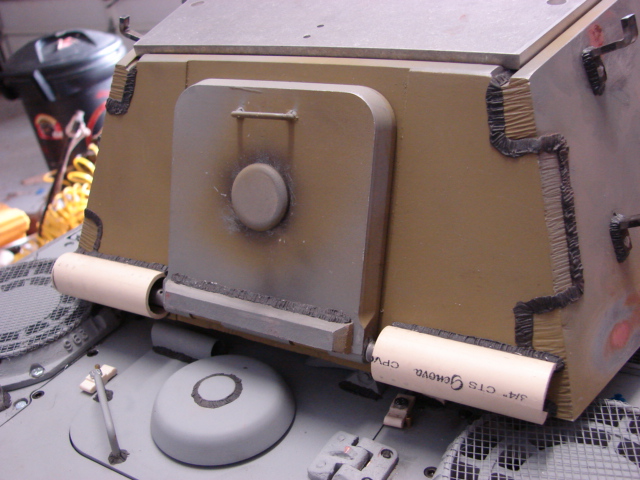
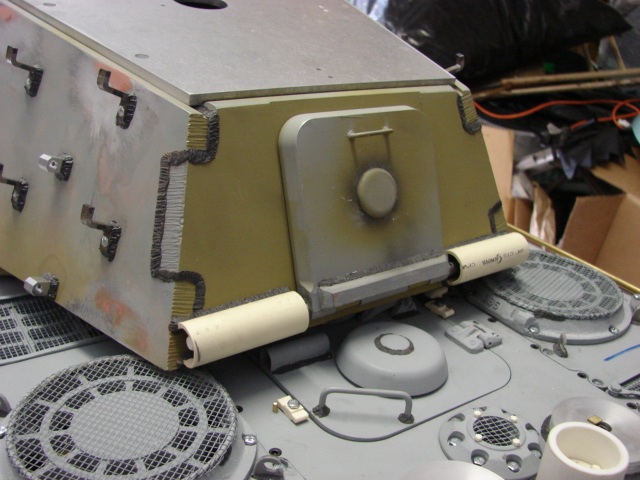
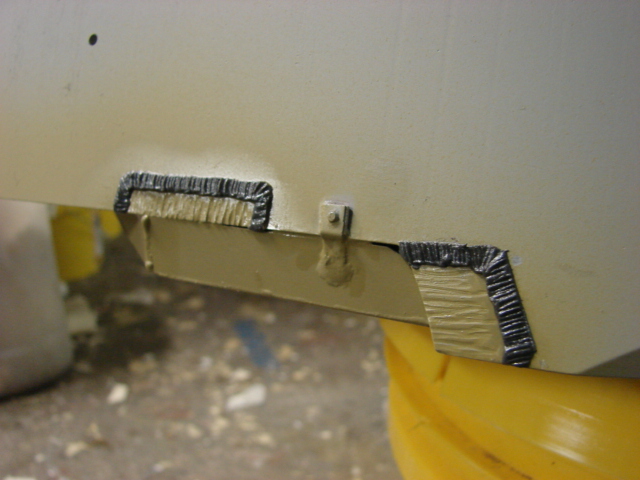
The turret welds were added along with several torch cut lines. A few of the lower rear etchings were not part of the kit’s pannels and were added with a dremel.
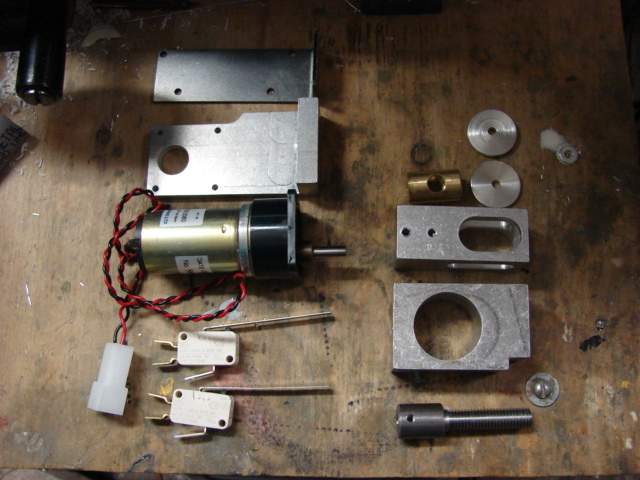
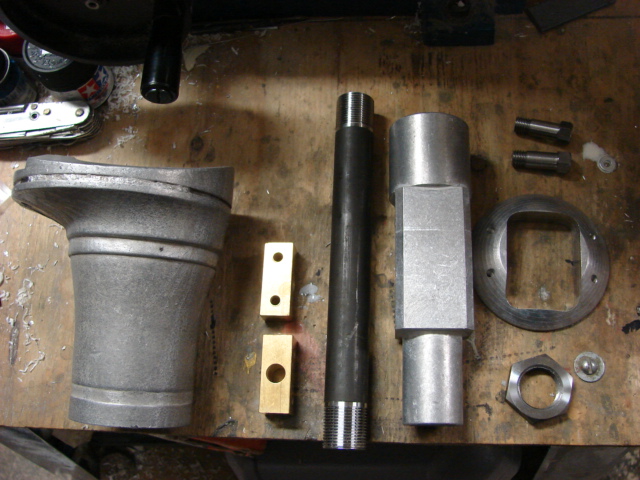
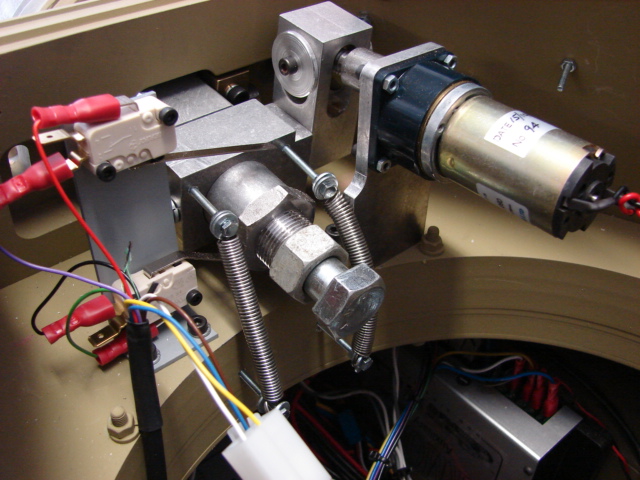
The tank’s gun and gun elevation equipment was assembled and added. The kit supplies you with everything you need to make the gun elevate. The elevation equipment was built OOB and works well. The only mods that I made to the gun elevation were the addition of lock washers on the fasteners, and the addition of two extension springs. Since I’m not going to add the blank gun system the gun elevation is missing some weight towards the rear making the gun very front heavy. This puts strain on the elevation motor when the motor is pulling the gun barrel up. The extension springs and the large steel bolt act as a counter weight and do help with the gun elevation performance.
I was also able to make a video of the gun elevation in action and posted it on youtube.
http://www.youtube.com/watch?v=ykQzdlOLMSs
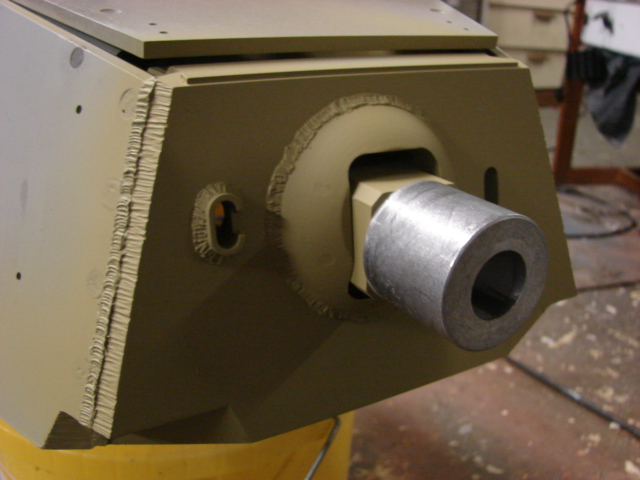
The tank’s mantlet was also added. The kit supplied mantlet is a very nice all aluminum sand casting. The mantlet comes pre drilled and pre machined and is ready for installation OOB.
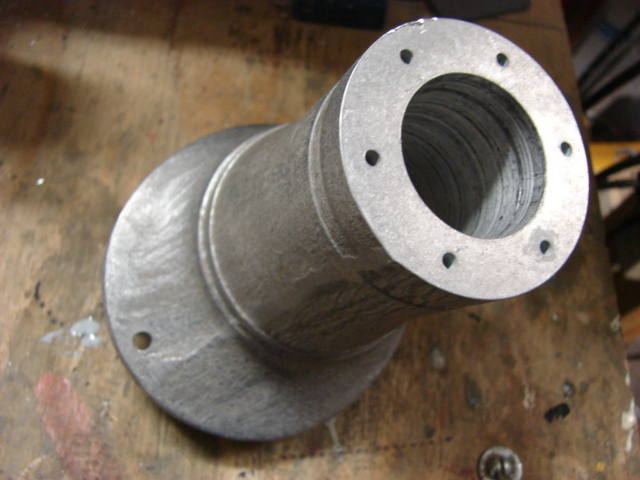
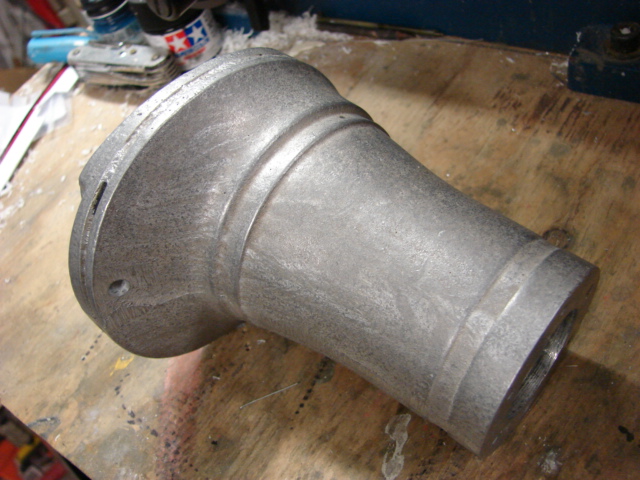
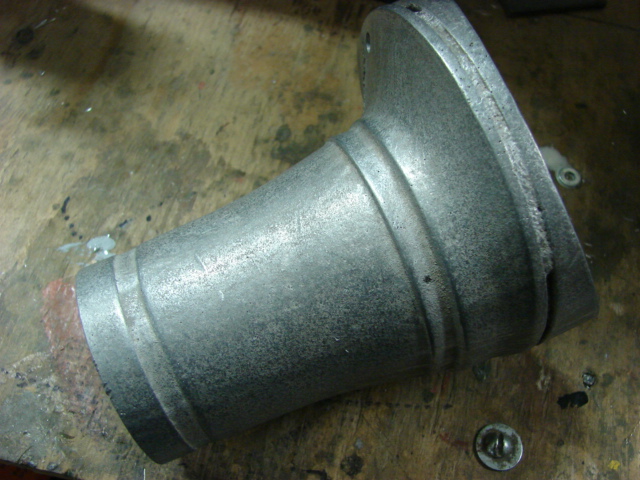
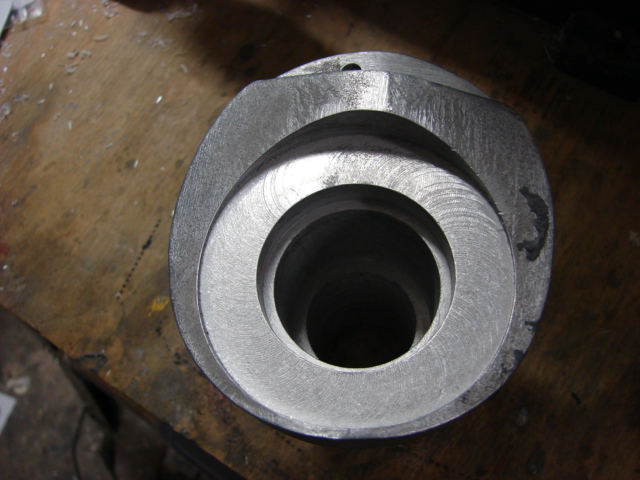
The only mods that I had to make to the mantlet was to clean up the mantlet rim. It seams that when the mantlet was casted some of the sand broke off leaving the rim clogged with aluminum. After a quick pass with a Dremel the rim was cleaned out.
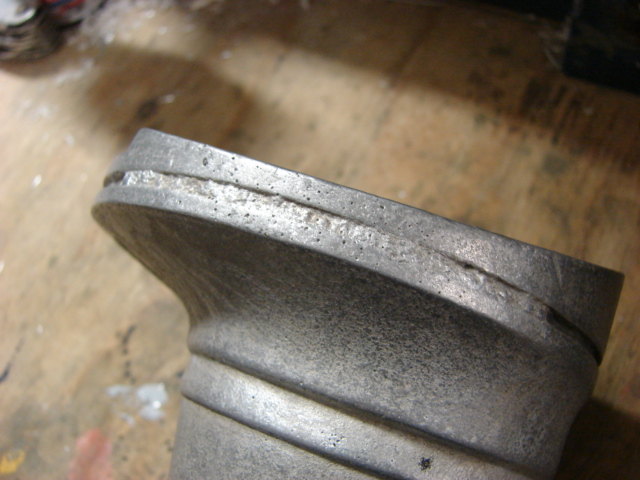
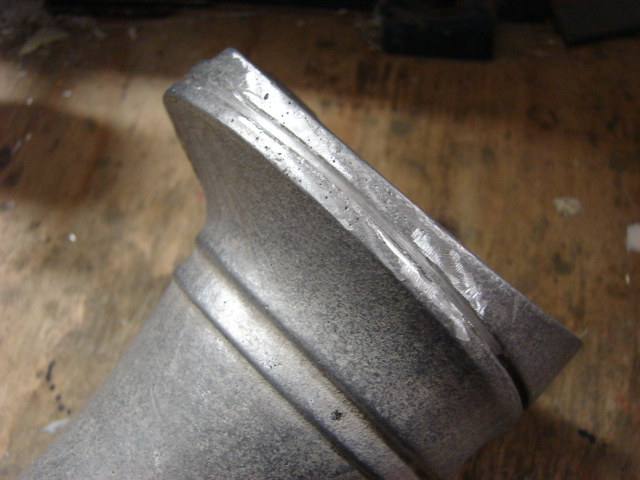
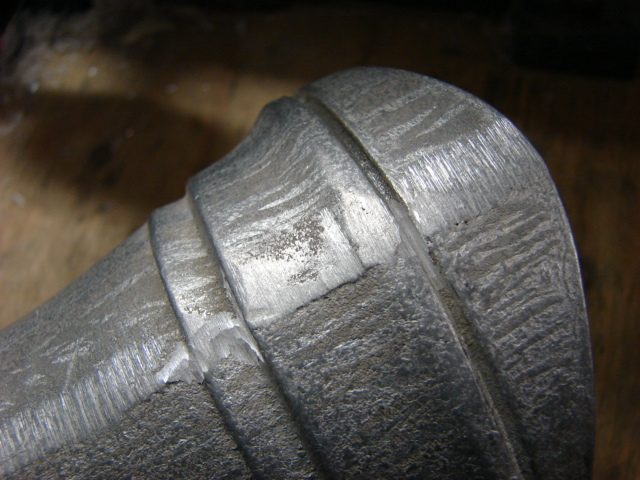
After the rim was cleaned out it was time to mount the six retaining pointed bolts. The bolts were supplied with the kit, but they are solid. On the king tiger these bolts had a wire retention system which held them in place and kept them from getting loose. I drilled a 1/16th hole in all of the bolts.
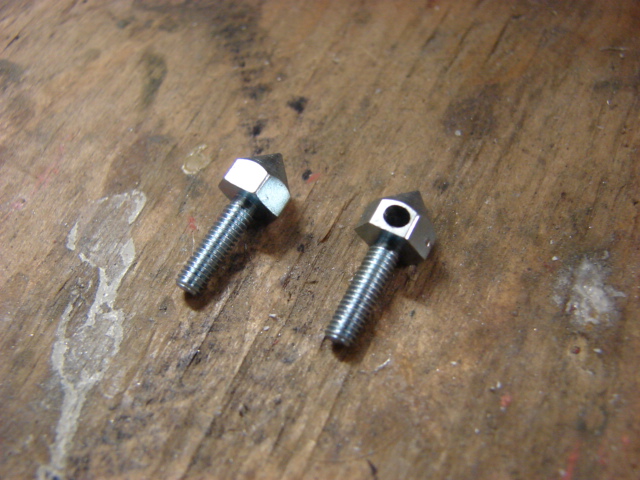
After the drilling the bolts were added and the wire was inserted and twisted in place.
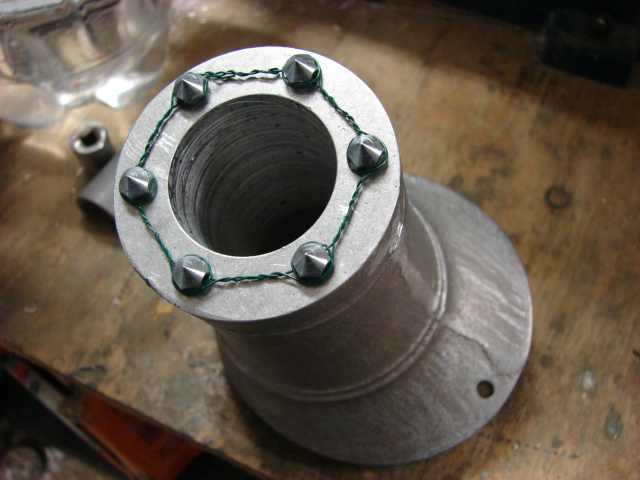
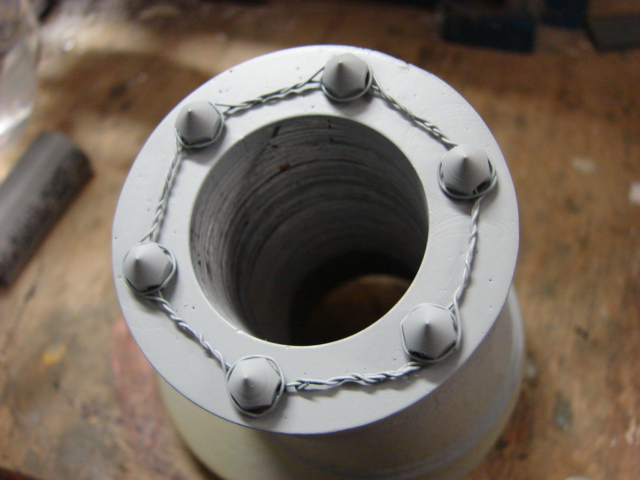
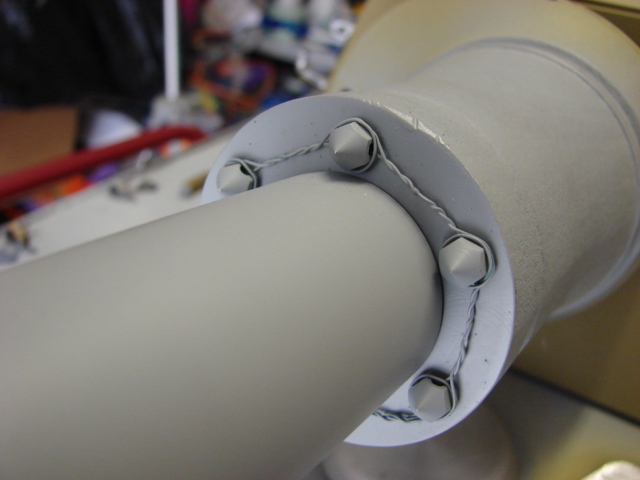
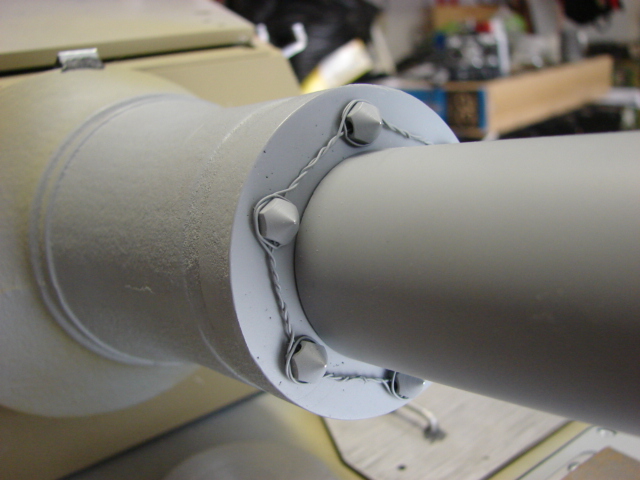
In addition to the wire a small bracket was added to the mantlet’s top
The tank’s barrel and muzzle had also been added to the tank.
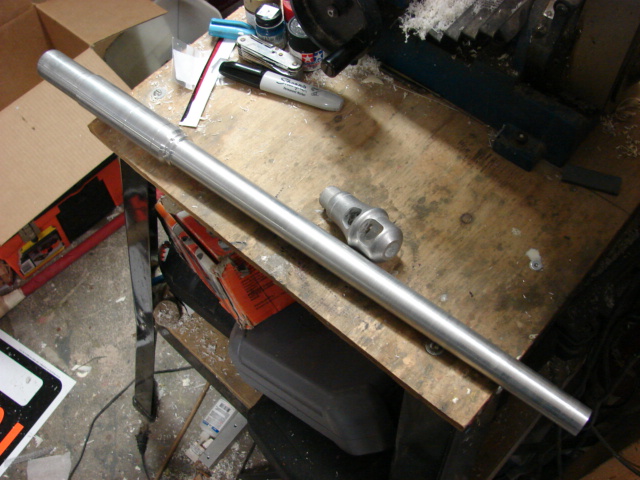
The Tank’s barrel is nicely done and was used with no added mods
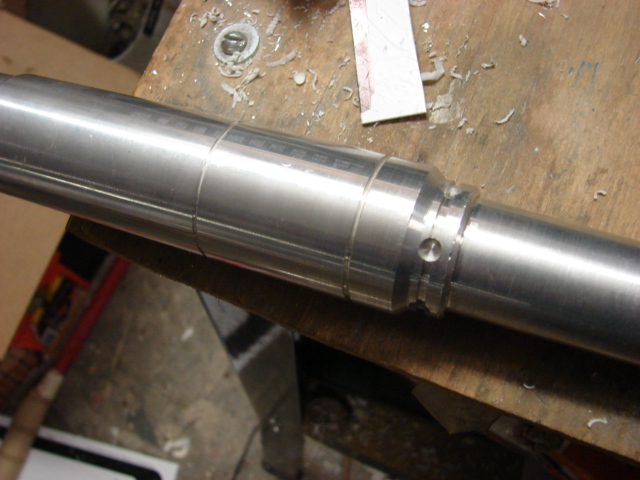
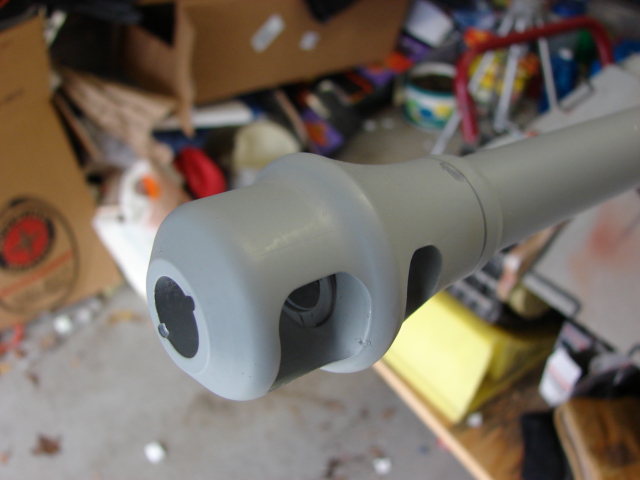
The tank’s muzzle is all CNCed aluminum and a few mods were needed. These would include wrench slits, and PVC muzzle baffle rings.
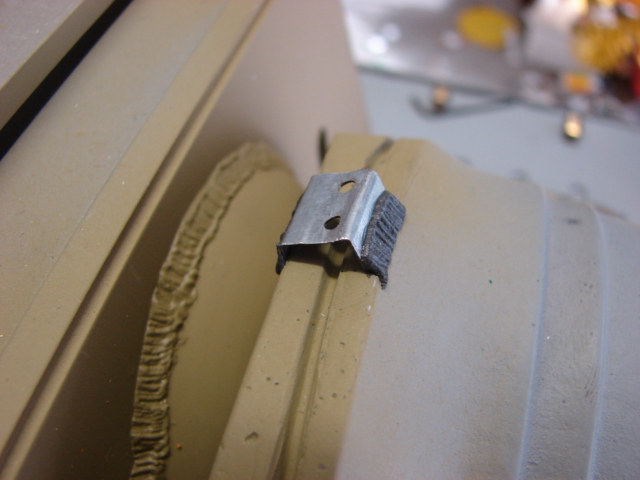
The final bit of detail that I added was the addition of the track racks. The track racks were included with the kit and are nicely made. The only mod that was made was I soldered a threaded shaft to the track hooks so that there is no exposed fastener head that will be seen.
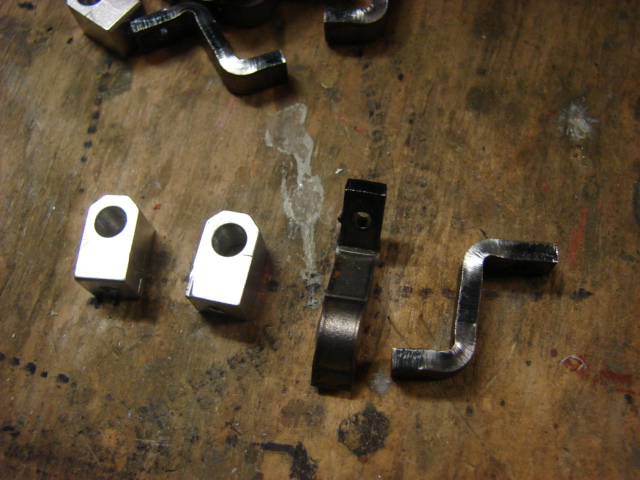
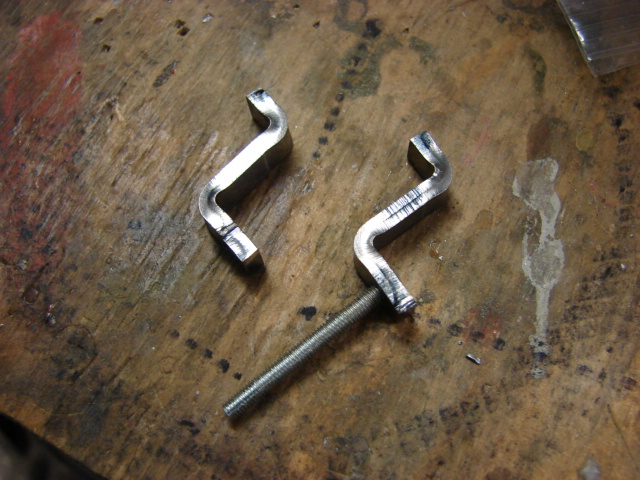
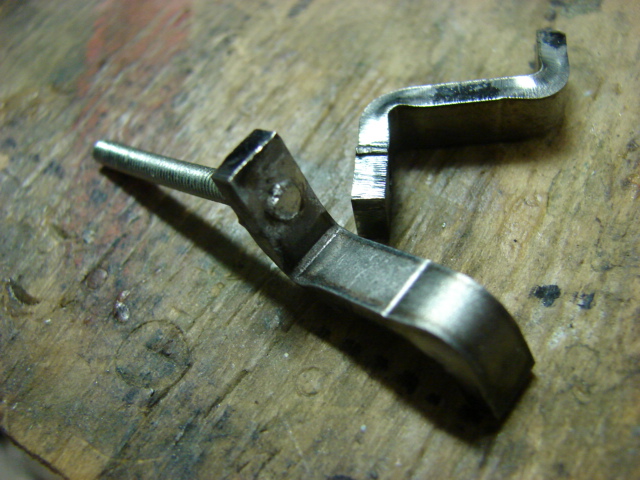
After the parts were installed final welds beads were added.
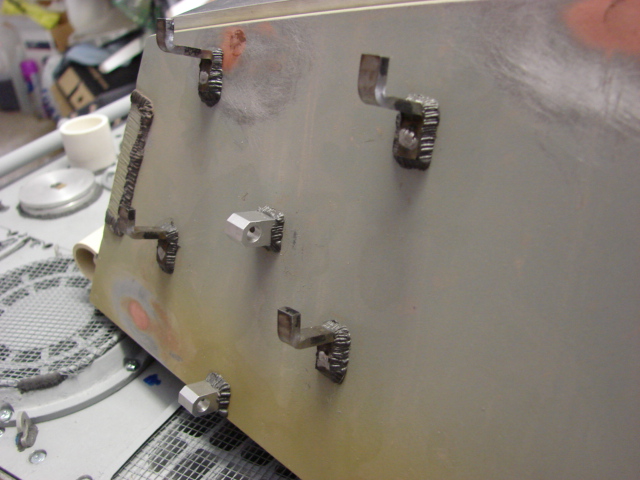
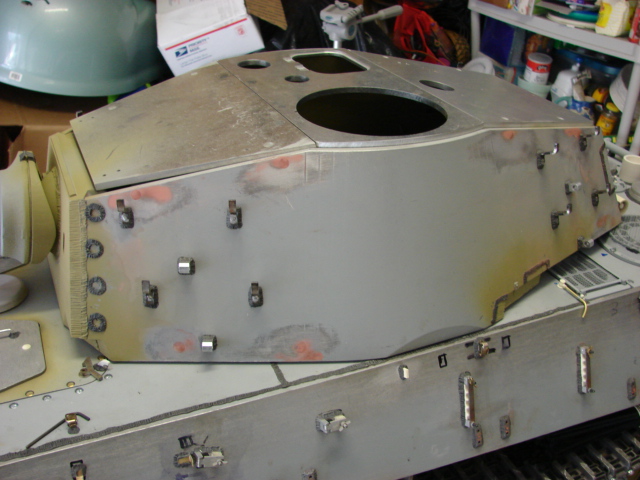
These parts now complete the turret sides; I will now be focusing on the turret top details. More progress to follow.
Wow! That thing’s huge!
Excelent work as always! [Y]
Great progress! Are you going to have this done by Mosquitocon this spring? I hope so, I’m looking forward to seeing it in person.
Best regards,
Brad
Thanks Brad, I should have the tank finished up by next week, but I won’t be able to take this one to Mosquitocon, It’s too heavy to put in my car and I don’t think the NJIPMS brass would appreciate a RC all metal model at a static plastic model show.
I have just about completed the tank’s turret detailing.
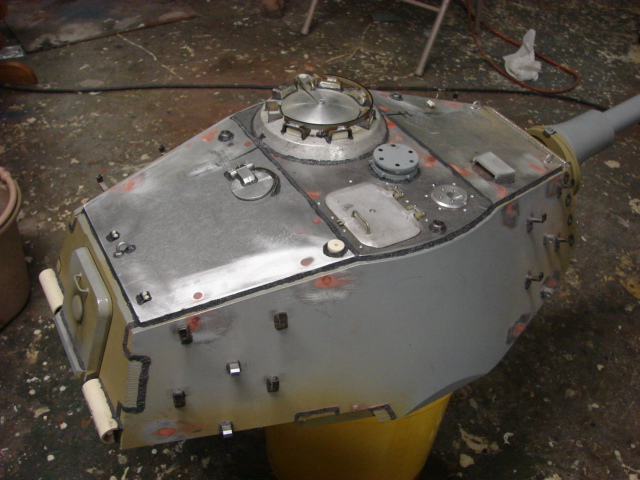
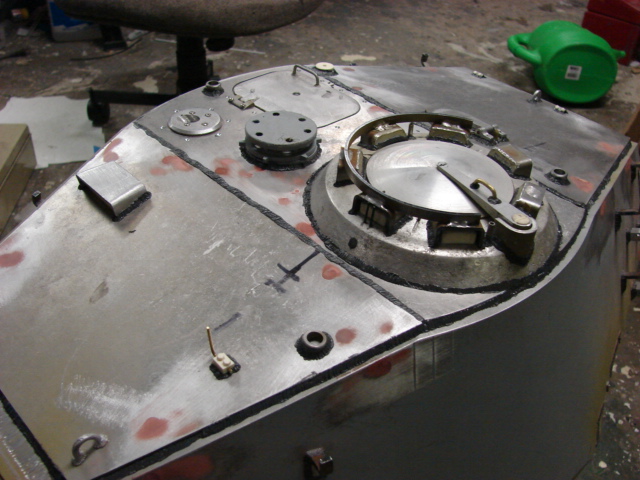
For the tank’s loaders hatch the kit supplies you with an armorpax White metal KT loaders hatch kit. The kit is excellent and was built as is OOB with no mods needed.
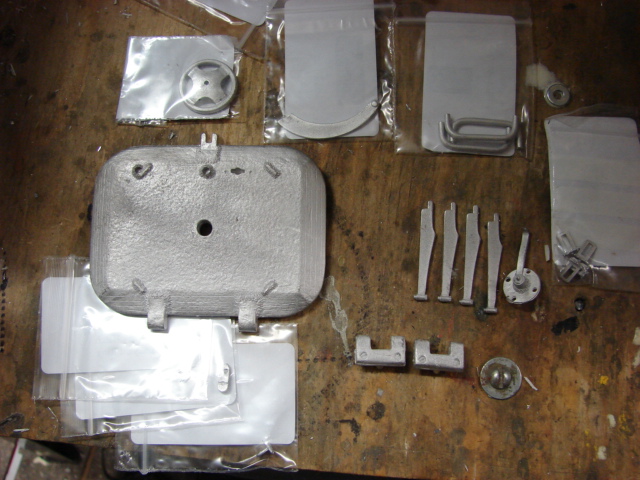
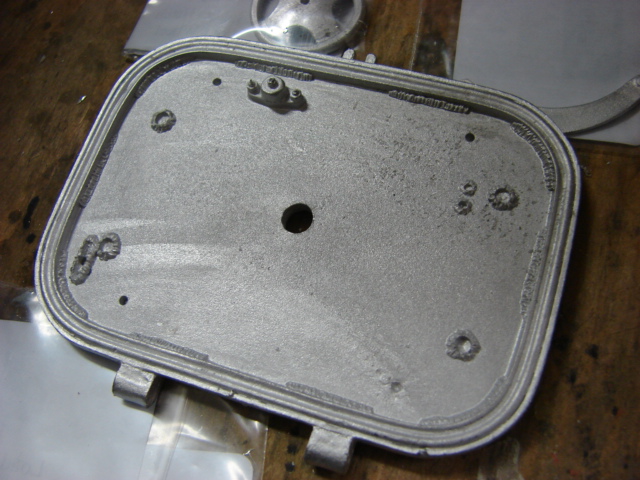
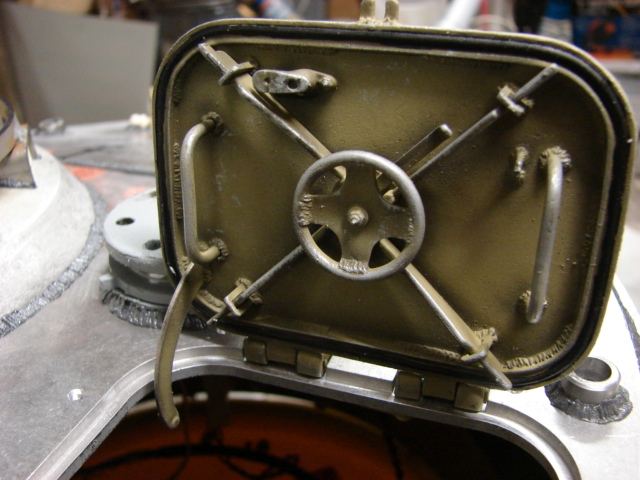
For the spent shell hatch the kit supplies you with an aluminum CNC hatch and hinge.
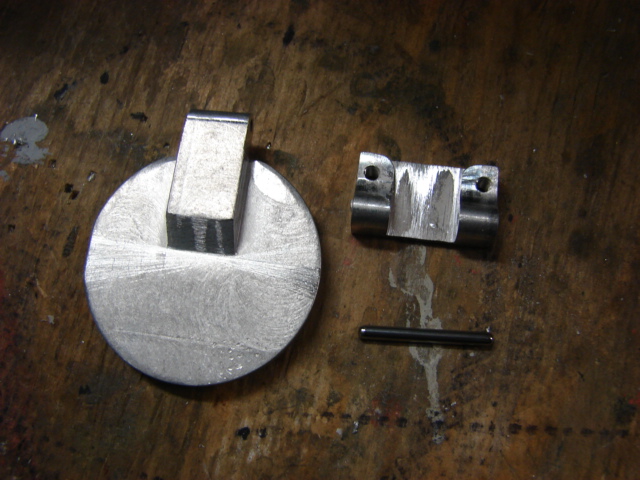
The hatch has no interior detailing and is just flush.
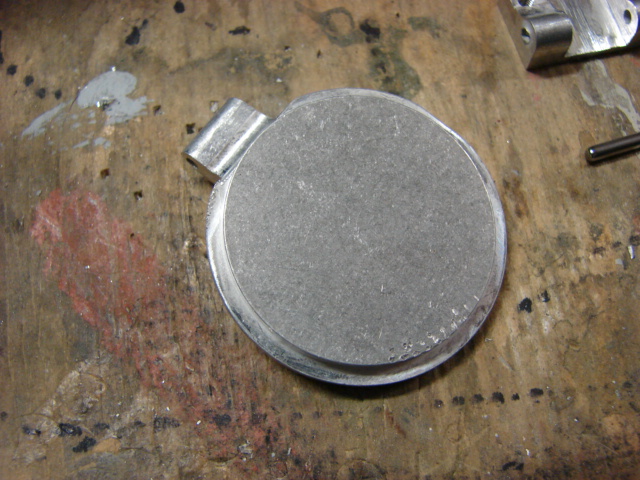
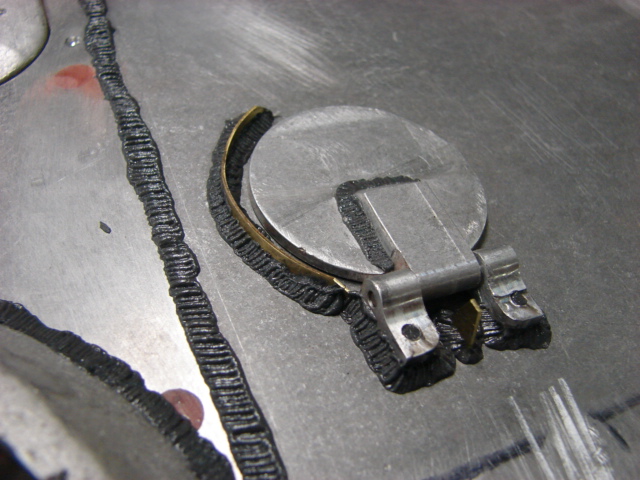
To rework the hatch I first cut the kit hinge freeing the segments. After freeing the segments I scratch built the interior detailing
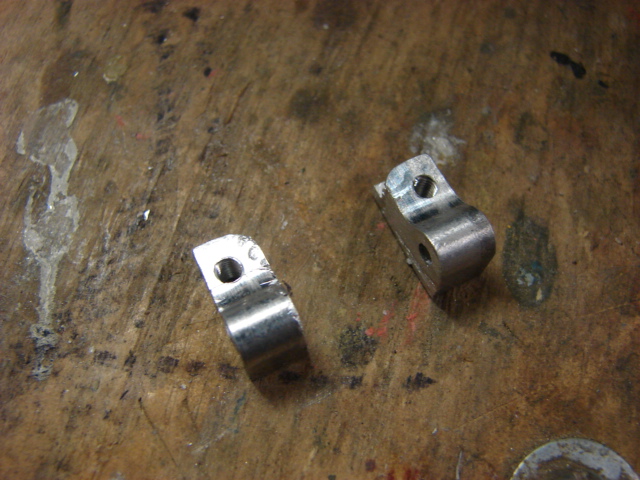
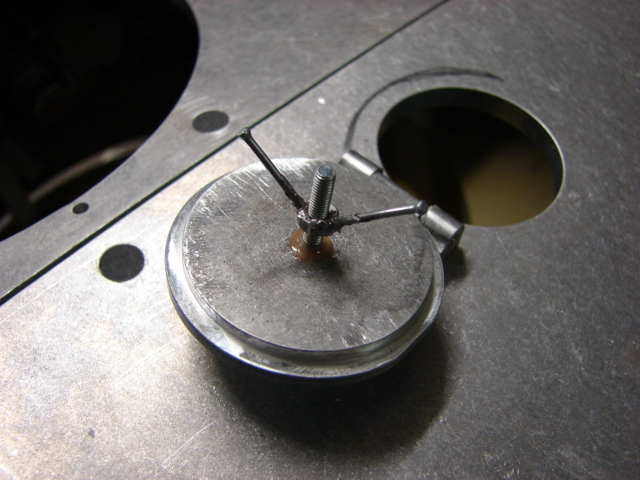
A water deflector was added along with a hatch stop and welds.
For the gunner’s scope the kit supplies you with a basic CNCed aluminum scope box.
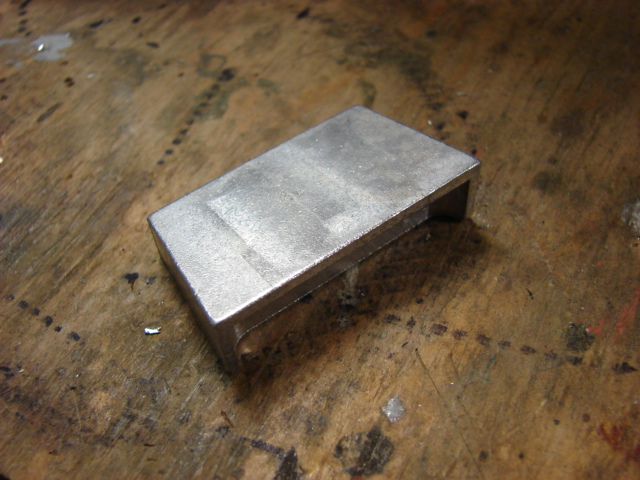
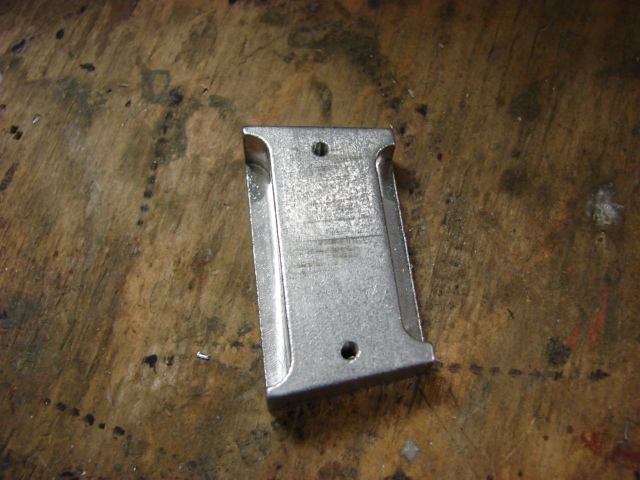
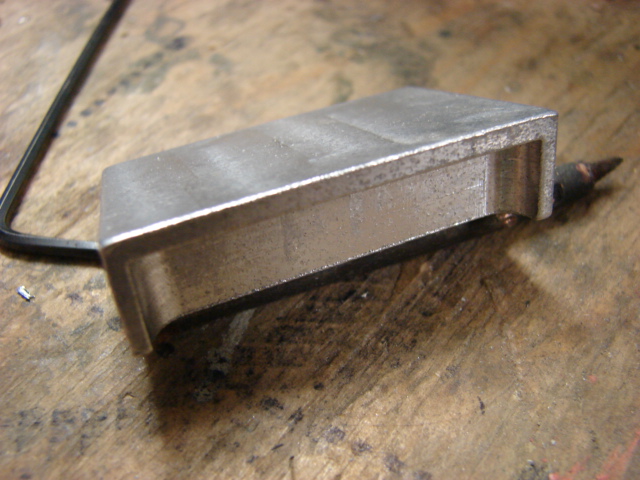
The scope box is missing the periscope, and is too squared off. To re work the box I had to mill out the interior. The periscope was machined out of a block of resin. The corners were rounded off.
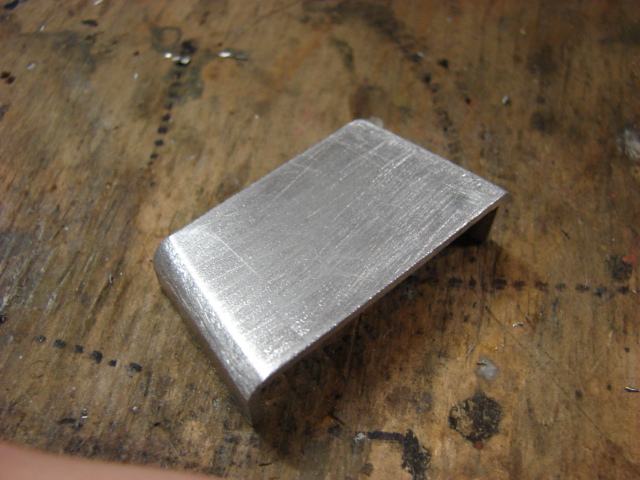
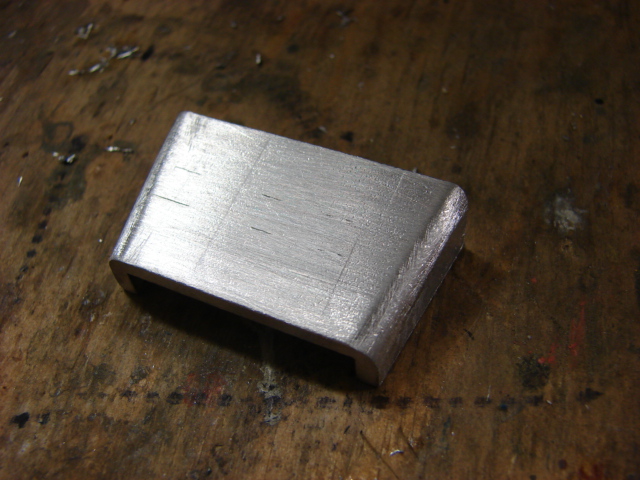
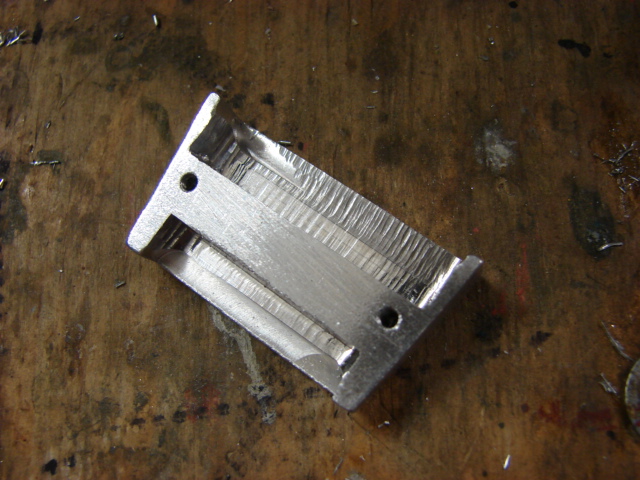
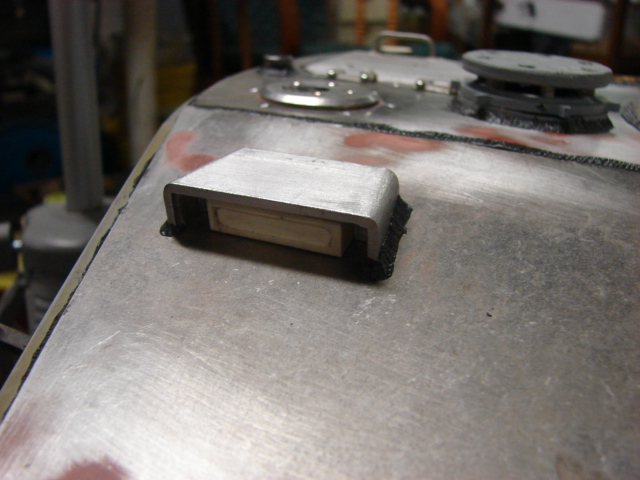
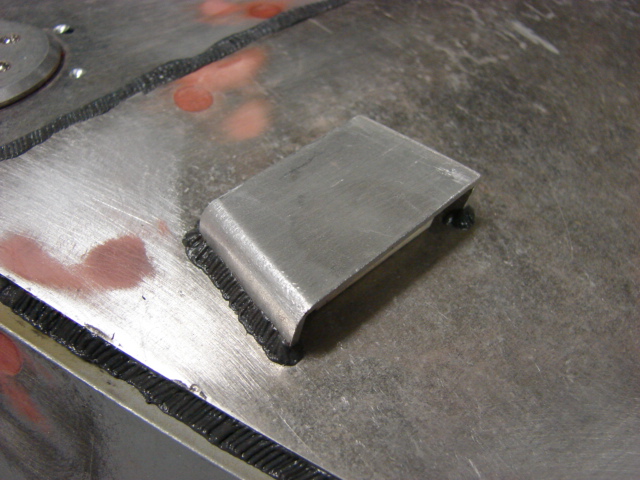
The Kit supplies you with an air filter cover. The kit supplied piece consists of two parts, a laser cut steel lower disc and a CNC Aluminum top lid.
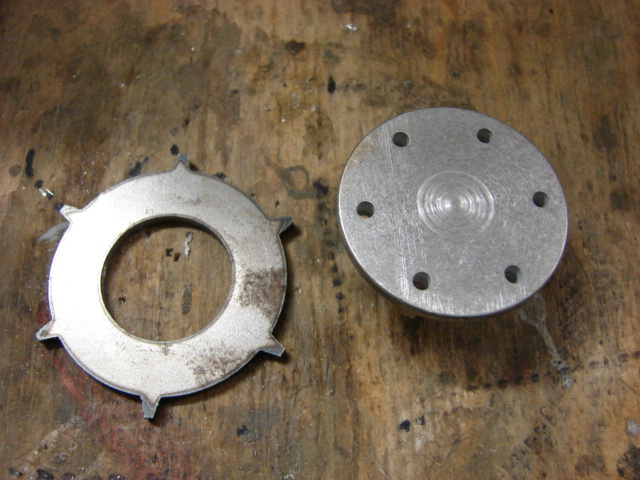
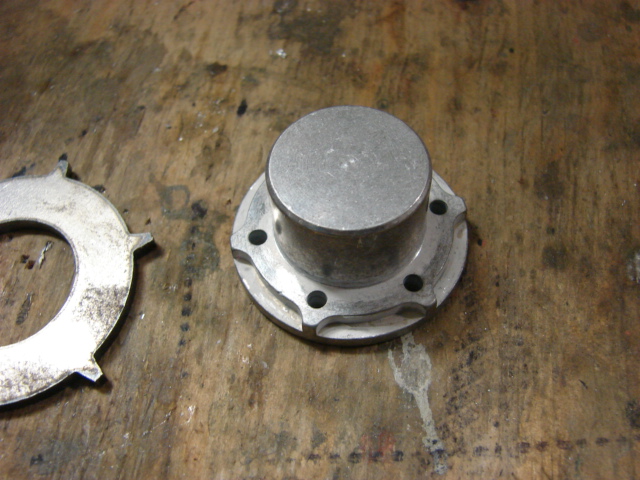
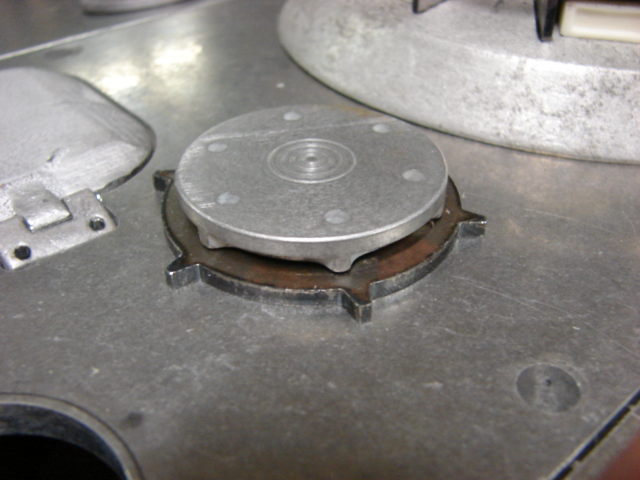
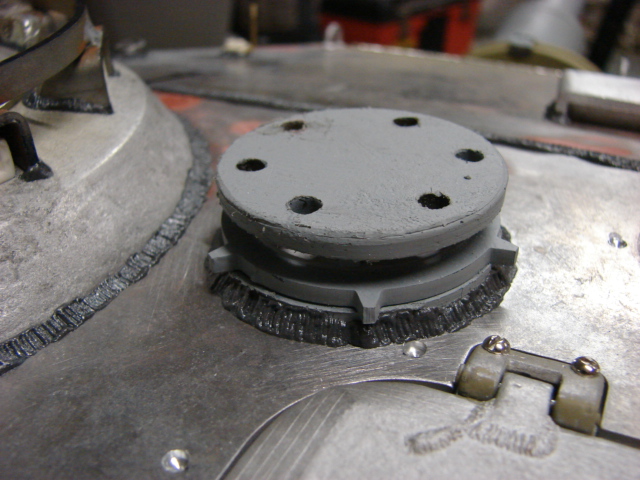
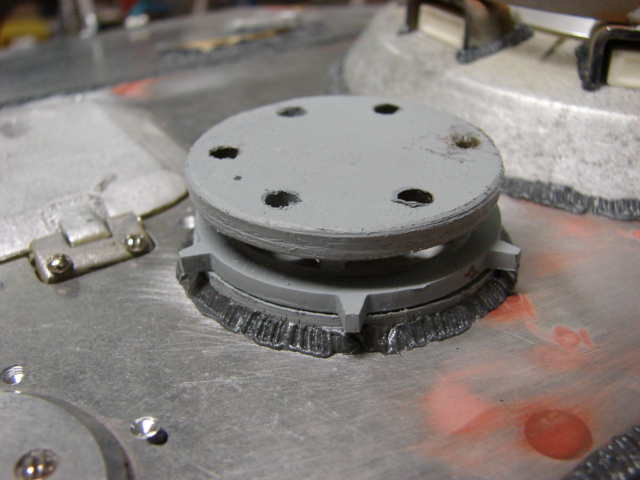
To rework this component I used the laser cut disc, but the top lid was too small and was placed in the spare parts bin. Like the real component I added the ribs that hold up the top lid on the interior portion of the intake. The whole air filter was reworked with parts made from plastic and resin.
for the tank’s copula the kit supplies you with a basic copula with components crafted in casted zinc, aluminum, and steel. The copula also comes with a set of resin periscopes.
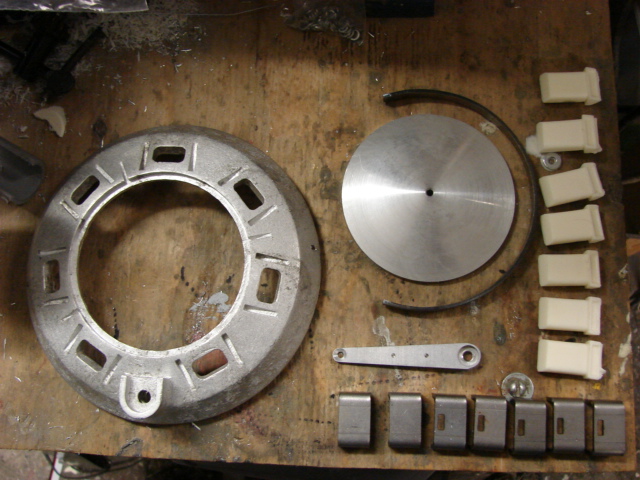
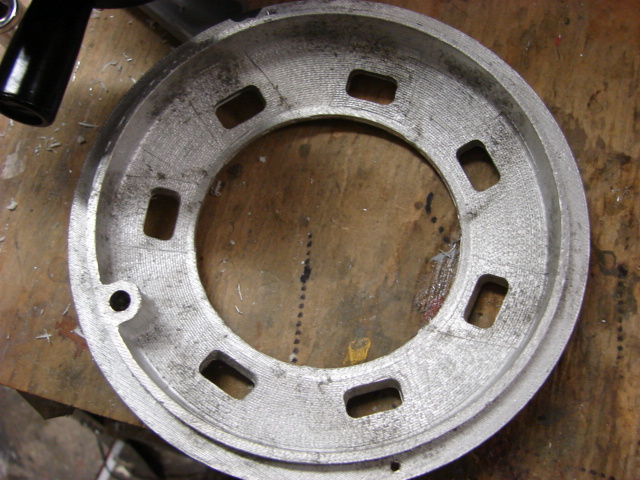
The copula has no interior detailing besides the basic periscopes. All head rest detail and hatch opening spring canister detail was scratch built. out of brass, resin, and plastic.
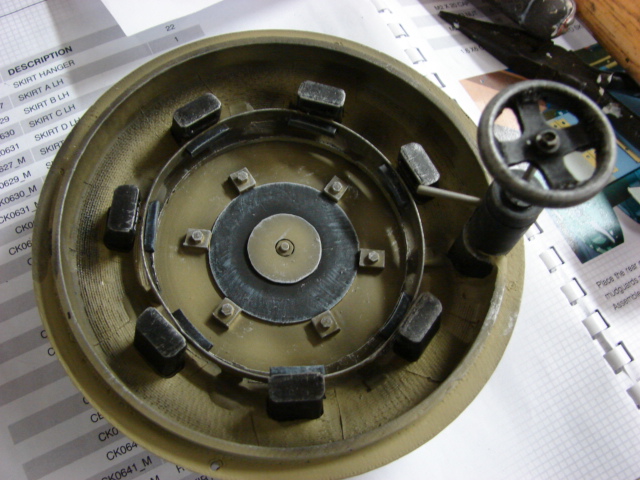
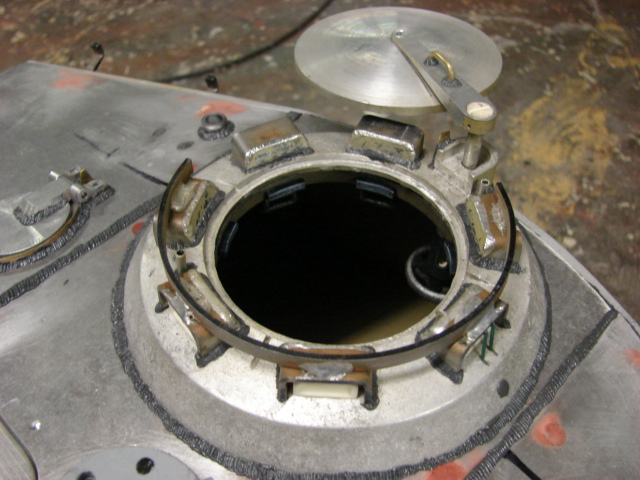
The hatch spring mechanism and handle are functional and actually assist in opening the hatch and swinging it to the open position.
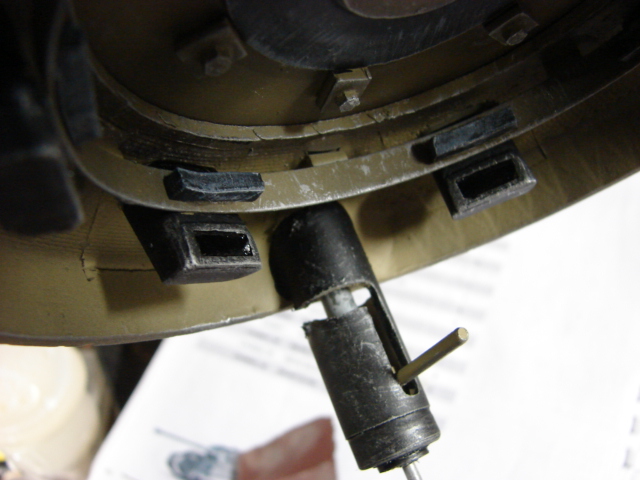
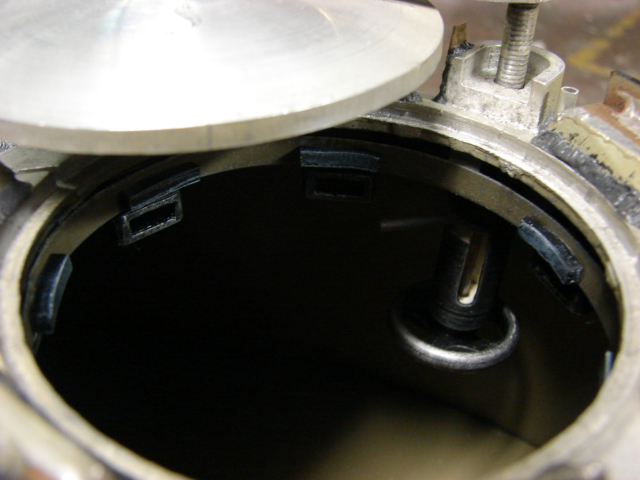
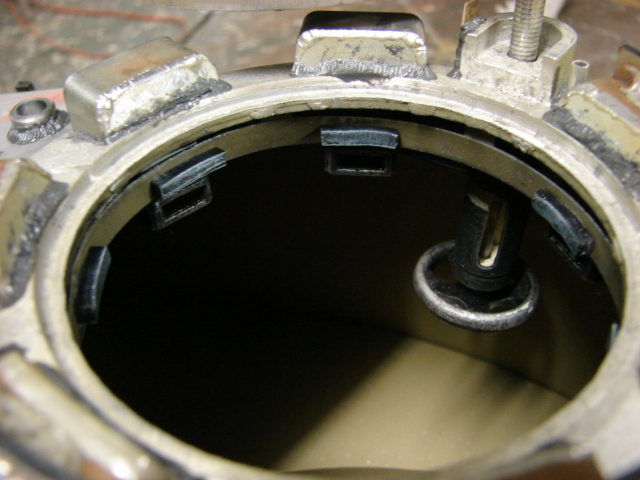
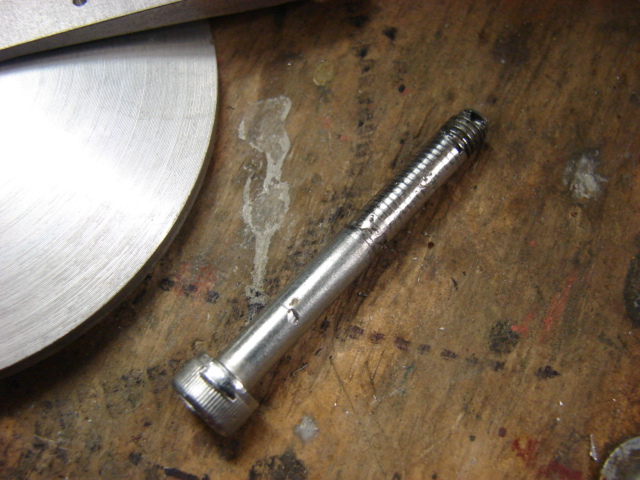
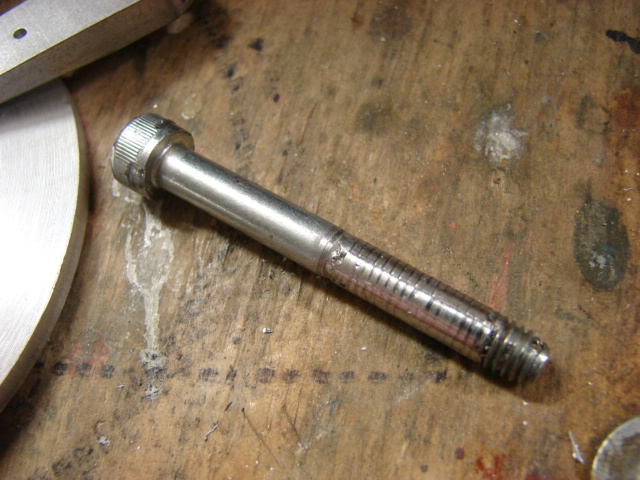
for the copula hatch pivot arm the kit wants you to use a large Allen screw. The problem with using the screw is that the threads show when the hatch is in the open position. To fix this I covered the exposed threads in solder and turned the solder down flush thus removing the threads. To mount the bolt to the hatch I drilled a hole through the hatch arm and the bolt, I then inserted a lock pin to secure the whole unit together.
On the copula’s exterior the kit supplied periscope covers were re worked to have backings to them. Before I was able to add the backings I first had to rework the shape of the guards giving them an angle. Once the angle was ground into them I was able to add the backings.
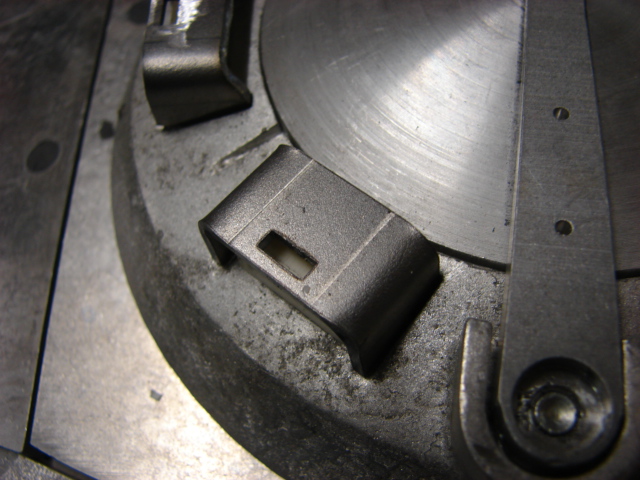
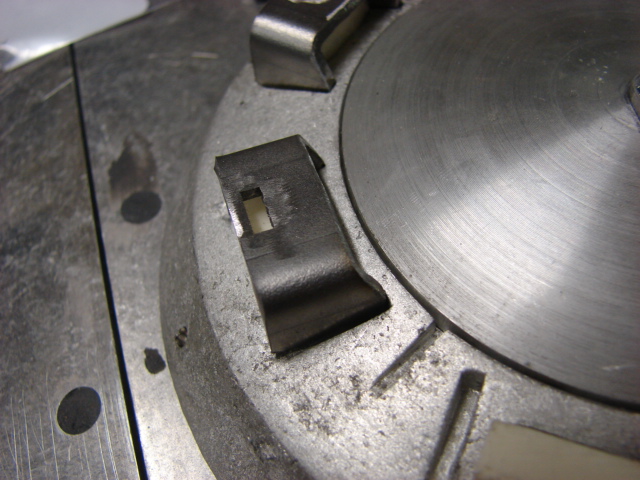
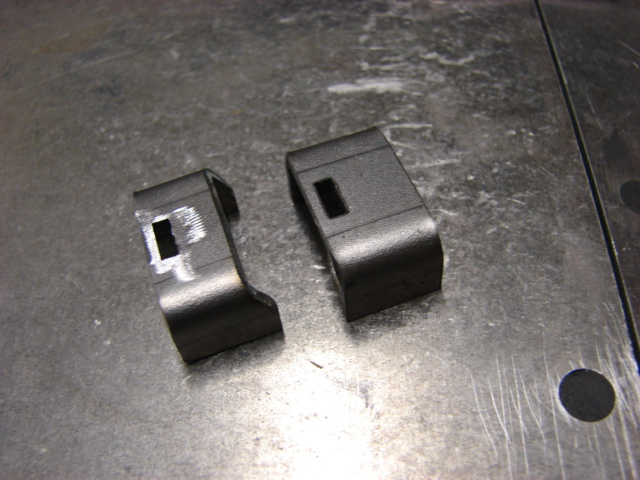
The backings and the MG rail were soldered to the periscope covers. In addition to the backings I also added several other small copula details including hatch aligners, hatch arm details, and a range finder.
The kit also supplies you with the turret crane bosses. The bosses were made out of CNCed steel. Before I was able to add the bosses I first had to widen the hole of the bosses on my lathe, and I had to grind an angle into two of the bosses so they sit level on the turret’s roof.
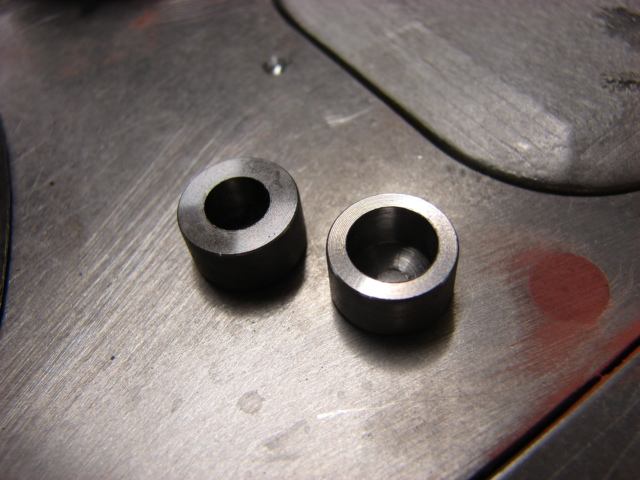
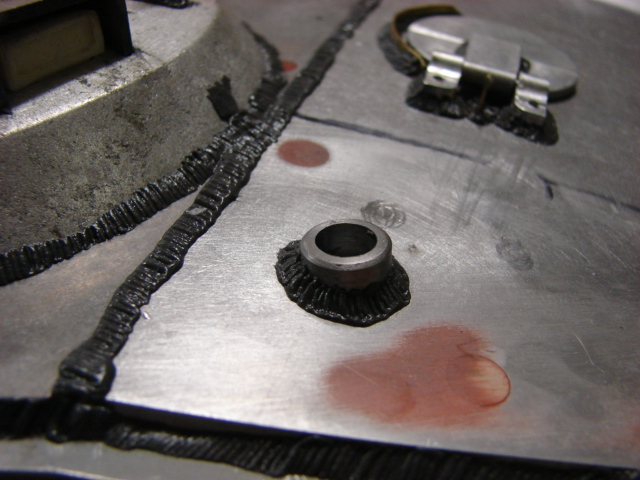
Another piece of detail that I added to the turret front was the addition of the commander folding range finder.
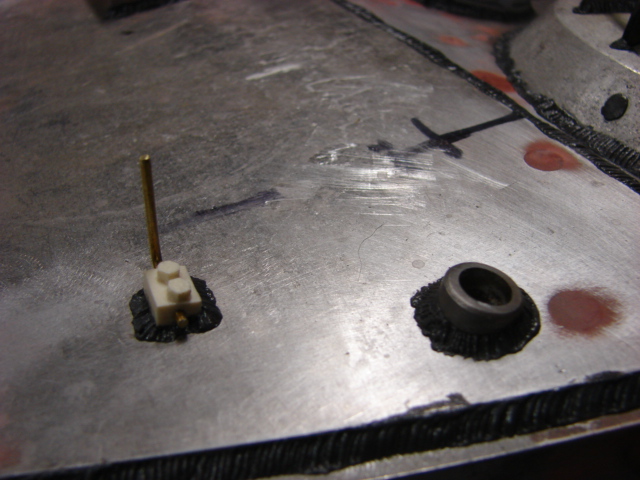
Two barckets were added to the turret’s rear along with the kit supplied armorpax D rings.
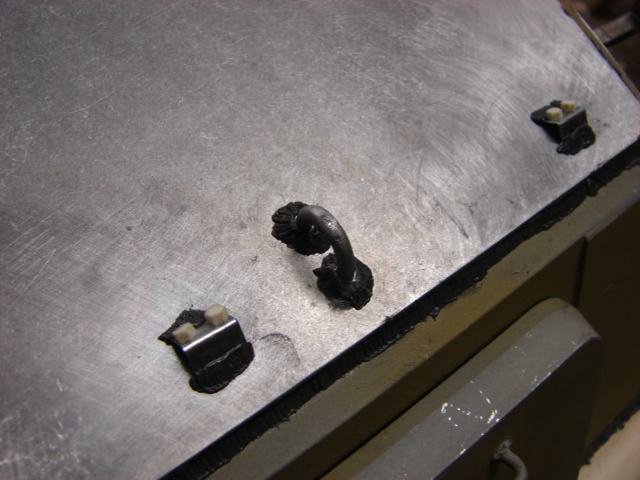
The turret antenna base mount was machined out of resin and mounted to the tank’s turret.
The final bit of detail that was added besides the final turret plate welds was the close quarter defense weapon. The kit supplies you with a CNCed aluminum mount that has some basic details.
The kit wants you to glue this component into it’s place, but I decided to make the part pivot as per the real vehicle. This was done in a similar way as I did the front driver’s periscope. After some basic slot screw details I mounted the weapon and it pivots smoothly. Once the tank is complete I will post a you tube video showing the grenade launcher in action.
With the turret complete I can now add the finishing touches to the hull and the tank will be ready for painting…hopefully by the end of the week more to follow.
Man this just gets better and better! I am seriously loving this build and look forward to more of your craftiness!
Is it me or does the commanders range finder look like its held down with a giant lego? lol
Awesome job man!
Dave
Outstanding, just outstanding! The skill and know-how that you show, too, are really amazing!
I don’t see why the show organizers wouldn’t like to see your King Tiger, though I see your point about moving it. Maybe you need to build a 1/6 Dragon Wagon to transport it [:D]
Best regards,
Brad
Thanks Guys, Brad I don’t have a dragon wagon, but I do have something else to tow this tank around, but there will be more info on that later 
The last bits have been added and fabricated and the tank is now ready for painting.
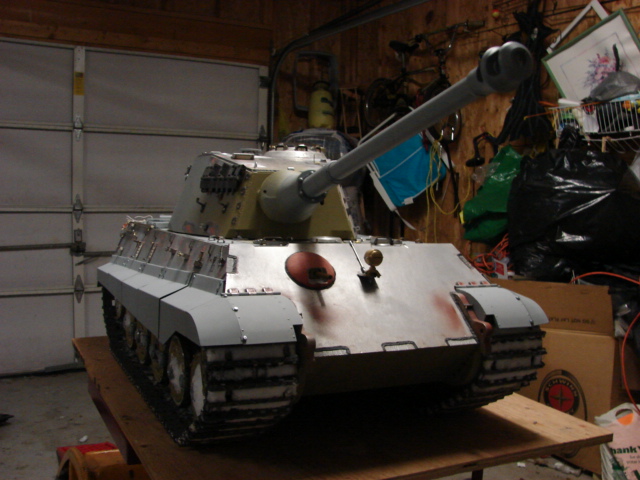
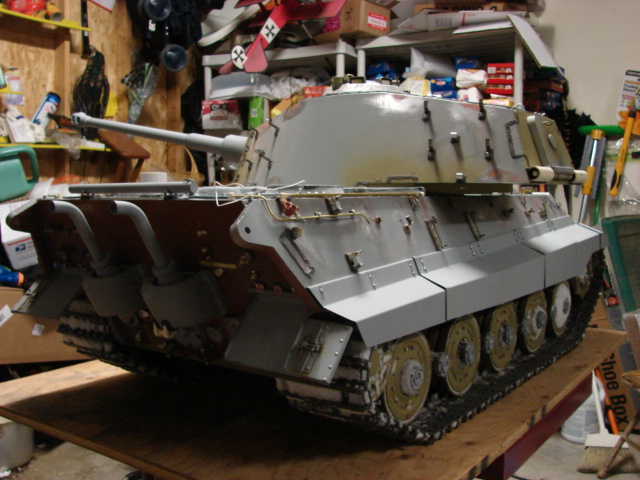
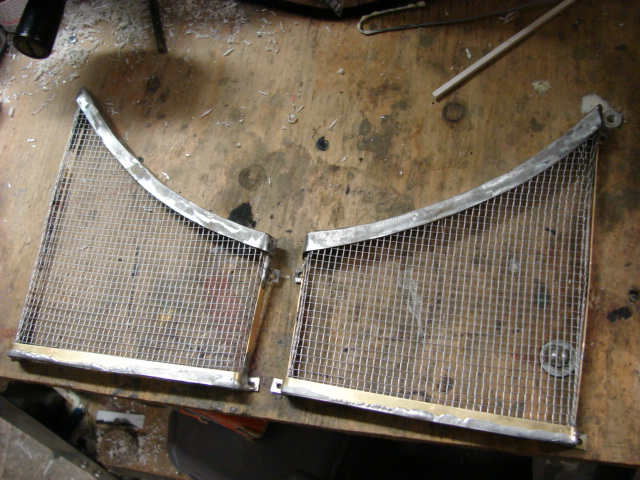
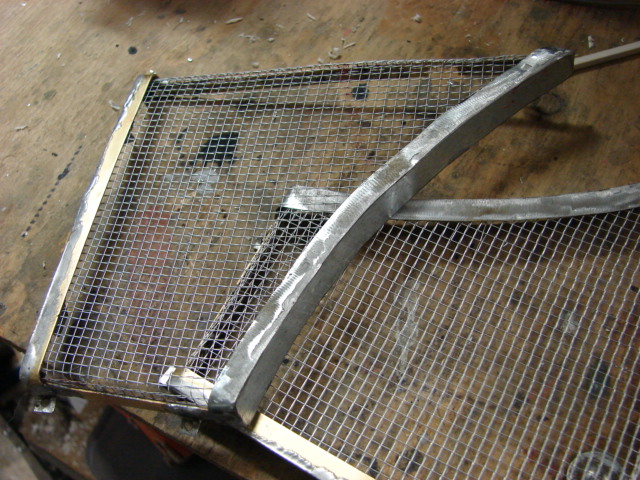
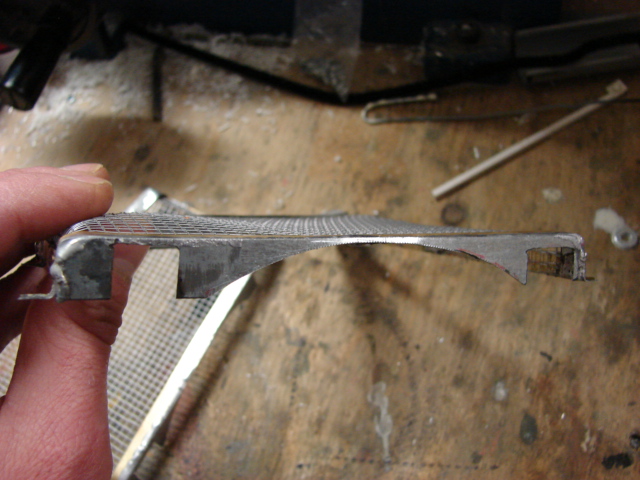
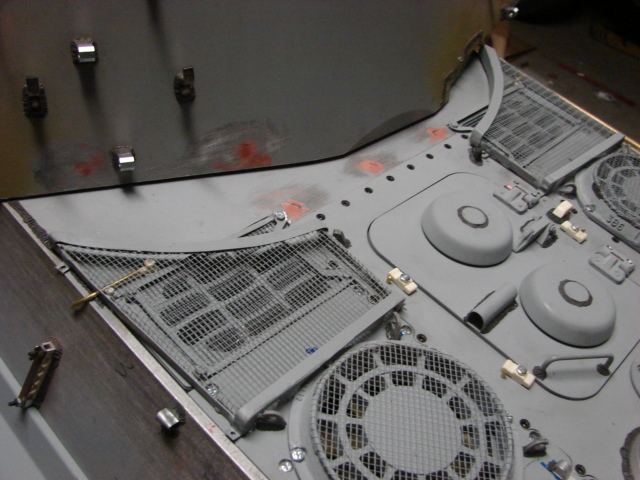
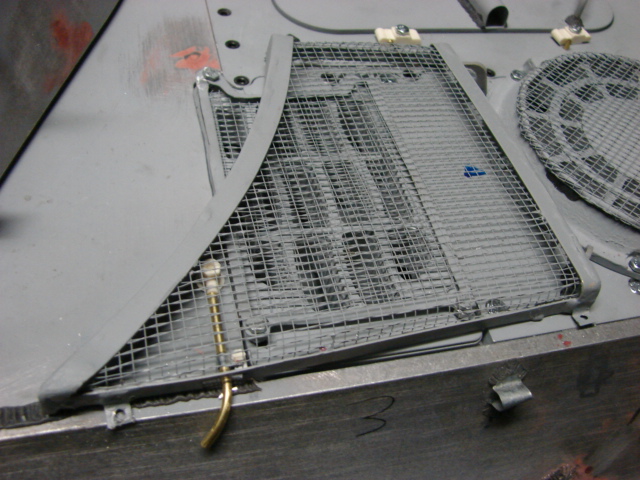
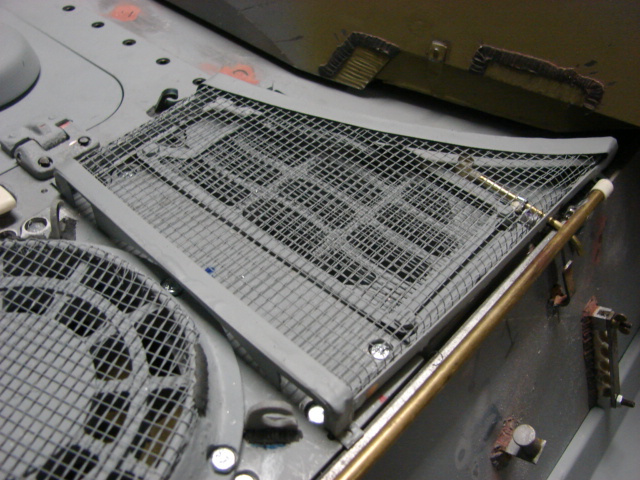
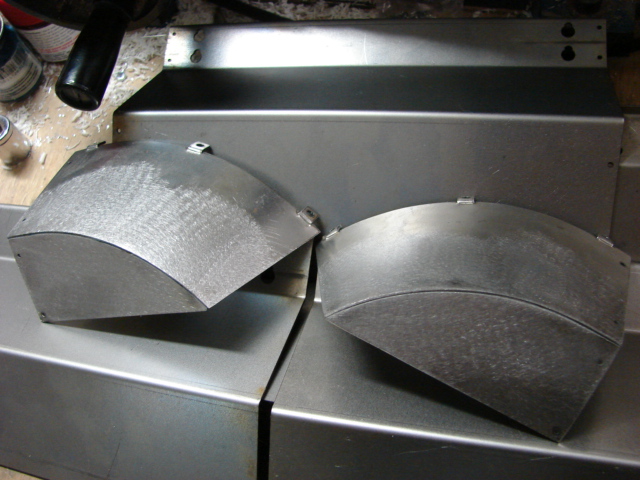
The tank’s rear grenade grill guards have been fabricated. These grills were fabricated out of brass, steel, and aluminum. They will be bolted to the tank permanent after the tank is painted. These were the last components to be scratch built for the model before painting.
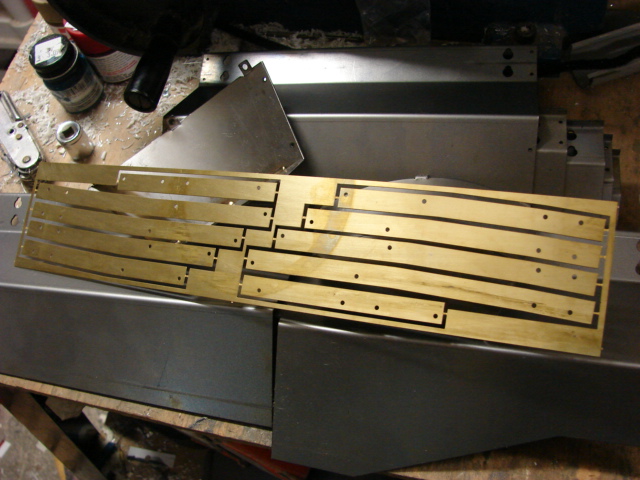
The tank’s side skirts have also been added. The kit supplies you with a set of laser cut steel side skirts with Photo Etch Brass skirt edgings. The skirts are excellent and were assembled OOB with no extra mods needed.
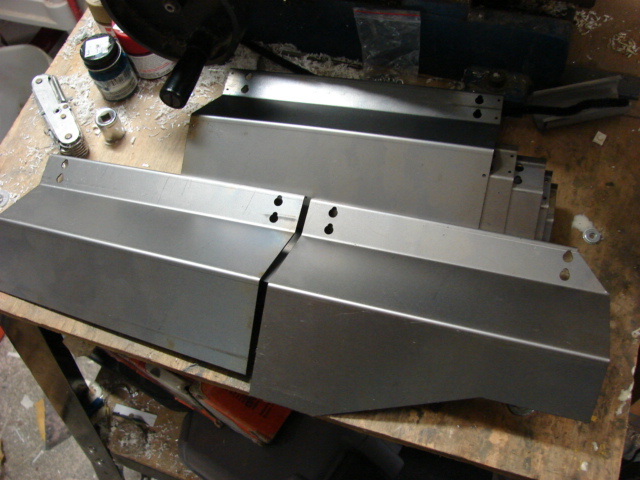
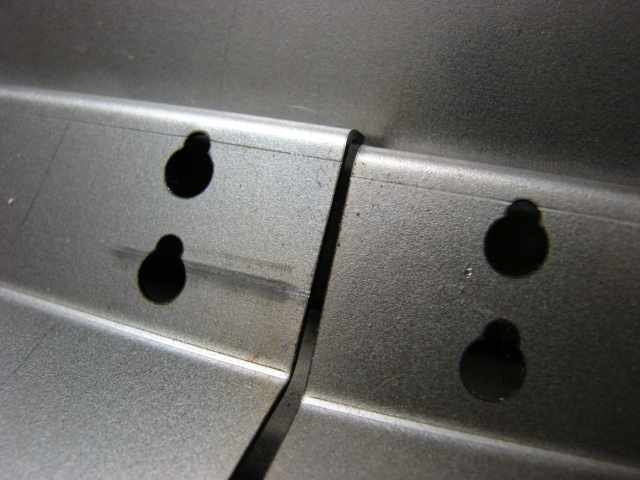
The kit supplied laser cut steel front fender tips come pre welded and are basically ready to install out of the Box.
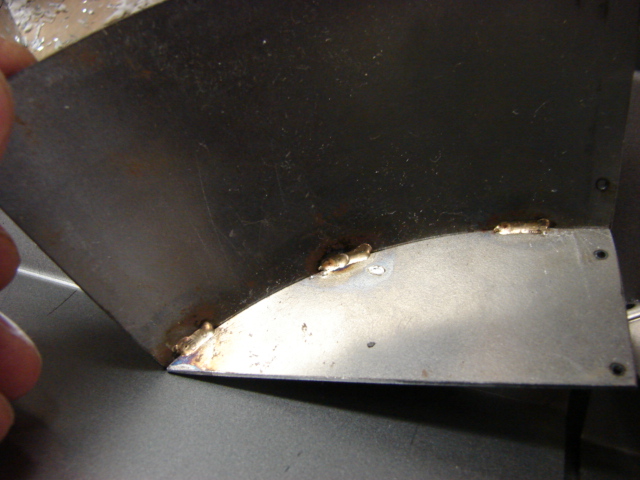
The edgings were all soldered to the fenders
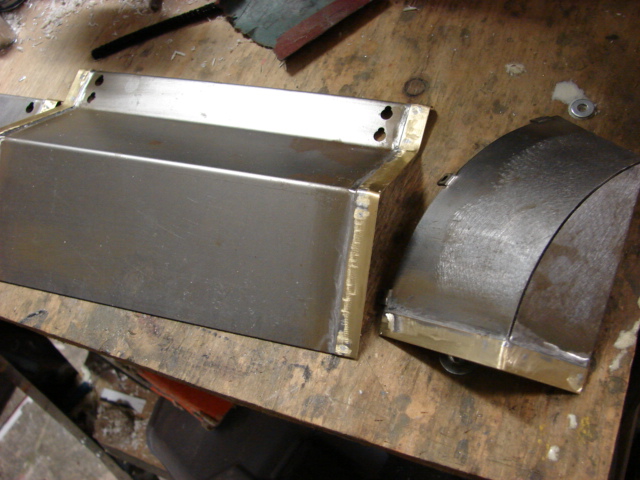
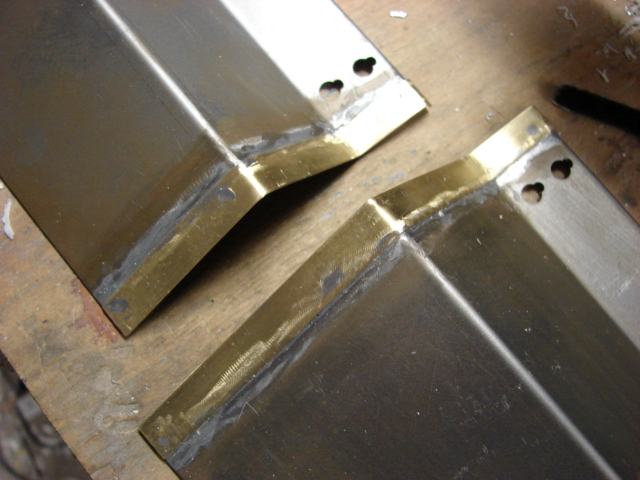
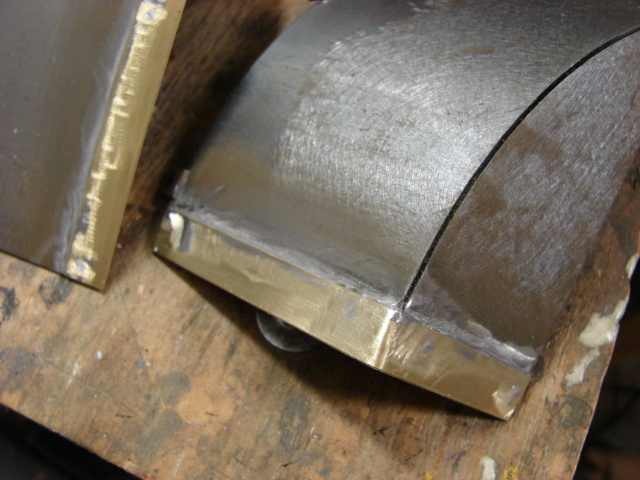
The fenders were then primed and mounted to the tank. The fenders went on smooth with no problems or hang-ups.
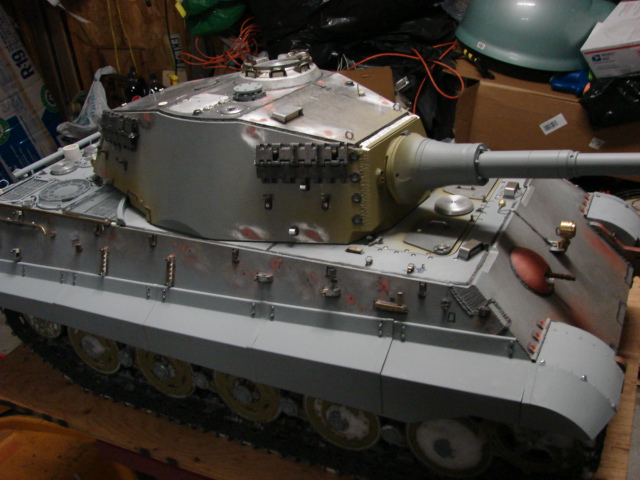
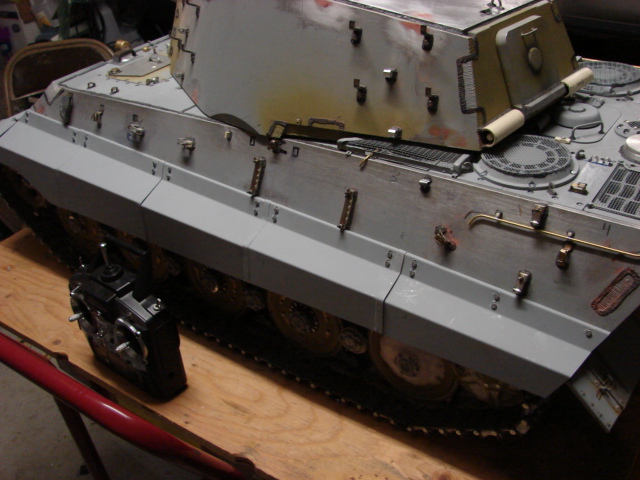
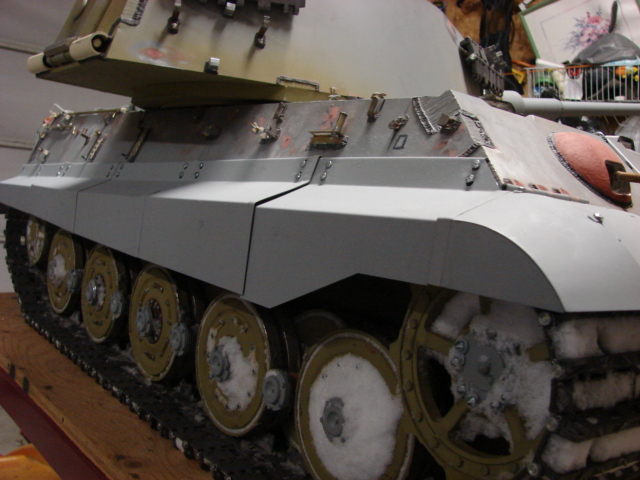
After the fenders were added I wanted to take the tank for one last test drive to see how the tank runs with the side skirts added. The tank ran very well and I made a video of the test drive and posted the video on youtube.
http://www.youtube.com/watch?v=7DkyaOQjwWw
I was also able to make the video showing the driver’s periscope and defense weapon functioning
http://www.youtube.com/watch?v=hccUaoMU9iA
The tank will go into painting tomorrow more info to follow.
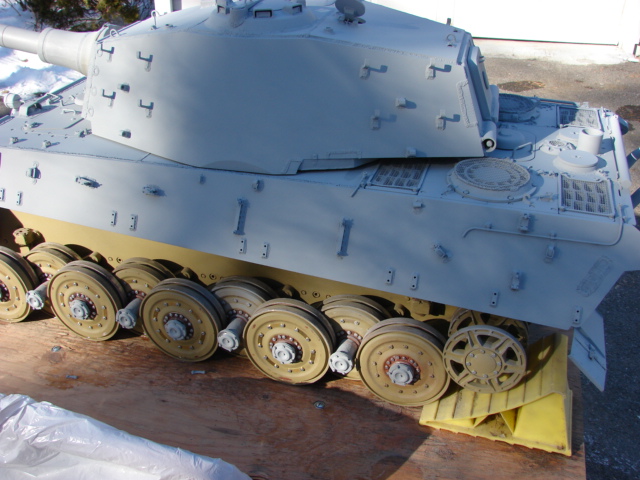
Today I was able to take the tank and apply its final prime and base coat.
Final Prime.
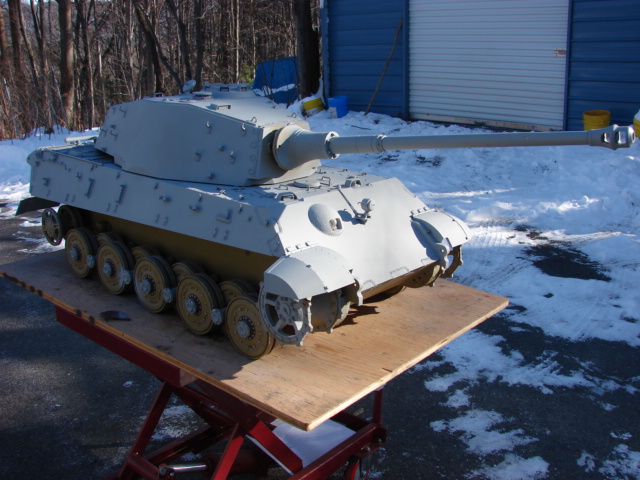
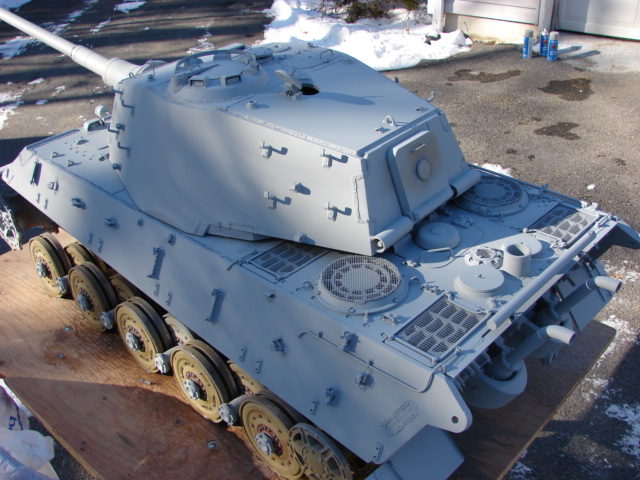
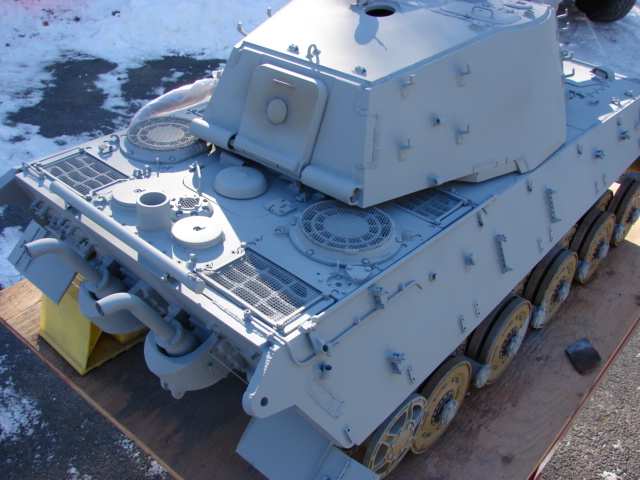
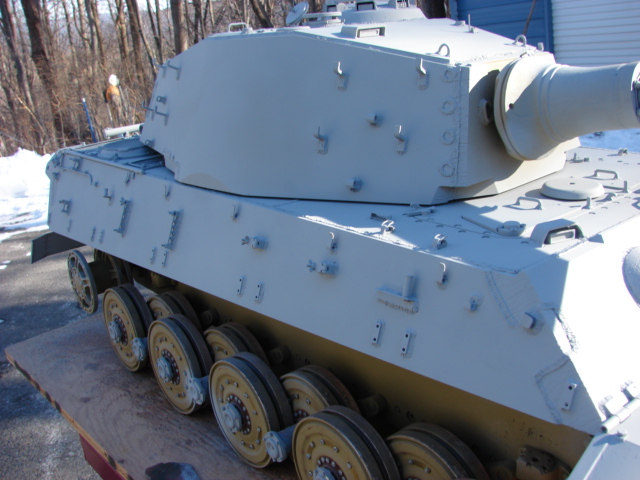
Base Coat of Dunkelgelb.
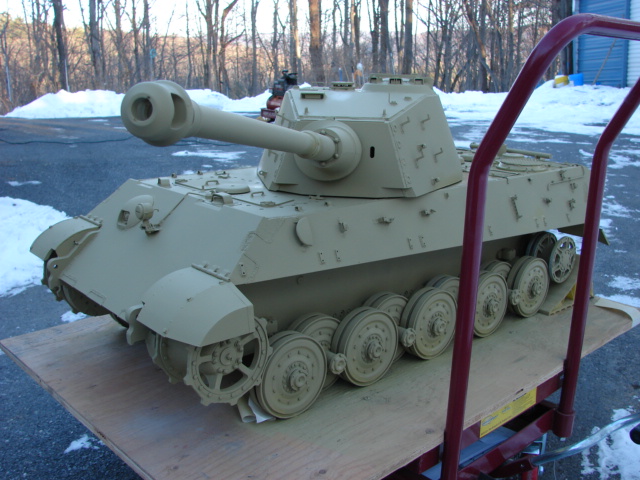
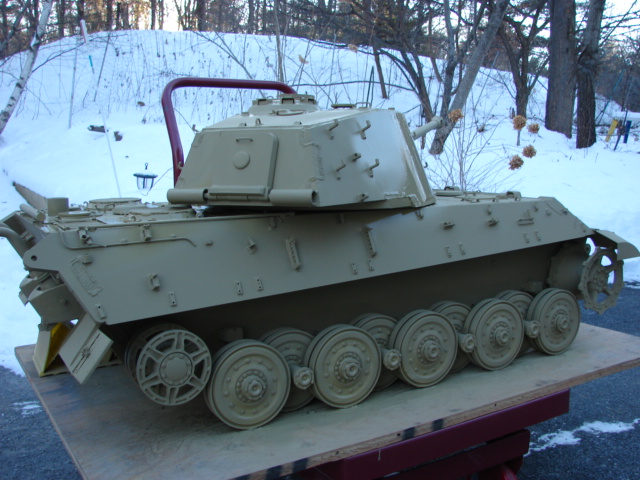
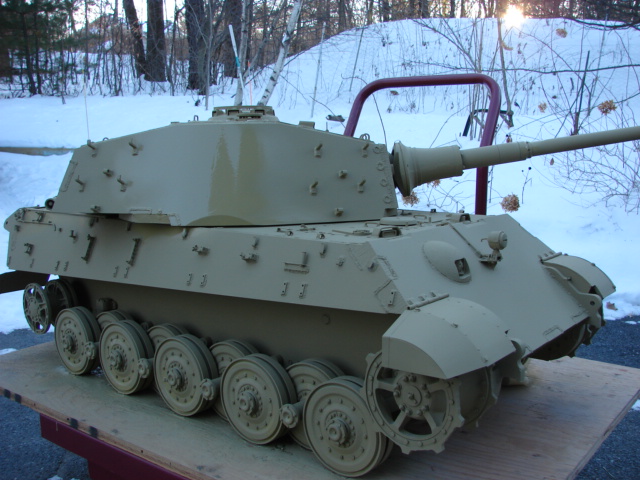
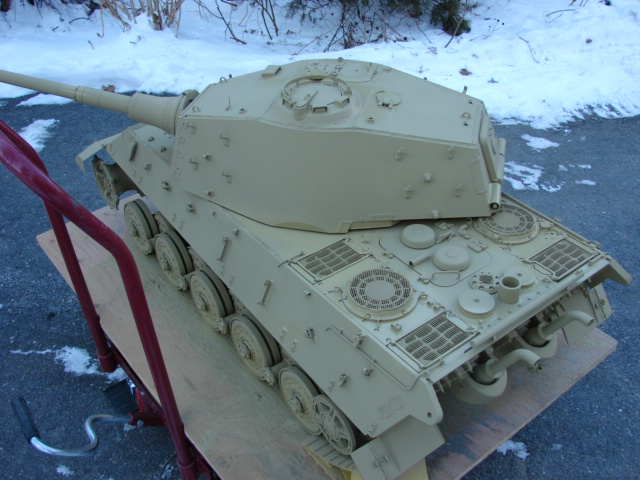
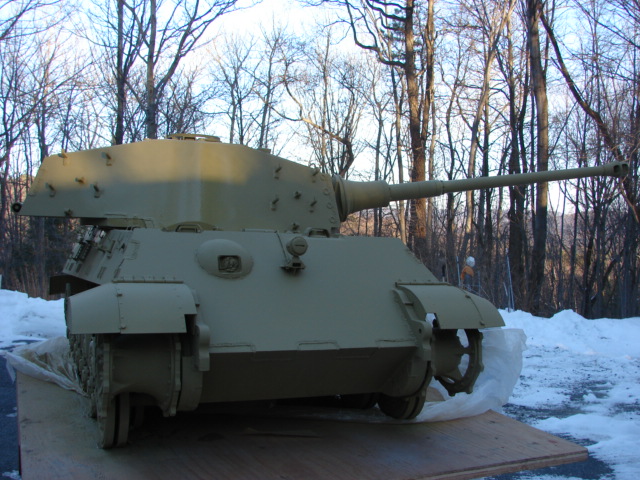
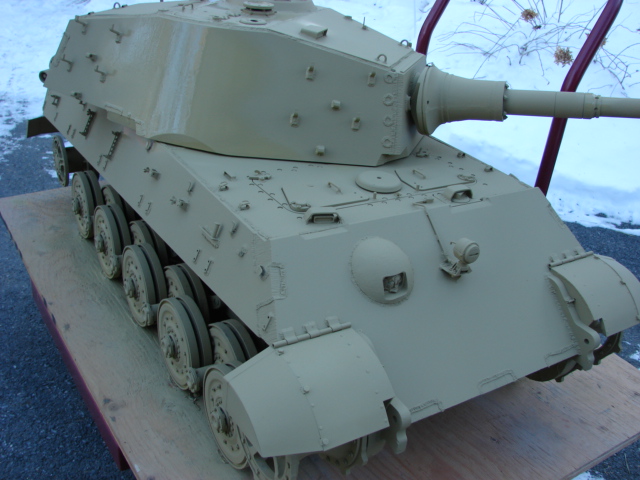
the tank will now be getting it’s cammo. More info to come.
The tank’s ambush cammo pattern has been applied. I still have to finish up the side skirts and the grenade grills. Once complete they will be ready for the next step.
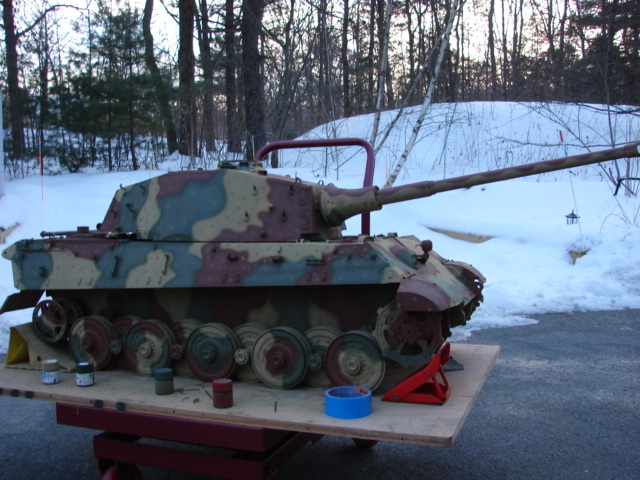
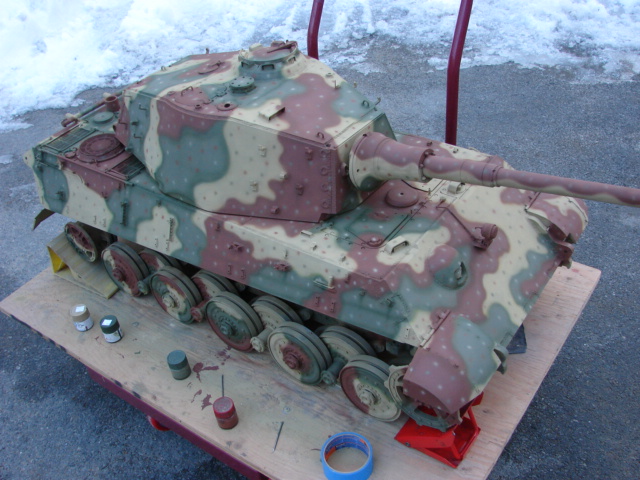
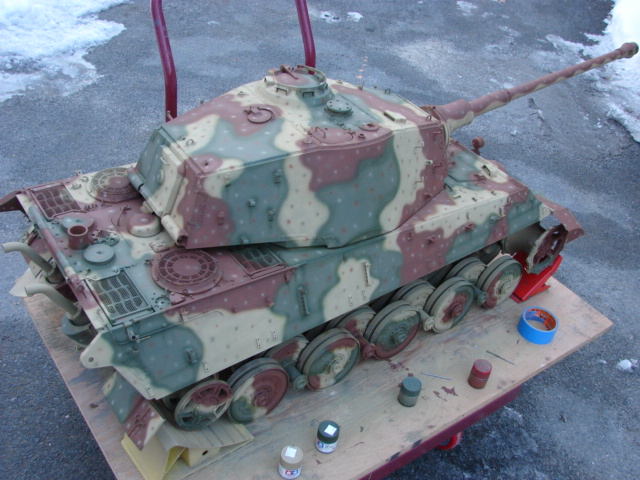
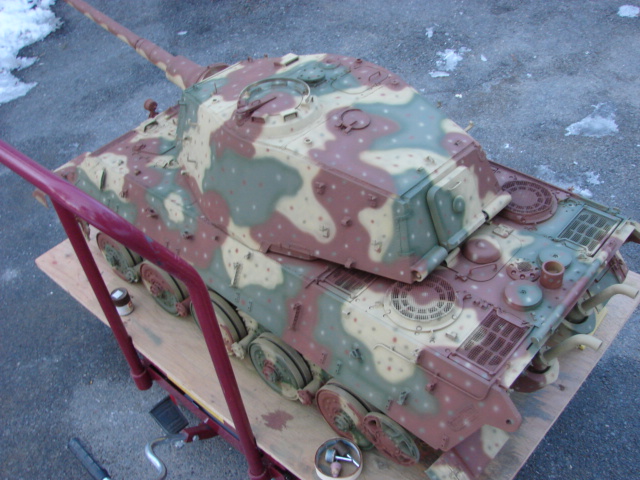
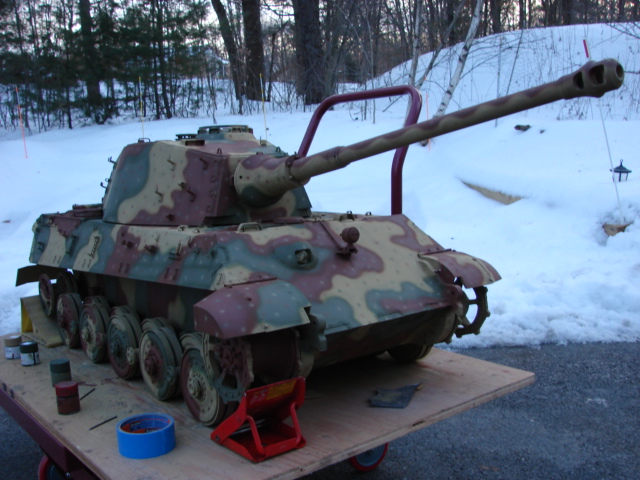
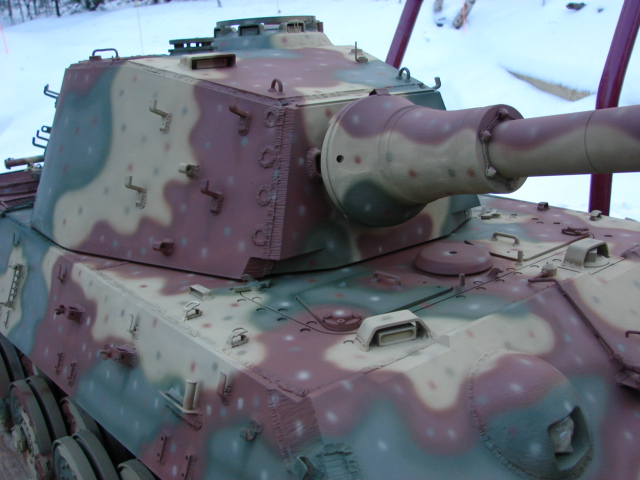
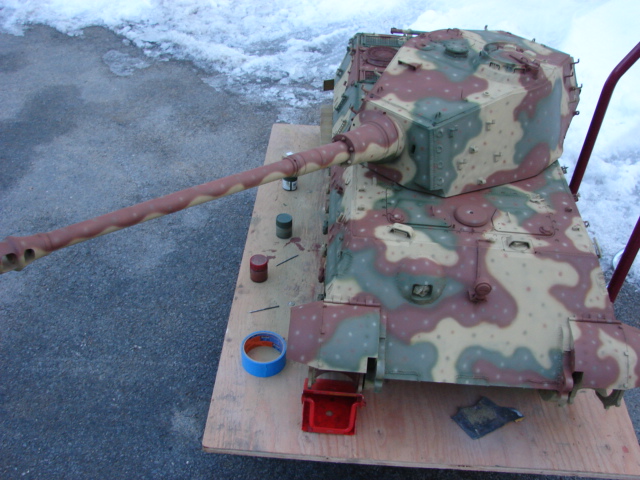
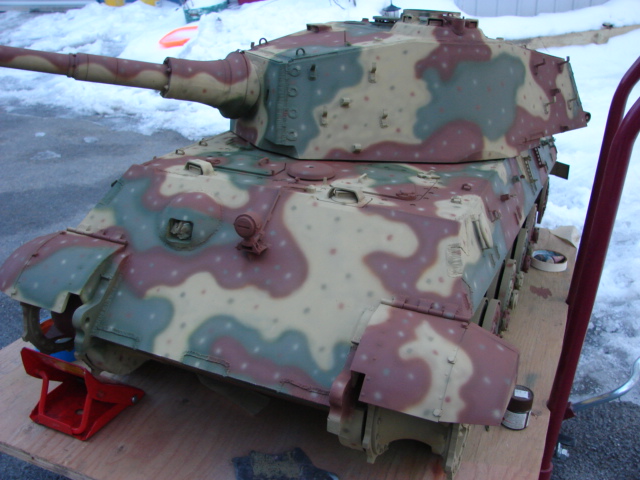
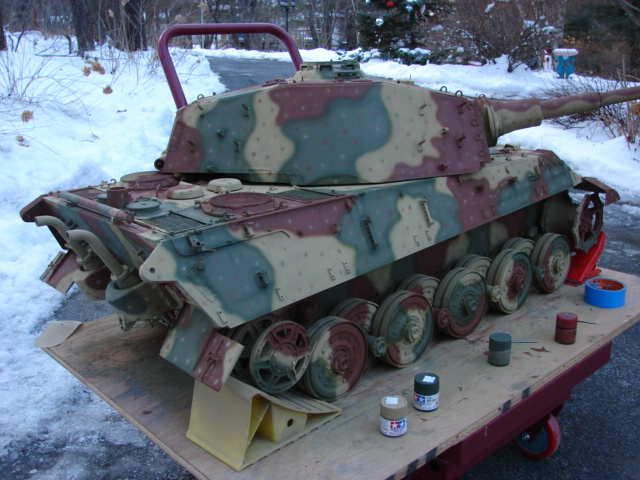
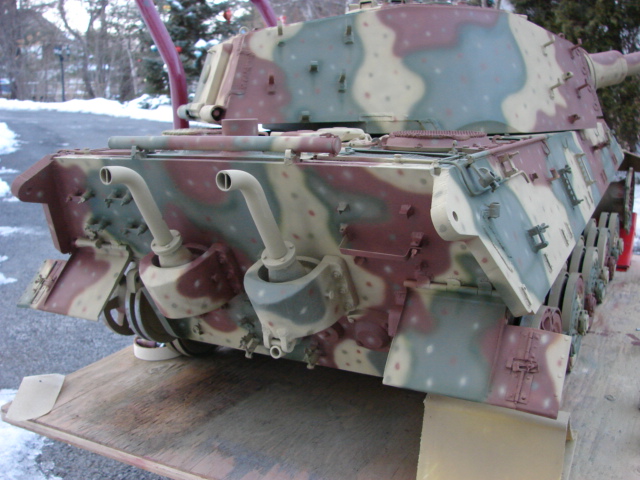
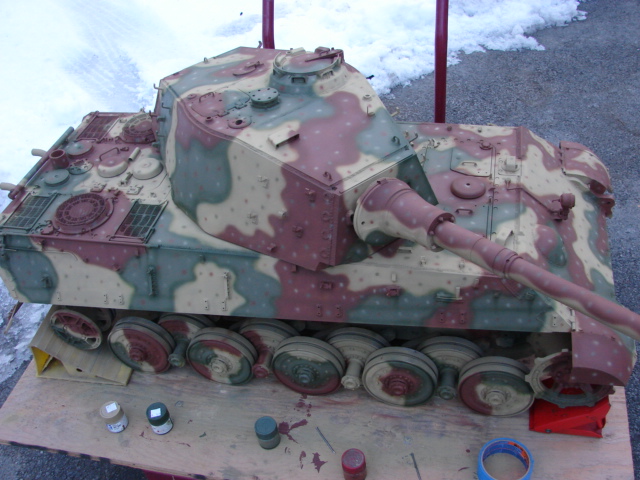
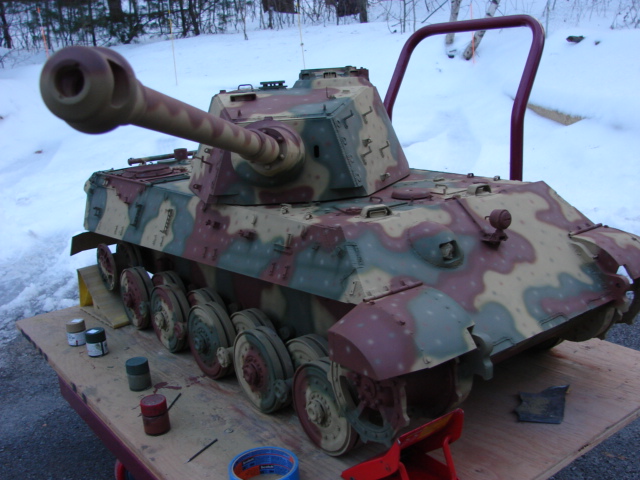
The tank will now get it’s markings, then it’s weathering. More progress to come.
The tank’s markings and weathering have been applied. along with the tracks, side skirts and grenade guards. I didn’t add the steel drybrushing to the tracks because the tracks will scratch themselves after the tank runs a short distance.
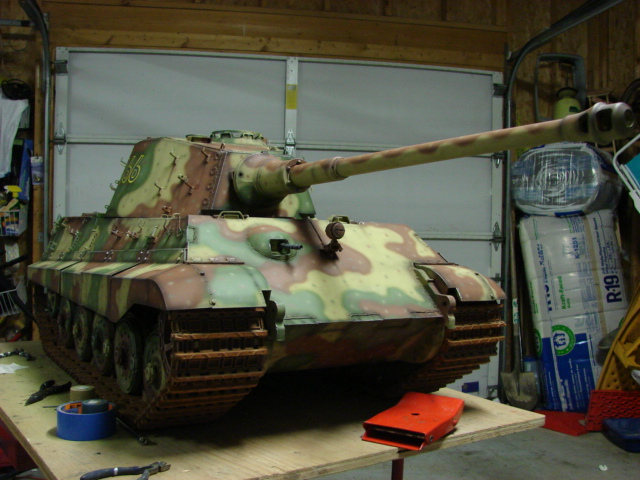
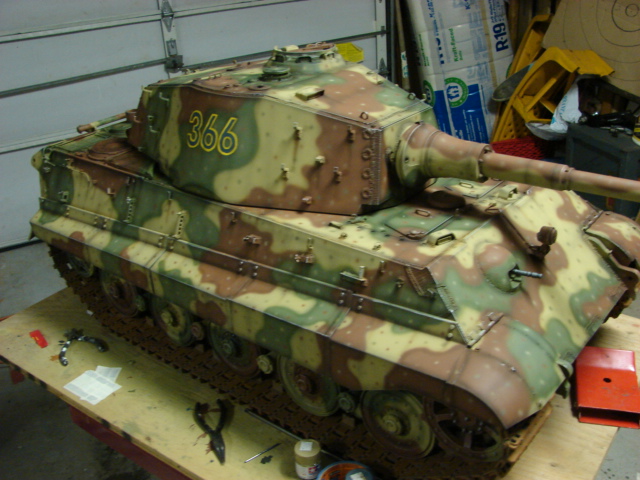
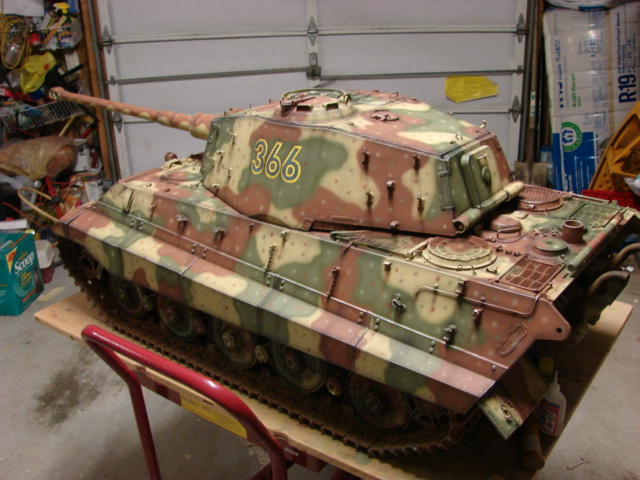
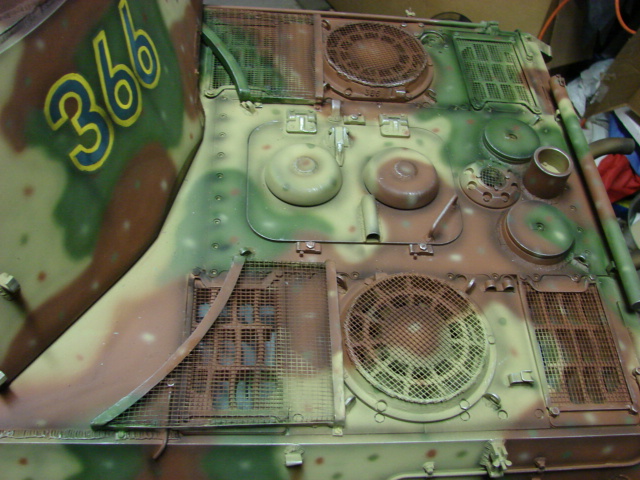
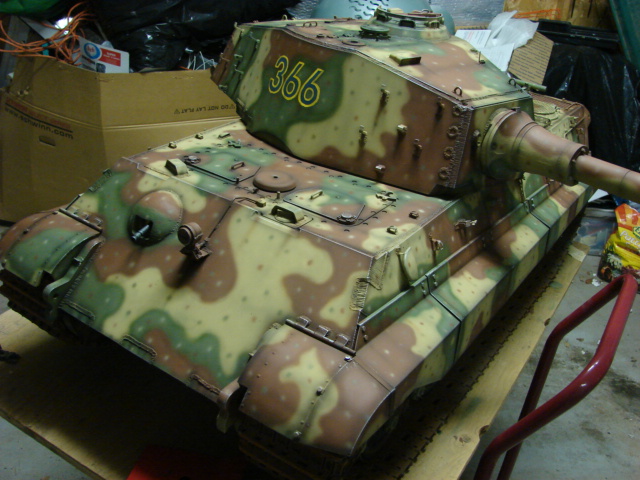
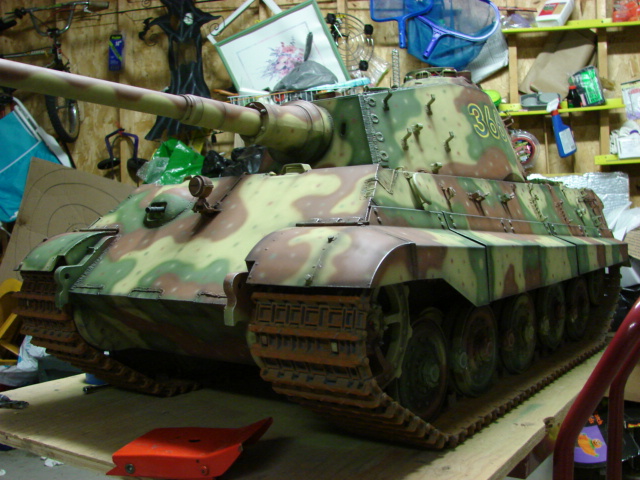
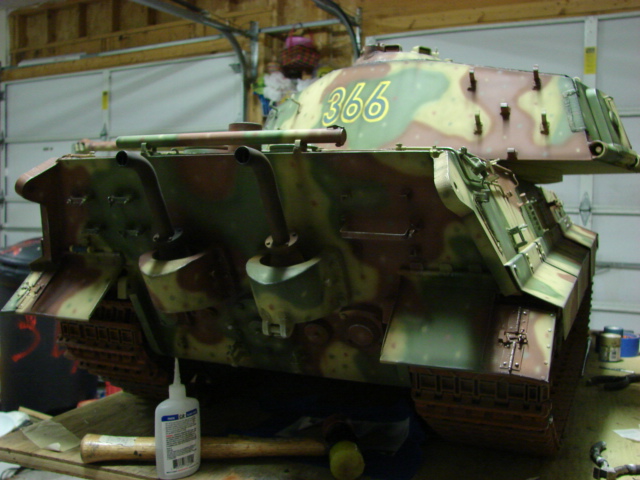
The tank is now about 95% complete. Next will be the addition of the tools and the antennas. Then the tank will be ready for action.
Absolutely stunning work. I couldn’t help but think that the main gun could have been made from a real .50 cal. barrel and actually function but then thought the model wouldn’t be able to stand up to the recoil. You sure have a piece of equipment to be proud of. Congratulations![t$t]
Pat.
[:|] that just a work of art!! Simply amazing man, you are a artist!
Everything on it is amazing!
An amazing journey in modeling [Y]
Thanks guys,
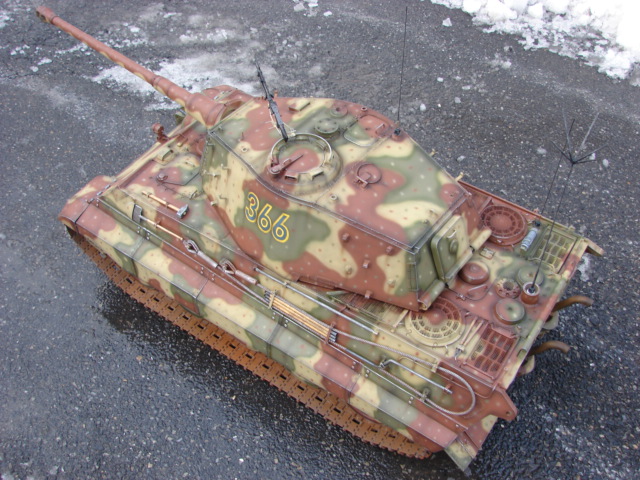
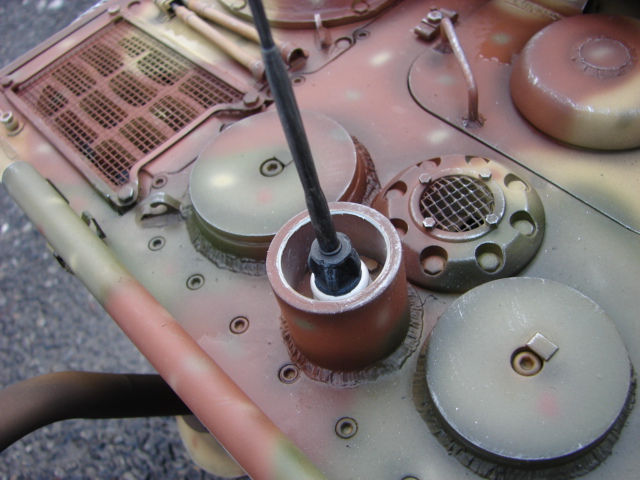
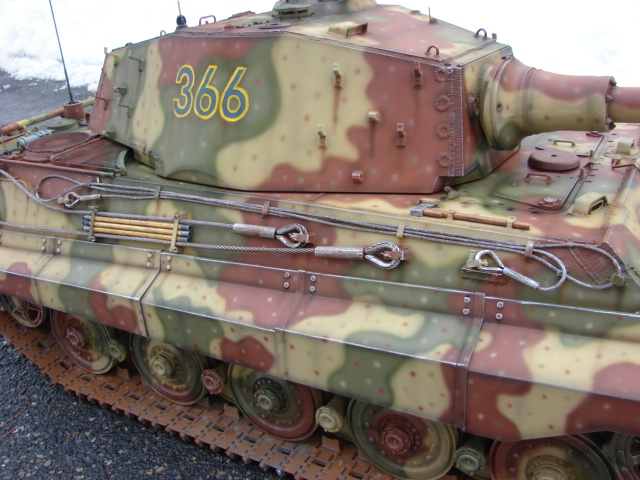
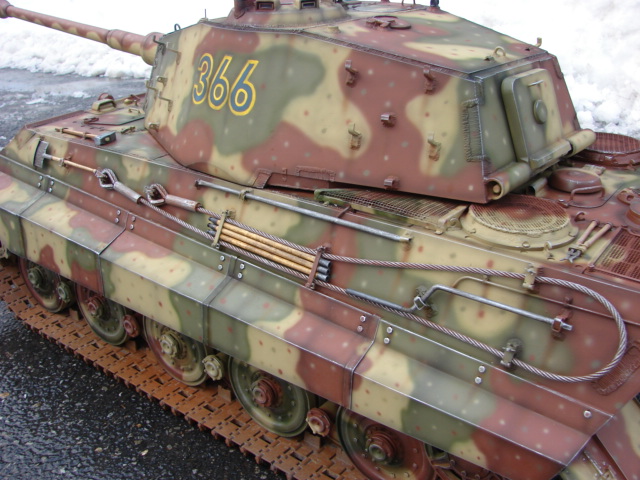
The the last of the tank’s components have been added completing the tank.
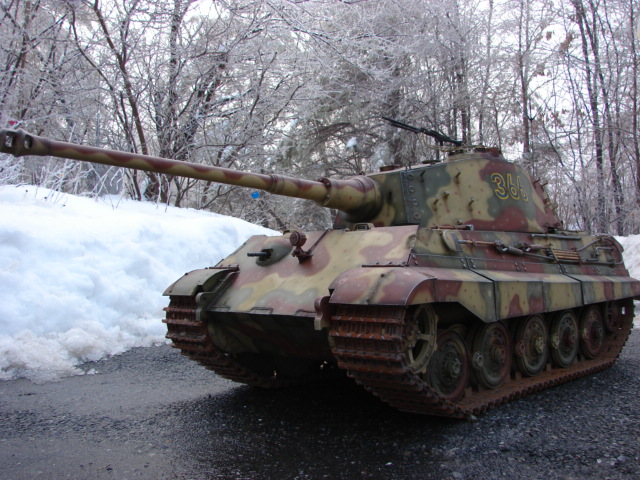
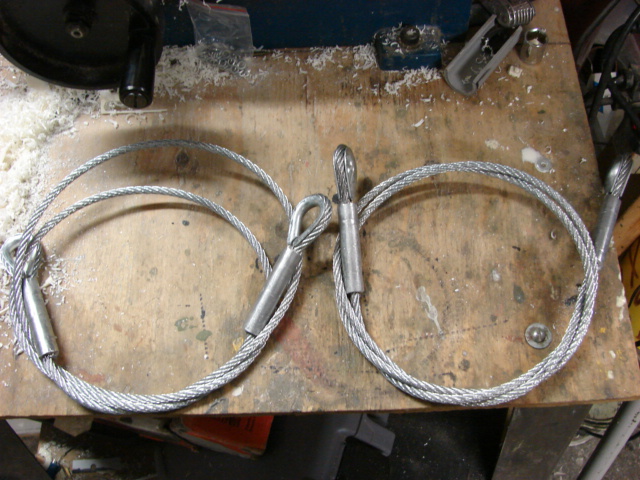
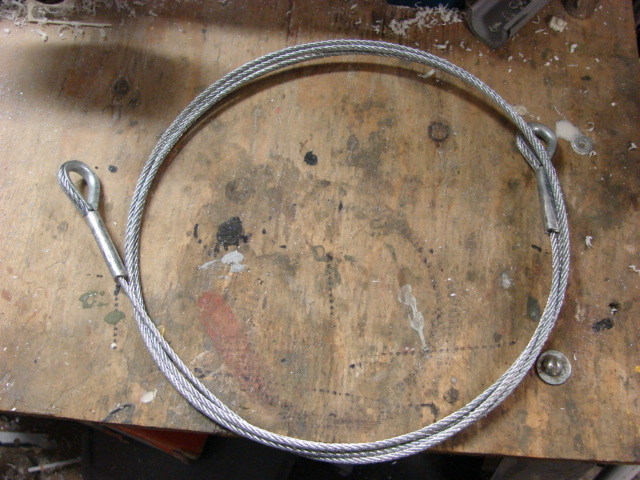
For the tank’s tow cables the kit supplies you with pre cut and pre assembled steel tow cables and transport cable. The cables were a perfect fit to my revised tow cable locks and were simply painted, weathered, and mounted to the tank.
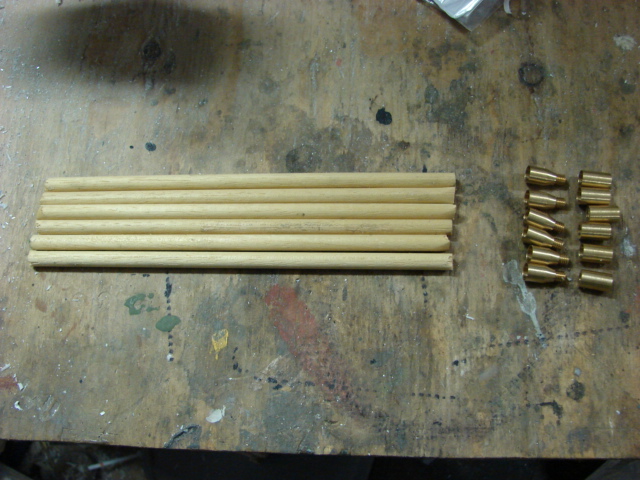
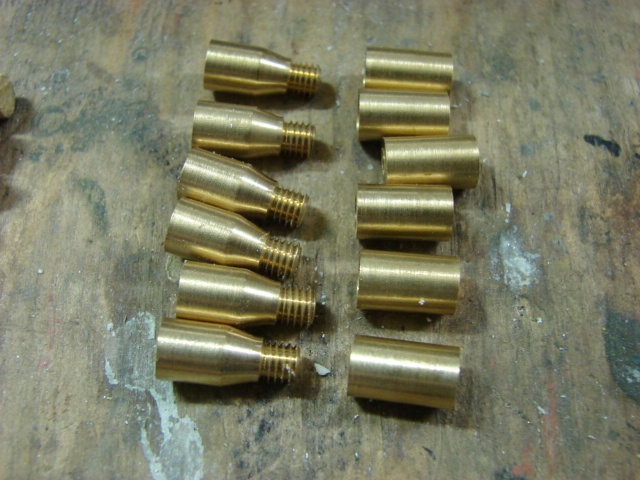
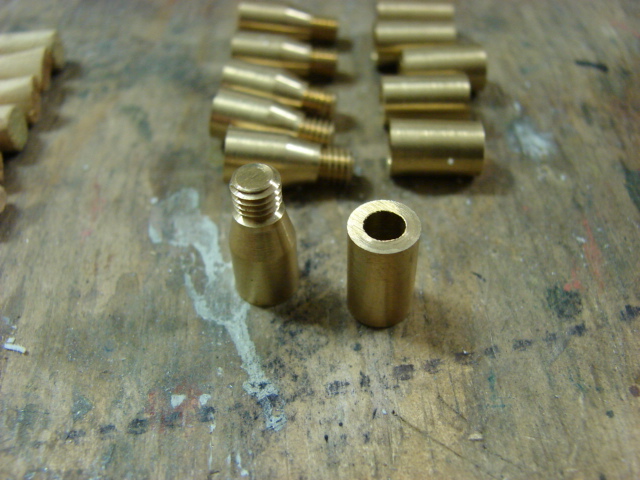
For the tank’s gun cleaning rods the kit supplies you with several wood dowel rods, and CNCed Brass end tips. The kit parts were also nicely done and were used. The rods were treated and the brass rods were painted and weathered.
The kit supplies you with an Armorpax resin German AFV fire extinguisher. The part is nicely detailed and casted. The component was simply painted and installed with no mods.
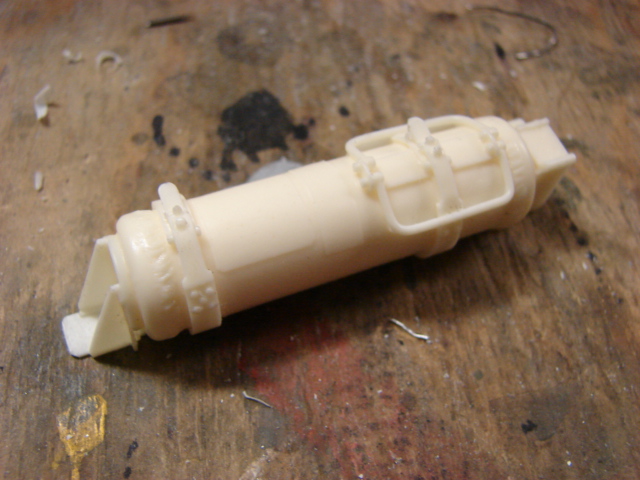
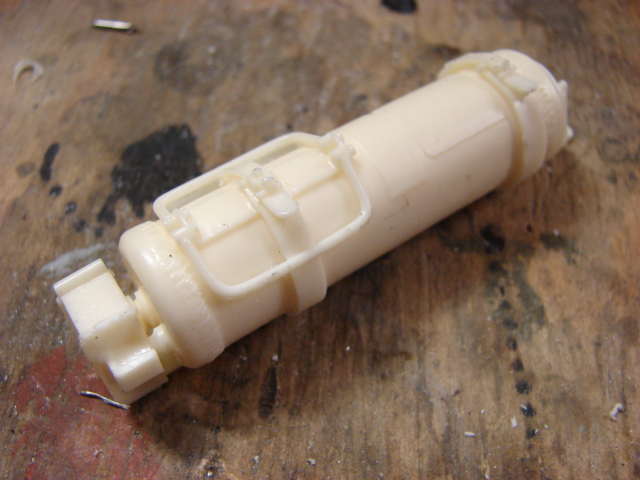
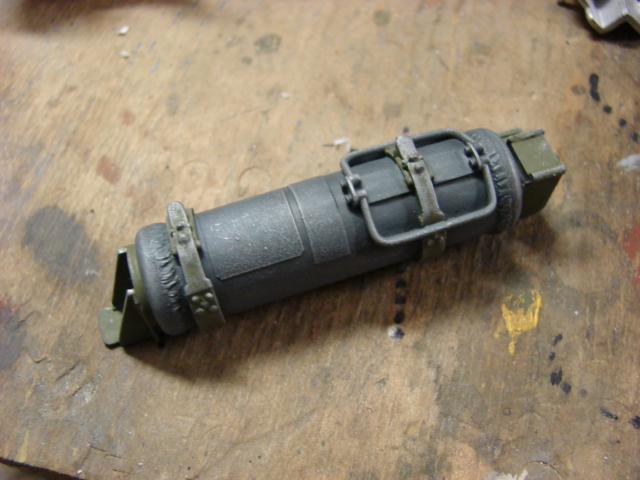
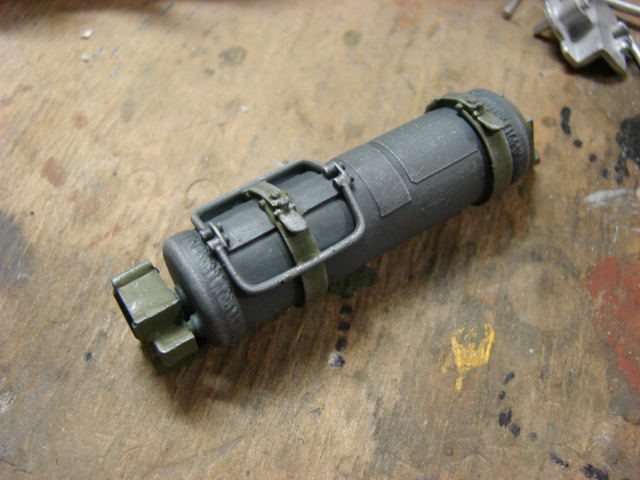
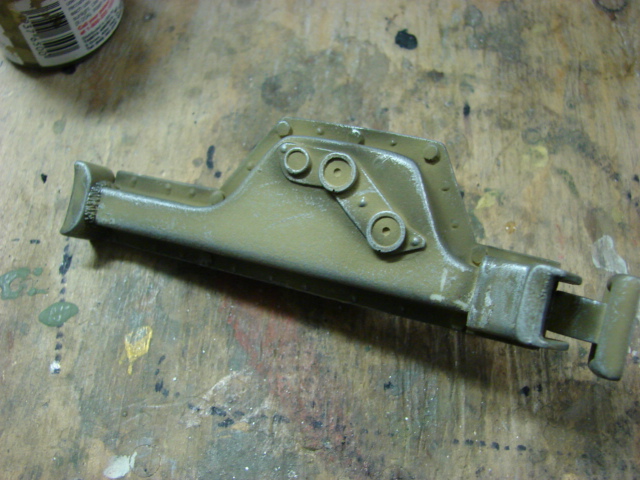
Another Armorpax component that the kit supplies you with was the German AFV Jack. Like the fire extinguisher the jack was nicely made and was built out of the box and mounted to the tank.
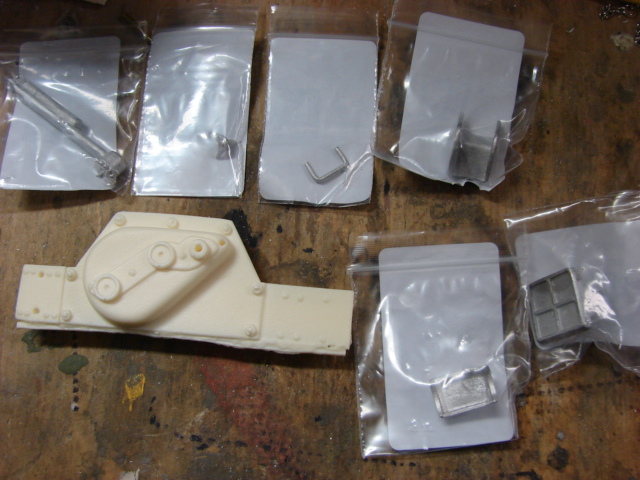
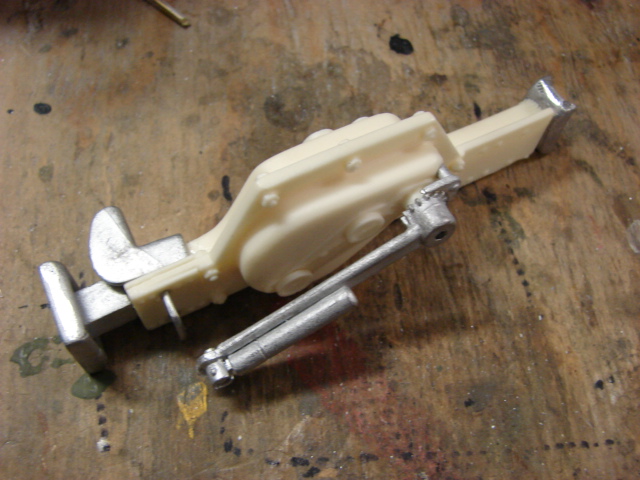
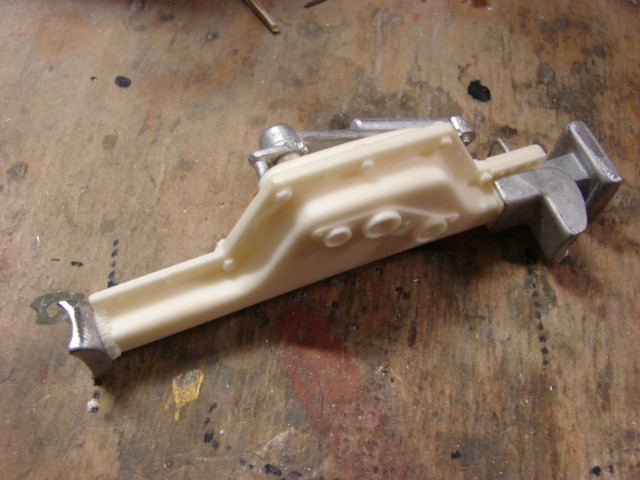
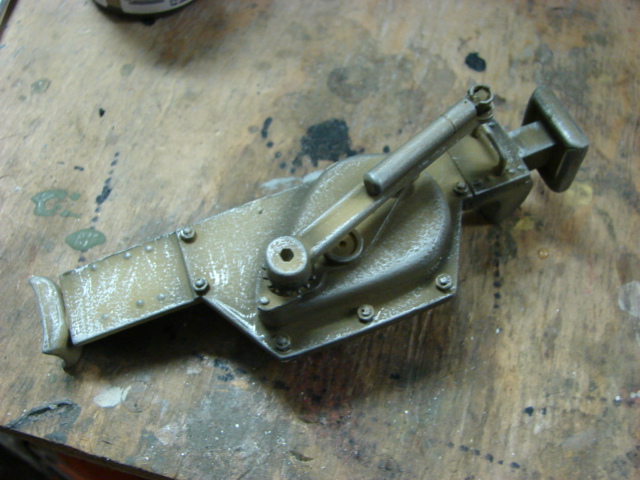
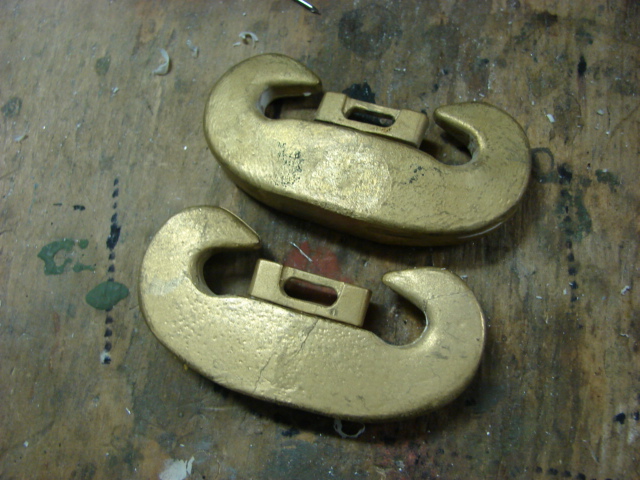
The kit supplies you with two cast bronze tow claws. These needed no mods and were used as is.
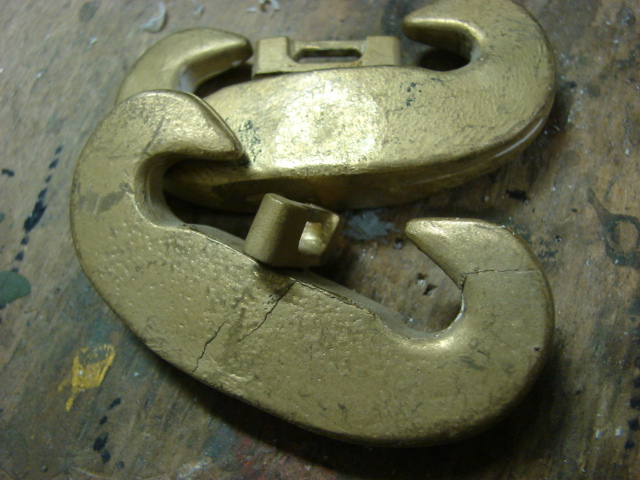
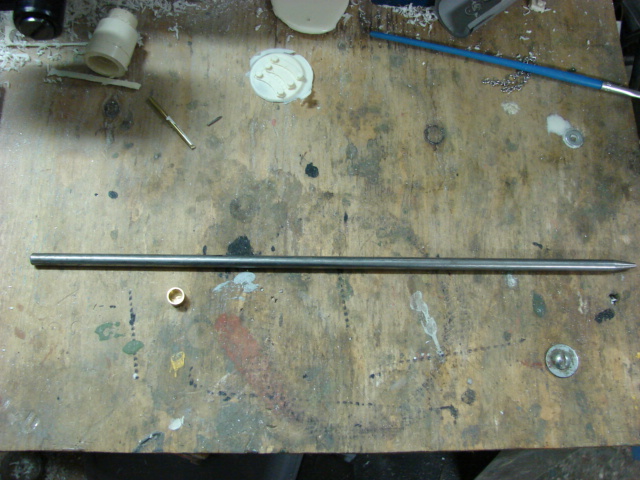
The kit supplied crank shaft and crow bar were also used. The crow bar needed a small tweak. The kit supplied bar has a flat end with a machined brass tip. On the real component the tip was flat with a bend. This was quickly added to the kit rod. Once done they went into painting and were mounted.
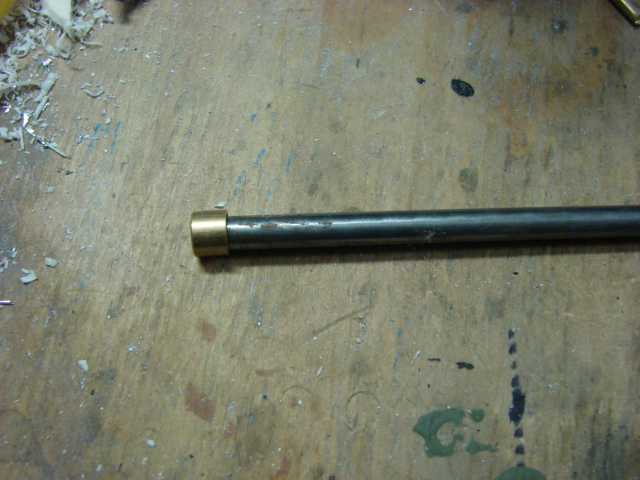
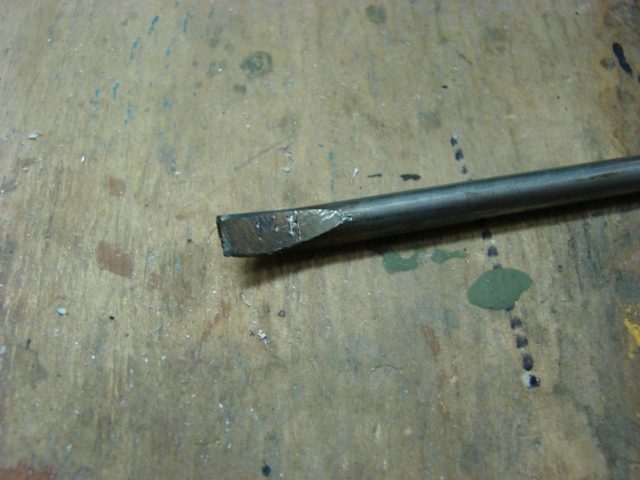
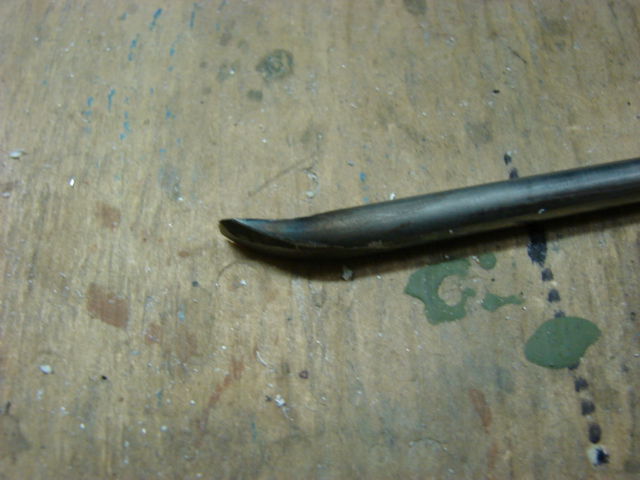
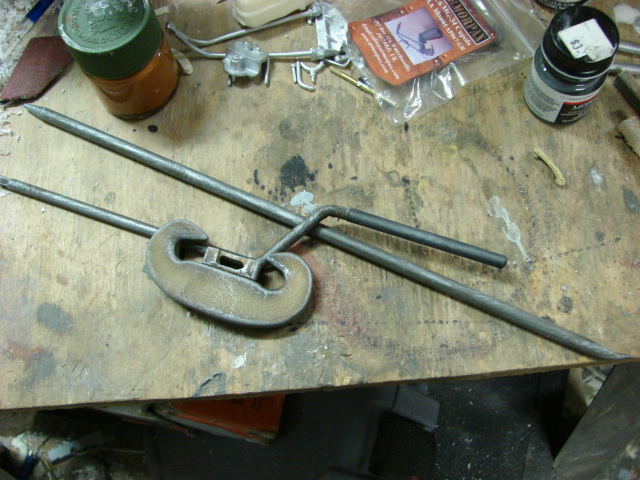
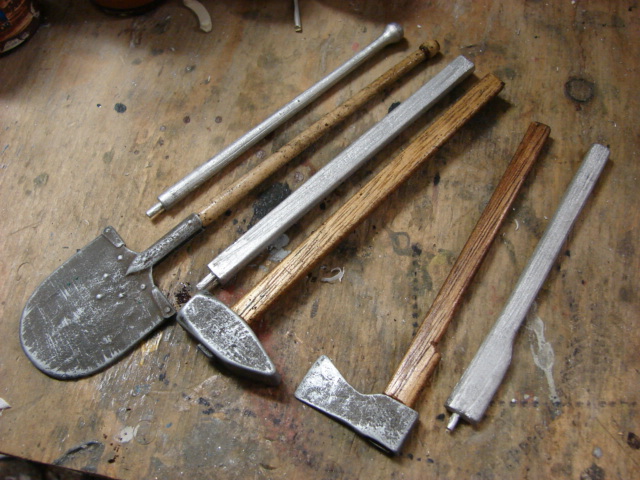
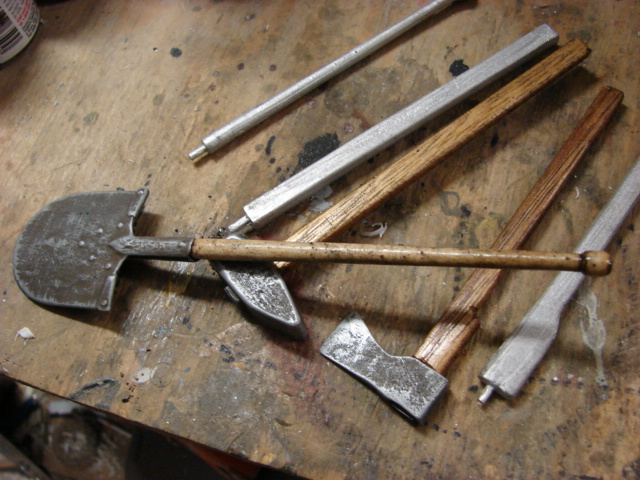
for the other hand tools the kit supplies you with a set of Armorpax white metal German AFV tools. The only mod that was made to the tools was the replacement of the supplied metal handles with scratch built wooden ones.
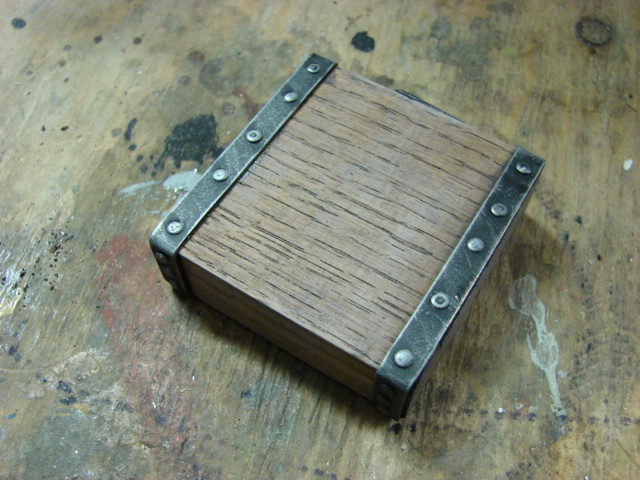
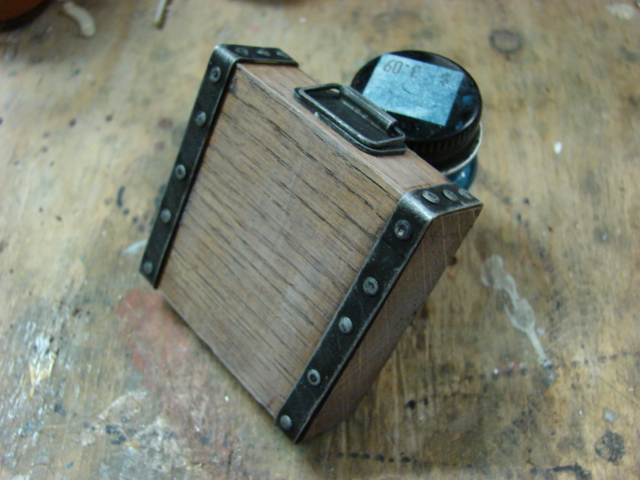
The tank supplies you with a pre cut block of wood for the jack block. The block was the correct size and shape and was a good base to add the details.
The tank’s antennas have been scratch built and added. The sternantenna was fabricated out of turned brass and aluminum. All components had to be made out of metal because the antenna connects to the tank’s radio receiver and extends the tank’s radio range. The only resin components that were used on the sternantenna is the antenna base and the insulator.
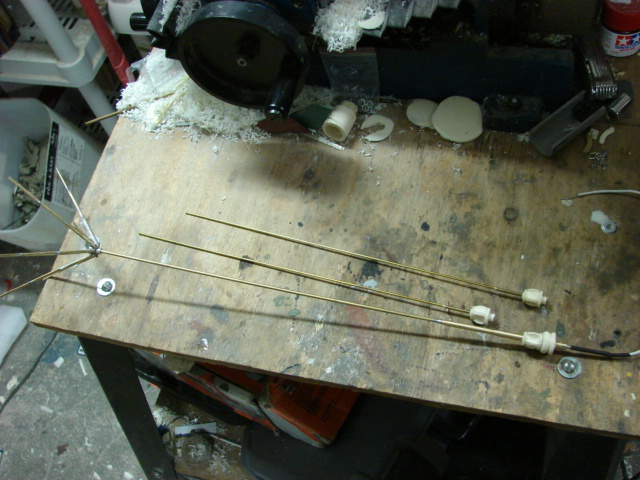
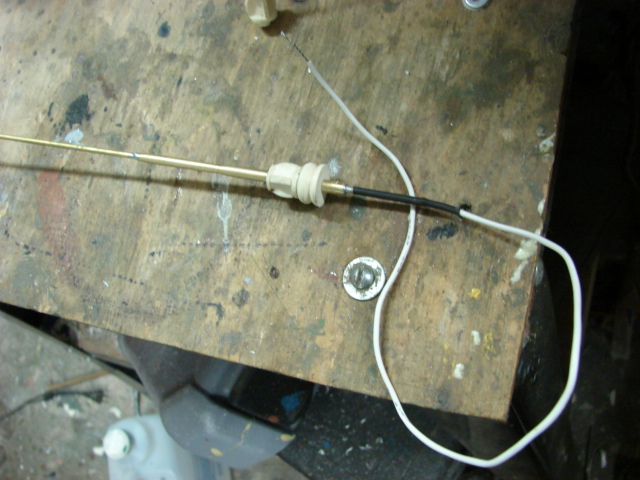
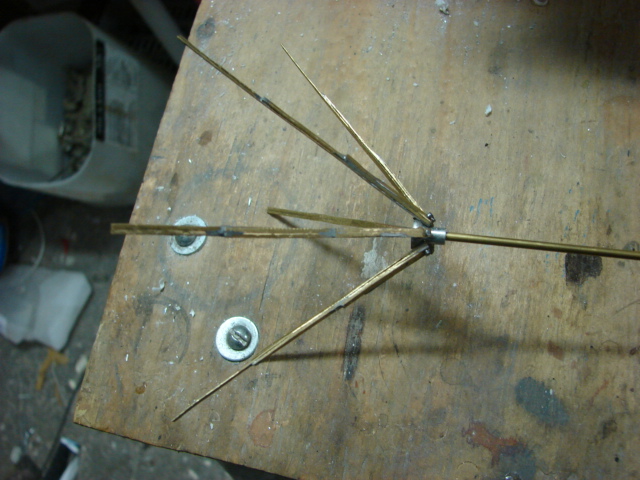
The tank doesn’t come with the copula mounted AA MG, or the MG mount. For this tank I picked up the Armorpax white metal MG mount. The mount is excellent and was moded to have the gun and mount pivot. For the Gun I will be using the new generation 21st Century MG34, but I’ll have more info on that later.
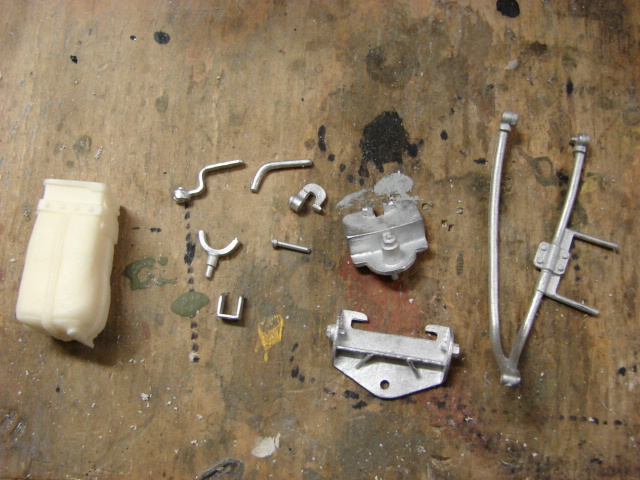

After these parts were added I took the tank out for a joyride.
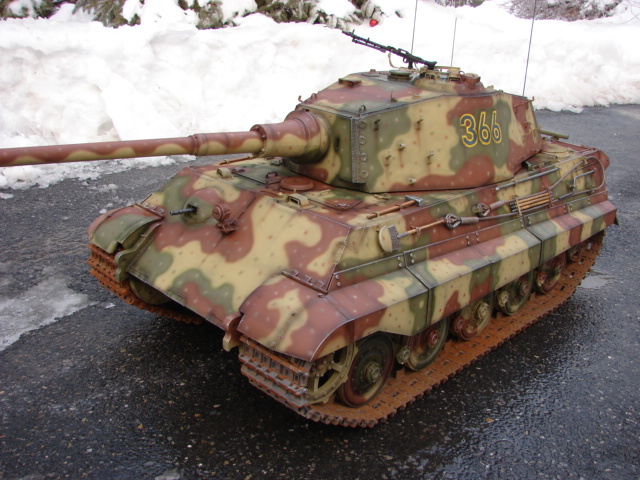
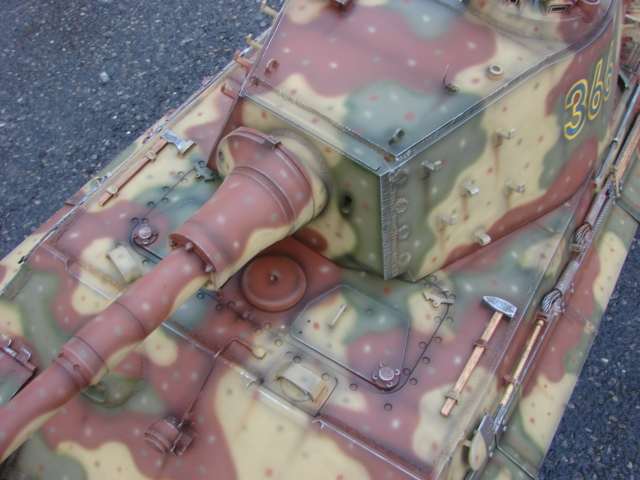
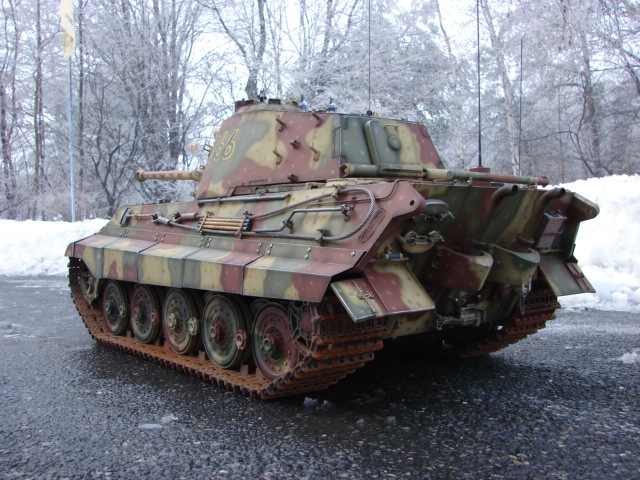
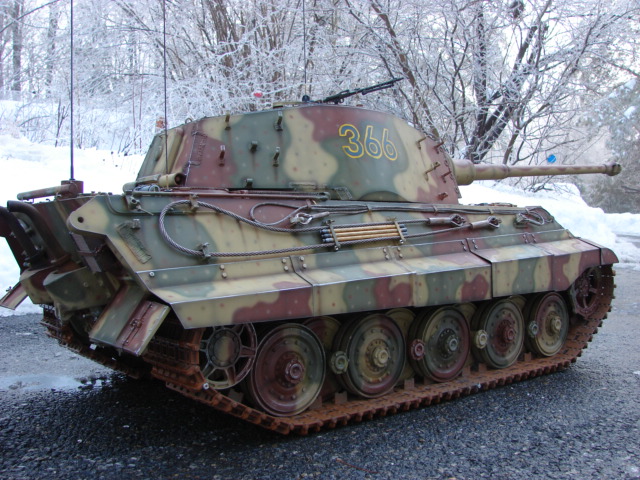
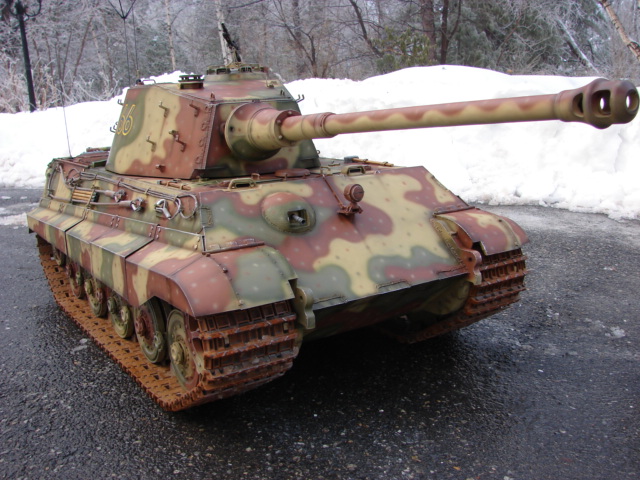
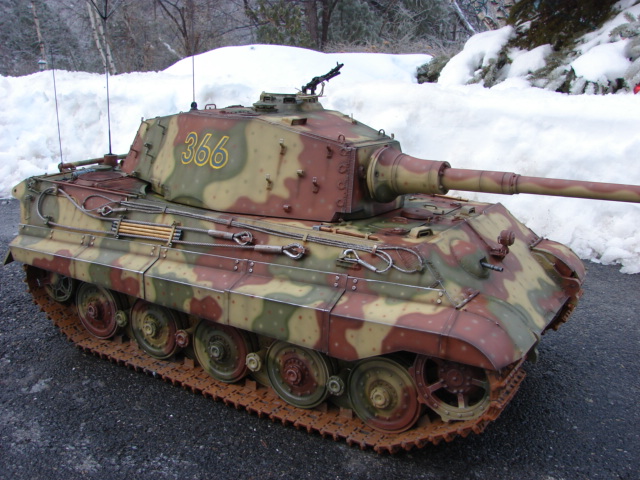
I was also able to post a quick video up on youtube
http://www.youtube.com/watch?v=P2juMDkbXNE
The last thing that needs to be added to the tank is the MG34, and the MG34 ammo bag.
Thanks guys,
The the last of the tank’s components have been added completing the tank.
For the tank’s tow cables the kit supplies you with pre cut and pre assembled steel tow cables and transport cable. The cables were a perfect fit to my revised tow cable locks and were simply painted, weathered, and mounted to the tank.
For the tank’s gun cleaning rods the kit supplies you with several wood dowel rods, and CNCed Brass end tips. The kit parts were also nicely done and were used. The rods were treated and the brass rods were painted and weathered.
The kit supplies you with an Armorpax resin German AFV fire extinguisher. The part is nicely detailed and casted. The component was simply painted and installed with no mods.
Another Armorpax component that the kit supplies you with was the German AFV Jack. Like the fire extinguisher the jack was nicely made and was built out of the box and mounted to the tank.
The kit supplies you with two cast bronze tow claws. These needed no mods and were used as is.
The kit supplied crank shaft and crow bar were also used. The crow bar needed a small tweak. The kit supplied bar has a flat end with a machined brass tip. On the real component the tip was flat with a bend. This was quickly added to the kit rod. Once done they went into painting and were mounted.
for the other hand tools the kit supplies you with a set of Armorpax white metal German AFV tools. The only mod that was made to the tools was the replacement of the supplied metal handles with scratch built wooden ones.
The tank supplies you with a pre cut block of wood for the jack block. The block was the correct size and shape and was a good base to add the details.
The tank’s antennas have been scratch built and added. The sternantenna was fabricated out of turned brass and aluminum. All components had to be made out of metal because the antenna connects to the tank’s radio receiver and extends the tank’s radio range. The only resin components that were used on the sternantenna is the antenna base and the insulator.
The tank doesn’t come with the copula mounted AA MG, or the MG mount. For this tank I picked up the Armorpax white metal MG mount. The mount is excellent and was moded to have the gun and mount pivot. For the Gun I will be using the new generation 21st Century MG34, but I’ll have more info on that later.
After these parts were added I took the tank out for a joyride.
I was also able to post a quick video up on youtube
http://www.youtube.com/watch?v=P2juMDkbXNE
The last thing that needs to be added to the tank is the MG34, and the MG34 ammo bag.