1/6 Fantasy Warrior Jehn *Finished*

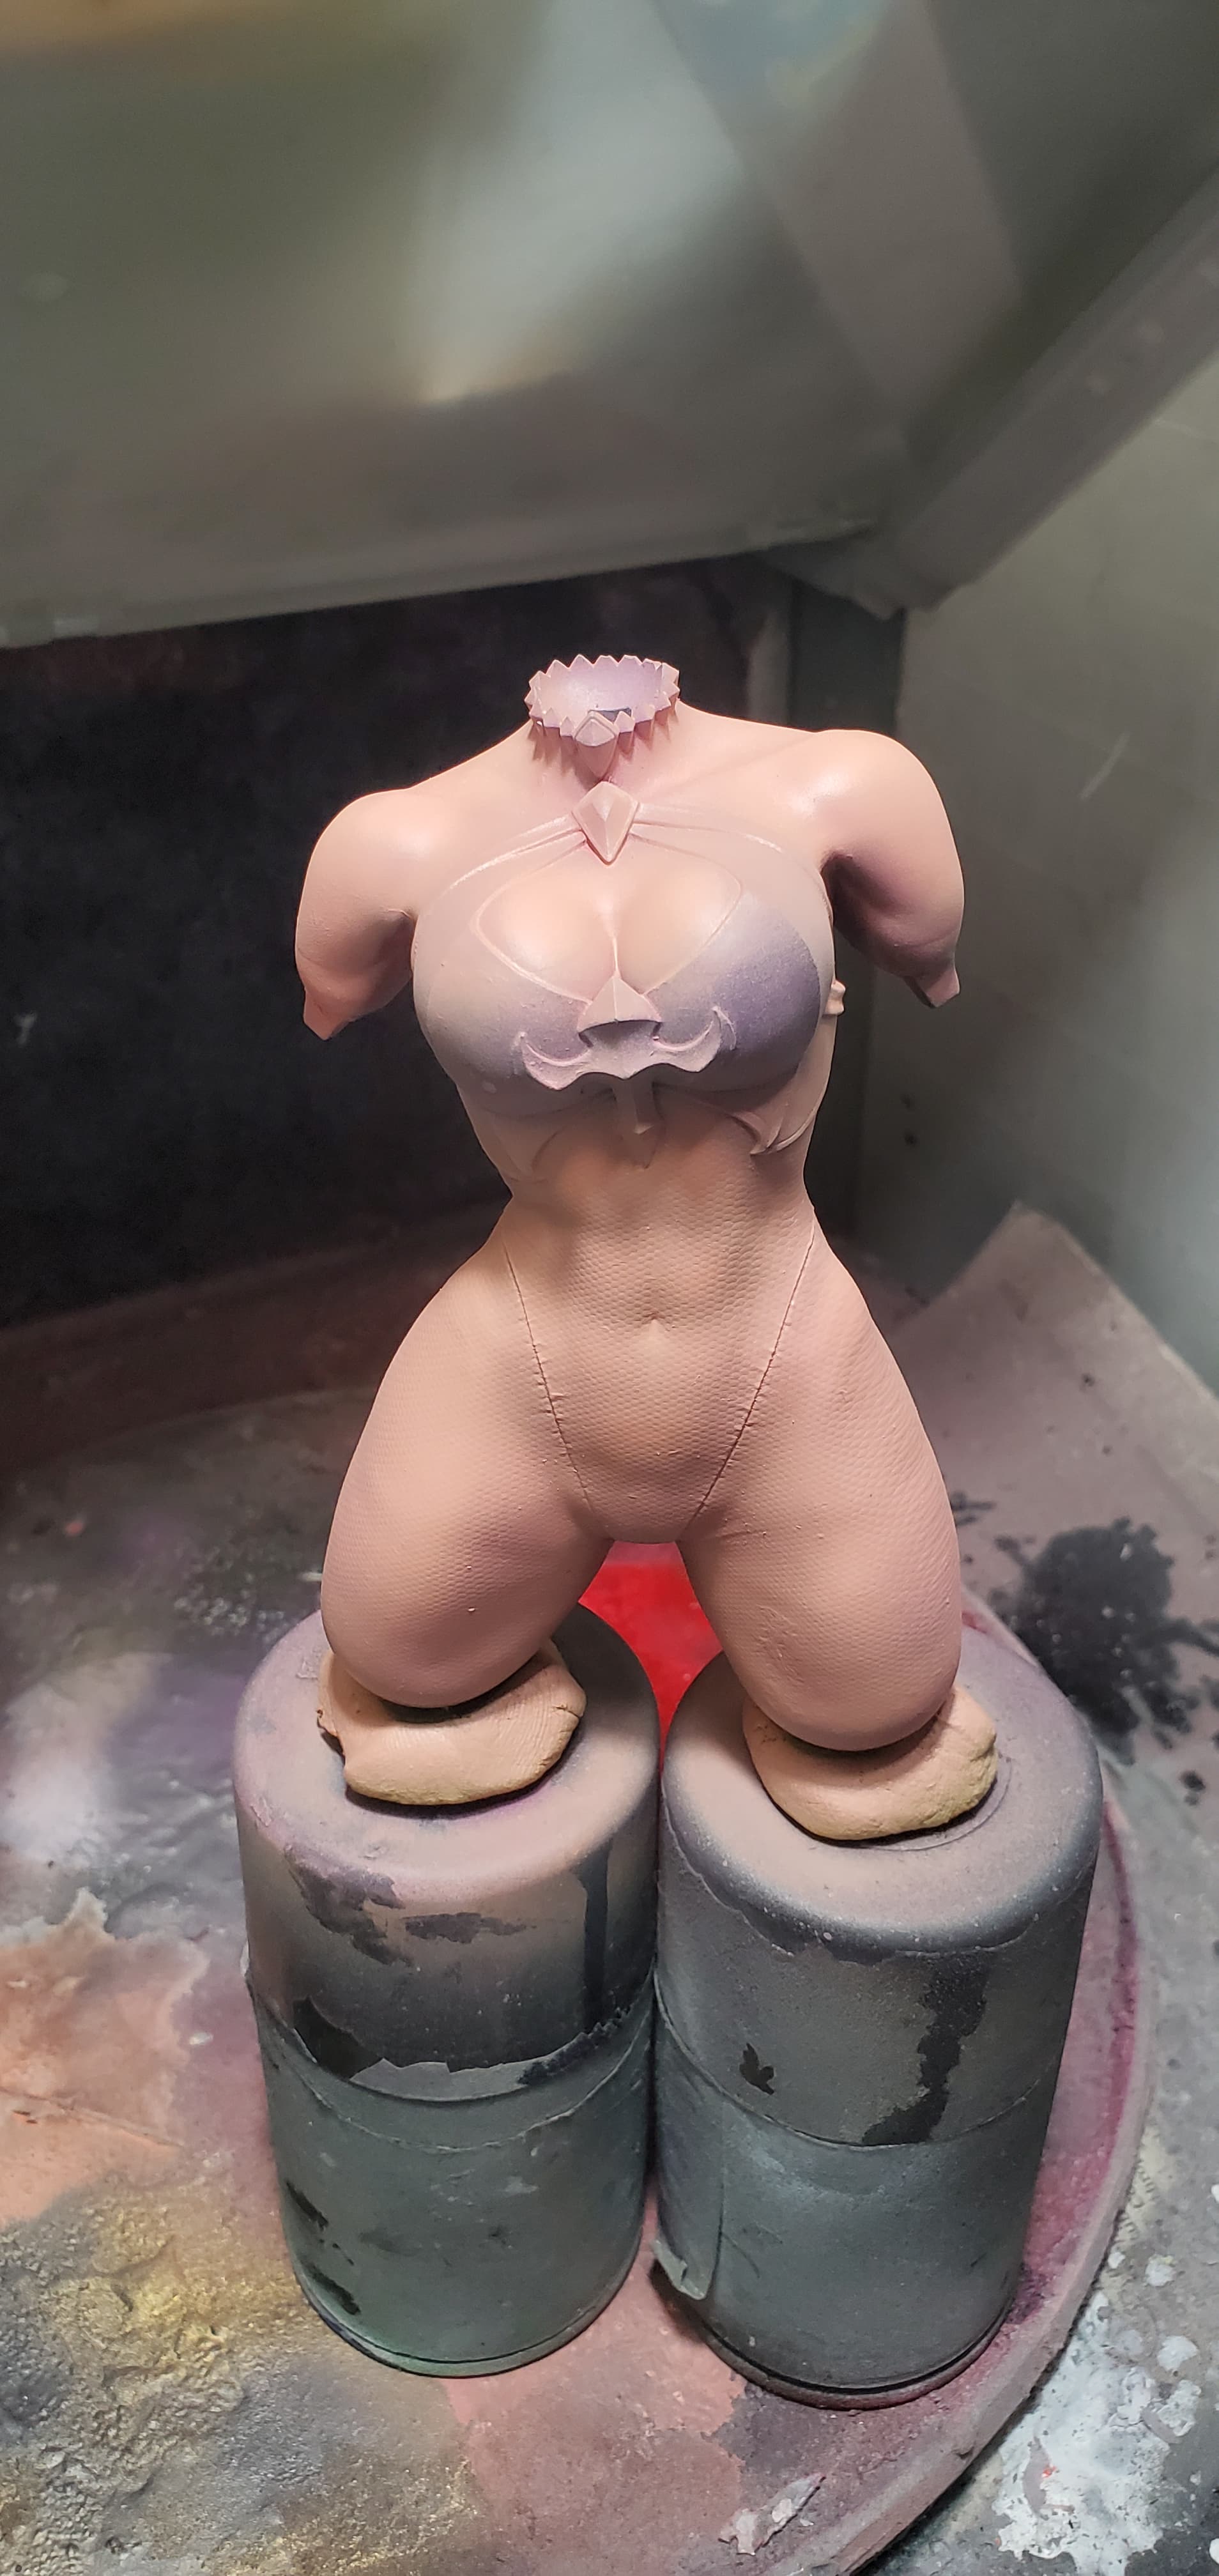
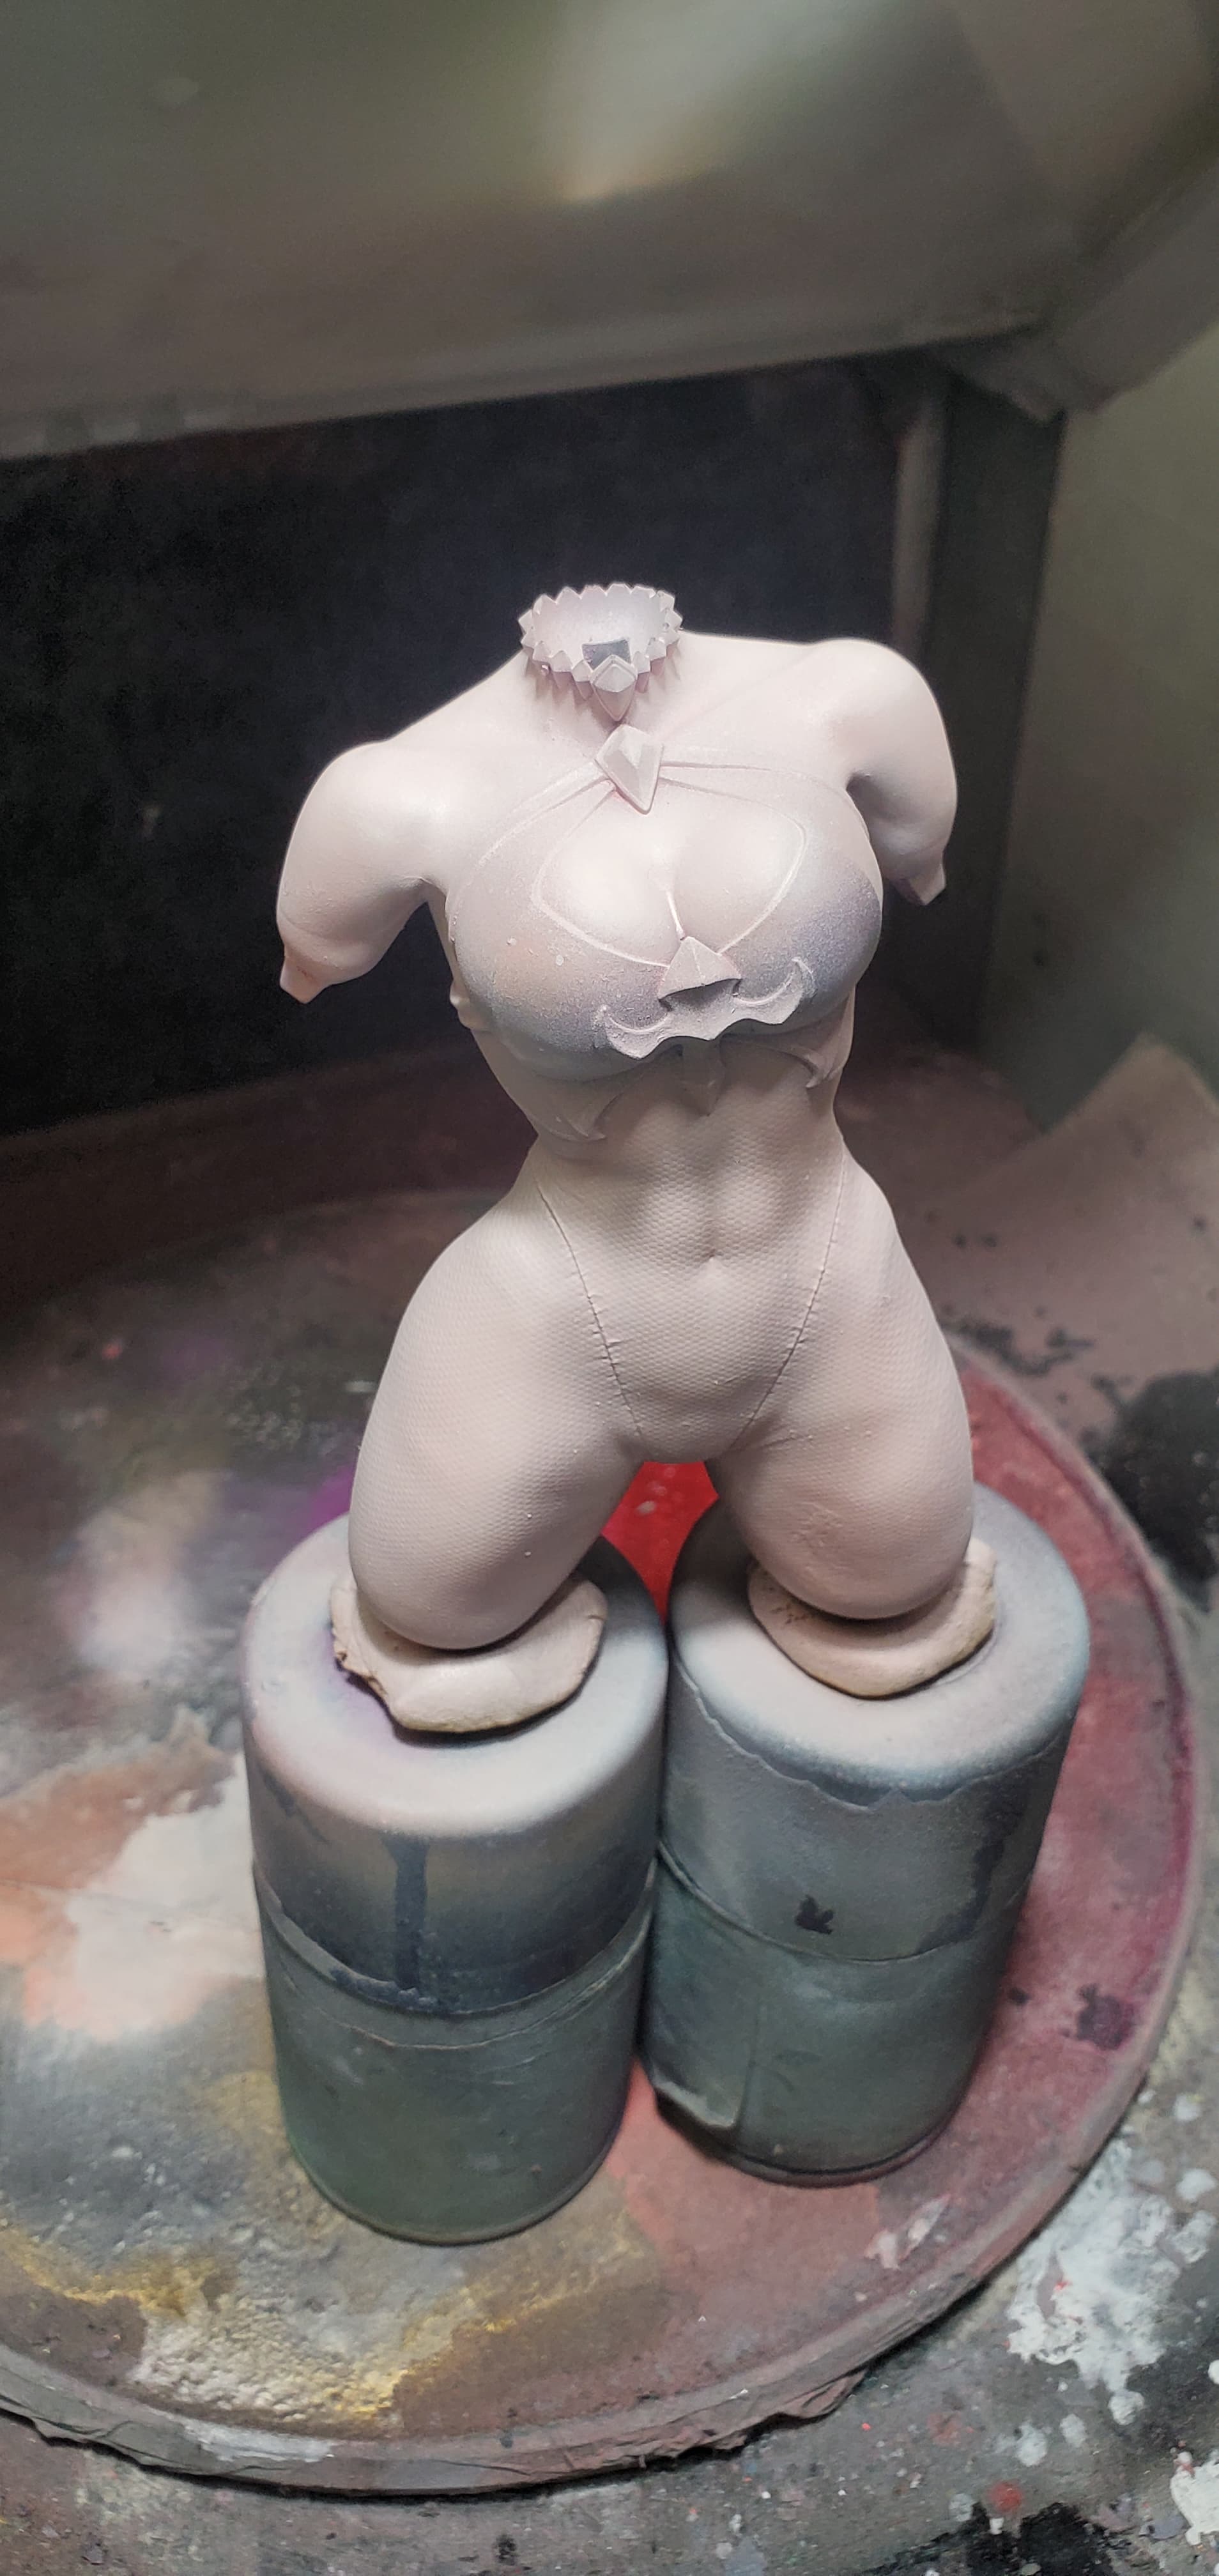
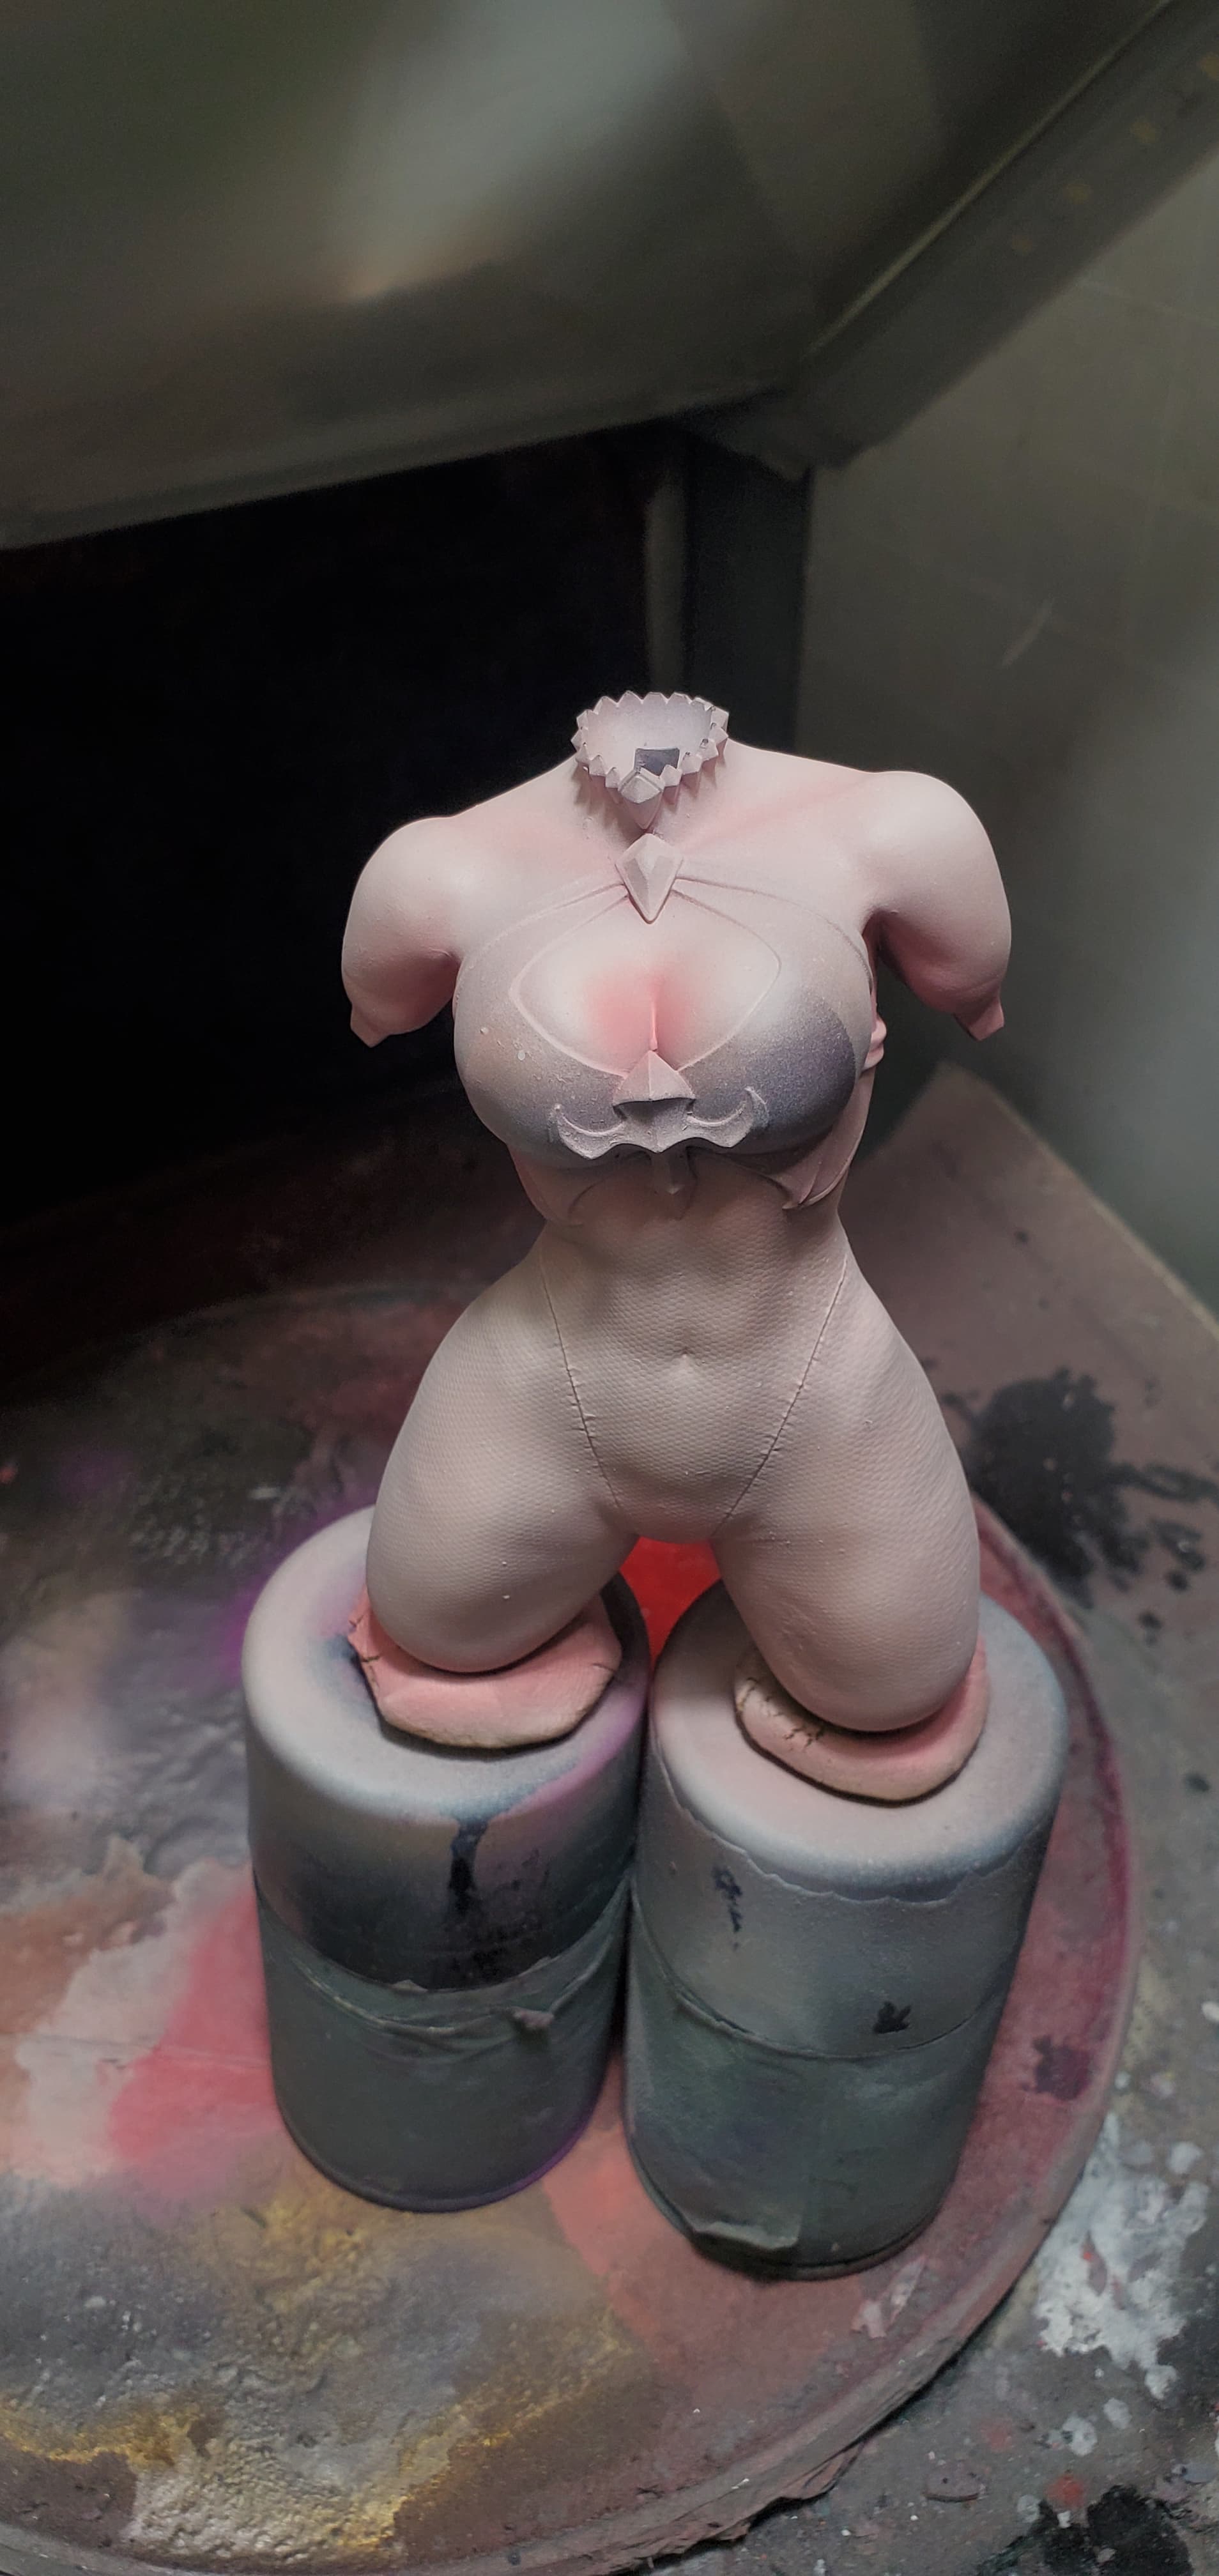
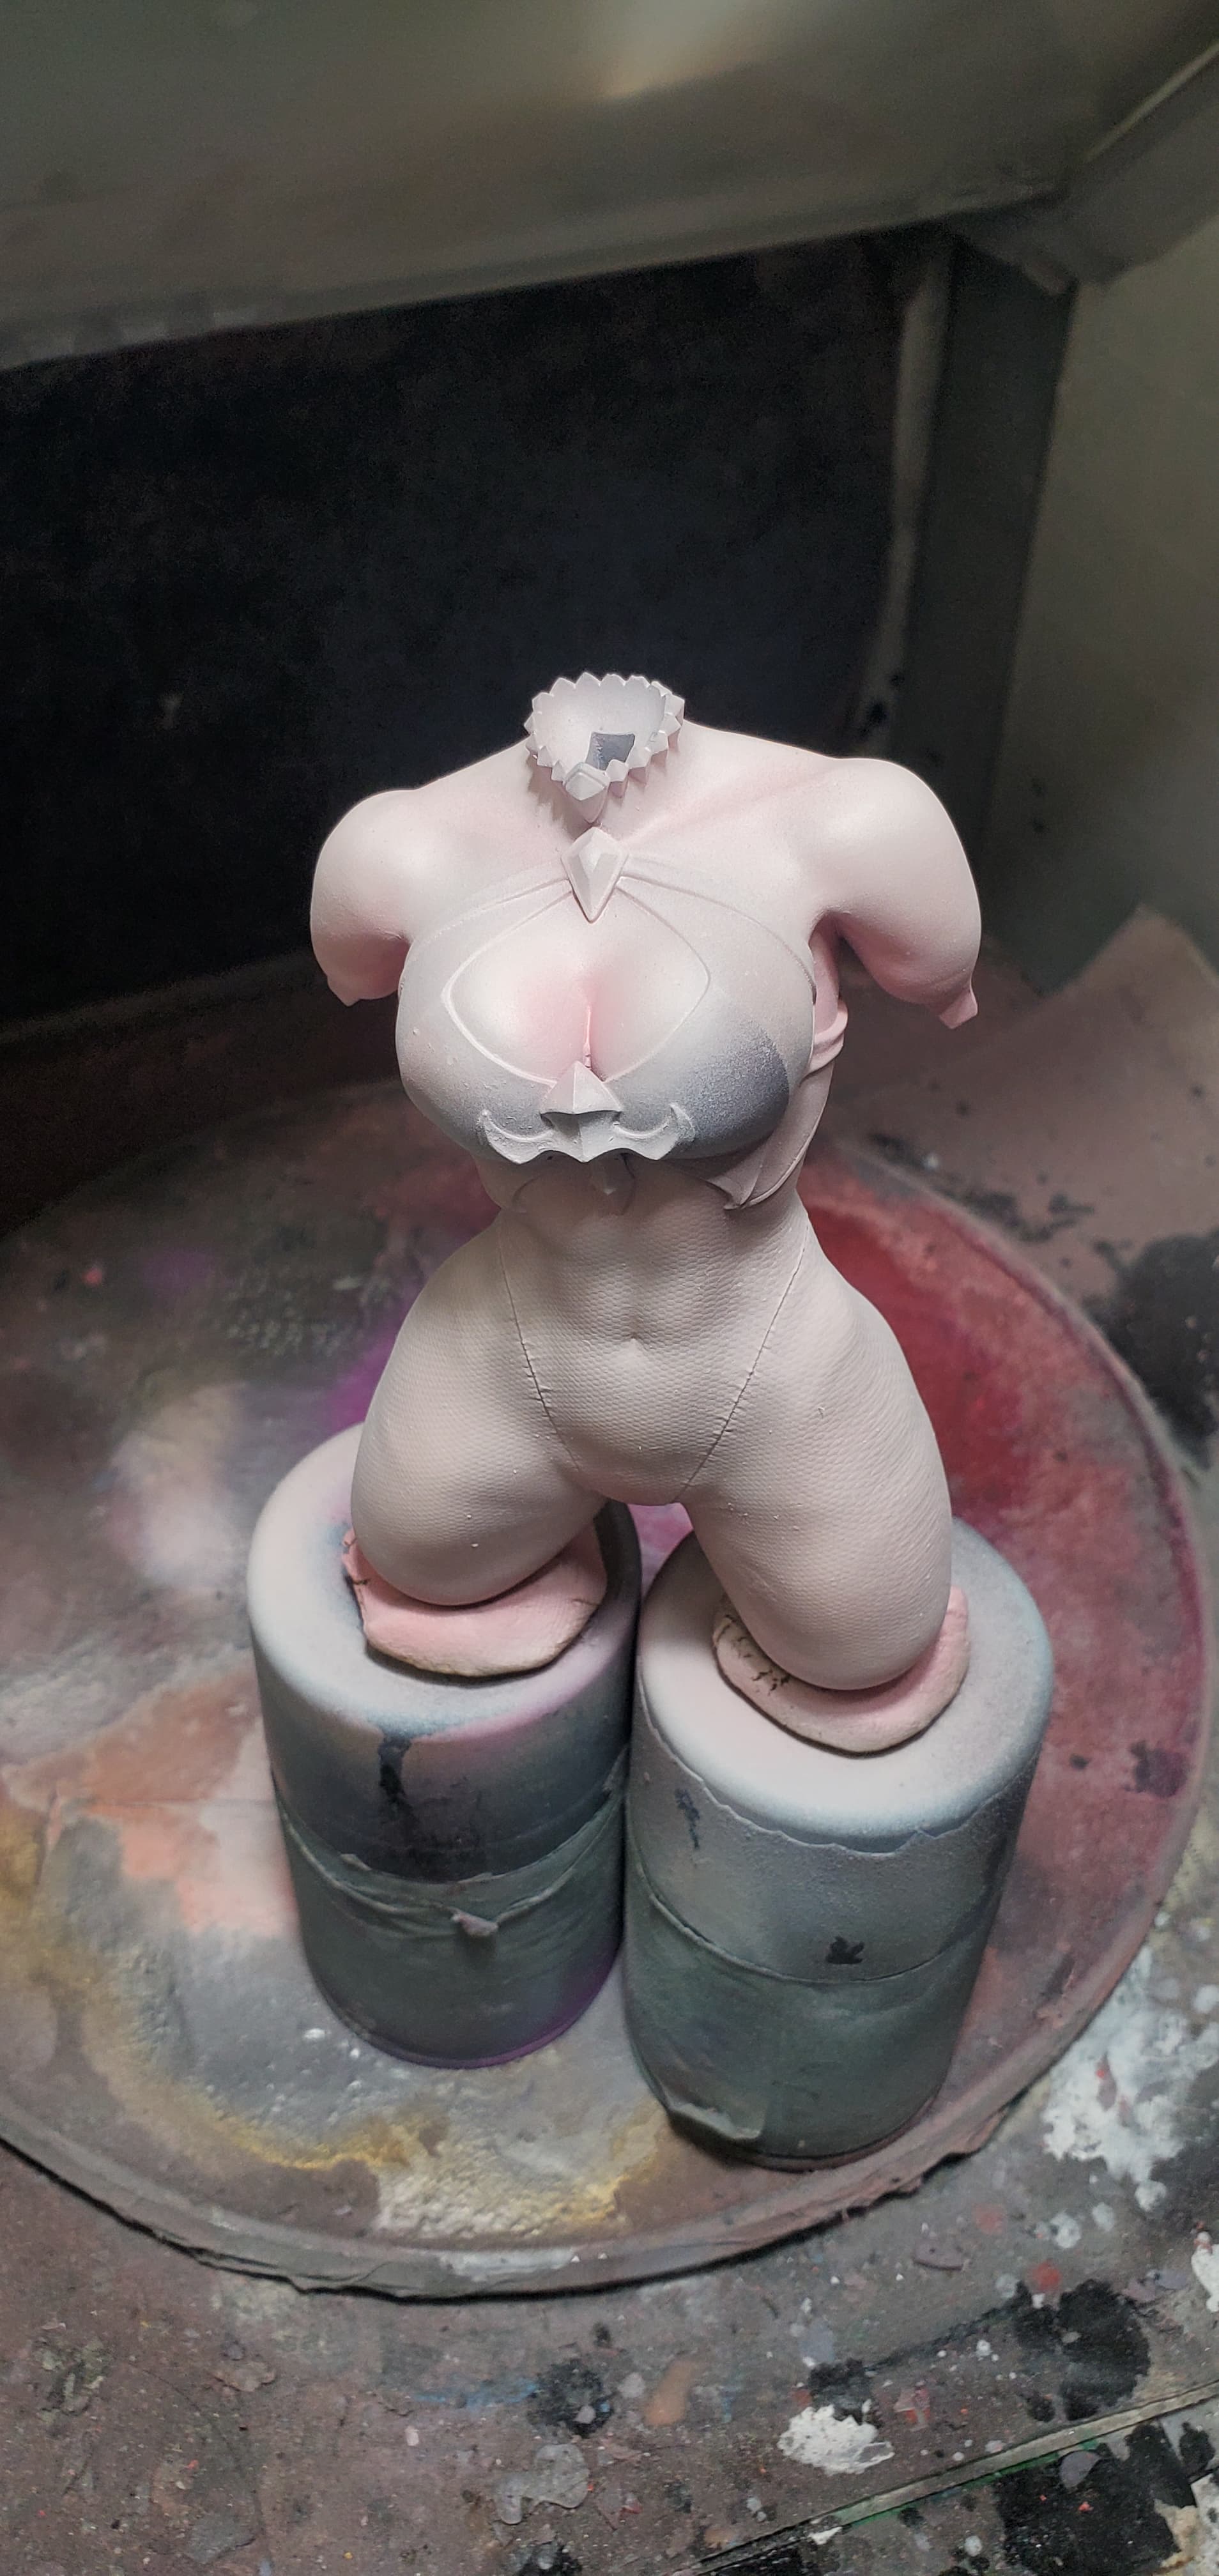
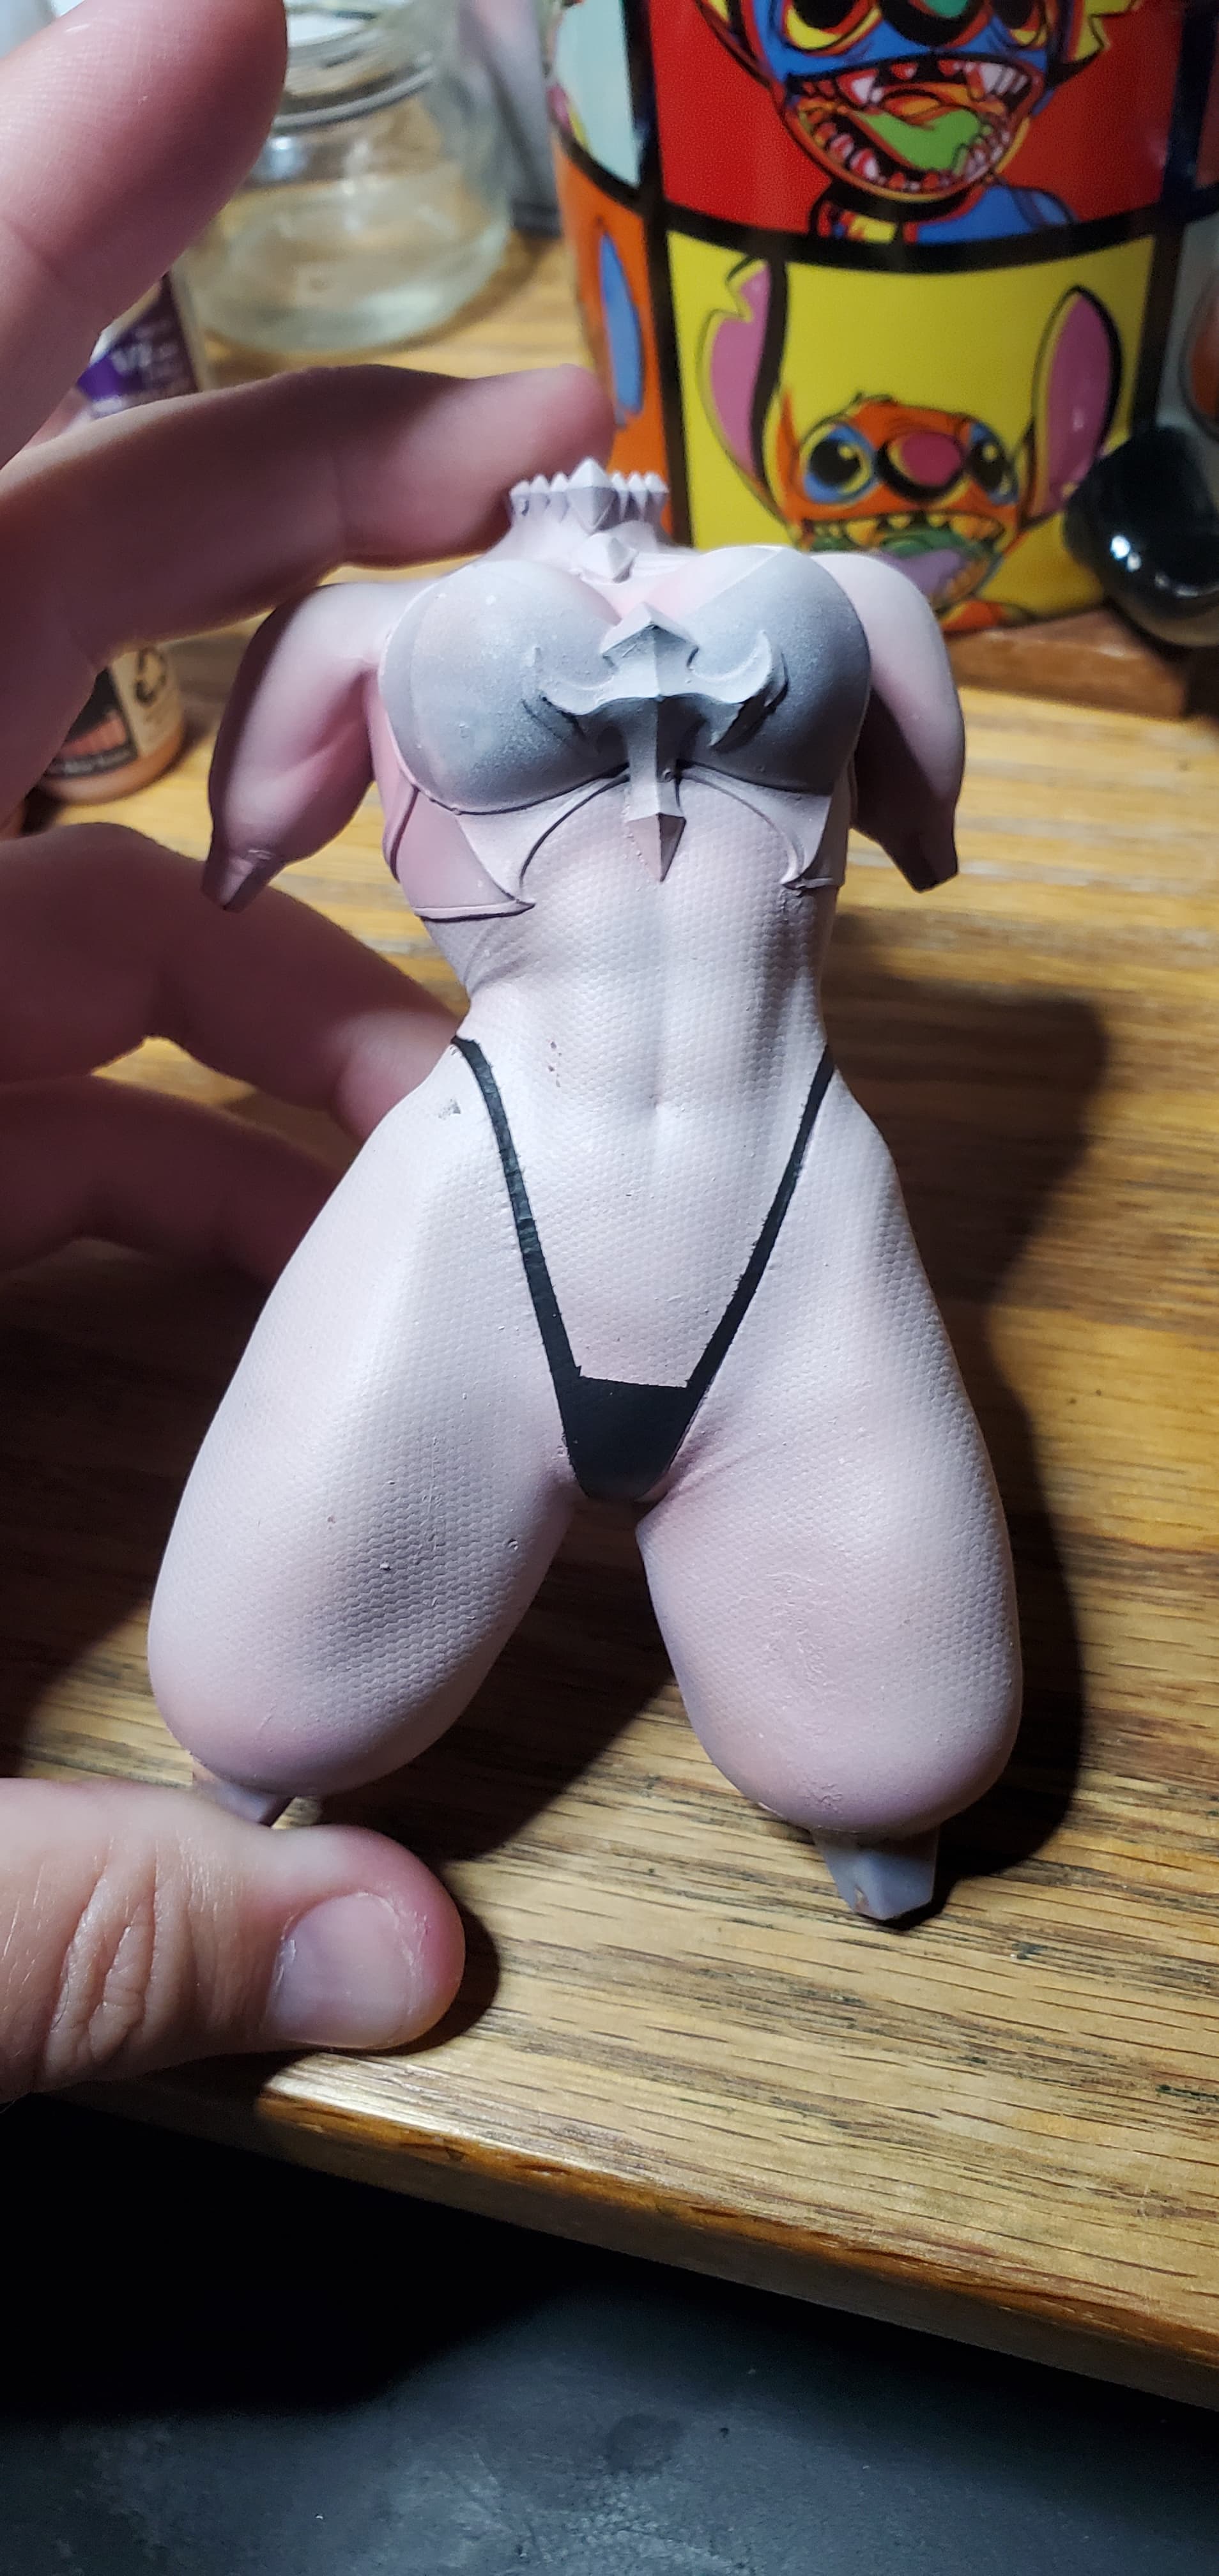
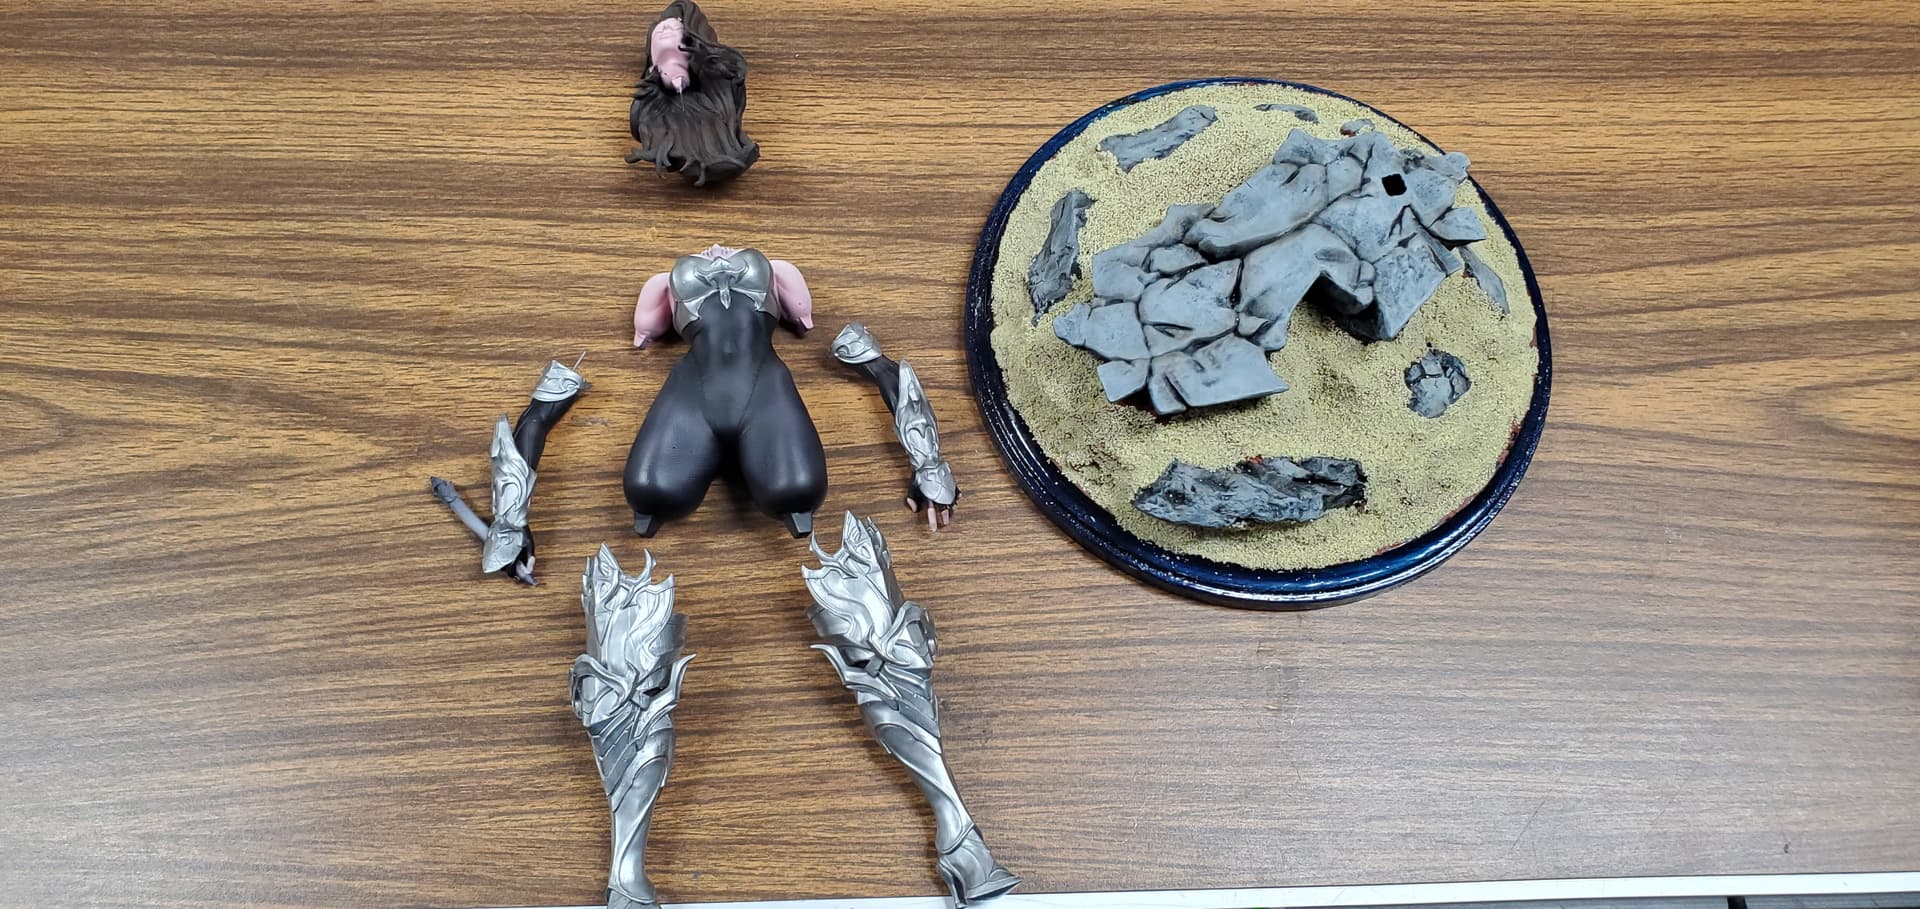
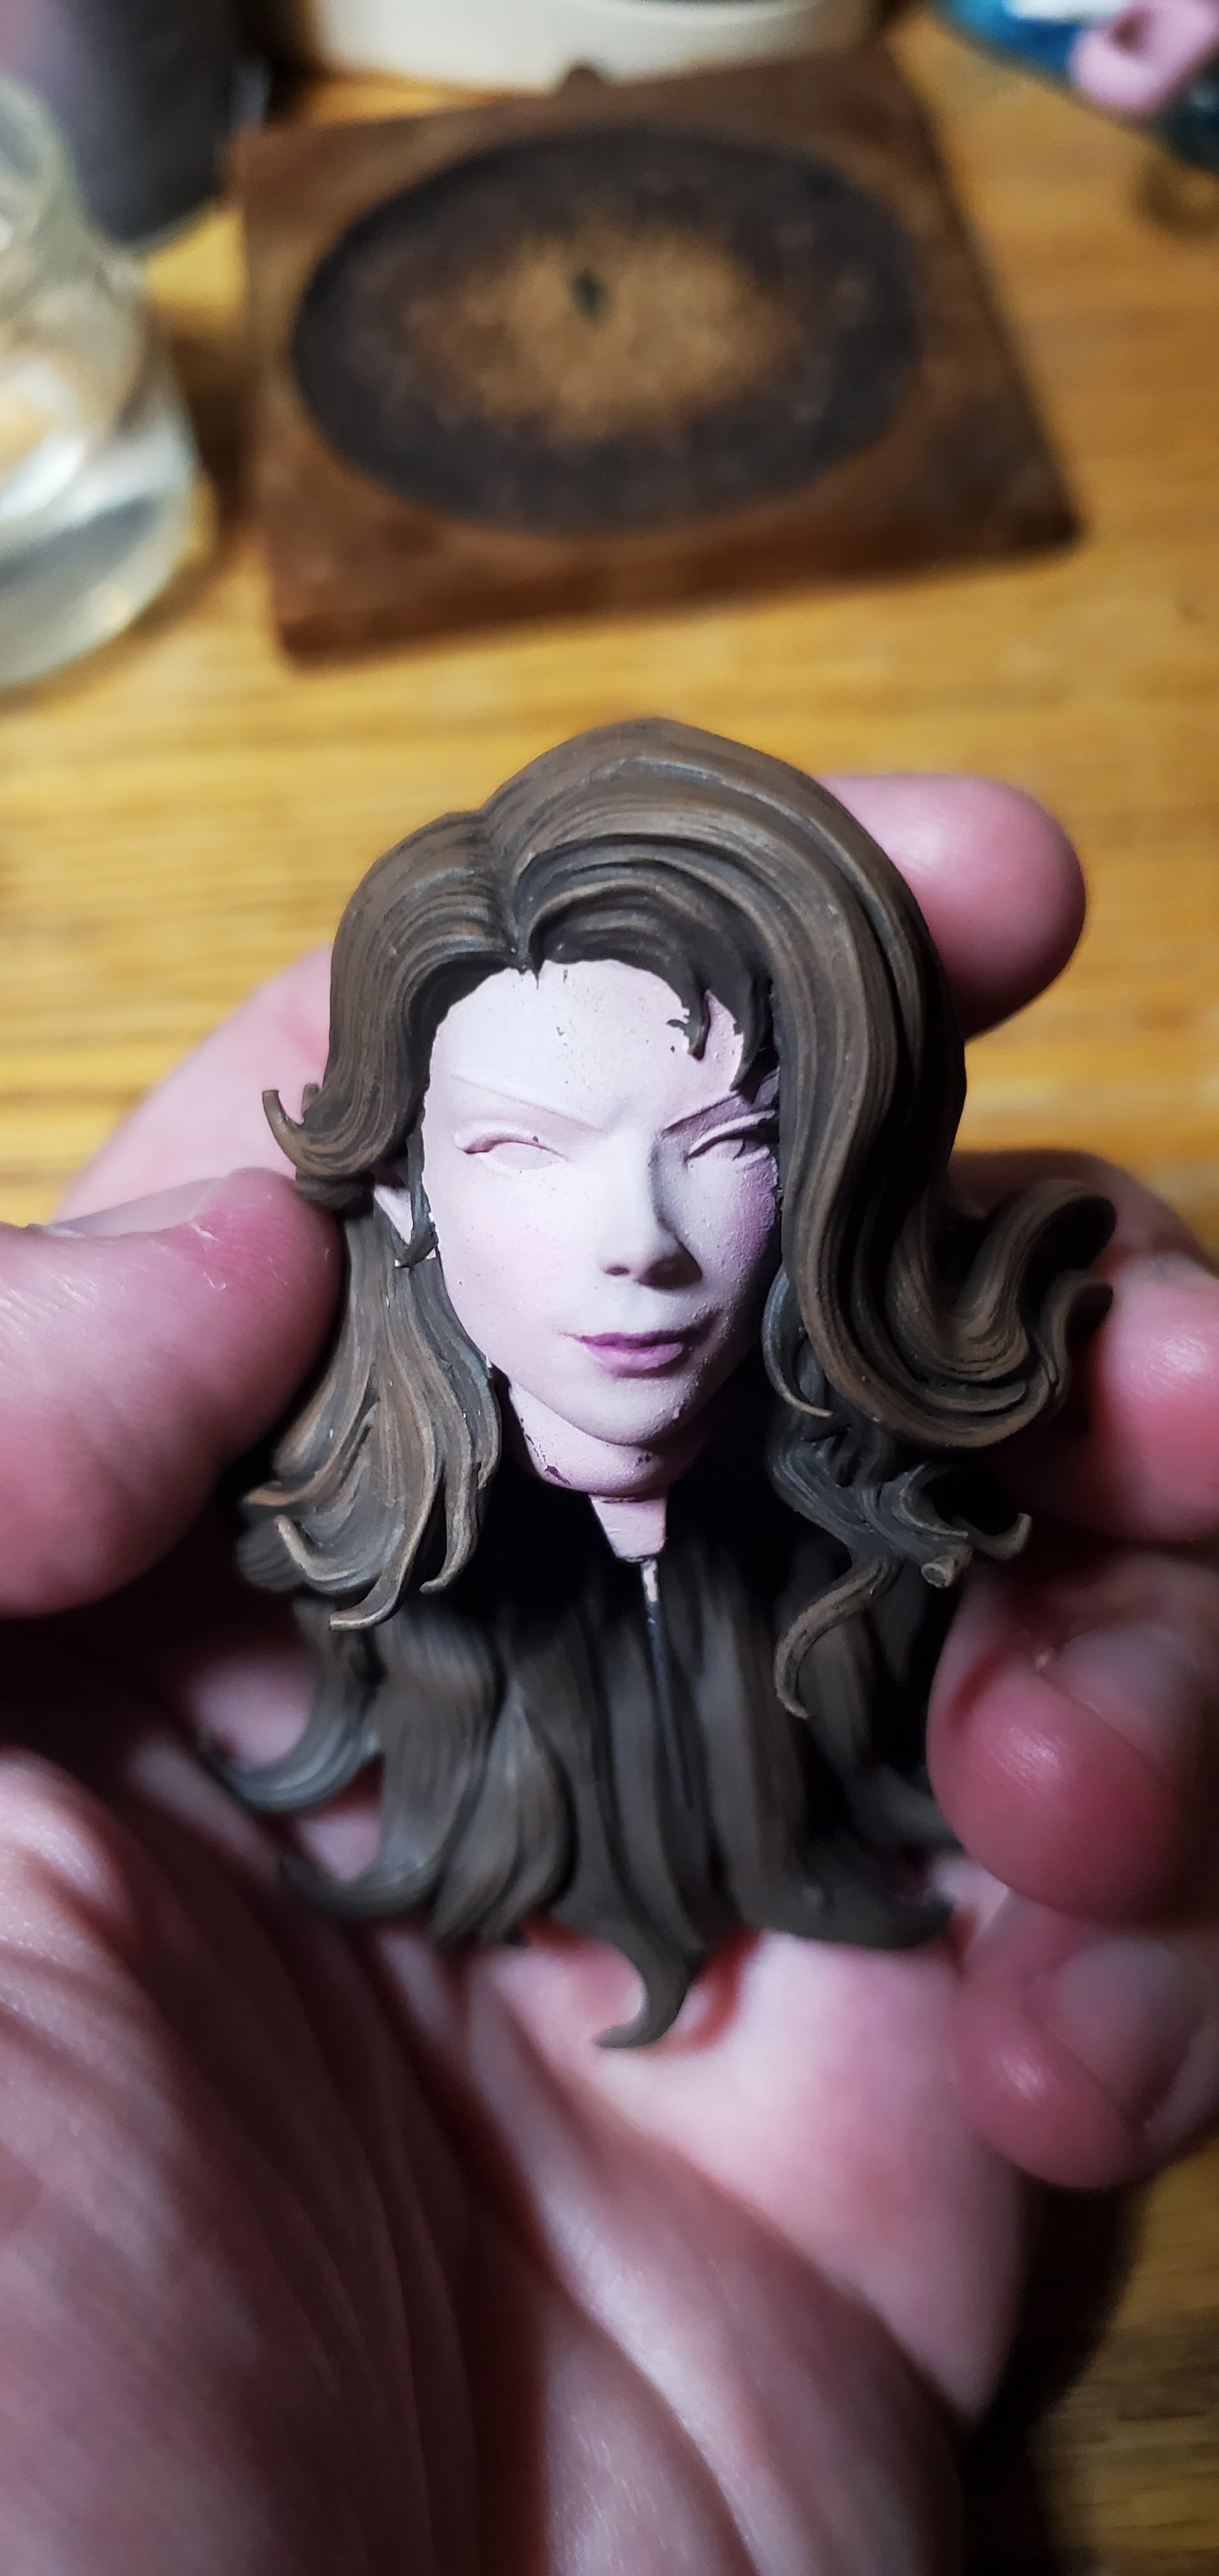
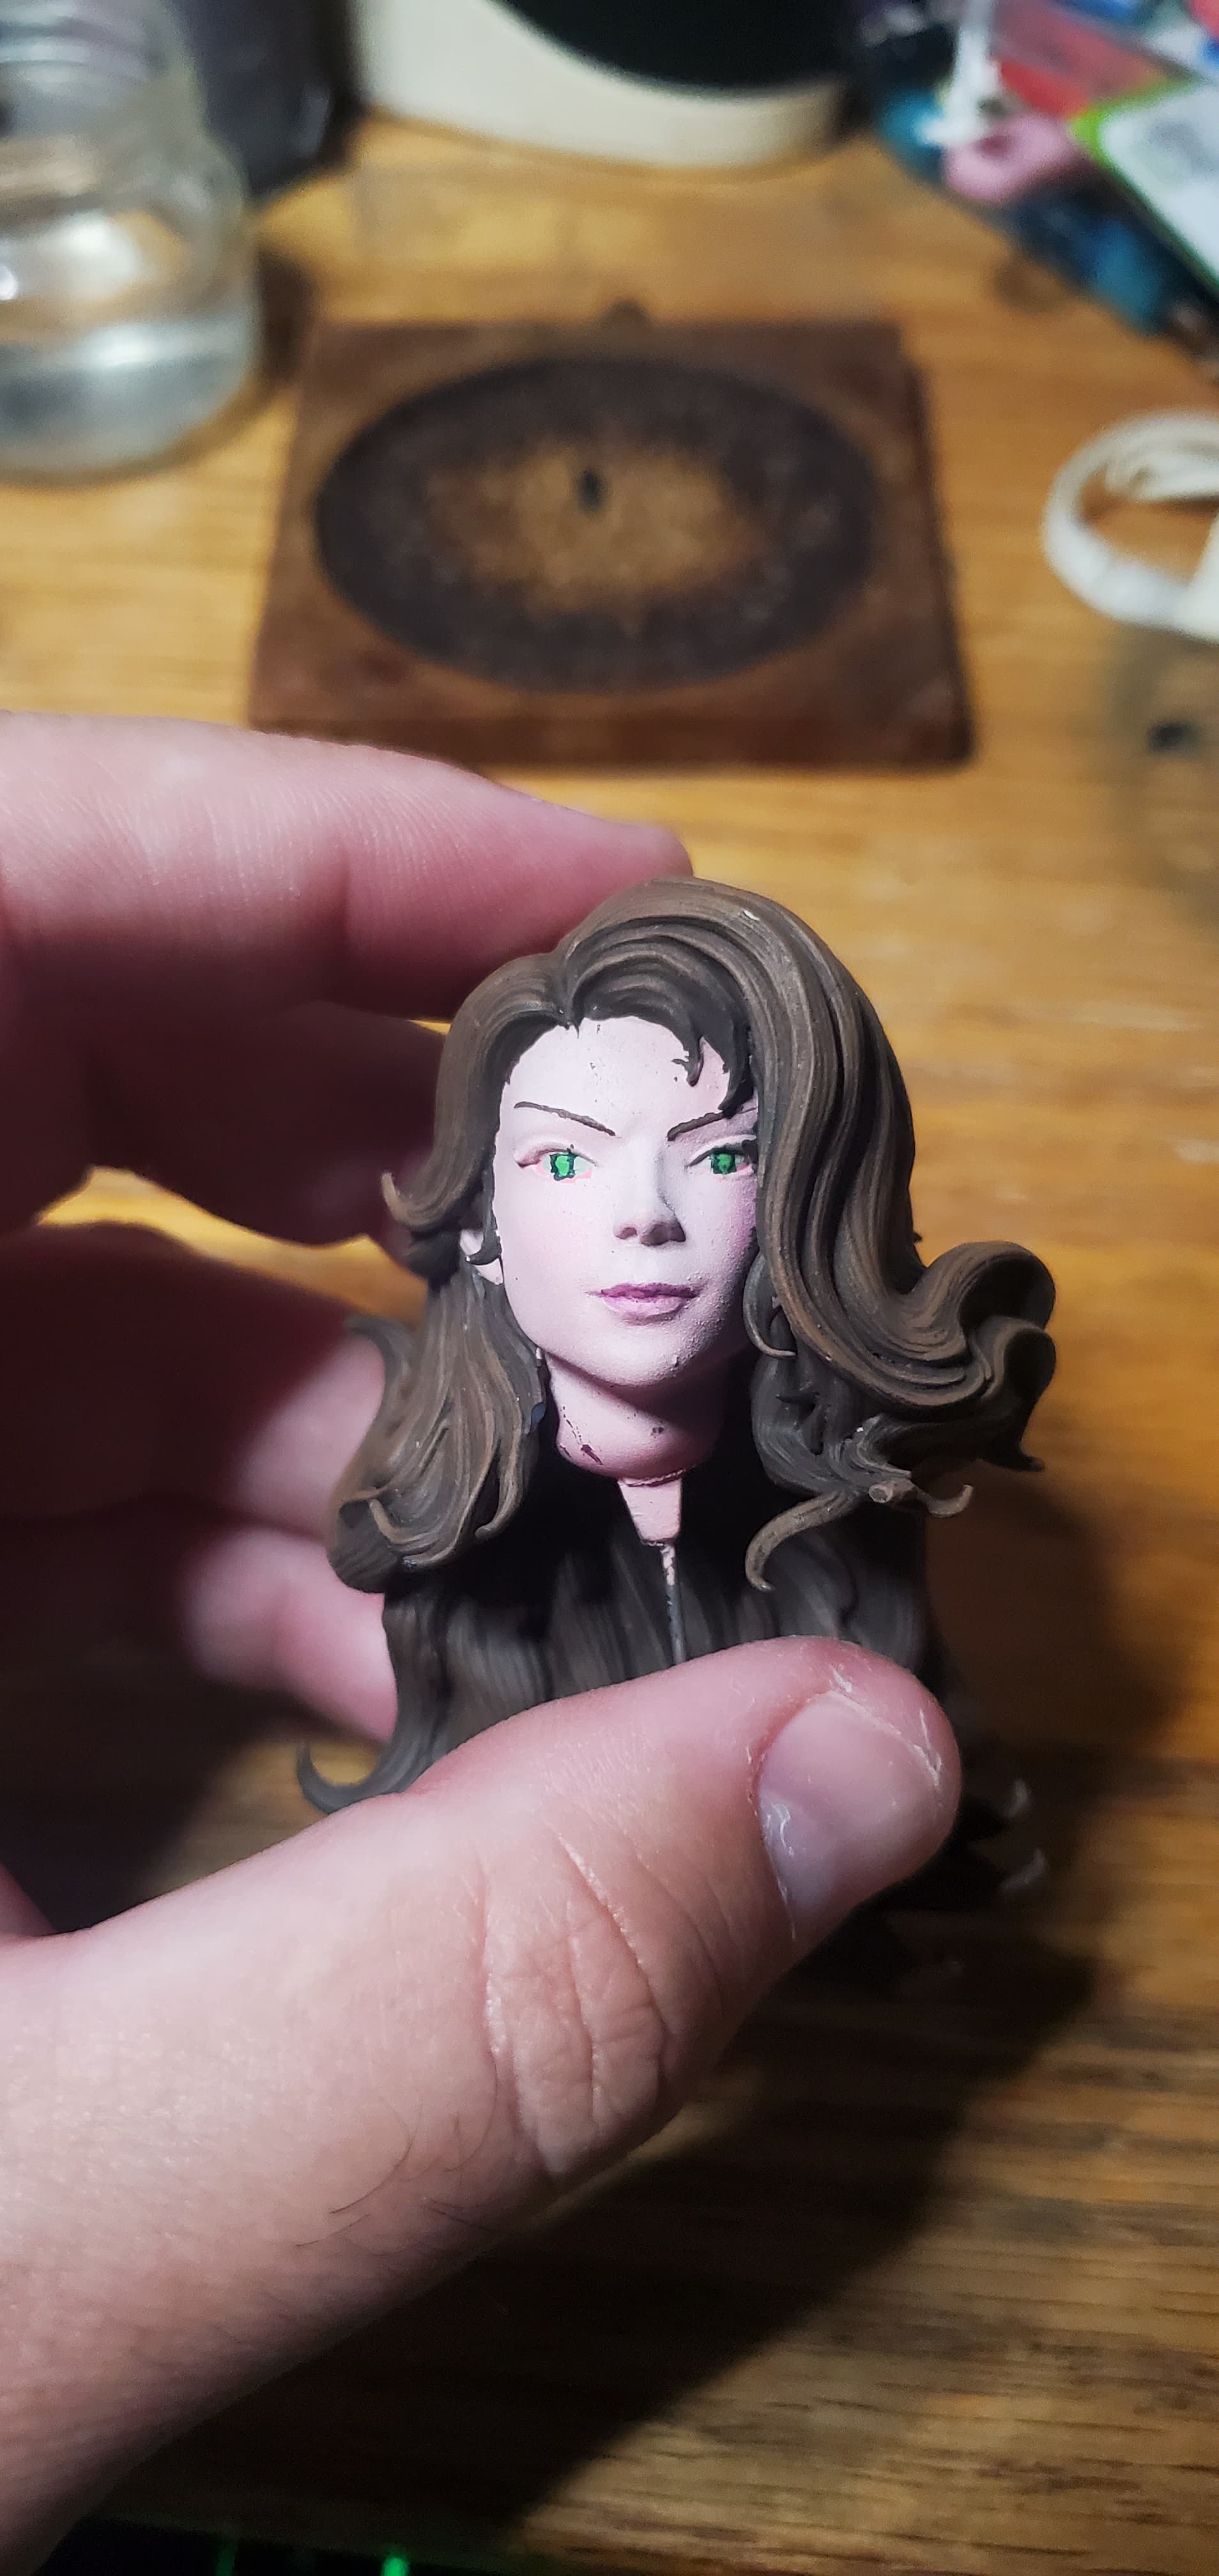
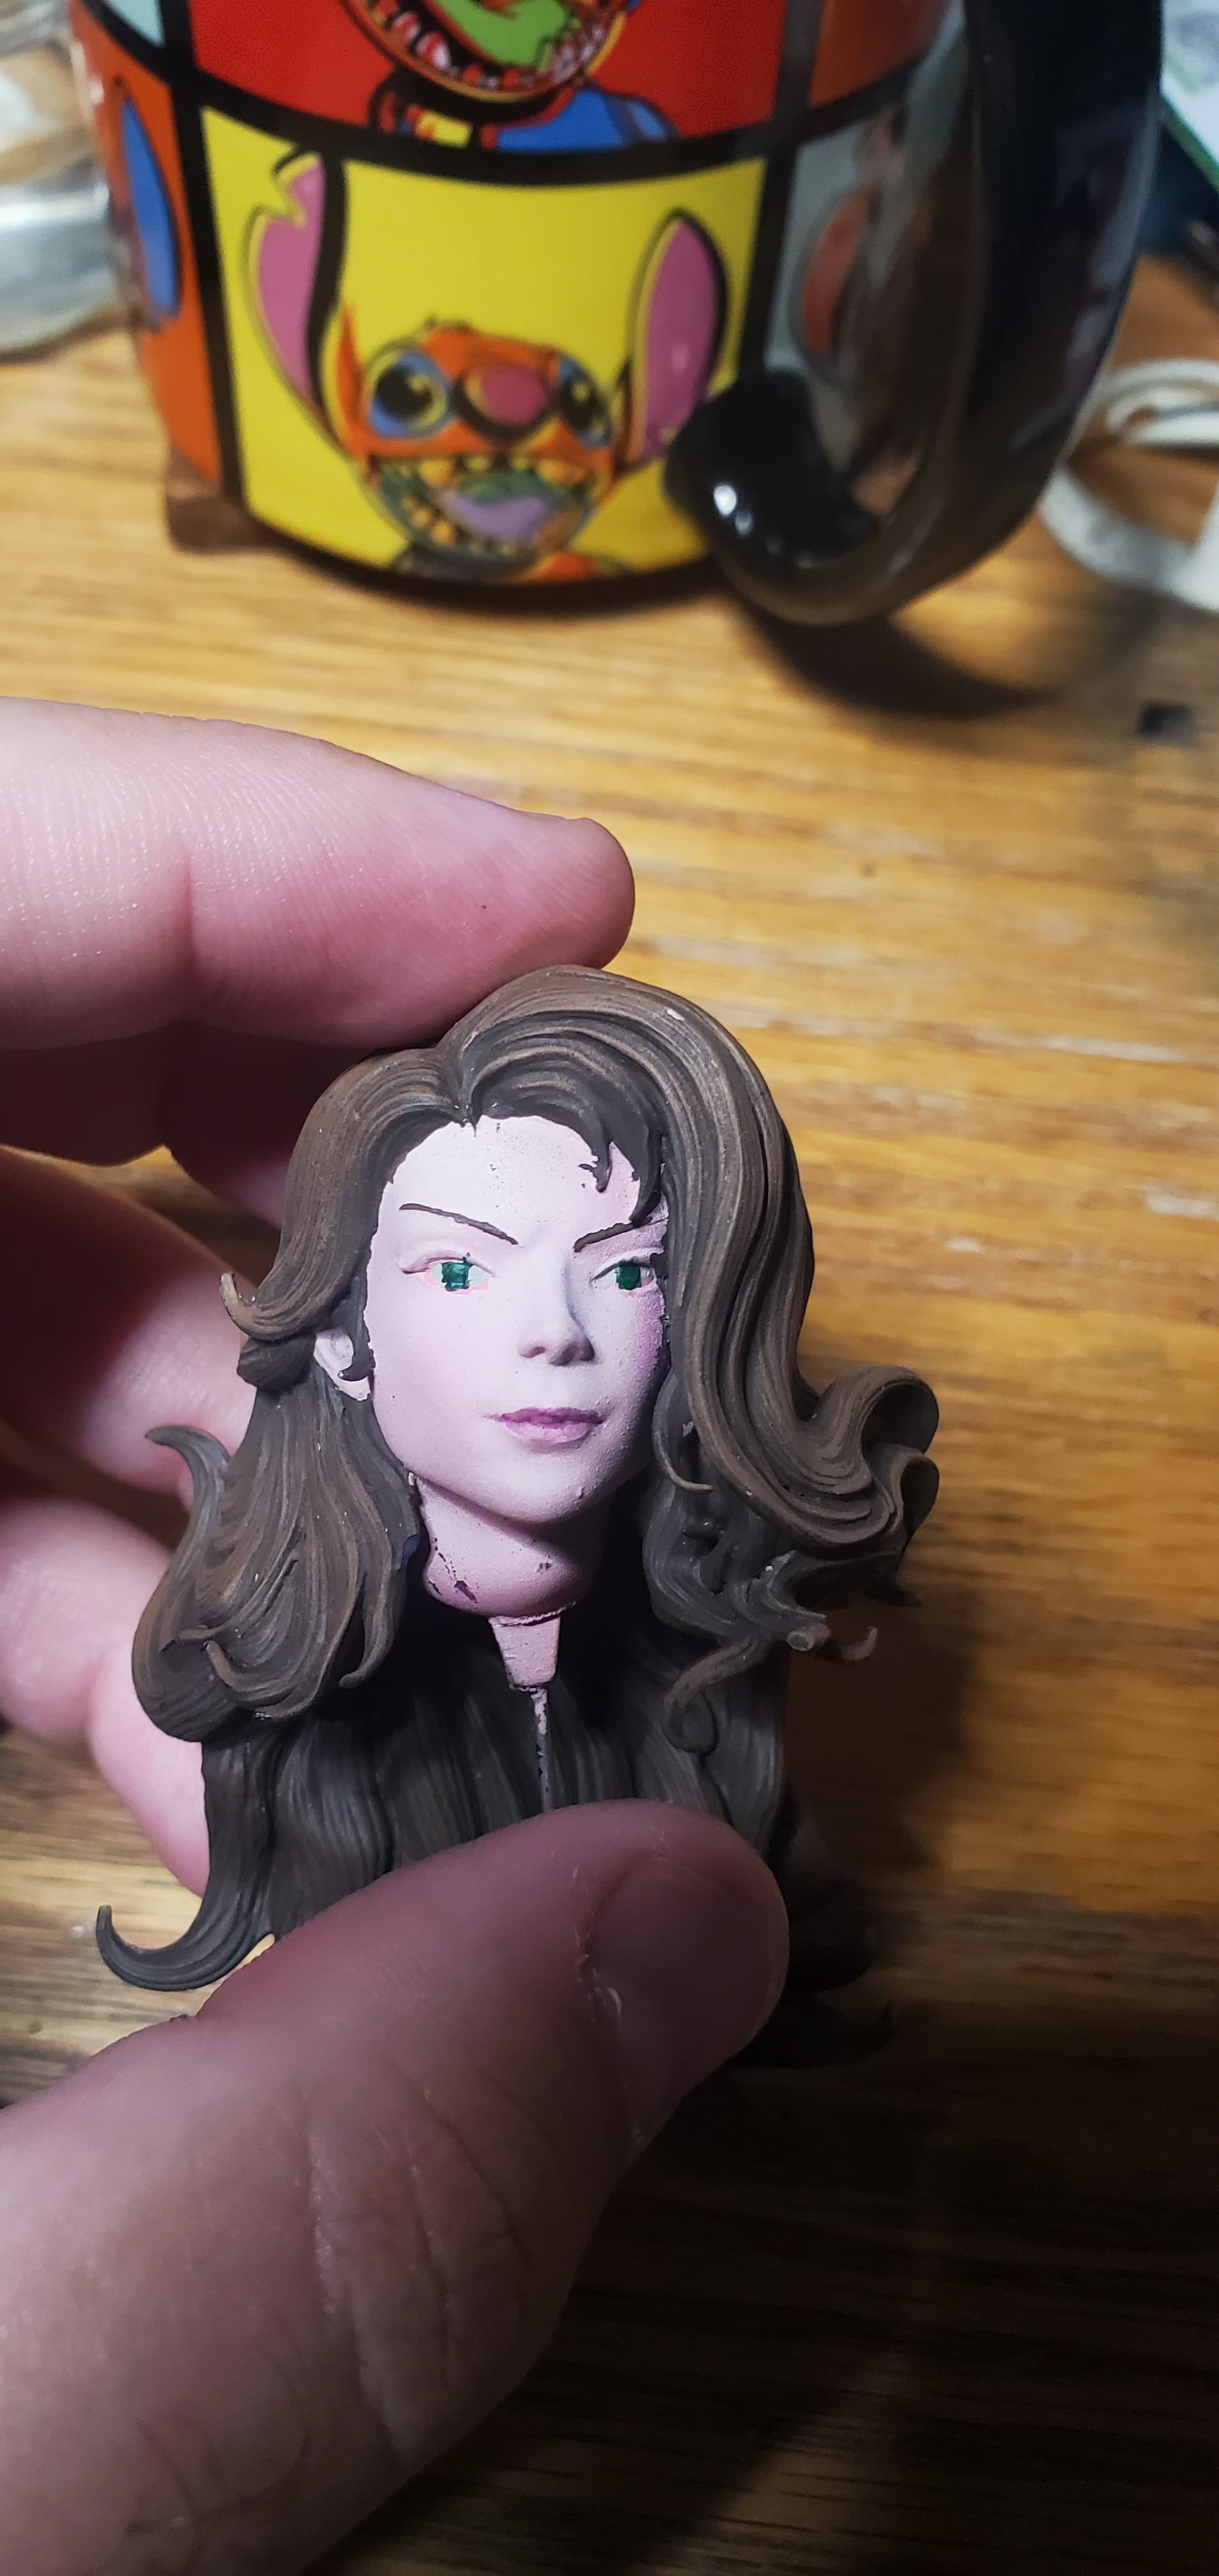
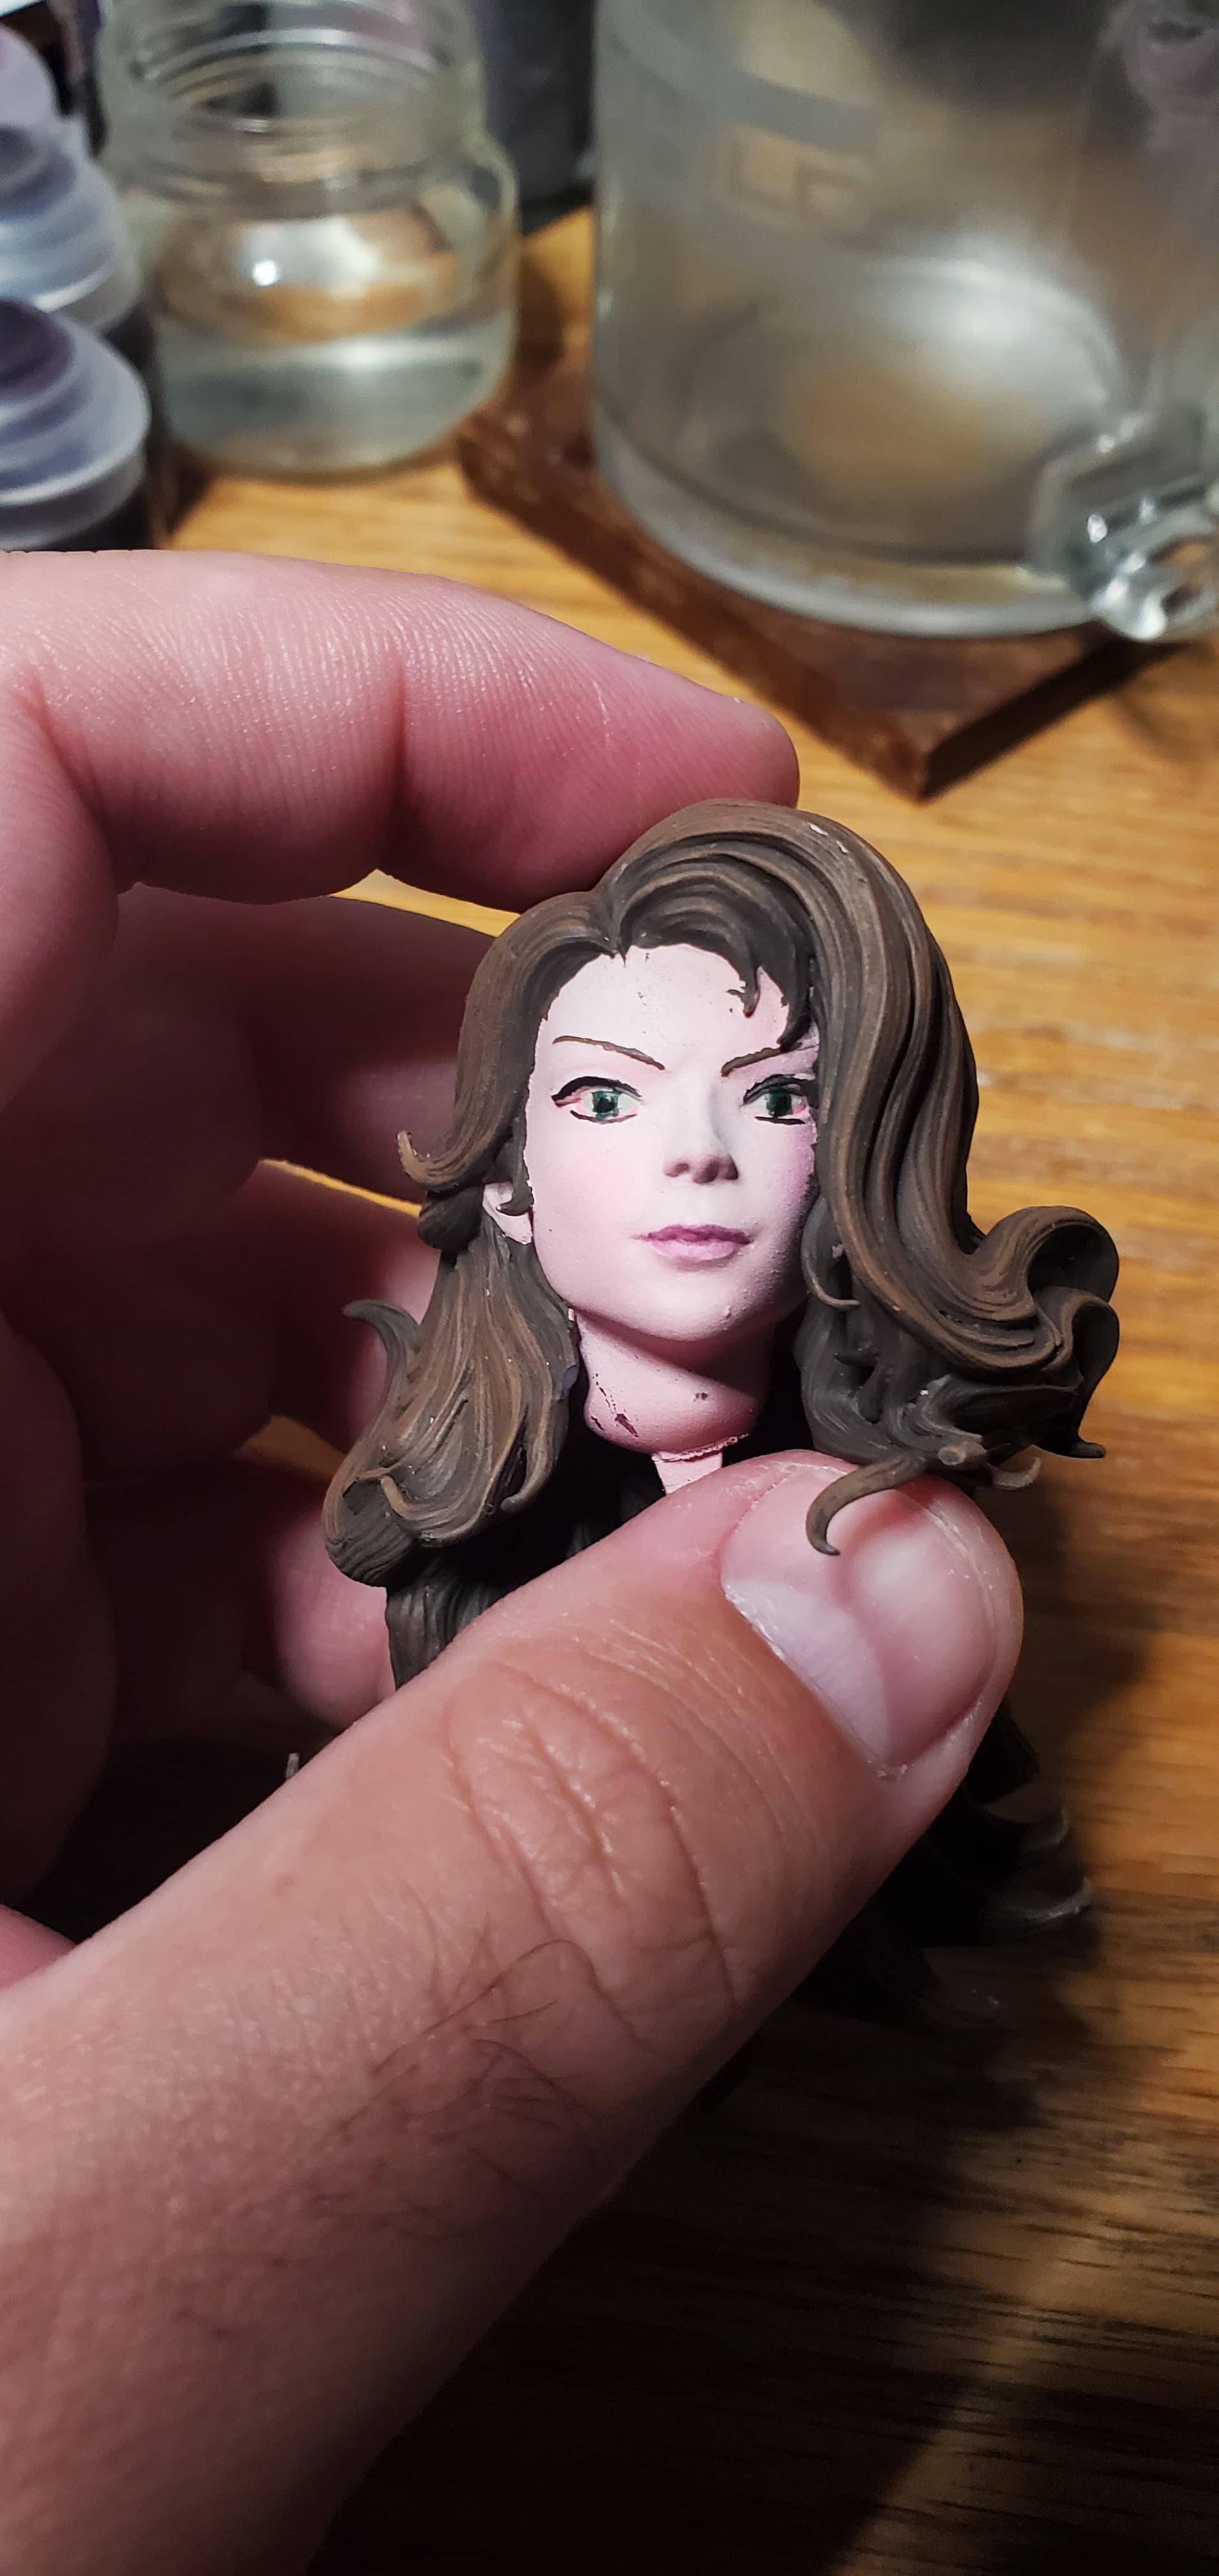
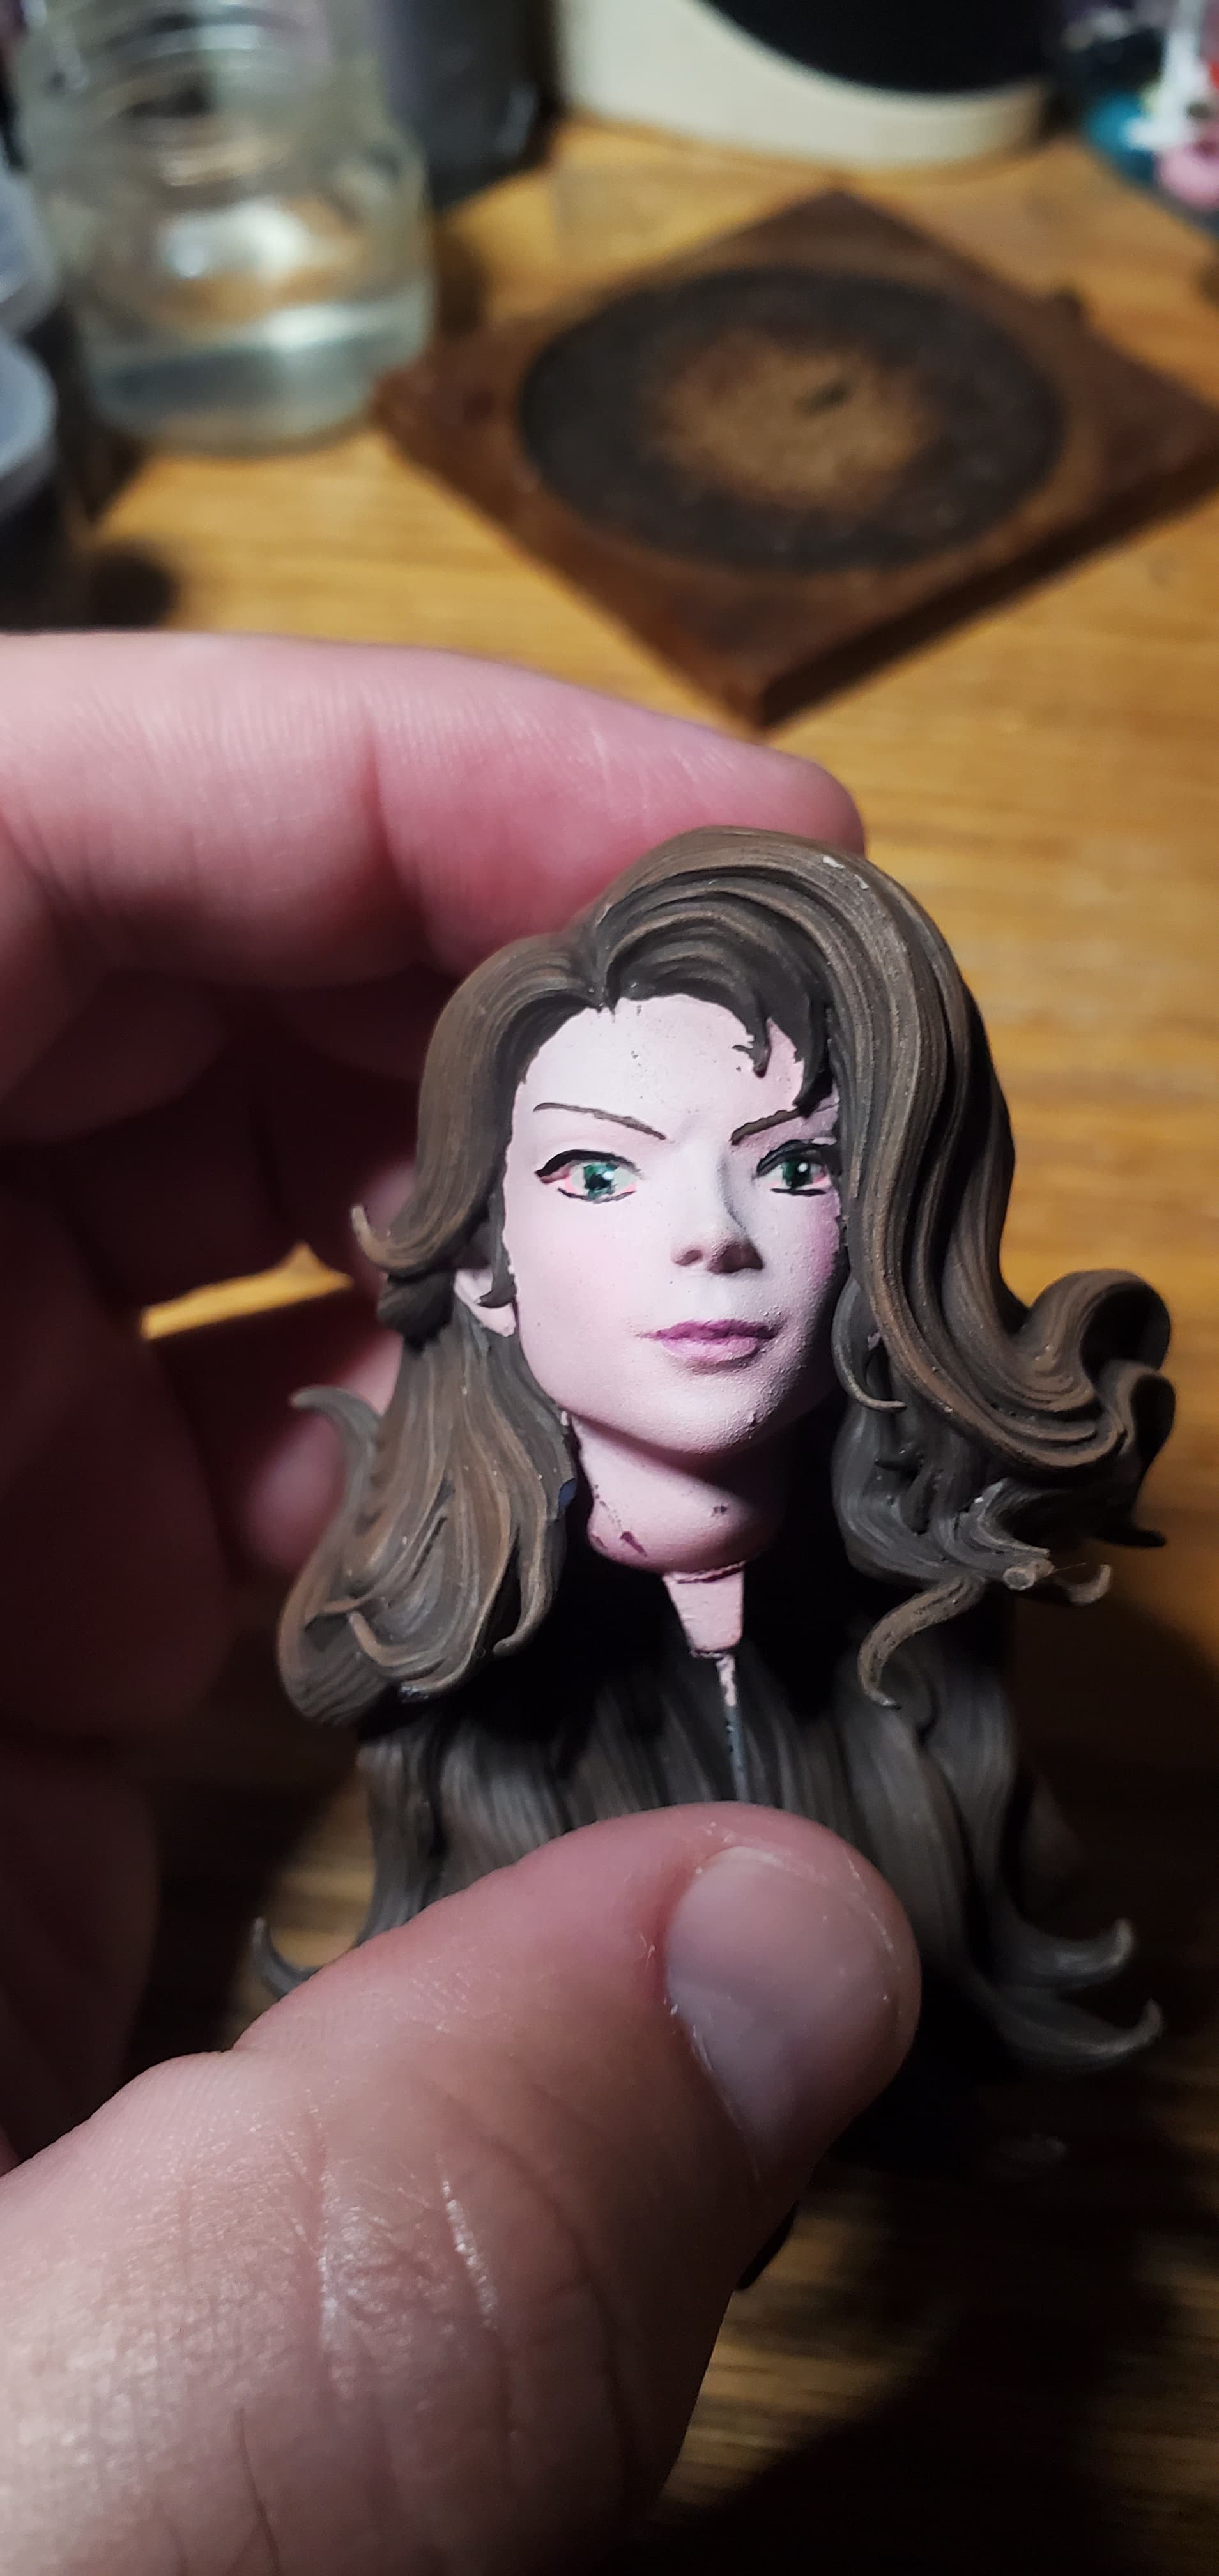
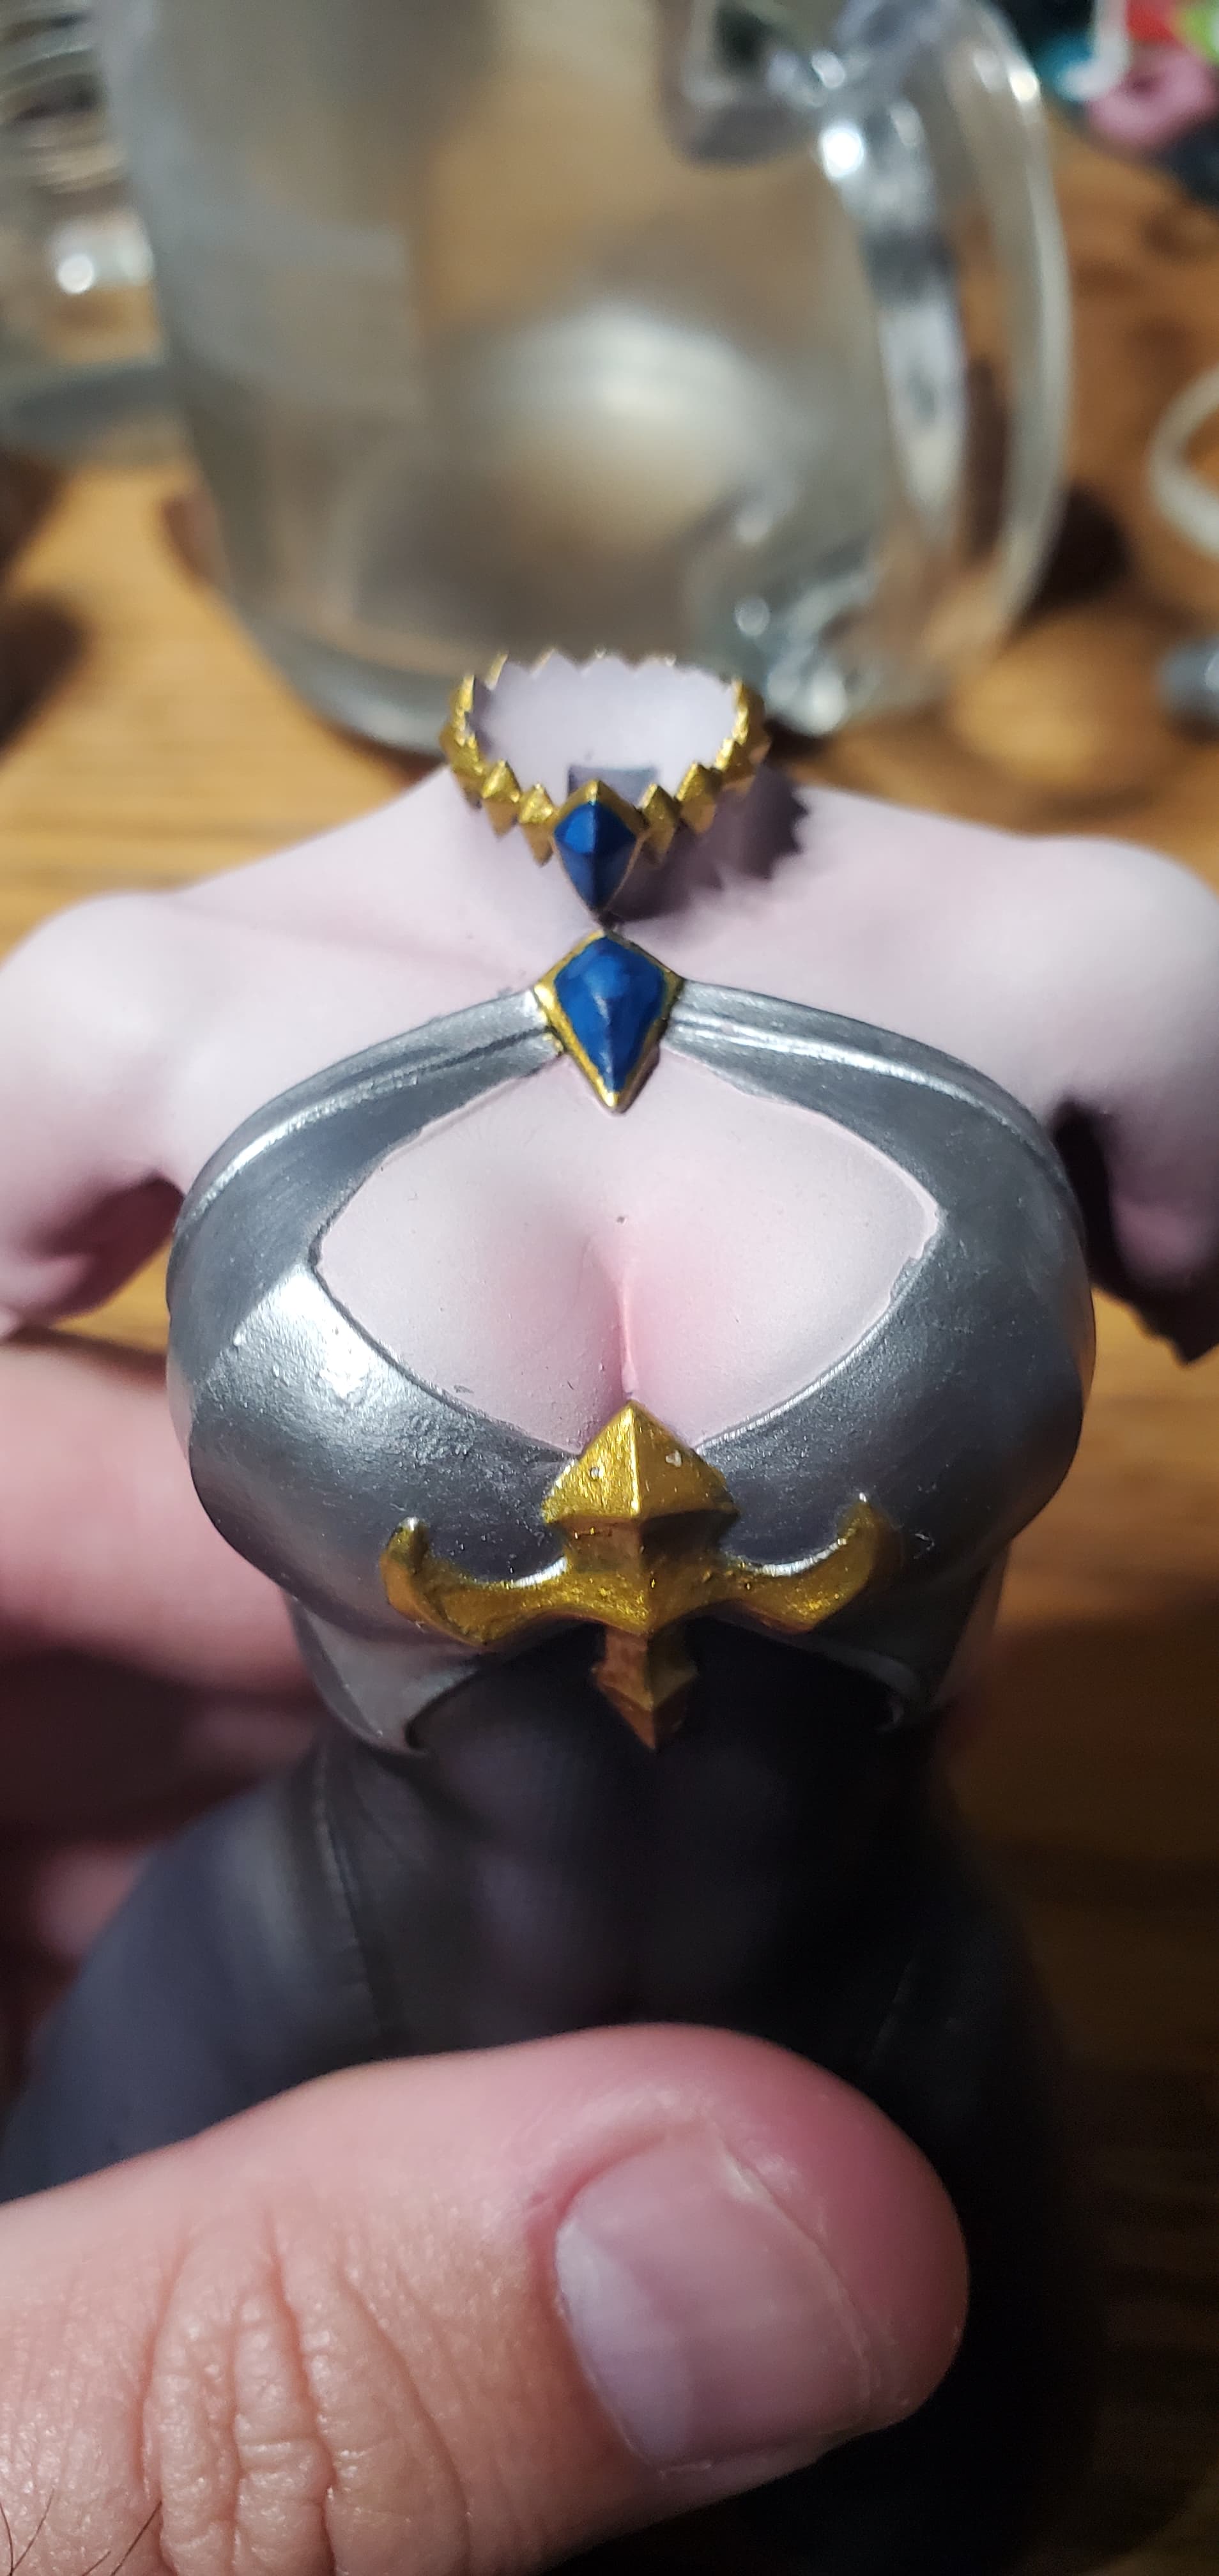
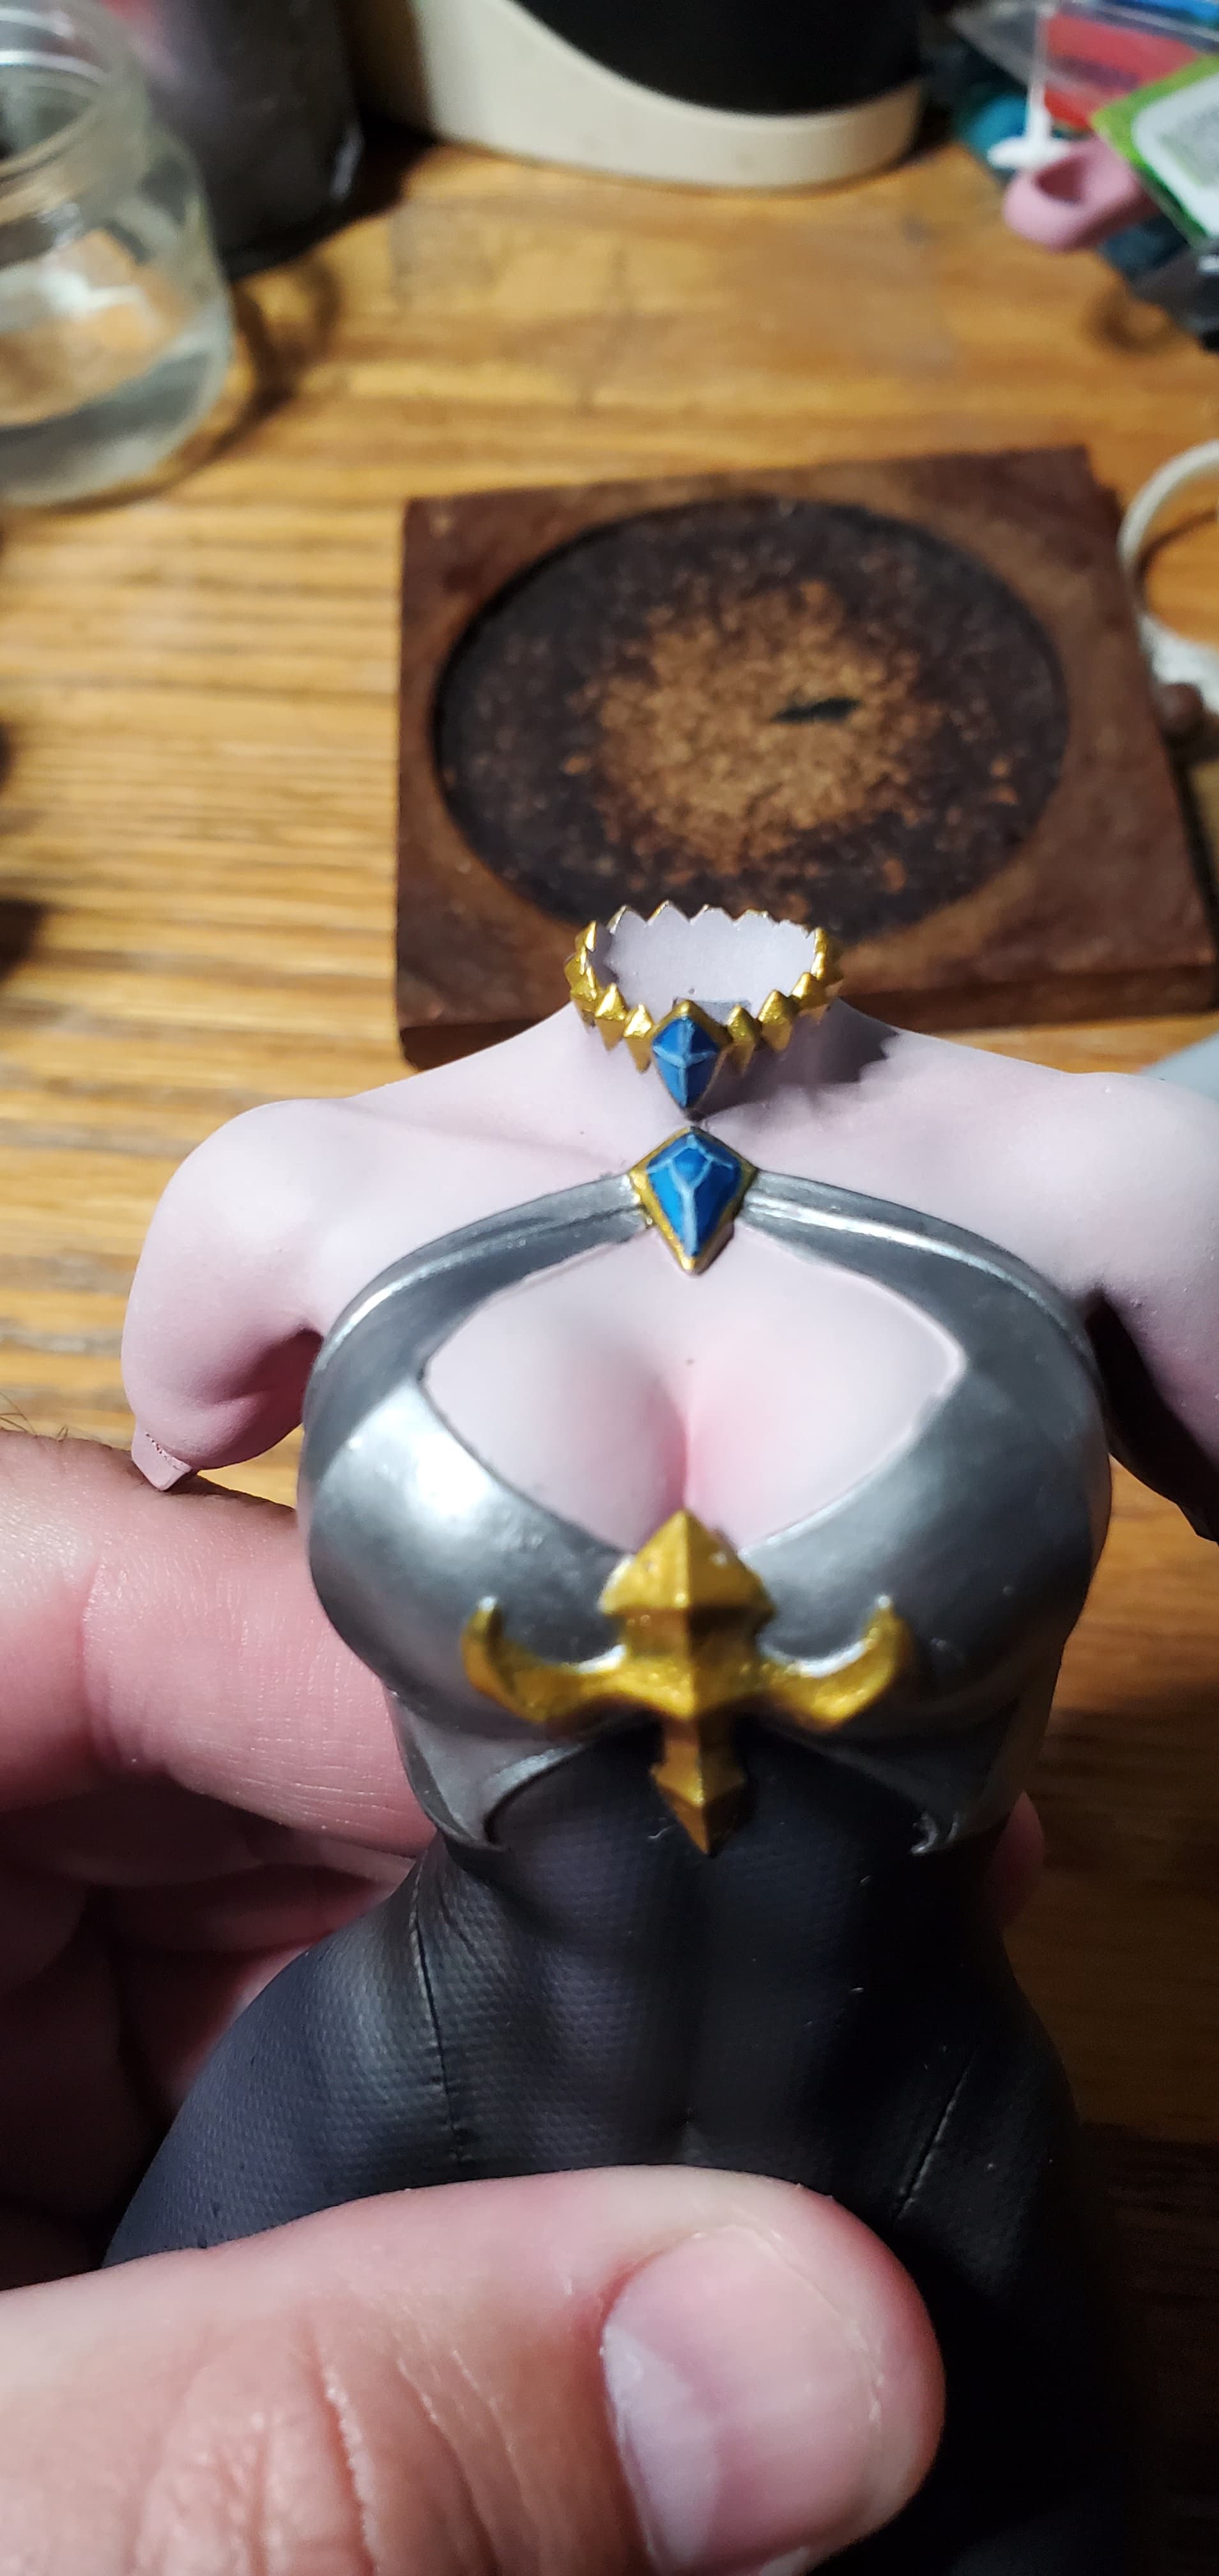
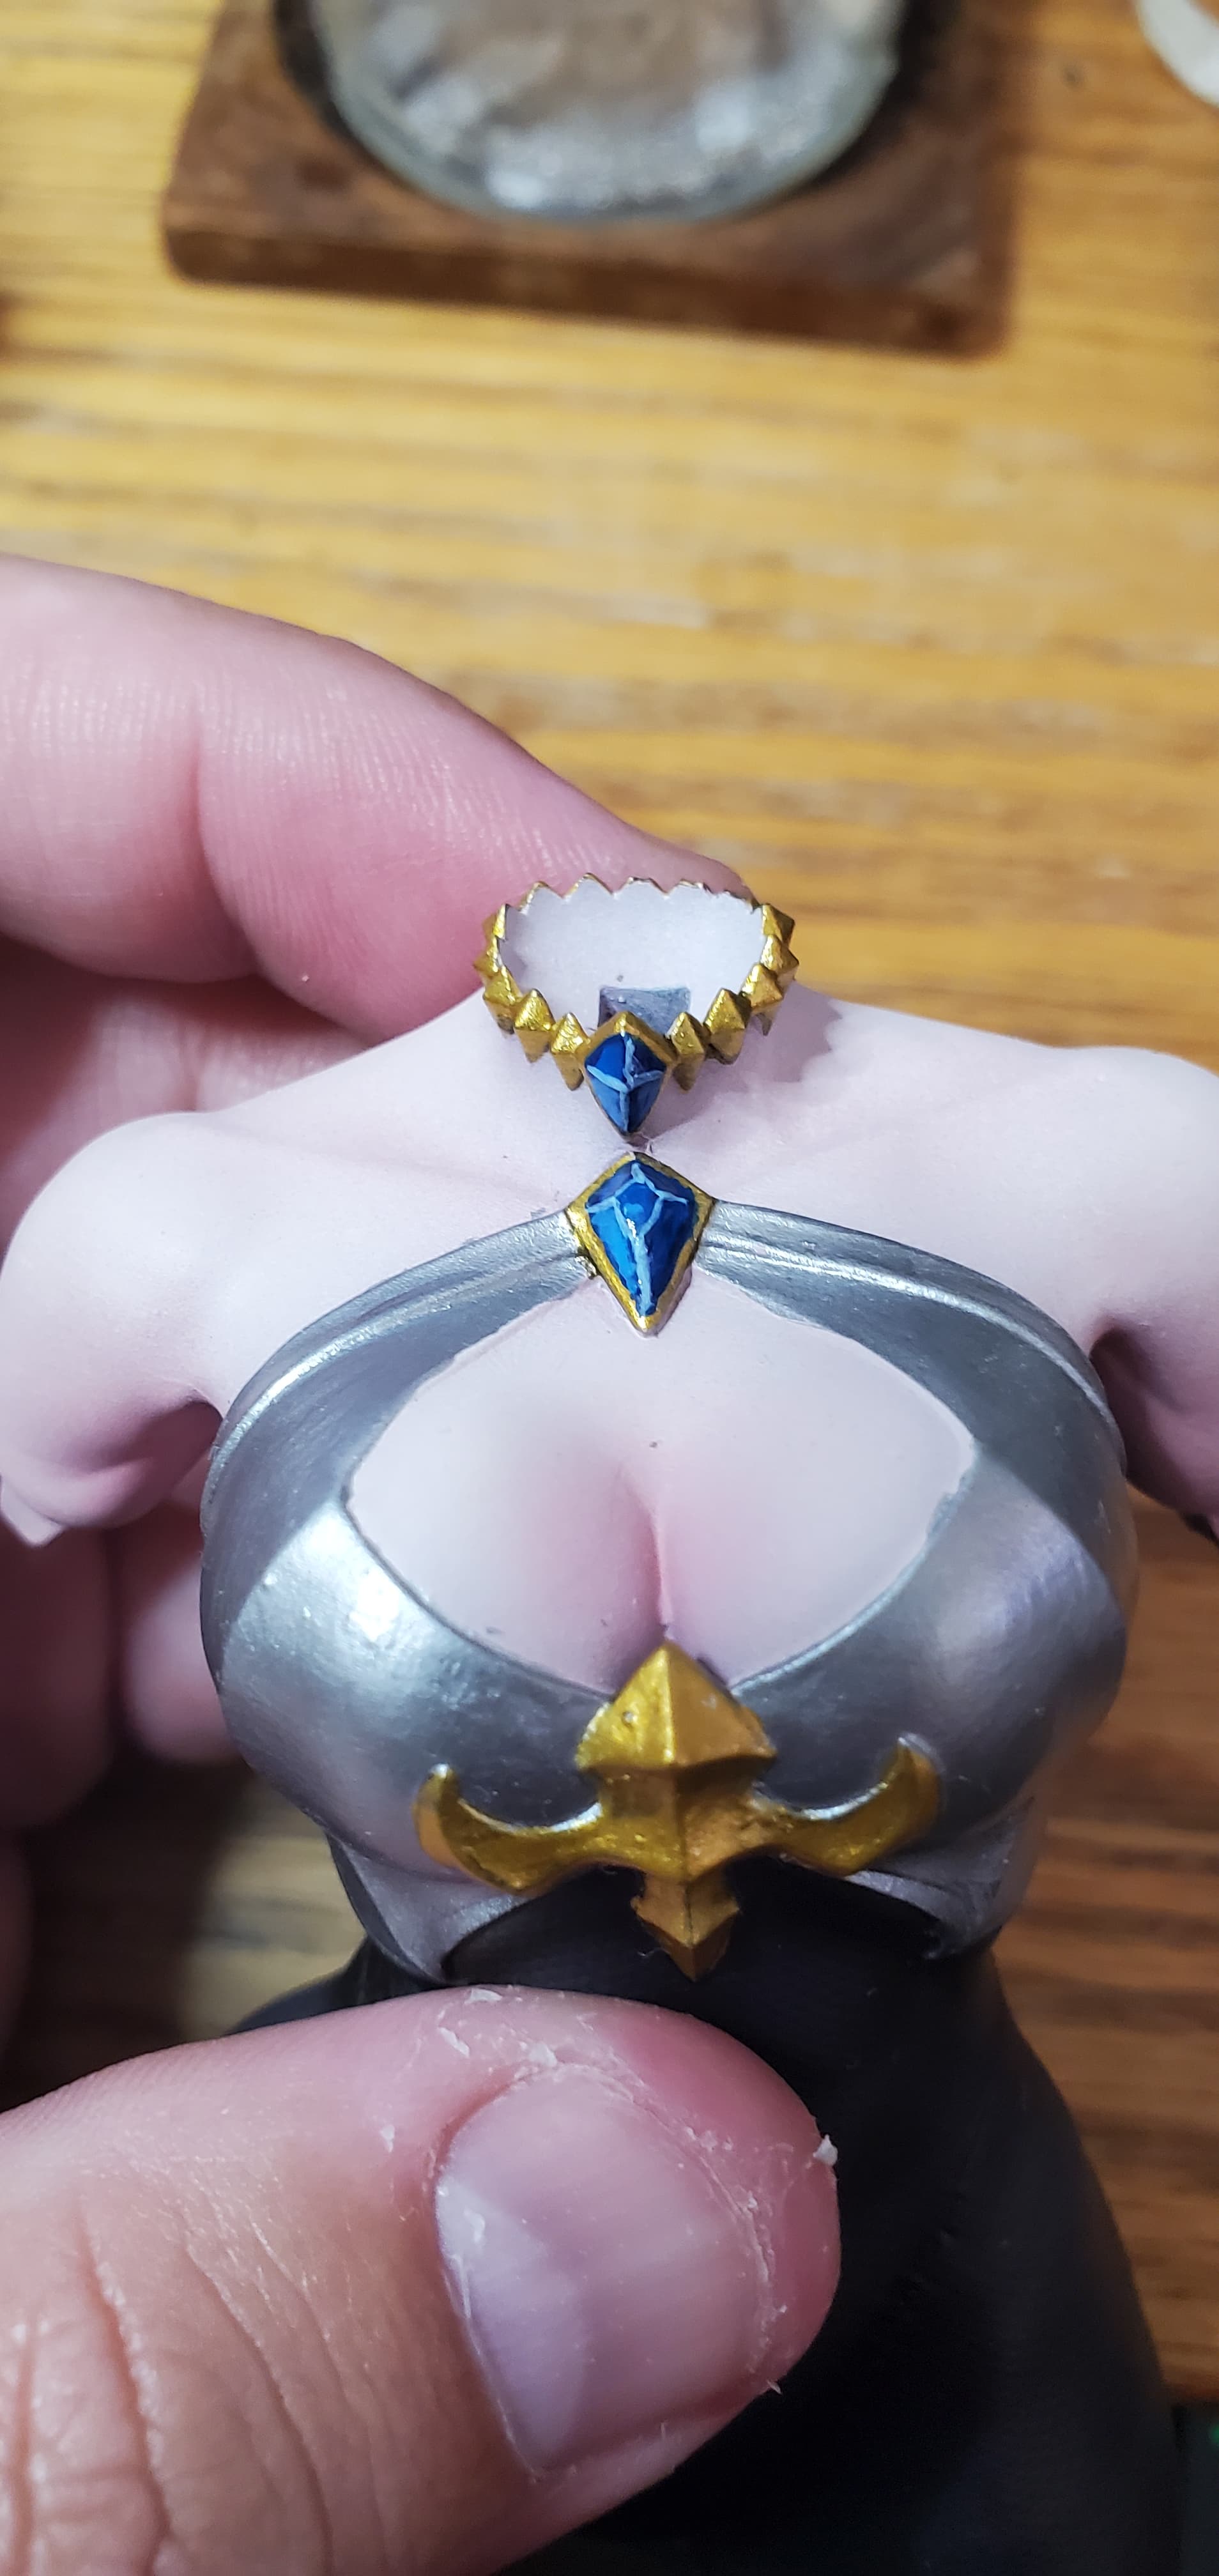
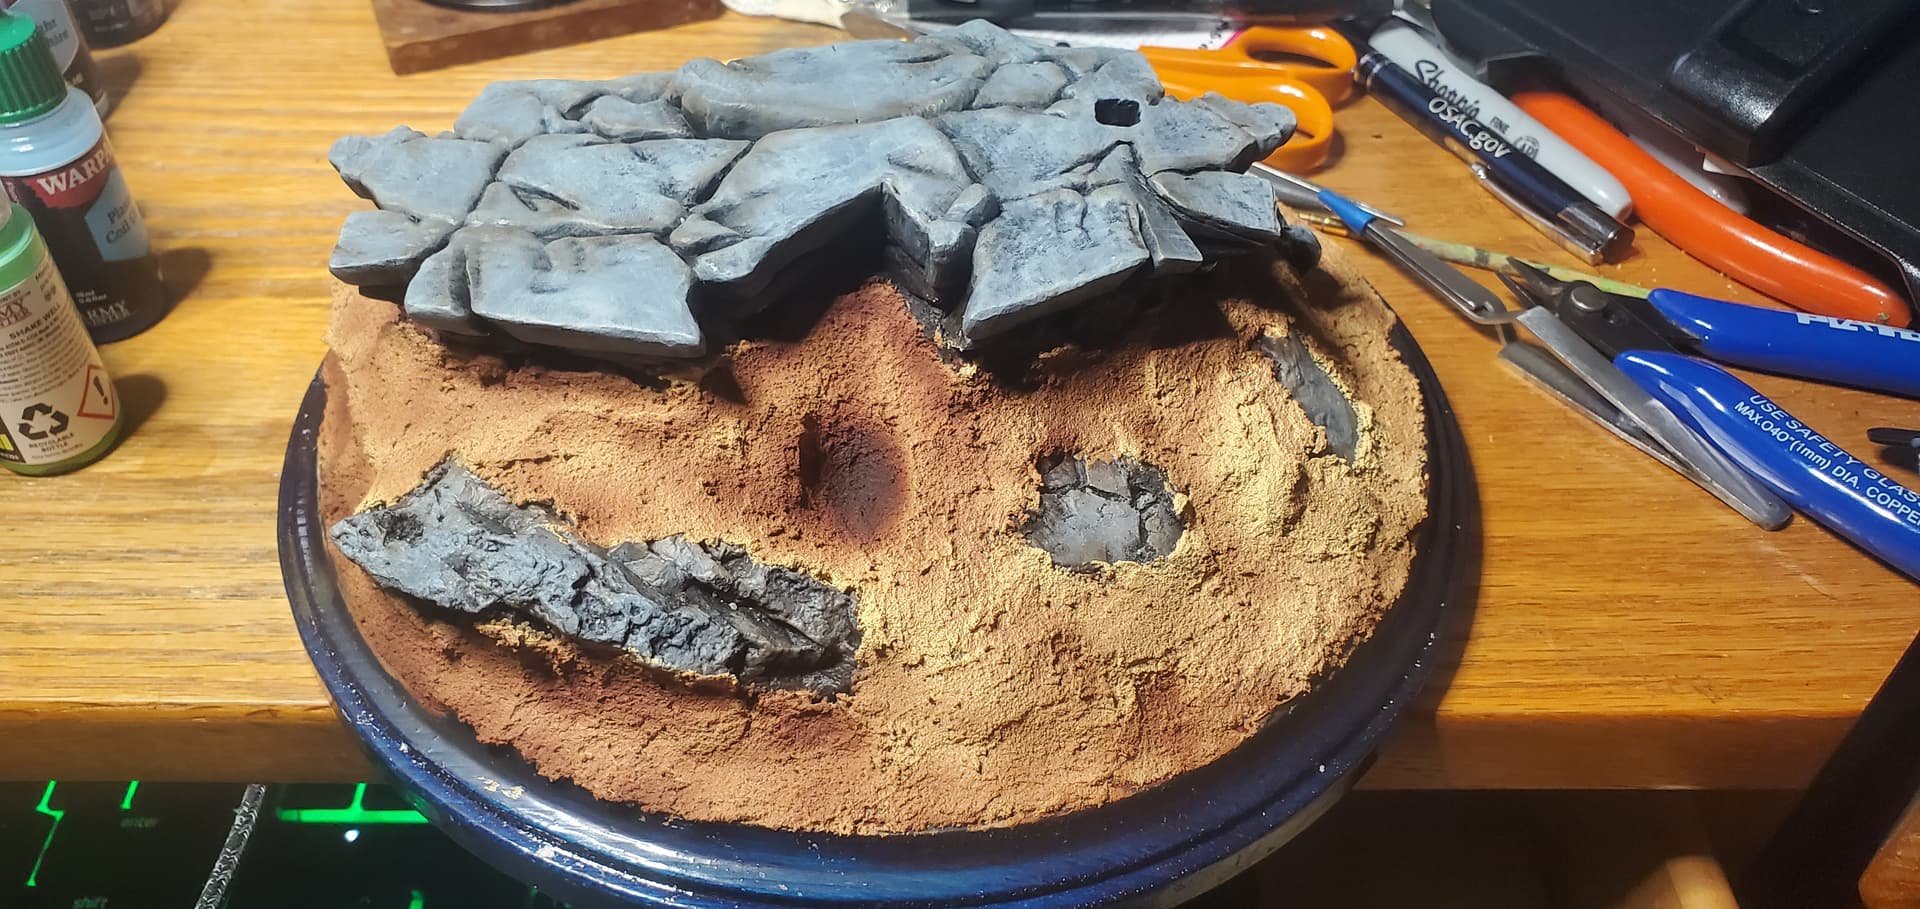
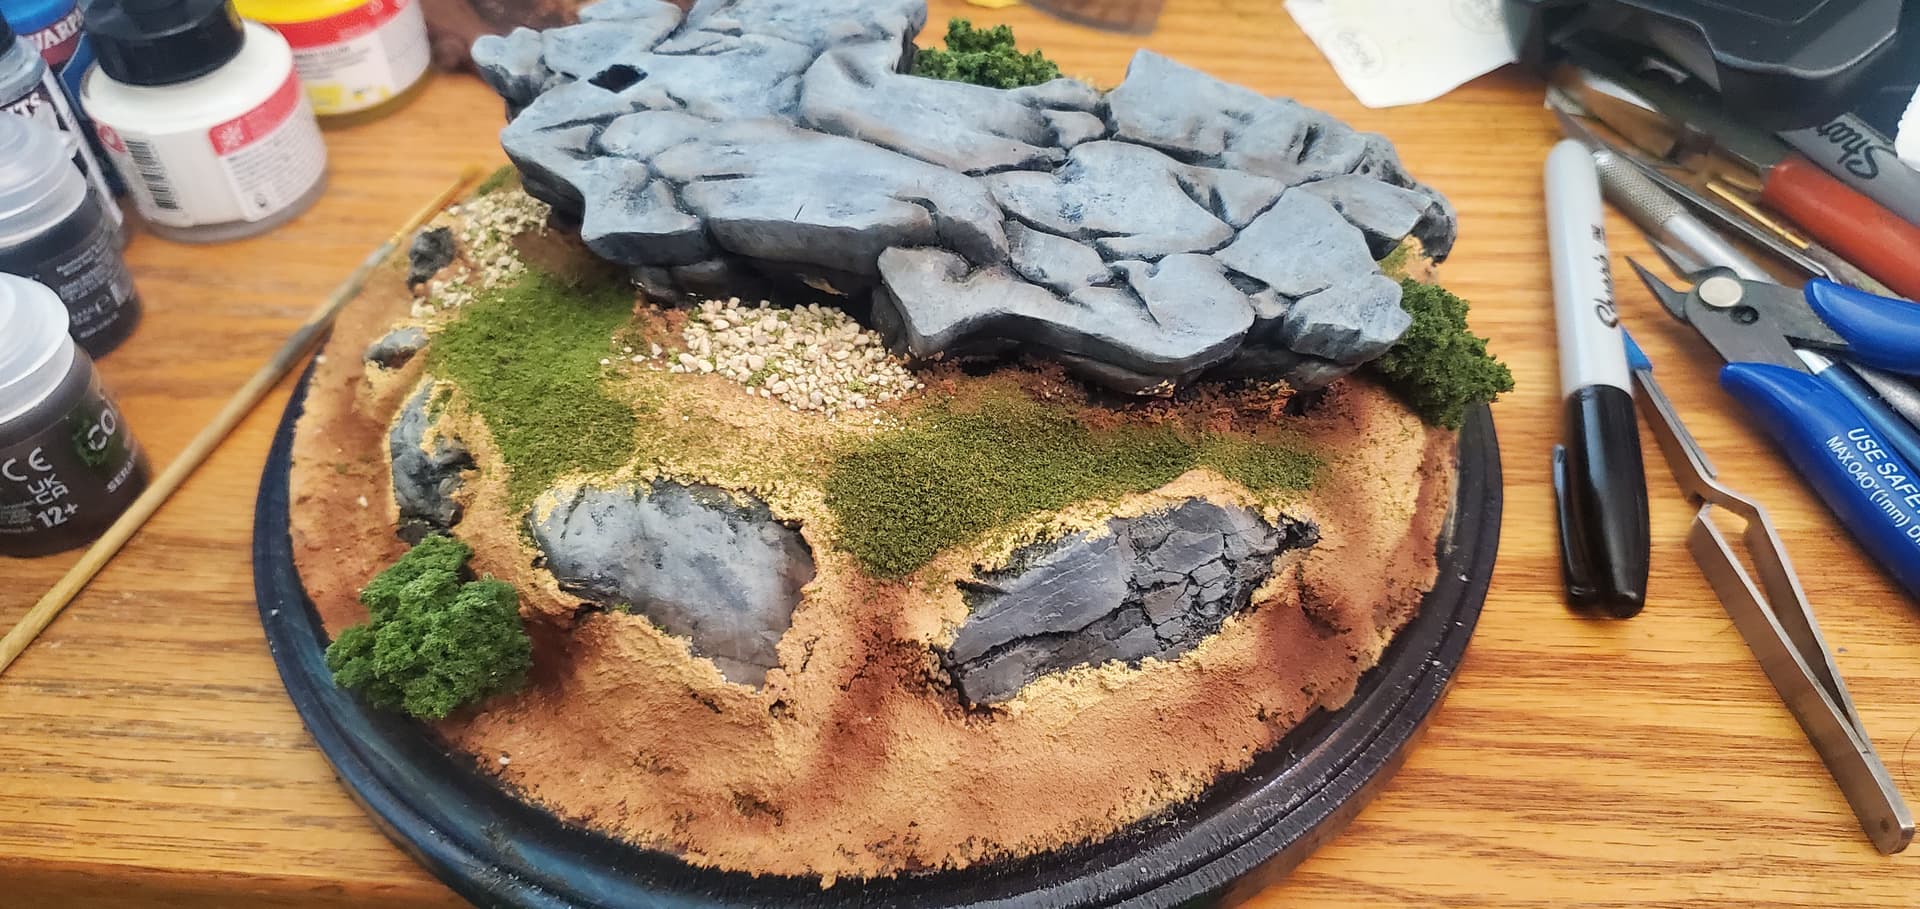
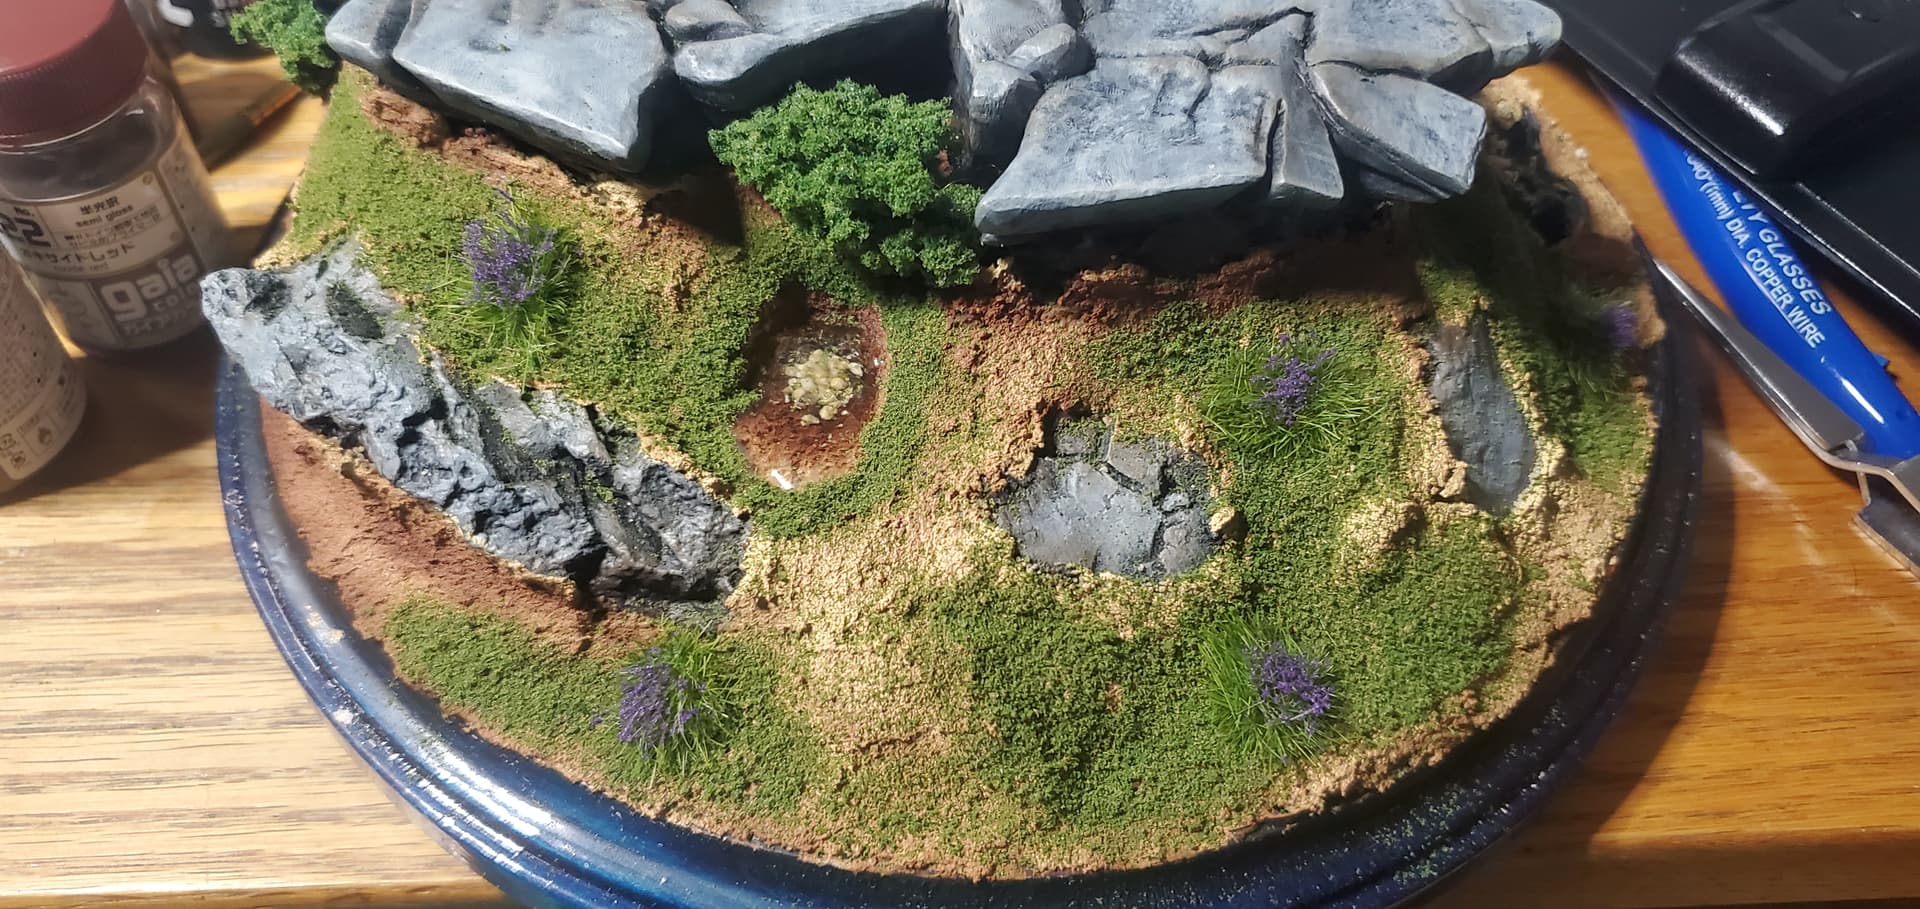
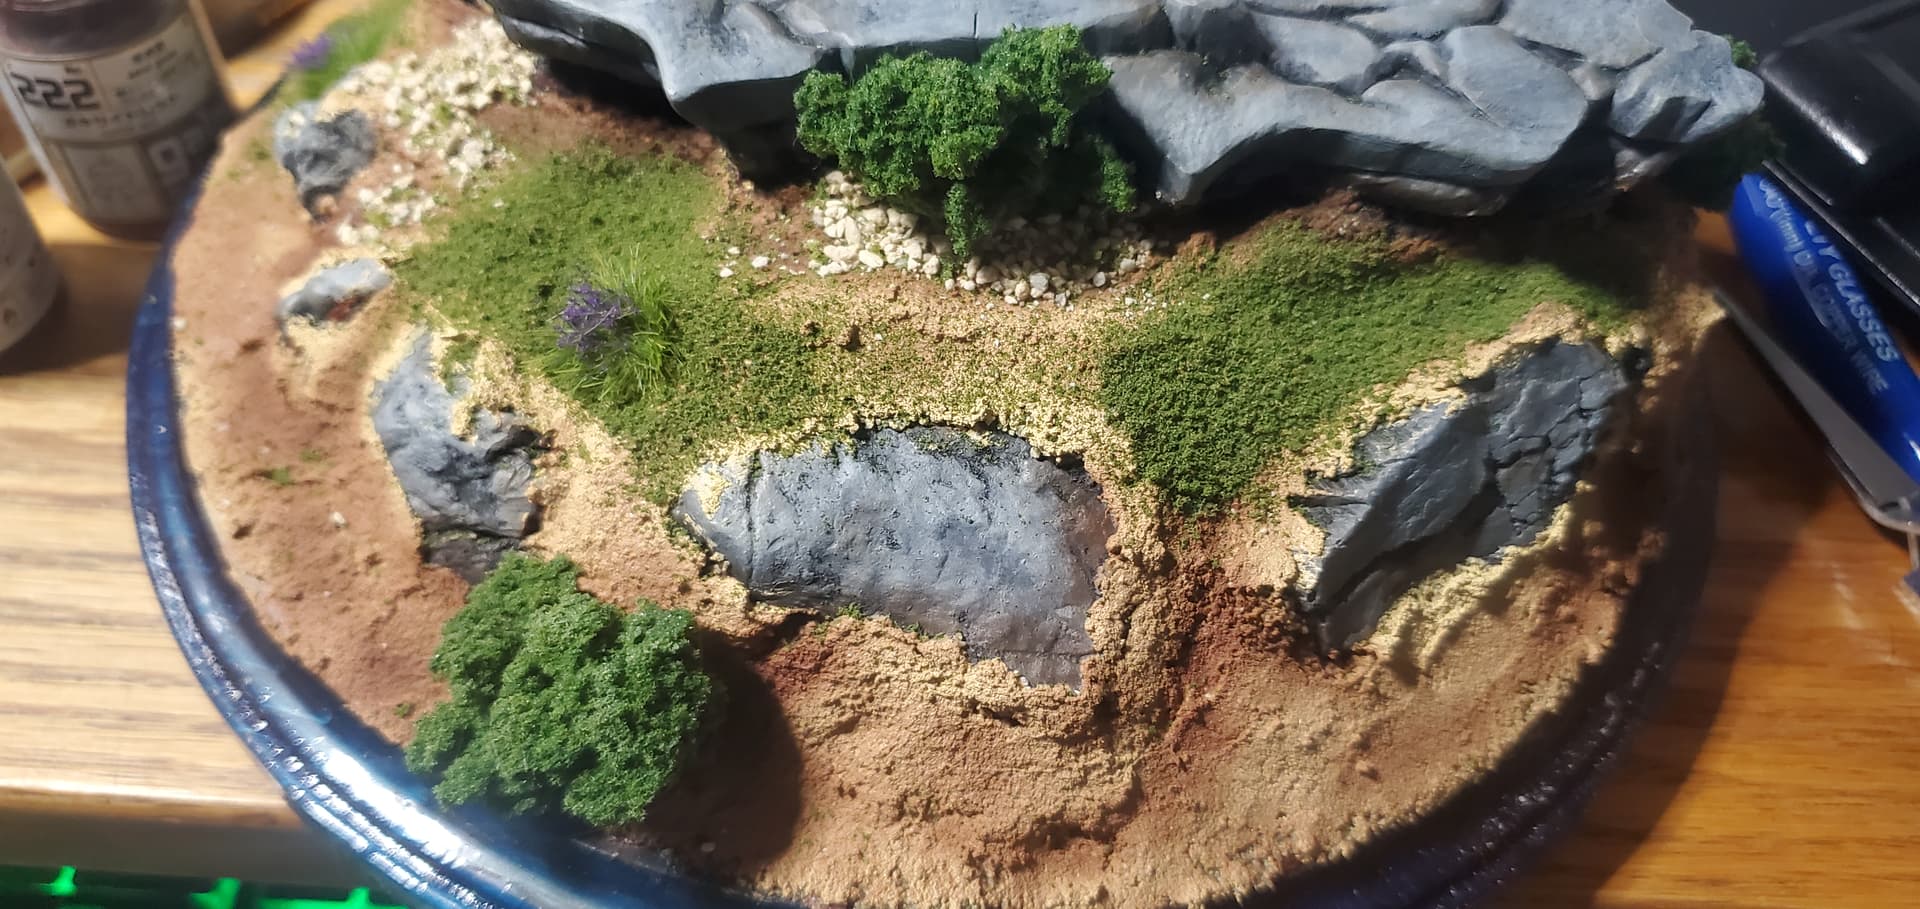
So despite my better judgment, a gluttony for punishment, or just plain not knowing when to quit i decided to save this one from the bin and give her another shot. something something, making decisions when upset, something something


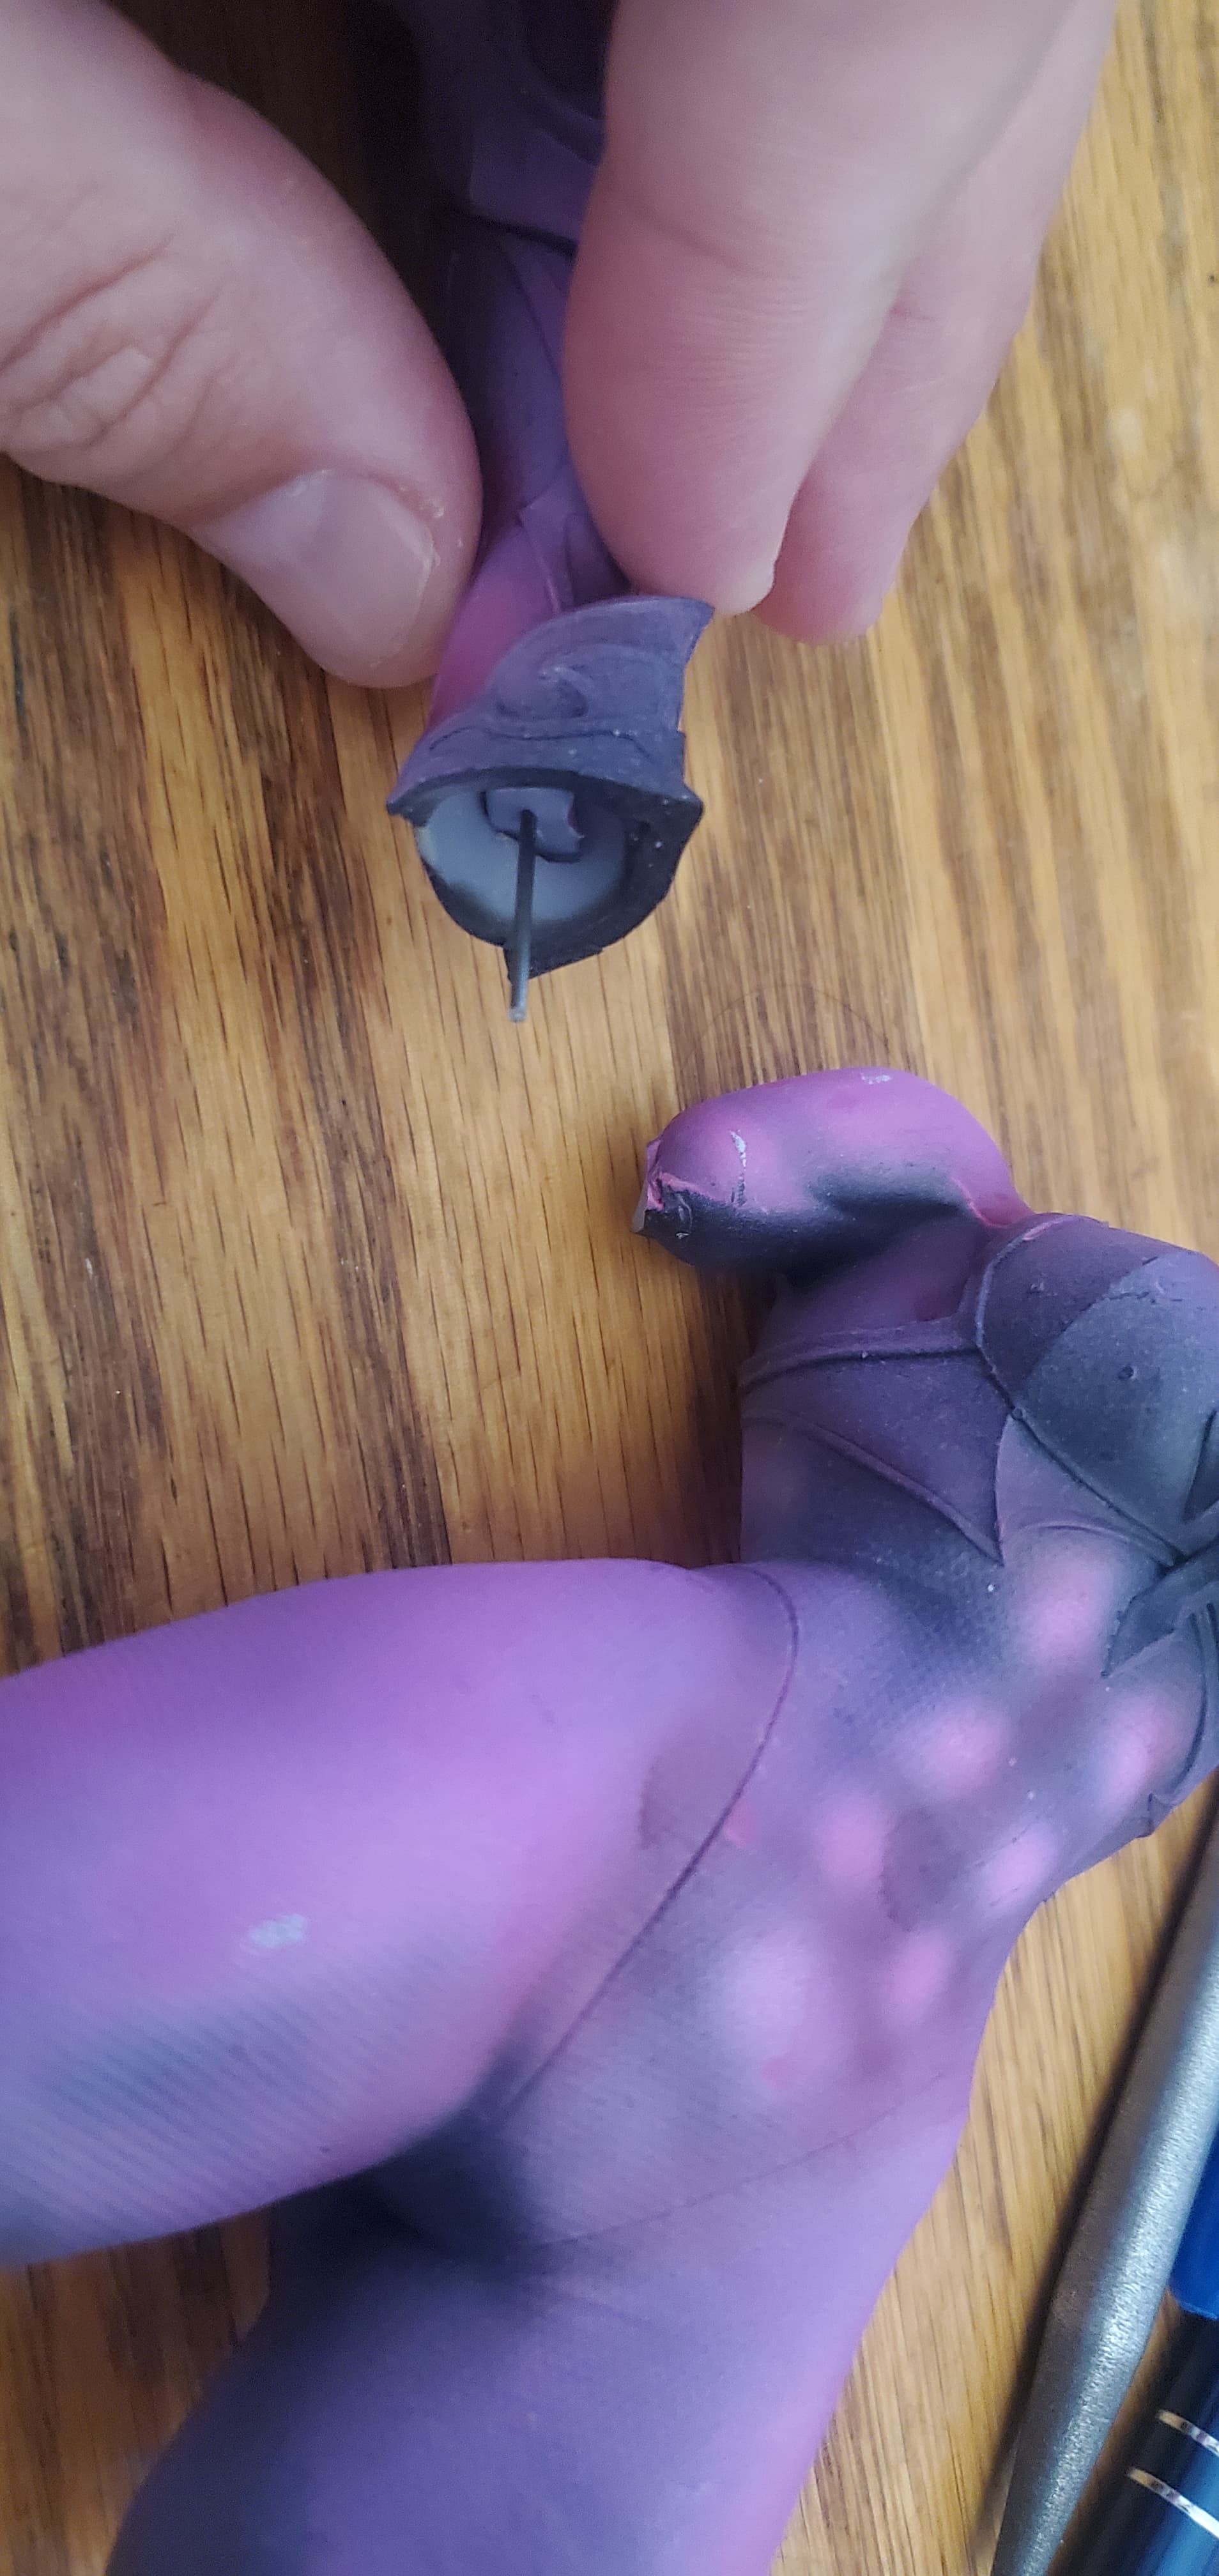
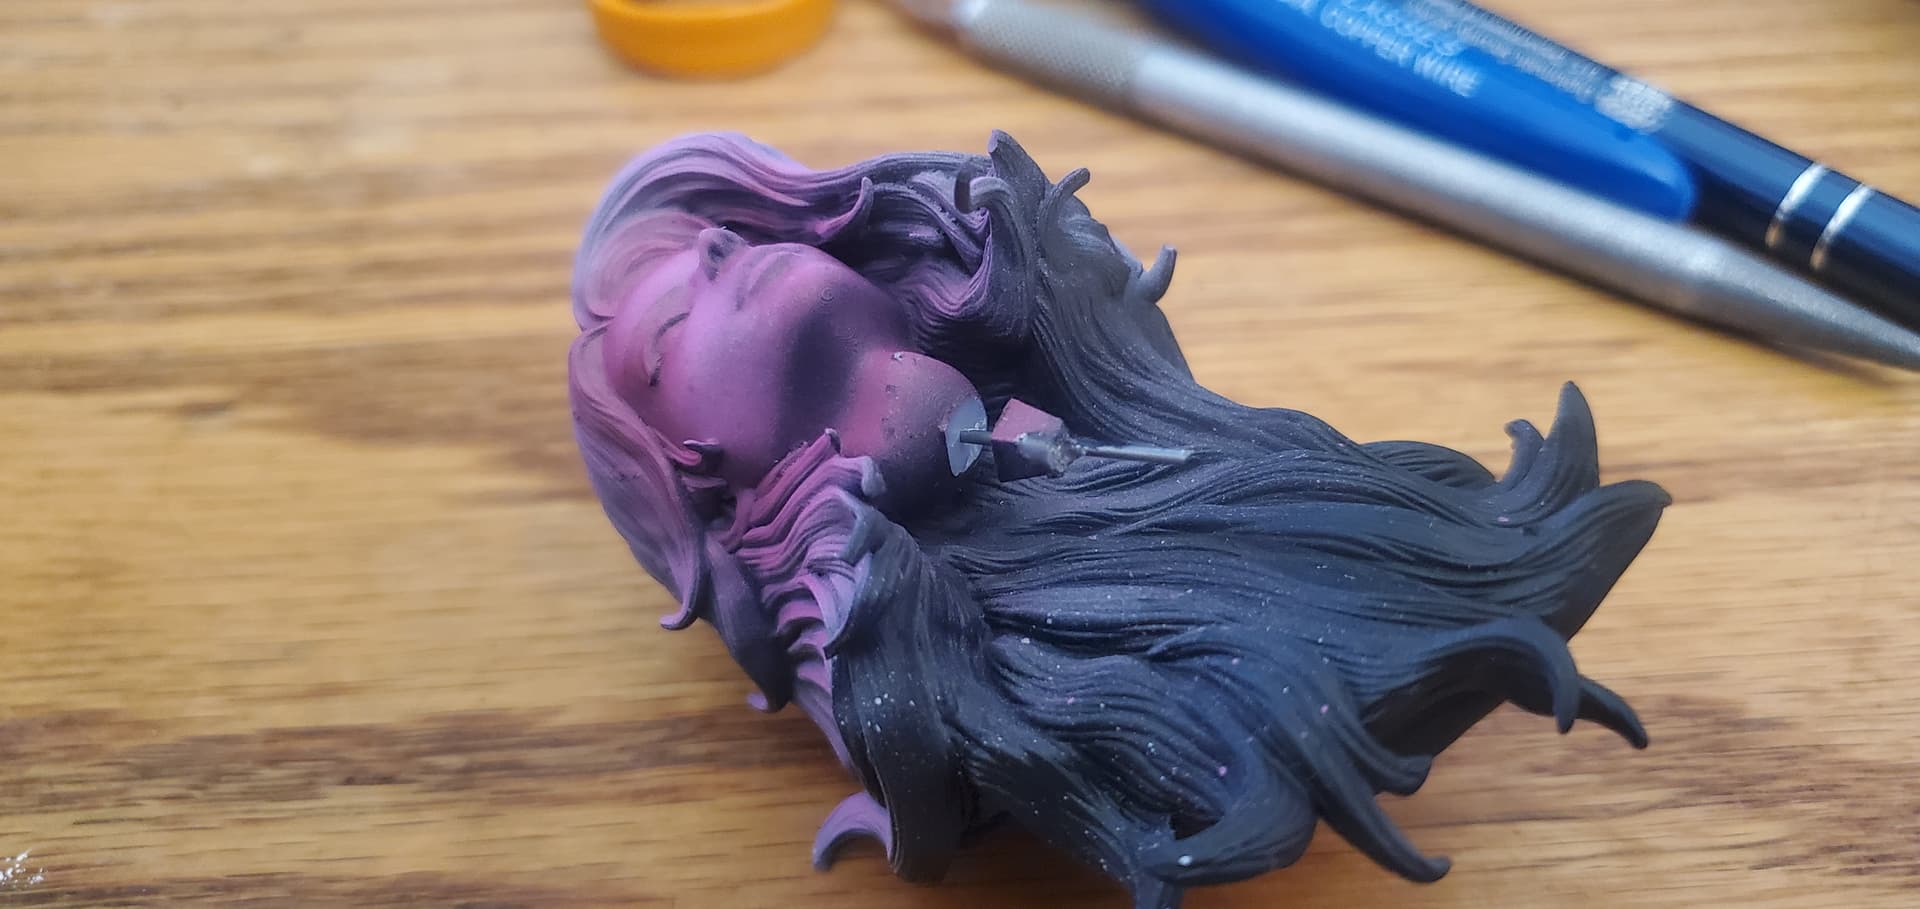
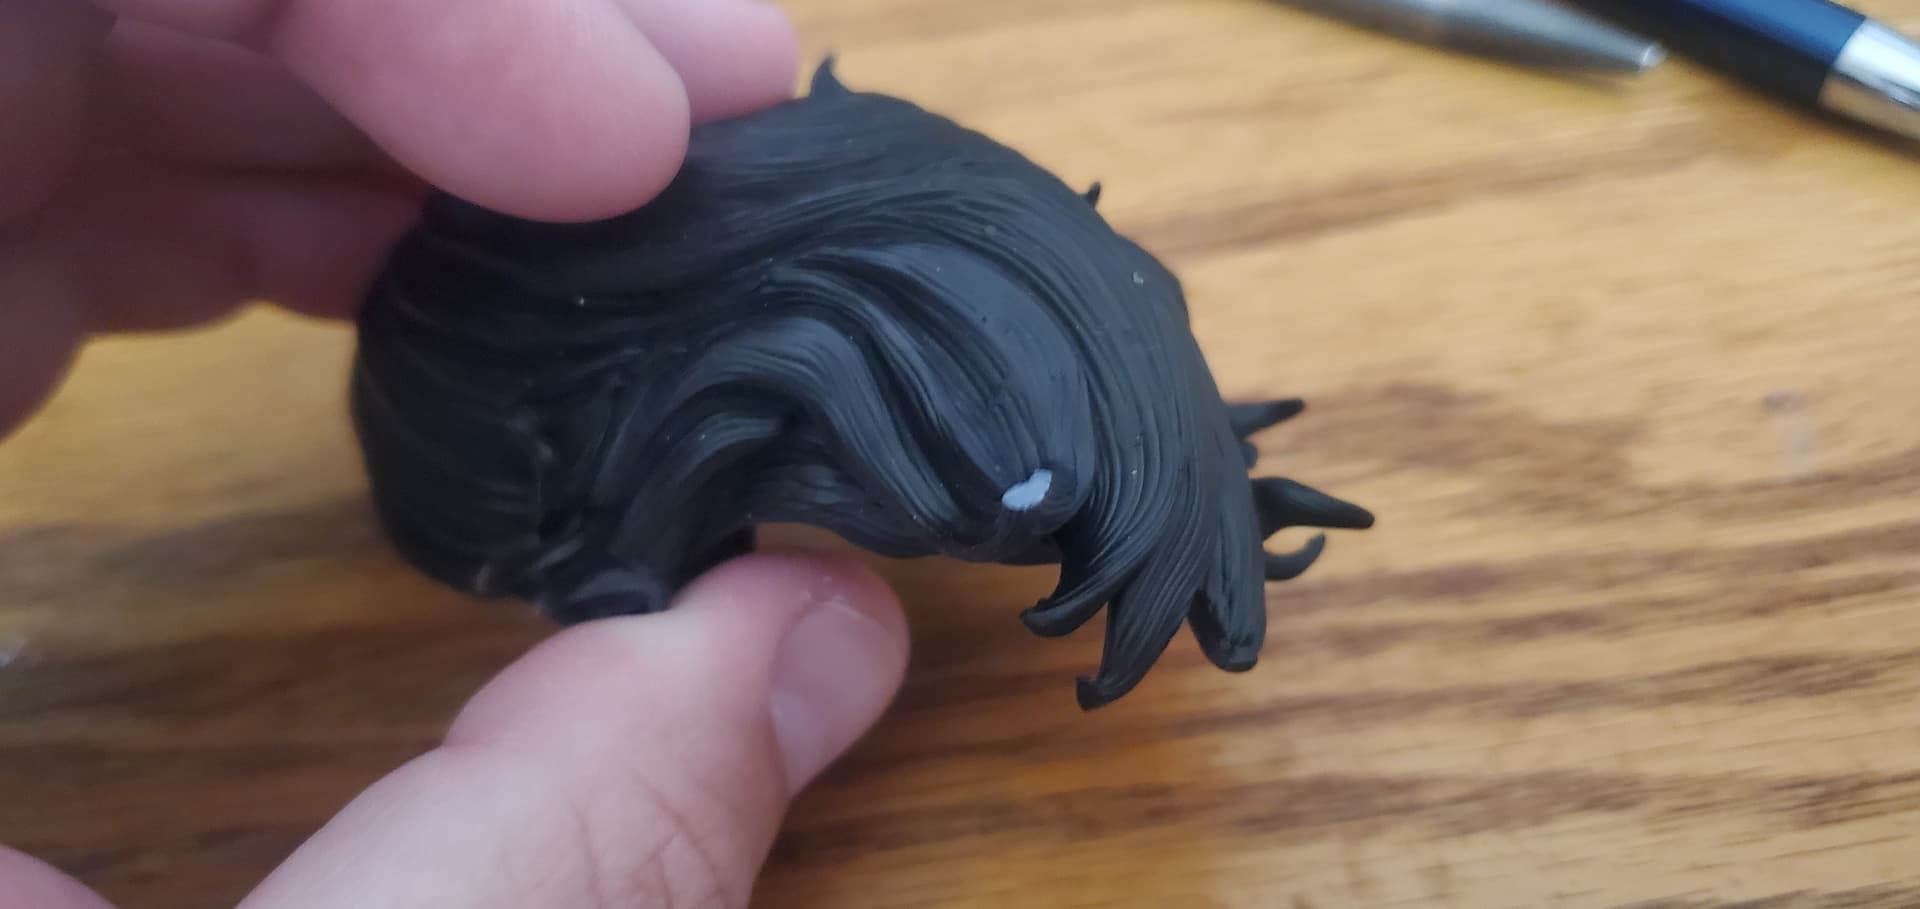
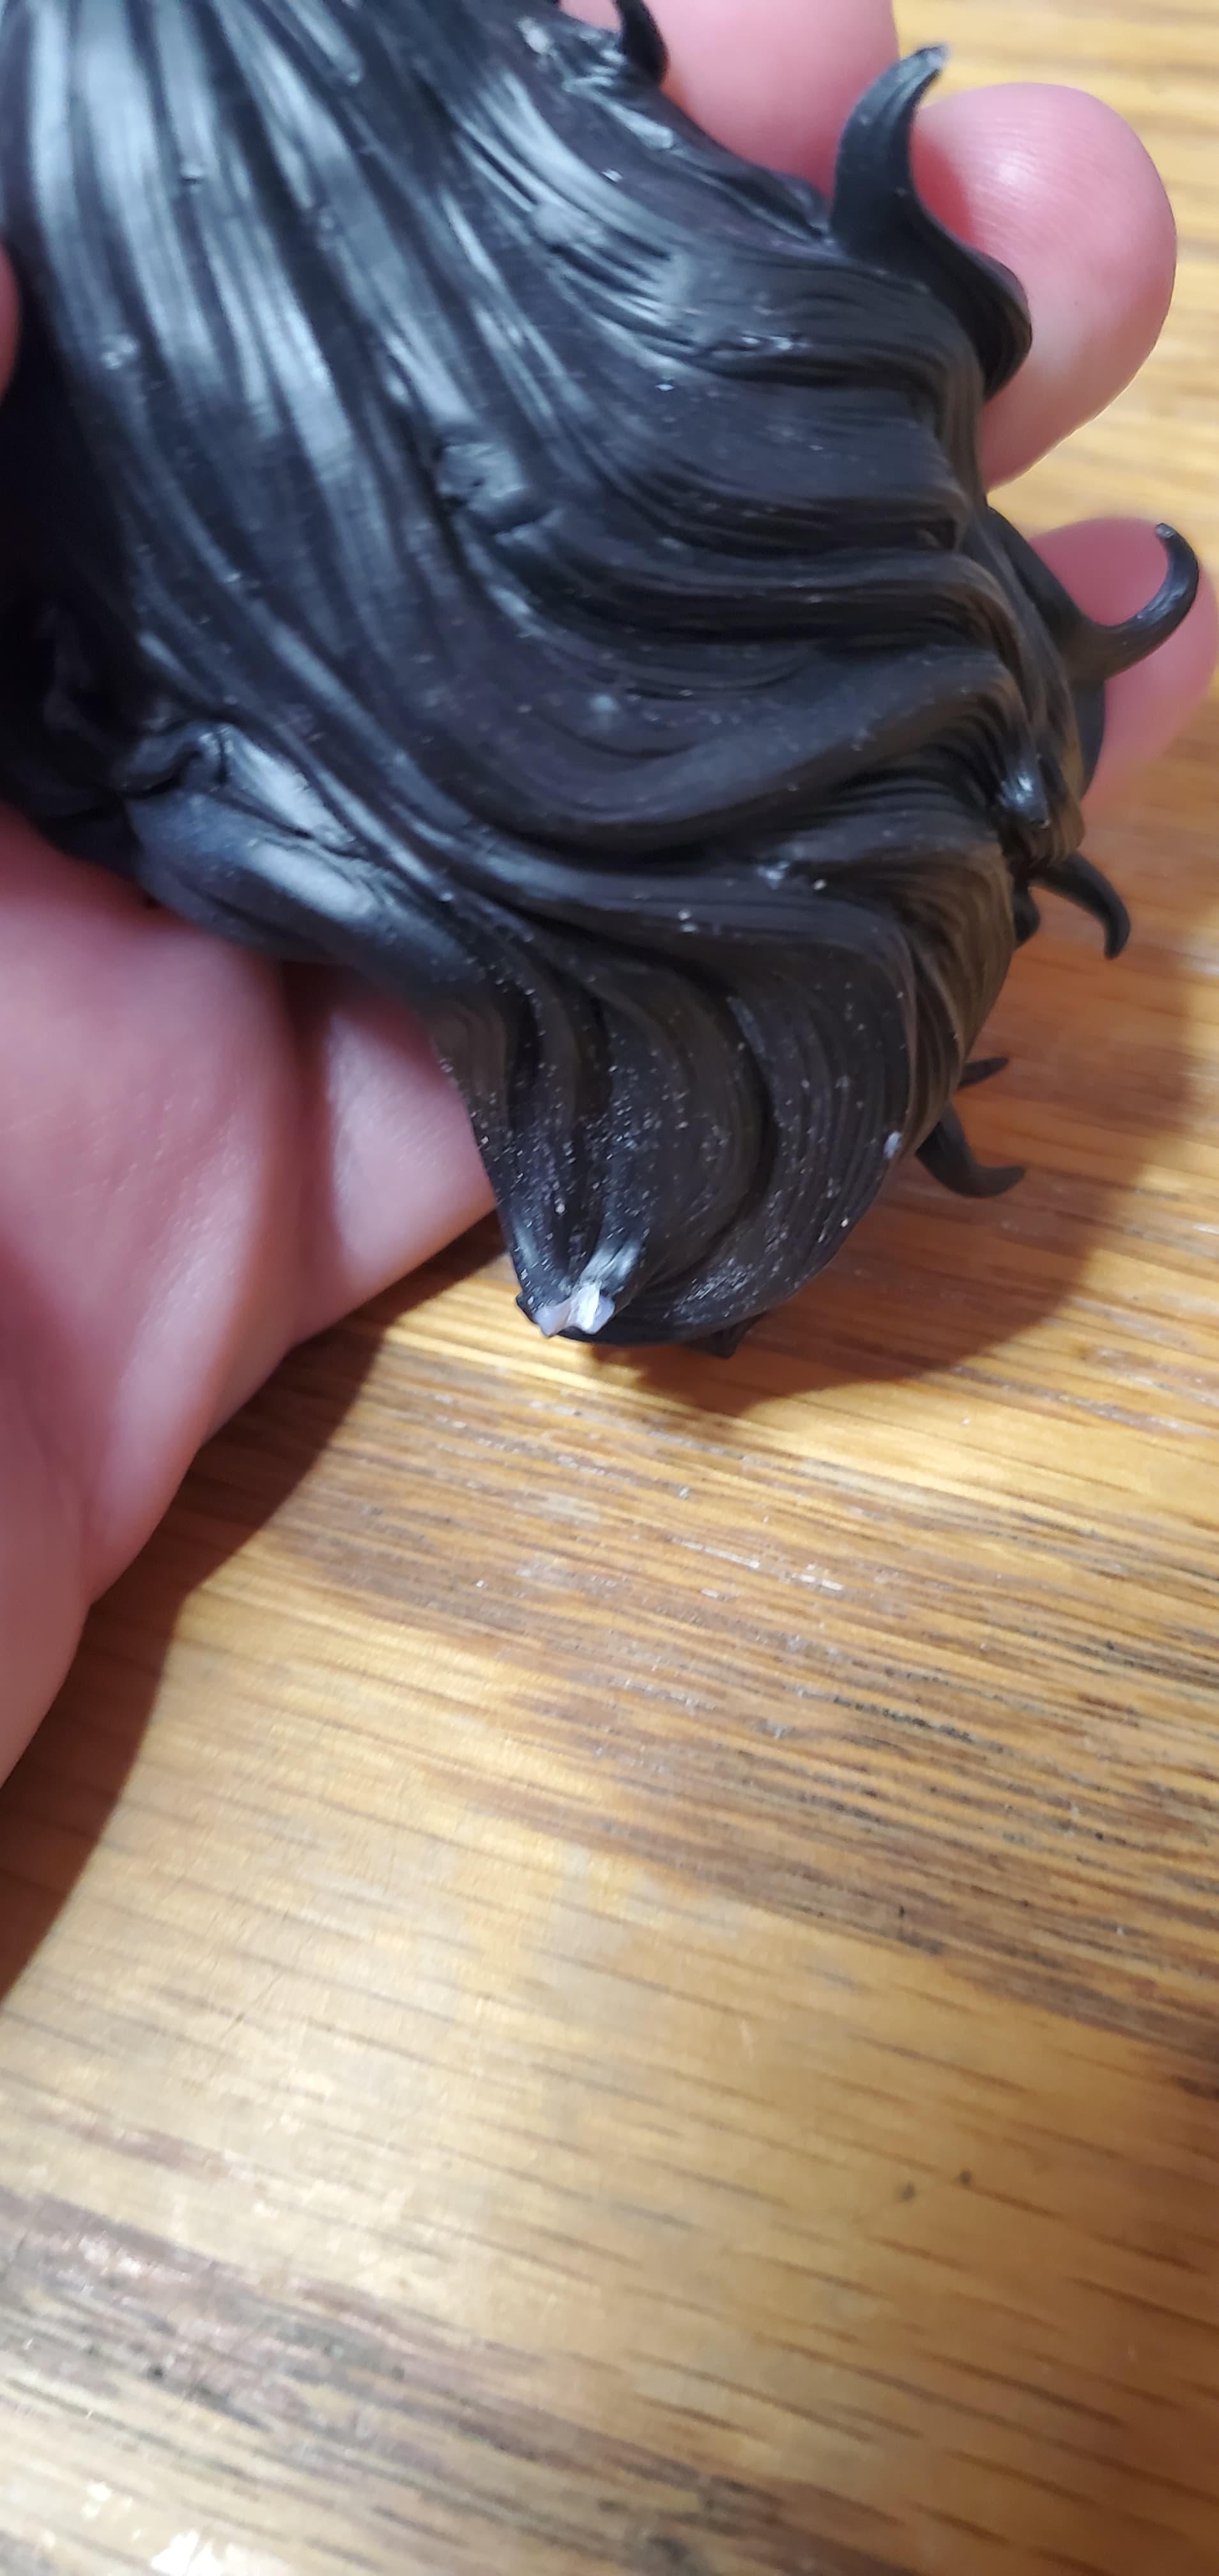
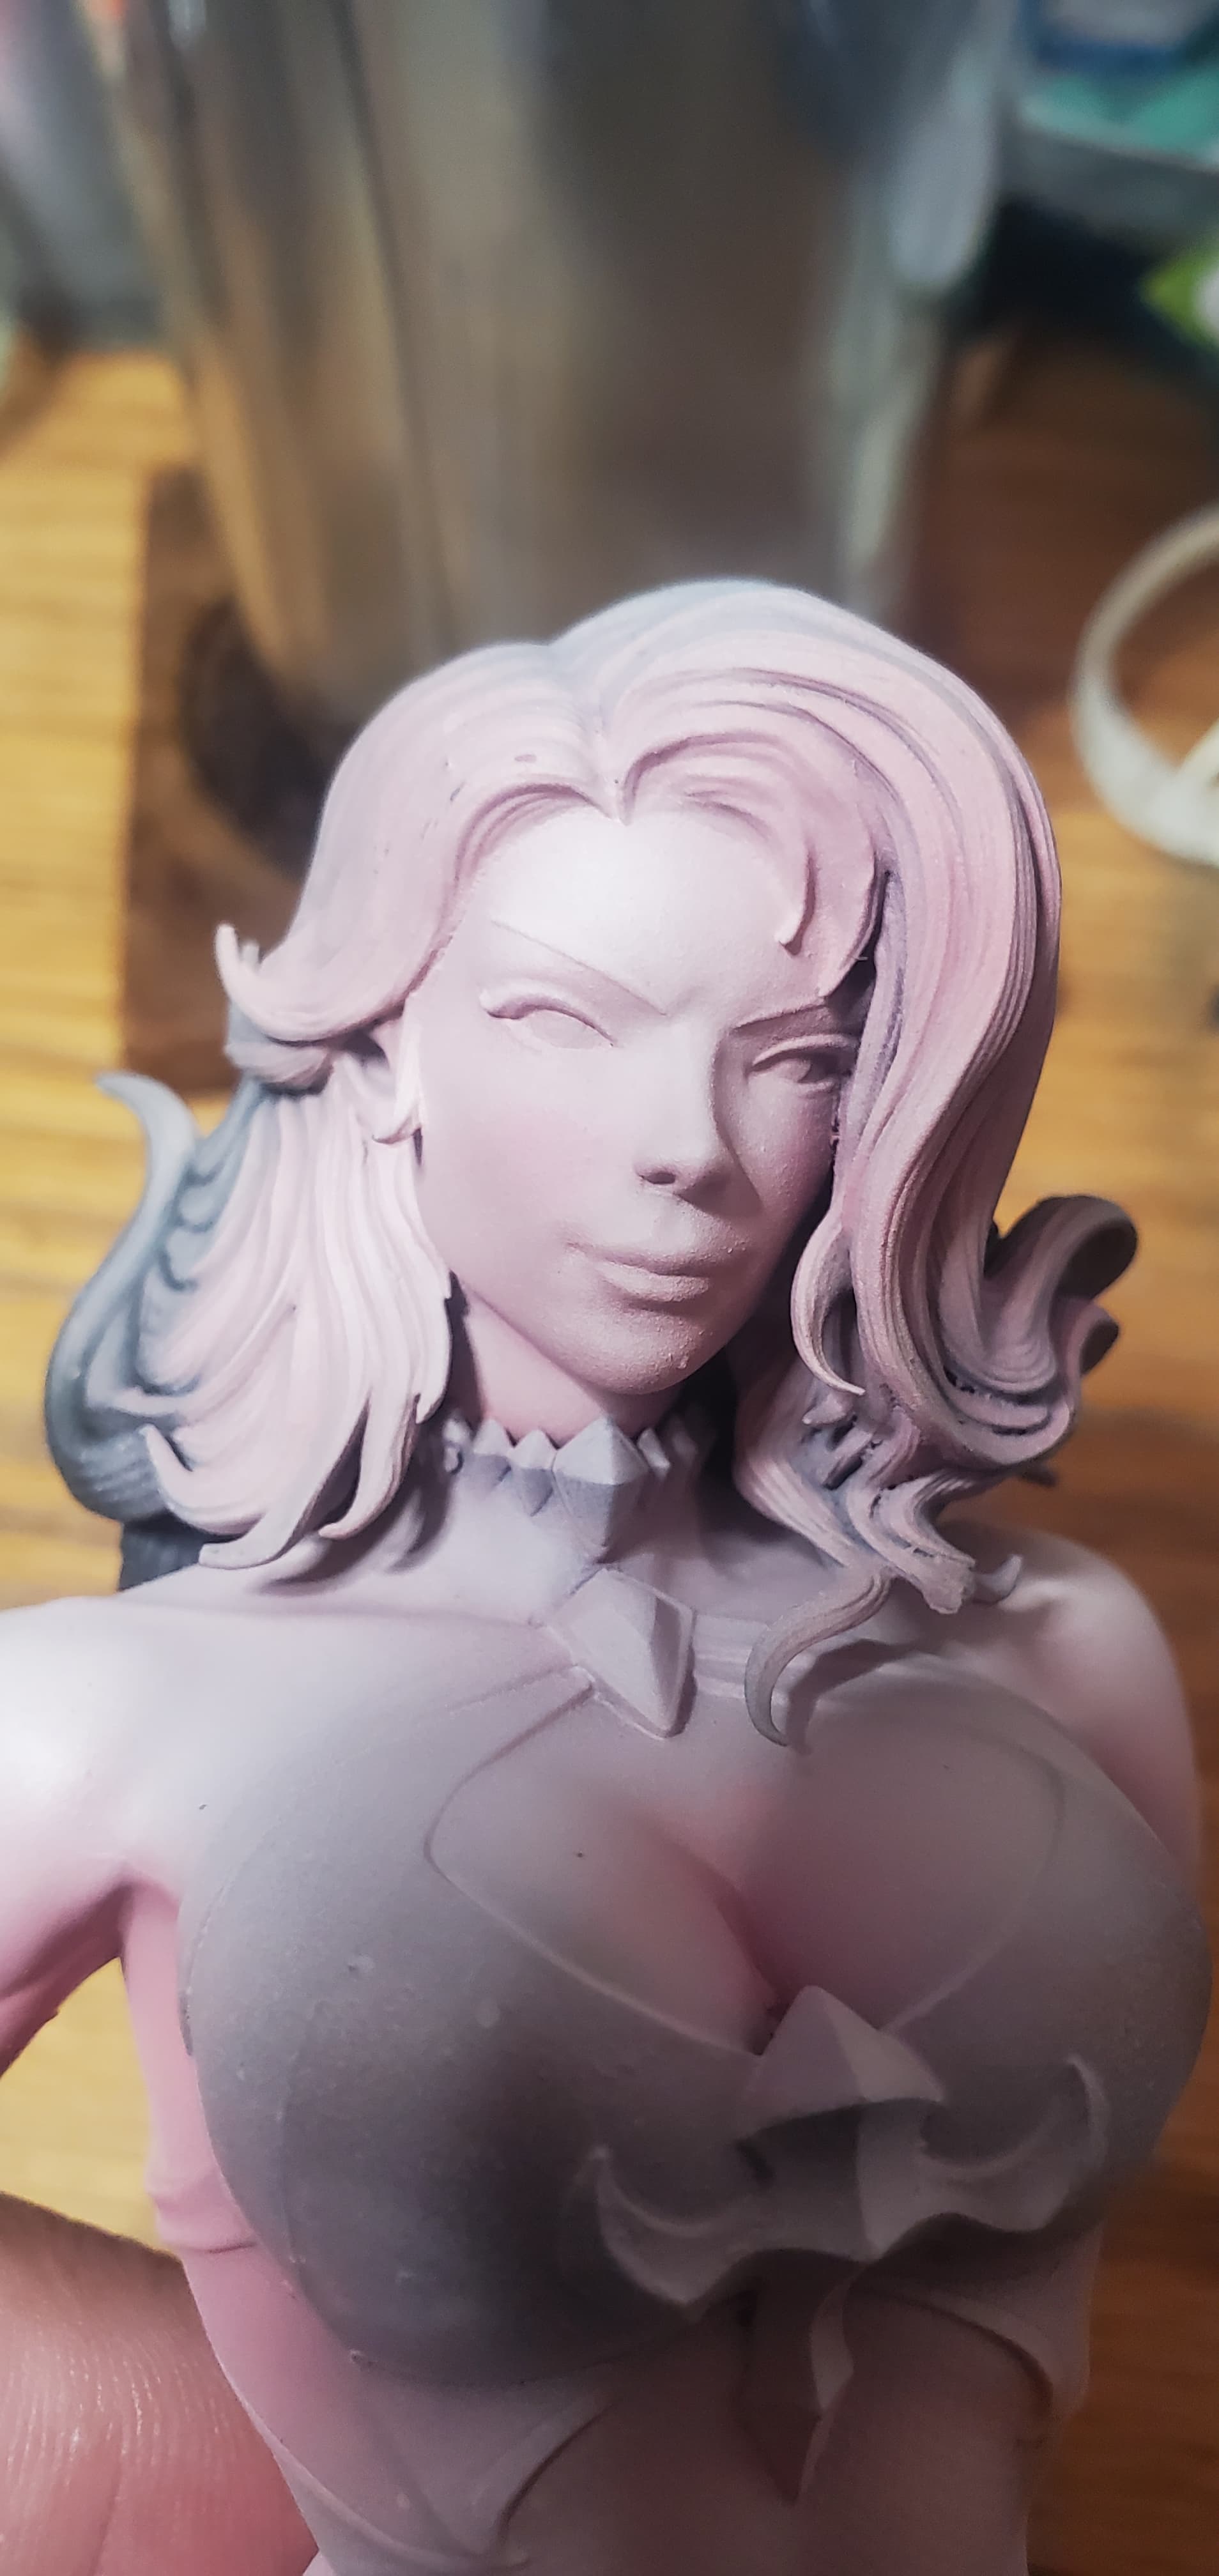
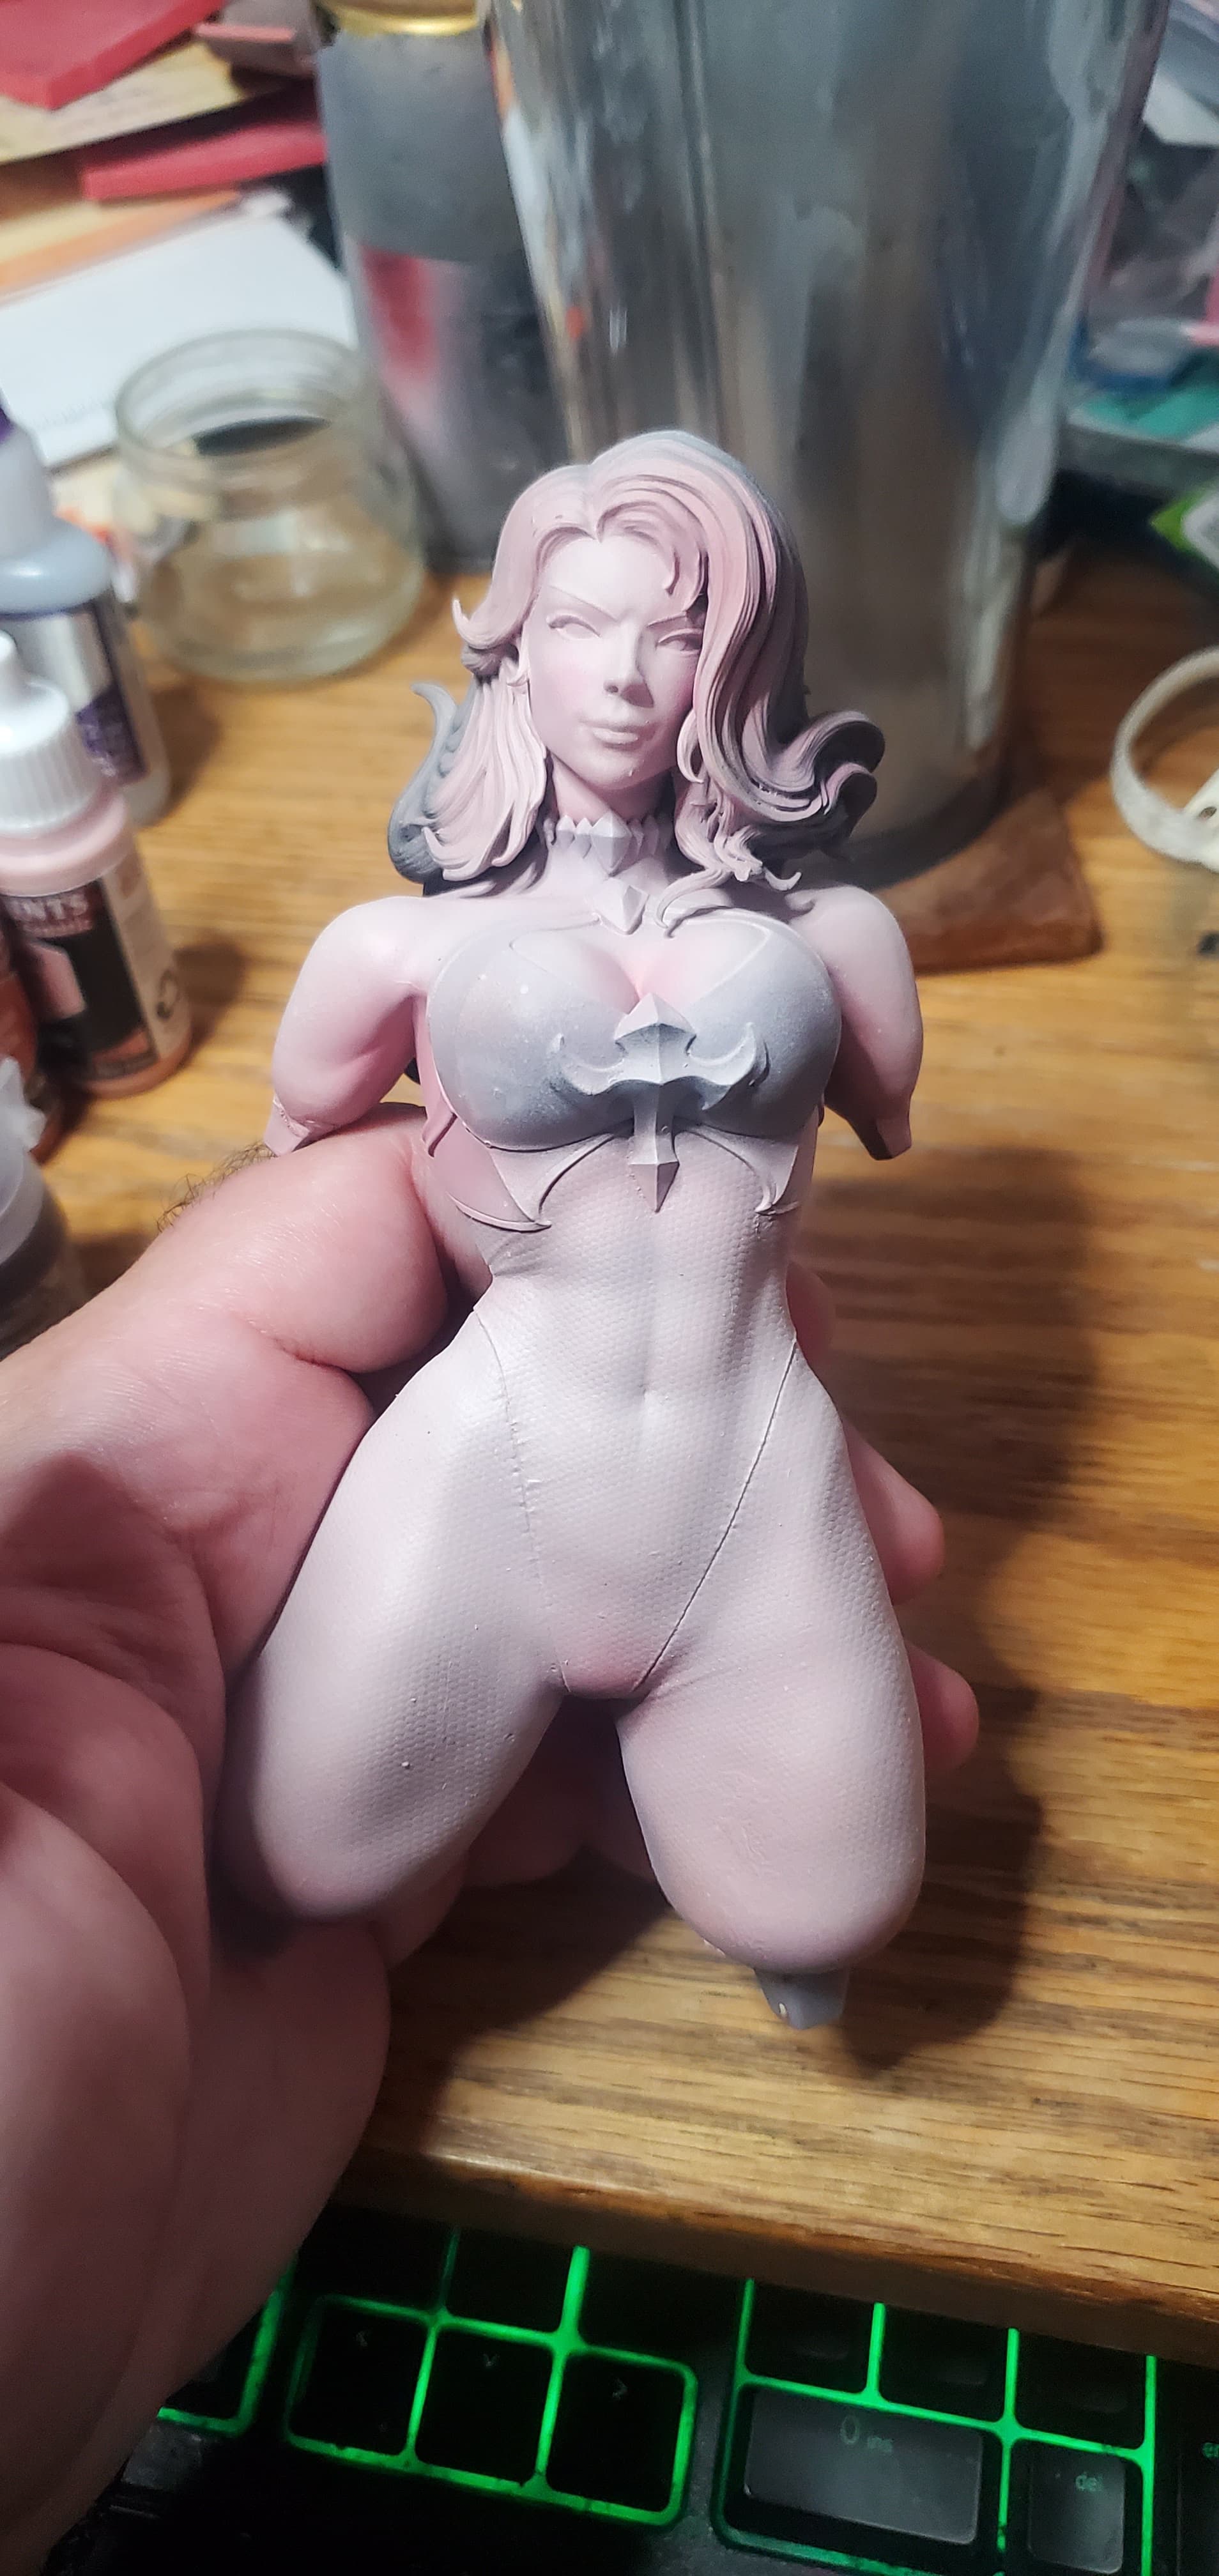
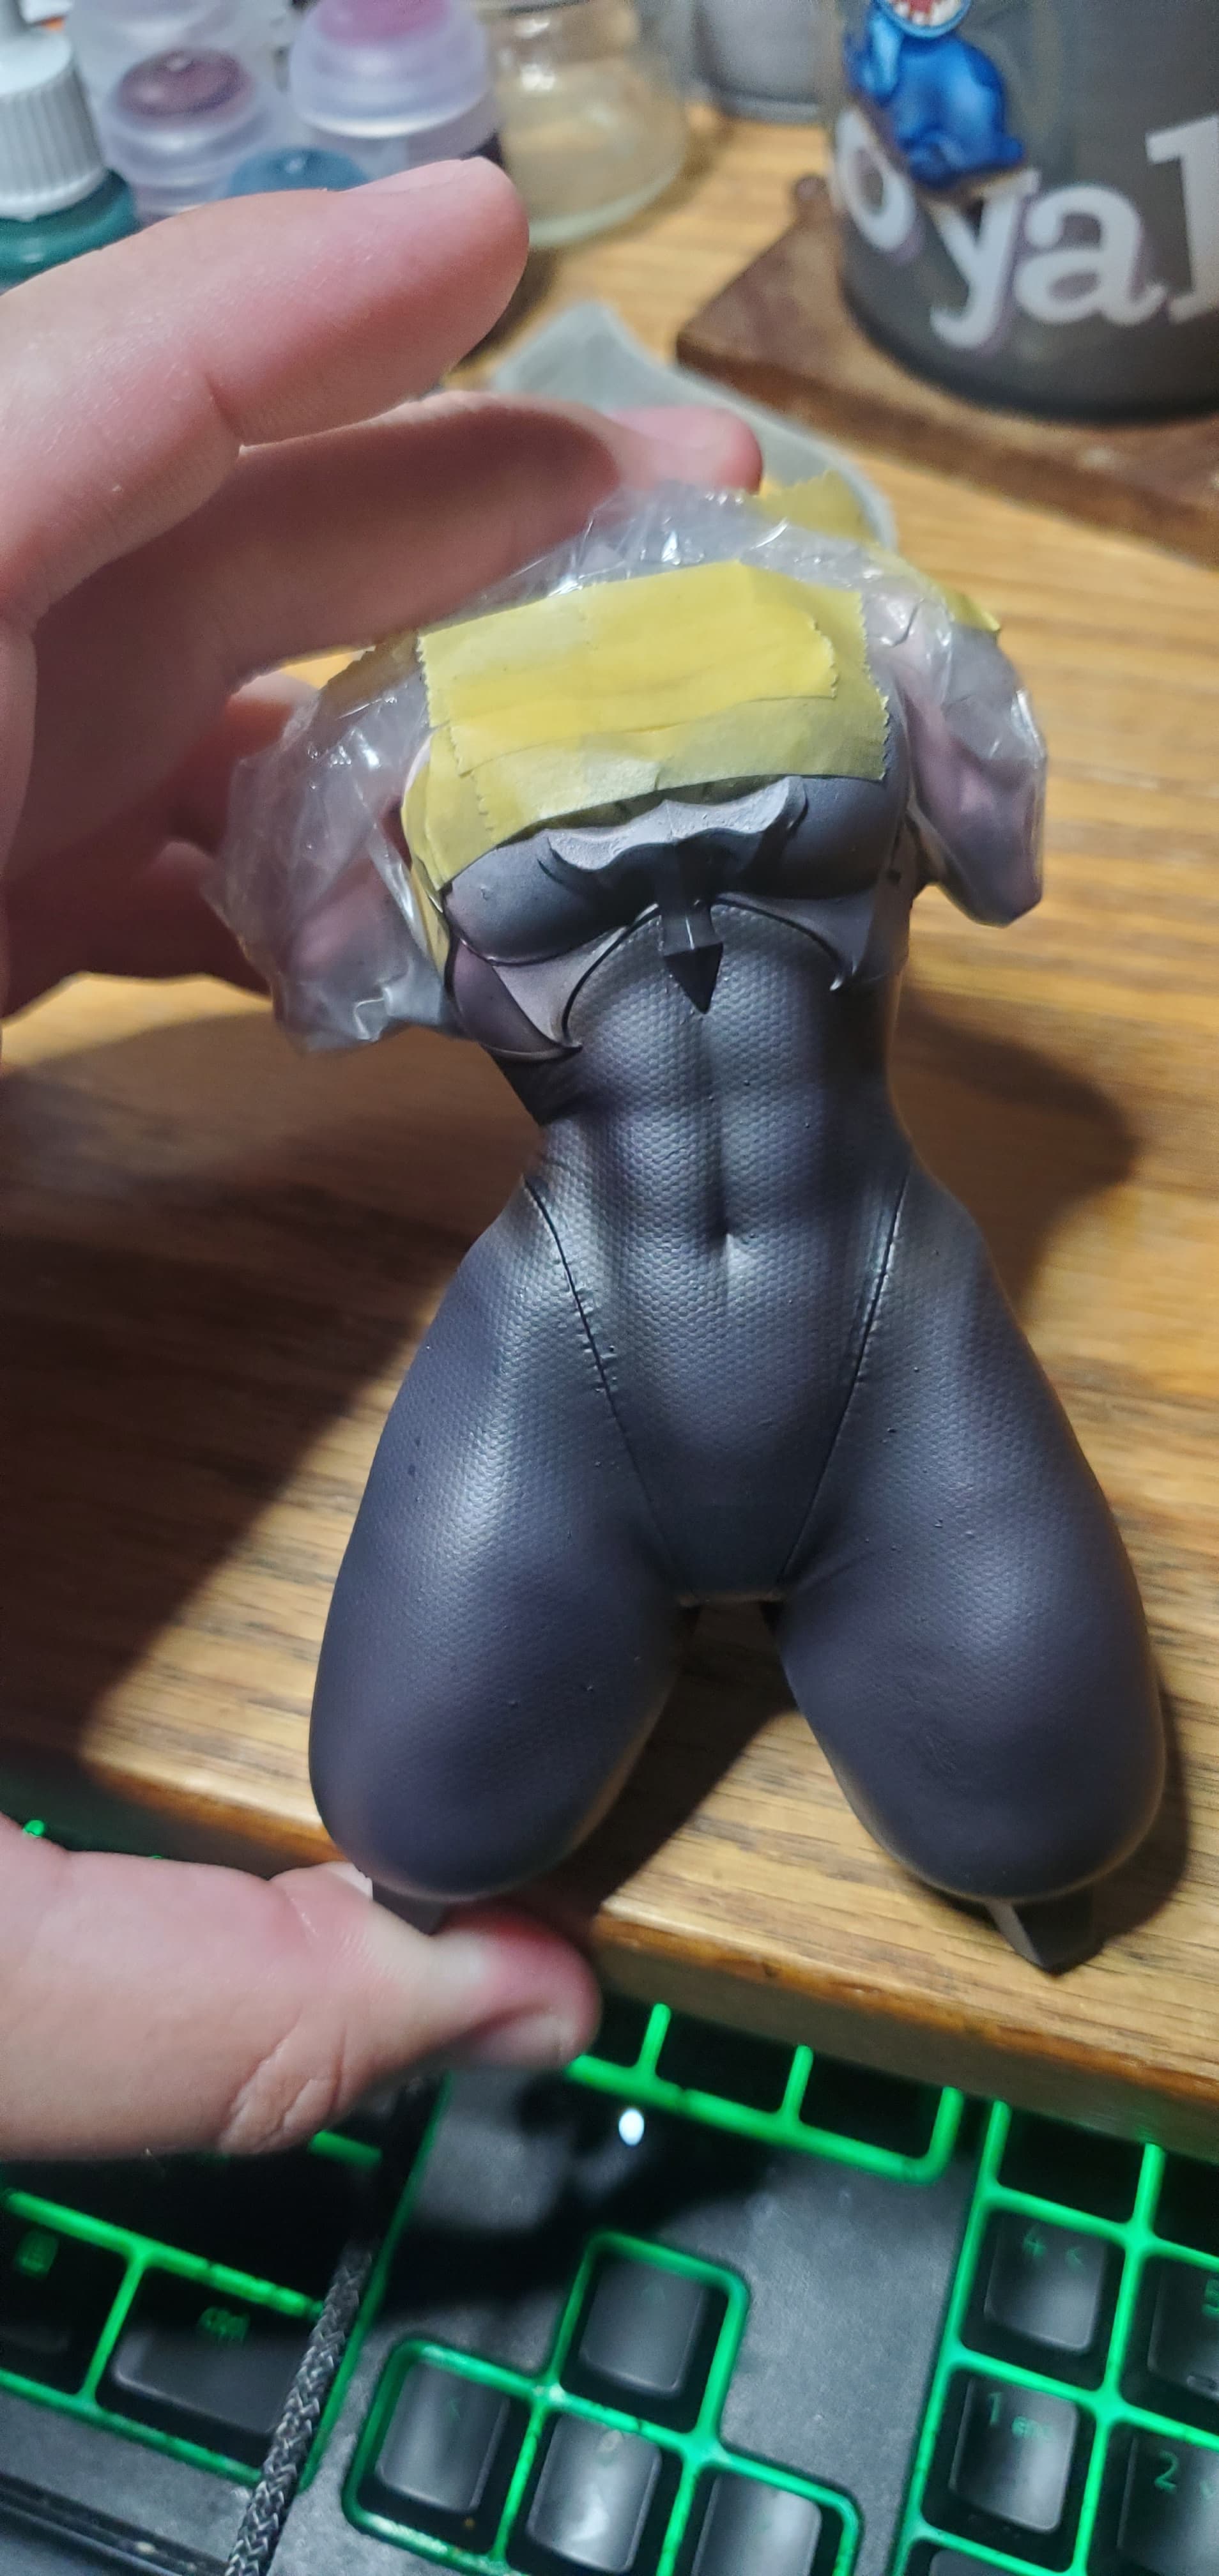
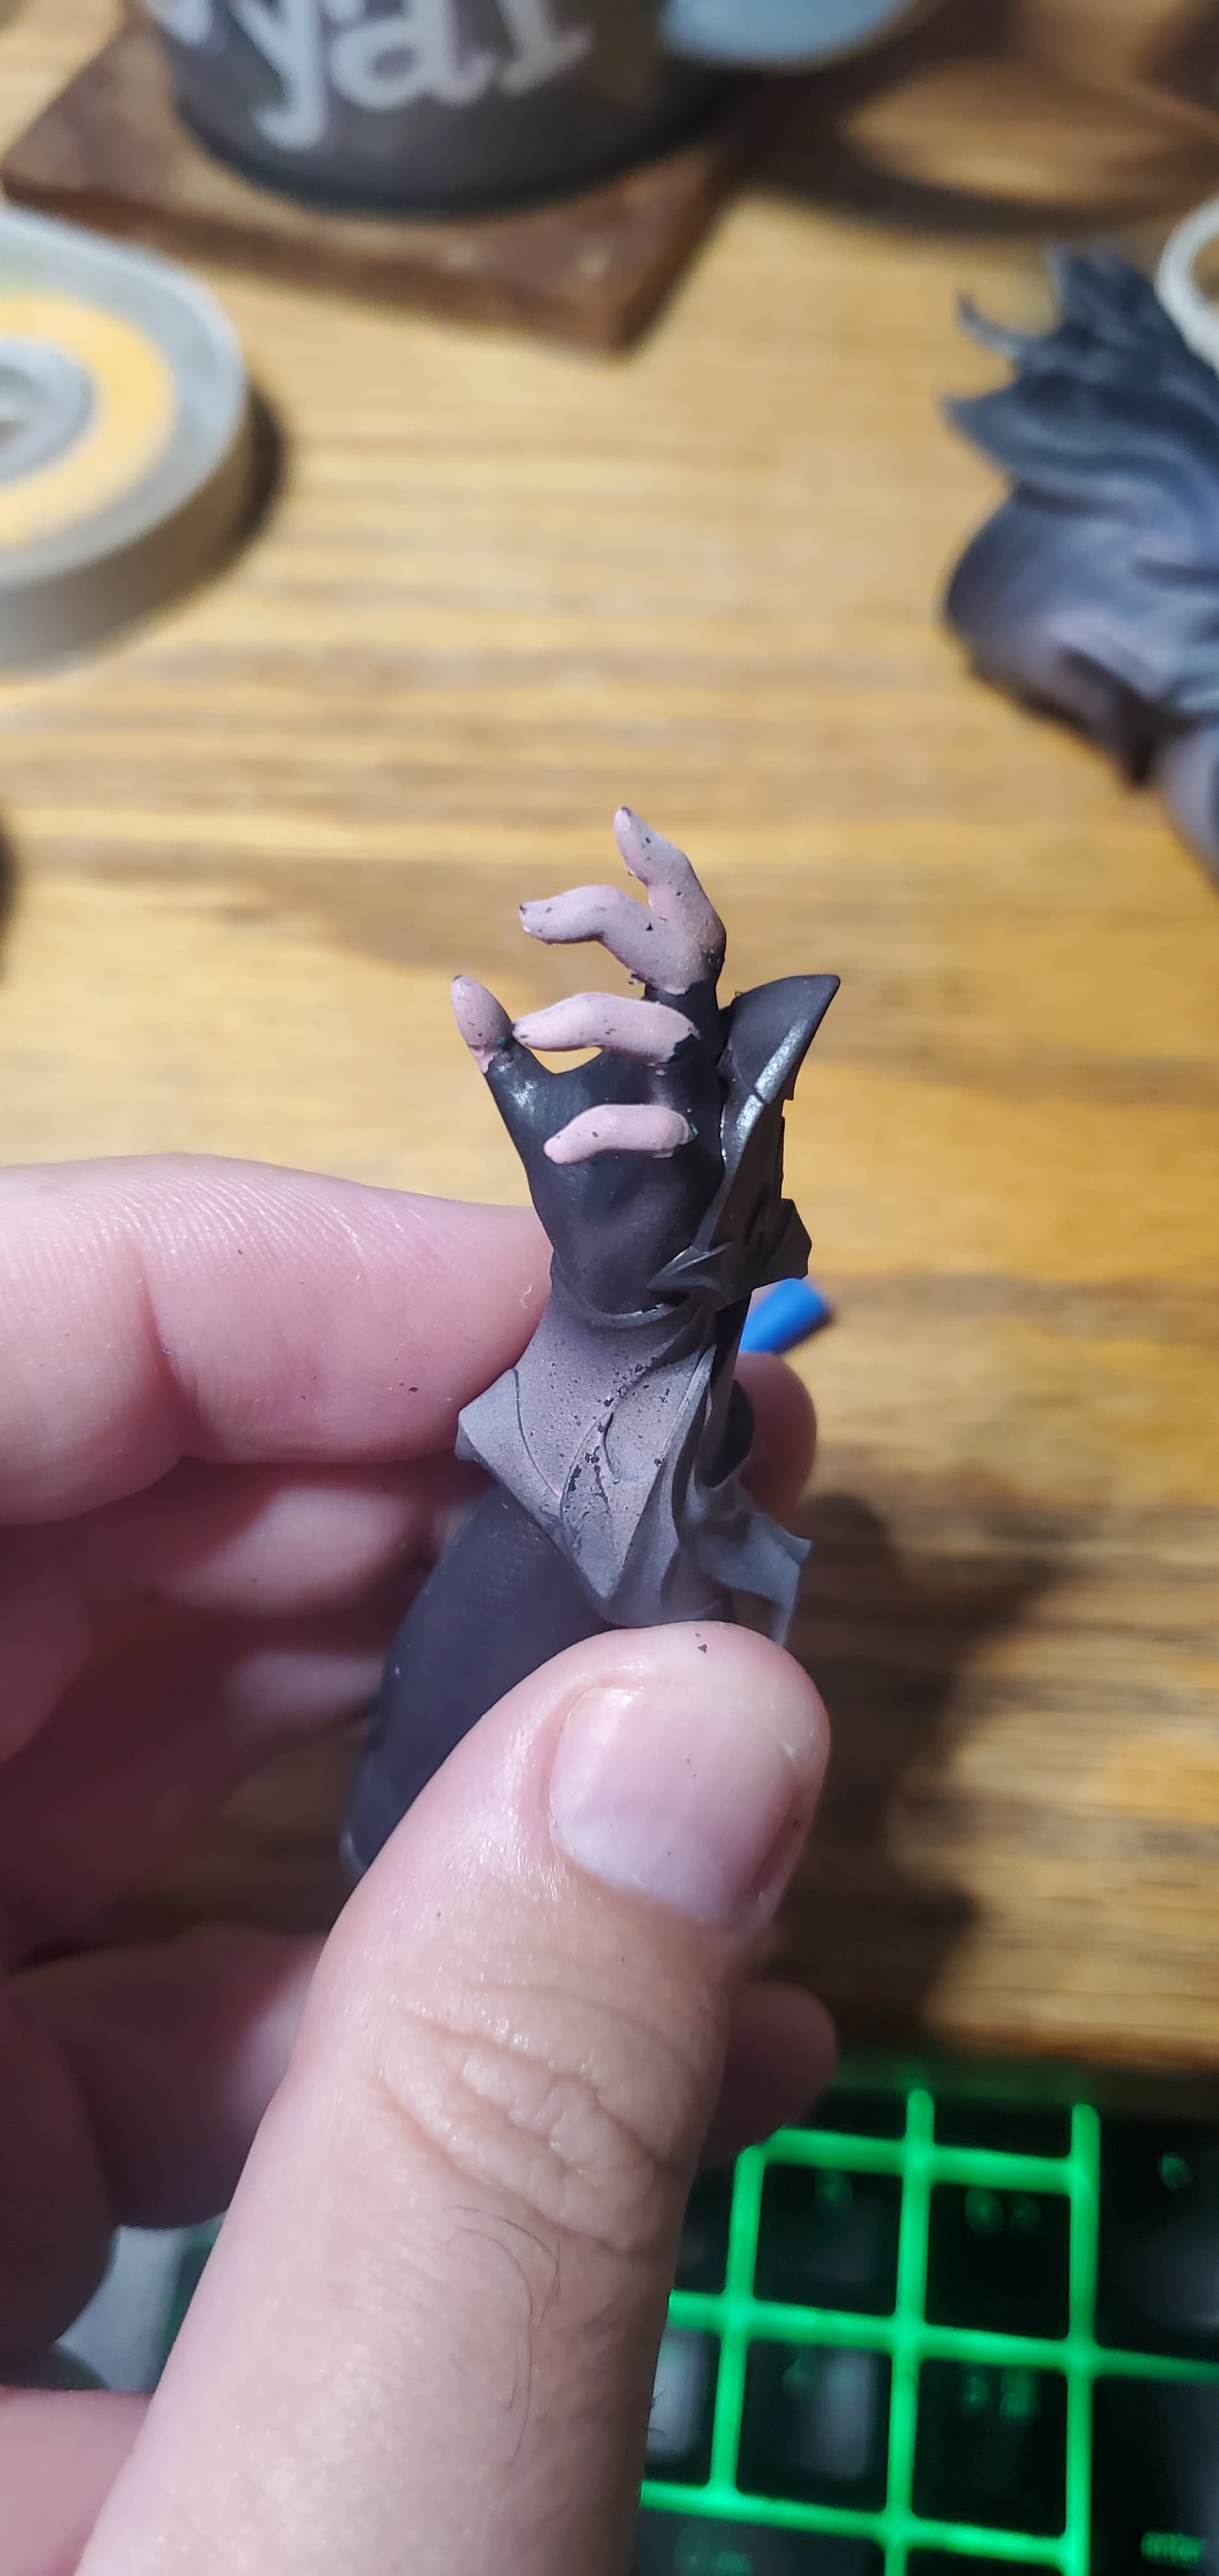
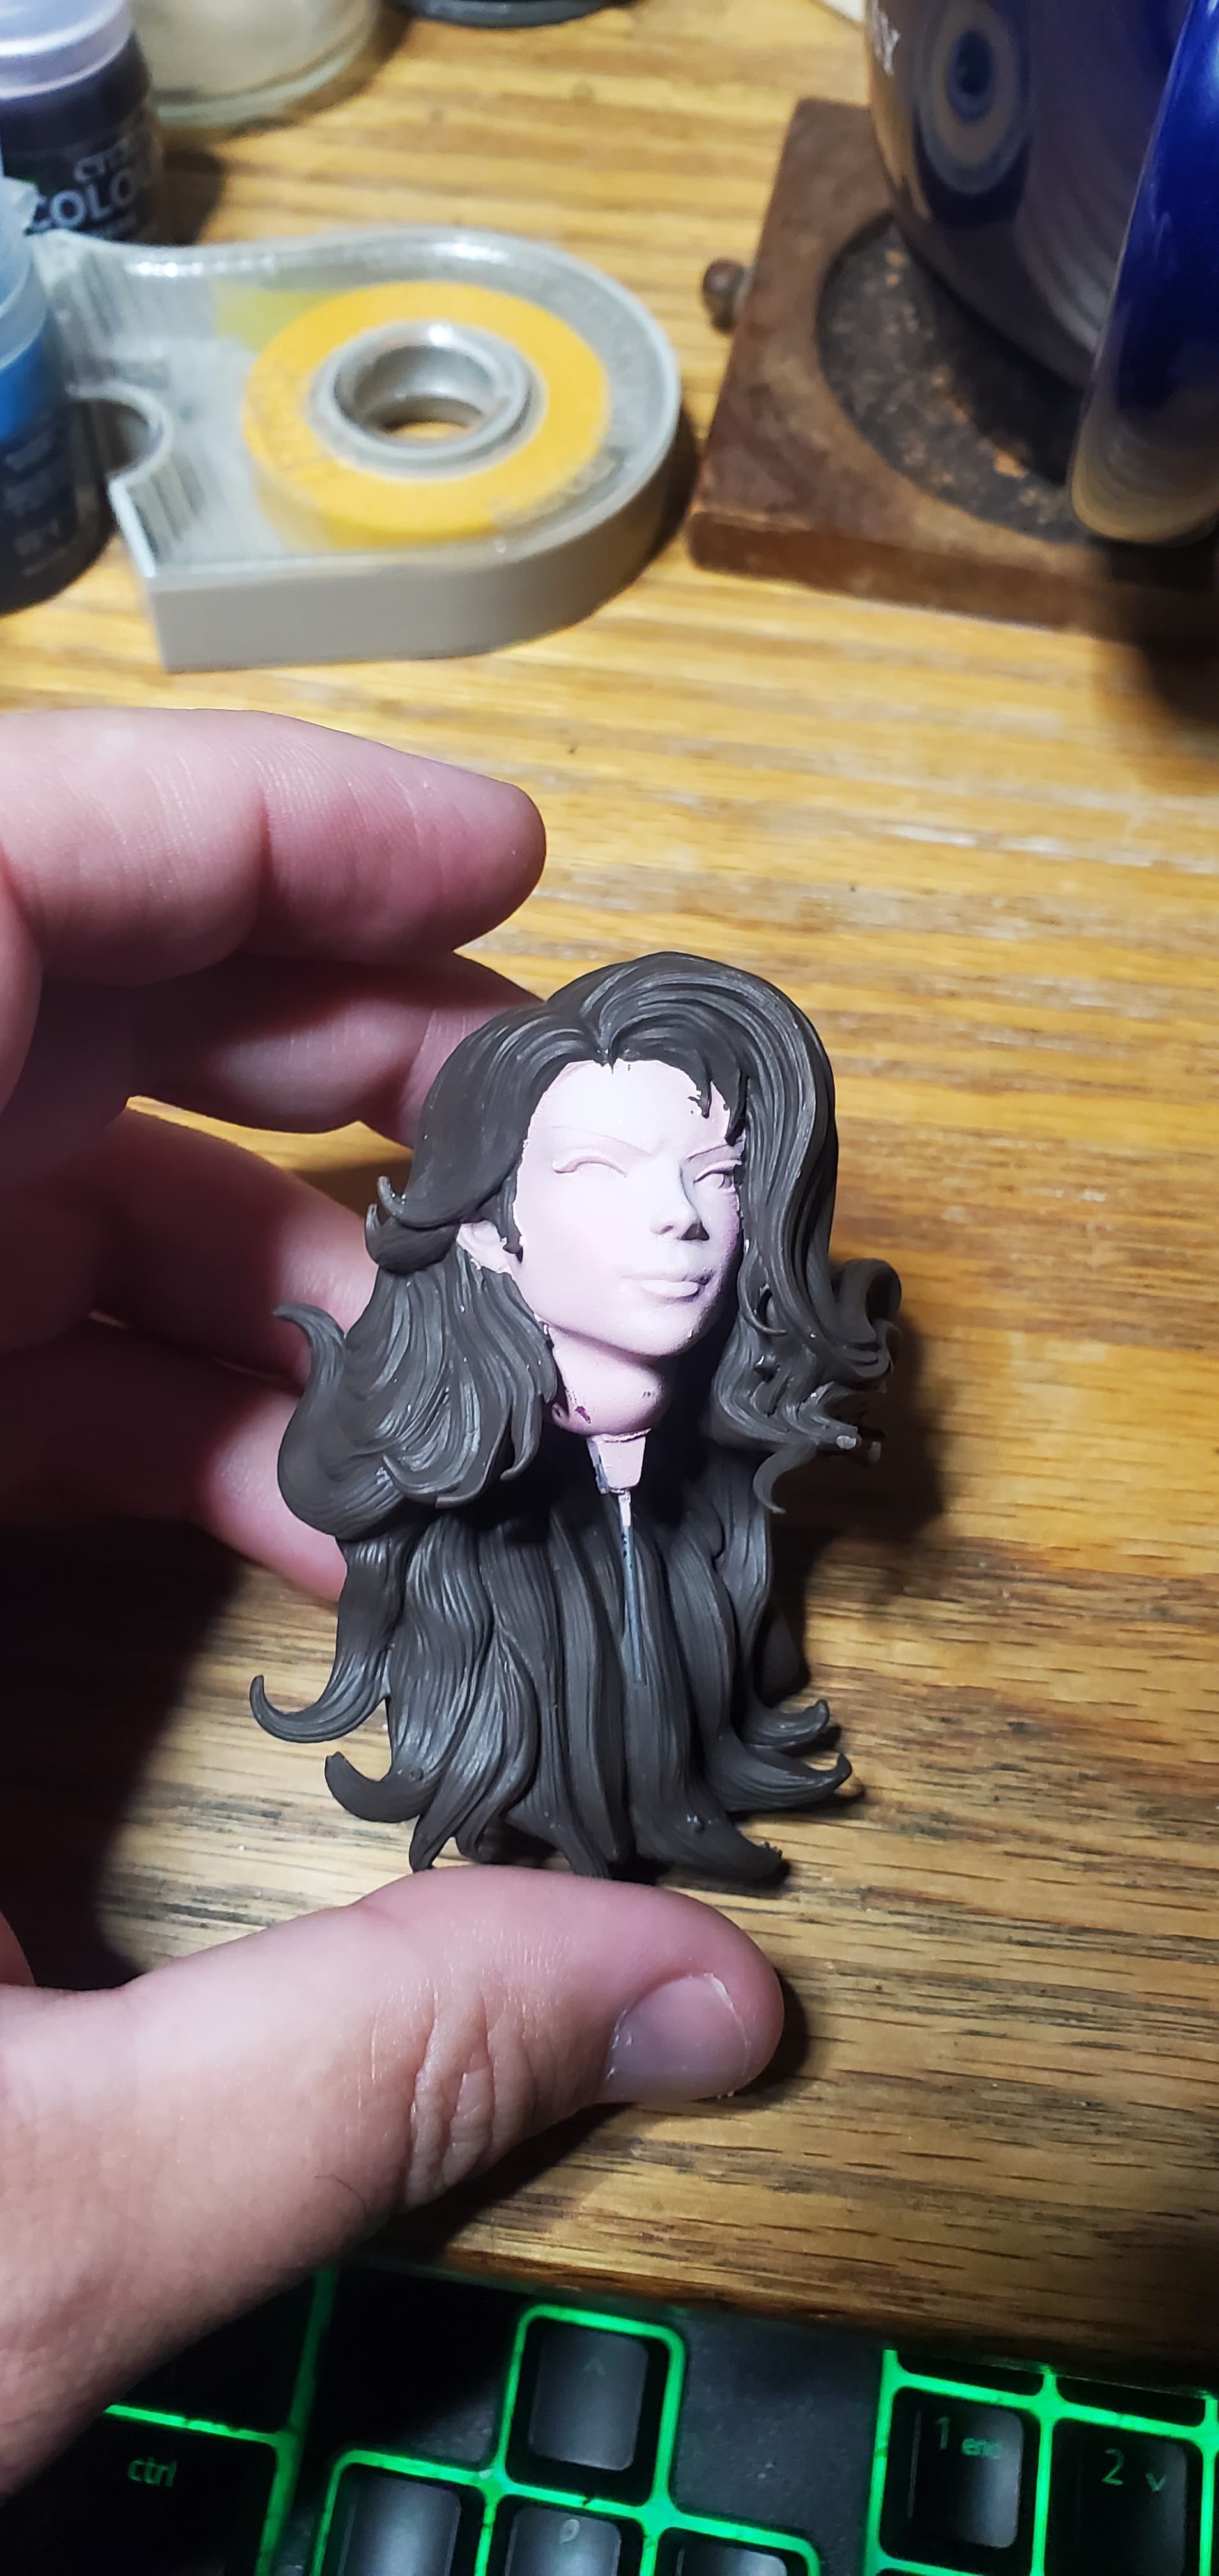
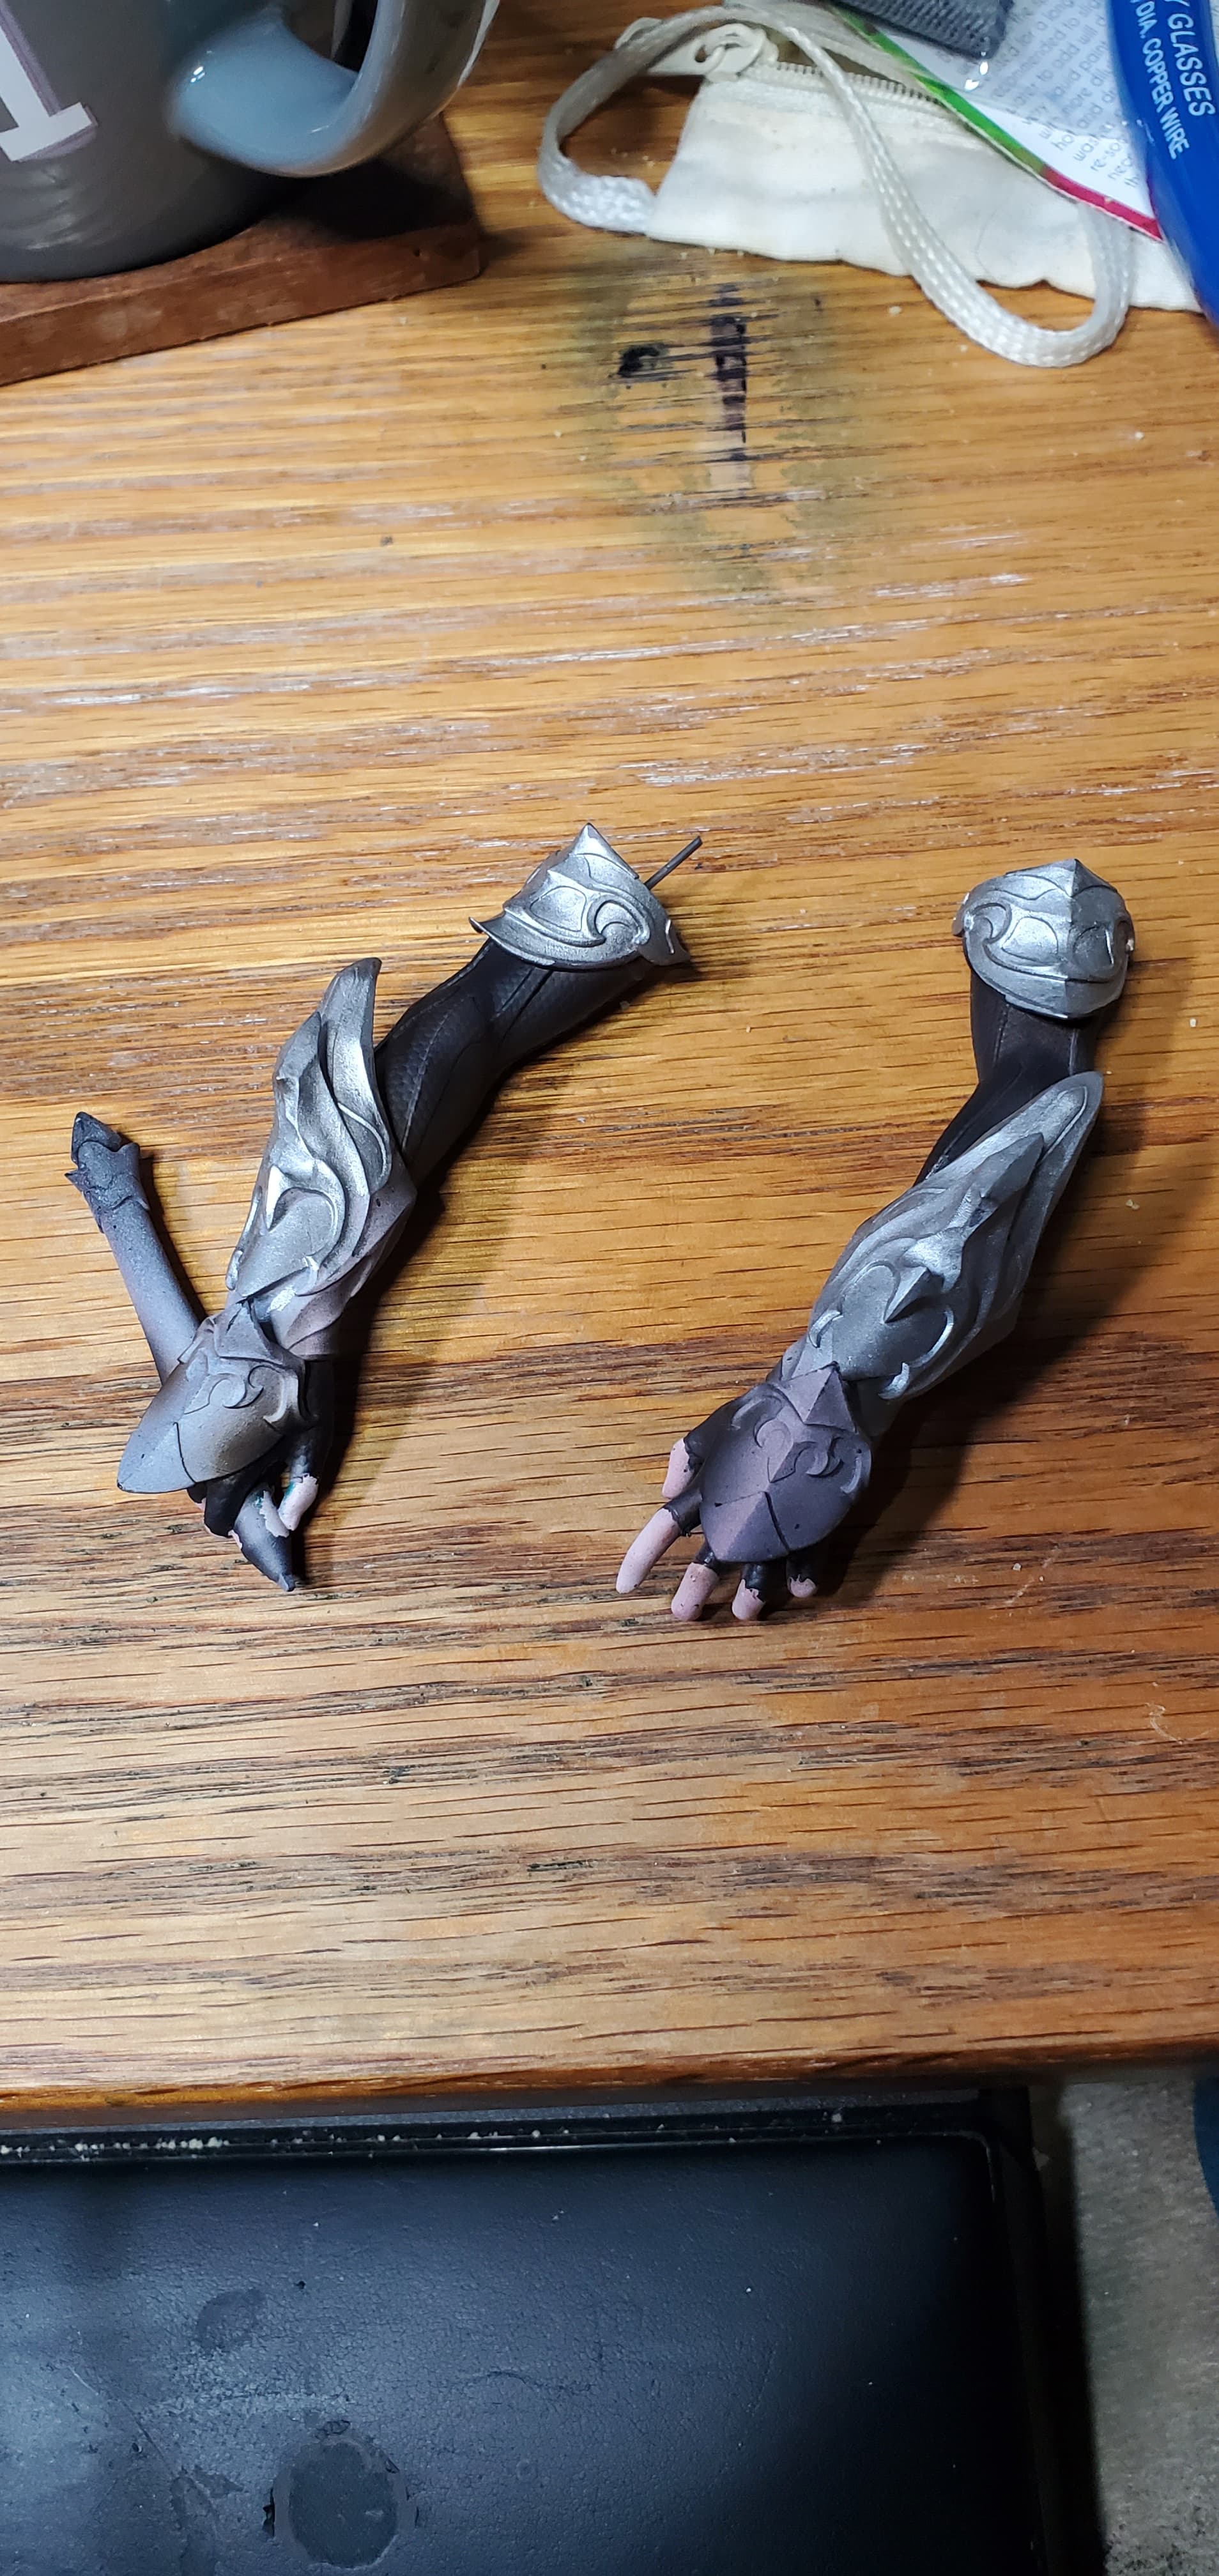
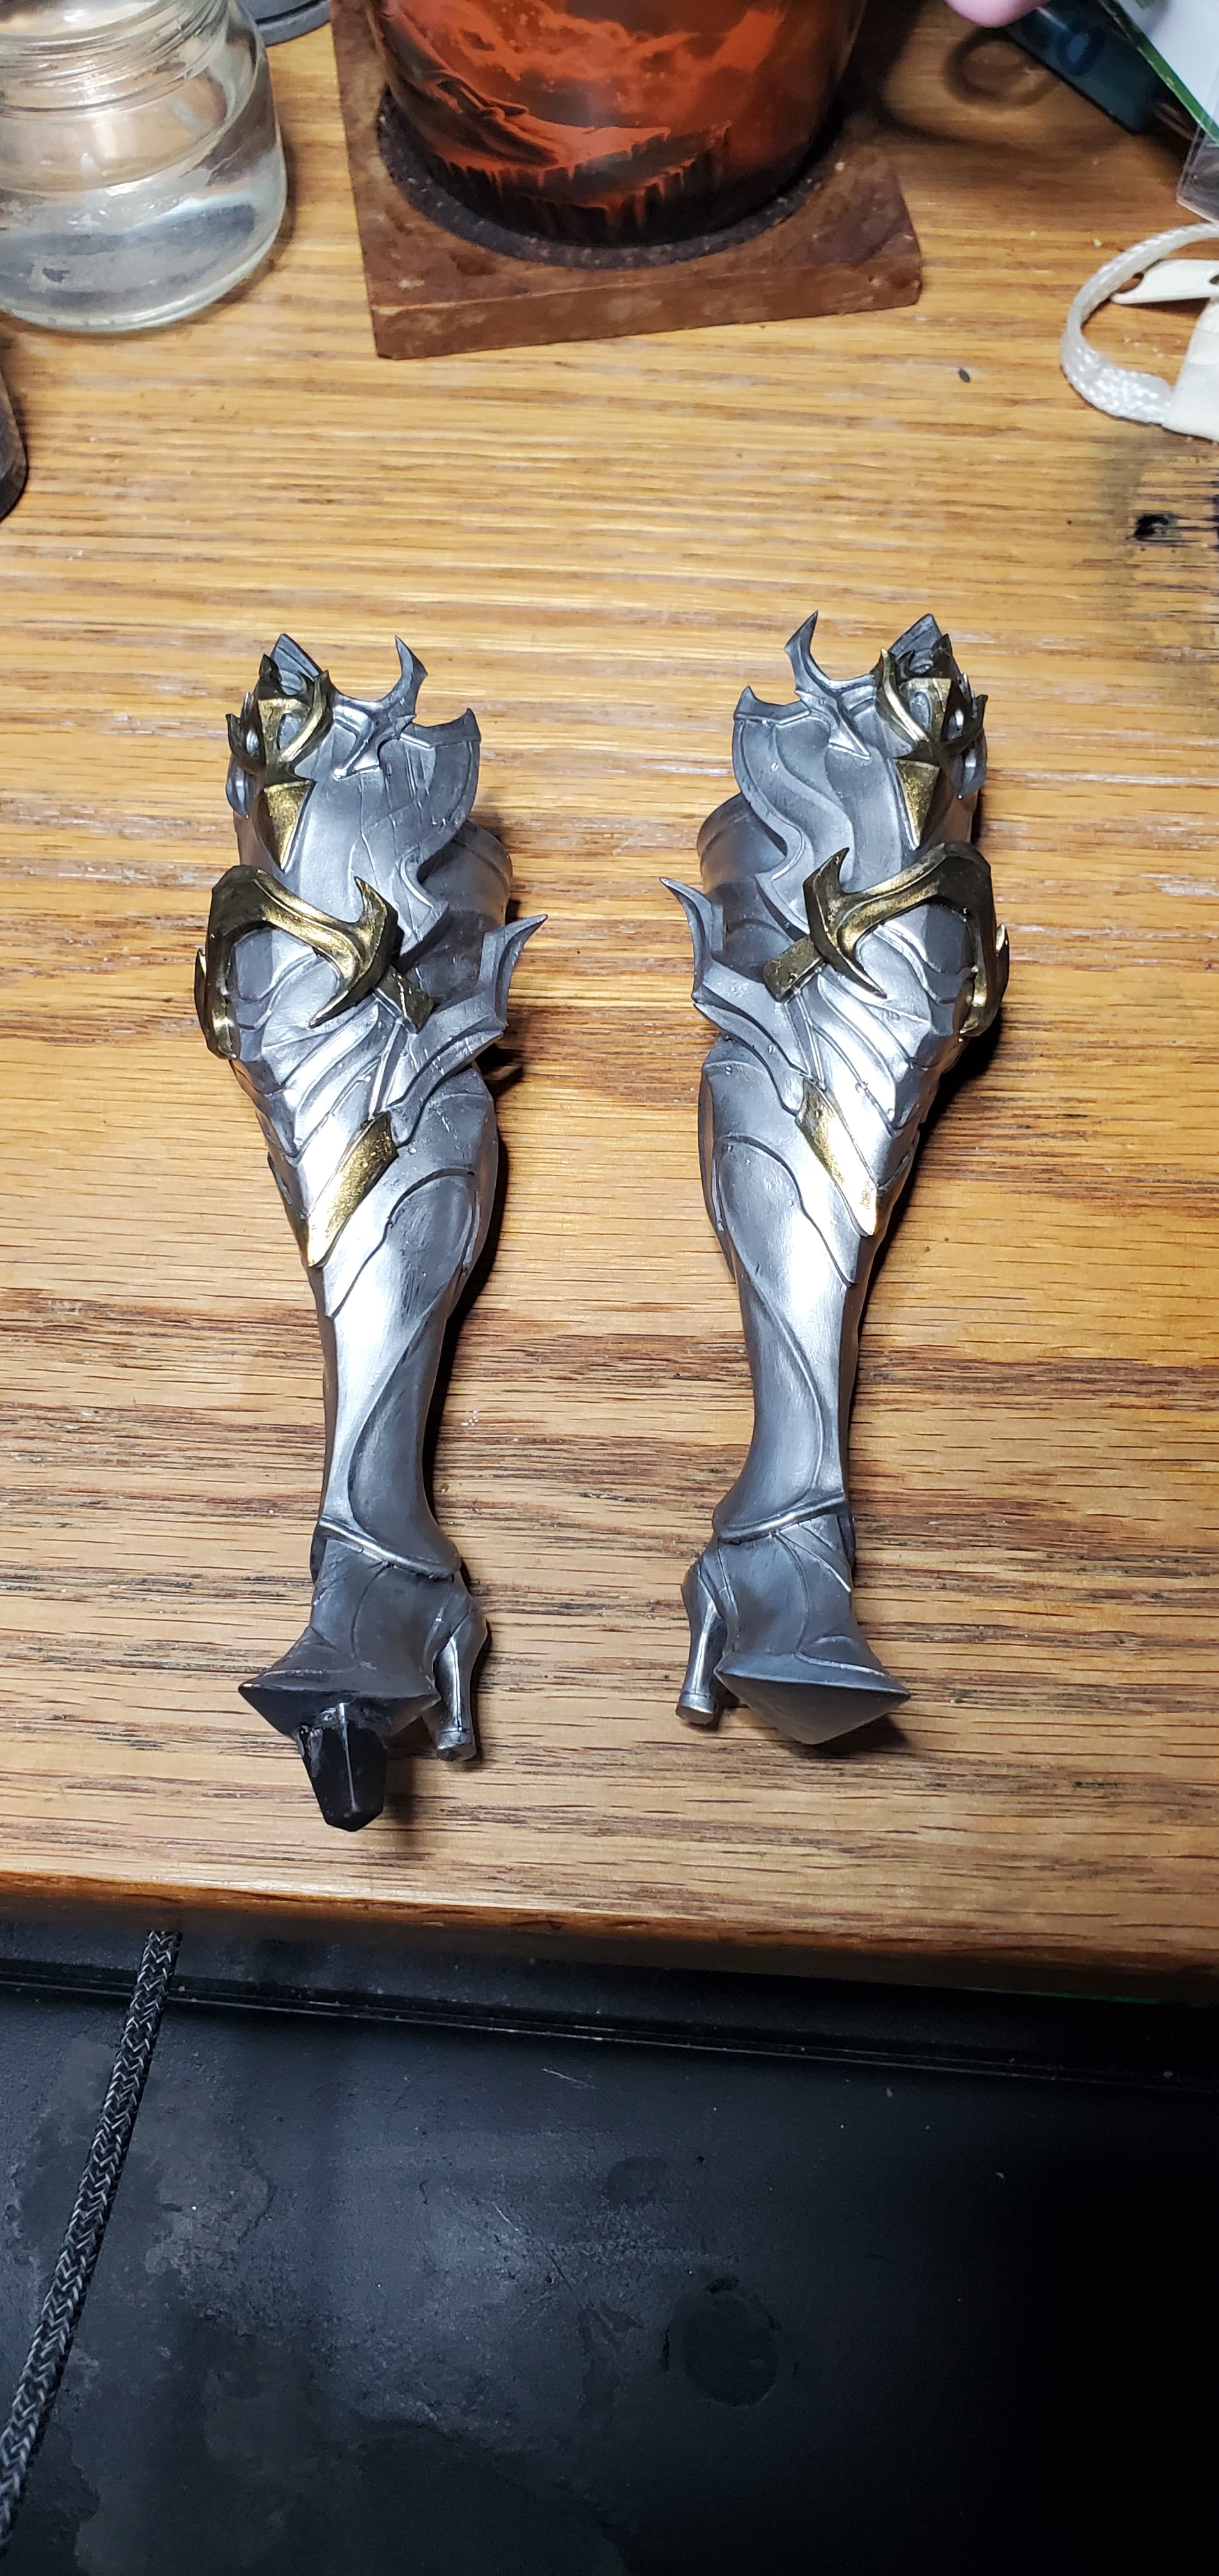
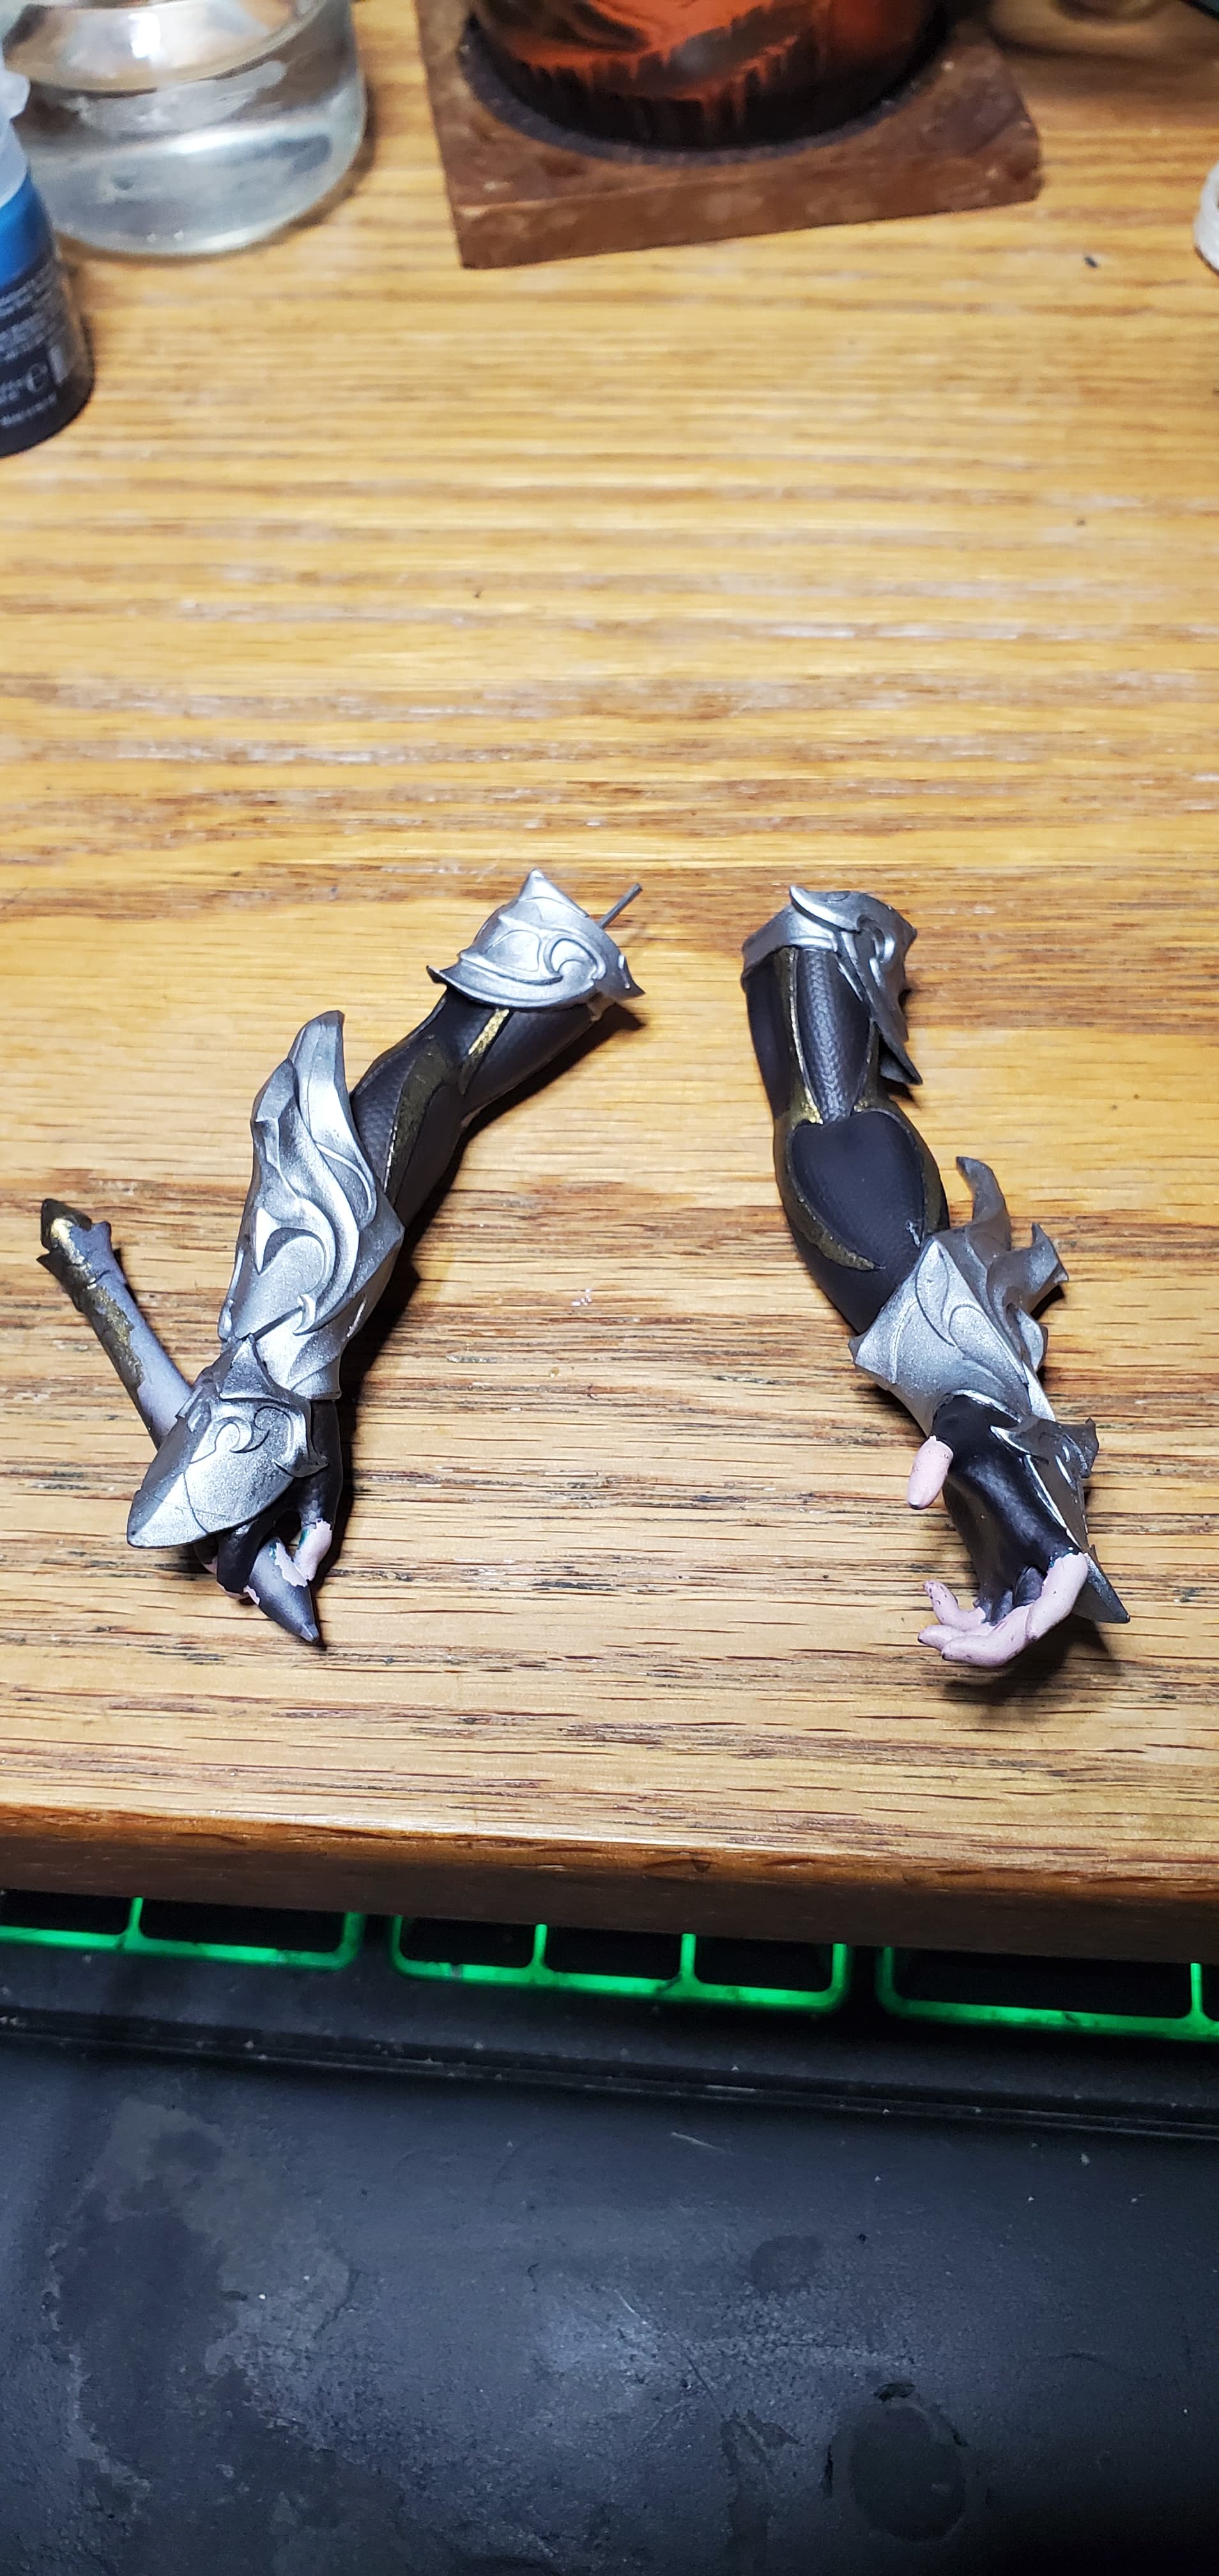
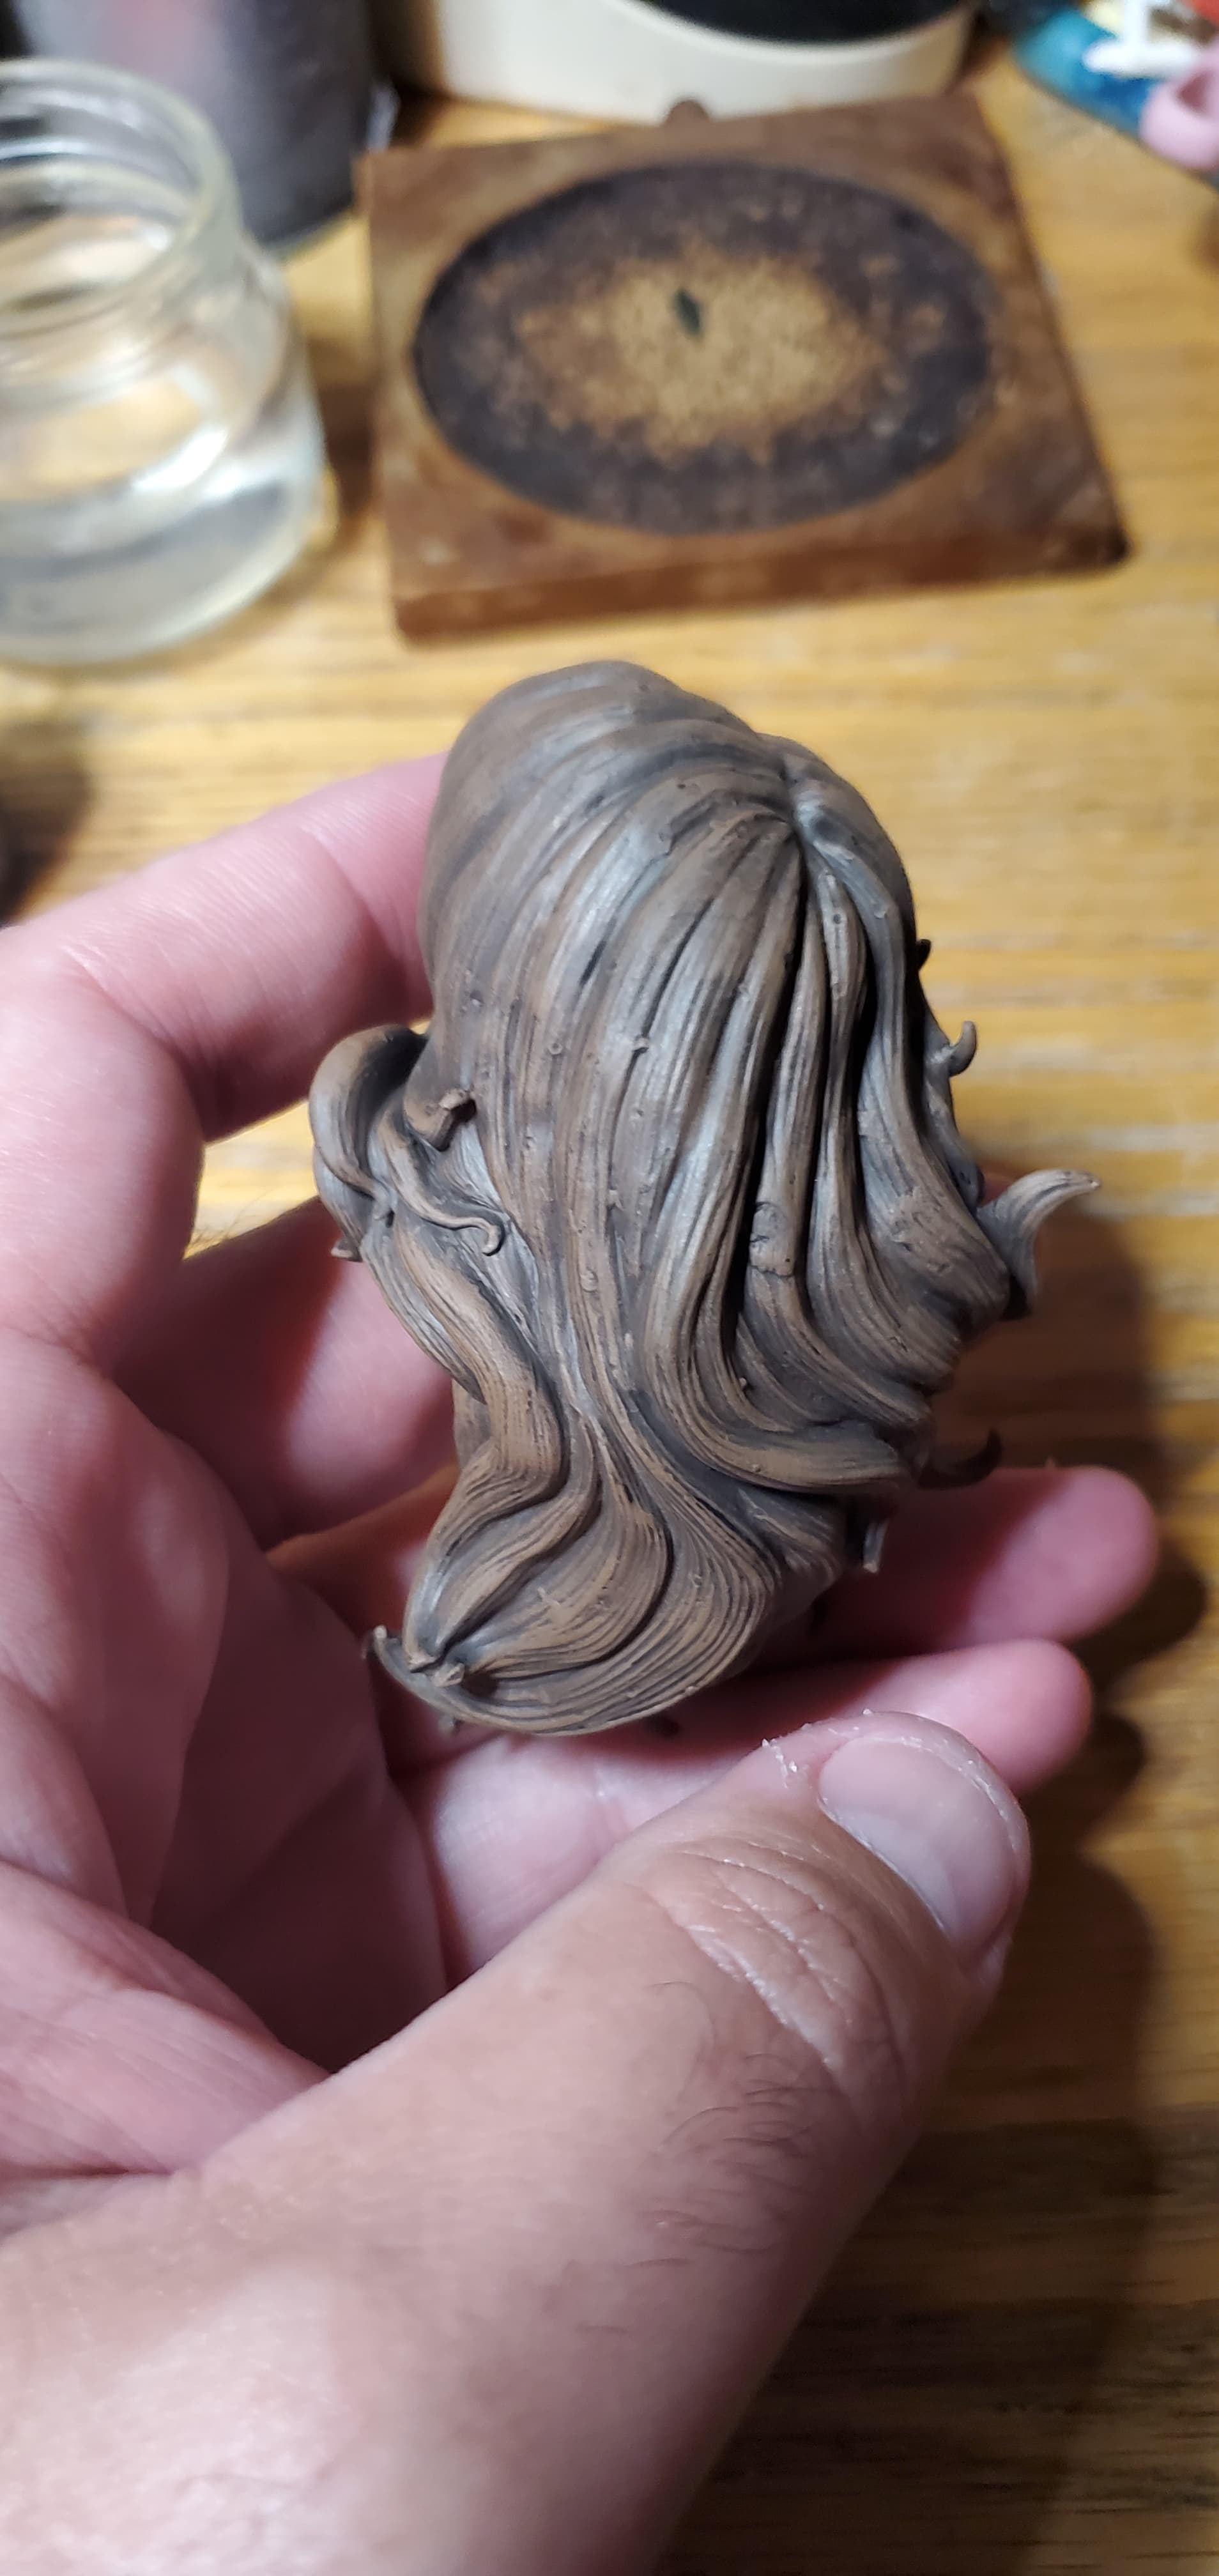
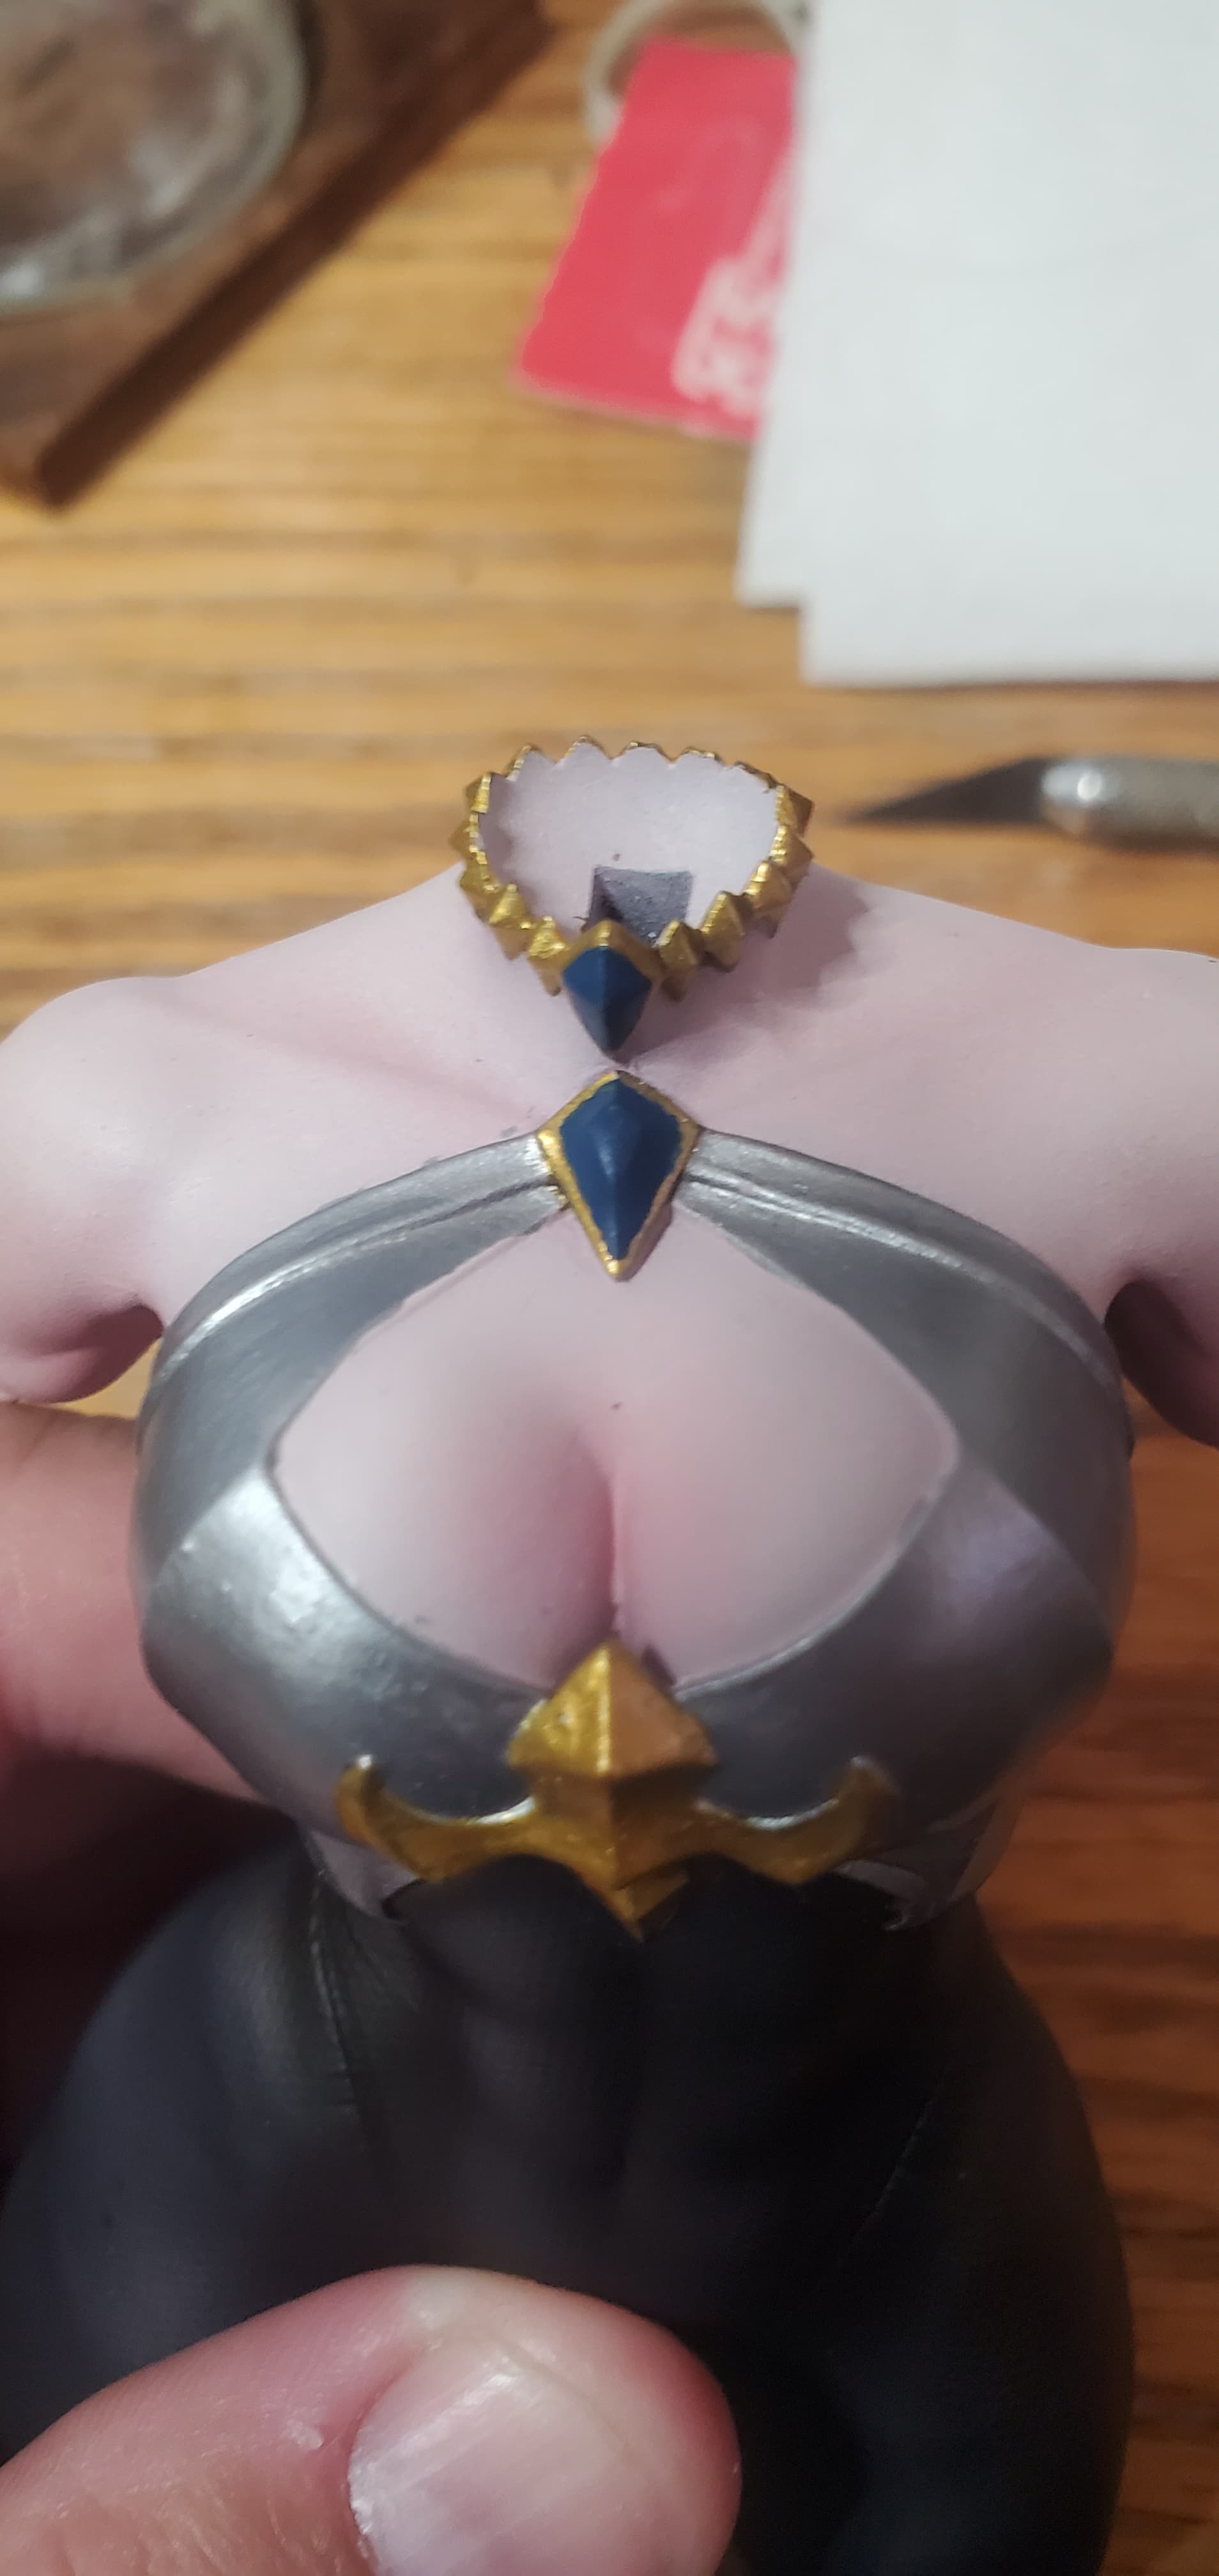
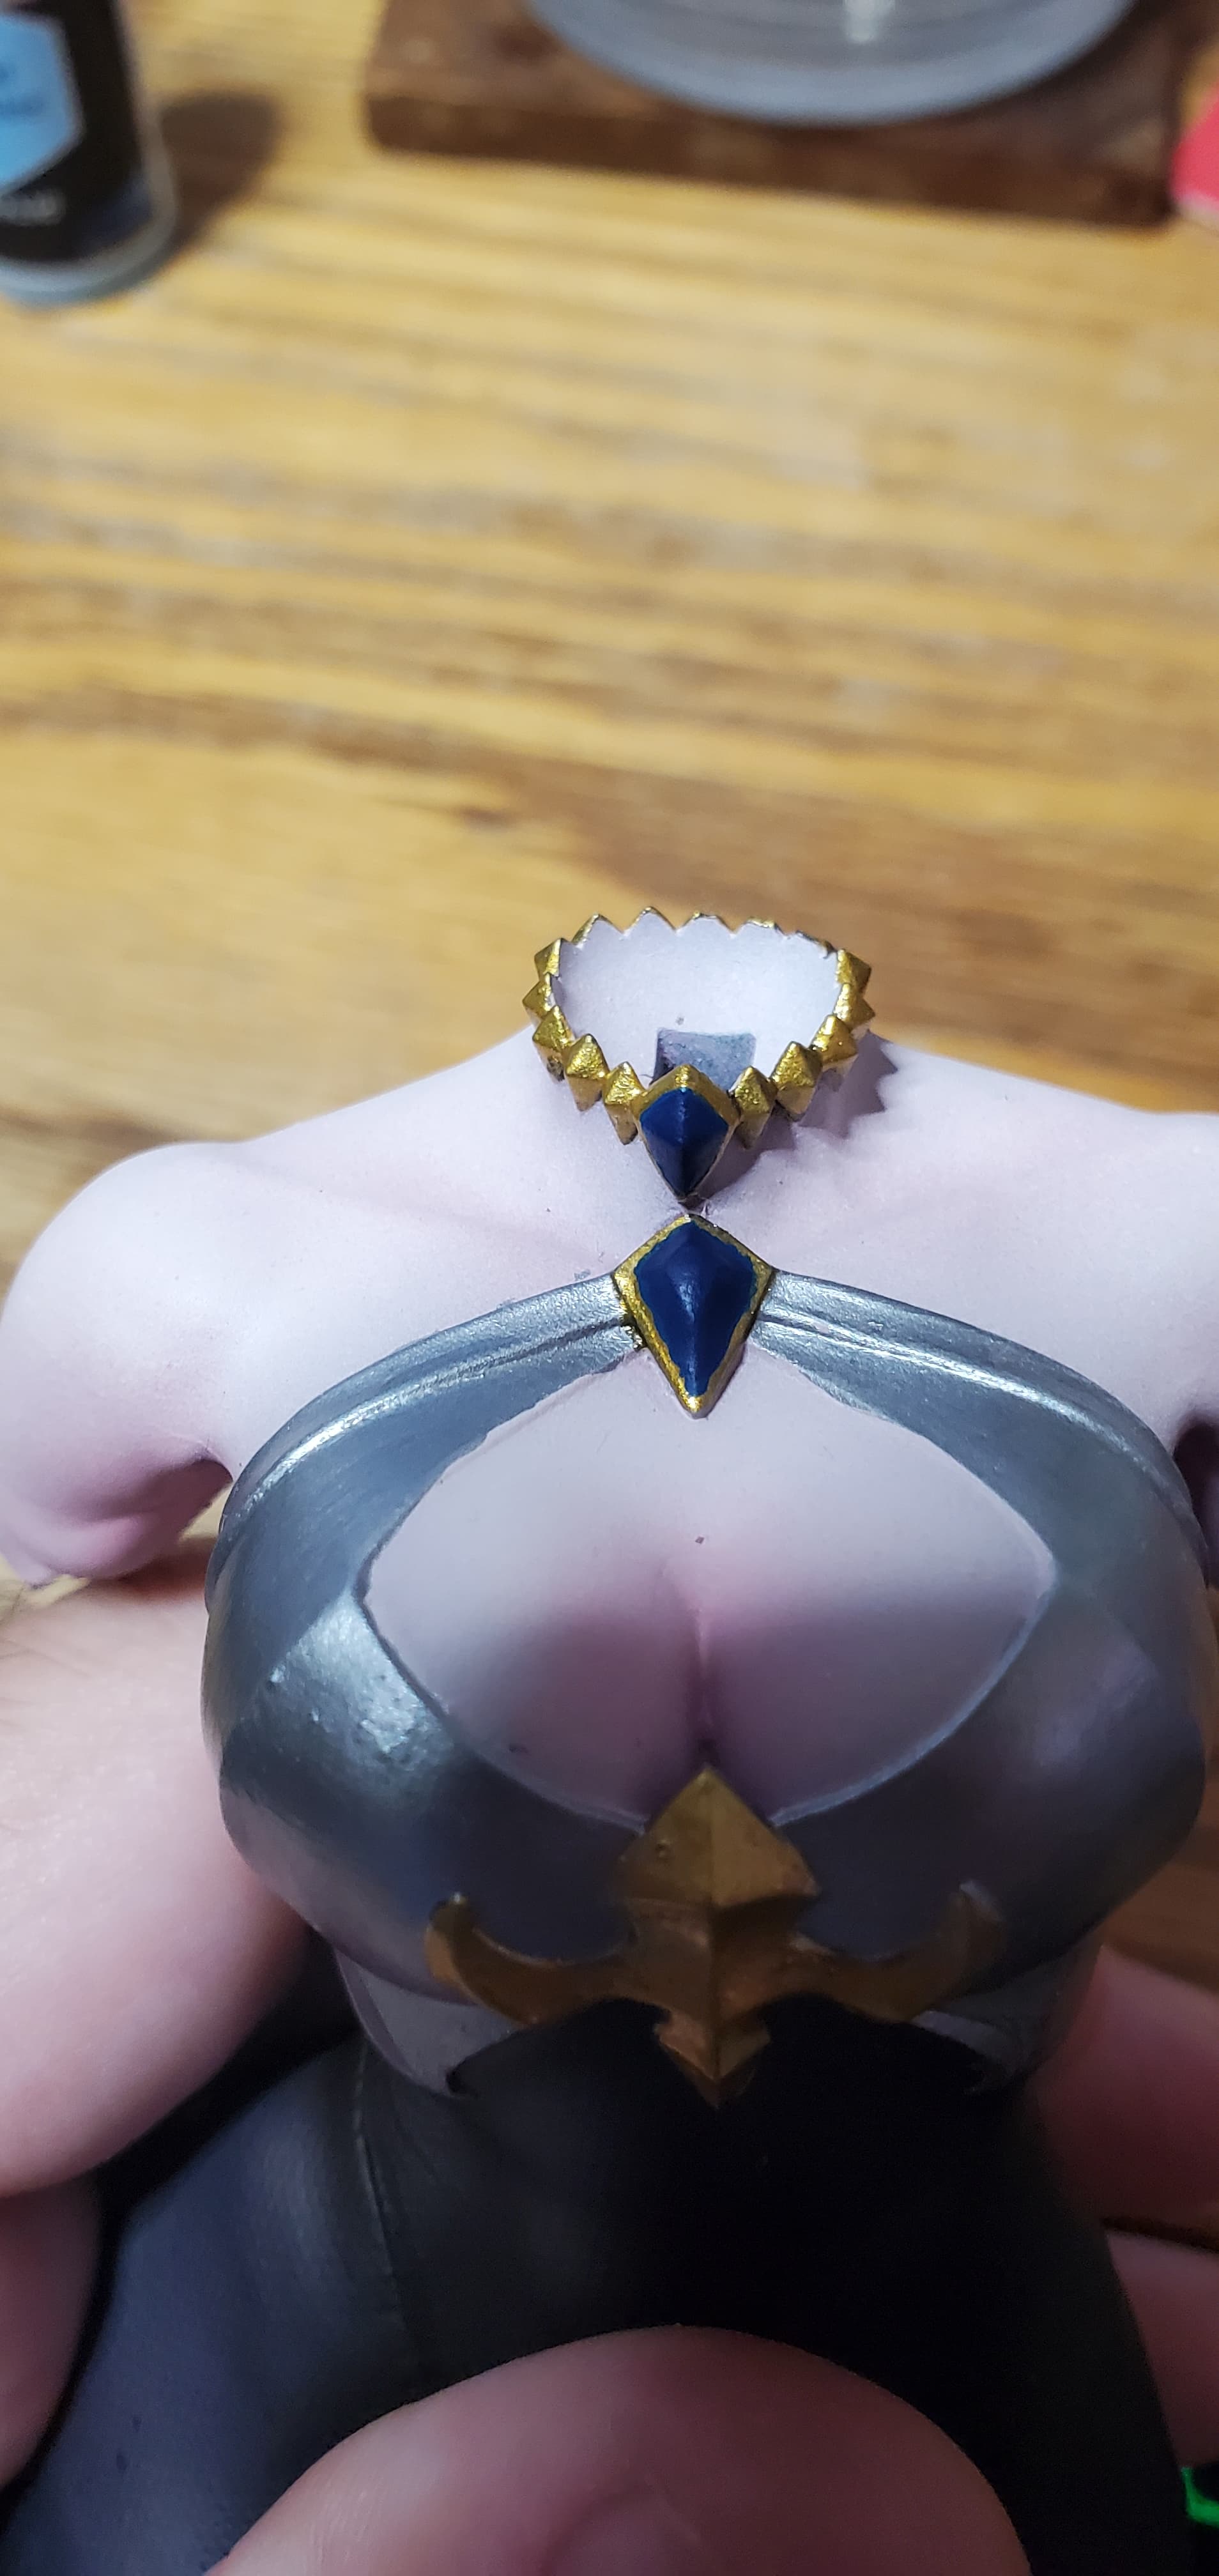
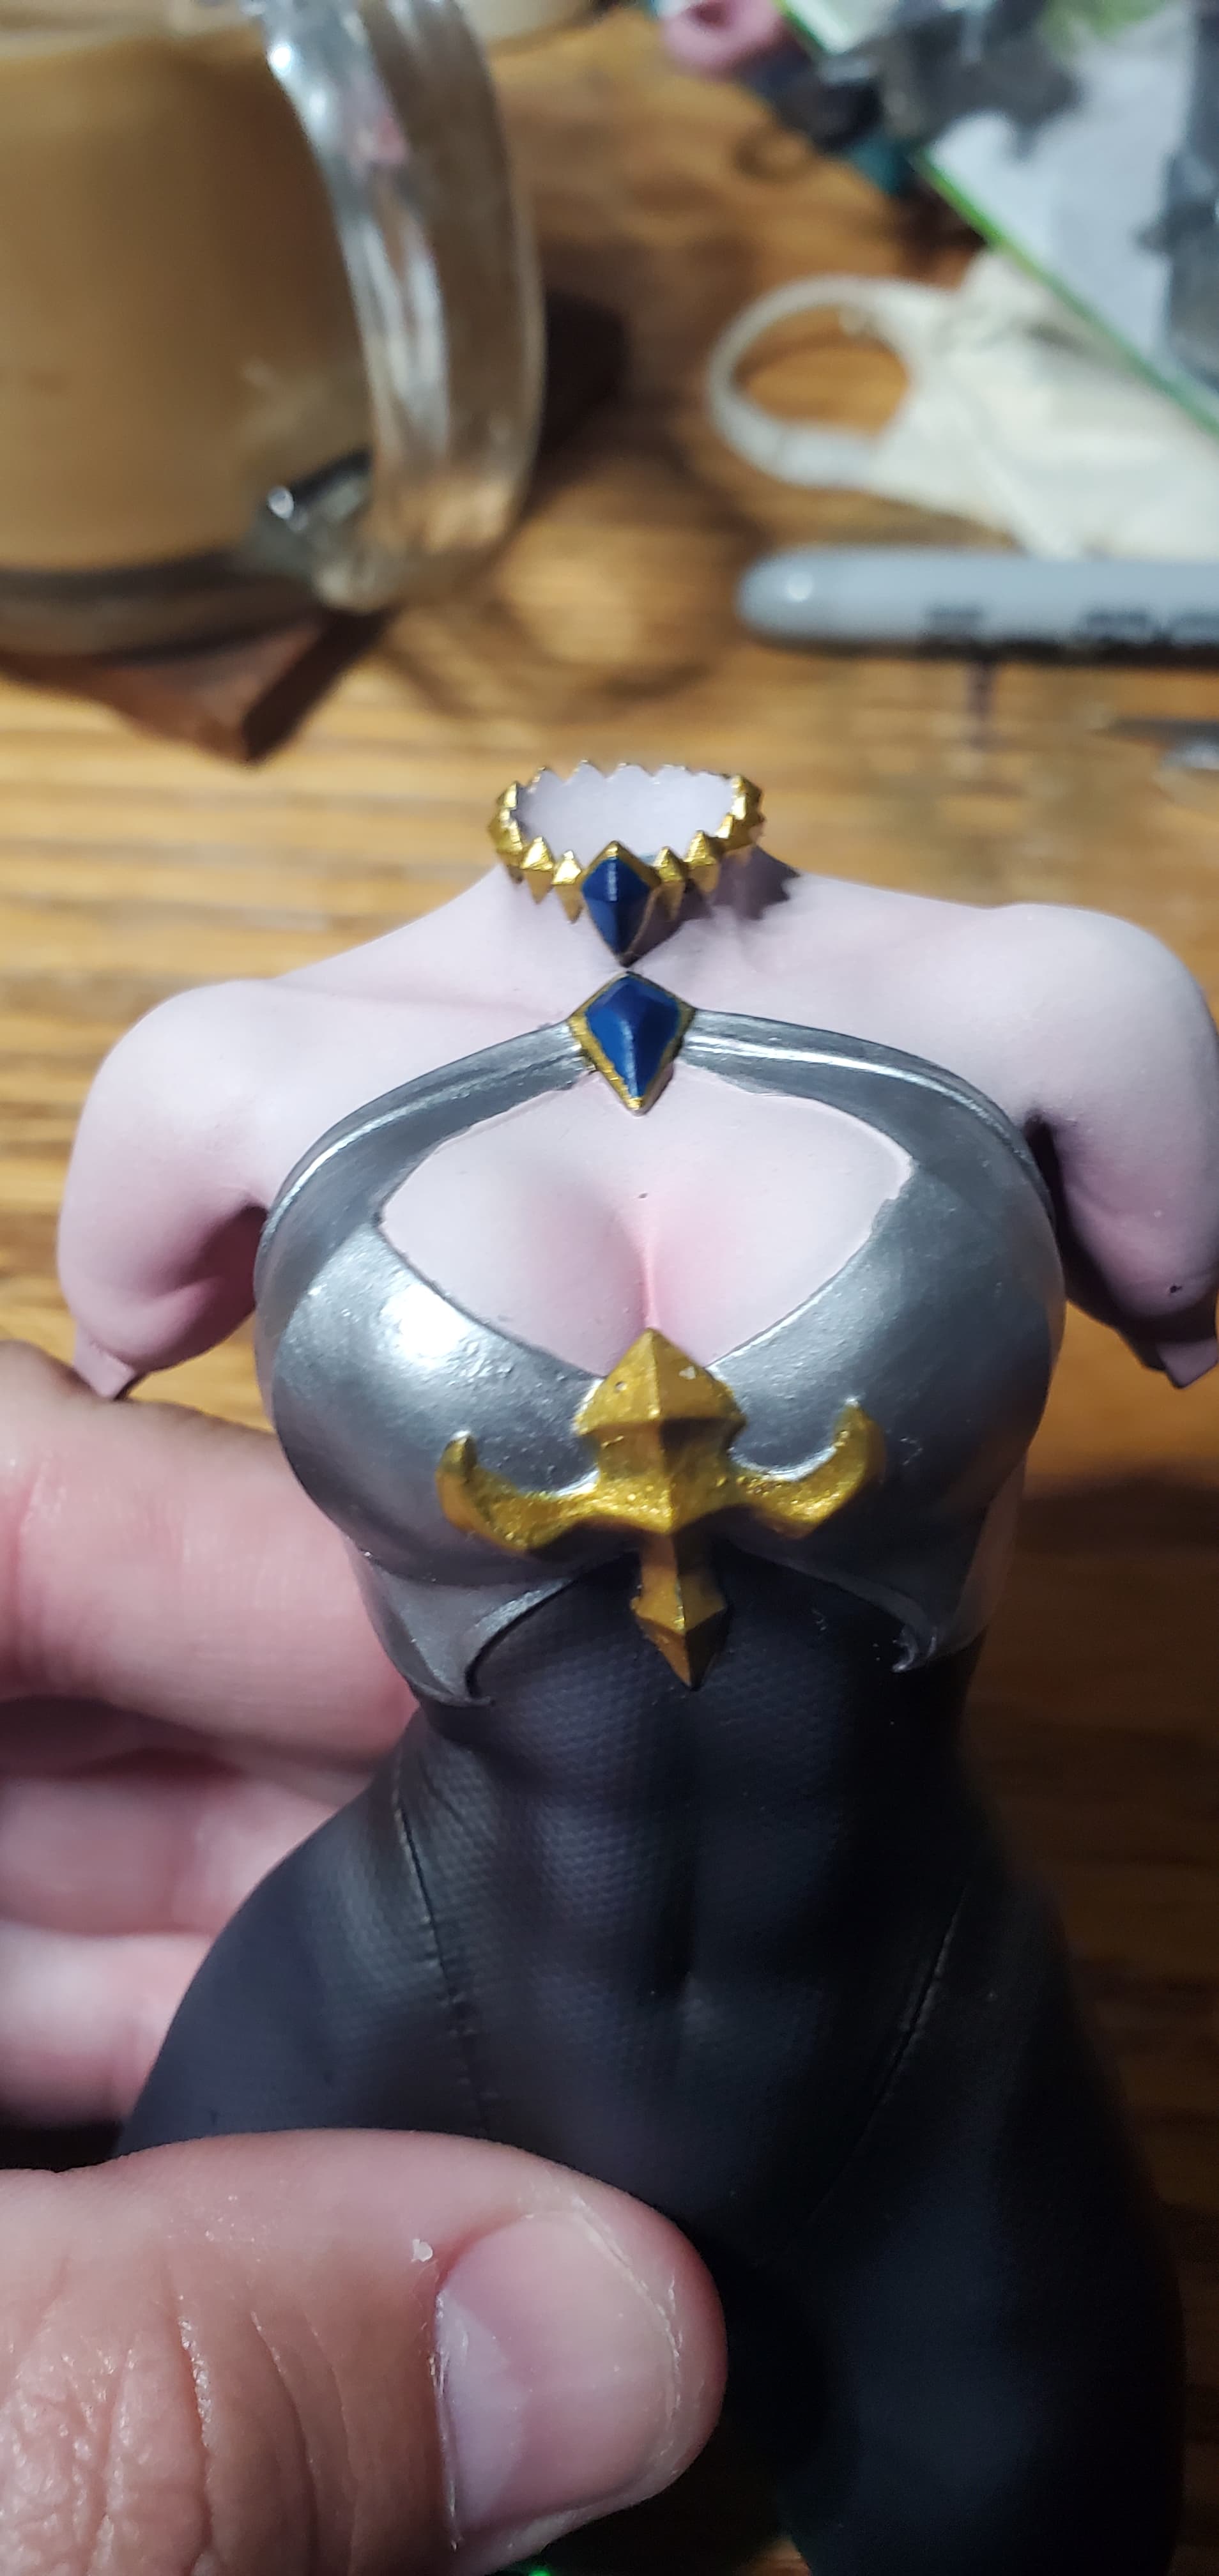
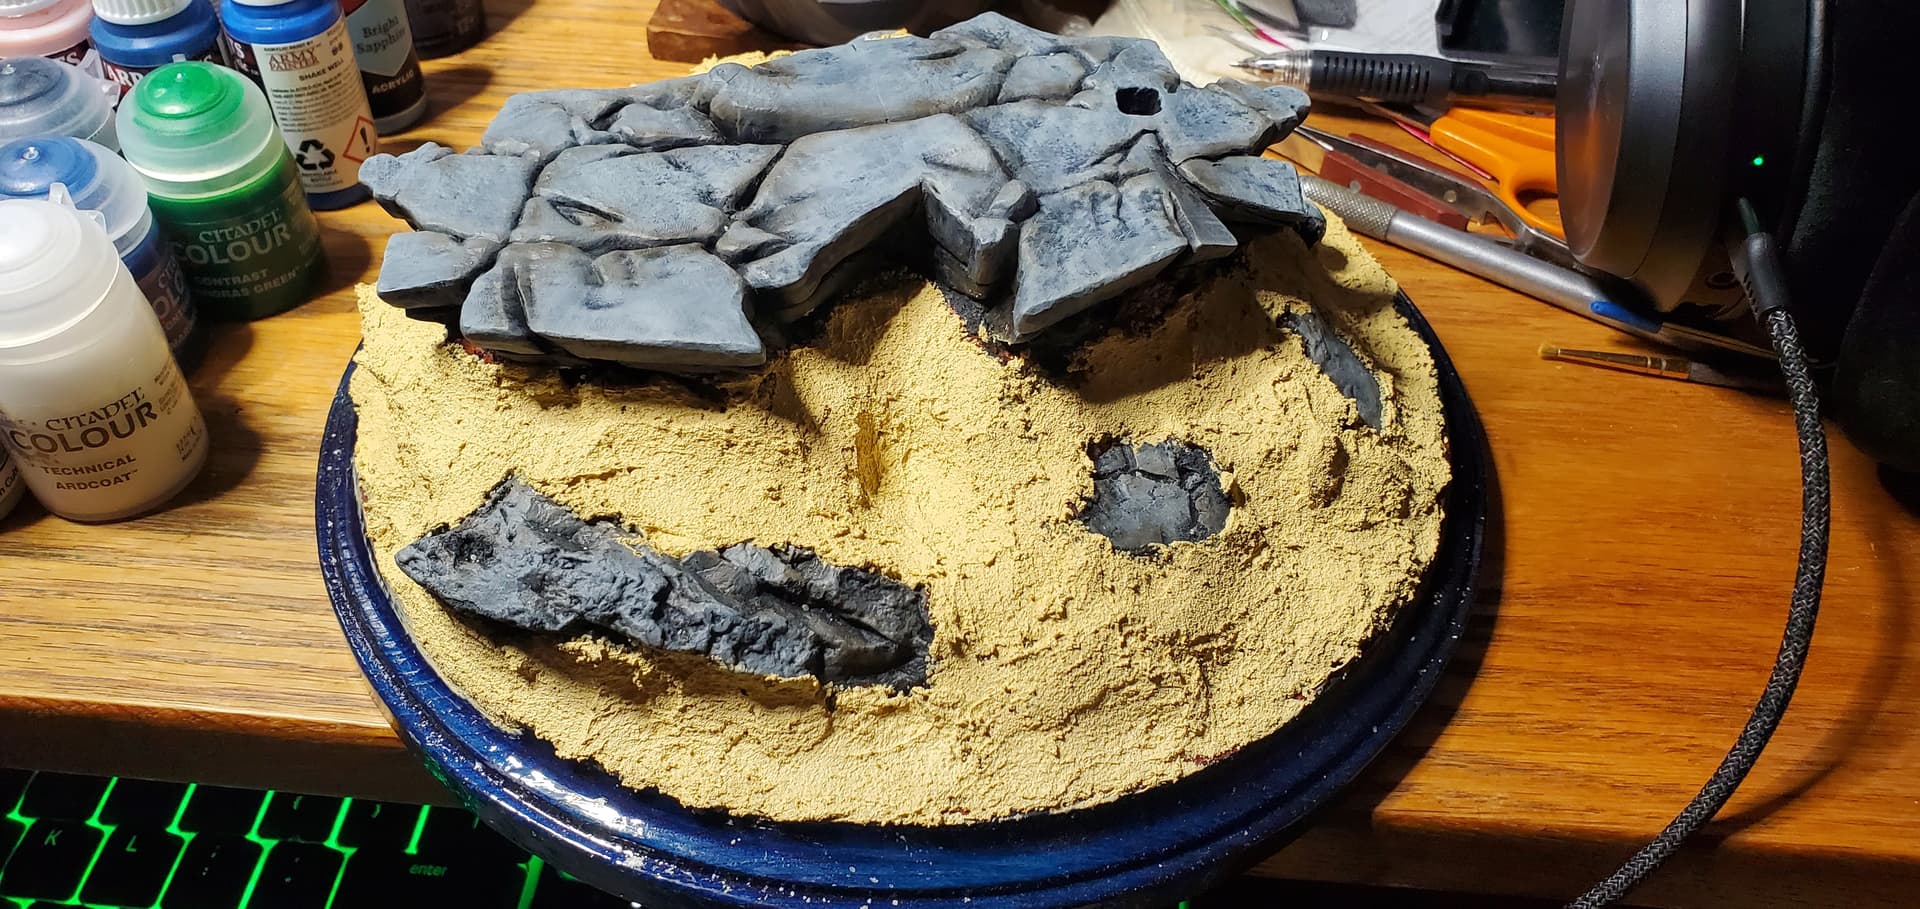
So first up, aside from the areas that will need repainting, a couple of the attachment point broke. These should be easy to fix with some CA glue. No real problem there. Where i have a more serious problem is the hair. The small breaks i can fix relatively easily to make then appear as natural terminations. Its this large break where i am unsure what to do. Its too thick to easily sand to an end, i really dont want to try and create a new extension (both for doubts on my ability to make it look natural and time constraints as i would still like to try and get her done by the 7th of June to make the contest). What i am leaning towards is using a dremel to reshape the end some first and then truncate it. However i would like to hear some other opinions first on how i might proceed, see if there is another solution i am not seeing.

1 Like

I’m so glad that you saved this one from the trash bin. She was so well painted that she deserved to be given a second chance. Good Luck!

Well she is not really painted, that is just the underlayment of paint. To put another way that is just about 10-15% of the work needed/planned.

Could you use some epoxy putty like the kneadable Green Stuff to sculpt her “hair extensions”?

So back to work on this girl after a bit of a cleansing and finishing other projects break.

To recap following a fall i had to do some significant repair work and had completed all of it save for figuring out how to fix a broken section of her hair.

Decided the best route forward was to split it to give it a more natural finish. While far from perfect, at this point it is good enough. I also took the opportunity to use the same bit i used to do the reshaping to also get a couple of areas that had support remnants that got missed.

Same time as this i also did more work on her base.


I unfortunately forgot to take photos of the painting progress. So here we have the rocks about 90%+ done. I just need to come back in and spray some wash into the recesses to add some additional depth. Also have mentally done some thinking on where to added additional scenic details.

Next i started retouching the torso and other parts that needed their paint redone.

I also took the opportunity to improve the shadow layer, which originally was done in a wash that i had sprayed and was not great, to switch to an artist ink to get the vibrancy needed.

I then did the furst shadow skintone layer.

3 Likes

More work today on getting her skin done.


To start I did the next tone, which was intended to seve as the midtone. I focused on a couple key areas, areas where alit of light would fall, before doing a light blending pass of paint. It was here that it seemed like the color was coming out really red, and decided to skip a step, which turned out to be a mistake.


Next i did what i thought was going to be the highlight tone. Immediately after spraying it, i could tell i had lost a significant amount of tonal variation. Had hoped it would come back as it dried, but that did not occur.


So I then did the step that I should have done prior to the highlight. This was shot exclusively into the shadow areas, under her arms, between her cleavage, etc. While doing this i unfortunately dropped one of her arms and a finger broke. Thankfully it broke in such a way that was easily fixed and will be invisible once I am completely done.


Finally, i did a second highlight tone to blend everything while adding a little extra to the areas in direct light. So now it becomes a waiting game while i let these pieces fully set up in preparation for some masking on the torso.

3 Likes

This is looking good, i am glad you did not give up on her.

Made some significant progress over the last couple of days.

First up did a final bit of detailing the skin around the face by spraying a tiny bit of fluorescent pink to give a slight blush to her cheeks.

Quick assembled shot with the head attached to the body.

Now is where alot of the work is going to make sense. From the start i have planned to make her body suit sheer. So this required painting in skin tones first, treating it as if there was nothing there.

To start building in additional detail below the outfit i started masking off her undergarment.

This was then painted black, as this would work best for the look i am going for.

The results after removing the masking. This was then left to cure for a day. This ment turning my attention back to the base.

I decided to try something to give some additional detail and interest by spraying some Argrax Earthshade into the crevices and the edges of the embeded rocks. The results ended up being better than i thought, adding some additional depth and needed color.

I then took to paining in a base color for the terrain. This color was not exactly what i wanted, it just happened to be the color i grabbed. Will still work though as it only needs to be an underlayment.

I set the base aside to get back to work on the figure parts which had now had sufficient time to cure.

To do the suit i masked off her shoulders and cleavage as they would not be covered.

The next step i unfortunately forgot to take a photo of. I sprayed clear brown into the areas seperating her armor from the suit, the liw areas on her back, and over the previously painted undergarment.

It was now that i could do the clear black sheer layer. This was slowly built up, working on one part and then moving to another. After the paint was dry i spayed a flat coat to seal it and eliminate the glossy finish.

What the results look like with the mask now removed.

One of the arms painted.

The masking on the finger tips removed. Still have a ways to go but are over the top of the hill.

4 Likes

Did not get as much done today, had an errand end up taking longer than planned and spent time trying to find my stash of ground material which was not found. Will look again tomorrow, i am hoping I did not send it to the new house yet. I also scanned in something I have an idea to use to turn a small miss spray into a “happy little accident.”

First thing i got painted is the base coat for her hair. This took longer to do than expected due to all the bits that needed painting, plus needing to let the back dry before doing the front.

The other parts i got started painting is the armor for the legs. Missed a couple spots as it got late and know better than to model tired.

Will see what tomorrow brings.

2 Likes

This crossed my mind last night, but I modeled anyway and thankfully it all worked out.
Jehn is looking great!

Cheers,
Mark

1 Like

Thank you, its looking like saving her from the bin was the right call.

1 Like

So a lot has progressed since the last update so lets get into it.

First up is the base. The material i thought i had was nowhere to be found, so i picked up some ballest material and layed it down as a start for the ground.


Next i get the armor painted in on all the relevant pieces. As an asside i took the photo of the gloves while they were in progress.

A quick near complete shot of almost everything together i took at my local IPMS club meeting.


Then today i layed down bronze on all of the areas that will be painted gold. This serves both as a means of overriding the flesh and other colors, it also provides a great underlayer for a richer gold.

Next i turned my attention to the sword. I chose to do the blade in a cobolt metalic so as to stand out from her legs. I also base coated the hilt in bronze.


Last for this update is the work on her head. I drybrushed on two successive layers of brown, with the lightedt being only applied to the top and back where light would be hitting. I then turned her over and did her lips. The modeler who’s technique i am trying for this build swears by Citadel Magos Purple for doing lips, and he is absolutely right. It honestly looks even better in person.

5 Likes

She’s looking great! So glad that you were able to save this project.

Back home and back to work on this girl.

First thing i did was block in the base of the eye using one of the skin colors i previously used. This will represent the area around the eyeball that is slightly visible.

Next came the eye whites, which was done in an off white.

After this a used a pencil to mark a rough estimate of where the pupils were going to go so as the establish the alignment prior to painting. Then came the first color for the pupils, a very rich dark green.

After this dried i used a bright green in the very center to give the highlights of the pupil.

I then used some Citadel technical paint to smooth the gradient between the two colors. While in concept this should have worked, in execution i think i applied it too heavily and should have thinned it some. Still works but i feel it could have been better.

All of this was allowed to dry overnight before coming back and doing the black part of the eyes. I also did the lining of her eyes.

Lastly for her eyes tonight I did a specular highlight. Now all of this is going to have to sit for a day or two before i am able to continue as i want the paint good and cured.

Awhile ago i mentioned i had an idea as to fixing a spot i sprayed a little too much of one of the shade colors and here i a first preview of the solution.

3 Likes

Great job on her facial features!

Continuing work to finish up the details on this figure. First area of focus was her jewels.


Fairly straight forward progression from a dark base to lighter tones. To help accentuate the facets i used different shades on the individual facets. I finished with my brightest highlight color along the edges to add additional definition to them. After this all had drived i added a gloss coat to seal it.

Next came a return to working on the base.

I was not satisfied with how my initial ground work turned out so i over coated it with some Vallejo Beach Sand. Had to go really old school with applying it with my fingers to get the finish i wanted.

Next i applied some Cygor Brown to break up the uniformity of the ground work, applying it heavier to agreas where it would make sense for water to pool and/or flow.

Lastly i added a small water feature with some UV resin (for the size area it would have been more effort that it was worth to use normal clear resin). The rocks on the bottom were placed for added effect.

This was as far as i got for now. At this point the base is the only area that still needs major work, but we are in the final stretch.

3 Likes

Ranger_Chris, your progress is moving along and your flesh tone painting is amazing!

Been a bit and unfortunately have not had much time to work on this girl. I did however apply a layer of mod podge gloss to the water and blew it to make ripples in the surface. The photo does not do a great job of showing this.

2 Likes

Alright, made some decent progress on finishing the base up.


Most of the ground work is now in. There are a couple other bits i still need to add but those should hopefully not take to long to do.

4 Likes

Got more work on the base done today.


Knew i wanted to incorporate these flower pieces in this base from the get go. Its just been a mater of waiting for the right time to add them.

5 Likes