Ahh got it. 6 inches space between, not 6 inches on center.
Here’s a fun one, the battleship Borodino. The draft numbers are painted following the same rules of vertical dimensions.

Ahh got it. 6 inches space between, not 6 inches on center.
Here’s a fun one, the battleship Borodino. The draft numbers are painted following the same rules of vertical dimensions.
EdGrune - I did try JPEG’s initially, but when I did that, the only option on the pop up window was to enter “Source” as opposed to selecting an image from a set of folders, etc. I don’t know how I got photos inserted last year, but eventually I will figure it out.
GMorrison - Thank you for posting my photos for me.
I’ll post an update later today.
You have to have a link to a jpeg (or a gif) to enter at the Source box. There’s nothign as intuitive as using a drag and drop box.
The code needs to resemble what you get if you right click and select Copy Image Location.
So, example: data:image/jpeg;base64,/9j/4AAQSkZJRgABAQAAAQABAAD/2wCEAAkGBxMTEhUSExMVFhUXGBUVFxcWFxcXGBUXFRUWFhUVGBgYHSggGBolHRUXITEhJSorLi4uFx8zODMtNygtLisBCgoKDg0OFxAQGi0dHR0rLS0tLSstLS0rKy0tLS0tLS0tKy0tLSstKy0tLS0tLS0tLS0tLS0tNy03LS03LTcrLf/AABEIALEBHQMBIgACEQEDEQH/xAAbAAACAwEBAQAAAAAAAAAAAAACAwEEBQAGB//EAEAQ…
which looks like this in the Image box (600 pixel width):

For multiple images, you have to select each image one at a time.
So:
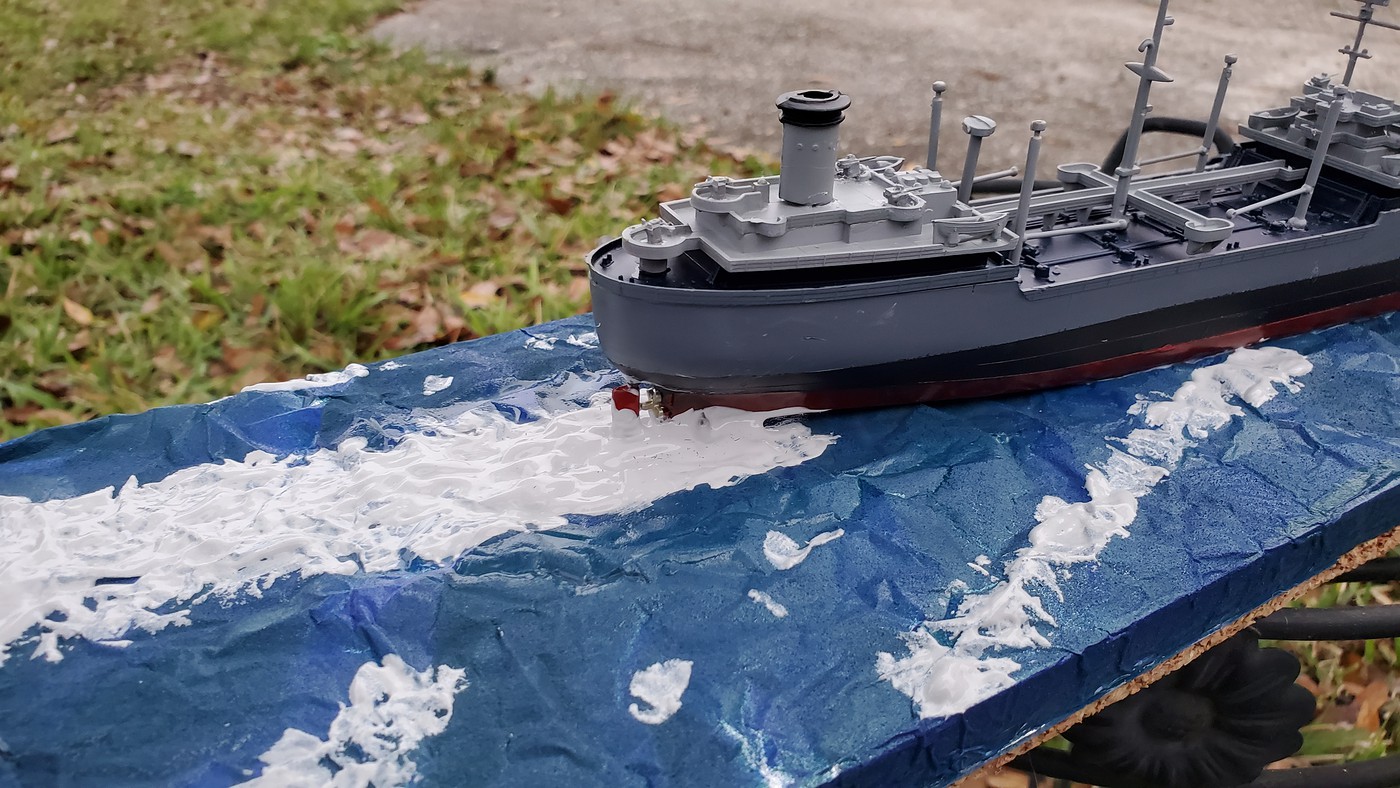
Note that she’s runnign very light, and you can see bottom red just barely.
While a drag-n-drop image interface would be easier, Kalmbach has decided against that (which is passing logical, one can only imagine how image-heavy model railroading can be).
Post Merry Christmas all.
Finally got the picture uploading issue resolved (thanks everyone).
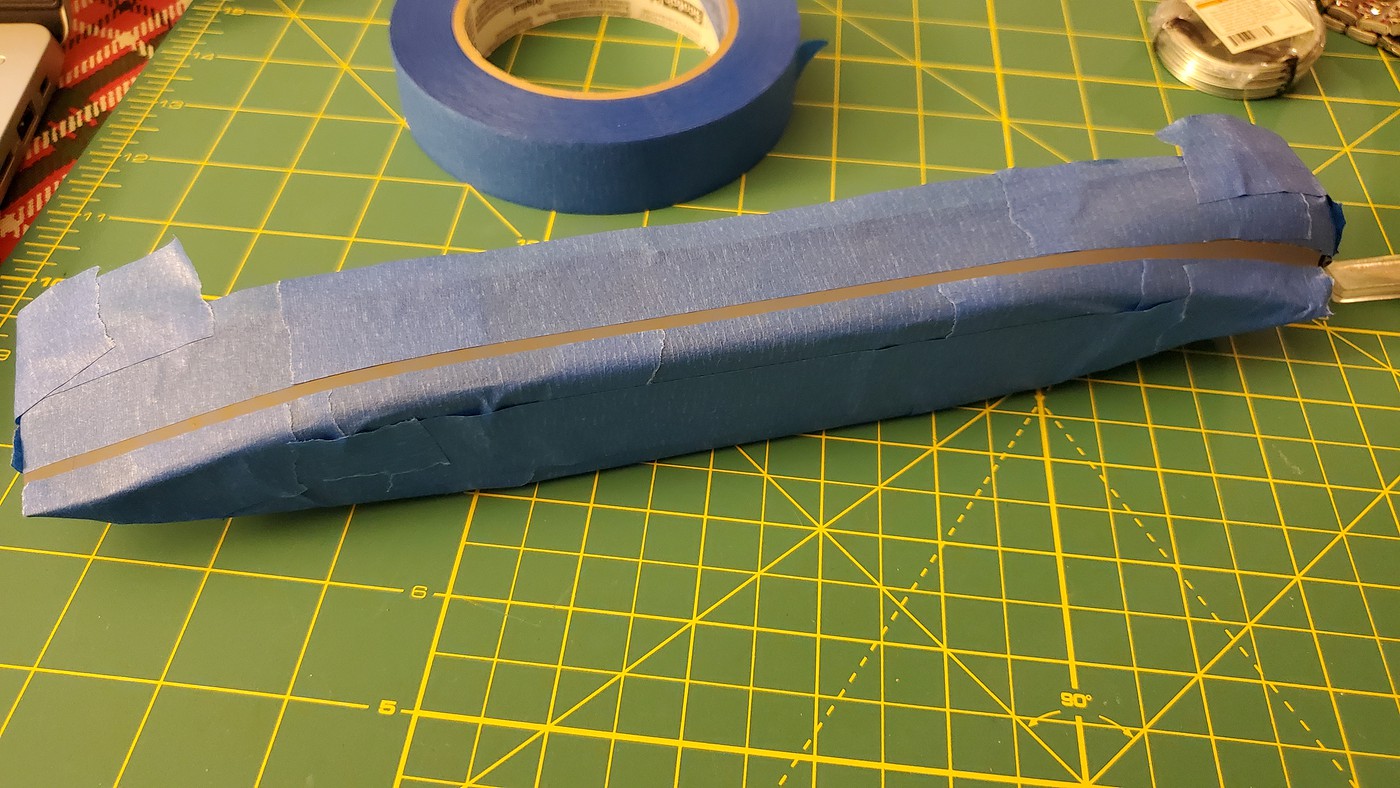
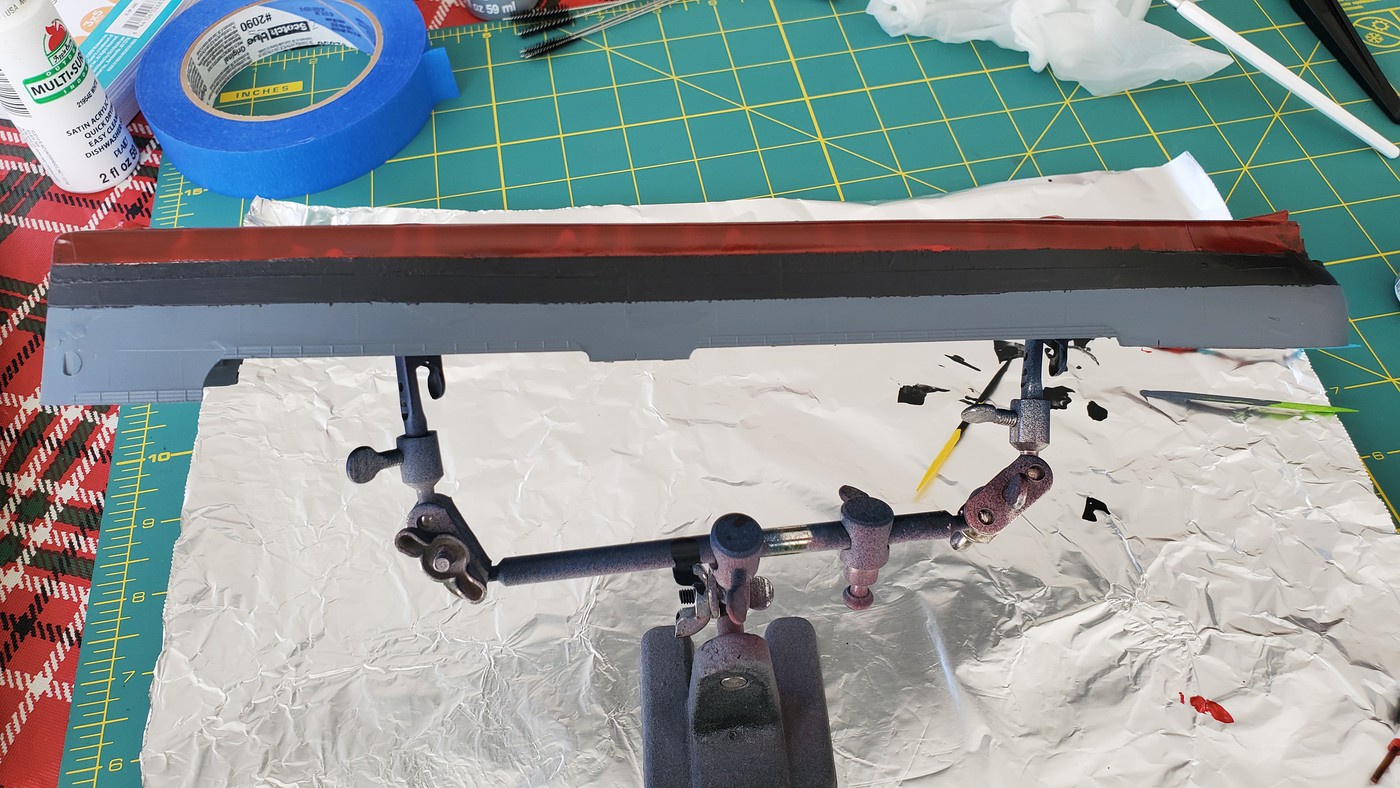
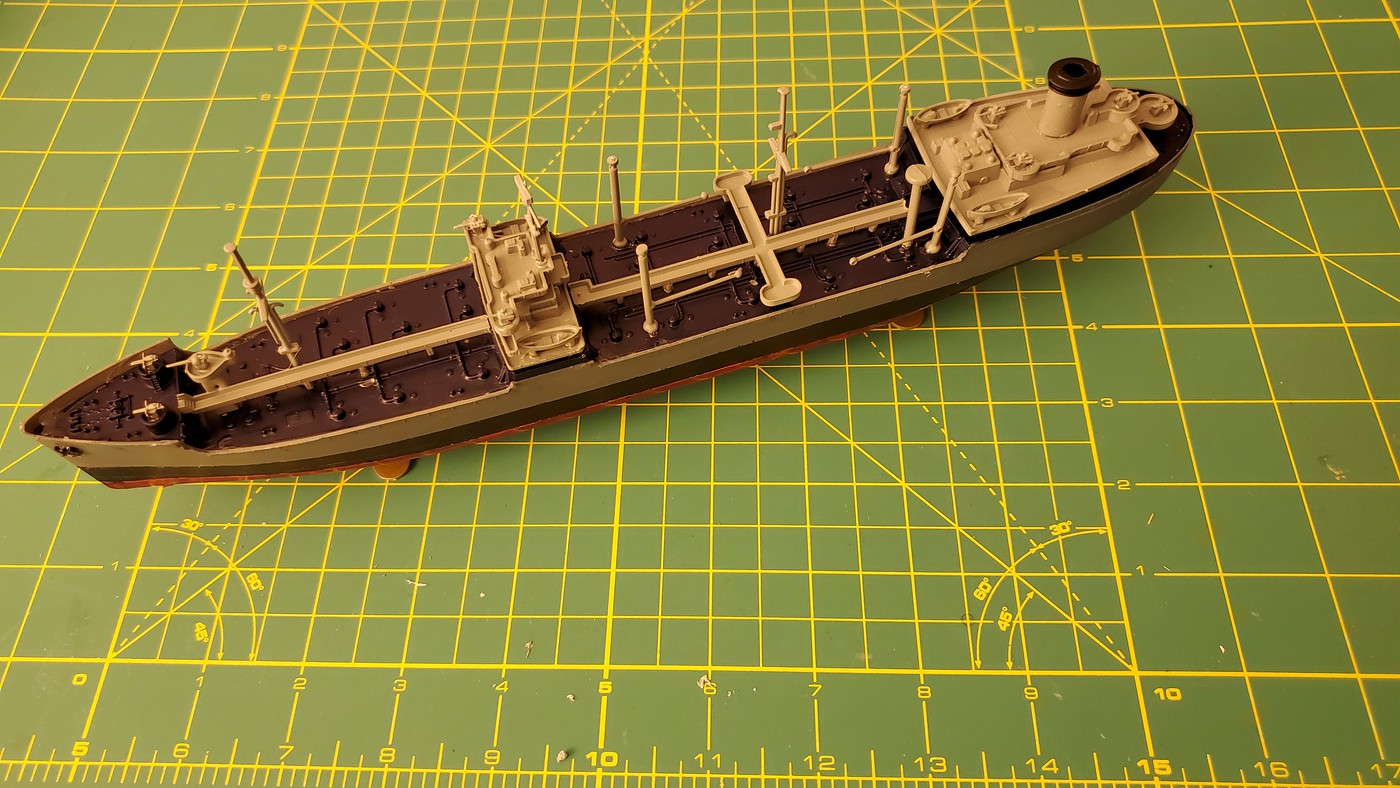
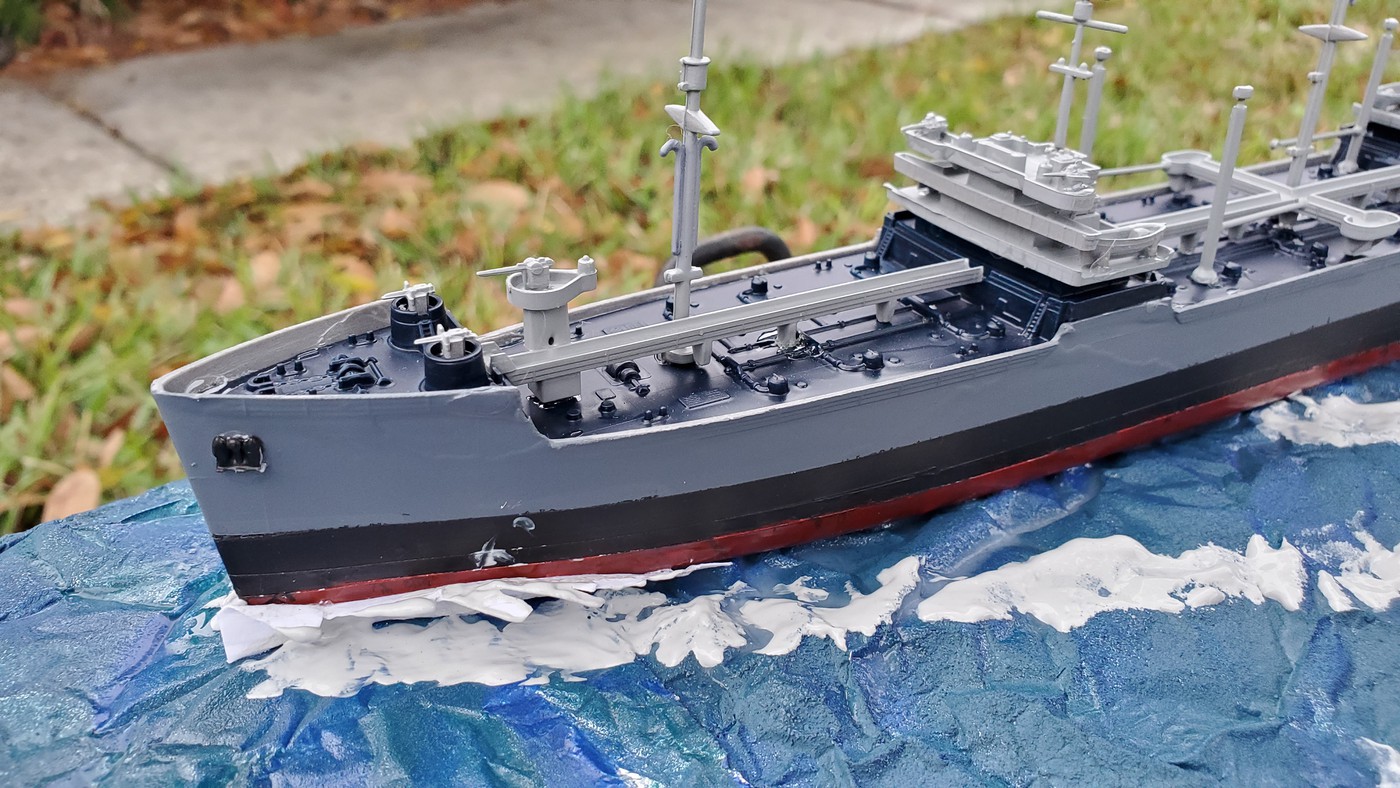
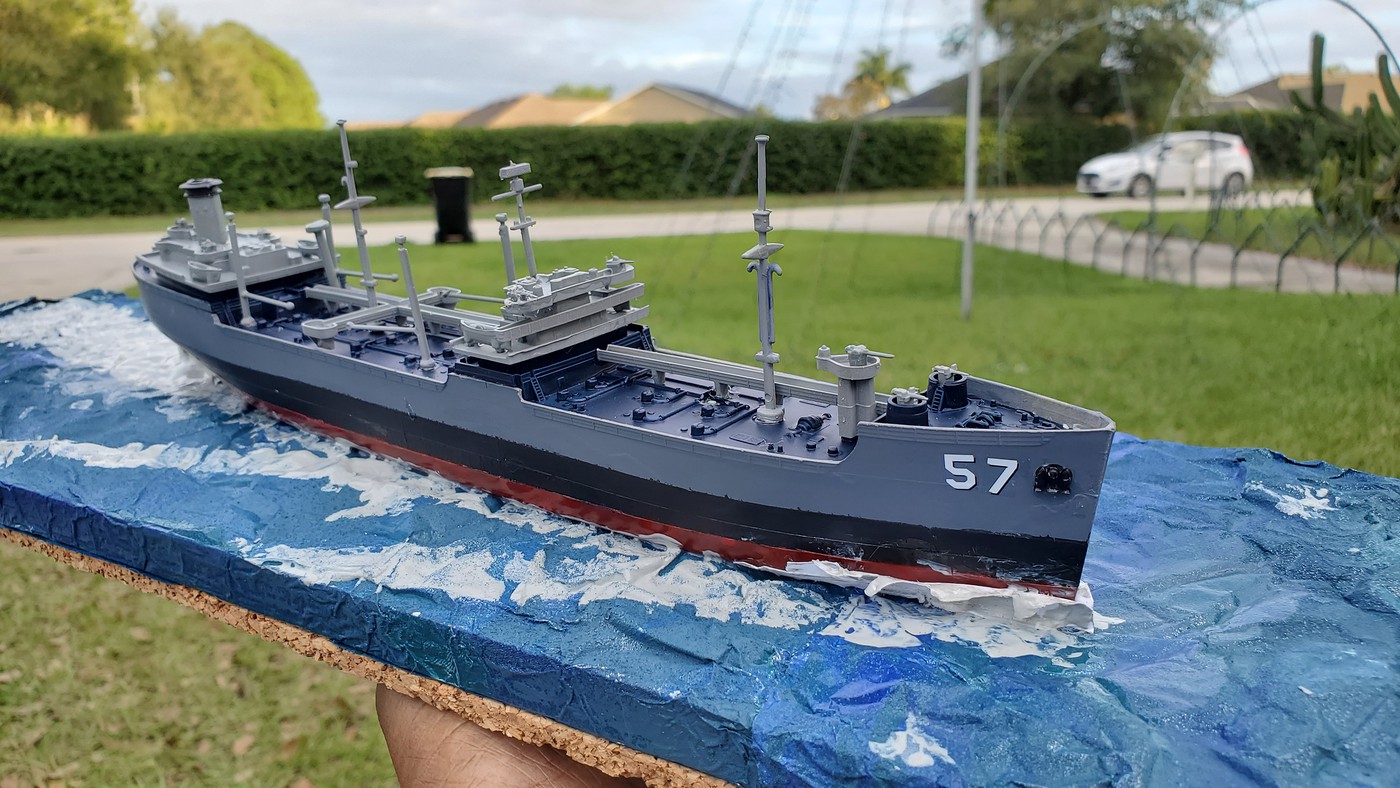
As with most, kinda busy the past week and haven’t got around to posting. Here are a series of photos the last couple of days. Tried to do a narrow black stripe but that didn’t turn out well with drips going in both directions (into the red and the gray). Won’t show that photo here, so had to redo it with a bigger stripe.
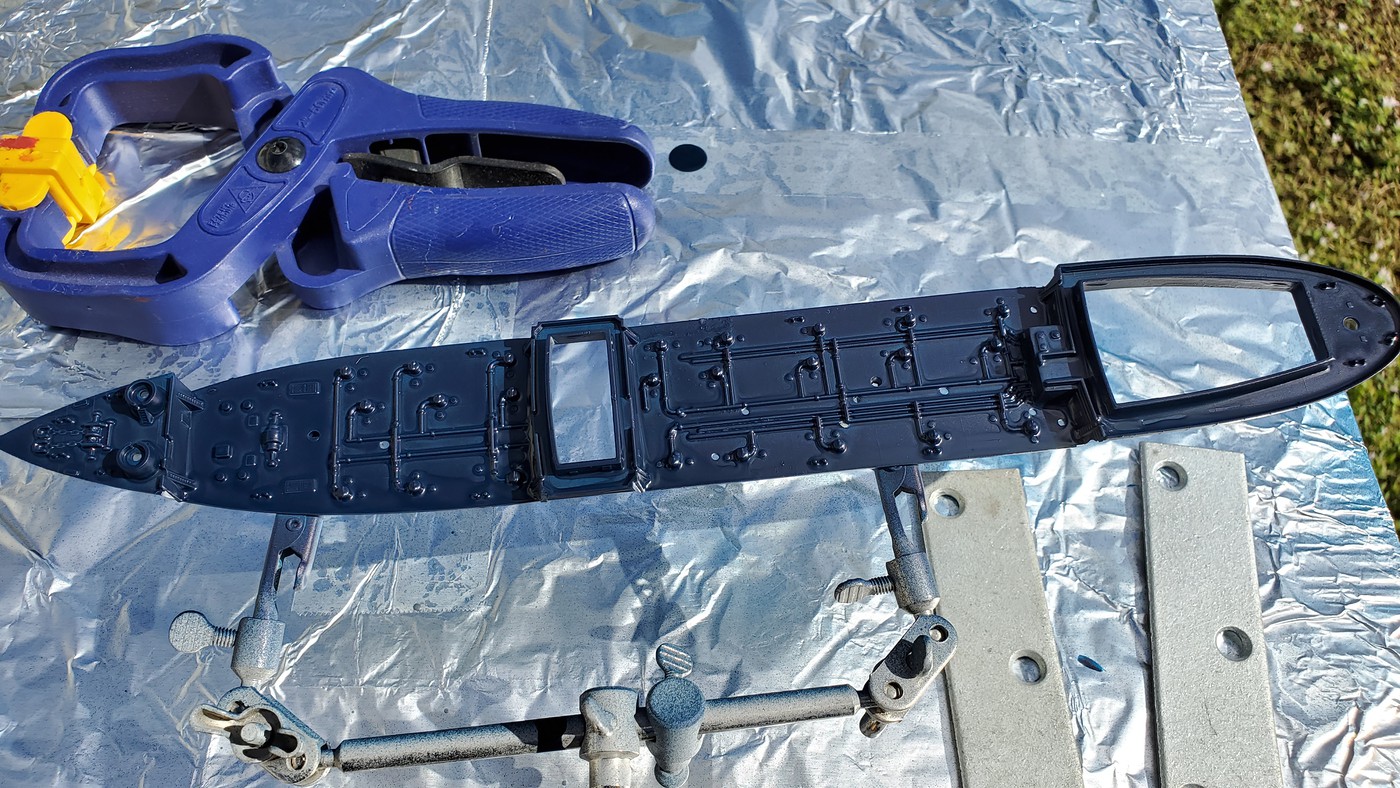

The instructions called for Deck Blue on the deck, but couldn’t find that, so I went with Insignia Blue, which I thought was close, but turned out not to be.

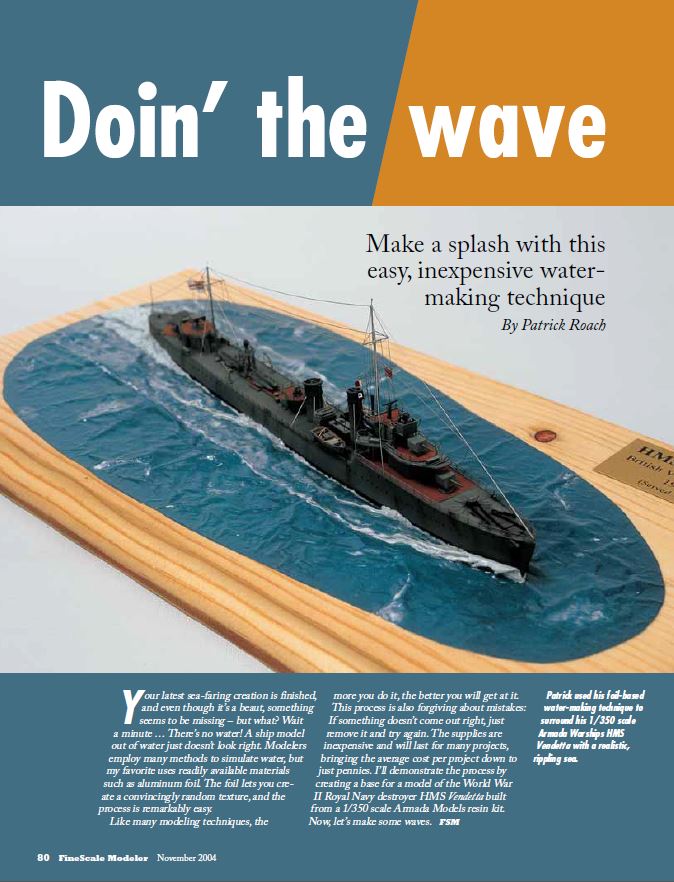
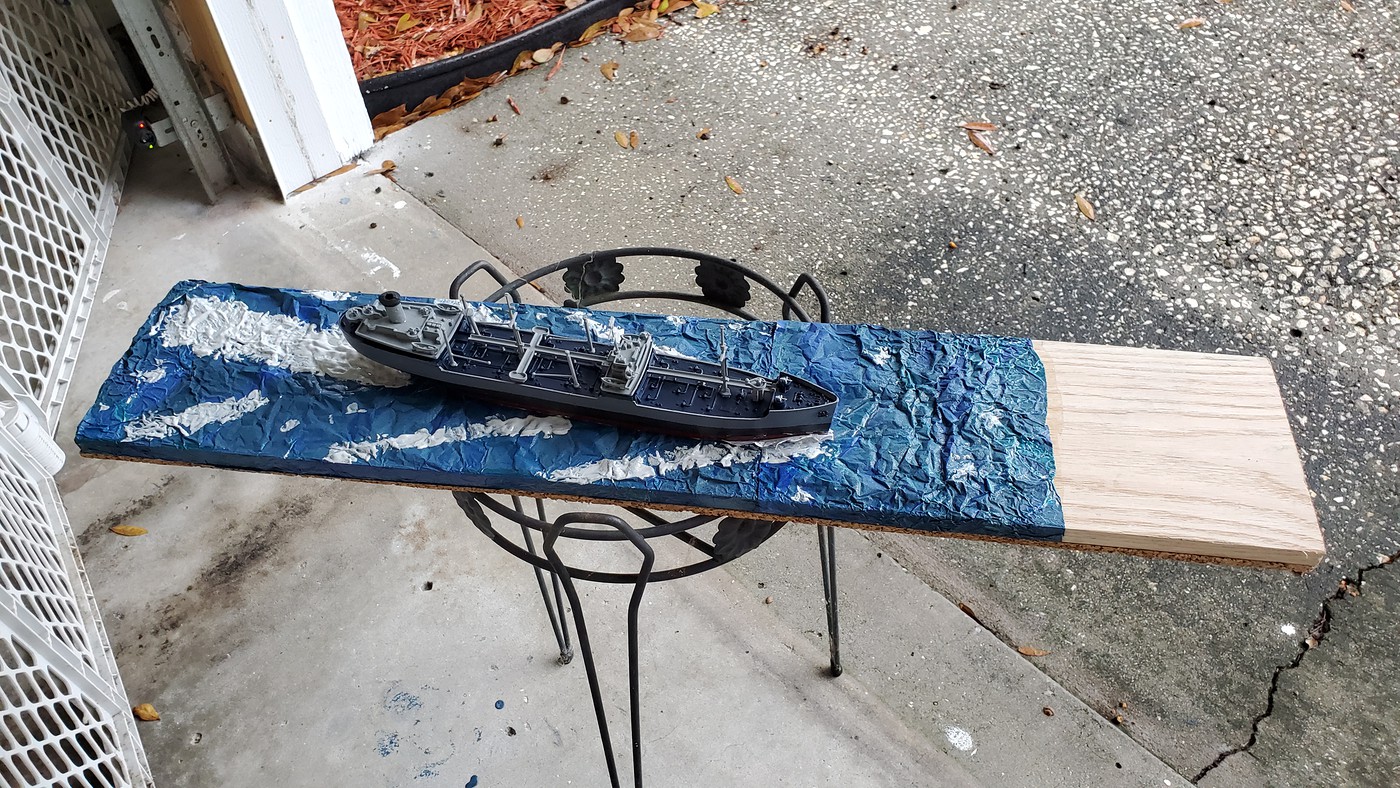
Instead of having the ship displayed on a stand, I decided to increase the difficulty level by having the craft cutting through the ocean water. So I used the FSM November 2004 article on using aluminum foil for the water that was included in the FSM Model Ship Building Basics Download.

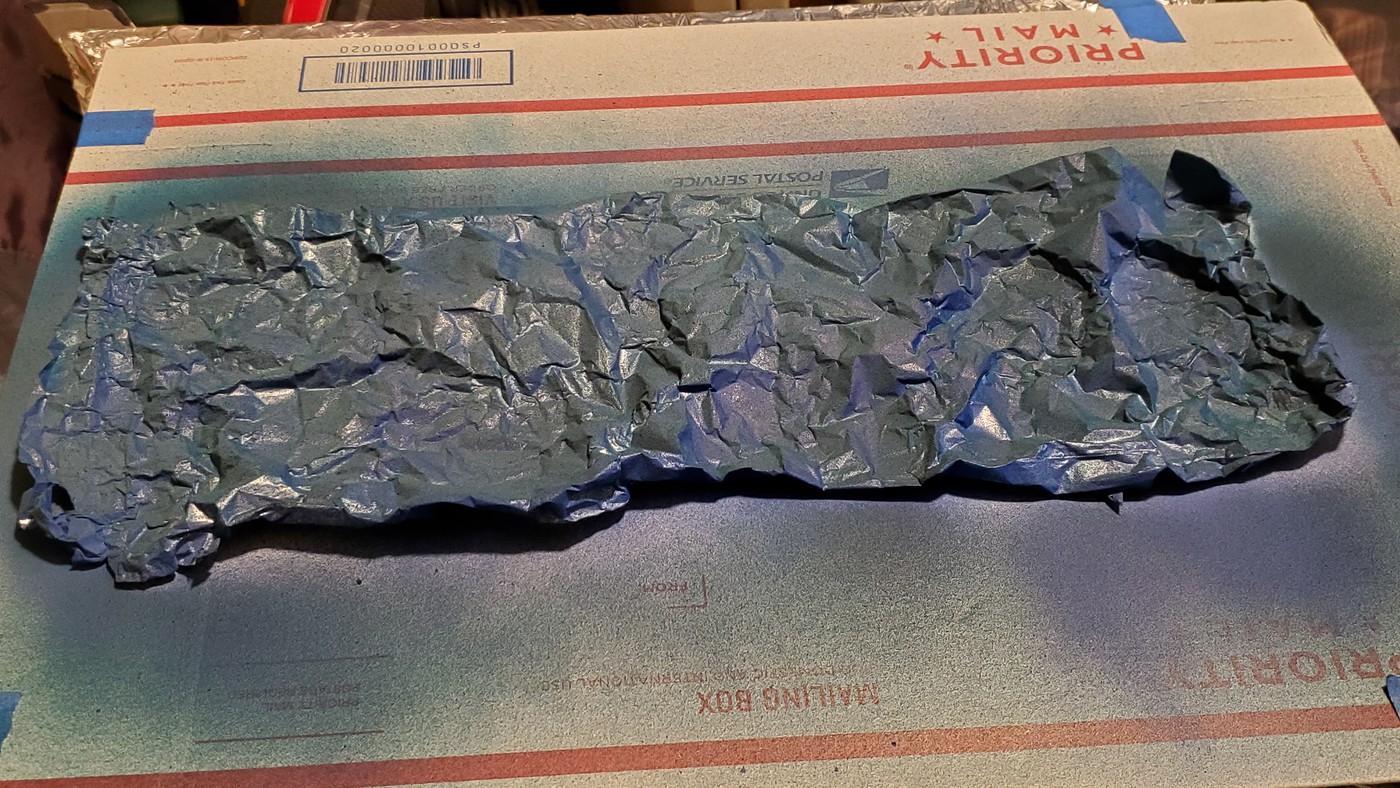

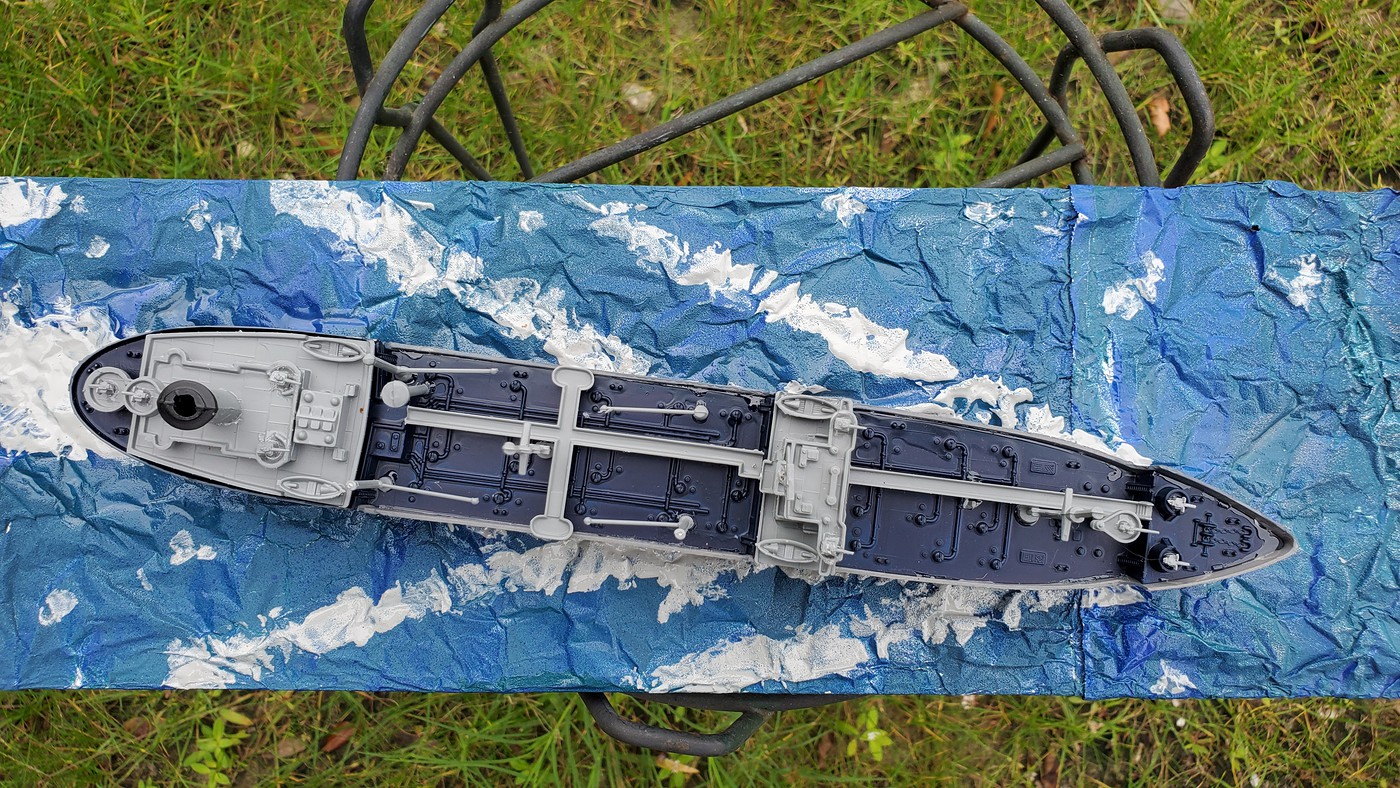
Interesting that the sprues included pieces that were to be used if the model was to be used as a motorized version (these pieces were illustrated on the instruction sheets).

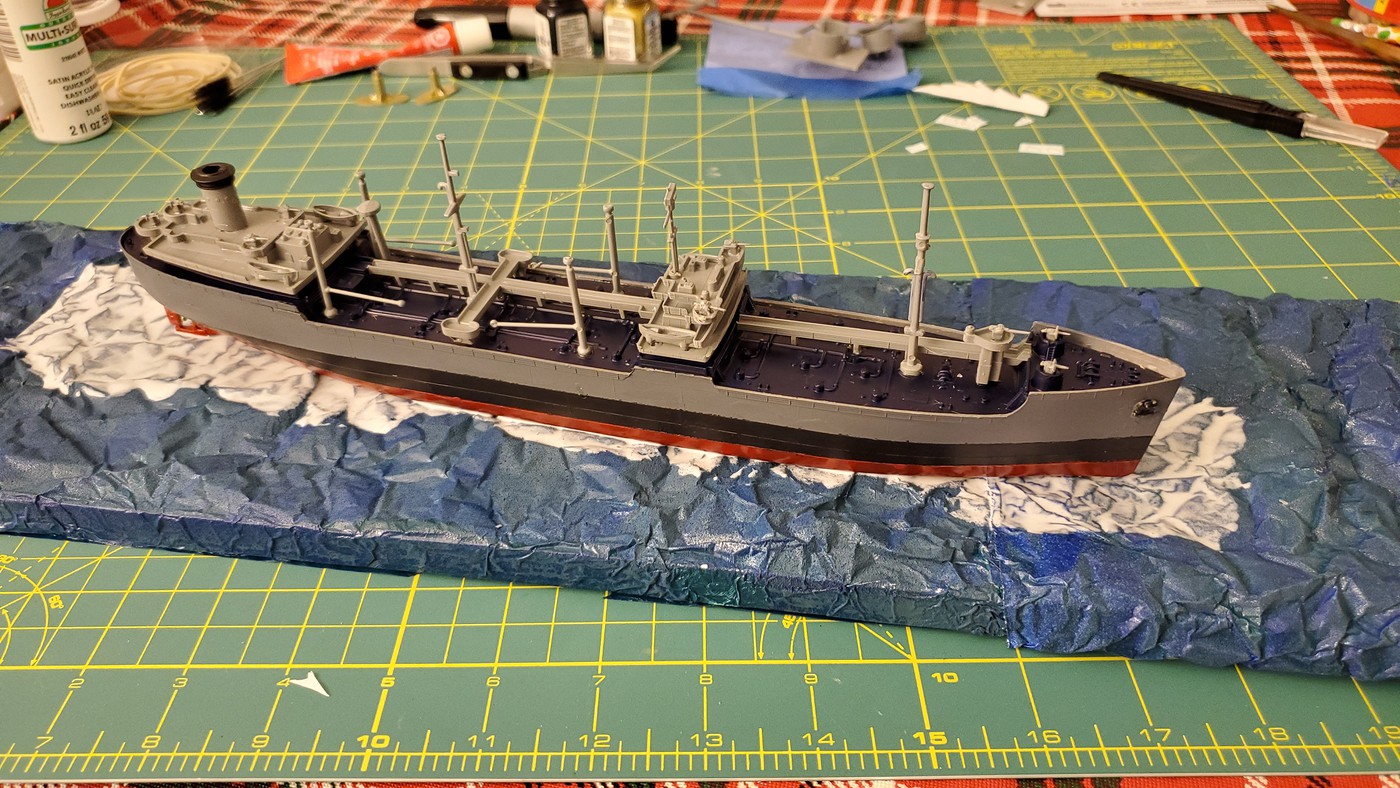
The Mod Podge base on the foil for the ship to be placed in:

Next set of photos will be from Grandpa and Grandma’s house in Central Florida.
TAKEAWAYS
I’m glad I chose this simple model to cut my modeling teeth with after a few decades. I have a lot to improve on with my skills but this craft is going to be finished as is. I’m also glad that I took on the challenge of modeling the ship in water from the start instead of waiting for a future modelling effort. I did pass on the rigging of the lines though.[:D] My father-in-law was surprised when he saw it (at 90% completion) on Christmas and appreciated it, which is what matters most. It will be finished over the holidays.
Still not happy that the spray paint on the foil is still coming off on my hands 4+ days after it was put on. This maybe because I skipped putting another layer of Mod Podge as a sealant. Too late to change that now.


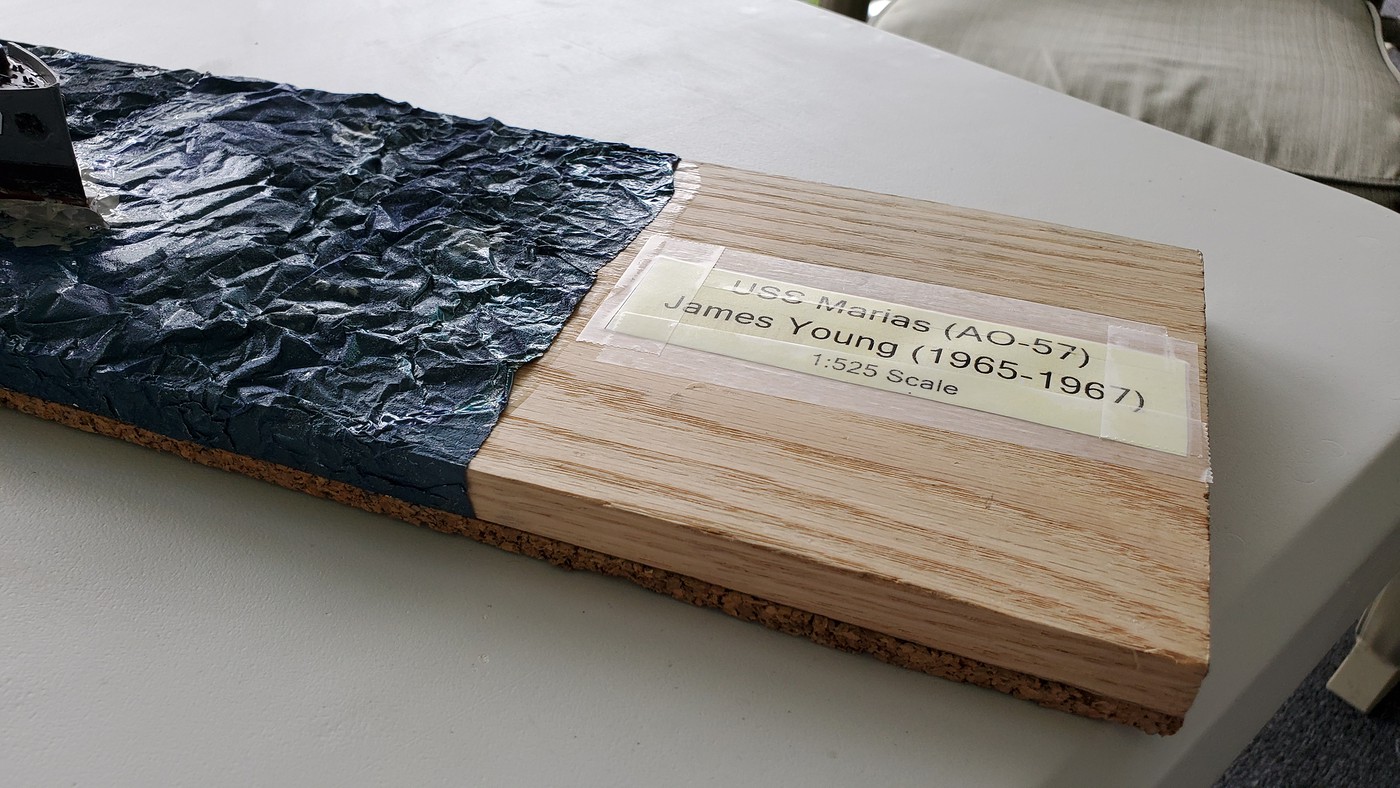
This is where the engraving plate is going. Forgot to order one before so it will be arriving early January and my Father-in-Law will place it on the base.
Kevin, that is a very clean build, creative too! I’m sure the old(er) sailor loves it.
Your project is one many modelers are familiar with, as a way to show respect.
On the next ship, you shoild continue with the deck blue on all of the other horizontal surfaces. You’ll notice the difference in look.
Well done, Bud.
Thank you.
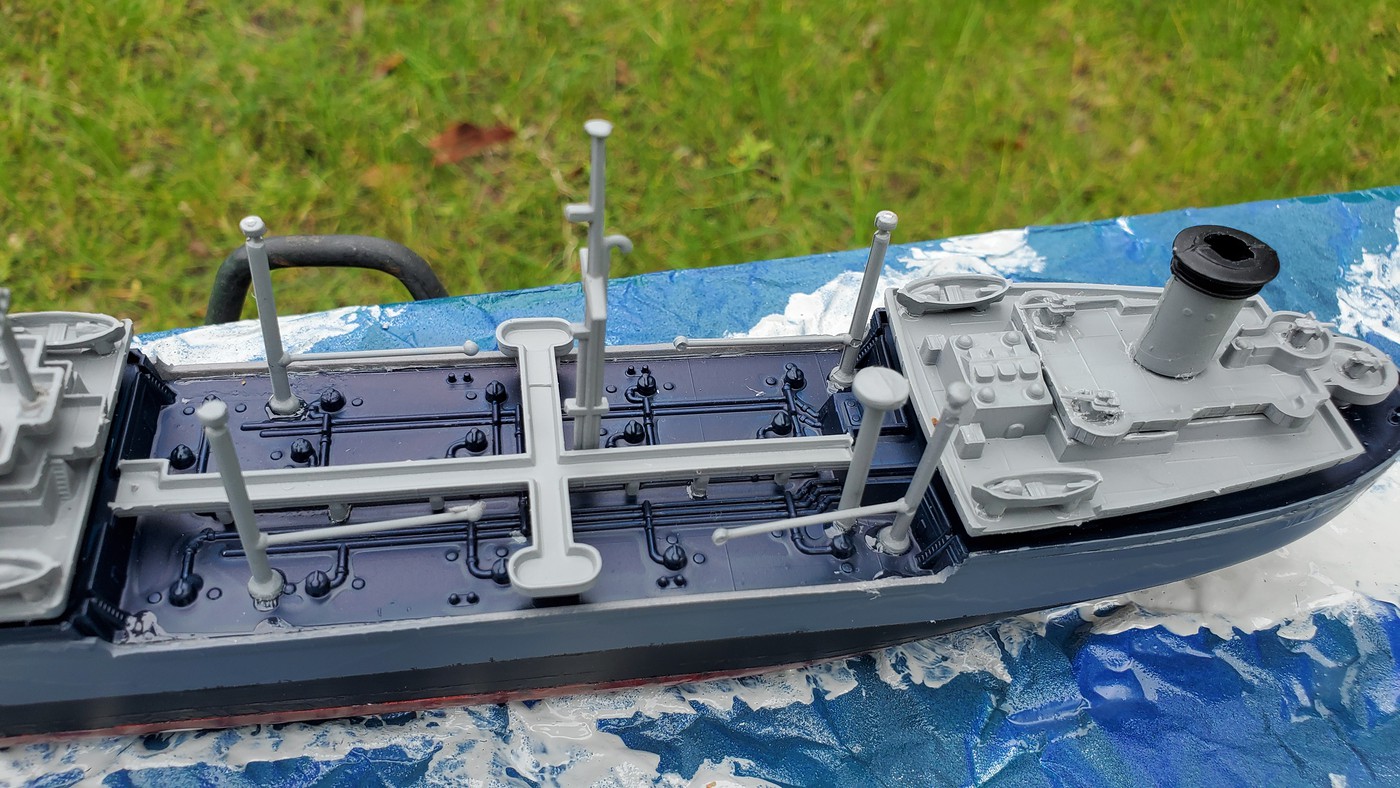
Lessons learned on the horizontal surfaces.
Here are a couple more photos.


This looks good. And the waterline dislay also neatly avoids the surgery needed to get a twin screw ship down to a single shaft.
Technically, if there are “shadowed” hull numbers then the deck is not deck blue, but deck gray, with verticals in Haze Gray. And all horizontals not covered in no-skid or linoleum get the deck color.
During WWII there were a bunch of “Measures” for camo painting. A dark hull with lighter upper areas (from the main deck’s horizontal) wwas Measure 11 or Measure 21 (the difference in which colors were used); those had Deck Blue decks. Hull numbers were unshadowed and very typically only 24" tall in plain white.
Note that Deck blue was chosen as it best match the overhead color of the ocean for most of the oceans being served upon. It can be a handy guide to how dark to render the ocean in a water setting–unless w=one wants some very specific ocean colors for that effect. All of which is entirely open to artistic interpretation.
Your odel is your model, and it looks good.
If the isse of blue coming off persists, try a clear coat of spray gloss (use some cardboard to mask the model) and see if that helps.
I have to offer a contrary viewpoint to my friend here.
It sounds like the paint isn’t sticking to the foil, as opposed to staying tacky or not drying etc.
Sealing it won’t really help the bonding issue, except perhaps in some minor way where really small non-painted voids somehow are a place where sealer meets foil.
I think you might just keep from touching it. It might solve itself over time.
This, my esteemed colleage , was my greater fear, come to cases.
I was, in myy fumbling way, trying to offer ways to preserve the artisitc effort here, hoping against hope that is was a sealing issue, and not an adherence issue.
If only to prevent haing to strip down to the bare foil, and hit that foils with something to give it “tooth” and refinishing.
We modelers are often our own worst critics, and will rage agains the inperfection, rather than finding it a building block for our future.
OP did an incredible job here. Which deserves reiteration. Can some of us do better. Perhaps, a freakishly small minority, a tortured minority, as in every human endeavor, there are laways those who do better than our best.
We each navigate those shoals and shallows that threaten to founder us, each to our visions of what should be.
Which is a convoluted way for e to wish that OP takes this as a great starting point and goes on to futher greatness. But, there has been much excellent Merlot on this Hogmanay, and I might be a tad overcome thereby.
Most excellent response.
“Killick, bring the Captain another bottle of malmsey!”.
Oh My:
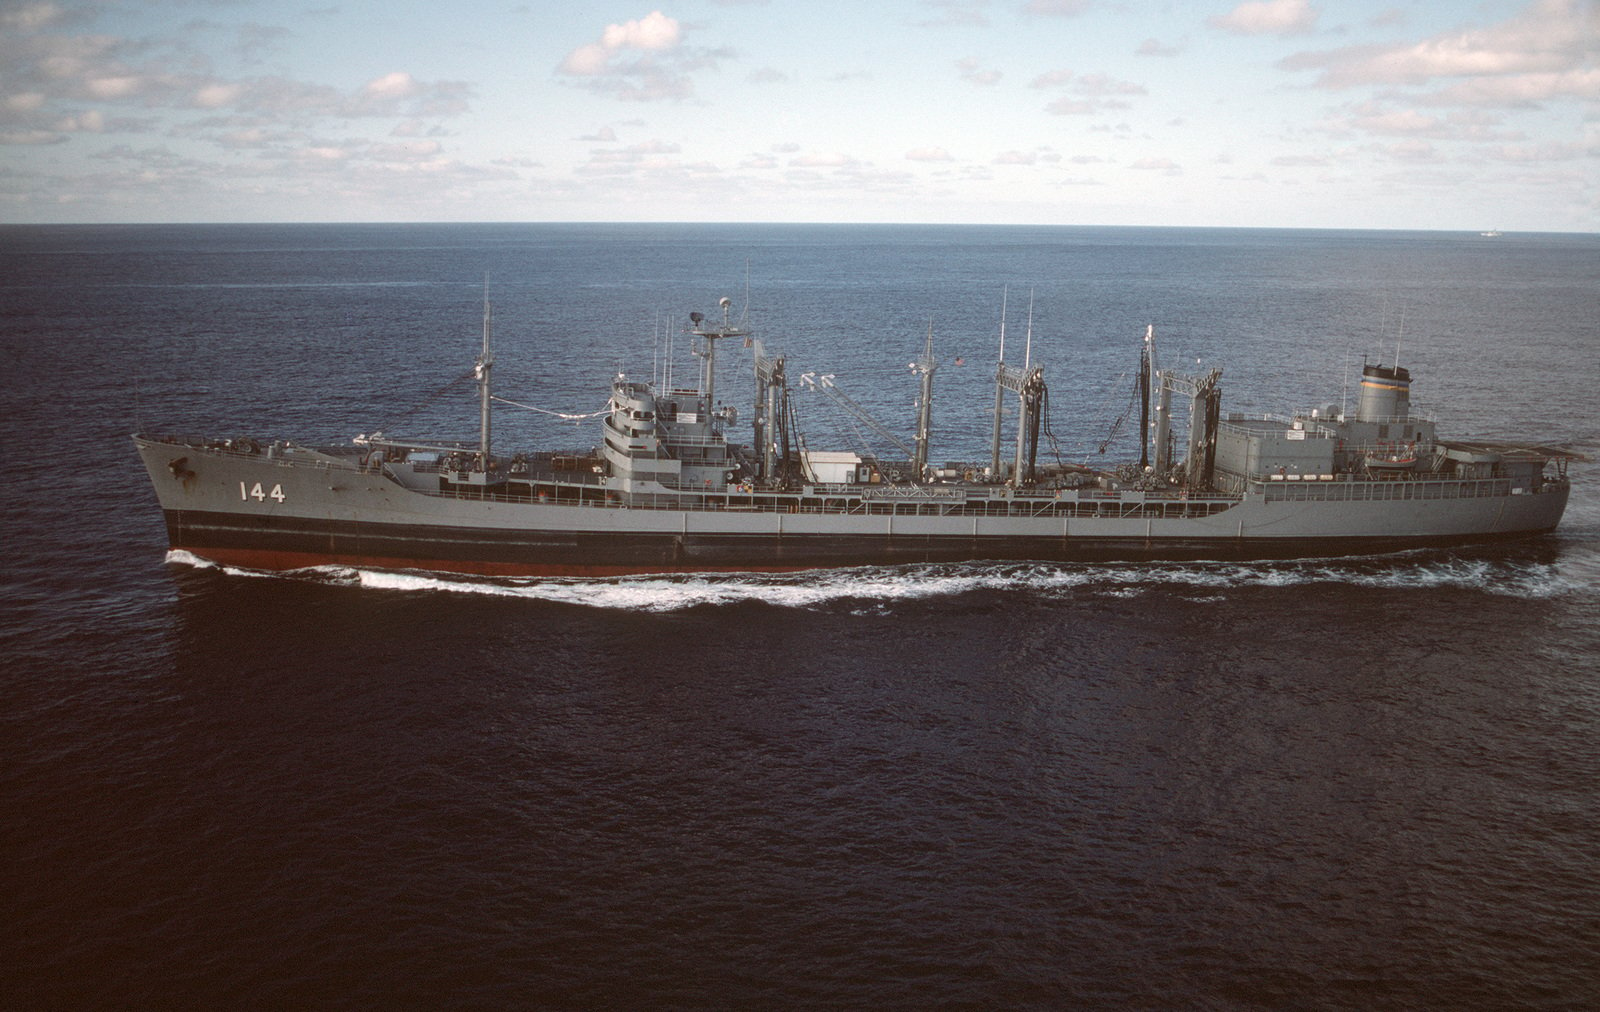
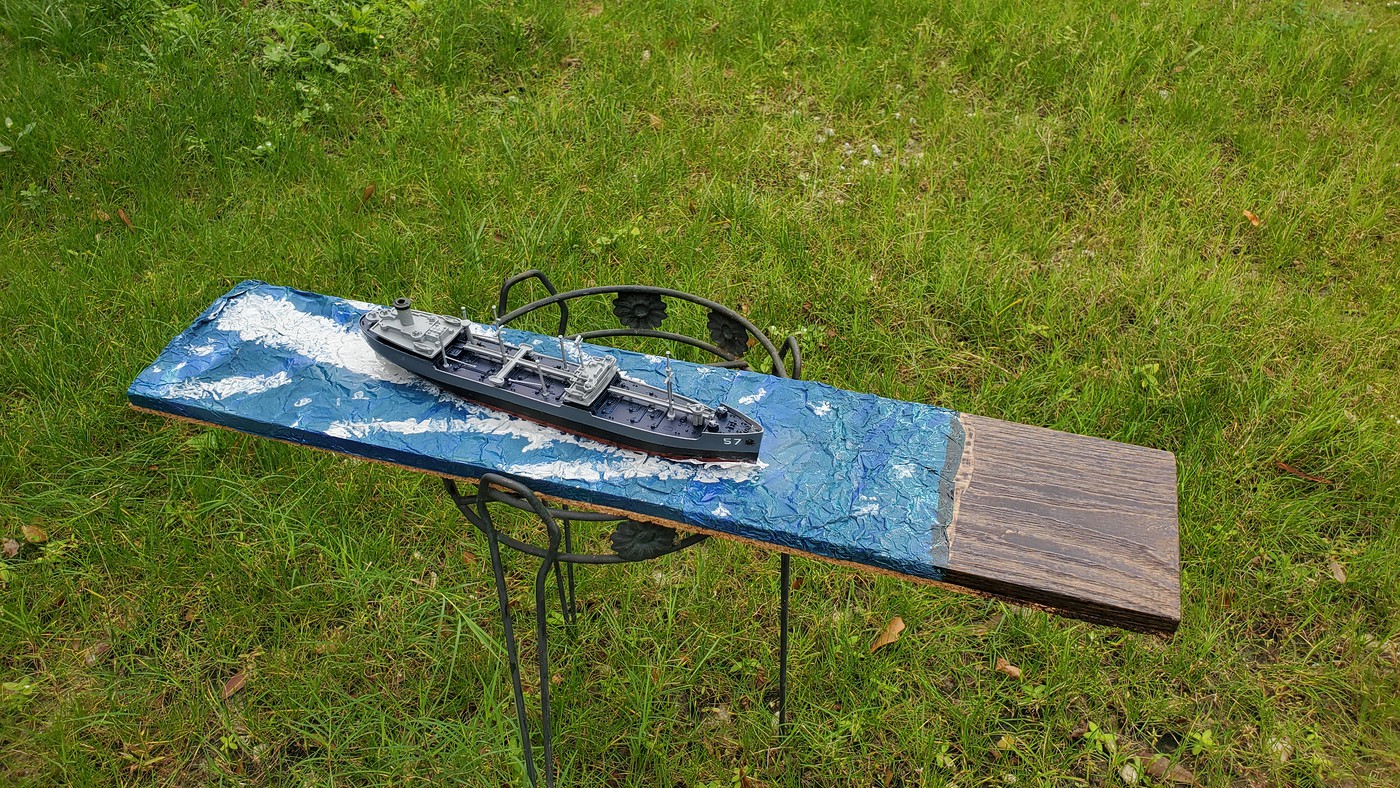
That tanker looks lite to me. I think she will definitely be considered to be In Ballast!
Good Job and your first try with water is good. Try sealing the whole thing with An Art Clear Semigloss Overall and Glossy in spots on the water! Spray only!
I am sorry. I should’ve said this. When You paint over foil, BUt, Before you do it, Wipe it with Vinegar then Lacquer Thinner and after gasout of the thinner, paint immediately!
Clinking glasses in a toast to CapnMac82 and GMorrison.[t$t]
Tanker-Builder, I’ve already returned home but I will check with my father-in-law about doing that if the paint is still coming off a week from now. [Y]
Preserved, step over the Captain and pour this man a glass of…grog!
Youll slosh out the off’cers Quarters after 4 bells,
Apologies on bumping this thread a year plus later, but I noticed that I never did post an image of the finished model with my father-in-law from his birthday in January of last year. So here it is.
He’s currently undergoing cancer treatment so this photo means more to me now every day.

That’s a nice photo of the two of you. Ya did fine fella!
Three cheers for the build and the presentation! [t$t] [t$t] [t$t]
Jim [cptn]
Stay Safe