My first completion of 2025 was a good kit to build.
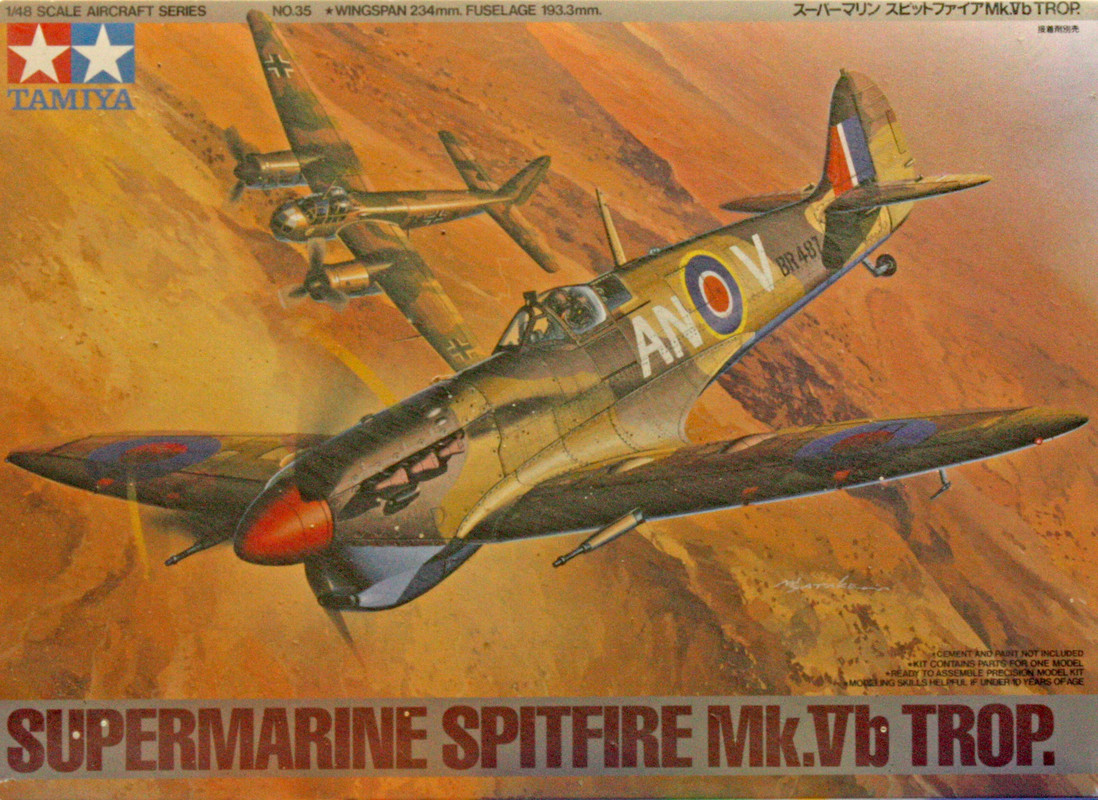
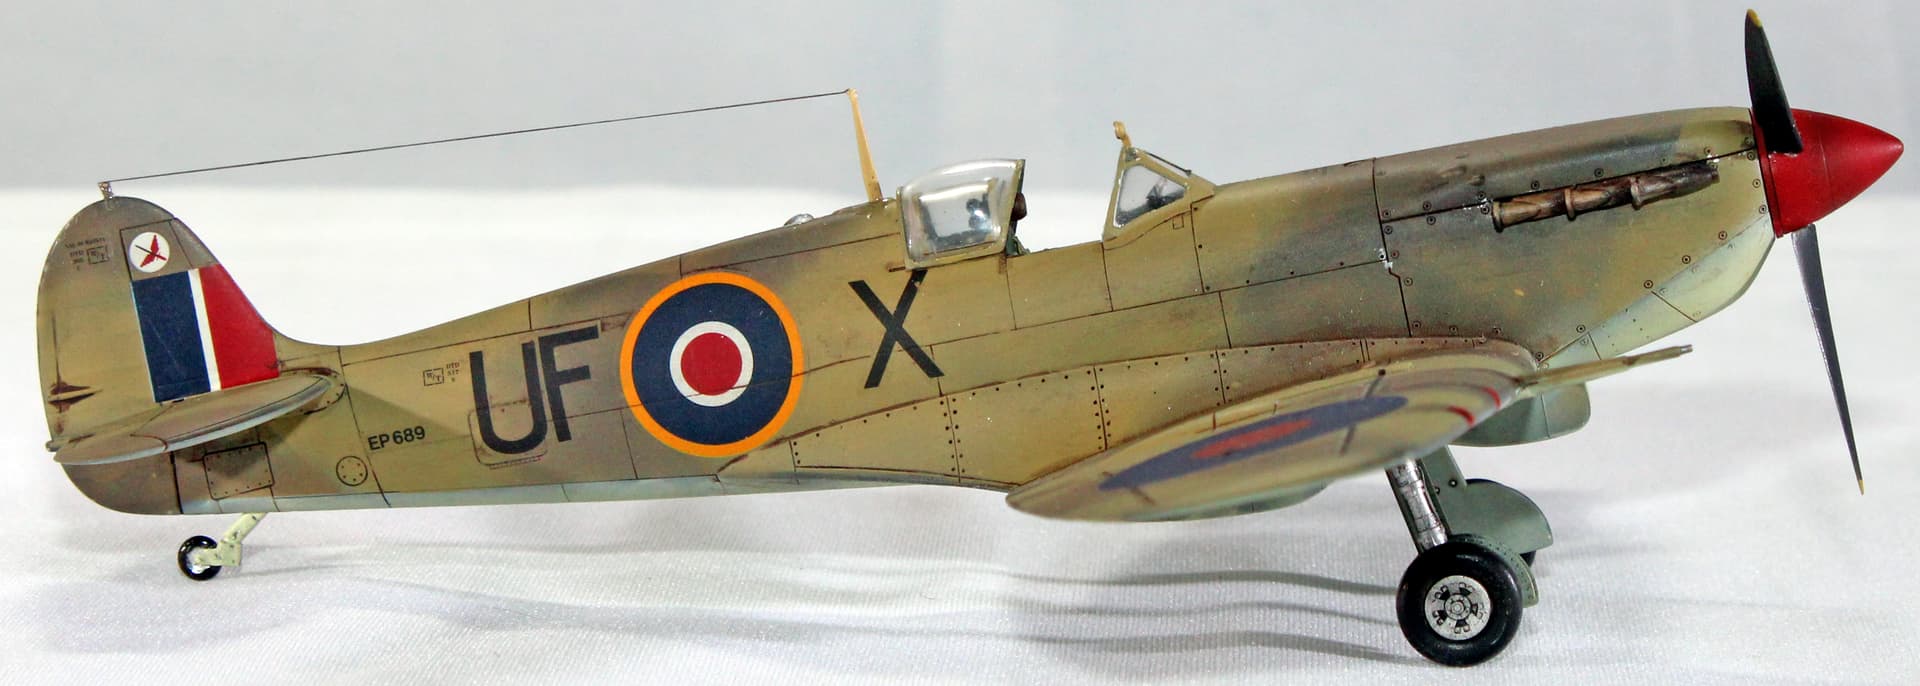
This is my first Tamiya Spitfire in 48th scale. I have 2 more in the stash, both Mk. I variants, but had previously completed the Mk. IXc in 32nd scale. This build was 99% trouble free, with that 1% I will blame on the crummy Tamiya decals.
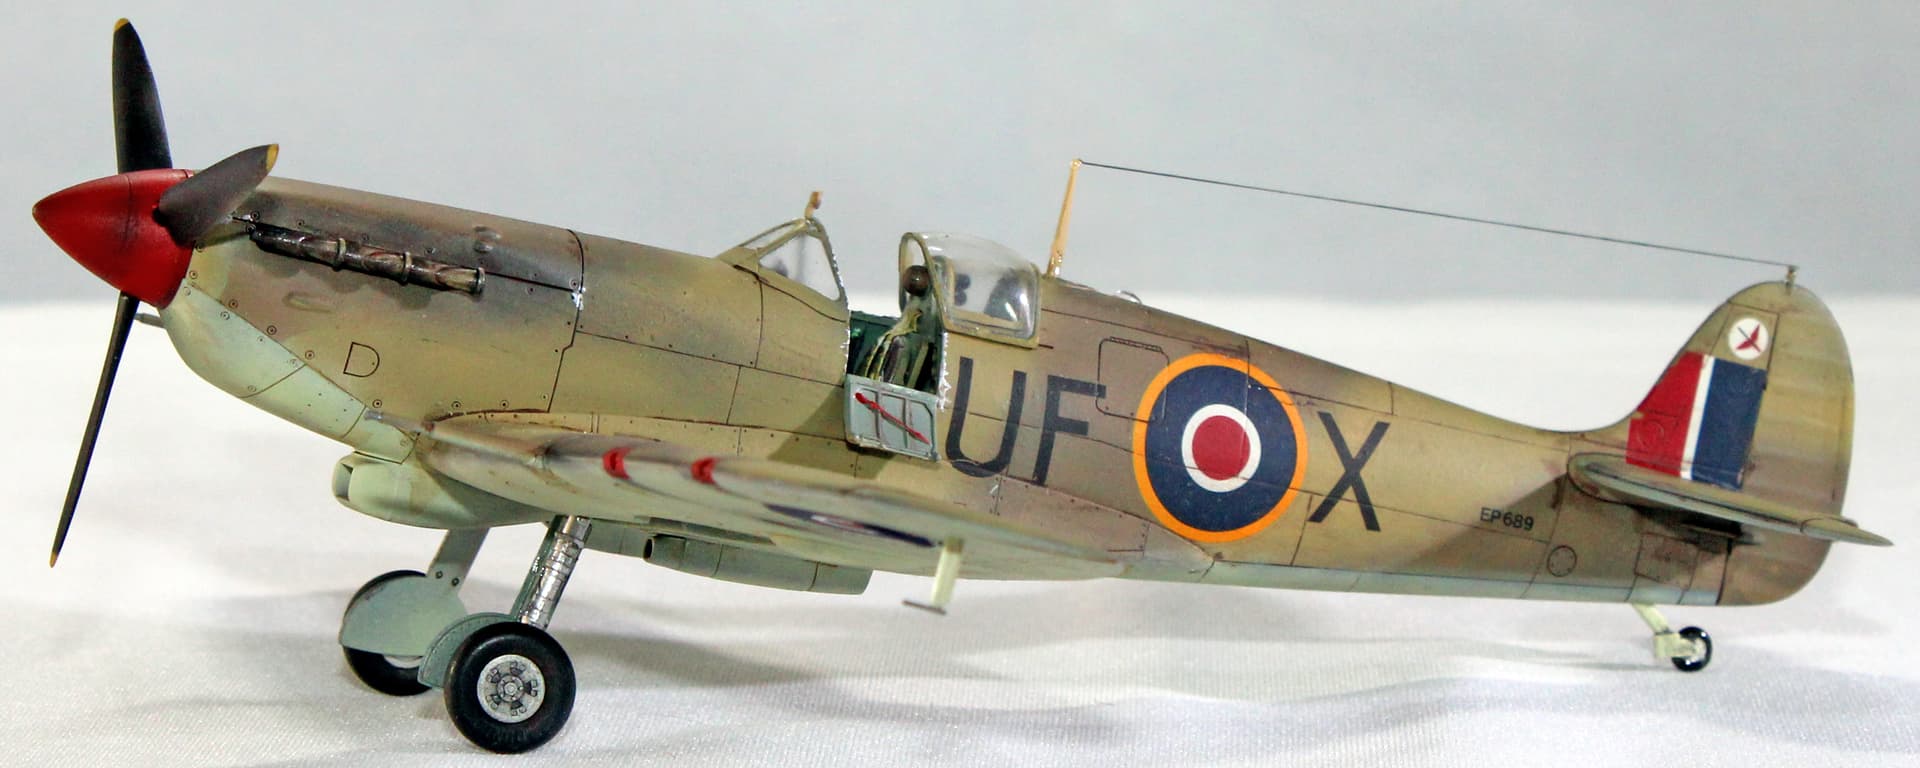
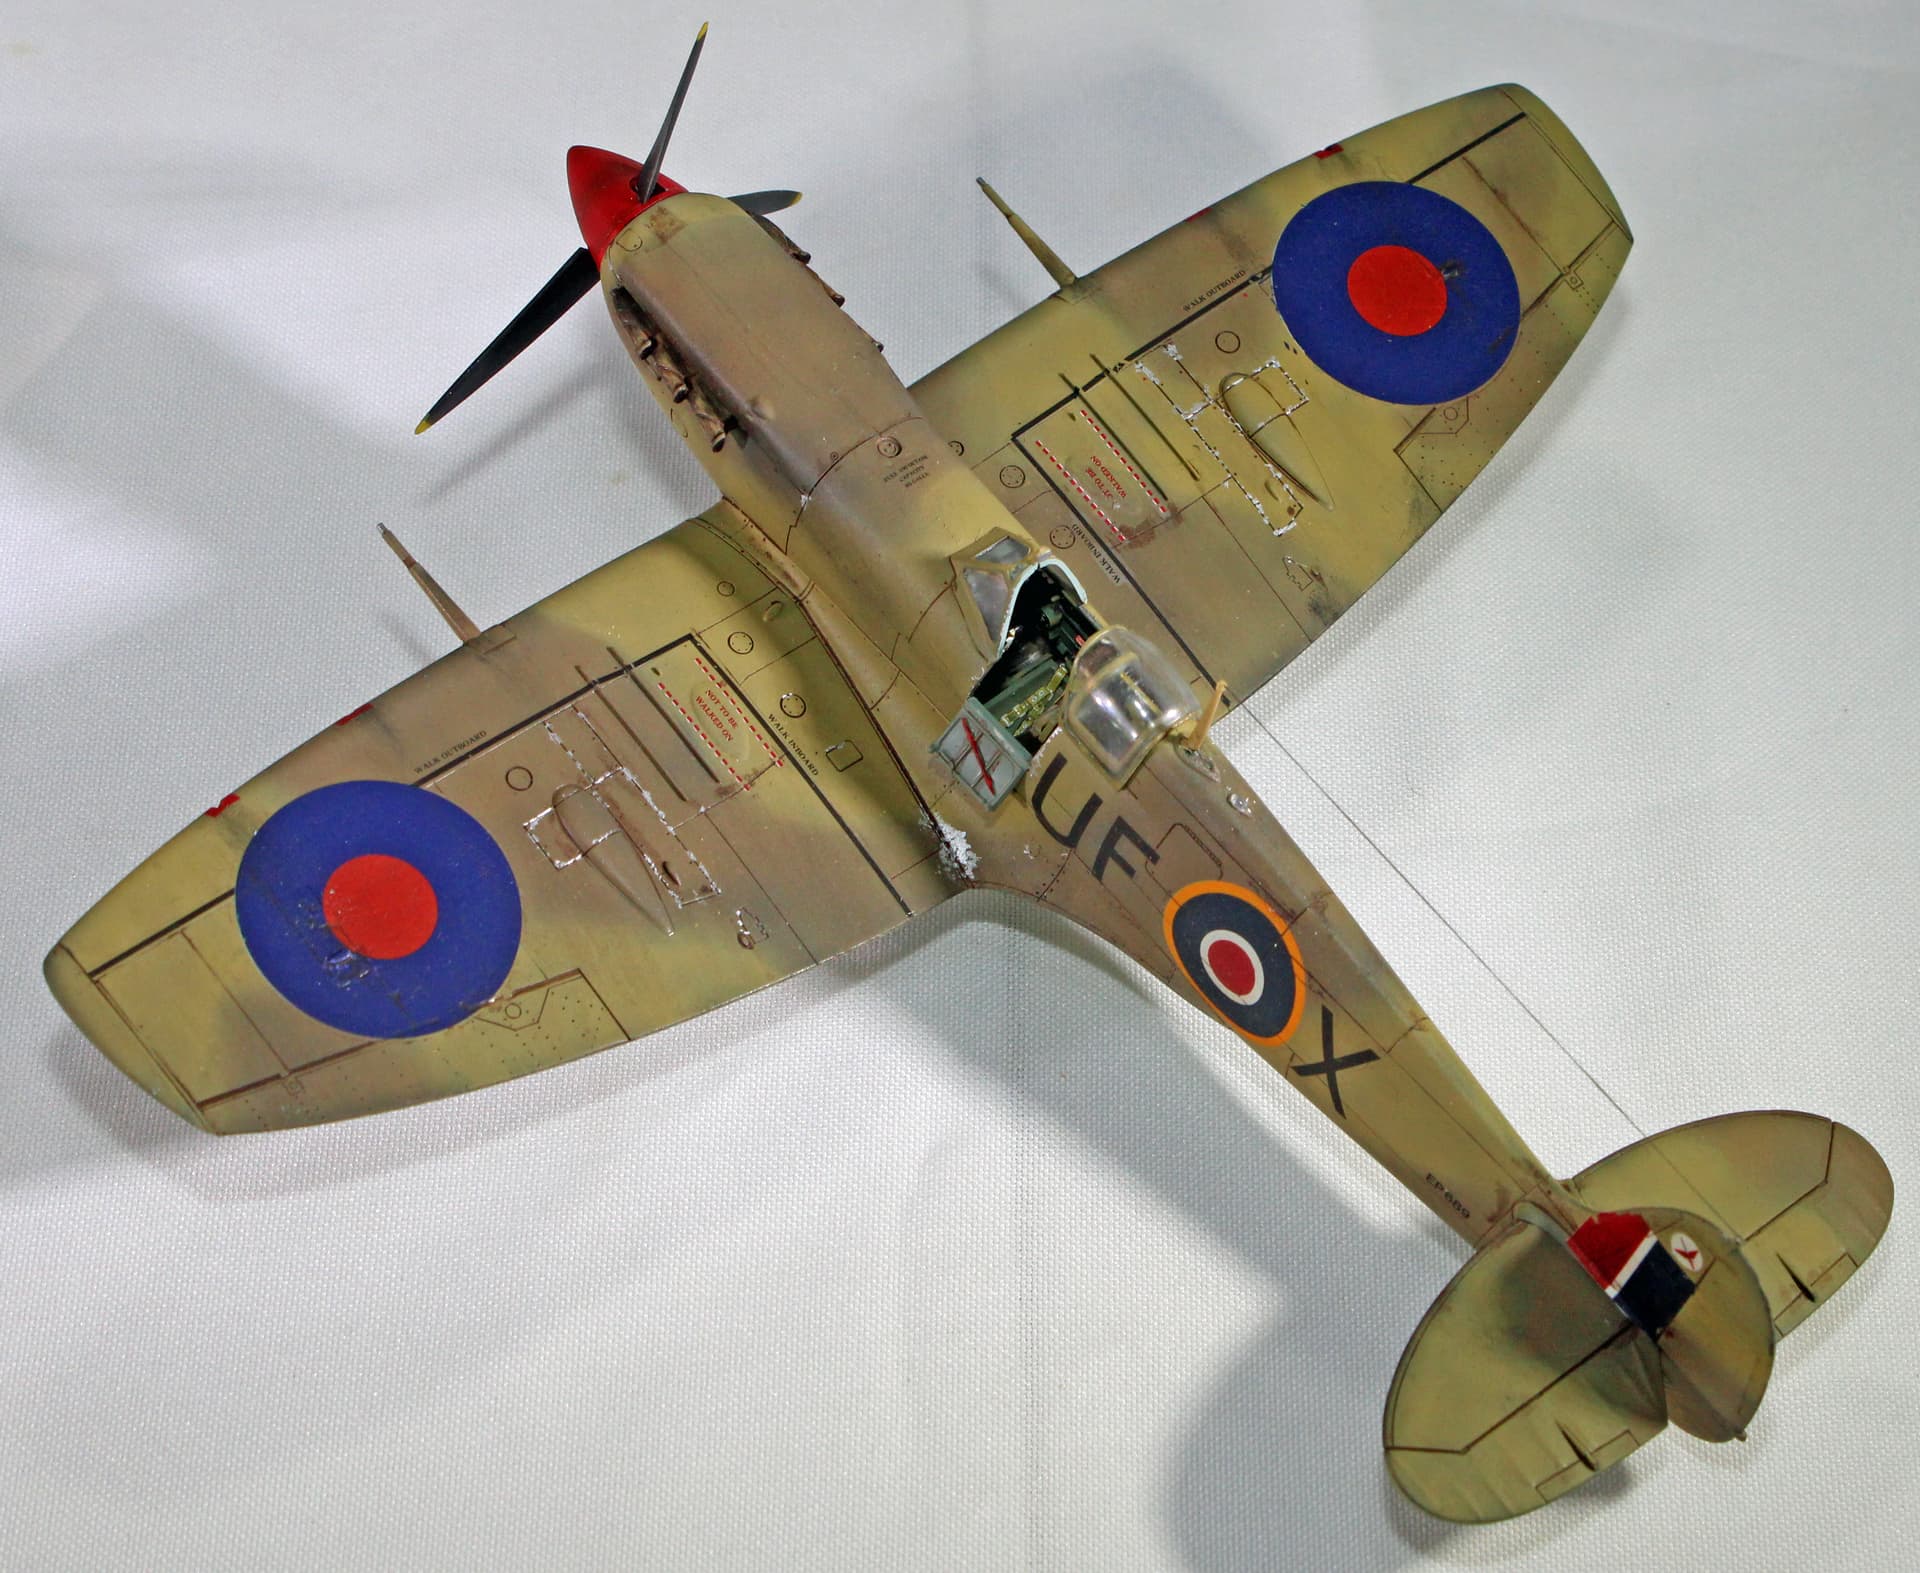
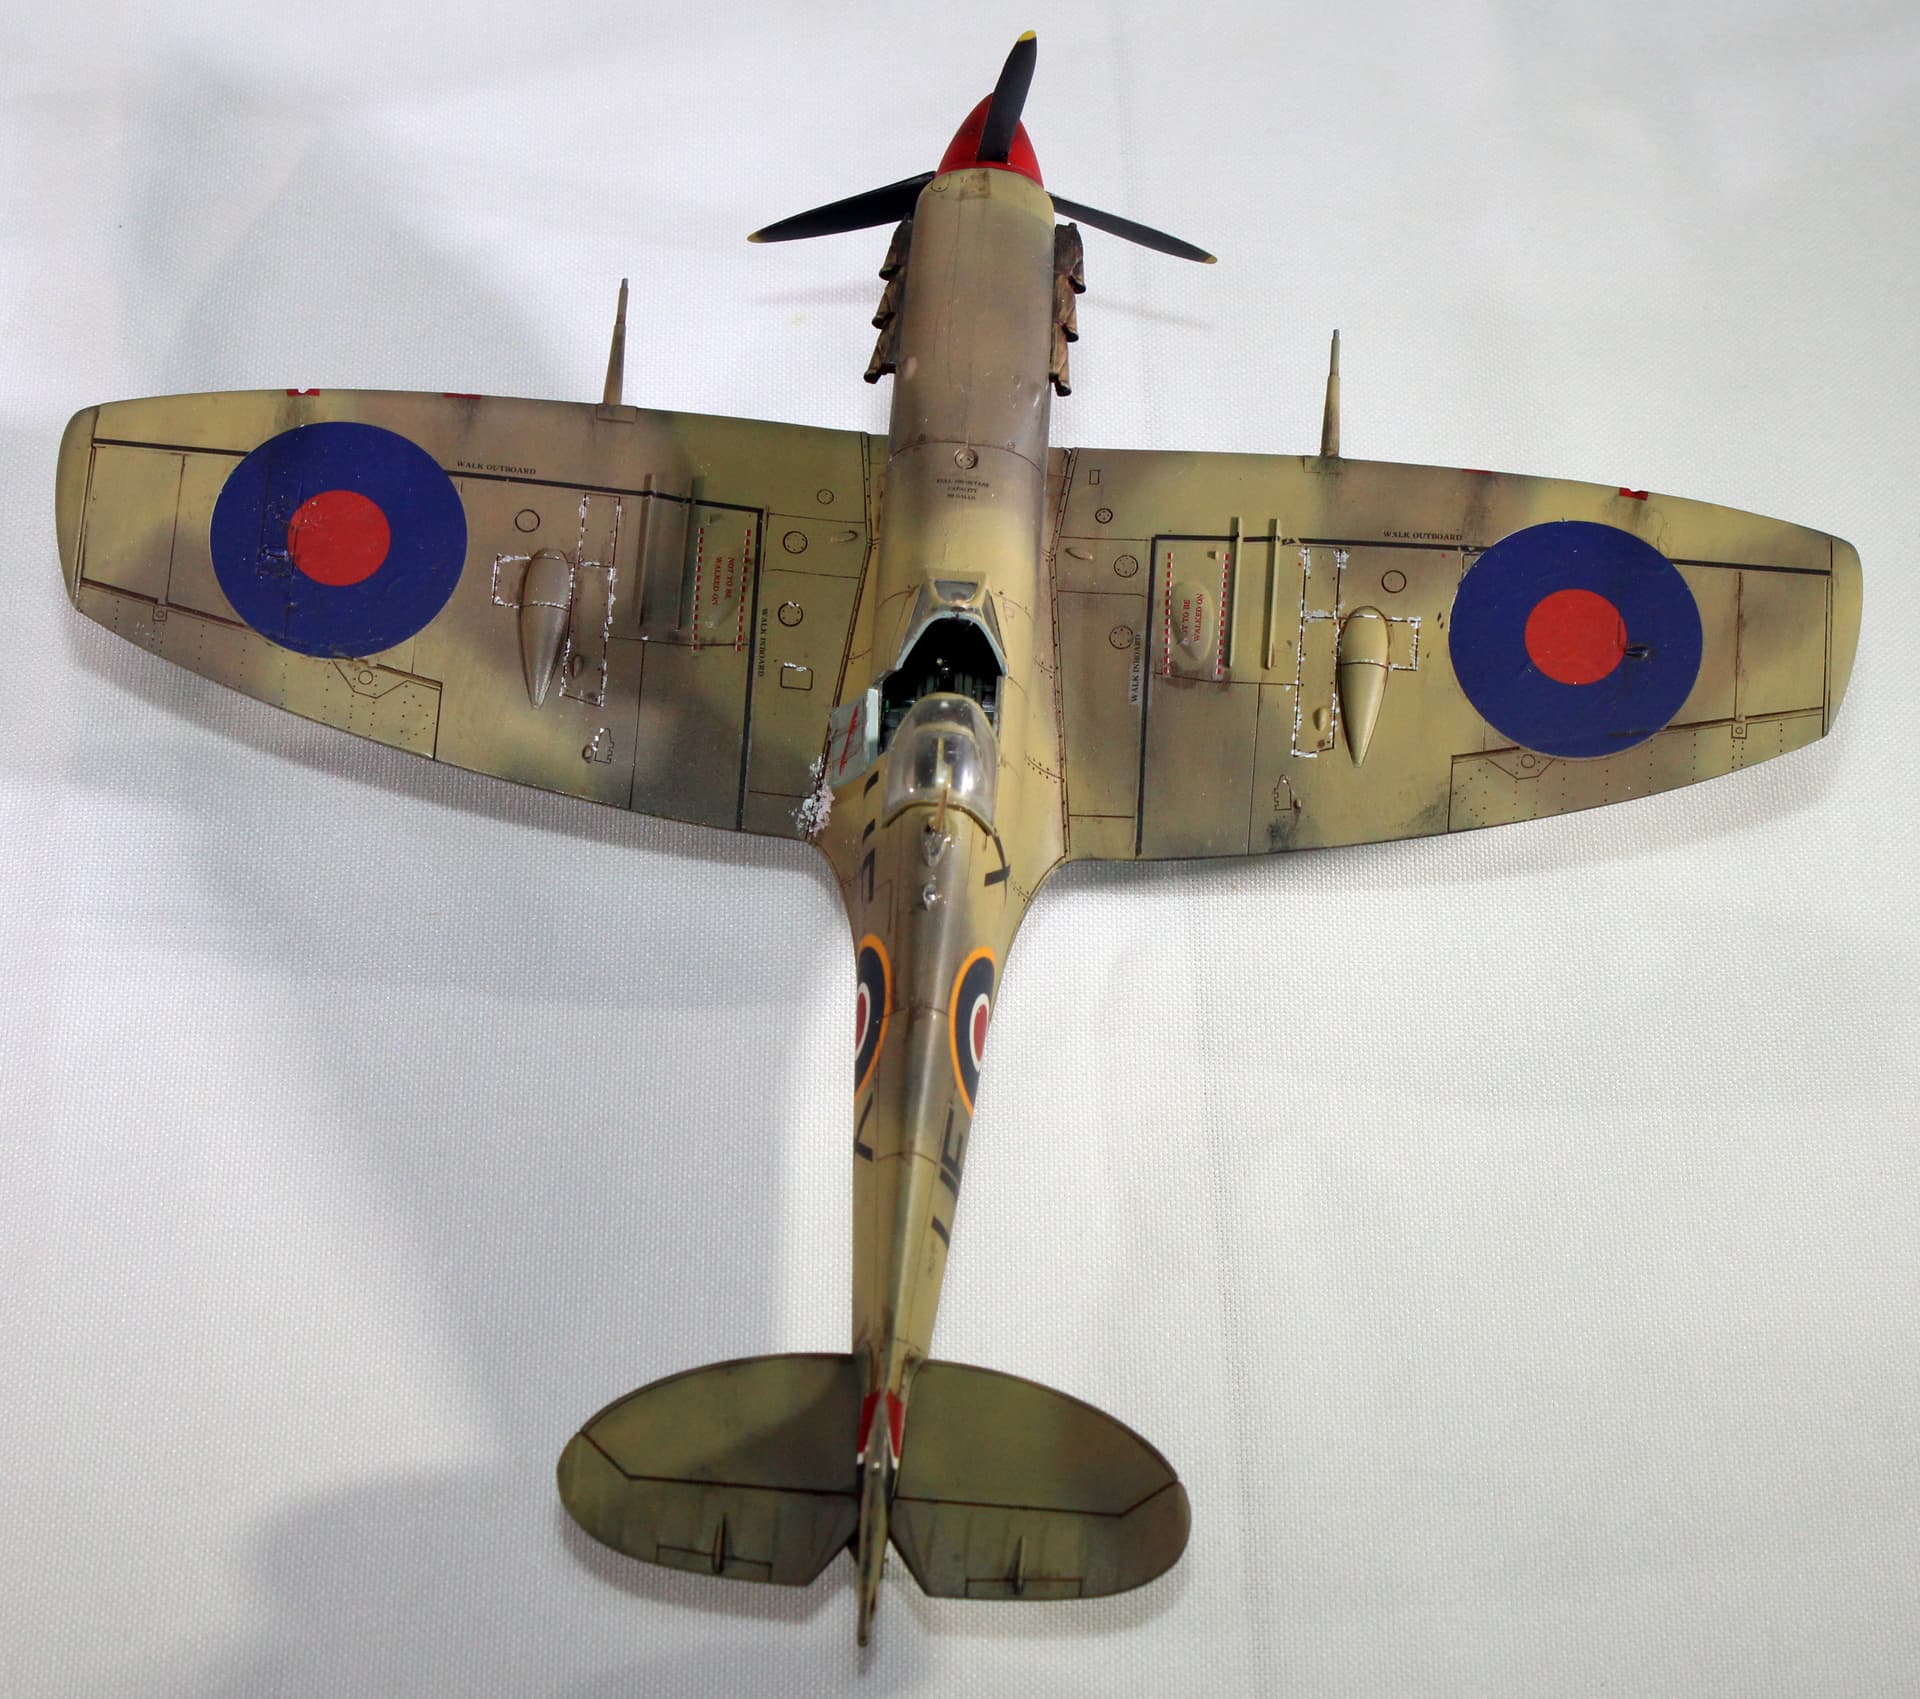
I employed the black basing technique, although I think I need more practice at it as the effect really isn’t visible on the upper surfaces. The underside is a little better but still needs work.
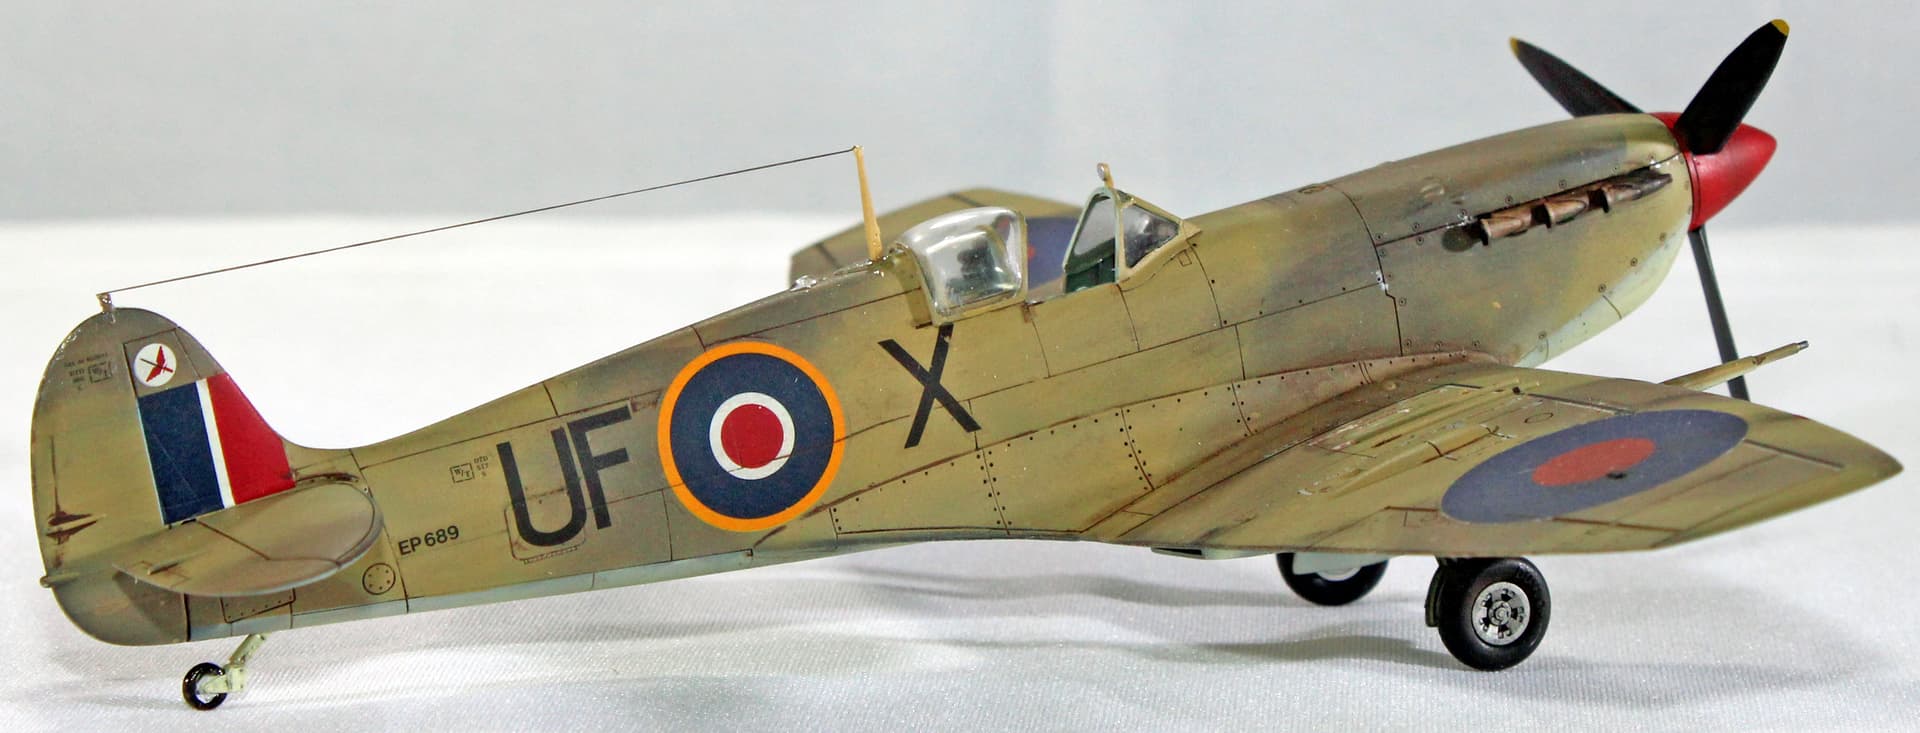
Paints were Model Master Acryls - Midstone and Interior Green, AK Interactive Real Colors Dark Earth, Mr. Hobby Sky*, and various Tamiya lacquers (black, red, white, blue) and AK Interactive Xtreme Metals (gun metal, aluminum). Weathering was Flory washes - sand for the underside and brown for the top side, along with ground brown and black pastels for exhaust streaks and gun stains.
I’m not sure what was going on with my thought process. I knew it should be Azure (a light blue color), I even had a bottle on my work bench, and yet I went with RAF Sky, which is a more greenish color. And then when I was doing the weathering, it just clicked that duh, I used the wrong color here. Banged my head against a brick wall on that one.
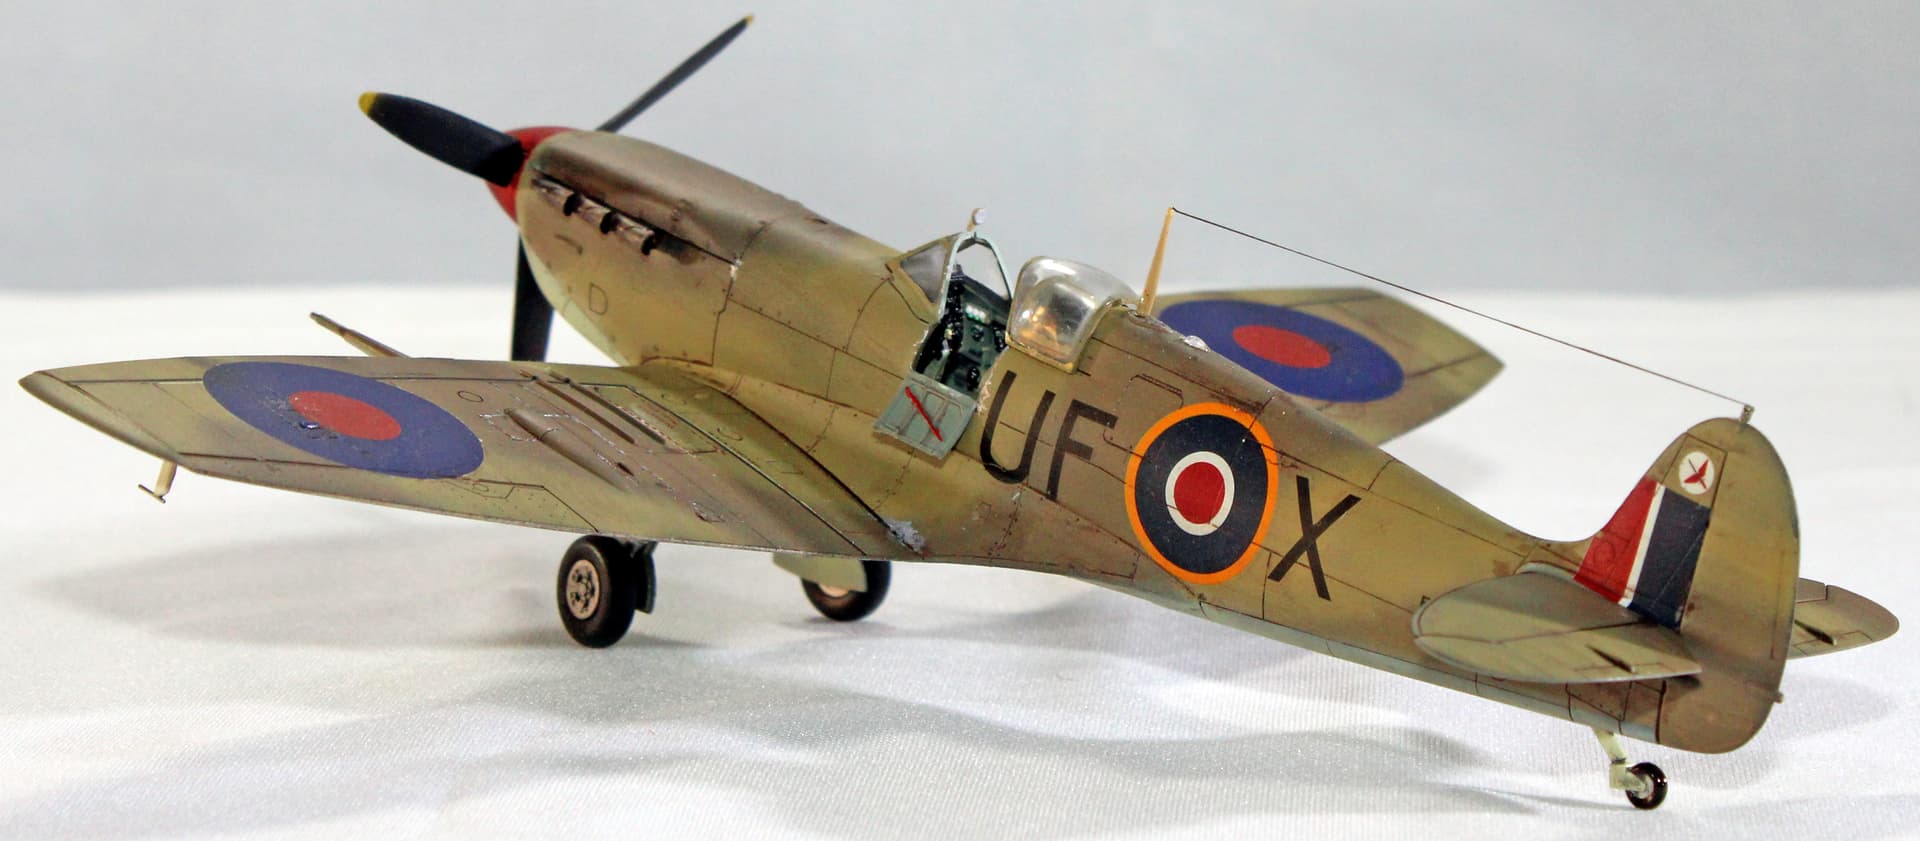
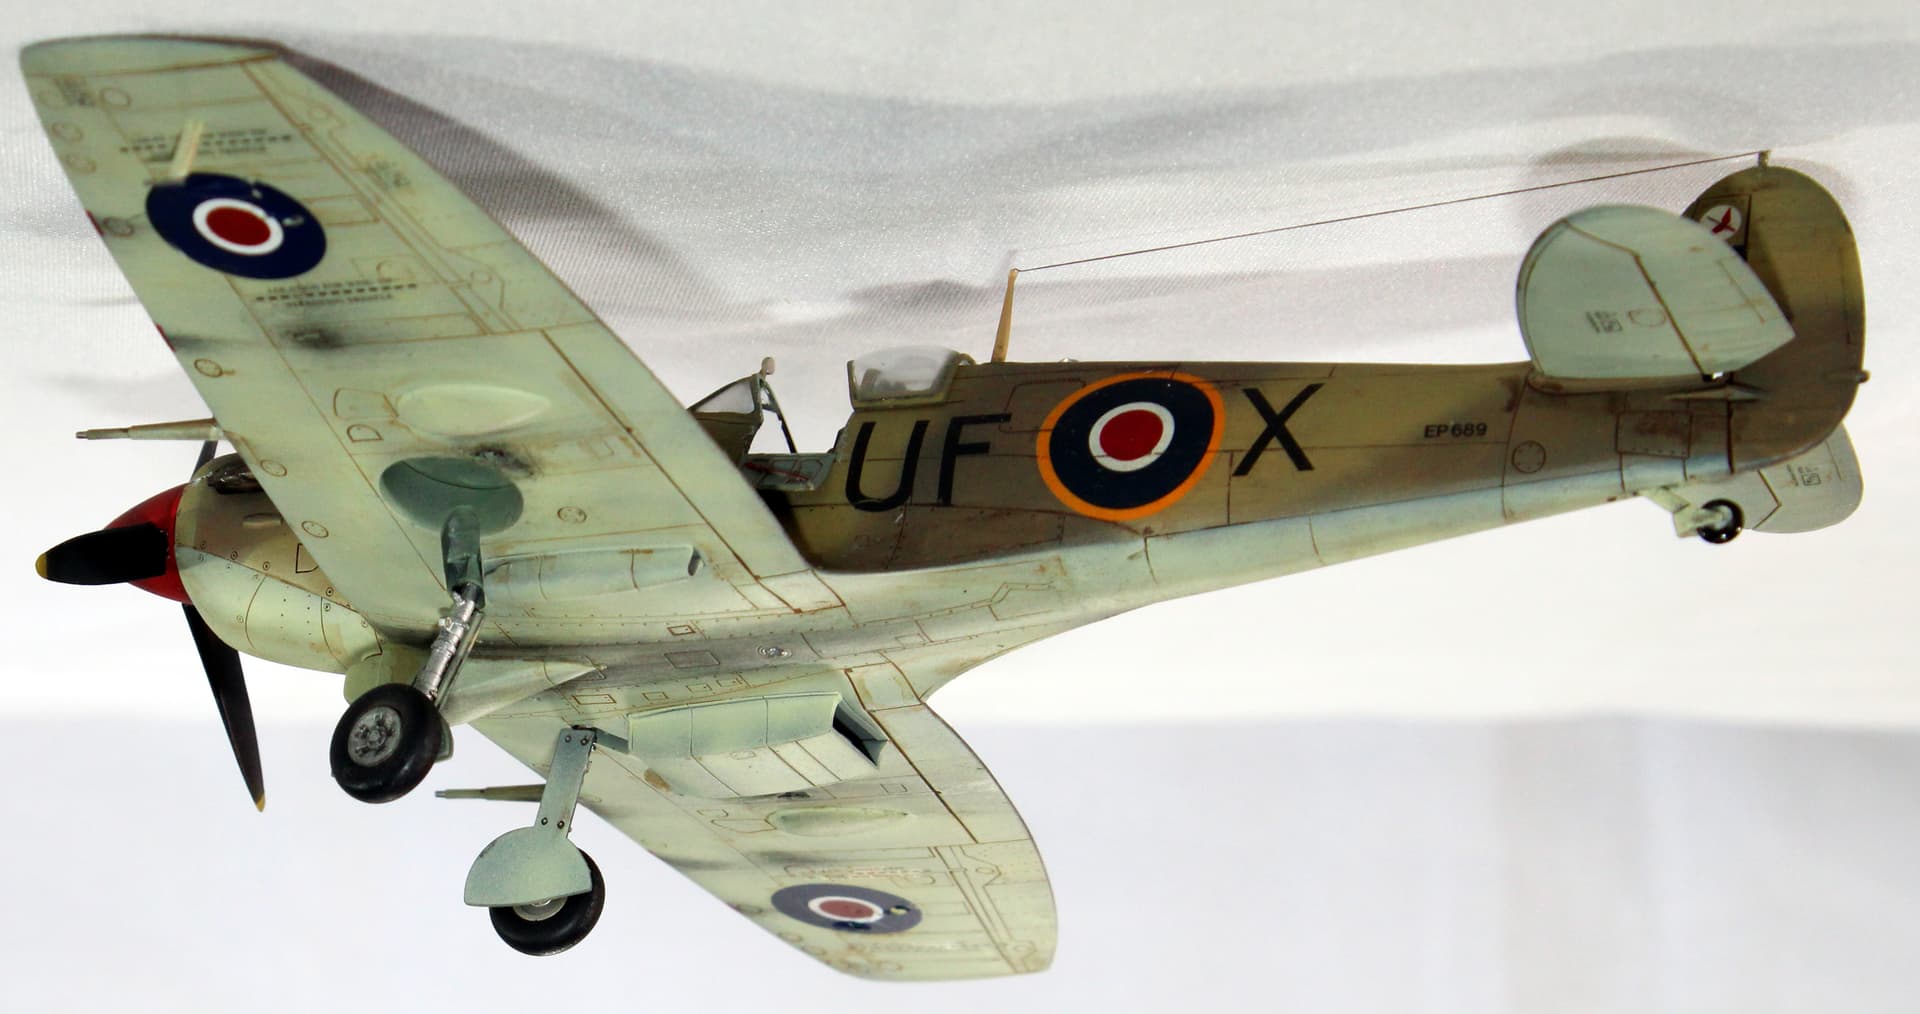
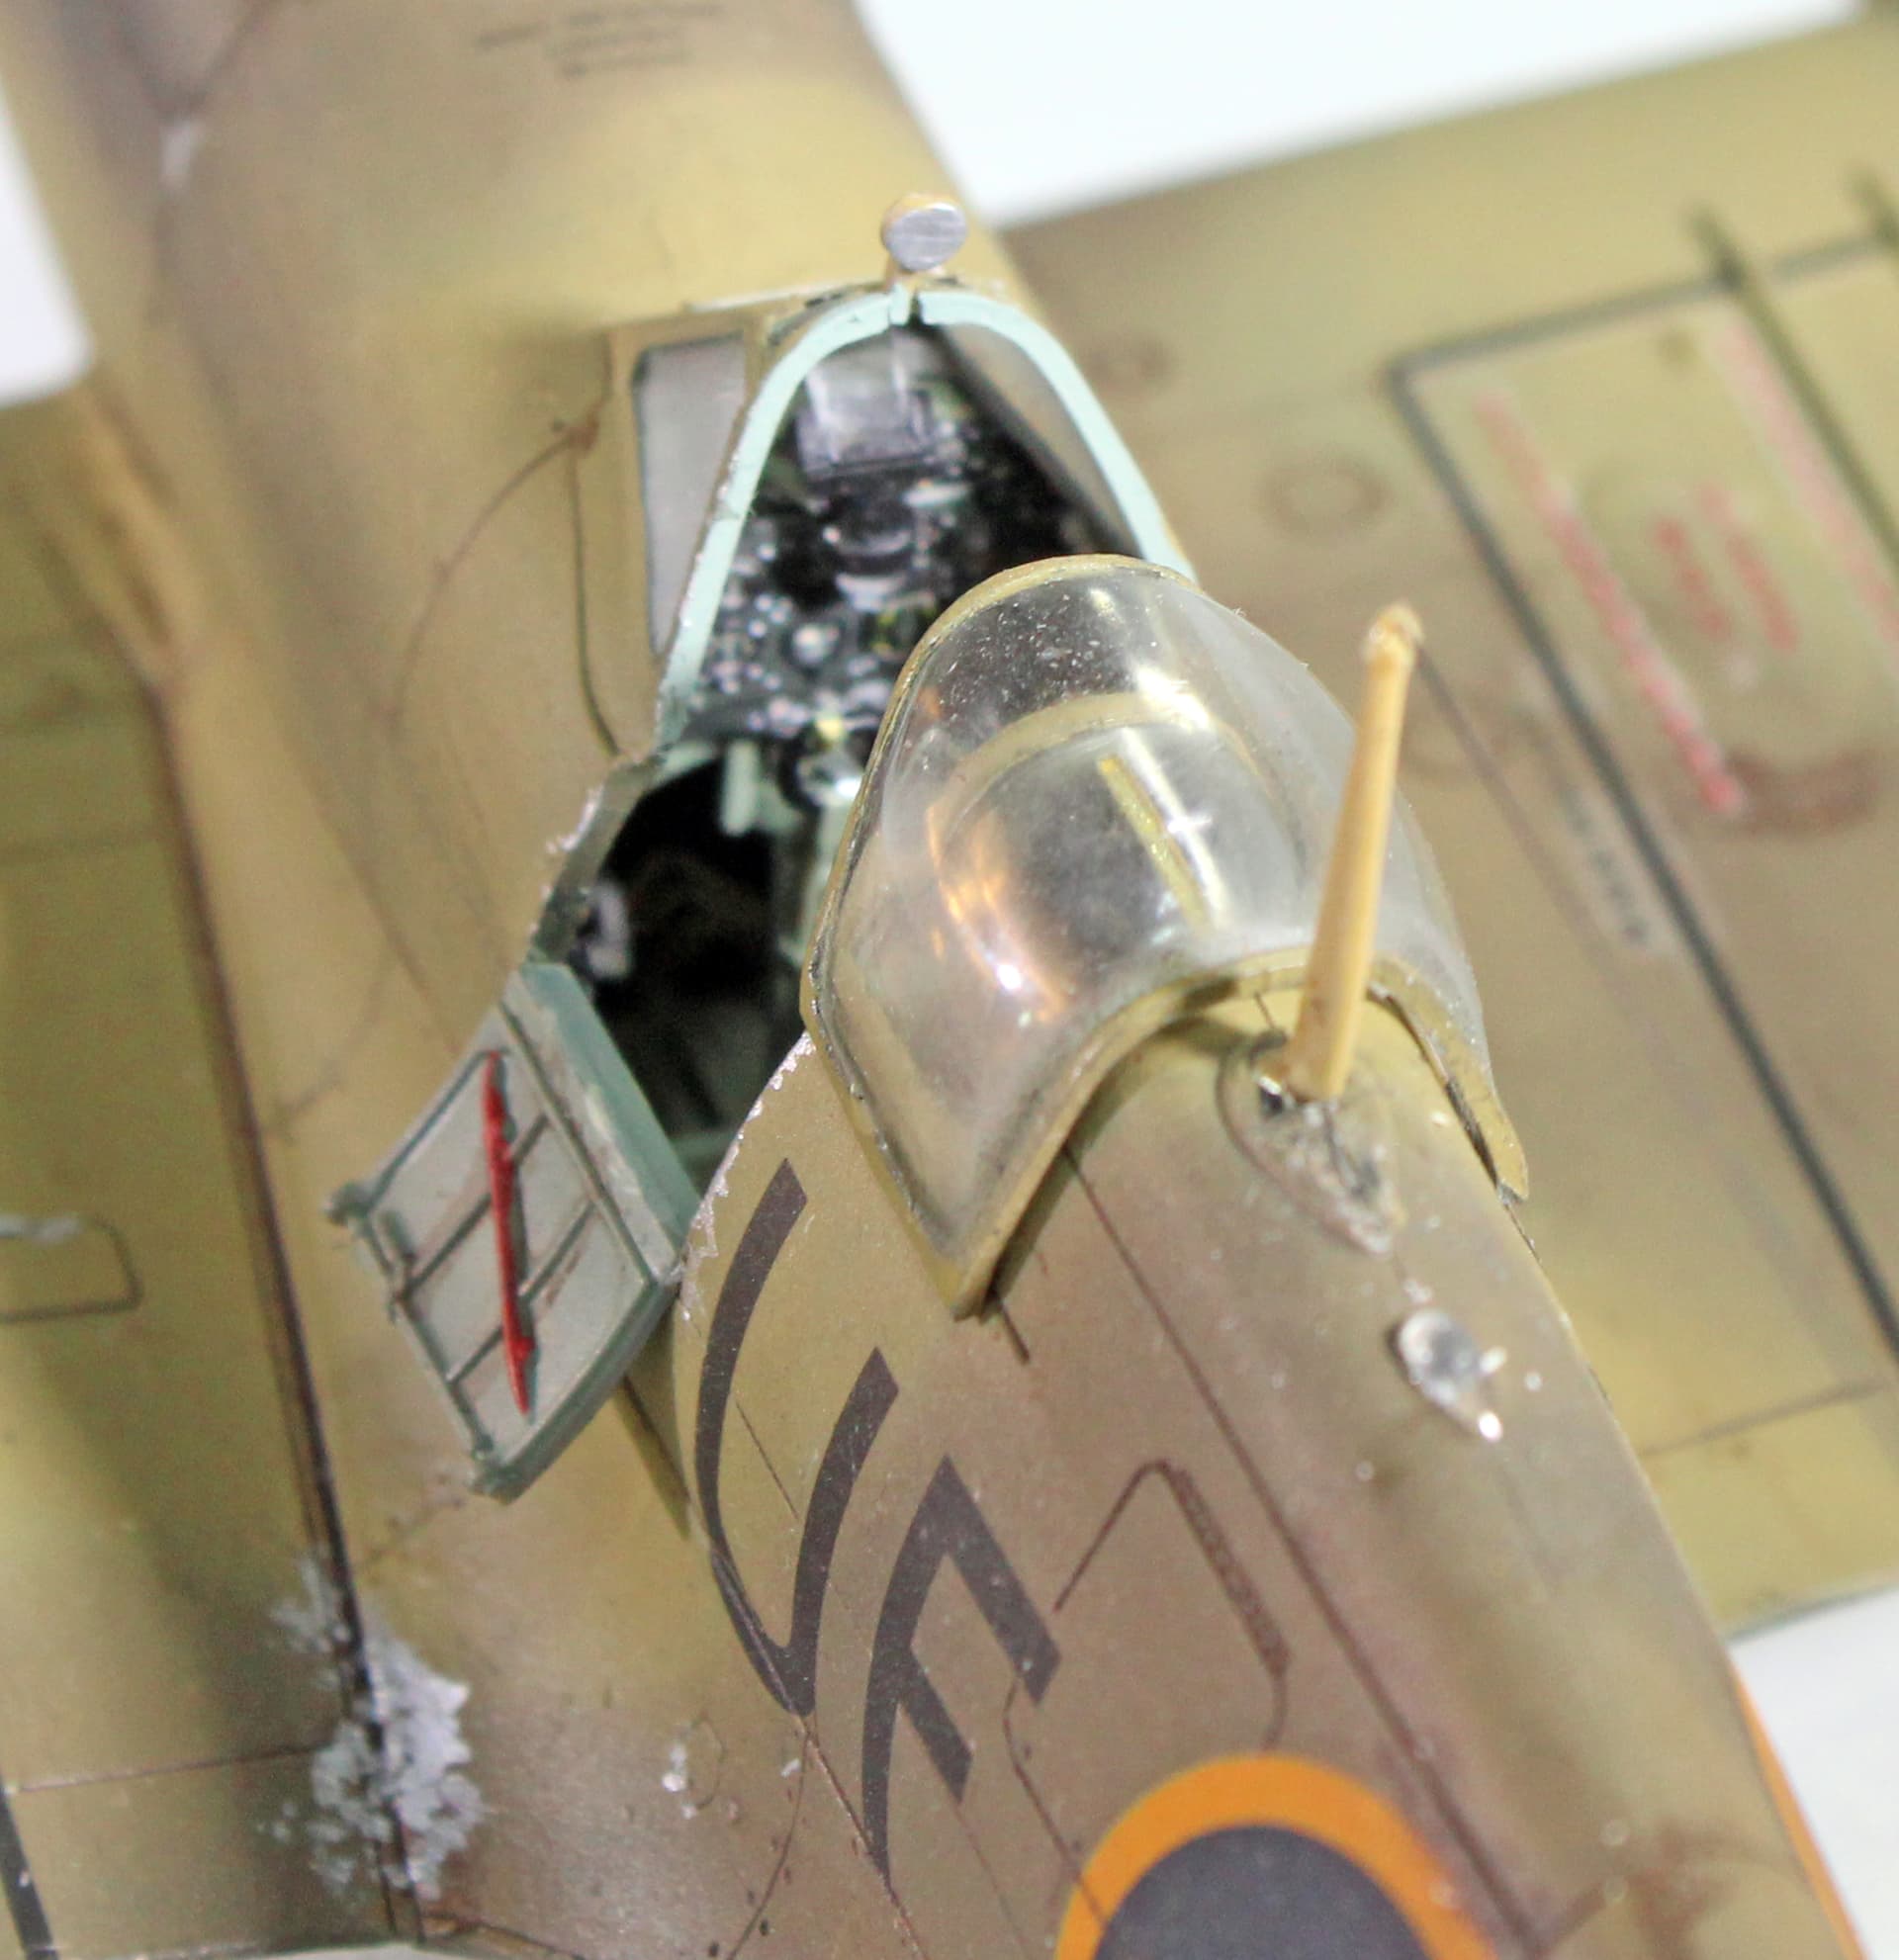
The decals mostly worked as they should. It was the wing roundels that caused problems. They didn’t take well to the setting solution in addition to the surface where they are to go, which features some bulges (not sure what these are). The decals tore over these bulges. I tried to paint with some old Model Master insignia blue, but the color matching was not good. So I ordered a decal sheet, which took a couple of weeks to arrive and delayed my completion of this kit. But, it’s not like I’m a hare running a race against a turtle here.
Edit to add that I used a Quinta Studios cockpit set for detailing the cockpit and adding the seatbelts.
For starters, this is indeed a well-built replica of a Spitfire @Aggieman . Aint Tamiya just the greatest (aside from the decals of course but you’ve already mentioned that-lol)?? You can pretty much take a kit, cut all of the parts off of the sprues, shake everything up inside the box and throw the box on the floor and they dang near build themselves.
I still have some Model Master acrylic paints that are still good and use them whenever I can too. Too bad MM had to go belly up as I really liked their acrylic lineup.
Another nice looking build, Stephen. I’m finding you really have to be careful with Spitfire colors, there were so many changes and variations throughout in the war, and then all the different insignia.
If it is the bottom roundels you had issues with over some bumps, the larger ones are the exits for the hot air that warmed the guns, which was collected behind the radiator under the wing and flowed outward. I have been dealing with those on my Hobby Boss 1/32 Mk. 5b.
@mustang1989 Thanks! I love Tamiya kits. Not like it’s any big revelation, but they do tend to produce the best kits that do essentially build themselves. I remember when the Model Master line came out. They had all these colors that were perfect for the various non-US air forces that previously had been somewhat difficult to find here in SE Texas shops. I still have maybe 2 dozen in my paint stash, mostly German and British colors.
@jeaton01 Thank you sir! As for the roundels, I had trouble with all of them on the wings. The top side roundels had some raised panel - perhaps a gun access panel?, and I think I also cut the carrier film too close, so there was some crumbling along the round edges of those decals. On the bottom side, it was the shell ejection ports and little bulges, which I have no idea what those were for, that caused the problem.
I should have acquired a markings mask and just painted them, but I really wanted to get this one done quickly so I could get to that big Hellcat quicker. Didn’t work out with that wait for the new decal sheet.