Tamiya 1/48 Lockheed Martin F-16CJ [Block 50] Fighting Falcon Build
Another Fighting Falcon. Please feel free to critique or comment. As I am no natural talent in modeling, I wanted to make this into a little more detailed of a “how I did it” for others that may be like me; struggling to figure out how many others on this forum make their models look so good. Not that I’m any expert at this, but I feel like it would have been helpful if things had been a bit more spelled out, when it came to technique. I’m just a regular guy trying to learn how to get good and practice practice practice is the key I think. Also, I’m a surgeon, not a pilot so sue me if I get some names wrong. I’m pretty sure my malpractice will cover me.
Anyhow, as far as kit quality goes, if youre willing to spend a bit more, and want to build an F-16, then you should be building this one. First, the parts fit. To me that means less filler. Also, the panel lines are recessed, meaning the wash will take more nicely.
Directions are clear. I used the following paints so far:
Testors: Gunship Gray and Light Ghost Gray (for fuselage)
Tamiya: XF-2 White, XF-1 Black (cockpit and undercarriage)
Valejo range for cockpit: khaki, black, bright green (O2 Tank), Some Alclad (all cockpit)
Promodeller Dark Wash for Cockpit
I use a lot of Alclad II. I just think it gives that little “Kick” that makes things stand out. I dunno why, to my eye it’s like the greatest thing since sliced bread.
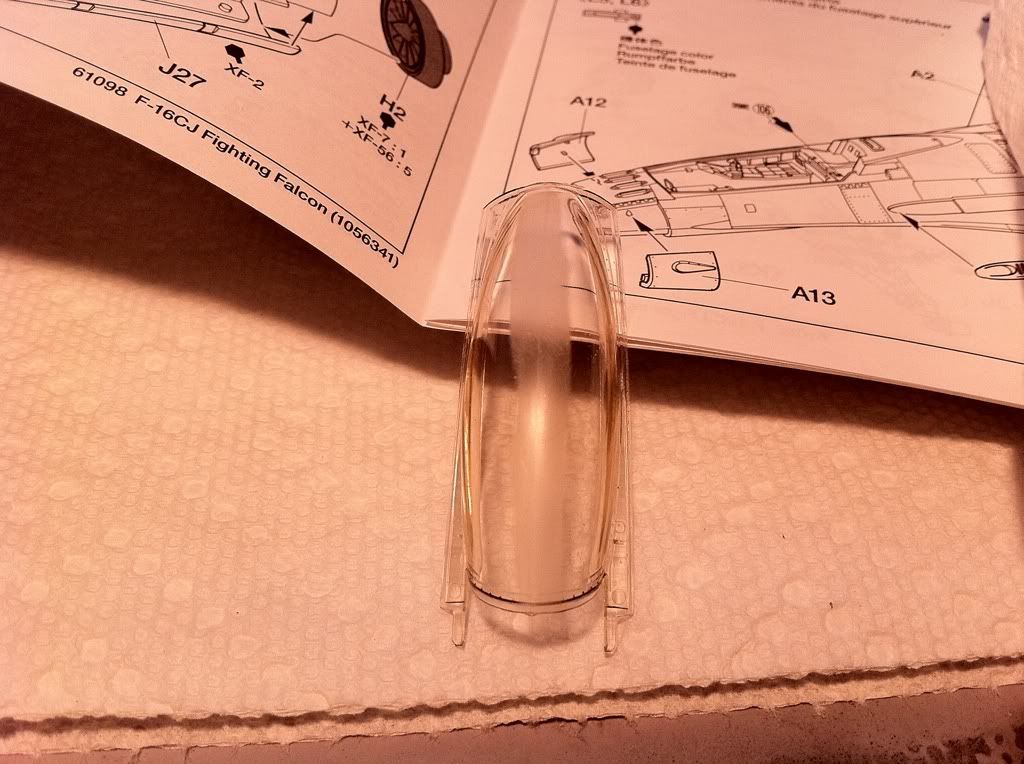
The first piece of misery is the canopy. It’s packaged so as not to get damaged in shipping, but it has this ridiculous seam line right down the middle. Damn.
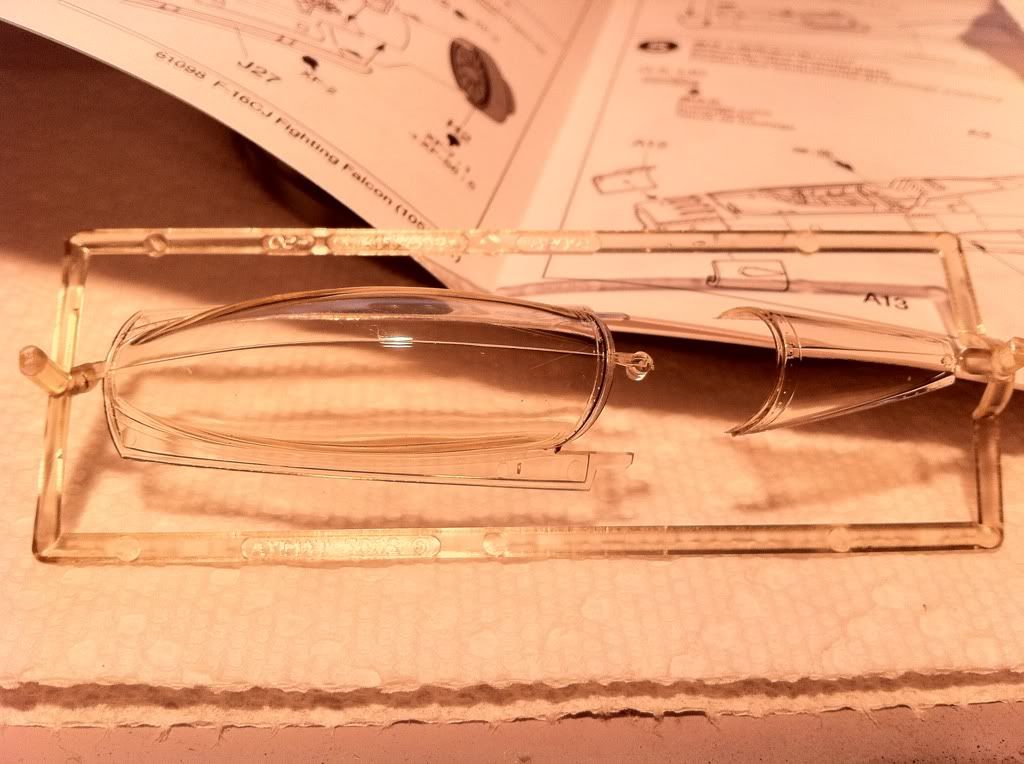
See that seam?
What the hell do I do about this? It’s actually pretty simple.
Step 1: wash it off in water
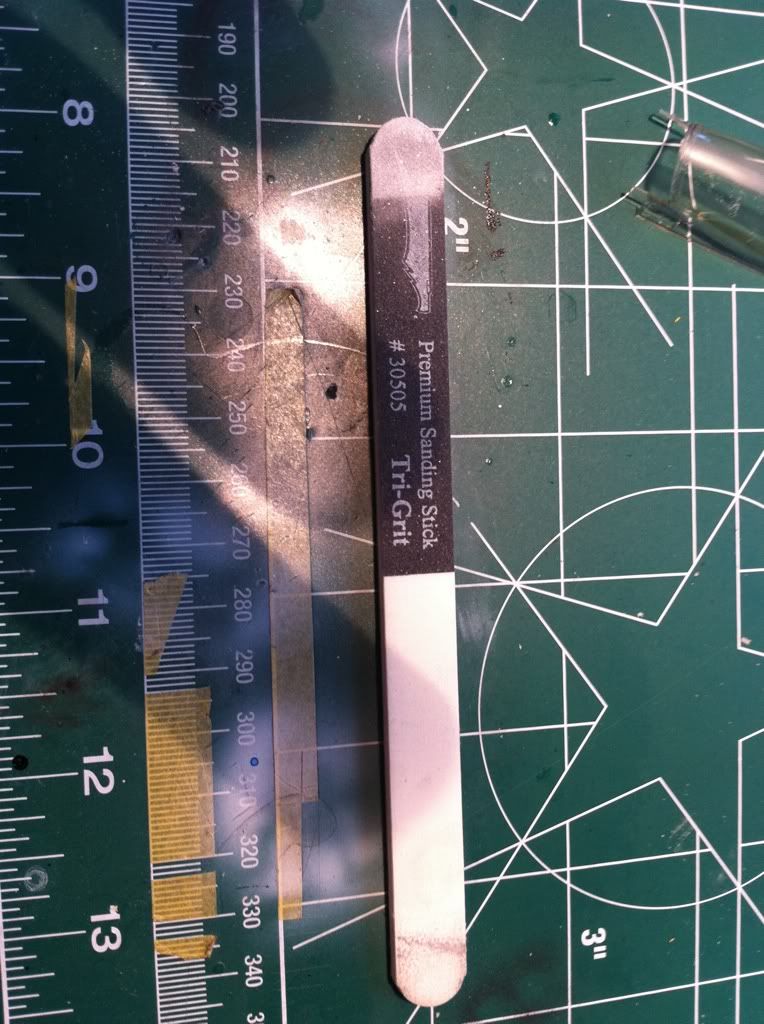
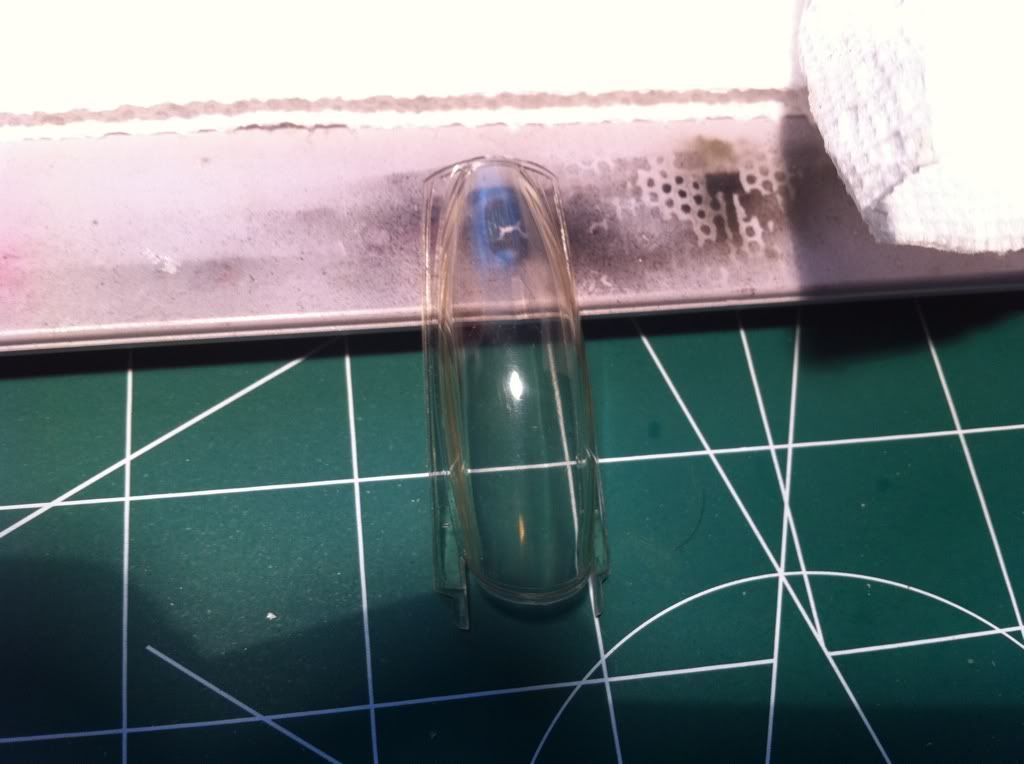
Step 2: Get a Tri-Grit Sanding stick somewhere. Use the coarsest part (dark gray) and sand lightly over the seam, and nothing else. It will look F’d up at this point. Don’t freak, it will get back to perfect soon. Dip in water. Move to the white grit part and go over the same spots. If youre careful (yes, you have to be careful in modeling) you wont mess up the detail on the edges of the canopy. Water. Turn the stick over. Use the buffing side. This whole process should take at least five mintues. See? It’s clear again. If it’s not then you didn’t use the grits in order. Water.
Almost there!
Wipe with paper towel. (btw I think when our bros across the pond refer to a “kitchen cloth”, it’s a paper towel)
Step 3: Go buy some Novus #1, and #2.
Step 4: get a paper towel of a buffing cloth and use the #2 first. Wipe it all over and then wipe off. Then Use the #1.
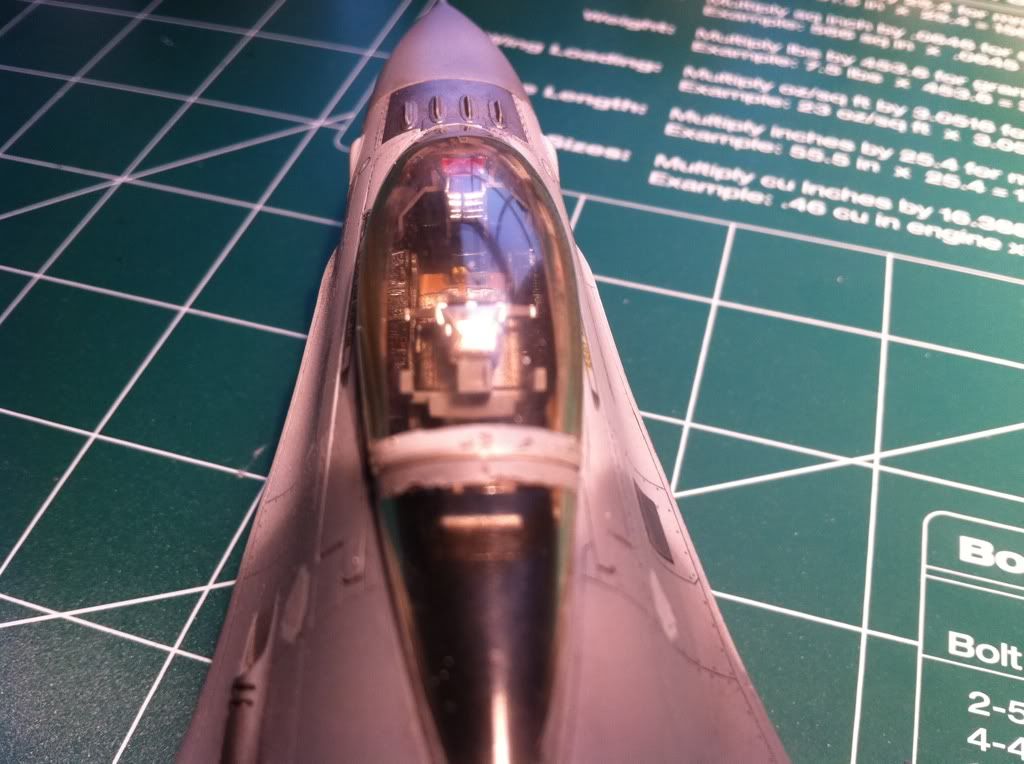
Should look perfect at this point. I think not. Go get some Future and dip it in. Put on paper towel. Leave for 24 hrs. Loot the rewards of an awesome, better than when you bought it, canopy.
When masking it, lay strips of tape on the canopy edges. Use a NEW sharp blade and hold the canopy up to a light and let the blade weight do the work. Slow. Steady. Patience. After the edges are done, the rest is a no brainer. Tape of the middle. Liquid mask sucks.
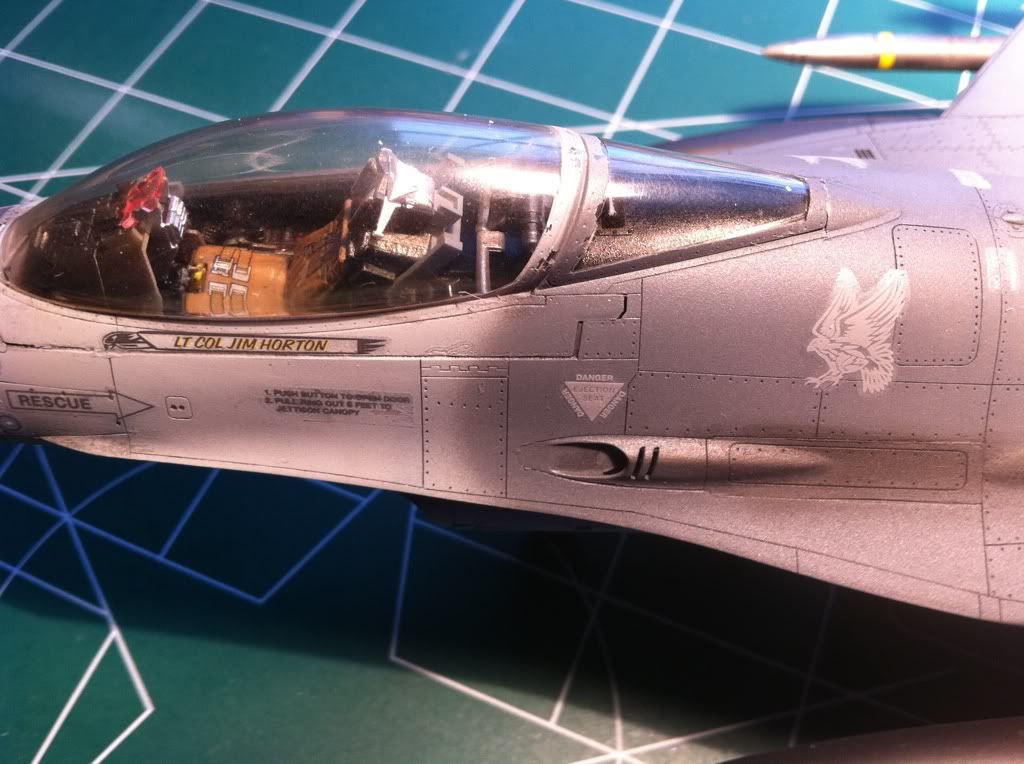
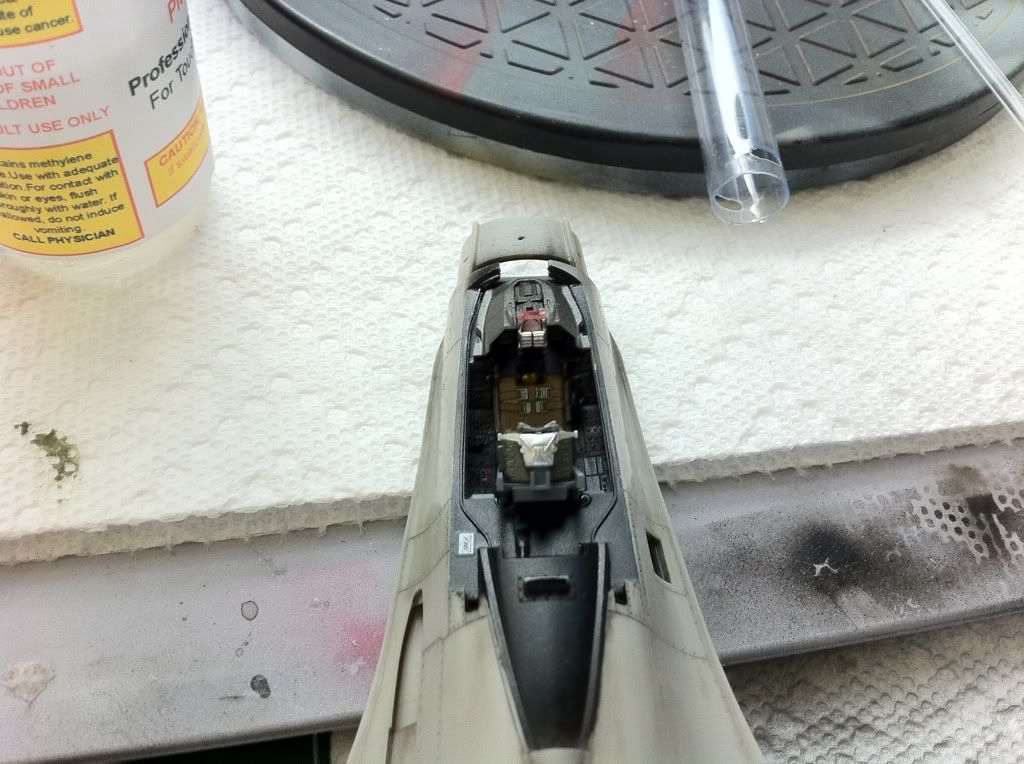
Next came the cockpit parts. After primer, (I use Alclad Gray Microfiller and Primer) I went with Nato Black for the base color. Then I “picked out” the details. I could’nt figure out how for the life of me how any of these people made theyre cockpits so dam awesome until I found the way of the toothpick. Use your sprue cutters and cut a toothpick into a point. Also, “dry brush” the raised portions of the instrument panels. Get a brush, dip it in paint, rub it on a paper towel until you think the paint is gone, then lightly brush over the raised parts.
Find some colors for the buttons and a magnifying glass ( I use my loupes that I use for vascular stuff in the OR) and gently dot the paint on the buttons. Don’t use too much. I’m not in the military but I know one thing, and that’s the US Air Force don’t play. They don’t like a lot of flair or foolishness in theyre aiplanes so don’t make it look like something out of Star Wars. Further, they probably like to keep there work relatively clean so don’t drop a bunch of dirt in the cockpit when weathering.
Weather the places where the pilot sits and sweats and drops sirt from the tarmac, but not really anyplace else.
Here’s some pics of the cockpit. I dropped some weathering on the seat leather and where the pilot’s boots will go.

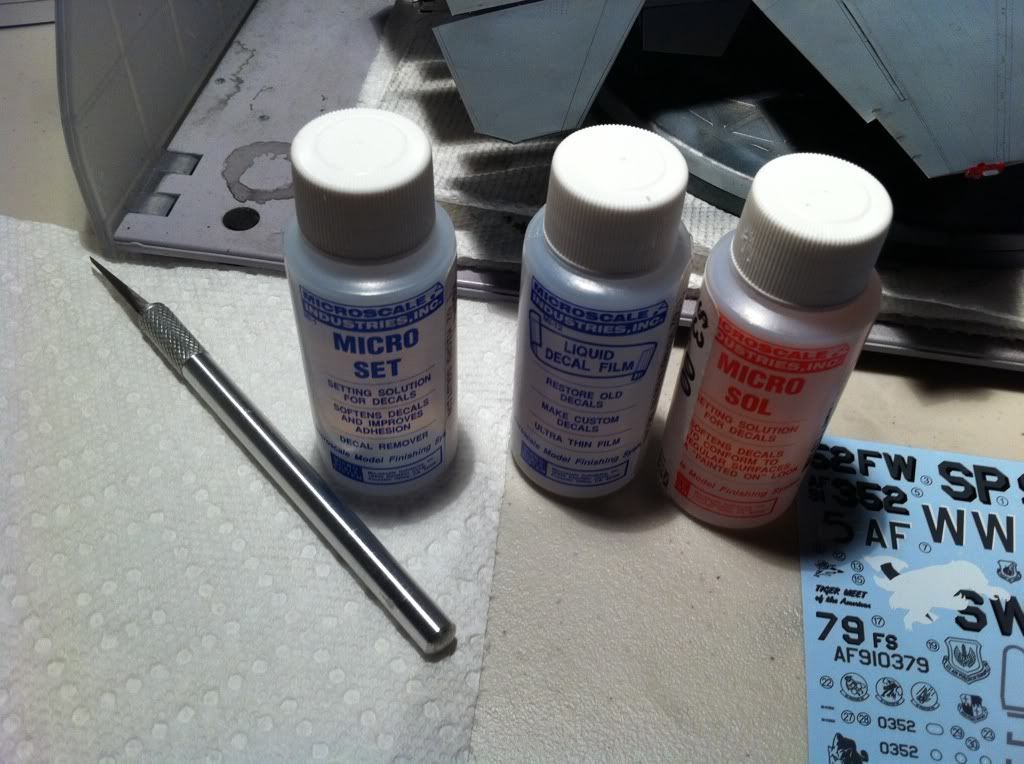
Also, here’s some tools you should have if youre planning on making anything look remotely pro. Get some sprue cutters and a microbrush. They make life easier.
If you don’t know, now you know.
Anyhow, onto the fuselage.
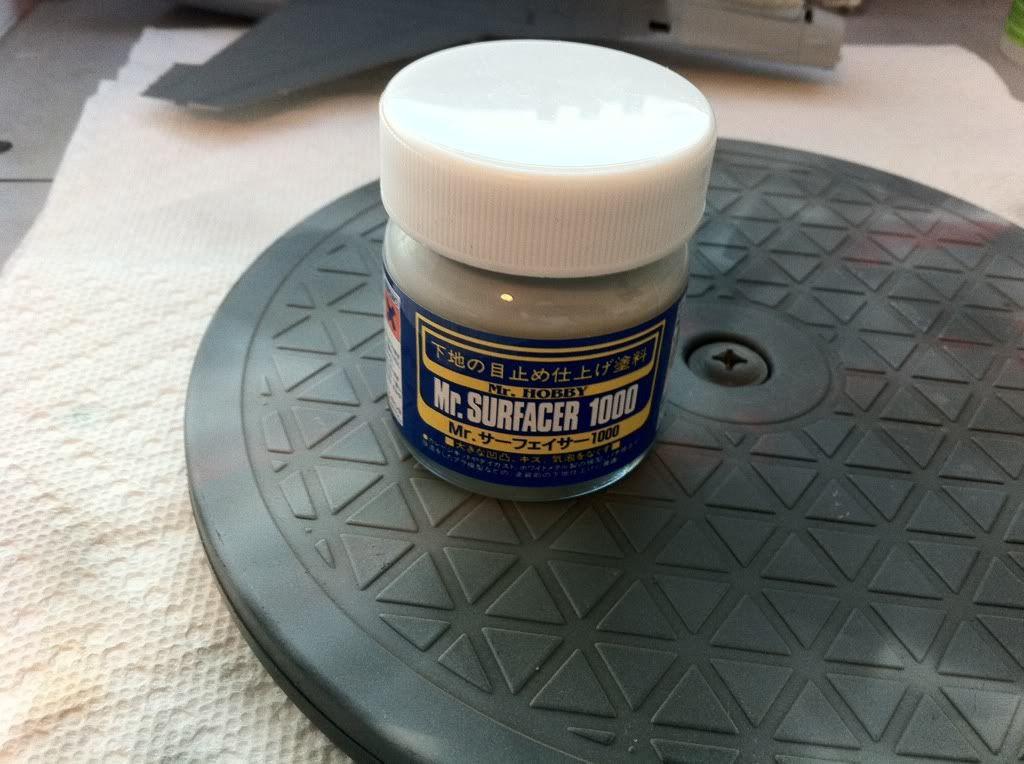
Wanna have an easier life get some of this. Gunze-Sanygo Mr. Surfacer 1000 and 1200. This stuff is WIN. Its for filling gaps. Gaps look stupid on models.
Further, when its time to glue, get a bottle of Tenax or Plast-I-Weld and a Flex-I-File glue applicator. It pinpoints the placement of the glue which by the way is a sweet carcinogenic concoction that literally melts the plastic between two parts and welds them together. What does this mean to me? NO SEAM LINES. NO UGLY ASS GAPS. Nice. Put the tip of the applicator between the dry fitted parts and capillary action does the rest. Hold them for 20 sec and reap the rewards.
First wash the fuselage parts. The oil from casting will mess up your paint job. Sand off the very minimal flash. Do what you will with the ejection marks (the little circles where the factory machines pushed the plastic out of the cast). Some fill them in, and I do with the bigger marks.
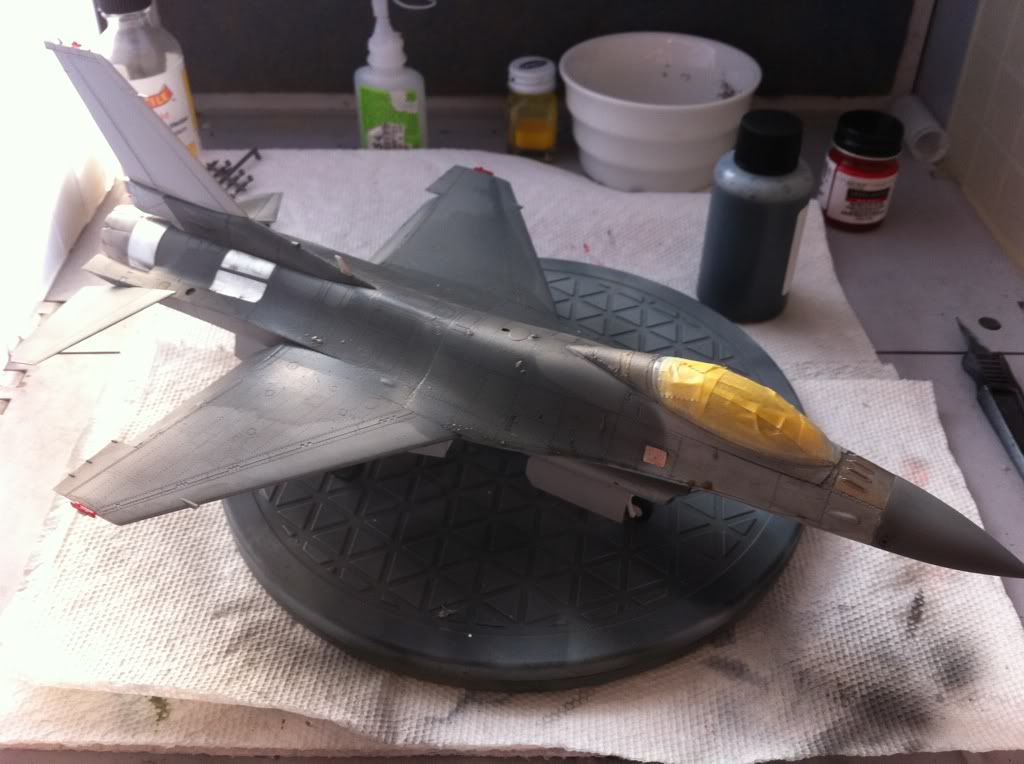
Next prime the model. All over. Wait for a while, like 20 mins, and wipe it down to clear off any dust. One thing I’ve learned is that if the model surface looks like crap, EVERYTHING else on top of that layer will look like crap. And it will look 10 times worse as each doomed layer of paint goes on top of it. So wipe it down and make sure everything is smooth. Don’t have to sand, and yes, some primer will come off with the paper towel, but that’s ok.
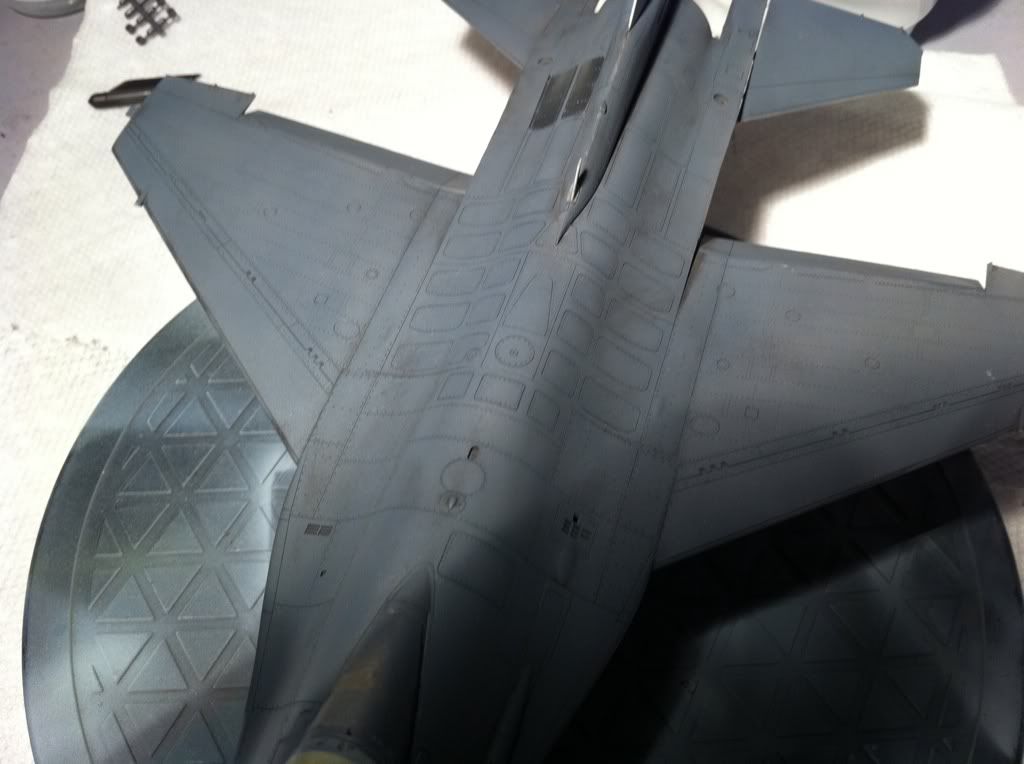
How do the pros get those hot shaded panel lines? They start with Preshading. Take your airbrush and fill out with black paint and aim close to the surface to make sure you have a fine line. Spray the lines on the model or anything else you want to stand out. This takes a while but it’s worth it, I think. Here’s part way through the preshading.
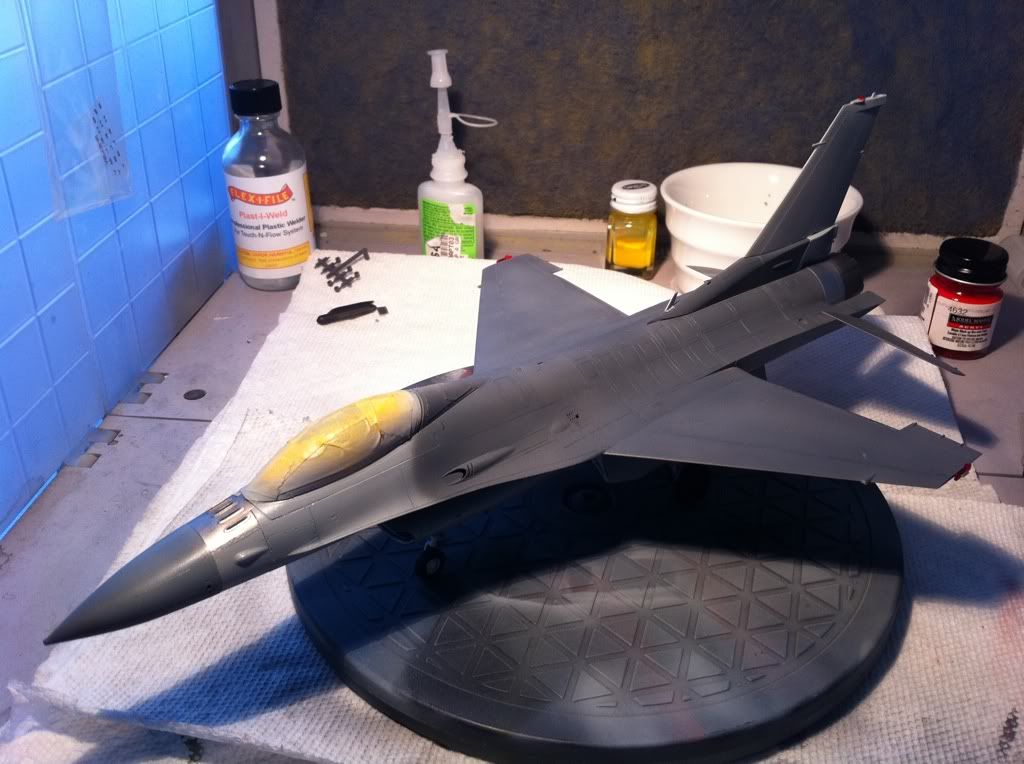
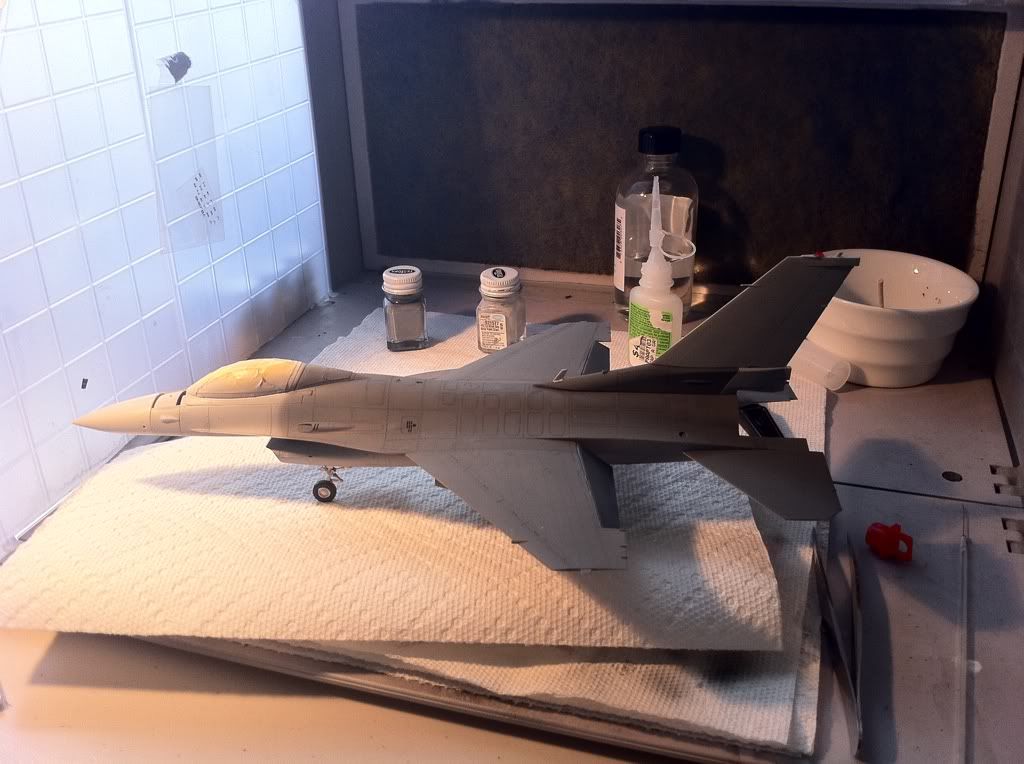
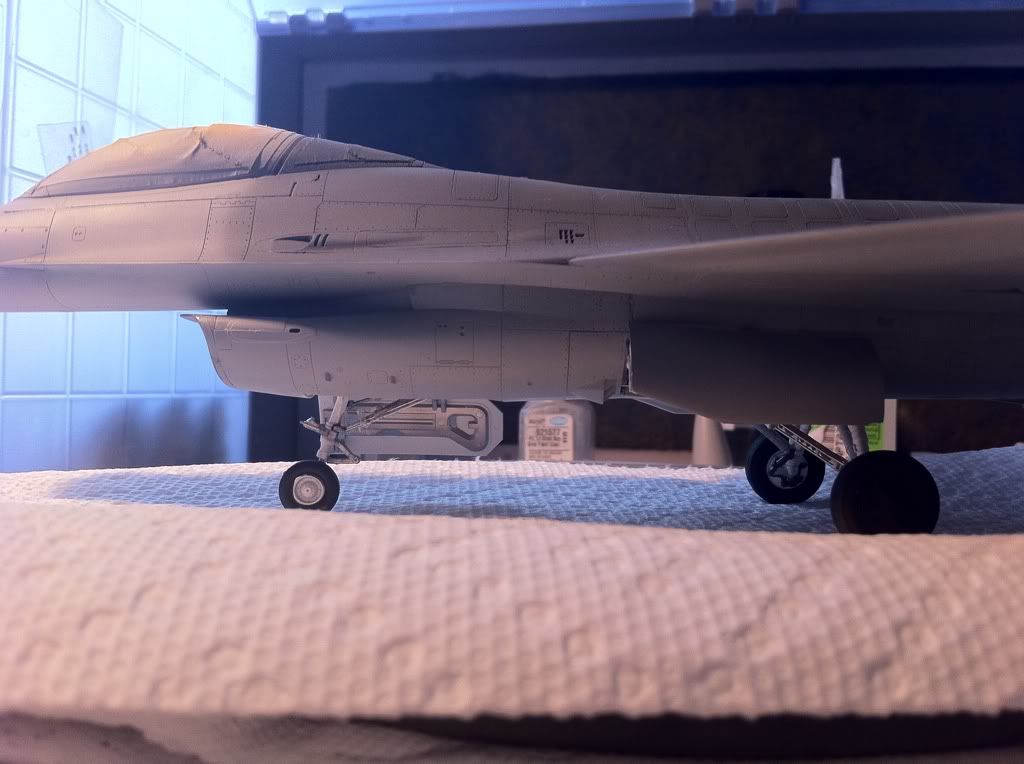
Let it dry and then its time to lay down the main paint. My suggestion is that you always start with the lighter color first. The F-16 has a relatively complicated paint situation for a gray airplane. I put down Light Ghost Gray on the nose portion of the fuselage first back to about halfway. Put on a light enough coat at about 10-12 PSI , just enough to cover the preshaded lines but not enough to obliterate them. It should look like the edges of the panel lines are slightly darker than the middles of the panels. Then came the Gunship Gray. The curve of the Gunship onto the Light Ghost under the cockpit is painful to make. It needs to have a slight feathered edge.
Grab a piece of plain white paper. Lay it on the model where the paint demarcation is going to happen. Get a pen or pencil. Draw the curve on the paper where it will go on the model. Cut it out so that you will use it to spray on the Gunship Gray. Tape it or silly putty it to the model surface where you want it to go. Spray the paint AWAY from the edge of the paper towards the back of the model, so there will be no underspray. Win.
The underside paint is pretty straightforward.
Remember, light coats, low PSI. It will come out great!
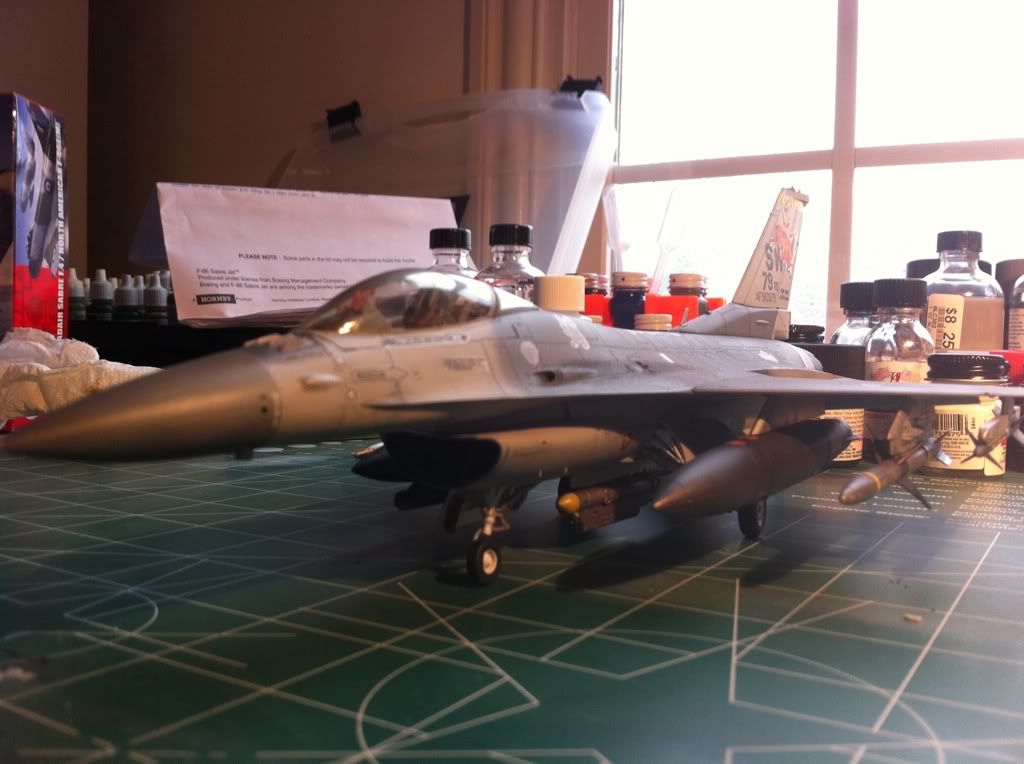
Alright, undercarriage time. Here’s where I start painting parts on the sprue. The undercarriage of an F-16 is mostly white but I like to add some details. I used Alclad for many of the suspension parts. I know it might not be exact, but having seen pictures of the real landing gear area, its pretty busy and hardly uniform white. I cut out circular masks for the wheels, and used CA to glue it. After about a day of work, here’s my work so far on the gear areas. The Intake was a bit of trouble. Use the Mr Surfacer or whatever filler to close the inevitable gaps. Also, paint the intake BEFORE gluing it to the model in the Tamiya Kit. Trust me, youre life will be much easier for having done this. It’s not what the instructions tell you to do, but theres no way to fill gaps and paint well when its attached.
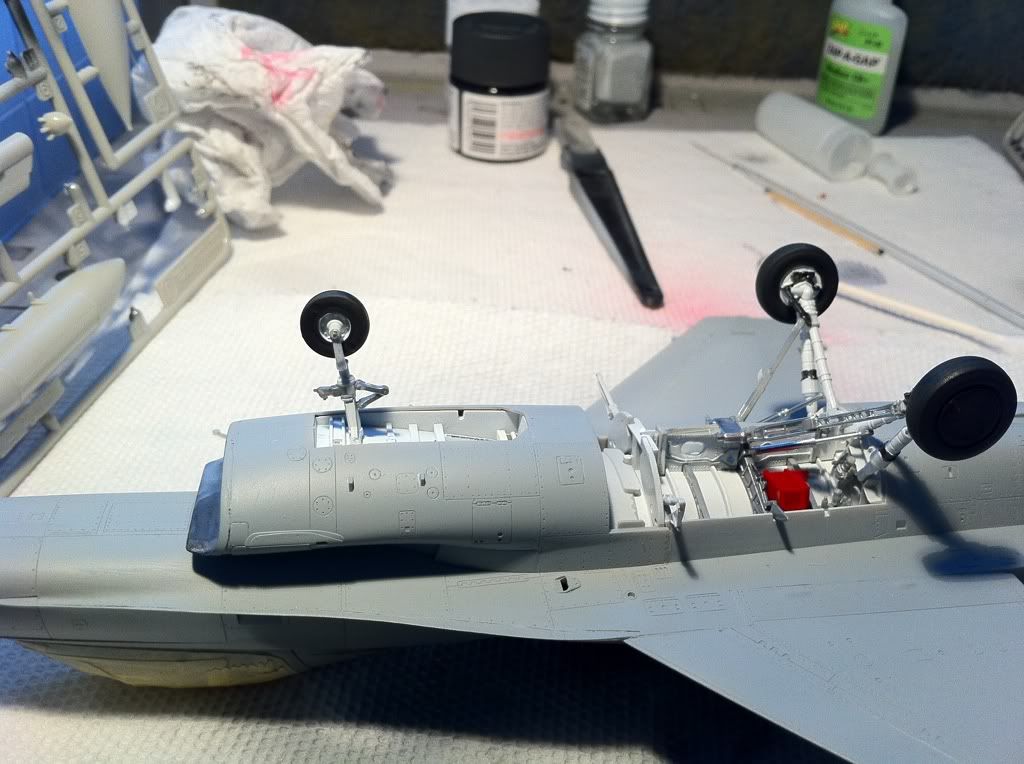
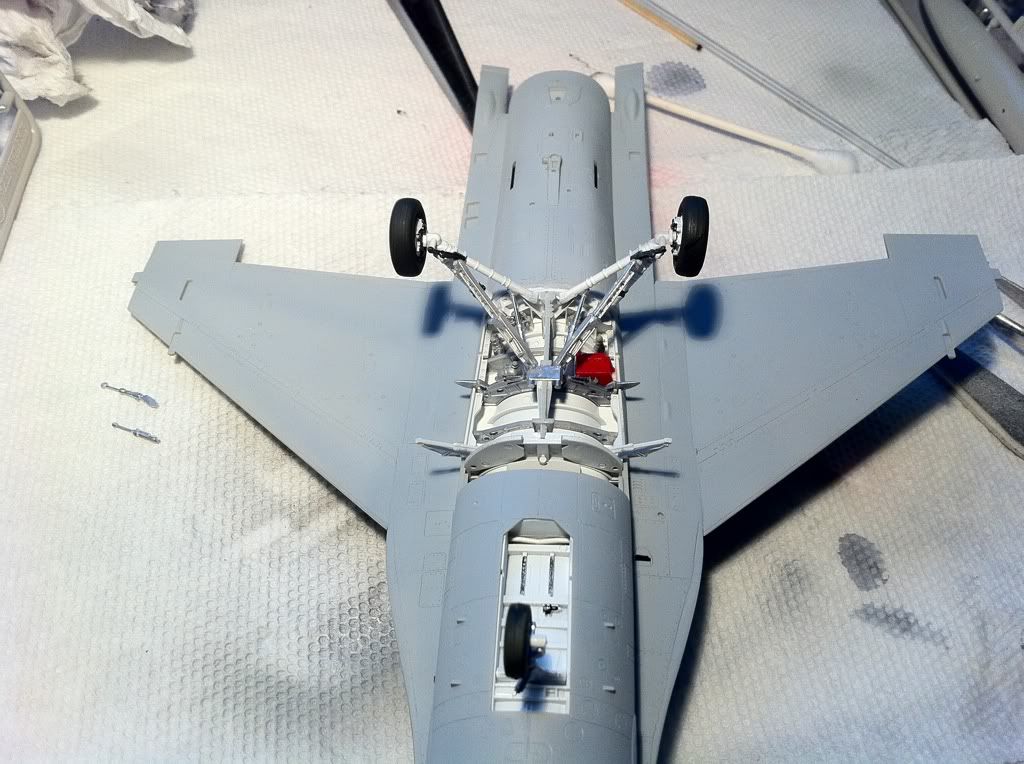
That’s all I have so far, more to come hopefully.
Thanks.
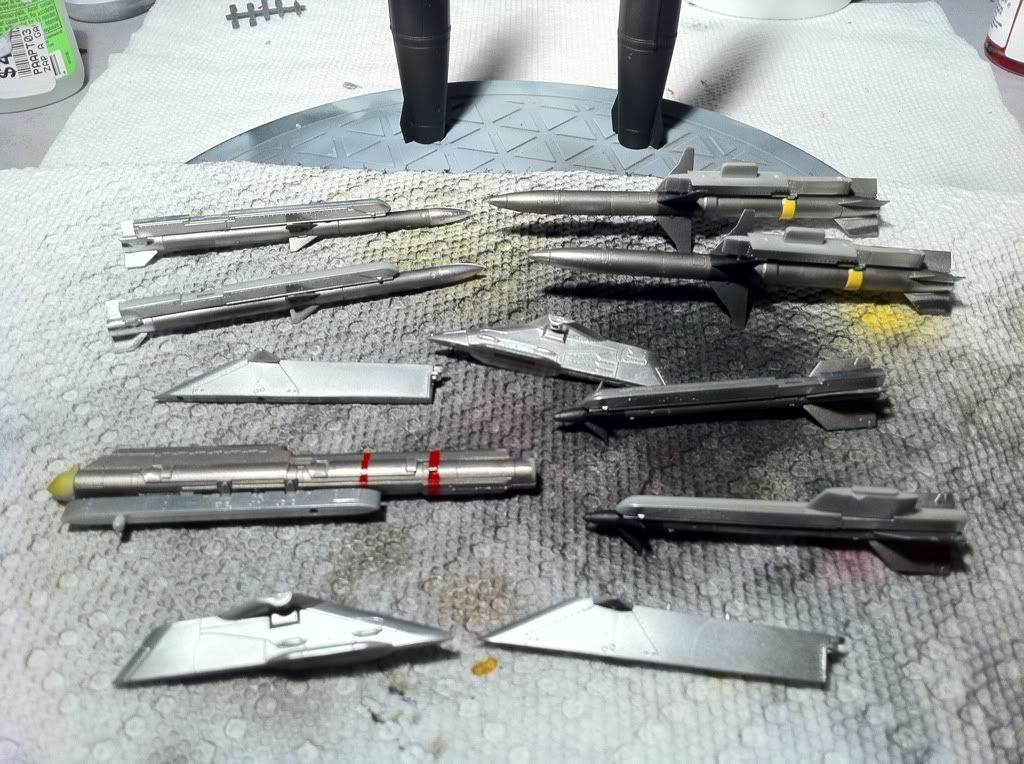
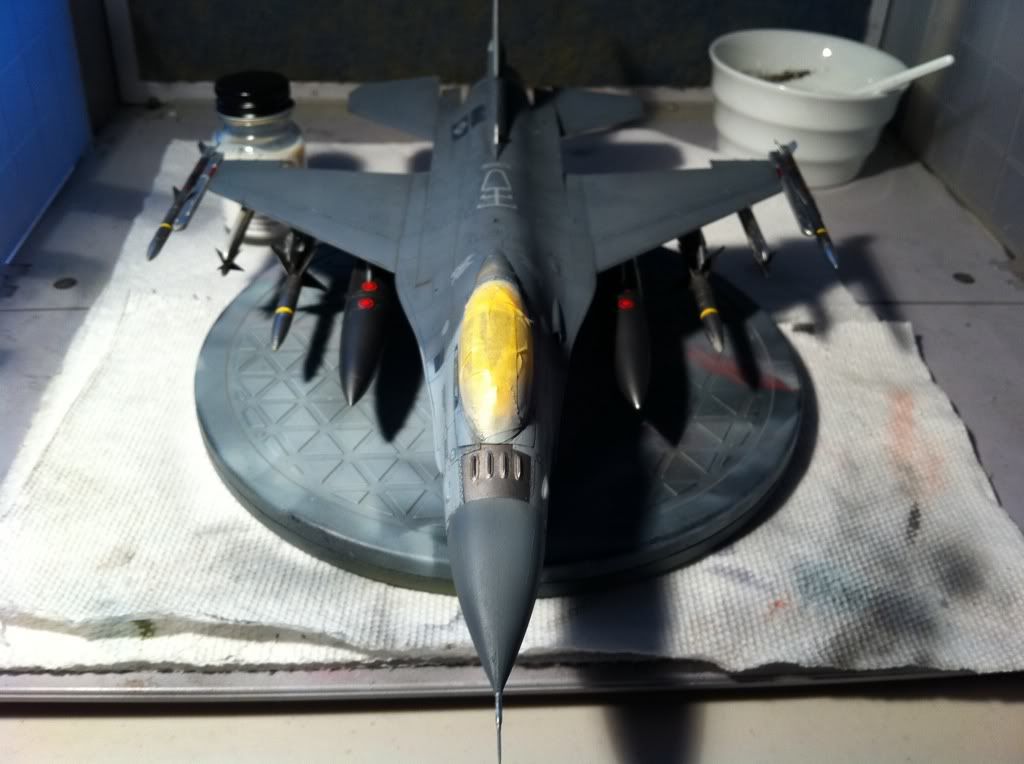
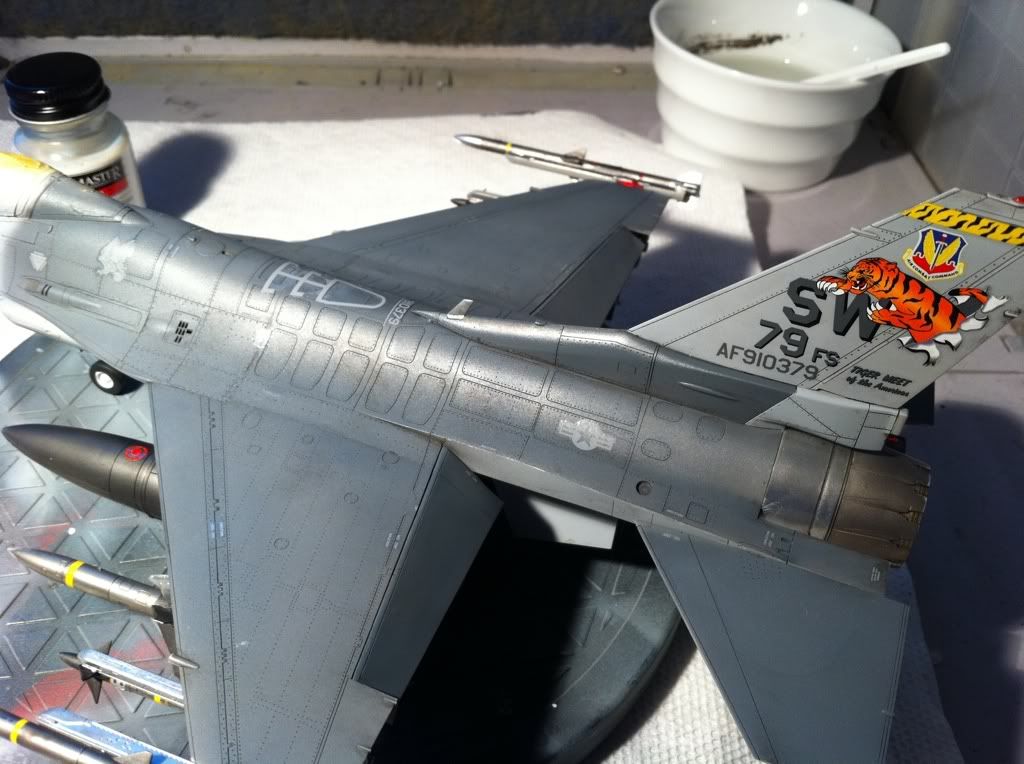
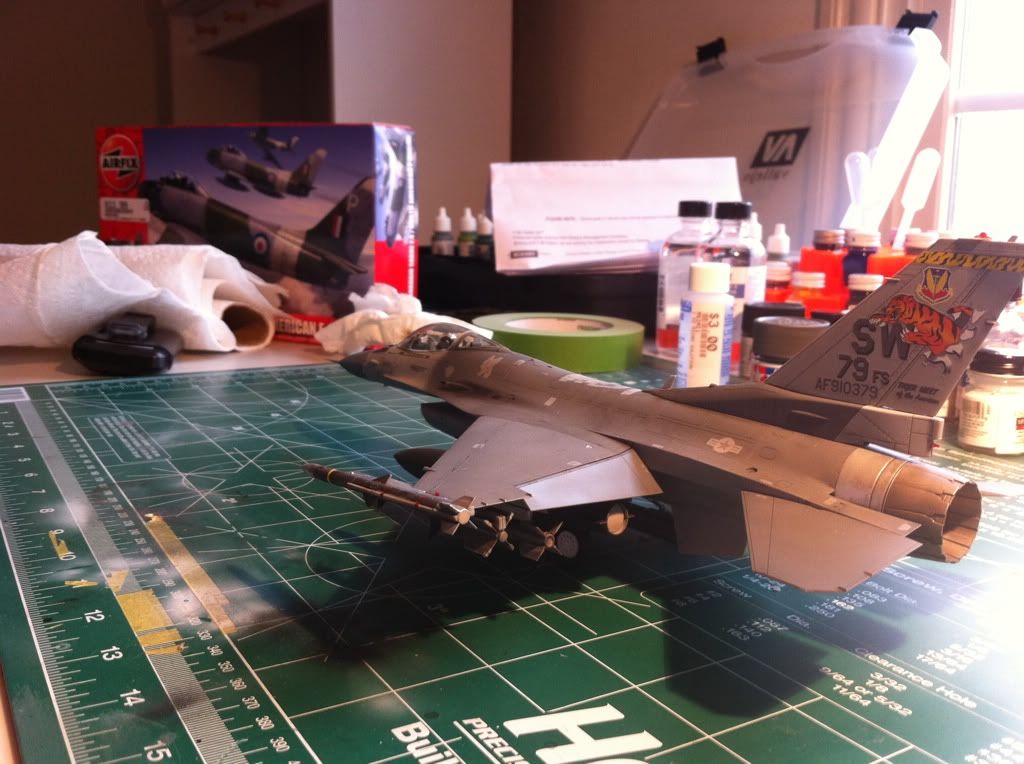
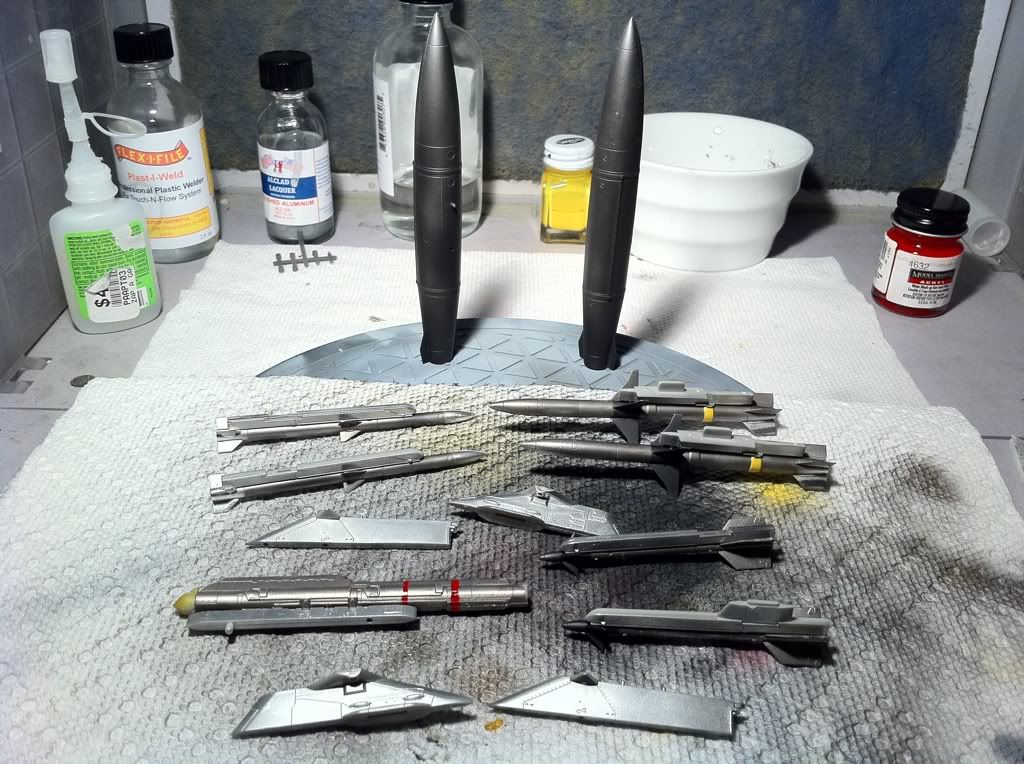 This week, stores and armaments are done. This is by far the most painful part of building military aircraft for me. Tedium x 2. Either way, the dude that is flying this Falcon is not to be dealt with lightly…