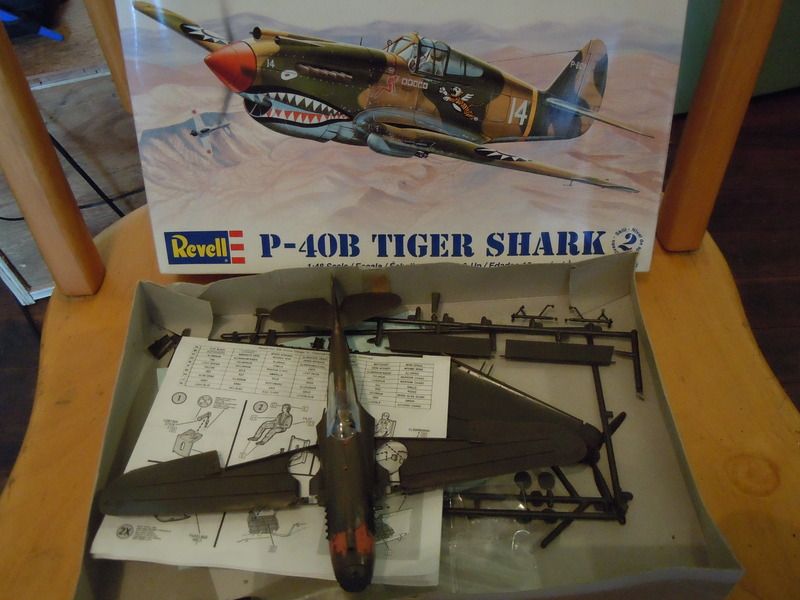
Ressurection time!
I threw my back out last week and its still giving some big issues. To pass some time I pulled out this old bird just to get out the AB and put some paint to something.
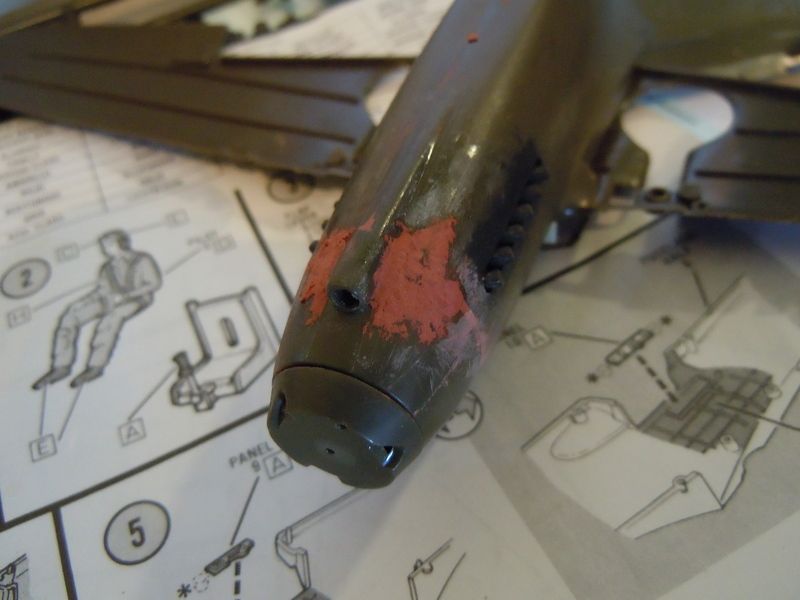
I started off where I left off last, opening up the brass ejection holes and adding the rest of the bits to the landing gear area. Lots of styrene bits and Bondo were used to get the pieces to go flush and somewhat even.

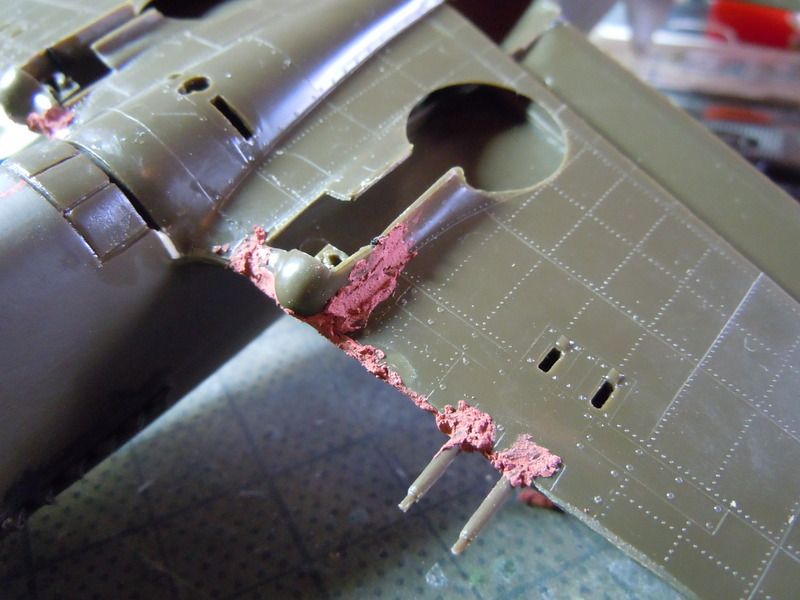
It was an ugly mess, but with a lot of sanding it straightened out alright.
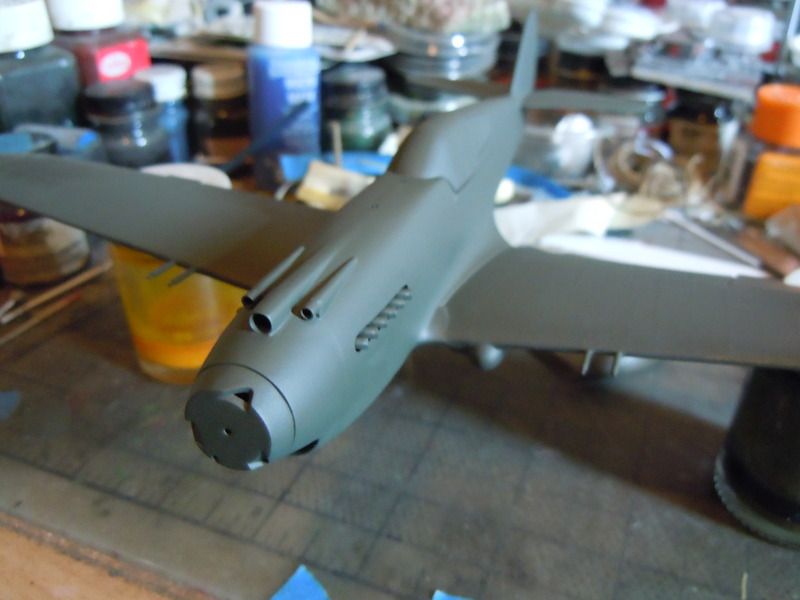
I bit of primer to check for bad areas did reveal a few, but mostly it looked pretty good.

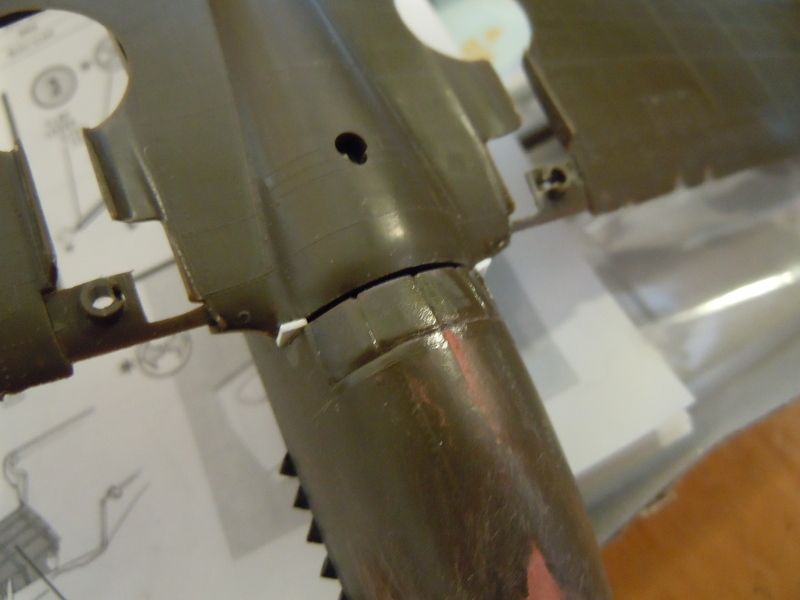
The spinner needed a bit of Bondo as well. It didn’t turn out perfect, but it looks better than it did.
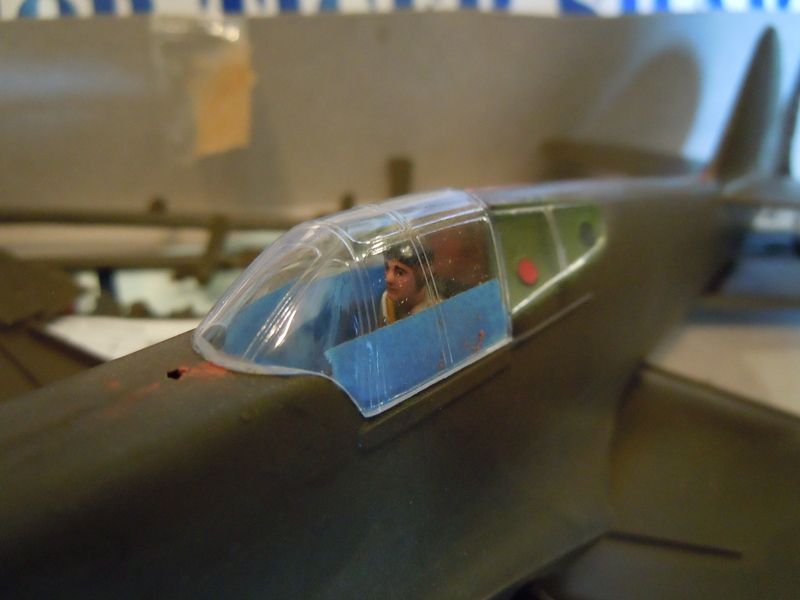
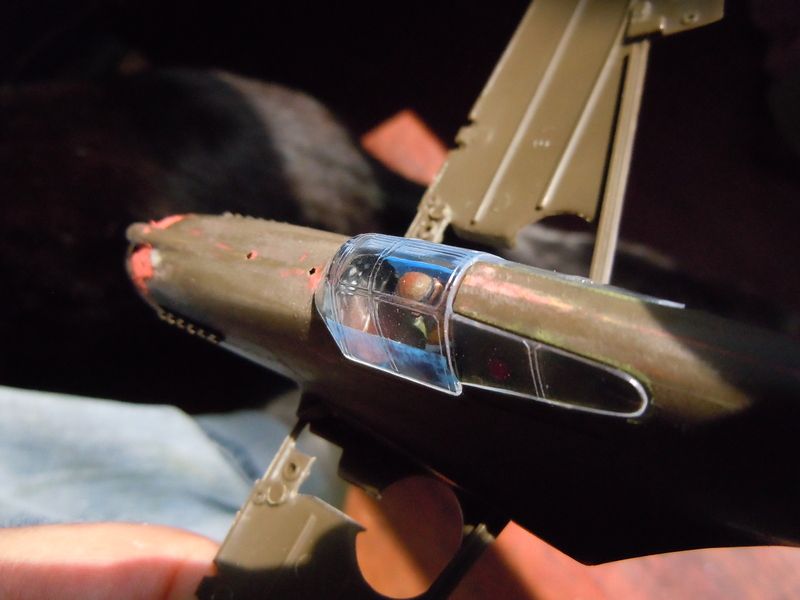
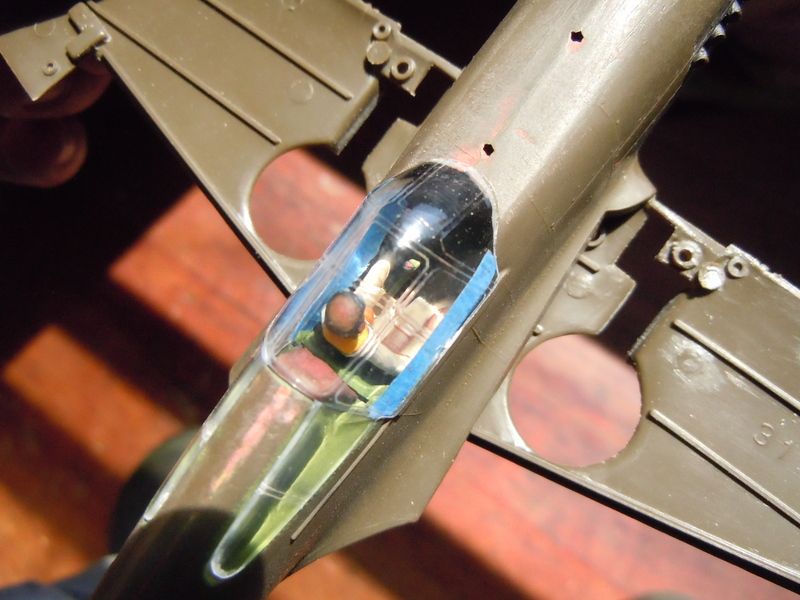
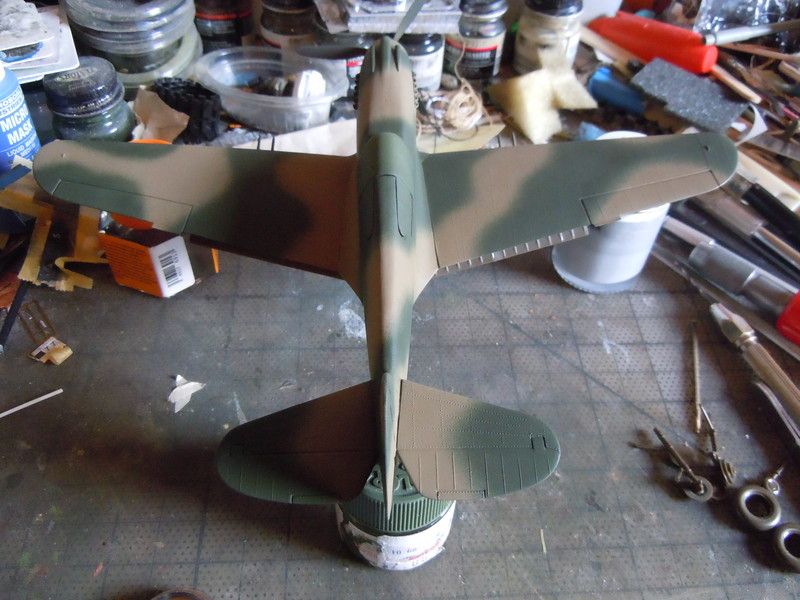
After all of that Bondo work was completed and I was satisfied that things were good I laid down the camouflage pattern. Since the Revell instructions really don’t supply you with any real pattern to follow (Old B&W pictures are more than outdated) I used the pattern from the Academy kit I picked up a little while back.
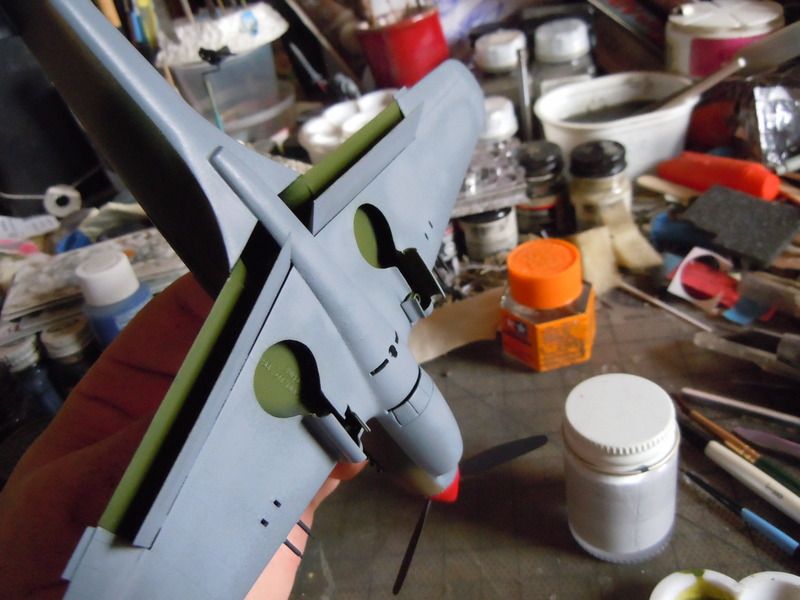
I sprayed the insides of the flaps and the gear well doors all Chromate Green, although I’m fairly certain they should be Chromate Yellow for the time period. Maybe I’ve got that backwards, I don’t know.
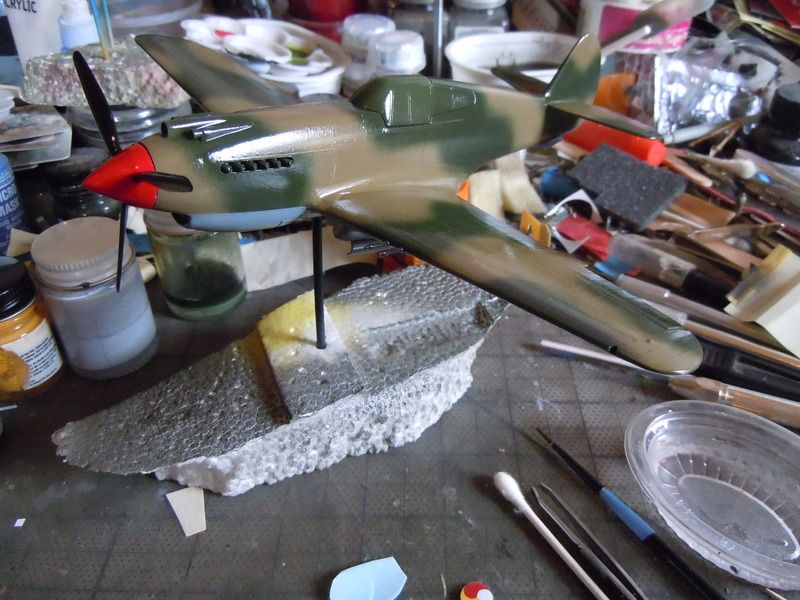
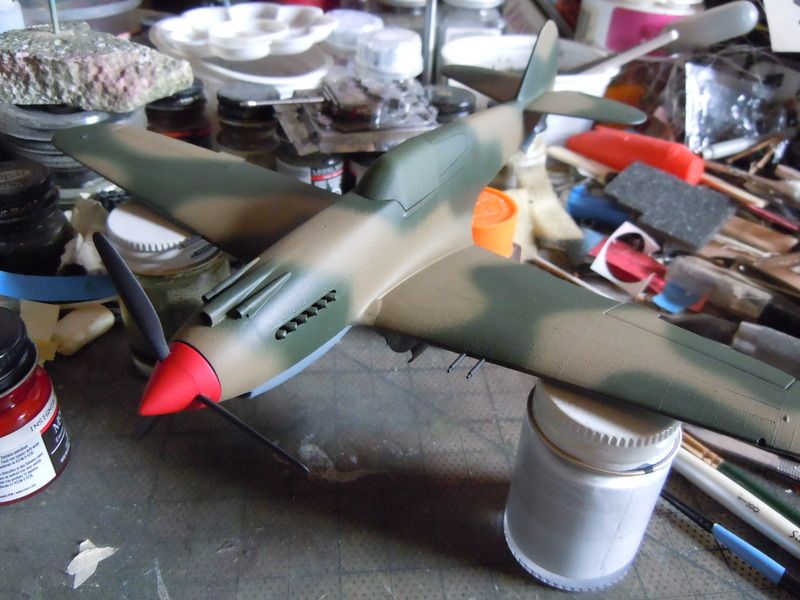
A quick Krylon Gloss cote sealed it all up and prepped it for decals.
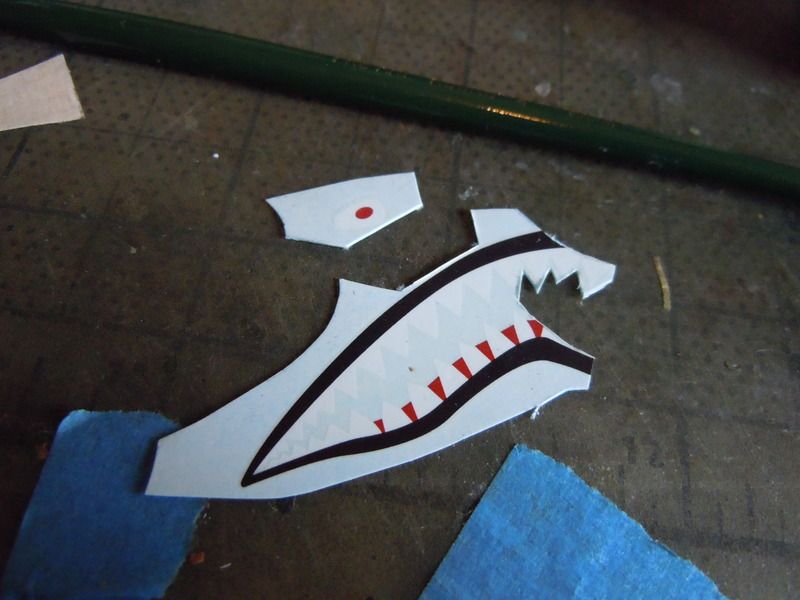
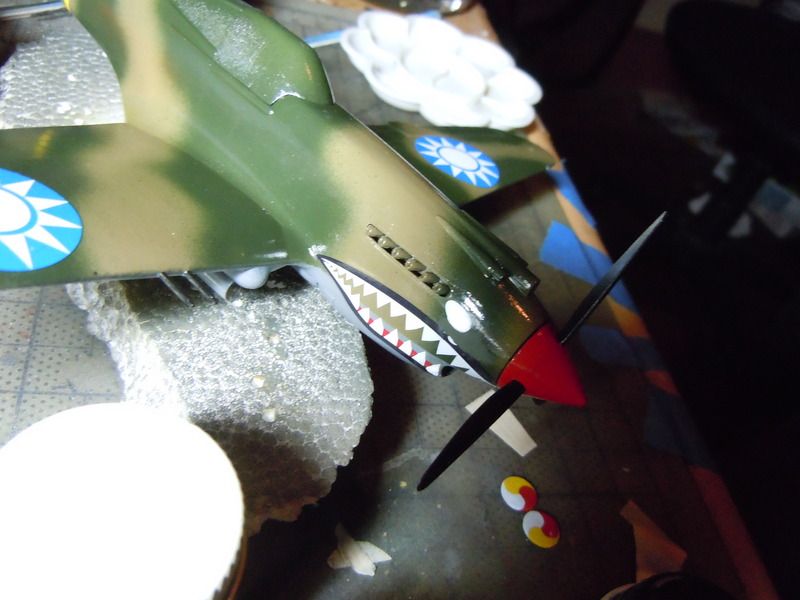
I figured out pretty quick that the Shark Mouth was going to be a little troublesome so I cut it in half to make it easier to handle. There were still a few minor spots where I cheated and used a little LC to make it snuggle into the tight spots better.

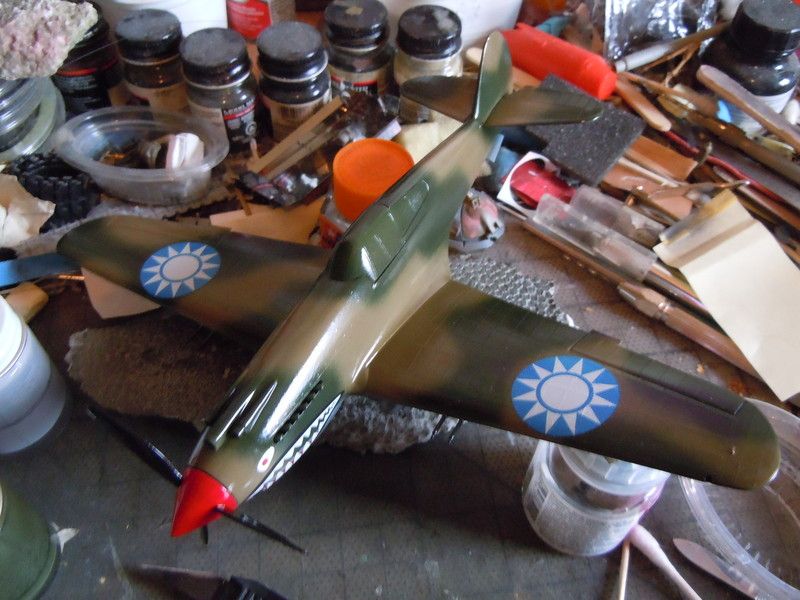
The rest of the decals have actually snuggled down really well. I can see the rivet details under the wing decals and they just took a little coaxing with a q-tip.
After the left side of the Shark Mouth was settle in I trimmed the right side down some to get it to conform better. I aslo found out that you should separate the Eyes or they may end up trying to settle on the exhaust stack.
As I was adding the eye to the right side I missed and got it stuck to some still wet LC that I should have waited to dry properly first. I managed to get part of it unstuck and moved into position, but the rest of it was going to need a patch job. Fortunately this is nothing new for me.
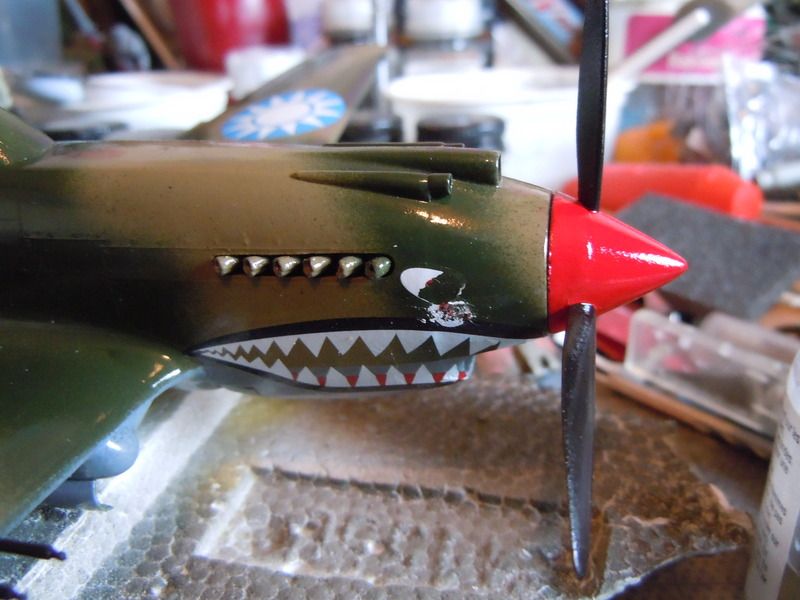
I sanded the rough bits down and touched up the Dark Green first so I could see better where I was going to need to repaint the white back on. I touched up the white and that’s where I’ve left off for now. Next I will repaint the red parts and then the black will finish it off.
Once I finish up the repairs I will continue with placing the rest of the decals on. From that point I will give it all a matte finish and then move on to some light effects, such as chipping and exhaust stains.
Well that’s about it for now. I thank you all for your kind words and continued support.