Witht the Boomerang basically finished bar the shouting, it is time to start the next project. This one will be interesting! The cockpit will need a fair bit of work and correcting, especially as I intend to finish it with the cockpit open. This will not be the easiest job as the winscreen, canopy, and the area immediately behind the cockpit are a single vacfrom piece. This will also mean rebuilding the area behind the cockpit. The kit engine will be replaced with a Vector one, and as the cowl flaps will be cut out and remodelled open, the engine firewall will have to be moved back to its correct position (it currently fouls the cowl flaps), and I will have to figure out the arrangement of the exhaust at the rear of the engine. Oh what fun!!! [bnghead]
I’ll follow this with interest! I have a couple of these in the stash and have drooled over the sprues, but haven’t gotten to building it. Despite the corrections you plan, I think it’s still a nice kit out of the box. I’m finishing one of them in Nationalist Chinese markings.
I’ll be watching too, but when I get to mine it will be closed cockpit. The engine change sounds like a good idea, though.
Ahh…the pre-jug. I’ll be tagging along.
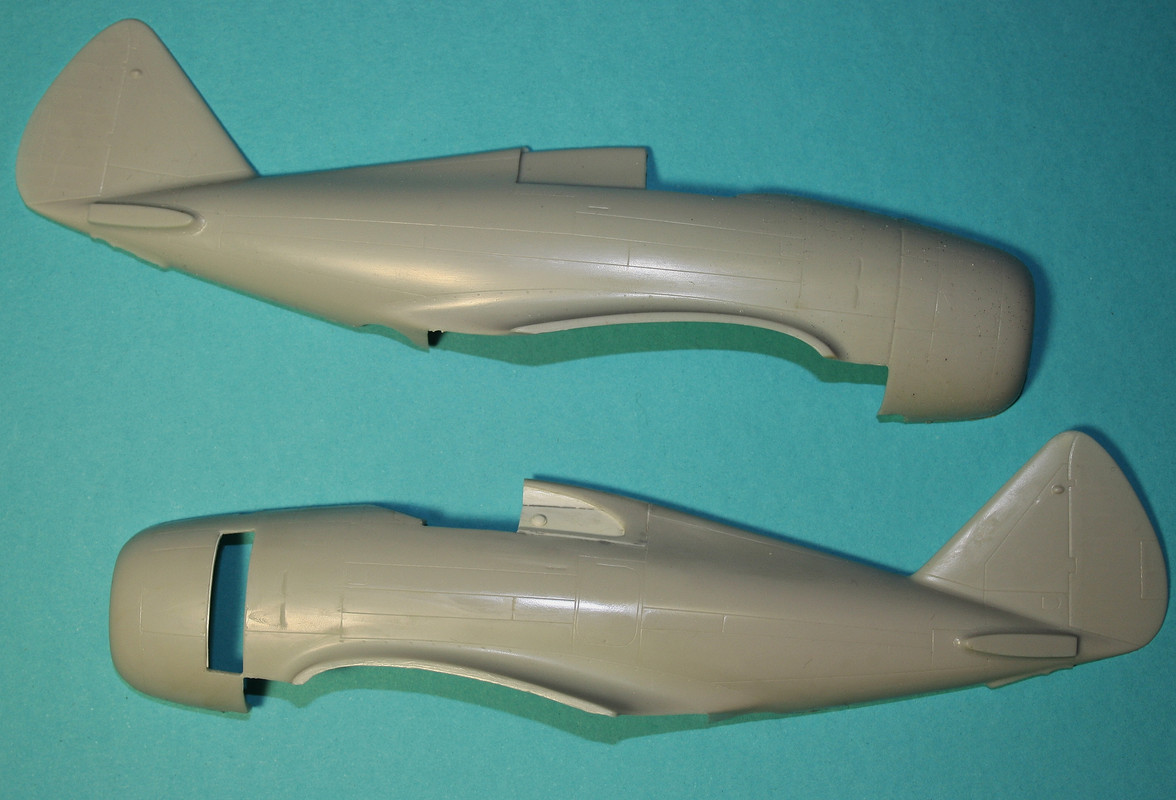
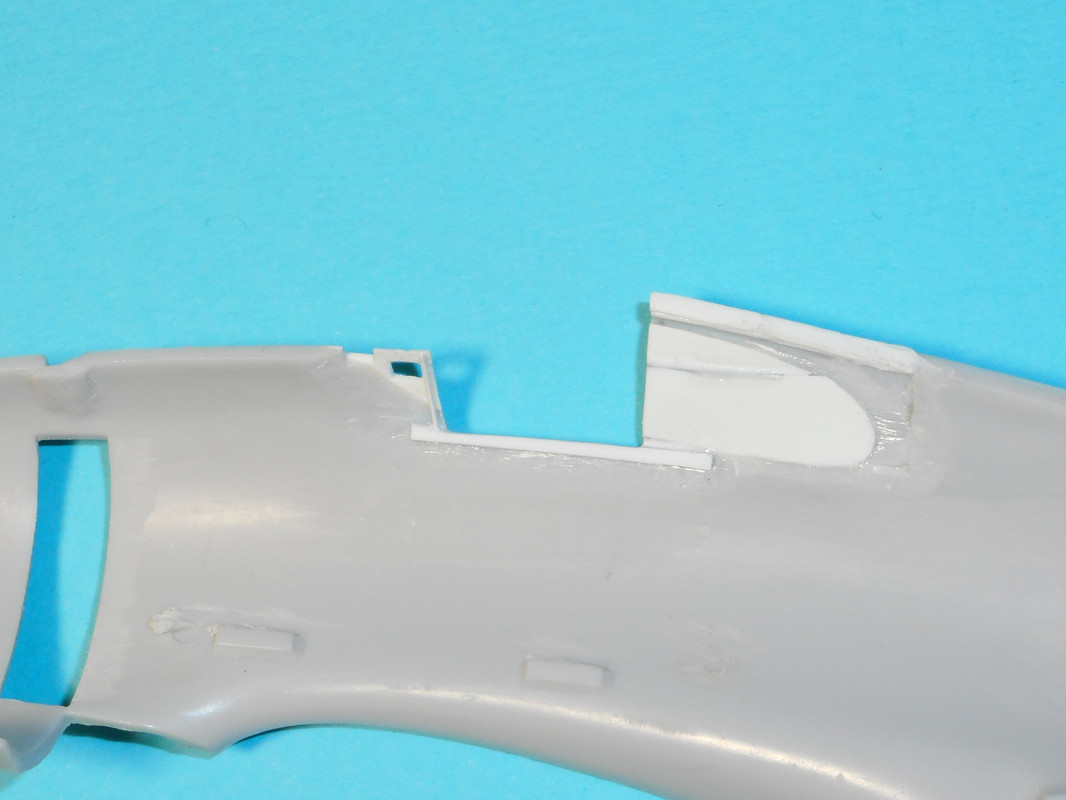
I figured I’d start with the alterations to the fuselage. That arrangement where the area immediately behind the cockpit is a vacform included in the canopy moulding is simply unacceptable. The first photo shows the OOB fuselage, and the modified item. As the area to be ammended is the correct profile, I cut it away and glued it in place flush with the side, and then filled the gaps top and bottom with microstrip. I then cut a window template, and marked and cut the window cutout. Make sure you keep that template safe. You will need it later for the glazing.
Excellent, looking forward to this. I’ve been trying to get this OOP kit for a while, but every time I see one on Ebay, the asking price is outrageous. So I guess I will just have to enjoy it via your build 
Thanks Waikong. The prices these Classic Airframes kits go for now is eye watering (should have seen what I had to pay for my Martin Baltimore!!), but fortunately I bought this one many years ago when things weren’t quite so silly!
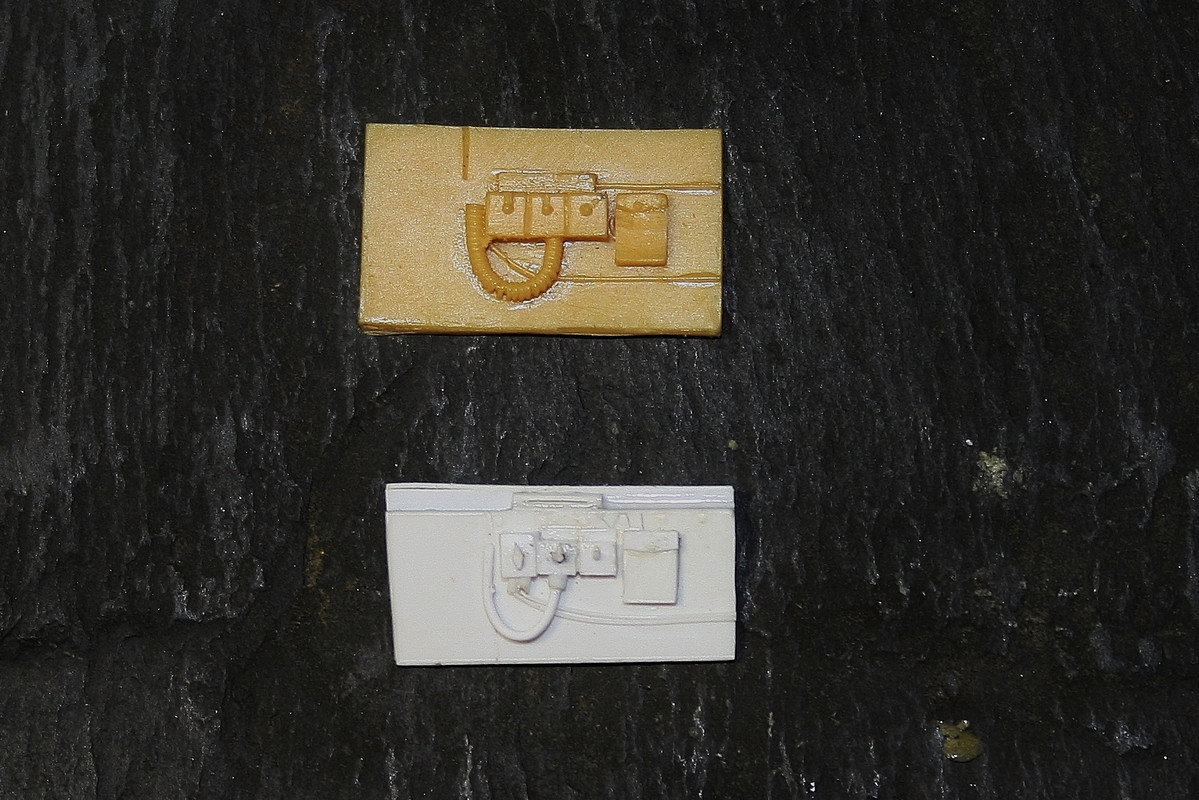
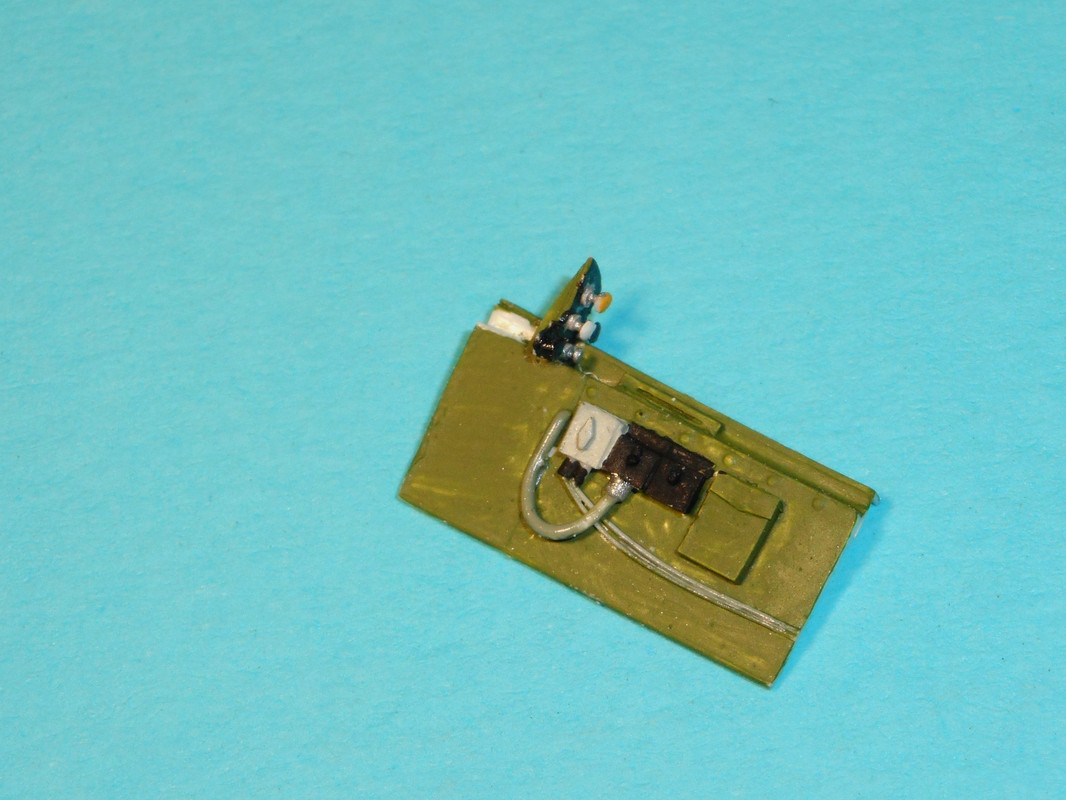
Figured I’d start with the cockpit. The right hand side is the wrong shape (it should be stepped at the top), so here’s the replacement. Must remember not to blow up photo’s to many times the size of the part in future!
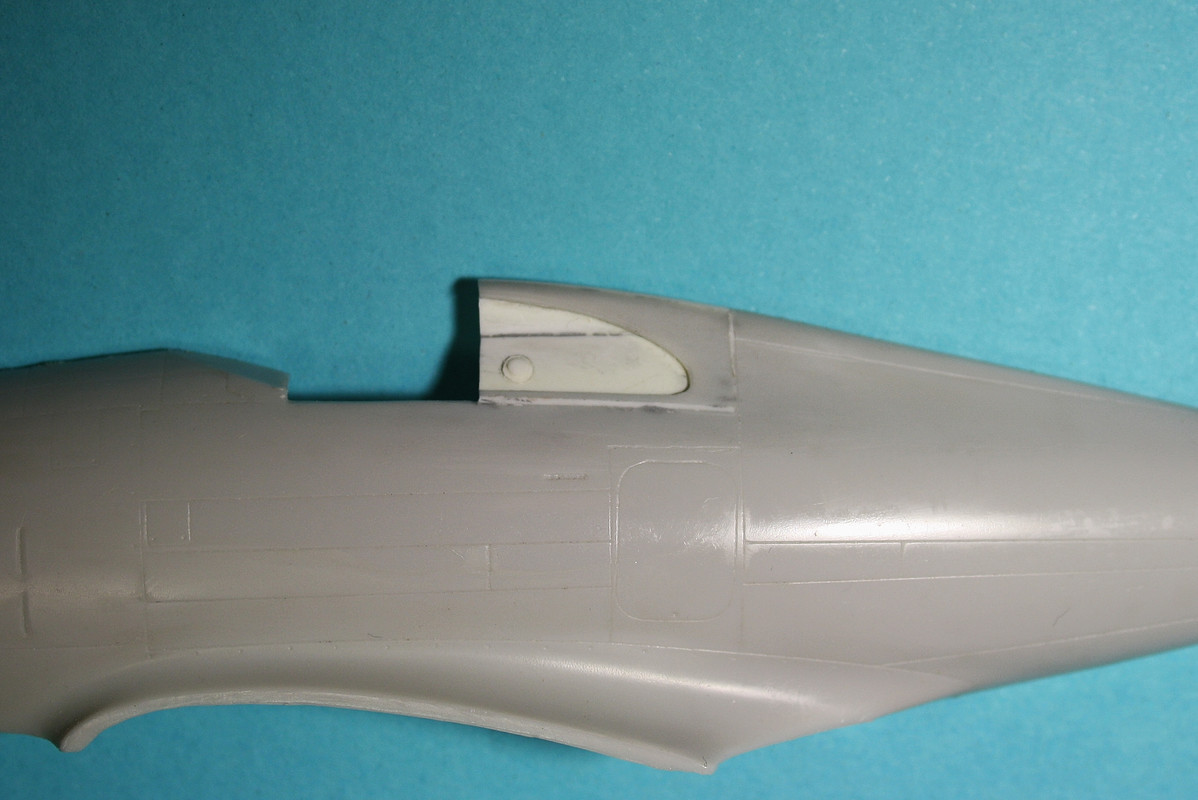
Been a while since there was any progress on the Lancer. The front edge of the cockpit is completely wrong, and should follow the profile of the fuselage. In addition, there were three square holes, whose purpose must have been to provide light for the instrument panel, which was set well back under the cockpit front.
Also, right side cockpit panel completed (entirely scratchbuilt). Blowing the photo up definitely shows some shonky paintwork! Oops!
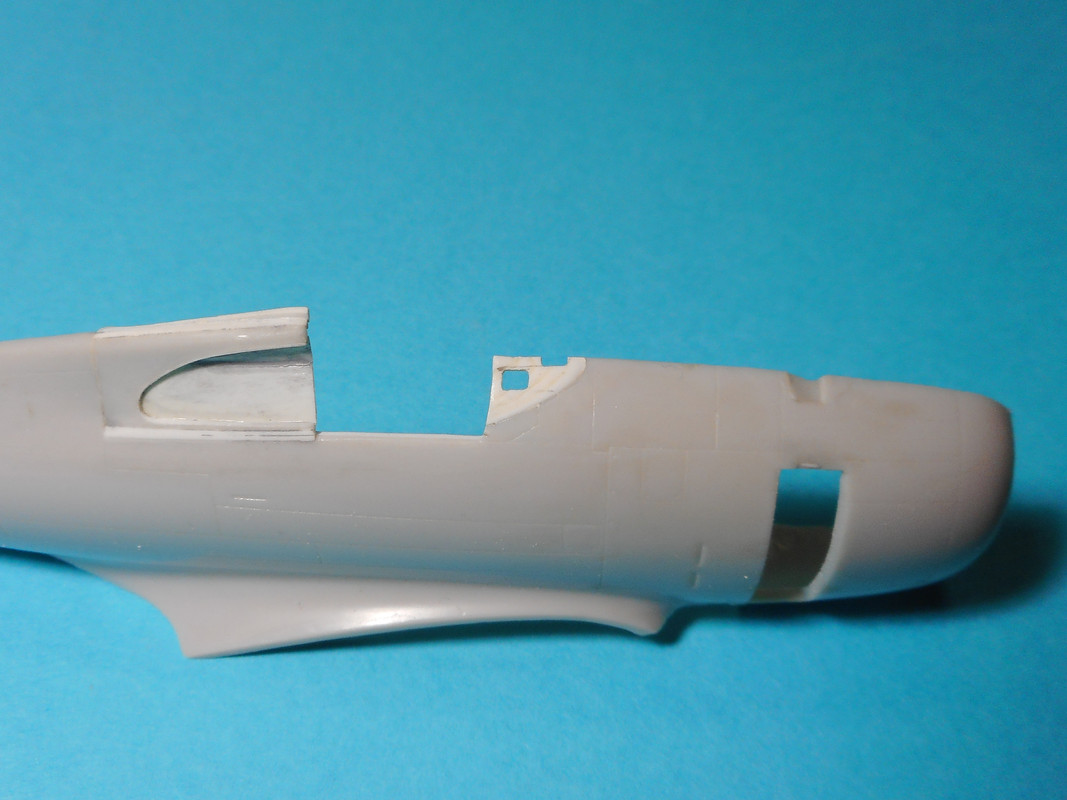
You did an excellent job improving the rear window area of the kit, that looks great! A big improvement over the kit’s engineering.
Thank you! The plan is to have the cockpit open, so didn’t really have much of a choice but to fix it. The trick is not to lose the template before I’ve cut the glazing!!!
looking good, great to see progress on this build
Thank you
Incidentally, while I remember to mention it, the cockpit edge should be filed at an angle so that instead of being level, it forms a 90 degree angle with the outer surface of the fuselage