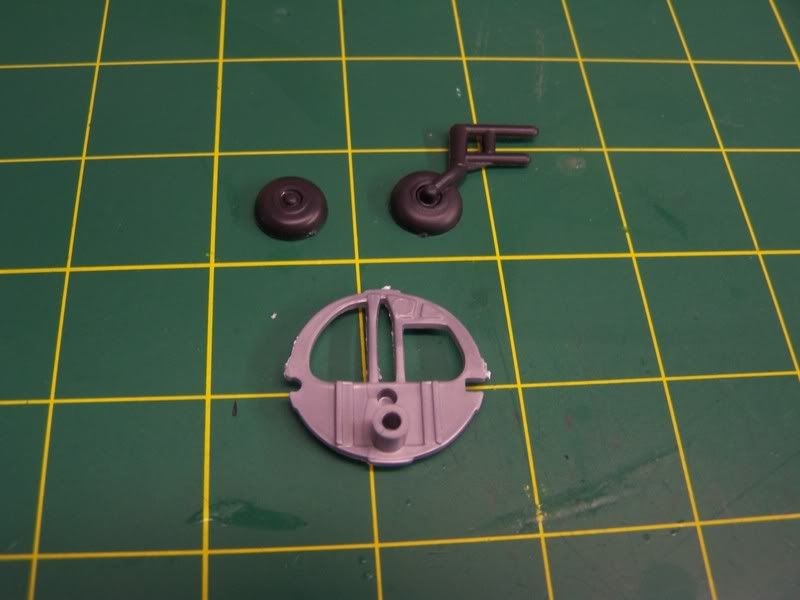
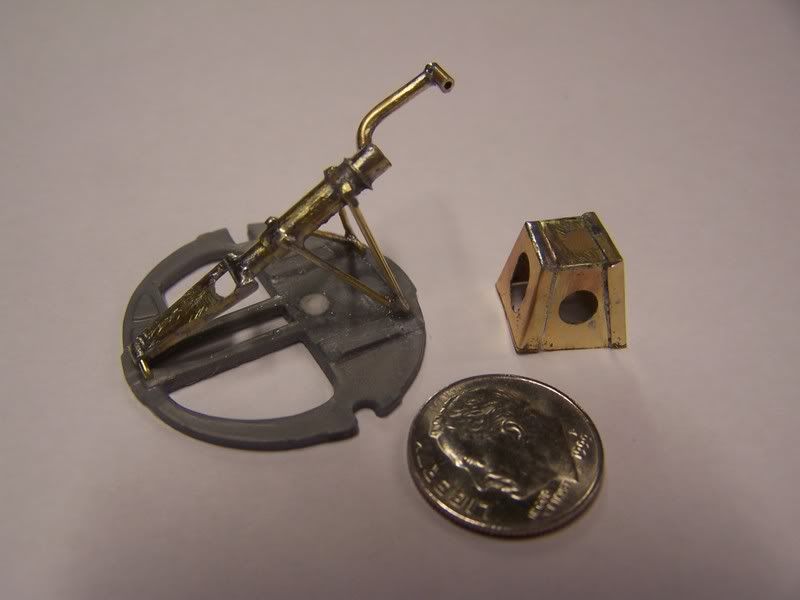
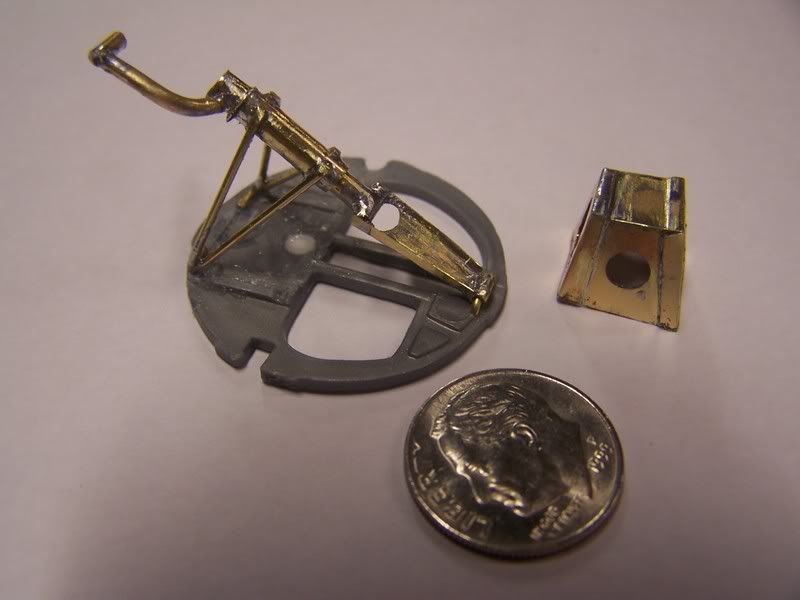
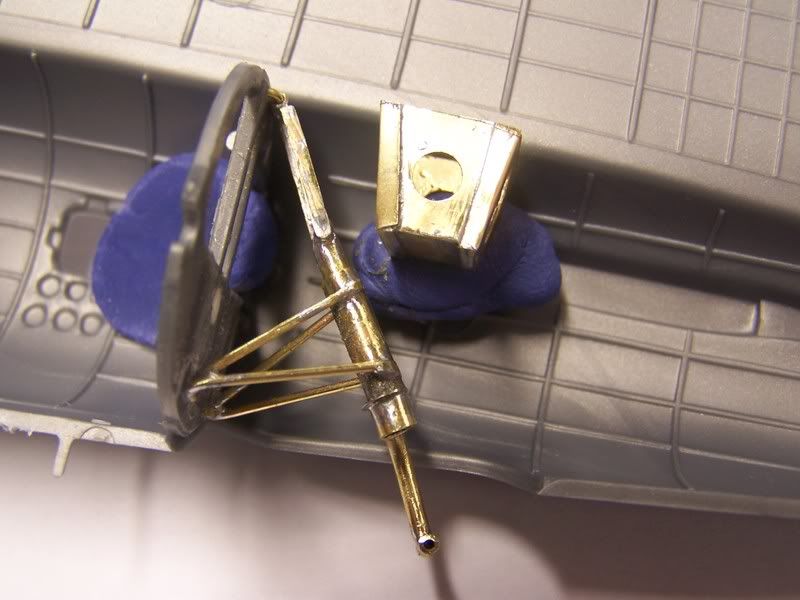
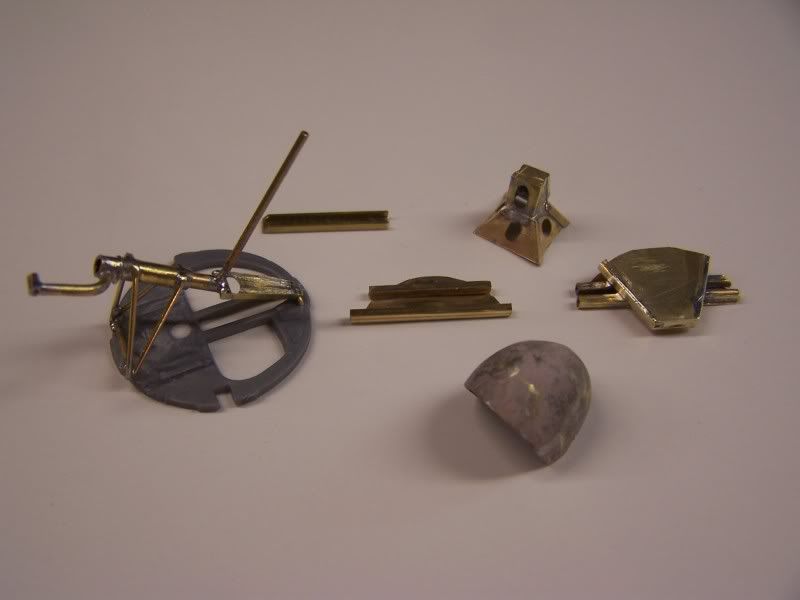
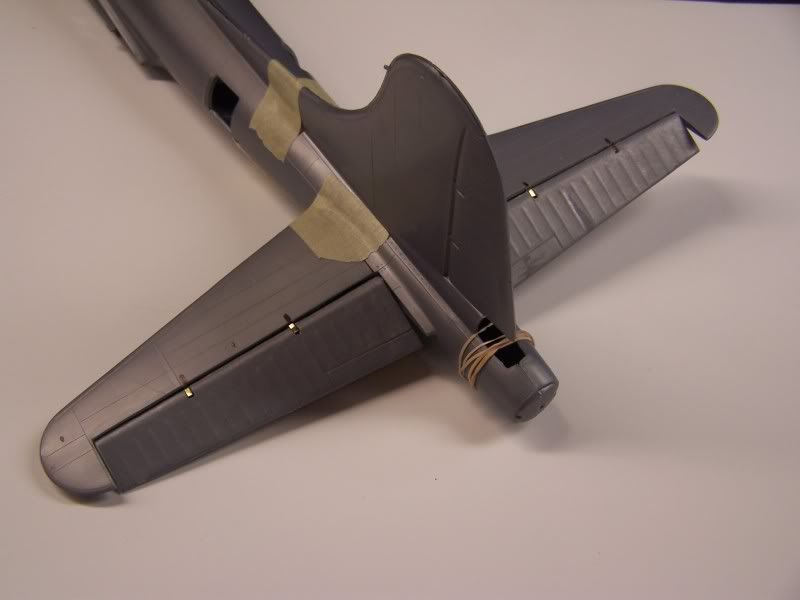
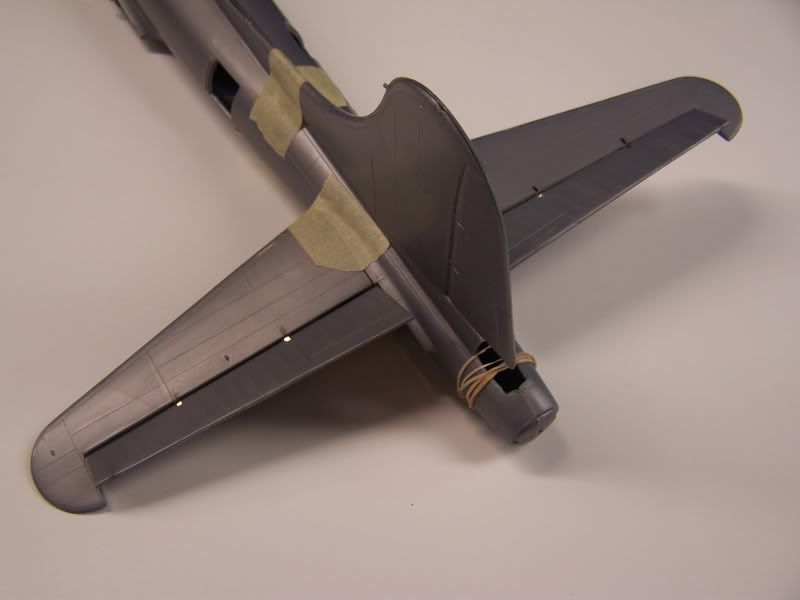
I’m starting with the tail wheel assembly. The kit tail wheel starts with 2 posts glued into the bulkhead. After reviewing several pictures and details, I decided to scratch build a new assembly. All thats left to do know is the electric motor and jack screw that operates the gear.
Wow! If your doing that with the tail wheel assembly, I can not wait to see what you do with the rest of her. I will be watching this thread, and steal/borrow some of what you are doing, great work so far.
Whoa! Here comes the pro! Man I can’t wait to see what he comes up with next! Does he work from the tail to the nose? Or is the main gear next? Oooooooooh the anticipation
I’d like to join in with the rest of the gang, very nicely done! You’ve got some really great precision work there. I’m not confident enough with a soldering iron to try what you’re doing.
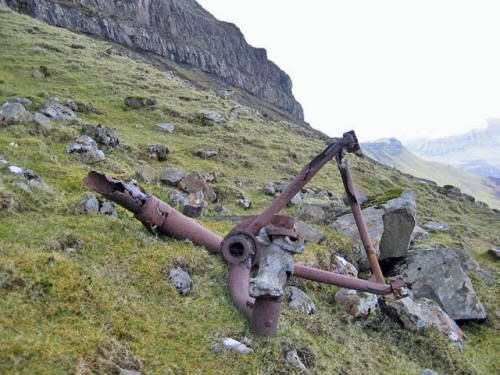
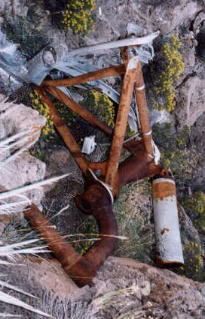
That is friggin’ cool. I’m curious as to what pictures you may have used as reference. Every picture I have of the tail wheel assembly shows the upper brace attached to the oleo strut and then disappearing into a giant bag/tarp-like thing.
I scratched something similar out of styrene for my build. Not to hijack, but to show comparisons, here’s a picture of what I came up with for that assembly
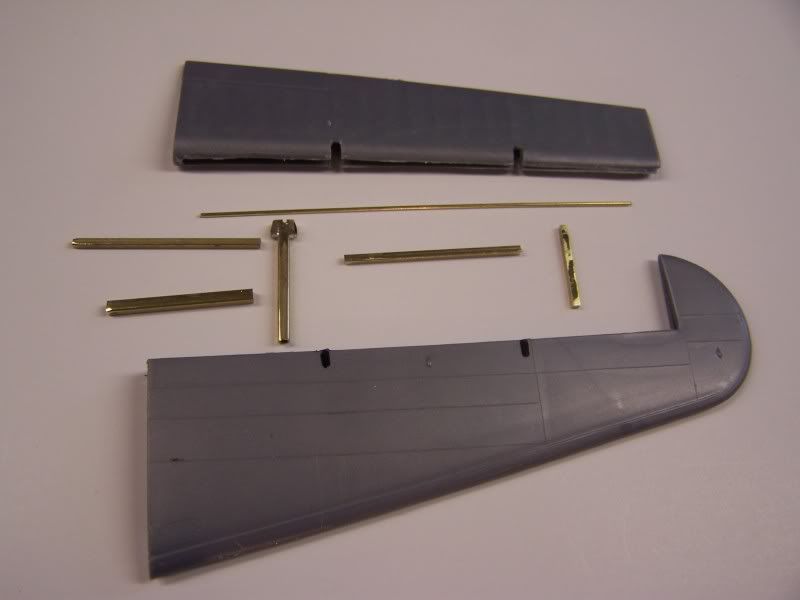
Thanks for all the kind words. I ordered Big Eds PE so while I wait for that, I continue on the tail area. I rebuilt the Tail Wheel electric motor support. The 1st one was too big. The tail wheel housing is ready for paint. I’ll make the canvas cover after it is installed. Most of the bulkheads are complete that support the Horizontal Spar attachments, the Elevators have been cut apart and hinged and will be joined by the elevator torque tube. Tomorrow I’ll concentrate on the elevator torque tube and the arms that the cables attach too, and start the rudder pivots and torque tube.
I made a similar one out of plastic, don’t know if it will support the aircraft, but that was over 20 yrs. ago and it’s sitting in a box on the shelf. I don’t think I had any detail shots of the retract mechanism, just the good side shot of it showing the bracing. I crawled from the waist past the tail wheel assy on the CAF’s bird in flight but that was way back in 1979. Only thing I really remember was ducking under the elevator spar and rudder post to get into the tail gunners seat. Great work with the brass! When you get to the main gear they need to be lengthened at least an 1/8 of an inch. The main tires are way too close to the wheel wells. I cut some spacers out of brass tubing to keep them from setting into the sockets too far.