I’m building this for two group builds and thought I’d pop over here to show these progress pics.
It’s the Italeri 1/48 III/E kit being done as a RAAF III/O
It’s not too bad a kit, most thing have gone together pretty well with more my lack of experience causing grief than anything Italeri has done wrong.
I read swanny’s tips on scribing and thought I’d give it a go on this one. I learnt a lot and the next re-scribe will be much better.
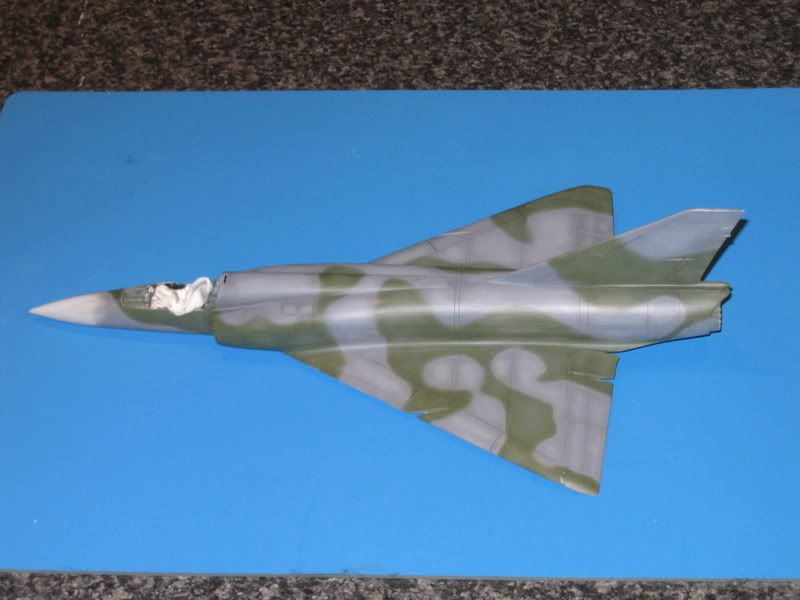
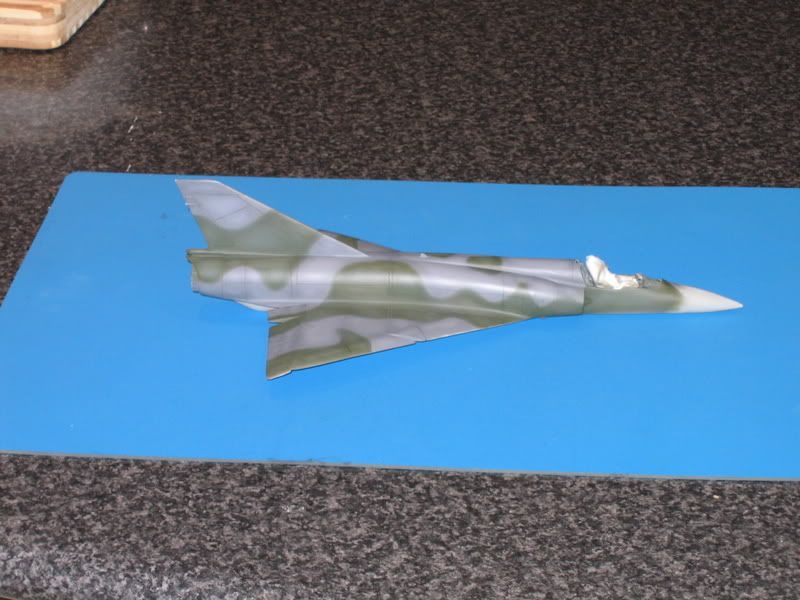
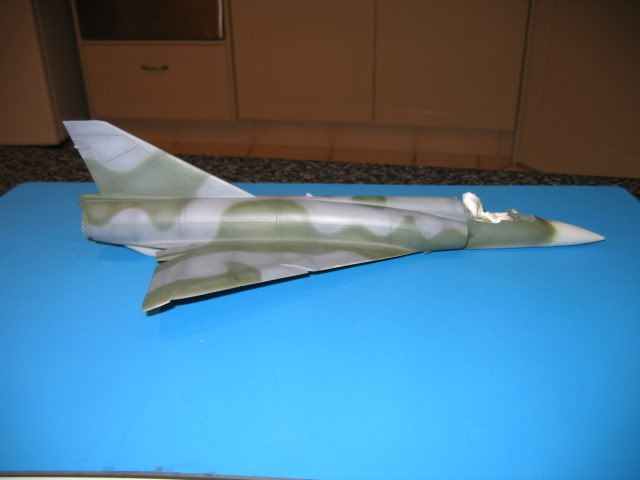
The paint is done using gunze acrylics.
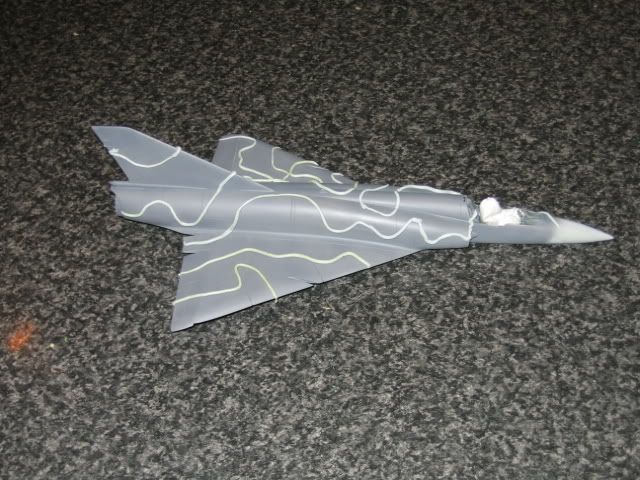
I masked the camo patern with blue tac and this is the first time I’ve tried ‘post shading’ as a form of weathering. I’m pretty happy with the result but any hints, tips or criticism is more than welcome.
It’s looking very good.
I am suprised by the effectiveness of that masking method to
produce “fuzzy” lines. Where can I read more about how to
do that?
No critisism here… It looks excellent!
Is it your first attemp doing the pre-shading?.. Great first job… I havnt built an aircraft of late, so am yet to try it with my new airbrush… Been practicing on some sci fi stuff…
Seriously… Great job, cant wait to see more progress!.. I am guessing it will be a RAAF Mirage?
I grew up at Amberley Airforce base, and can still see them in my mind…
Thanks for posting!
Chris
Hi Chris,
another RAAF Brat.
I grew up at Amberley too. My dad flew F-111’s there from 75-83 and again from 85-87 before he left to fly for skippy.
You asked about the pre-shading but it’s actually ‘post’ shading.
I did pre shade on one of the previous paint jobs and it got lost in the numerous coats of paint.(I stripped the paint before this attempt)
On this go I painted the whole thing and went back and sprayed the centre of each panel with the same colour with just a small amount of white added to lighten it.
IL2windhawk,
I don’t know where you would find any info on the blue tac method.
I just kind of bumbled my way through it.
I just rolled the blue tac into thin rolls as you can tell from the photo. I did this by using a square metal drink coaster to roll the stuff back and forth over the kitchen bench. I rolled and rolled till I ended up with the size I wanted and then stuck that to the model. It’s pretty easy to work with, you can stretch it and shape it on the model to get the patern you want and to join it you just lay one end over the other.
I found it’s important not to flatten the blue tac too much as it’s the round ‘cross section’ that helps give a nice ‘soft edge’.
I got some overspray on the grey, so next time I’ll double up on the blue tac.
If you have any more questions let me know and I’ll take some step by step photo’s.
Cheers
Mark
Hi everyone,
I’ve made a bit of progress on the mirage since my last post.
It’s now sitting on it’s landing gear with canopy on and is just waiting on it’s future coat so that I can apply decals and then an oil wash and some weathering.
The tanks are painted and await fitting and the missiles are awaiting their turn under the airbrush.
I hope to have this baby wraped up by the end of the week as I start a new job next week and don’t know how much spare time I’ll have.


