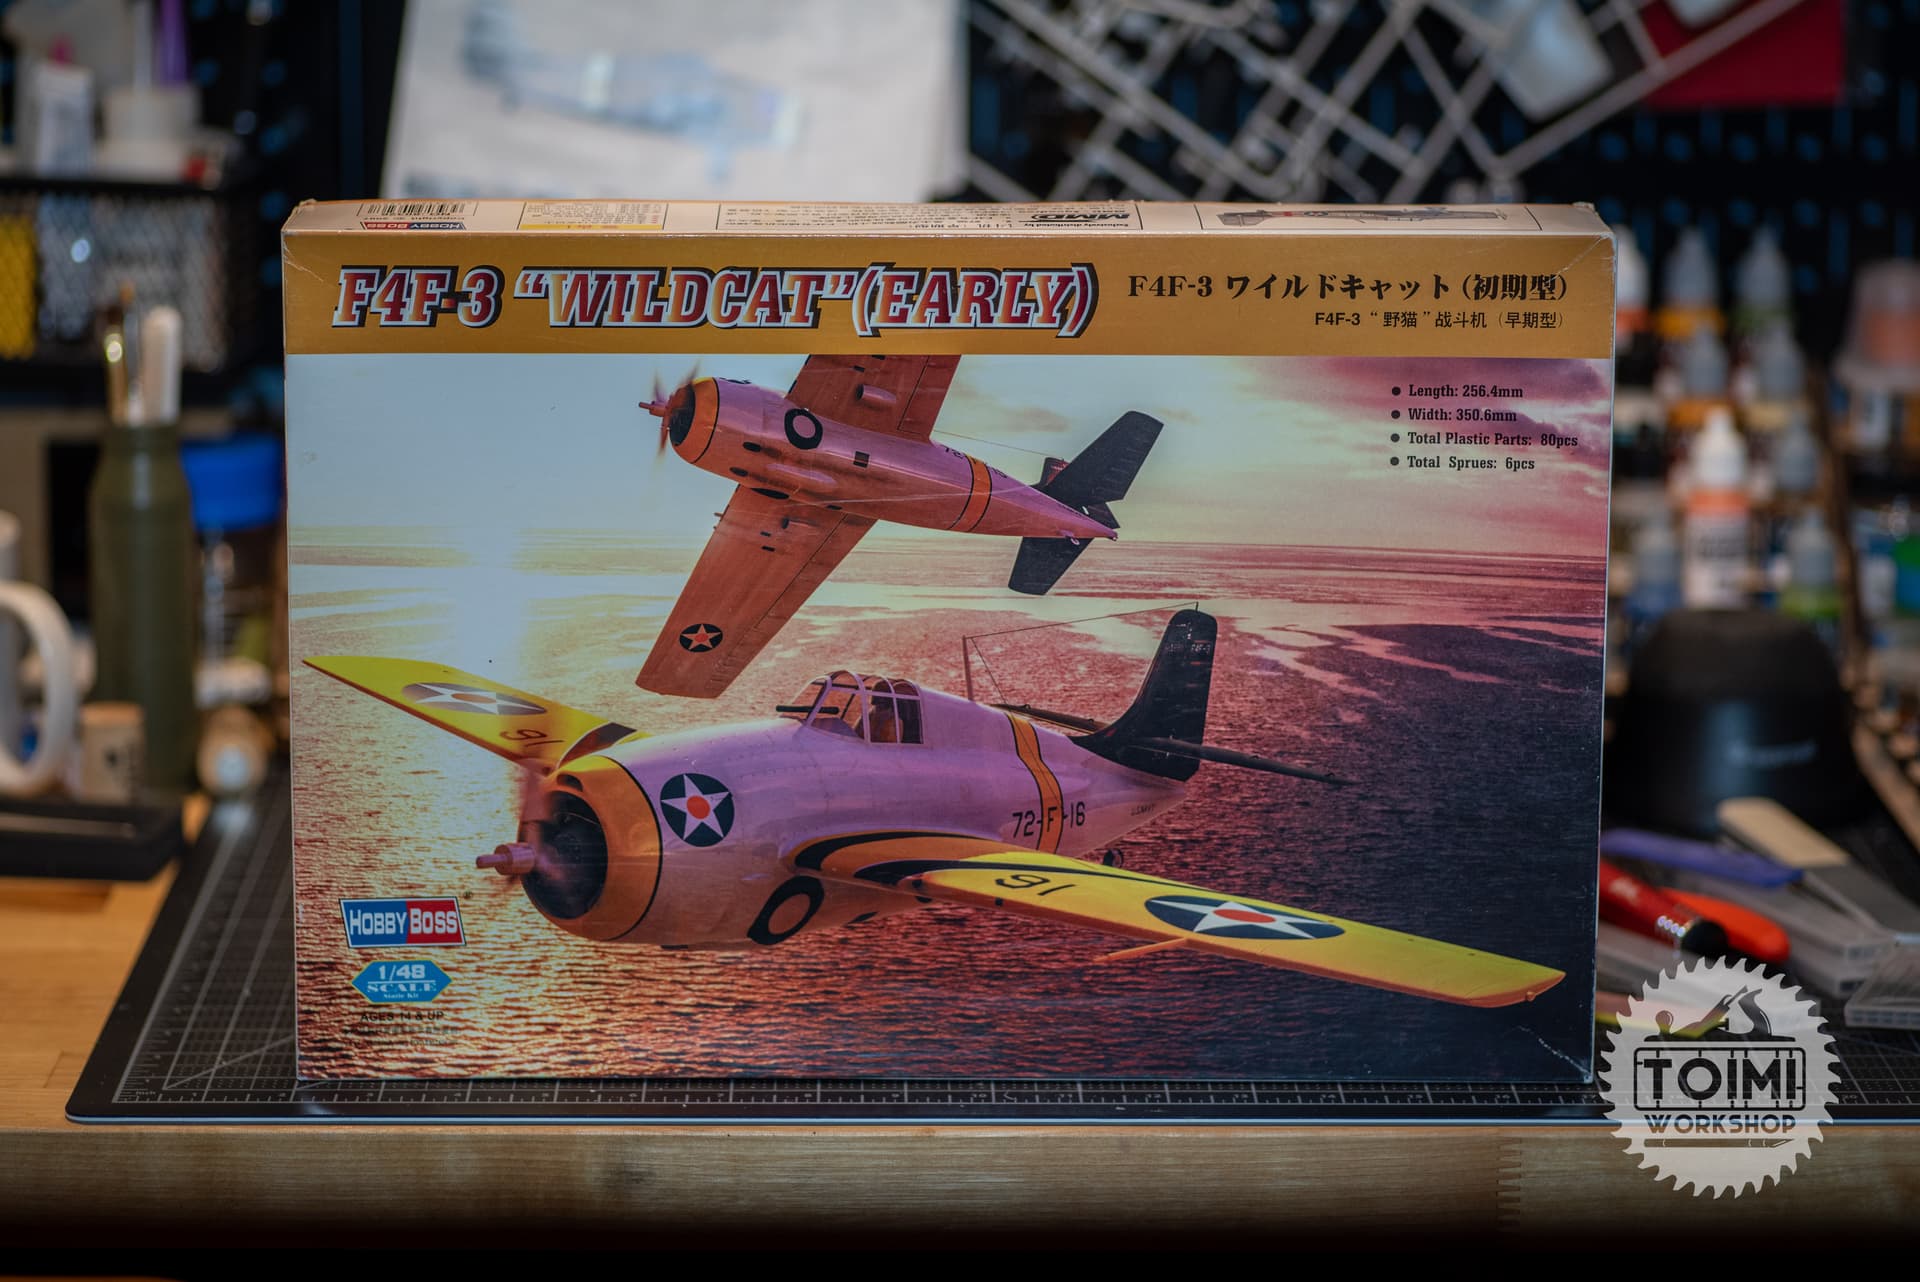
This was the kit I built for the “48 in 48” group build challenge last month.
I talked about the event in this thread – in short, it was fun, I learned a lot, we (the North American contingent) had a good time “hanging out” virtually and helped to raise a significant chunk of cash for the Models for Heroes charity.
I won this kit for a $5 raffle ticket at a show this winter. The odd coloration and CGI look of the box art is rather off-putting, but I like the early Navy cats and have never built one.
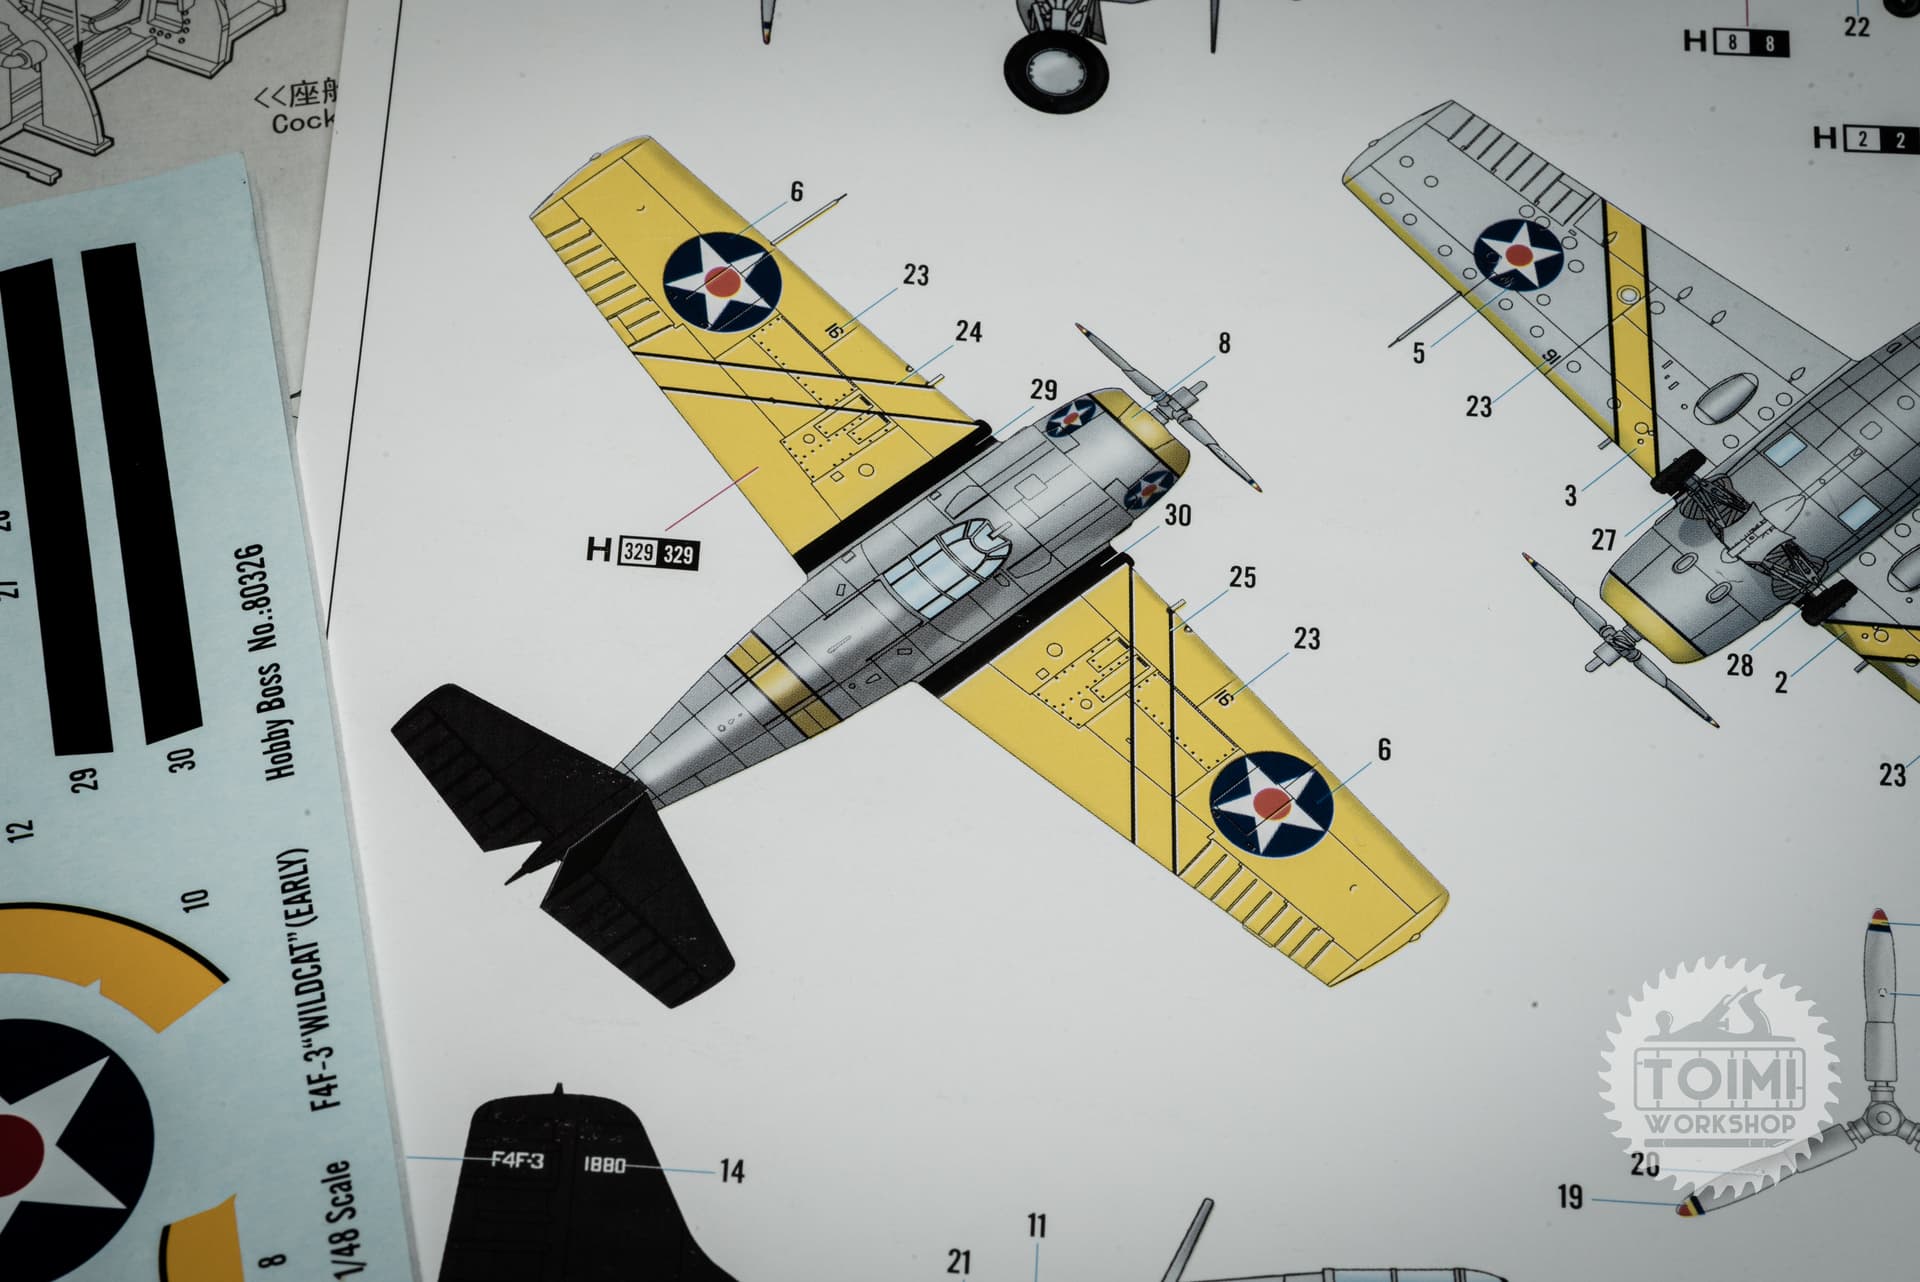
I built it completely out of the box, and finished it in the box-art scheme, the pre-war yellow-wing being quite striking and a fun change of pace – and a challenge.
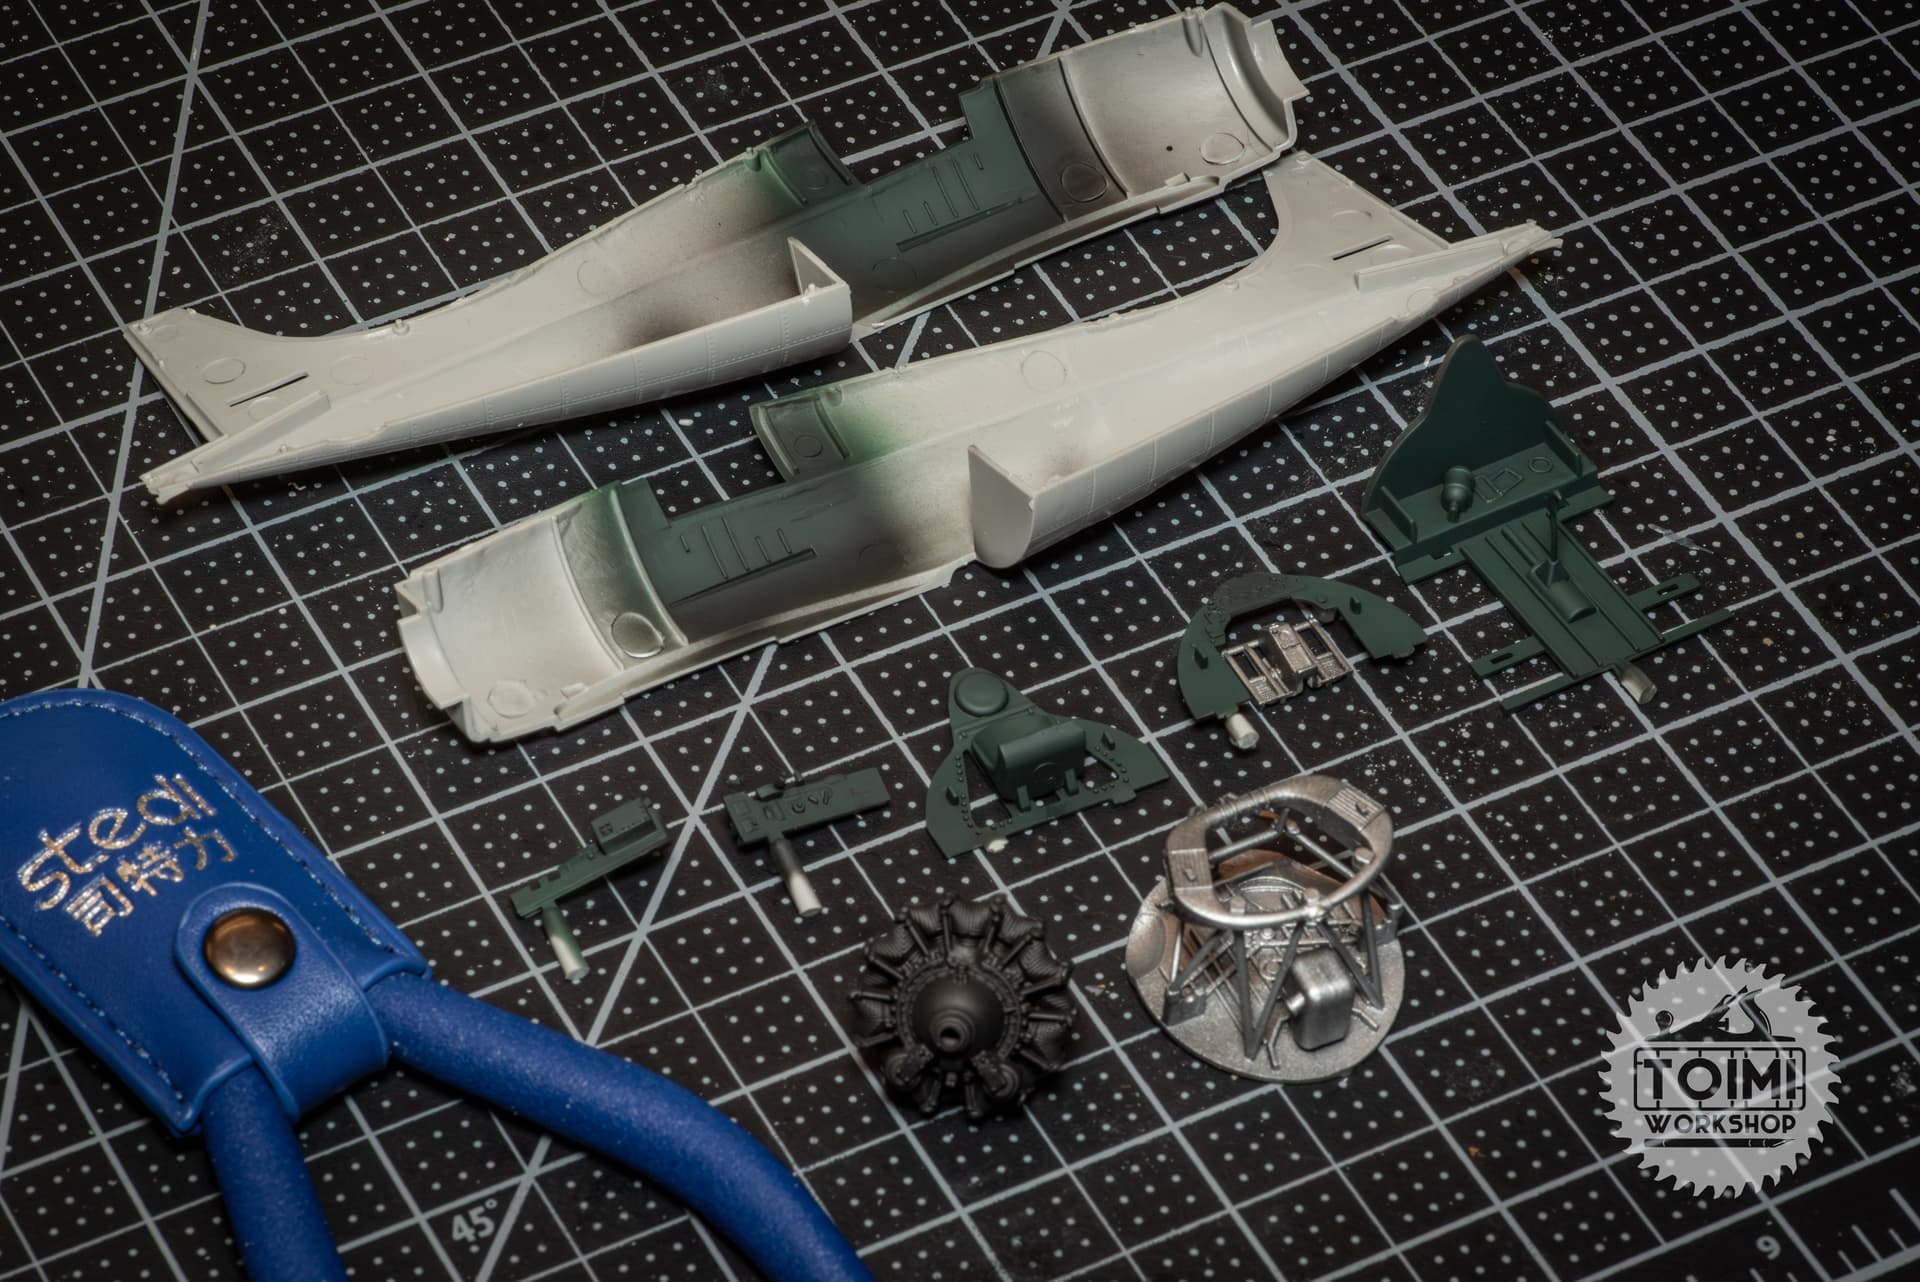
I used Citadel’s “Caliban Green” for the Grumman bronze-green interior color, and Vallejo’s satin aluminum for the interior structure. The engine just got a coat of black and a drybrushing of light grey. I hit the highest spots with a silver pencil, and then painted the crankcase (?) glossy grey. I then resisted a strong urge to add plug wires and other bits but fought it off and plowed ahead.
The cockpit isn’t too bad out of the box. I did have to add a masking tape seat belt, since these early 'cats had lap belts only and they were pretty distinctive.
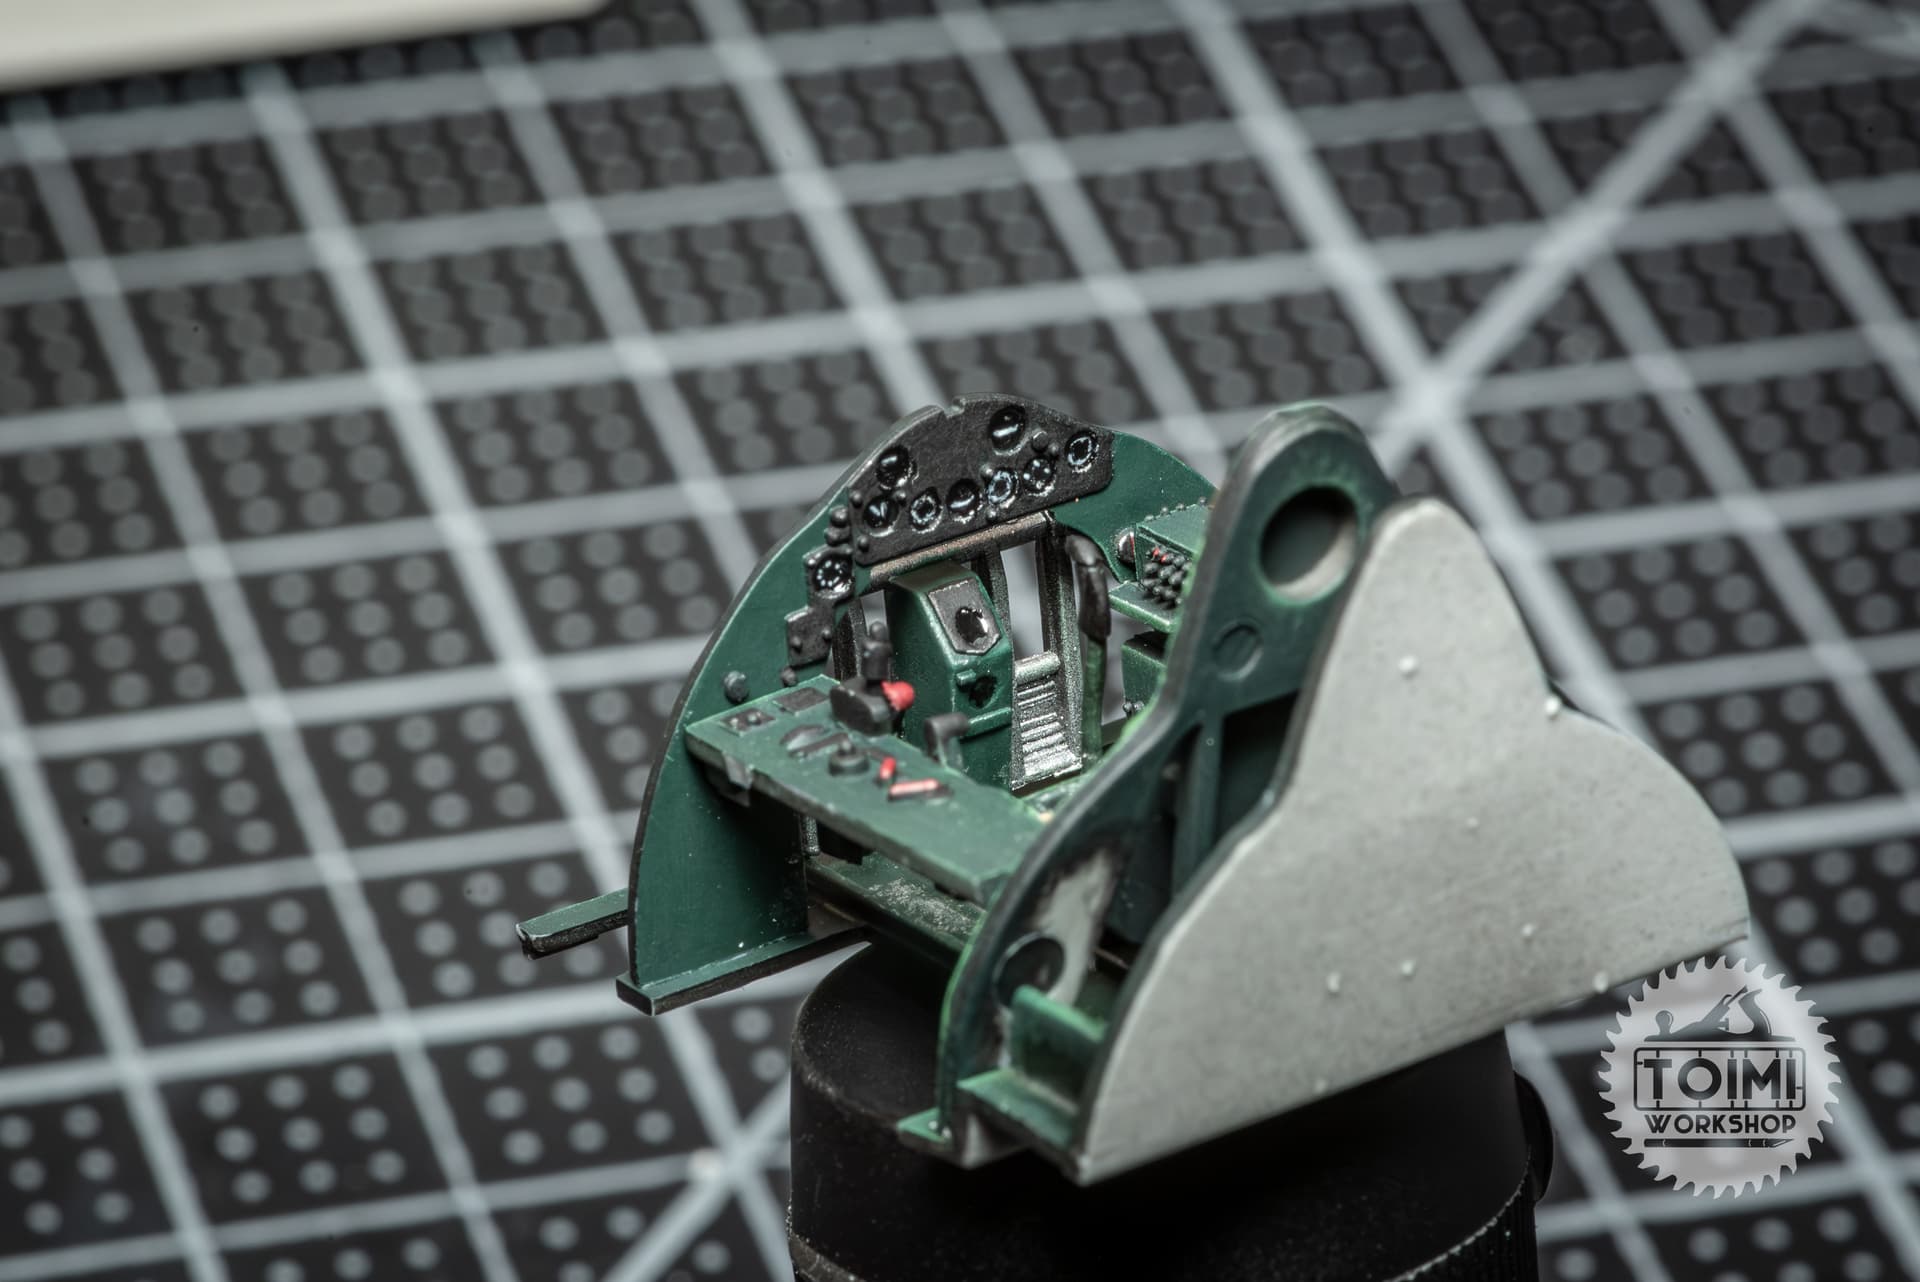
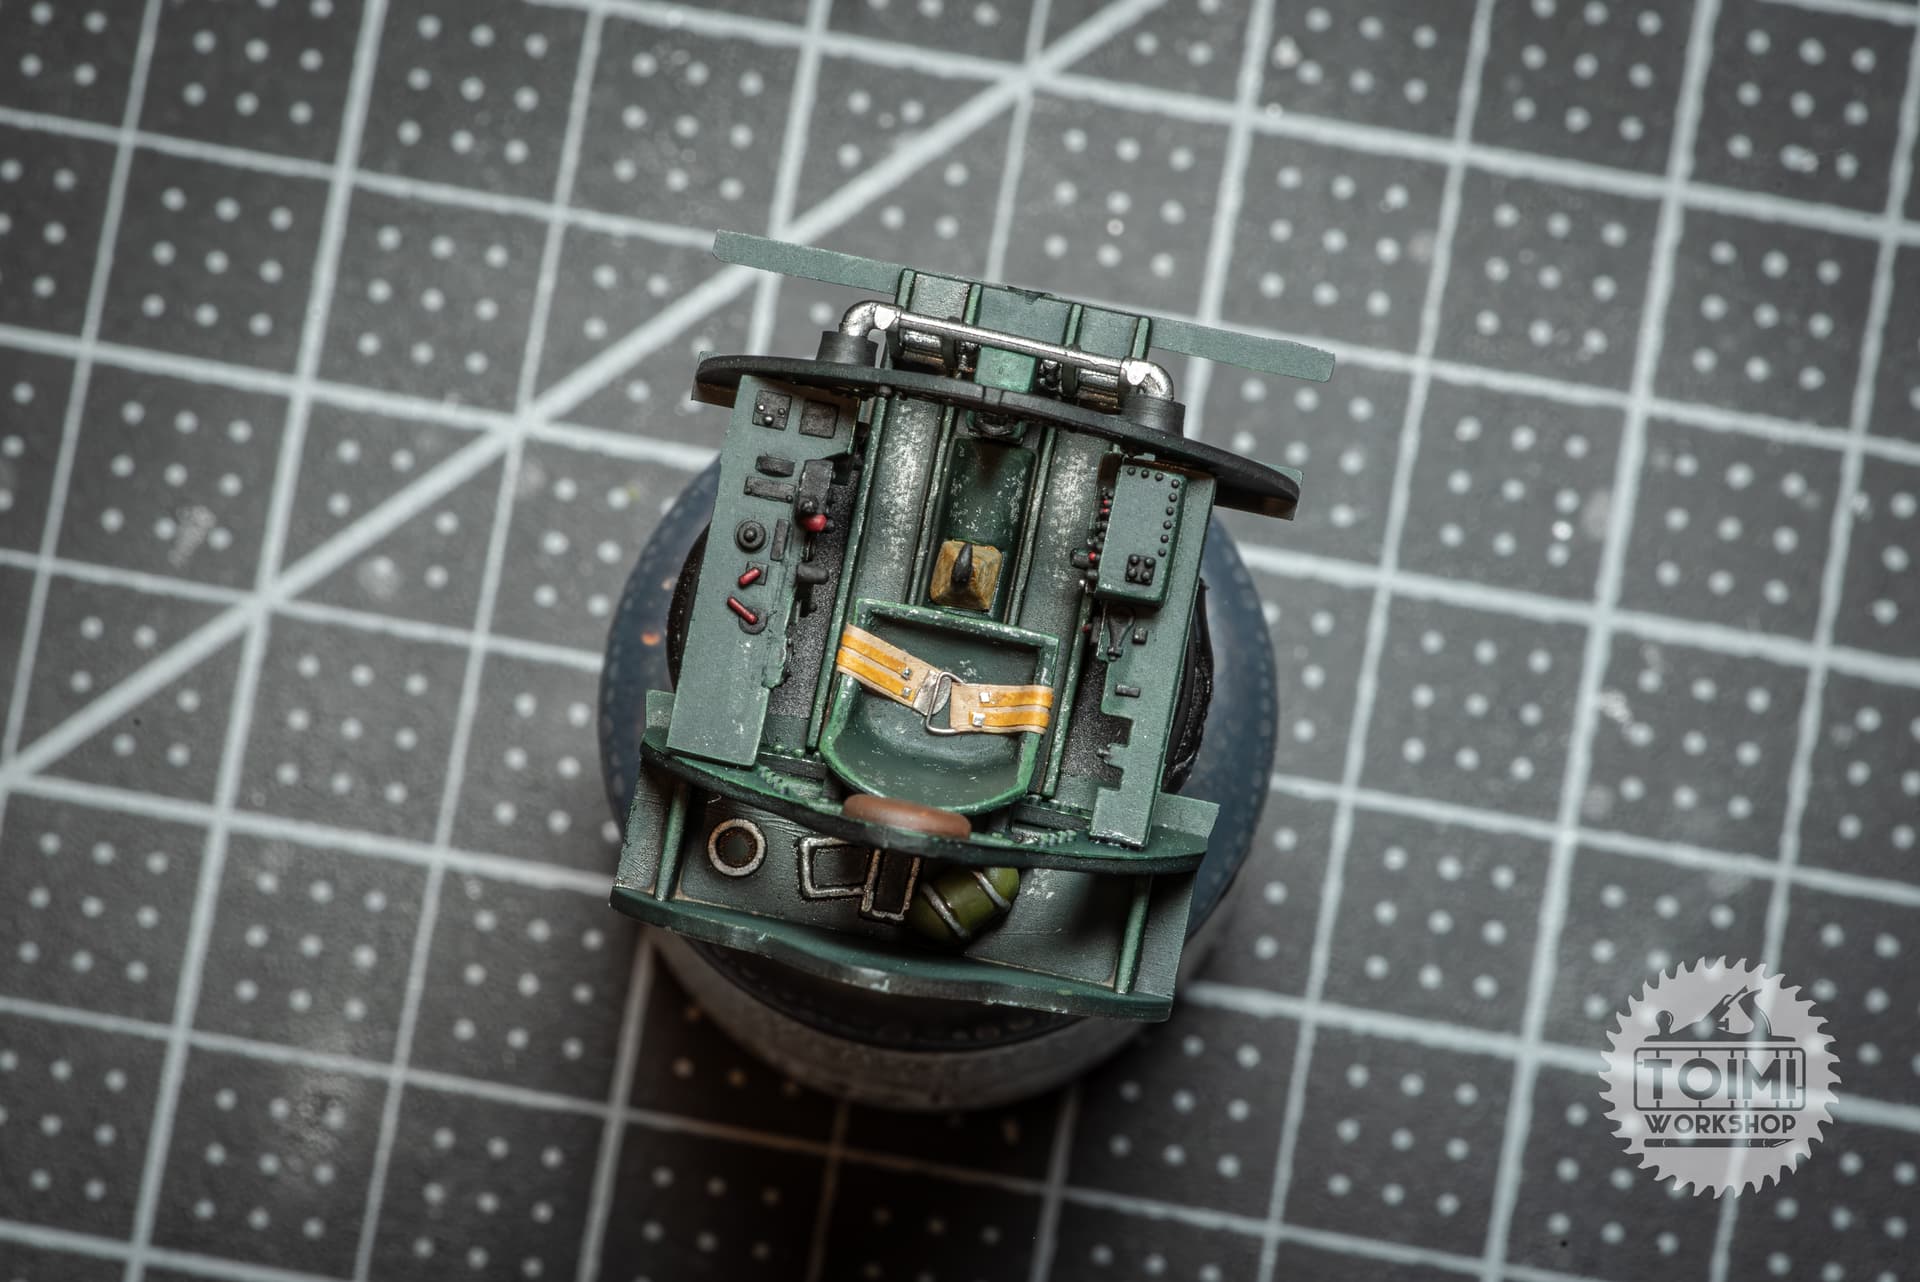
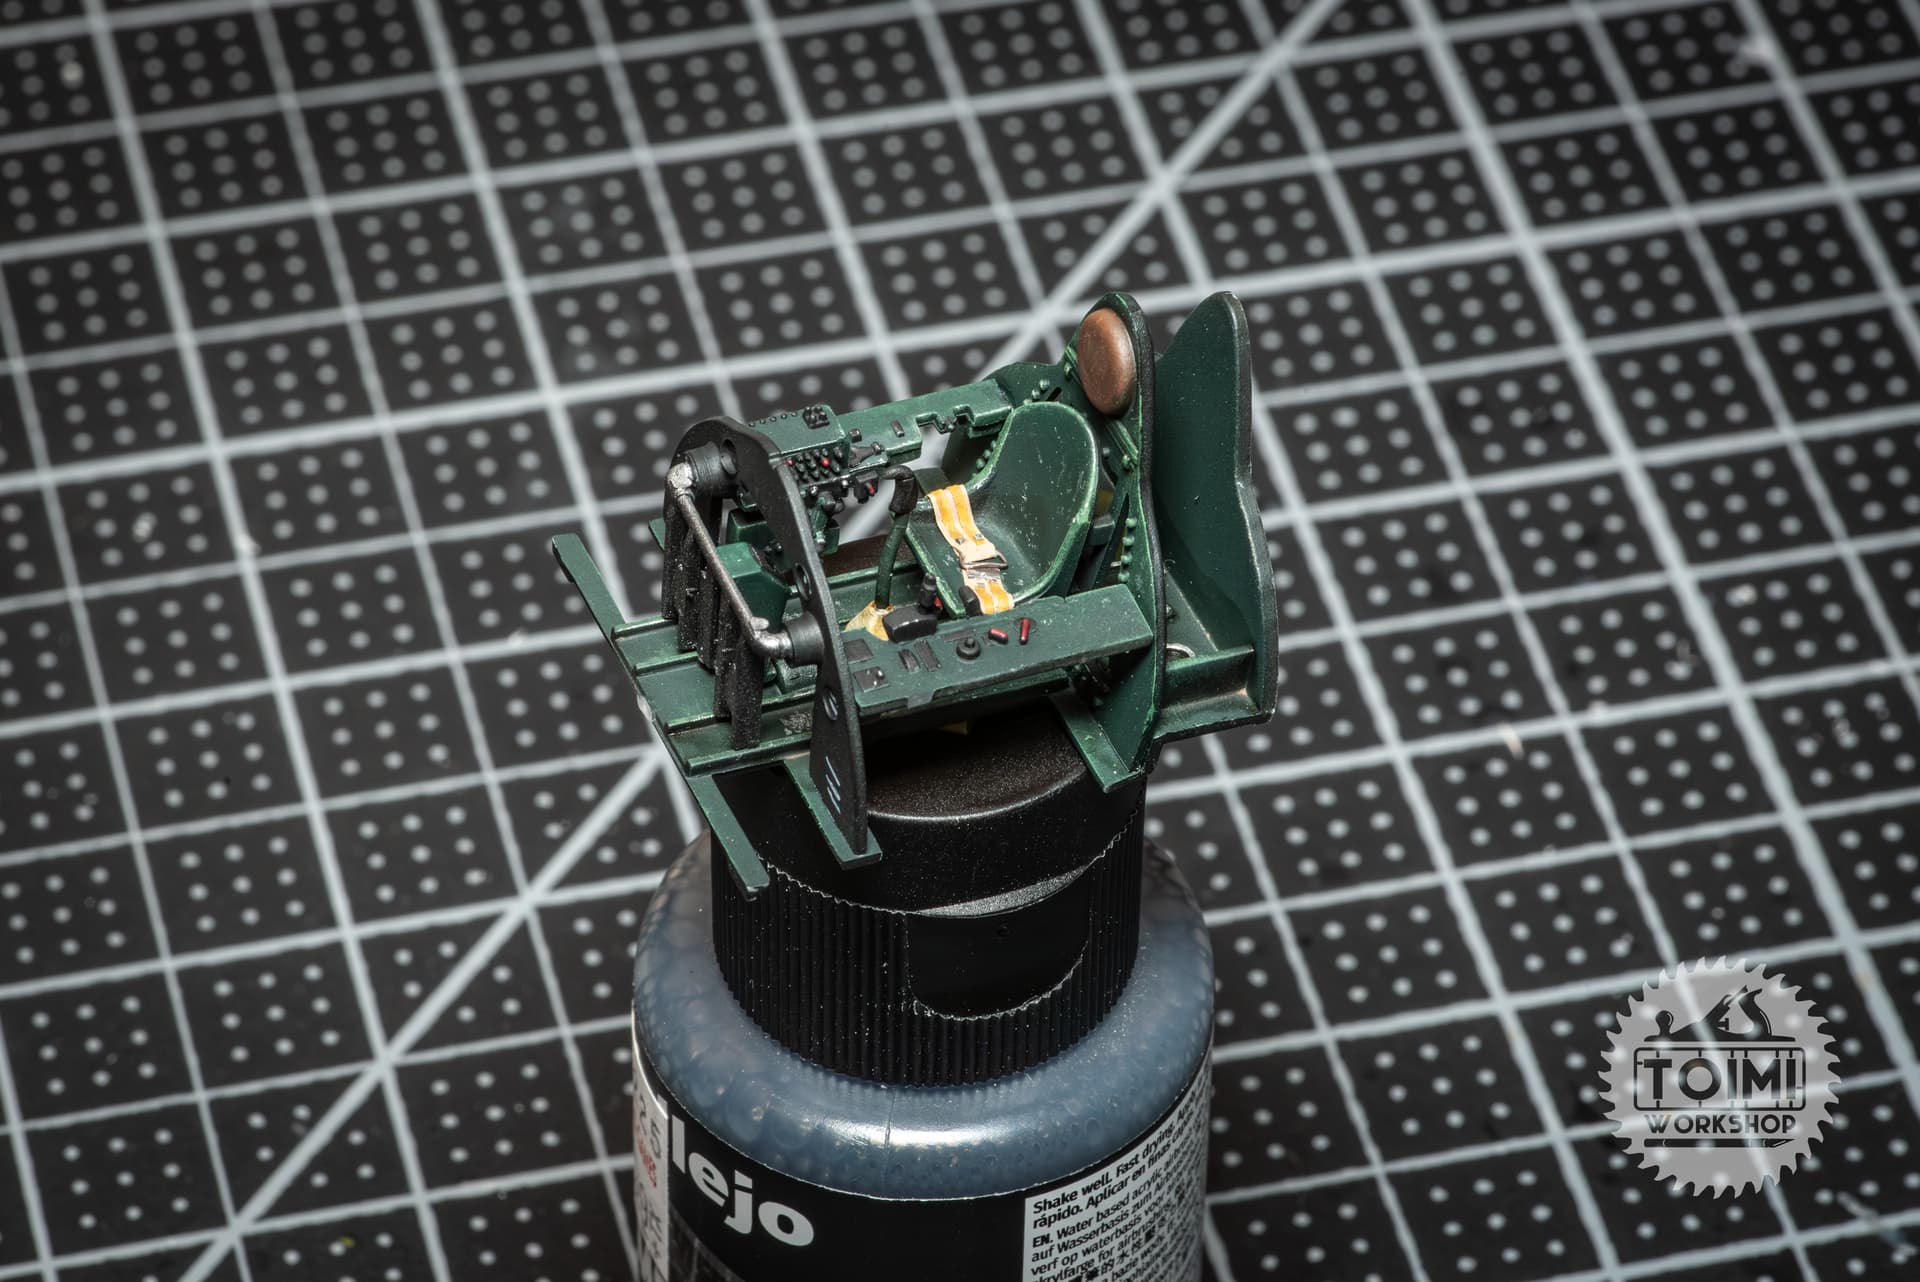
In classic HobbyBoss fashion, you have to get this whole interior assembly built and glued up JUST RIGHT so it’ll fit in the fuselage without the help of any useful locating tabs or keys. That means a lot of test fitting, and then a rush to assemble everything while the cement is still soft enough to allow for some “persuasion.” The underwing “tub” part of the fuselage is a separate part, and it didn’t really fit in any sense of the word. It sat a full 1/16" low compared to the rest of the fuselage. I don’t think it was my error; in any case, I didn’t photograph it, and I never really got it corrected, either. You’ll have to use your imagination. 

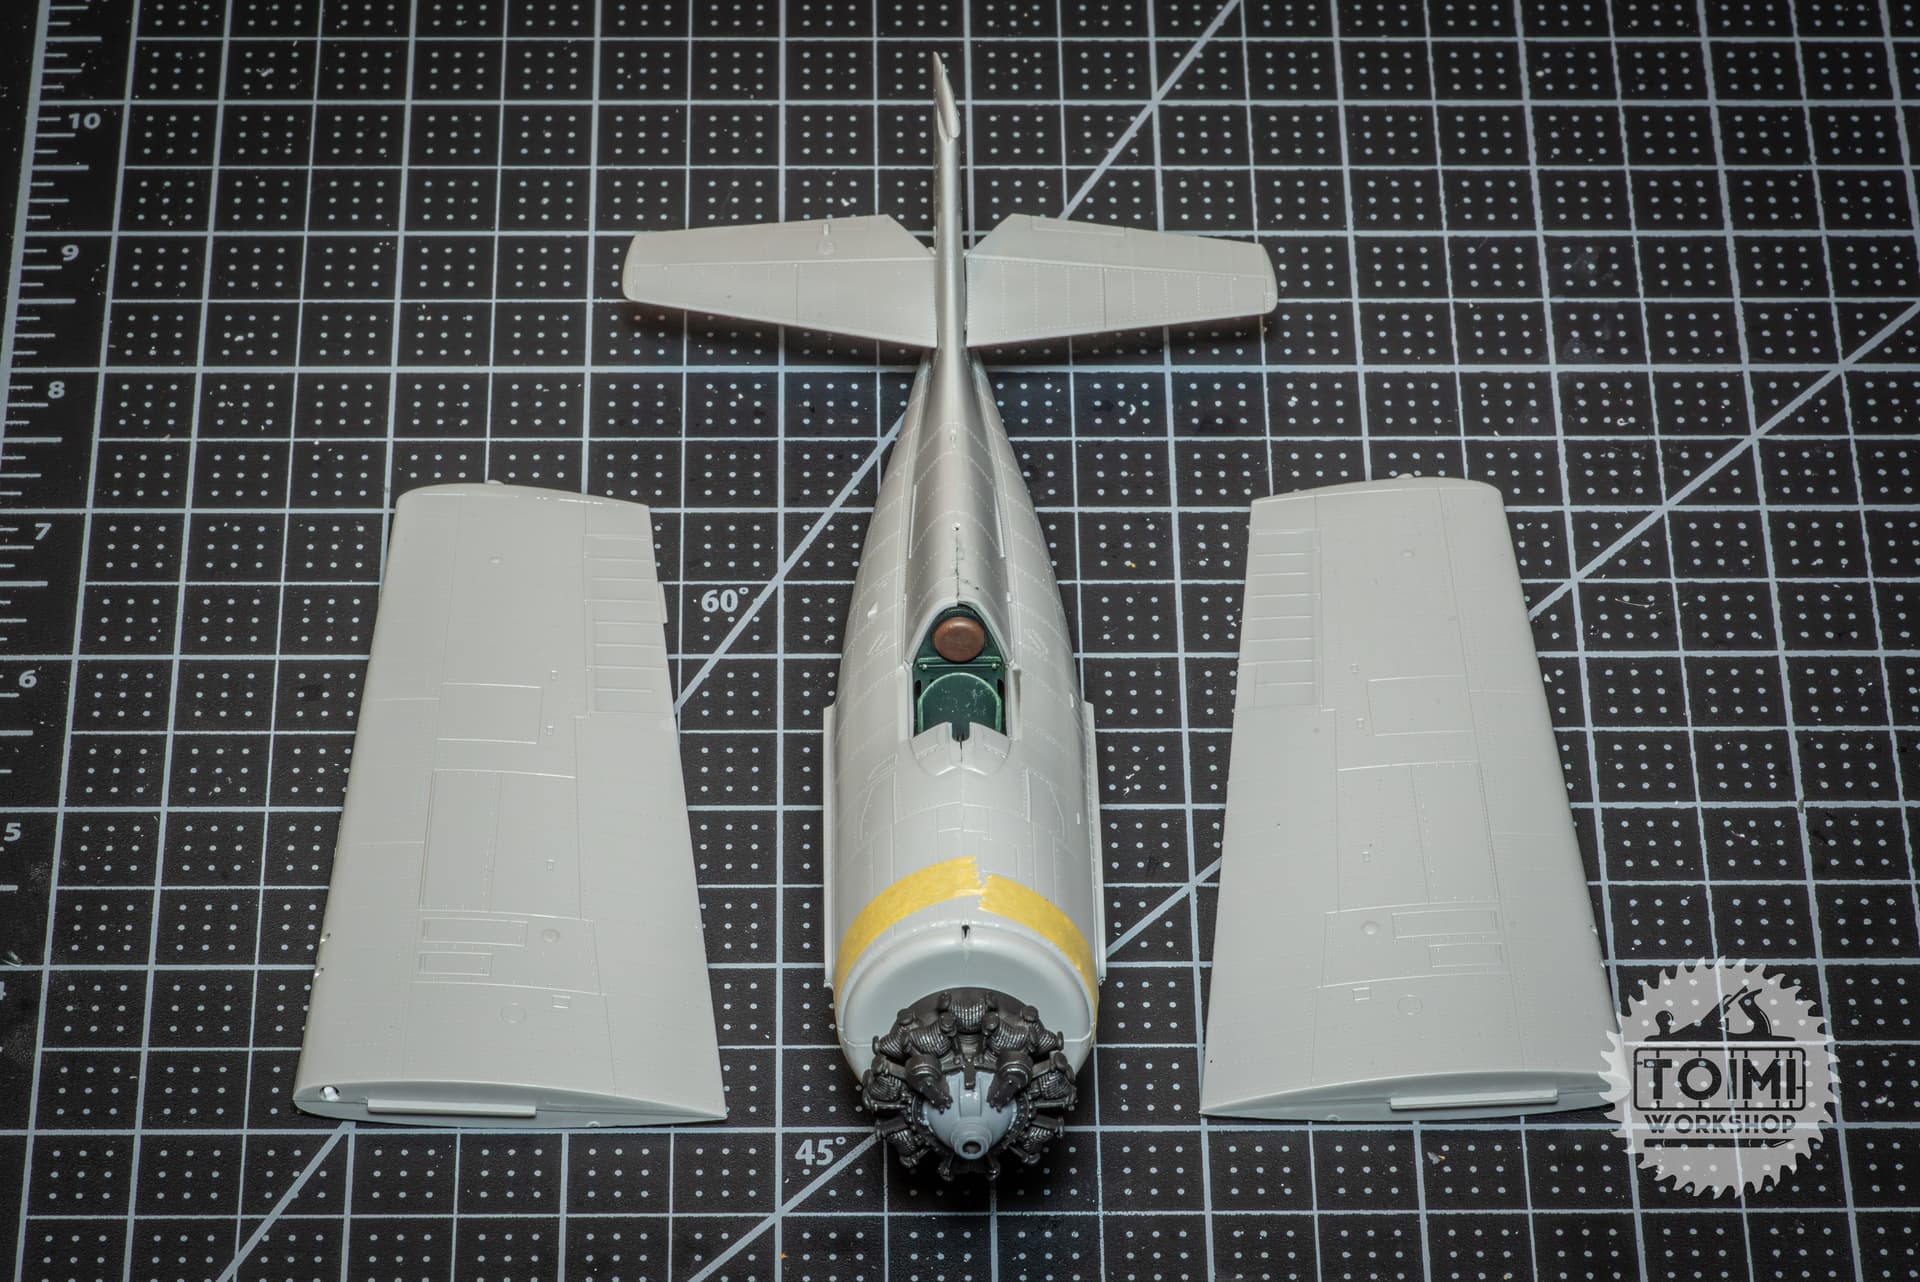
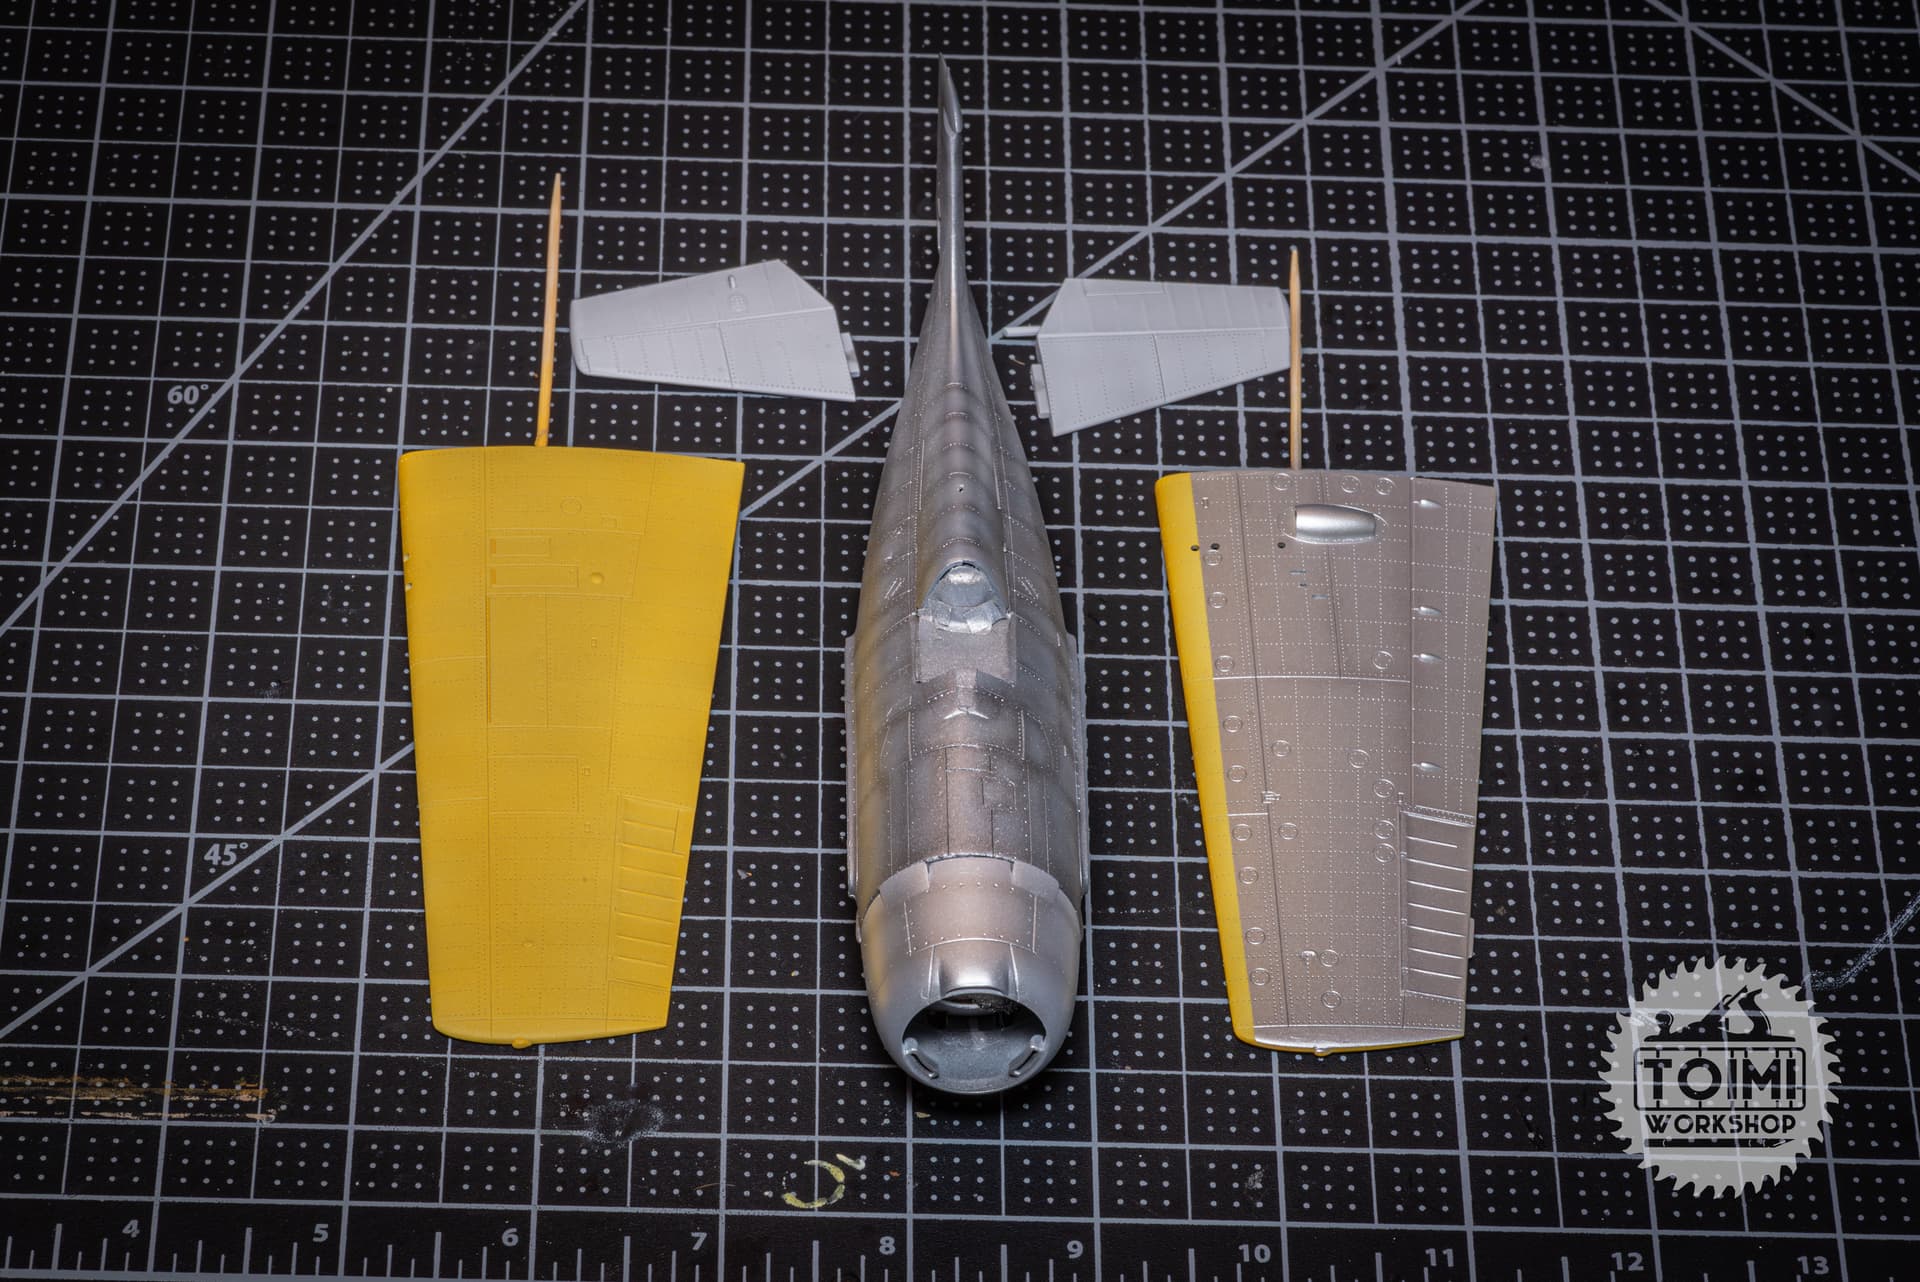
Over a dark grey primer, I painted with Vallejo Air colors - a few shades of aluminum, a mix of red and yellow to get the “orange-yellow” wing color. This was as far as I got in the 48 hour event window. I took a couple days off after that! 
Then it was time for the markings – the “lemon yellow” wing and fuselage stripes with black pinstripe outlines. I decided to paint them, rather than use the decals, figuring the masking would be tedious but less prone to disaster. It came out okay – if this hadn’t been a rush “fun build” I probably would have given it some more serious touch-ups, especially along the leading wing-edge. The lemon yellow color was tricky to come up with, but after some reading, white and yellow with a touch of bright green to bring the saturation back up ended up looking just right to my eye.
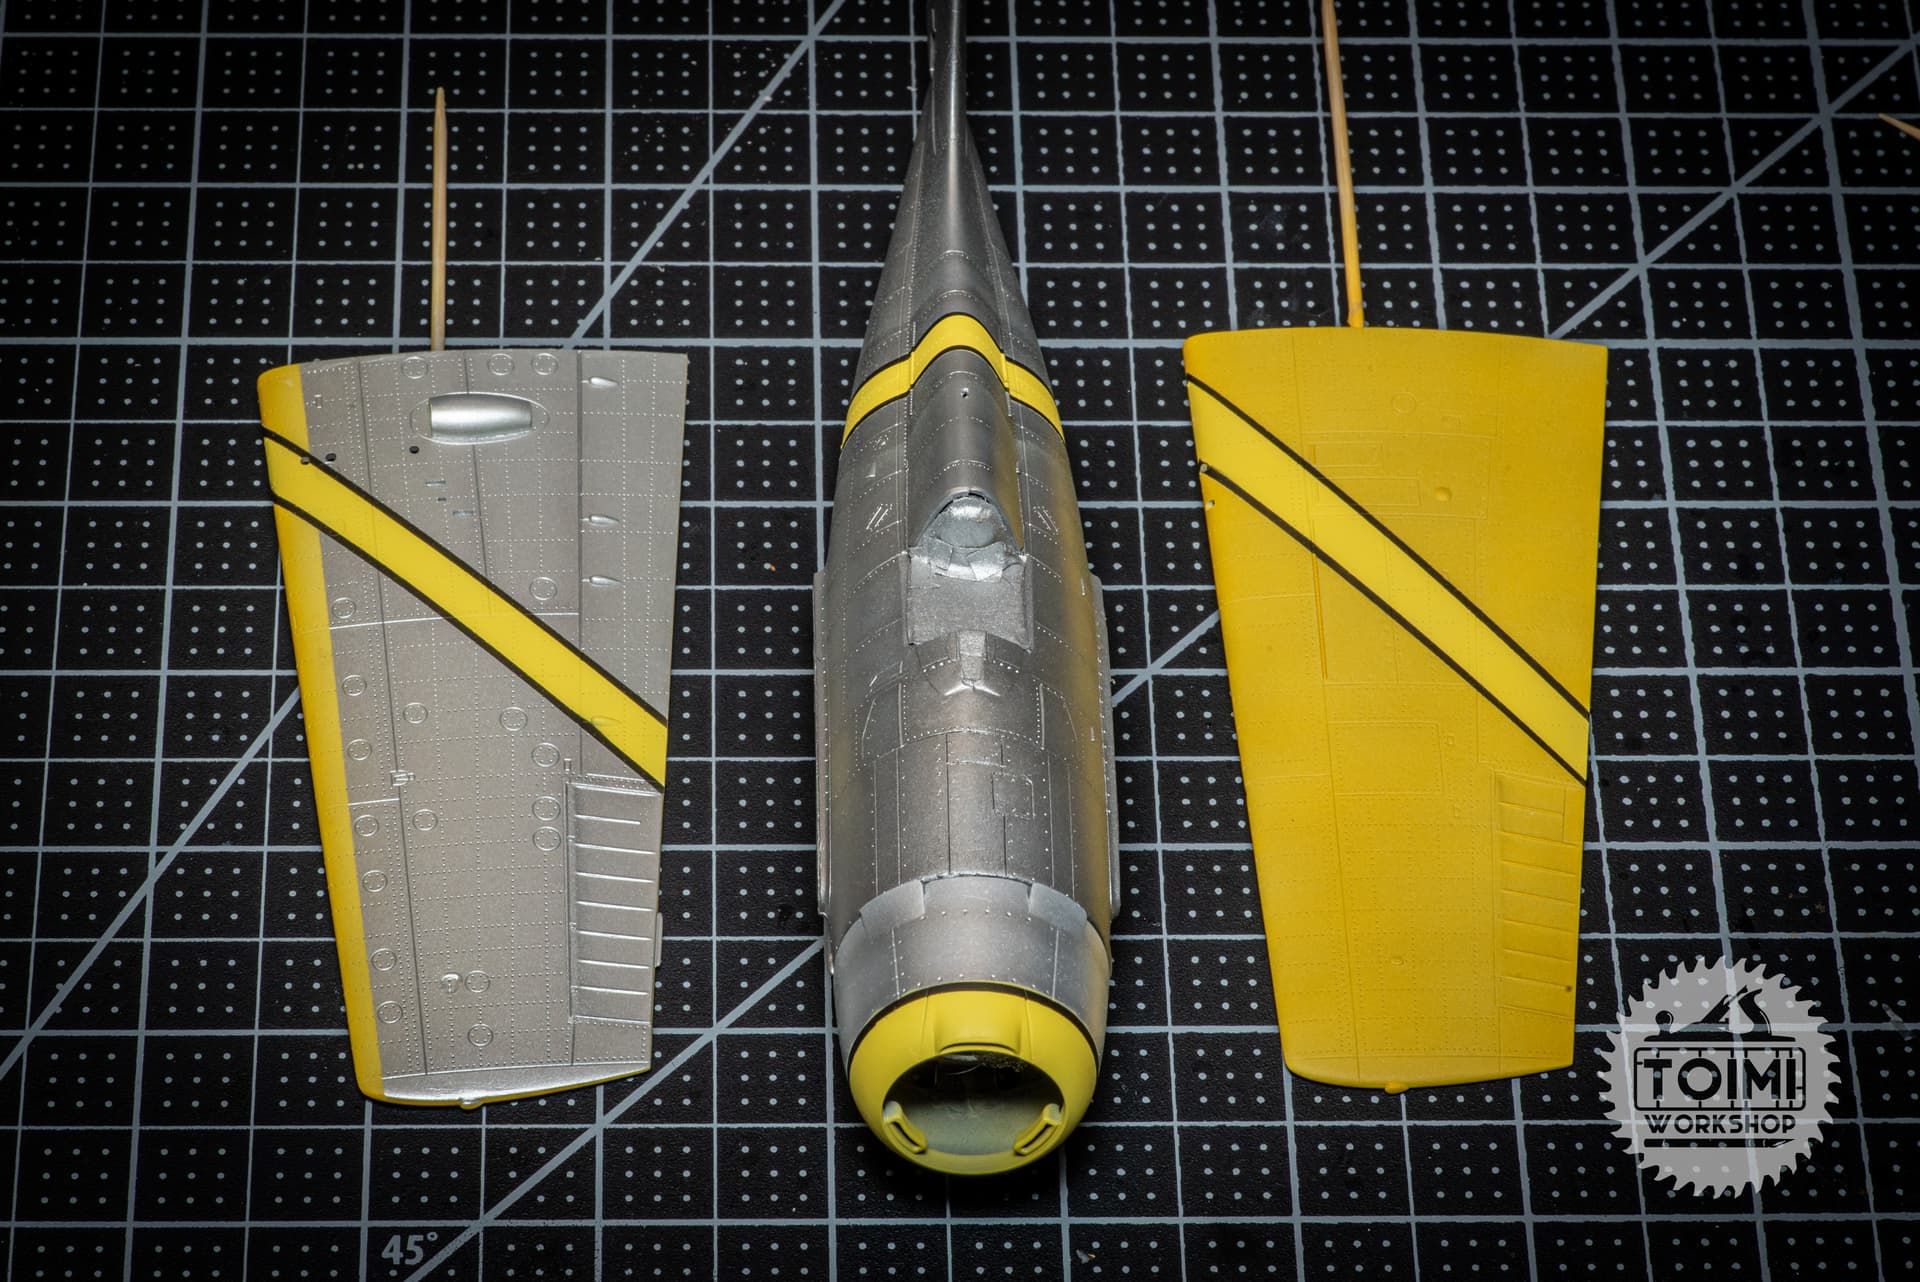
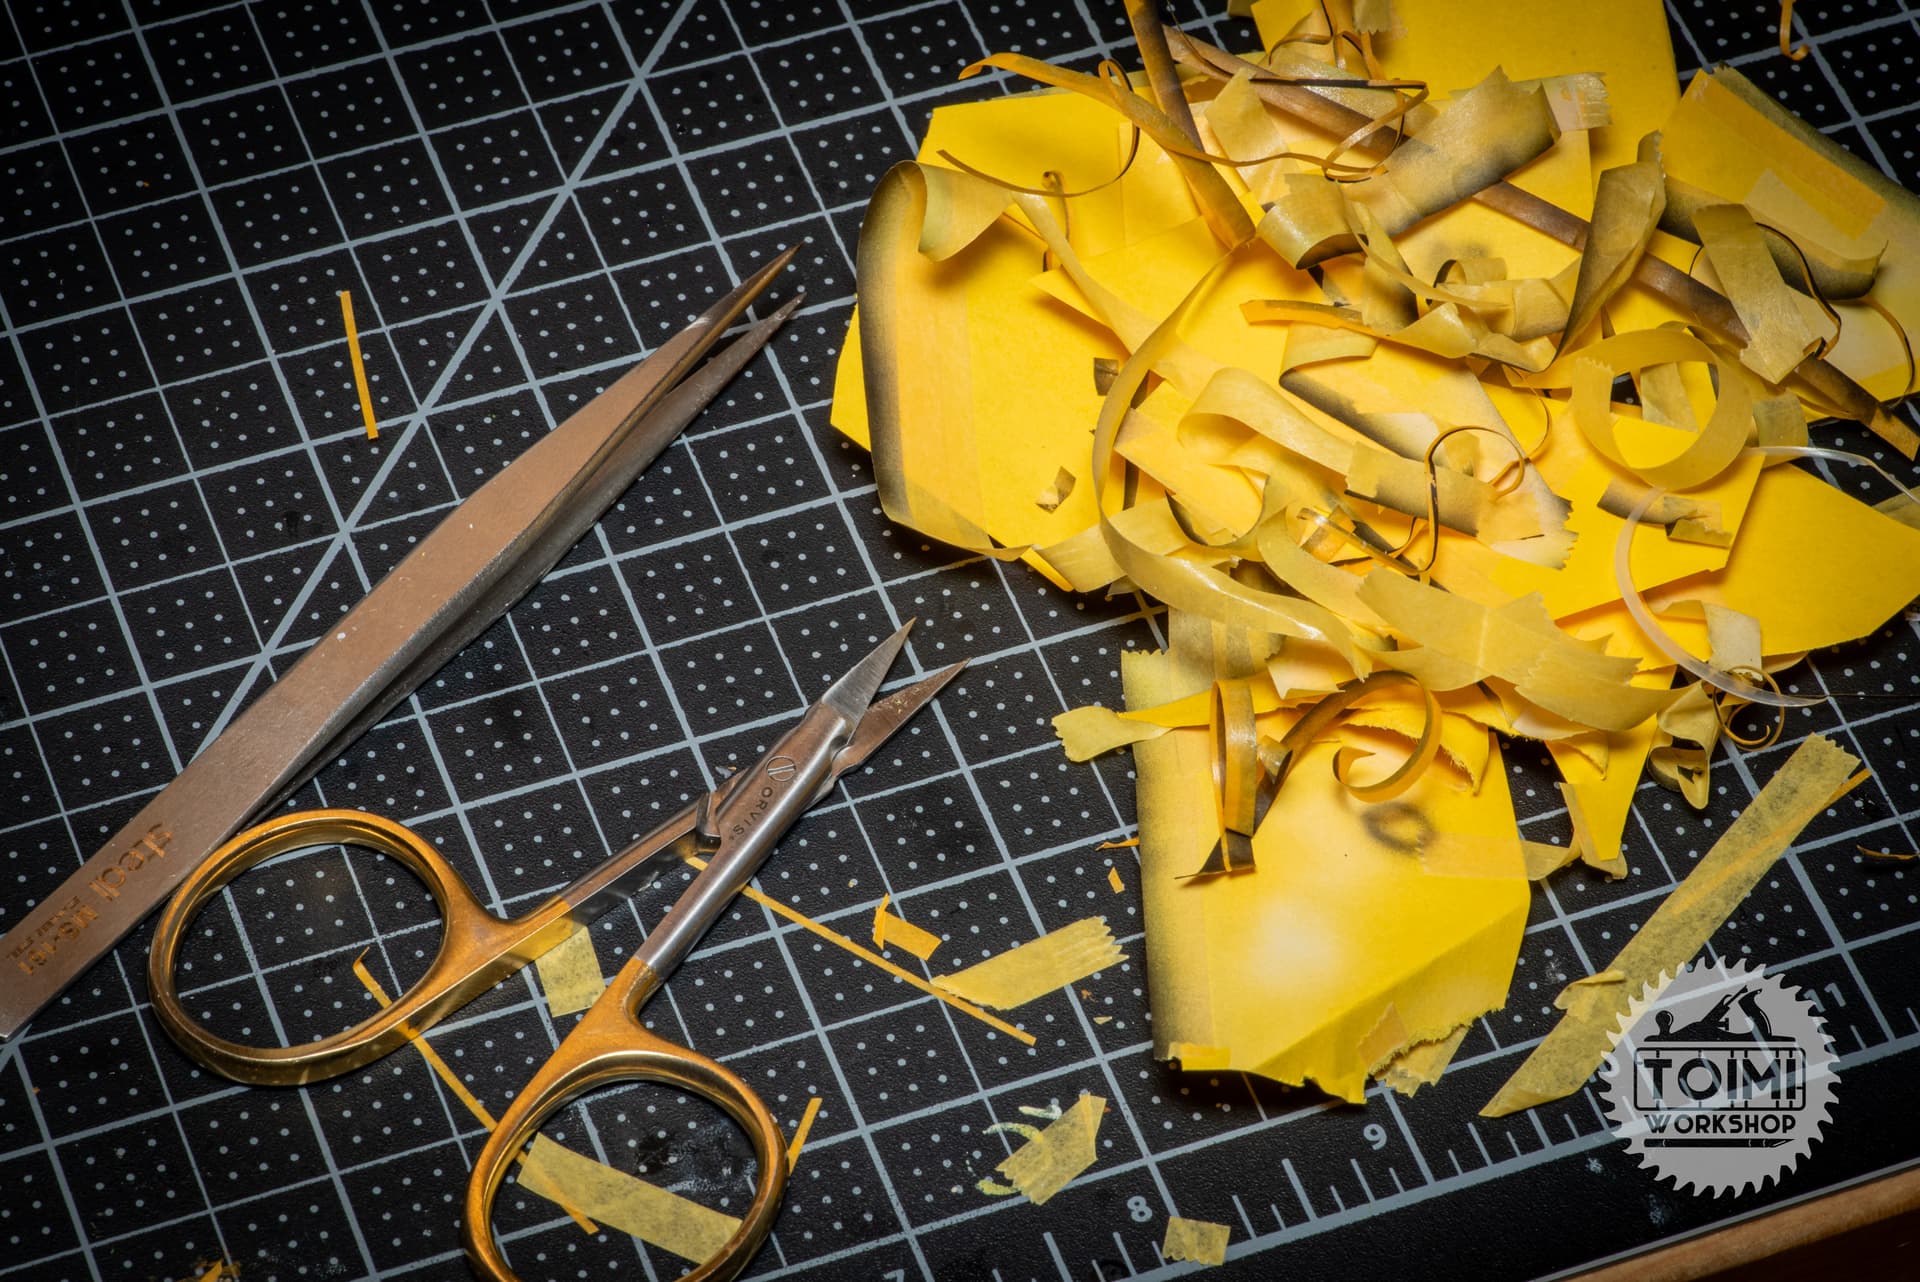
I will say that I wish I would have had a different color masking tape. Masking and painting yellow on yellow with yellow masking tape was… interesting! 
This was the first time I painted the wings before installation on an aircraft build. The fit was good enough to allow this – along the top edge! The bottom, not as good… but this is a quick build, no time to mess with that. The decals were thick and despite two days of Solvaset treatments the upper wing roundels never sank into the panel lines. The fuselage numbers did just fine.
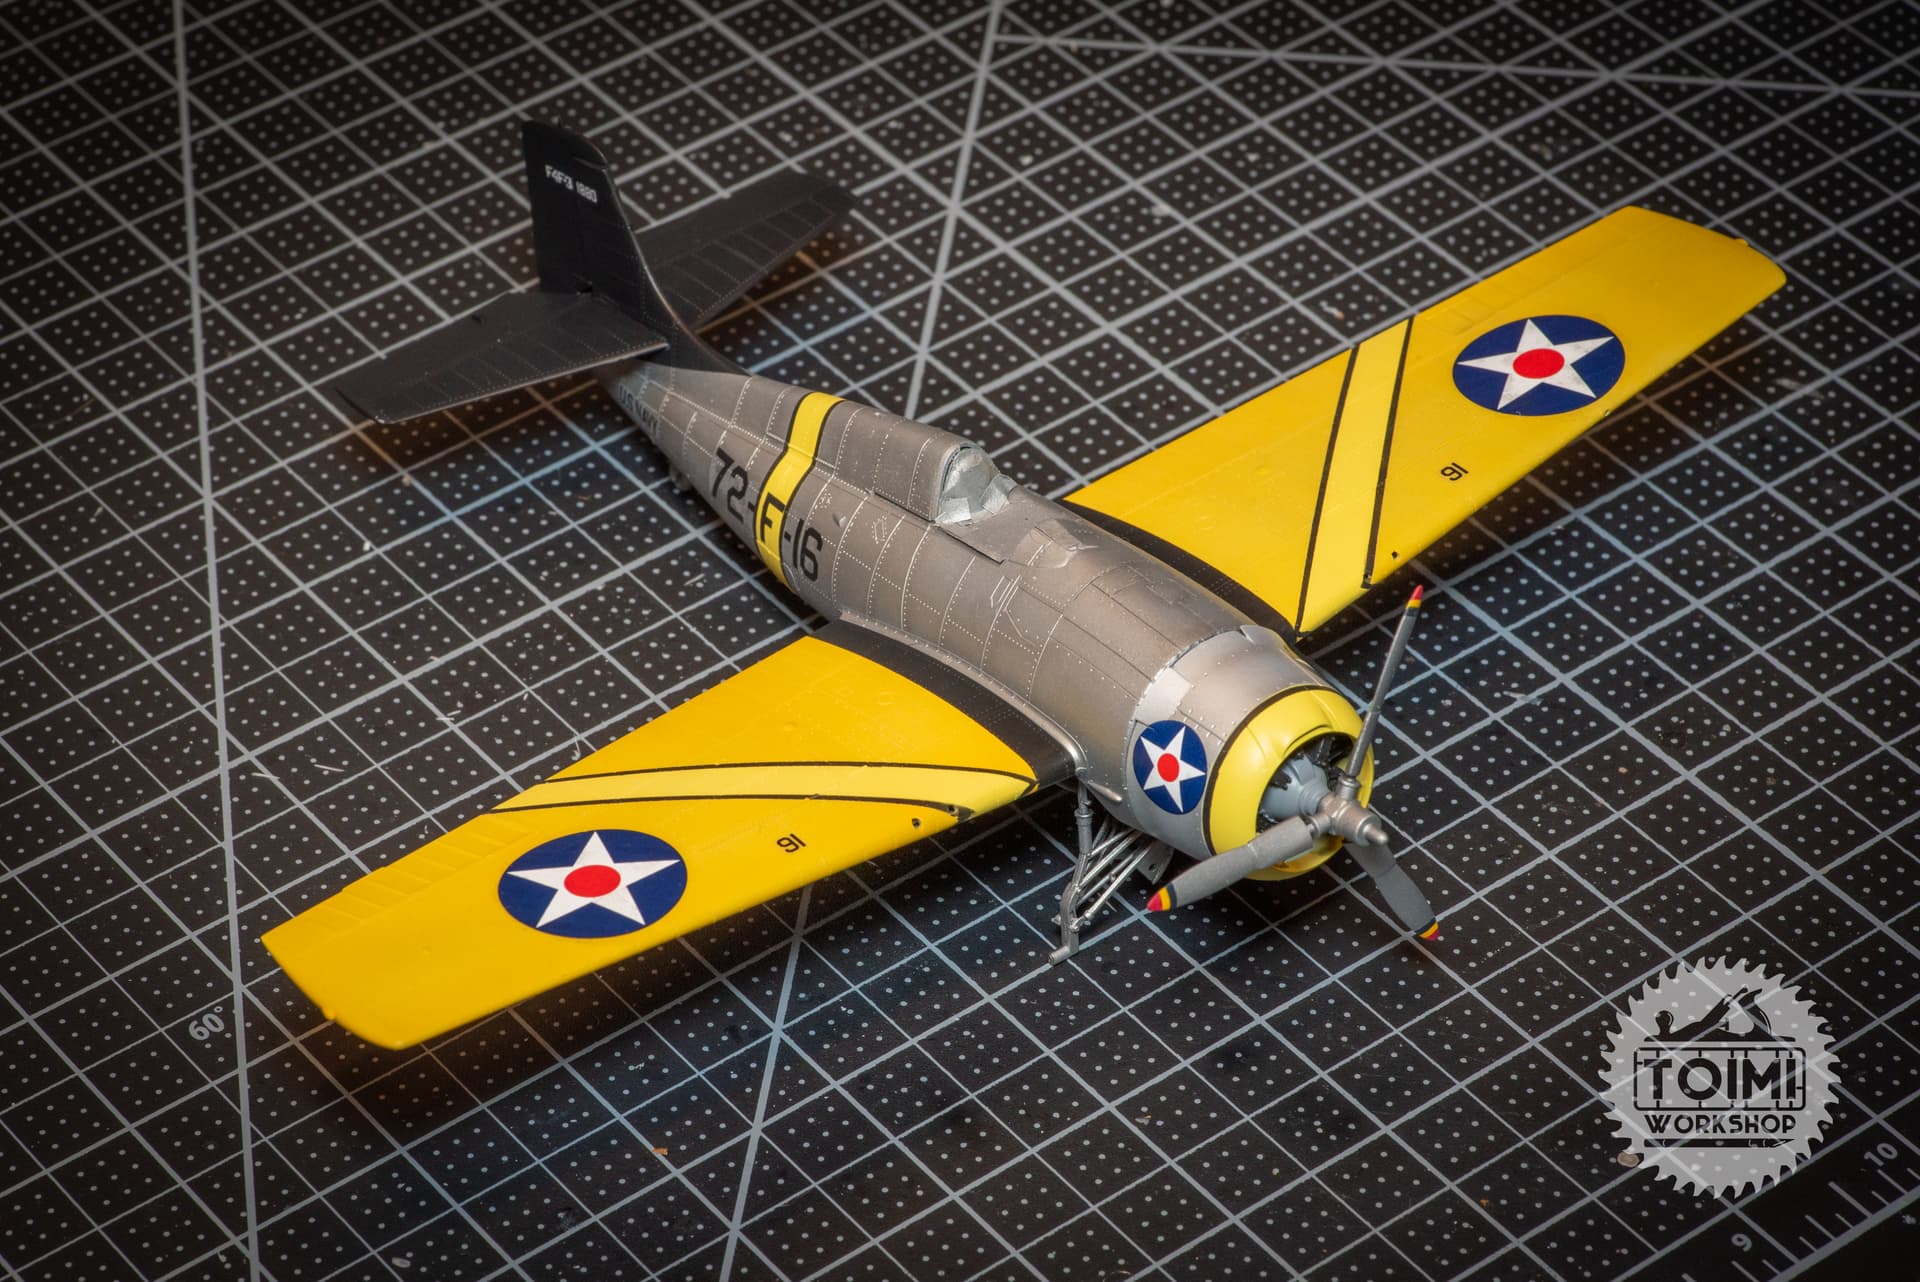
No more progress shots after this – I just tinkered with it off and on while working on my main Hurricane build. I did end up having to use one aftermarket part, a Squadron vac-form canopy, after trying and failing to modify the kit part to model it open. It was my first time with a vac canopy and I really like the effect – it doesn’t fit perfectly, because it was designed for the Tamiya kit, and my masking was a little wonky, but it looks better than the thick kit part woulda.
I did a quick oil paint weathering, which I’d never tried on an aluminum finish before, let alone bright yellow – and I think it could be a lot better. The planes in this livery were not in combat nor seeing hard service, and I think I over-weathered it a bit, and I’m not real happy with how the doped aluminum look came out. Good exercise, still, and overall, I’m happy with it.
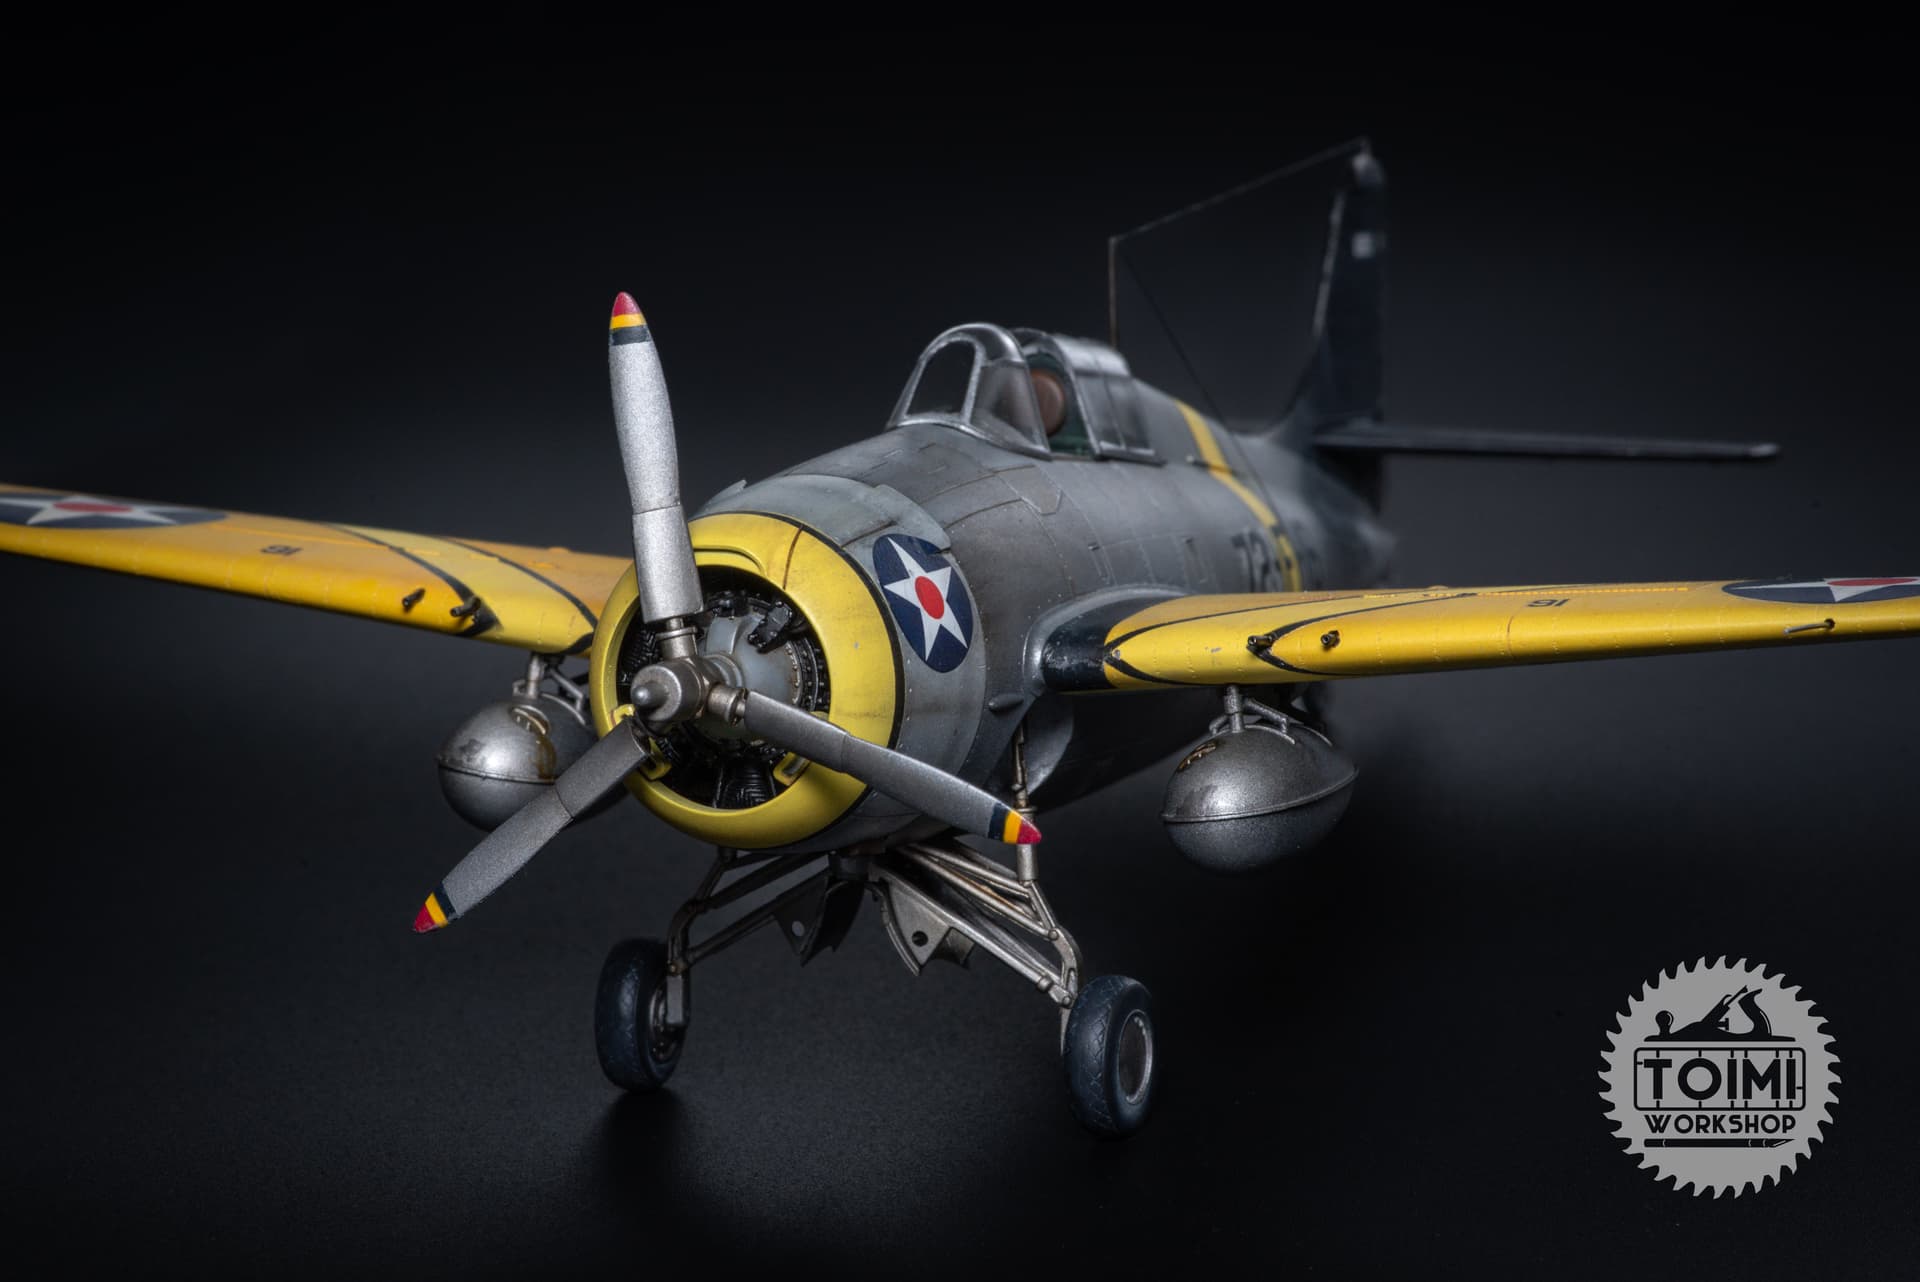
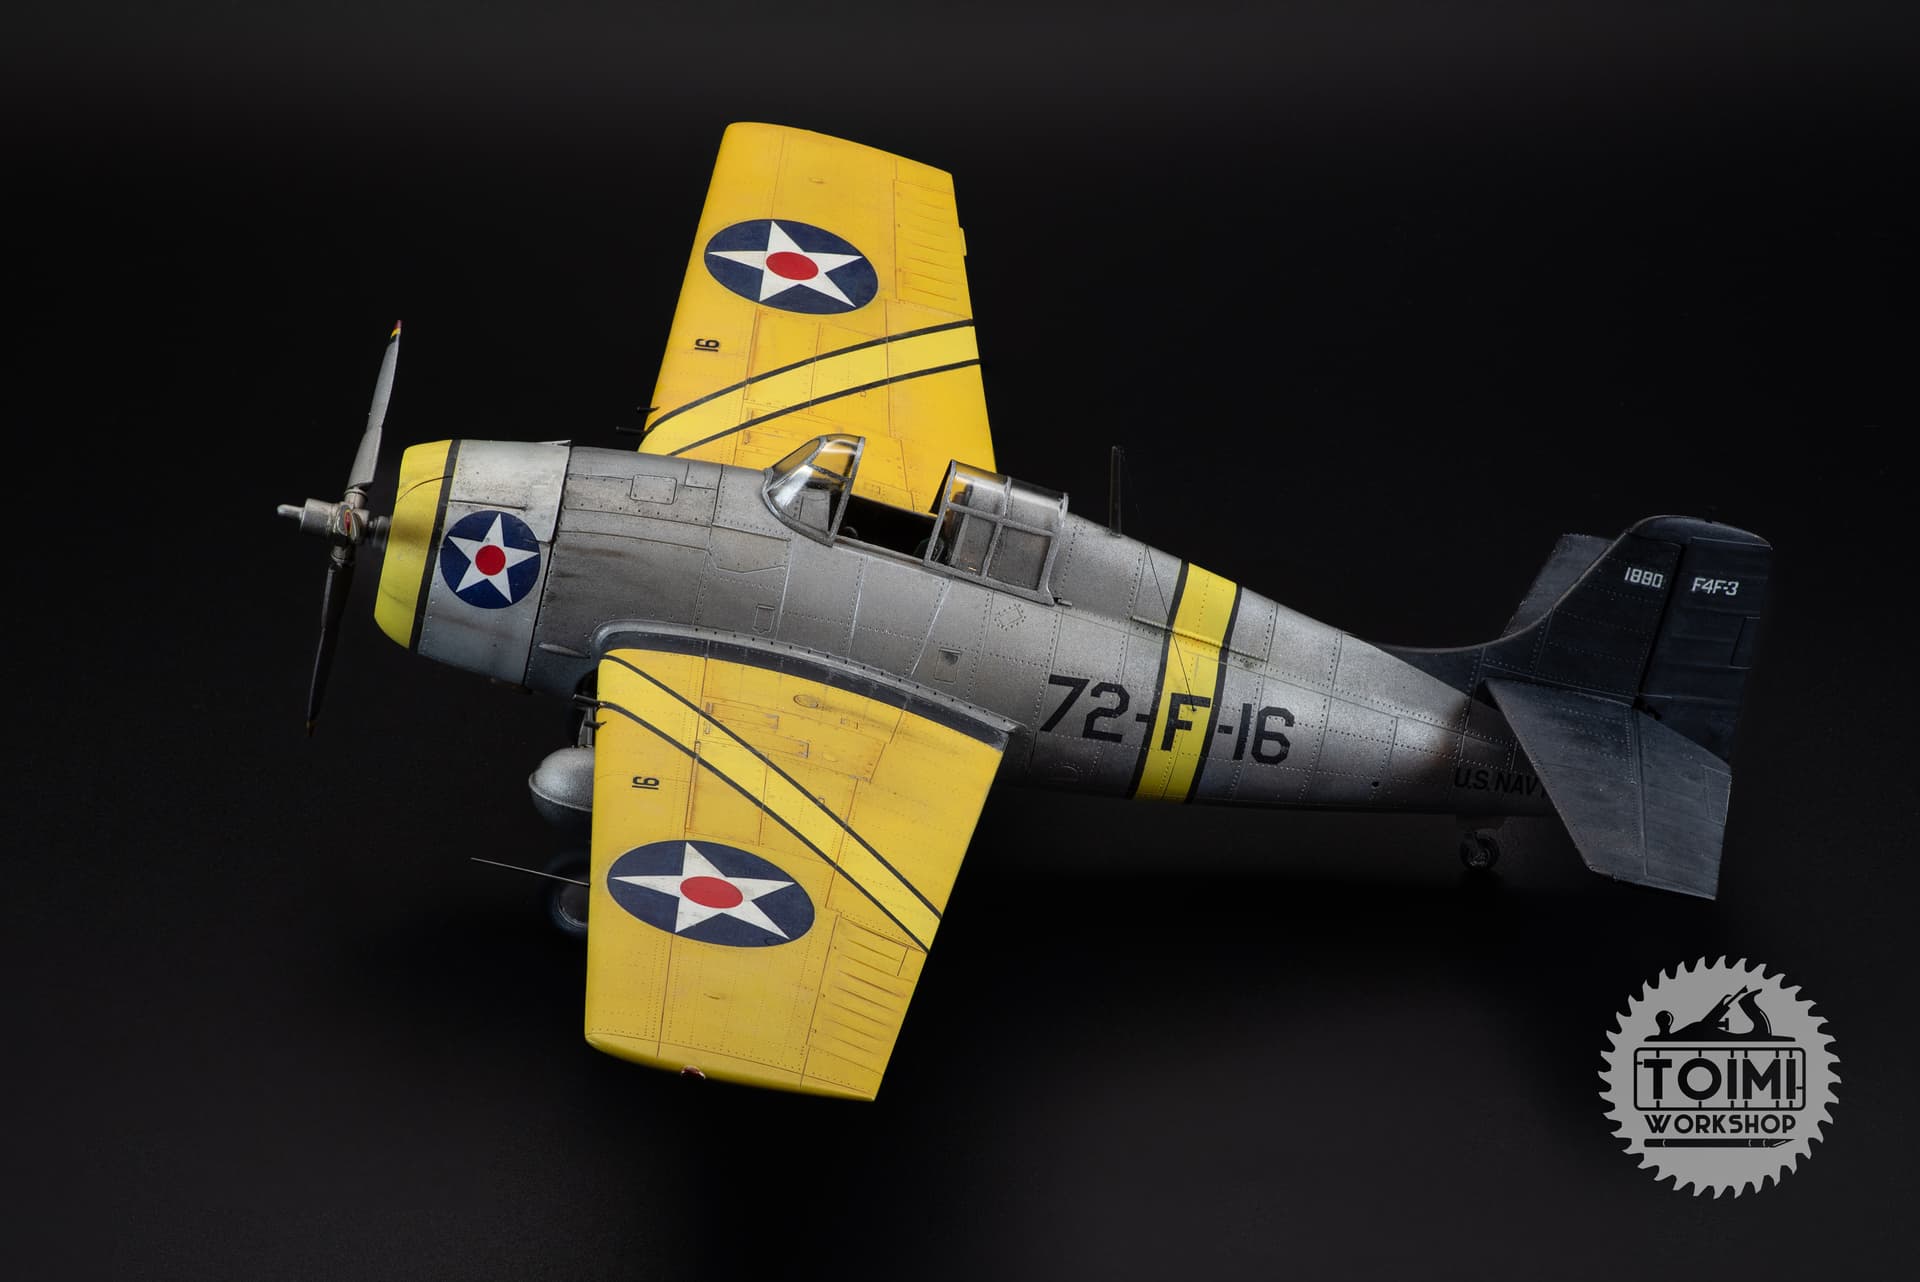
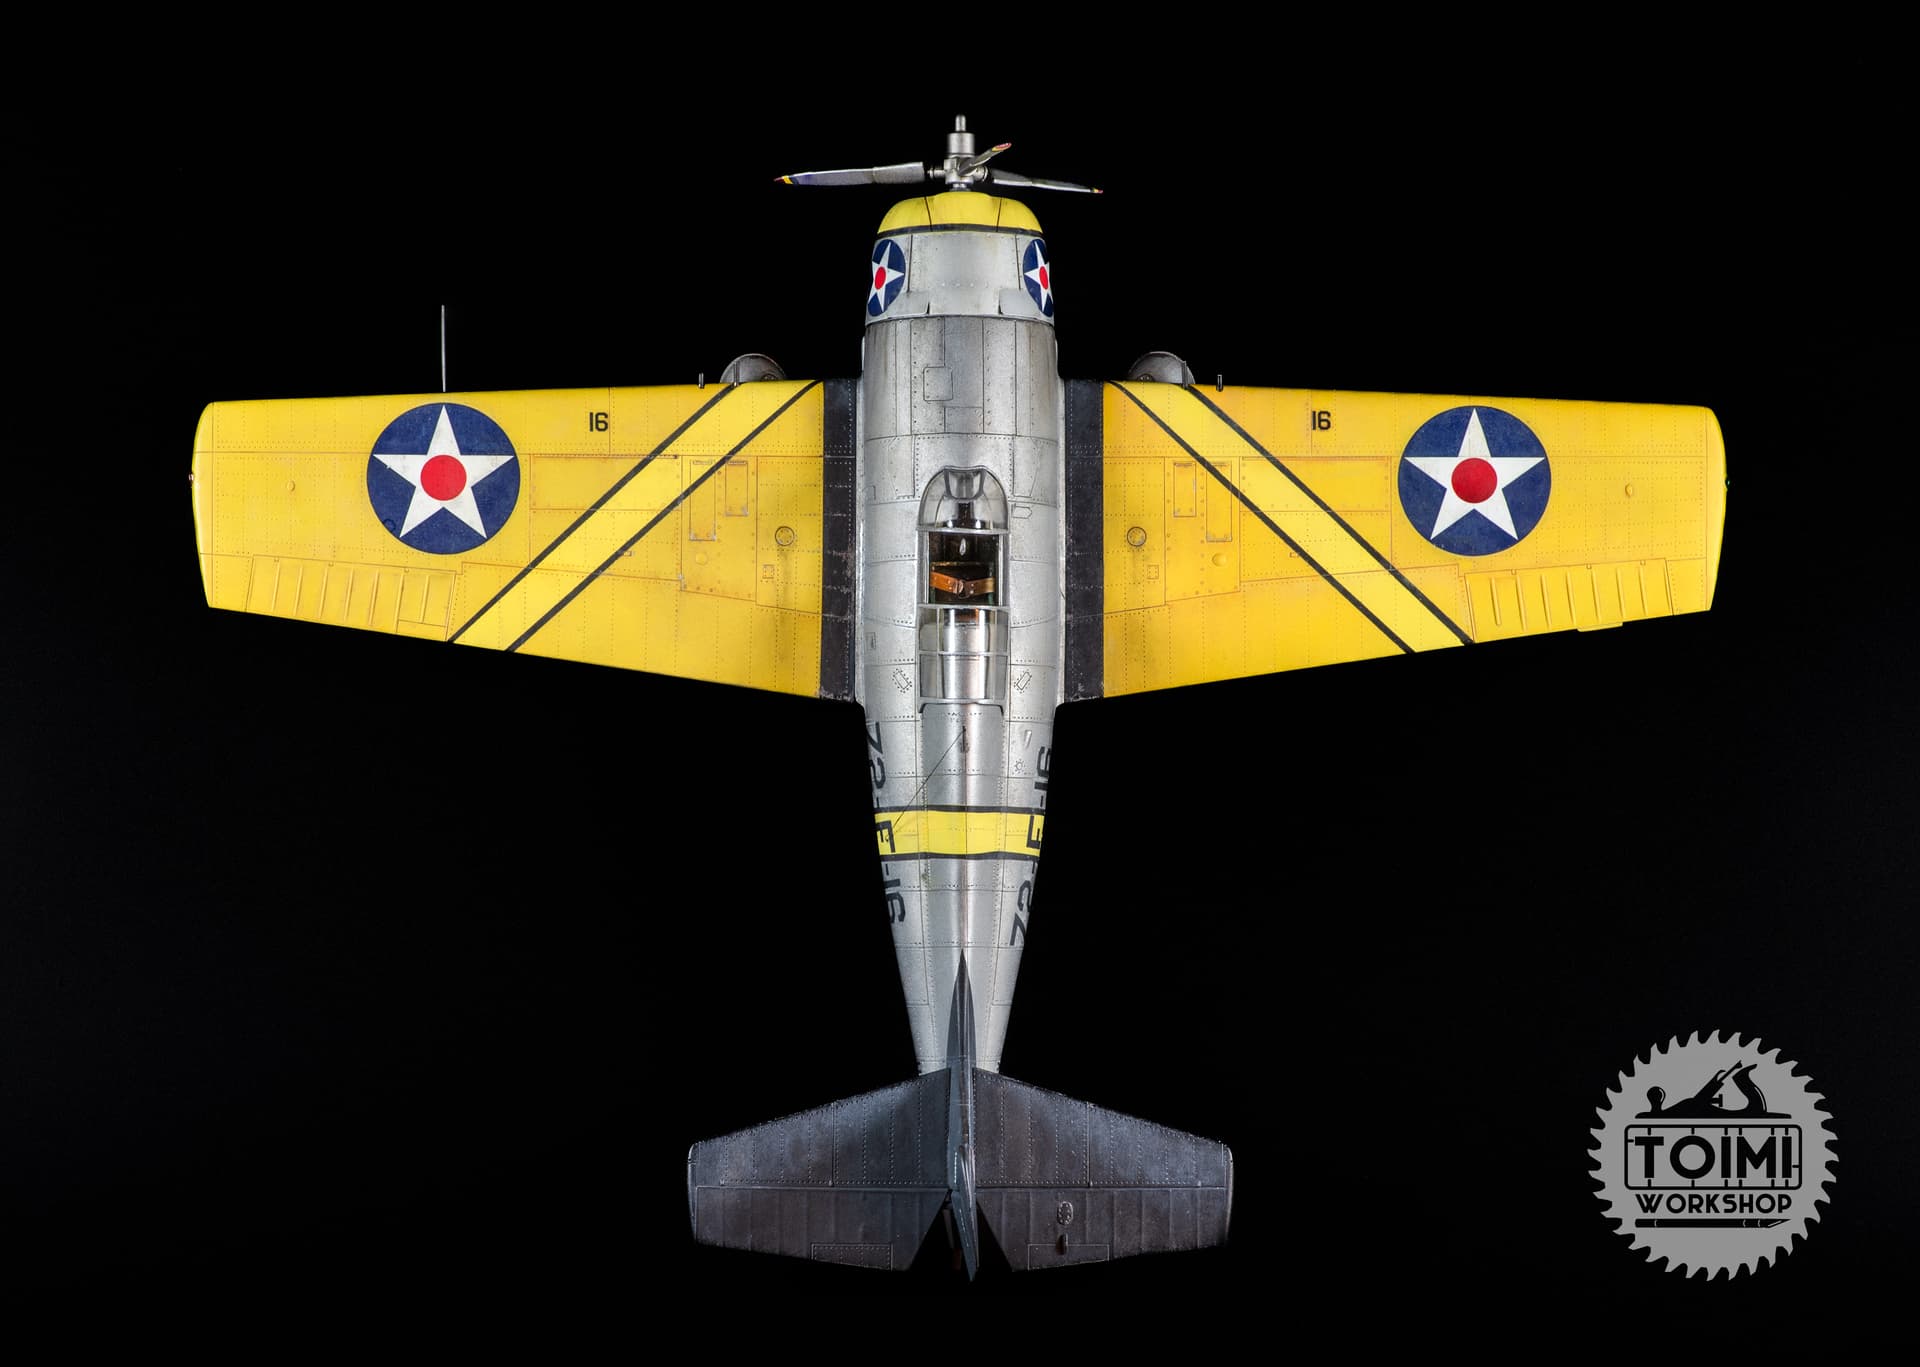
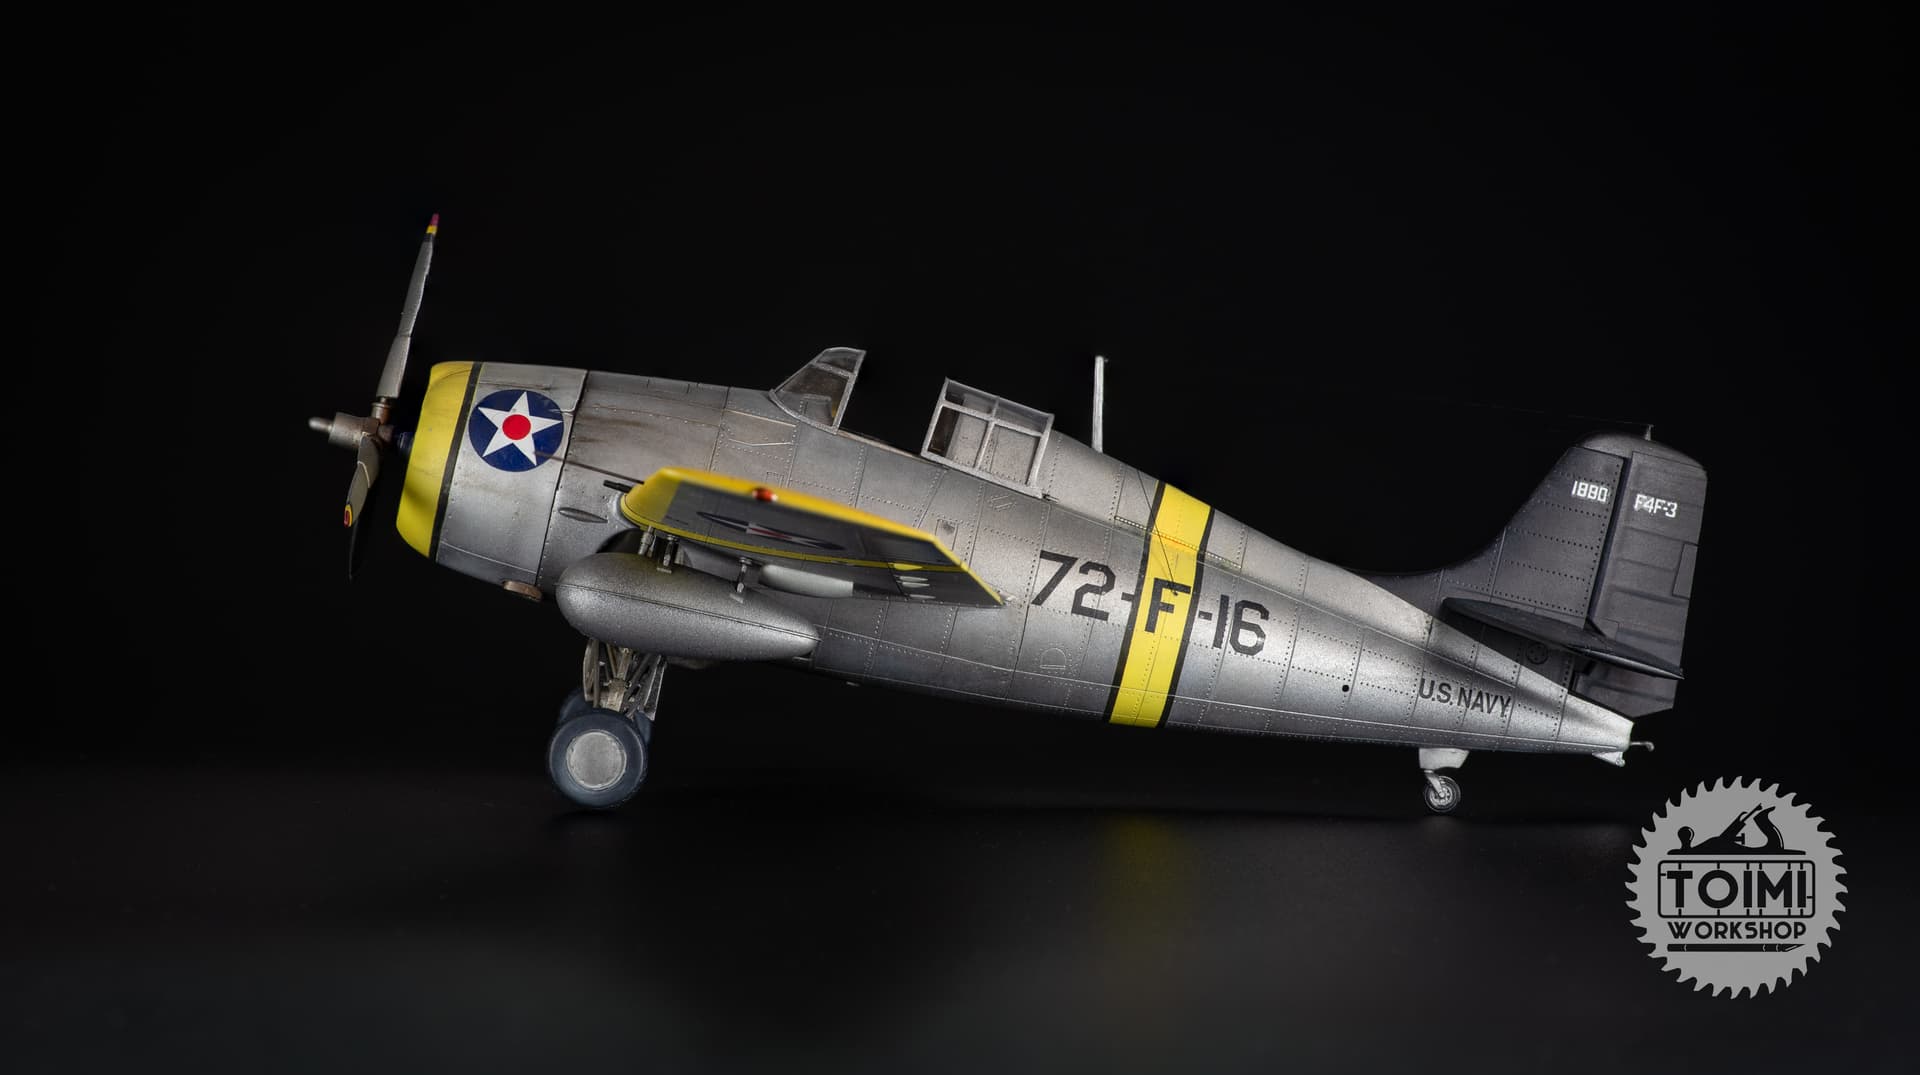
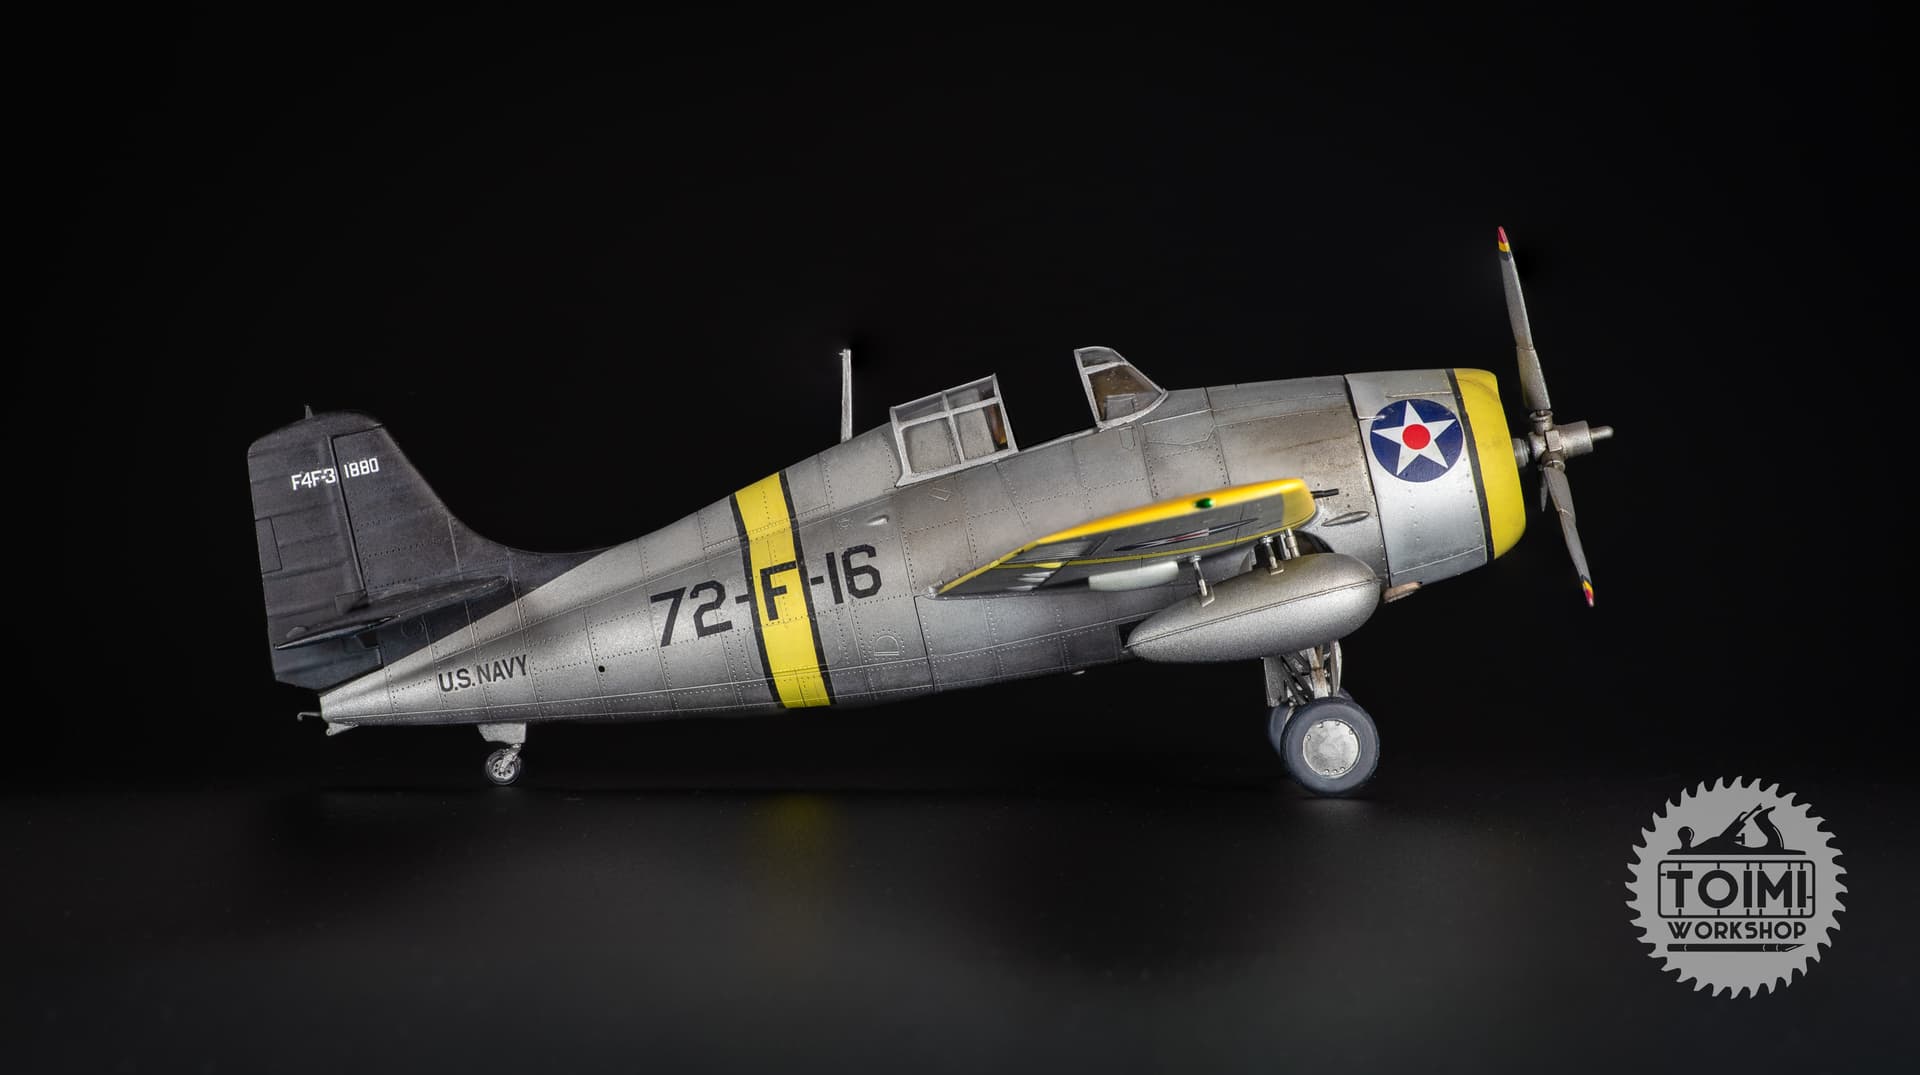
In the end, it’s an acceptable kit – a classic HobbyBoss kit I’d say – and worth the low price. But if I was a Wildcat guy (and I might be, now) I’d go for the Eduard or Tamiya offerings. It was a fun exercise at any rate – and it looks good in the case and out of the stash.
Edit to add: I forgot to mention that to avoid breaking them off during the build, I didn’t use the kit’s wing machine guns or pitot. I used brass tube and rod, added at the end of the build. Also I forgot/skipped the gunsight, which should protrude through the windscreen…