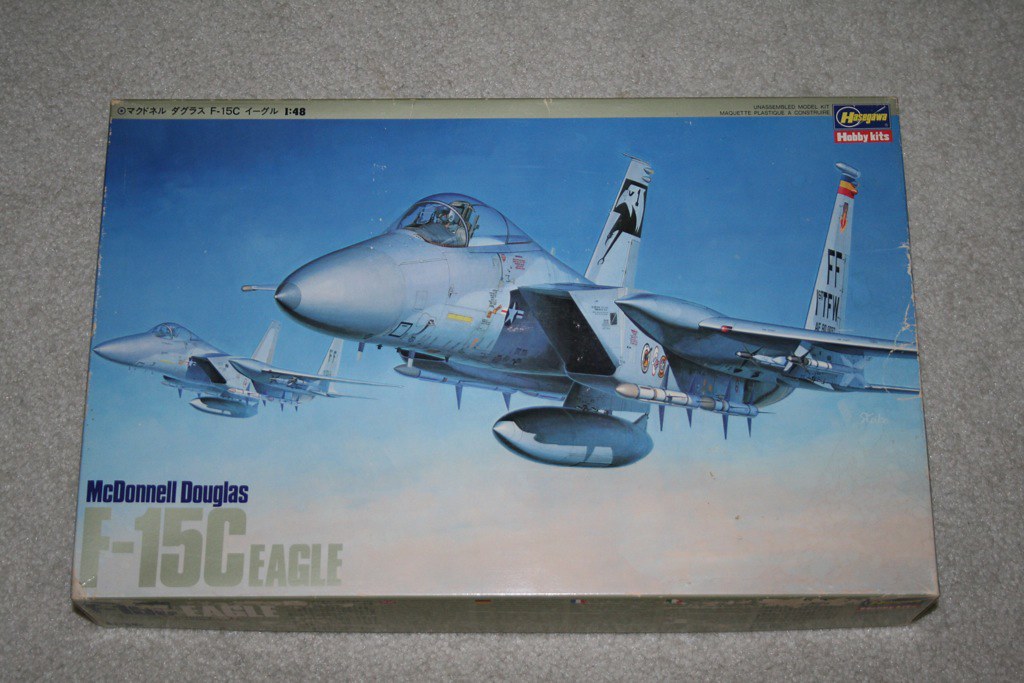
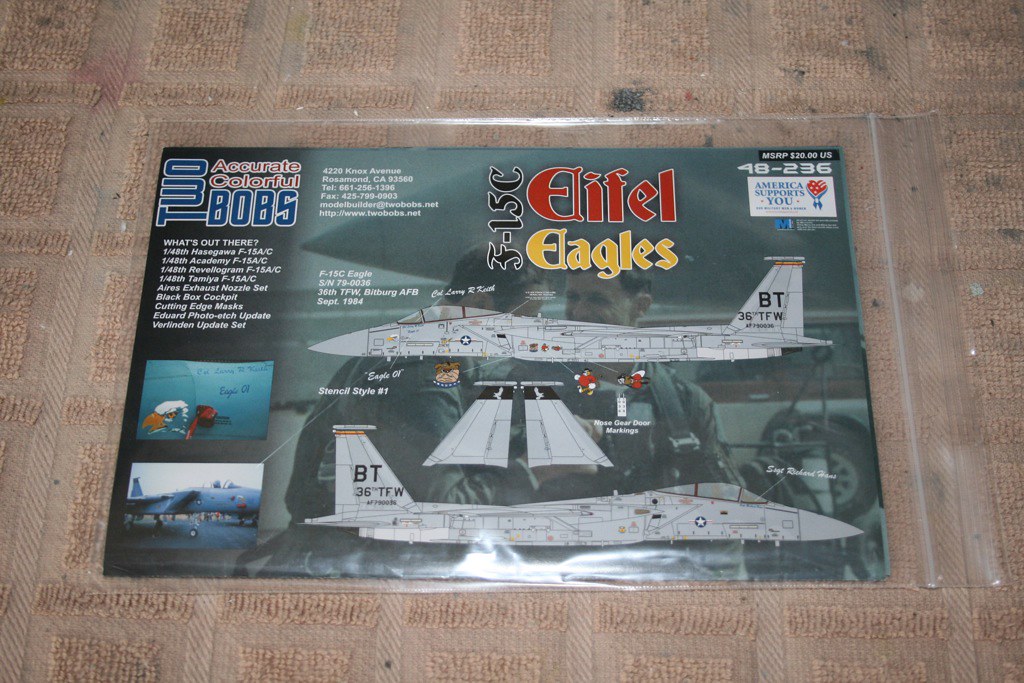
Since I can’t really move forward on the F-22 until I get a replacement decal sheet I figure I will start a WIP of this 1/48 Hasegawa F-15C. She will wear the TwoBobs Eiffel Eagles Bitburg decals.
Here’s the kit:
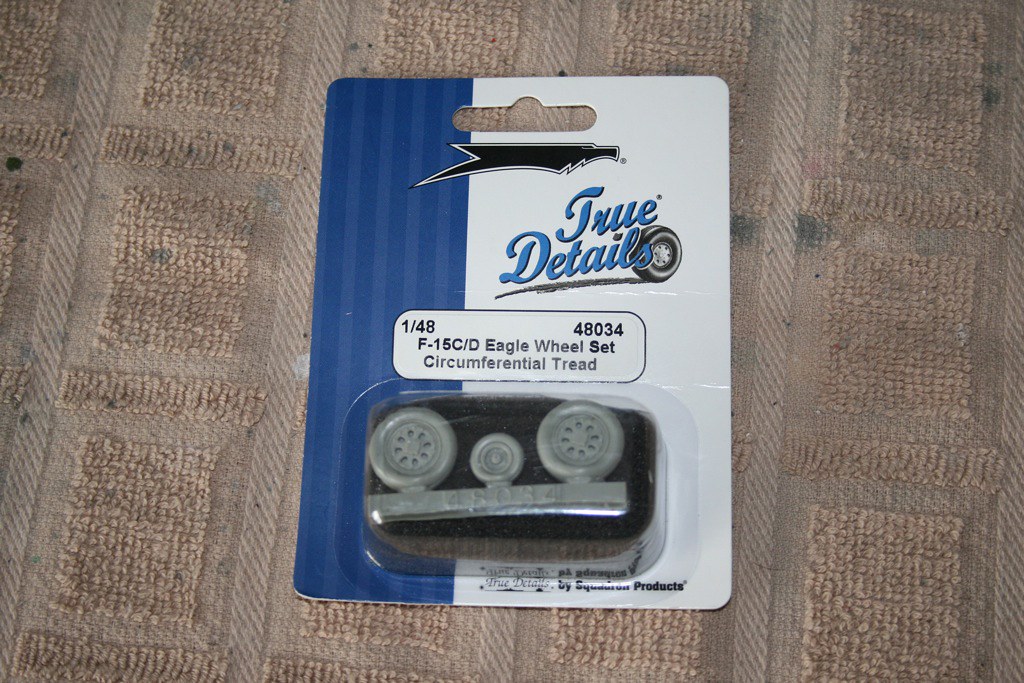
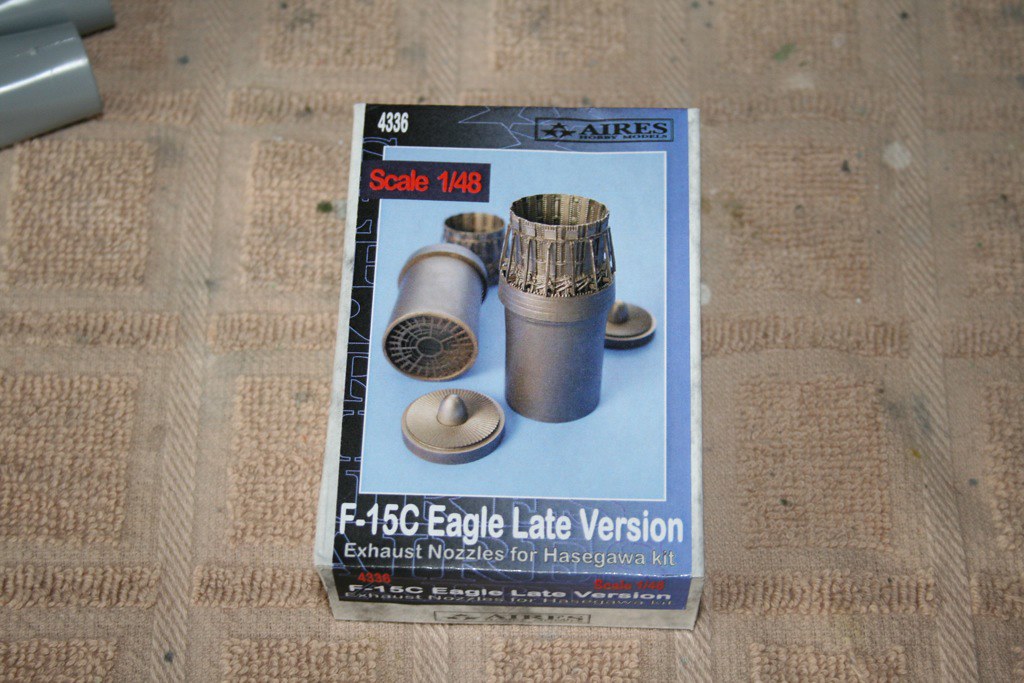
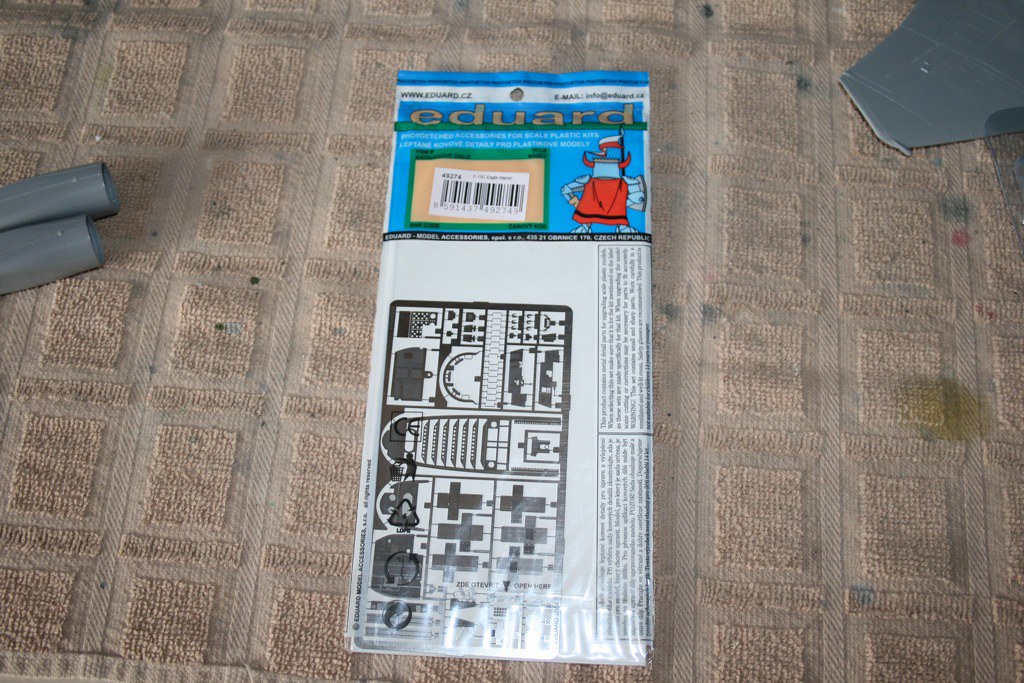
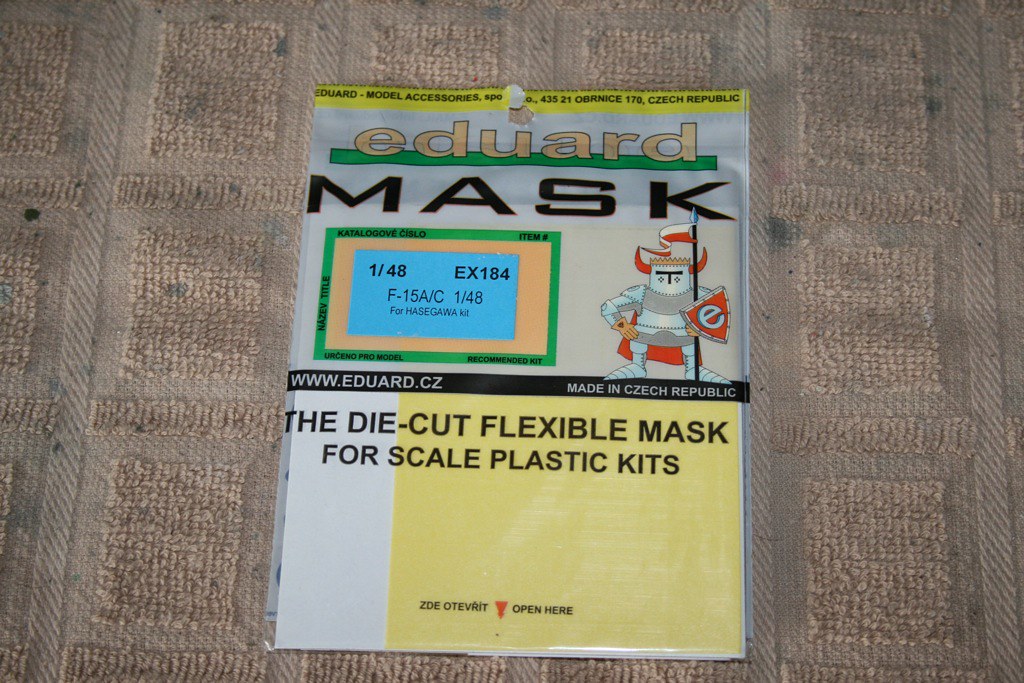
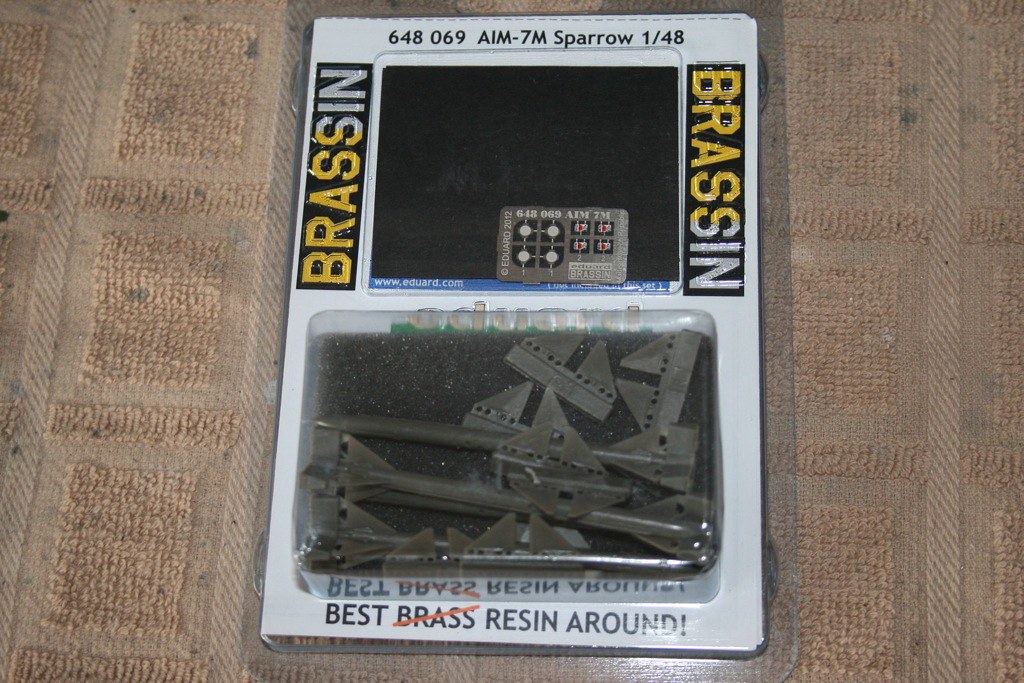
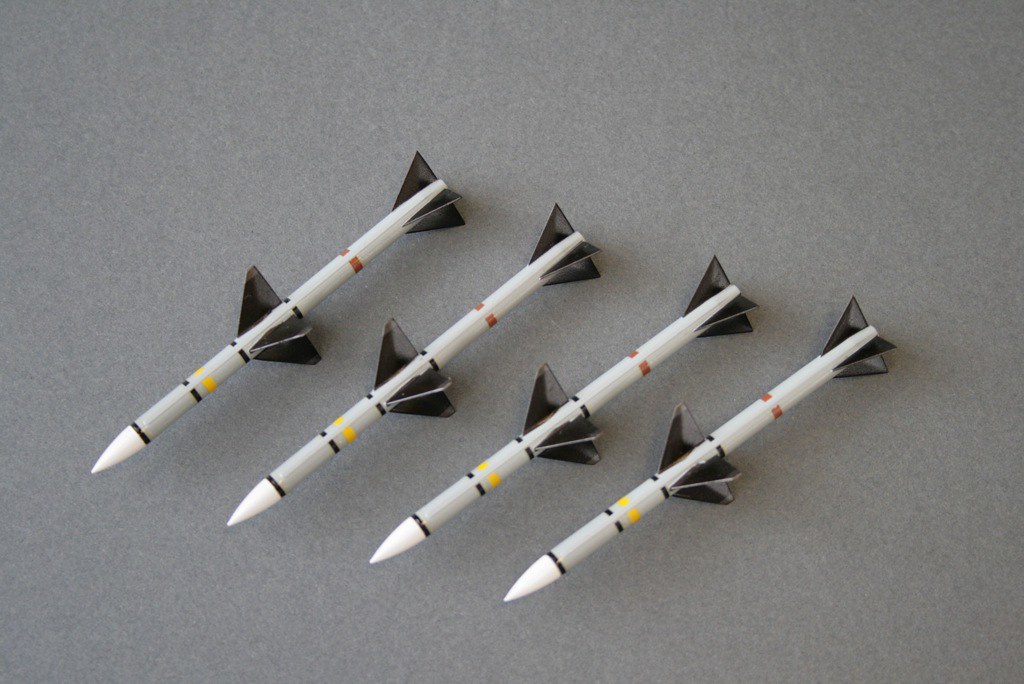
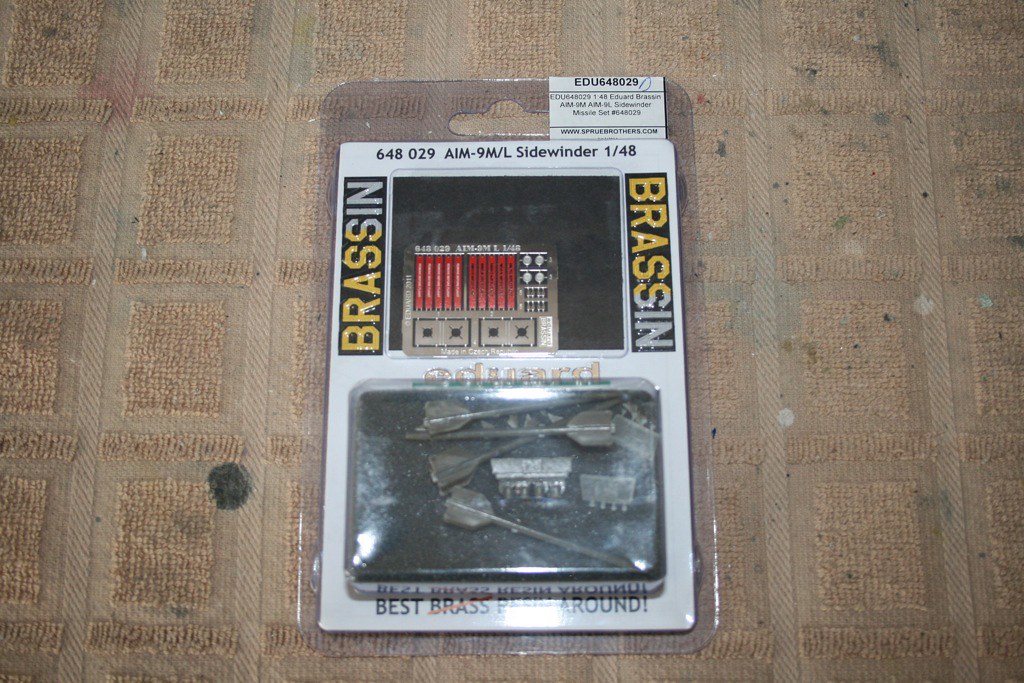
Here’s some of the AM stuff that I have for it:
True Details resin wheels (I may not use these since the tires look like they are way under inflated):
I’ve already built up a few parts so the pics will be coming soon. I have been getting some of the sub assemblies done as I’ve been finishing up the F-22.
Thanks! I’ll need it. I really want to do this one justice.
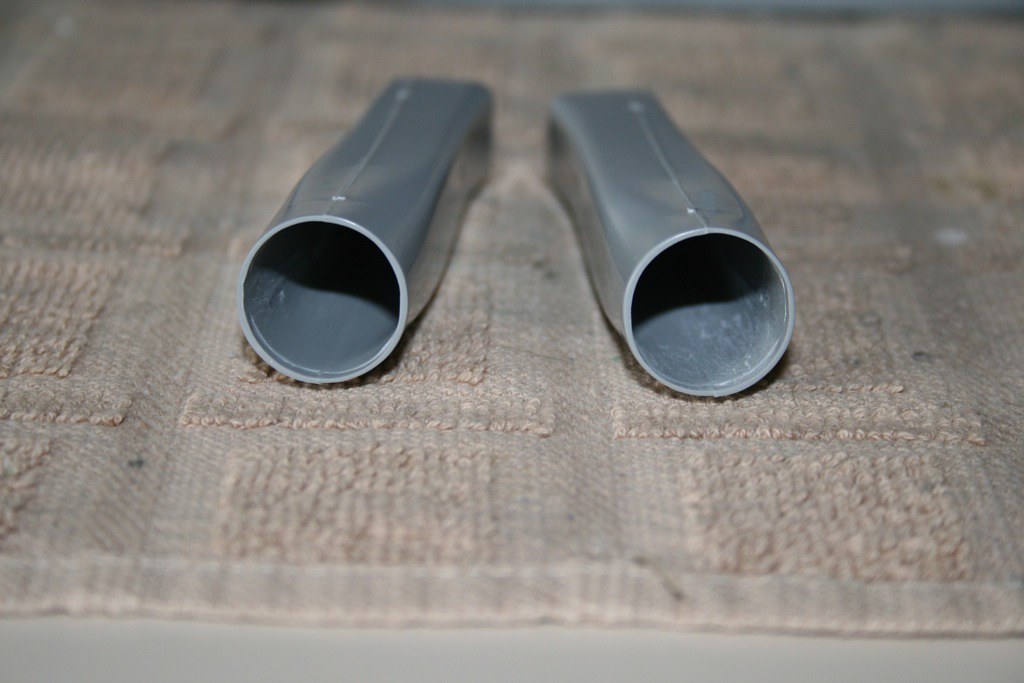
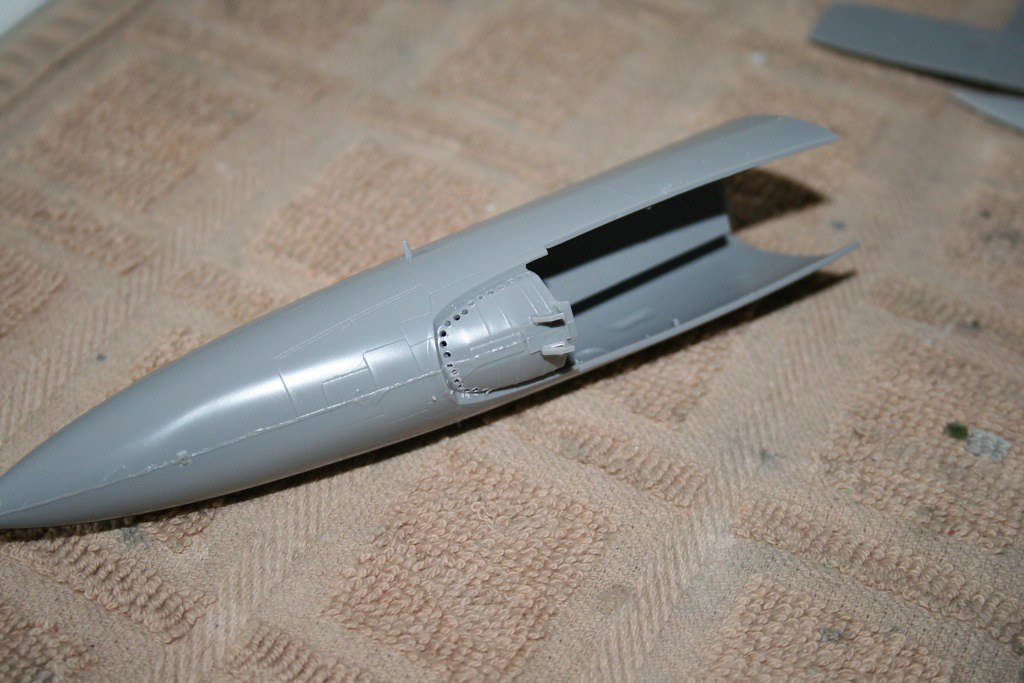
One of the first things I did was to assemble and paint the intakes.
I didn’t get a pic of the inside of the parts but there were these protrusions where the alignment pins met the inside of the intakes. Why they designed it like this I have no idea. I have read that this was one of the first kits to include full length intakes so that may be why.
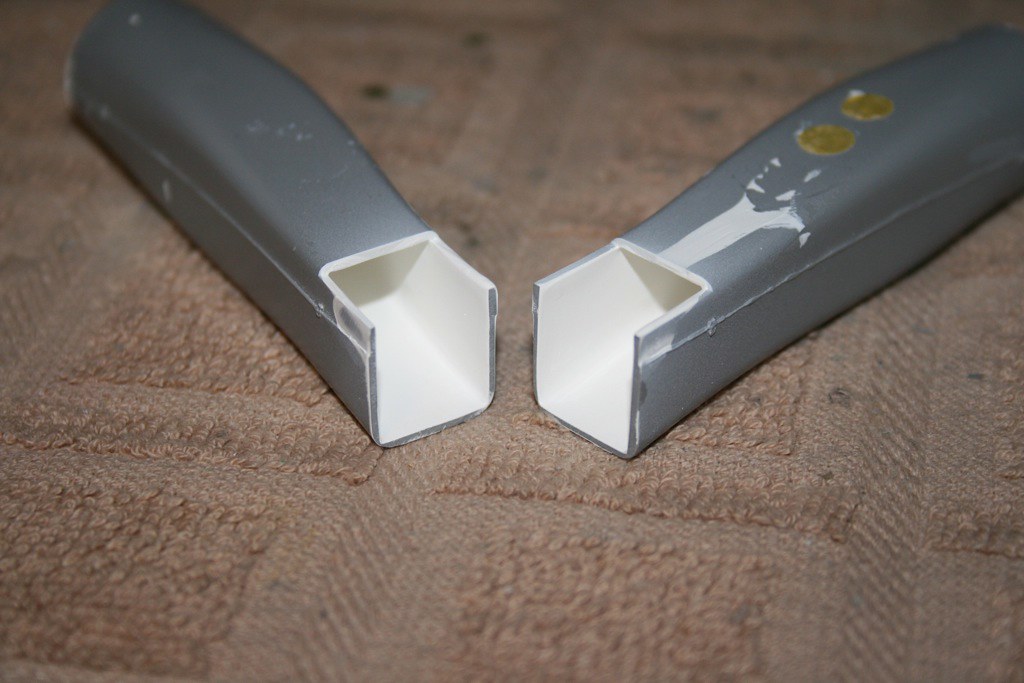
It initially looked so bad that I was going to get some Steel Beach intake covers and avoid to whole thing. But I stuck it out.
There were also 3 ejector pin marks on each intake part. I used a flat and a curved jeweler’s file to remove the marks and the protrusions. I used a generous amount of liquid cement to weld the parts together. When I sanded the weld down there was almost no seam left.
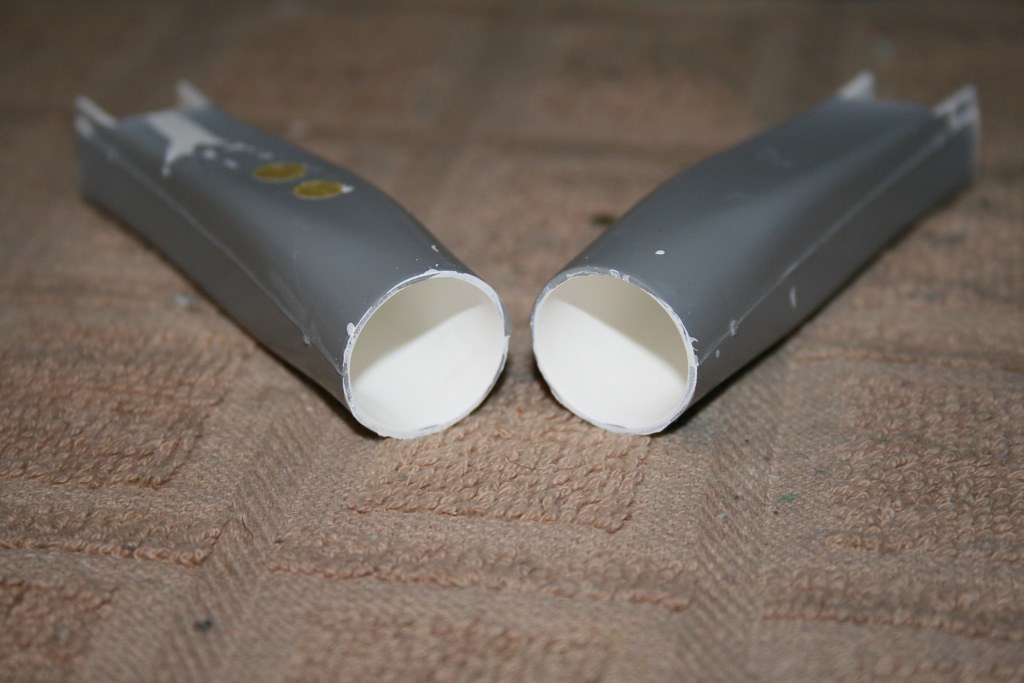
I used the dump & pour method (twice) to paint the intakes white:
They are about as flawless as I could make them. I am really happy with how they turned out.
Hi, Fly-n-Hi. I’ll be ordering some Eduard decals and accessories, never have yet. Is there a US distributor? I’d appreciate a name and site # if so. Thanks in advance.
I’m not sure who the US distributor is. To be honest, I bought most of what you see above from eBay. I think I got the cockpit from Sprue Brothers. That might be the best place to start.
Very nice Flyin. I do appreciate an epic Eagle build. I’m curious to see the fit of the aires cockpit. As far as the kit goes, it’s pretty old, so Hasegawa was still learning.
Thanks, Nathan! I’m gonna put some effort into this one. I figure every modeler who builds jets needs at least one F-15C on his shelf.
Thanks Tomcat!
Here’s an update…
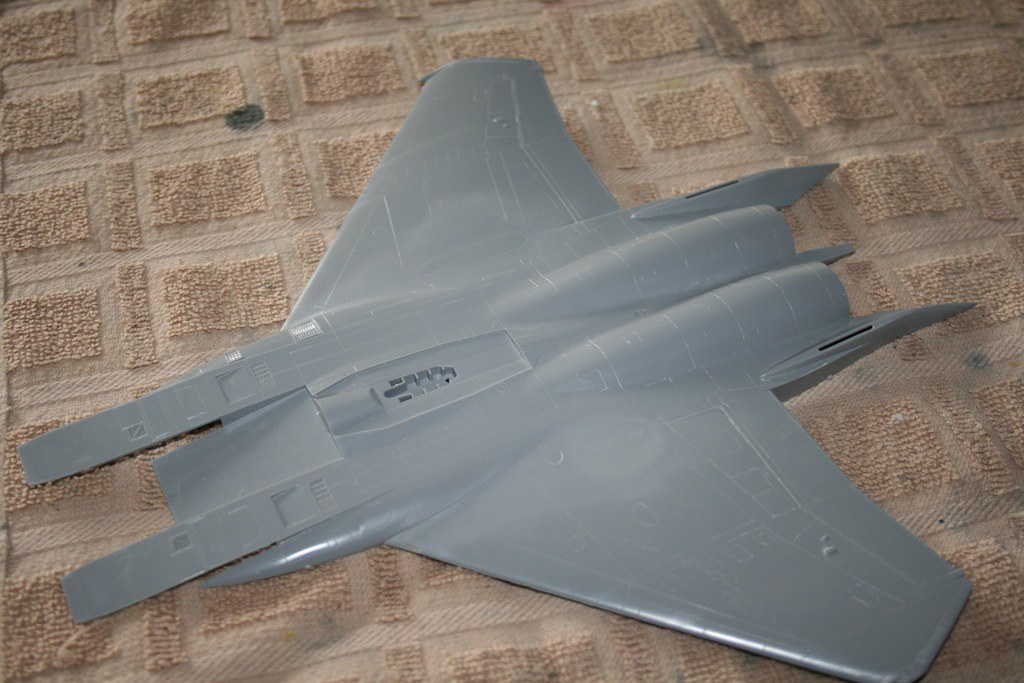
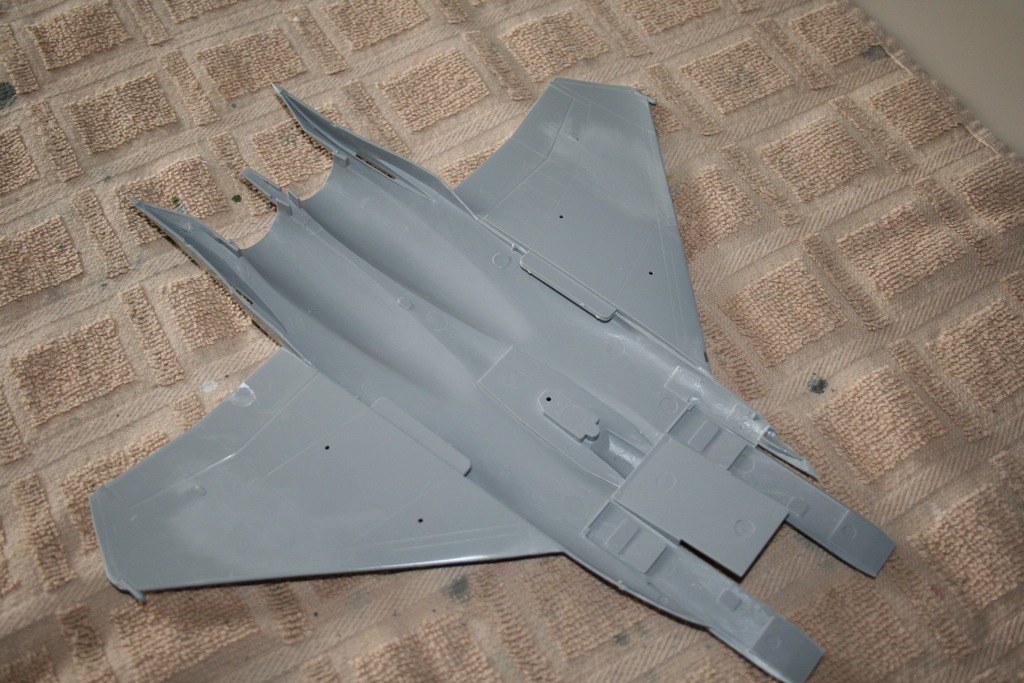
I decided to glue the upper half of the wings to the upper half of the fuselage. The instructions say to glue the wing halves together and then attach those to the assembled fuselage. I figured I would have more control dealing with the difficult seam where the wings join the fuselage.
I was able to clean up the seams really well but there was one small area where I used CA glue to fill in an area where I created a little valley from sanding the seam on the right wing. I will also have to re scribe some lost panel lines:
This worked out really well I thought. After I attached these I attached to lower wing parts. I’ll have to fill the seam where the lower wing parts meet the lower fuselage but that seam doesn’t need to be “seamless” like the upper parts do.
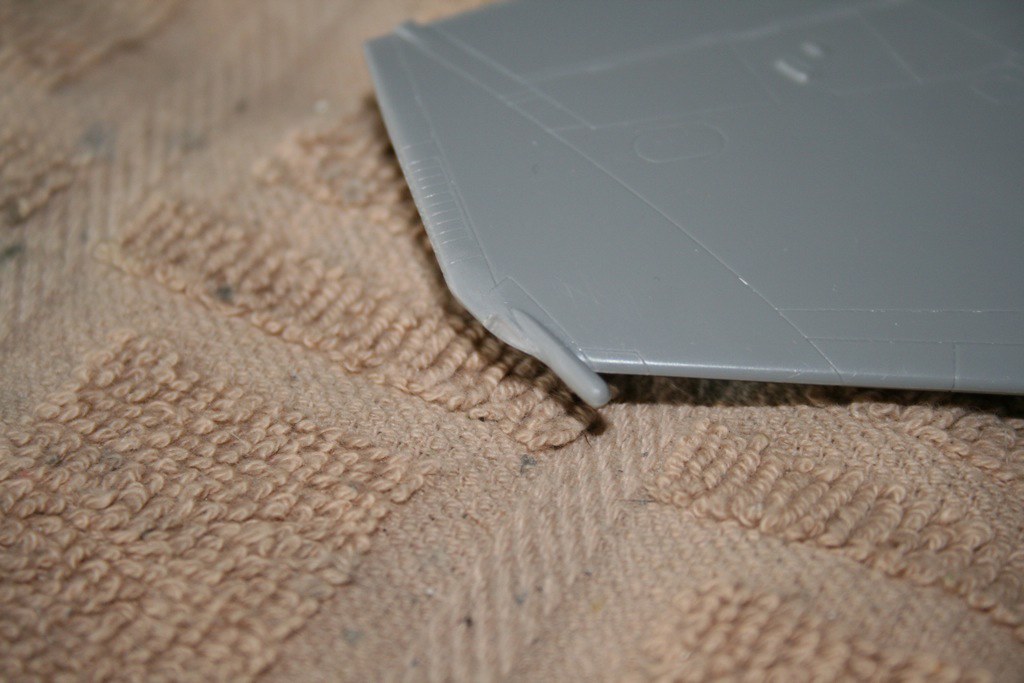
I also carved out the nav and position lights, inserted a clear sprue block and sanded them flush with the wings (like I did with my F-15E build last year). They’re a little tough to see:
Here I’m trying to hold the wings up against a lit background to enhance the effect:
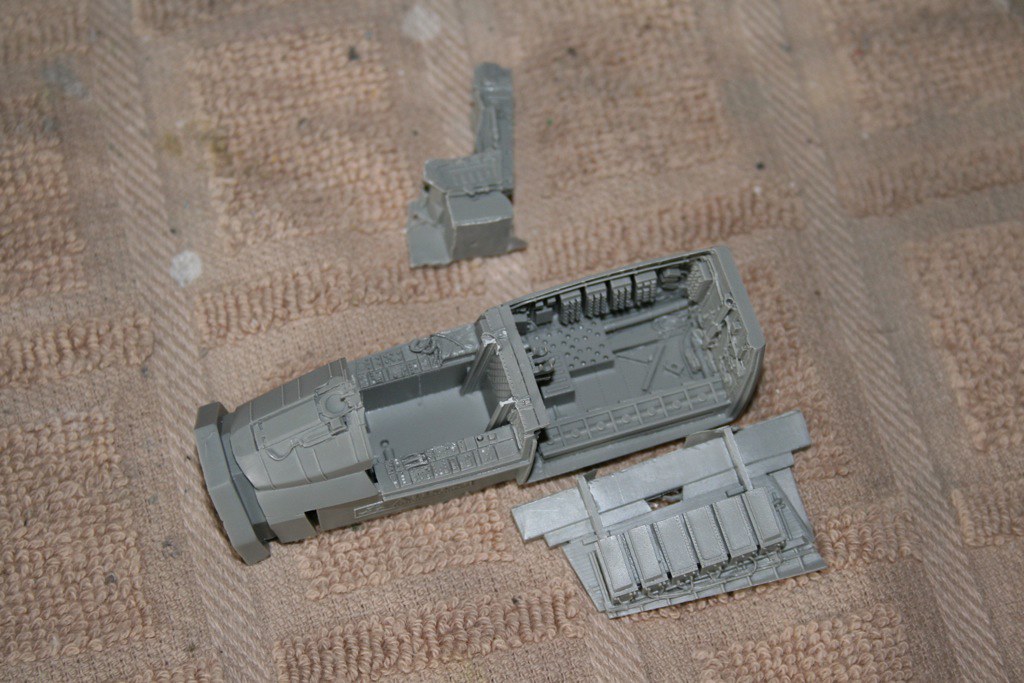
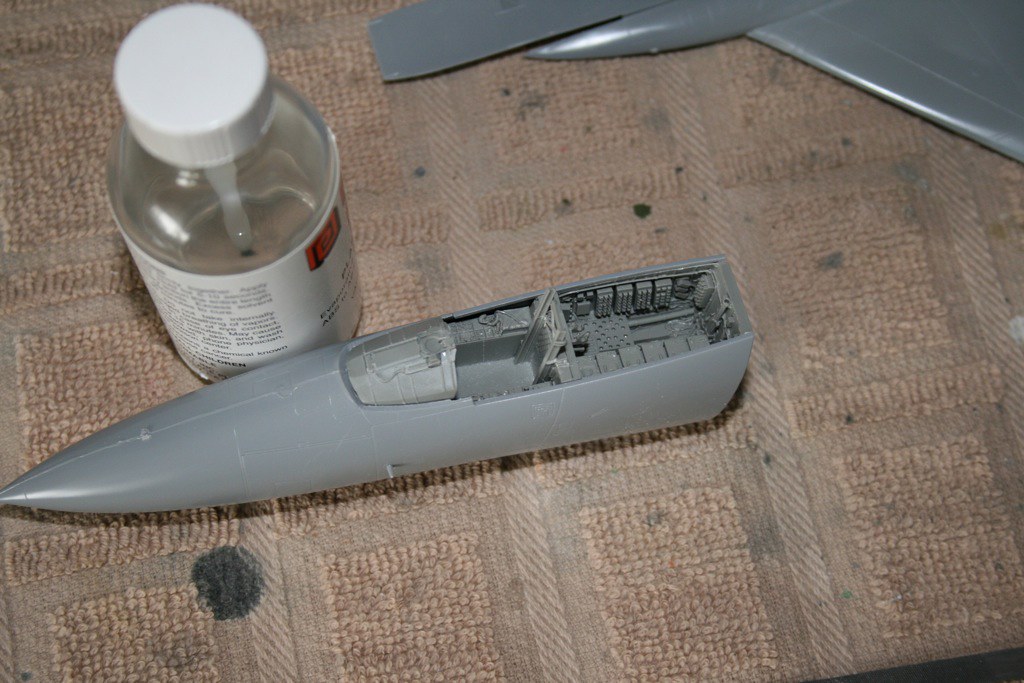
Here’s the forward fuselage assembled. I have to cut out the instrument shroud/glare shield so that the resin part will fit. I drilled out several holes around the edge to make it easier to remove:
I removed all of the resin parts from their casting blocks and test fitted them. It was almost a perfect fit. I only needed to to some sanding around the glare shield and that was it.
This was probably the closest to being “drop in” as I’ve seen with resin cockpits.
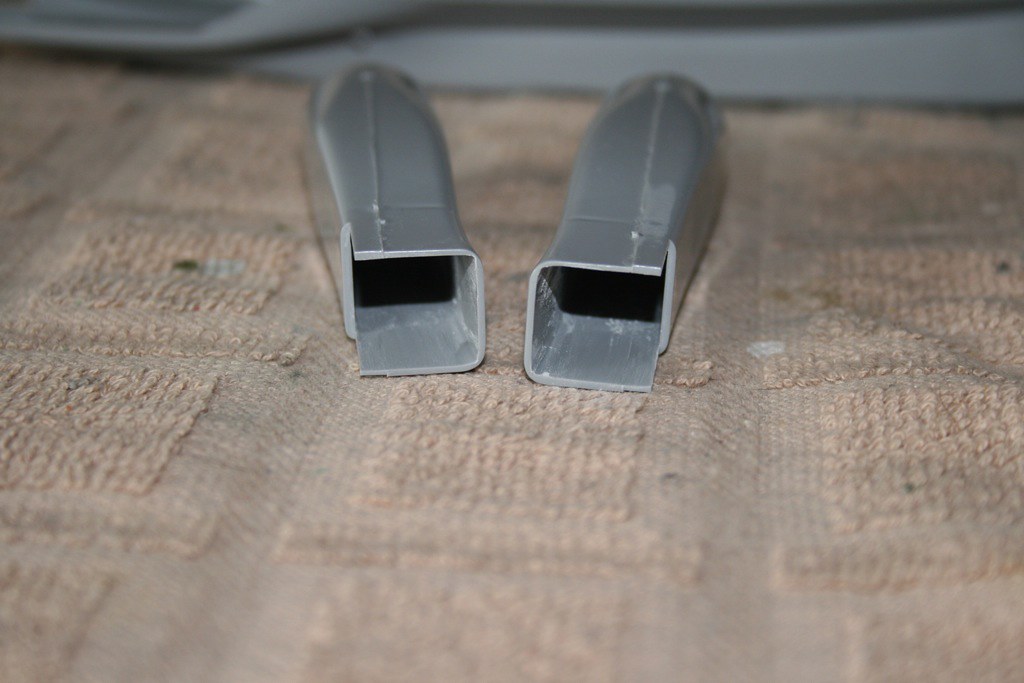
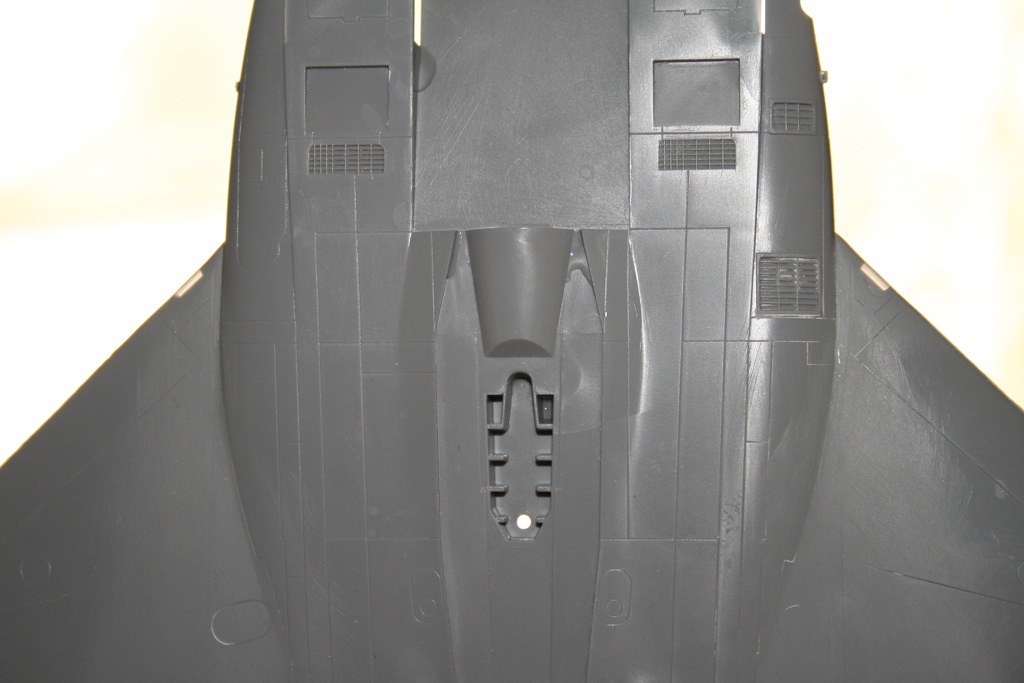
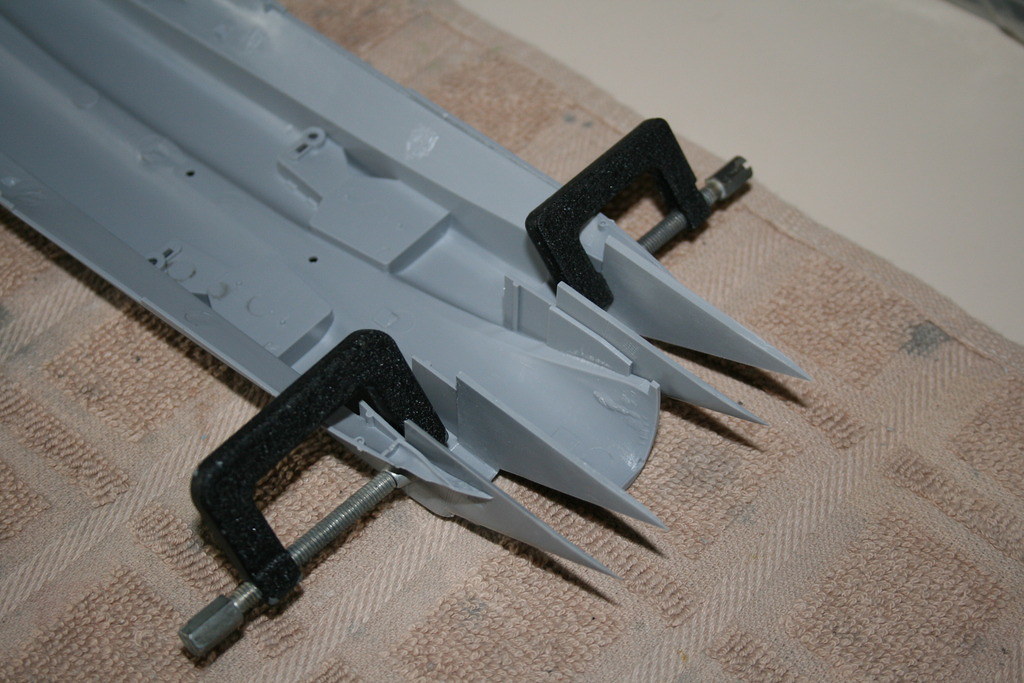
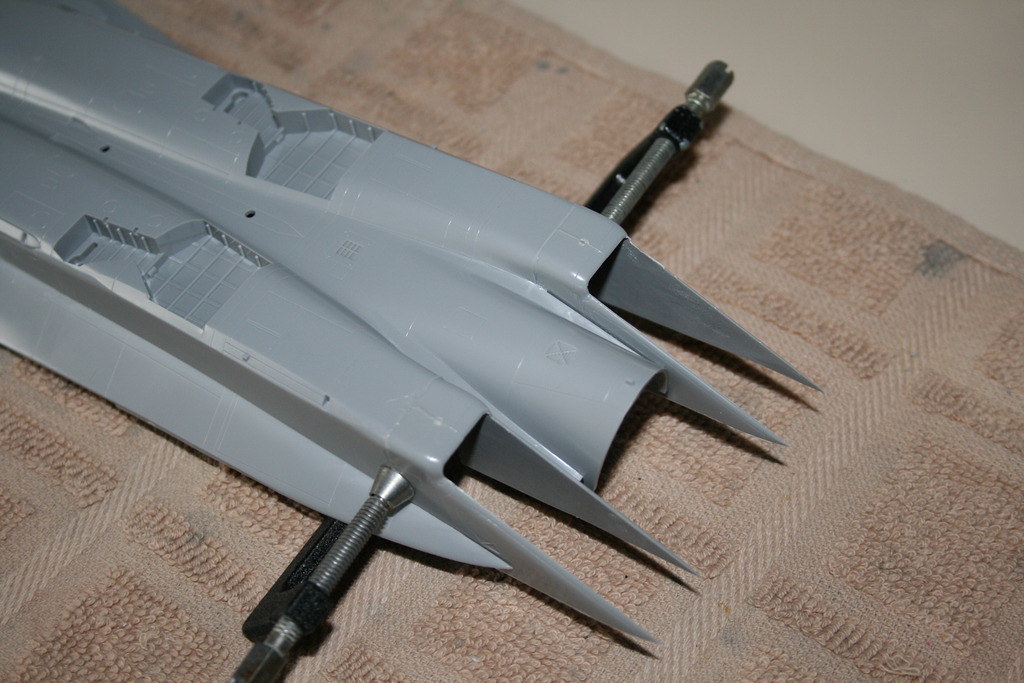
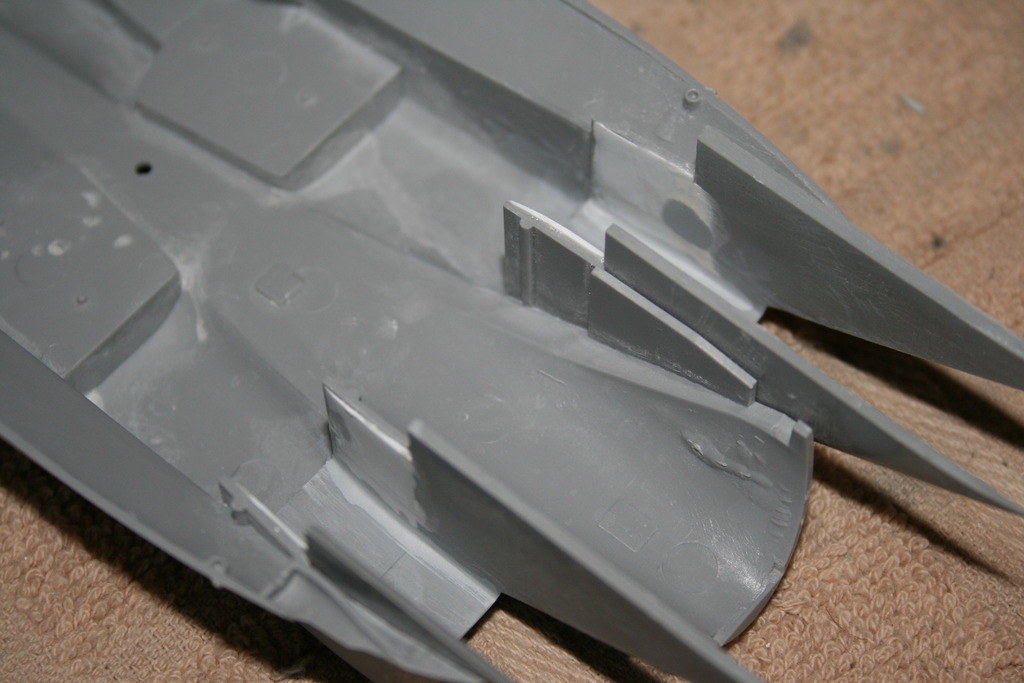
I’m really going to make an effort to make these intakes as seamless as I can. I attached the intakes with a generous amount of welding cement. They needed some help with C clamps to join as flush as possible. The fit wasn’t terribly great. It wasn’t horrible but I could see it was gonna take some work.
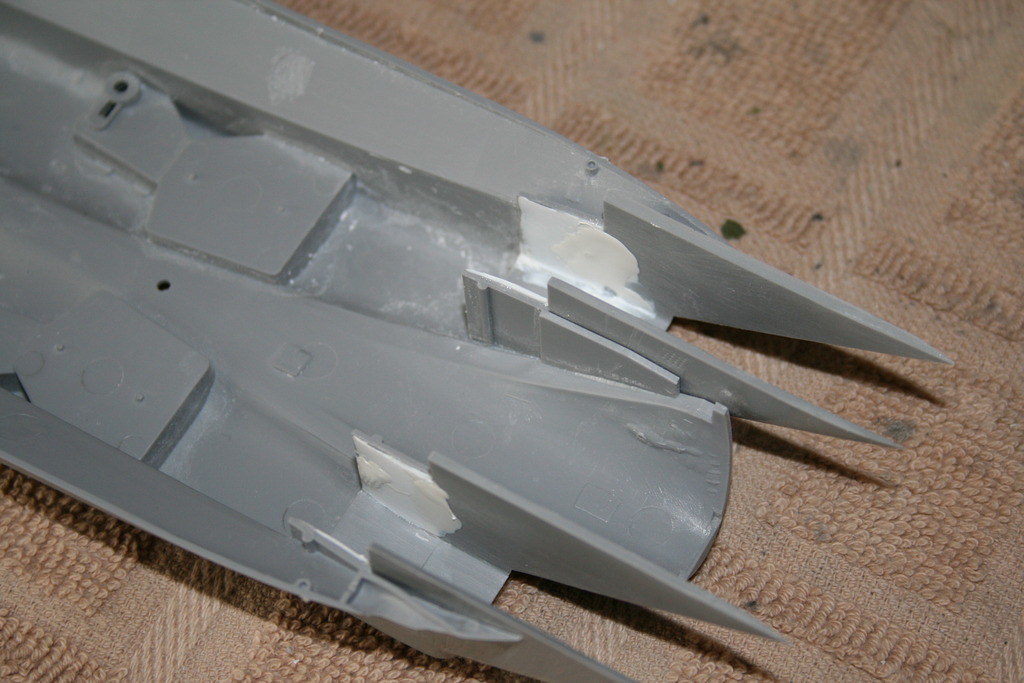
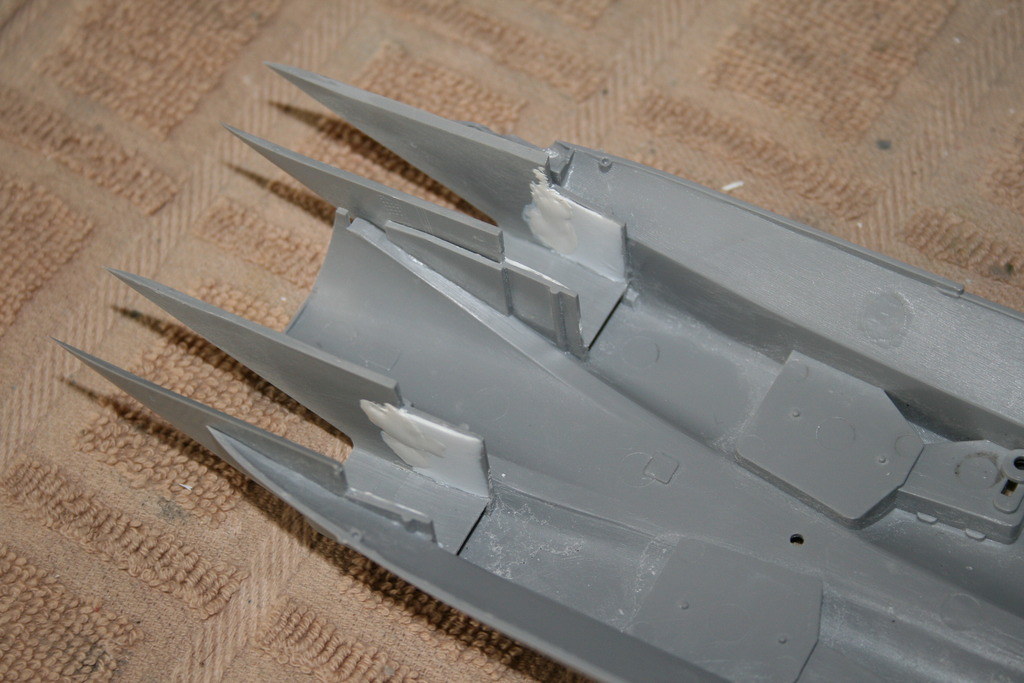
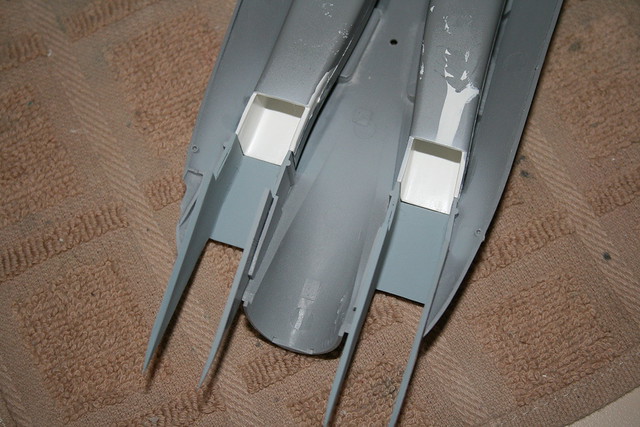
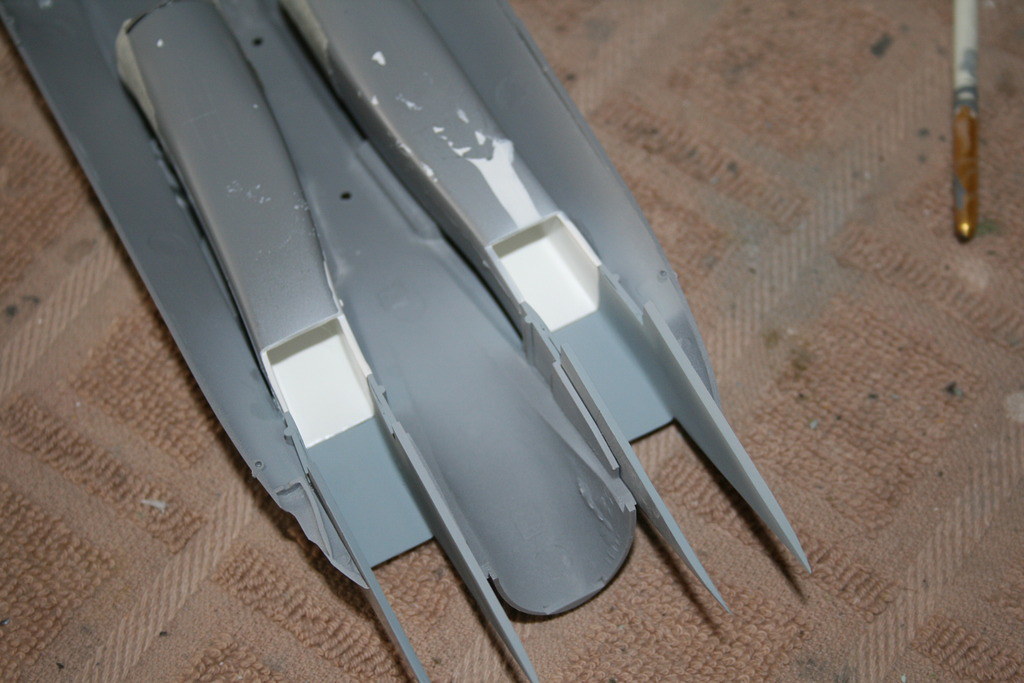
There ended up being a bit of a step just aft of where the intakes attached to the main part. I cut out some styrene sheets, glued them in and covered of the joints with Tamiya White Putty:
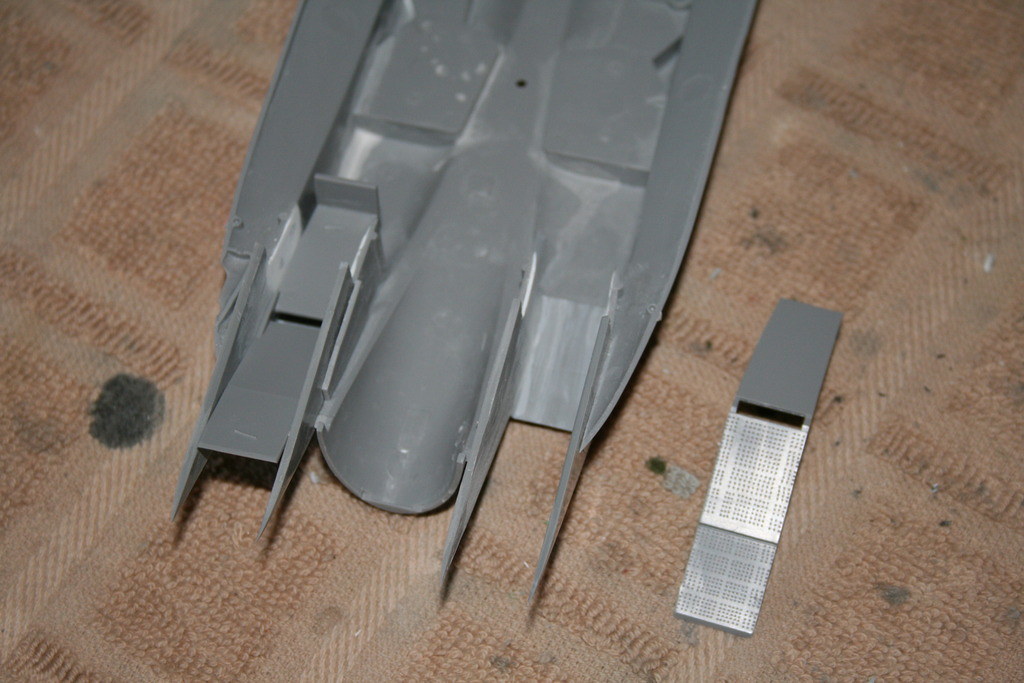
Even after the putty I needed a little Mr Surfacer 1000:. I also applied it along the bottom where the 90 degree angles are
After I got those finished up it occurred to me that the parts that go inside the intake (the parts that direct airflow) may not fit with the added styrene. They didn’t. So I needed to sand their sides down just a bit to make sure they would fit. I’m glad I though of this before I glued them to the upper fuselage part!
Here’s the completed lower part after adding Light Ghost Grey. It turns out great because in real life the white part of the intake starts about 6 feet deep:
This ended up being a good amount of work but it was worth every minute.
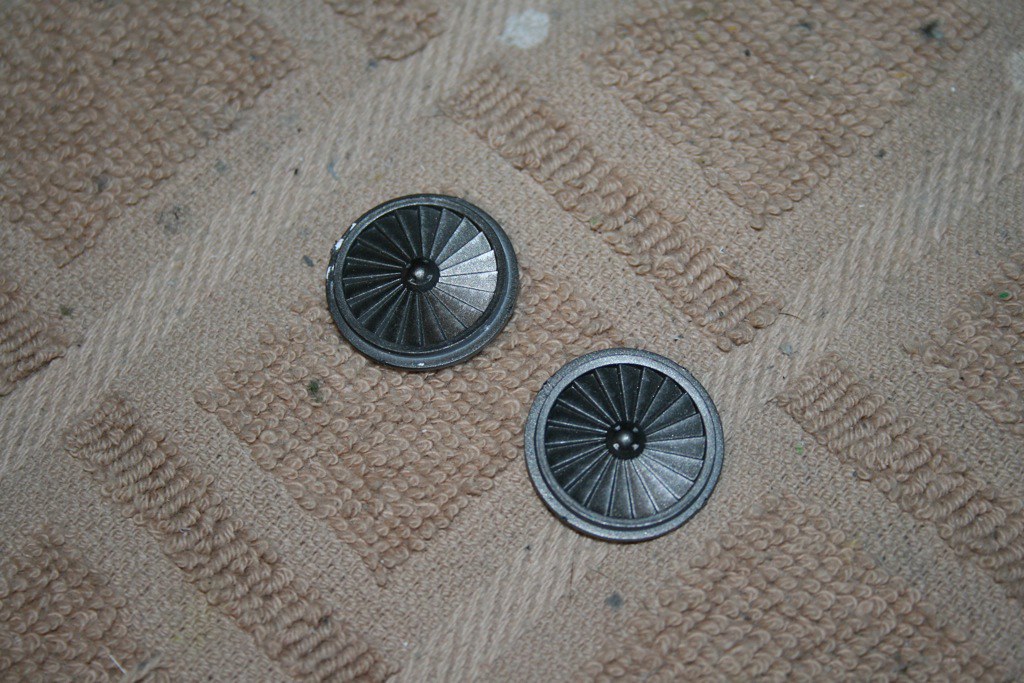
Here are the compressor fans painted Alclad II Steel and dry brushed with silver:
This is fantastic. =] I used to rush to get the painting parts, but nowadays I’m more enthralled with the actual construction…especially parts that add depth or are normally hard to see. I can’t wait to see what comes next.
Thanks bvallot! The F-22 is looking really good I think…or at least I’m pretty happy with it. I just masked off the resin exhaust nozzles and painted the position lights that go in the wings. I can give the landing gear a wash while I wait for the decals…which may take up to 8 weeks to arrive…but that’s about it for now.
After I finish the resin exhausts I’ll post some pics. Otherwise, I the next step is the weathering and I can’t do that until I put a satin coat on it, and I can’t do that until I get the new decals.
My next F-15C update will be the cockpit. So far its turning out pretty good! I think you all will like it. I’ve also cut out the ailerons like I did on the F-15E.
I am enjoying following this thread. I still like the look of the F-15. Jet models look so much better with the intakes open imo. I hope you will post a picture looking down the intakes when the model is finished. Show off that hard work. looking forward to the pit pictures. knox