Even without those additions, the fighter looks awesome! Superb job.
Toshi
Even without those additions, the fighter looks awesome! Superb job.
Toshi
Looks awesome. Perhaps try painting in the stripes next time. Then there’s no worry about the decals matching up on bottom. Thanks for sharing. Joe
The first 5 or 6 planes I’ve done were put gear up and attached to a wooden base I cut and stained and set up with a brass rod. I really like seeing these old planes back “up and flying.” I’m not aware if you normally do your bases this way, but I can throw you some links if you’re interested in seeing something different.
I started working on shaping the brass rod and the plaque last night. I hope to start staining it tonight and maybe even put a shine to the brass rod.
I would definitely be interested in the links bvallot. I am always interested in seeing what else can be done.
No problem. =]
I’m hoping it takes you to the page and not just the beginning…
http://cs.finescale.com/fsm/modeling_subjects/f/2/t/158668.aspx?sort=ASC&pi240=7
http://cs.finescale.com/fsm/modeling_subjects/f/2/t/155345.aspx?sort=ASC&pi240=4
http://cs.finescale.com/fsm/modeling_subjects/f/2/t/157735.aspx?sort=ASC&pi240=4
http://cs.finescale.com/fsm/modeling_subjects/f/2/t/154882.aspx?sort=ASC&pi240=4
That last one also has two others on it that I never posted on here. It was before I was on the forum. Well, the corsair I started but never finished posting is what I think happened. It’s all pretty much the same format. A brass rod that I’ve bent into the shape I want, a brass tube that accepts it into the plane, and the same for the base. The tube also helps to lend itself at providing a step and moves the eye around. Lifts it up a bit! =] I mostly arrived at this by looking for something minimal so as not to distract from the plane itself. I didn’t want a big clunky piece coming straight up out of the base. I think this is a bit more graceful.
Hope that helps.
Ah well. It just jumps you to the first page. Oh well. The pictures are usually the second to last page or so in each thread.
Preparing for the final push. The base is being as it will look. just need to shine the brass rod and fit the plane to the wood dowel.
She looks about ready to take that masking off the canopy. I love and fear that moment. =P
…and I shall call this DONE! Even with the mistakes that I think I can see, I still consider this one of my best builds. Now for a bit of a rest, and then on to my Revel Mig-21 challenge against a co-worker. Enjoy. 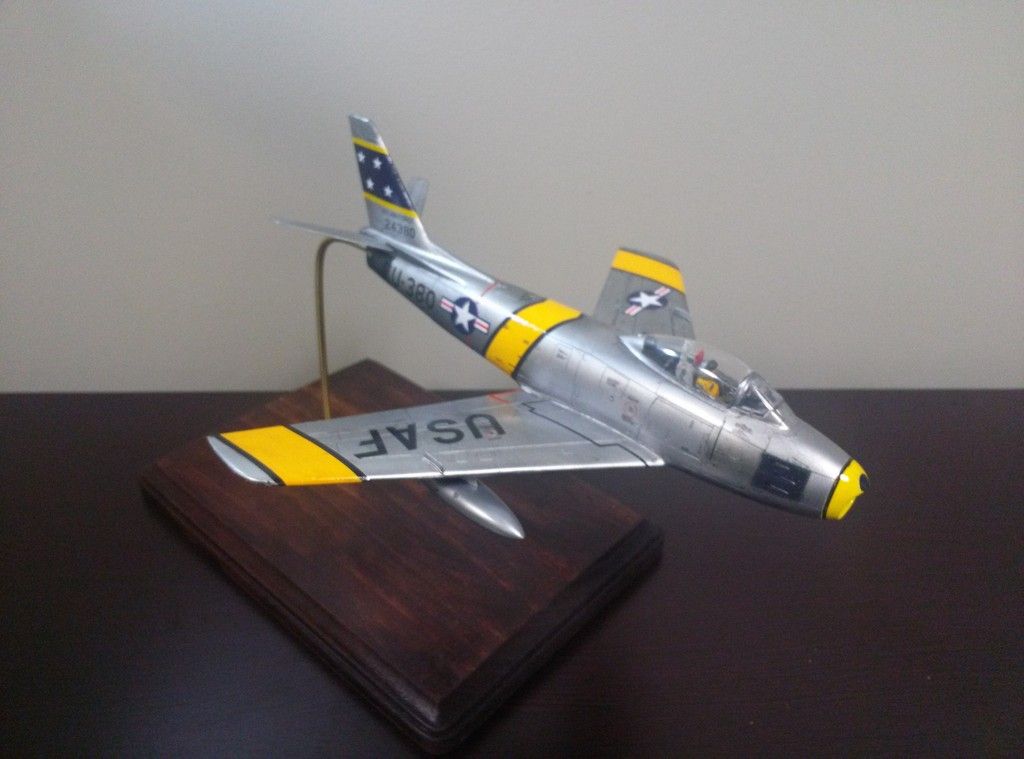
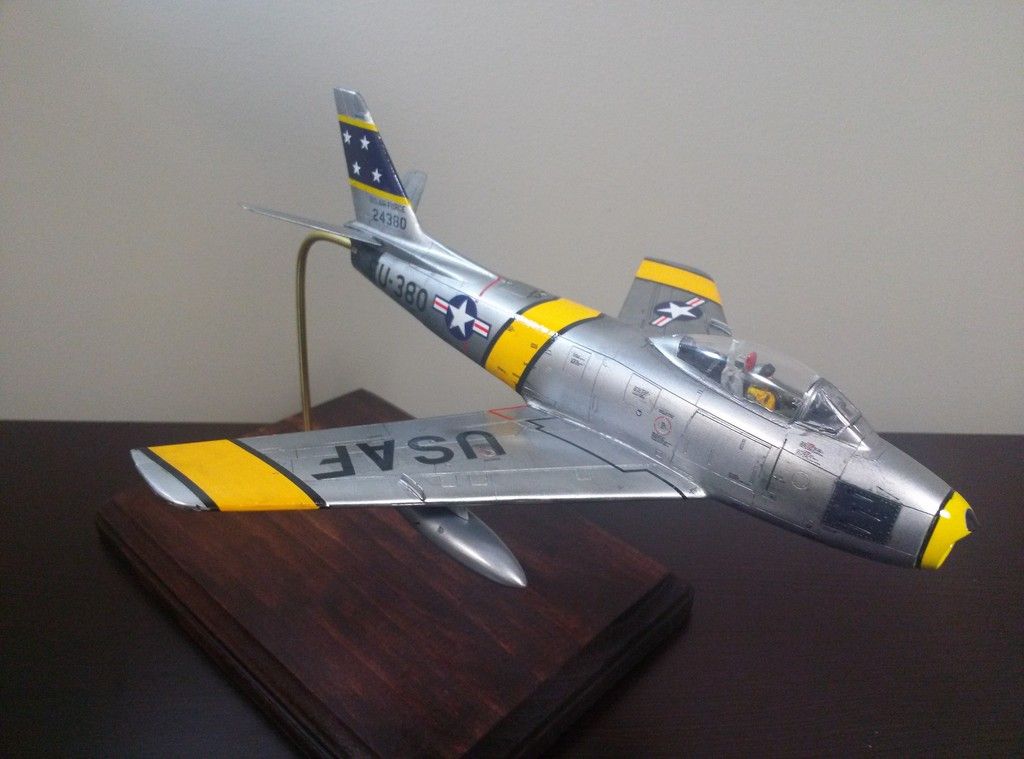
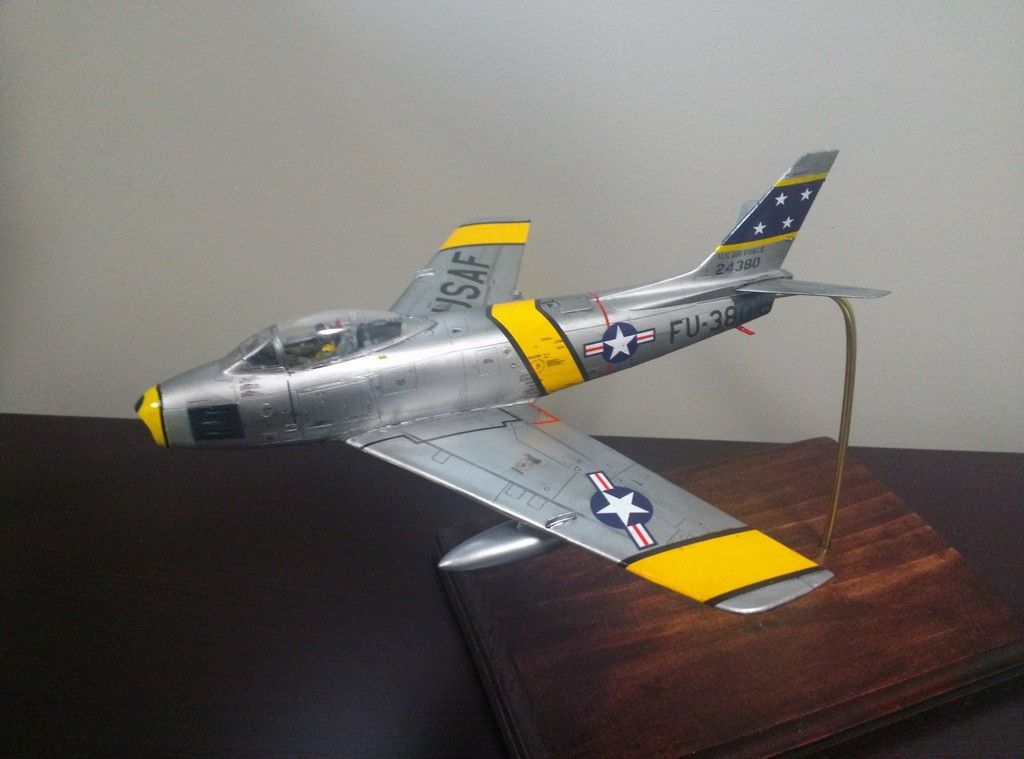
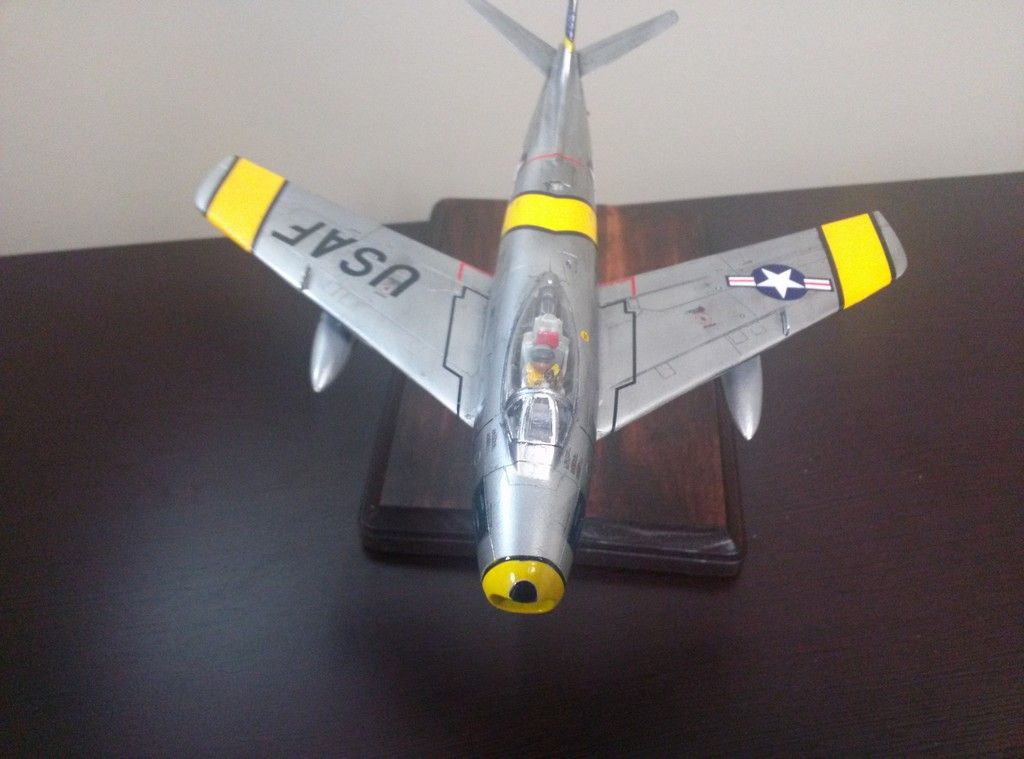
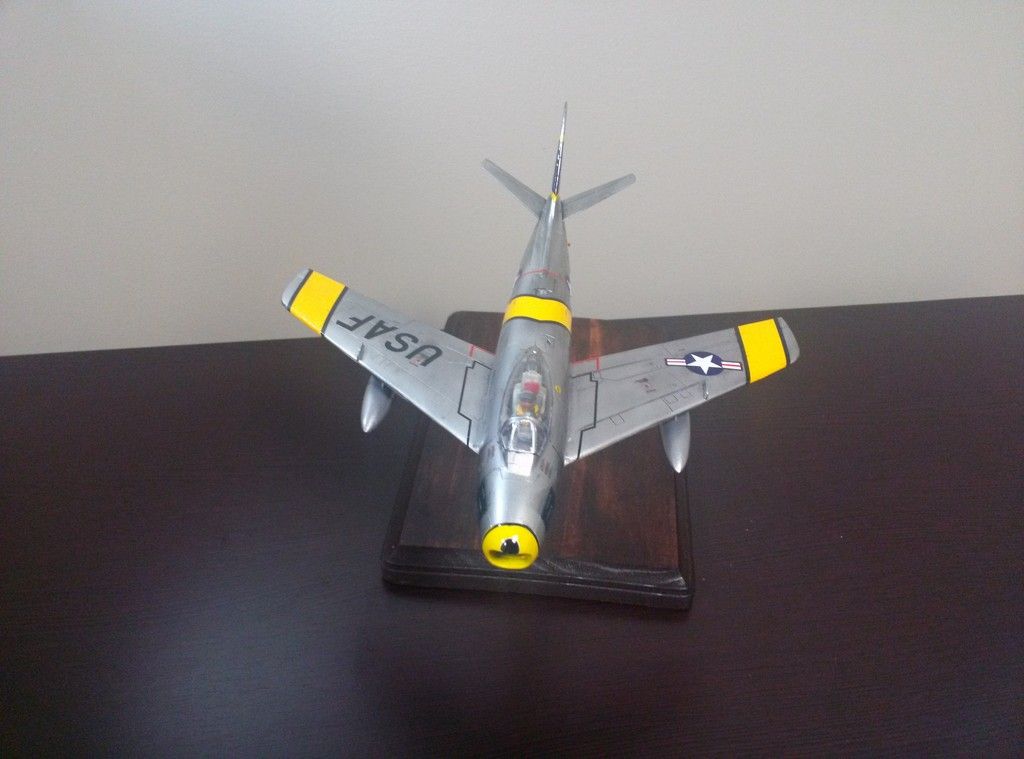
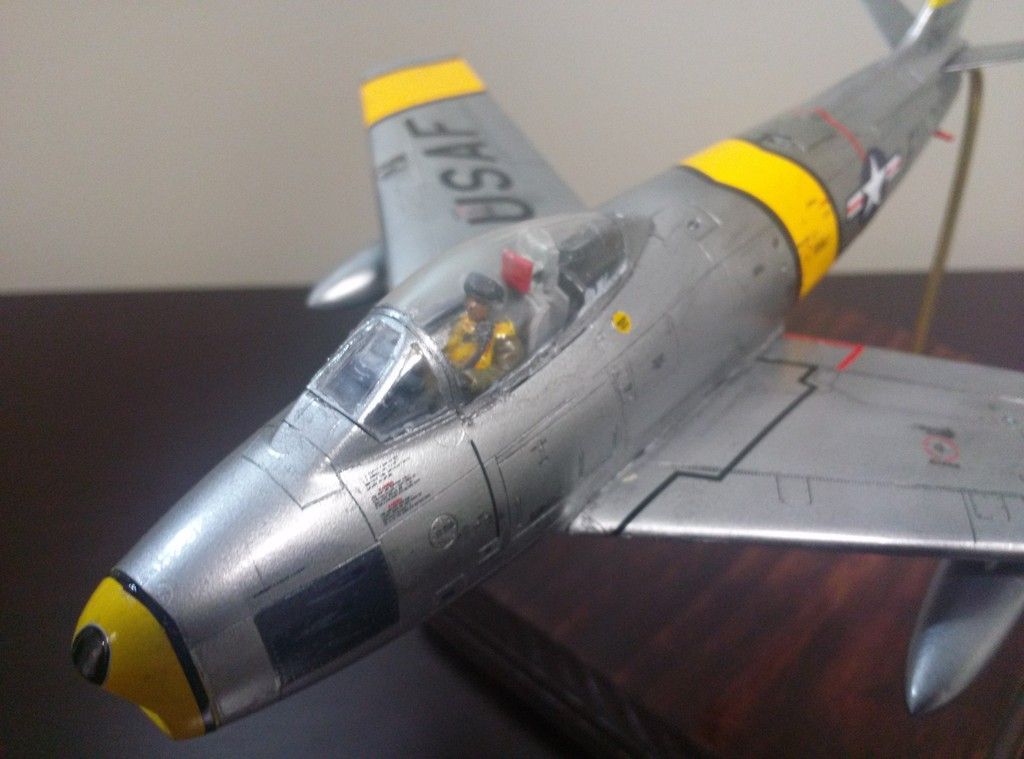
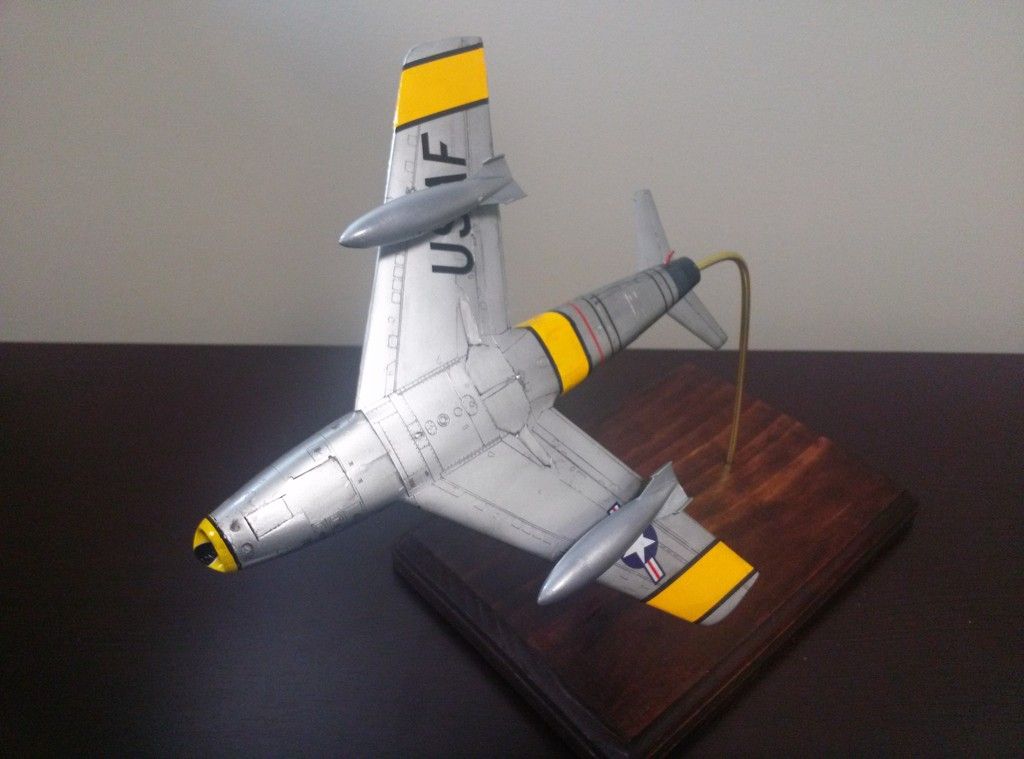
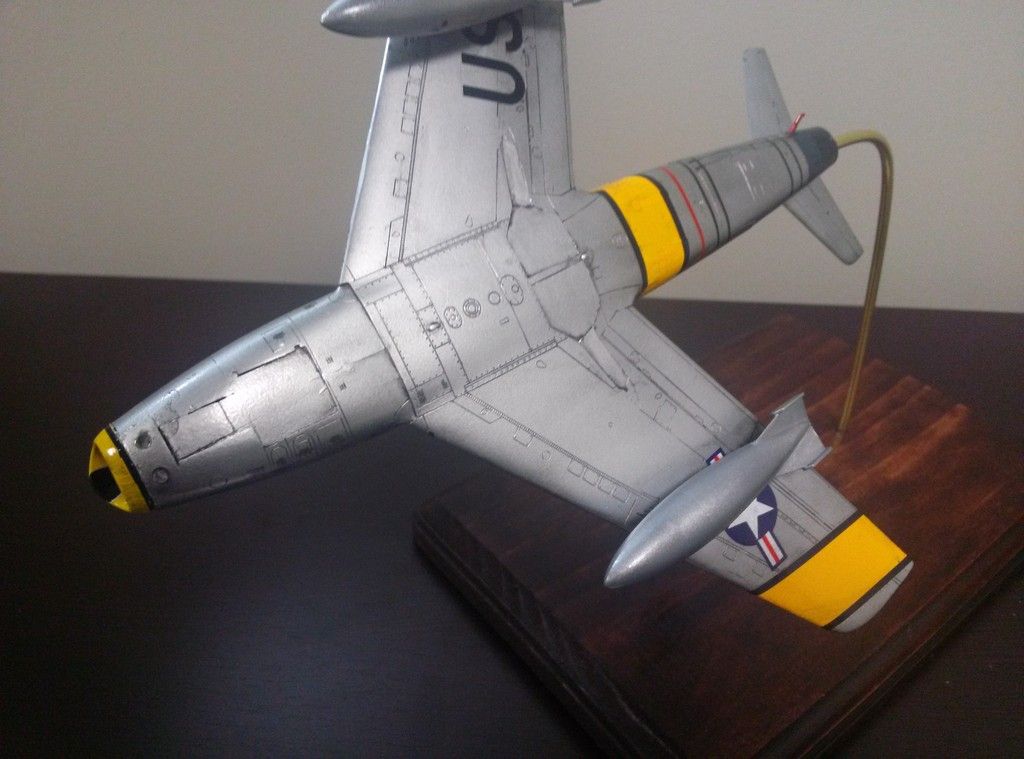
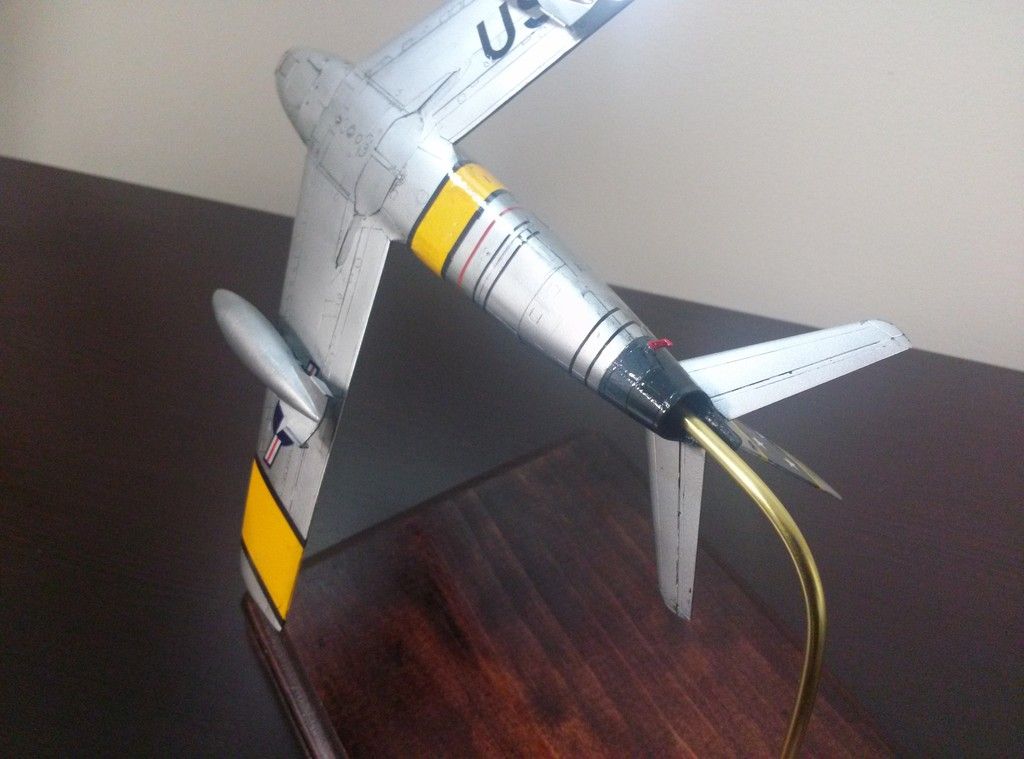
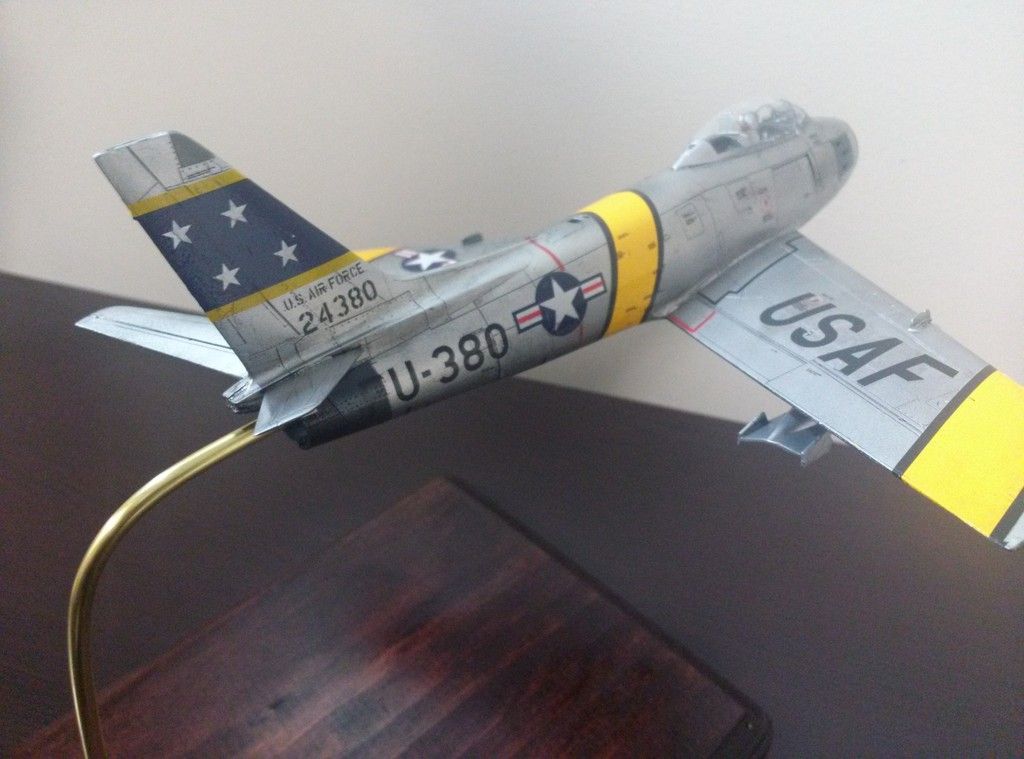
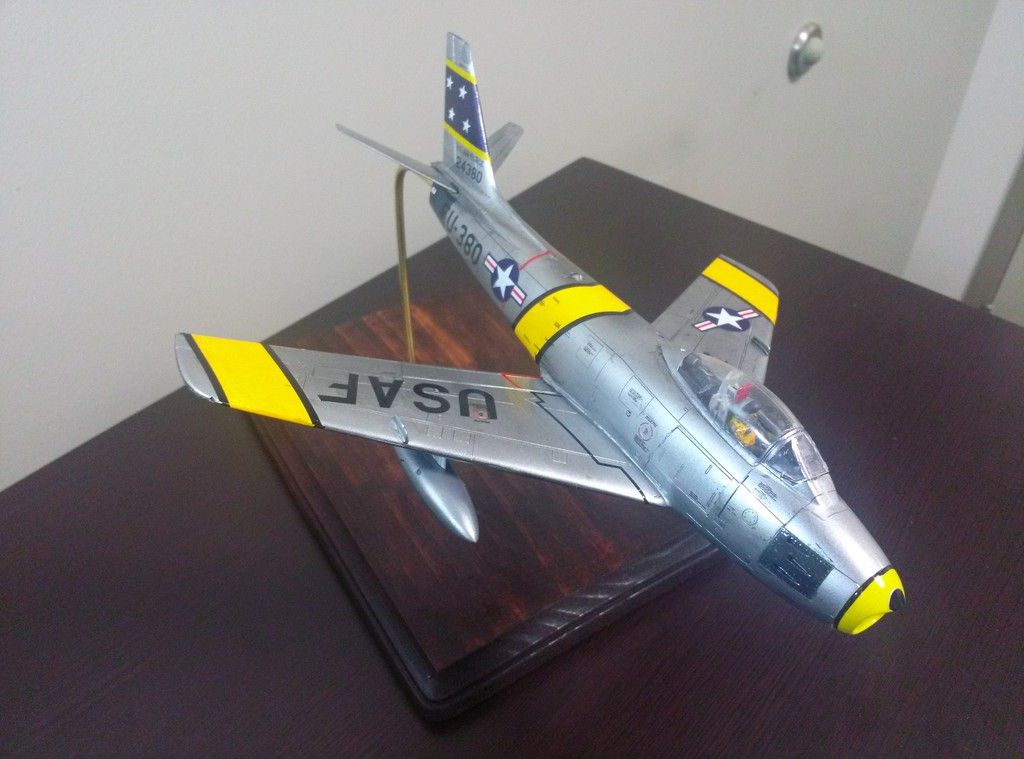
OH MY That came out beautifully !!!
I’m gonna use your posts as a referance for my F-86 and I thank you so much for posting all this… keeping my fingers crossed hoping mine comes out near as good.
Thanks. Let me know if you need anything, I would be glad to help.
Nice to see your hard work pay off. =]
Looks fantastic to me, after all the problems I love the results!
Great job, Mustang!!
I agree, she looks fine man! [:D[
Gary
I used Testor’s Acrylic Wash on my F-84. It is a bit tricky to use though. I found that removing the wash immediately after application works best. I removed it with a paper towel wad moistened with acrylic thinner. If I allowed the wash to dry completely it was very difficult to remove. The model in the pictures was painted with Testors; Metalizer Aluminum Plate and Stainless Steel with Testors; Metalizer Sealer. I buffed the ALuminum Plate before applying the Sealer.  This photo is a better representation of how the panel lines really look. I do not like really dark panel lines.
DANG IT! I completely forgot about the Testor’s washes. I will have to give those a test in the future.
If you use Testors’ washes make sure that you heed my warning. Do not follow Testors’ instructions to allow the wash to dry completely. If you do that it will be virtually impossible to remove the wash.