So I just got started on the Academy F-14A Bombcat, despite the reviews Ive read about it taking some serious work on fit/fill/sand… looking for anyone that has built the kit that can offer any advice and avoiding unforseen pitfalls or challenges.
Right now, what I’m specifically wondering regards painting the wings. I want to ultimately display it with the wings extended, I’m curious about painting them- would I be better off painting them in advance of install or does it not make much of a difference… its the first time I’ve done a kit where the wings come OUT of the fuselage as opposed to being 1 piece or attached.
As usual, any advice would be GREATLY appreciated!
I’m currently building the same kit and if you want the wings to swing, it might be a good idea to paint them before you assemble the rest of the kit. They’ll be somewhat hard to paint once installed since part of the wing is covered even when it is swung out. The disadvantage to this is of course, is there’s going to be lots of sanding after you install the wings which could damage the paint. And then you’ve got to mask the wings to paint the rest of the plane.
If you plan to weather the bird, the above may not matter all that much. The weathering could cover the separate painting you’d need to do with the wings installed.
However, what I’d really recommend, is to skip the whole swing wing bit, cut off the swing gear stuff and just install the painted wings after you completed the sanding and painting of the rest of the plane. Its what I’m doing with mine. It’ll be an all around easier thing to do.
Thats what I was starting to think, I have no intention of swinging them one complete, I would be perfectly happy to glue them in the open position, have you cut the swing mechanism off yet? just curious what difficulties there may be in gluing them (where to glue to create a strong bond)
Whether or not I want the wings to swing I always paint the wings in their base colors first.
If I want the wings to swing, I’ll decal and weather them, then mask them with paper masks while I assemble and paint the rest of the kit.
If I don’t want them to swing, I still paint them separately, but cut off the intermesh gears and notch the pivot hinges so that I can slip the wings after assembling and painting the fuselage. Cutting off the gears also allows you to pose the wings in the 72 deg oversweep position they normally use when parked on the deck.
I built Academy’s -A boxing for a Tomcat group build a couple of years back. I had a lot of problems with the fit of the cockpit tub and the three fuse pieces. I don’t know if the Bombcat is engineered the same way, but if it is, you can see the problem I ran into and what I had to do to fix it here. As far as the wings go, I cut off the gears and “notched” the wings at the pivot point so I could insert them in the completed fuse after painting.
Yeh but freezing the wings kind of takes all the fun out of the kit. I haven’t done this one, But I have done at least half a dozen Revell and Monogram kits of this bird. I always paint the wings first. I will do a bit of weathering before I put them in. Masking is a an easy chore for the results you can get. If you take your time, you can get a great result AND keep the wings swinging. If you just want straight wings, just get an F15. Those are fun to do as well. One thing on the F14 which goes for all swing wing kits which work, do NOT paint the gears themselves. Mask them. On some of the kits, they are very precise and too much paint can cause them to lock up. Also put on some vaseline jelly to lube up the gears before putting them in. This really helps with the wing movement. Masking the wings for final painting is very simple. Kind of Skill level 1 stuff. Always remember, Plastic Sandwich bags and Magic Tape are your best friends. lol The simple way to get a perfect mask on the wings for final painting is to take a plastic sandwich bag, and cut the bottom so it is just a plastic tube. Slide it over the wing, but not as far in as the gears. This will form a protective sheath for the wing. On some kits, you need to tape 2 bags together to cover the entire area. Seal the other end of the tube with tape. When you put the wings in for final assembly, make sure the plastic bags can be pulled off once the kit is done. The plastic bag should extend into the wing root so no stray paint can get in there to jam things up.
I think there’s enough surface to bond the wing in the out position w/o any trouble, although I’m building mine in the swept back over sweep position myself.
The wings fit tightly on my kit, so I don’t think there will be any trouble if you still want to go that way.
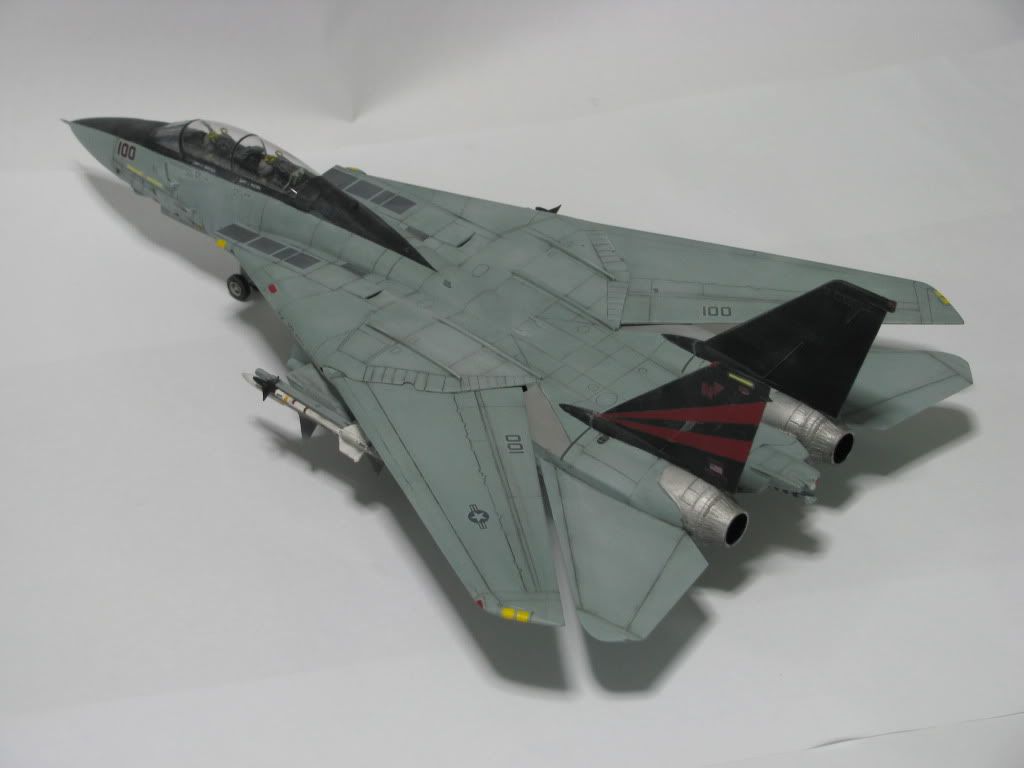
While I’m building a bunch of Tomcats for my current project, this is the only 1/48th I’m doing. I wanted the Pukin’ Dogs early markings and I’m building it clean with no stores, no Phoenix pallets, no pylons. I’ve had to tweak it some to get to an early block look and match the kit to the period the markings require.
I have to say that this kit has been both the biggest Pain in the A$$ as well as the most enjoyable… I have only been back into the hobby for a little more than 2 years and have completed 8 kits in that time (family and life= slow work) and as yet have not faced a kit that took major work… until now.
The fit of this thing is atrocious! I read reviews that said there were some fit issues but I moved ahead anyway simply because the aircraft is one of my all-time favs… the reviews didn’t lie! I am still very early on in the work but I have had to do so much work just making it fit that it has proved to be a test I enjoy!
If you are looking for a kit to test your seam filling and re-scribing skills… theis is the one for you!
In 1/48 scale, the F-14 is kind of like the P-38. There really is no kit that is anywhere near shake-and-bake. All of them have fit issues somewhere. Kind of ironic for such popular subjects.