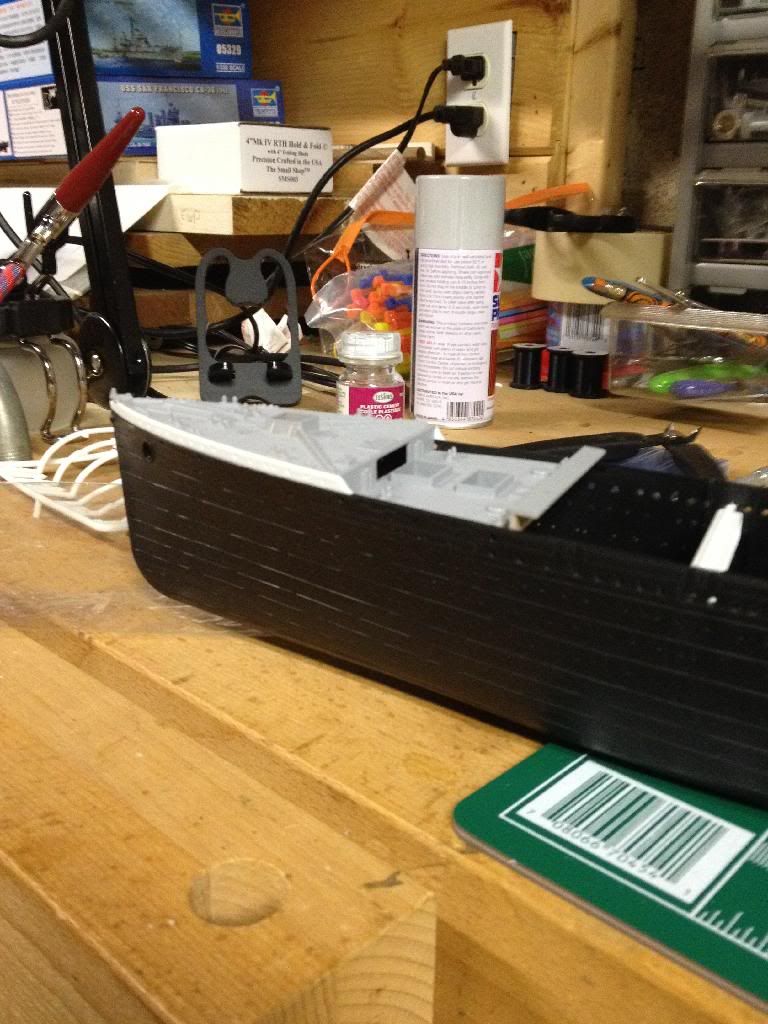
With the 1:570 [almost] done, I tried a change of pace with two tank models and a Trumpeter 1:350 Dreadnought. I kept thinking, however, that I’d rather attempt a better version of the Titanic, so I finally broke down 2 weeks ago and bought the 1:400 Academy at my LHS. The 1:350 Minicraft is the accepted standard, but I went with the Academy for two reasons:
I ordered a Minicraft a few months ago and it was in such poor shape that I sent it back to Amazon
I’d like to take my scratchbuilding skills to the next level by modifying the Academy’s fore and aft well decks, and perhaps provide the Rivet Counter tutorial with a detailed account of how their mods apply to the Academy
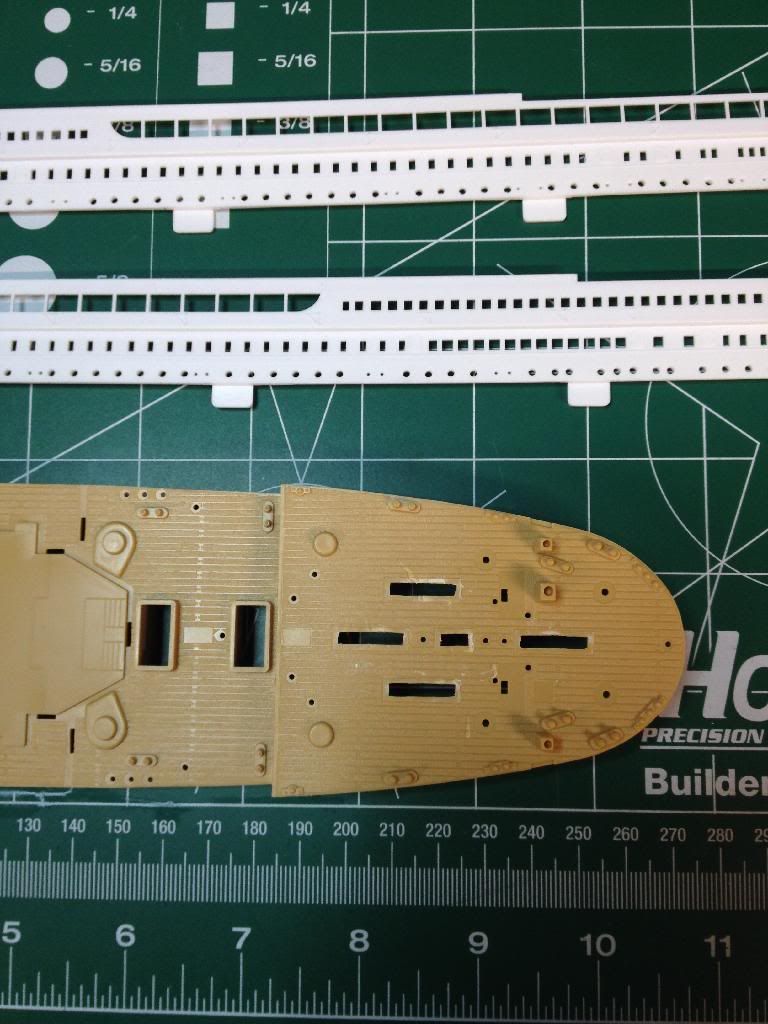
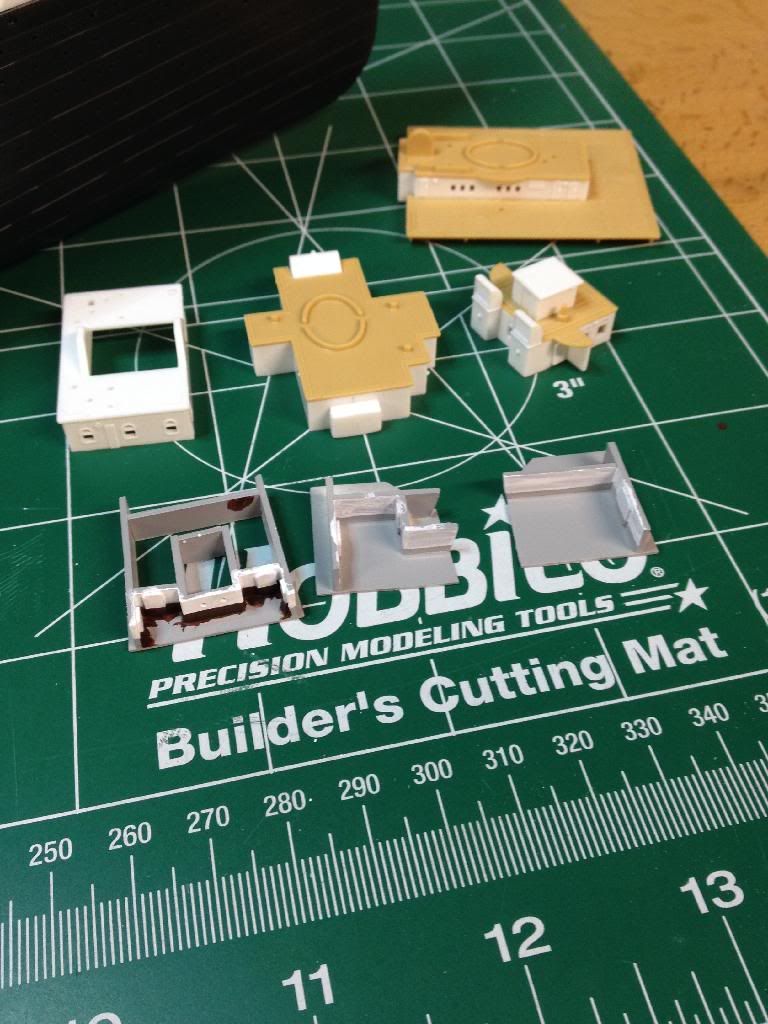
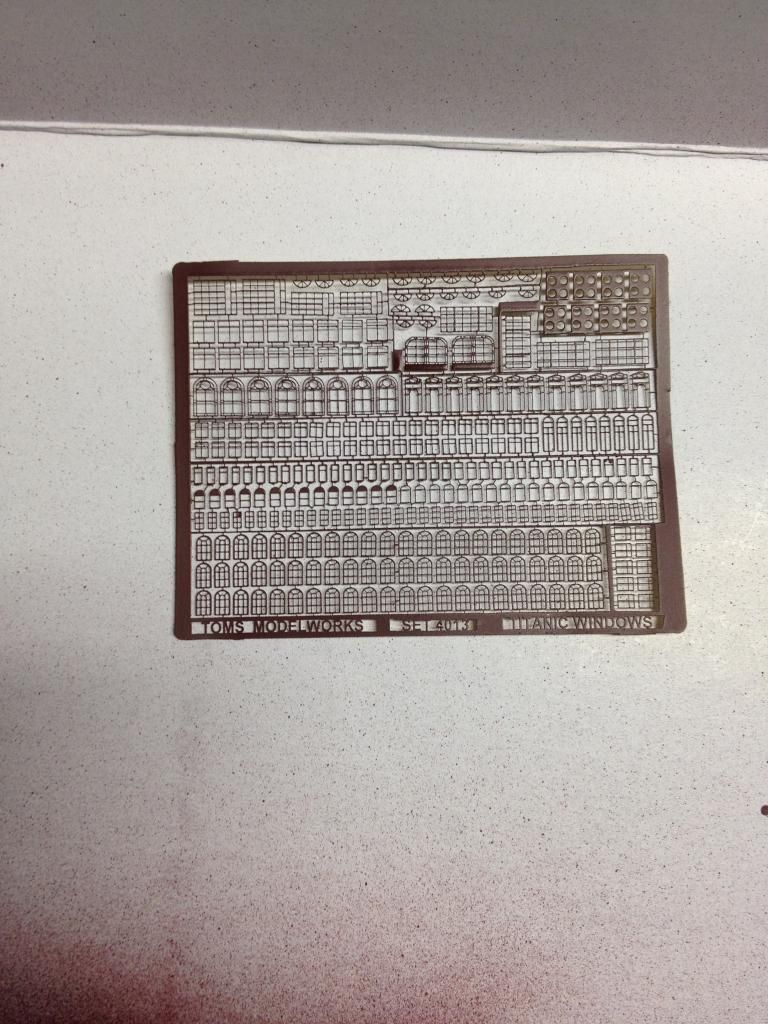
I’ve ordered the 4 Tom’s PE sets (windows, railings, details and benches), a Davits set from another supplier and a wood deck kit from Australia. In the meantime, I’ve packed up the other models and begun work on the hull and well deck mods…
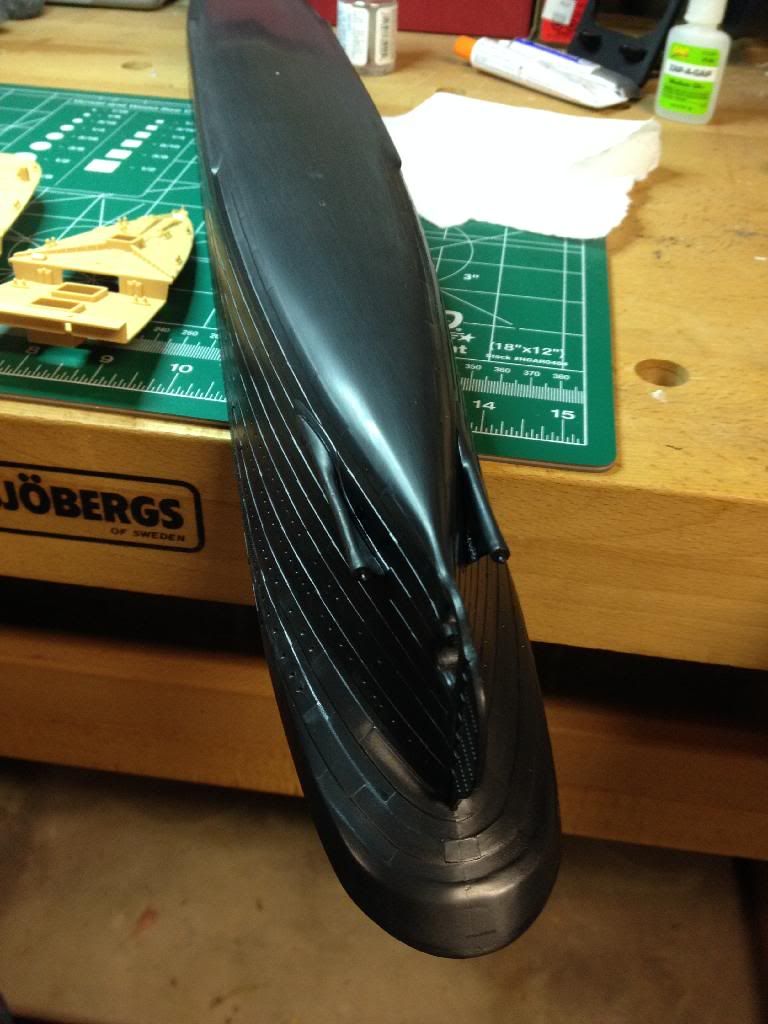
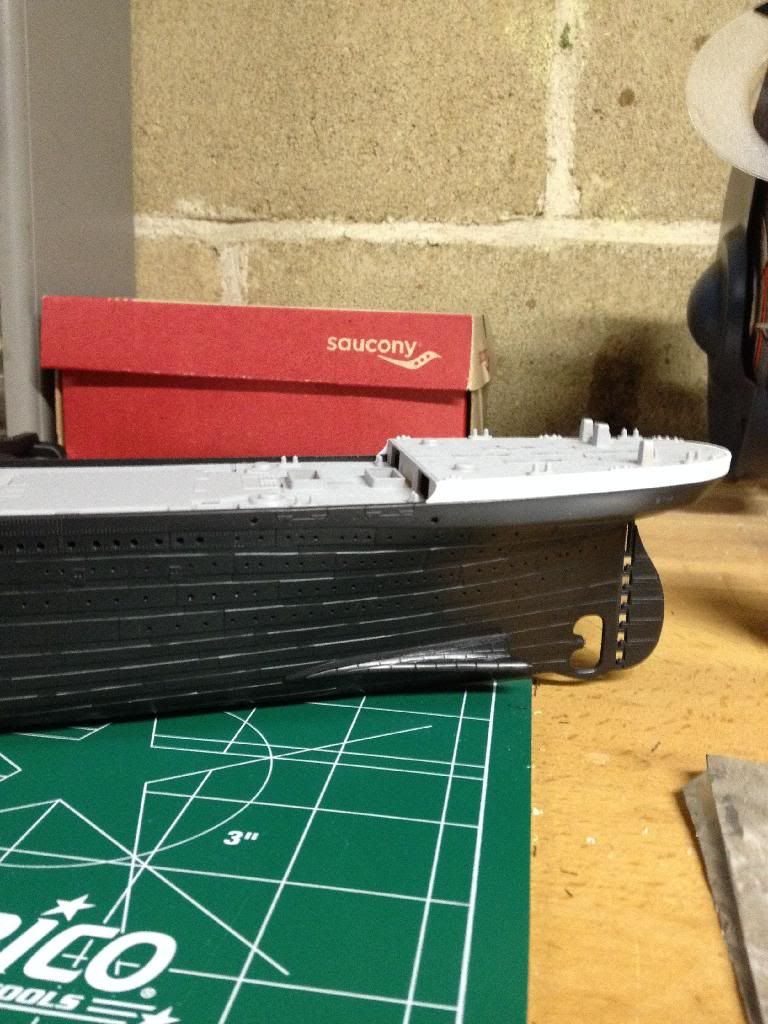
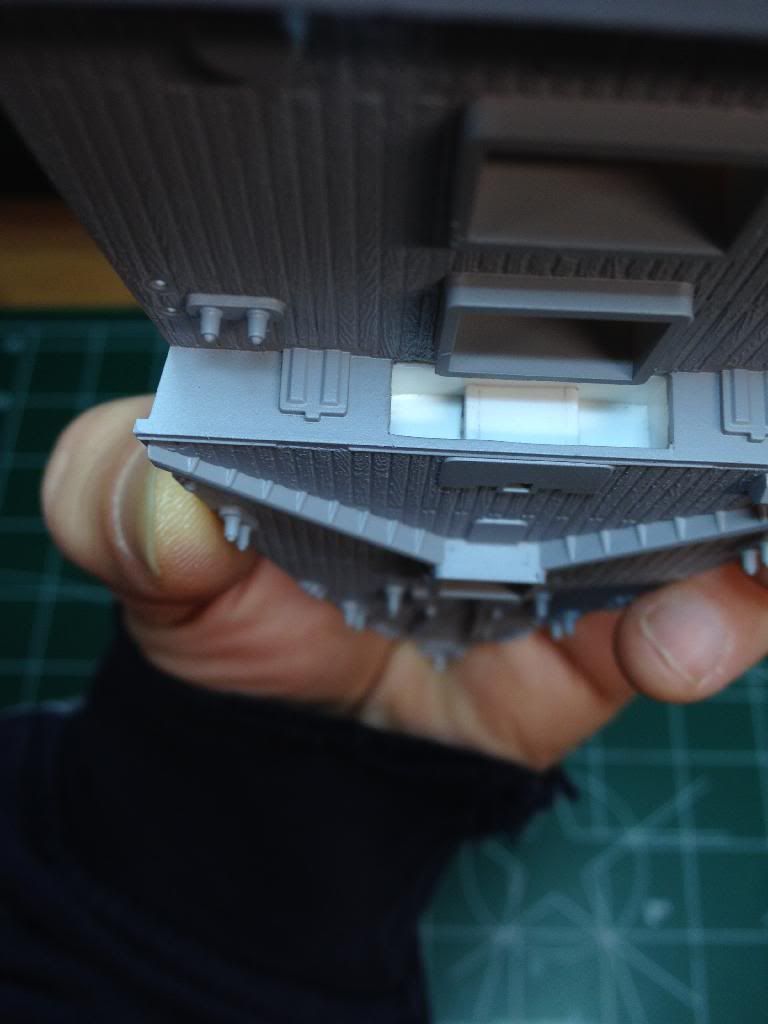
Unfortunately the plating detail doesn’t extend to the underside of the hull. The seam line was pronounced and took a fair bit of sanding to smooth out. Next step is to drill out all the portholes.
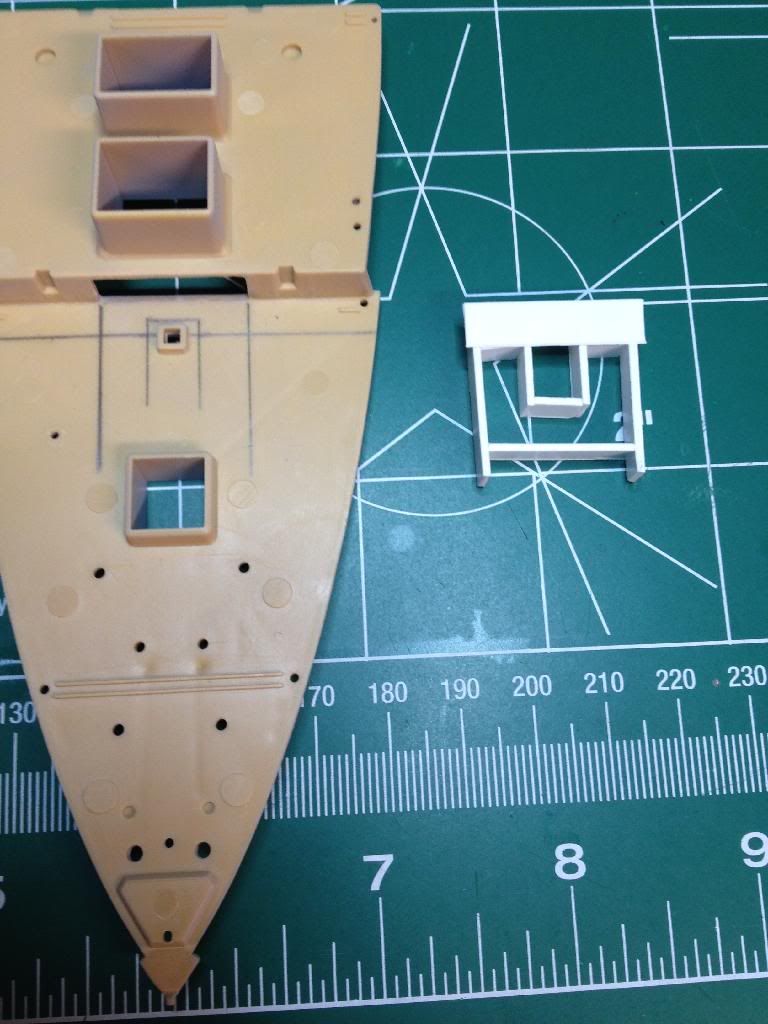
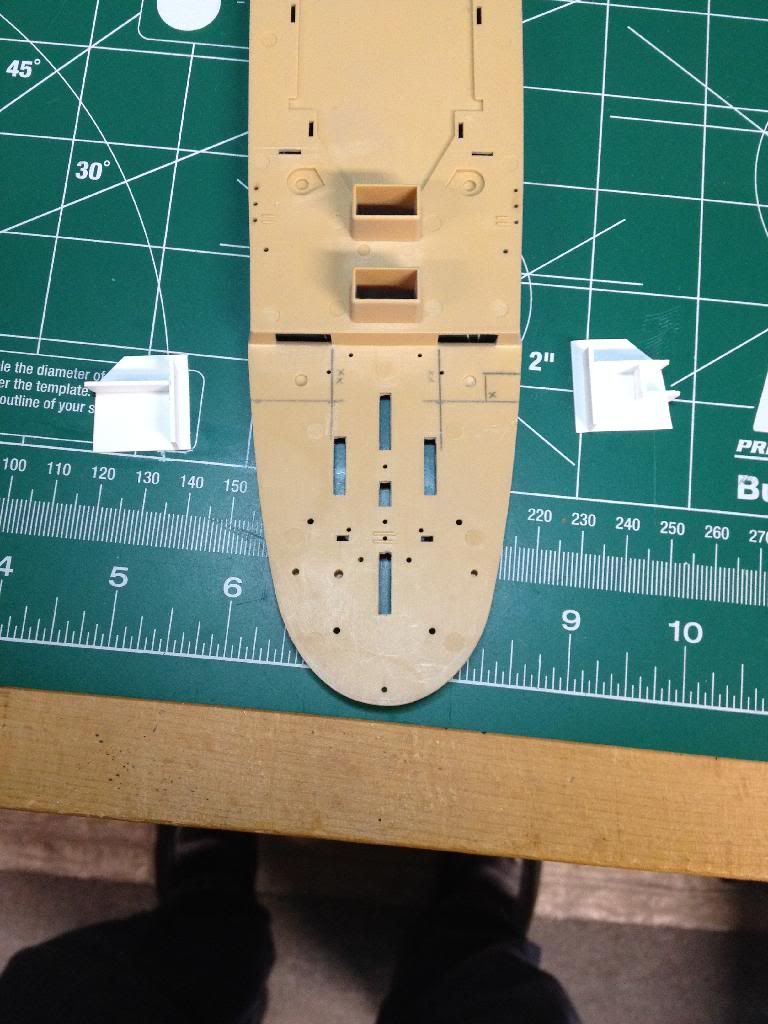
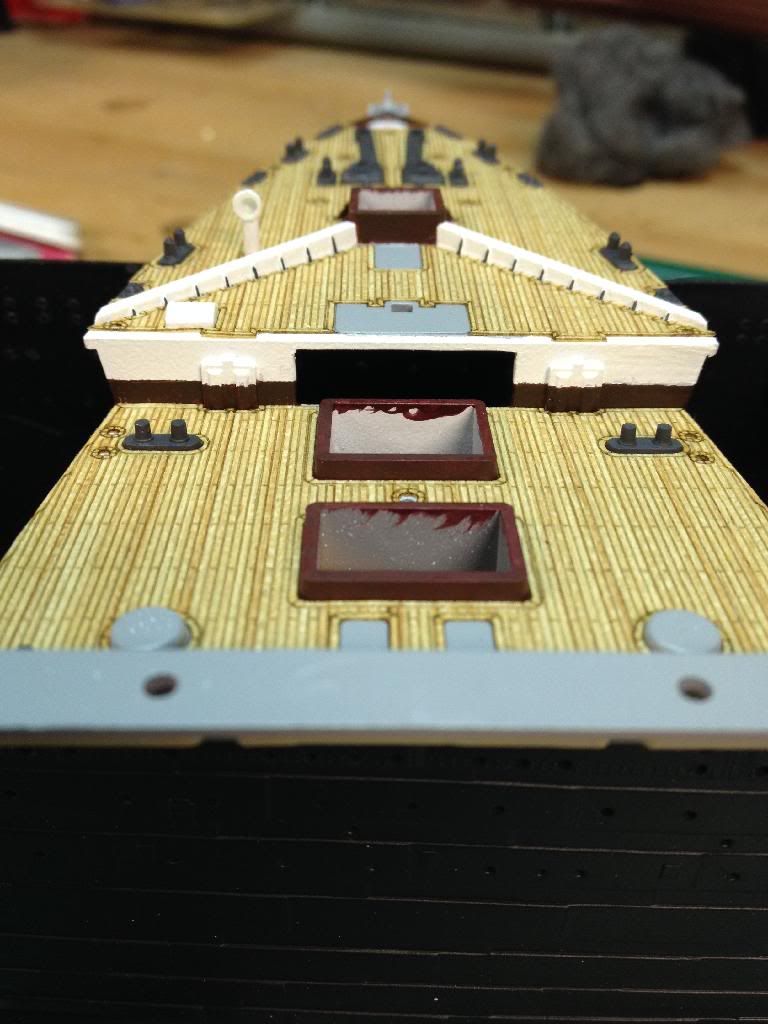
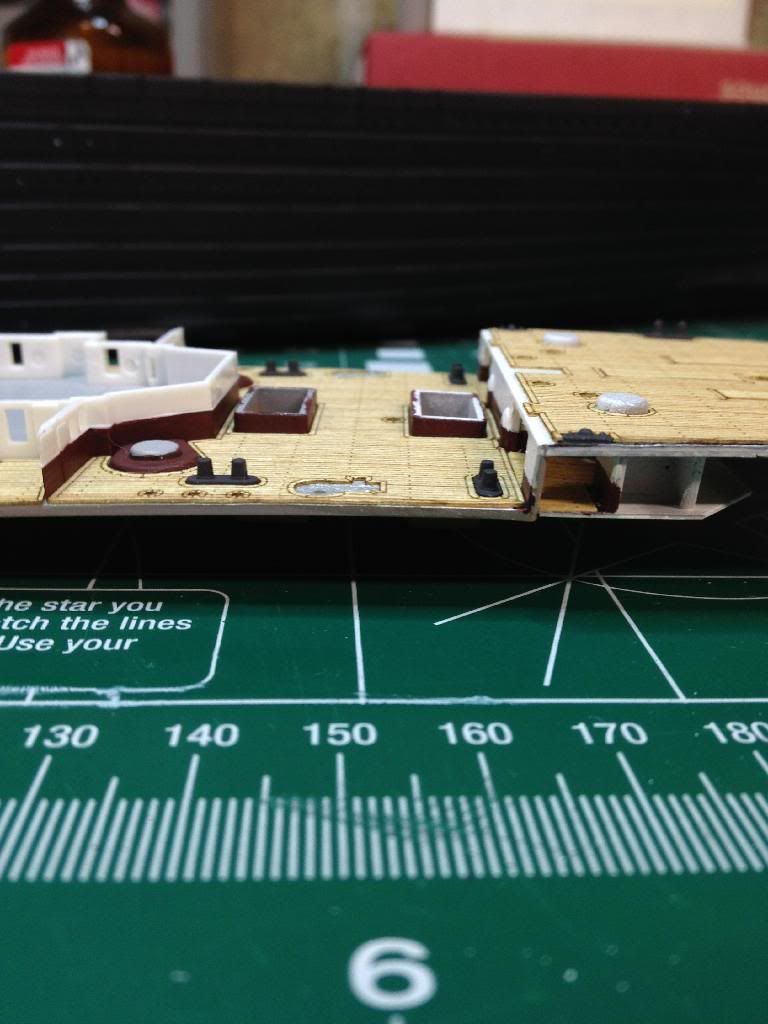
Did some reasearch online to locate the dimensions of the underdeck spaces and then went at them with a 1/16 drill bit and an xacto. I’m not going to mess with any other changes to the decks until I get the wood veneer set and see where its cutouts are.
Creating these spaces is probably pretty easy for most of you, but I’m heading way outside of my comfort zone here!
BTW - I’ve added the Minicraft 1:350, another Revell 1:570, a Revell 1:700 and a Revell 1:700 Olympic to my Christmas list this year (first list since I was a boy!) - think I’m obsessed yet?
Just a little more progress, as most of the day was spent trying to complete the 1:570. Carved off the poop deck benches with an xacto and drill, and completed the opening of the potholes on the superstructure…
…and carved off the covers of the boat deck crew staircases.
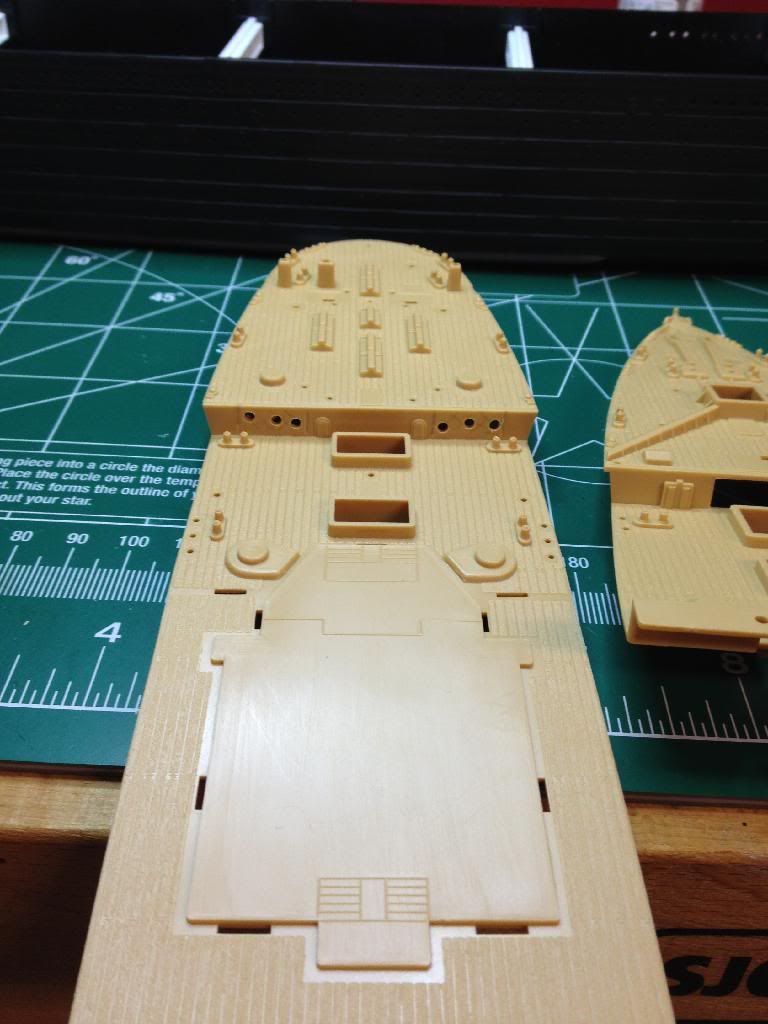
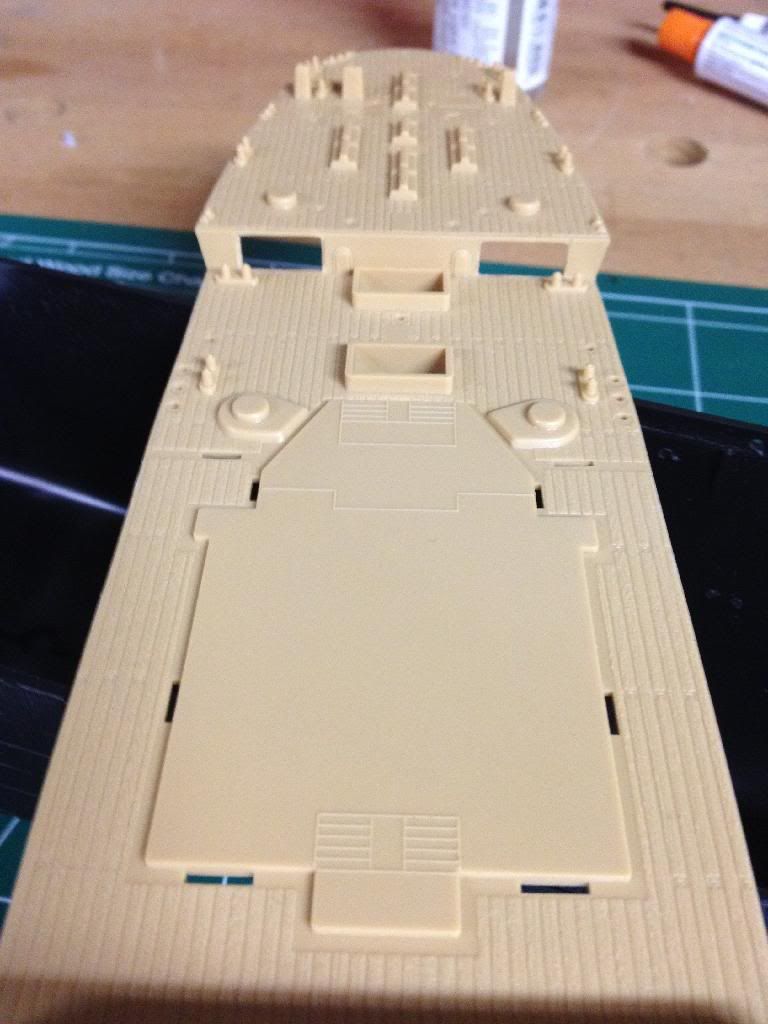
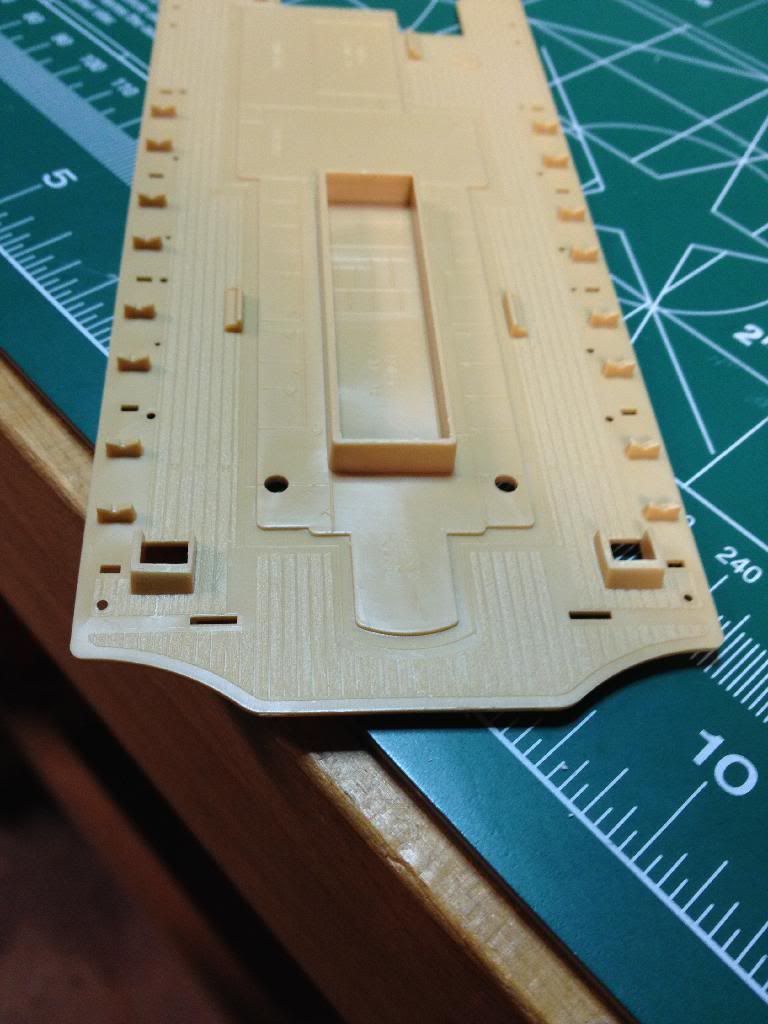
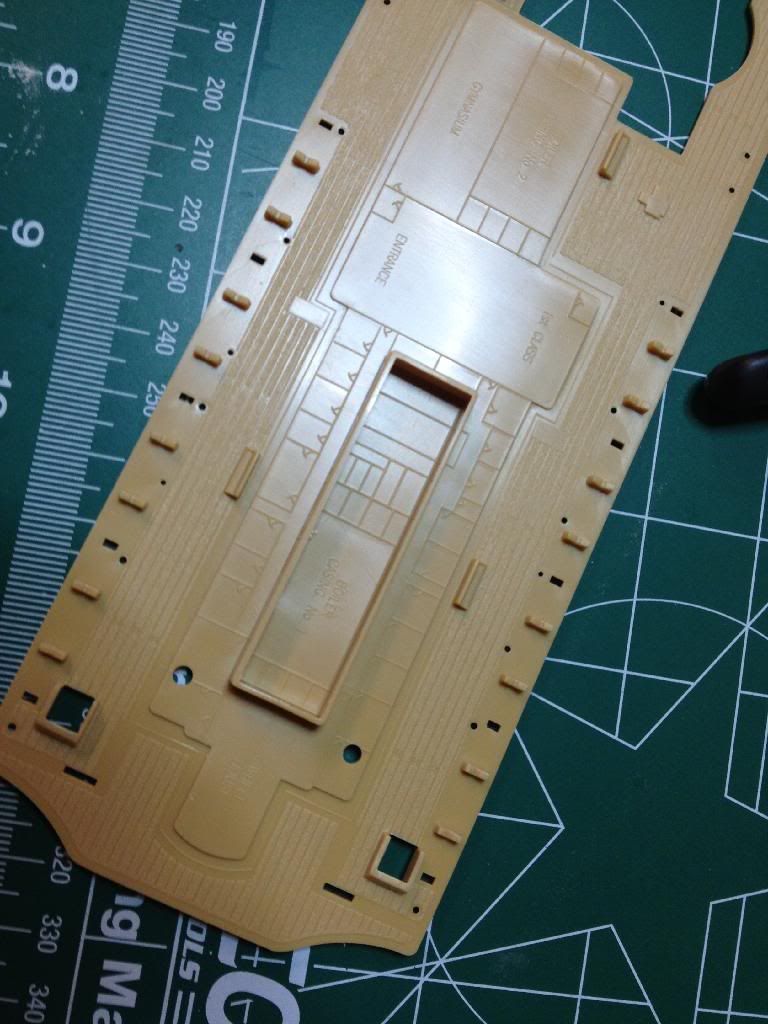
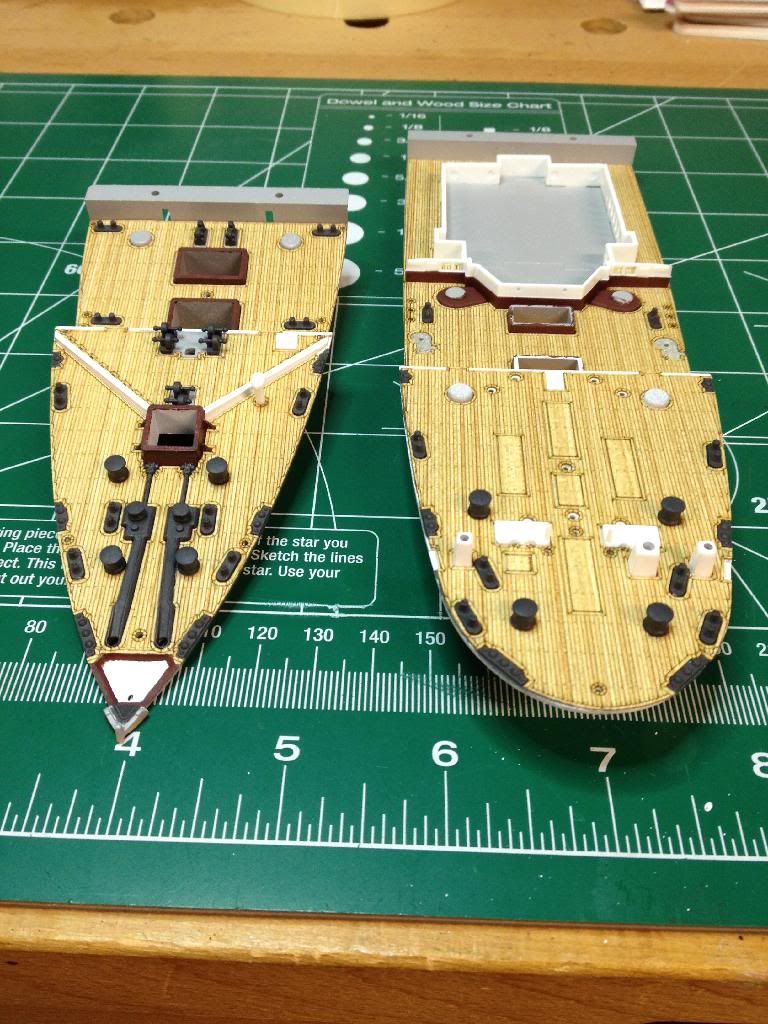
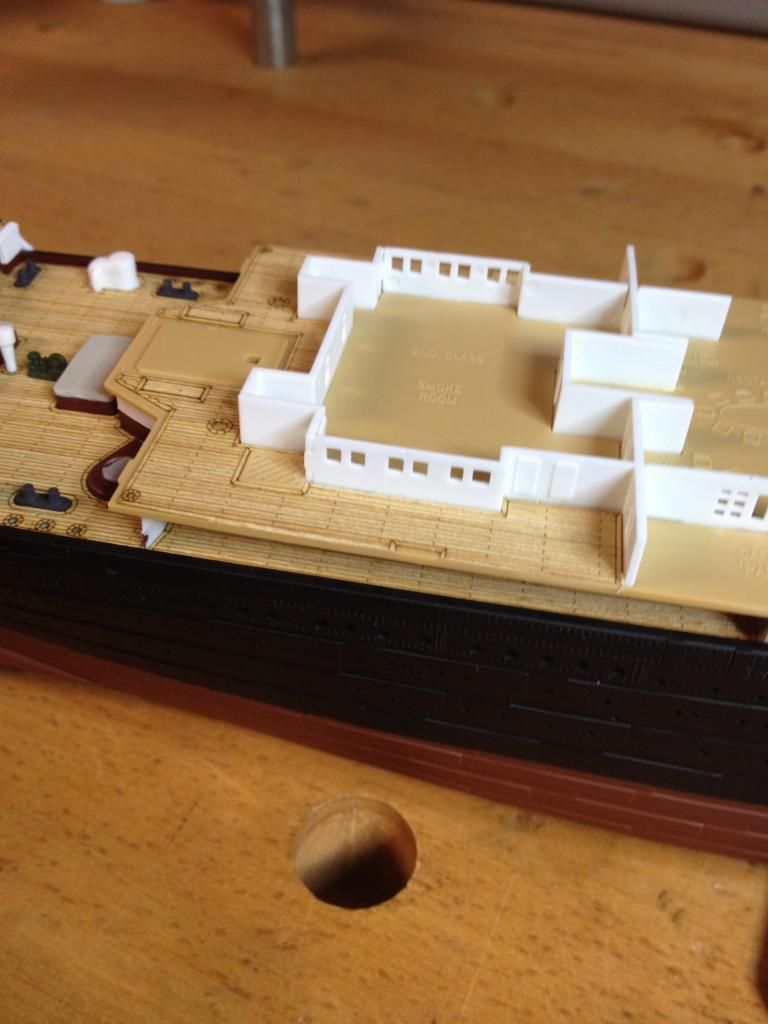
One of the things that is kinda cool about the Academy is that the B, C and Boat Decks have the deck plans molded in.
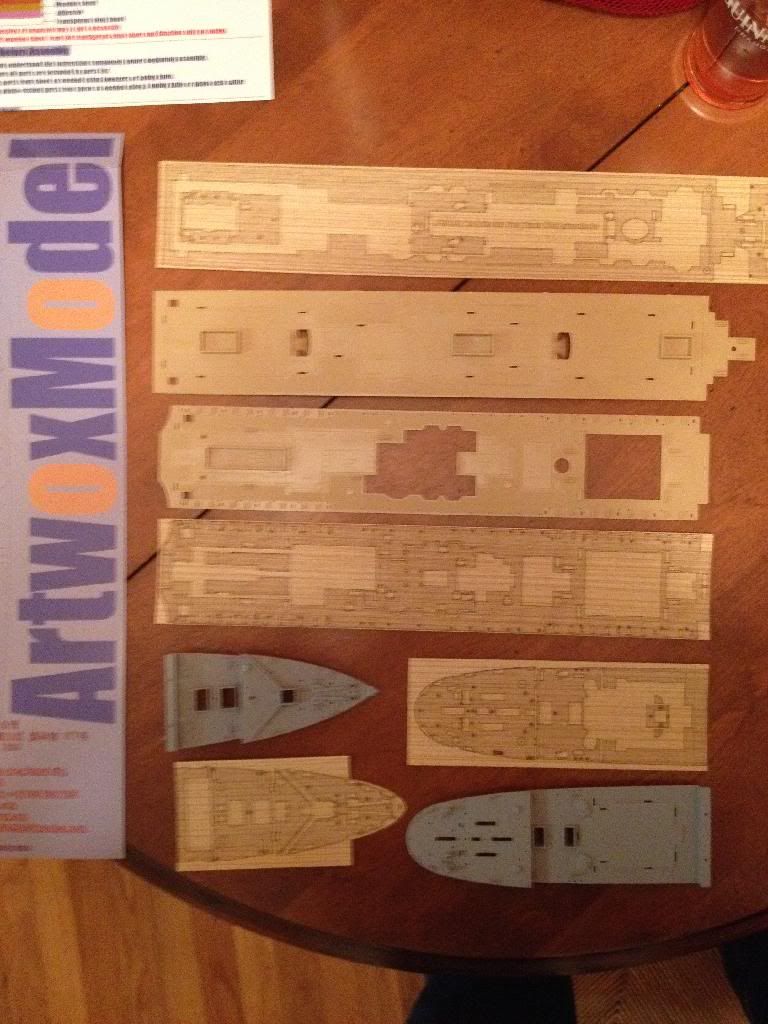
Spent a few days with the relatives for turkey day, and found this in the mail when I returned…
(Sorry for the bad image - I tried about 6 times and somehow this was the best I could do.)
The 1:400 decking was tough to find for some reason, but I found a source in Australia. (Perhaps I just don’t know the right places to look yet?) I’ve been waiting on really digging in until I had this and all of the photo etch to plan my attack. I was disappointed to to find that the decking assumes everything on the Academy is going to be used as is, so i’ll have to deal with the cutouts for the moulded-in benches. anyone have any tips for adding really thin decking lines to the blank wood squares that will be under the benches?
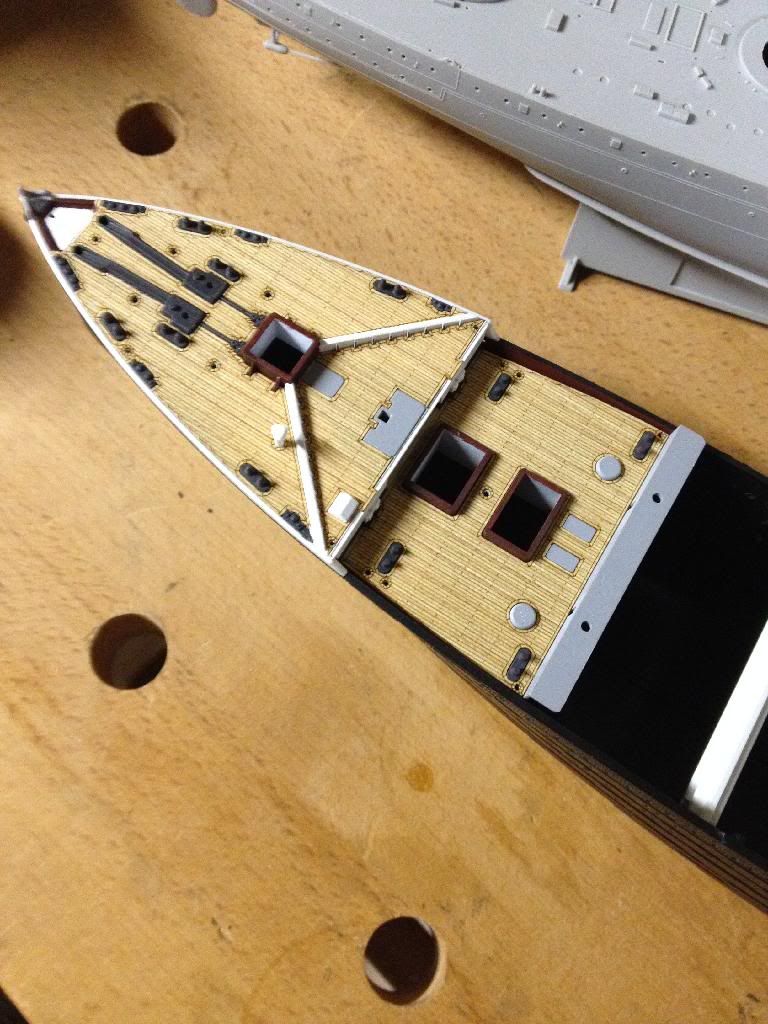
The drilling out of the moulded portholes is finally done, though I still need to add the missing ones. I carved off the moulded railings on the white fore and aft hull pieces and glued them down. Not sure if I’m going to bother to putty the seams; they are minor and right where the hull changes color; my guess is that it will never be noticed either way.
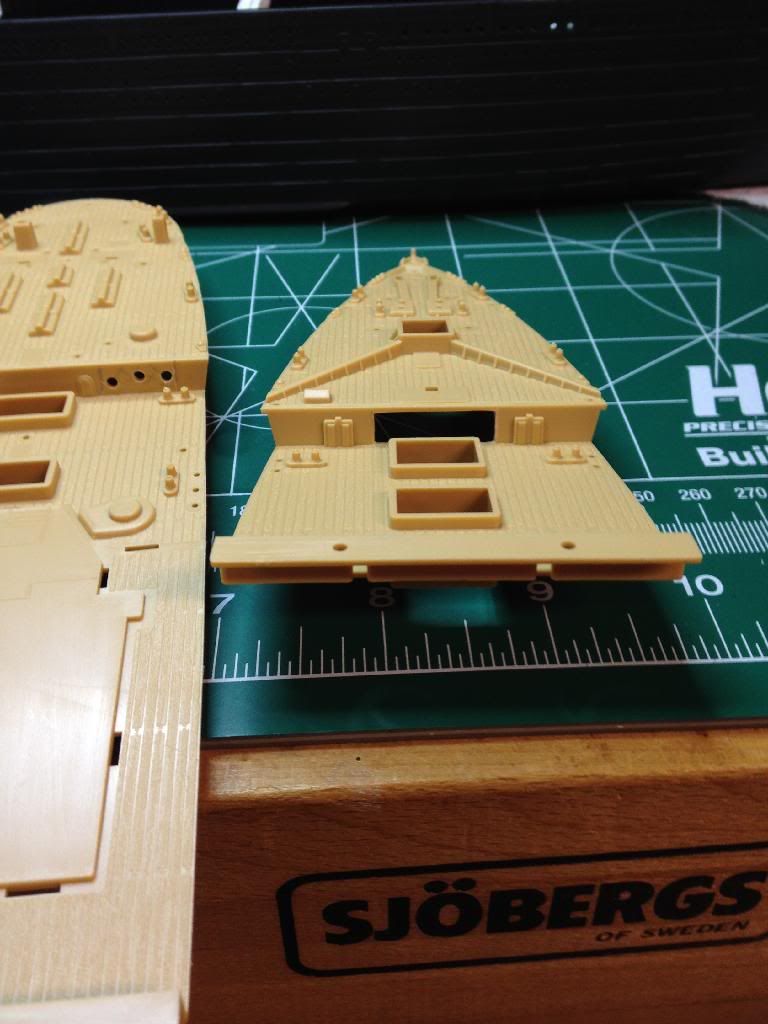
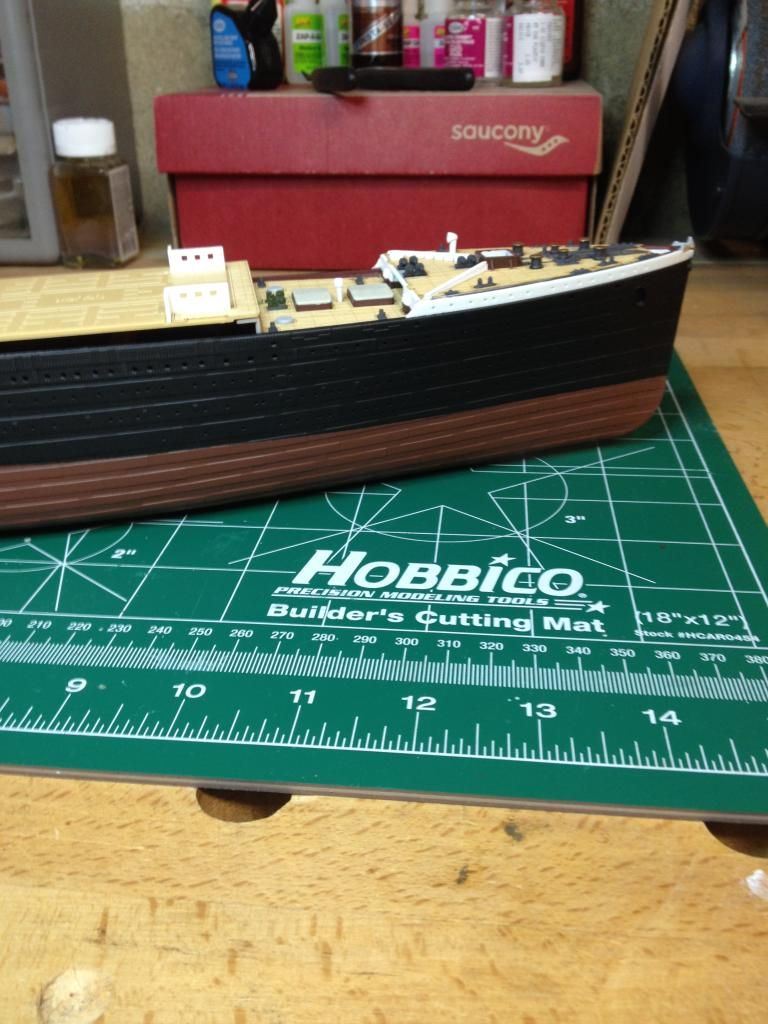
Test fitting the poop/well deck revealed that it needed to move ever so slightly aft, which was easily solved with a little sanding. A preliminary test fit of the superstructure and A deck, however, showed that the whole middle assembly may have to move backward slightly. I plan on modifying the the superstructure locating pins and removing the locating pins on the foc’s’le and poop decks to allow everything to move back and forth a few millimeters when the time comes.
I was debating on whether or not to paint the white portions of the kit until I realized that I am likely to have to putty a number of the superstructure connections, and I’ll have to paint the white portion of the well decks and and the docking bridge supports anyway. I’d like to use a dirty white for scale effect, so I guess more quality time with the airbrush is in store…
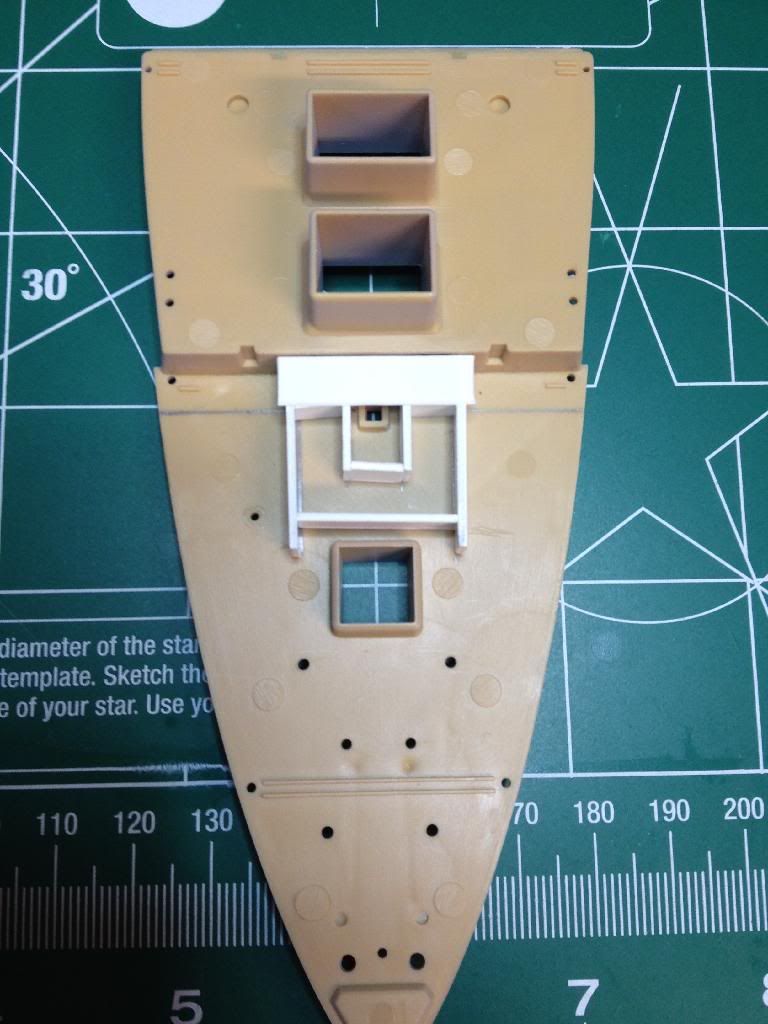
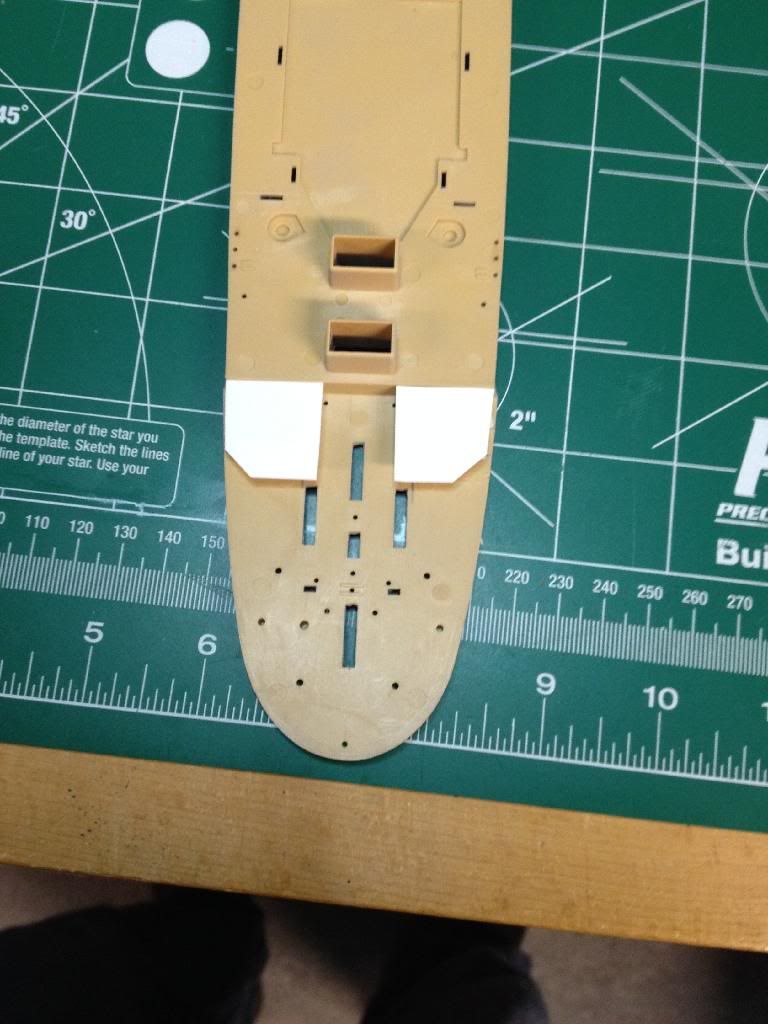
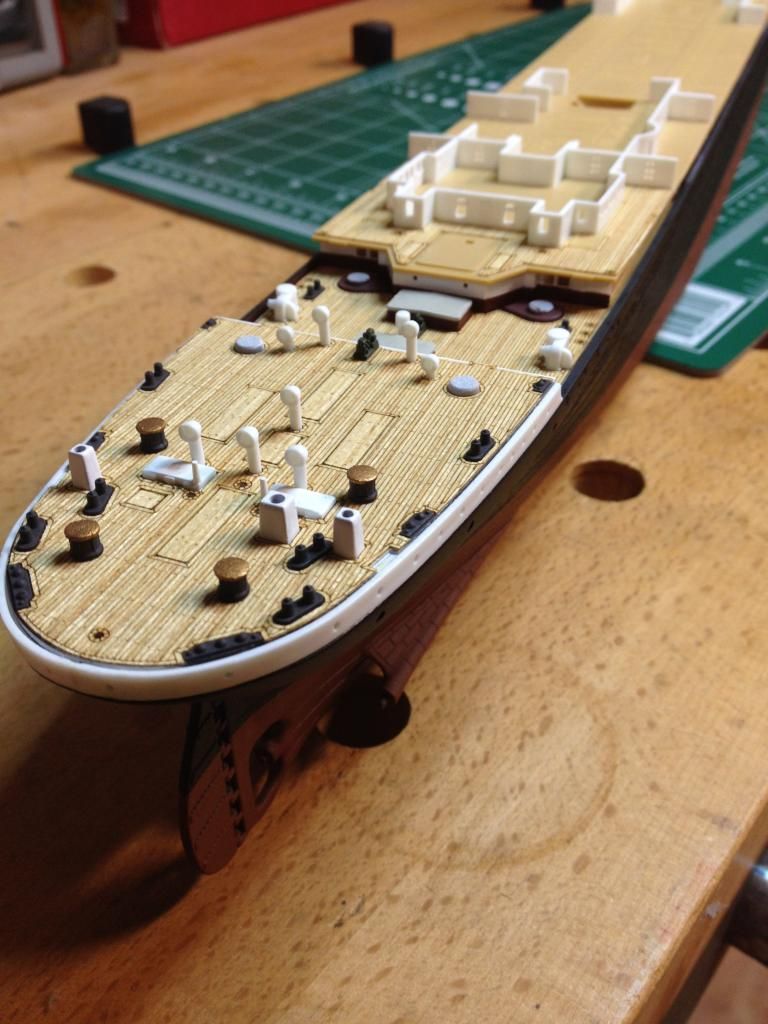
I noted at the beginning that scratching the missing well deck annexes was way outside my comfort zone, and now I’m wondering why. A precision ruler, a pencil, sheet stock, a sharp knife, glue and about 45 minutes took care of the forward one fairly easily.
Anyone know if there were any doors or other details in the fore annex?
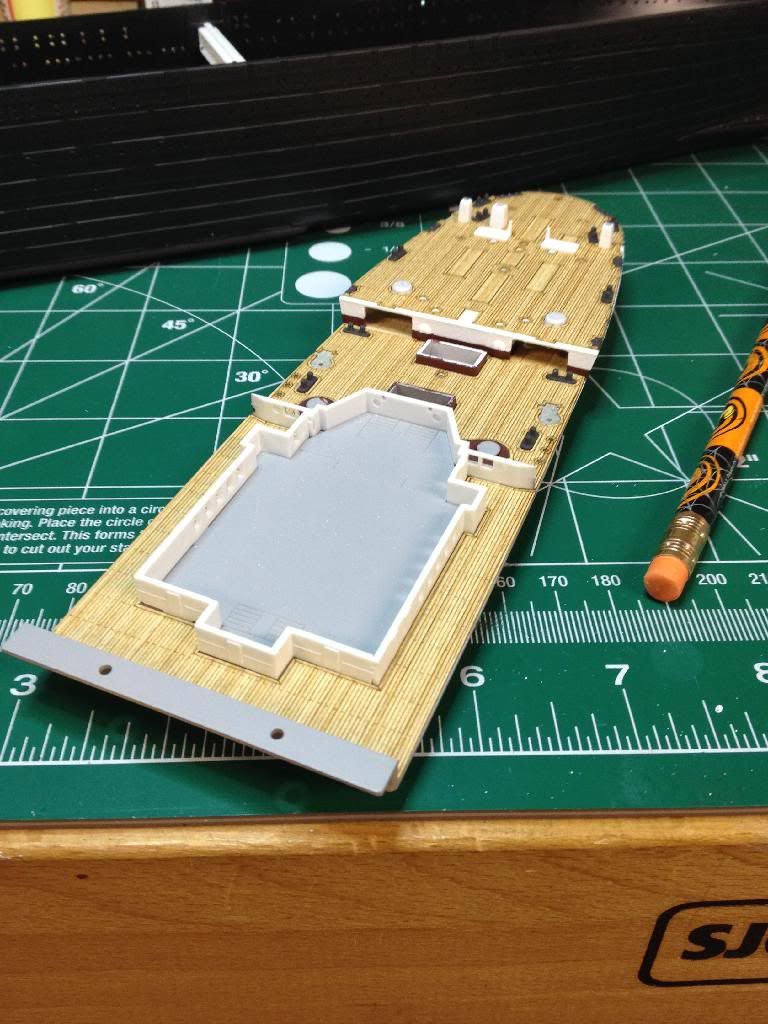
…and built the aft well deck annexes and added the doors…
They will have to be painted and decked (using scrap material from wood deck sheets) before being glued in, as it will be nearly impossible to do either after. I’ll probably paint the well decks first, too, to avoid having to mask them off.
I’ll have to keep looking at this thread over and over. It’s starting to make me want to work on the Titanic enclosed box diorama idea I came up with over 13 years ago. I’ve got Academy’s 1/350 scale kit I bought years ago. I don’t even know if that scale of the Titanic is even available anymore. The largest I ever see is 1/400.
Looking around the bench this morning, I realized that the paints have proliferated beyond all reason. When I was building the 1:570, I started with Tamiya in the basic recommended colors, only to replace them with a bunch of Testors, Model Masters and Floquil based on recommendations from Titanic-Model.com. Then I got talked into trying Vallejo at my LHS and was completely won over. And so I replaced them all again. In less than 3 models I went from 0 to over 80 paints. Yikes.
In a related story, the airbrush gives beautiful results, but I still don’t enjoy using it. I much prefer hand painting, especially with the Vallejos. This makes me wonder if I should be working in 1:700 scale rather than 1:350/400; it seems that the smaller the scale, the less important it is to have a perfect finish. Working on the Academy and comparing it to the 1:570 Revell, I’m also finding that I’m more impressed with my own work the smaller the scale is.
So, anyway, I’ve been plugging away at the fore well and poop decks, with following results:
The Artwox decks are beautiful; they really take the model to the next level. I’ve already bought sets for the next two ships in the stash.
I hand-painted th white and red/brown foreward well deck bulkhead, and the results came out better than expected. The Vallejos really go down very smooth, and I was surprised by how well the 1st coat of white covered the gray primer. (No, I’m not being paid to advertise! I just really like them. The lack of odor alone is worth the price of admission…)
I also began assembling some of the boat deck structures, and began the painting of the scratchbuilt annexes. Once I fit a piece of decking scrap, the fore annex can be glued in.
I didn’t add any glue to the decking; I’m relying on the adhesive backing and using a pencil eraser to make sure it is firmly attached to the model. Am I asking for trouble? If so, what’s the best way to make sure it stays down?
Not long after my last post the Artwox decking I laid down on the fo’c’sle began to peel and I decided I needed a break. I had decided that I really, really hate working with the airbrush - it feels like too much prep and cleanup time - and don’t really enjoy anything about it. And I was starting to drive myself crazy with all of the things I felt I should do to the model based on too much time with the rivet counters. I had let my fun little hobby become ‘work’.
About a week ago, though, I bought some contact cement on a whim and decended to the bench for the first time in months. After carefully bending the unstuck portions of the deck as much as I could without breaking them, I laid down some cement with a toothpick and everything seems to be holding fine since. Encouraged (and armed with a fresh perspective), I decided to just build the damn thing and do as little - or as much - extra detailing as felt fun, and who cares anyway as there is always going to be lots of people out here who surpass my work by miles.
But no airbrush unless I’ve no other option. Paint brushes and spray cans…
No real change from last time here except that there is contact cement hiddden beneath the decks.
The aft decks are glued down and the annexes are finished and glued up. Some scrap decking was used on them, but I made no attempt to duplicate the lines around the planks. (How is this usually handled?) The same problem exists with the decking under the benches - it would have been nice if Artwox had done the lines on them so than anyone who chooses to carve the benches off has something a little more realistic to lay down.
Slow going when you’ve only got about an hour a night. Did some touch-up painting, then added capstans, steam winches and electric winches.
I’ve since realized that the electric winches are the wrong color (should be dark greeen), so I’ll need to repaint them. The capstans also need to be topped in bronze. I’ve also started to re-aquainting myself with the Rivet Counter guide to be reminded of correct colors and the items I need to scratch.
Those Artwox decks look great. I love the effect that it adds. I wish I had read your posts earlier and could have warned you about the adhesive issues. There was a 1:400 build on the Titanic-model website a while back where the builder had issues with humidity and his decks buckled and popped free in places. Ironically, he worked for an adhesive manufacturing company. I think his solution was the same as yours… contact cement.
I think your welldeck annexes turned out great too. Not too shabby for being your first attempt at scratch-building. My first attempt was the anchor well up in the bow. Not really a huge accomplishment on my part but it proved that a little success can boost all kinds of confidence.
I hear ya when it comes to that airbrush. It always seemed such a waste of time to paint some microscopic part, only to spend the next 20 minutes cleaning up. I was lucky to find rattle can versions of the brand and color I was using for large areas of the model, so my airbrush now only comes out for the custom color mixes.
Keep it up… even if it’s only an hour or so a day. I should take that page from your playbook and apply it to my build.
Thanks for the feedback, Matt - I’m glad to see that I’m not the only one who feels that way about the airbrush. I’ll be breaking out the rattle cans for the hull this weekend.
I had seen that some had issues with the decks, but somehow I had convinced myself that Artwox had fixed the issue since - not sure why other than just wishful thinking. The contact cement actually spreads with a brush better than expected, and the fact that you can wait 15 minutes after applying it means you don’t have to rush.
I had done just a little scratchbuilding with the 1/570 Titanic, and you’re right - it did a lot for my confidence to start small and work my way up. Just got the Academy 1/700 Titanic with the Rainbow PE set a few days ago; I’m thinking of doing the well deck mods on that, too…
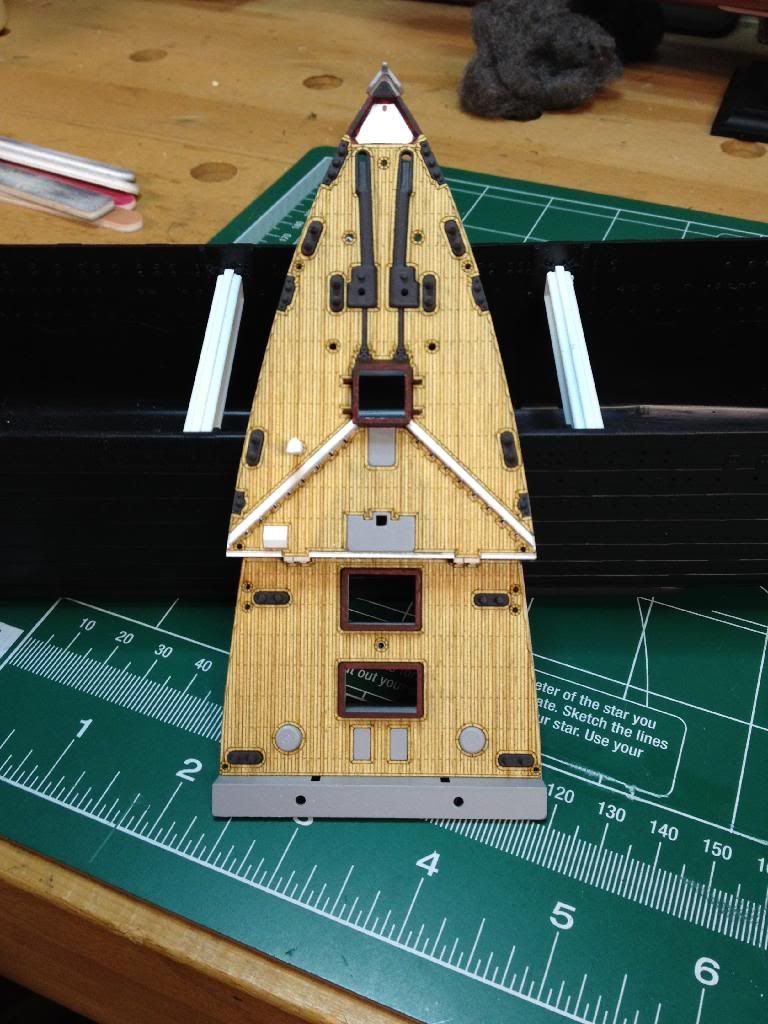
Update on the build: Spent last night working on the poop deck funnels. Did some ‘reverse scraping’ with the Xacto on each to remove the seams, then sanded the bells smooth and drilled them out to give some depth. Took about an hour to do all 8…
Not much time at the bench over the last few months. Once the spring began in earnest I had bigger ‘models’ that needed attention for a while, and then the Encore USS Olympia I’ve had in the stash began calling to me (I’ll start a build log on that soon). Consequently, there’s not much progress to report.
Got a few additional foc’s’le and well deck details in place and painted the hull both above and below the waterline. I’m still trying to decide how/if I want to do the yellow stripe on the upper hull.
Also added a few details on the poop and aft well deck. Note that the funnels closest to the aft-most cranes need to be cut down to clear the crane booms. Also began the B deck bulkheads and put down a few more sections of decking.
The bulkheads interlock with a little key at each corner, and I’m also mulling that over. They are too fragile to build off the decks and then putty and sand, so I can either deal with them in situ and then paint the whole assembly white before laying the decks or just leave them as is and gamble that they really won’t be that visible. Frankly, I’m inclined to the latter - which is probably why I’ll always be a middling talent…
The windows are painted and ready to go. Based on what I’ve read, this is going to be a tedious job! I’m already having trouble reconciling the instructions to the model, so plan on this operation taking another year.
On a more general note, I’ve decided to change my relationship to my airbrush. I’ve been approaching the thing with an ‘I hate this’ mentality - thinking of it as 30 seconds of brushing for each 30 minutes of cleanup. I’ve made a committment to myself to think of it as an indispensible modeling tool that I’m lucky to have, and to increase my skills with it this year. I plan to occasionally cheat with a rattle can, though.