UPDATE 35
Hi Everybody!
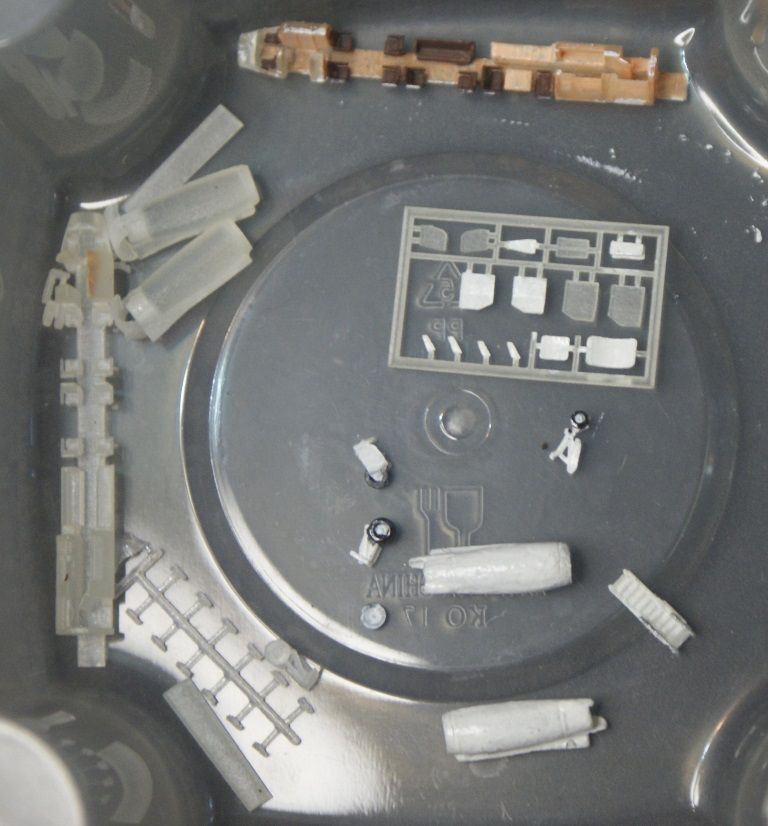
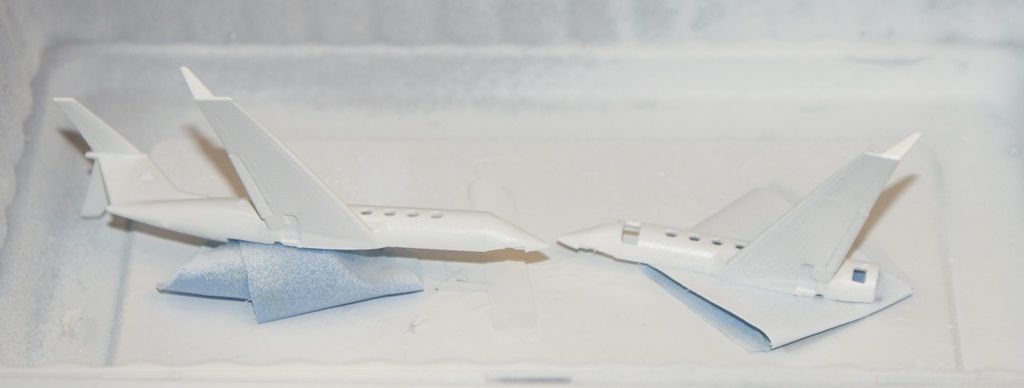
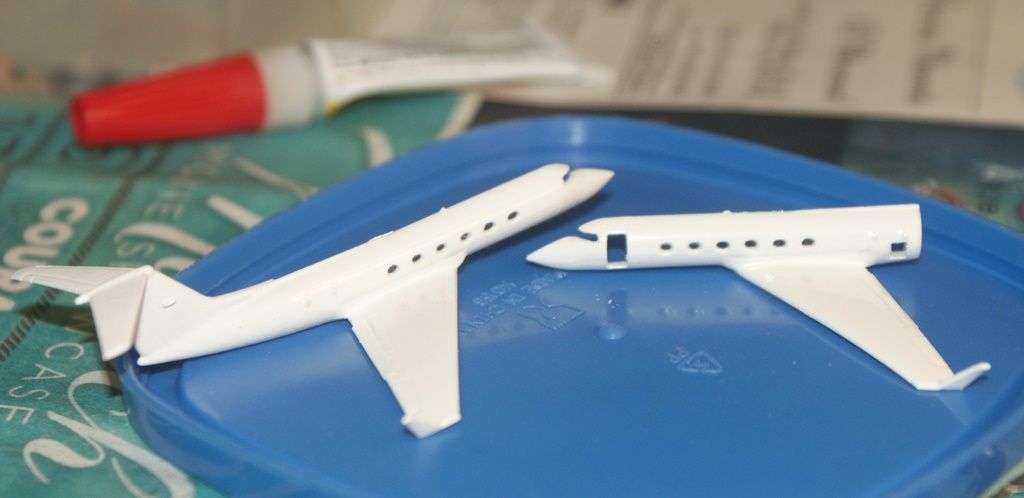
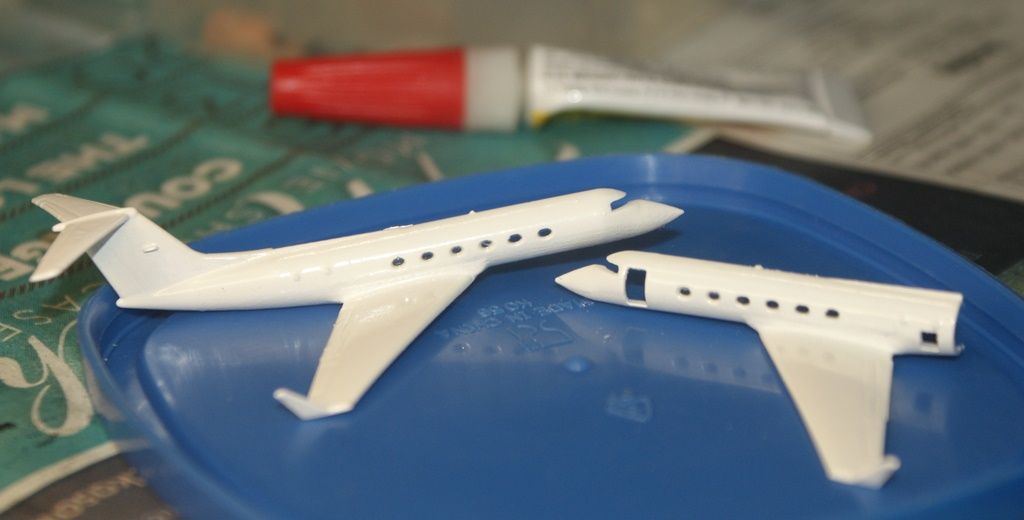
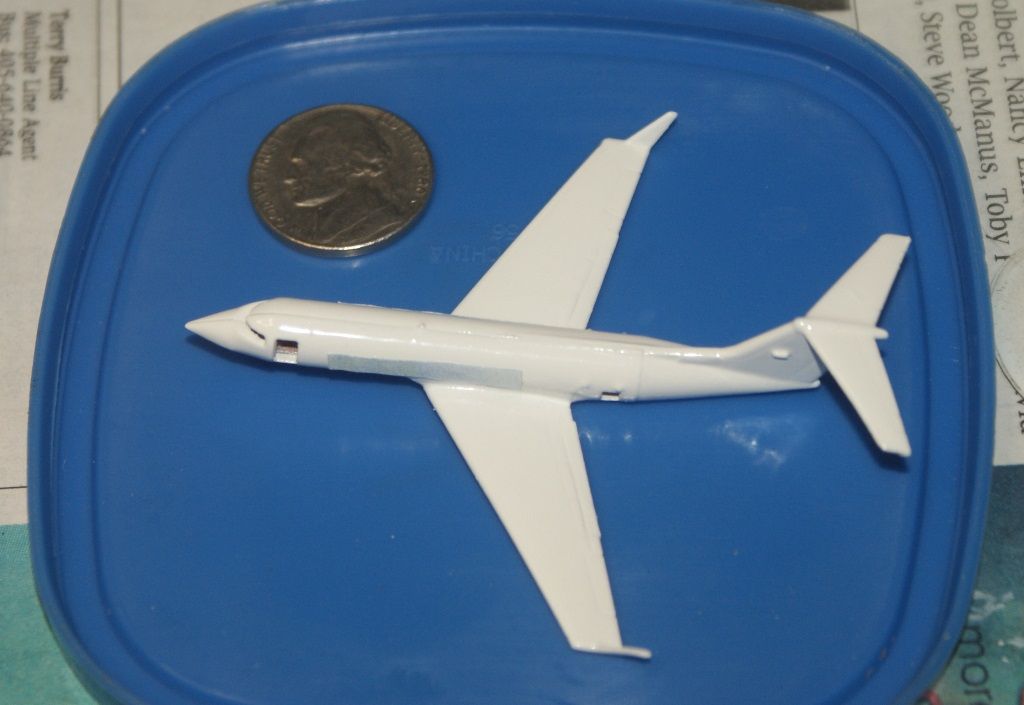
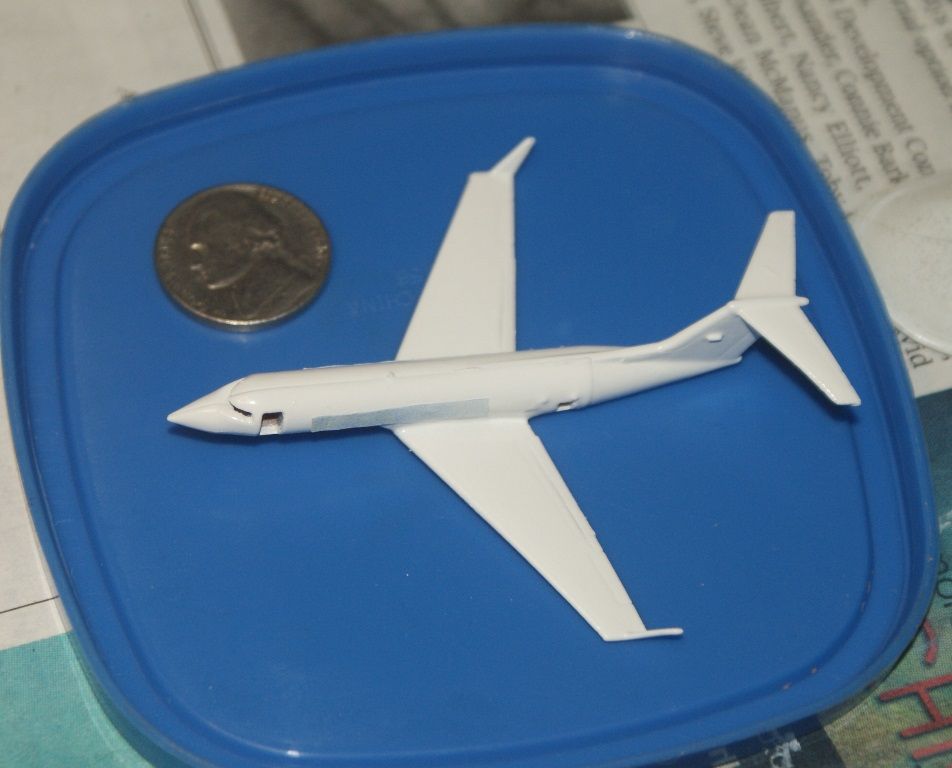
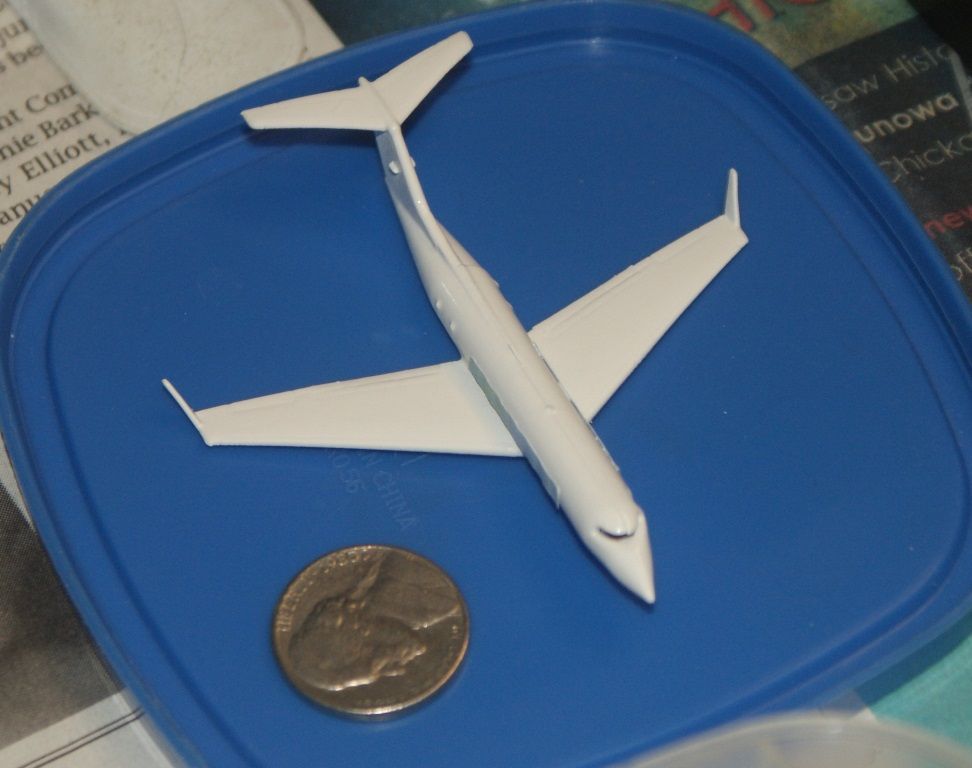
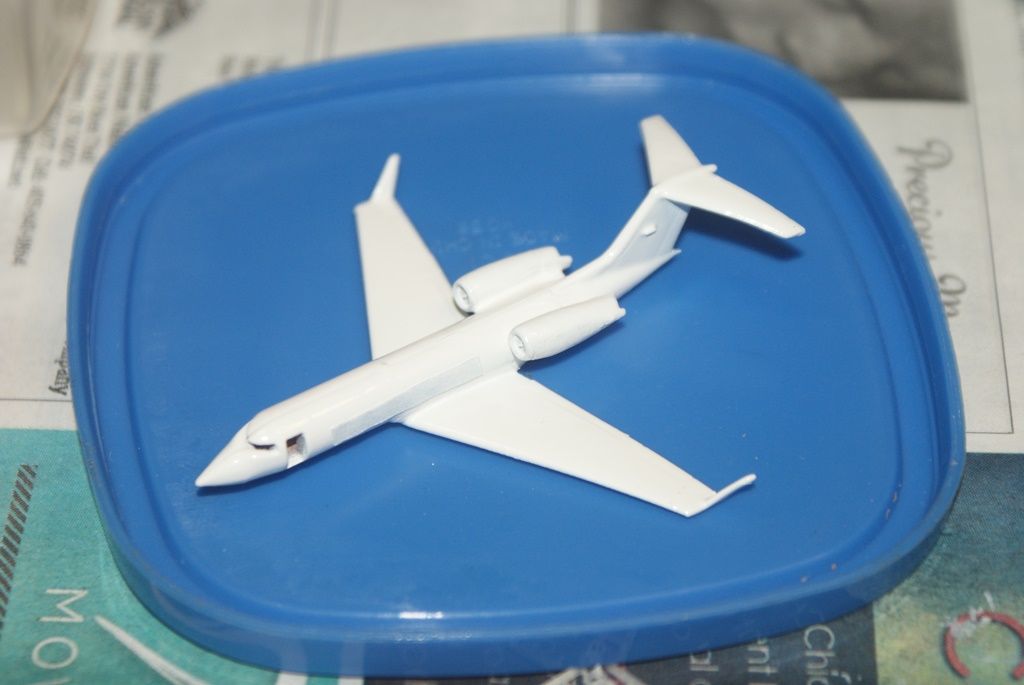
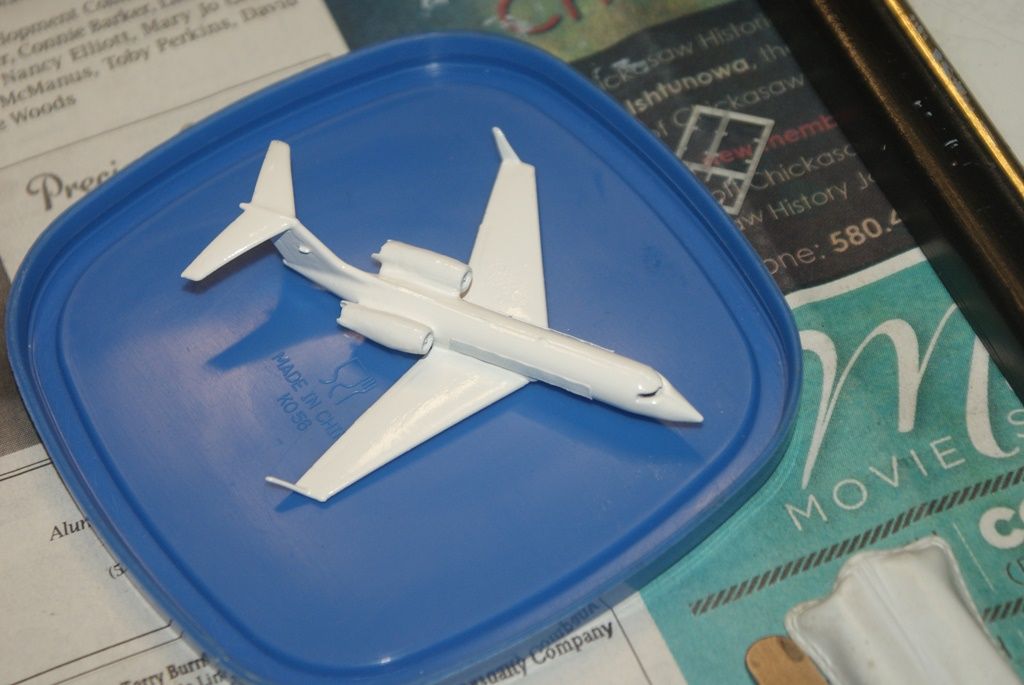
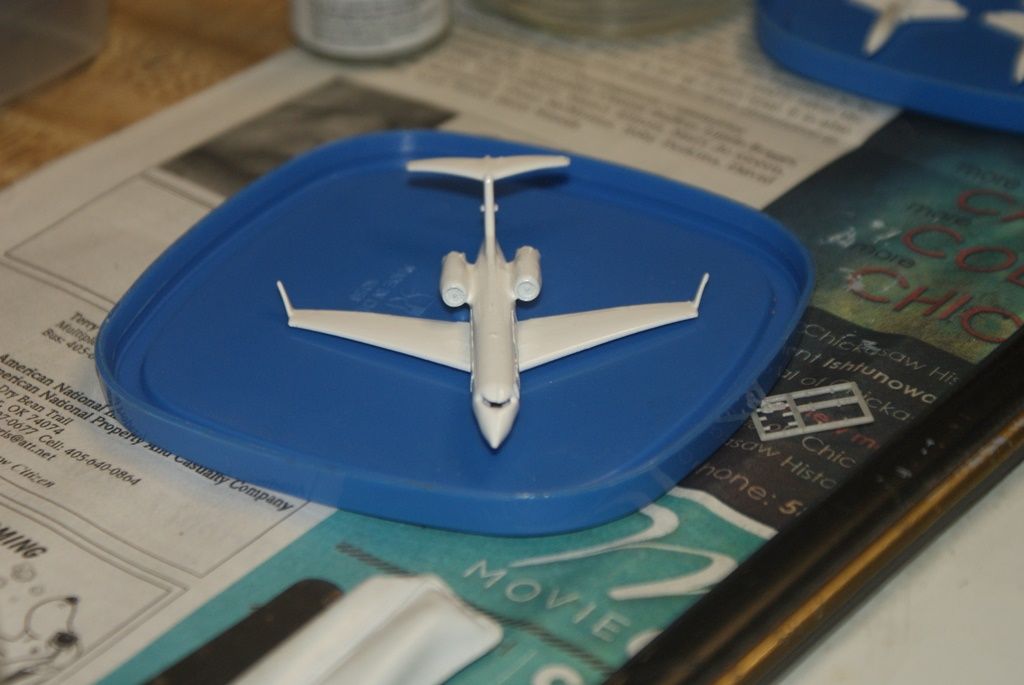
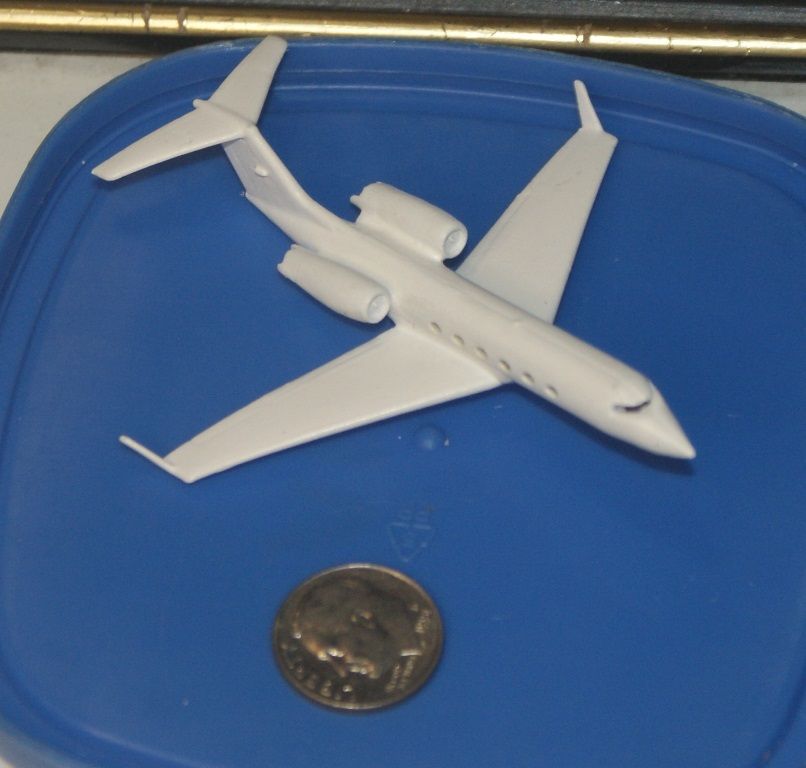
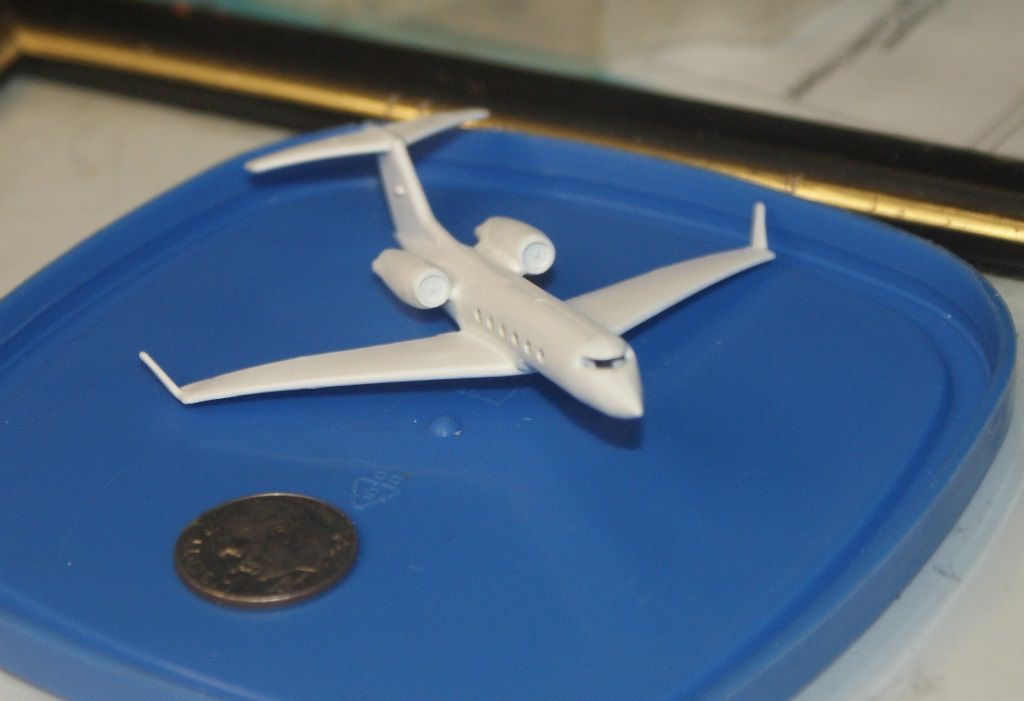
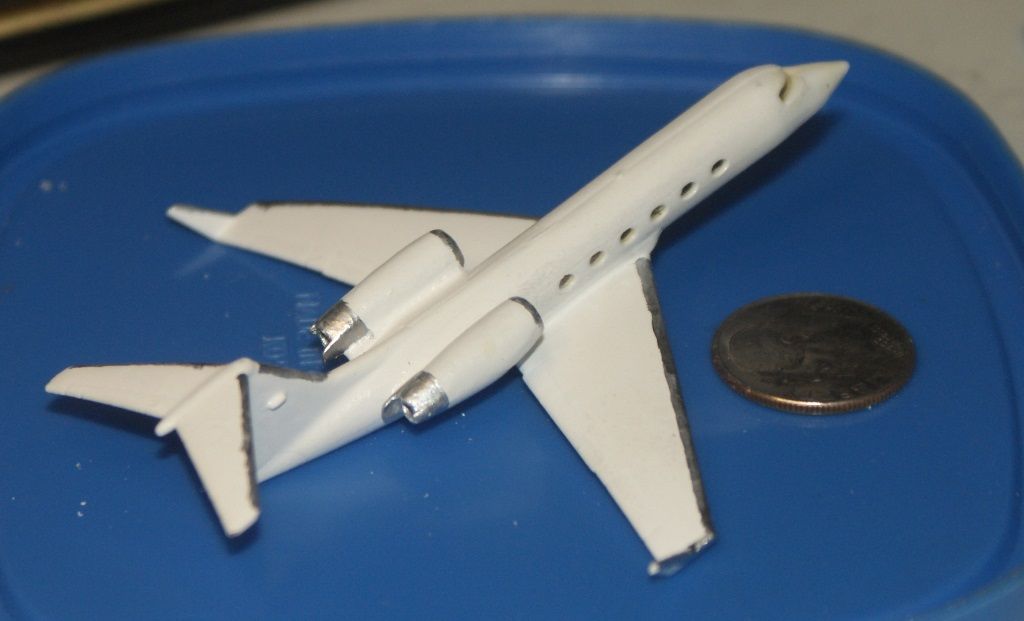
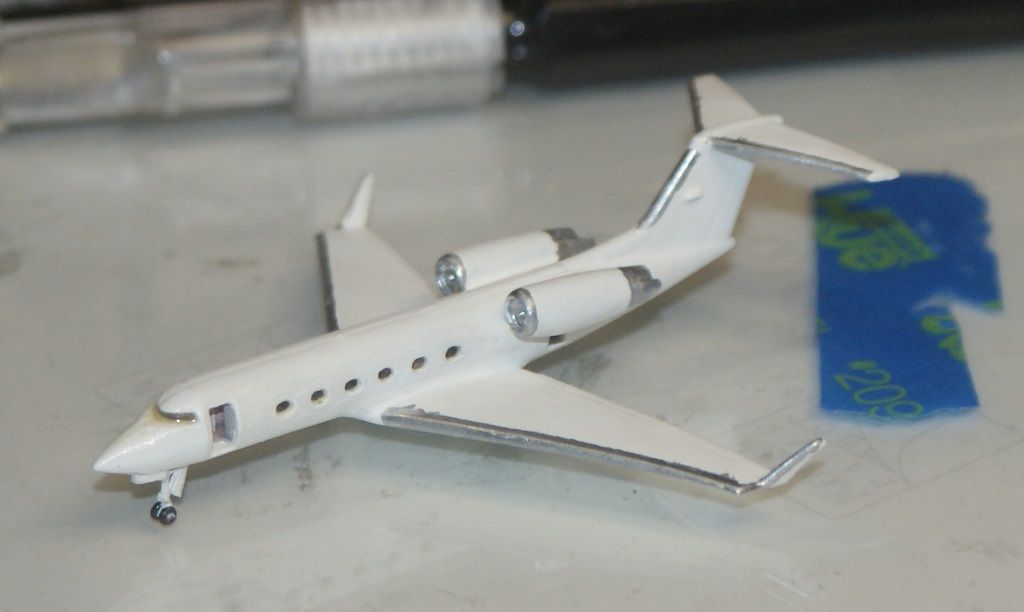
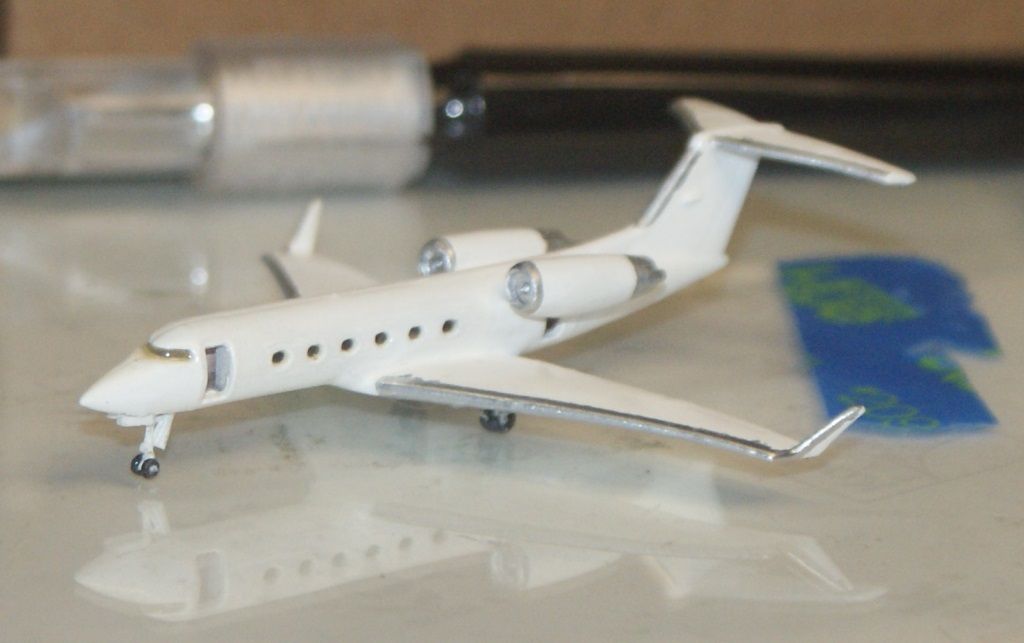
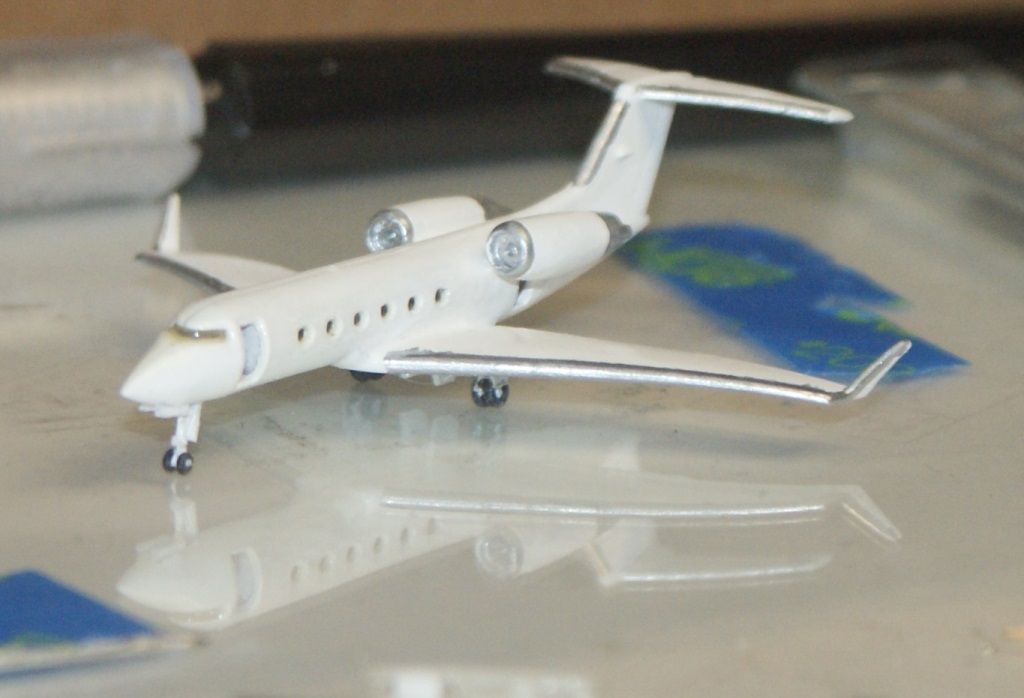
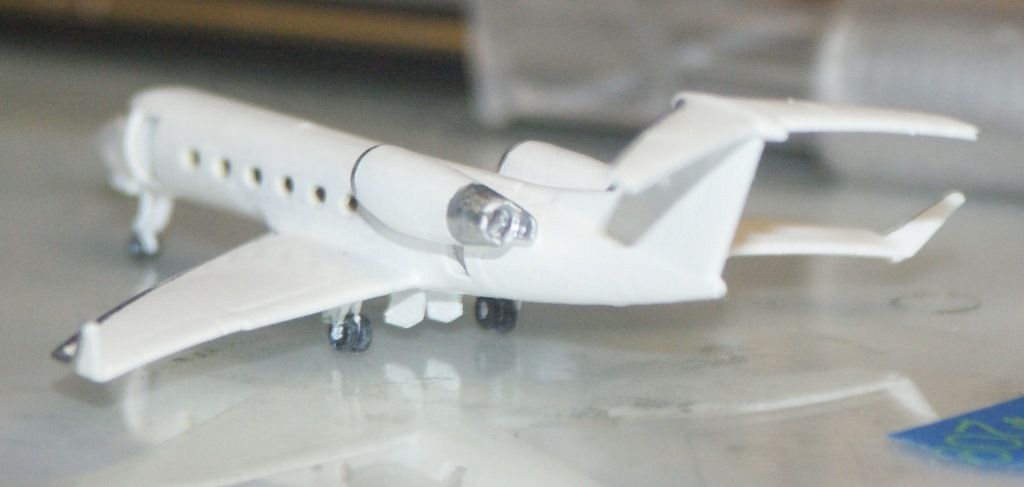
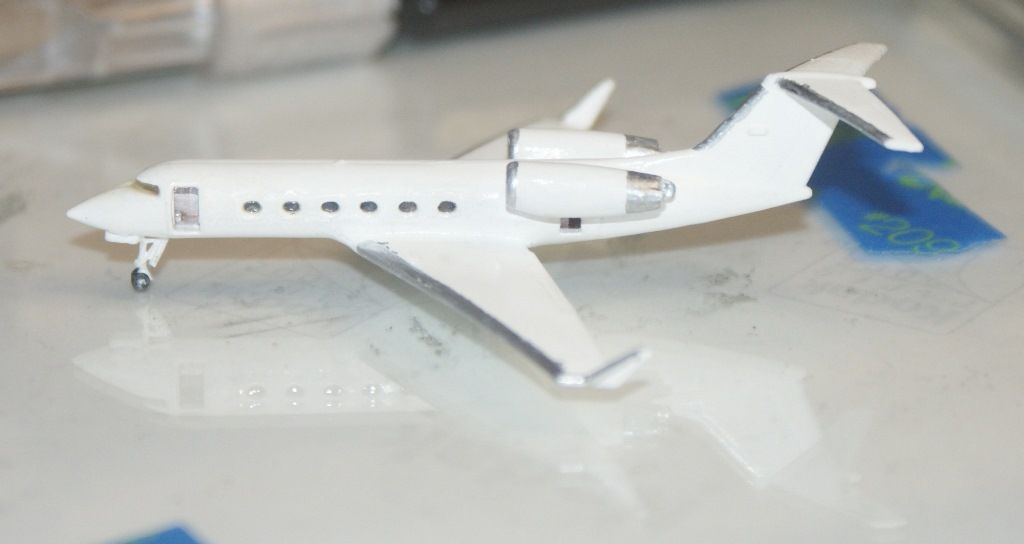
I did a little bit of painting on the G-IV this past weekend, as seen in the pictures below. The small parts were hand painted using Testors enamel, gloss black for the wheels and gloss white for everything else. The unpainted parts in the picture are parts I won’t be using. I might have to get another one to model coming in on final approach, but I’m modeling it on the tarmac.
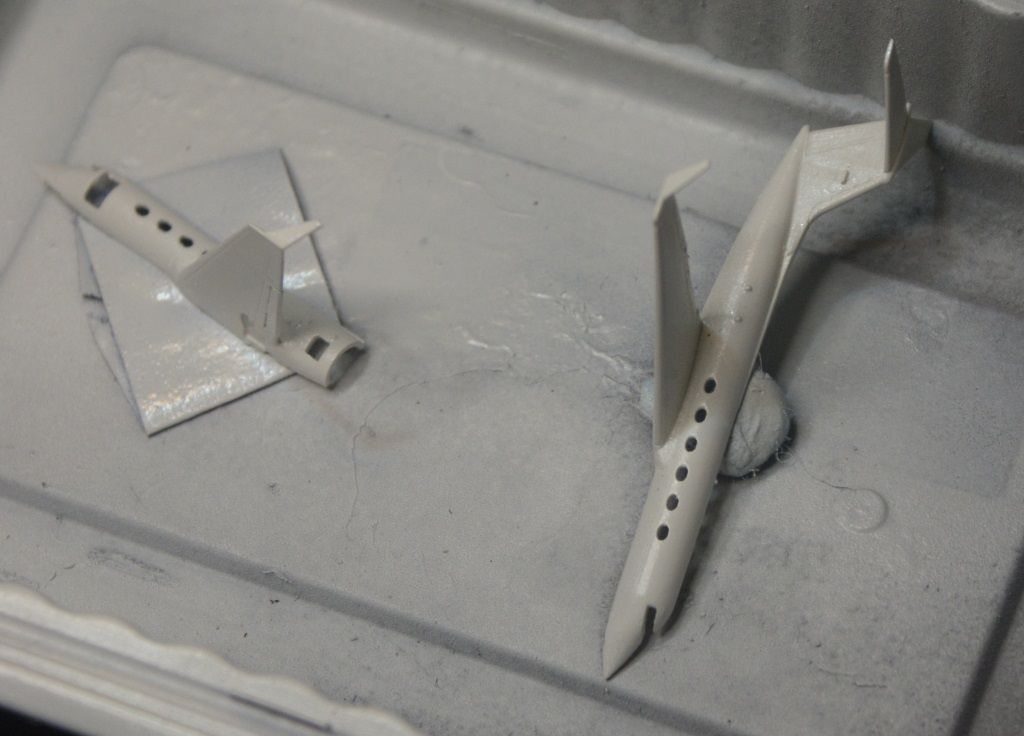
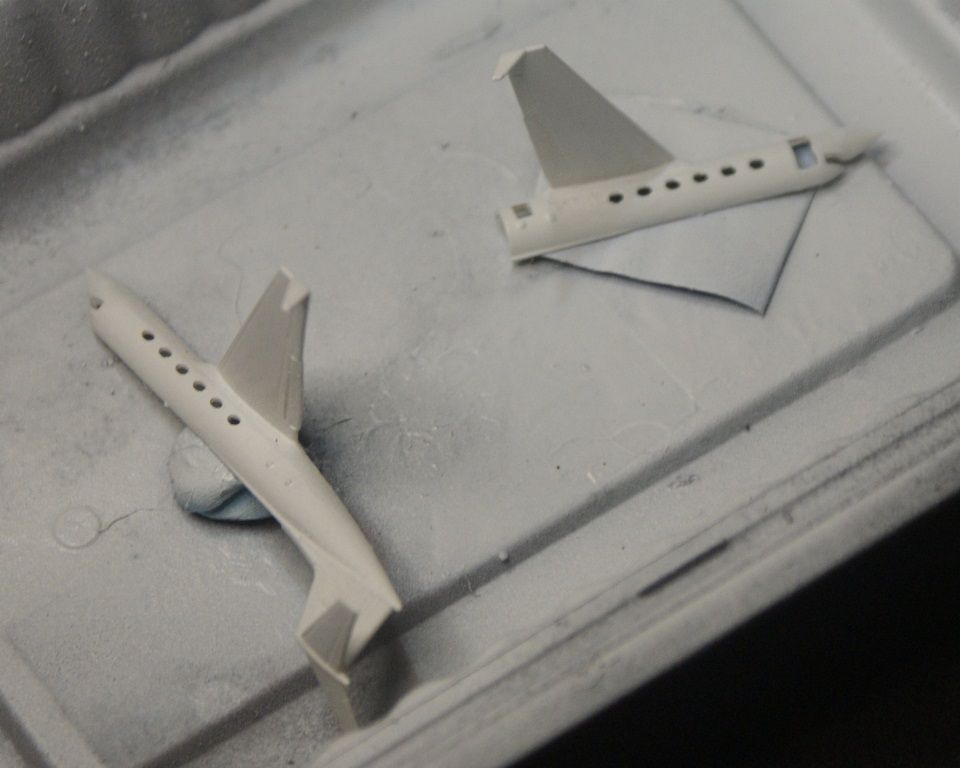
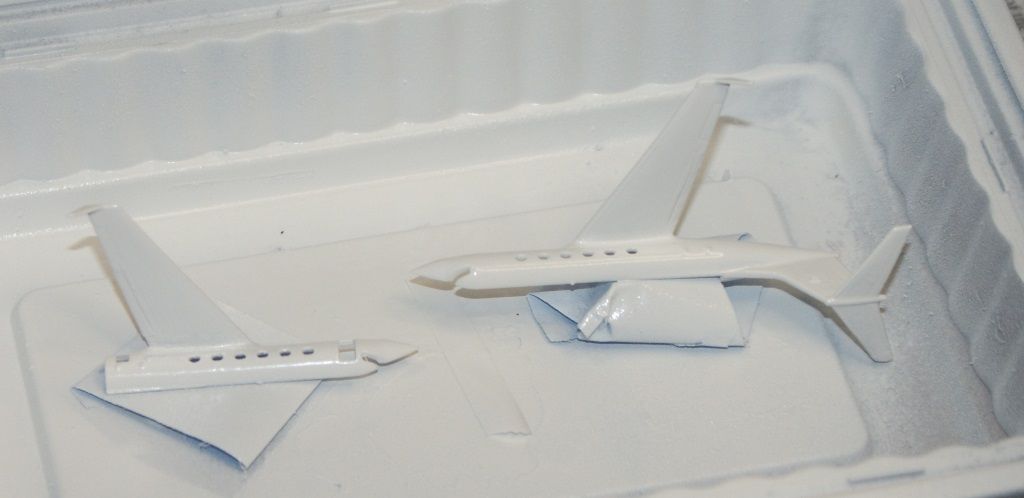
The airframe was sprayed with Krylon Colormaster gloss white. I put on a fairly thin coat, and didn’t completely cover a few spots, but I think a little bit of sanding followed by another thin coat, should do the trick.
CHEERS!!!
For the passenger compartment windows, that should be easy: get some Testor’s Clear Parts Cement and Window Maker, and follow the directions to make windows. For the cockpit glazing, I’m thinking some thin clear plastic. Probably some clear plastic from some packaging would work wonders.
Nice work, so far. I’d love a larger scale G-II. I’ve flown one of those, as well as the turbo prop version, the G-I.
Gene Beaird,
Pearland, Texas
Thanks for the advice Gene!
Actually, when I said that “the unpainted parts in the picture are parts I won’t be using” in my last post, I wasn’t entirely correct. At the lower left of the first picture, you can see the “clear parts” fret that goes with the kit. I think I will at least use the canopy part.
As for the side windows, they are pretty dang tiny, so I was originally thinking along the lines you mentioned. However Ron said that he was going to try to use Quick Water, and I thought it sounded like a good idea, so I think I’m going to try it as well. The procedure he recommended is as follows: After painting the exterior and allowing it to set several days, I will apply scotch tape to the exterior, mix the Quick Water and dab it in the window openings from the inside. After it sets for several days, I will assemble the two halves, with the interior inside of course, then fill and sand the gap. A light coat of paint to cover the parched areas will follow.
I will keep you posted.
I tried some larger test windows using this “Quick Water” method and it worked well with the windows being crystal clear and holding their shape so I’m betting it will work nicely on this tiny scale. The Testor’s window maker worked too but remained a little soft. Using the Quick Water I was able to make the windshields the same way.
Ron
Hello Everybody!
Well, I thought I was ready to do the windows, so I applied Scotch tape to over the openings. Looking at it under a magnifying light though, I noticed some holidays in the paint job, so I decided to give it another coat of paint. It’s a good thing that I did, because when I took the tape off, the paint peeled off in a couple of places on one side. So I sanded the heck out of the parts and sprayed them for the third time. The results are very satisfying, although now I’m a little leery of putting Scotch tape on it again. The other side did fine though, so maybe it just peeled off because the paint job was crappy.
CHEERS!!!
Good Morning Everybody!
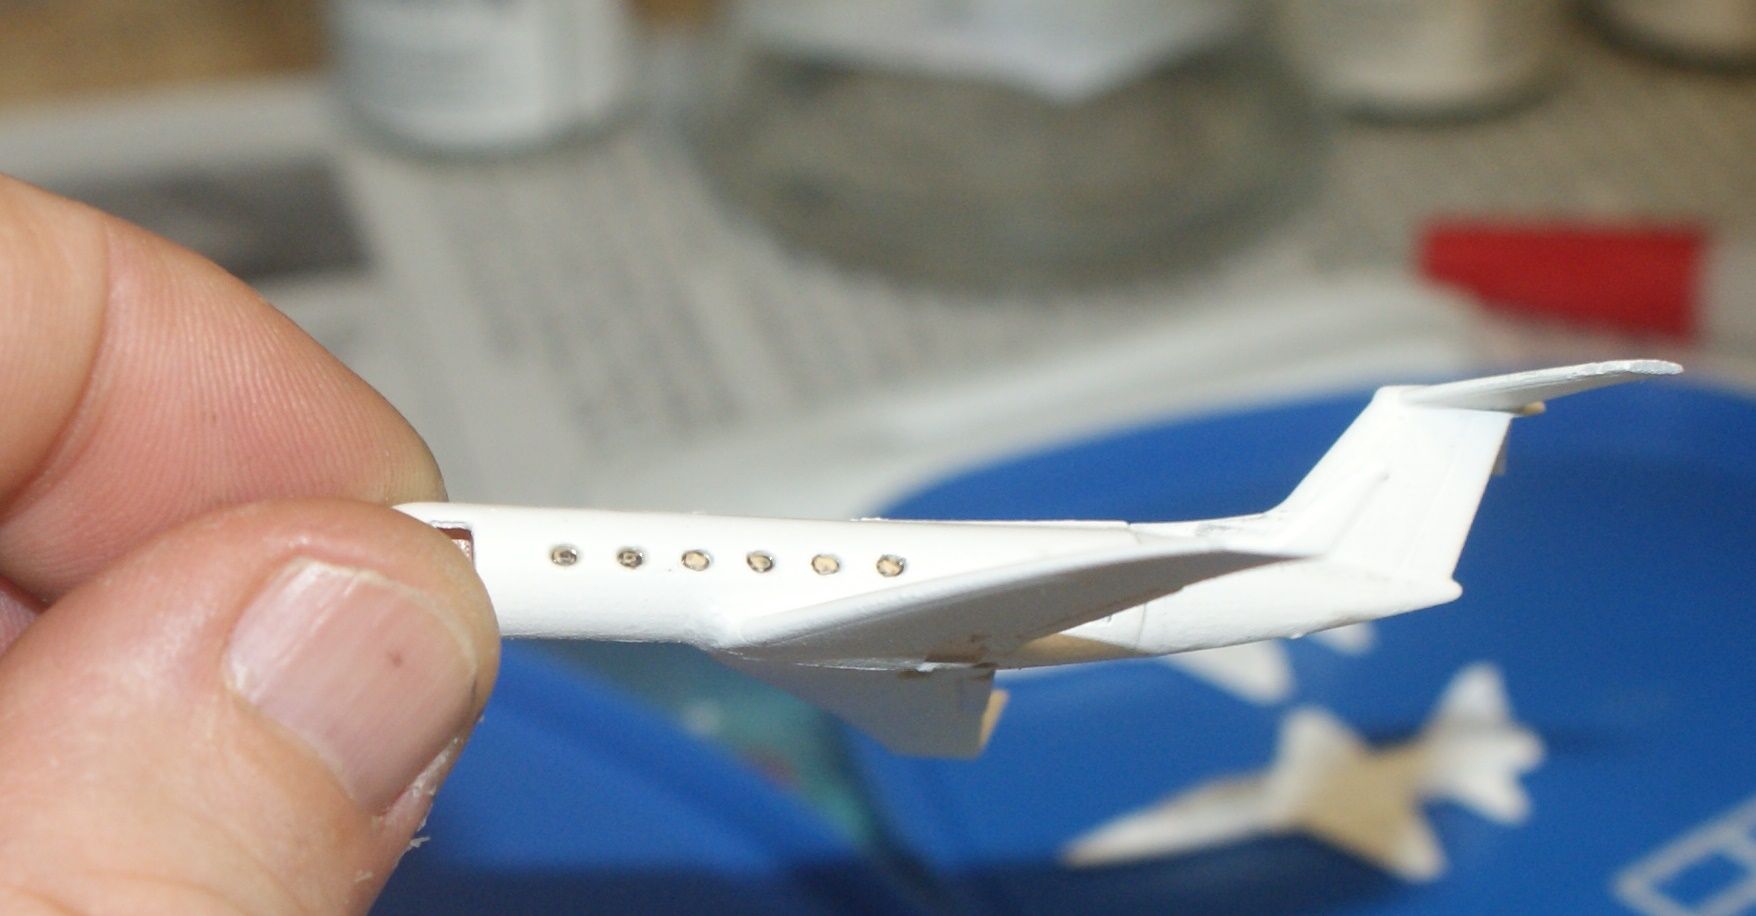
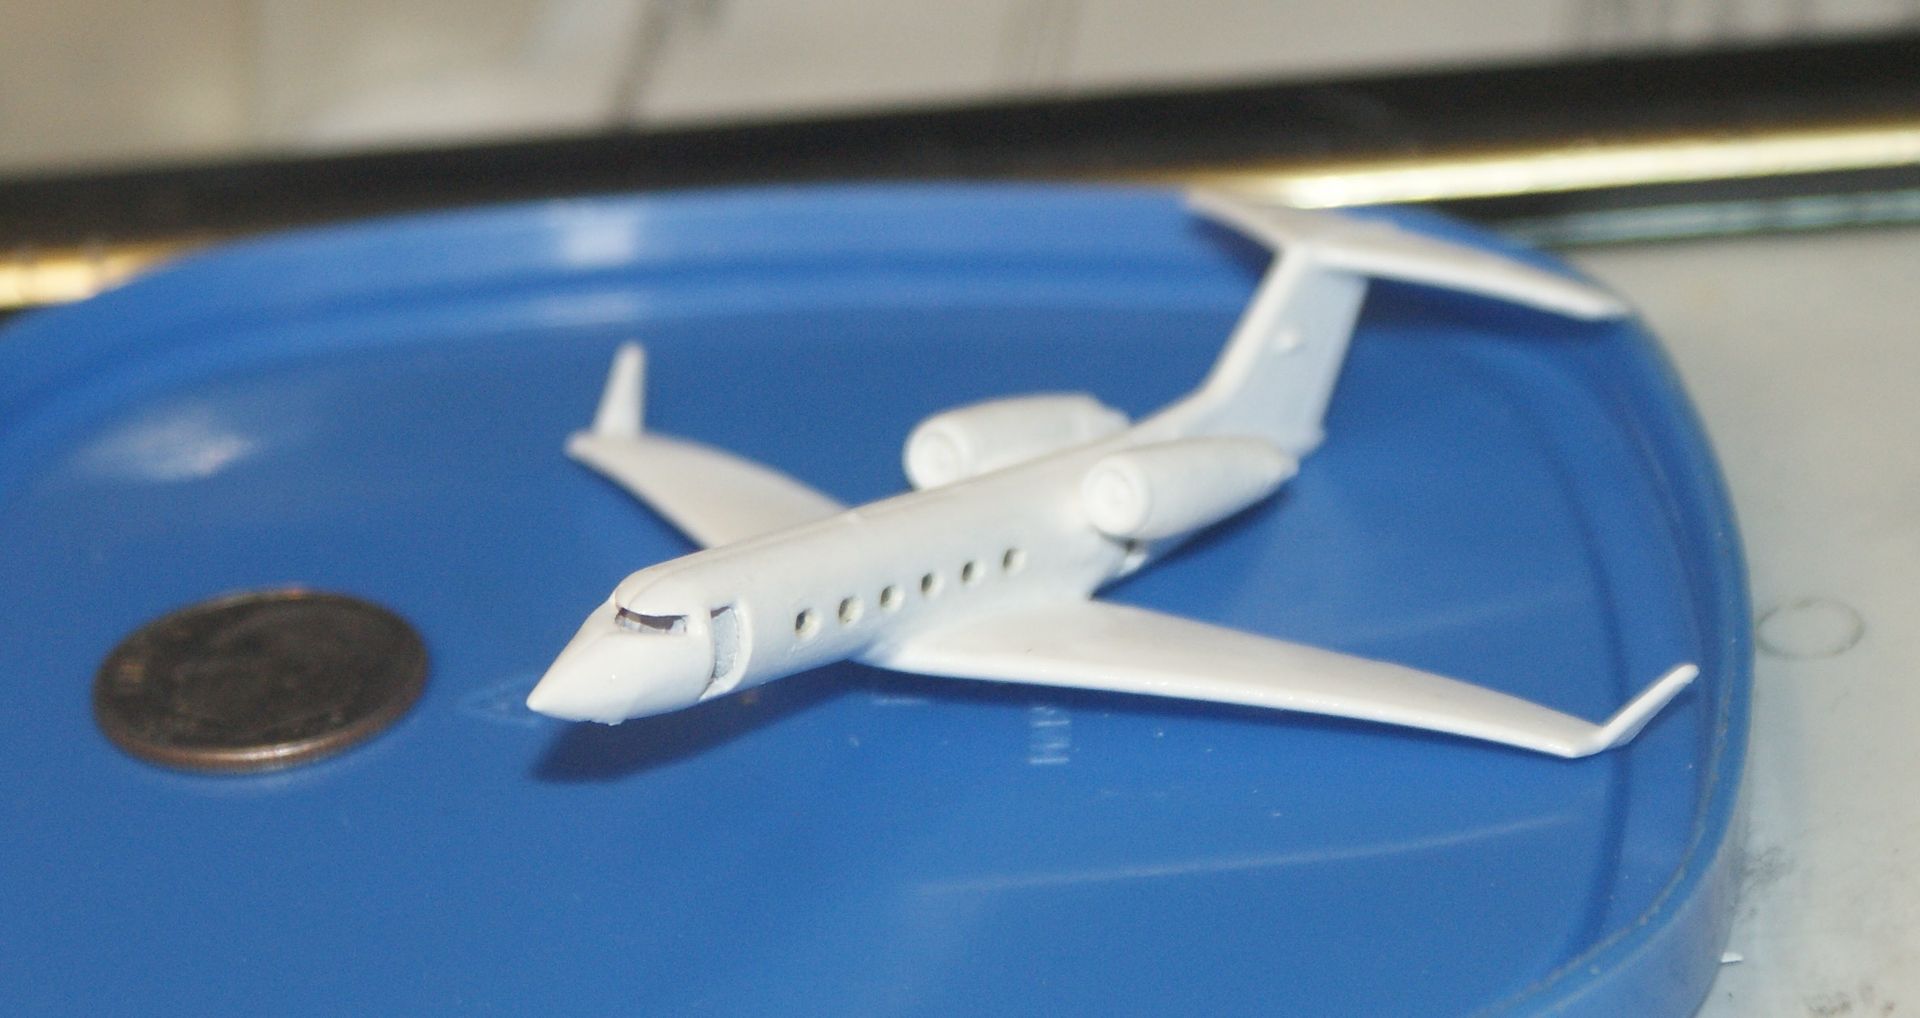
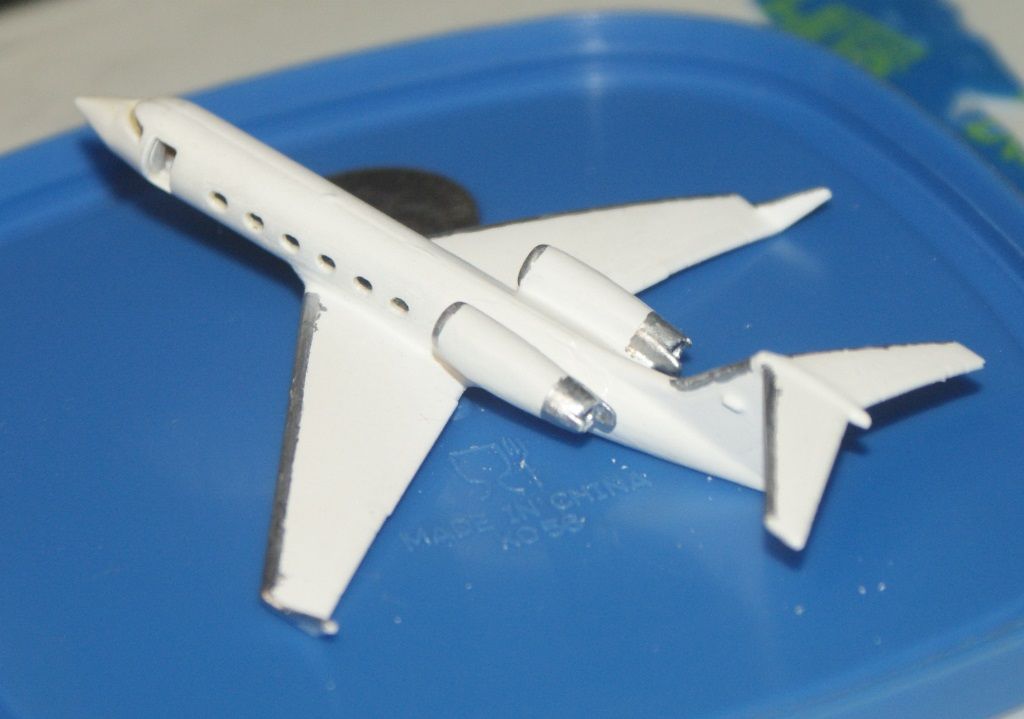
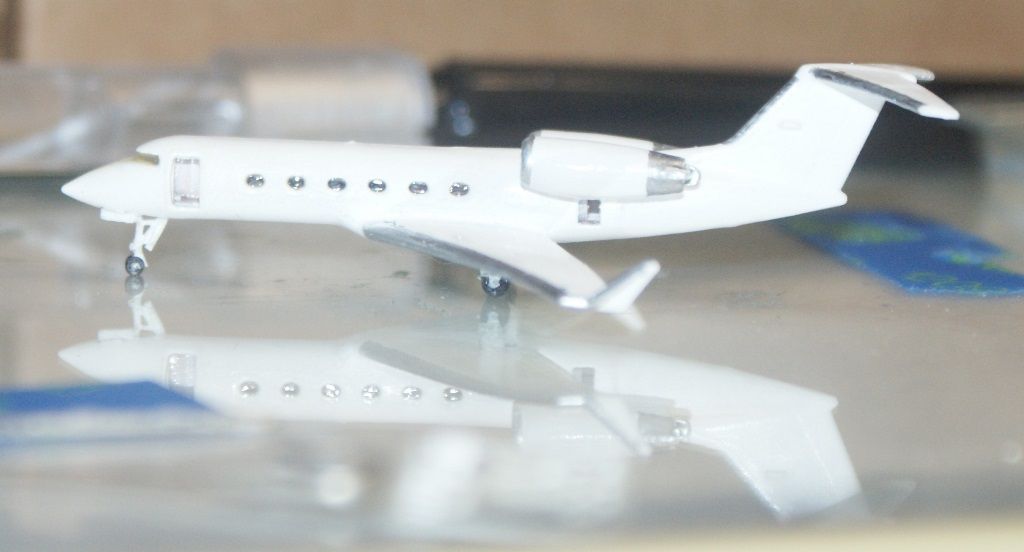
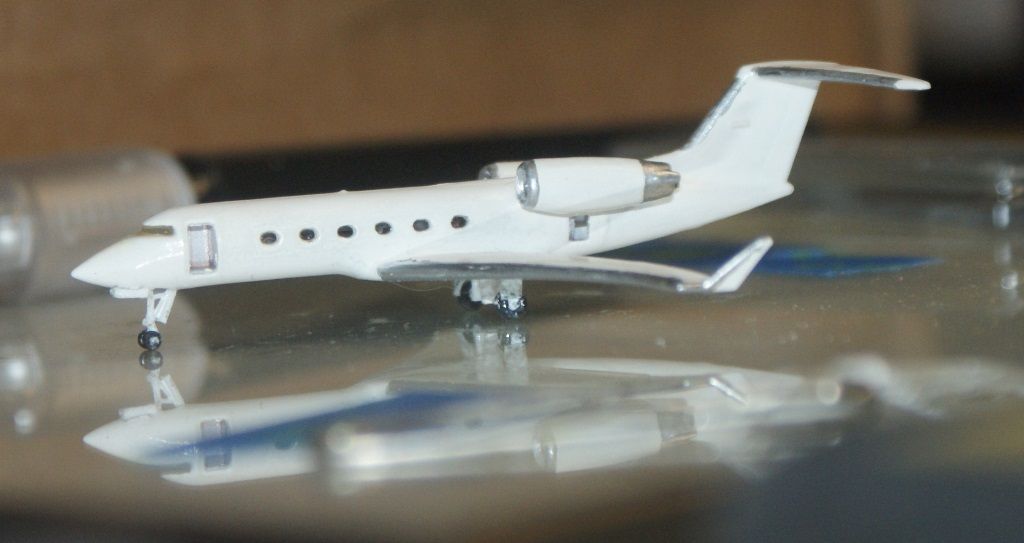
Well guys, I decided not to use the Quickwater. Not because of the tape issue, but because the packaging says that you have to use it all in one setting, and there is a lot of it. Since it cost almost $20, I returned it, and opted for the Testor’s Clear Part Cement and Window Maker, using a straight pin to apply it, and I am very pleased with the results. You can’t even see it unless the light reflects off of it. If you look closely at the third window on the starboard side part, in the first two pictures below , you can see it slightly, as this window had not dried yet.
After the windows were dry, I put the interior in place, and glued the two sides together. The pieces fit together well, although I did have to apply pressure when I was gluing it to get the edges together.
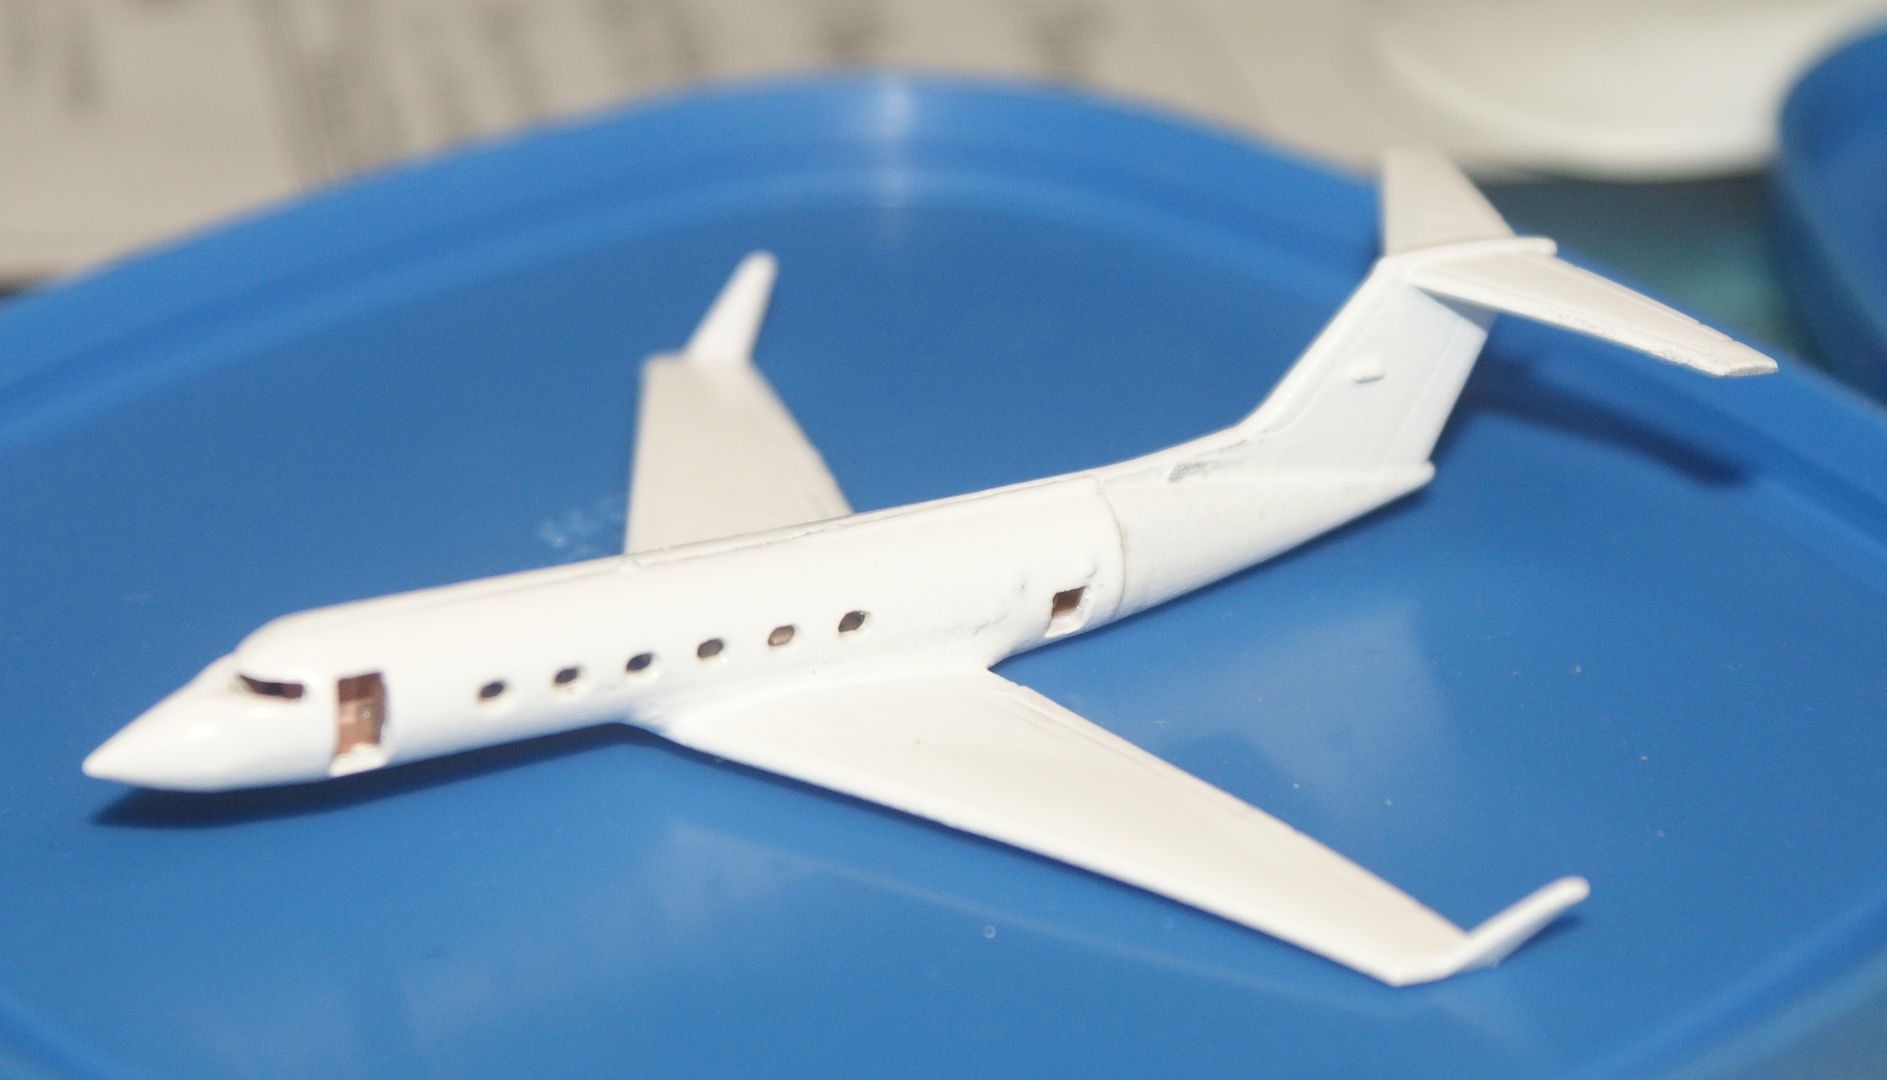
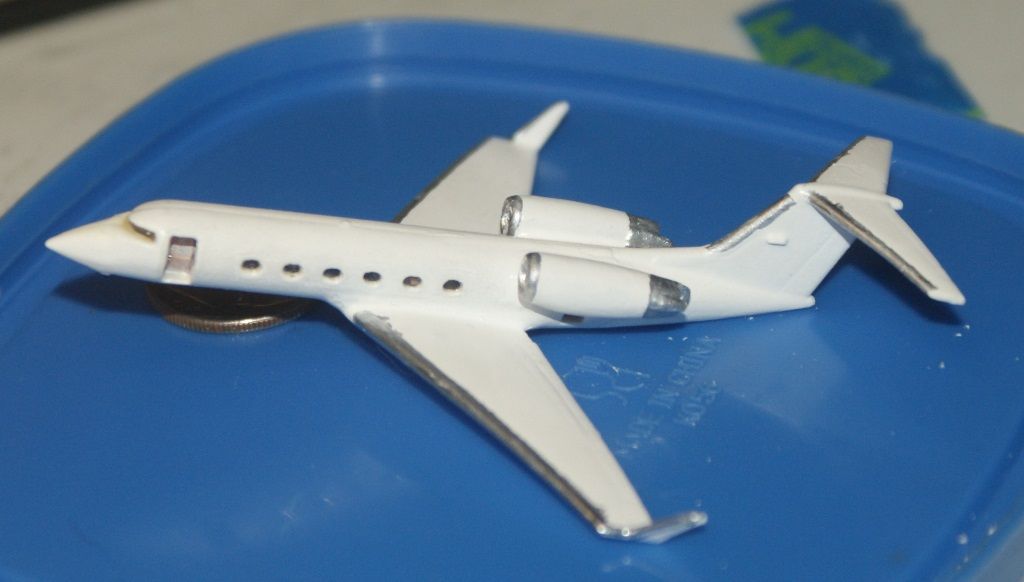
Here is a picture of the windows, with the light reflecting off of them. At this scale, I would say that the window maker is very effective, and like Ron pointed out, the best thing about it is that if I “break” a window, it is easy to replace.
Now I have some seams to fill. I’m thinking that at this scale superglue might do it. Any thoughts?
Hello There;
I have a question for you .This is a great plane , But , I am partial to Dassault Aviation’s " Falcon 20 and 30 series " aircraft ,used to fly them too .What would the Gulfstream cost ? You can message me offline if you will .This looks fascinating . Tanker - Builder
UPDATE 37
Good Evening Guys!
I masked the windows with 3M EdgeLock tape and sprayed the seams, trying to avoid the window areas as much as possible. Under normal light, with the naked eye it looks great. Under a bright light, you can barely see the seam. Under a bright light and with a telephoto lens, the seam is apparent, as you can see in the pictures below.
I think one more light coat will do it, except perhaps the vertical seam at the aft end. In any case, I’m going to put the engines on before I do any more painting.
UPDATE 38
Hi Again everybody!
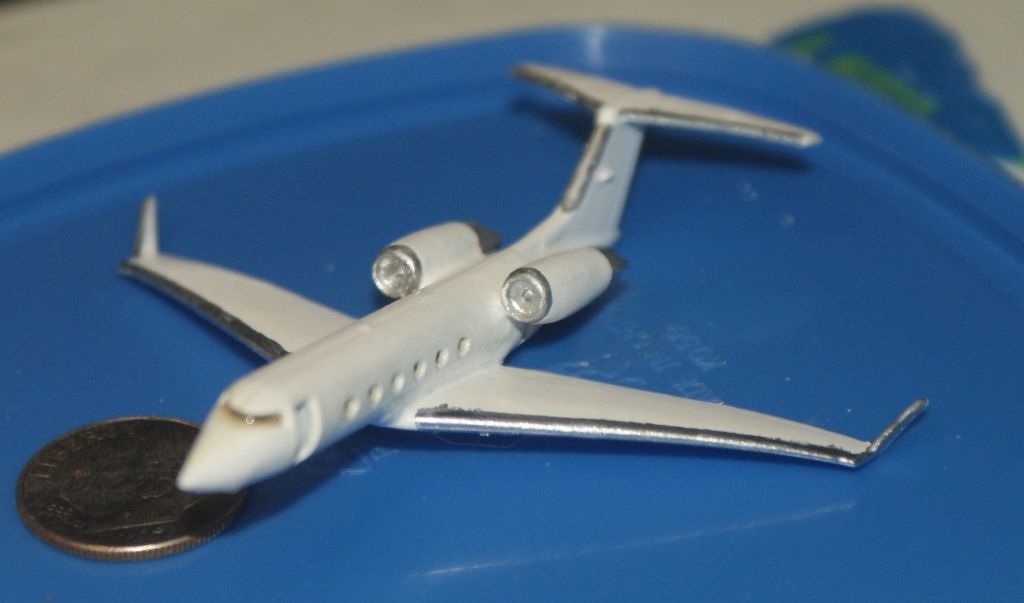
Well, I added the engines and gave it another thin coat. You can still see the seam at the nose, but I didn’t spray there much so I might give it another shot. On the other hand, you can’t even see it without strong light and serious magnification, so I might leave well enough alone. It’s looking pretty good to me.
UPDATE 38
I put the last coat of the base white on the G-IV last night, and under bright light and magnification, the seam is evident, but the very fine lines that appeared when I removed the masking tape were easily sanded away. I’m not thrilled with it though because I put too much paint on it so that the detailing doesn’t show up very well. Oh well, hopefully I will get better at it, and it doesn’t look bad.
Oops! I posted to the wrong spot. Sorry!
I’ll post something later tonight though.
UPDATE 39
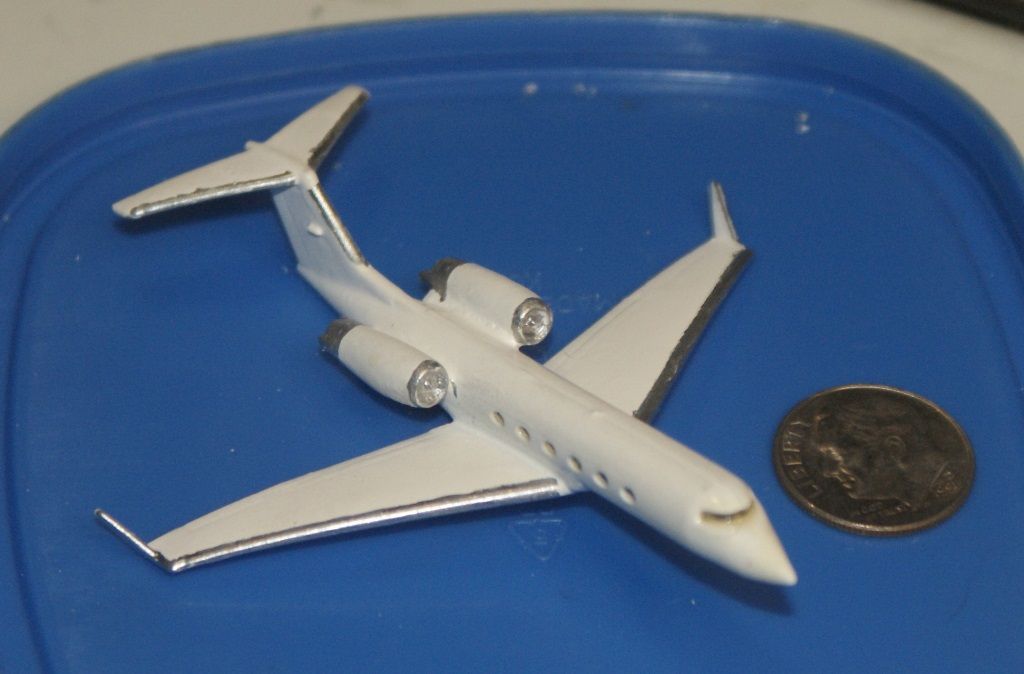
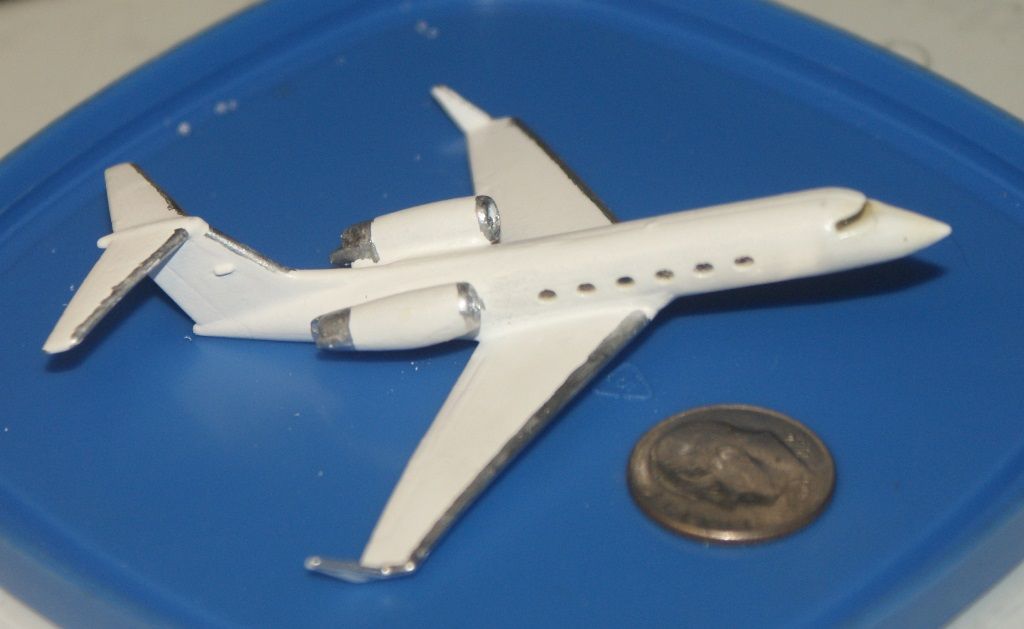
I didn’t get to post it last night, but I painted the silver bits on the G-IV, over the last couple of days. I didn’t do a great job, but it is what it is. I also tried the window maker for the windshield, but it didn’t turn out so good. I’m not sure what I was thinking with that move. Not a good idea.
UPDATE 40- 8/30/2014
Good Morning Fellow Modelers!
I still haven’t decided what to do about the paint smudges. I’m thinking I’ll just chalk it up to experience again and keep going. I can always come back and redo it at some point in the future. In any case, I added the gear to the G-IV. It didn’t go smashingly. Somehow the one on the right side got askew. It must have shifted, or gotten bump as it was setting, because it was good at the tack stage. It’s set good now though and I don’t think I could get it off in one piece. I’m going to run out of chalk.
Right now, the model doesn’t like to sit flat as there is more weight aft of the center of gravity, so it wants to pop a wheelie. I’m going to hold off on the main access door/ramp and luggage access door until after I put the decals on.
UPDATE 41
Hi All!
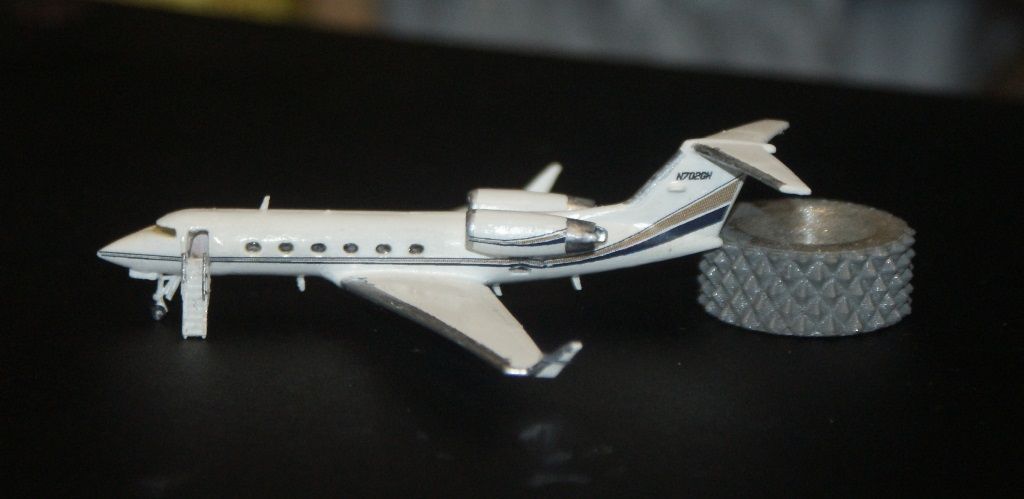
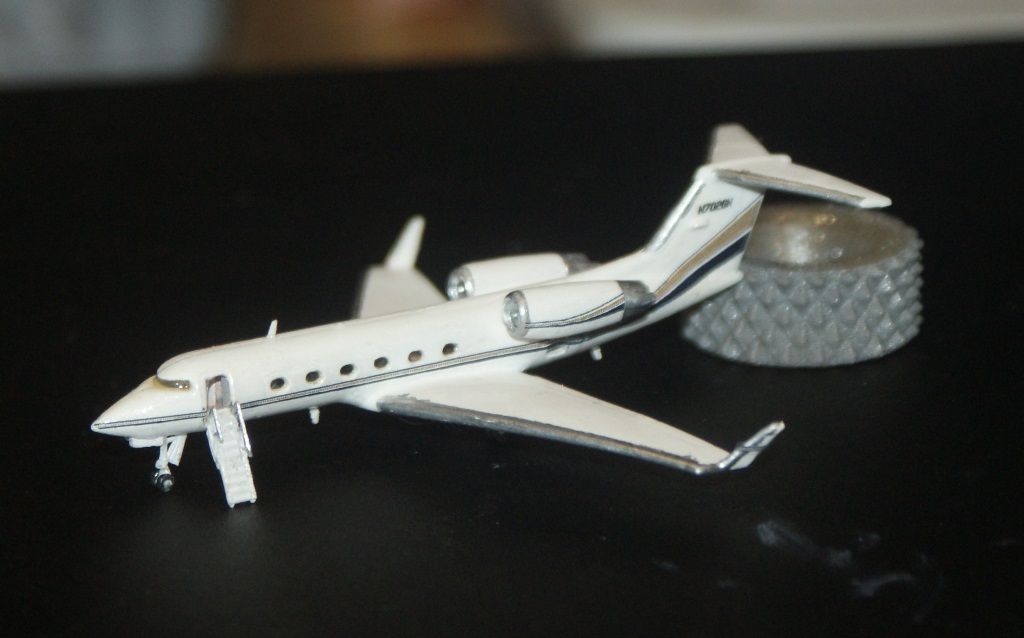
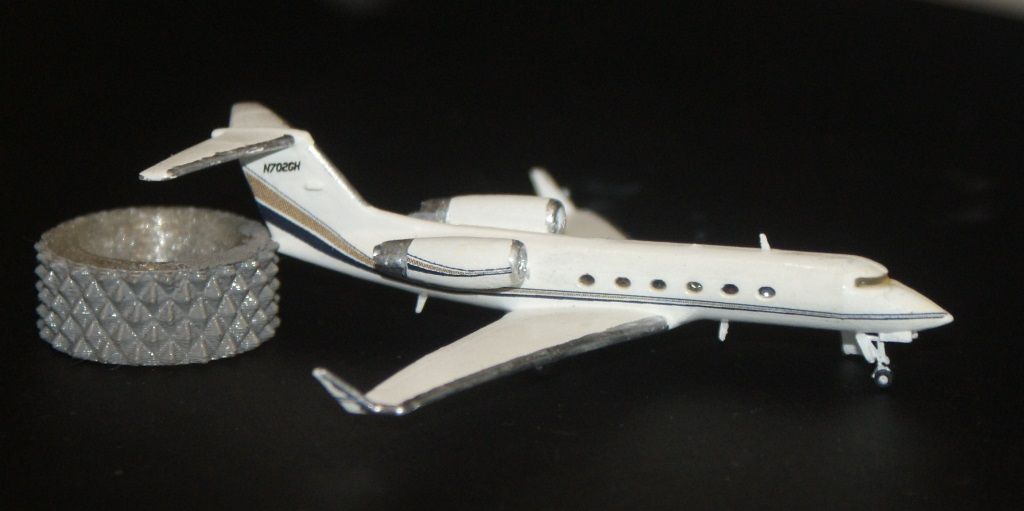
It’s been a busy month, so I haven’t gotten a lot of modeling done, but I did add the decals to the G-IV. The model still “pops a wheelie” so it supported with a plastic nut for the pictures. I am mostly happy with it, but looking at the pictures I realized that I still have some small decals to add to the top of the wing, nor have I cut the decal out of the luggage compartment doorway and added the door. Other issues include a ramp that is too steep, which is probably a result of me not getting the gear completely into the recesses, and the fact that the wing tips are sagging, probably due to the material used in 3-D printing.
For more pictures of the G-IV, in position in the diorama I’m making, go to this link.
http://cs.finescale.com/fsm/modeling_subjects/f/19/t/161594.aspx
Way too cool! I just bought a kit. Can’t wait to get started. I actually fly a G-IV based in Van Nuys and have seen this airplane quite a few times. A couple questions for Rdutnell…
Were the decals provided or did you have to print them yourself? The website mentions a decal file.
What glue do you recommend for this material?
I saw the diorama you are working on and it is apparent you have some experience with this scale. Nice work!
Hi Everybody!
I haven’t done anything else on the G-IV, so there is nothing to update, but I want to thank artworks2 and Captain Crunch for your comments and answer your questions Captain.
First, C2D does not provide printed decals, but like you mentioned, a file is available for printing decals to fit the model. I’m glad you asked this question Captain, because I should have mentioned it. Although I have printed my own decals for previous models, in this case I did not. Because I am doing the diorama, I have a lot of decals, and some of them are white. Since my printer doesn’t print white (few do) and I don’t particularly like the paper decals (especially at this small scale), I was going to have to get some of them printed elsewhere, so I decided to just have them all printed.
Ron told me about Yuuichi Kurakami, so I worked with him via e-mail, and modified my files slightly to be compatible with the Alps printer he uses. I couldn’t be happier with the results. The decals printed nicely, and the material he uses is the perfect combination of flexible and stiff. I was surprised at how easy they were to work with, and how smoothly they went on. Plus, they were inexpensive and I would definitely recommend them. Let me know if you want his contact info.
Superglue. I use mostly liquid form, but in some case uses gel.
Some experience is right Captain, but not much. I started modeling about 3 years ago. I have built two and a half ships, two AC-47’s, and the display for my dad, that has 6 more models (including another AC-47), all at 1/350 scale, before starting on the diorama. It sure is fun!