Having built several of these many years ago when this kit was first released, I find myself building three now. All three will feature…
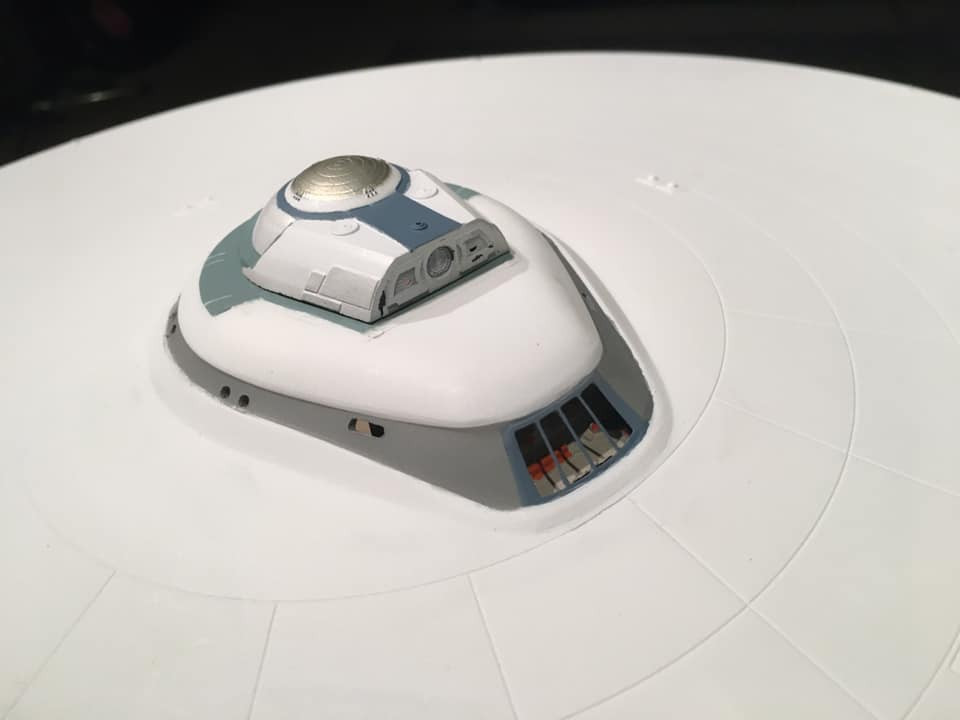
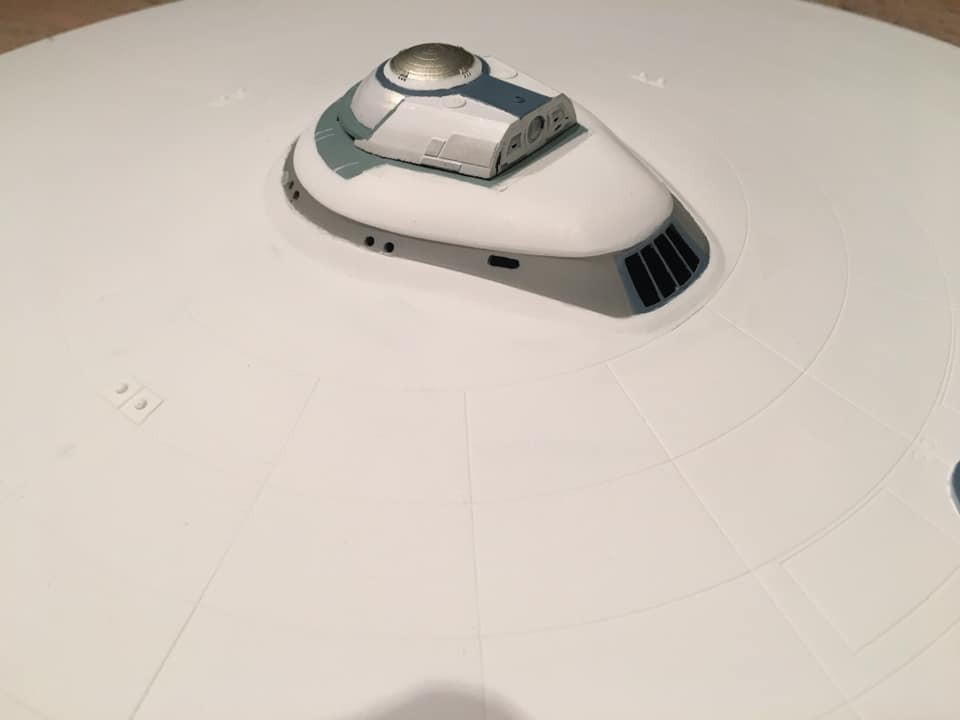
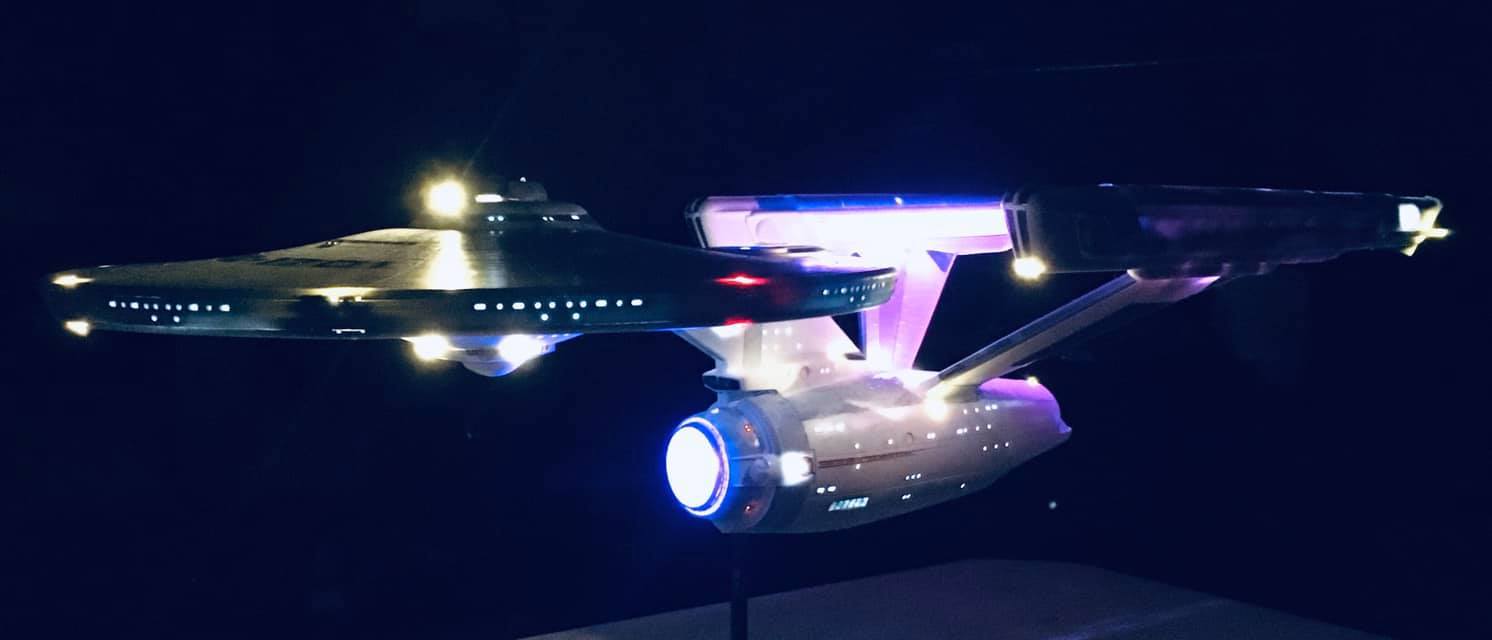
The Star Trek the motion picture paint scheme. Five colors(Four iredescent Gold,Blue,Green and Red) Plus the base color white.
Full lighting package.
On this build, the masking set from Orbital Dry-docks.
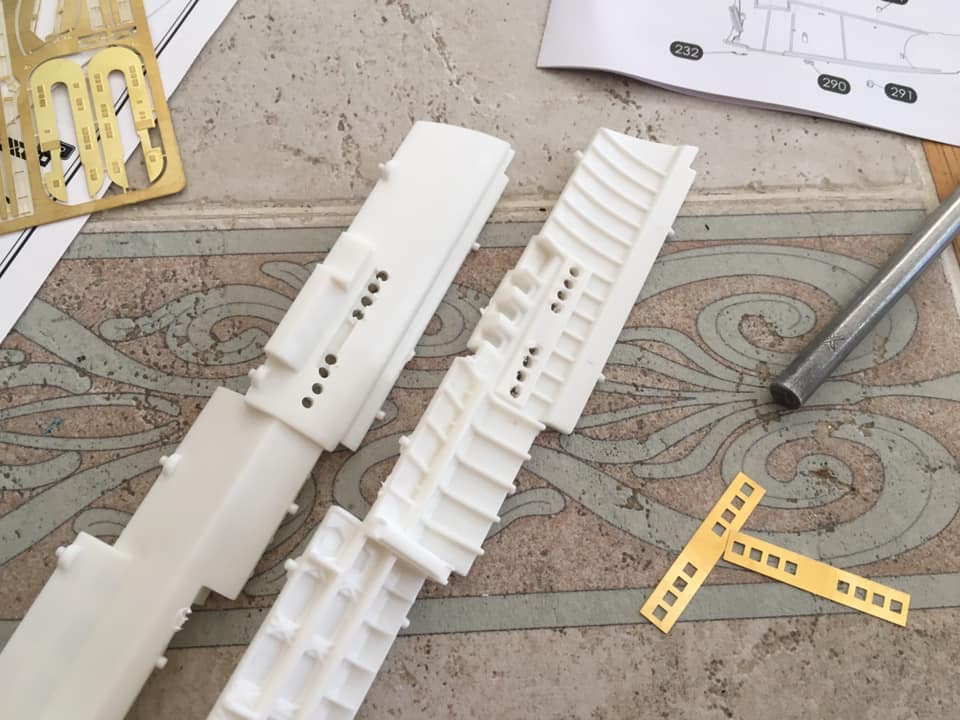
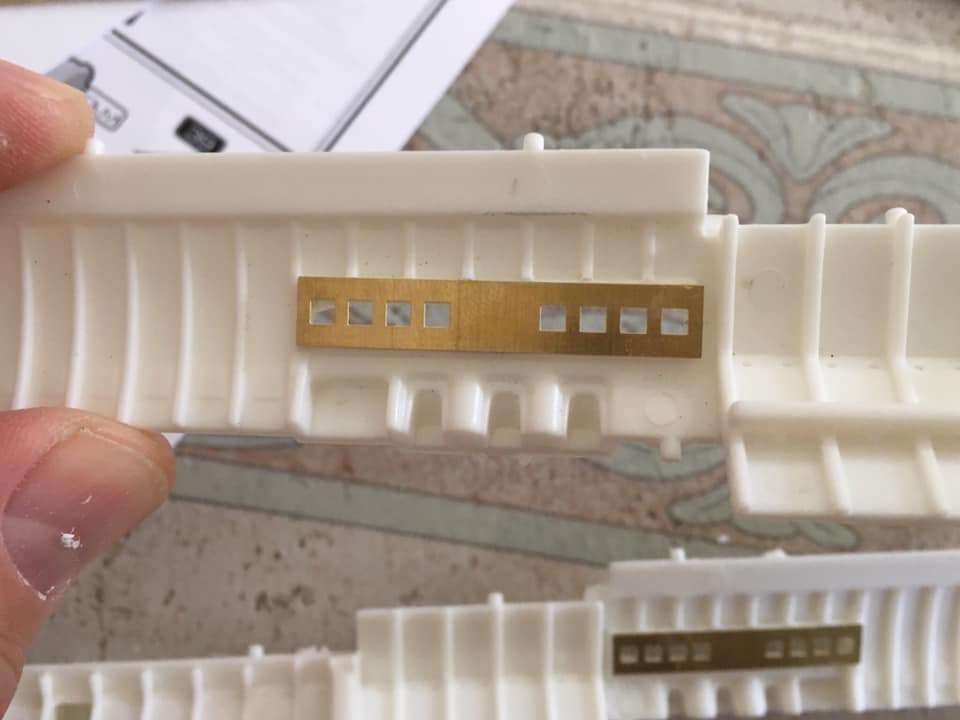
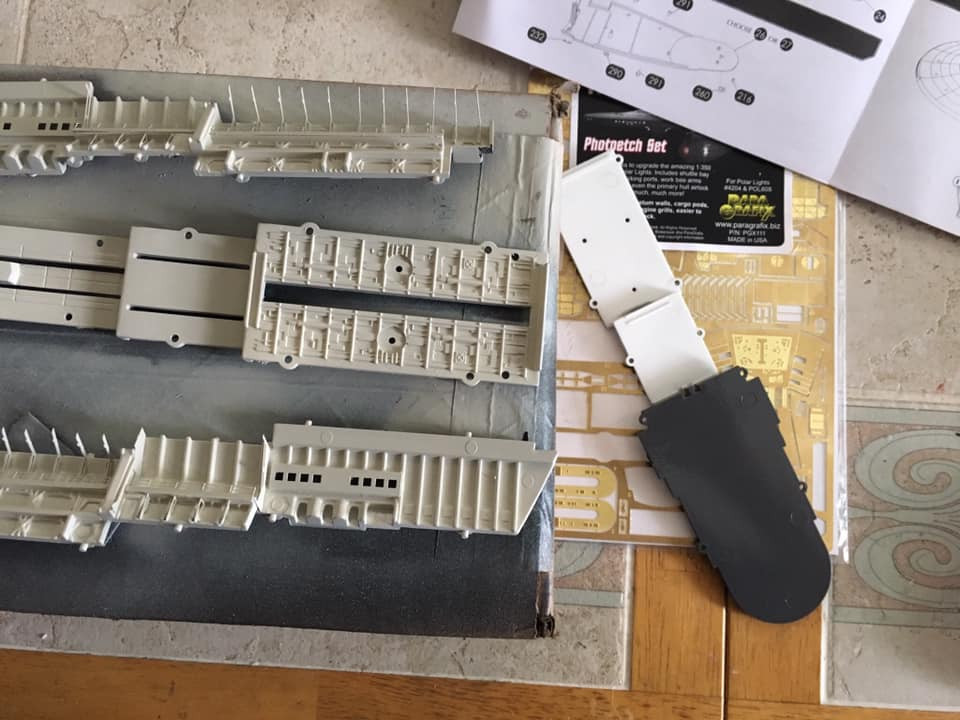
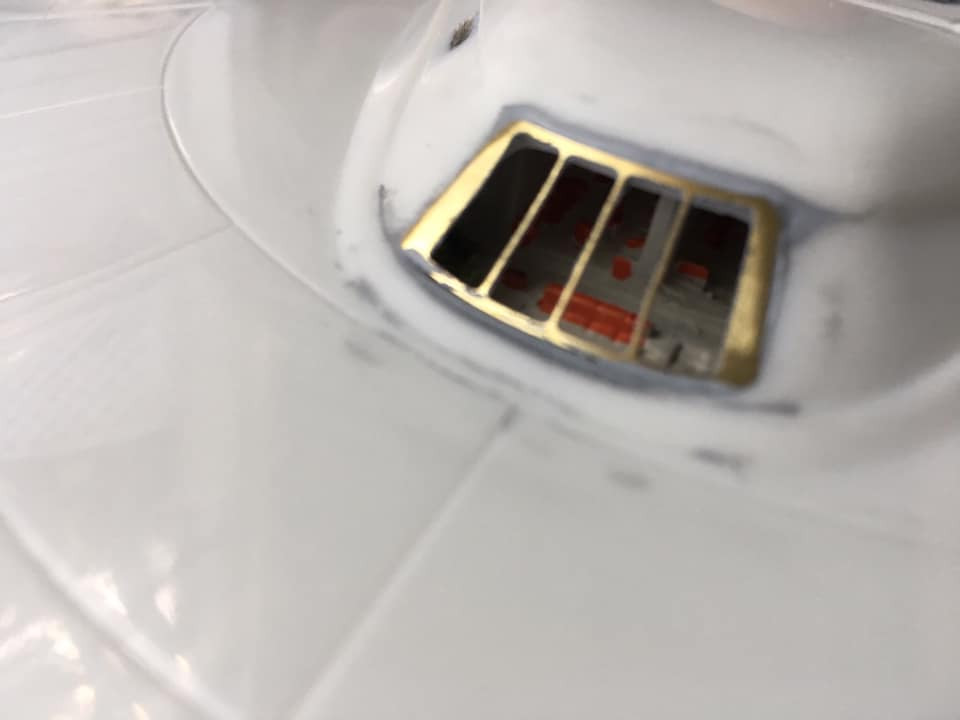
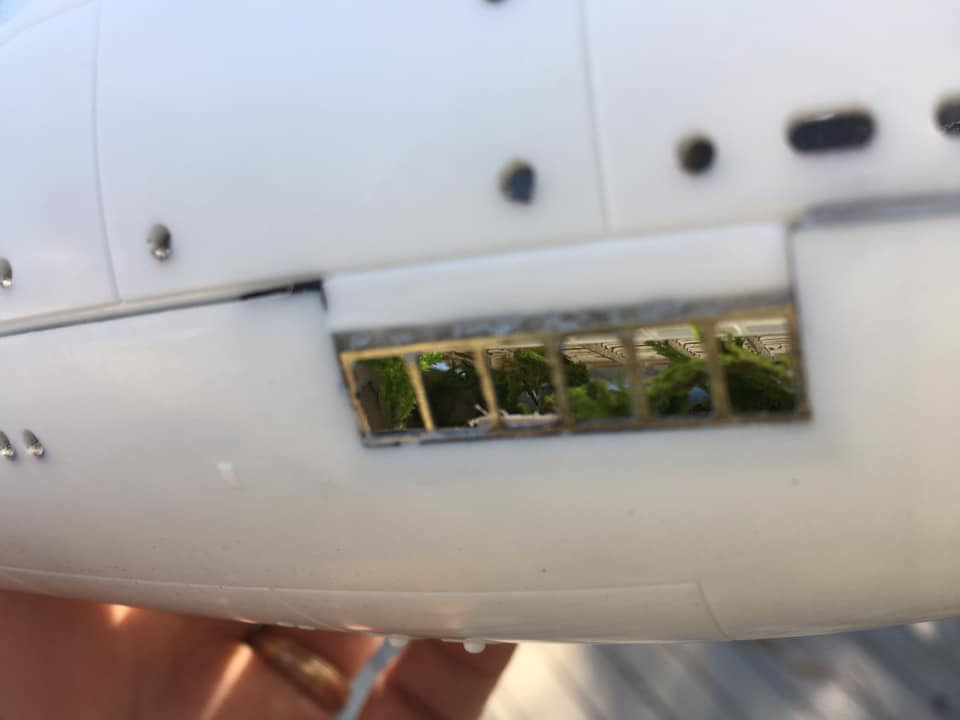
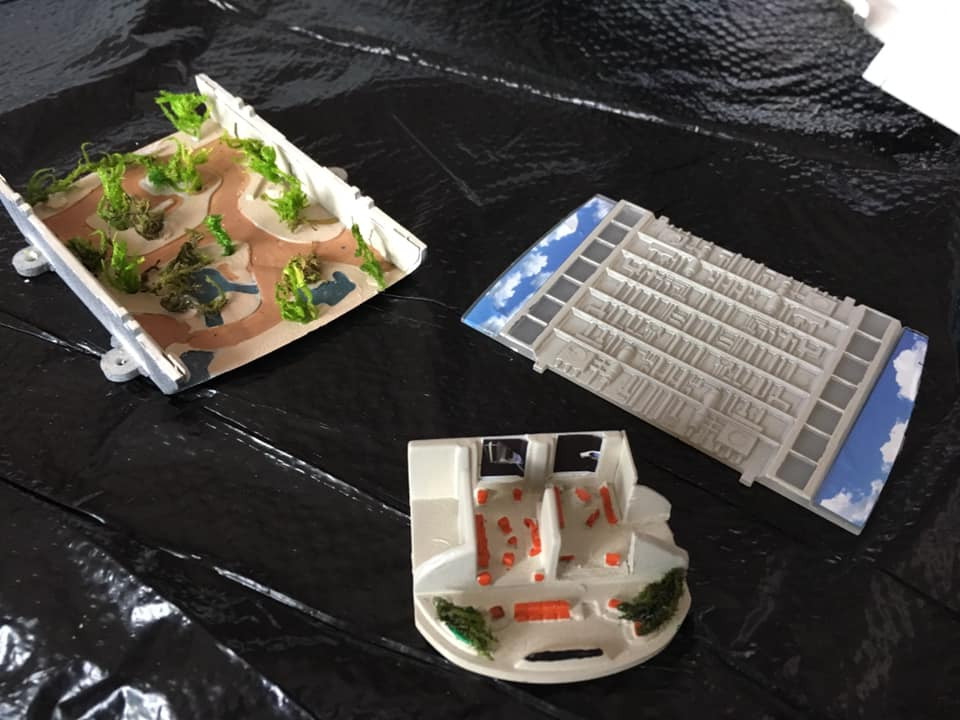
Photo Etch from Para Grafx.
Once I started the build I realized why I stopped building them. They are a major pain to build.These three will be my last.
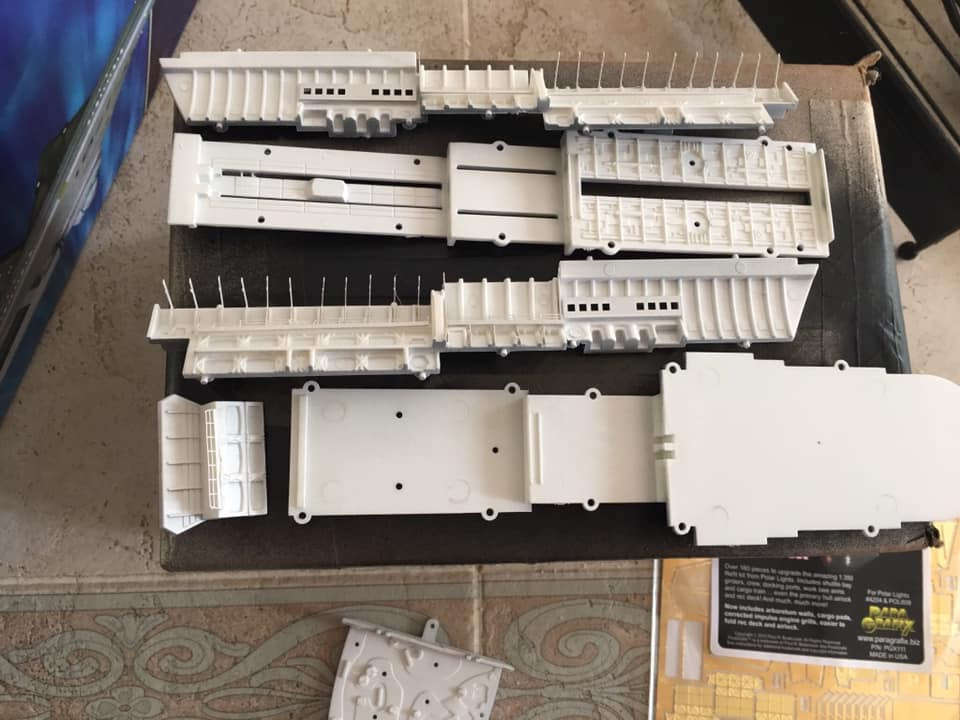
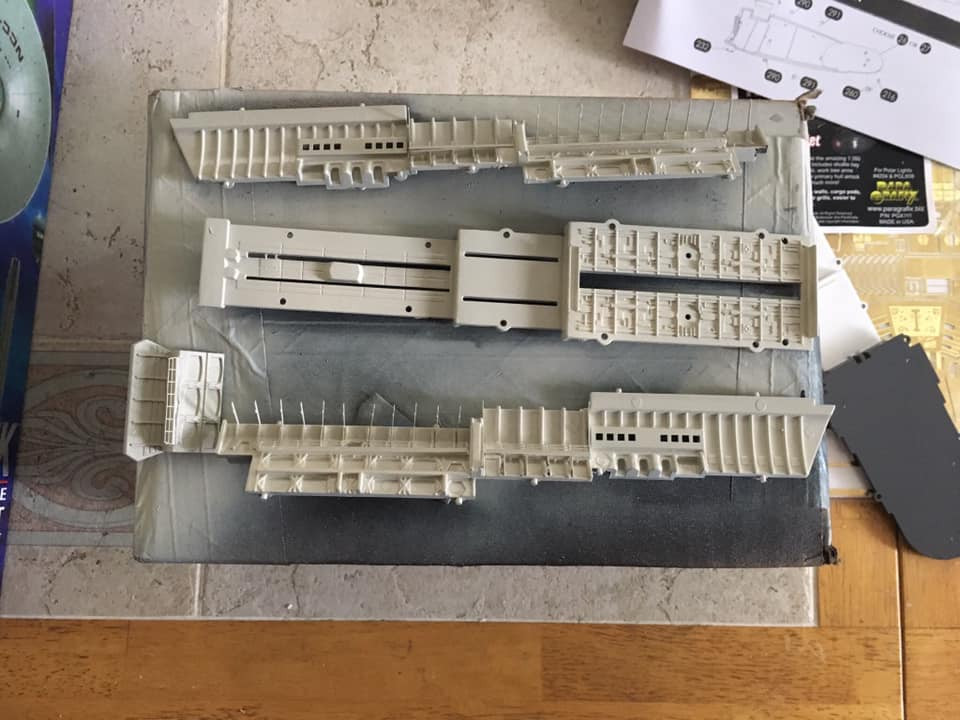
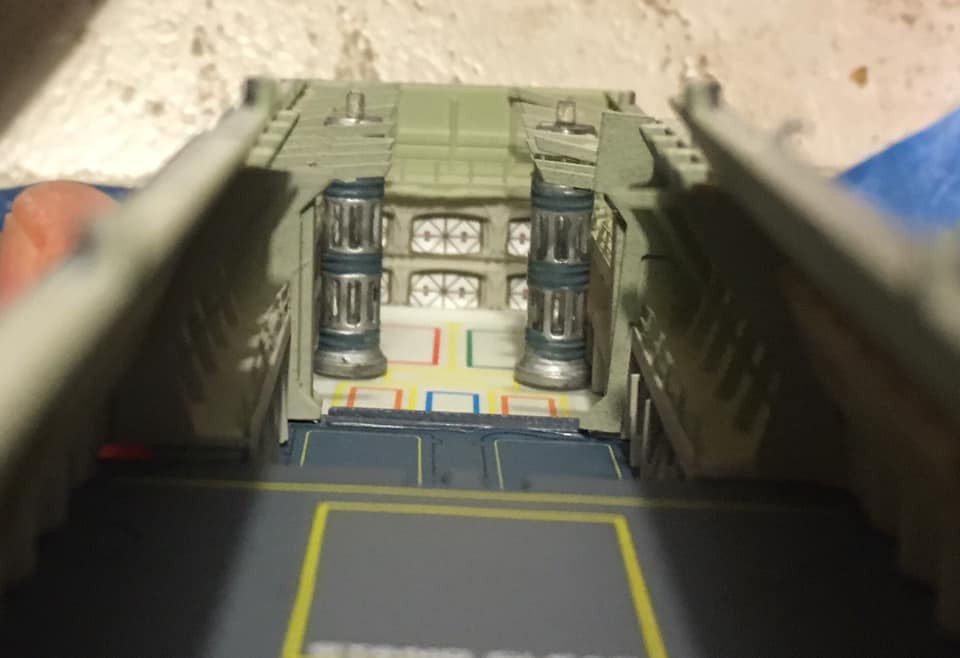
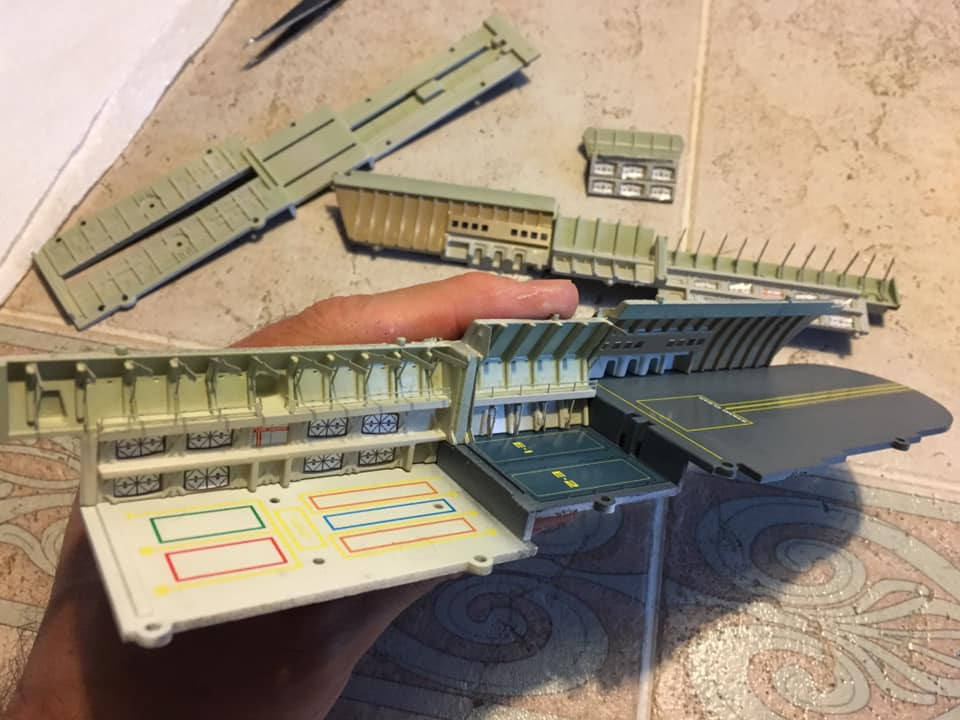
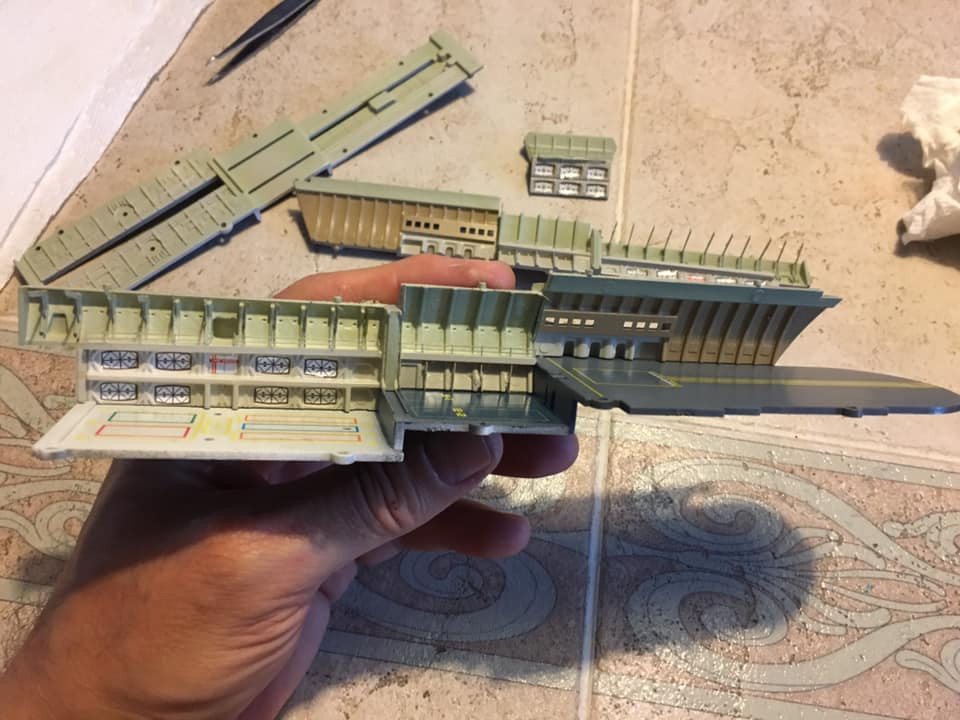
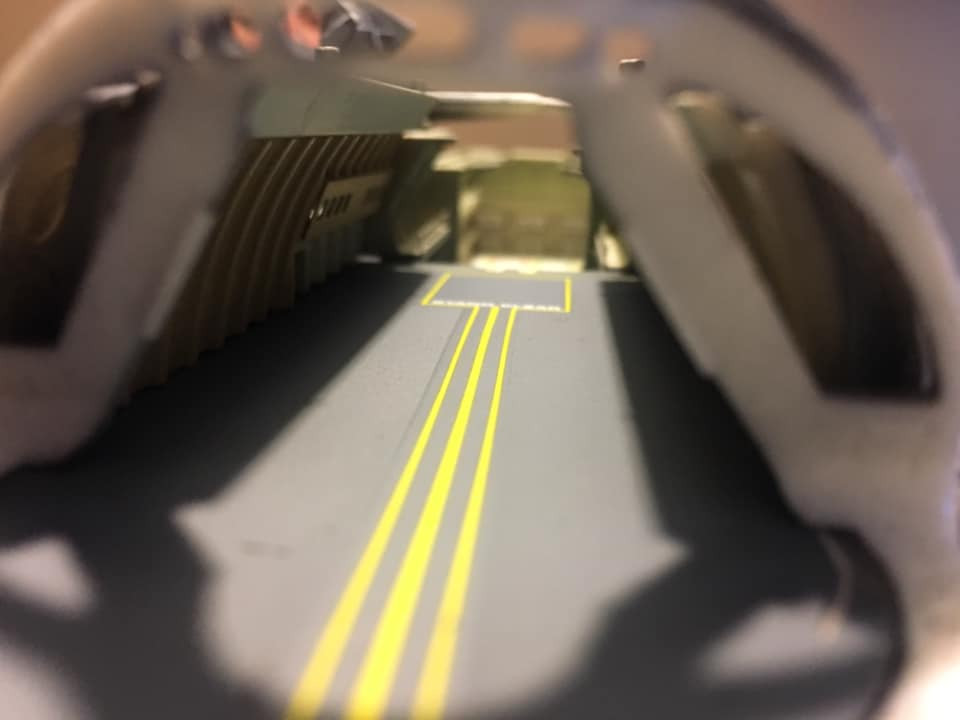
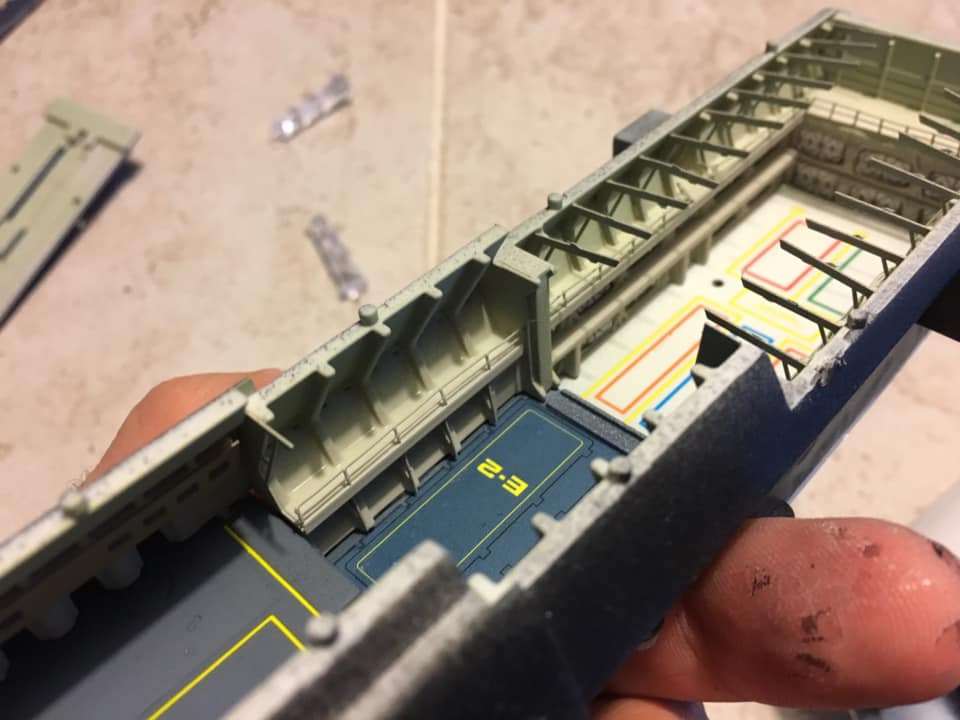
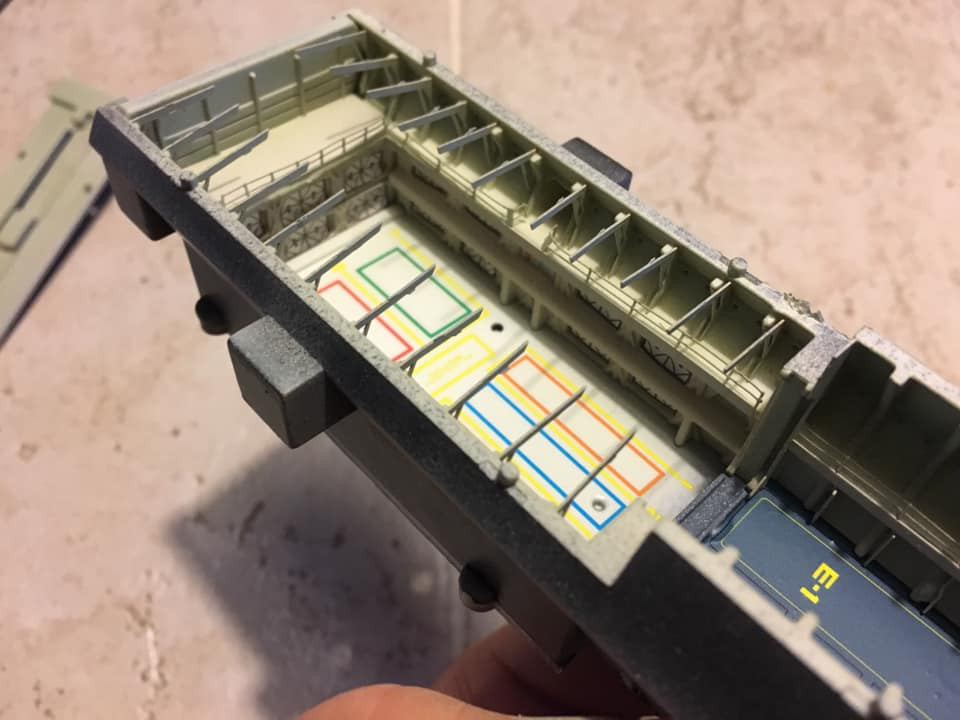
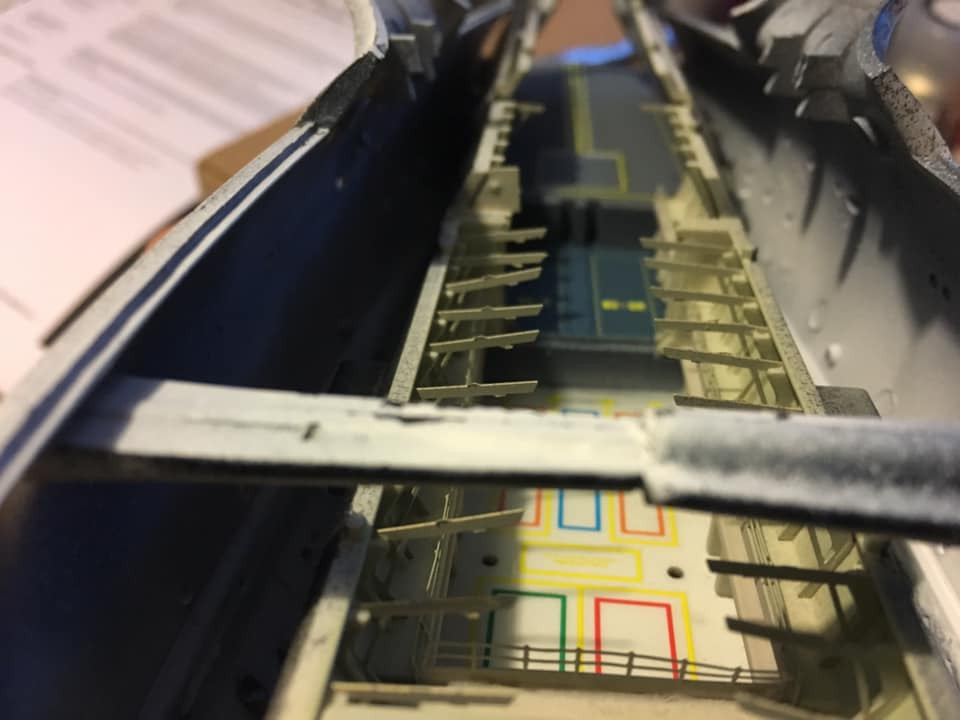
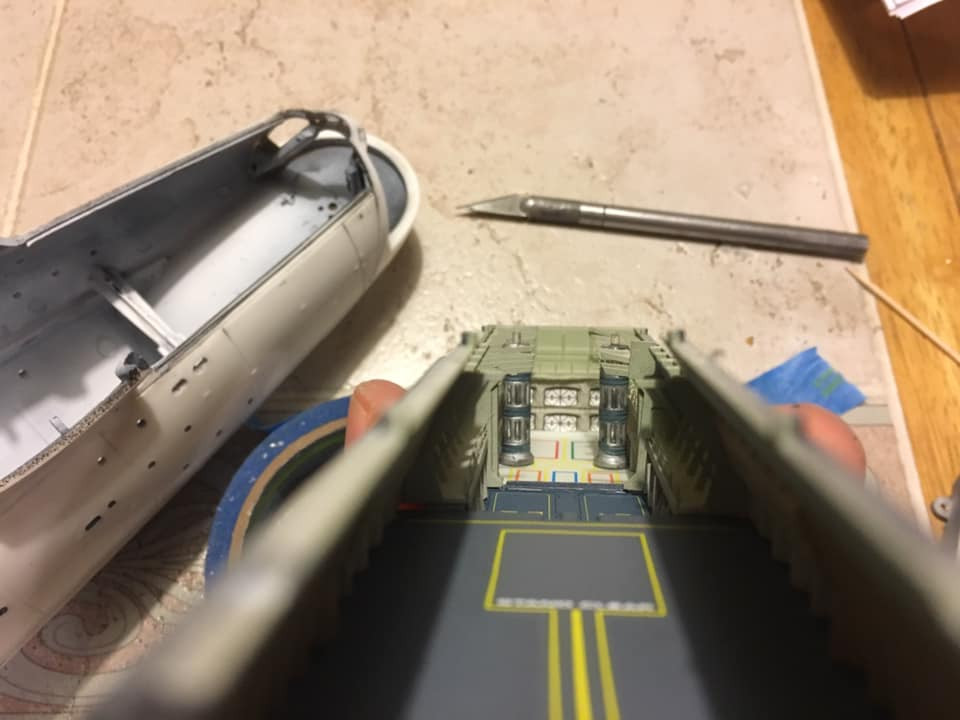
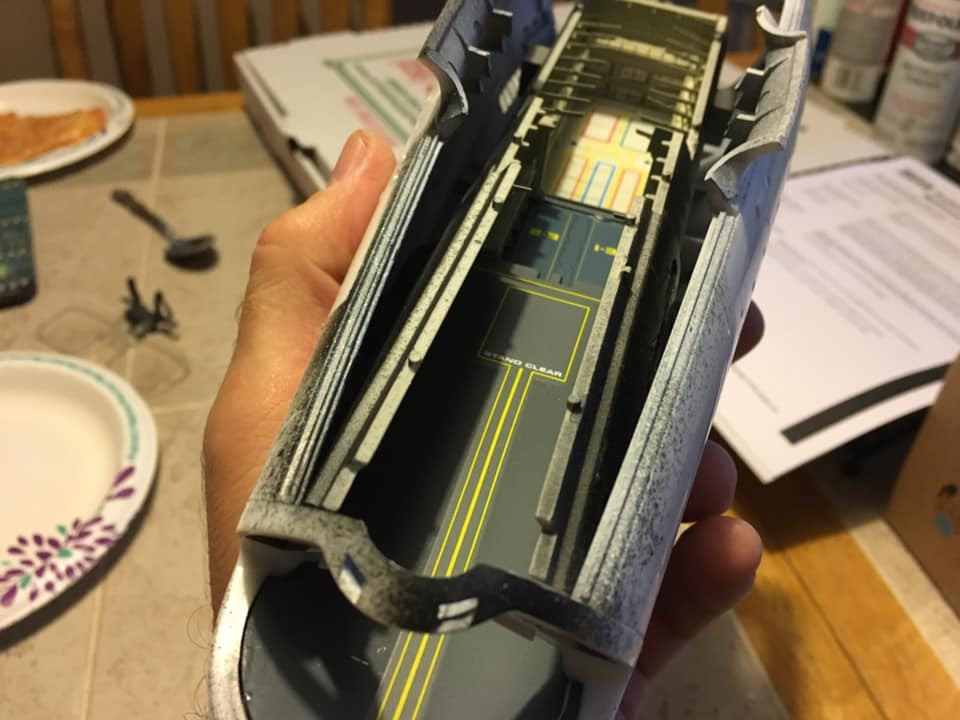
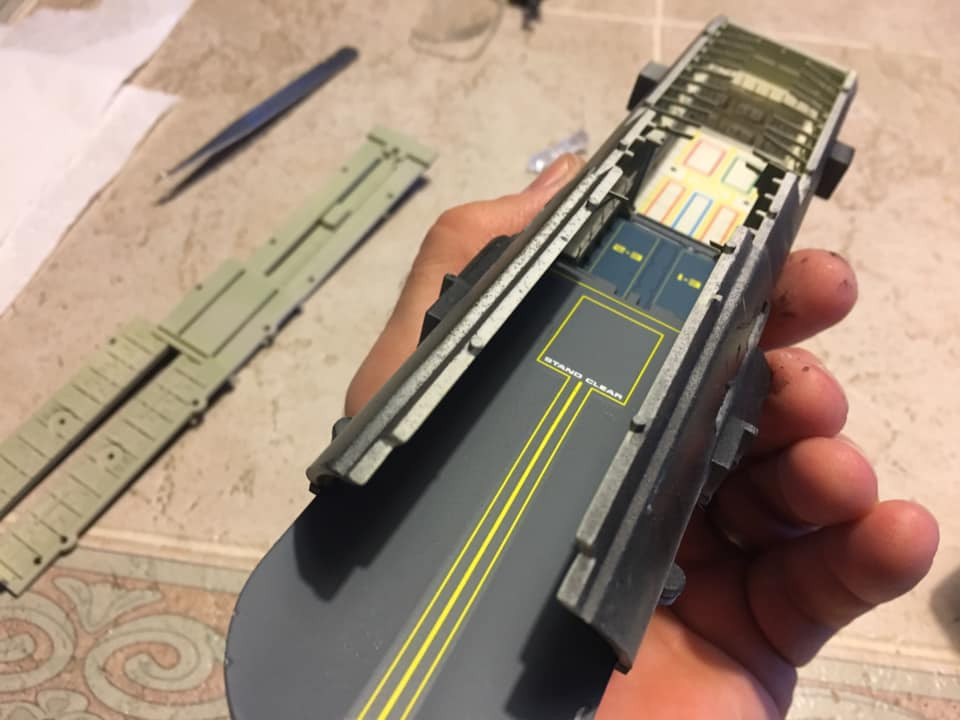
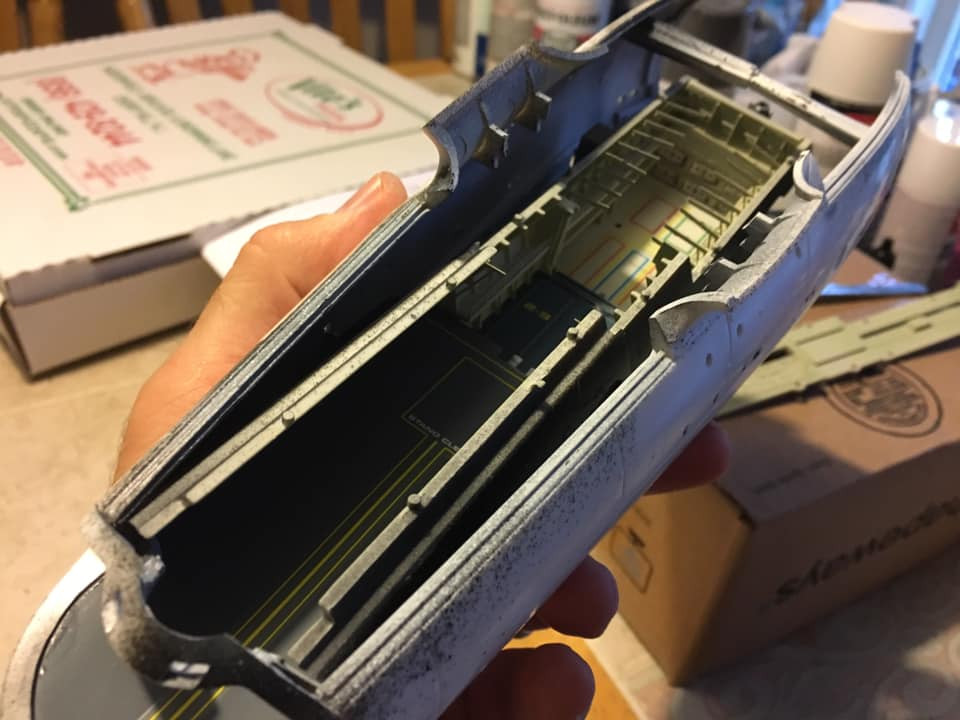
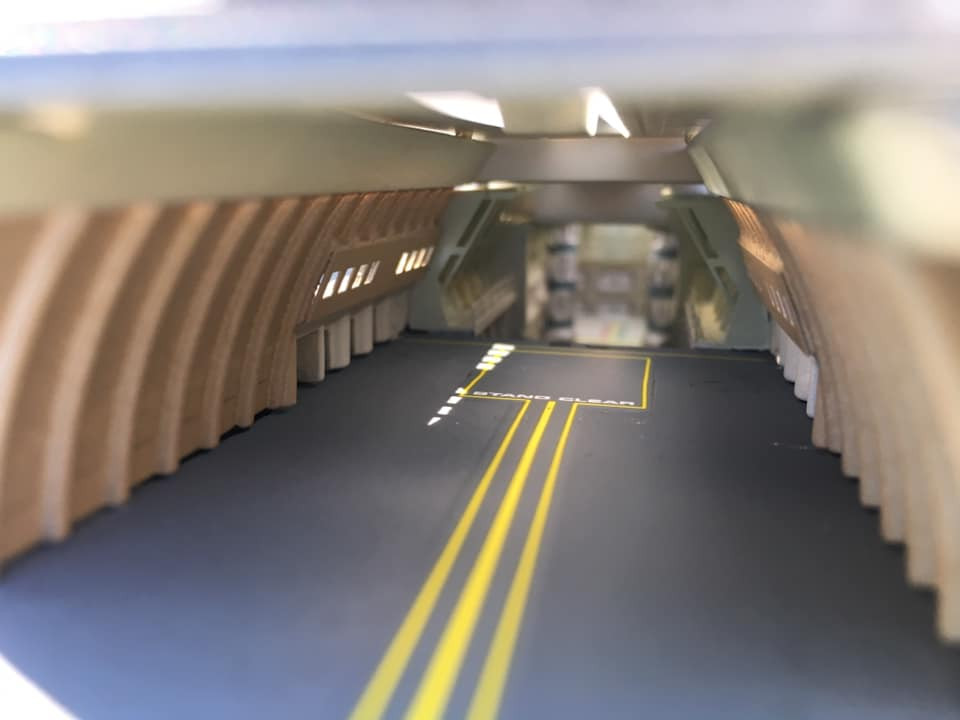
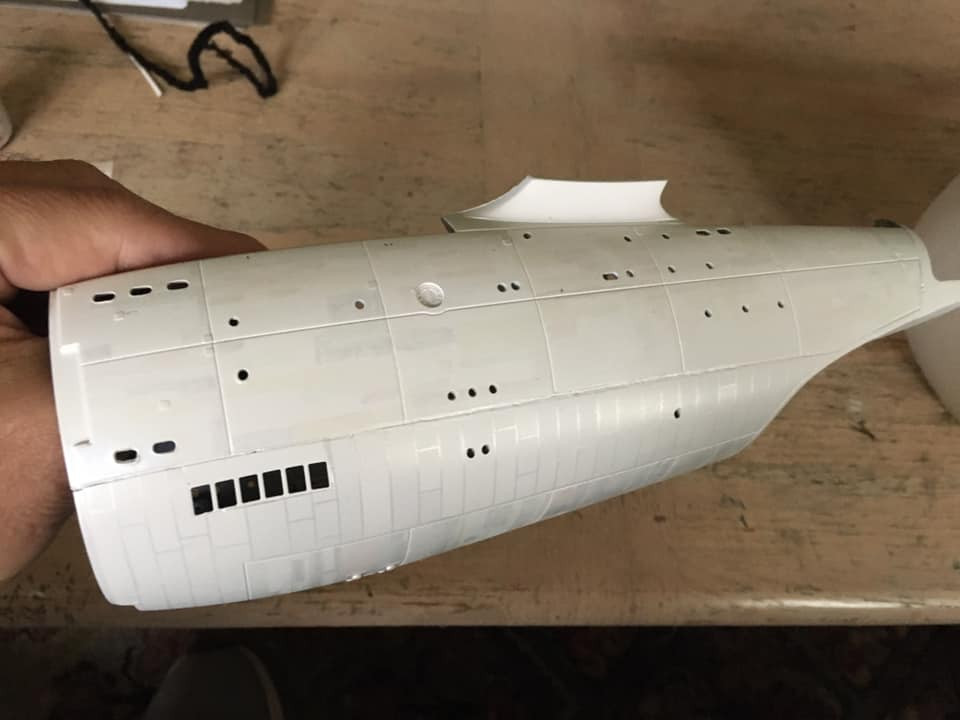
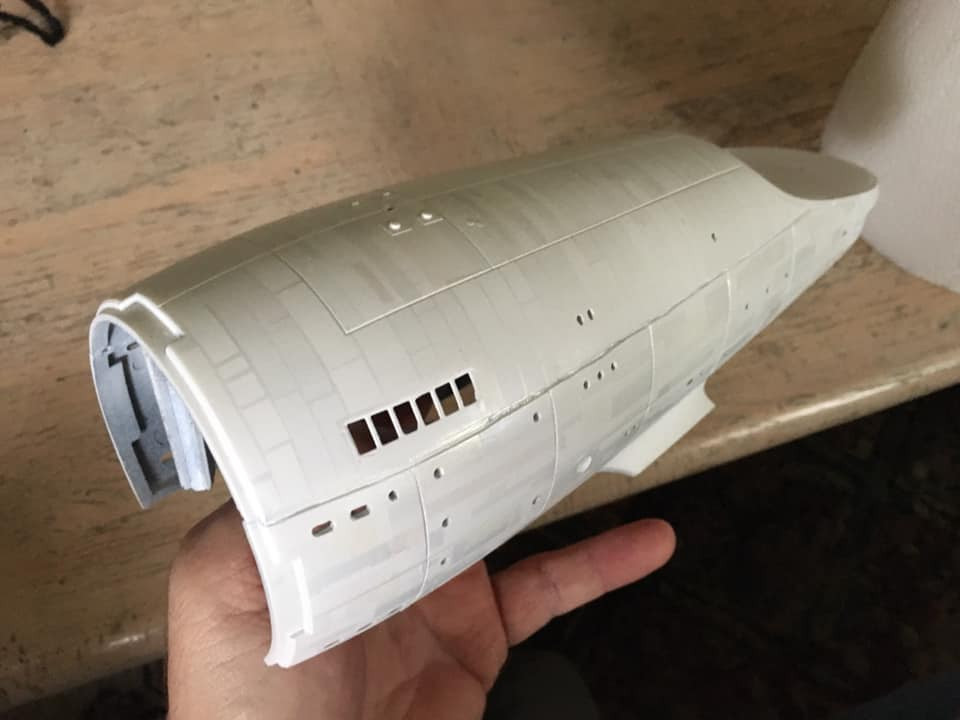
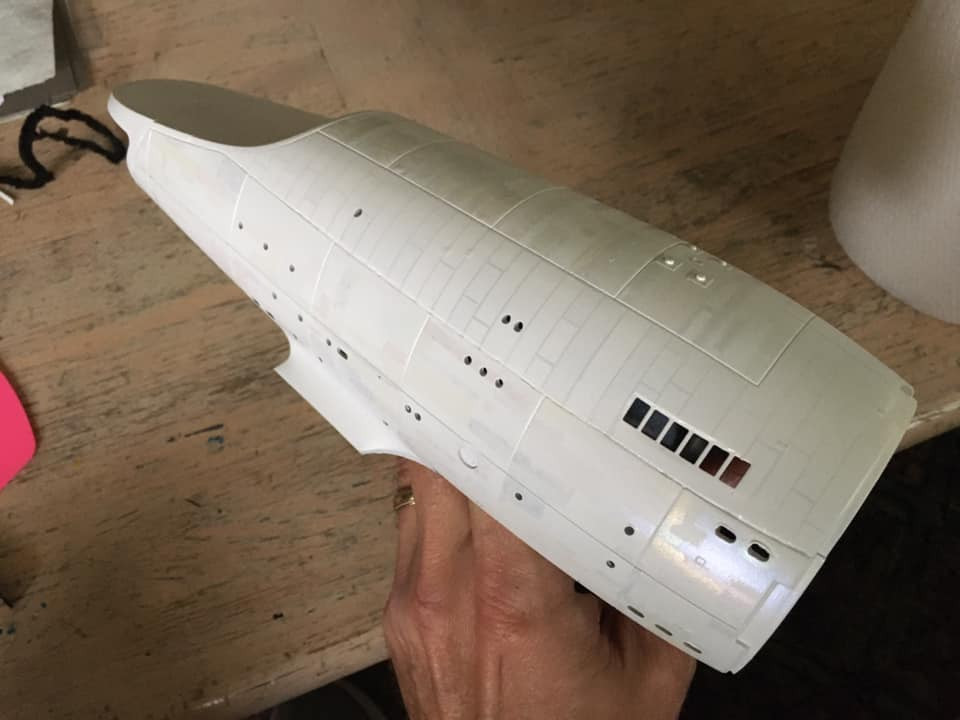
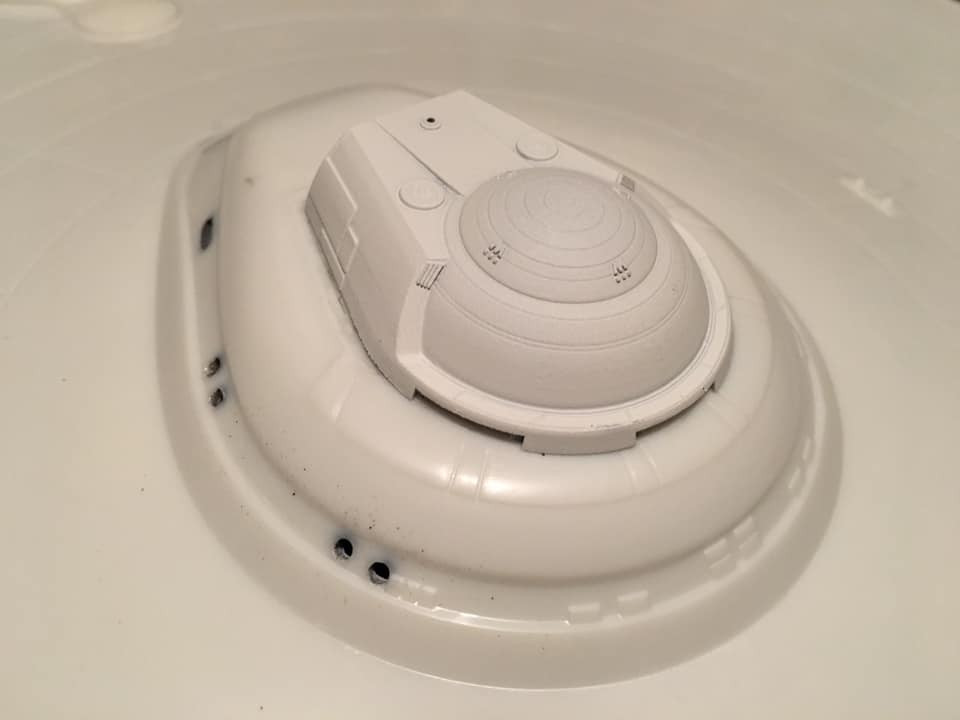
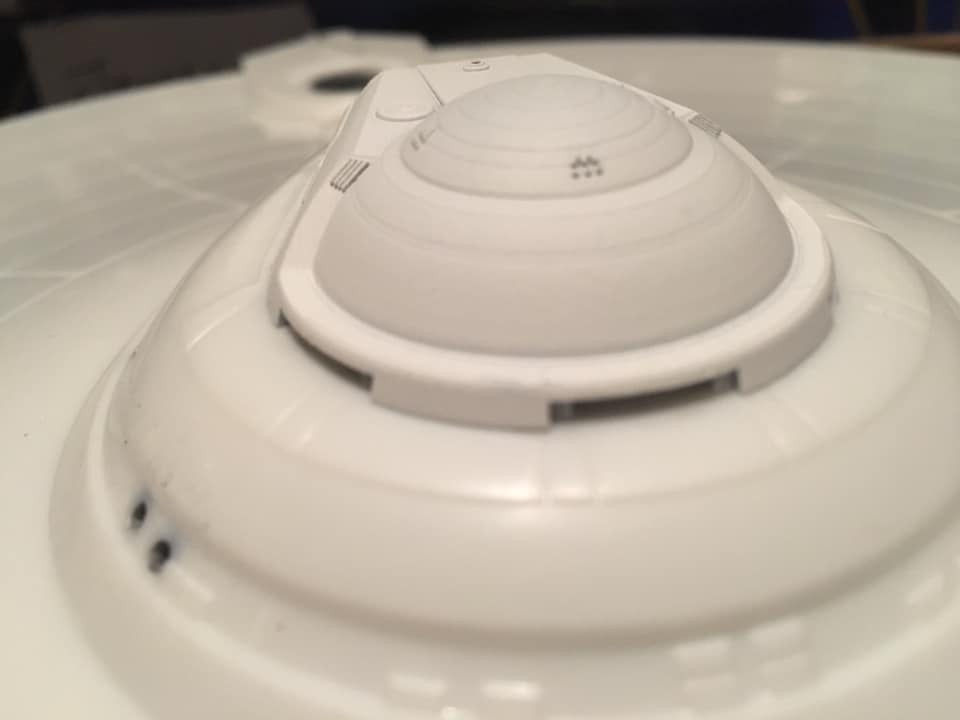
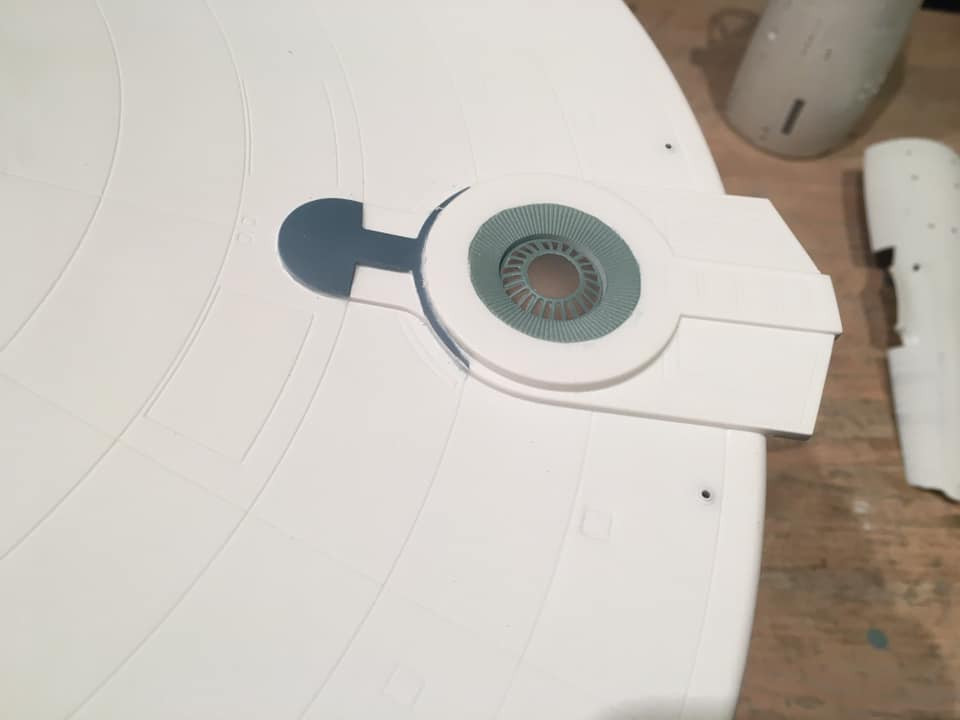
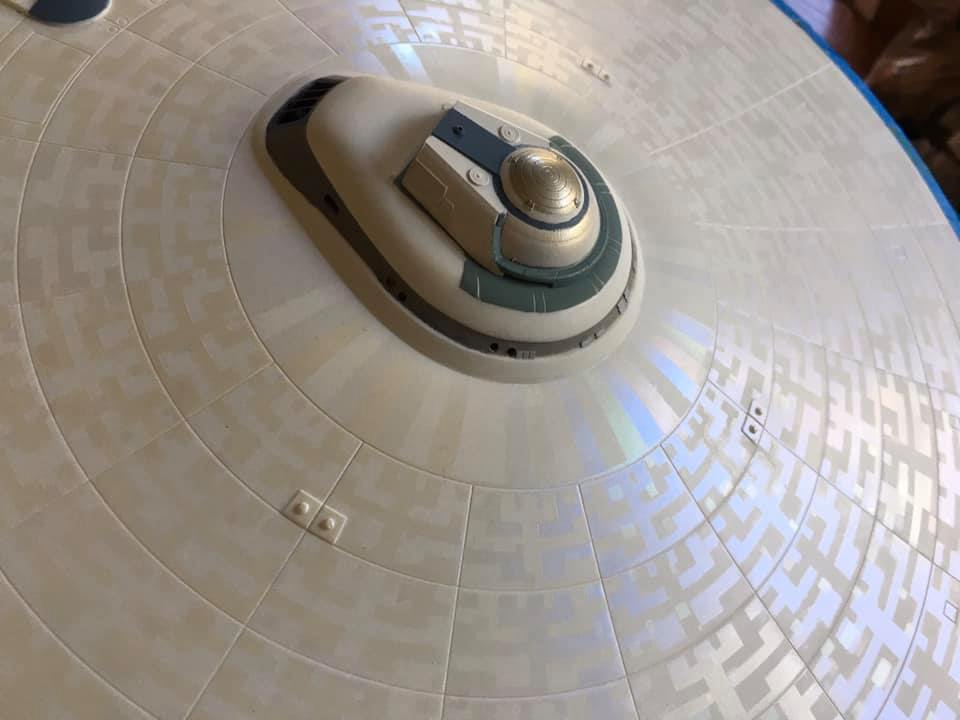
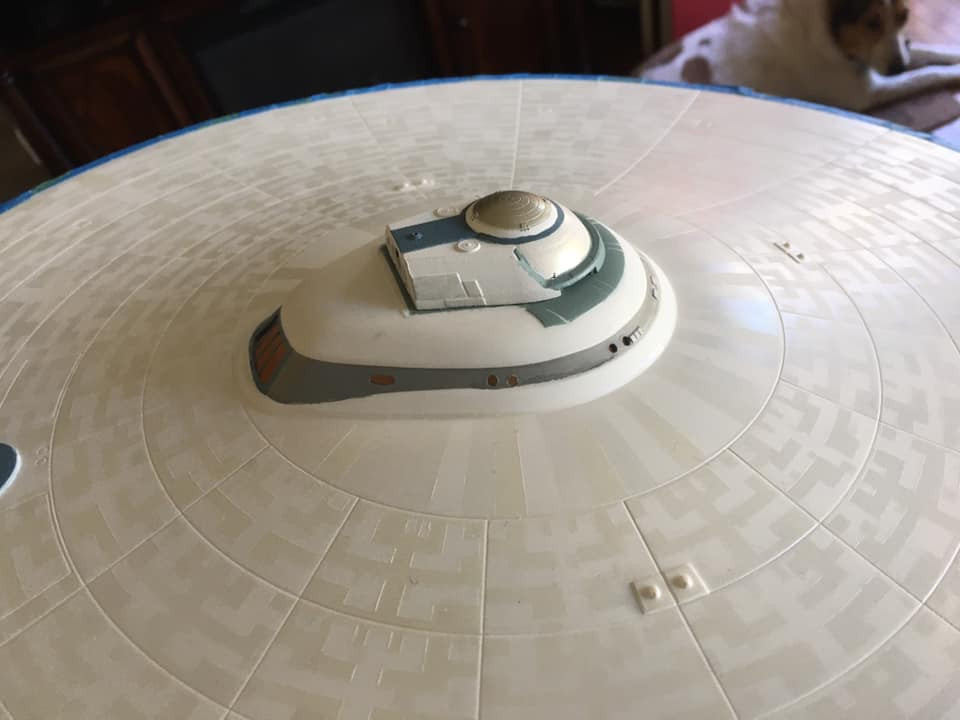
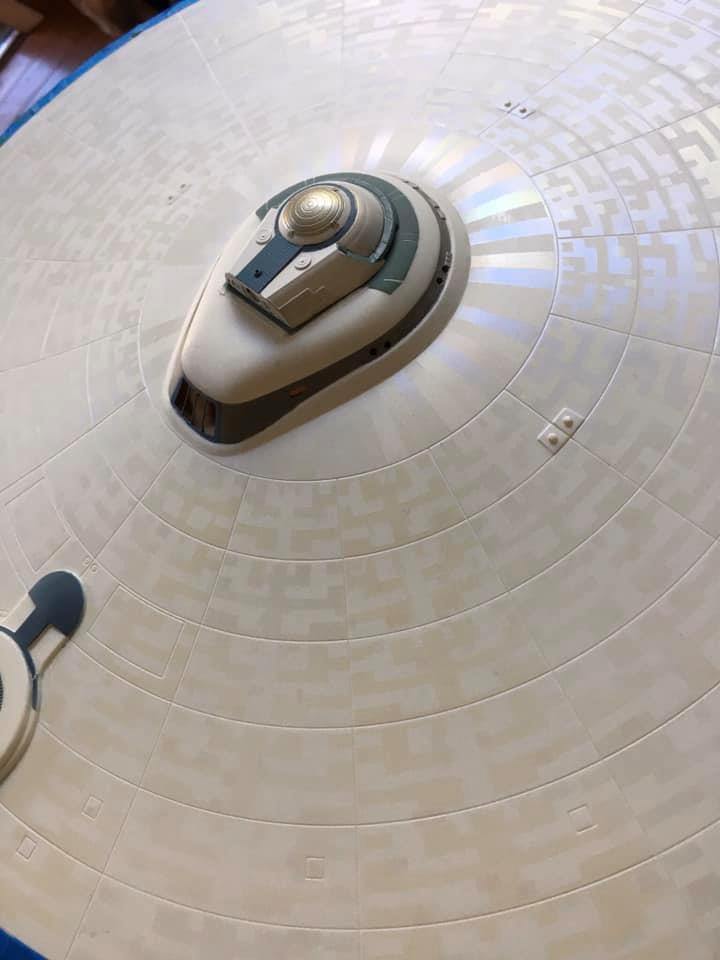
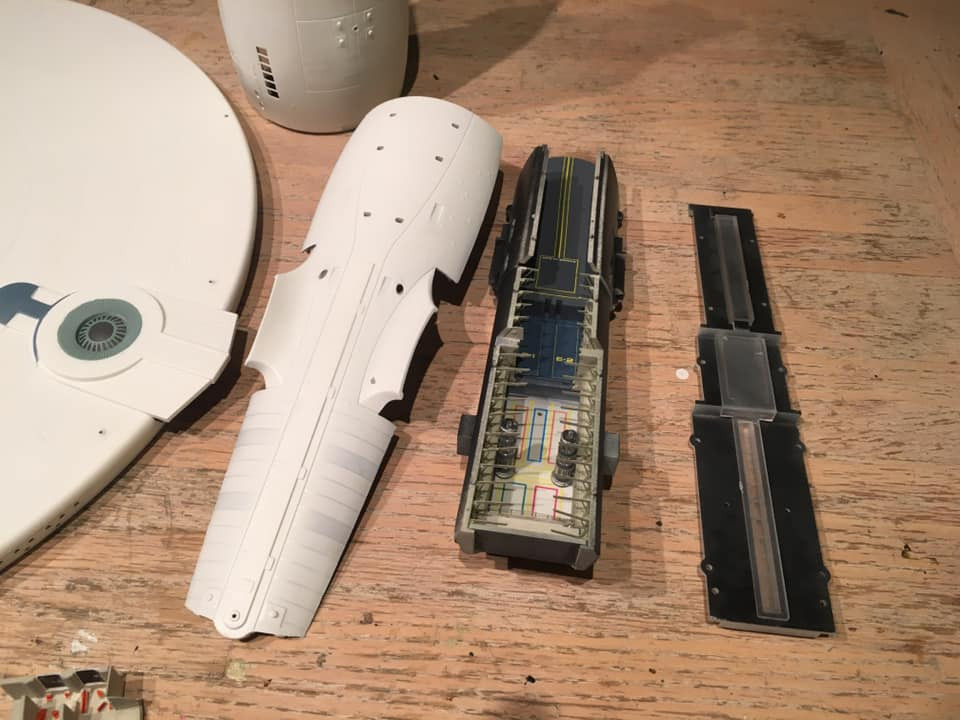
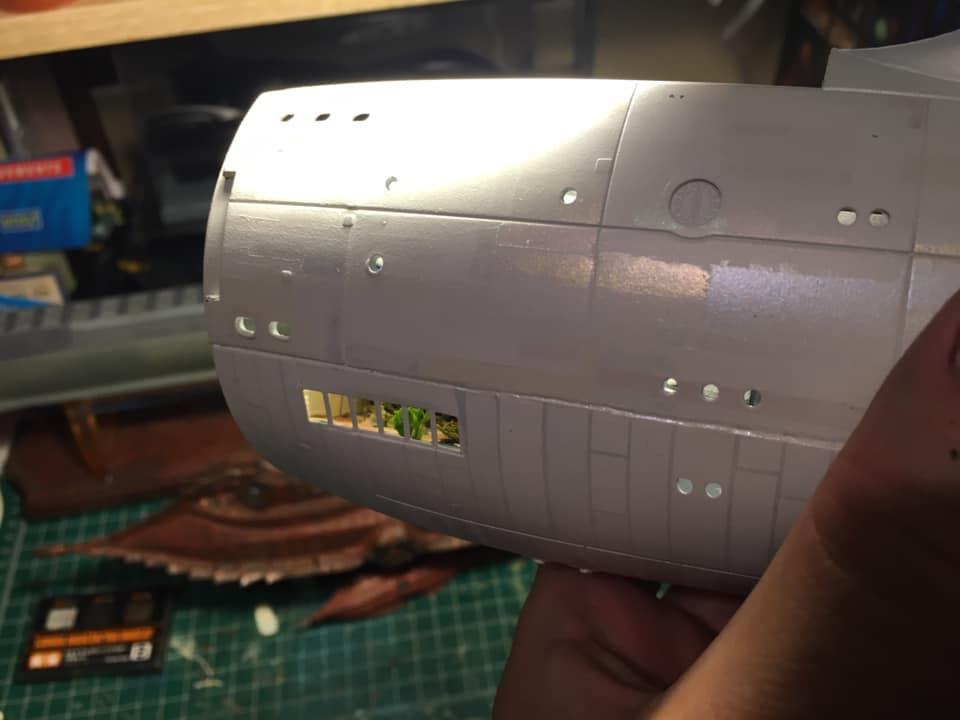
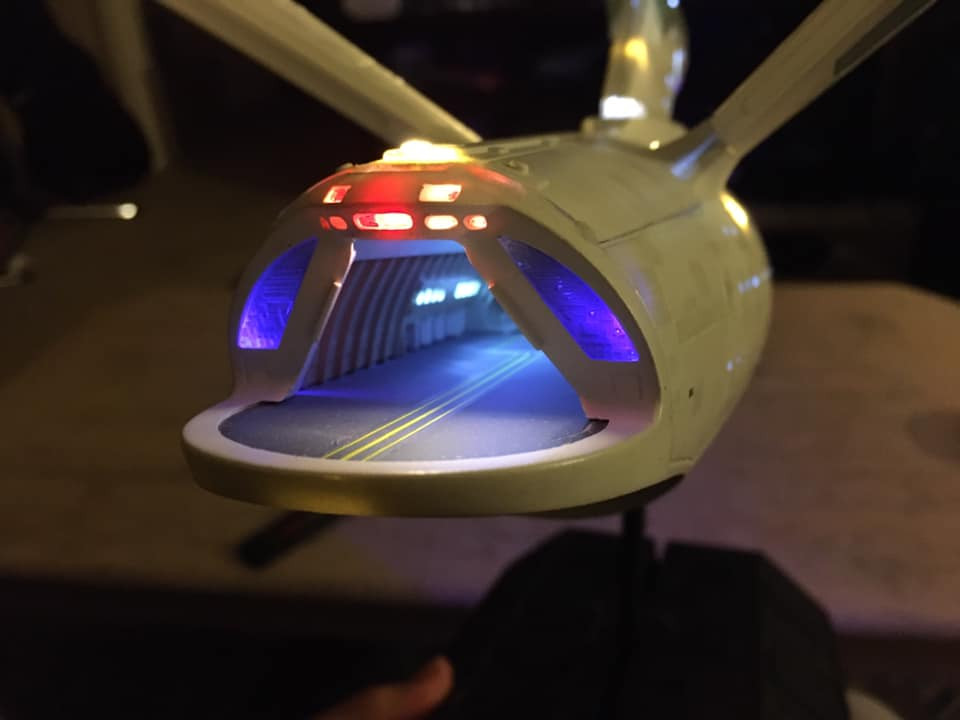
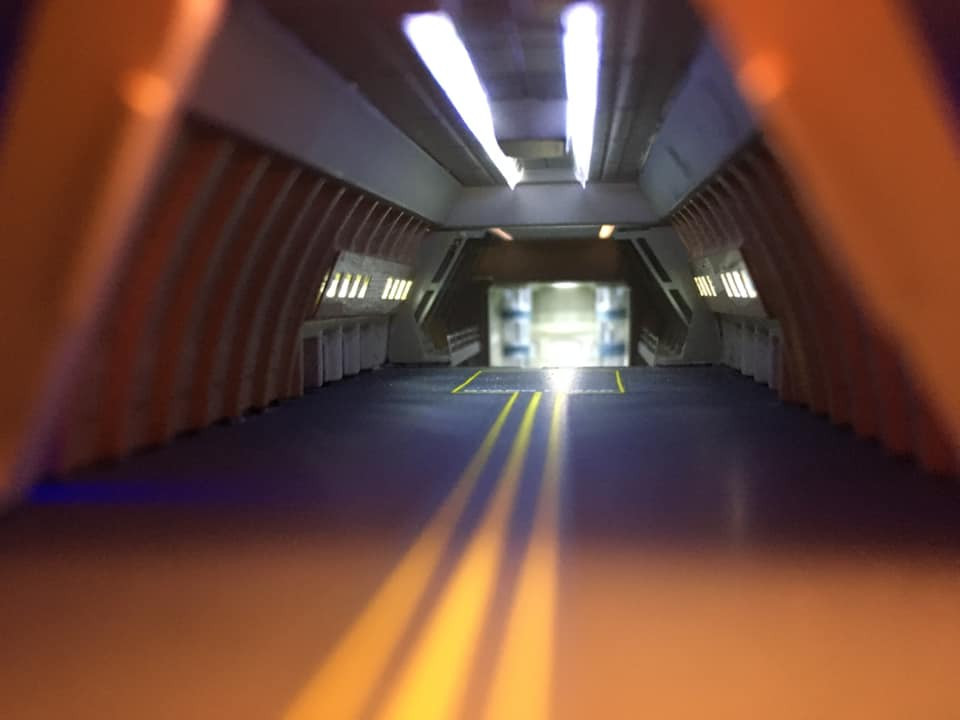
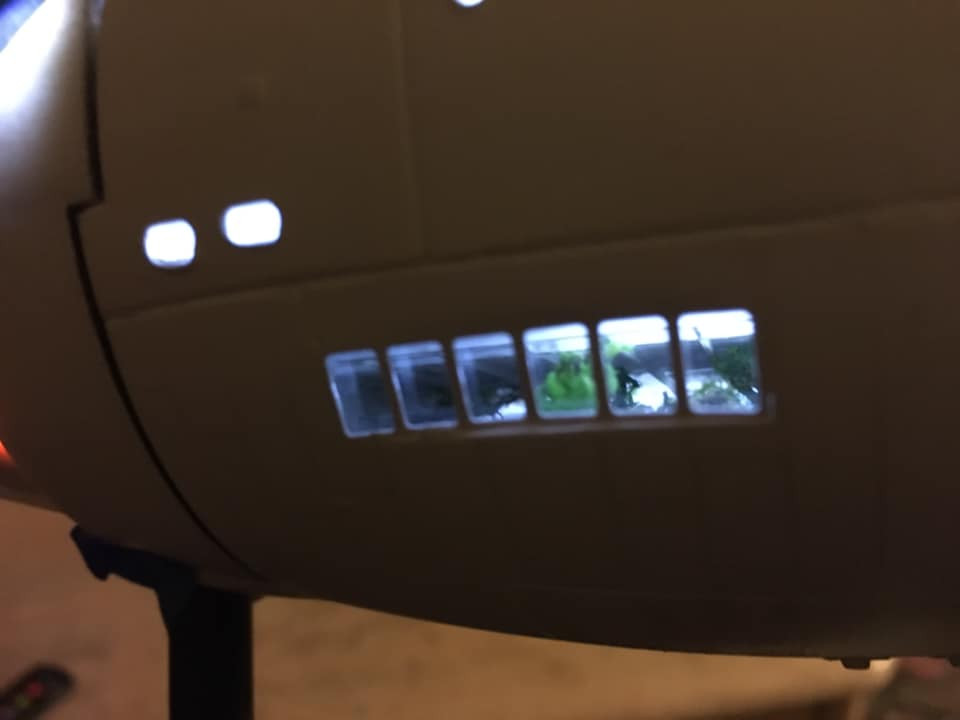
On this build, I started with the Shuttle bay. After cleaning up the parts and Priming, I air brushed the appropriate color scheme…
The intricate Five color Motion picture paint scheme begins.
Note…to keep these builds from boring me to tears, I jump around. Your milage may vary.
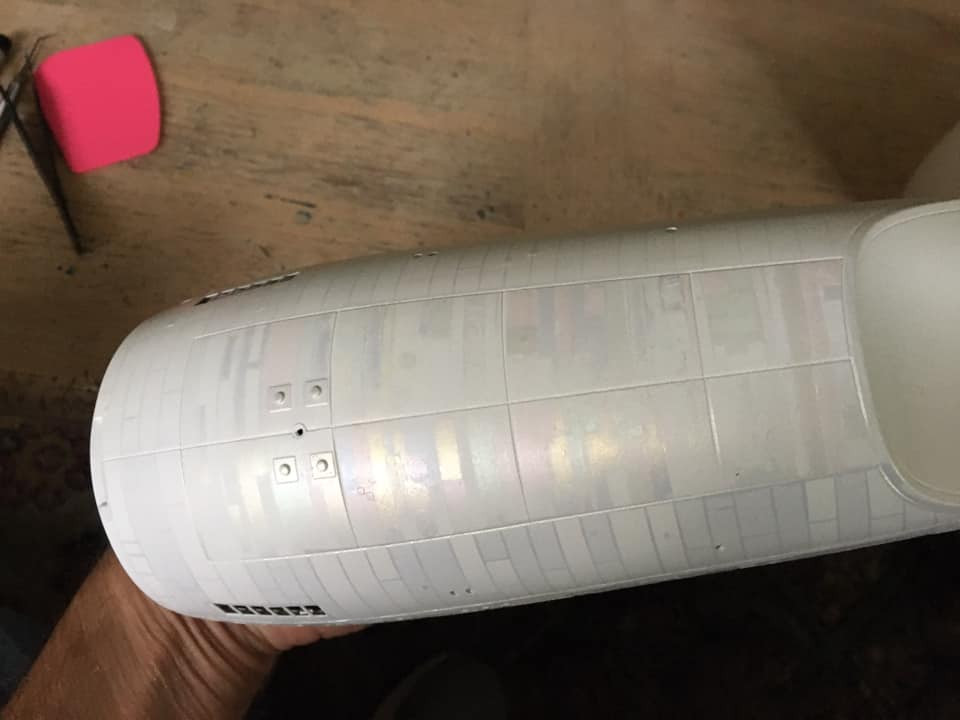
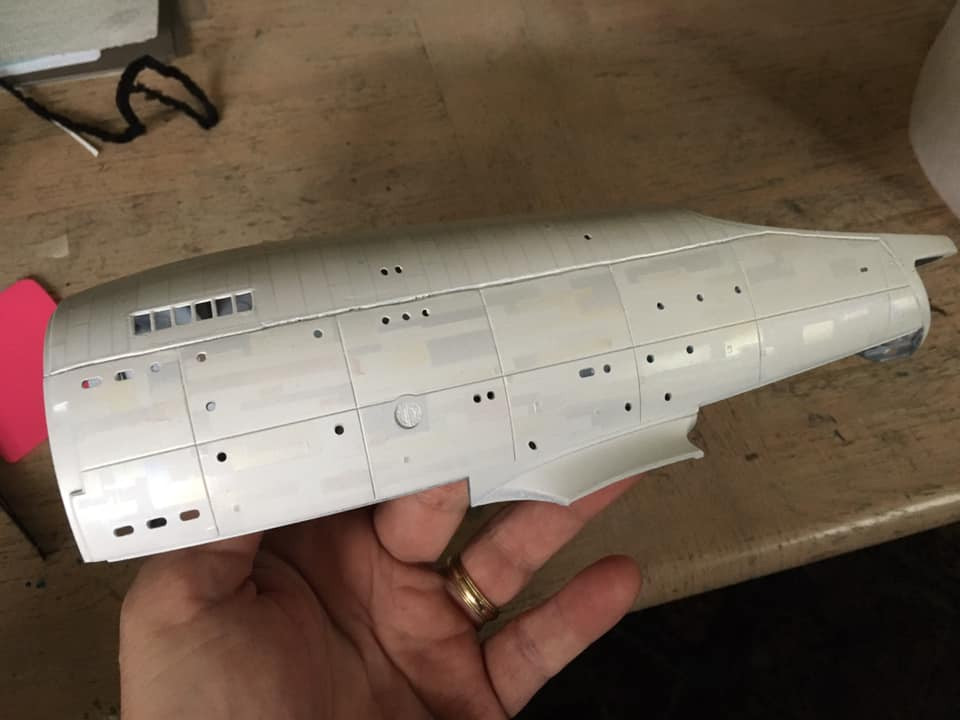
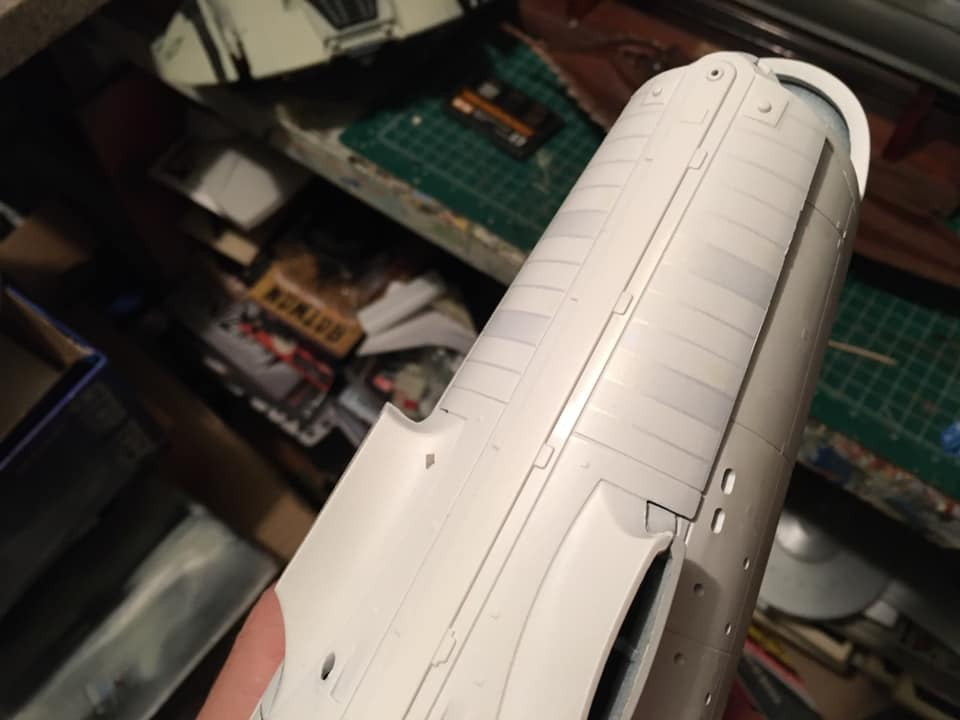
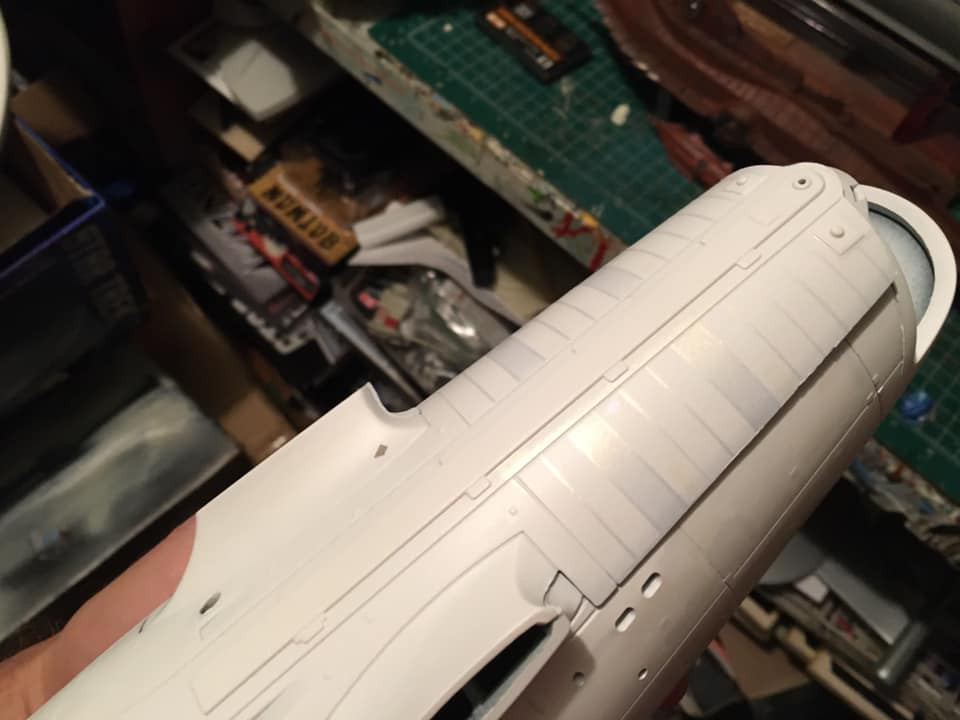
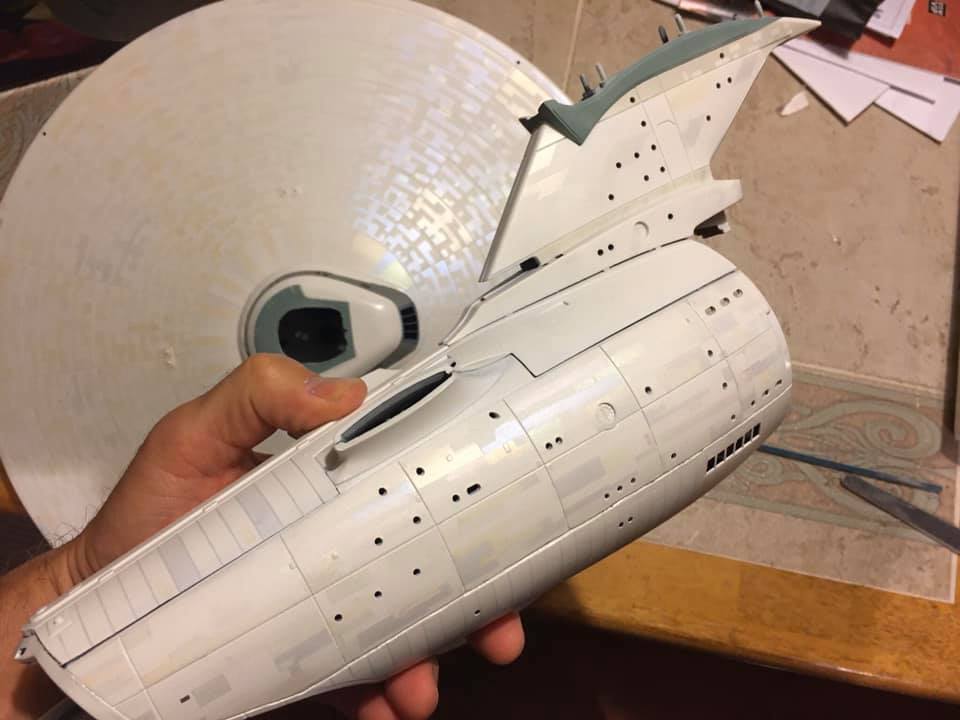
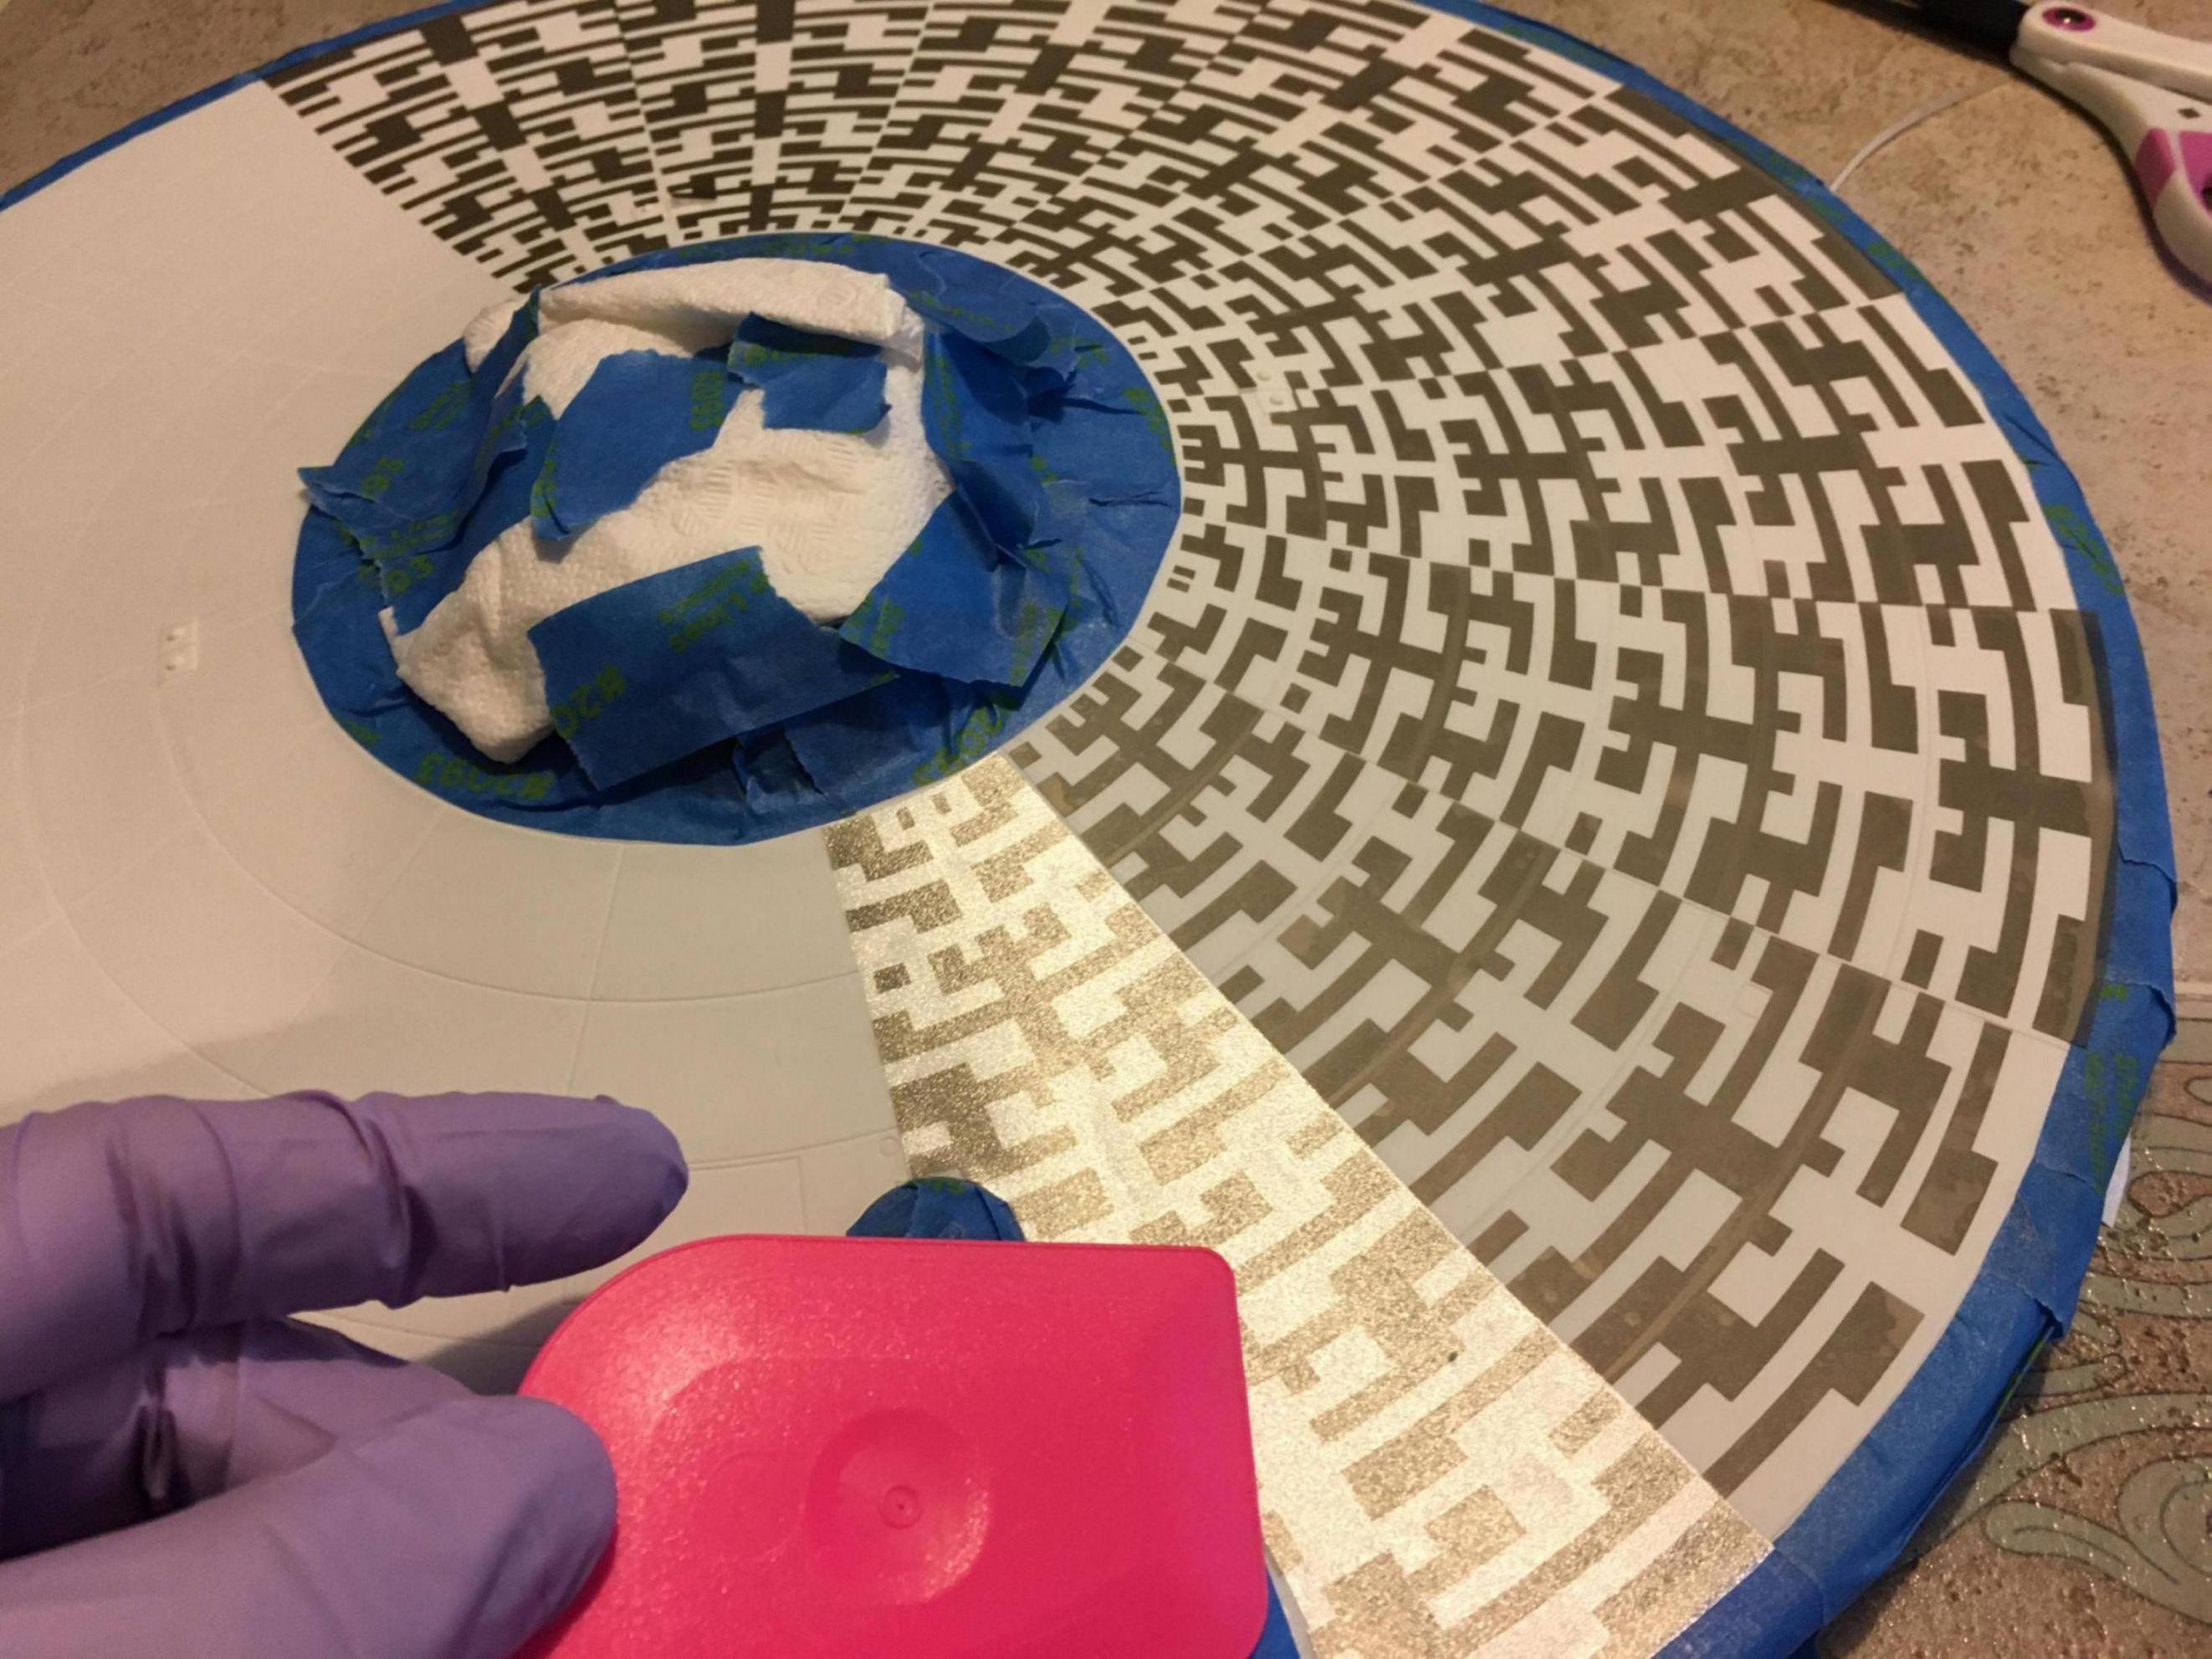
Again, using the mask set from Orbital Dry-docks I have begun airbrushing the Secondary hull…A tedious process to say the least. I won’t go into the steps of The actual how to on using the mask, You can find that around the net. However, having said that, it’s MUCH easier than cutting my own, which I did in the past.
Pulling up a chair. I always love to watch a 1/350 Enterprise being built. It’s like going to high end symphony - so much to take in and so much talent on show.
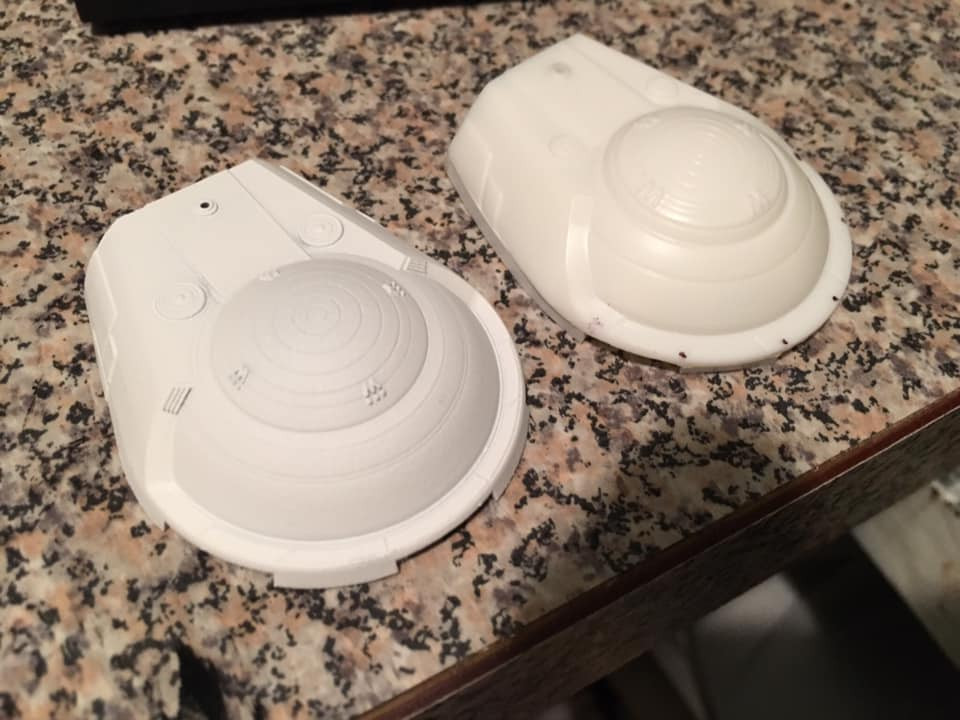
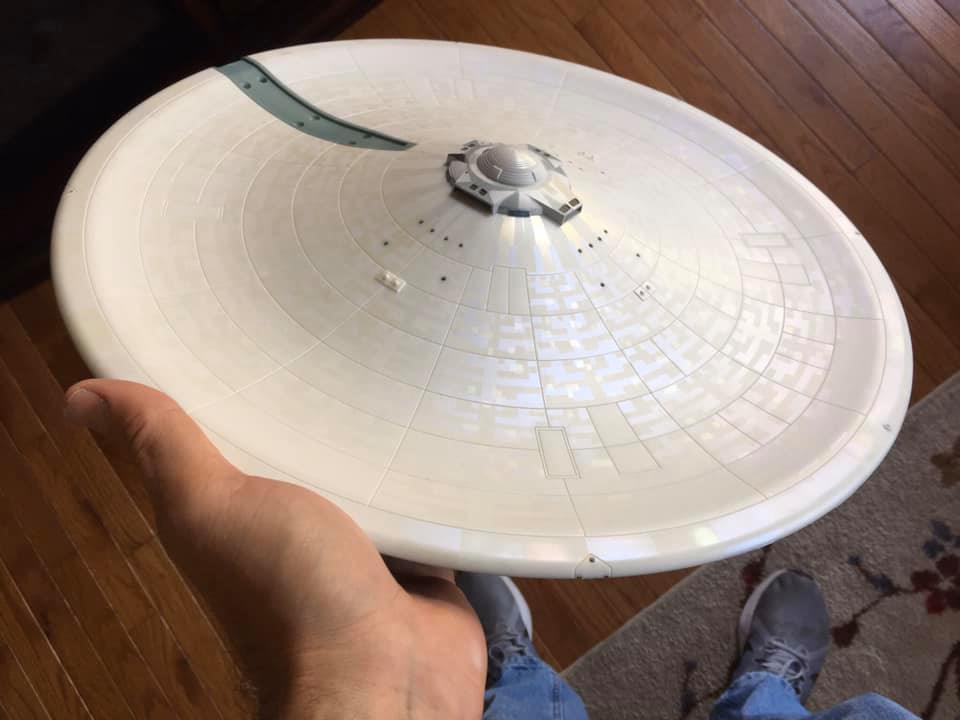
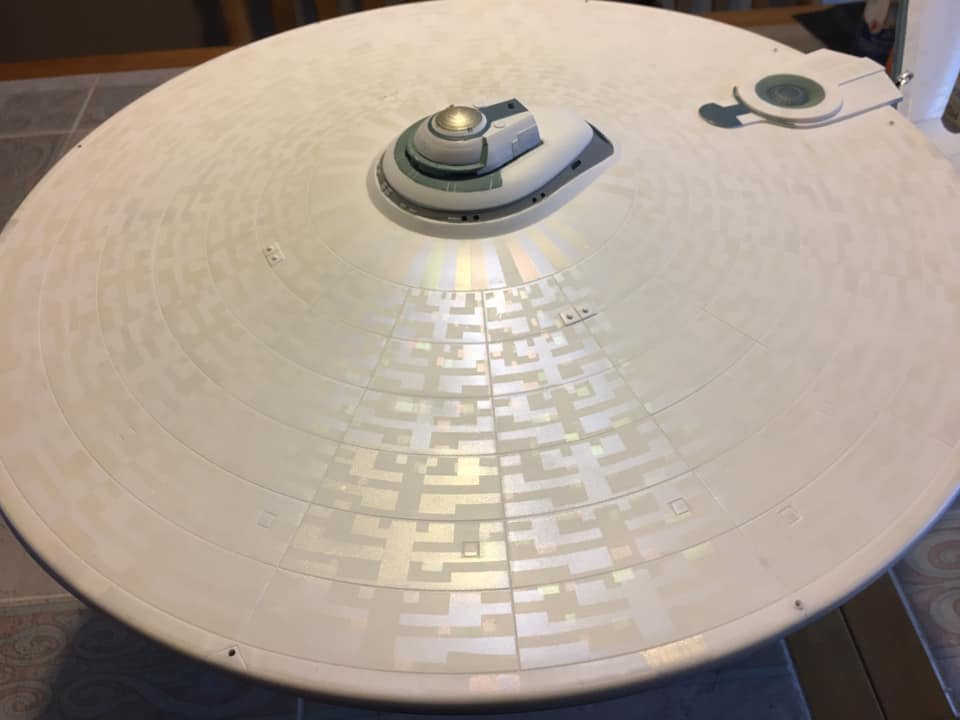
My process for the Aztecking. Here is the process for the saucer. If you want your build to reflect the filming mature and have the Aztecking subtle, you need an airbrush.
A larger industrial paint gun that is used to paint houses or cars… is used for houses and cars NOT a model kit.
Why? Because your going to spray too much paint on to the model. And instead if the subtle texture, it looks more like a quilt Grandma knitted.
My brush was set at 40 PSI. a little paint goes a long way.
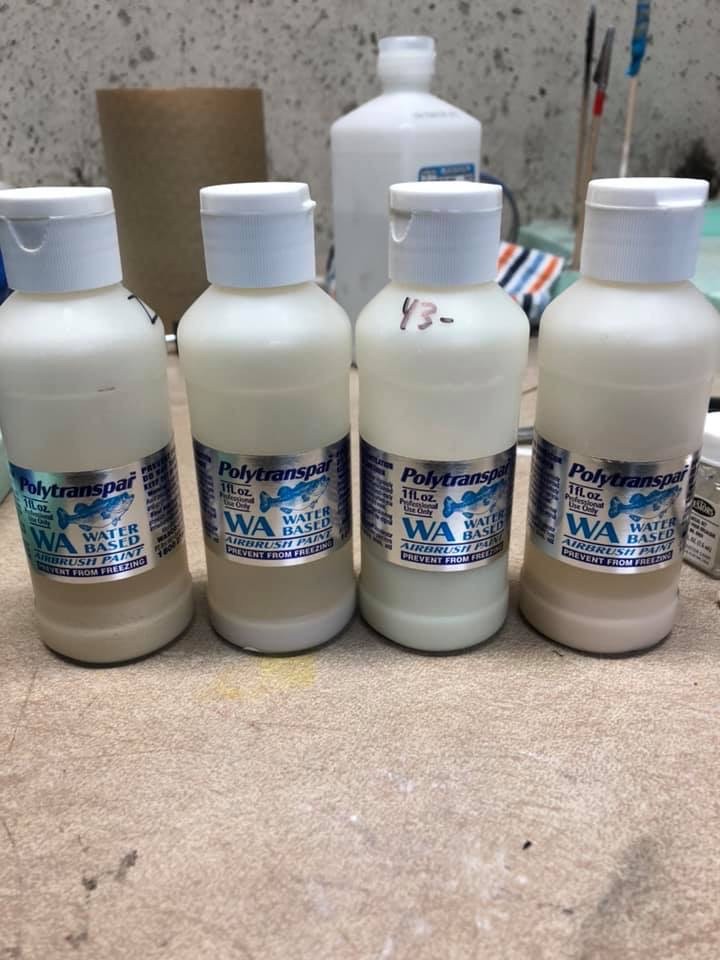
I used acrylic Incandescent paint. Four colors were used on the refit(The fifth is the white Base color). They are Gold, Green, Red and blue.
I highly recommend getting the Trekmodeler paint guide to navigate which colors go where.
The masking set I used/am using is from Orbital Dry-docks . The masks are low tack, but have sufficient adhesion.
I had NO issue with the Iridescent being pulled up. The paint is surprisingly strong and resilient . I used a Hair dryer(DON’T use a heat gun!! It softens the plastic and can damage your paints!!!) after each application to hasten the drying time so I can move along(I have three of these things to build! Ugh!!).
Beautiful work, Jim! I am working on one of those right now, and your pics have been very helpful. I must say that this kit (Polar Lights) is the most poorly documented I have ever experienced. What they supplied is totally inadequate. Drawings are incomplete and difficult to read, and there are really no instructions. Heck, I worked on it for 5 days before I could figure out where the “VIP Lounge” was supposed to go. However, I will say, that the parts are well made, and fit together nicely. So far it has been a fun build.
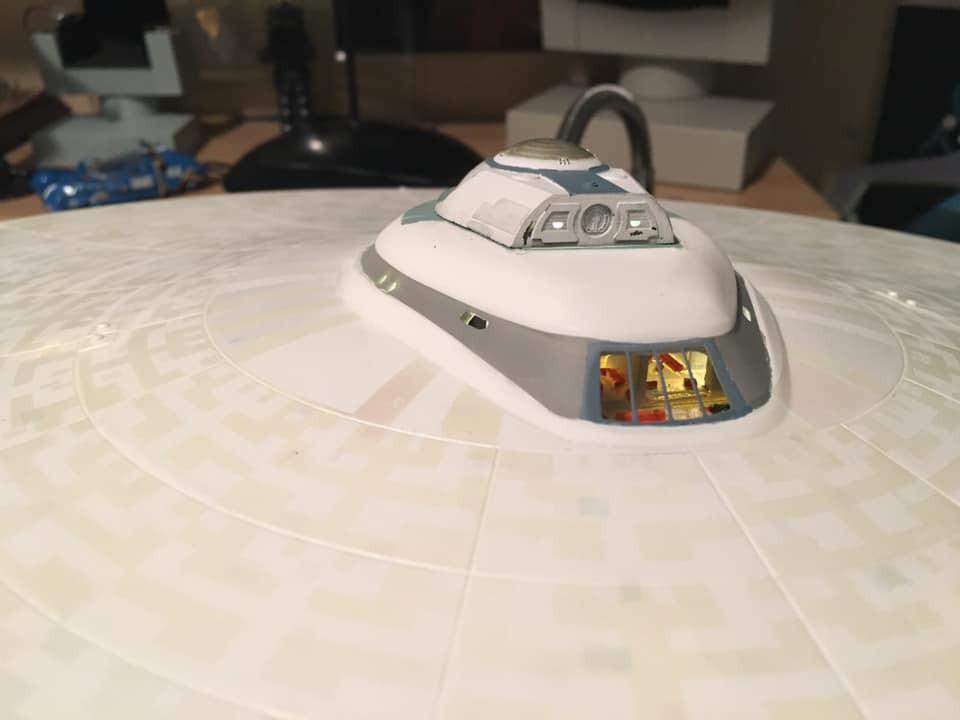
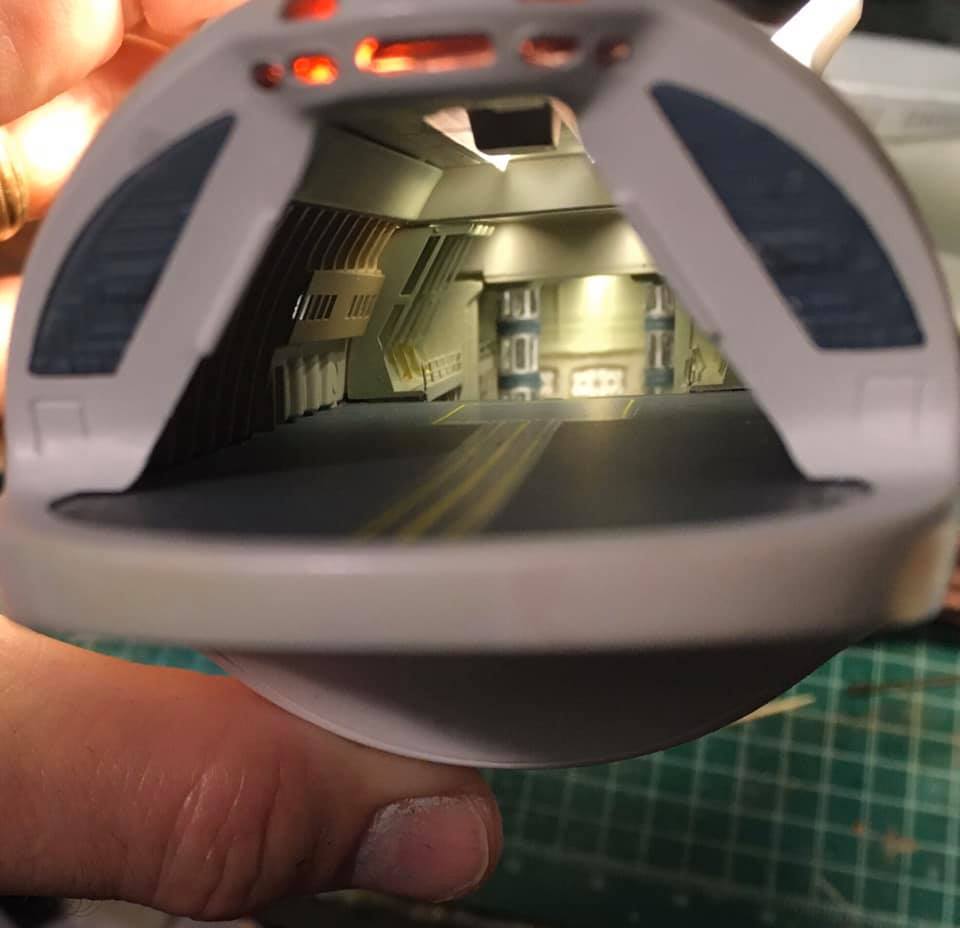
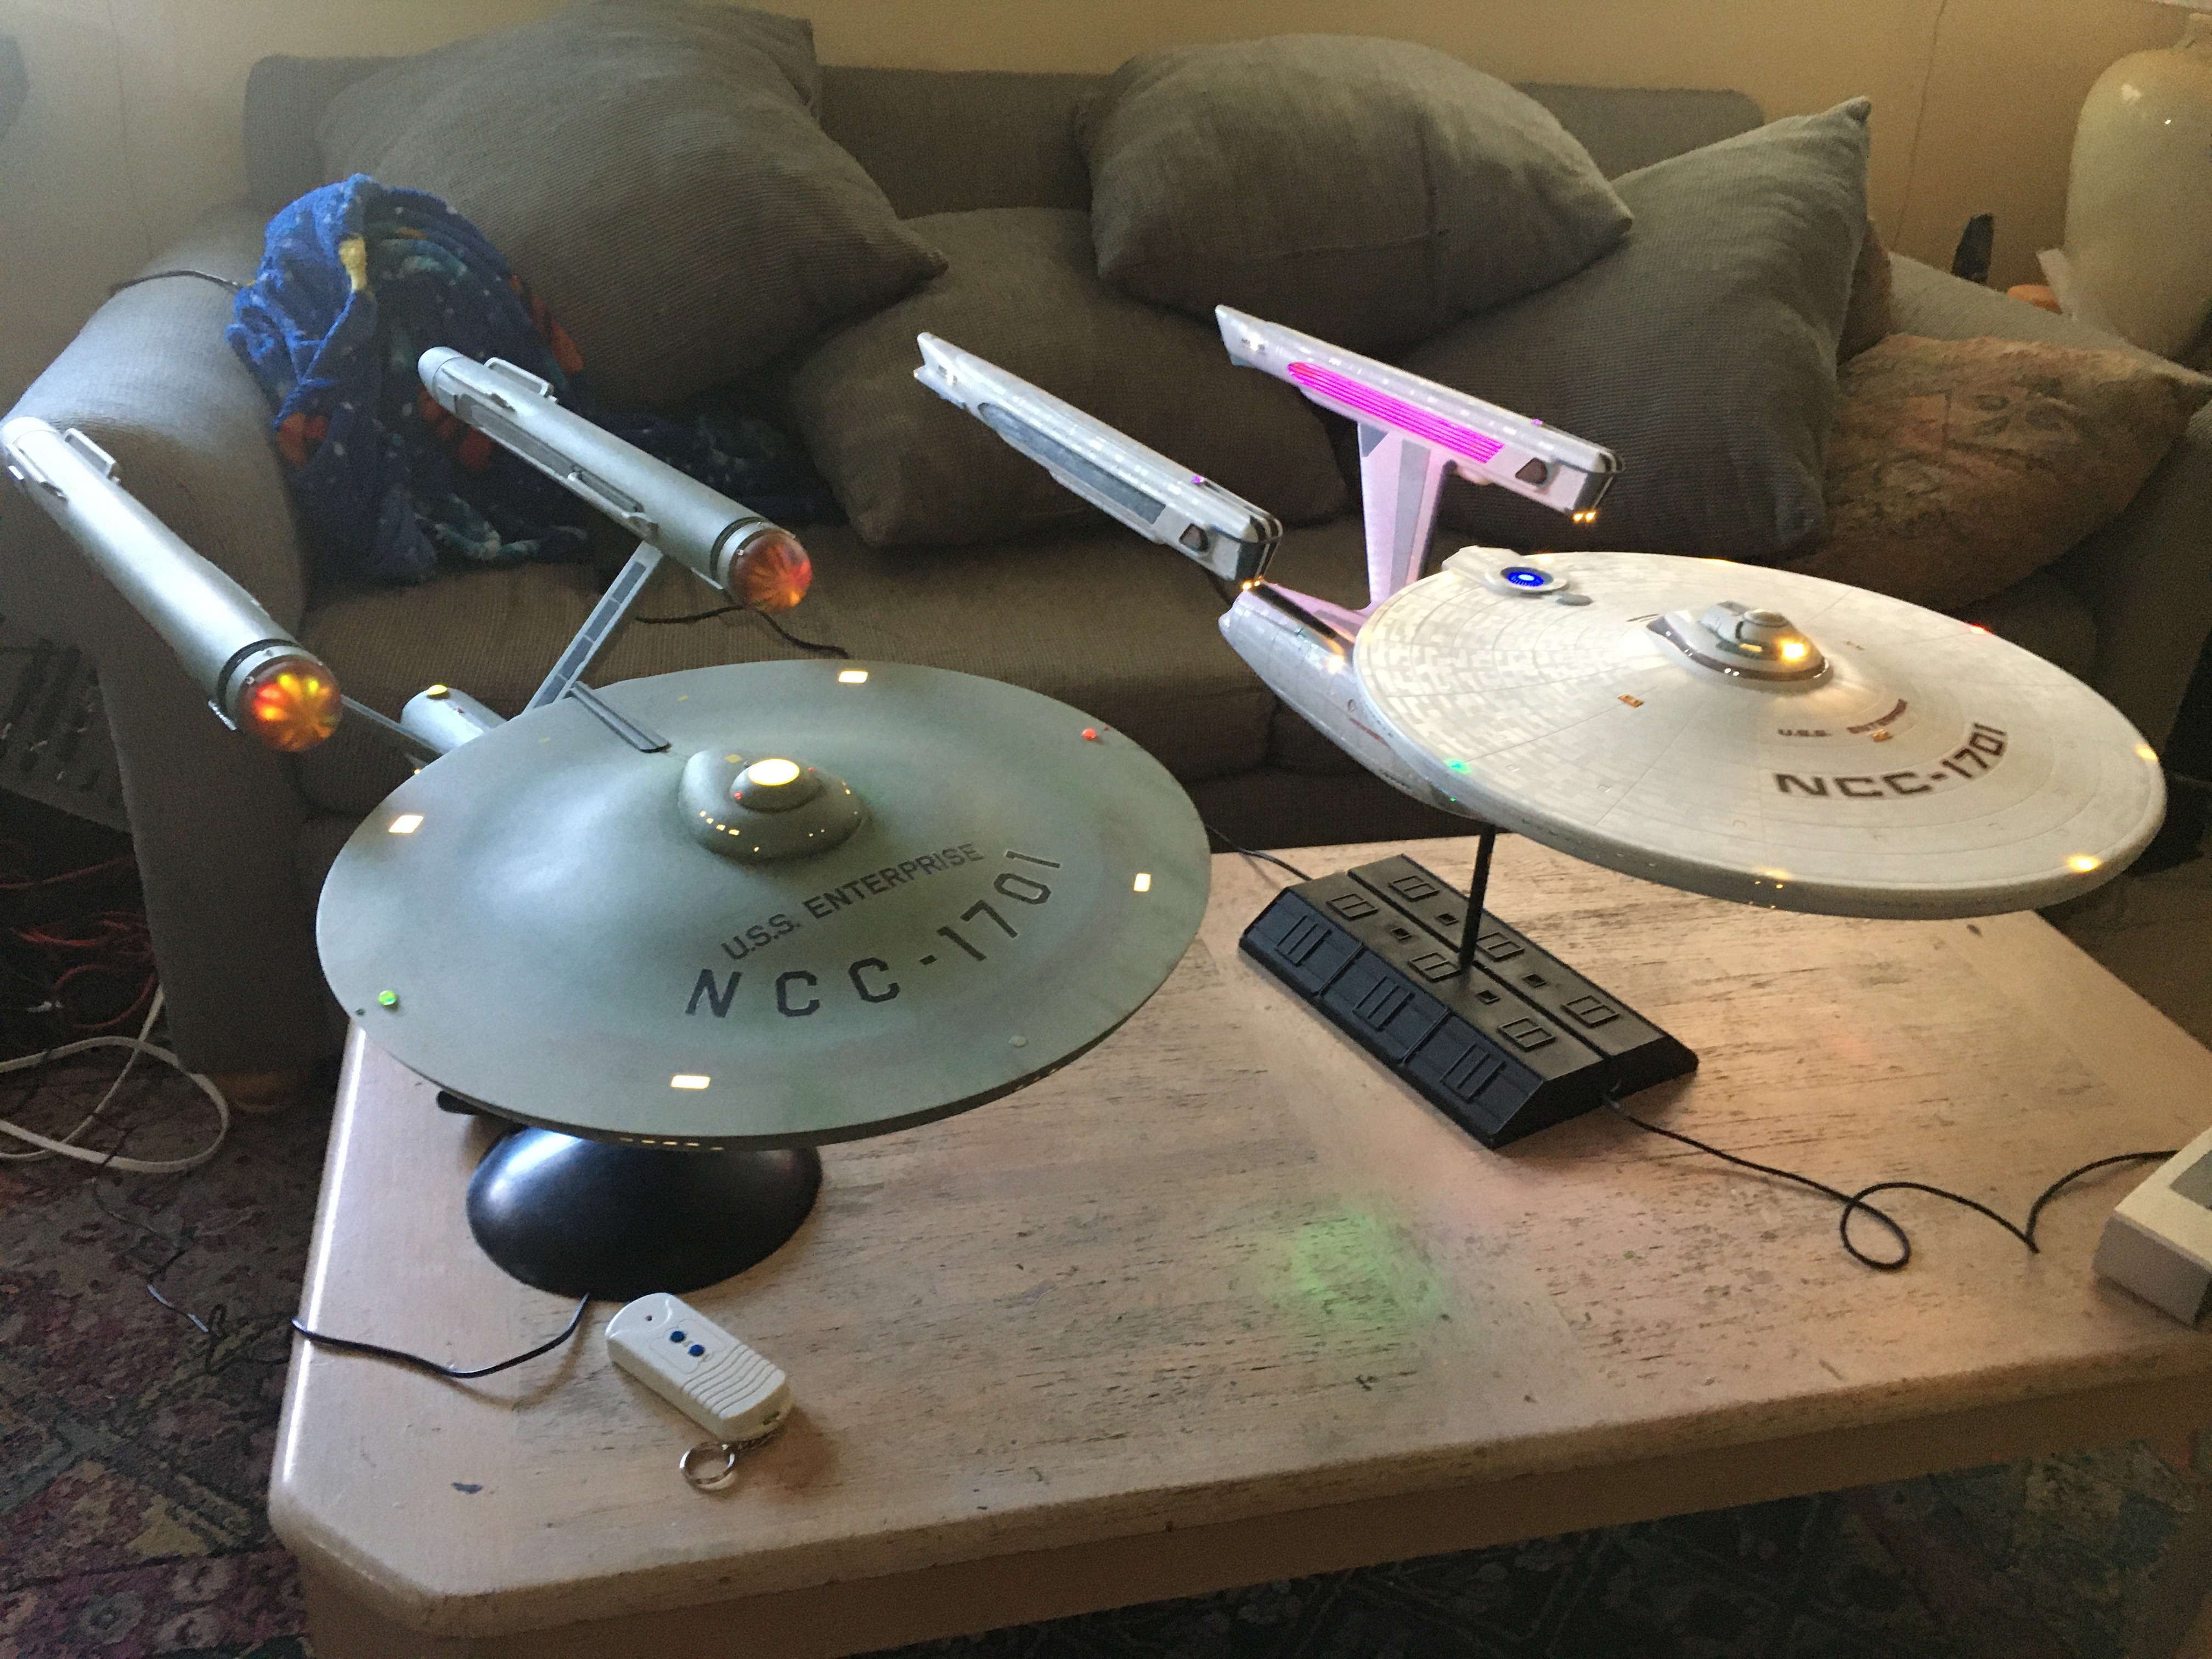
The electronics and lighting have been installed 100%.
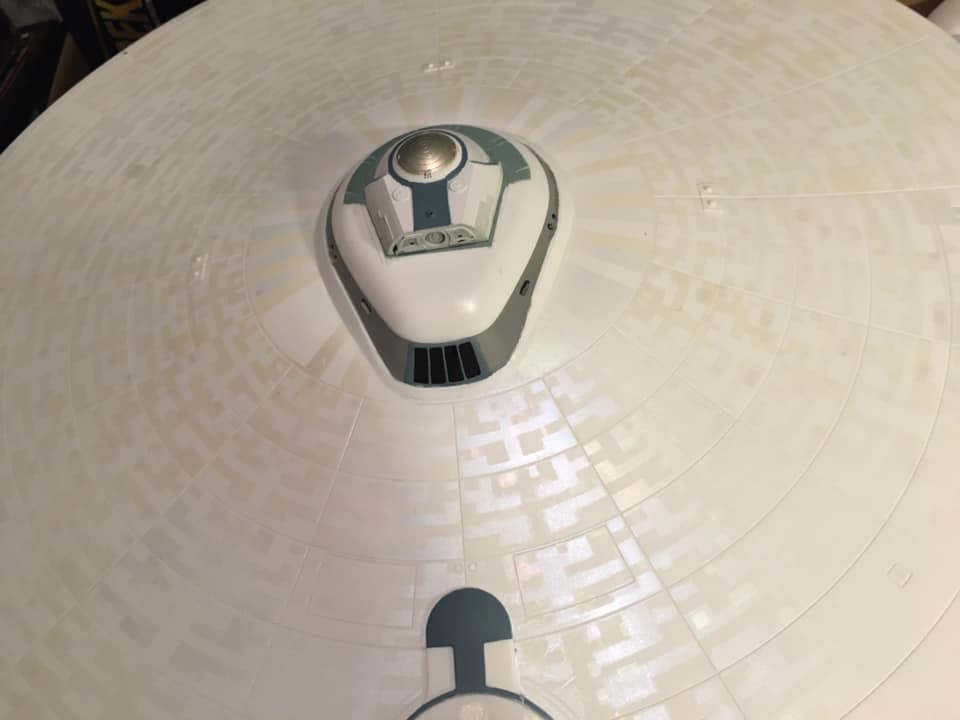
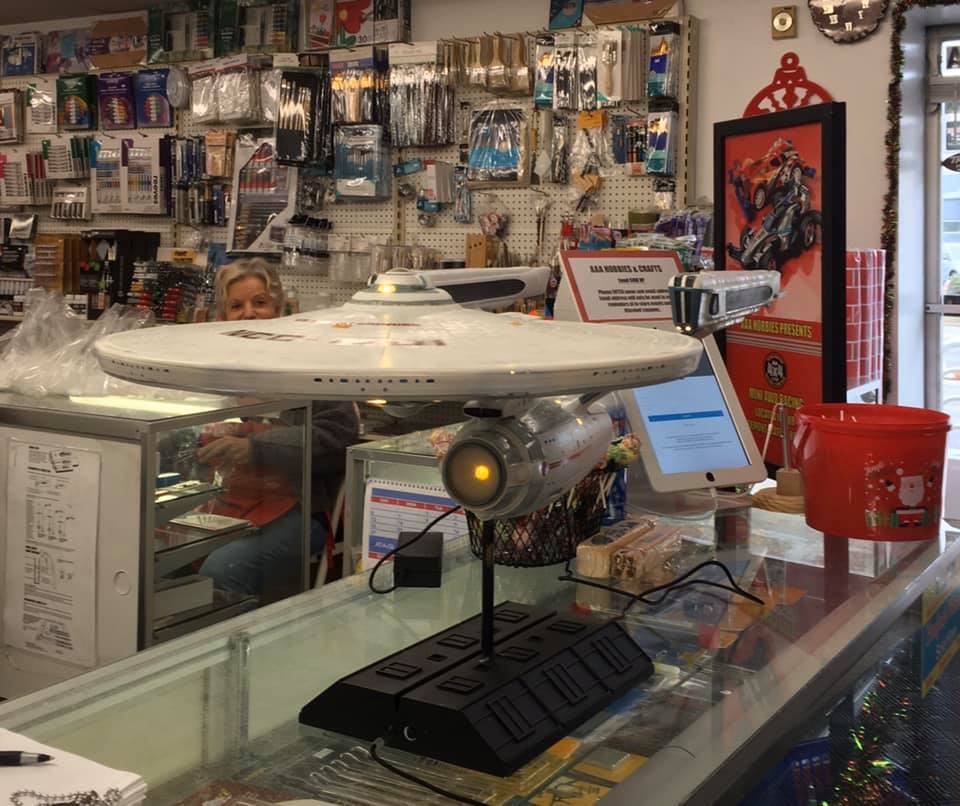
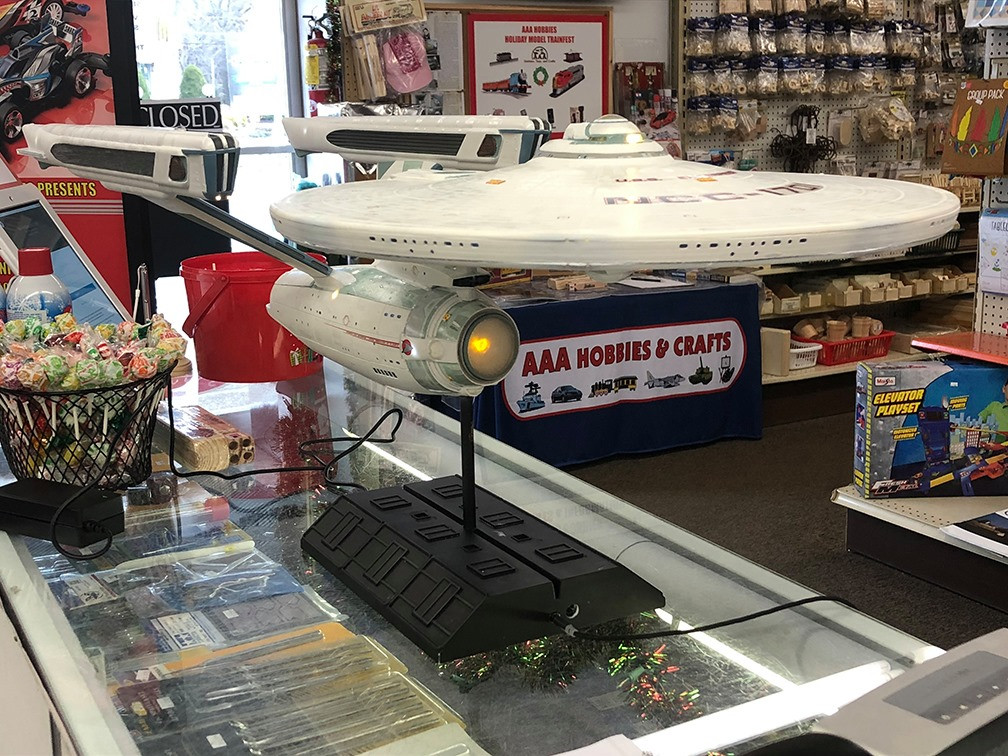
Although there is much more work to do, the model is finally beginning to look right. Still need to address several areas for clean up and lighten some of the coloring…However, I am happy with the progress so far.
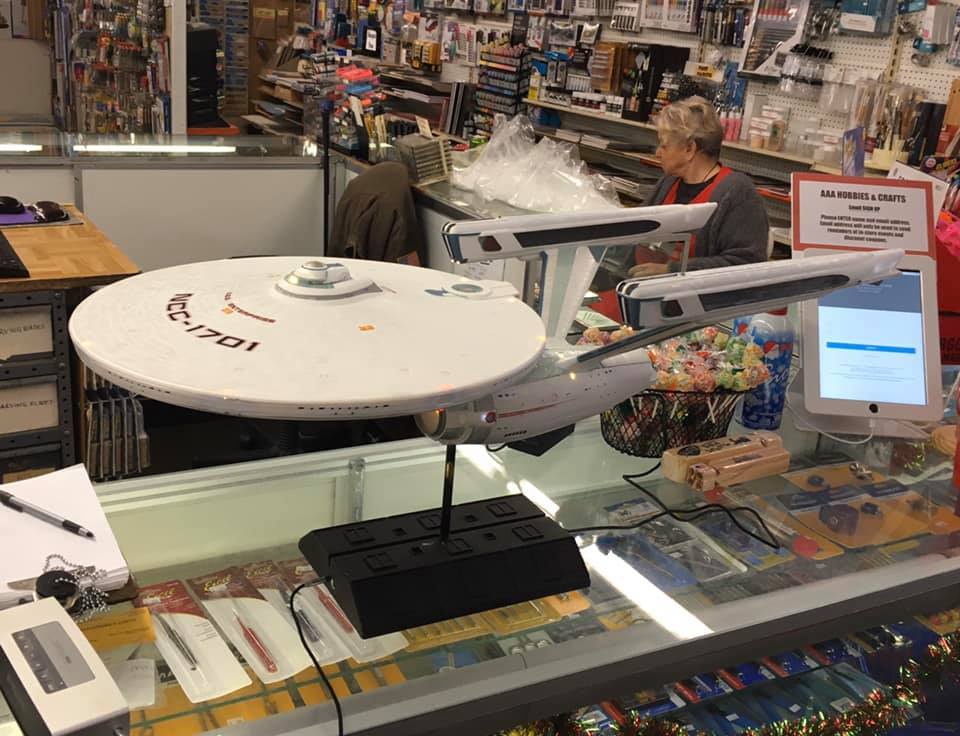
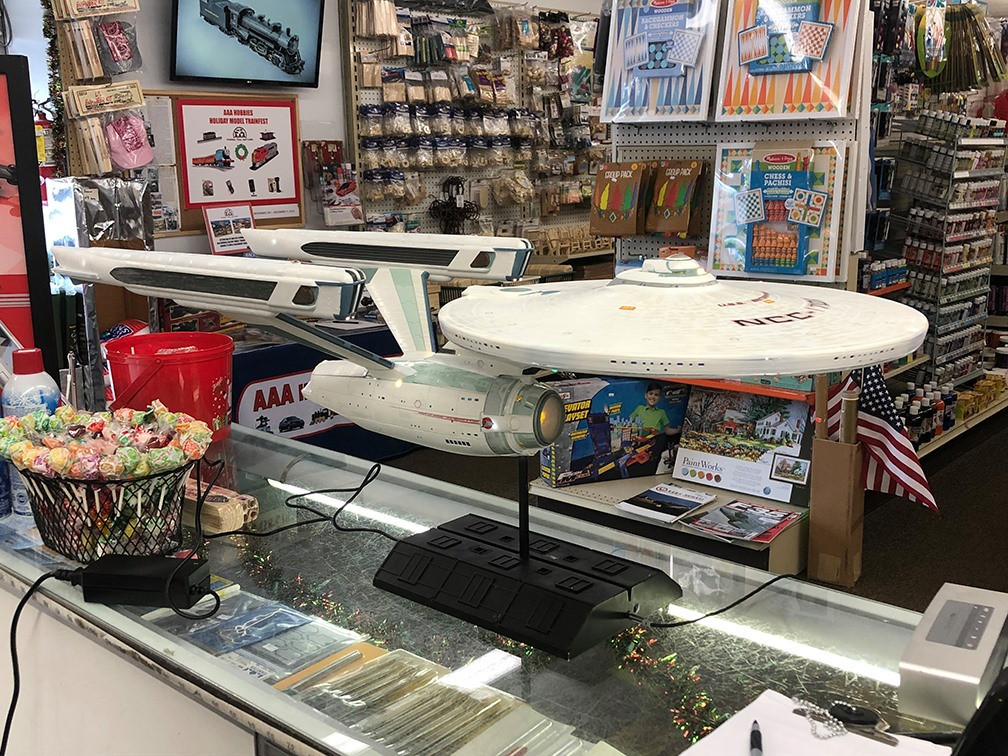
I also stopped by to see my friends at my local Hobby Shop to allow them to inspect and enjoy the model…
Very impressive builds. Great job. I love that your refit Enterprise is not an “-A”. Folks forget that the Enterprise A didn’t show up until the end of Star Trek: The Voyage Home, aka STIV.