I’m starting a new Vietnam-related model - this will be an M728 CEV - standing for Combat Engineer Vehicle. It’s one of two versions of the M60 Patton tank that served in Vietnam (the other was the bridgelayer - M60 AVLB). The CEV was created by adding some engineering features to the standard M60A1 tank. It got a dozer blade, the cannon was switched to a 165mm short barreled demolition cannon, and a winch and A-frame boom were fitted to the turret to give the vehicle a 6 ton lifting capability.
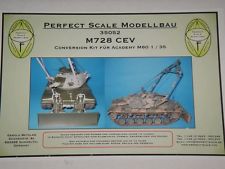
The idea for my model is to take an M60A1 kit, put the Academy dozer blade on it and then to replace the turret with the resin kit coming from a German company called Perfect Scale Models:
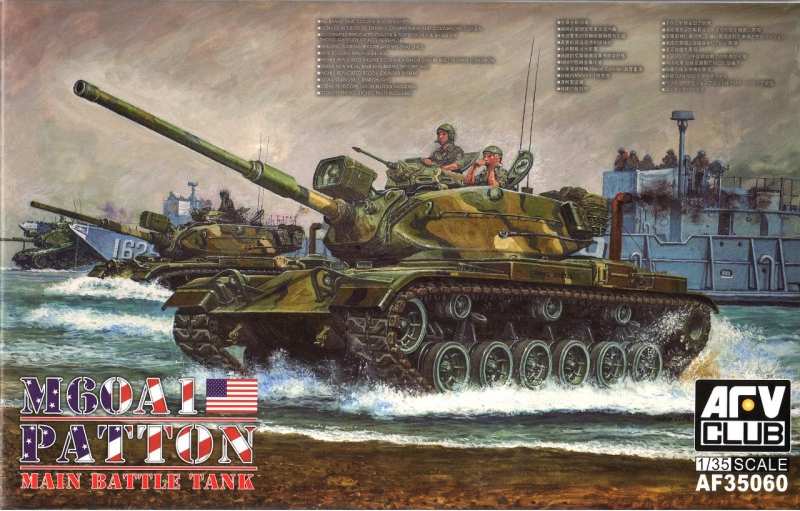
I started to work with the ESCI/Italeri kit of the M60A1 tank, but while cleaning it up and looking for references it got obvious, that I might put tens of hours in it and still not get the results the new AFV Club kit get you right out of the box. So I ordered the AFV Club kit and now I’m working on it:
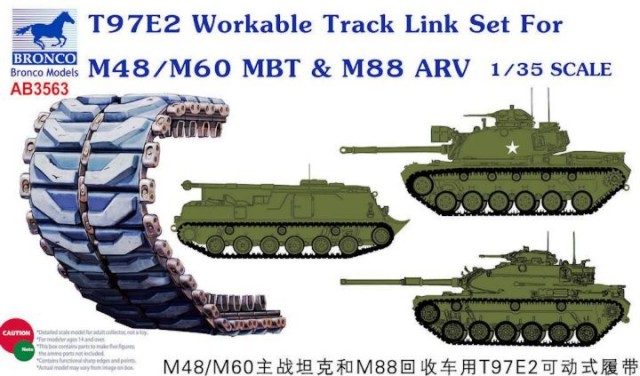
I also have fancy Bronco tracks for it:
To top off the goodies there’s also the Eduard 35725 PE detail set.
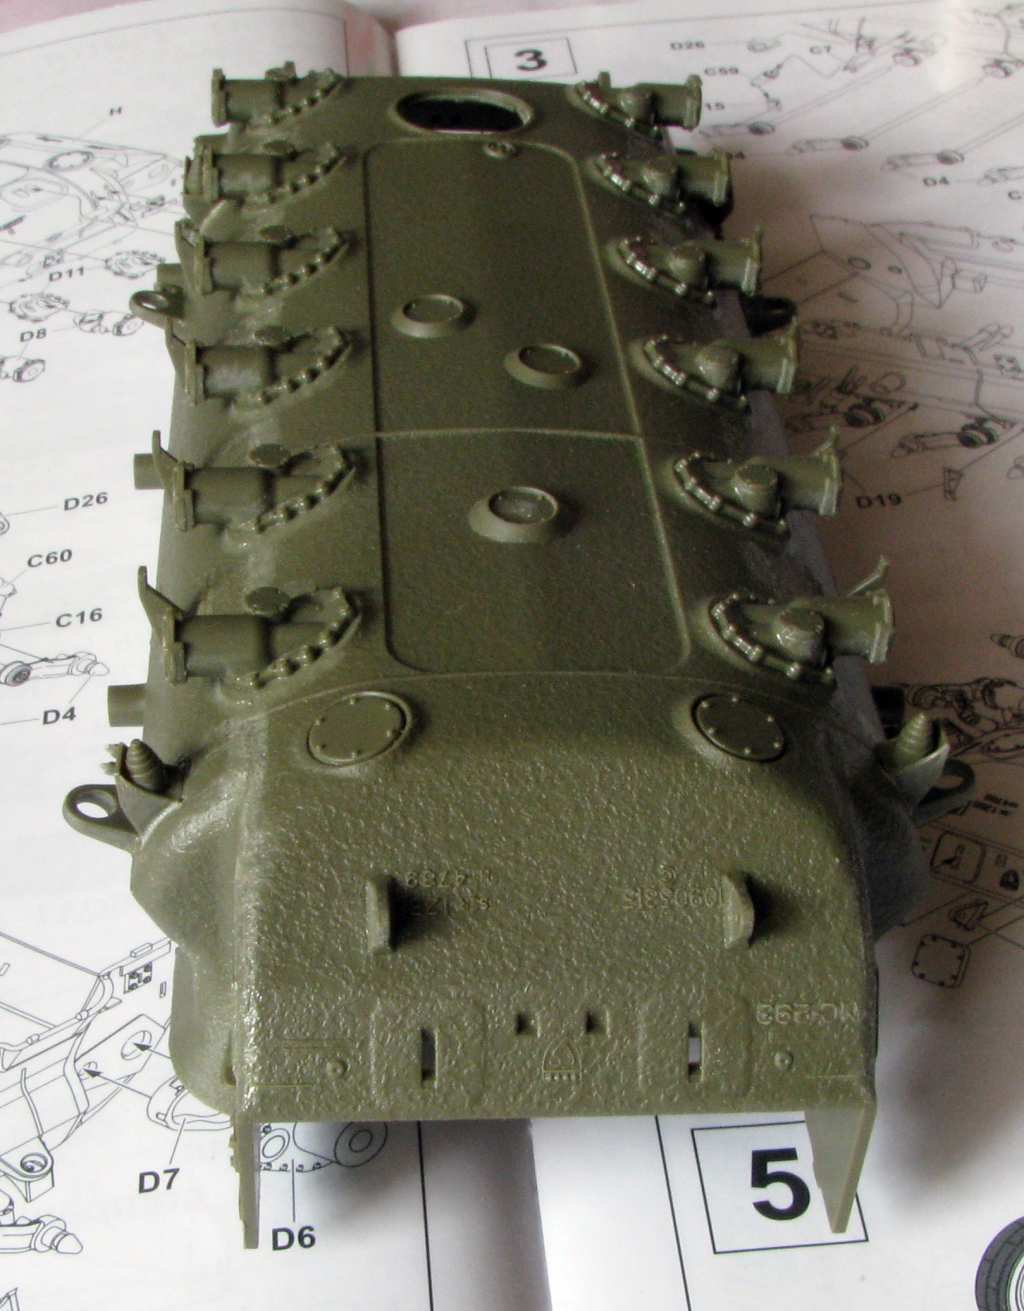
Of course I wouldn’t bore you if I didn’t have some work to show. So that’s what the ESCI/Italeri hull looks like after some cleanup:
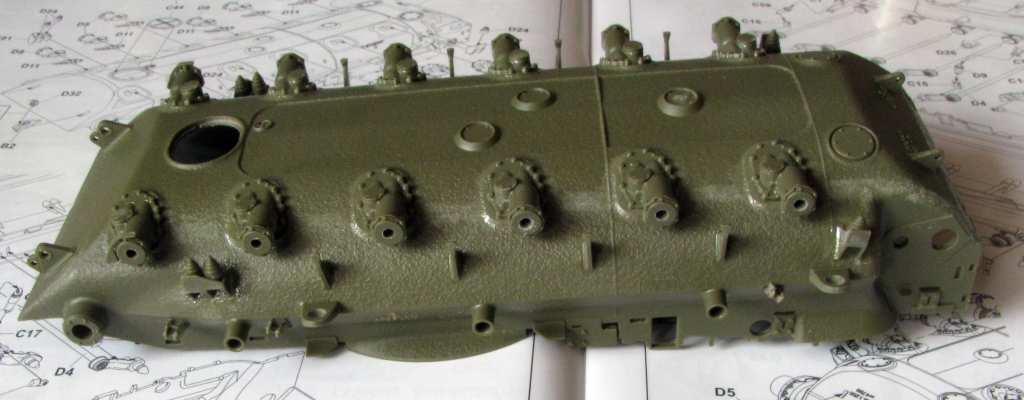
As stated before I’m not going to use it. Instead I have this:
This doesn’t look like much, but it’s still 53 parts put together. The kit really has lots of them and I don’t mind, looking at the nice detail the kit gives you after the little extra work.
I already would like to ask you for help - it’s about the emergency exit hatch. What colour should it be on the inside - white, OD or some other colour?
OK, now I’m movin’ on to build the rest of the suspension - thanks for reading and have a nice day
Looking good so far. The AFV Club kit looks really nice.
As to the escape hatch, it would be white on the inside, just like the rest of the hull interior. However, remember the hatch is at the bottom of the hull, so any dirt, debris, and junk would settle there. So the hatch would be a very dirty white.
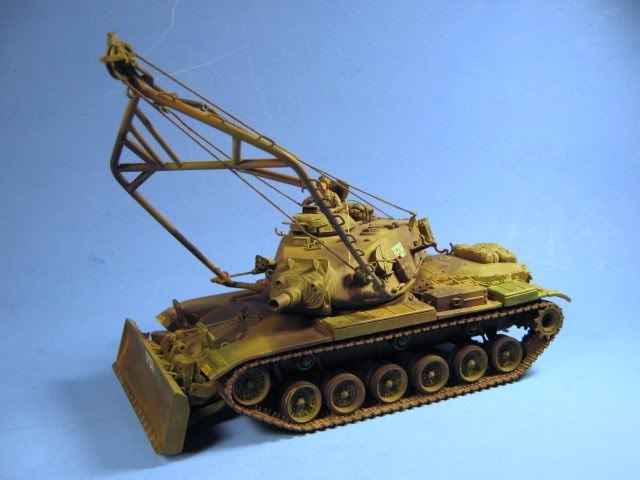
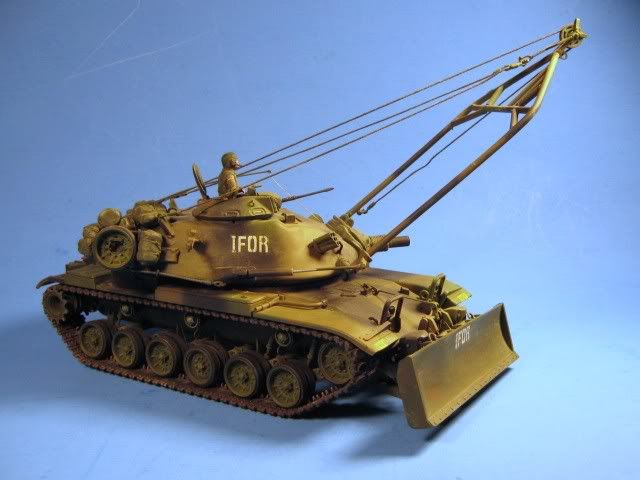
I built an M728 CEV a long time ago (1999’ish), using plans in an FSM mag. I think it came out really nicely.
You know just as soon as you get about ready to paint, AFV will have the kit out in plastic, right? Something about “Murphy’s Law of Conversions Using Expensive Aftermarket Parts”?
Bish, in my experience AFV Club kits are on par with Dragon and Bronco for “over engineering”. Not to say that they are not beautiful kits to build. But I think the Chinese mindset for designing plastic model kits is: Why build it in five parts when we can do it in 25?
Pawel, this is gonna be a great one to watch! I love the 728. A beautiful beast from my time in Green. The AFV kit hull sure does look top notch!
Gino, that is sharp! I remember those plans in that issue. I am pretty sure I have them around still in my FSM library. Of course with my luck, if I ever was to do that project like you did, somebody WILL release the kit in injection plastic as soon as I were to be done with mine.
Bish - Nah, it’s AFV Club - as many parts as Dragon has, they just don’t do Sci Fi (MBT 70, M103, you know).
Gino - nice machine! Which issue had the plans of the CEV? Thanks a lot for the info on the hatch. I suspected they might have been painted in some other colour to aid in locating the hatch in emergency.
RBaer - good to have you onboard! I suspect it might be so, but that law doesn’t bother me much - I already bought the resin a long time ago and now I feel is the time to finally use it up.
Thanks a lot for your comments, gentlemen - good luck with your builds and have a nice day
Ye, I have started to realise that about AFV club kits. Despite having a few in the stash, I built my first one a couple of months back, and it certainly reminded of Dragon in the parts count.
Thanks. It was a fun build and one I am really proud of. I had to search the back issues page here at FSM to find when it was from. Apparently it was from the March '95 issue.
Very cool Pawel, I love seeing different stuff like this!
And your’s is very cool too Gino, I’d love to do more conversions but I build slowly enough as it is without modifying kits.
I love AFV Club kits so don’t get me wrong but I’ll say they’re like a Dragon kit but take even longer to finish due to the injection pin holes everywhere that need to be filled.
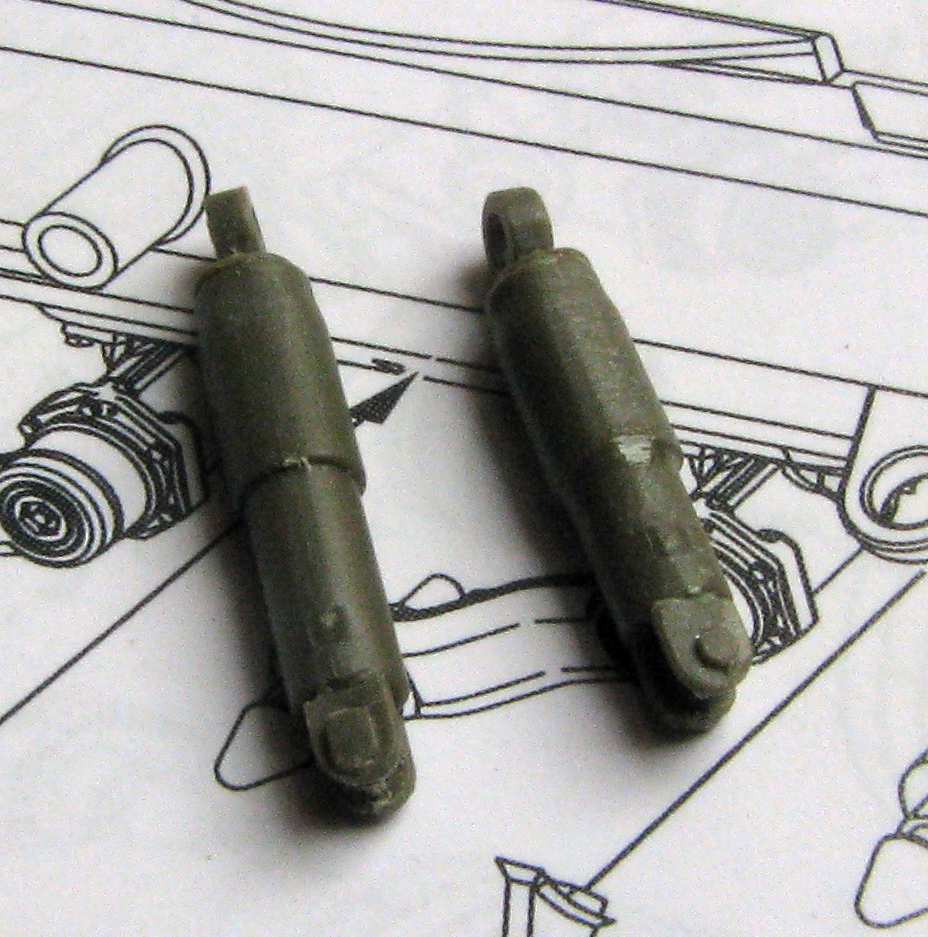
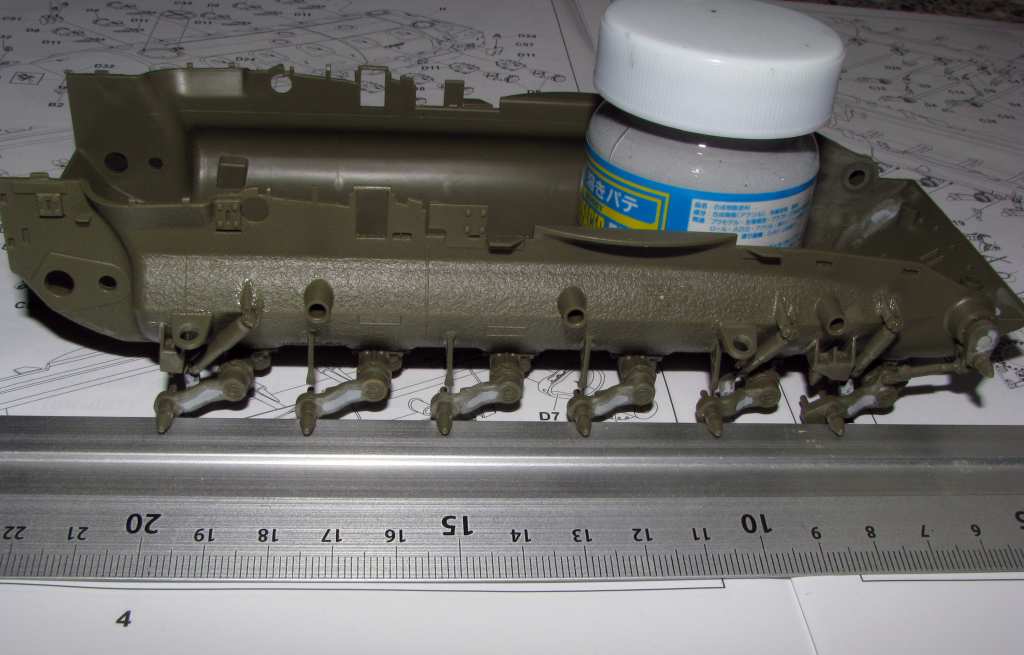
The work to put it on the wheels continues. The kit is trying to get you “working suspension” - that could almost work, as the torsion bars are there, attached to the road wheel arms and going all the way across the hull. Very informative, but also makes the model harder to build. But once you put the shock absorbers in, you are locking the first, second and last road wheel arms in place - that’s where the suspension stops working. I decided to use it in my advantage and show the vehicle in the often seen “nose down” stance - caused by the weight of the blade and maybe some load on the deployed A-frame. That’s why I shortened the fron shocks by some 1,5 - 2 mm, like on the photo below. The left shock is before shortening, the right is after:
Then I glued one side of the suspension together and set it under weight for the glue to set:
You see there was some filling necessary for the parts to look nice.
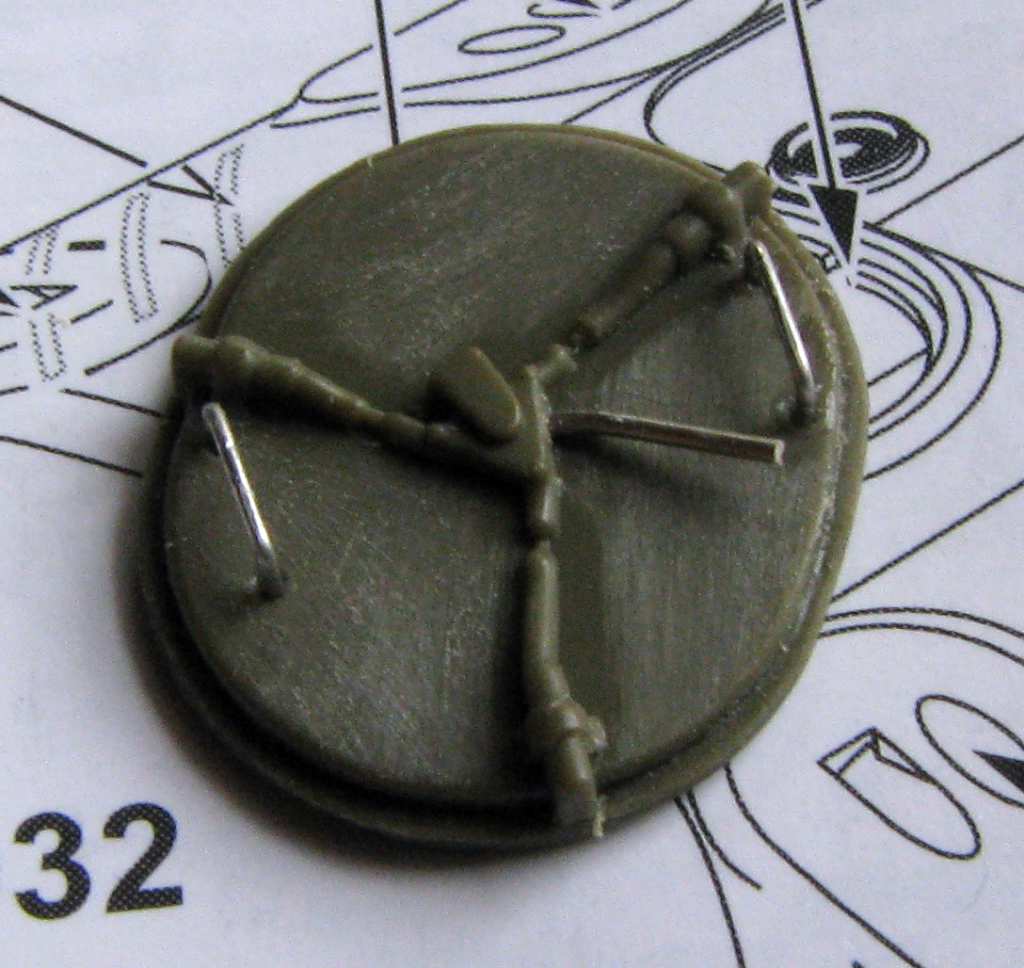
I also detailed the insides of the escape hatch:
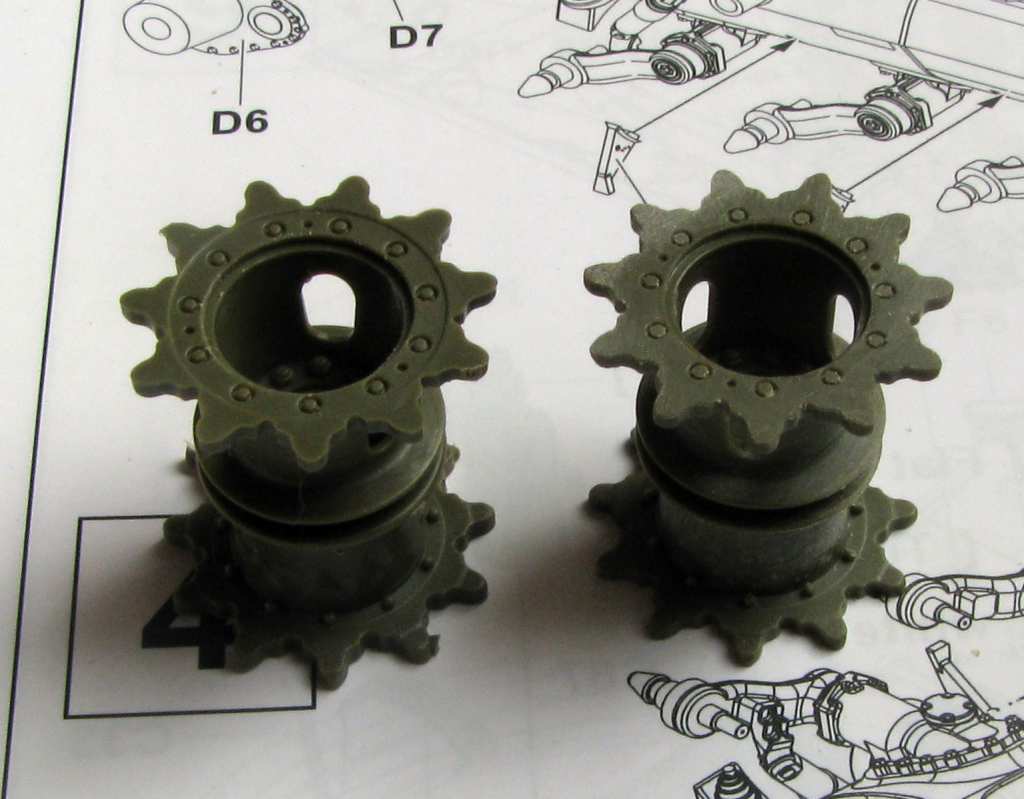
There also was something I had to do about the drive sprockets. The kit gives you two sets of definitely M60-looking sprockets - but in Vietnam the vehicles used the M48 style sprockets, with flat faces. I pondered many ways to redo them, but in the end I decided to sand them lightly. The photo below shows you the sprocket out of the box on the left and after my sanding on the right:
Now both of them are done this style.
That’s it for now - I’m starting to work on the road wheels. Thanks for looking and have a nice day
RBaer - thanks a lot for your kind words! I don’t think I will put this machine on a diorama, but I sure would like to show with it some action! The crew will be there - or at least these are the plans for now.
Oh very nice, yep, I did an AFV SPG and it was nice but yes, lots and lots of parts and very britle light plastic. I have not done any other AFV kit since it was not that fun to build.
KnightTemplar5150, Gamera - thanks a lot for your comments! The road wheel arms are drying and the road wheels themselves are coming up, so I hope to have some results soon.
Garzonh - for me it’s the second AFV Club kit after the Duster, and I have to say I enjoy those kits a lot. I have some more stashed (2,5T trucks, guns, M88) and I look forward to build them. Complicated to build - yes, but the results are worth it IMO. Thank you for your comment and for your kind words.
Bish - thanks a lot for your comment, and for your kind words! I thought - you see a lot of tanks swaying under the load of the dozer blade but not so many models of them - so let’s change it! Thanks again and have a nice day