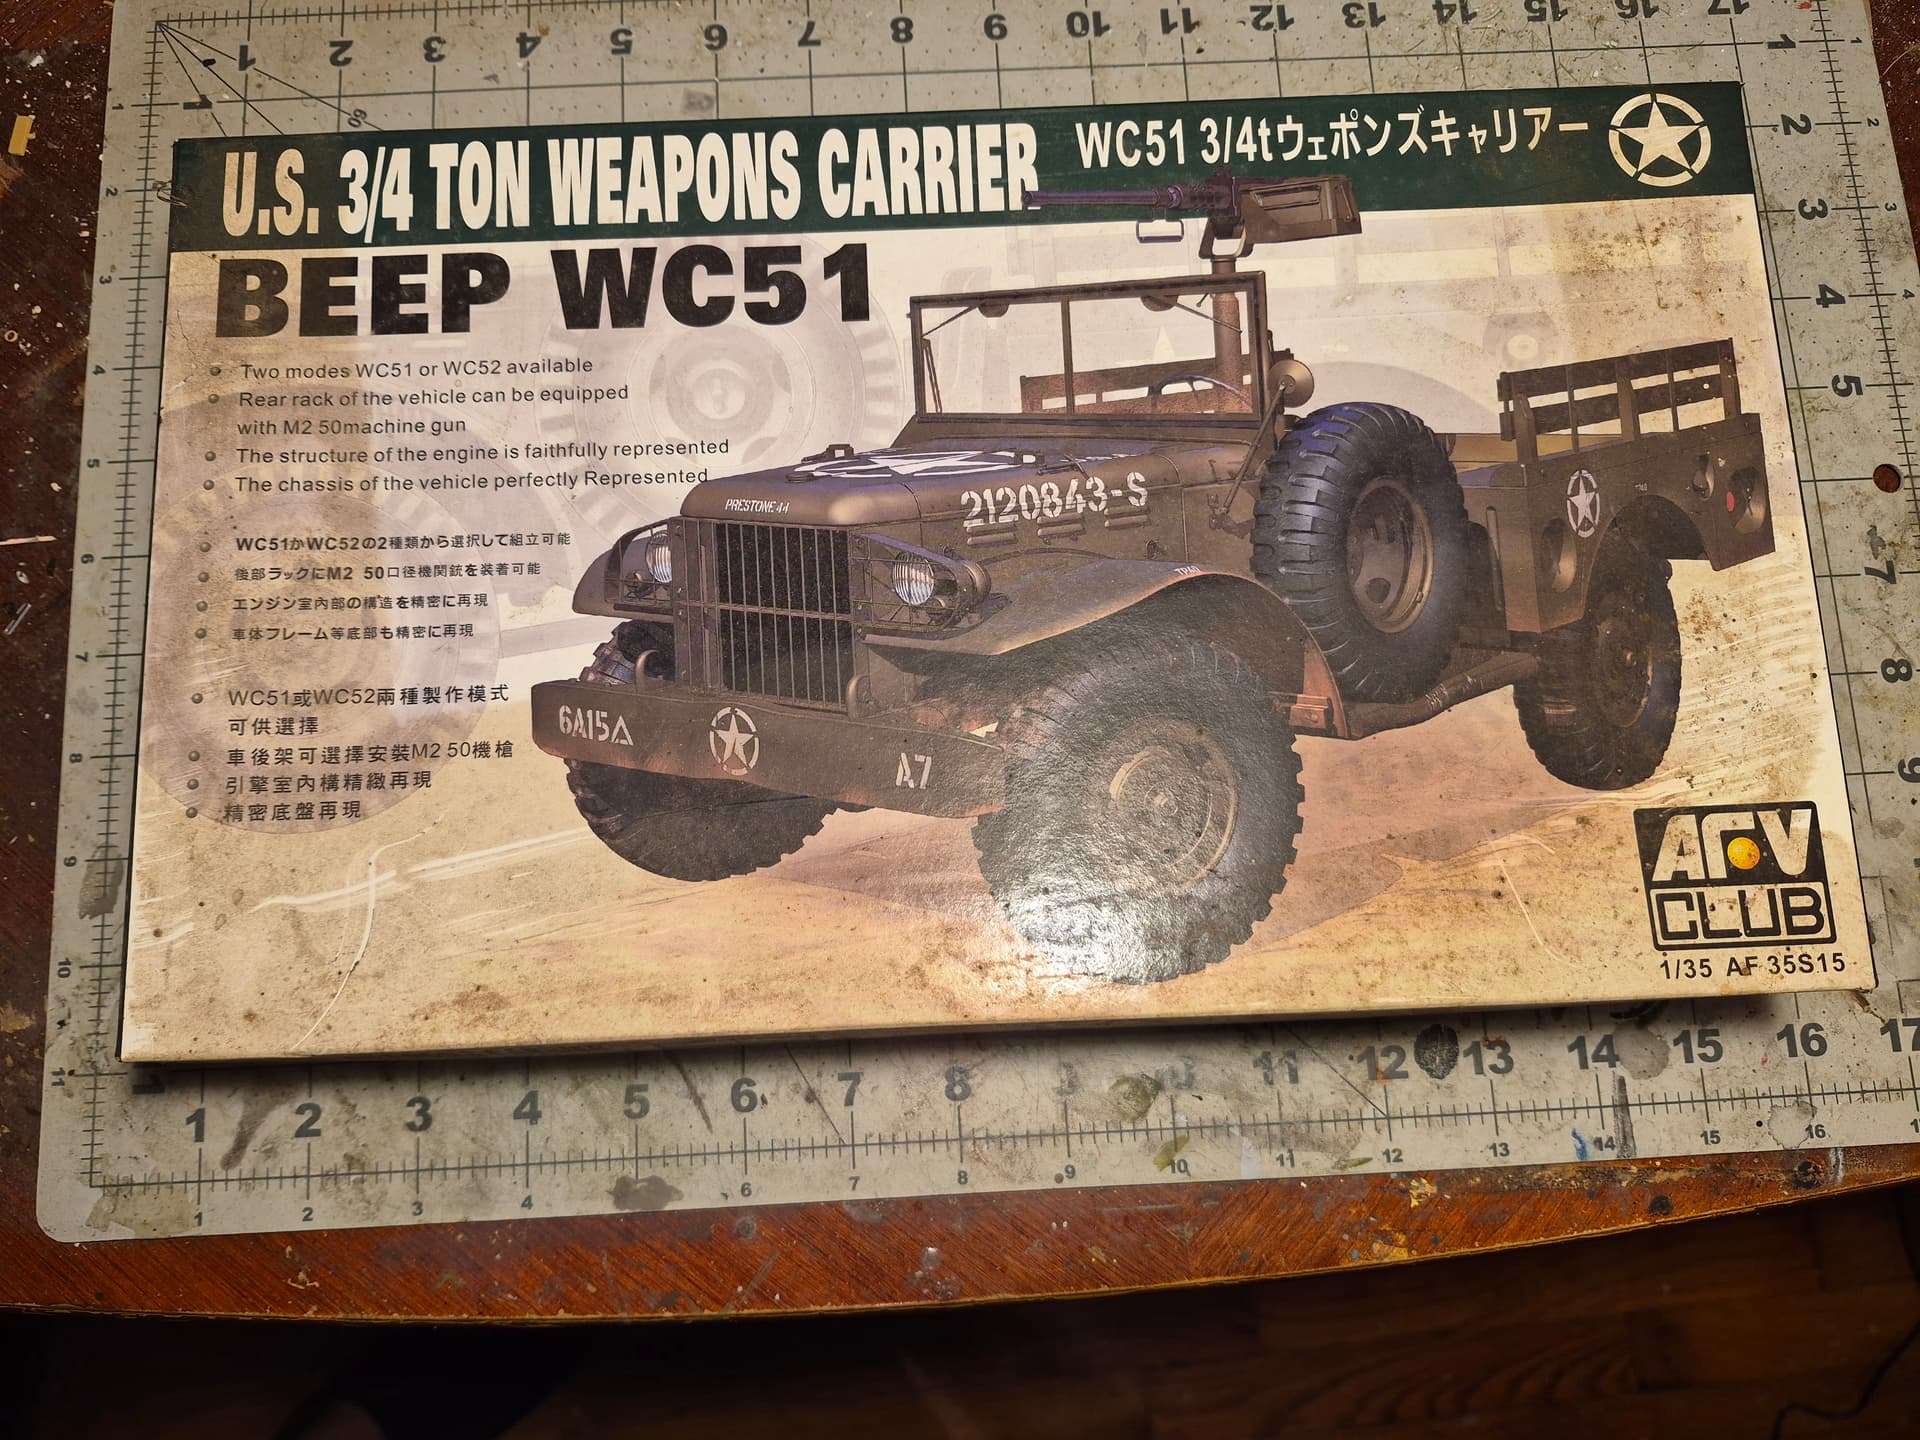
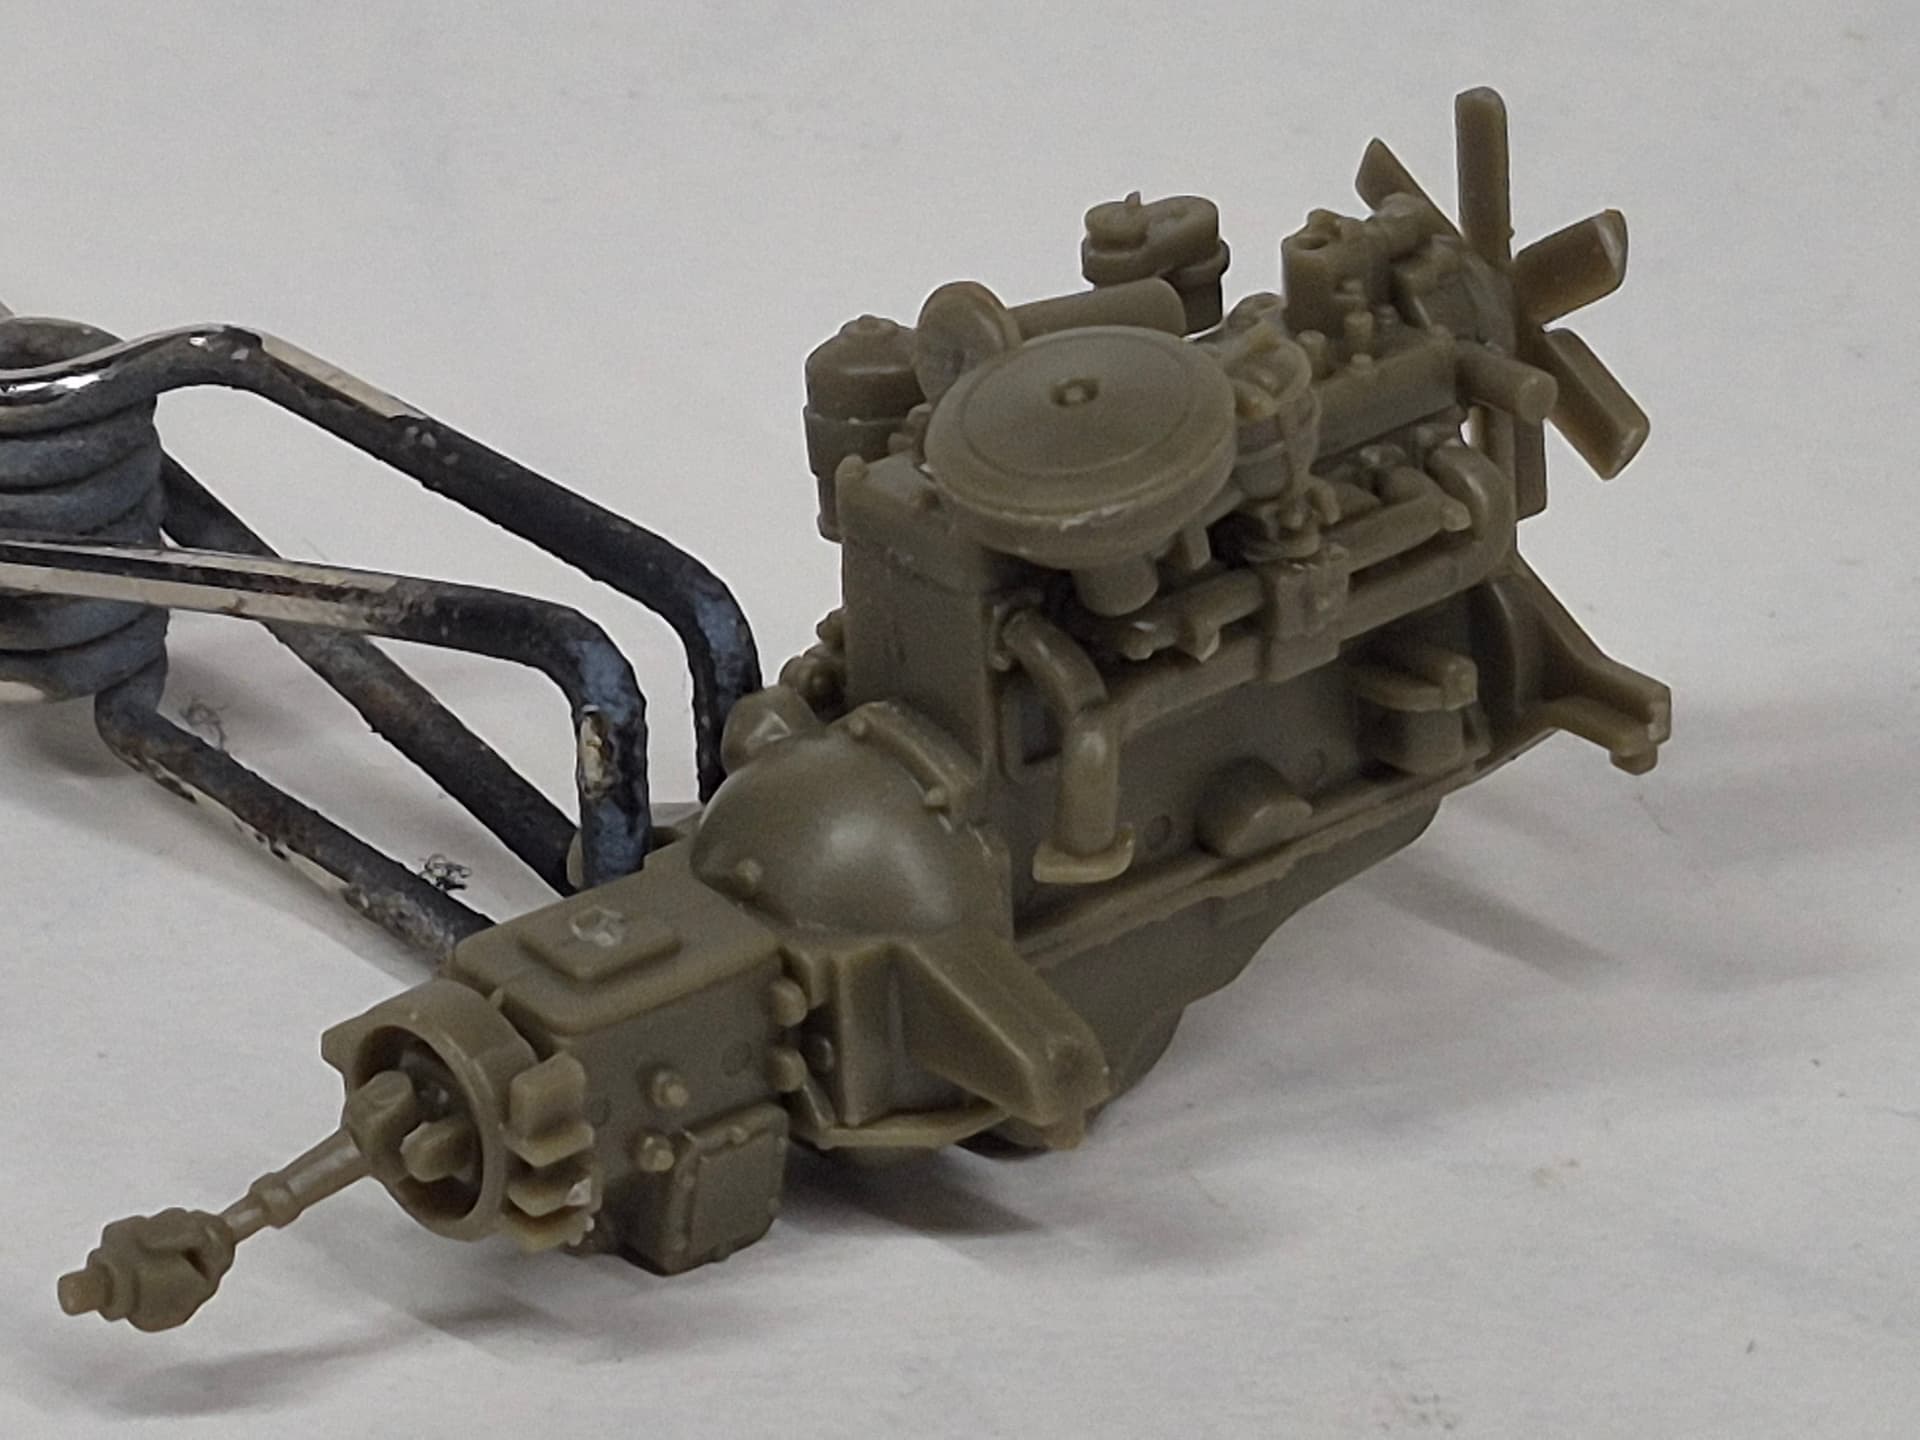
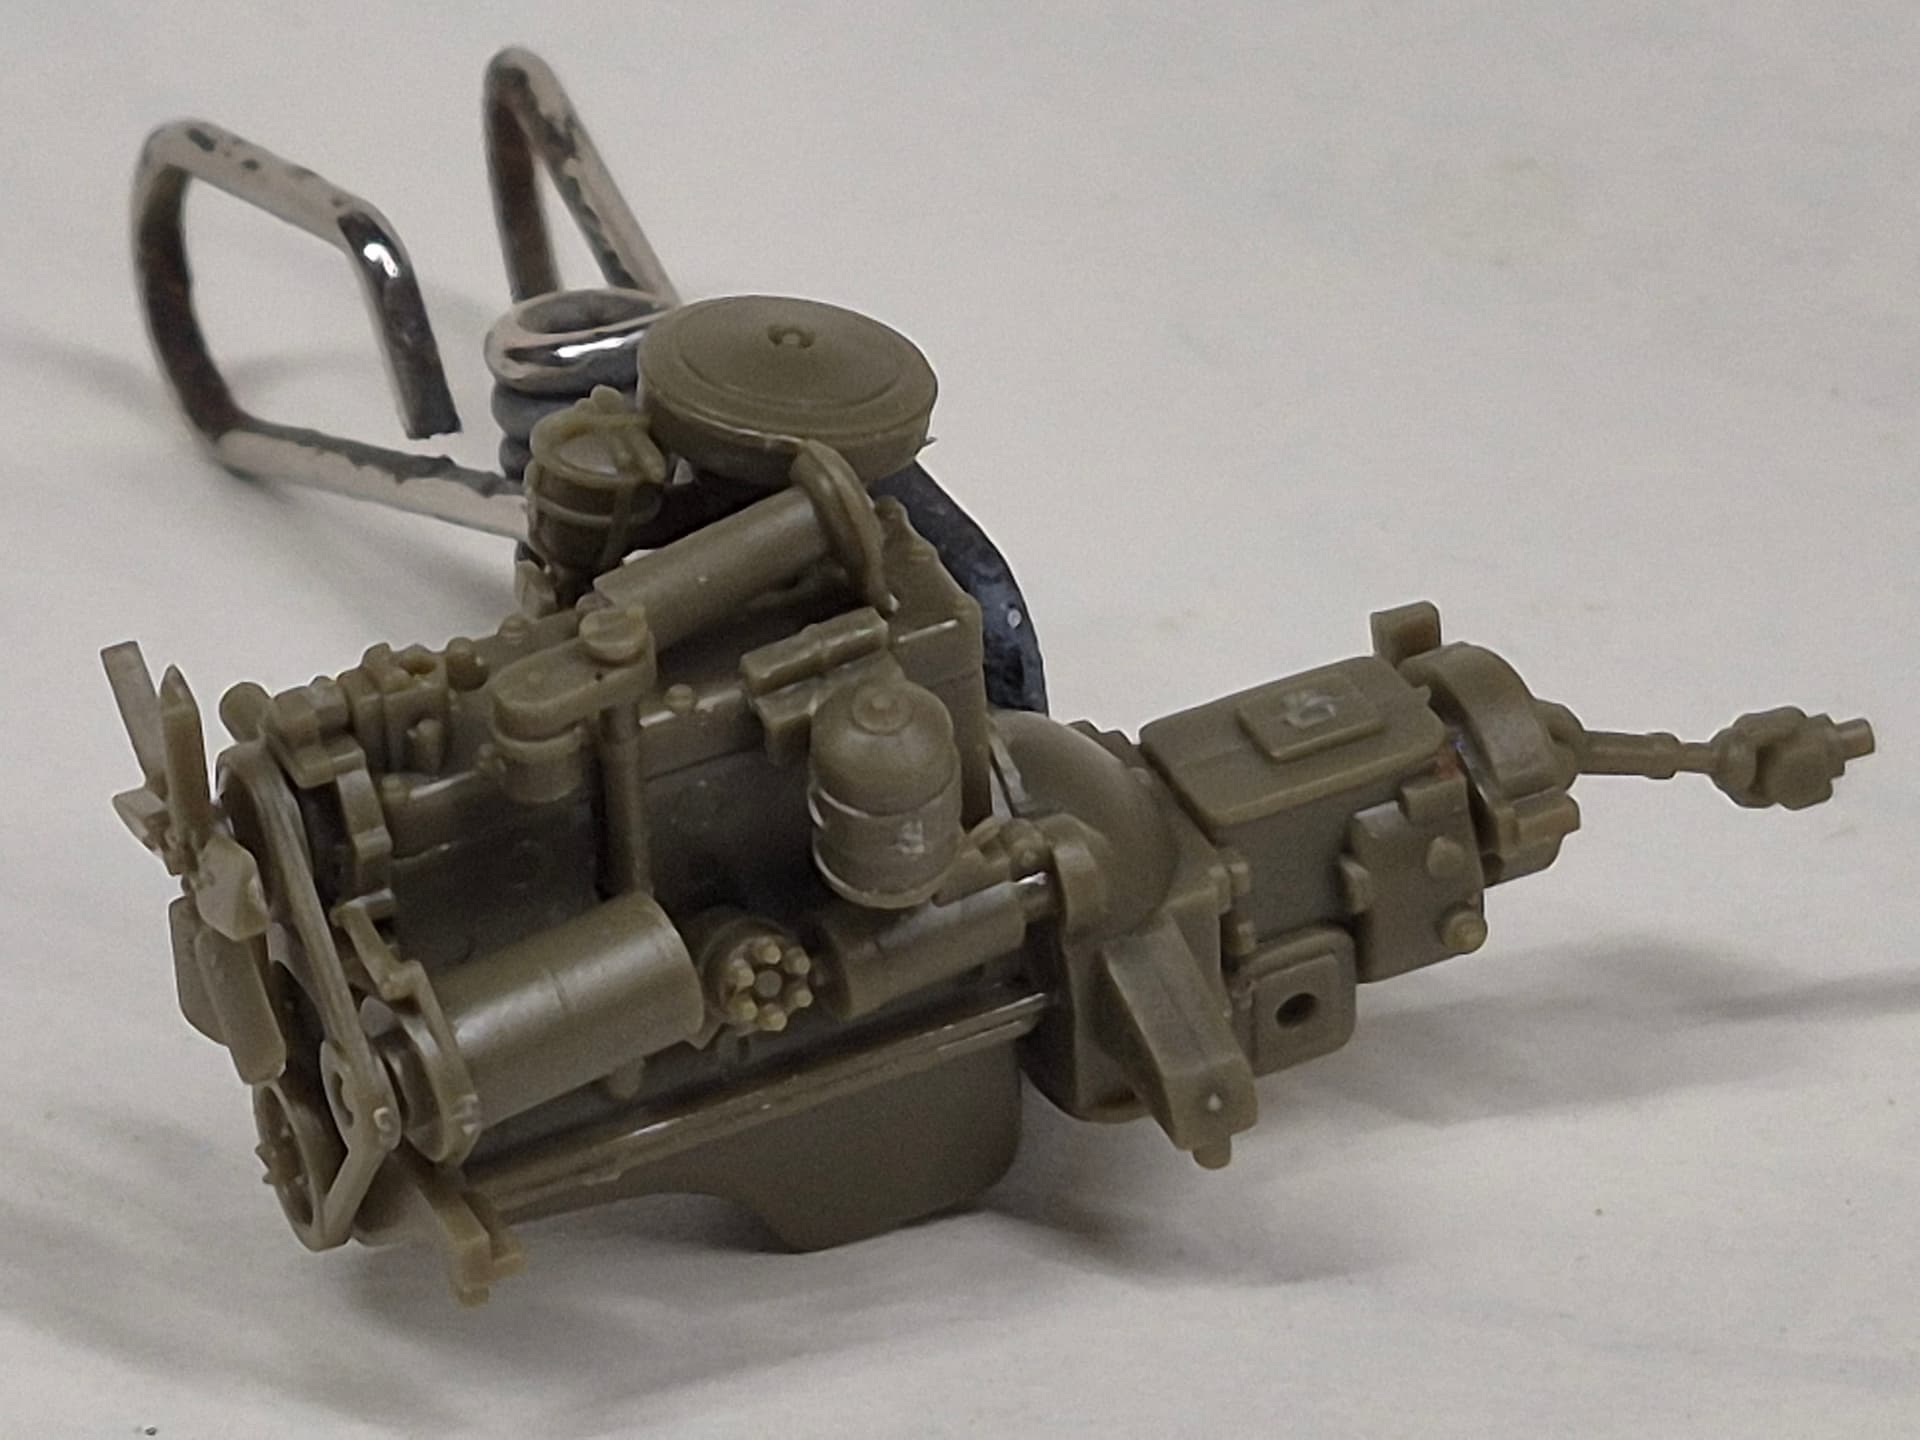
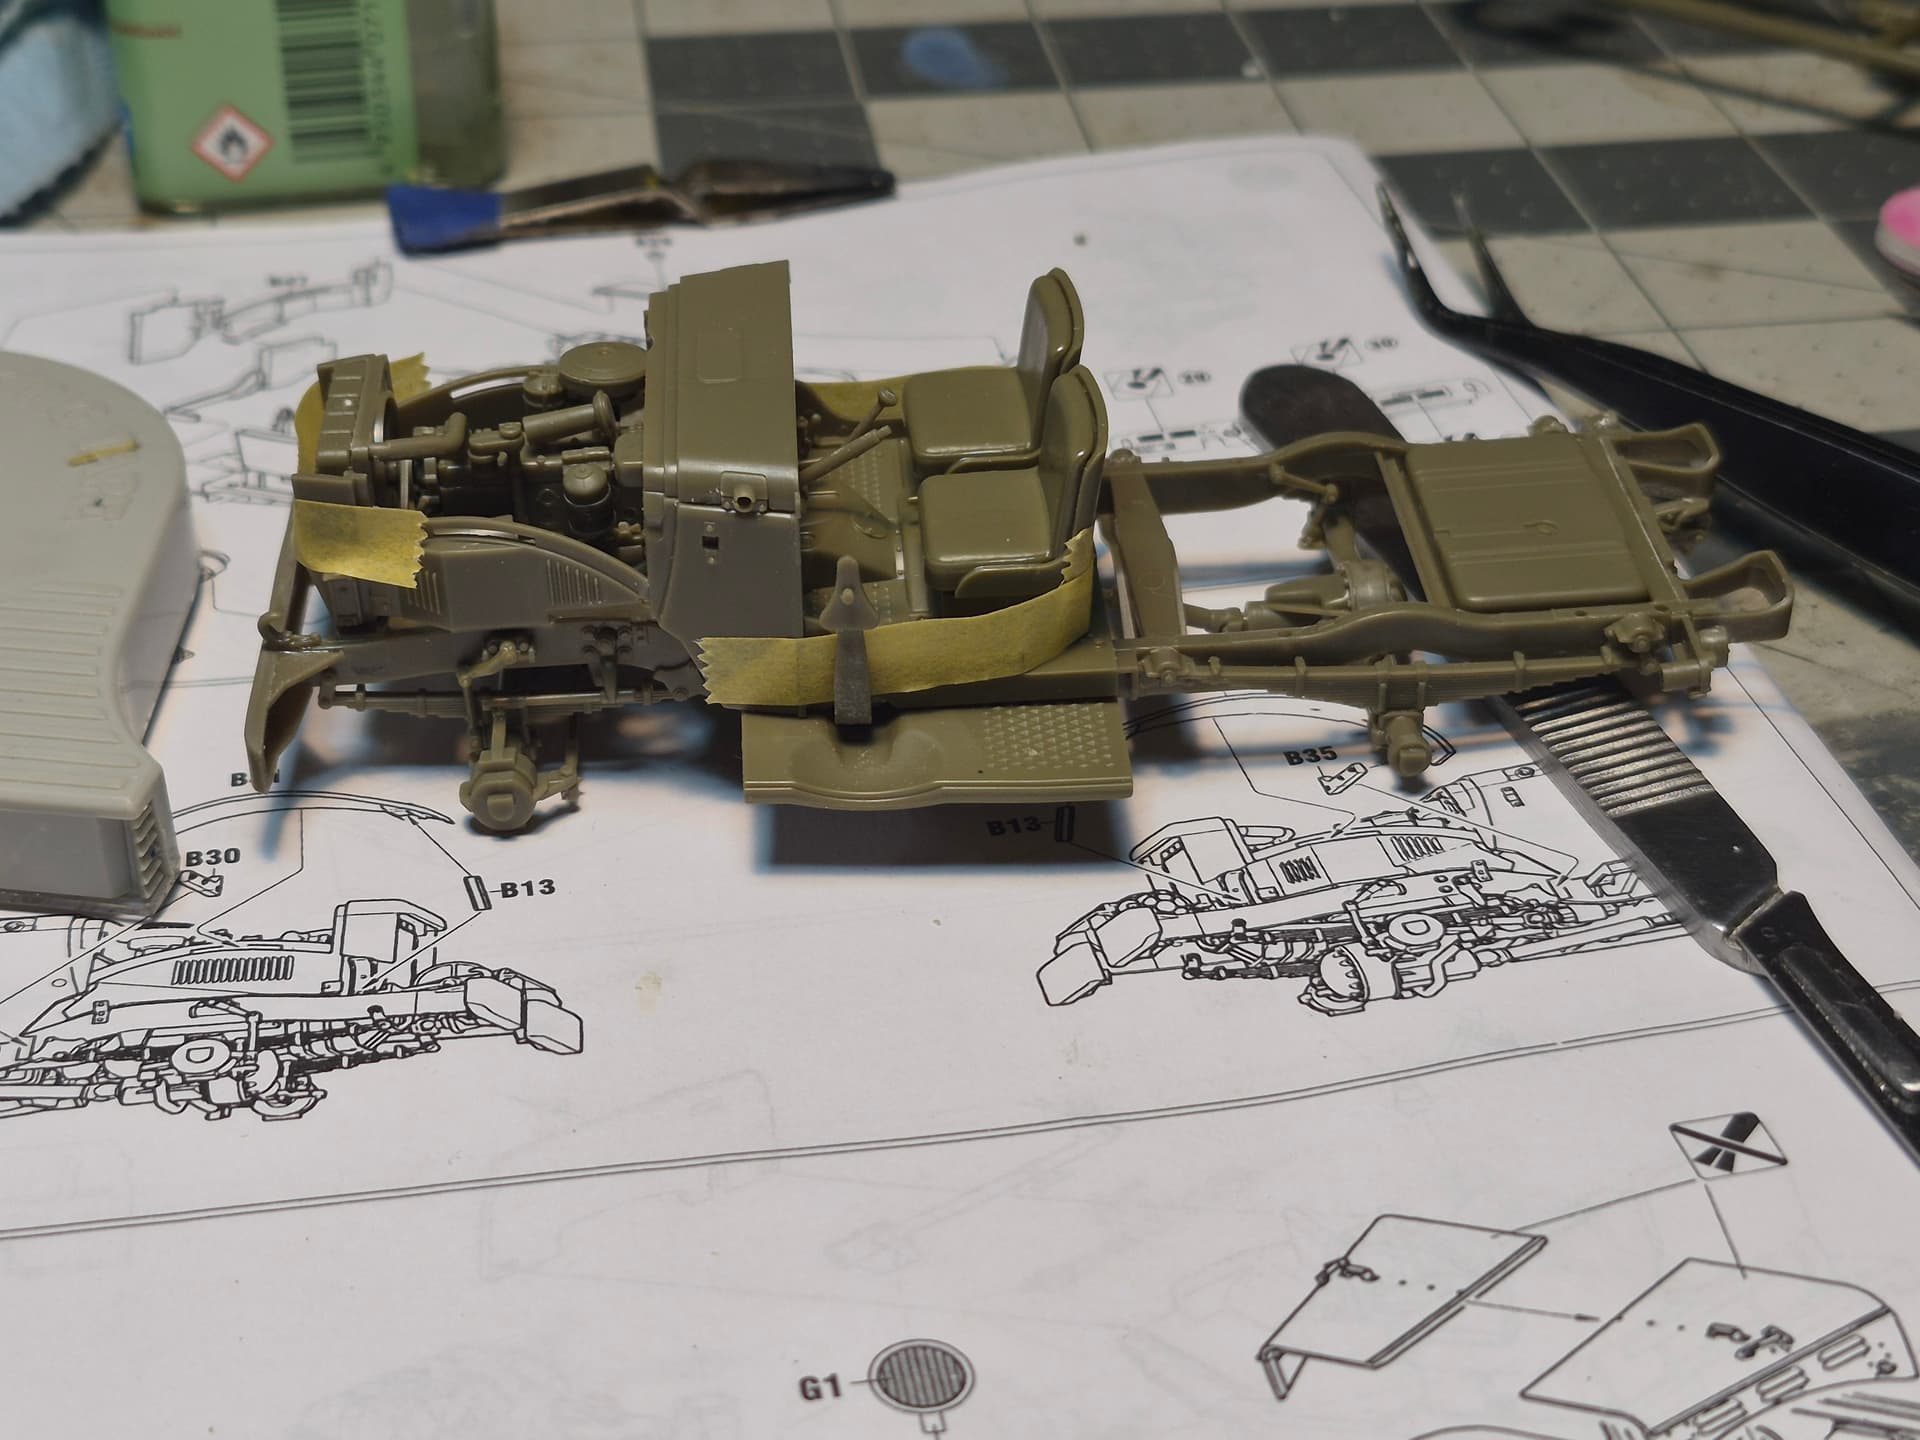
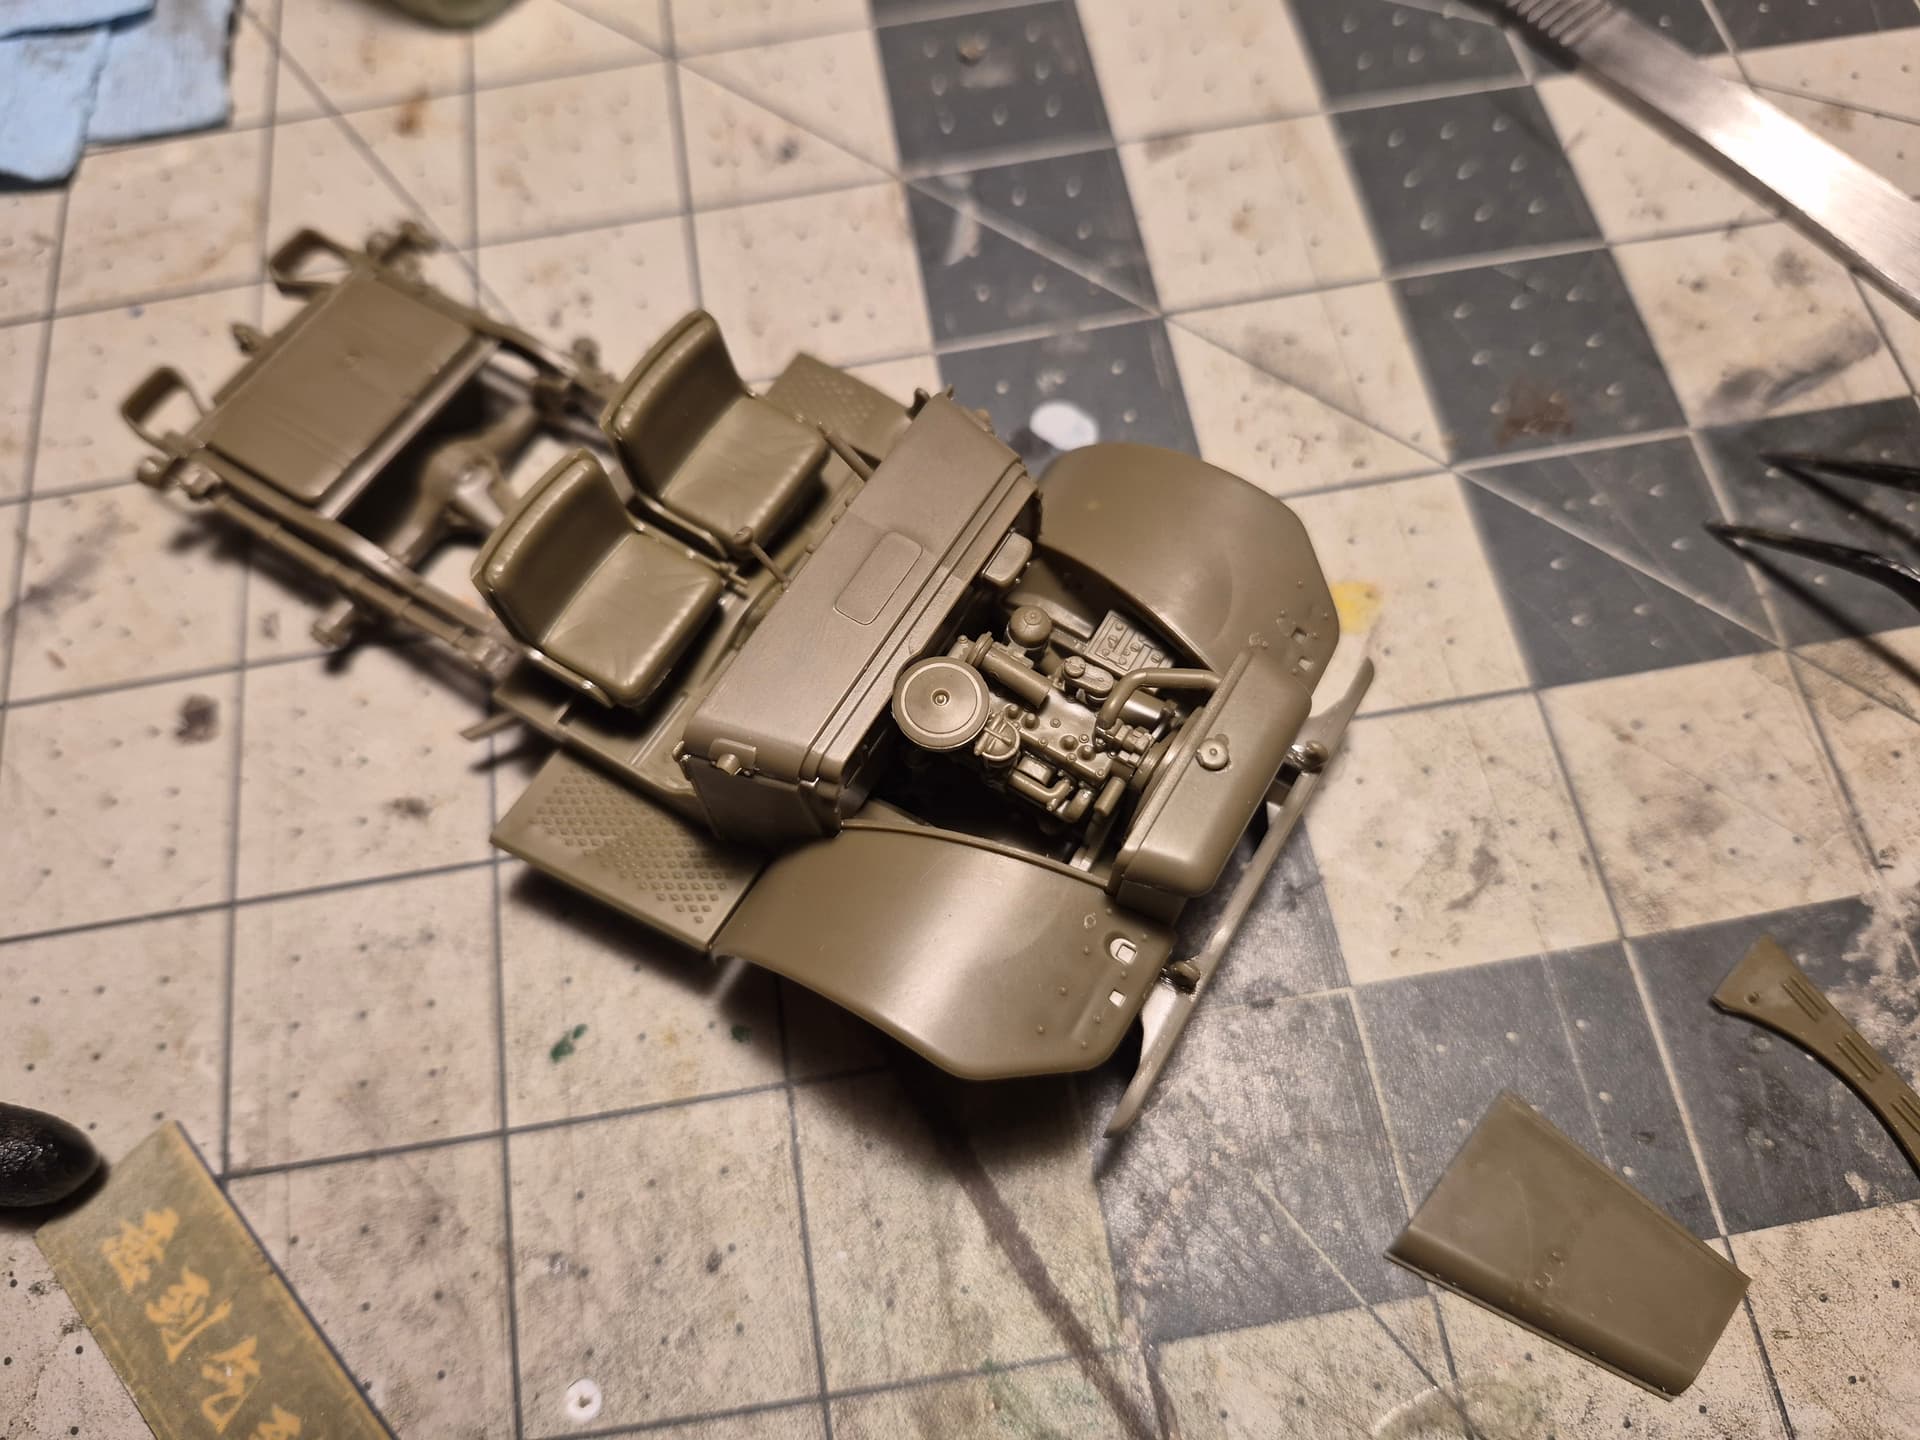
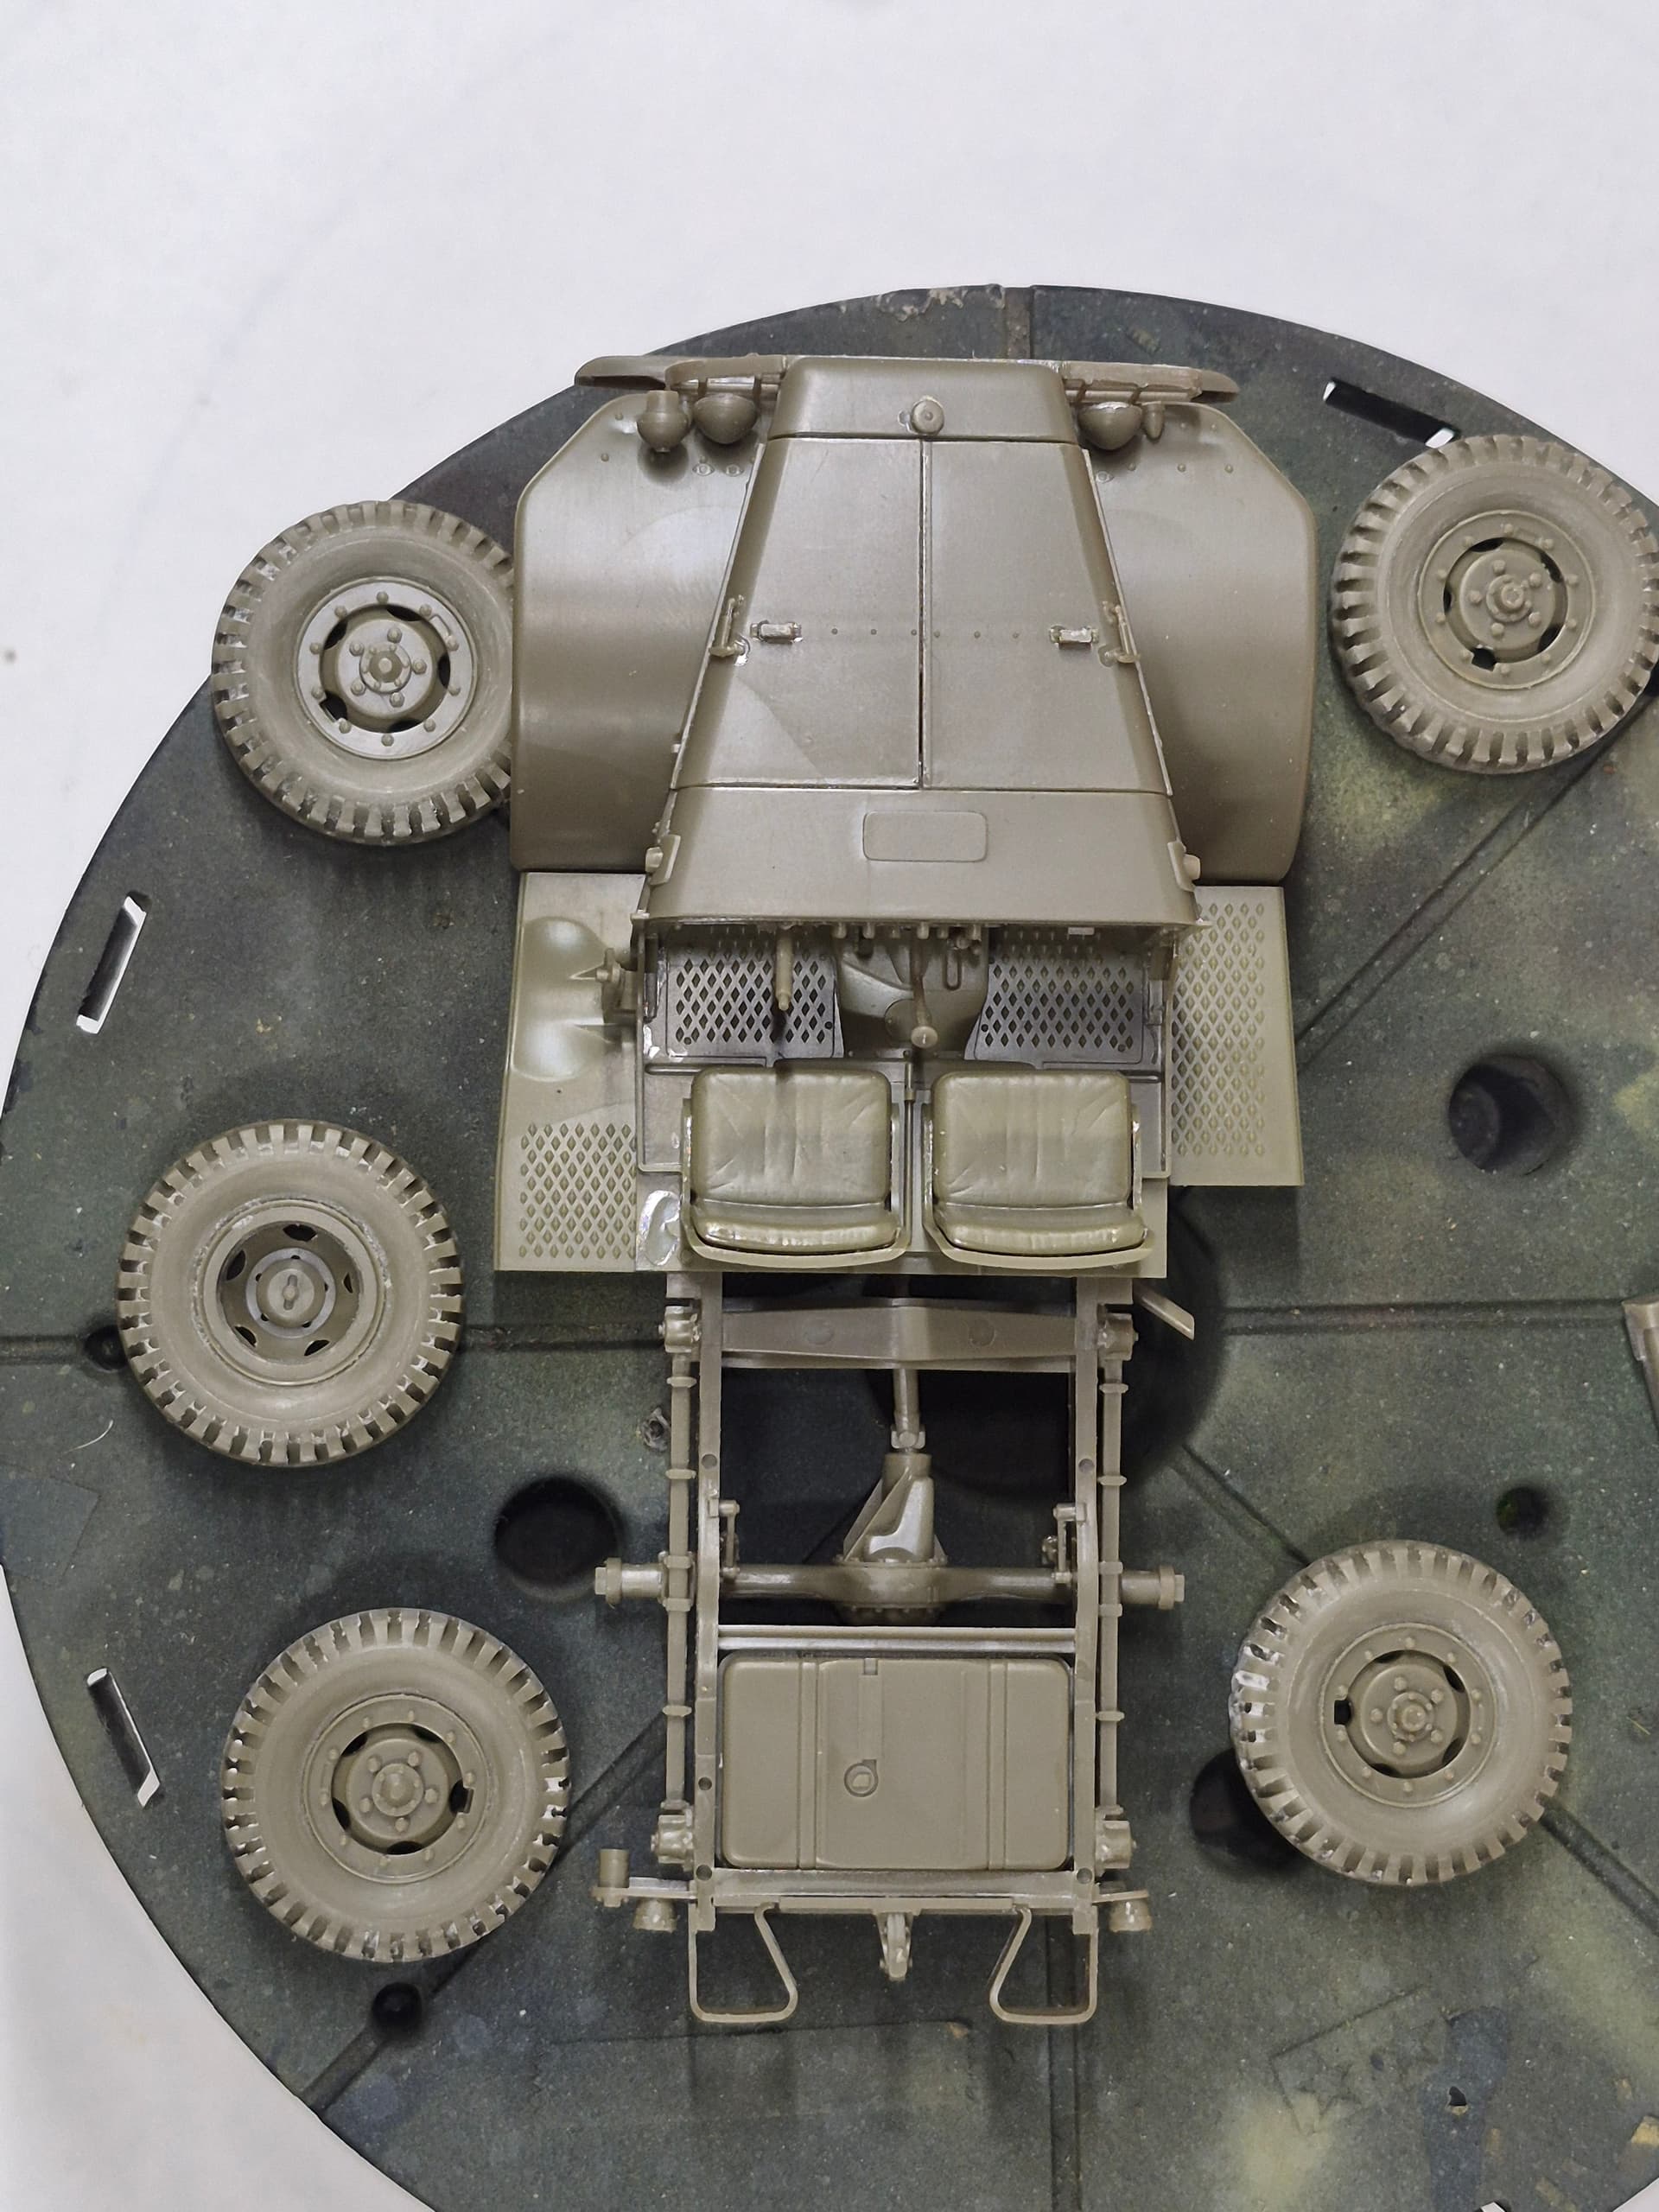
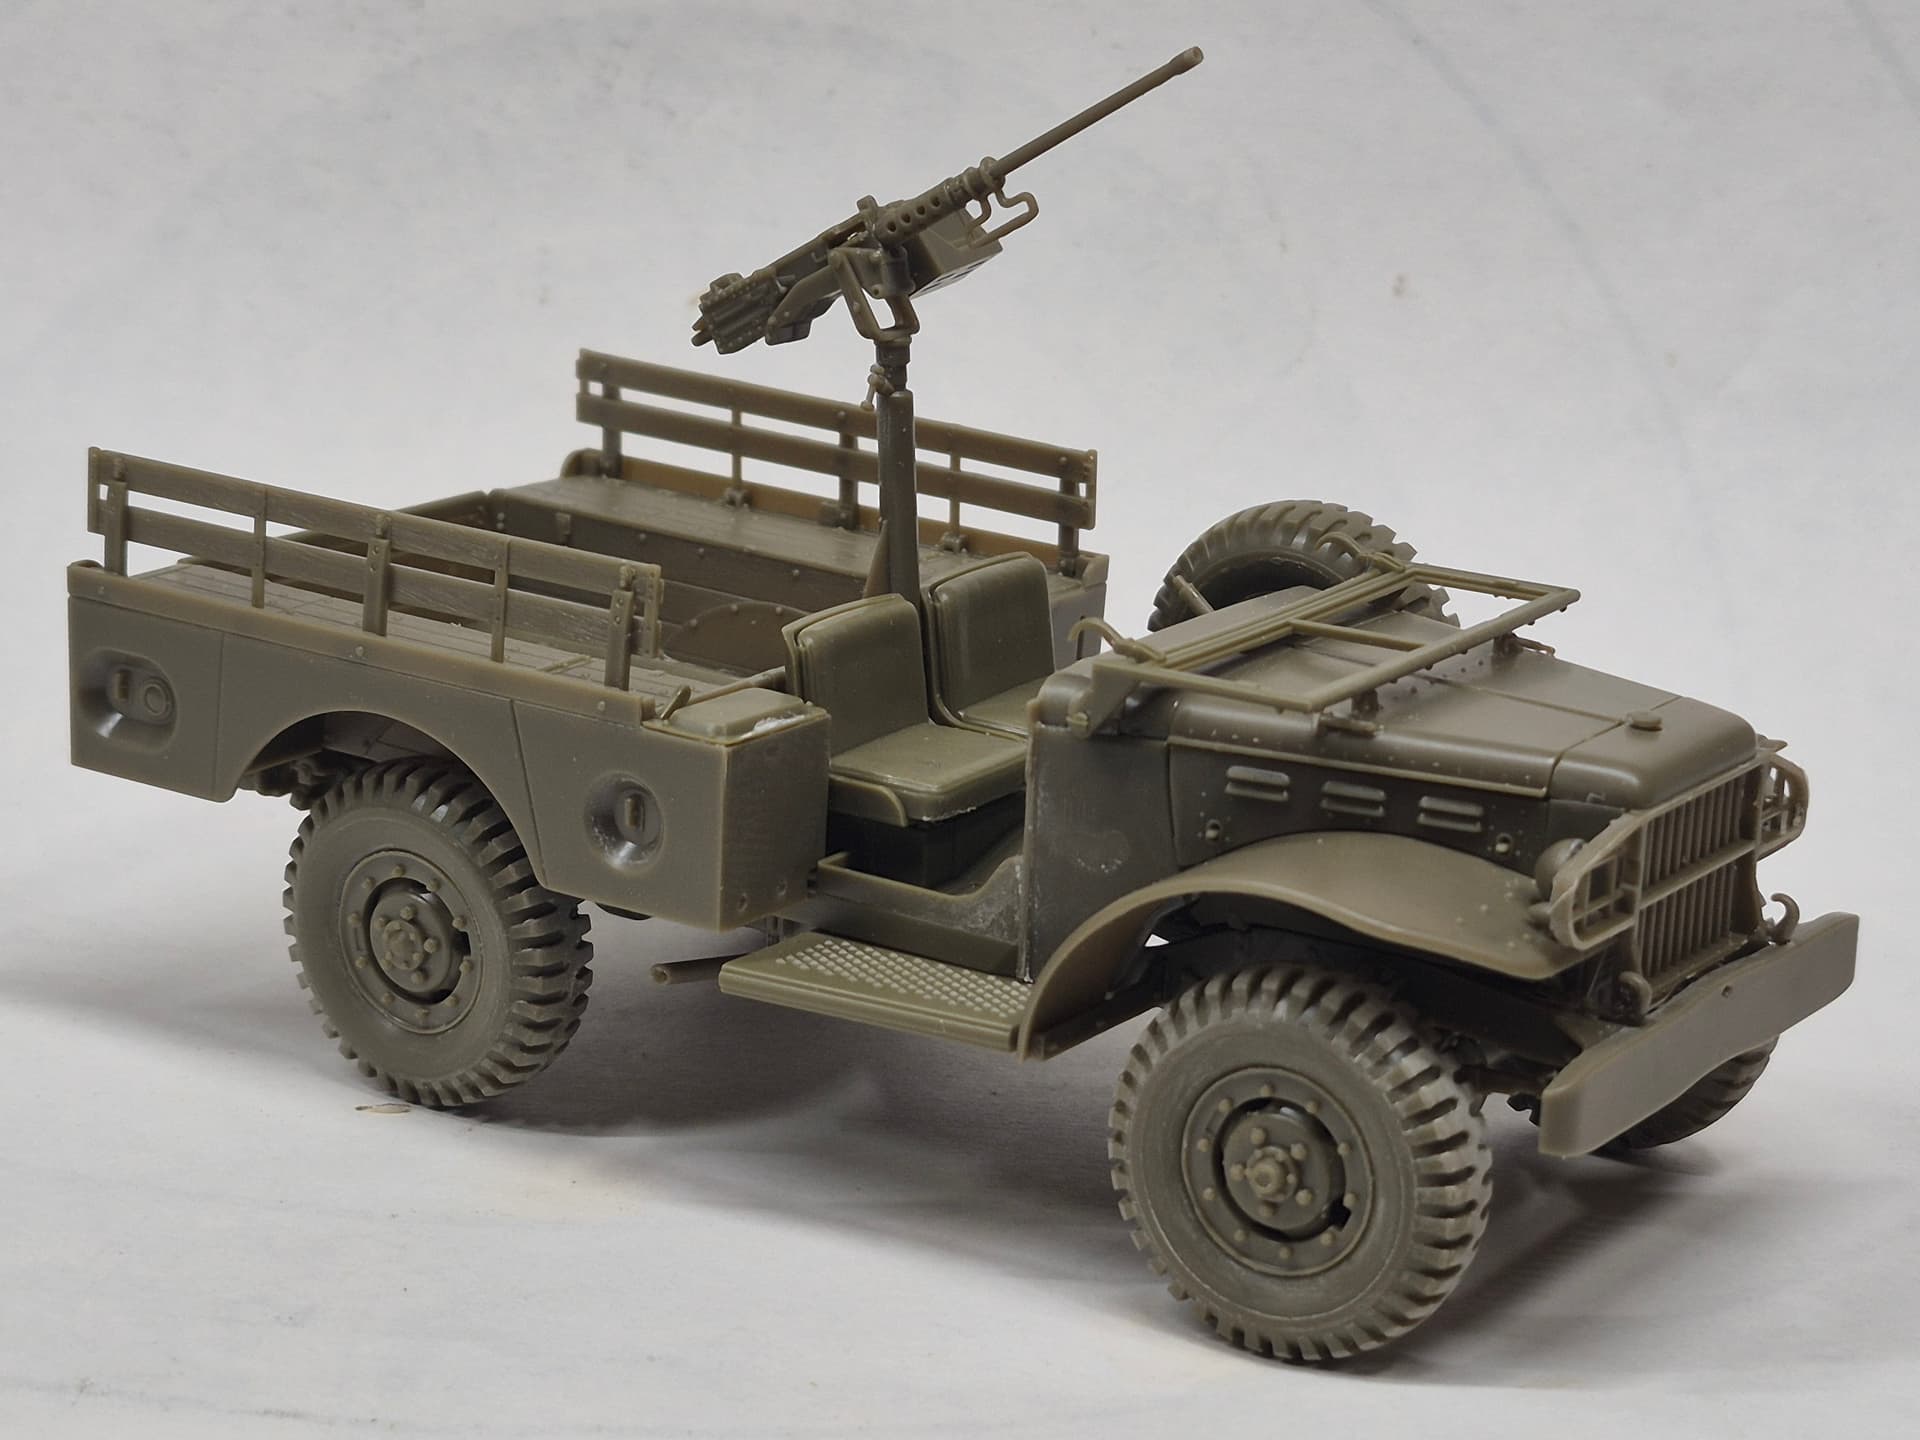
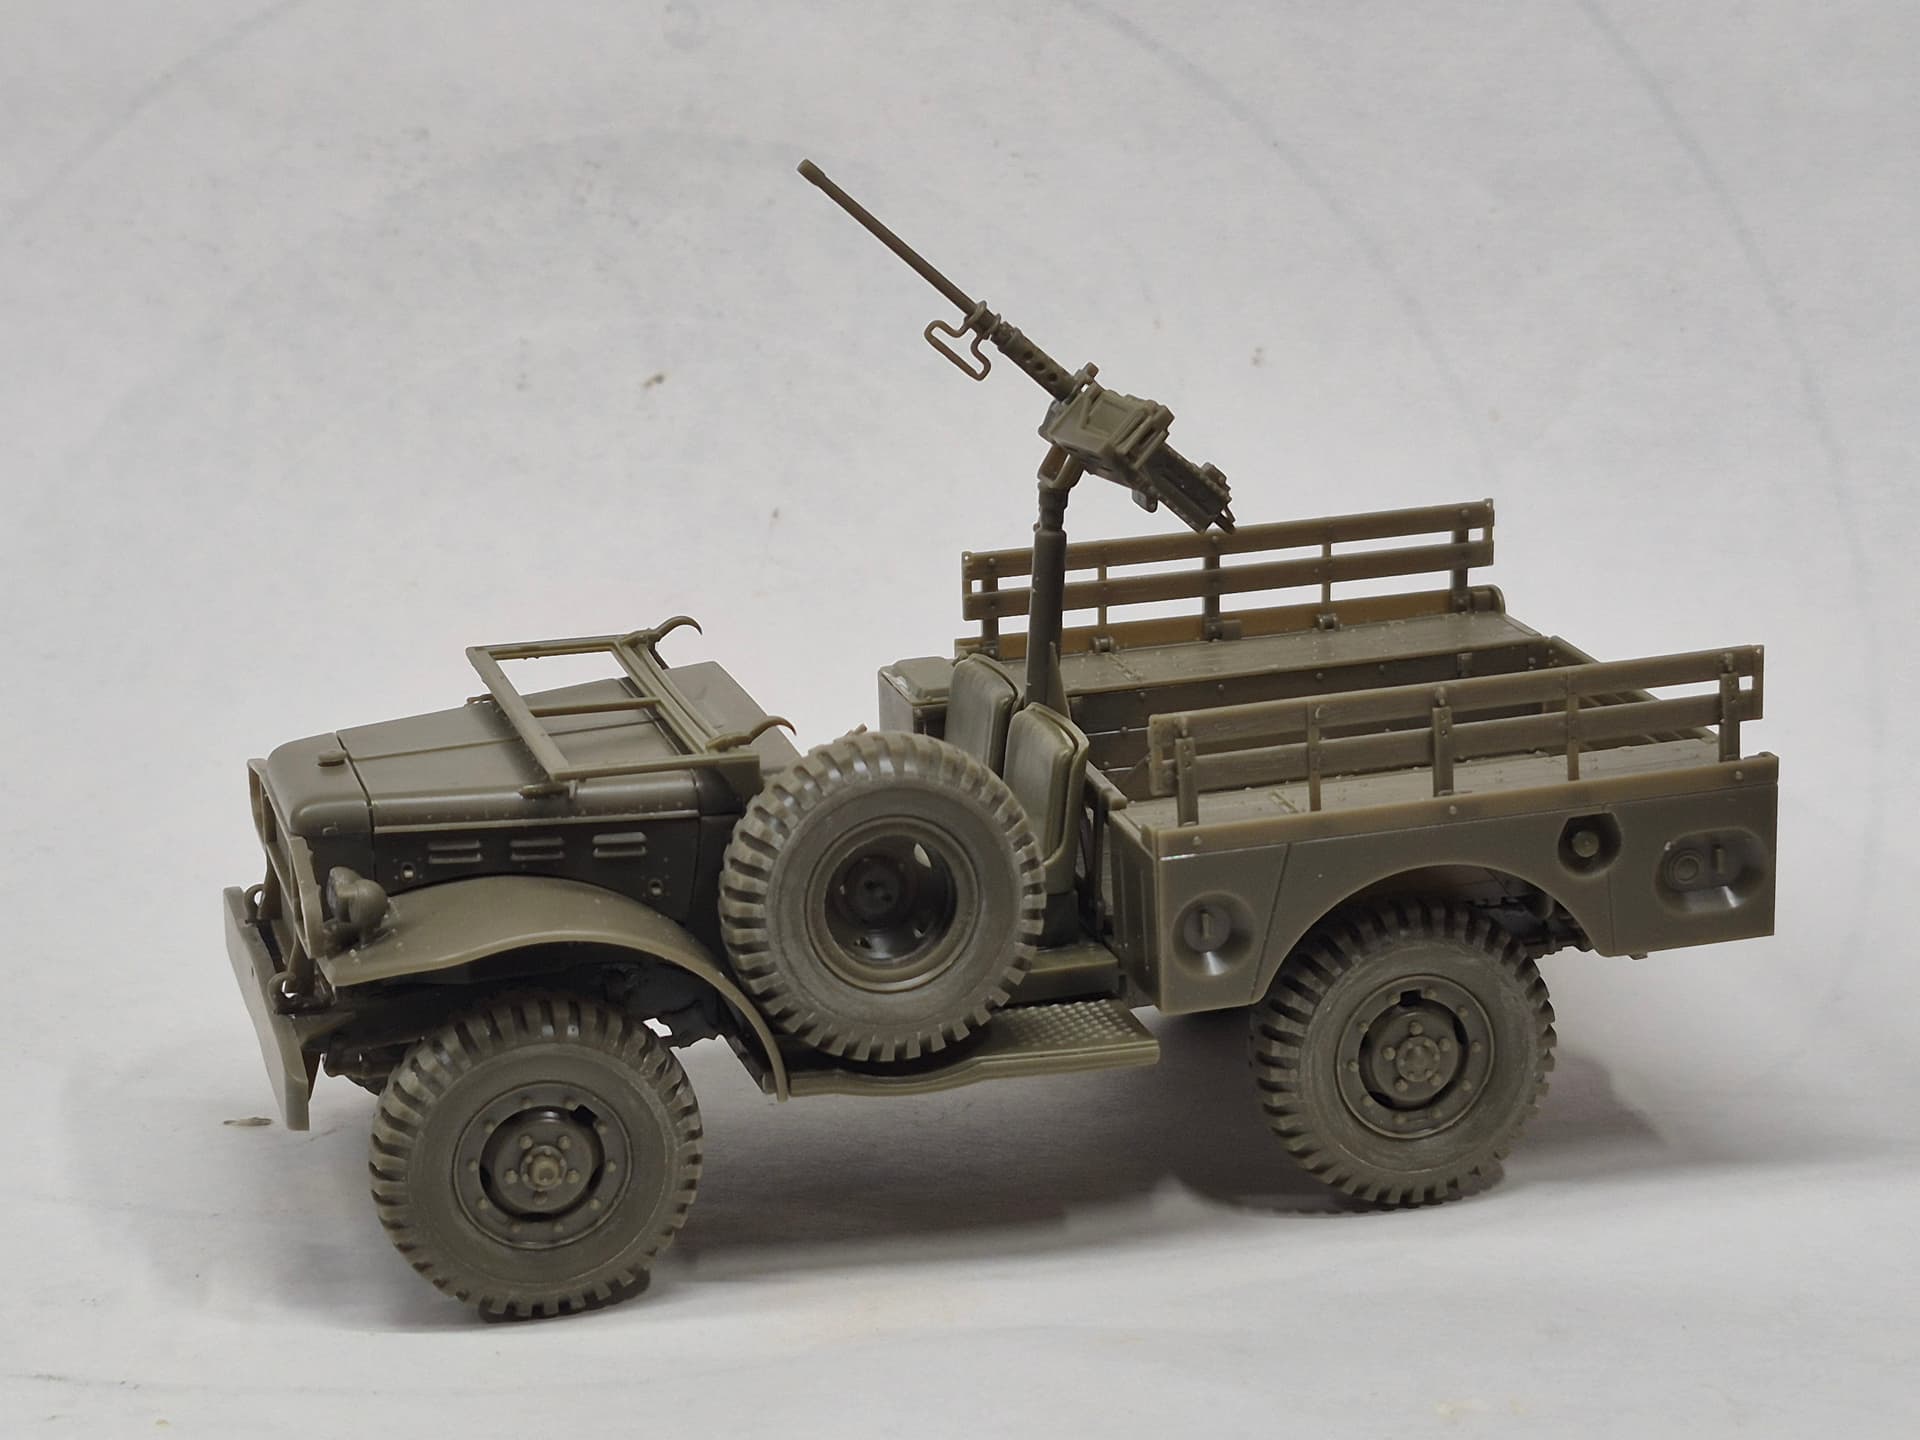
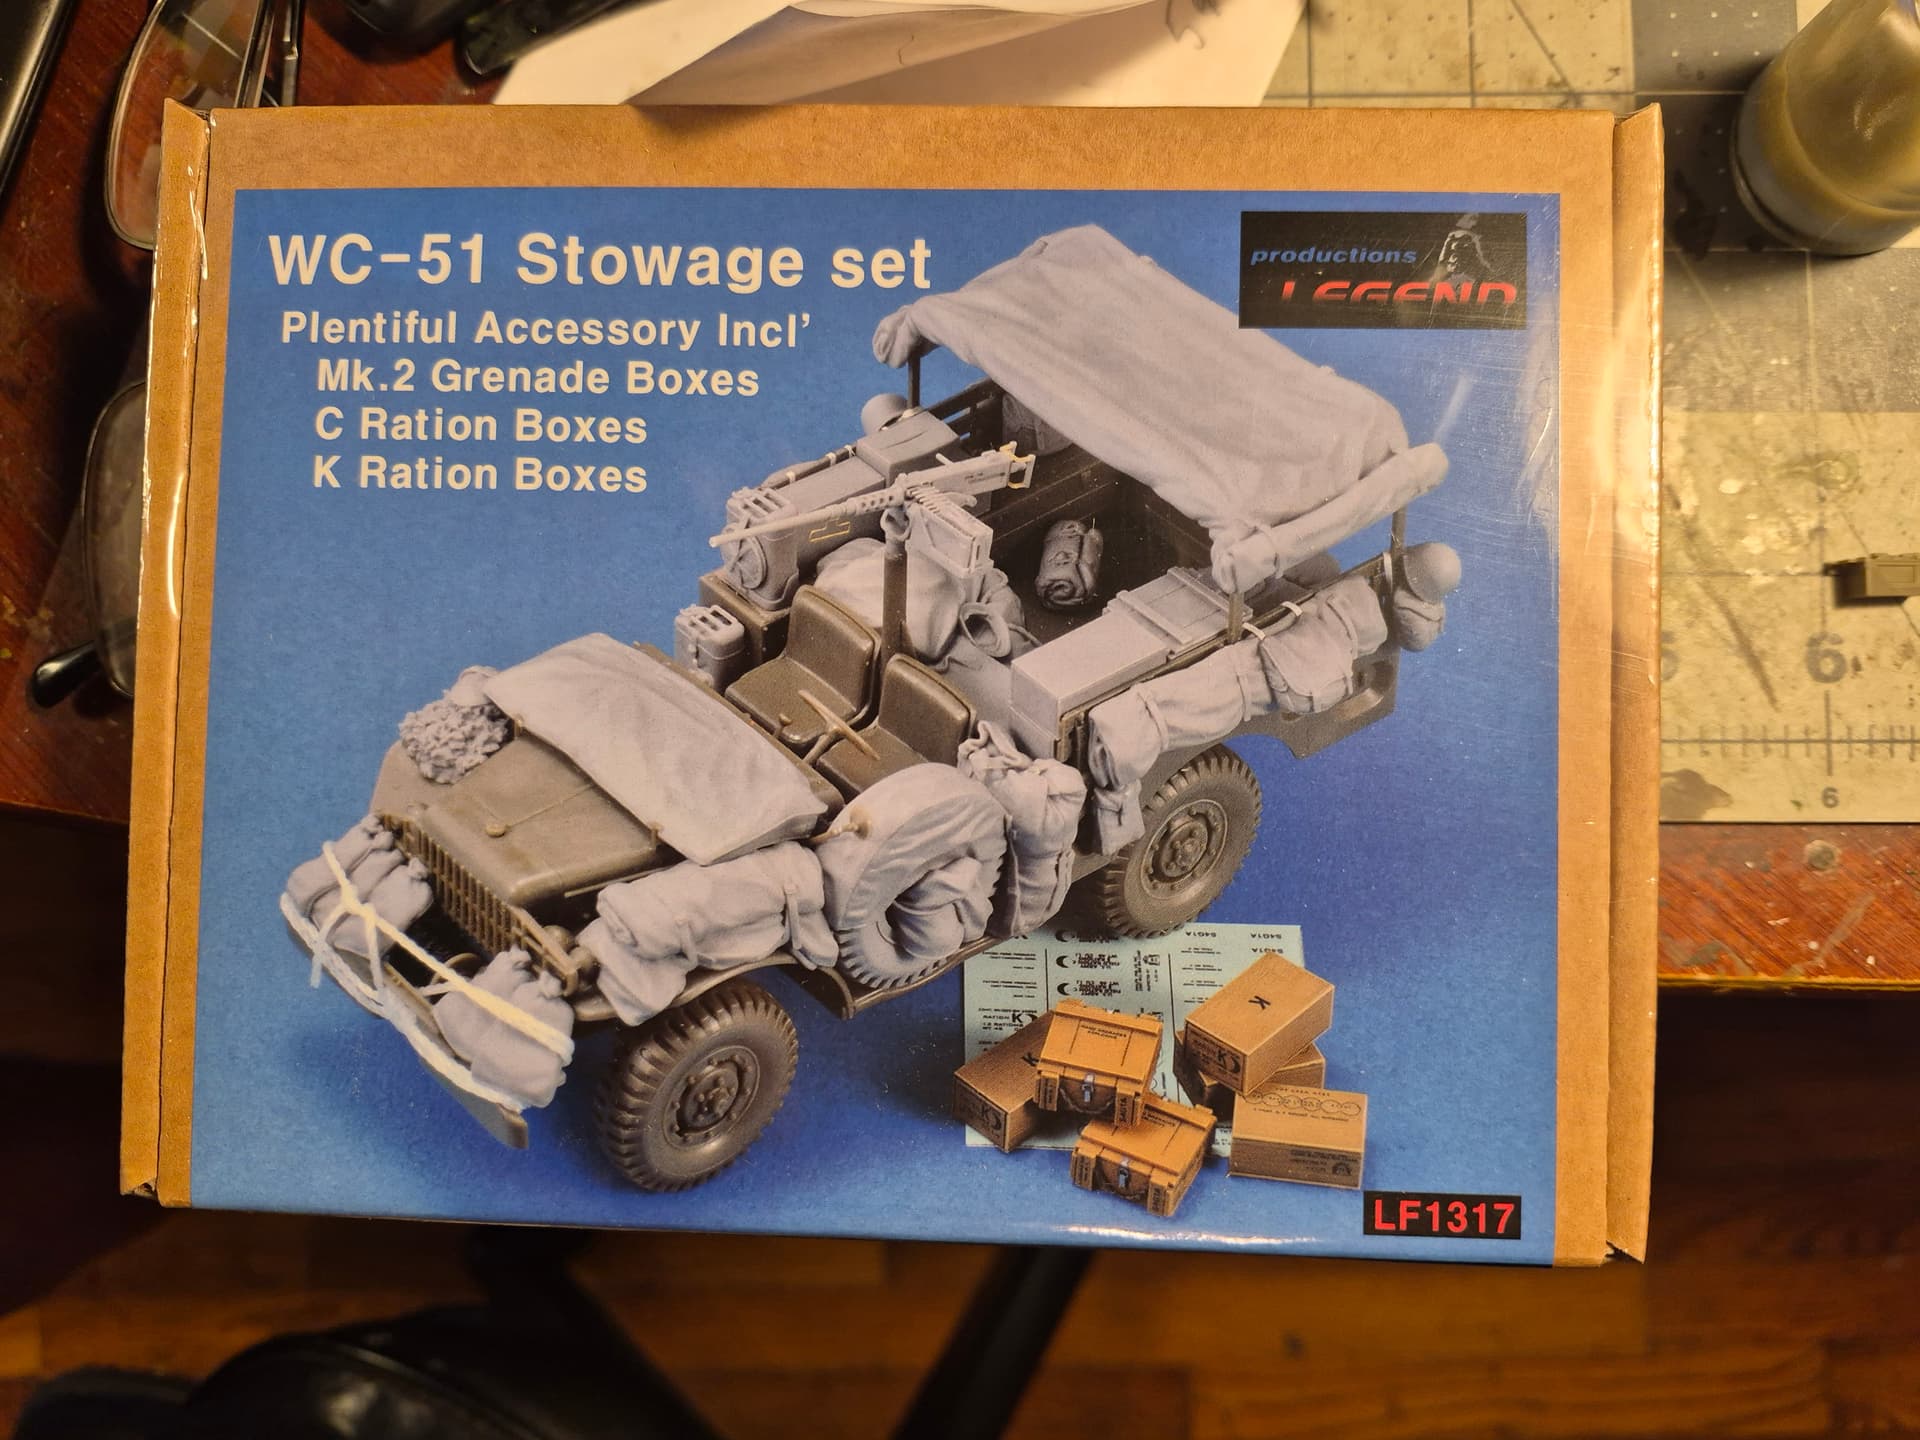
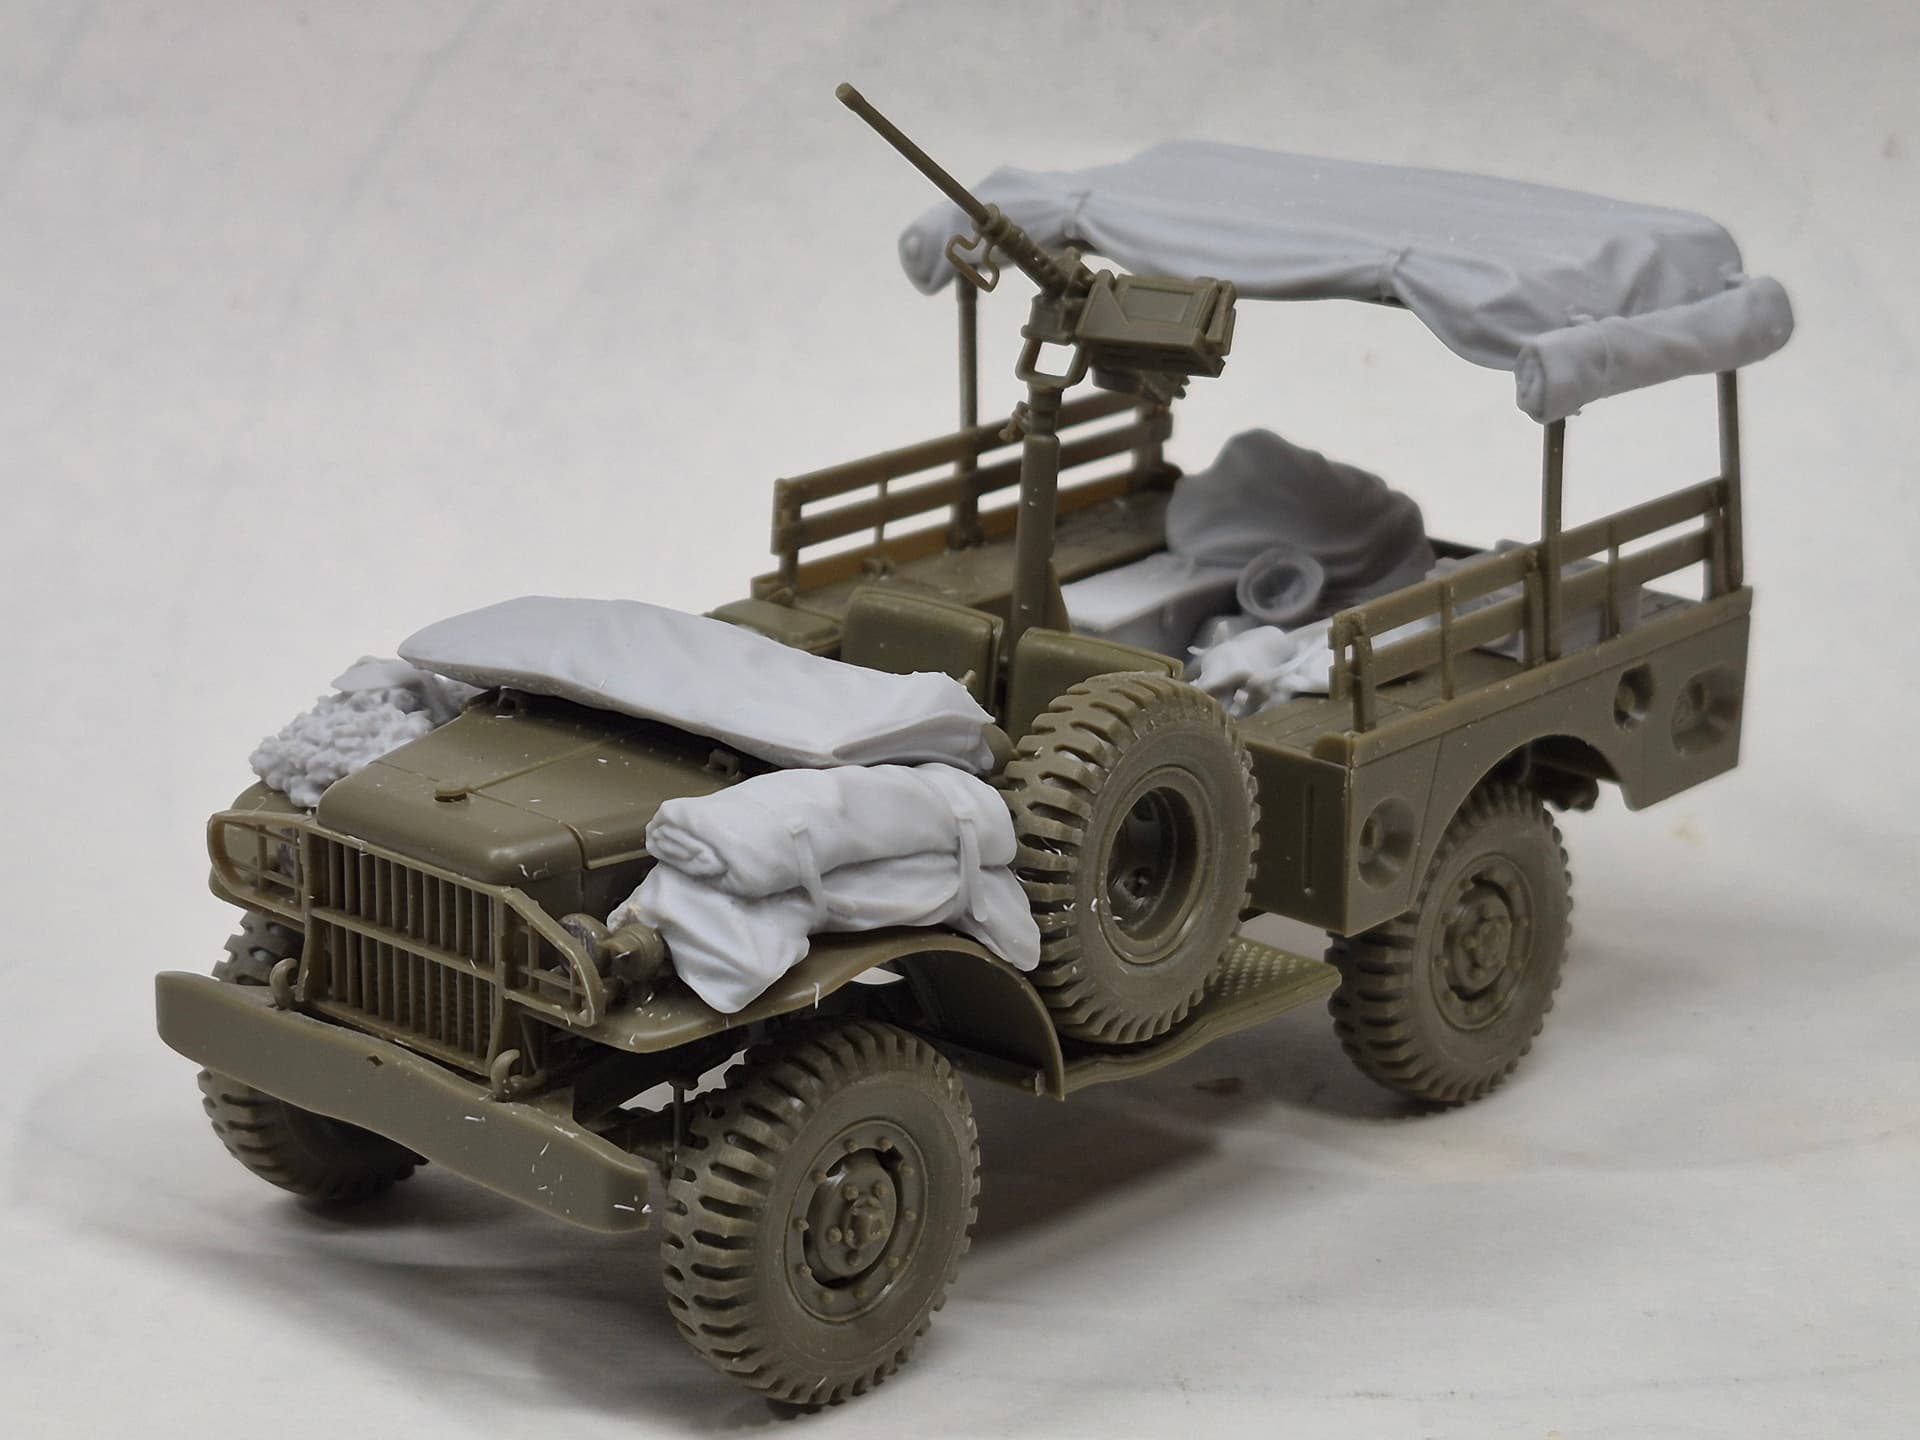
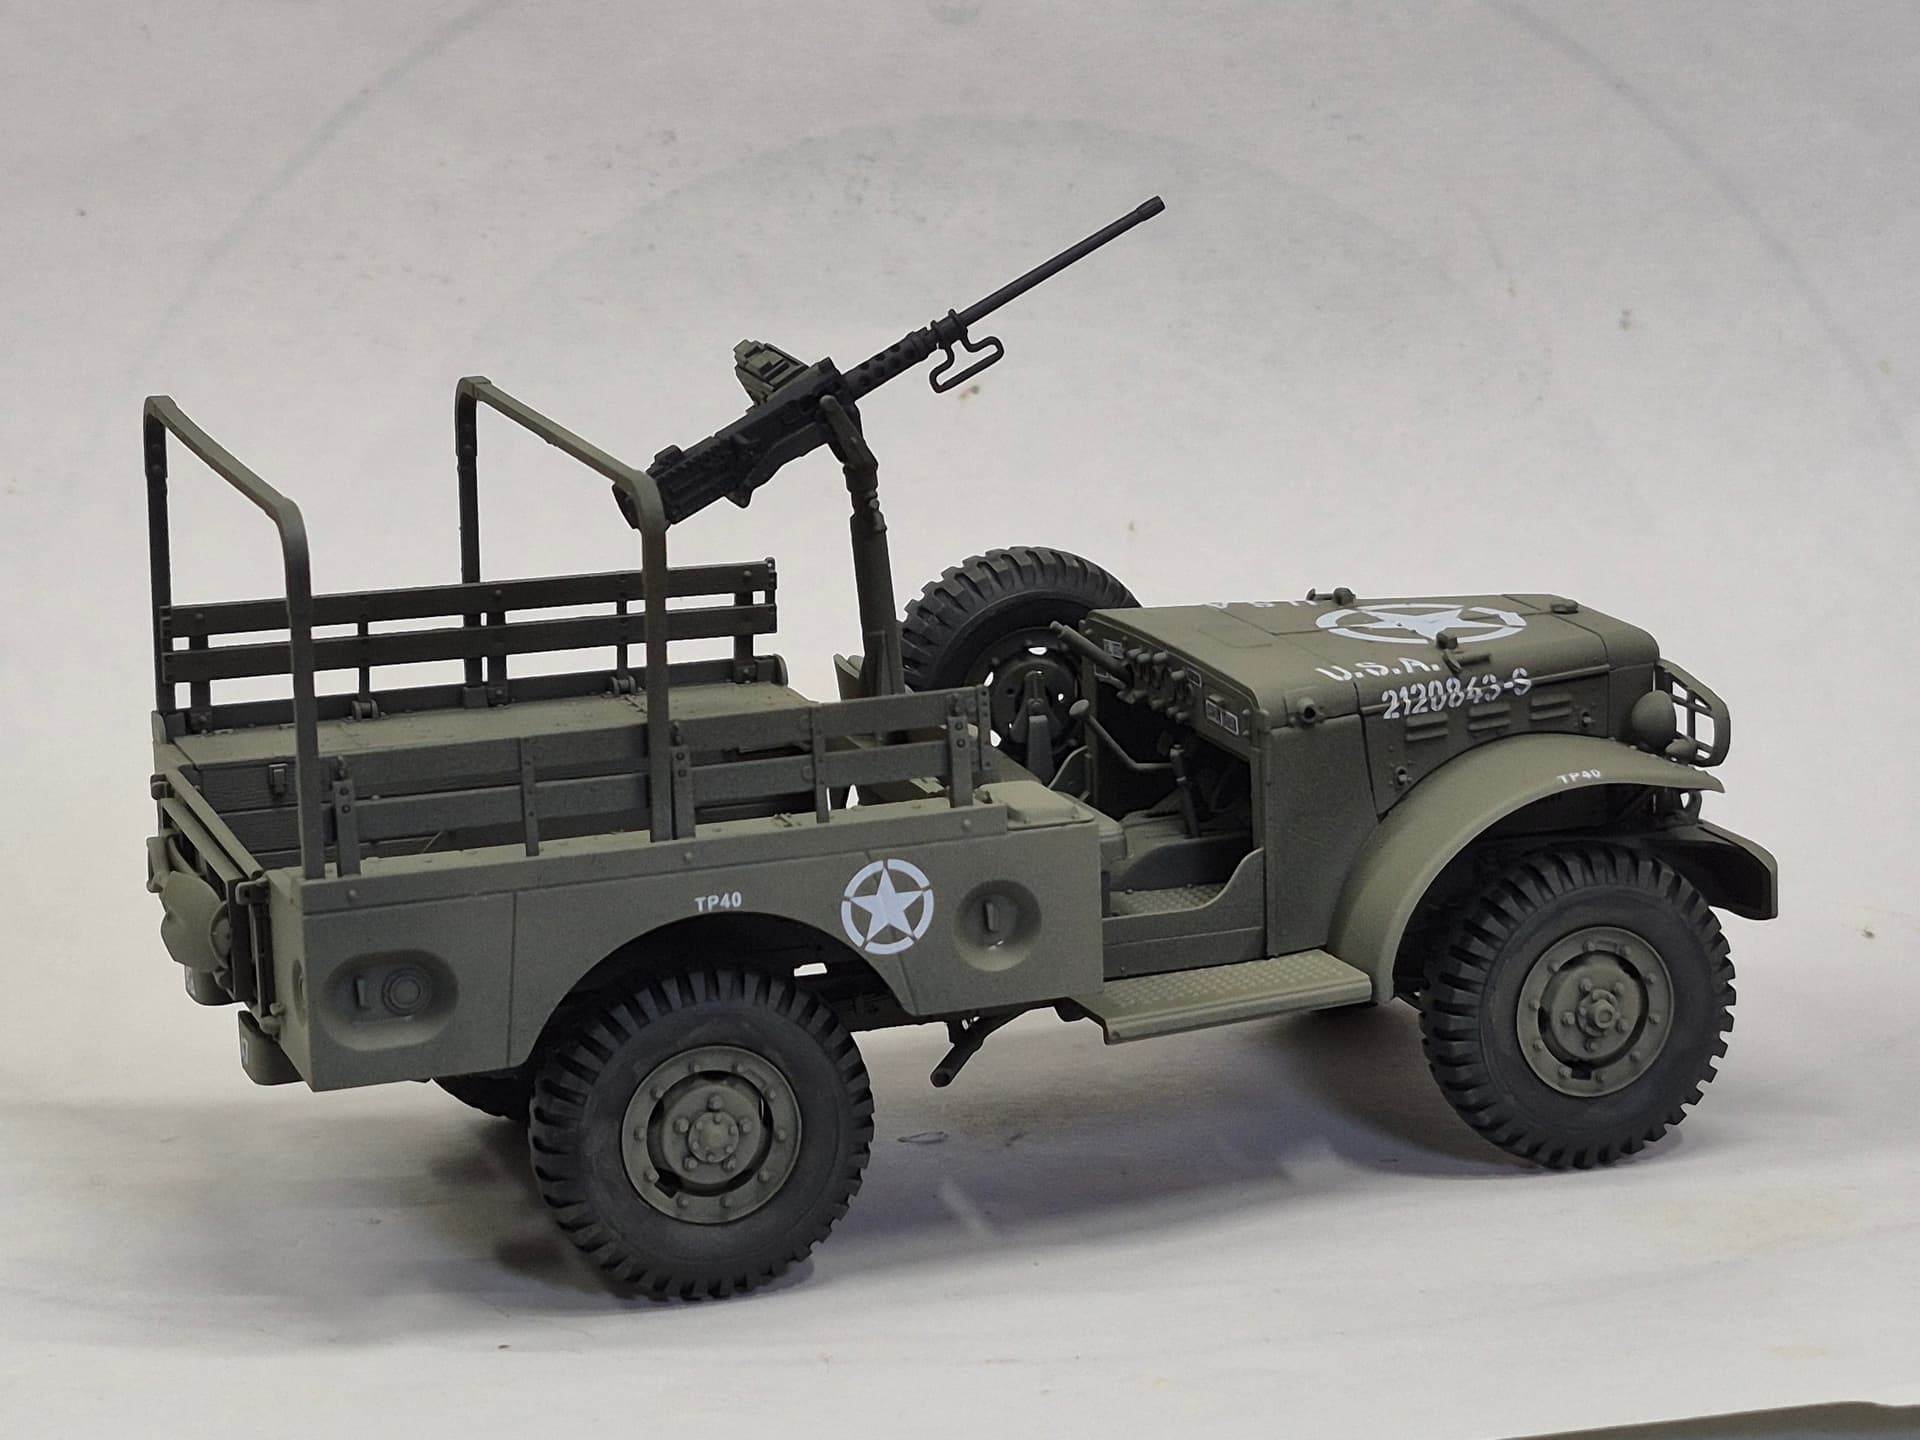
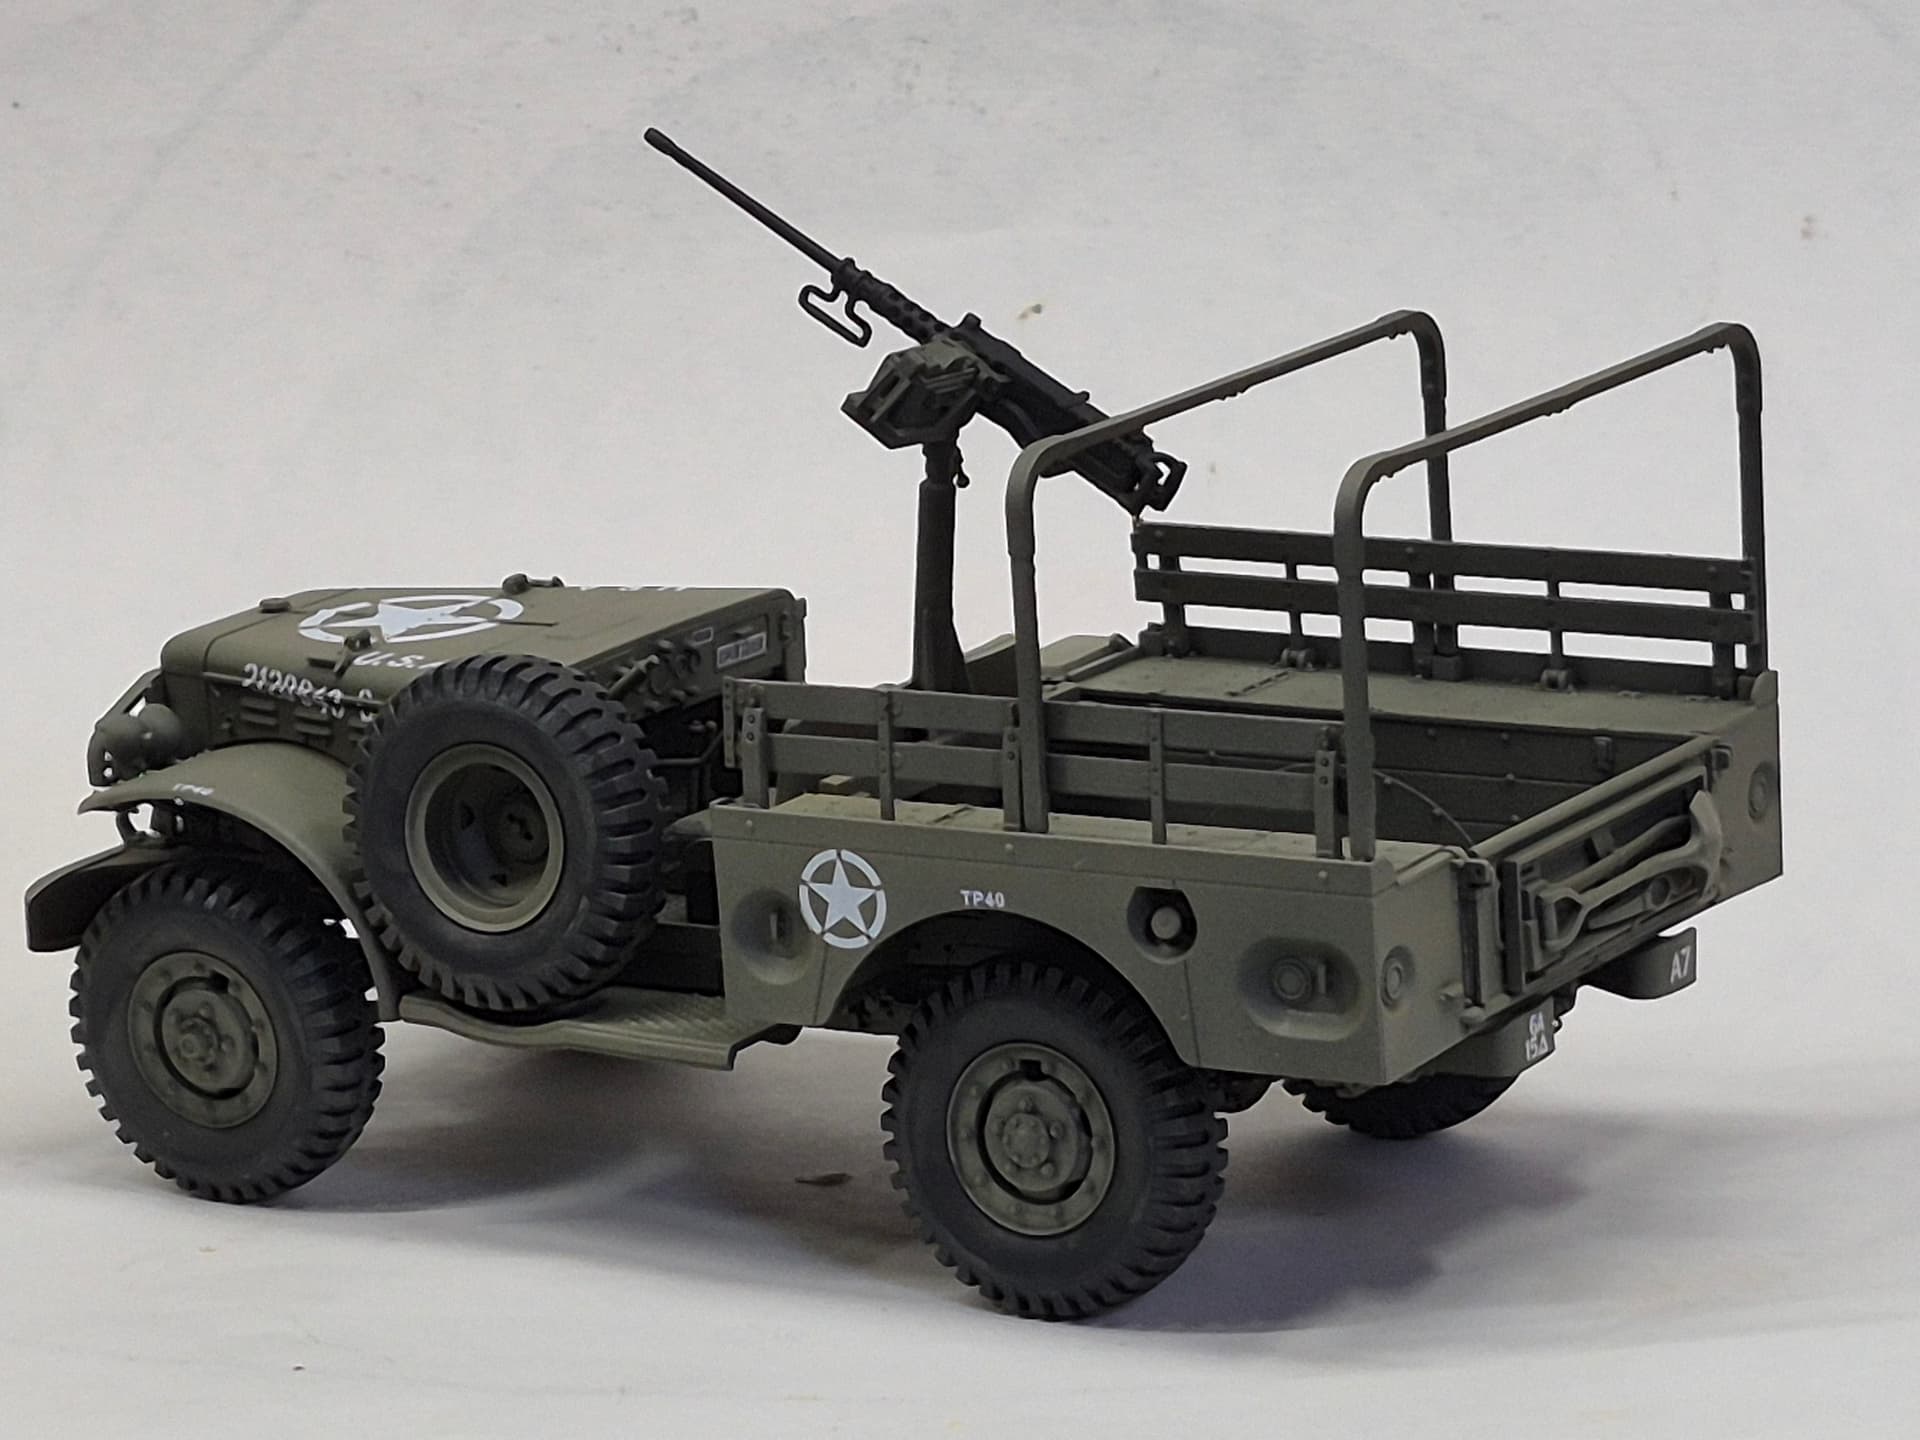
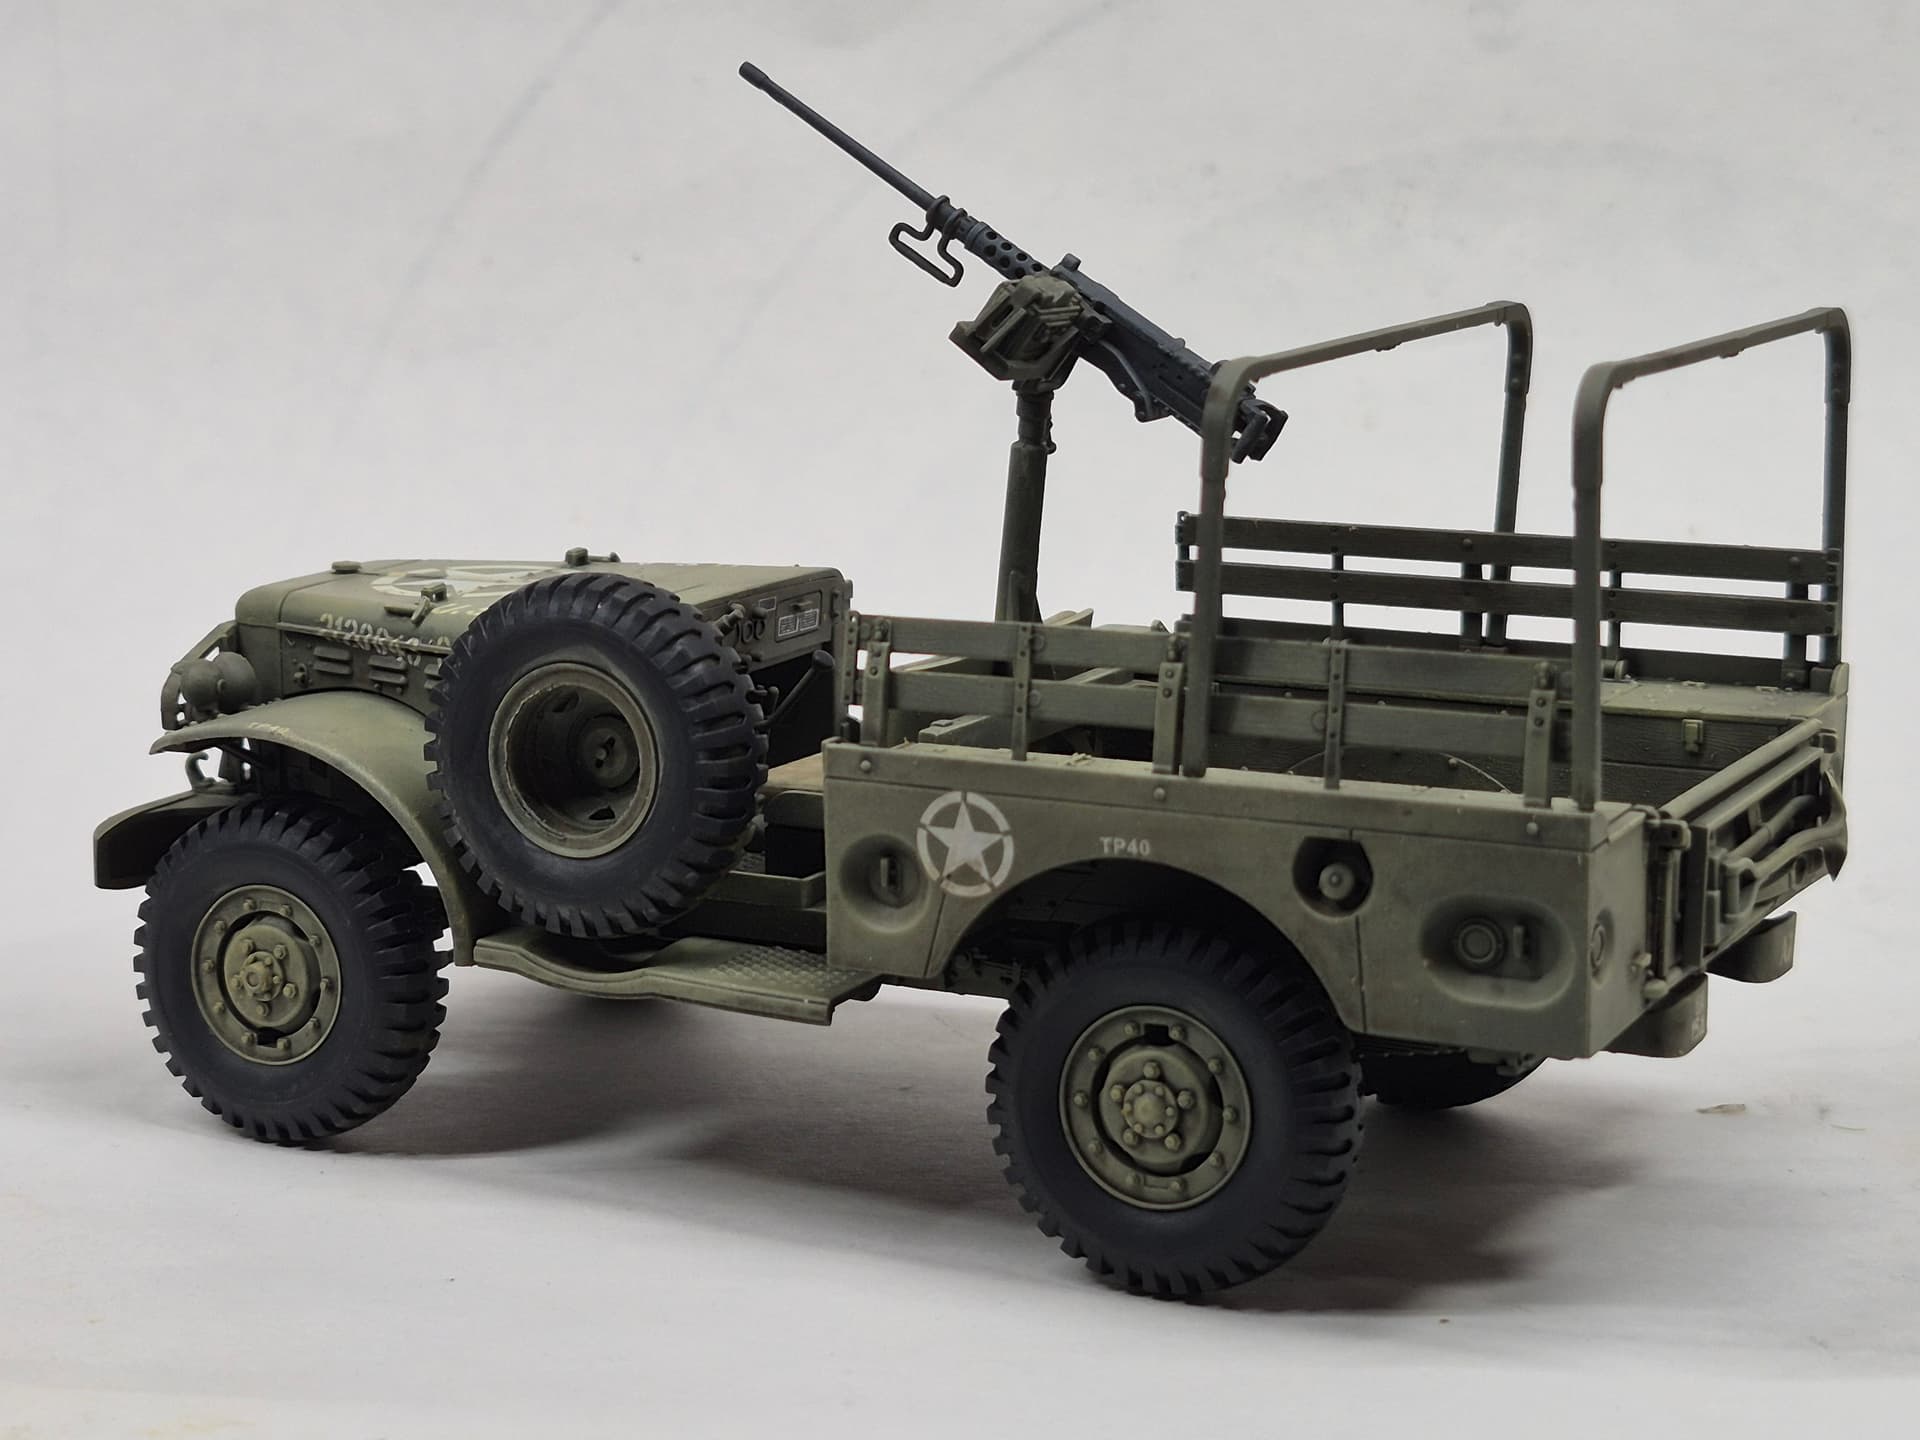
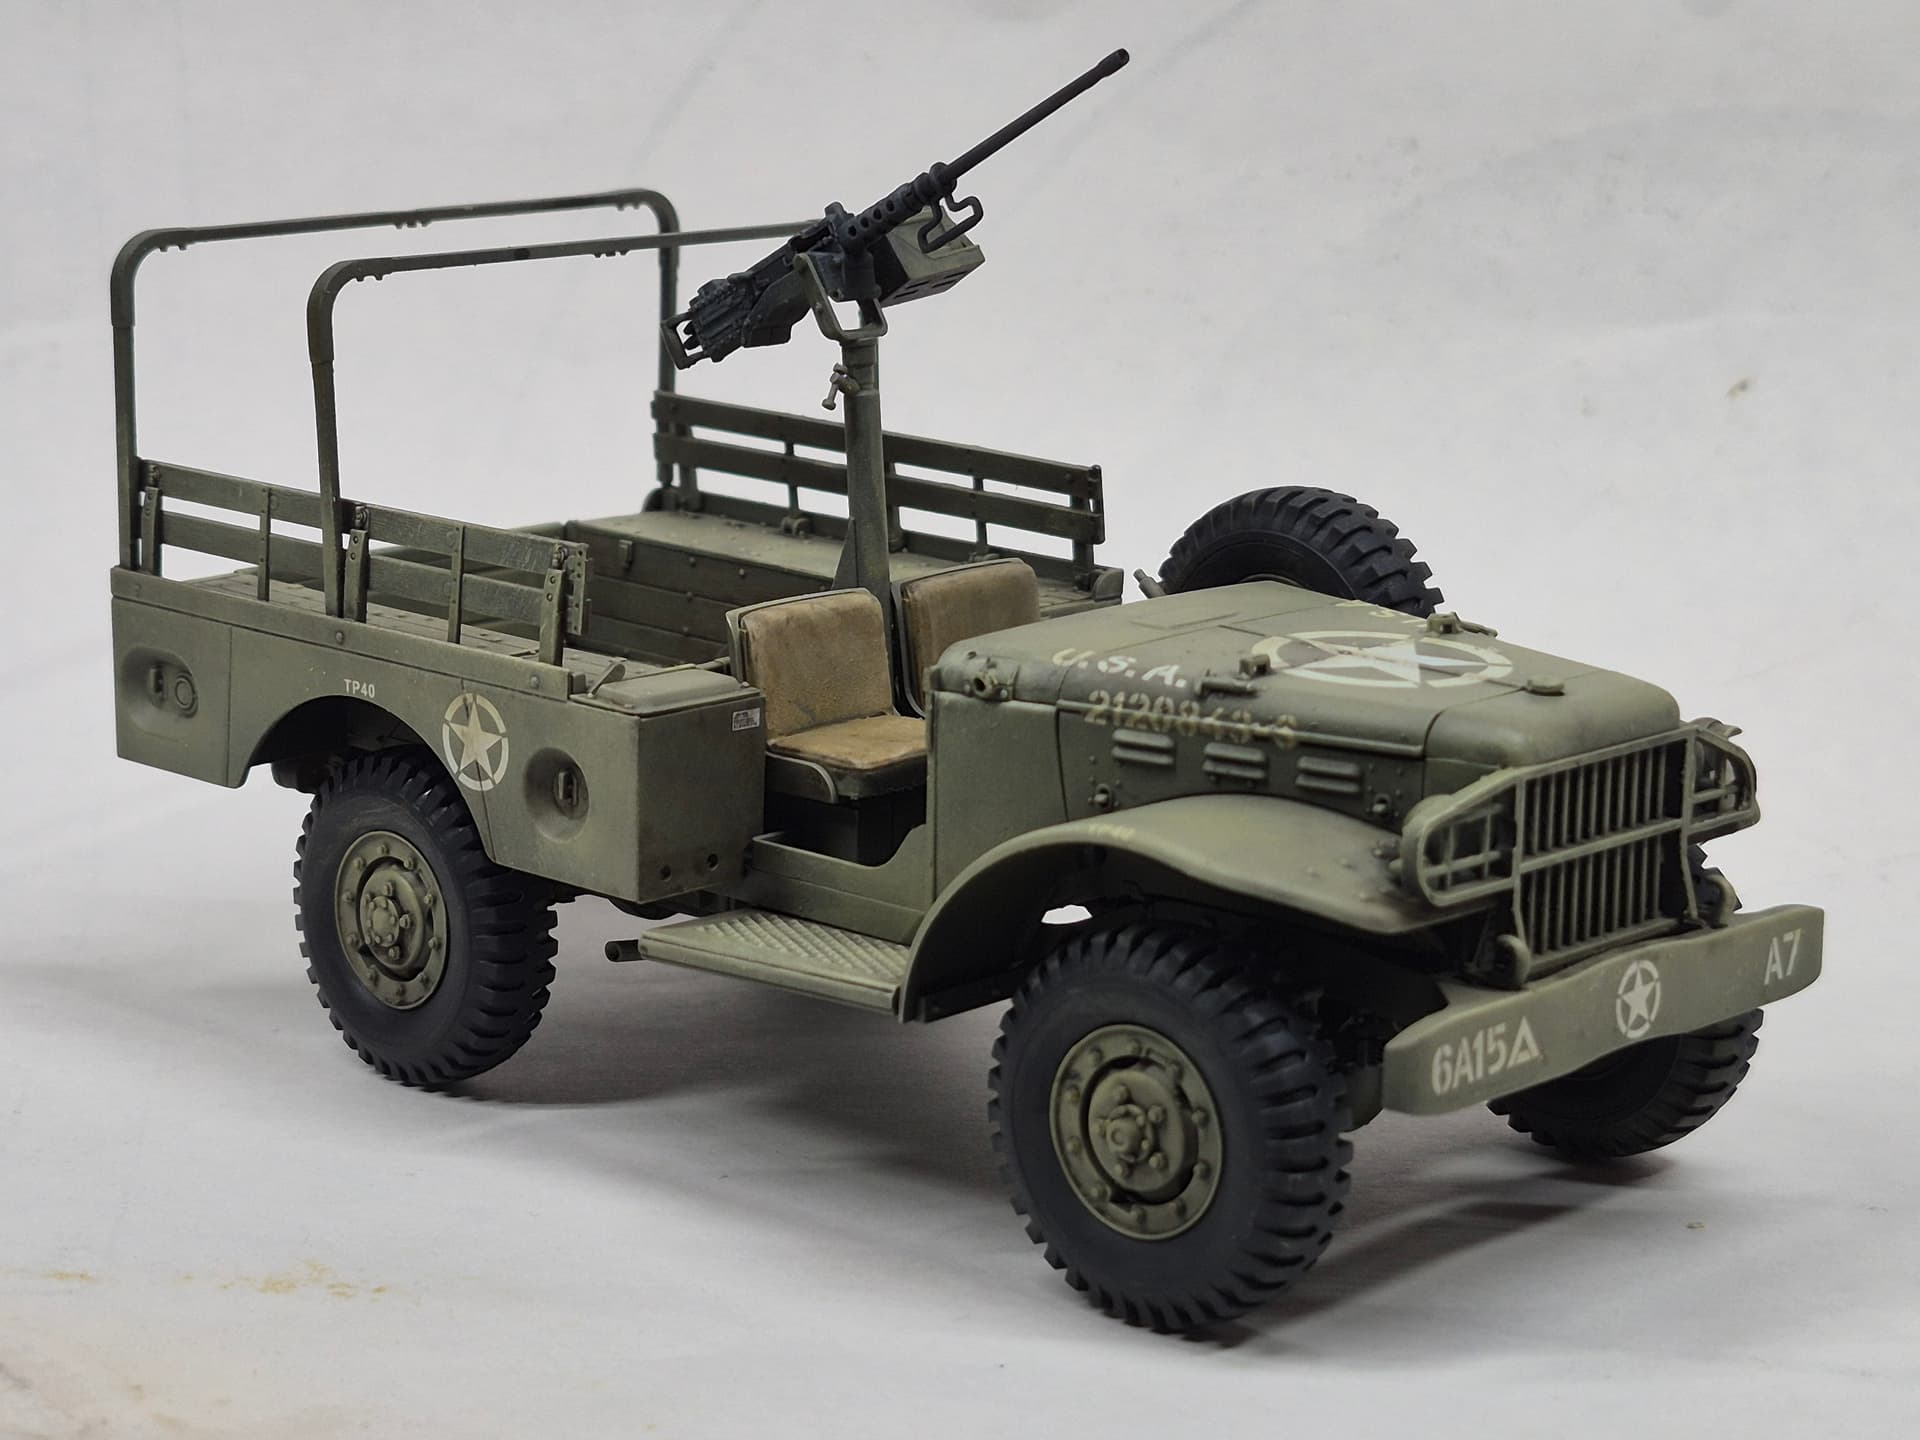
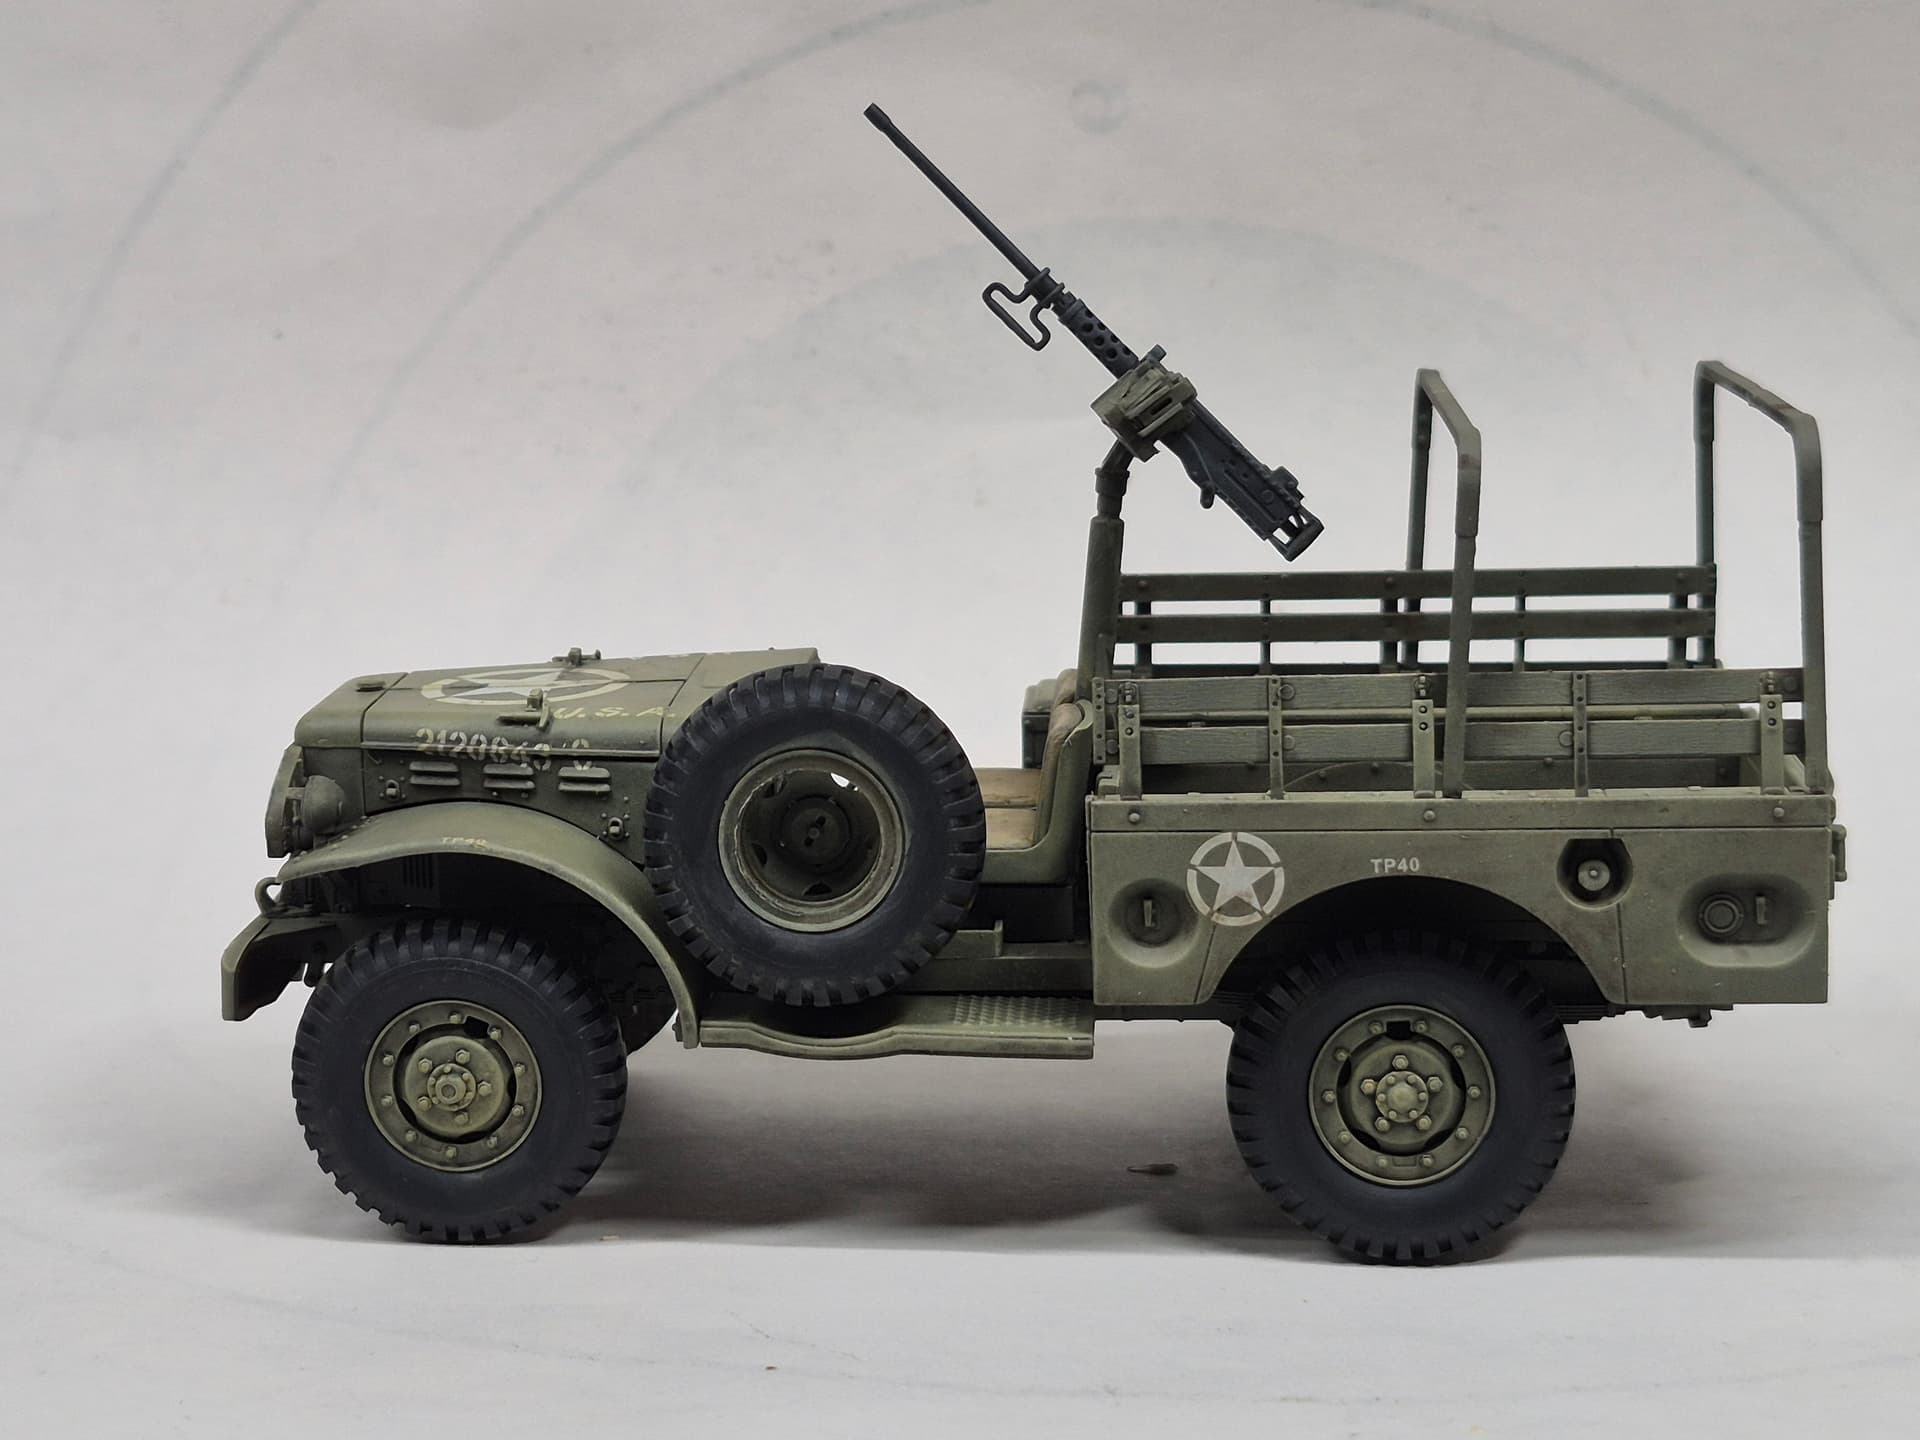
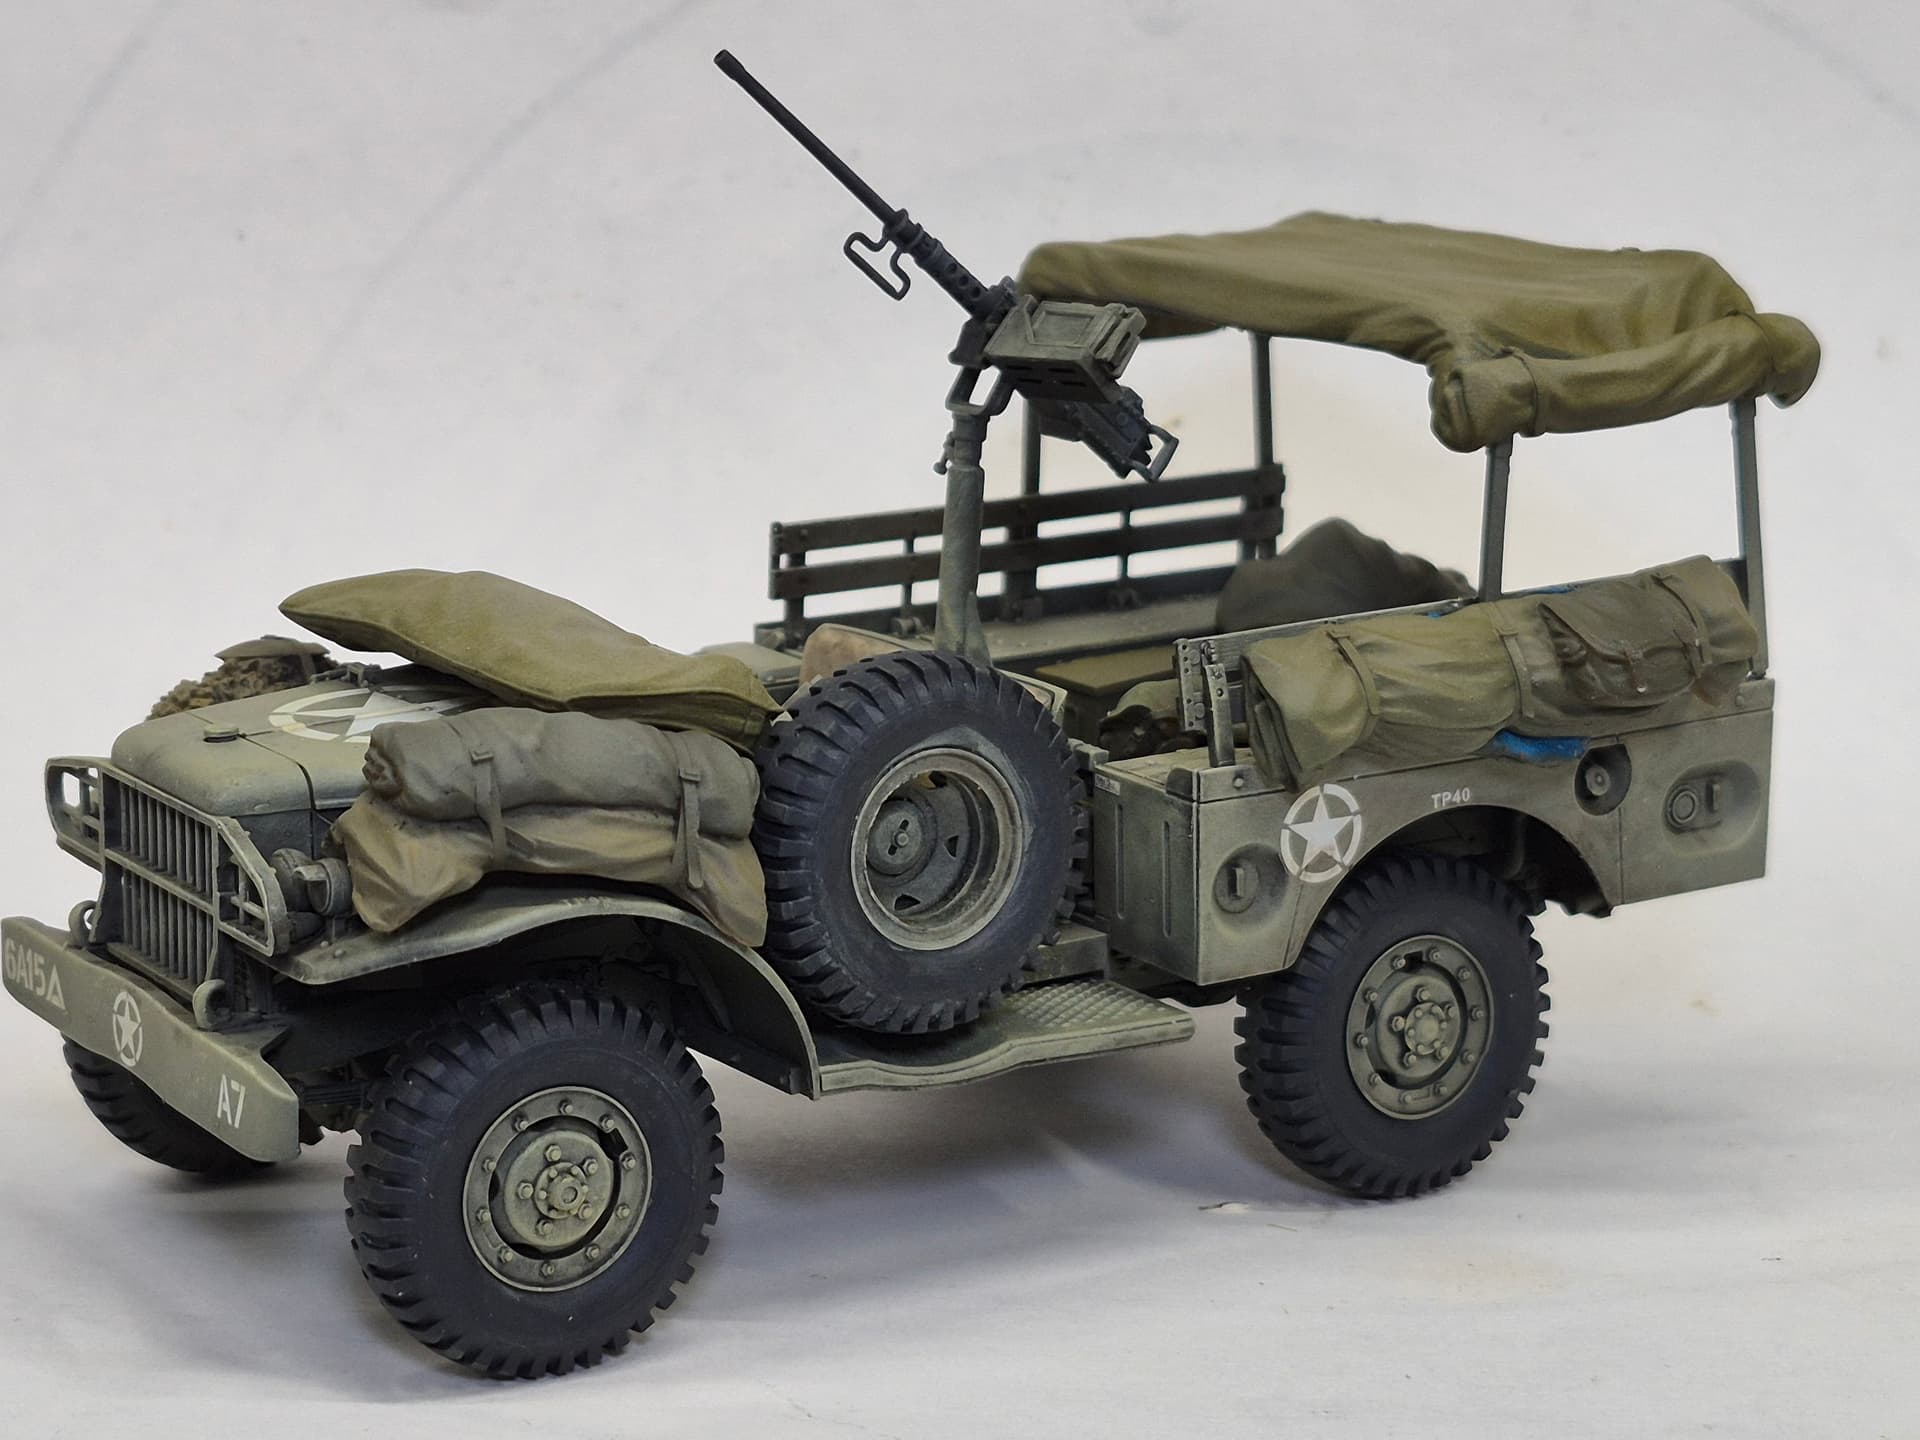
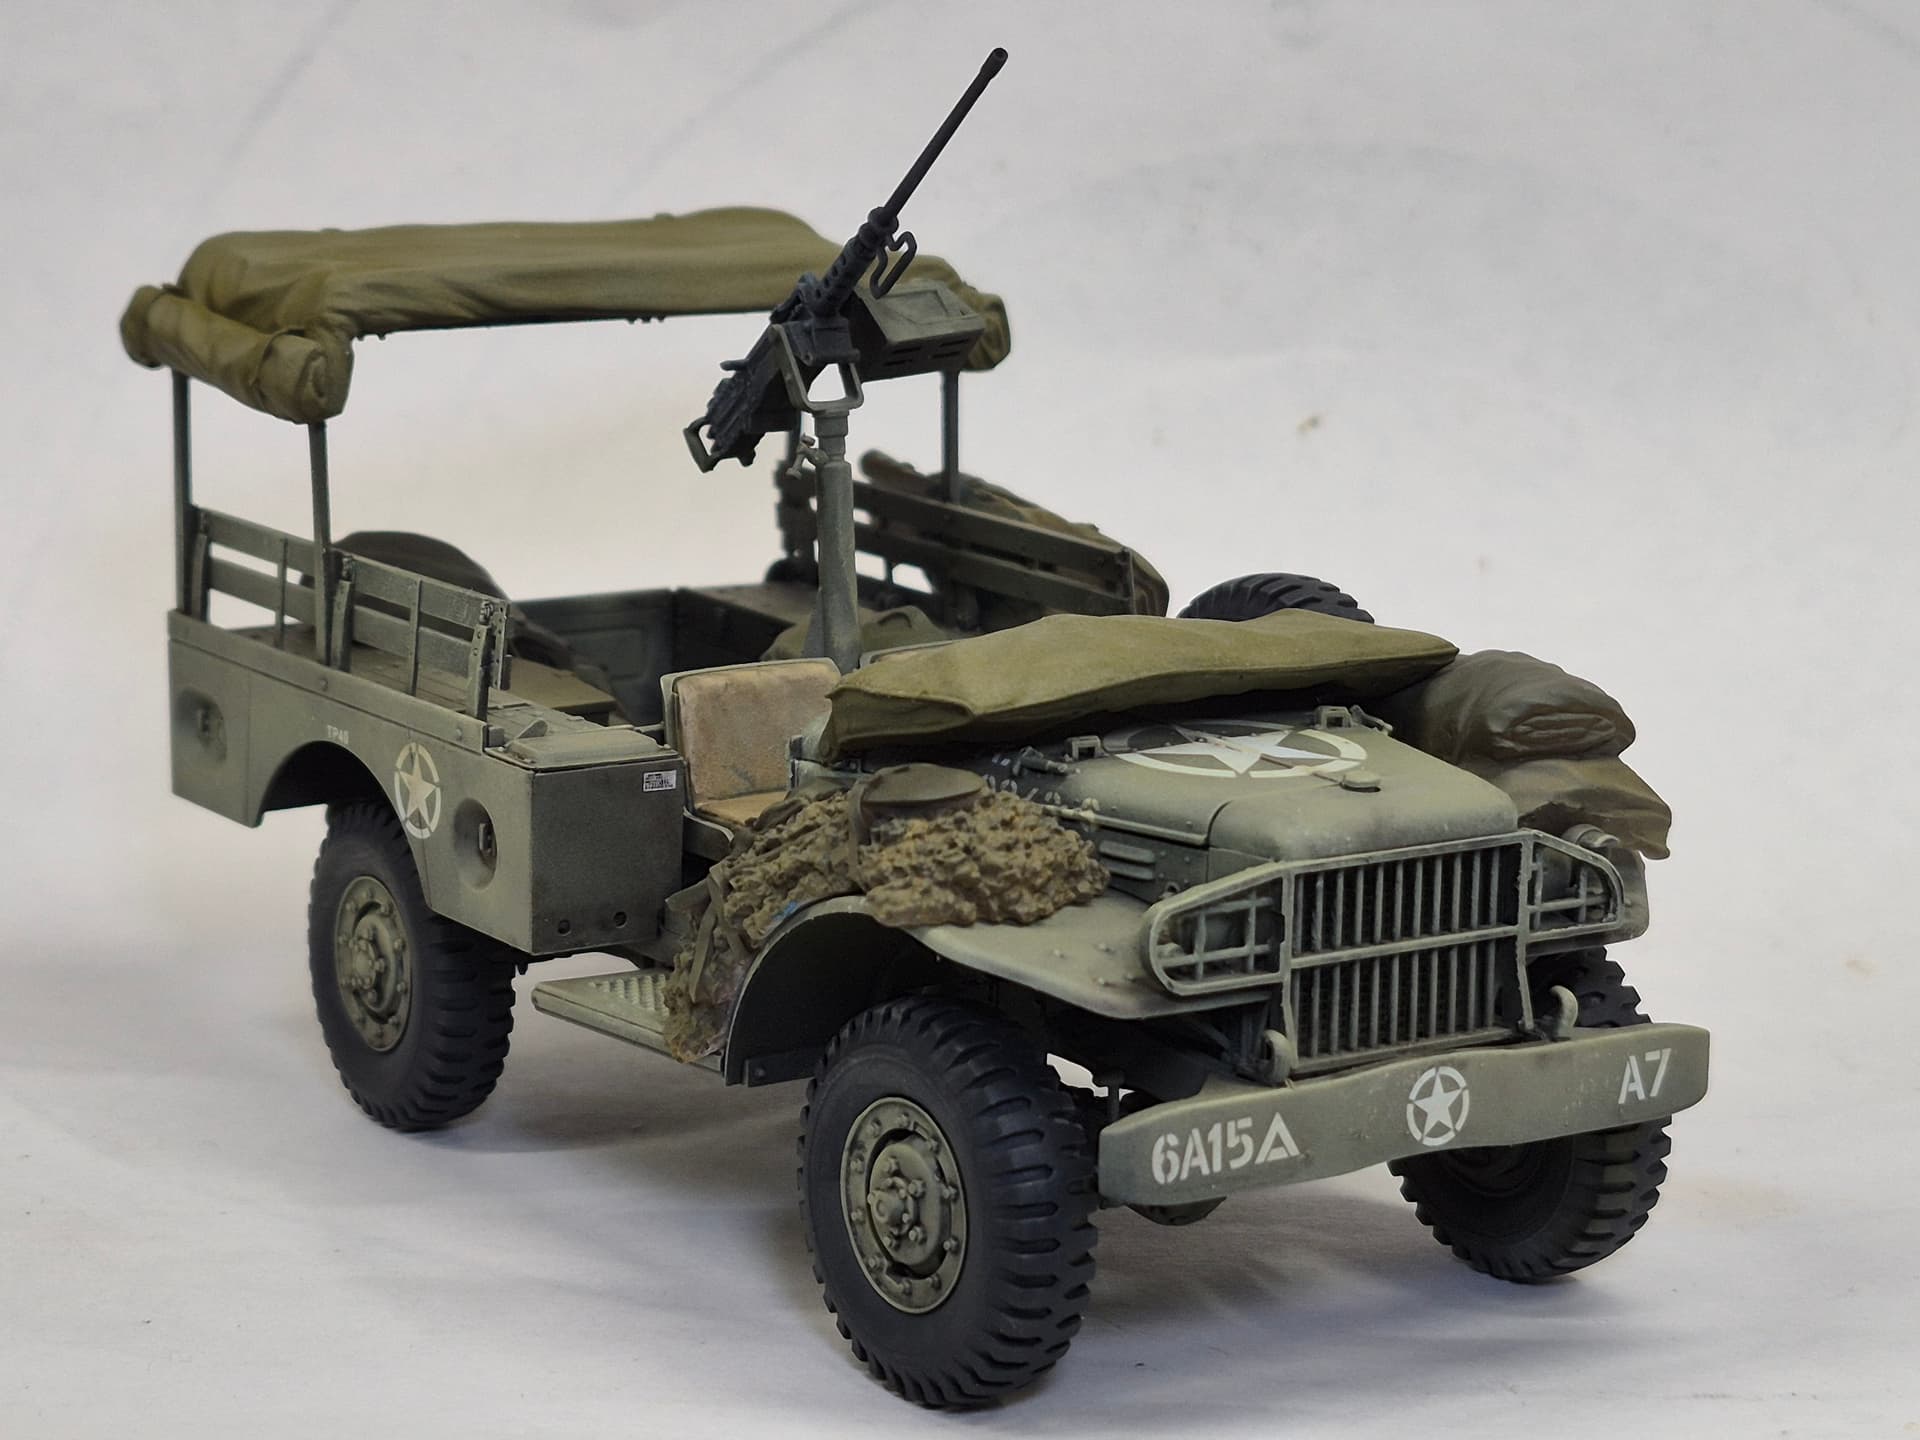
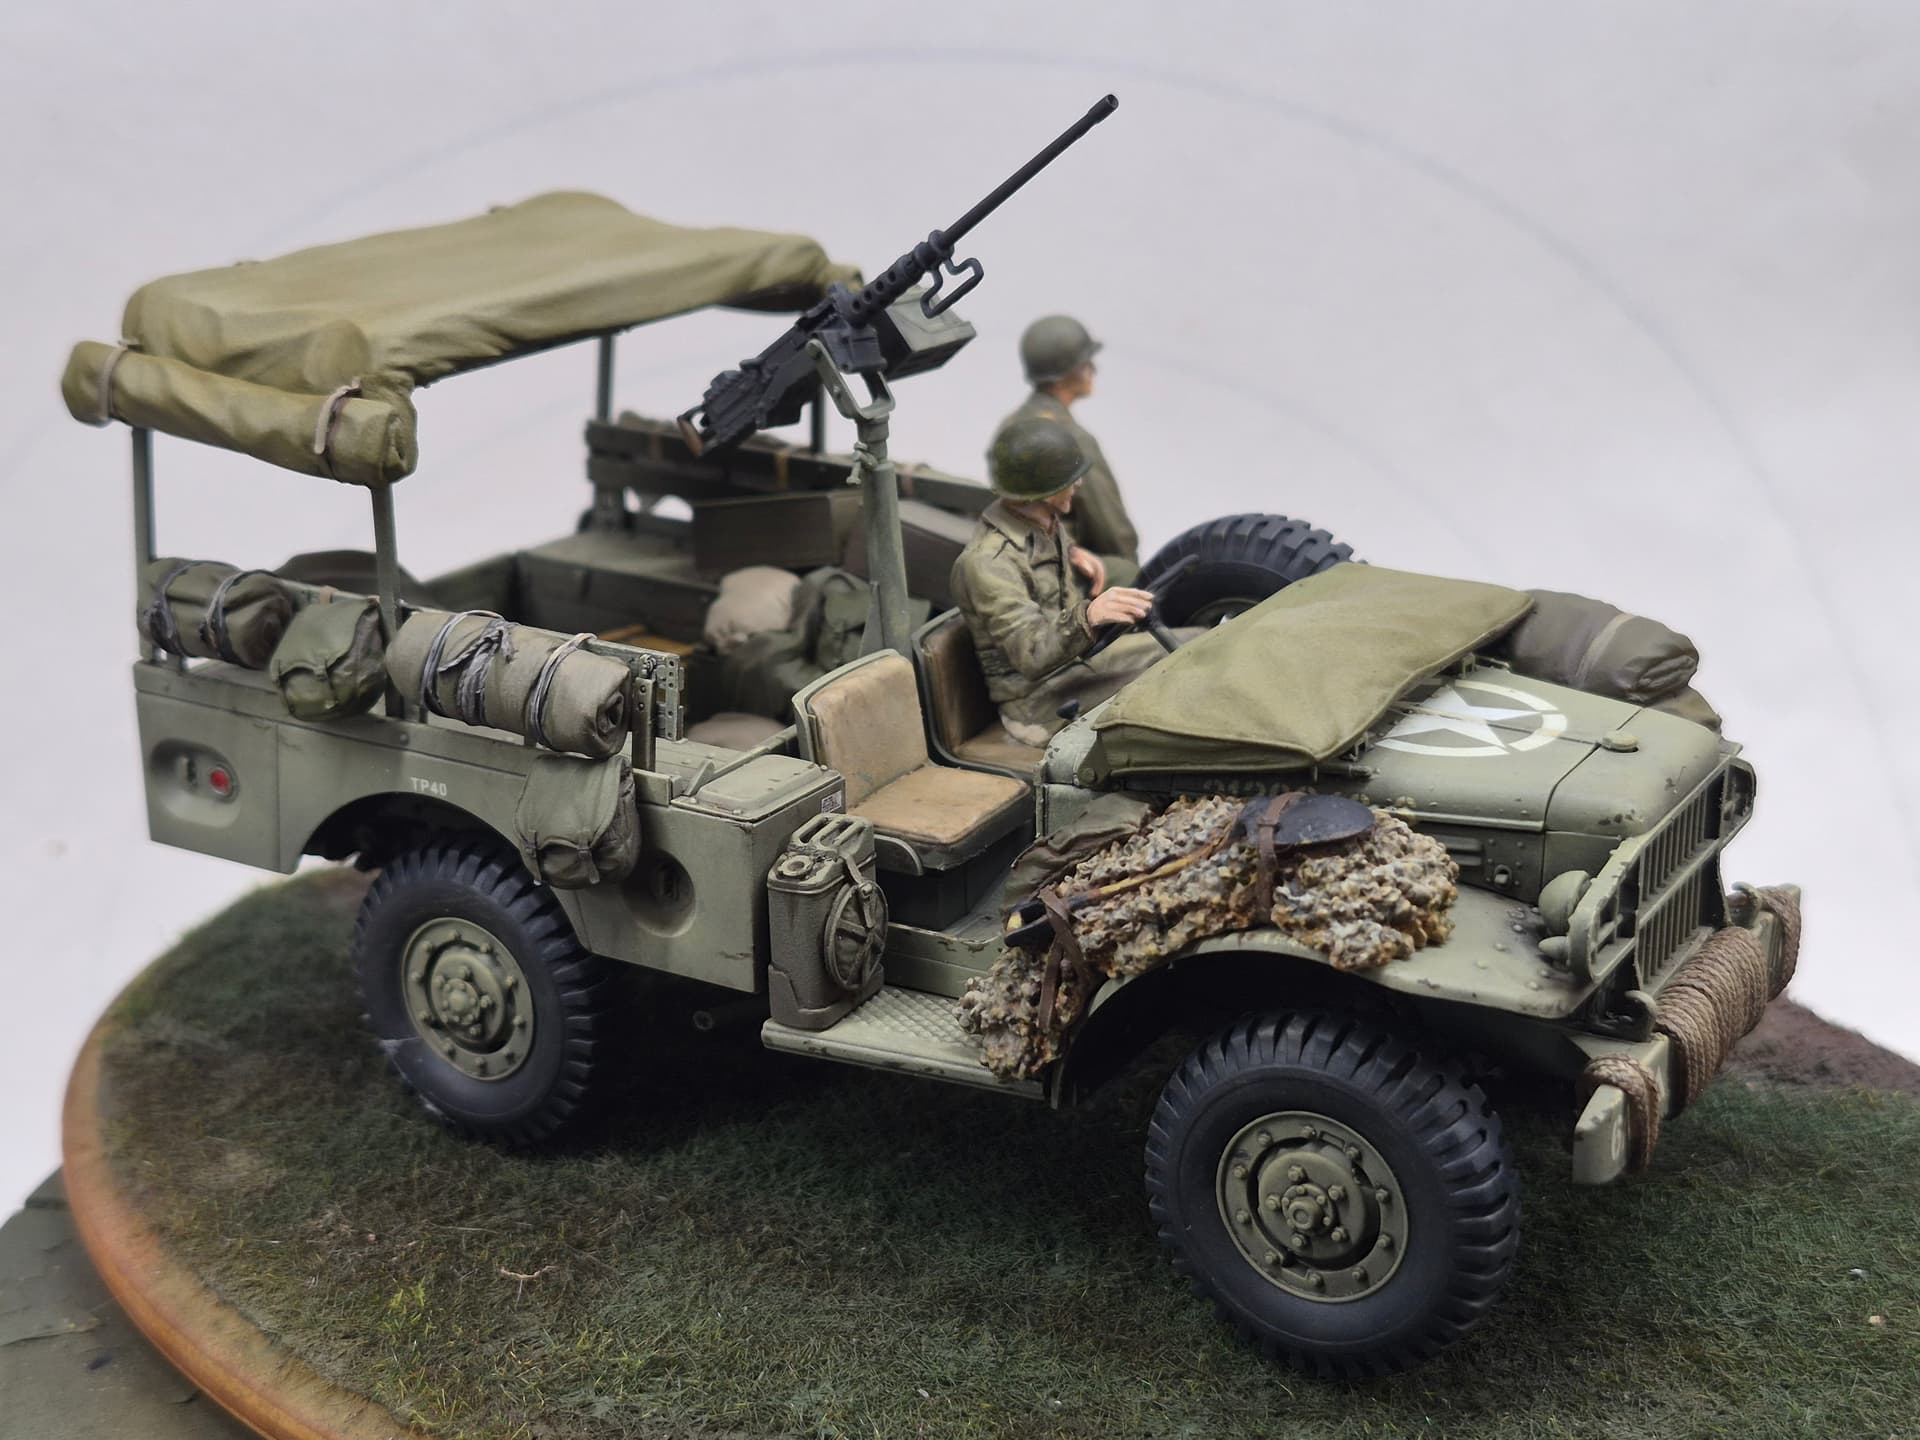
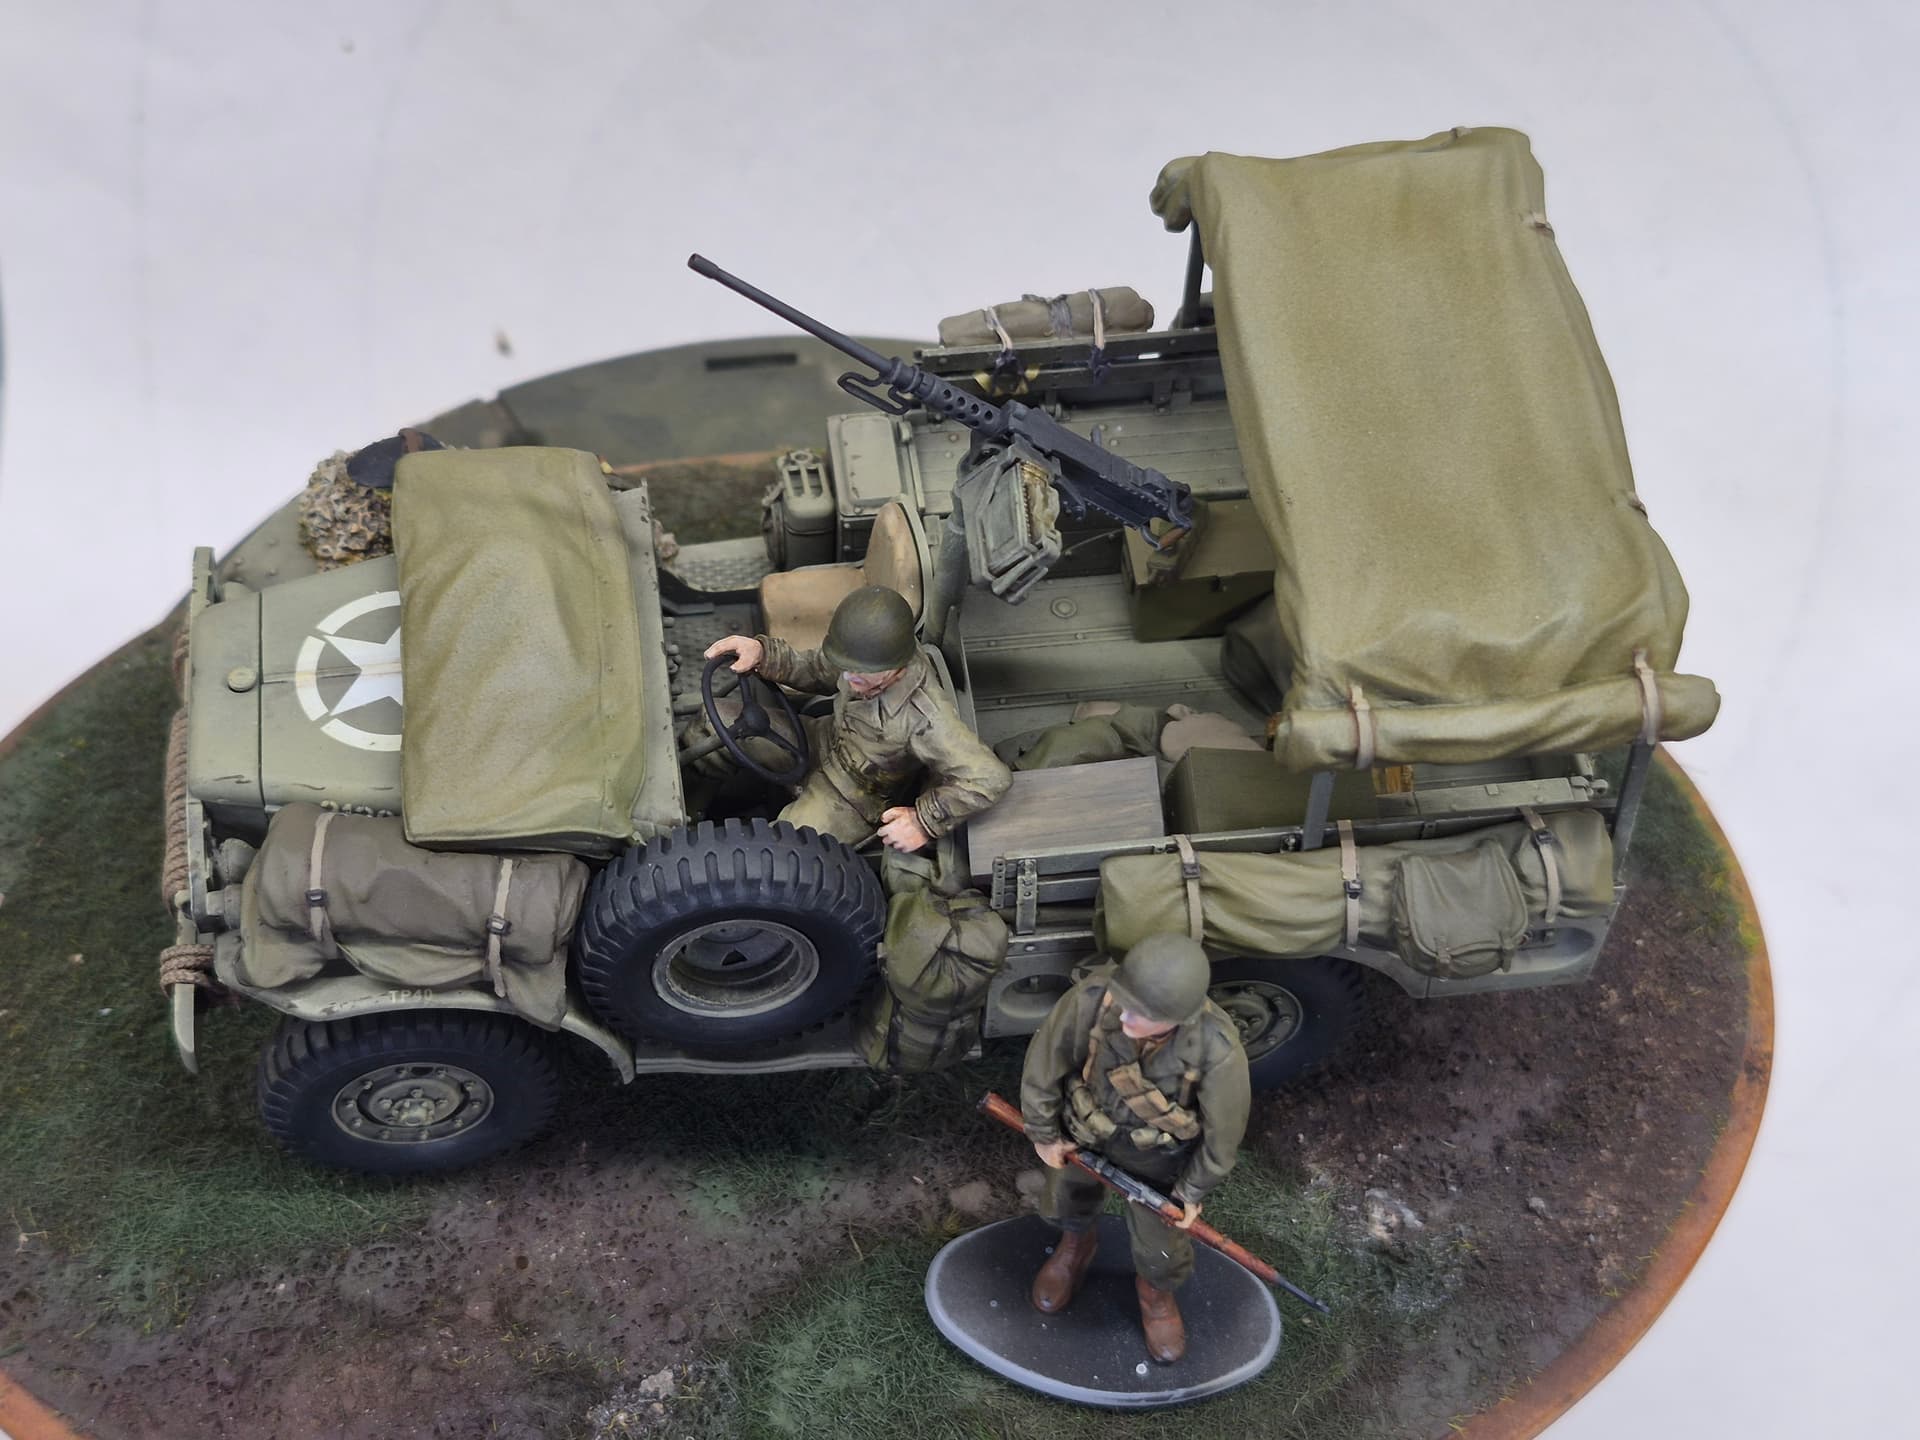
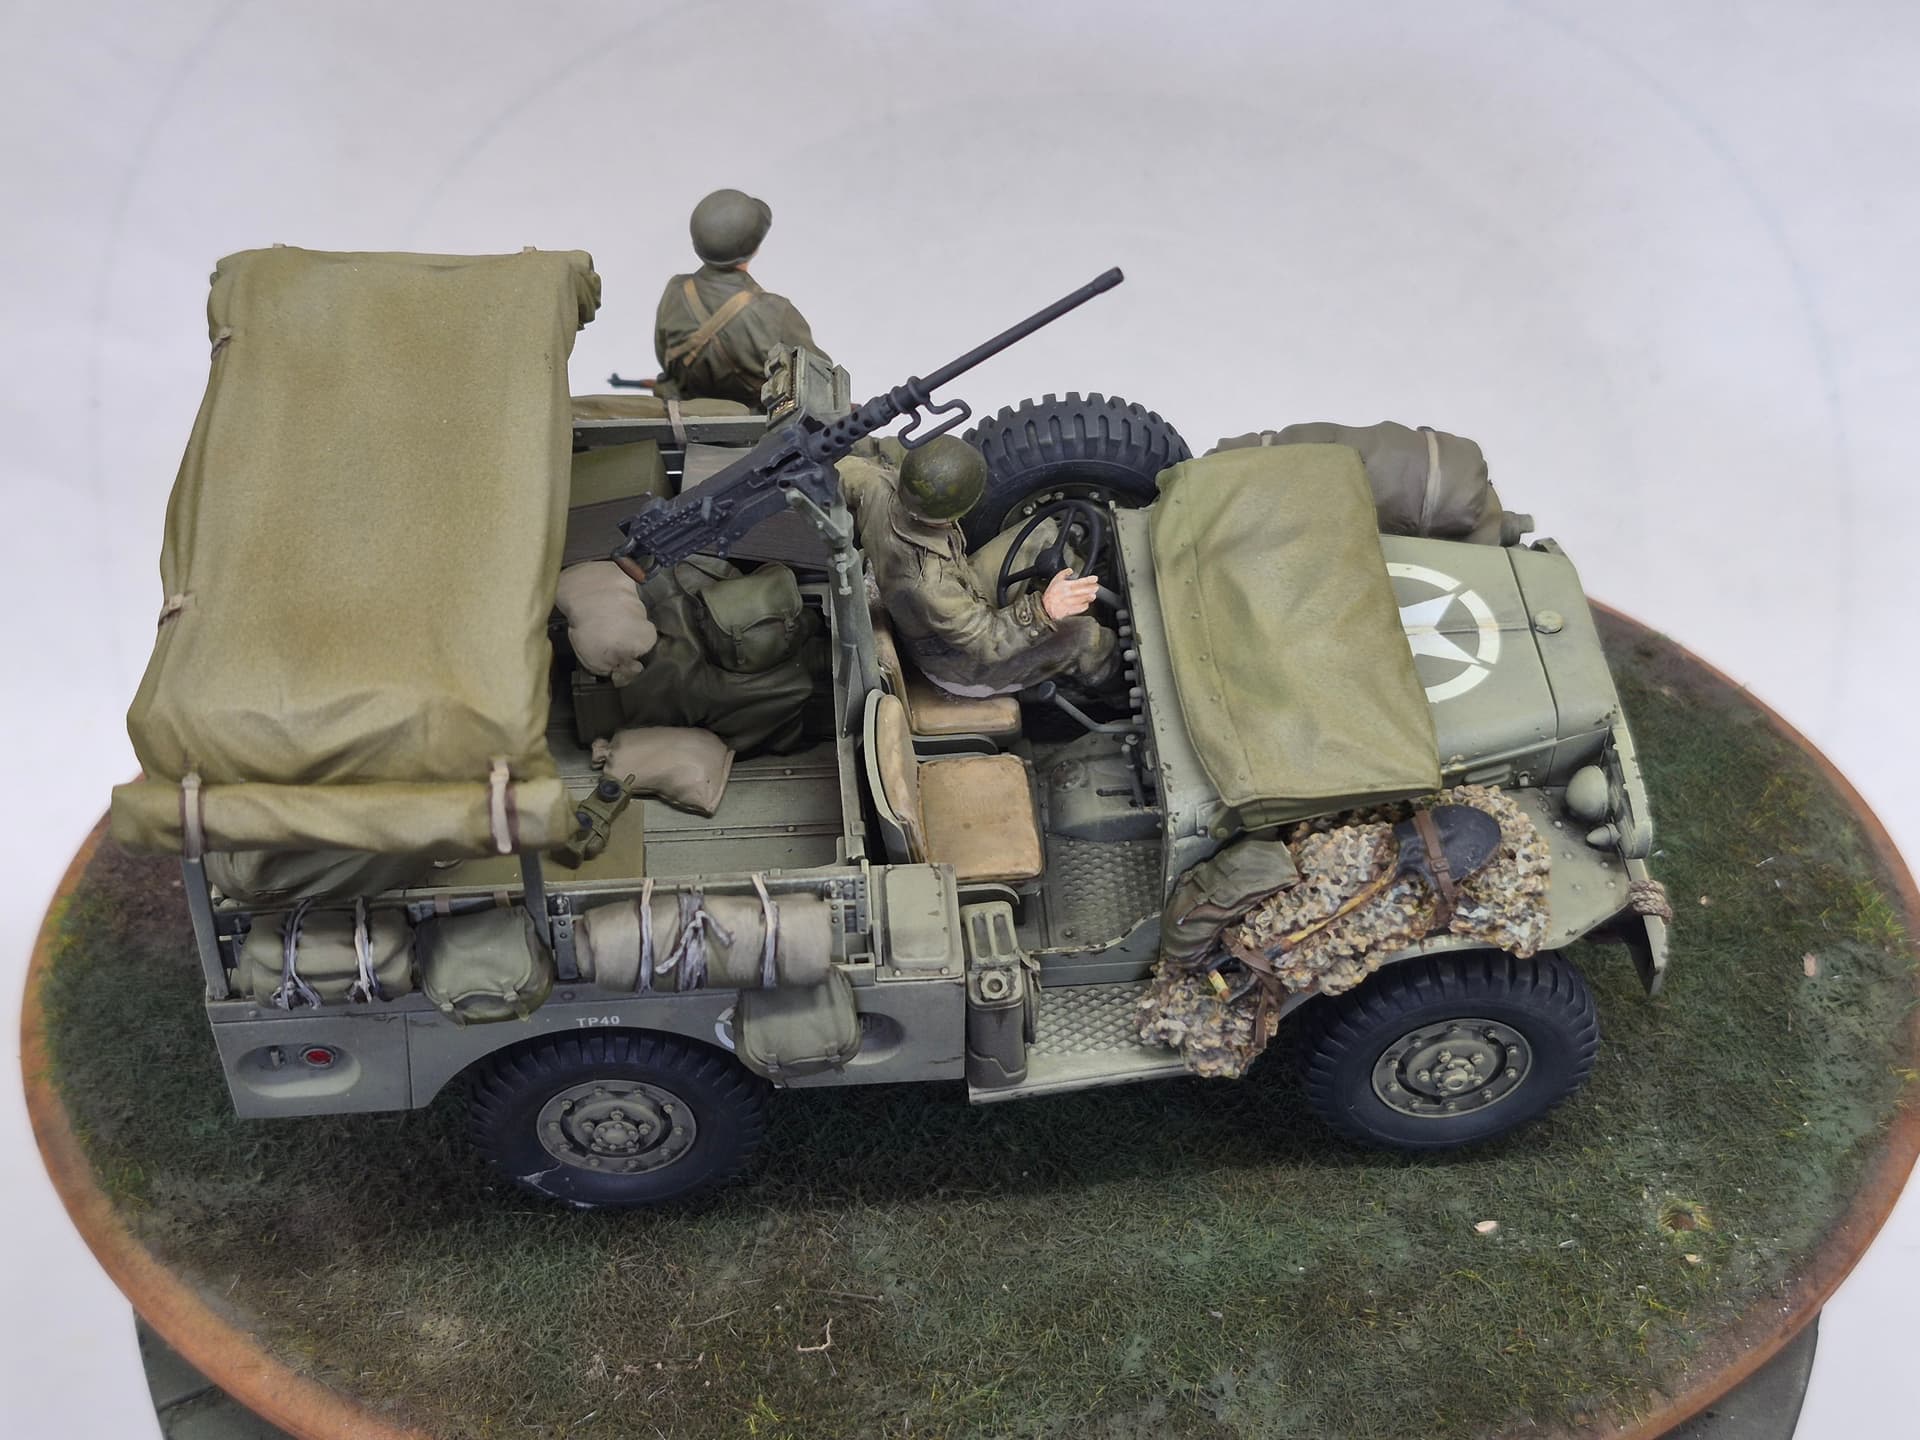
The level of detail on this kit is amazing and at the same time frustrating. The engine alone is comprised of 14 pieces not including the four parts that go to make up the transmission.
This engine screams for detailing with plug wires, battery cables and a throttle linkage. First point of frustration for me as I planned on building this with the hood closed.
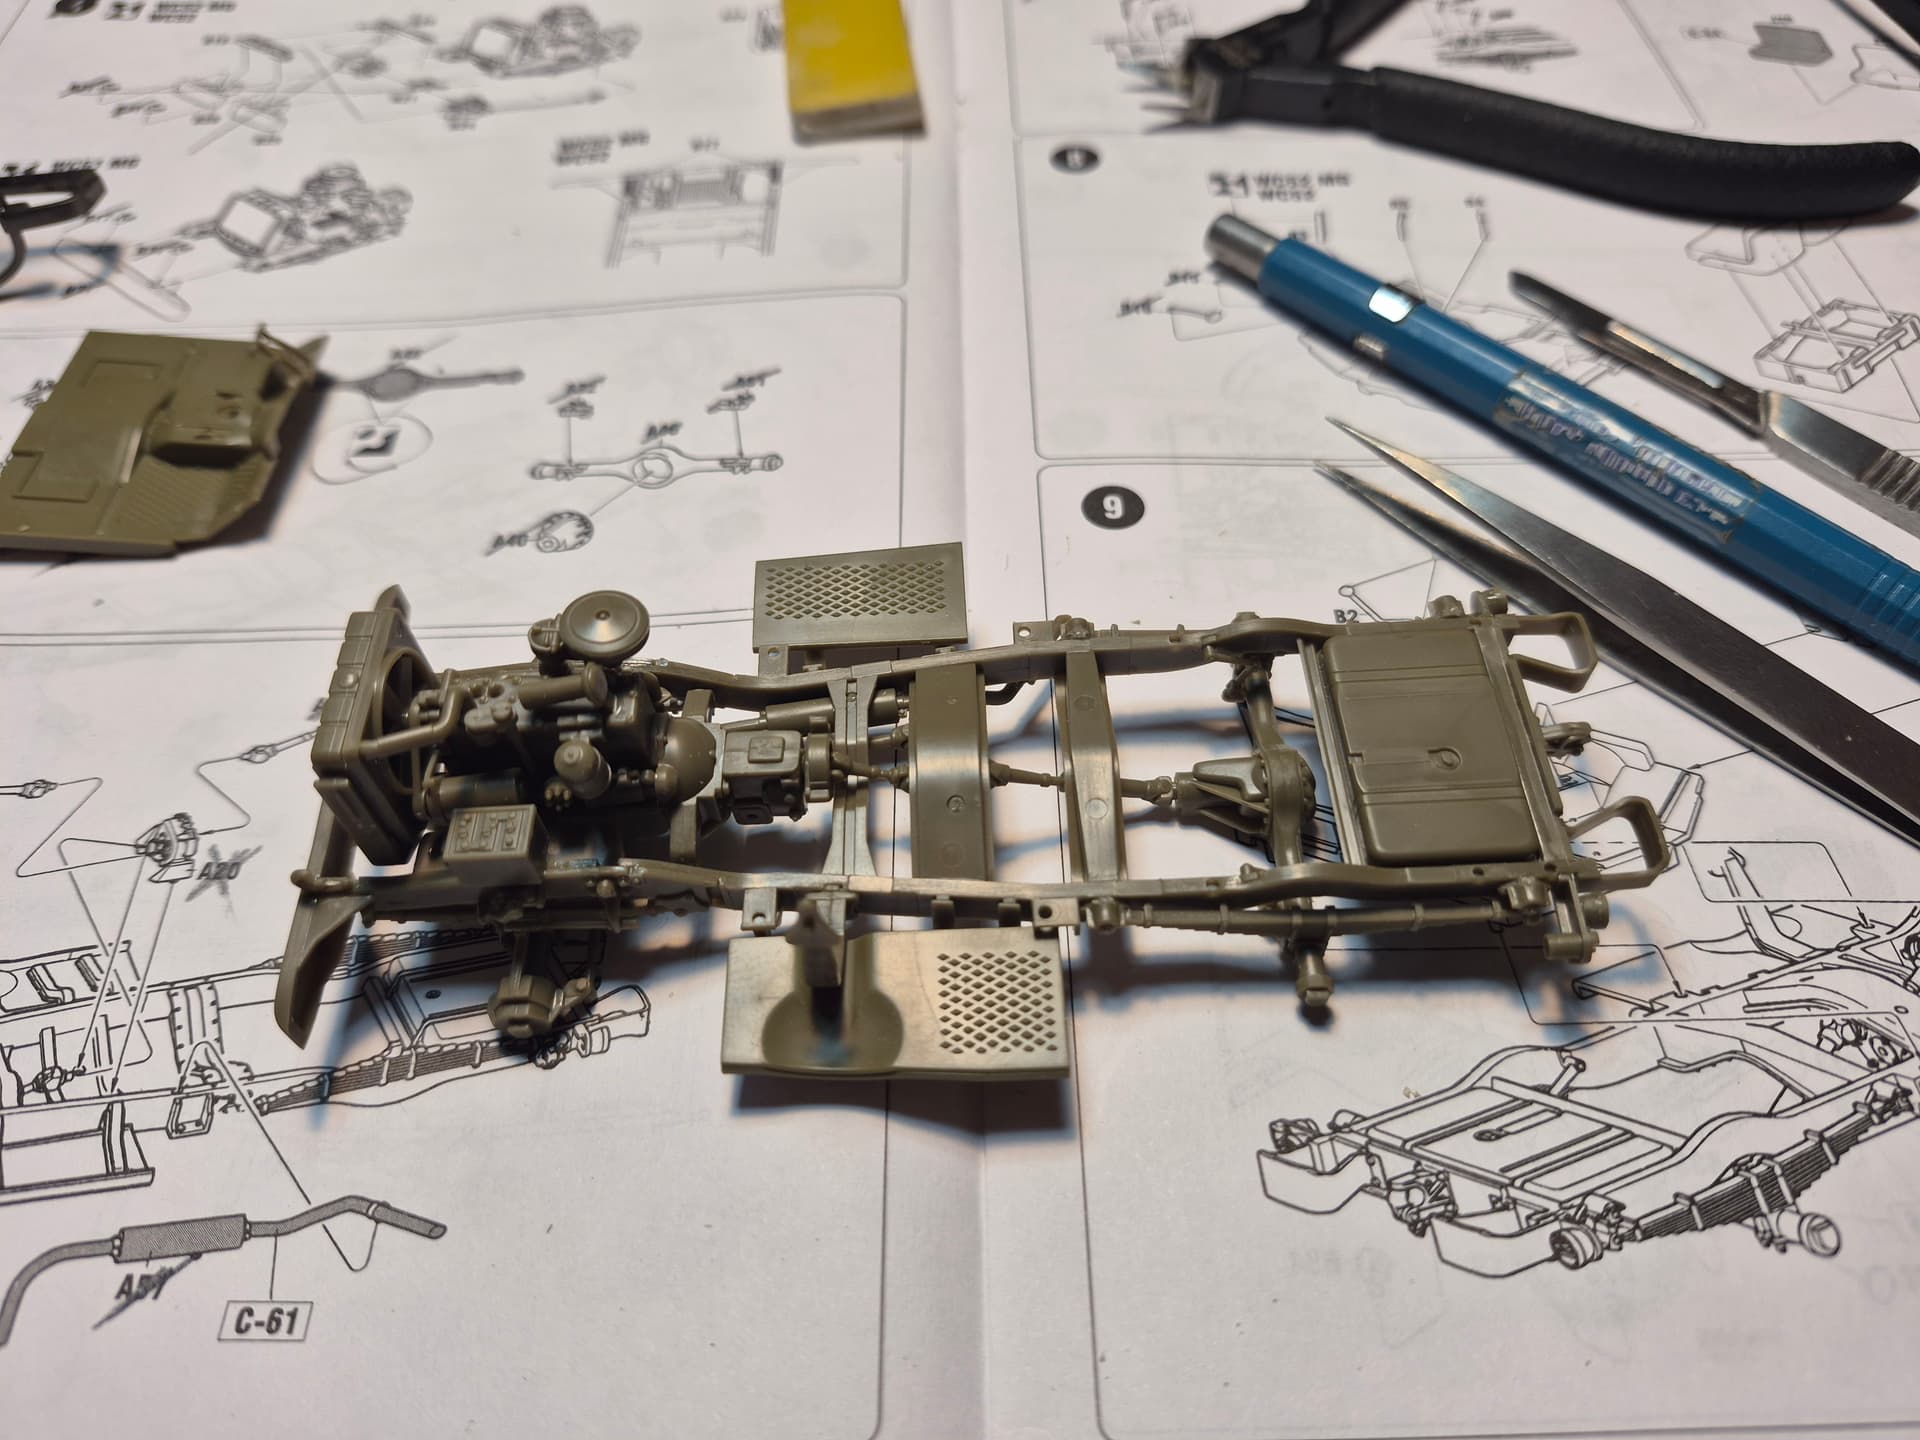
The frame assembly is nicely detailed as well requiring the next 6 steps in the instructions. Also an option for the WC52 is included which is the winch and modified front bumper.
The next 6 steps cover the cab assembly. I dry fitted all the cab walls and doghouse sides before committing to cement to make sure I totally understood how these parts went together and make the assembly as trouble free as I could for myself.
This is where the Beep sets. I did drop 3 small items during assembly thus far.
Tow hook which is mounted to front bumper. (Found)
Front turn signal indicator light (found)
Latch for hood. Think these are used to secure the windshield in the folded position. (Found)
I could not believe that I found all three items. The lesson for me is to keep my work area tidy it will pay dividends when a search and rescue becomes necessary. My wife reminds me of this every day.
Now I know why.
Thanks for looking and happy modeling
Mobious
The build itself really hasn’t been frustrating. The losing of very small parts and the recovery efforts have been a major frustration.
Thanks for looking…
That was my toughest call. I had already attached the sides of the hood securely in the previous step. The instructions called out not to glue the top section in place. If I were to build this kit again I would leave one of the doghouse side panels off and attach it after the corresponding opened top section of the hood is attached. As I had planned to build this with windshield folded down to turn back at this point would have caused more damage than I was willing to work thru. So be aware this hood opens like a model T hood being hinged at the center and at the sides, if there is a Beep in your future…
Portugeejn, I hope to get more bench time this evening. The bed assembly is up after the windshield assembly. I plan on leaving the windshield off and painting separately.
Thanks for looking and Happy Modeling…
Mobious
RBaer: The 3 parts that I had lost track of were all tiny and all highly visible being on the front of the vehicle. Two of the parts had made it to the floor. The tow hook being the largest was relatively an easy find. I had knocked off the T latch and knew just about where it fell so it didn’t take long to locate. The turn signal indicator is about a third the size of a sesame seed and took the most time to locate. It does slow progress but the rescue efforts are worth the time spent IMO.
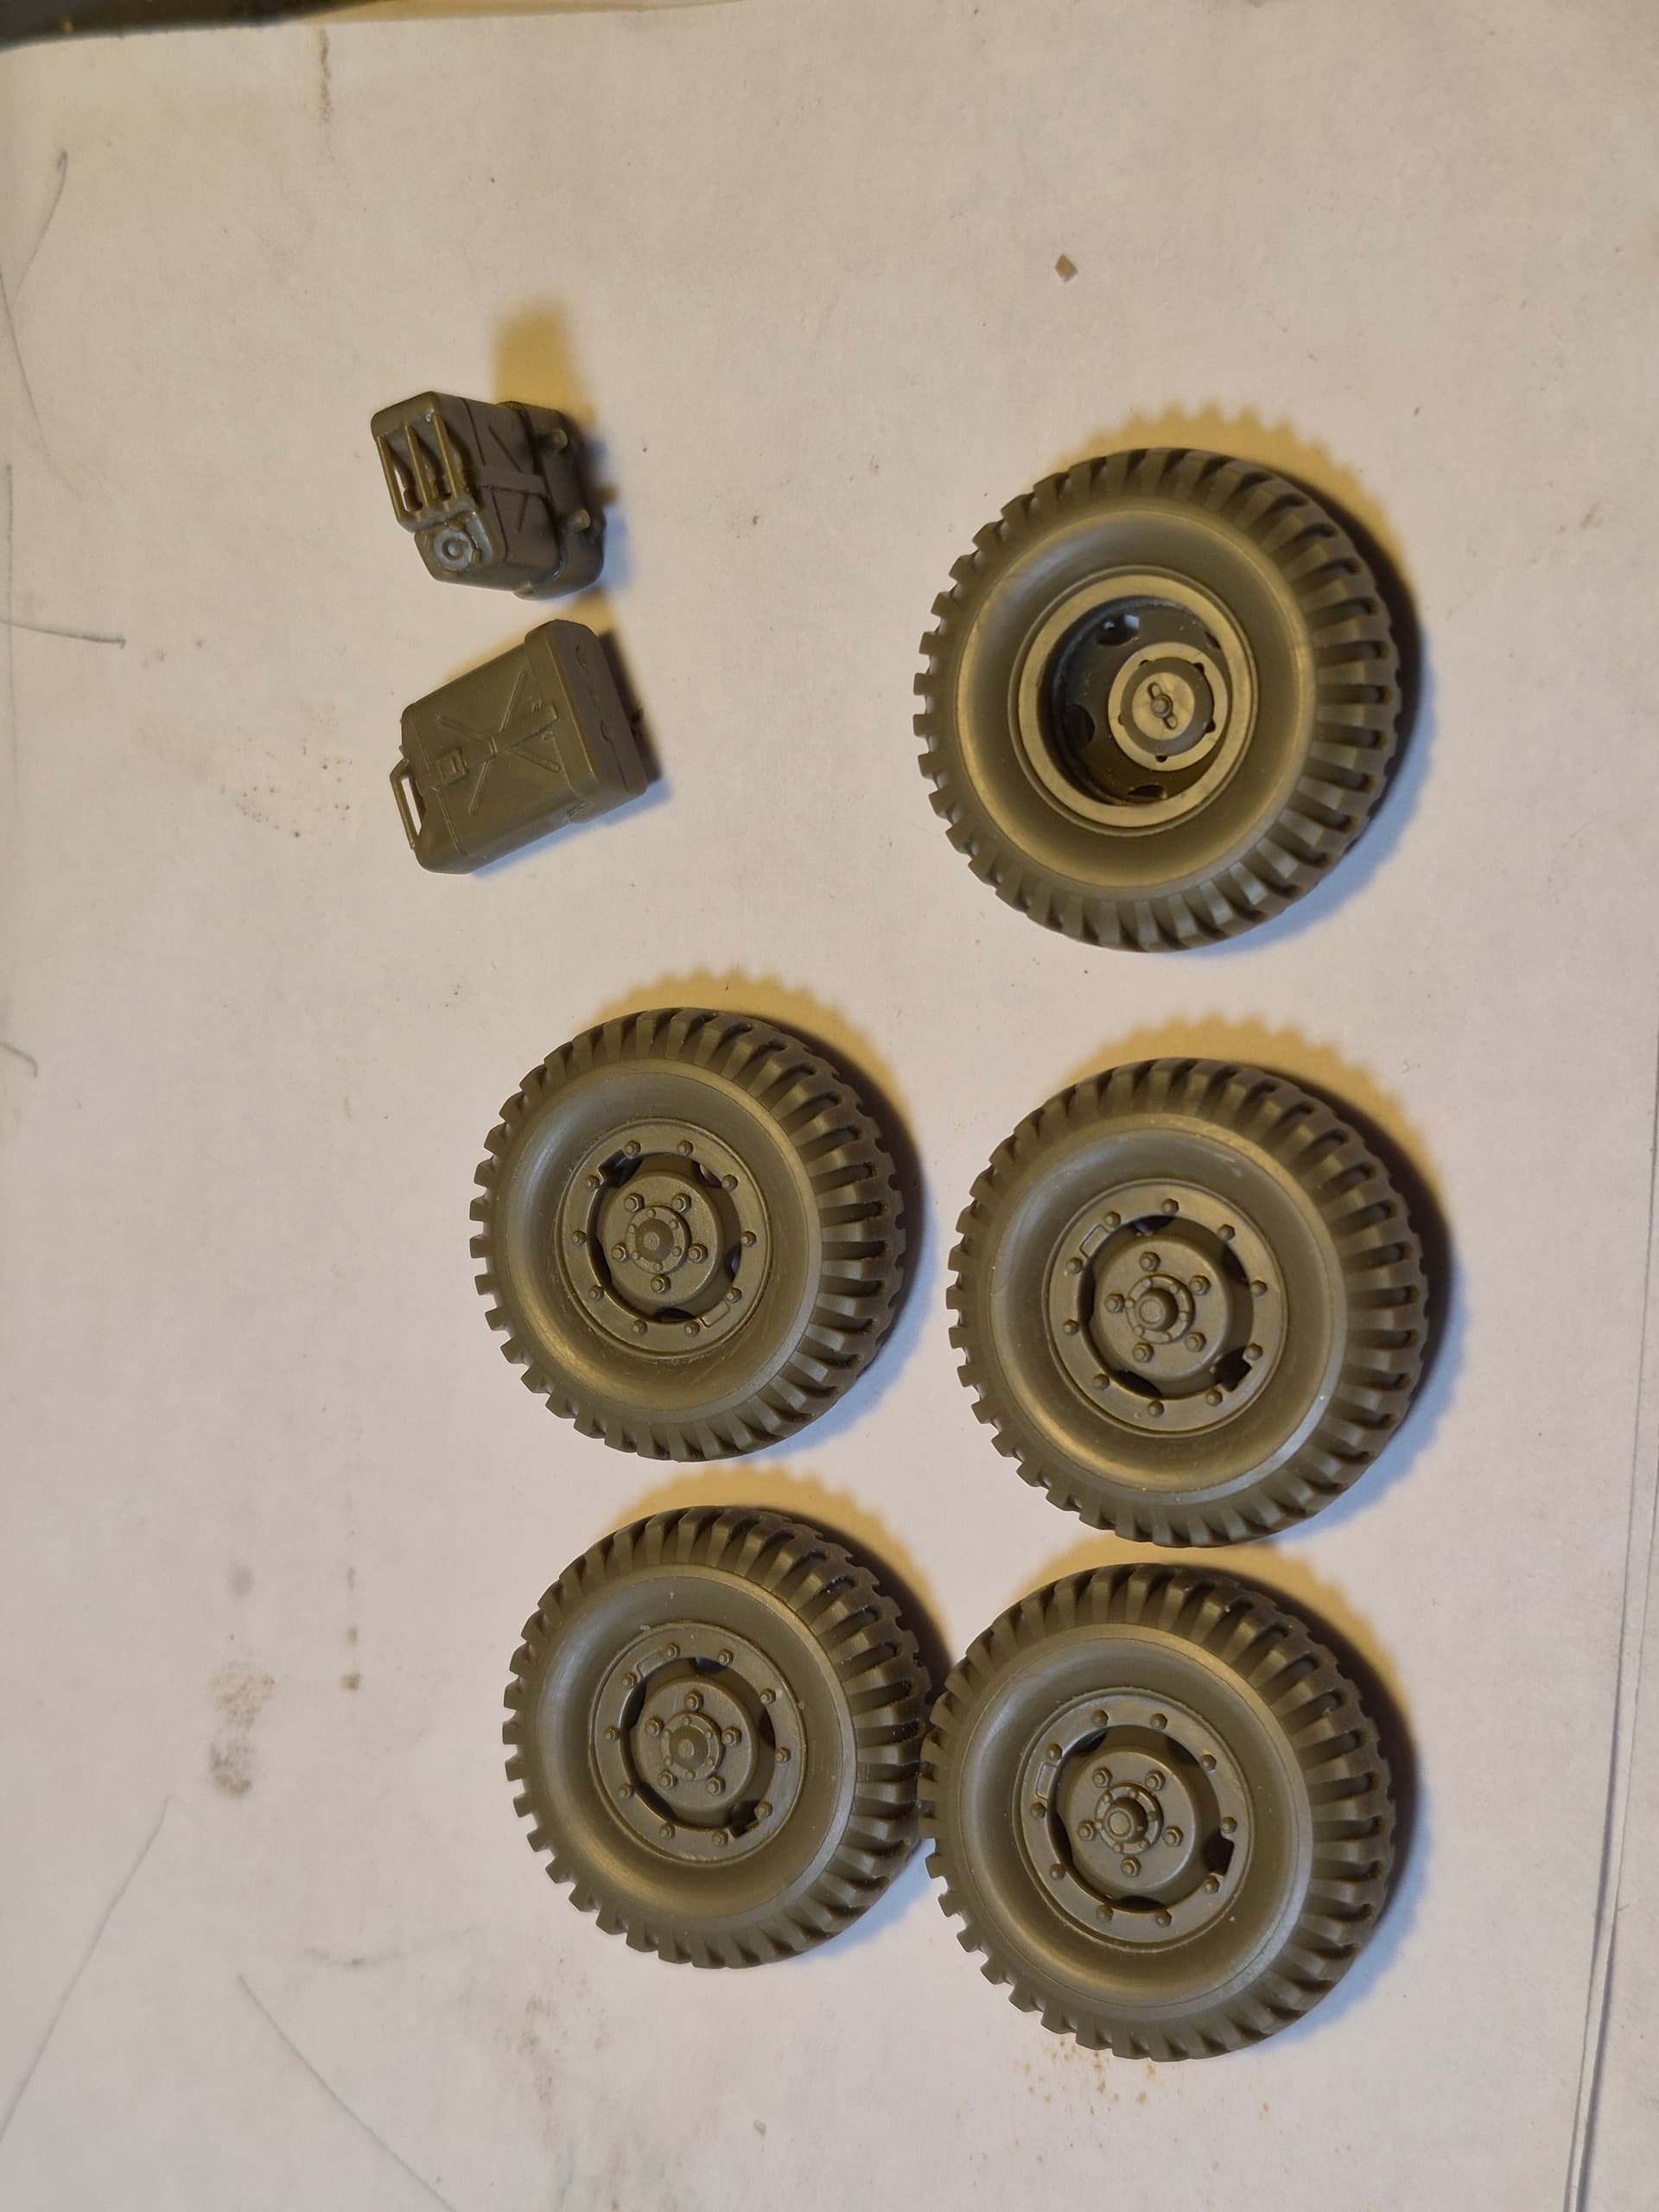
Finished up a pair of fuel cans and all of the tires and wheel hubs which are assembled with poly caps.
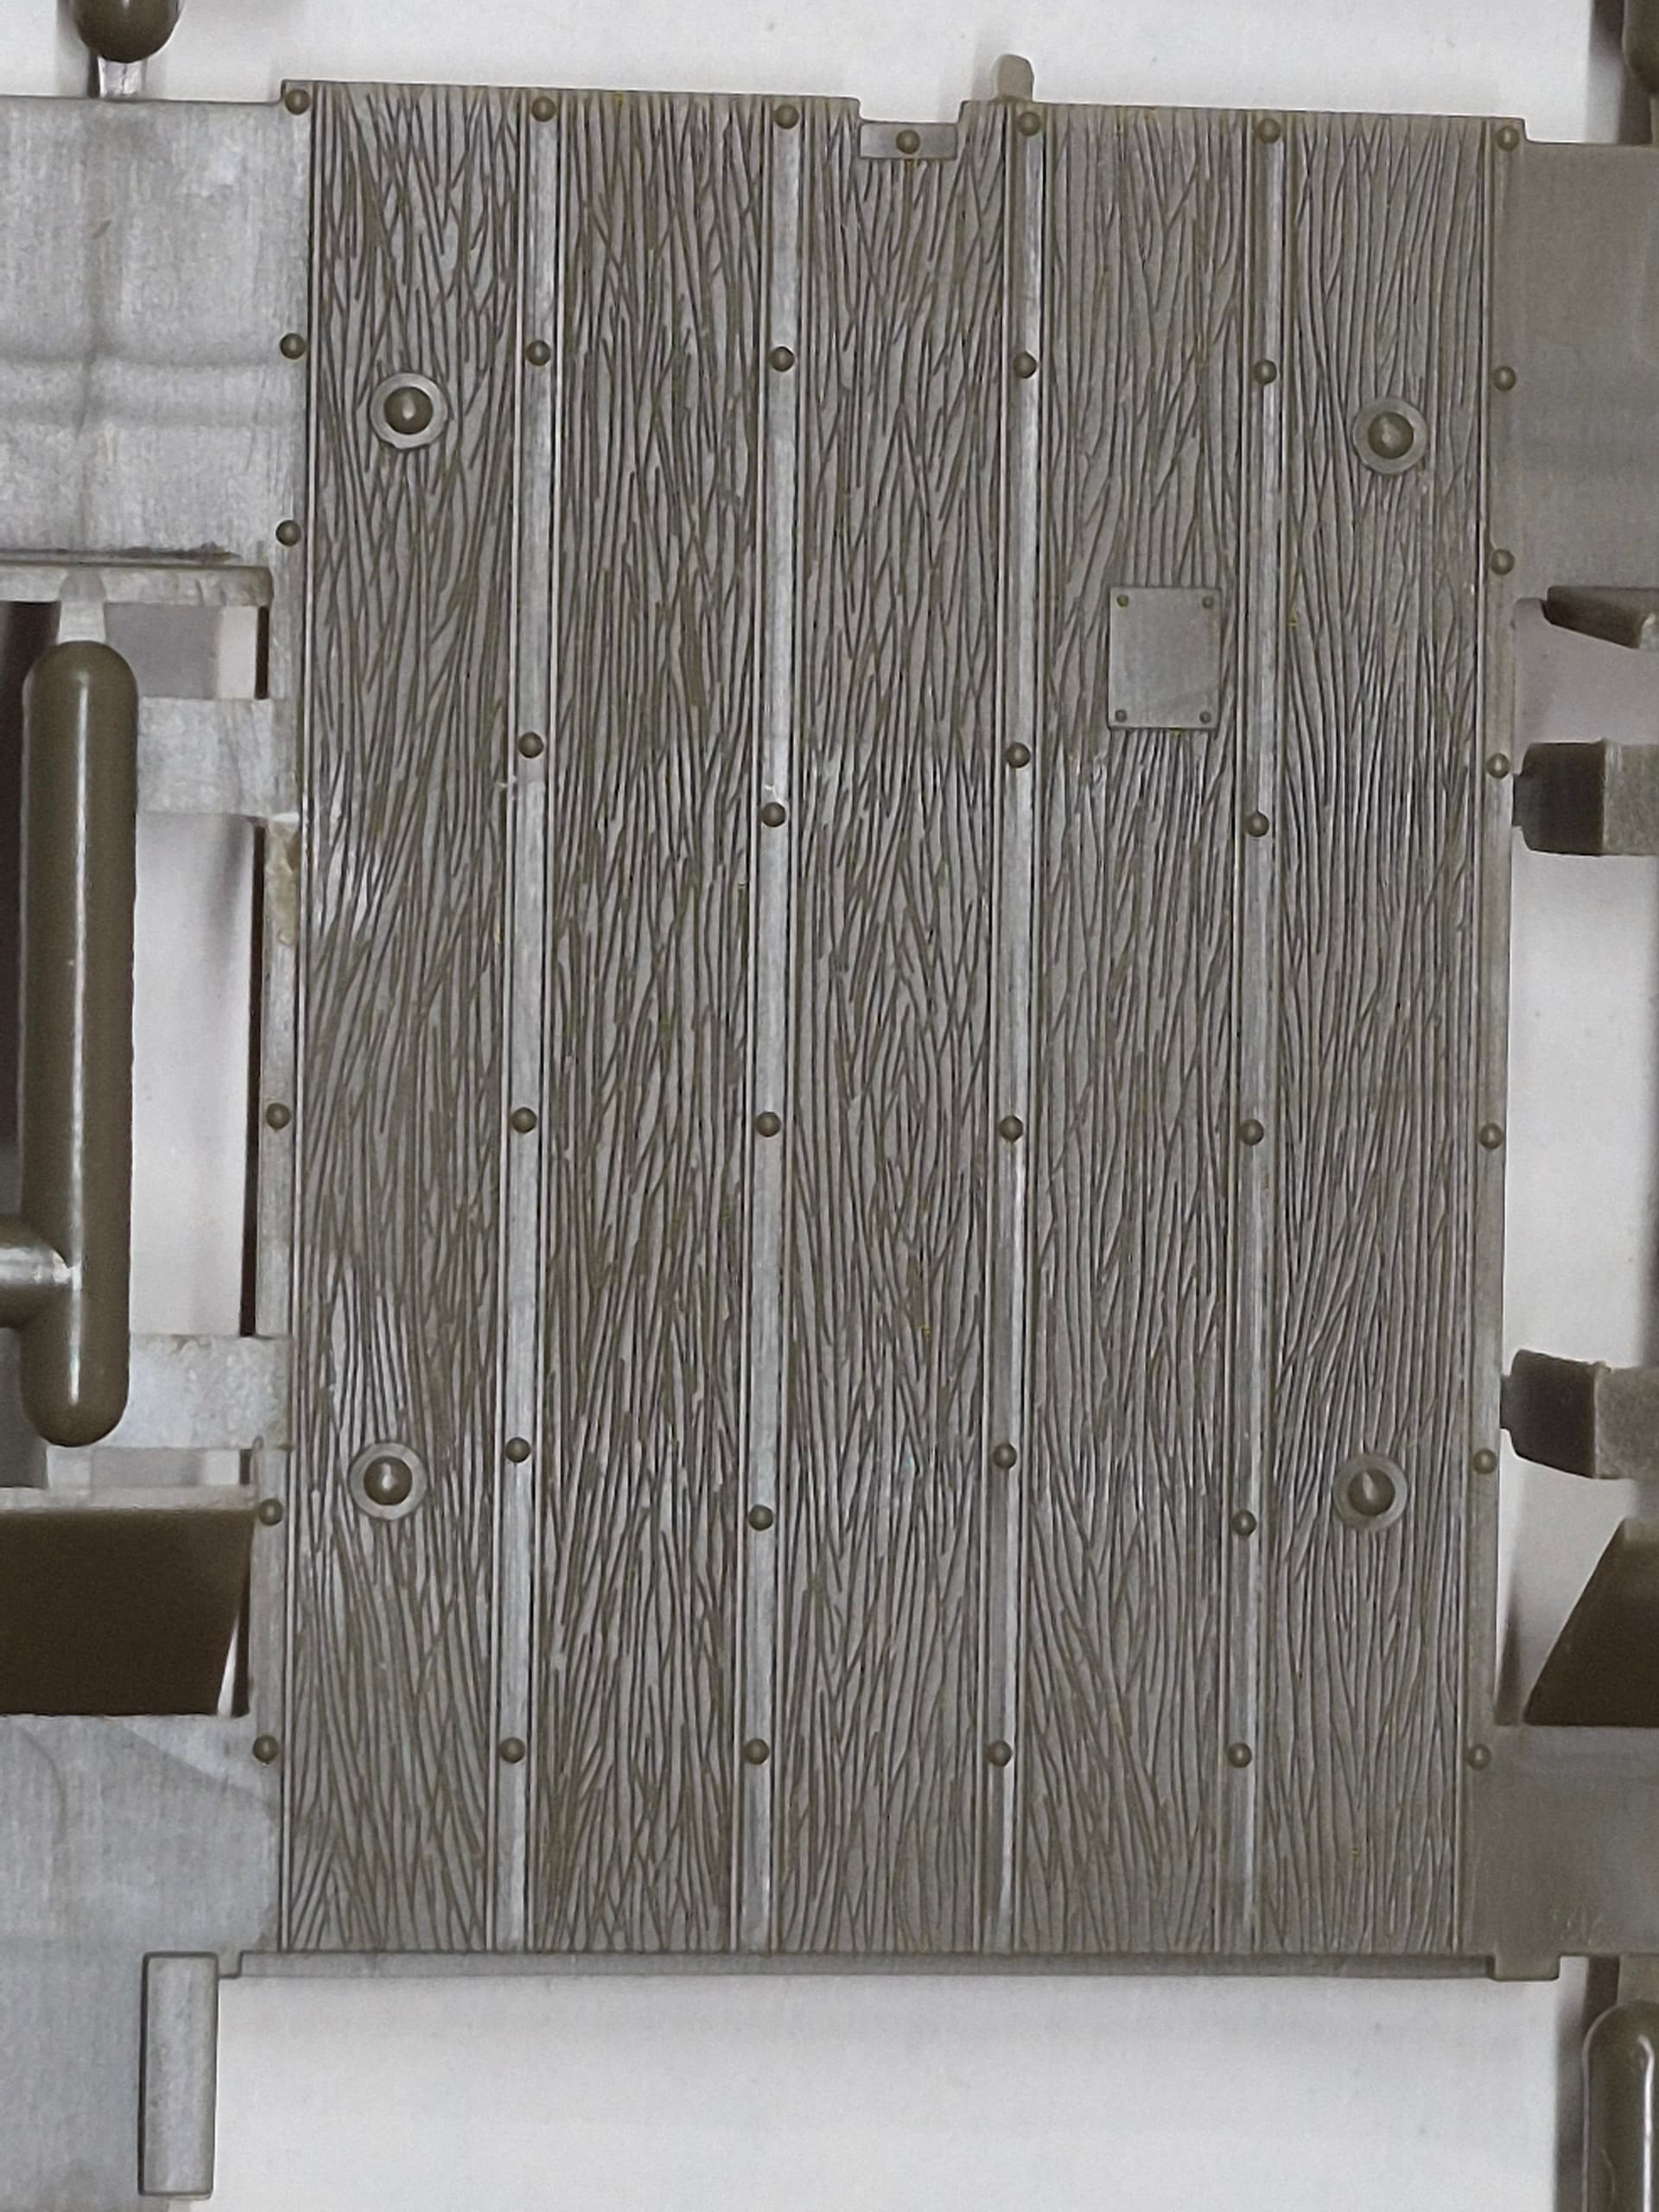
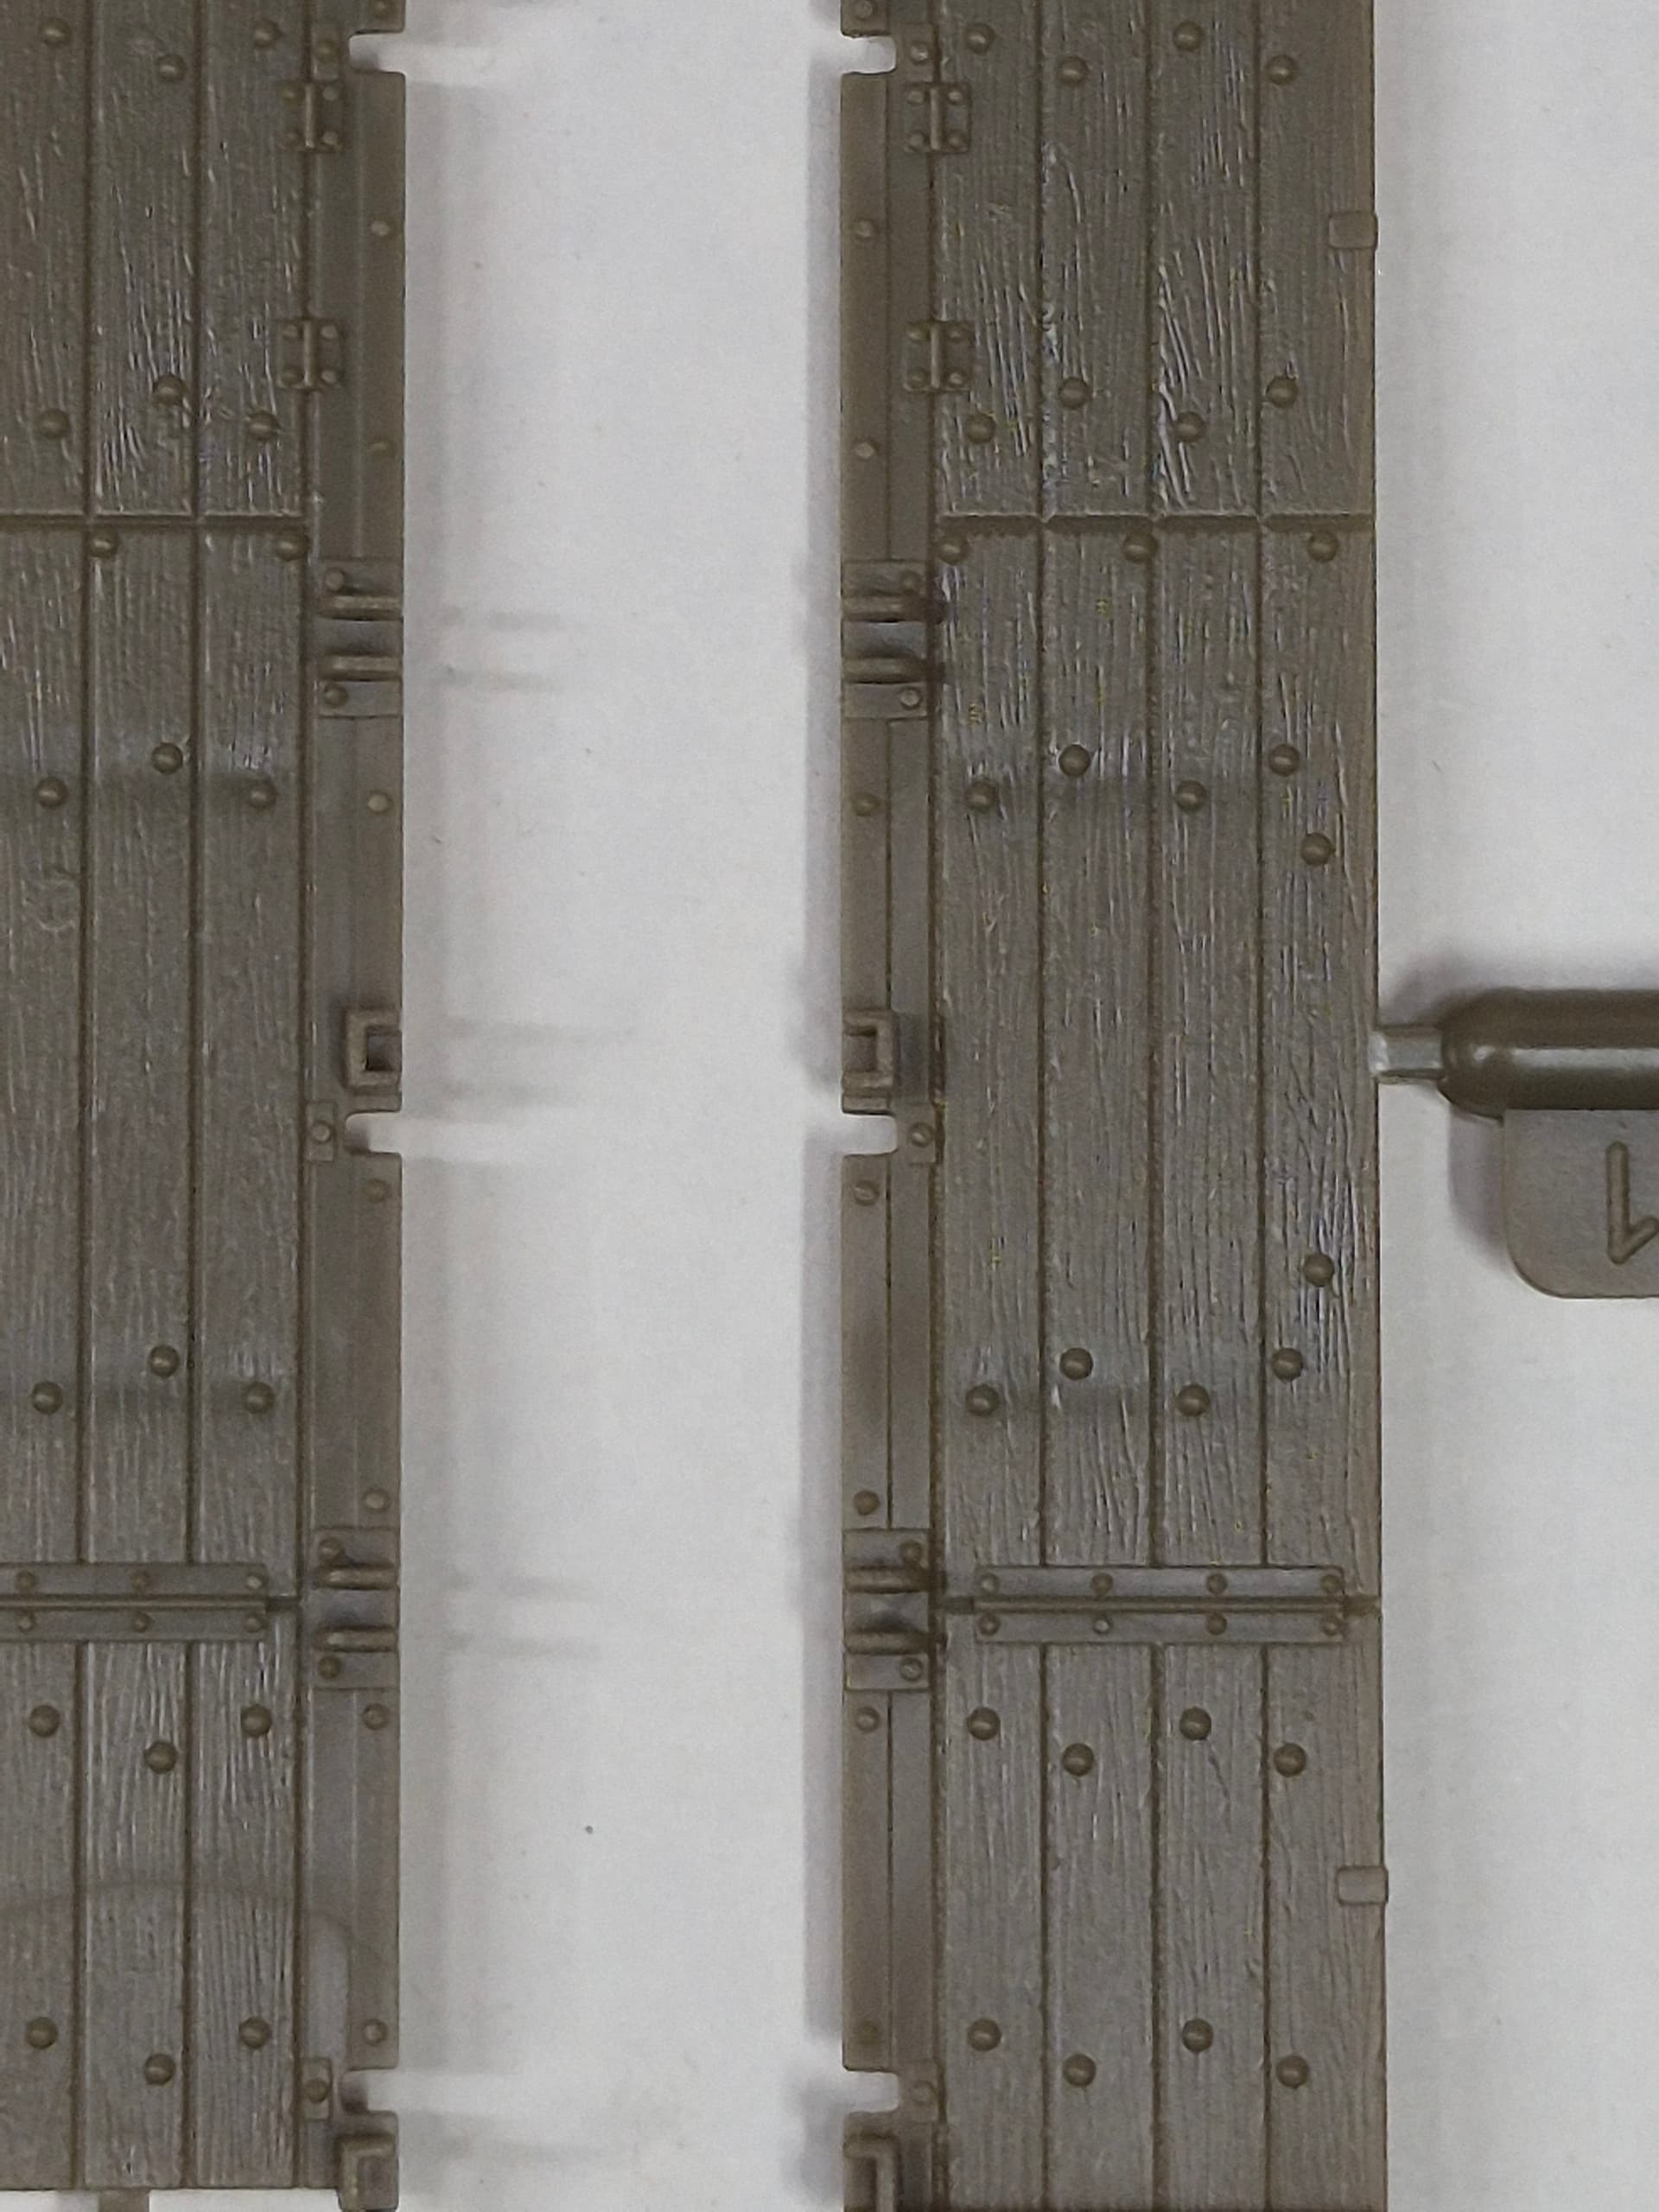
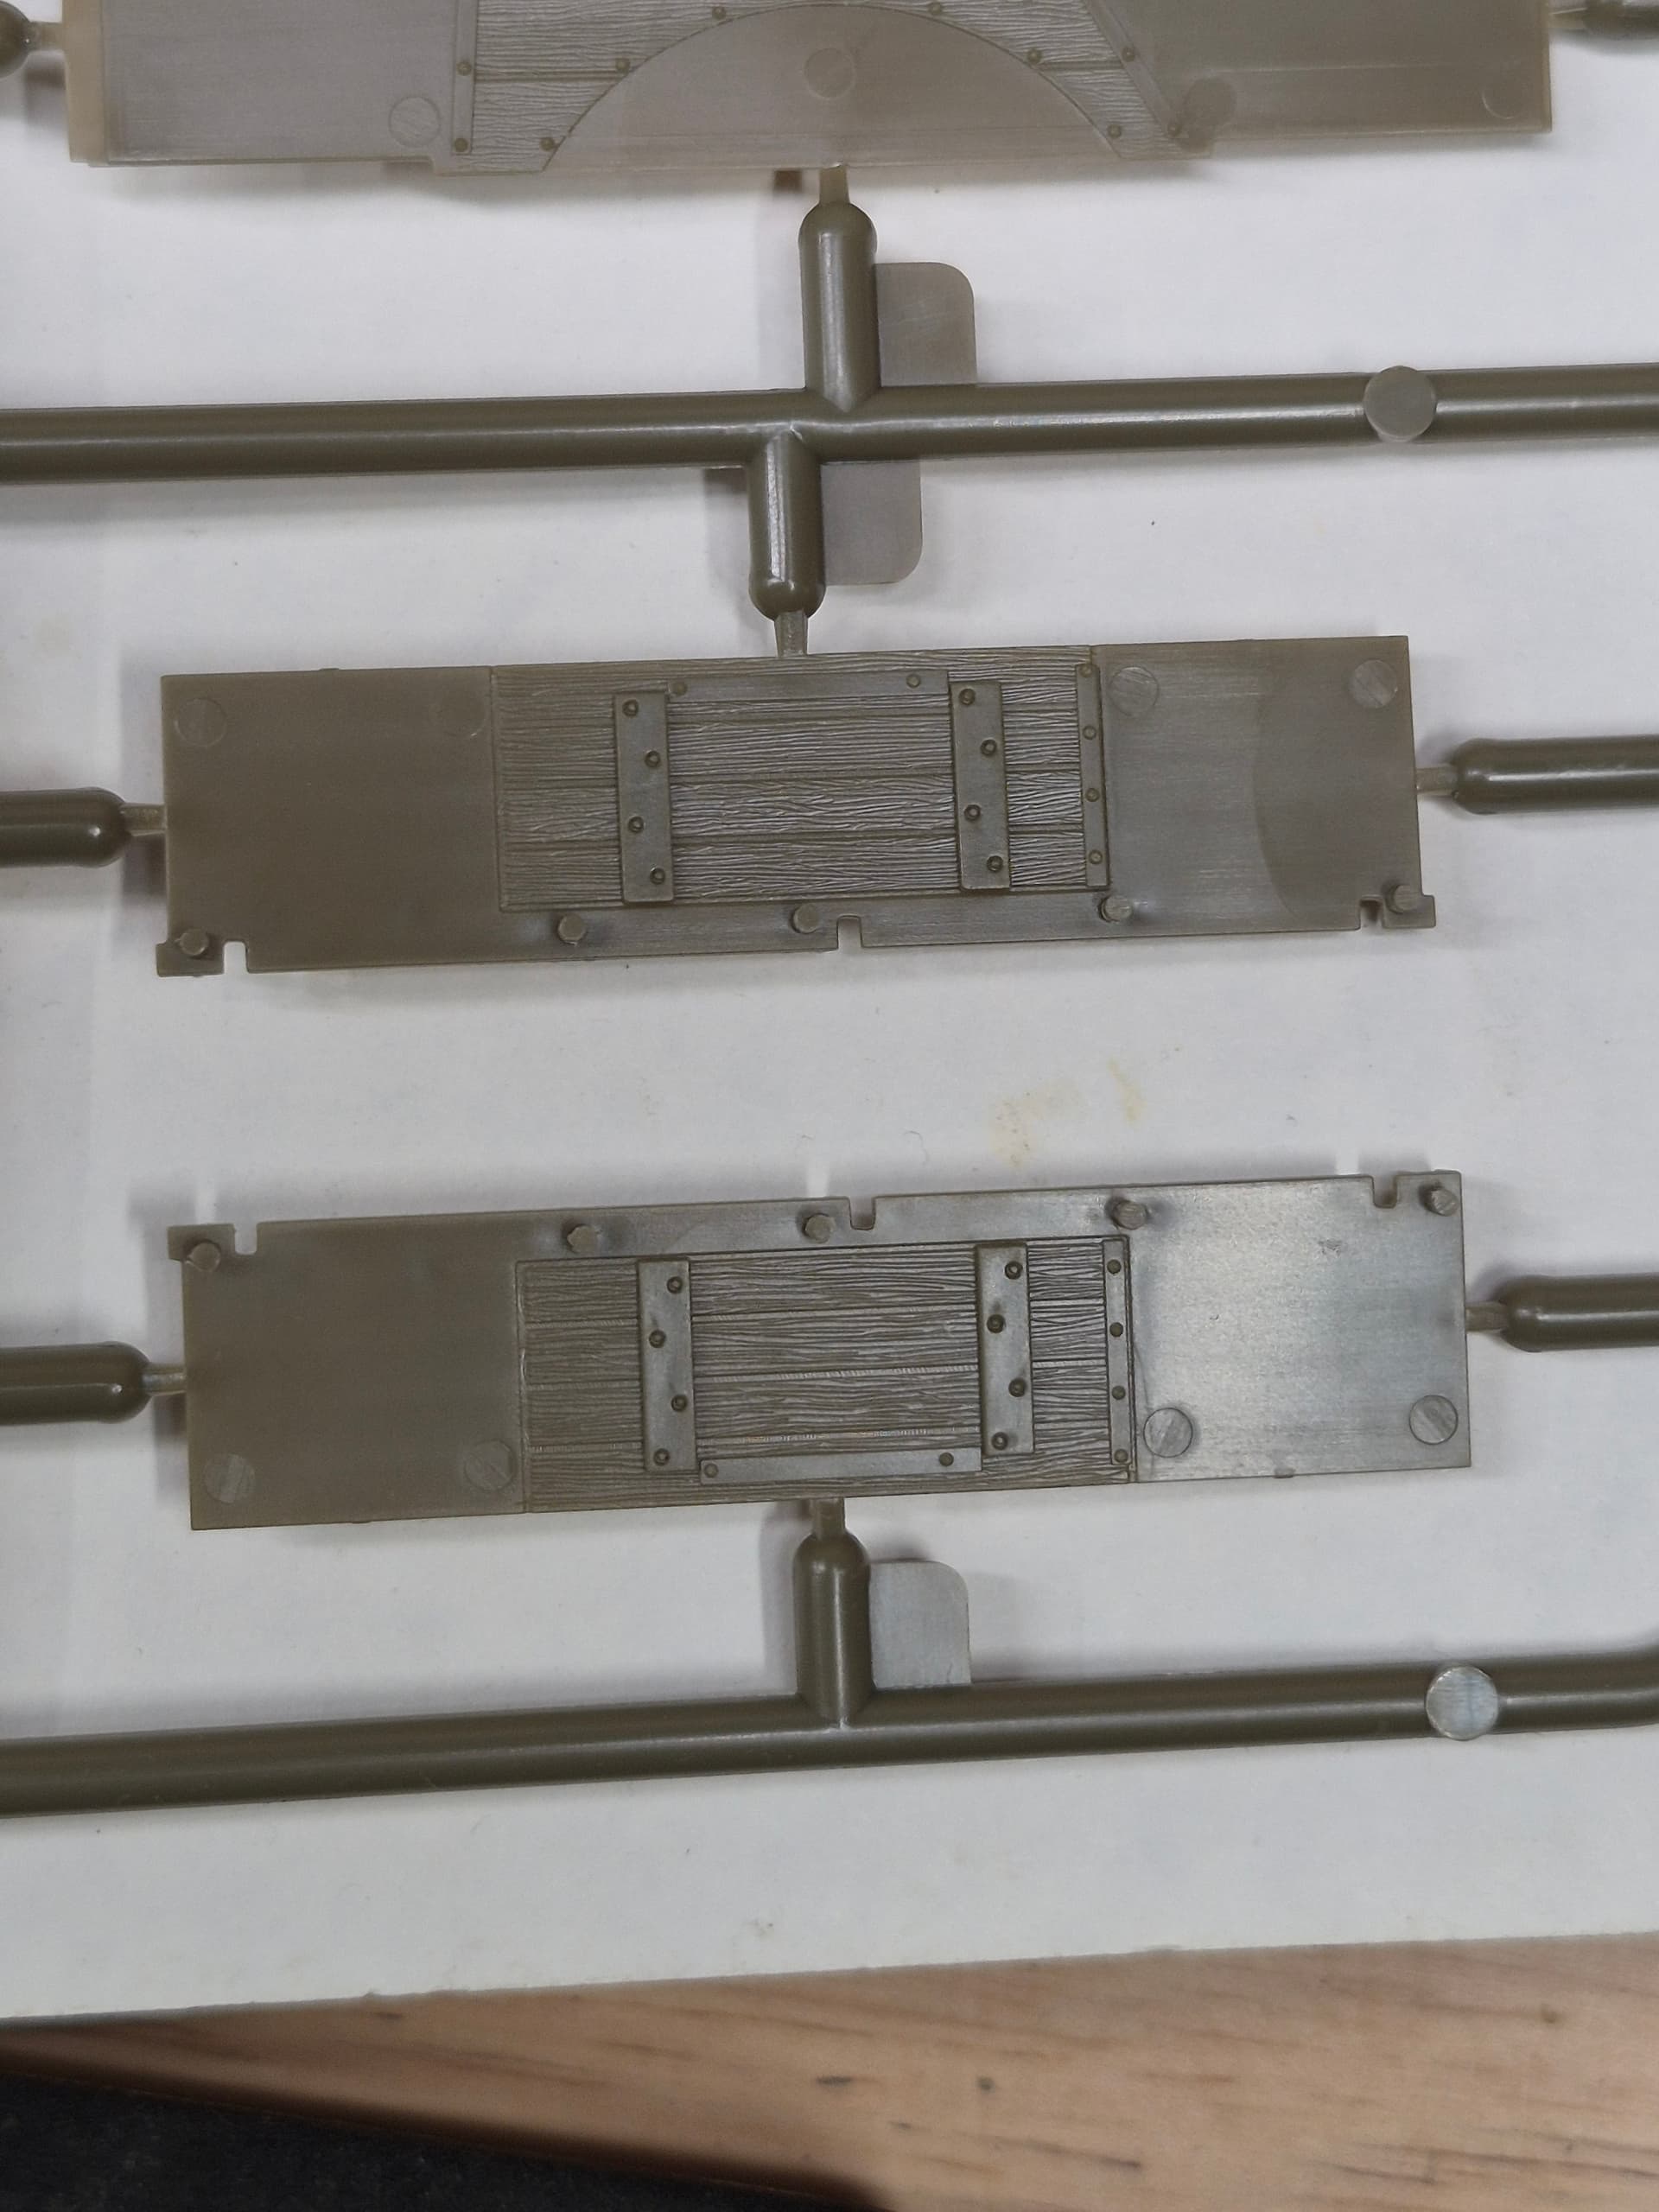
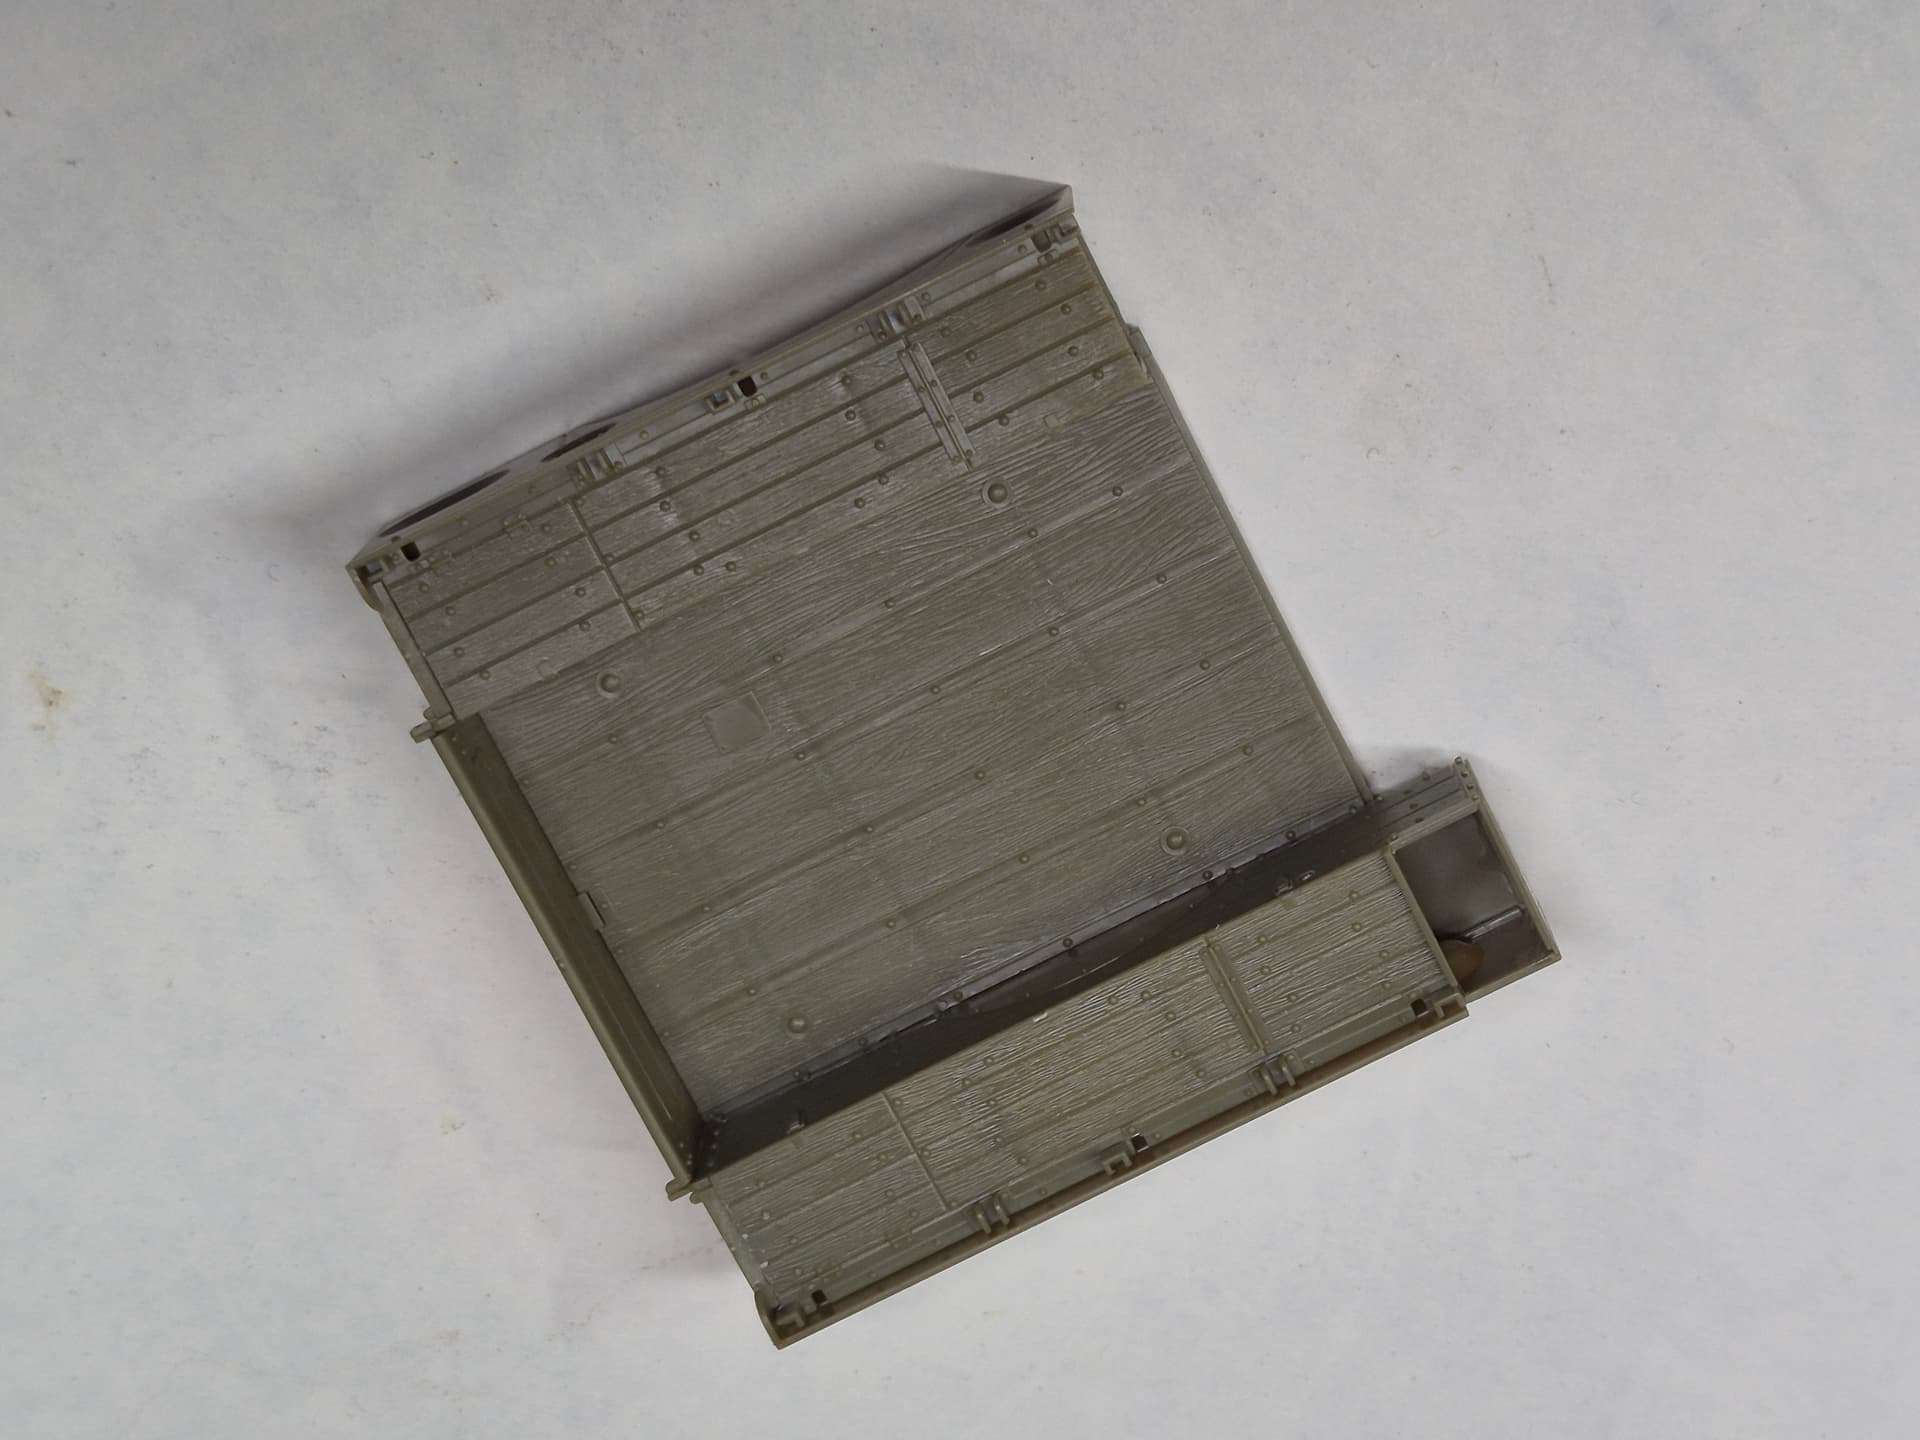
Got a start on the bed and the fit is one of the most detailed and best fitting assemblies I have had the pleasure of working with. Intelligent engineering places all knock out pin locations either on the underside or hidden behind/under seating. All except for four on the tail gate but they are easily addressed. I had to post these shots of the wood grain and mounting details on the interior of the bed.
Managed some bench time and a bit of small parts searching.
Got the bed assembled and began work on the M2 and mount. There is a small sink spot which is mentioned in the instructions and called out as a spot to fill. I used the sprue goo to hit that spot and the where the post meets the crossmembr. I cleaned the vent holes of the guard with an appropriate drill and finished cleaning the Browning up.
After fixing the bed to the frame the fuel filler tube and cap were added per the instructions but not before launching the fuel cap off with a pair of tweezers. Found it on my desk chair…
Attached the hubs/tires and the MG.
Was looking at the M2 and I decided to stick with the kit as it’s as detailed as the resin and the barrel looks better. I began removing the pour blocks on several of the larger pieces which are rather large with a razor saw and #10 scalpel and managed to carelessly nick a finger on each hand with both tools. The saw decidedly hurt worse. No serious damage just a hit to my knife skills confidence. The castings look very nice with no bubbles on the finished surfaces and the fit looks good on the parts that I’ve freed up.
I’ll get pics up as progress and my shaken confidence permits
Toimi_Tom It has been a fun build. Brings back the days of growing up on my Dad’s farm. He and my uncle had a WC63. The 1.5t
6x6 version.
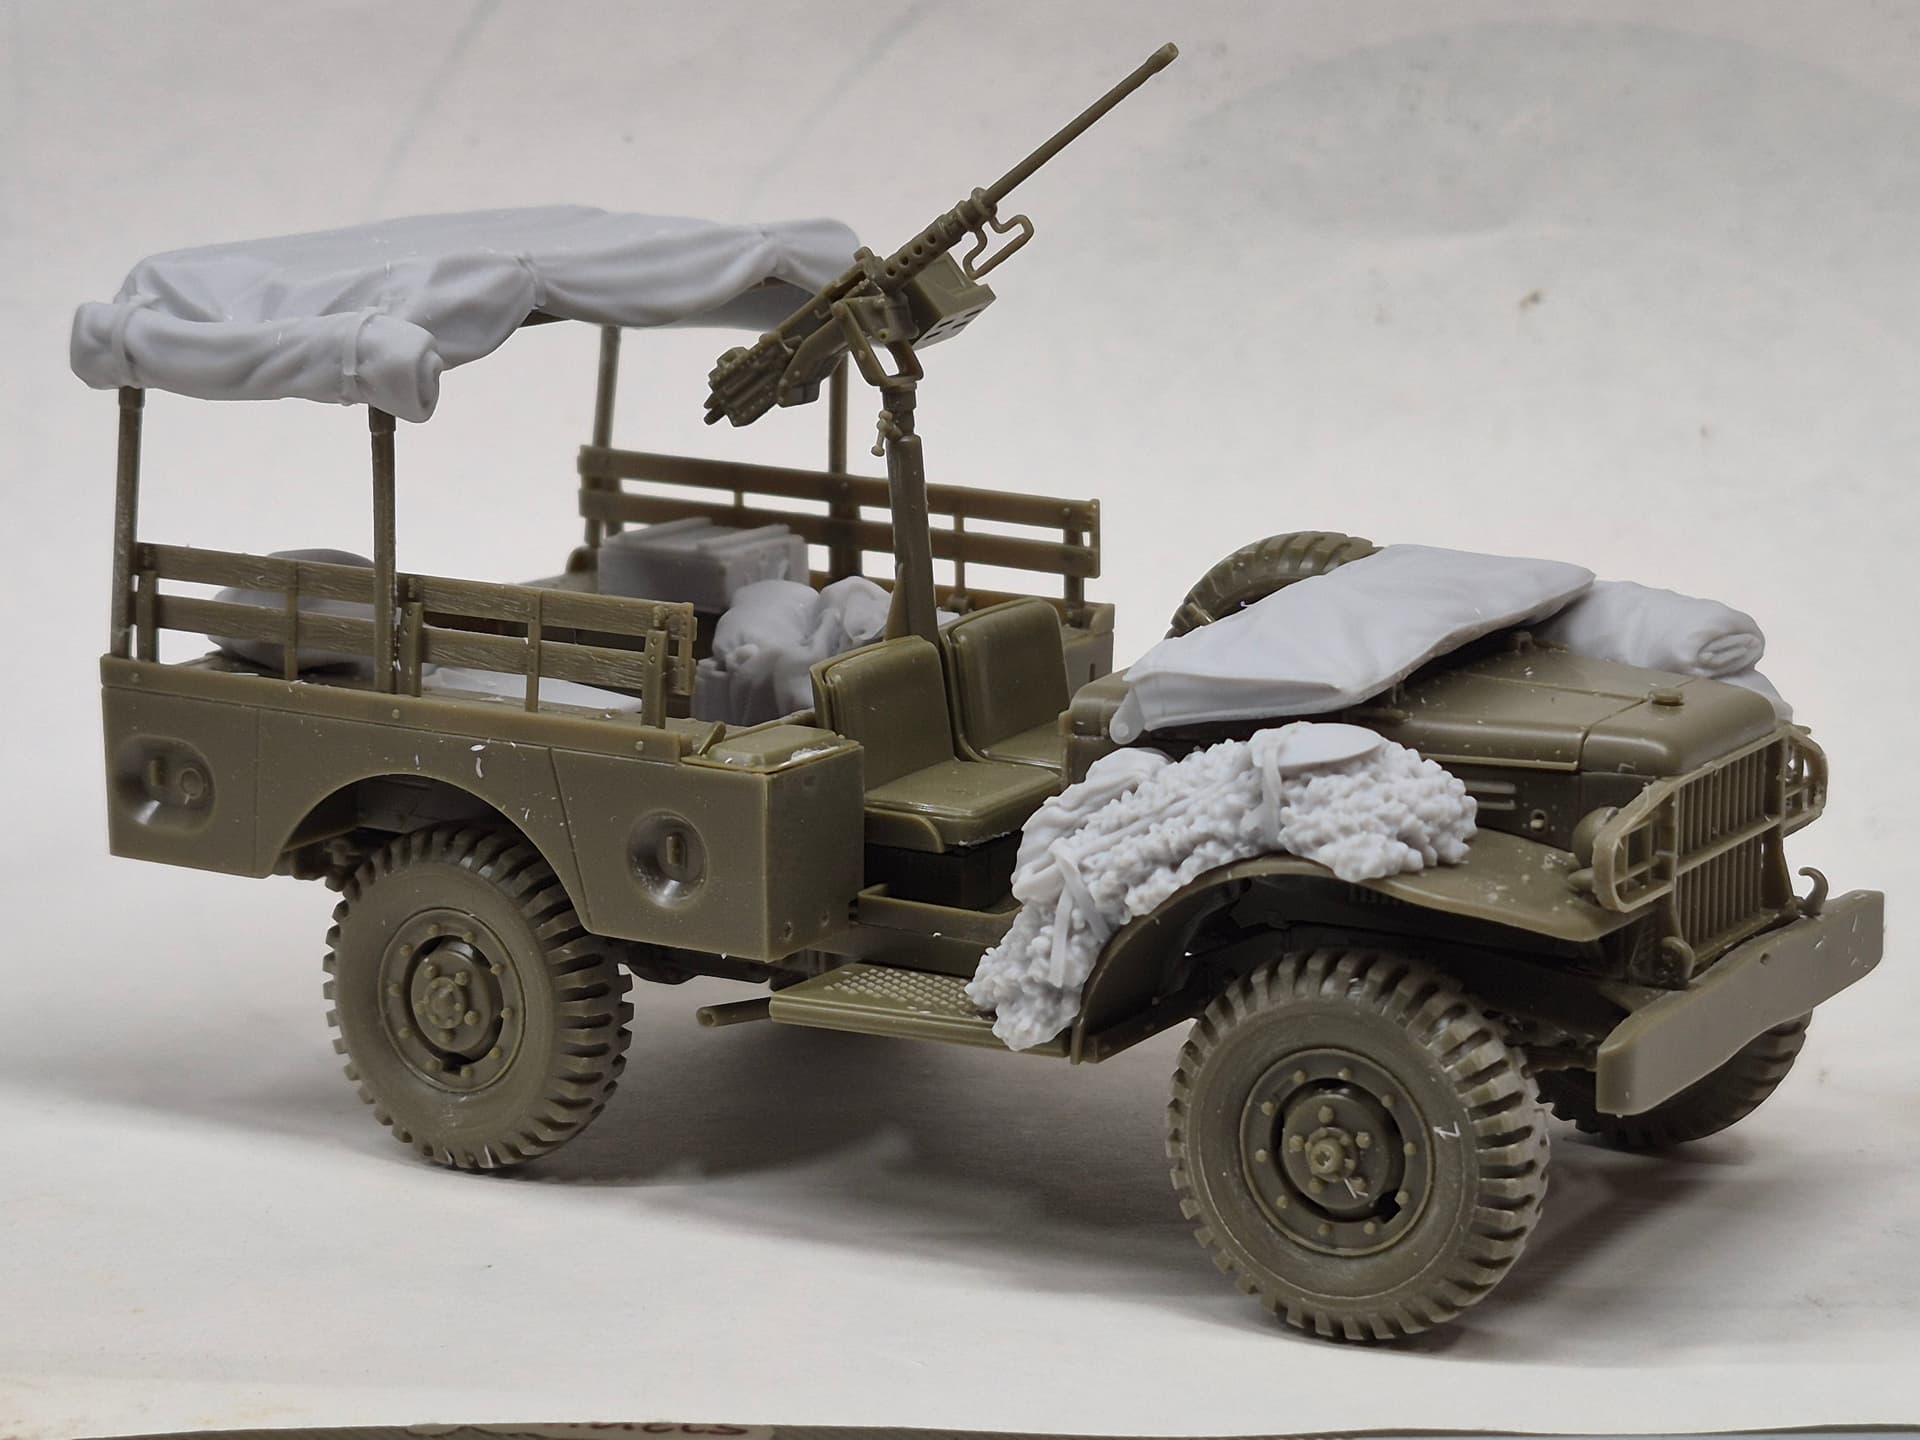
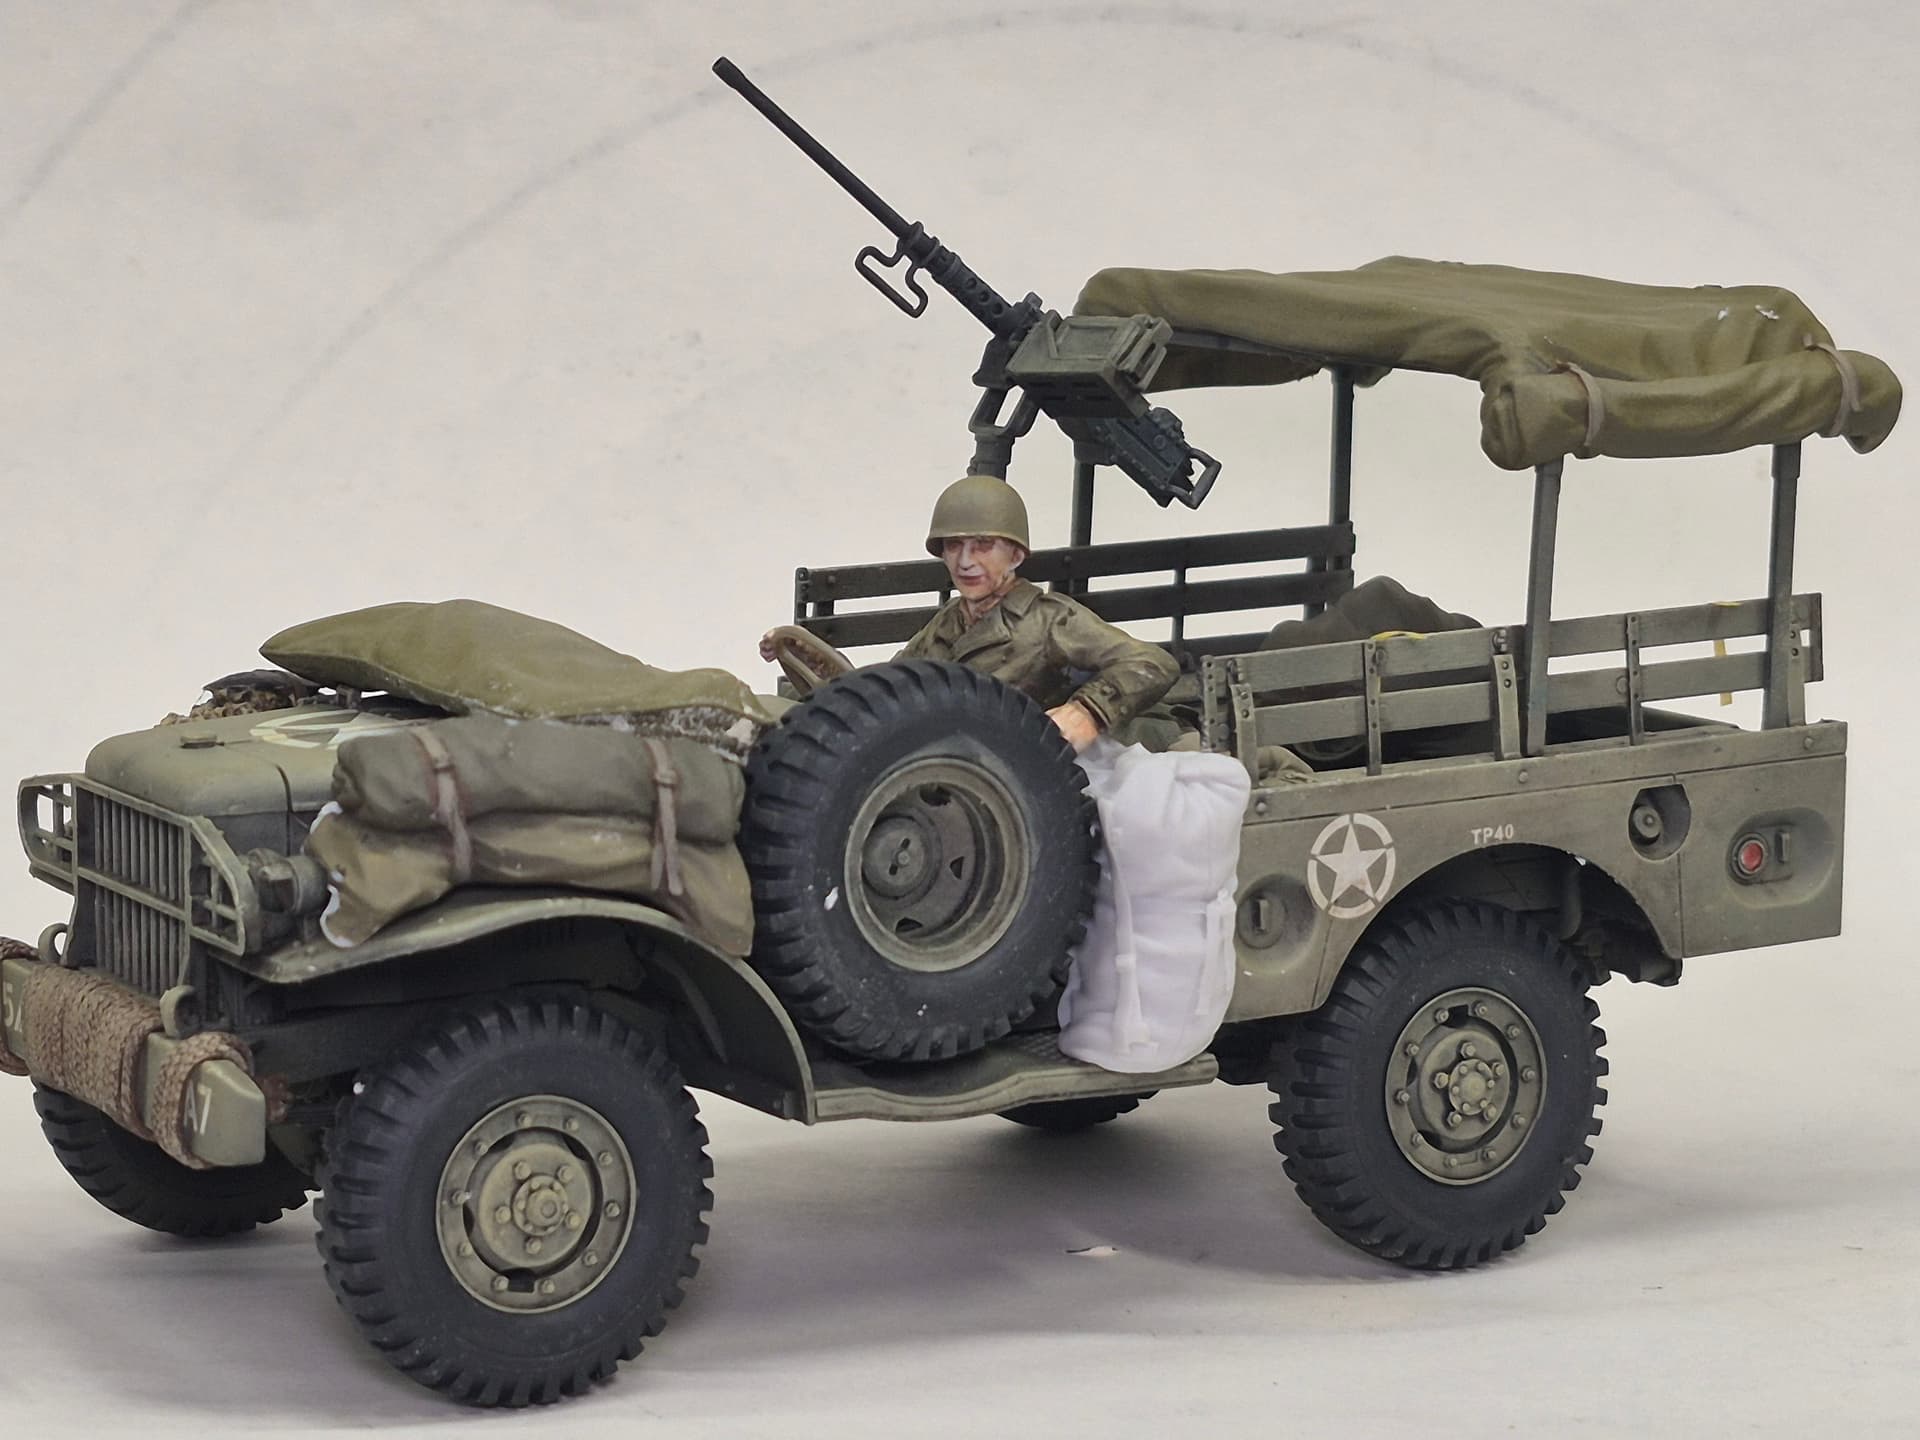
Fitting the resin pieces wasn’t to bad. The tarp required serious grinding to get the bows to fit squarely. I was keeping the kit provided spare tire and had to fit the bundled tarps to the LH fender which required more resin grinding. The rest of the parts fit very well. (Note: always wear a respirator while exposed to resin dust.)
I managed to get a couple shots before removing them all for paint.
Didn’t realize it but the rear tarp in these 2 pics is backwards. Oops. It’s okay it will fit either way.
Just got the WC51 outta the paint booth with a coat of Alclad II primer on it. I’ll get the resin primed later. We’ll be getting the Beep into some O.D. soon.
Thanks for looking in and Happy Modeling
Mobious
Will be moving on to finishing up stowage and getting it in the many delightful shades and tones of Olive Drab this coming week.
We’re heading down the back stretch on this one.
Thanks for looking in and Happy Modeling,
Mobious
Ron2.0, I had to alter the plans on getting the stowage finished this week. I had to get the pin wash and the dry brushing done first. Trying to put the cart before the horse. I did get a few more items removed from the pour blocks and made final adjustments on the tarp.
Once the WC is clear coated I will get the stowage in primer and basecoat. Plan is to attach these after paint and before adding terrain weathering.
Thanks for checking in and Happy Modeling,
Mobious
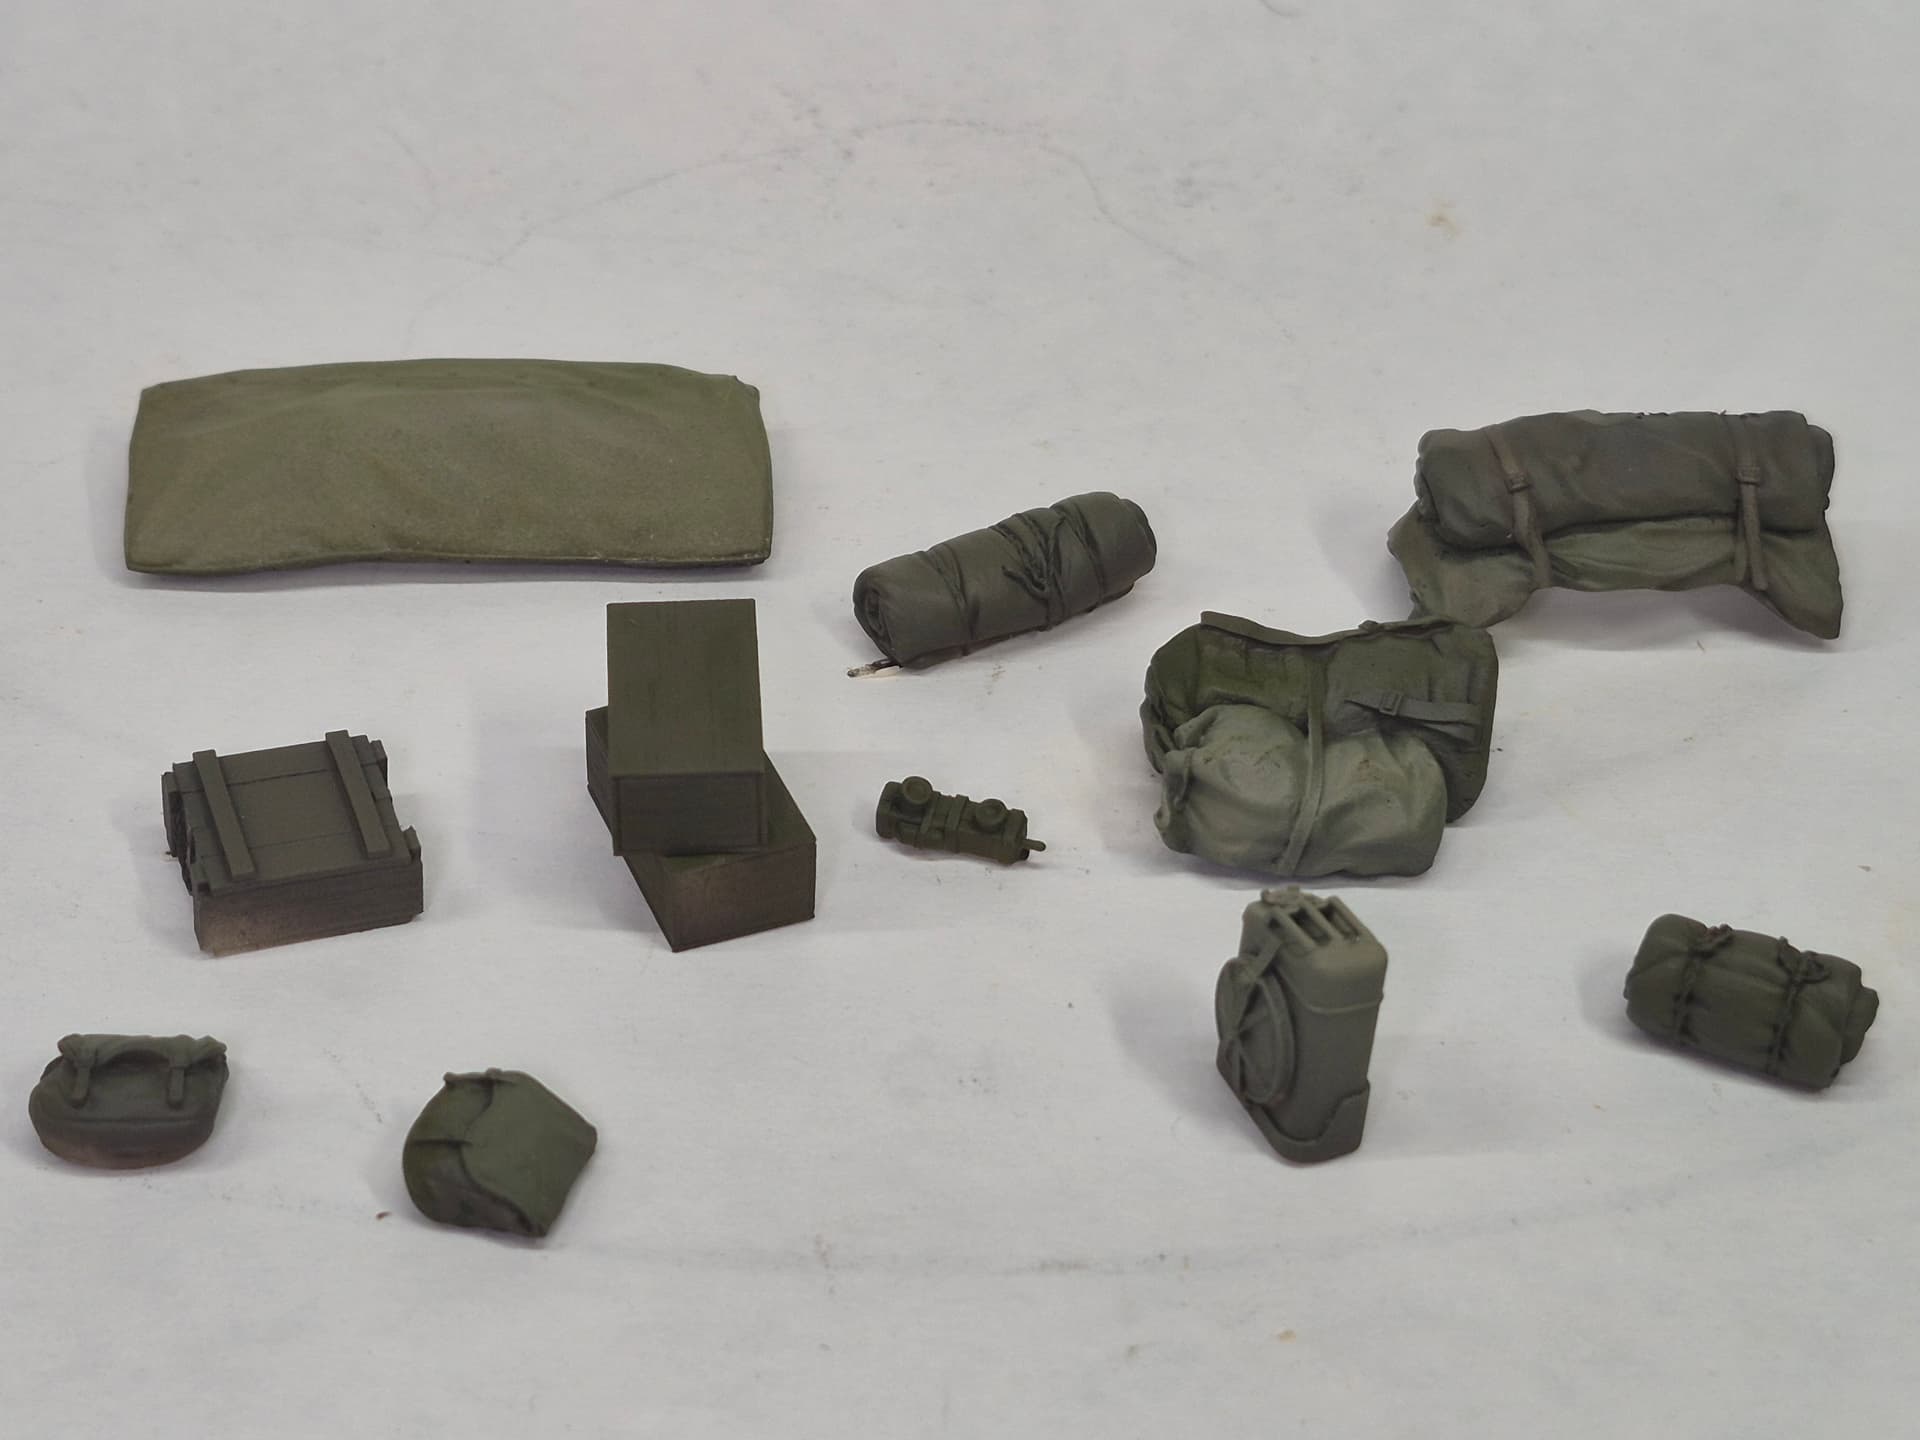
Got the main stowage elements blocked in. Didn’t have enough room on the turntable for all the smaller pieces. Will do those in session 2 of “Stowage Wars”.
Anywho, a couple of test shots for progress.
I’m not liking the bundled camo netting. Had reservations when I first looked it over. Have gauze and glue. Will be adding a rope to the front bumper as well.
Thanks for checking in and Happy Modeling,
Mobious
Thanks stikpusher for the feedback.
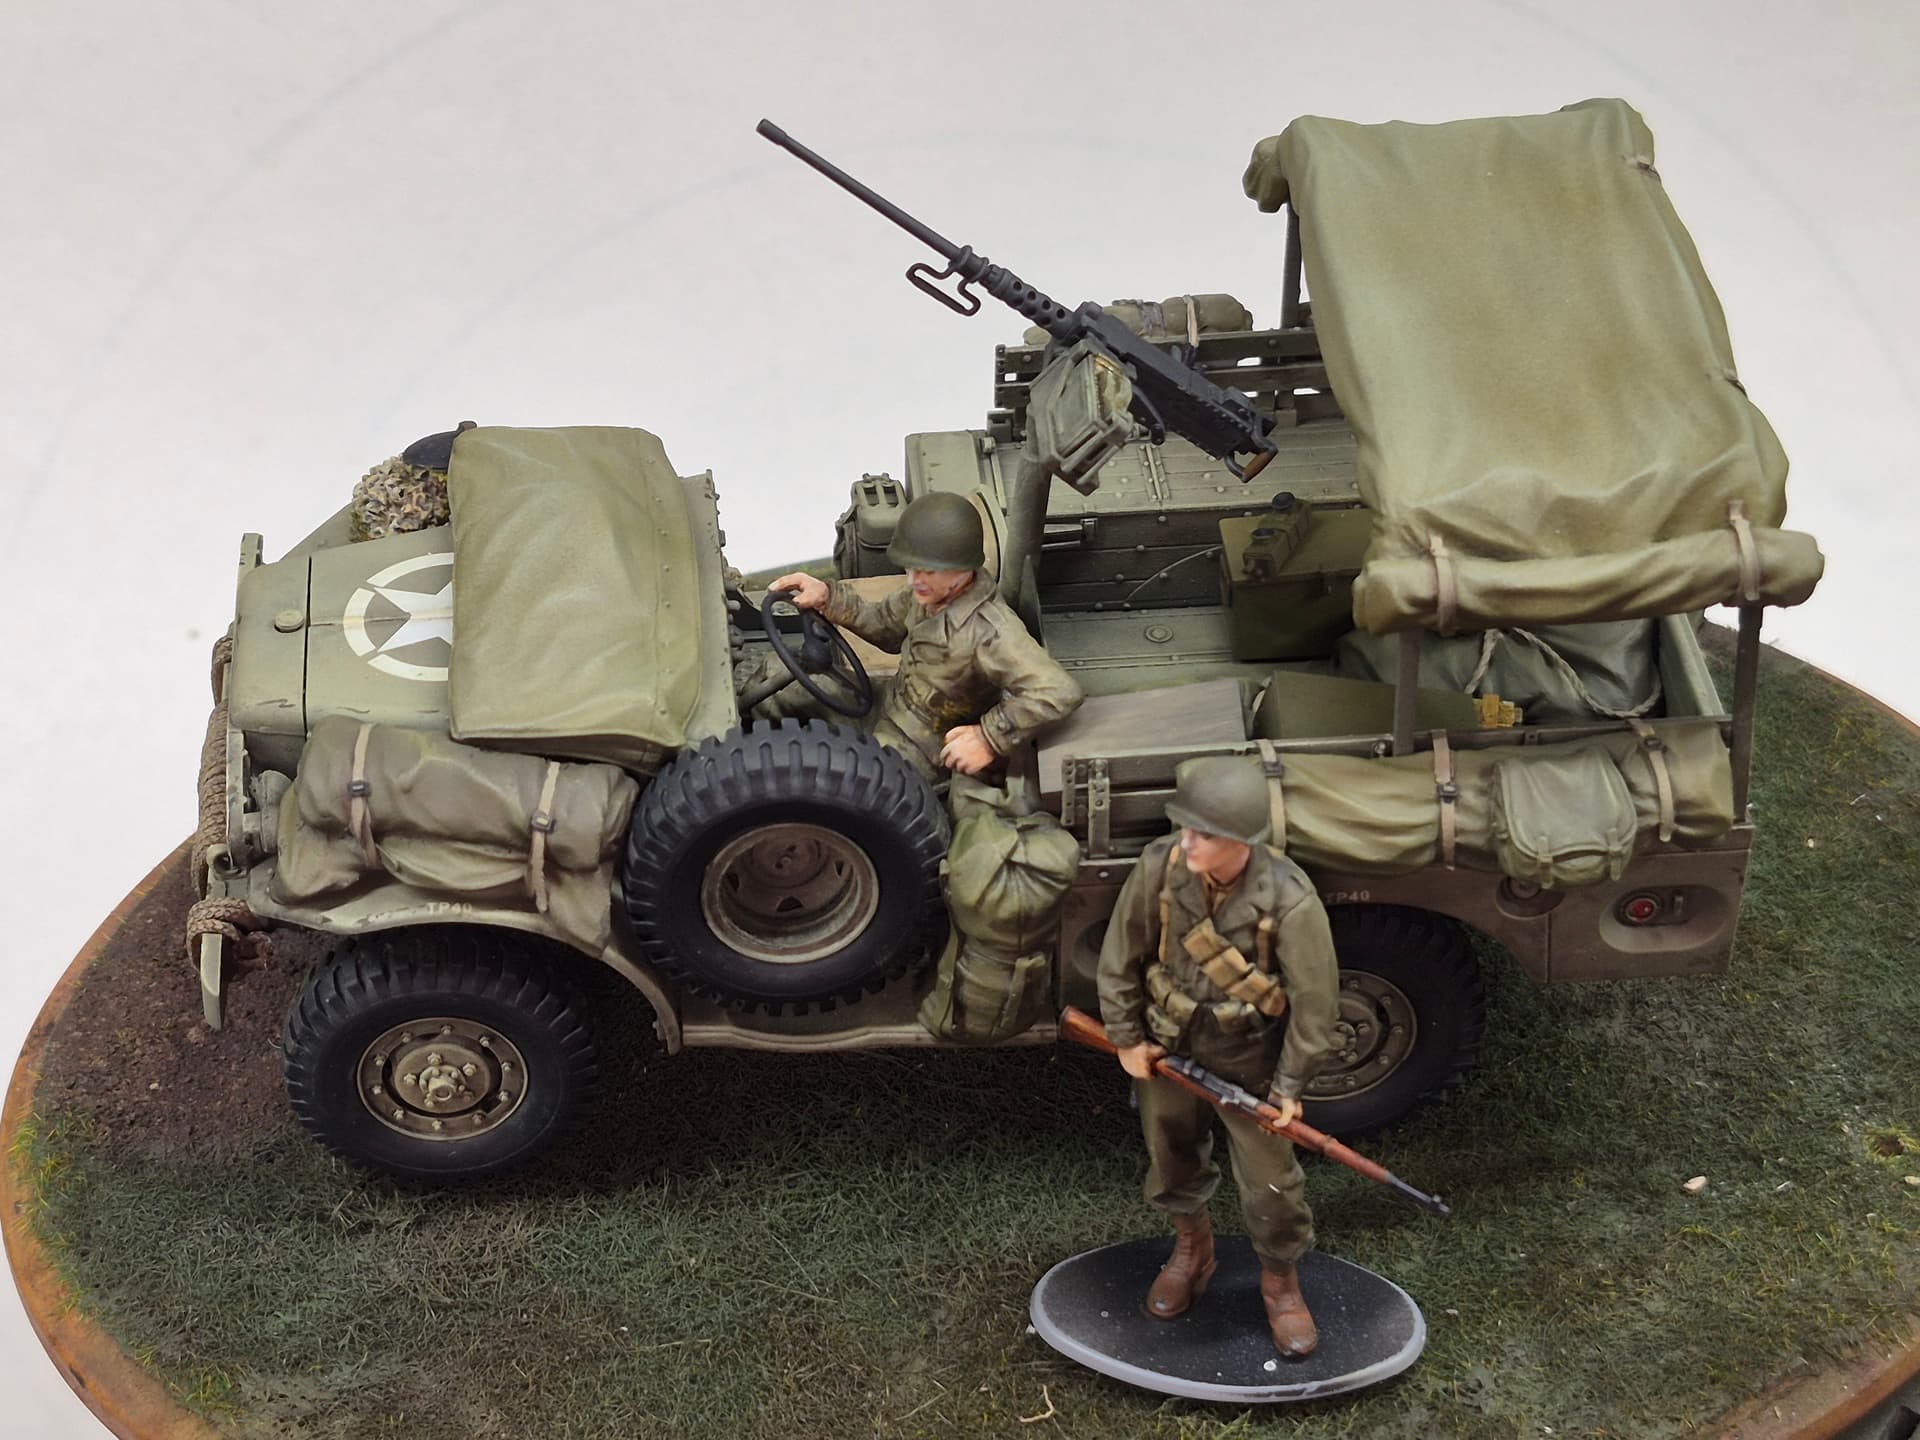
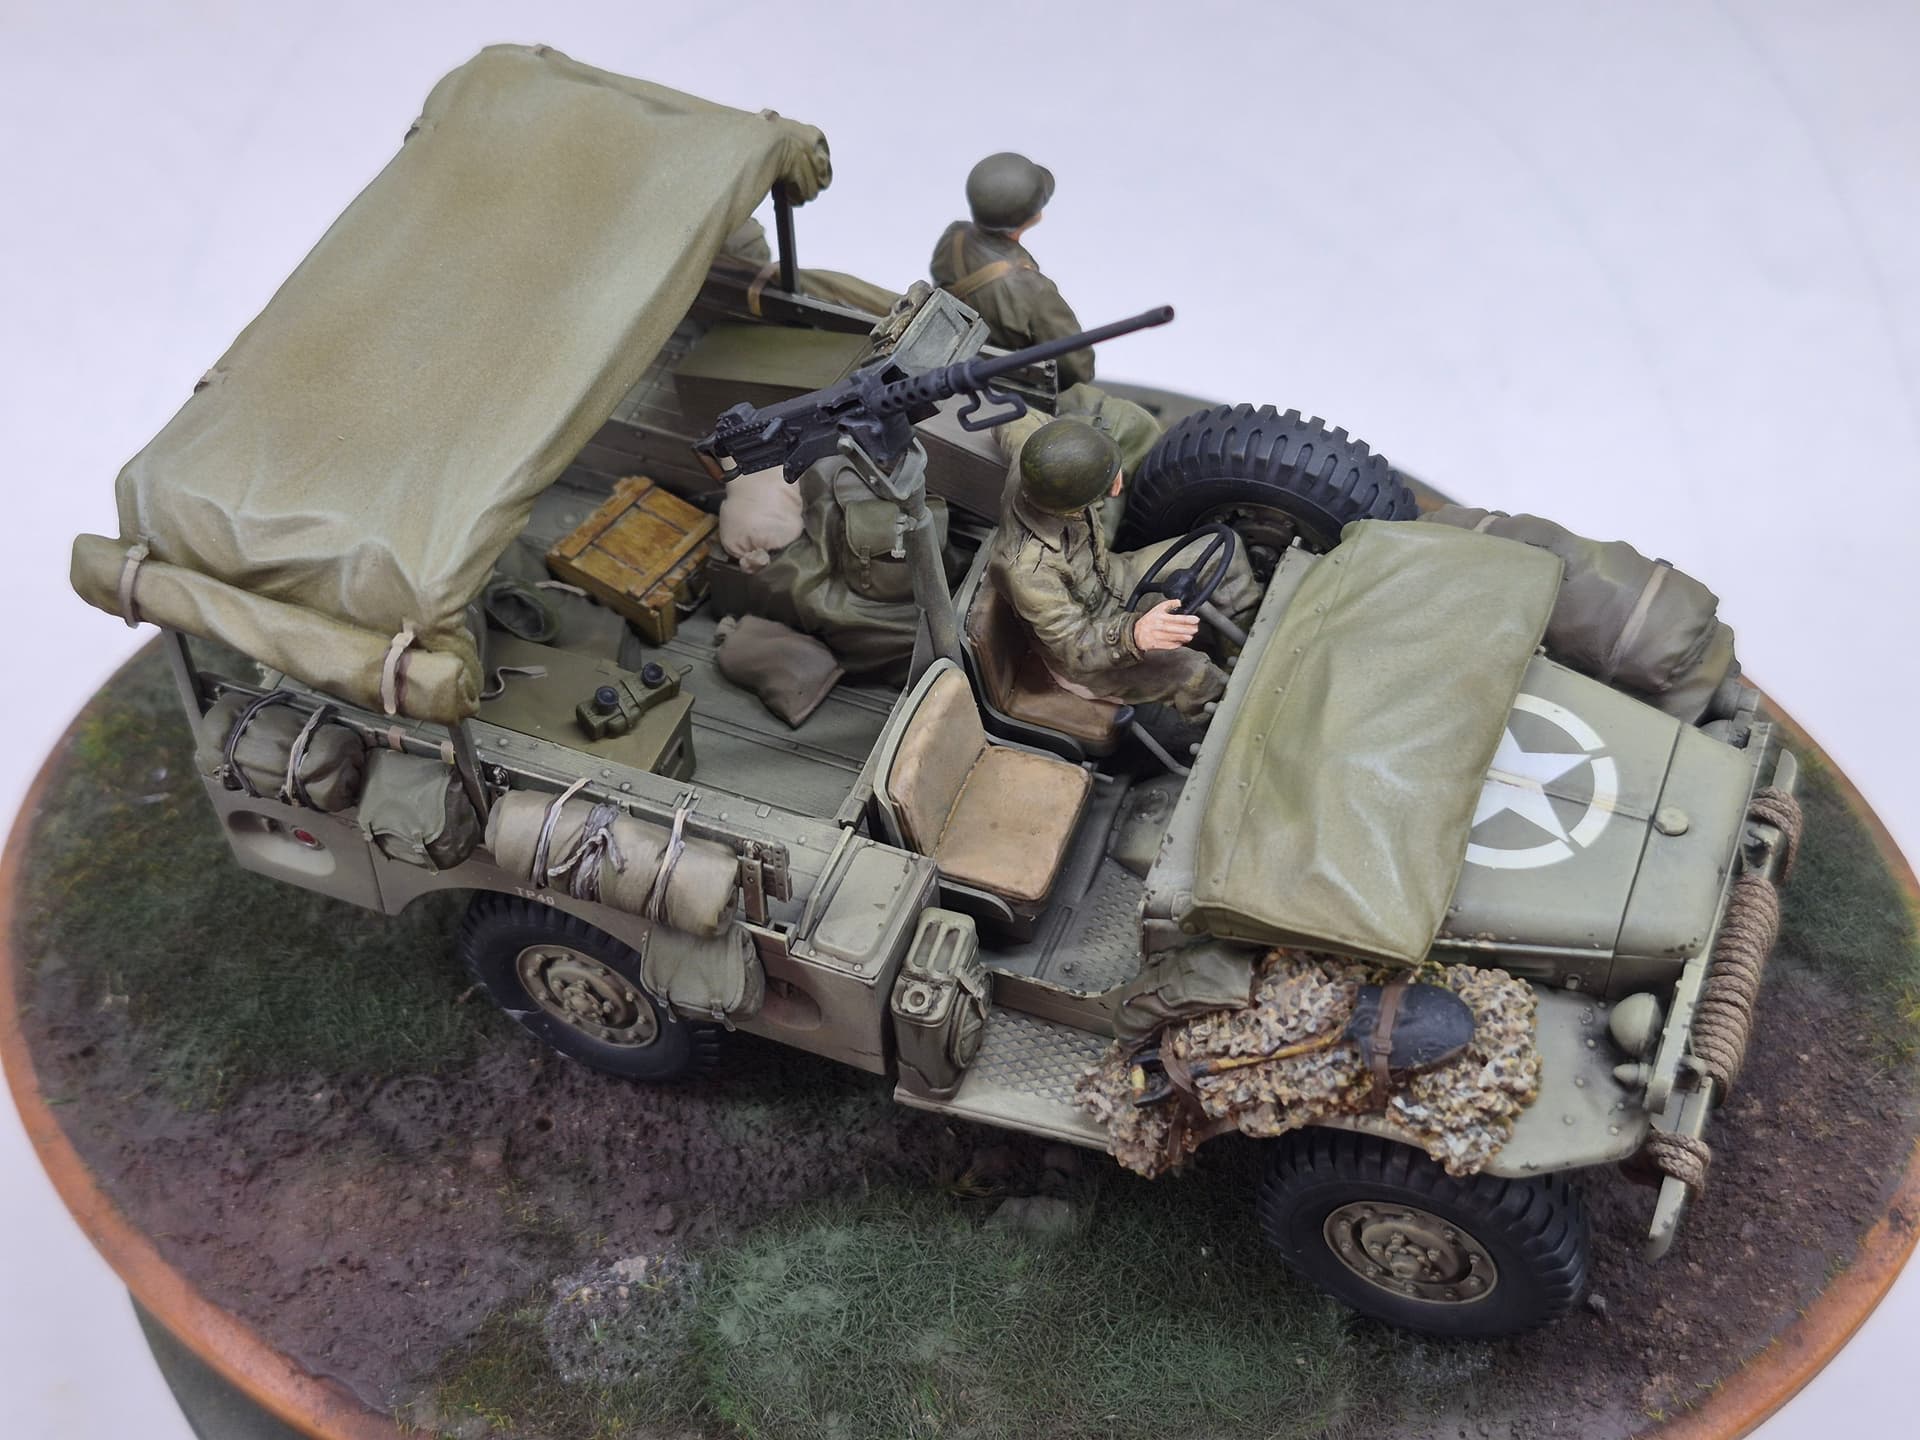
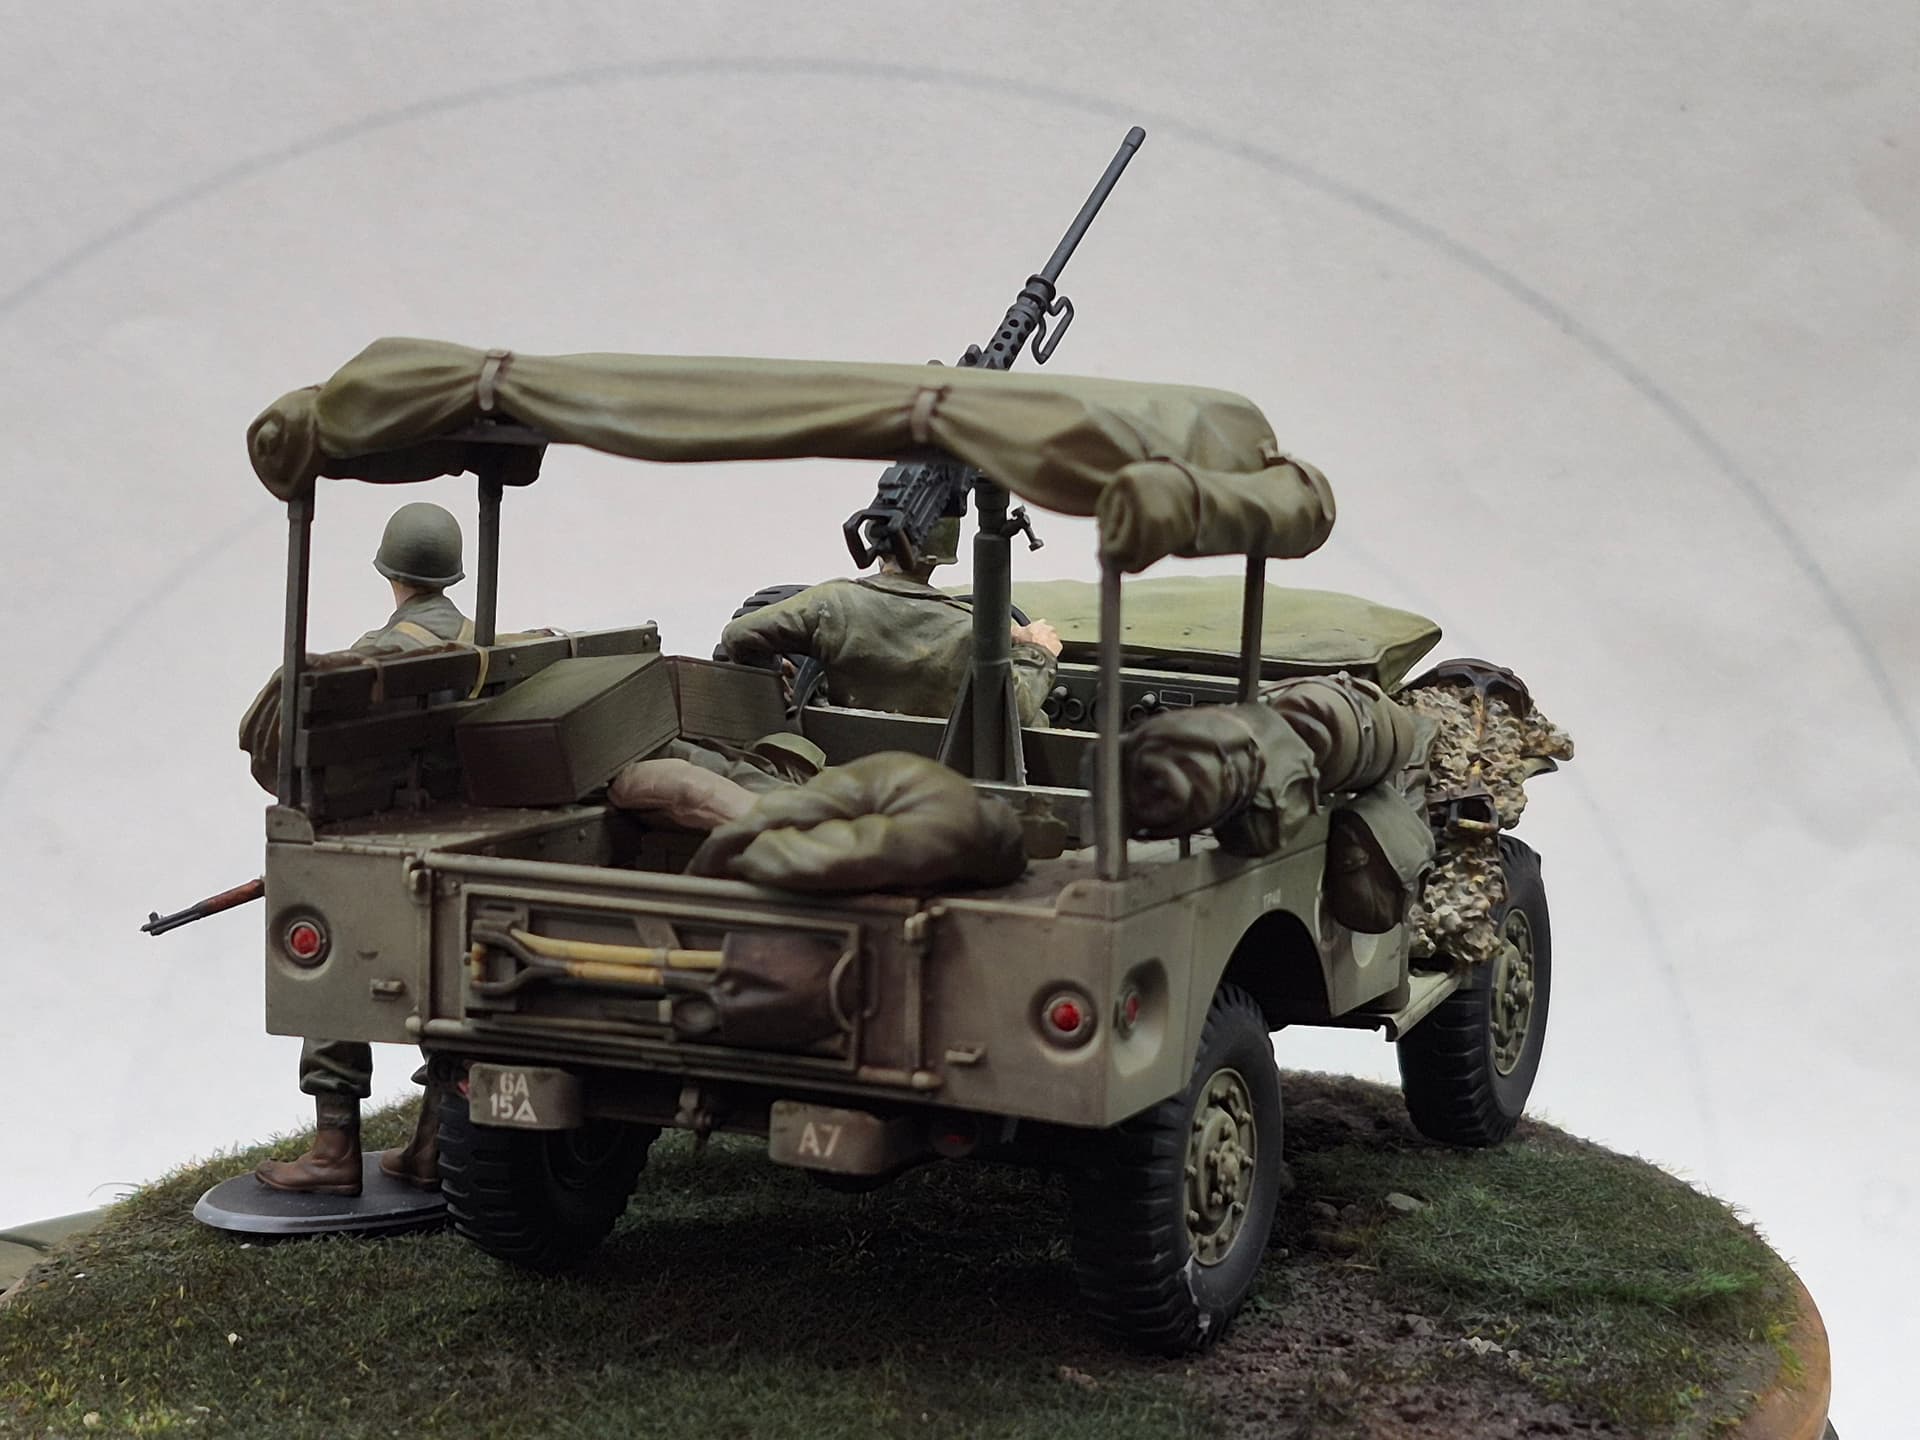
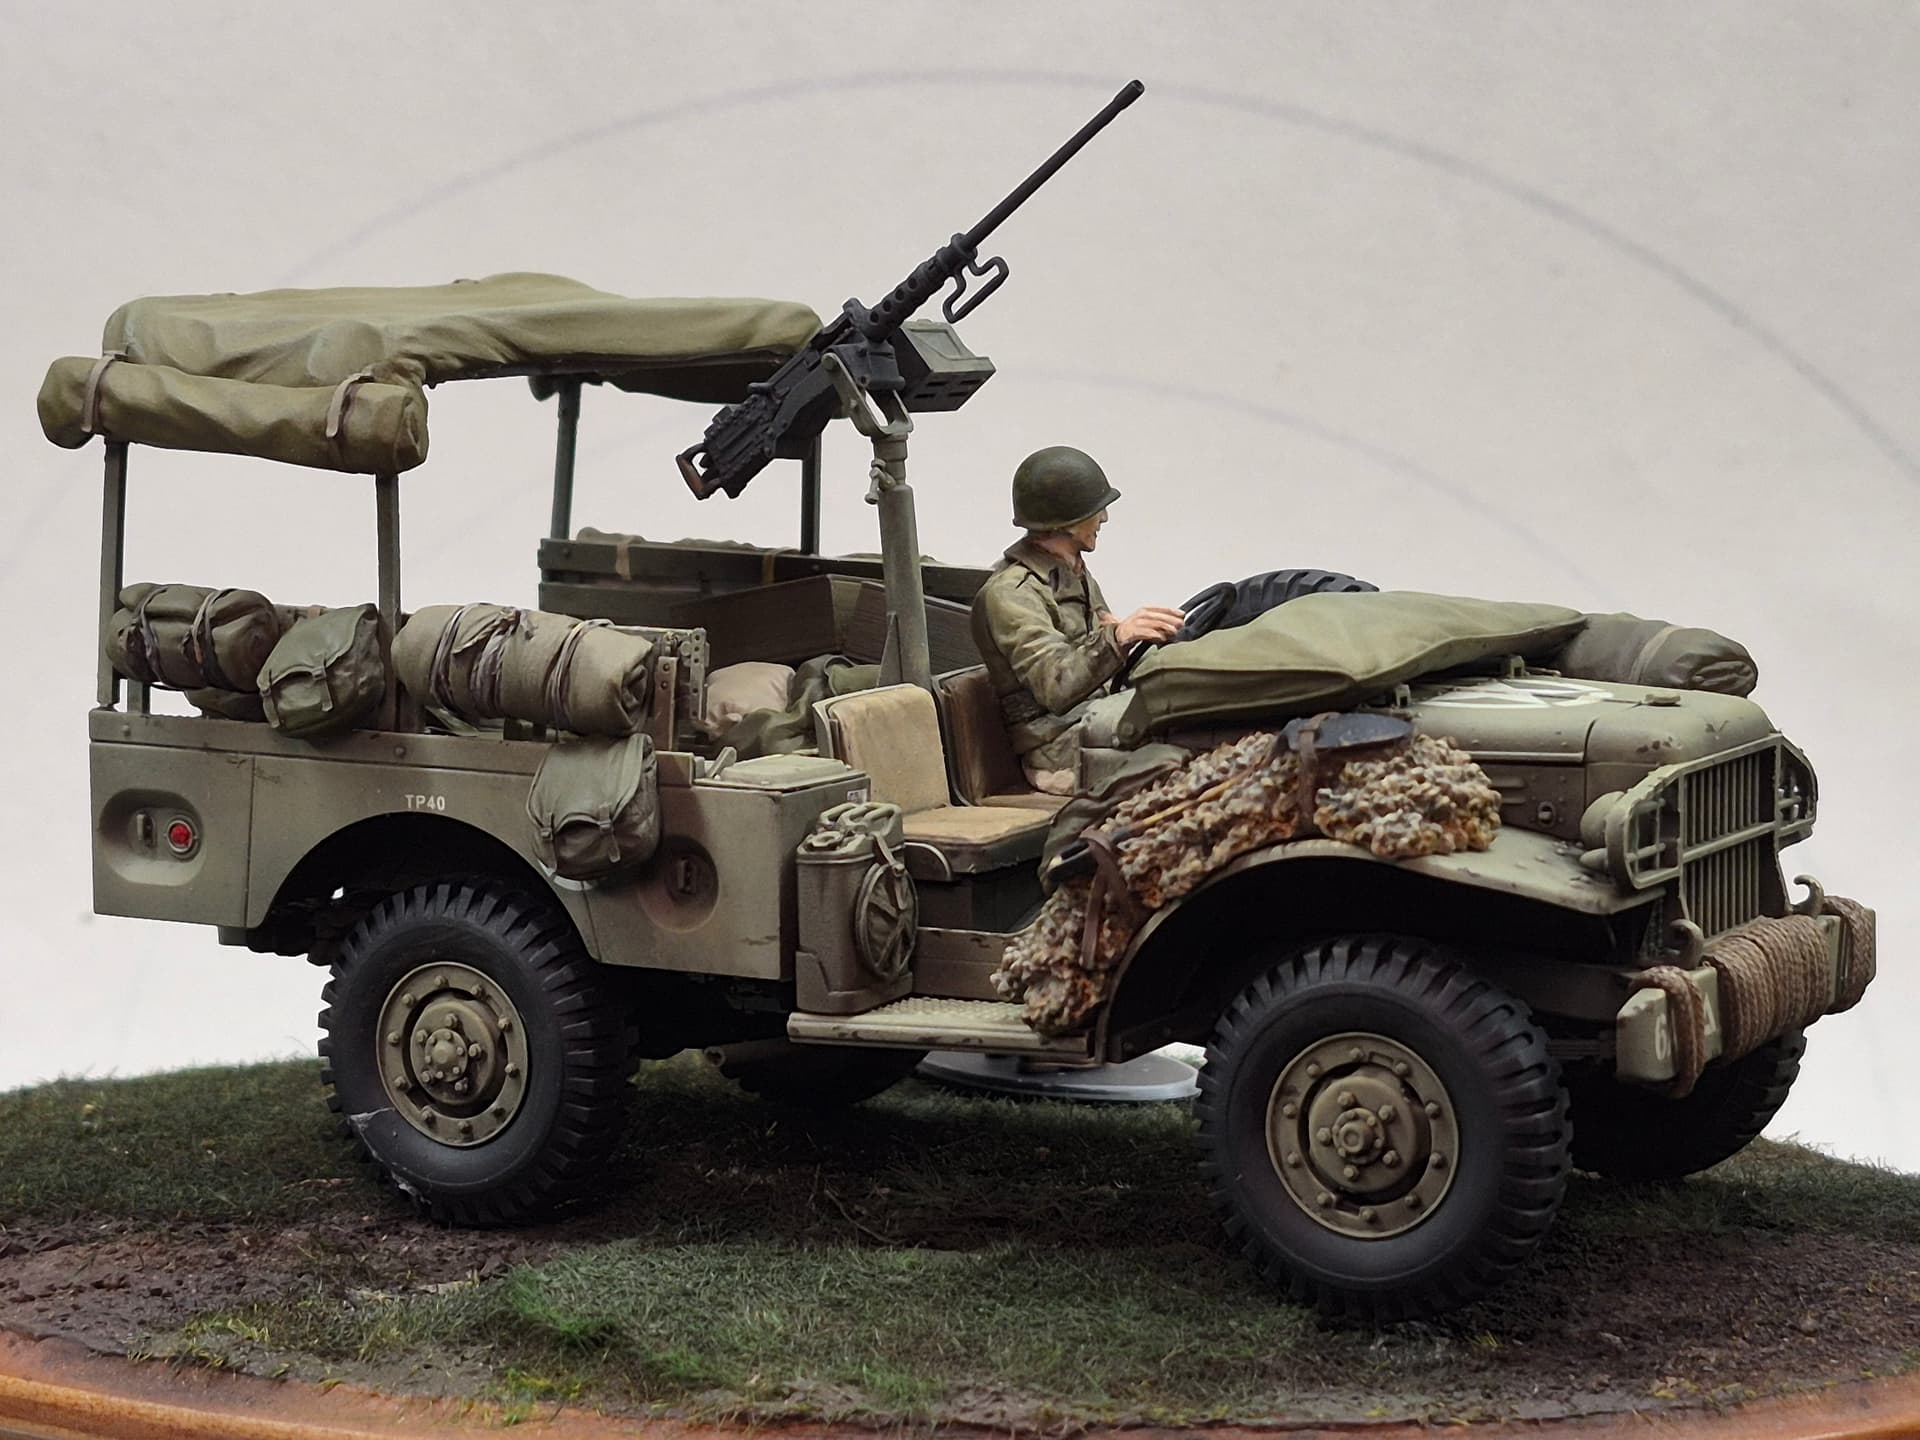
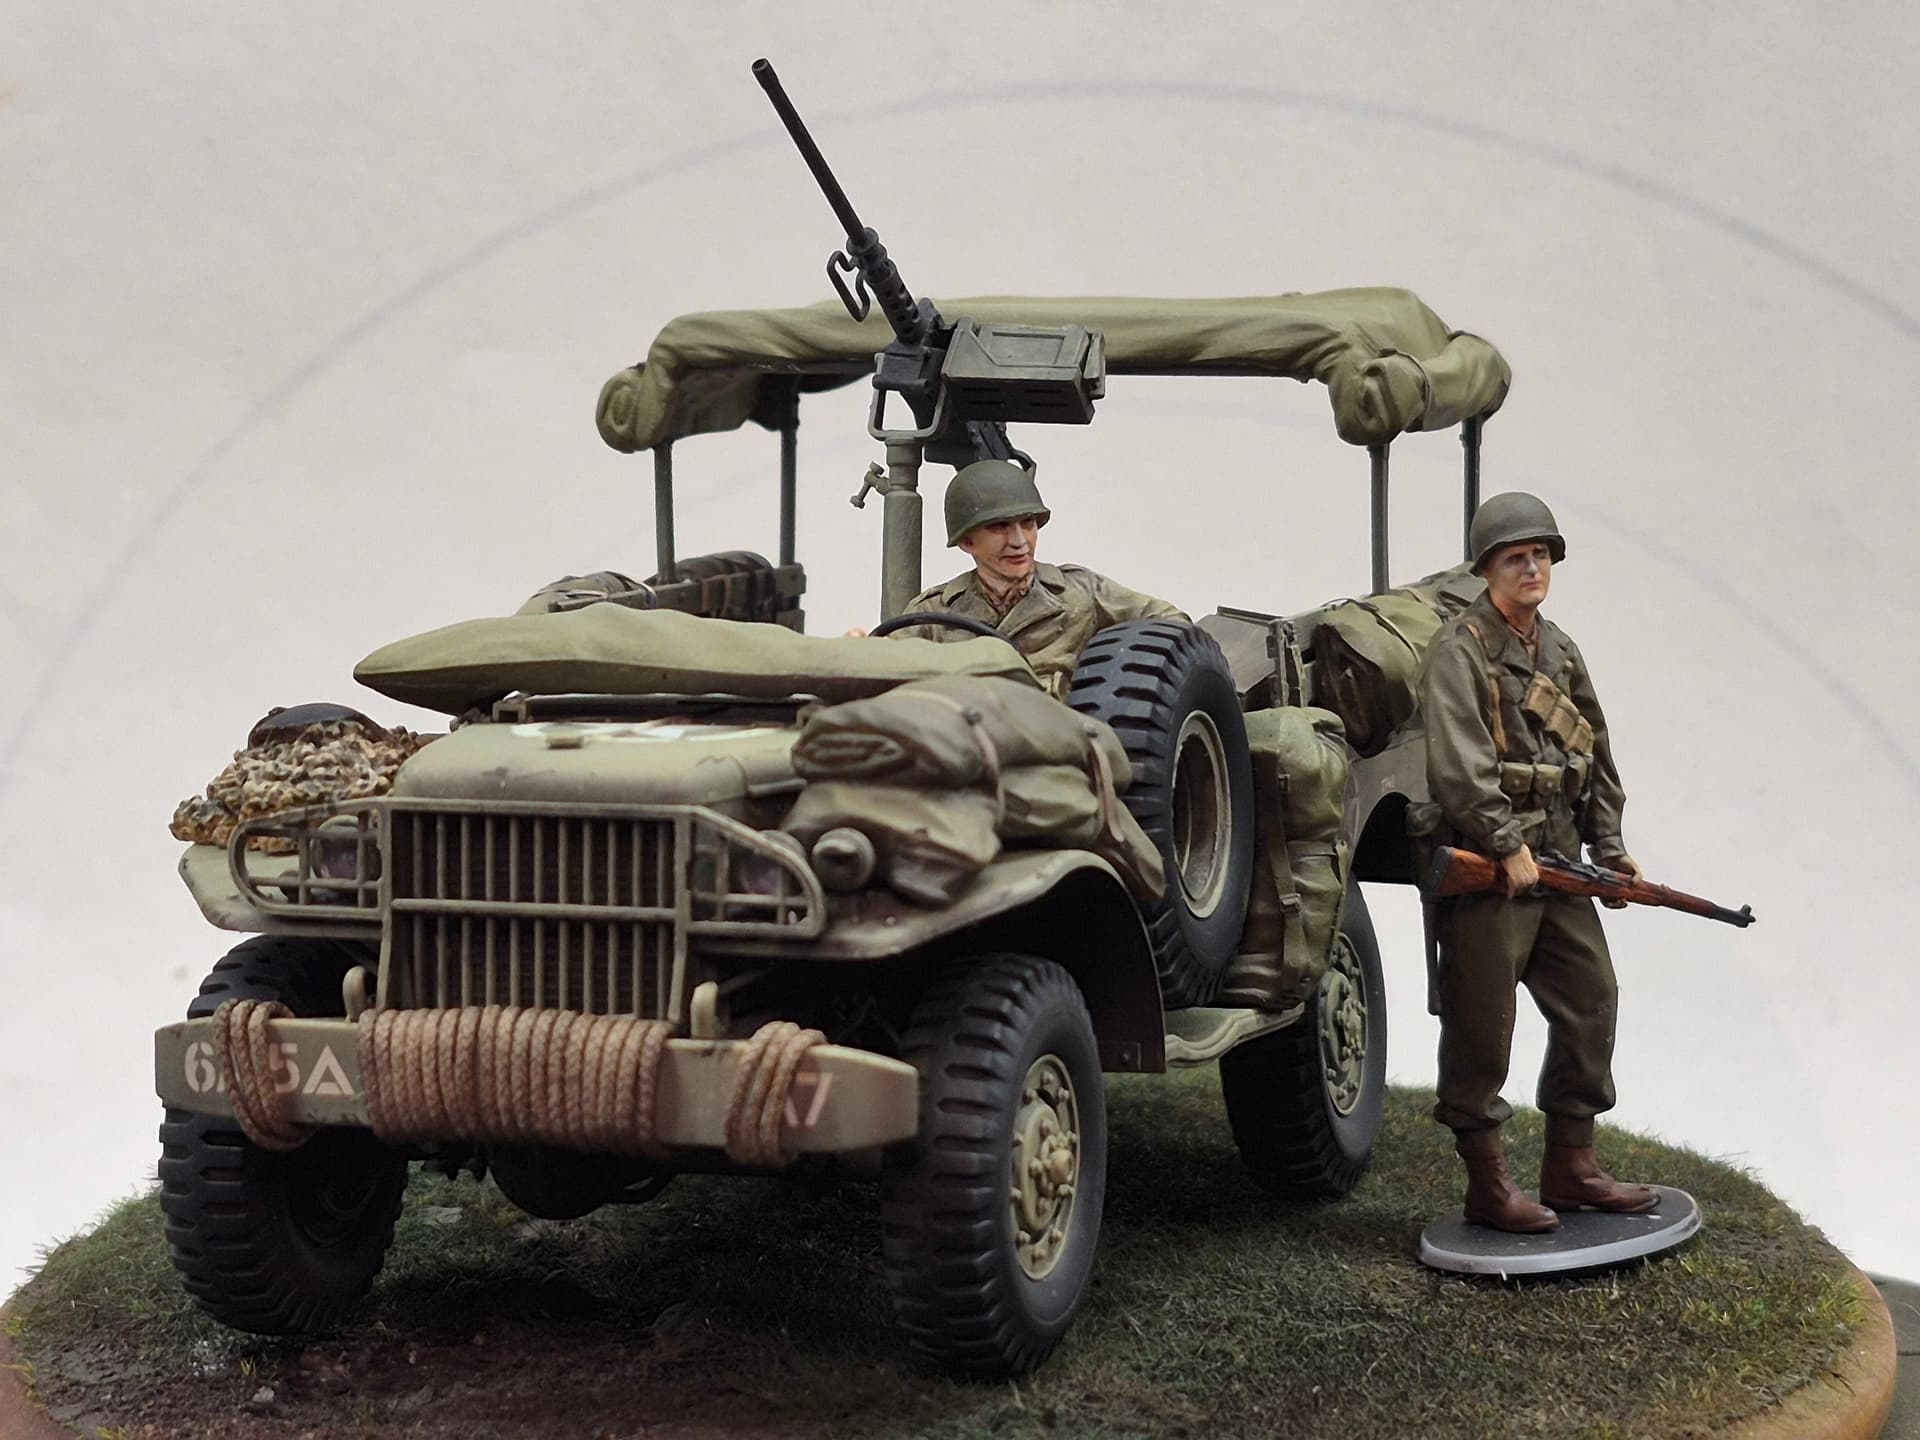
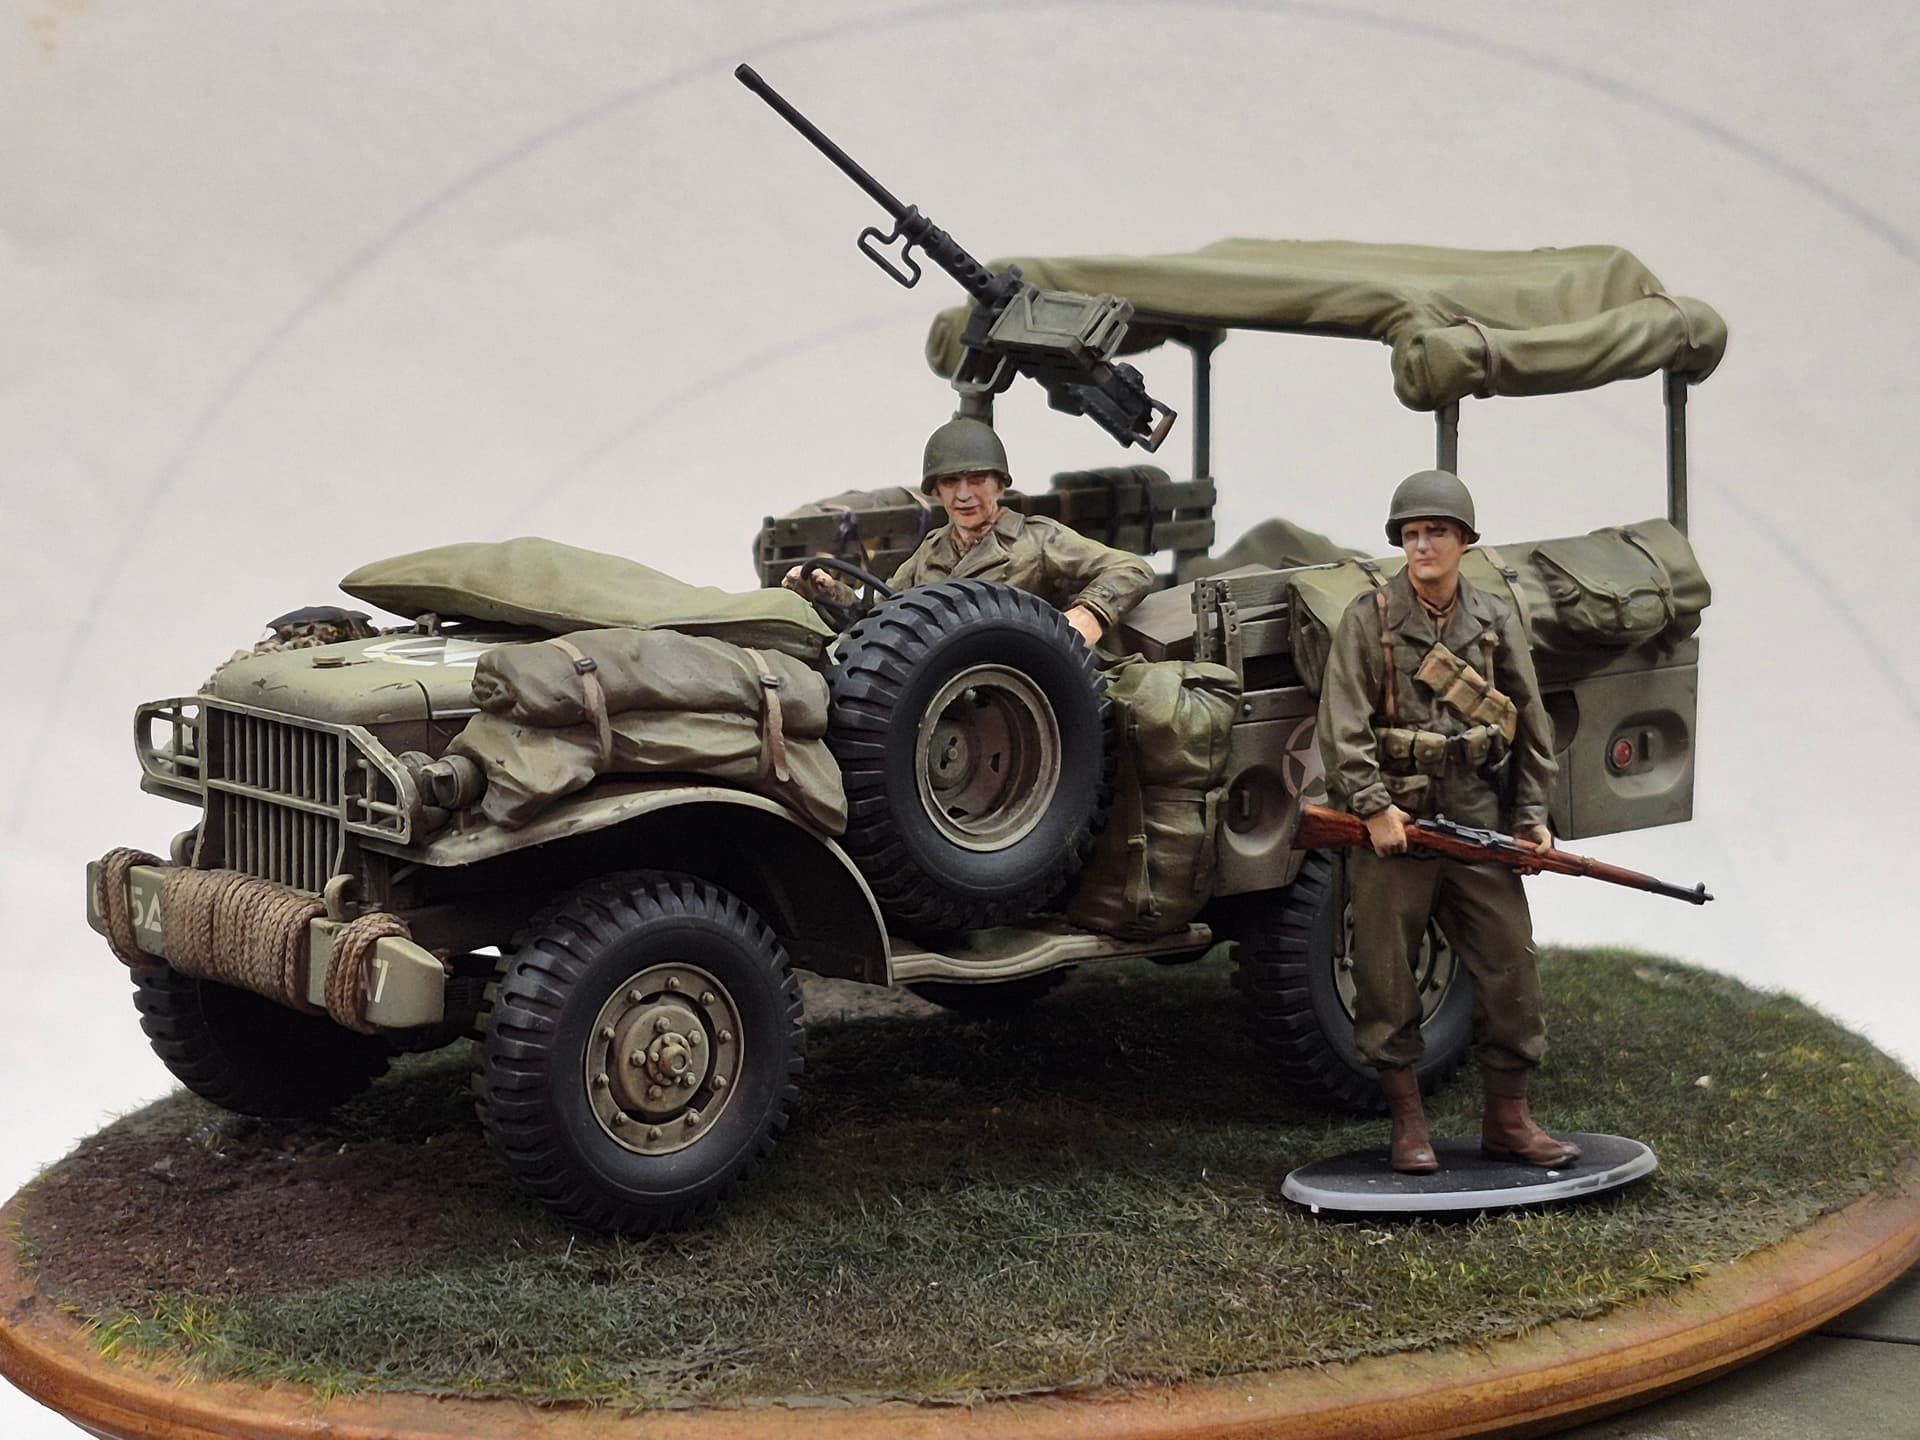
Began looking for a figure for the Beep. Decided to give the Tamiya figure from the Jeep offering a try. For those unfamiliar with this figure his left arm is resting on the edge of the jeeps body. This posed a problem as there is nothing to rest it on in the Beep. The solution was to add the duffle bags behind the spare tire and an ammo box to rest his arm on. This opened a new set of problems with all the fitment I had previously worked on for the left side. Everything had to be refitted to accommodate the duffle bags.
Got all the stowage attached. Used Tamiya 1mm masking tape for straps and heavy EZ line for light rope. Painted the rope with Vallejo Iraqi sand and the straps with Vallejo German Beige. Everything was sealed with a dull coat then the canvas and bags were dry brushed with a lightened mix of the bsse colors.