1/35 AFV Club Centurion Mk.5/1 ..... Progress!

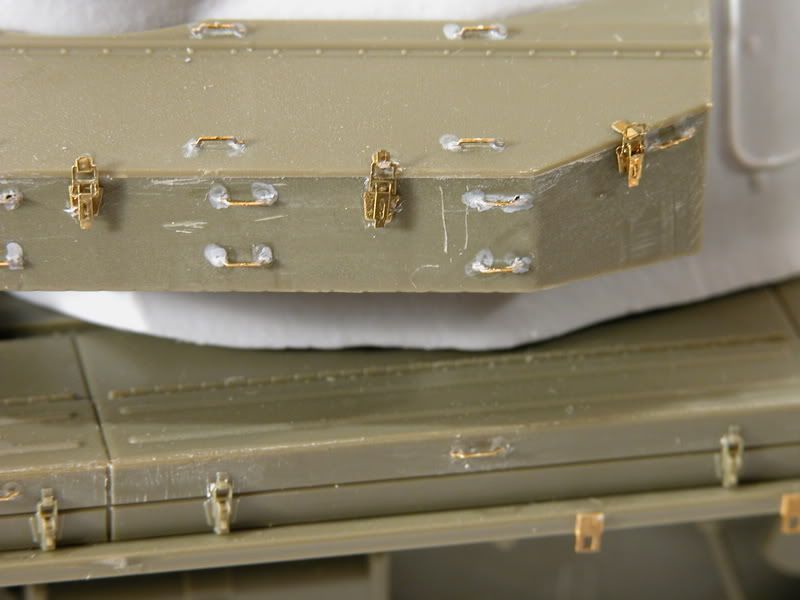
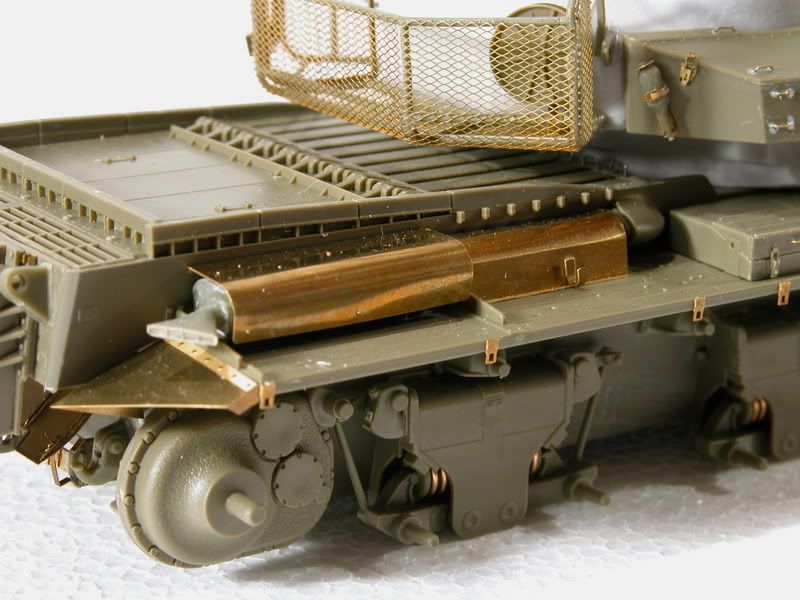
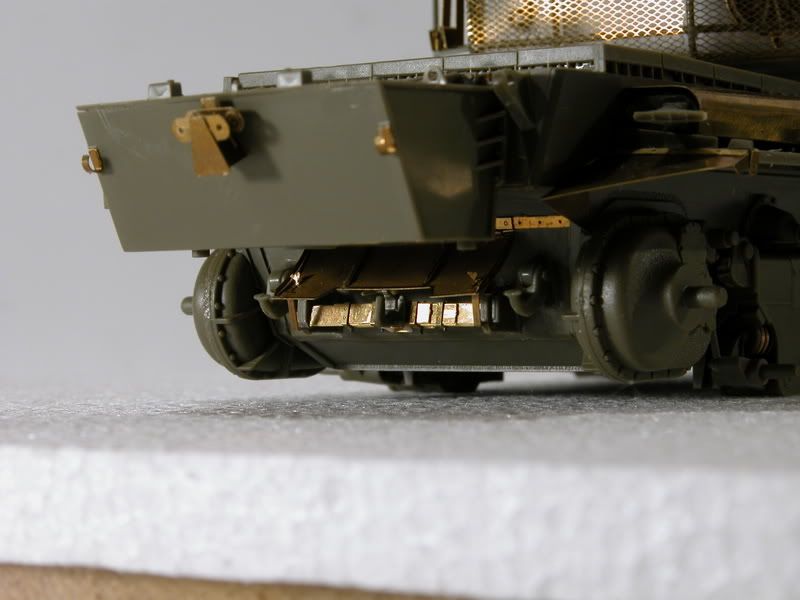
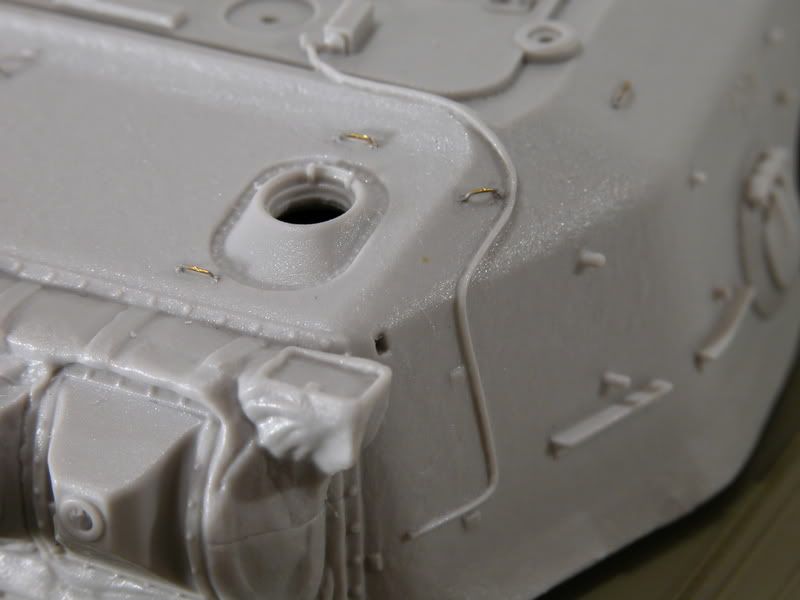
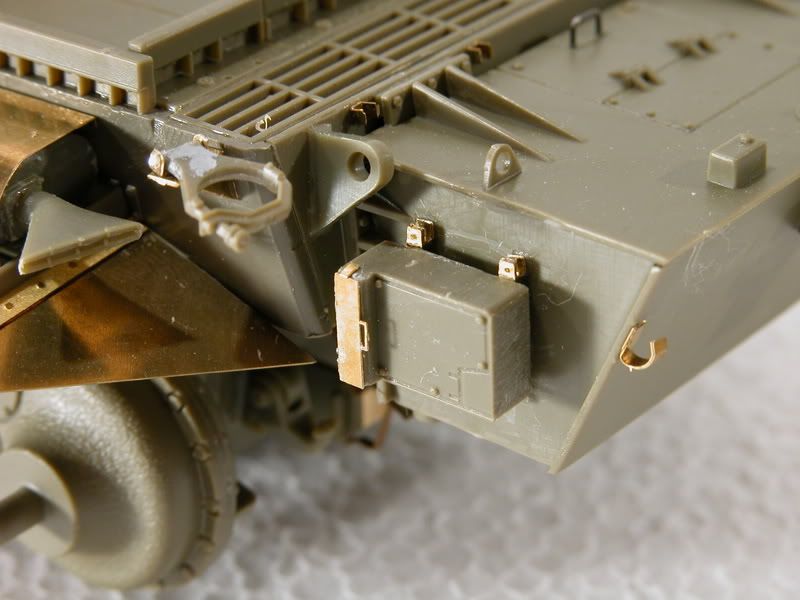
Here is where I am with my Centurion. Alot of PE, probably the most photoetched parts count I ever played with to date. On the second pic, you can see the clamps that were giving me trouble the other day. I have four of them completed and workable so far! Two more went into the trash. As you can see in the same picture, the one on the bottom tool box were very well defined in plastic so I did not scrape them off. Everything works like a charm so far with this kit. The Voyager PE set is wonderfull.

Any comments or critics, bad or good are welcome.

Thanks for looking.


hi yann[:D]-- that is some intense p.e. work!!looks gorgeous!-- gonna be awsome!-- tread[8D]

This will be an Aussie one, yeah?

The only bad thing I could possibly think to say would be that its not finished yet![swg]

It’s looking great! Nice work with that PE!

Yann, that bustle rack really caught my eye. Very nice as is all the other goods. Get this pupy done. [:D]

Yep, that’s the one.

Excellent. Give us a yell if you need any addys to reference sites.

That is some intense PE work Yann. Should be a beauty when painted up.

Nice build (as usual).

How are you seating the tie downs on the turret? I can’t see any putty or glue, and it doesn’t look like you’ve drilled and seated them. What is your secret?

I did drilled the holes to seat them. Then I dab some Mr. Surfacer 1000 to fill any gap left. Exactly as you can see in the picture of the side tool box. Except that the Mr. Surfacer is the same color as the resin turret so it doesn’t show at all.

Nice Nice Nice Yann. Your PE work looks so good that I would be reluctant to paint over it :slight_smile: