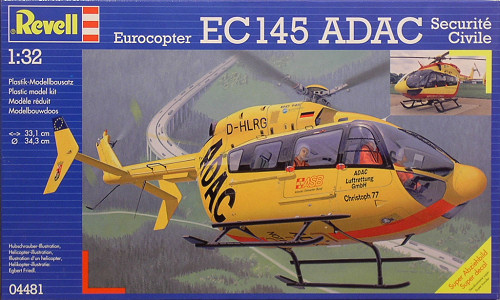
H145M LUH KSK
Survillance +Troop Transport Helicopter
When German Special Forces need to get into somewhere quickly and quietly, they rely on the H145M. This specialized variant of the Airbus (formerly Eurocopter) EC145 uses the robust and reliable design of that base helicopter with some special perks just for the army.
Total Parts 267 . The detail for 30 dollar kit looks amazing .
Please enjoy .
Rick
I started the first step or gearing up to it . interior floor there is four holes that need to be filled . Also underneath there is Revell tag with A’s and B’s labels . I checked thru manual I see no drill marks or anything for those labels on this build . Must be mold label for different kit .
The center console detail surprised me on how amazing the detail is . For a cheaper model . wwww
But I did cause my first boo boo. Gluing the console together , I push the top part down with my tweezers and pop a hole into the plastic . At least it’s in a holder type area . I will apply liquid plastic glue . Should work out ok .
Enjoy
Rick
Looks pretty nice so far. I have the earlier EC-145 ADAC kit, Werner’s Wings UH-72A Lakota Air Ambulance conversion, and the Fireball Modelworks “Plastic Fantastic” UH-72A decals to build a US Army MedEvac…someday.
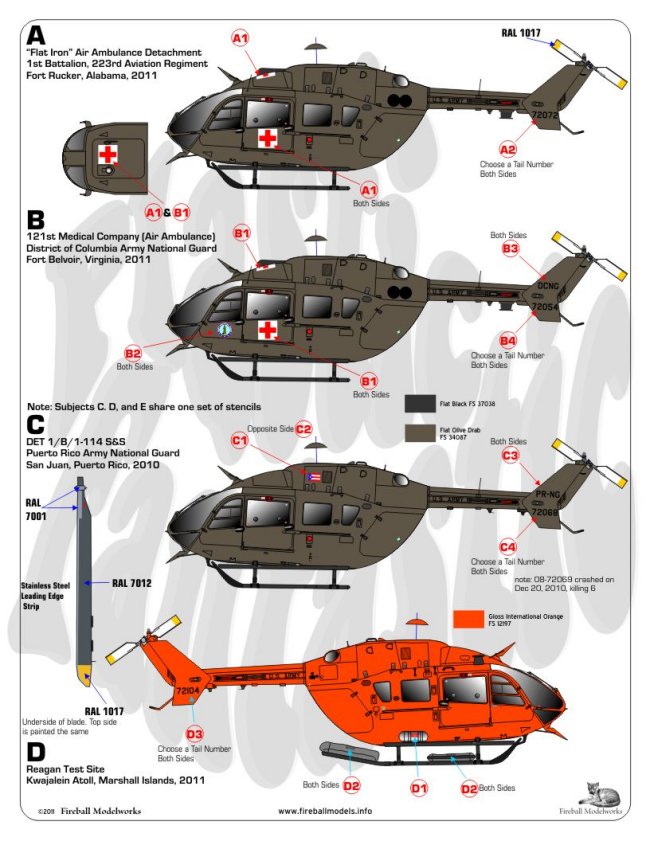
Now they have a 1/32 US Army UH-72A version on the market too.
I found a photo of this dash leg cover thing. Looks like its bolted to the dash . I got my punch set out , punched 6 , .8 mm plugs to make the bolt heads.
Enjoy
Rick
I started making seat belts today . I made one set , then I found a photo wrong style . So I started a new set . I make call it the day . I’m little tired
I made a little jig for the metal seat bracket .
I used UMM . 5 mm lead wire
I used Tamiya tape for the fabric . I used Infini easy tape for correct size .