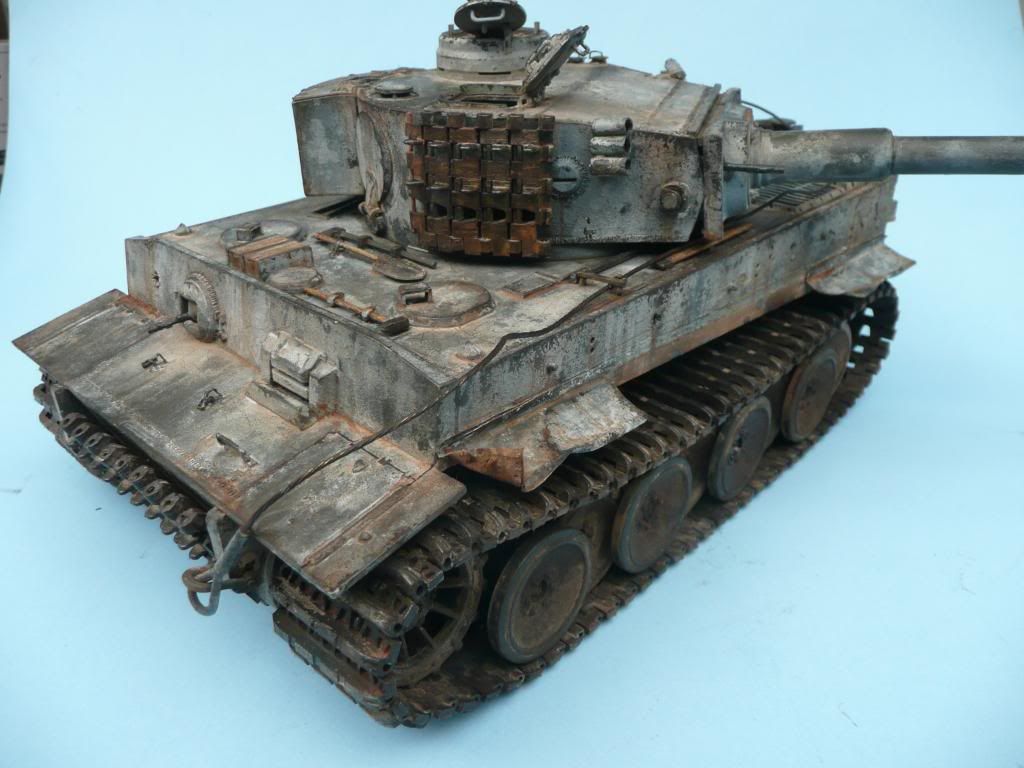
I went up in the loft the other day to get something and came across five very old 1/25 builds of mine.
I brought a Jagdpanther down and painted it up and stuck it on ebay and it sold for good money.Being pleased with that i thought i would have a go at the tiger 1 which was a bit sad condition wise and paint wise.
I thought i would use it as a test vehicle for trying out the salt technique. You have to bear in mind this is a very old build of mine and it is going to have loads of inaccuracies in the build but this is just a test vehicle. If it turns out that i really like it i will try and correct obvious flaws later.
Is that the old Bandai Tiger? The tracks look great. That damage to the exhaust shields look terrific. I have the old Bandai 1/24 Jagdpanther that I built back in the 70’s and is getting a complete facelift. The interior is that of a Tiger so I’m cratchbuilding everything. Can’t wait to see what you do to the kitty.
I bought this kit when I came back to Knox after the desert in 1991. Single guy, lots of money, nowhere to spend it, nothing to spend it on, see giant tank kit for sale in the Armor School Bookstore, buy it.
Never got around to completing it, yours really looks good and may inspire me to dig mine out.
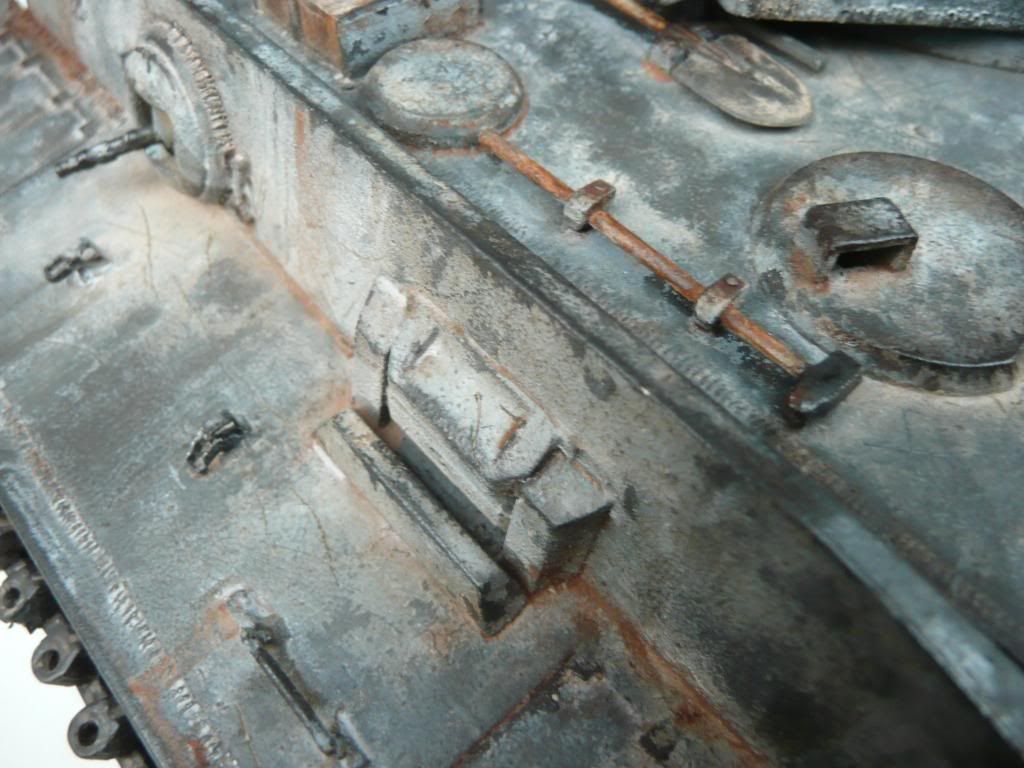
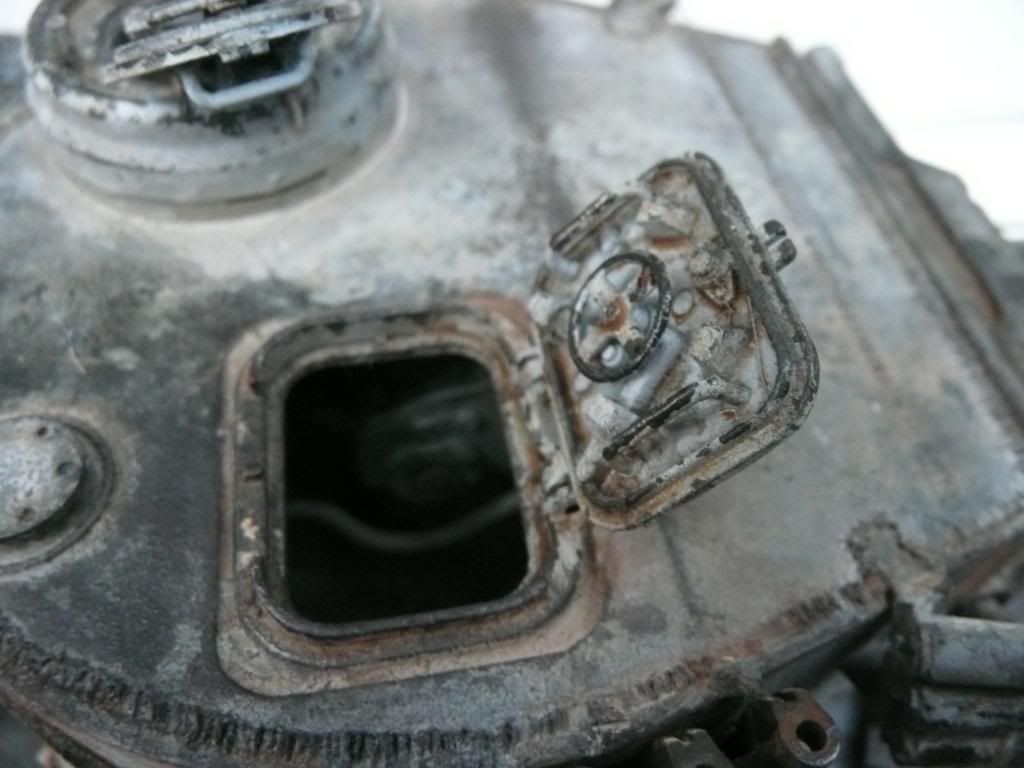
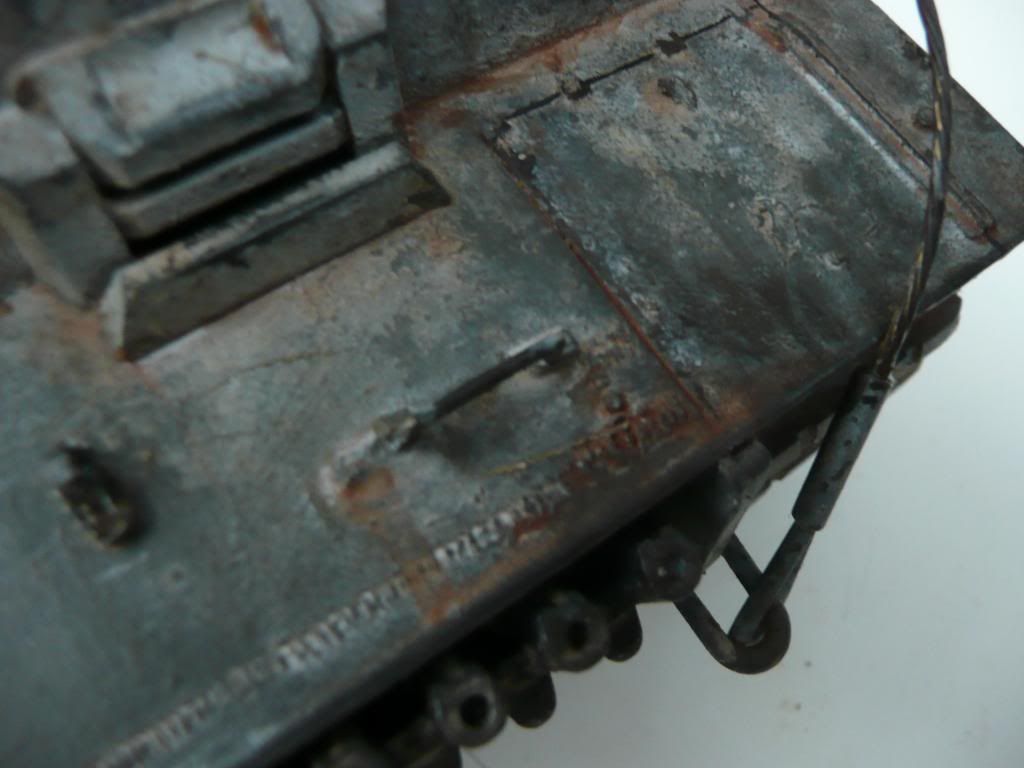
Next up is the addition of oil to the surface. This i do as when you look at the real thing they have a semigloss look to them and not totaly flat especialy on old worn areas so i add the oil and work it in to the paint. Not too much though or the effect is ruined. It makes the vehicle look metal when mixed with the other weathering effects.
Awesome work Bodge! A lot of you guys are very good at blending all the subtleties of weathering together like you’ve done here with the chipping/faded paint, dirty washes, rust and such. When it all works together well, you can really turn a hunk of plastic into metal. I’m trying to get better at it myself…slowly but surely. Your Tiger looks great [Y]
Thank you Jon It is all about practice and more practice. I am still striving to get better all the time.[Y]
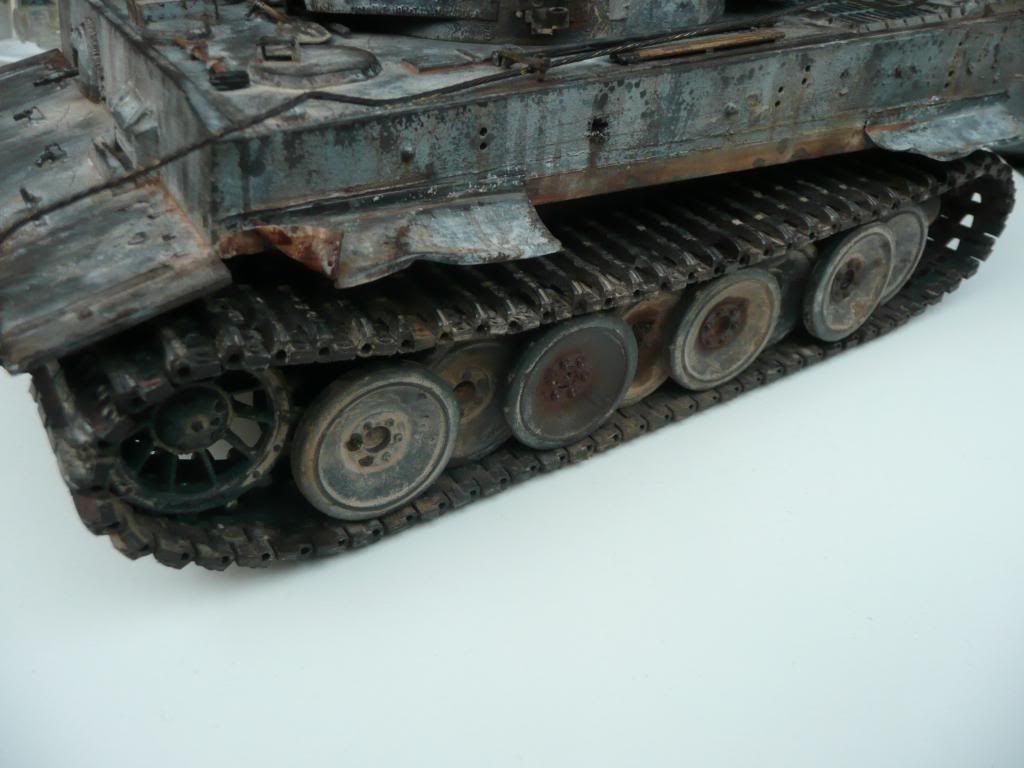
Wheels and tracks next. The wheels recieved some pigments and the tracks were painted Dark German camo brown from valejo . Then given washes of pigments and the odd drop of oil just to break it up a bit.
I made some fenders out of aluminium foil and fitted and weathered these. I beat them up a bit and i will add the bolt heads later.
I made the tool clasps for the spade on the hull front out of cadrboard.
I was not that happy with the wheels and tracks . I wanted a darker look to them so they got a wash of dark wash from the mig range. I rubbed some of this back of when dry and now i am a lot happier. I still have wheels and tracks on other side to do.
This is where i am up to at the moment. Still loads to do, all the rear end including exhausts and the interior and stowage and then scratch build some crew. Thanks for watching, more soon.
Superb work, Andy–and it’s great to see that you have shown your methods here for the sake of the still-learning. That’s what this great forum is all about!
It’s interesting to see this done in 1/24 scale! Usually, we’re used to seeing it in 1/35, and the salt effect here seems to have been the ticket for getting the results you’ve achieved. This is one method that I still haven’t tried.