Hi David,
I remember my first build being an Airfix kit. This present one hasn’t changed my perception of Airfix. It’s still a great pleasure to build one. With learned skills I have begun to appreciate it more.
Cheers,
Richard.
Hi David,
I remember my first build being an Airfix kit. This present one hasn’t changed my perception of Airfix. It’s still a great pleasure to build one. With learned skills I have begun to appreciate it more.
Cheers,
Richard.
I wonder if there are any 1/24 scale BF-109’s in this forum other than mine. Have searched but haven’t come across one yet. Would love to trade building experience. I’ve got a P-51 Mustang itching to be built.
Cheers,
Richard
Hi Richard ! I have just begun the assembly of a 1/24 scale Airfix BF-109 E3 exactly the same one You have already assembled, only difference is the art work on the box. I am a beginner so, I would like some help and advice from You if You don’t mind. Your airplane is excellent The seat belts are amazing. I wonder why You did not modify the flaps to place them down for a more realistic view. A minor observation… the right and left ailerons are both pointing down…I think they works opposite to each one… thus, if the right is down the left one should be up…Am I right…? Could You please tell me what size of drill did You use to open the exhaust pipes…? Thanks for the great job in Your plane …I have learned a lot …
Hi Pima,
Thanks for your comments. Hope I can help you with your build. The reason I left the flaps unmodified was I was initially going for a OOB build since I had a short time to the GB. Simpilot had indicated to me about the ailerons…yes, if one is up the other should be down…I didn’t realise that when taking the photo. Lucky Airfix made this a workable feature and I can easily switch the positions.
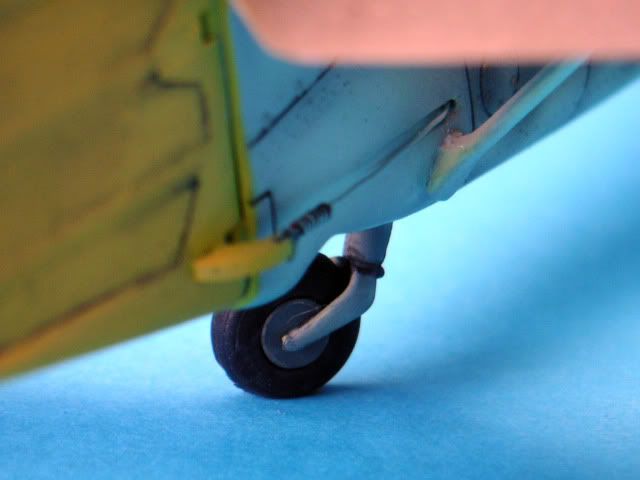
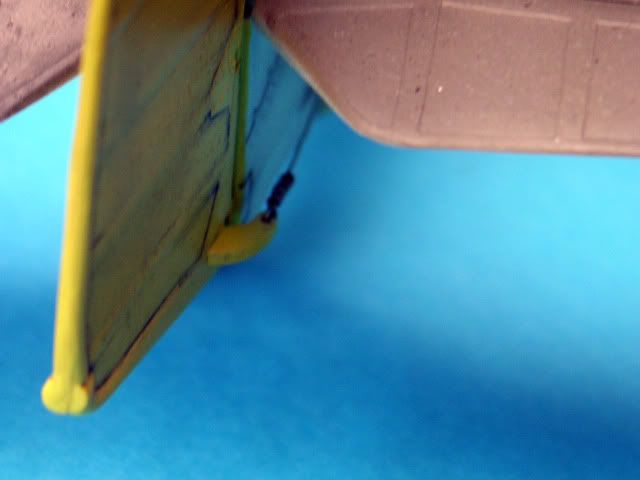
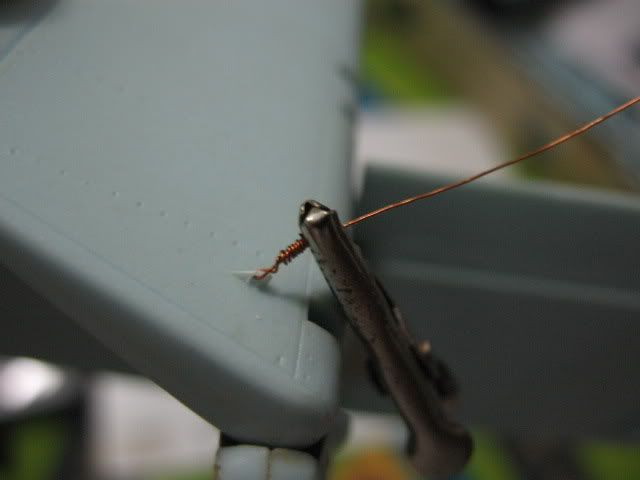
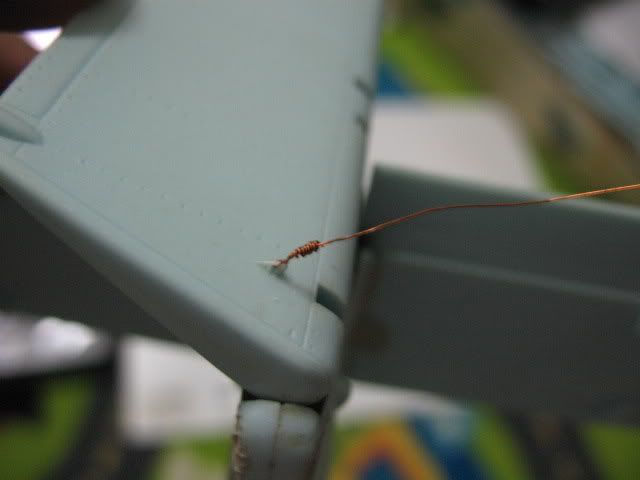
Very little modification was done to the build, basically the wheel wells needed to be closed, exhaust drilled, clear plastic added to the Revi deflector gunsight and trimming of the propellar blades. Other little additions were the seat cushion, seatbelts, maps, conductors for the aerial, grab handles on the front canopy, canopy latches and the vertical stabiliser actuators seen here in the accompanying photograph:
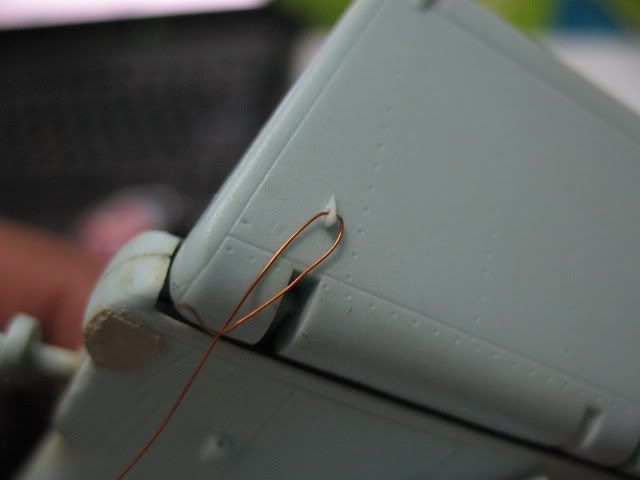
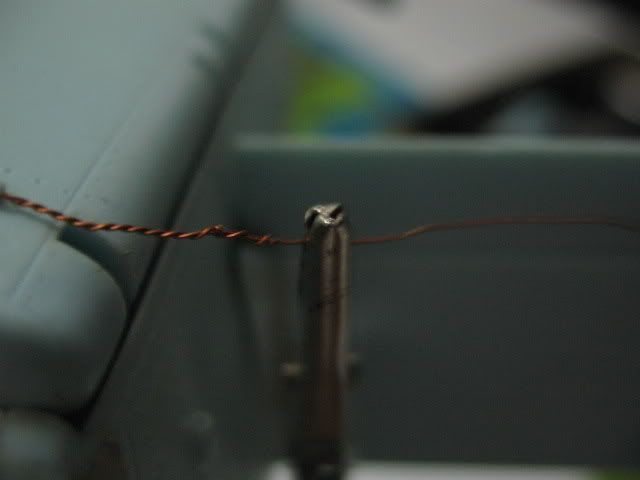
The coils were made from copper wire looped around a secured pin, wound round and with a tweezer, tightened it to the end of the loop. The following pictures show you how it’s done compliments from a fellow modeler friend of mine.

For the exhaust I started with a 1mm drill bit, then with a diamond file pointed drill bit I slowly teased the bit to the corners widening the gap. The real exhaust hole was squarish. If I had done the drilling before I glued the wings, a better job could be done so please do this before you even attach the fuselage halves.
Some of the openings on the cowling need some sanding and filing.
My front canopy left corner suffered from a slight molding deffect and needed shoring up and filling of plastic strip to match up to the fuselage.
So far these are the things to look out for. Let me know your progress.
Cheers,
Richard
Hi Richard, Thanks for your time to answer me in such detailed explanation and pictures. I appreciate that. With that nice support from a great scale builder, all that I will need now will be the skill … however I am far to have your skill .
I have just started the construction and it is going very slow, so no worthwile pictures so far, … and in the other hand, it will be embarrasing for me ( a beginner ) to post pictures in this forum with all those great airplanes in this site.
Thanks & Best Regards.
Hi Pima,
No worries, glad to help. I just happened to build the same plane you are doing now. Don’t be embarrassed, everyone starts somewhere. There might be others coming in to help. That’s what this forum is about.
Cheers,
Richard
Thanks Richard, You are right , All the great scale builders have started being begginers like me… So, maybe later I will arm myself of some courage to post some pictures, … however, it is too early… I wll need a lot of advices yet. Best Regards.
Hi Rtfoe and others,
I recently purchased (2nd hand) an old airfix kit of the 109E detailed here. It came with later instructions. This is ok, but the painting guide and decals are different to the ones in these later instructions. The model in question (along with the correct painting guide) is the one featured here. Man, it is good! I’m sure mine won’t turn out this well.
Could I please ask a favour if possible. Is there any way I could get a scanned copy of the painting guide that came with this kit? I would much prefer to create a model with the original guide (as I have the decals) than use my later one.
Thank you so much for your time and consideration of this. My email is carlmund@dquell.com
Andrew CARTER