Z28.
So I took courage (and Dremel) in hand, and launched off on a hood build.
Here it is after it had been cut and blended back together. I forgot to take a picture before I starting to JB Weld them back together, but here’s a picture of what is left of the other two hoods, compared to the new one.

So what I do is tape the pieces together, and then lay in a layer of JB Weld.


I inserted a wooden toothpick to give me what I thought would be a good angle.
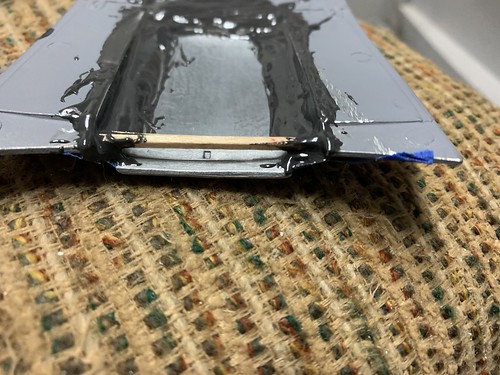

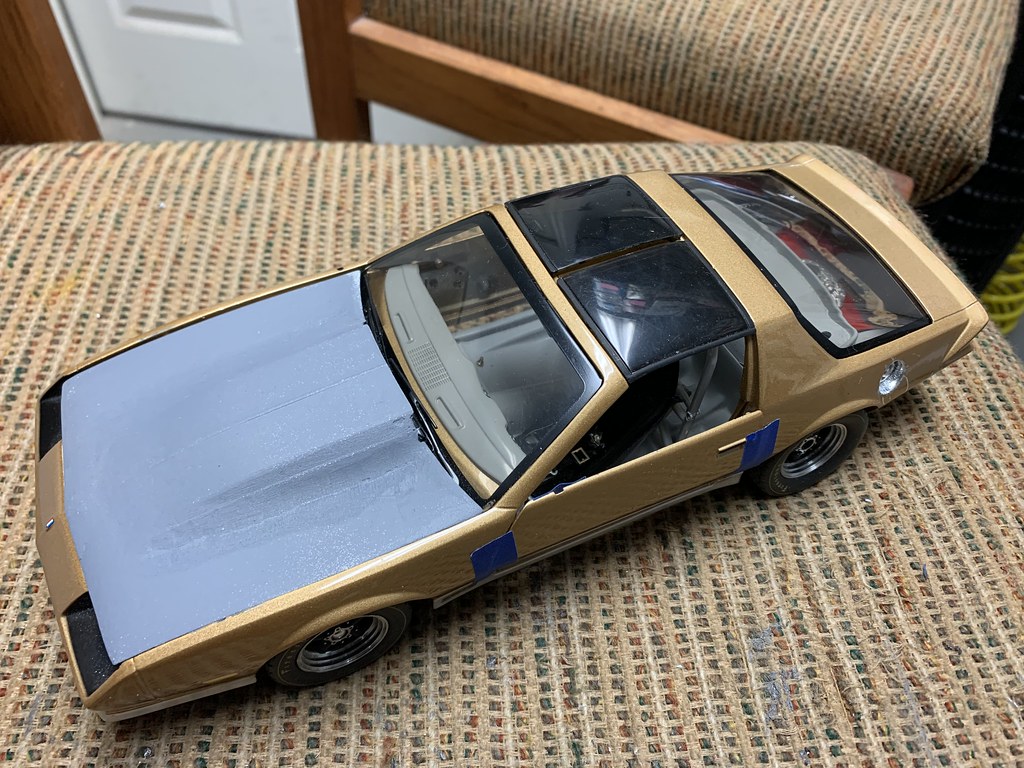
Test fit on the car (I’ll lay in another coat of JB Weld on the outside to blend everything together).


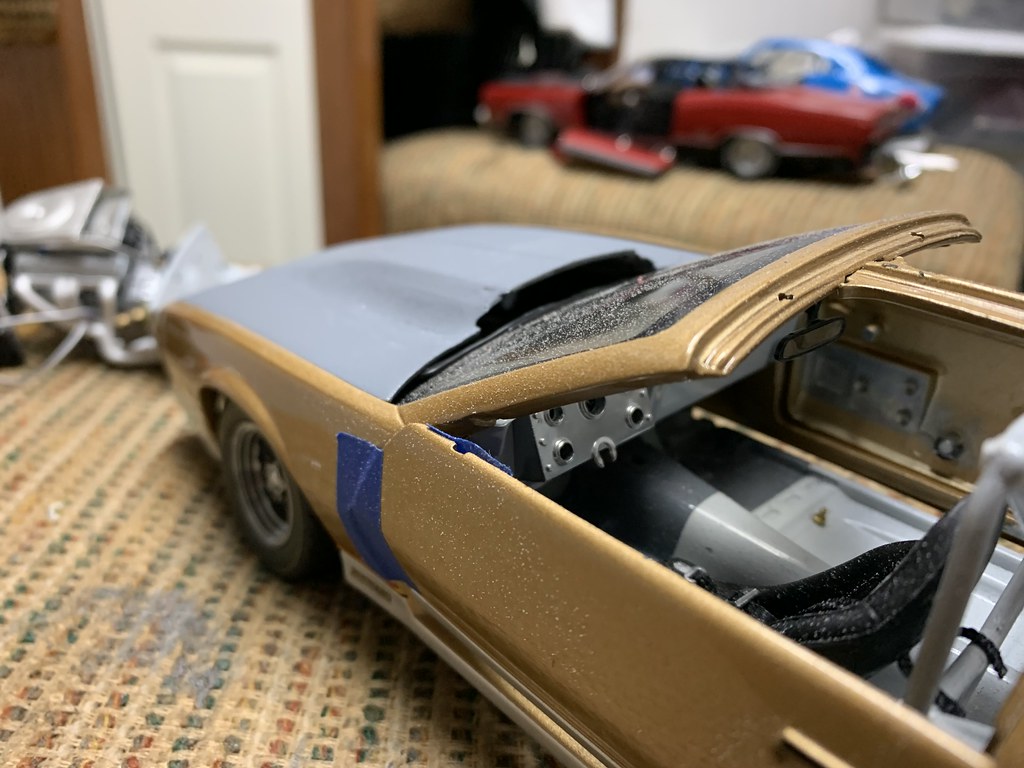
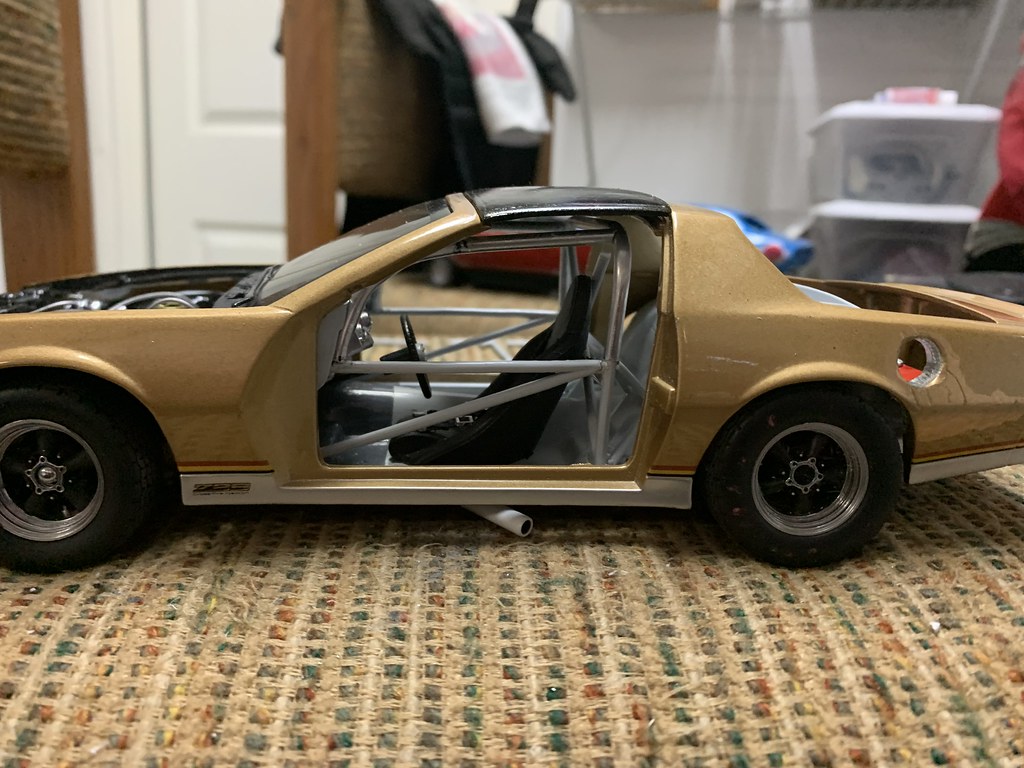
Got the replacement Solar seat installed, as well.
Here’s a comparison of the stock GMP seat and Swede70’s custom resin Solar seat.


Swapped the seat belts from the GMP to the Solar, and plugged it back into the chassis.

Coming along nicely.
JB Weld - Phase II
Pictures tell the story.


Needs a little more work, but close.
Taking a pause, stepping back and seeing what we have.
Put all the components together that can be.


Only got to figure out how to get these pieces installed.

Stay Tuned!
Thanks for your perseverance in showing a really different side to the hobby. I have already learned a lot from this thread and really look forward to seeing where this ends up taking you.
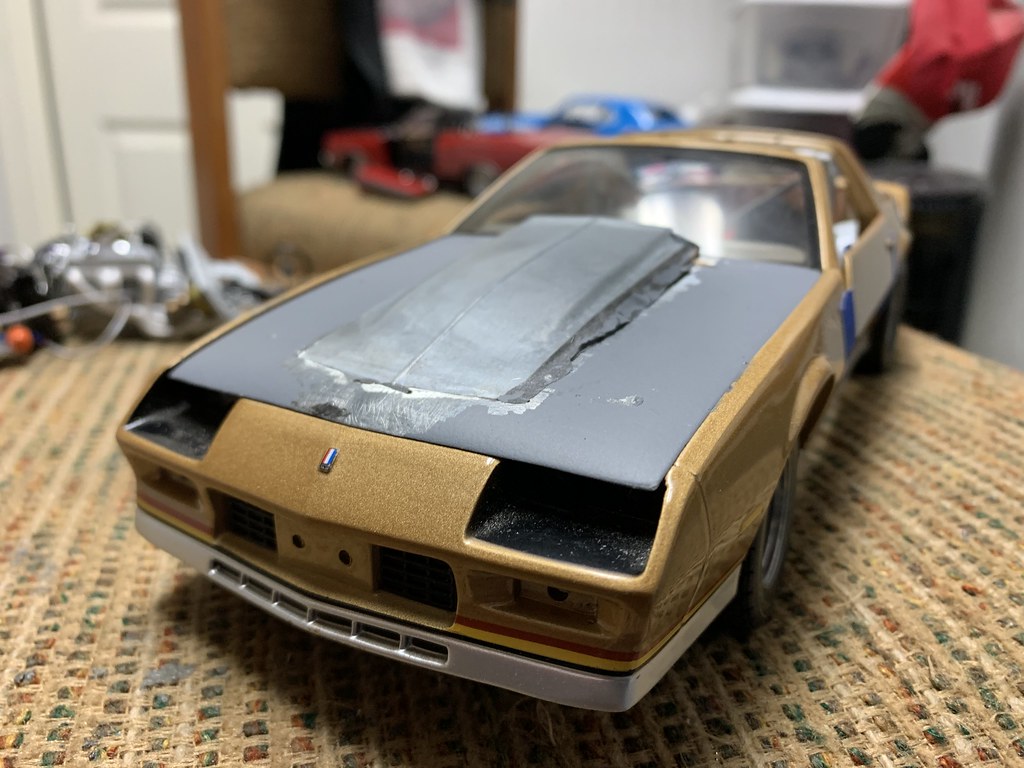
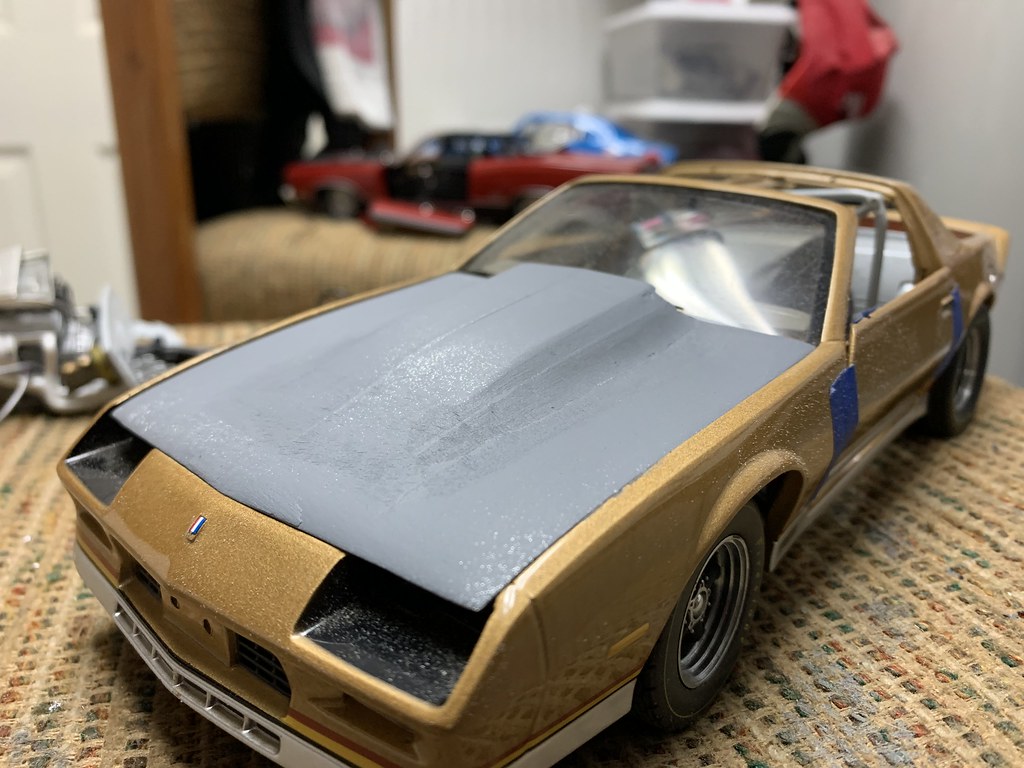
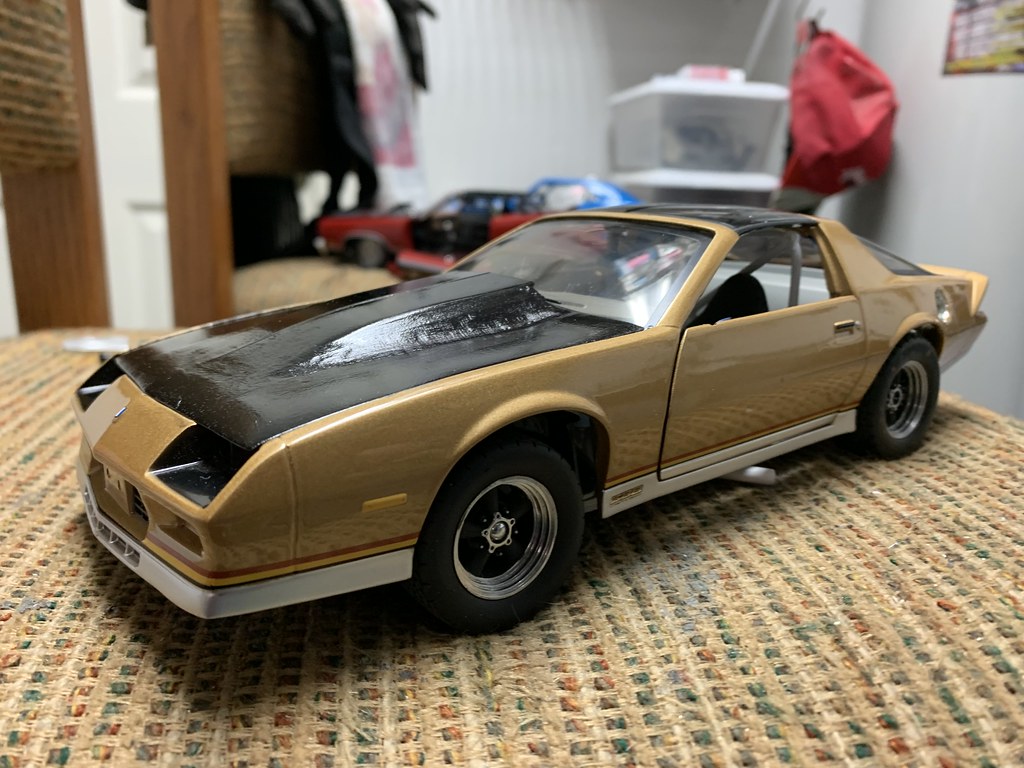
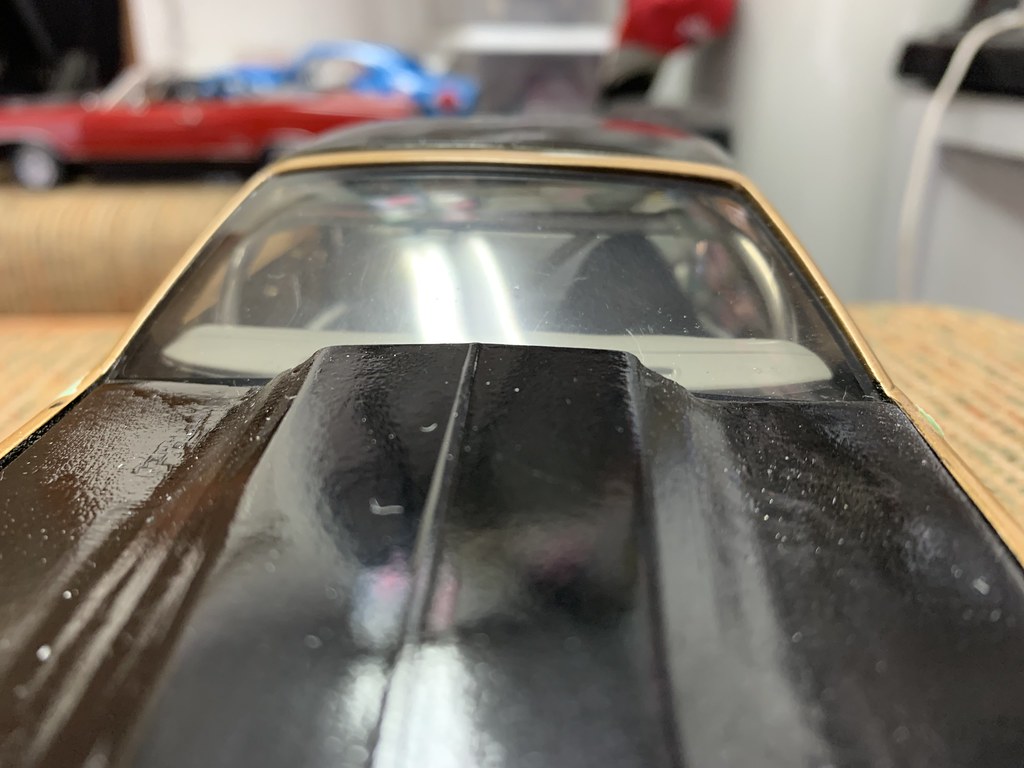
So, real paint brings out the flaws, and the hood really shows it. Was working up some details on the engine compartment, and since the hood will be stripped before I go to a final, thought I’d put a gloss black coat on it for shits and giggles.
Picked up some other details along the way, still not complete, but “Casey Jones you better watch your speed”!


Had to shorten the exhaust headers the same length as the chassis, built a couple of aluminum couplers to make them match.


More soon, getting close.
Going to be sweet when done. What’s the color scheme?
Now See!
Folks told me I was crazy for working on Diecast!
My 1/18 T-Bird roadster is almost re-stored and my Dodge Dually Pick-up is looking mean as a R.V. Hauler! What I like about them as off base projects, is you get to use real world products on them from the Auto parts store!
So this one is finally about to tax my abilities, as well as patience.
Wish I could chalk this one up to a “lemons/lemonade” scenario.
Got the chassis all together, including regluing all the cage bars, and the firewall. Loose fit had appeared that everything was going to be close but acceptable.
Well, when I dropped the body back down onto the completed rolling chassis, all the tolerances went in the same direction.
The original roll cage, starting with the roll hoop itself, are way too tall. I ended up taking all this off the car.

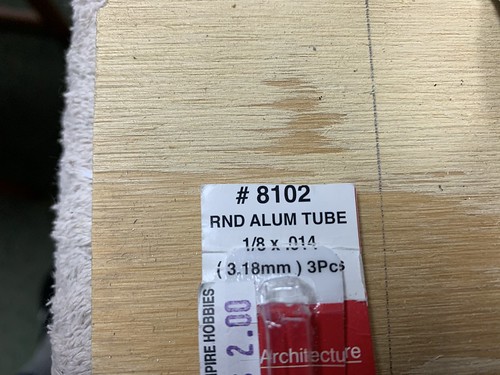
With these bars out of the way, I began measuring how much room I actually do have, and got out some 1/8 inch thin wall aluminum tubing, and my handy-dandy trusty tubing bender (we used it to create the stainless steel hard lines for the real race cars), and started cyphering.
Got the width of the main hoop on the first shot, which was encouraging. Then started on the halo bars, and did an A-pillar cross roof bar, and that’s where we sit.


At least the body does now sit down properly on the chassis, but I have a lot of work to do.
The first issue I can into was notching tubing that small to get it to fit together. Back in the old days, we had a “fishmouth” cutter/tubing notcher.

Going to build a stand for my Dremel to hold it steady. Trying to notch tubing with a tube in one hand and Dremel in the other was less than successful.
Second issue will be compound curves to get the tubes to follow the contour of the roof and A-pillars.
Thanks for hanging in with me, hoping I can.
Okay, so had a couple of days to work on this one.
First, found a DIY video on YouTube about how to make a mount for a Dremel. Involves attaching a joist hanger to a board, and drilling a 3/4 inch hole in the joist hanger. Very ingeneous.

With the Dremel stationary, very easy to fishmouth a piece of tubing.

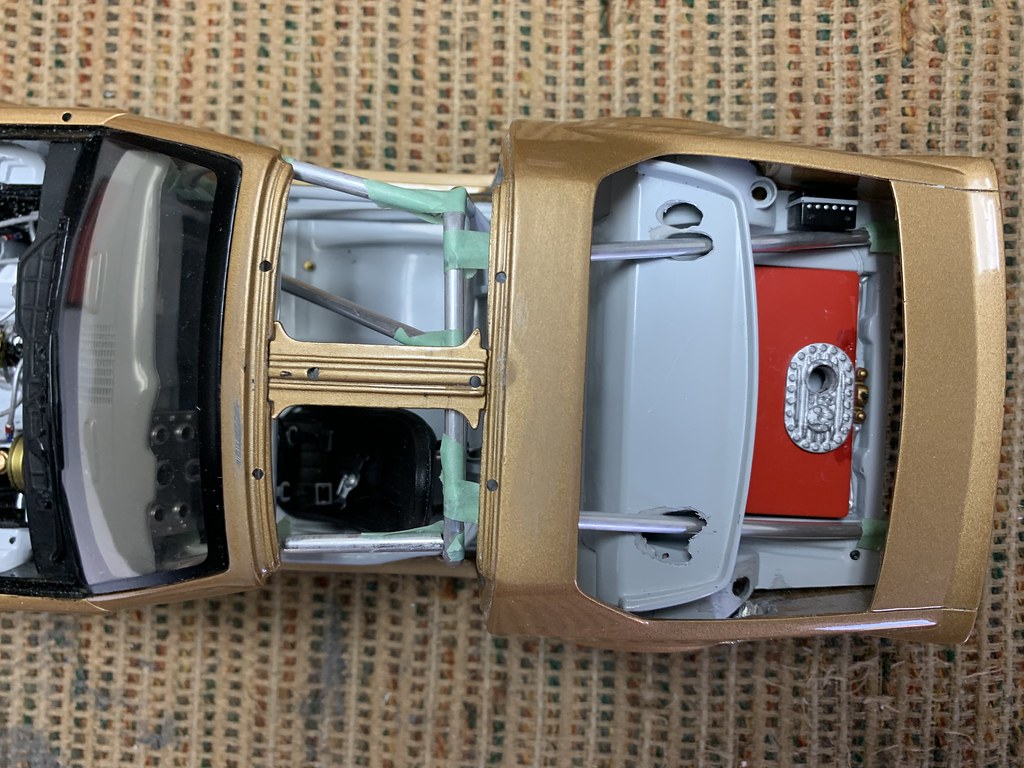
So I set about reconstructing the cage. I cut out all the old roll hoop crossbracing, except for the piece holding the shoulder belts, and built a new single crossbrace.

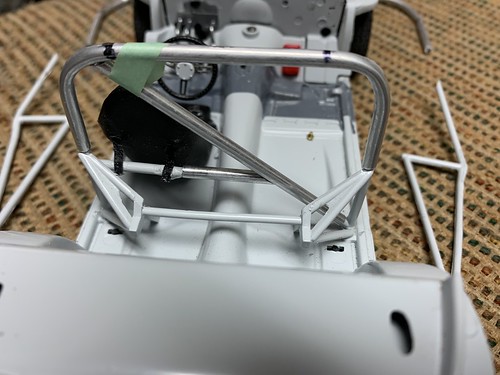
These are the first halo bars I formed up (at the front of the car) and the original plastic side protection pieces (which I intend to still use). This is the tubing I will be using.

Need to stabilize the roll hoop, so going to bring a bar from the middle of it to the passenger front foot well.


And then there will be one rear brace on each side, from the main hoop to the rear spring perch.


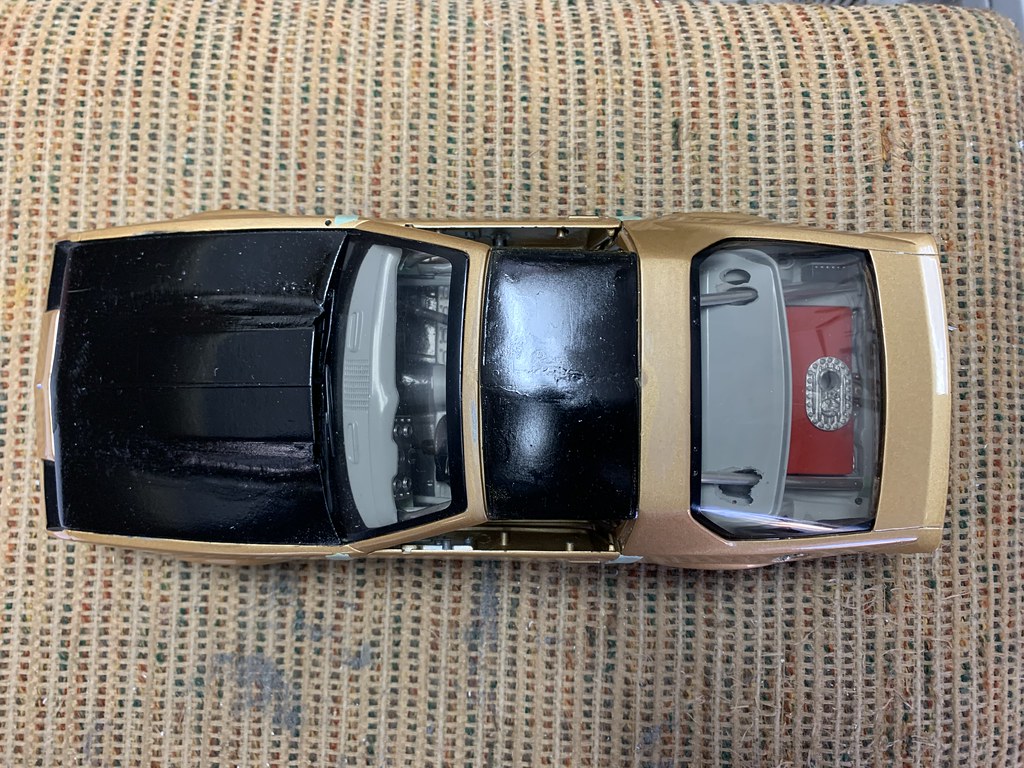
Then let’s check some body fit, just to make sure.


So far, so good.
Going to build the second rear brace today, and go back and revisit the halo, now that I have a little bit more confidence.
Thanks for your support and encouragement!
Nice!
Had some new energy and inspiration, so tried to forge ahead yesterday.
Here’s where we are in pictures.


Going to sit on this one for a few days (weeks), and let it sink in. Still not sure I like the halo bars.
Also need to focus on a couple of other projects.
However, stay tuned!
Good luck.