1/144 Revell A321 Austrian "Millennium" *wip*

Next project that I recently picked up. Looking like it should be a relatively easy and quick build.

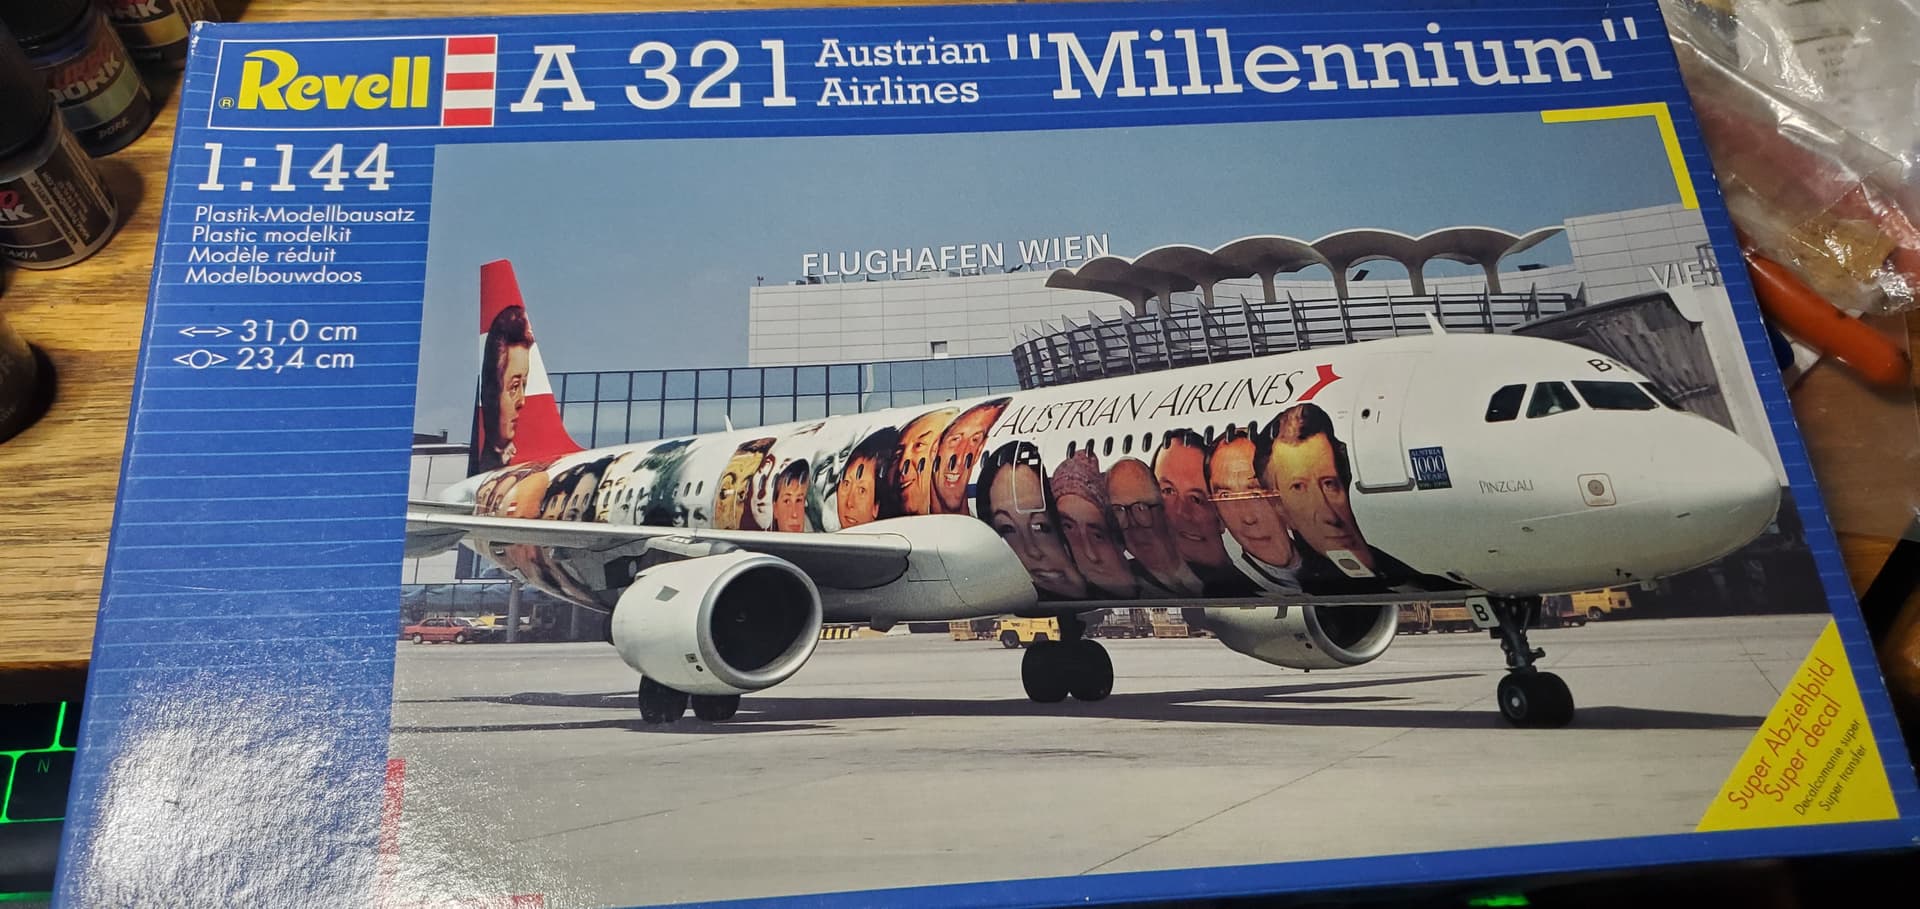
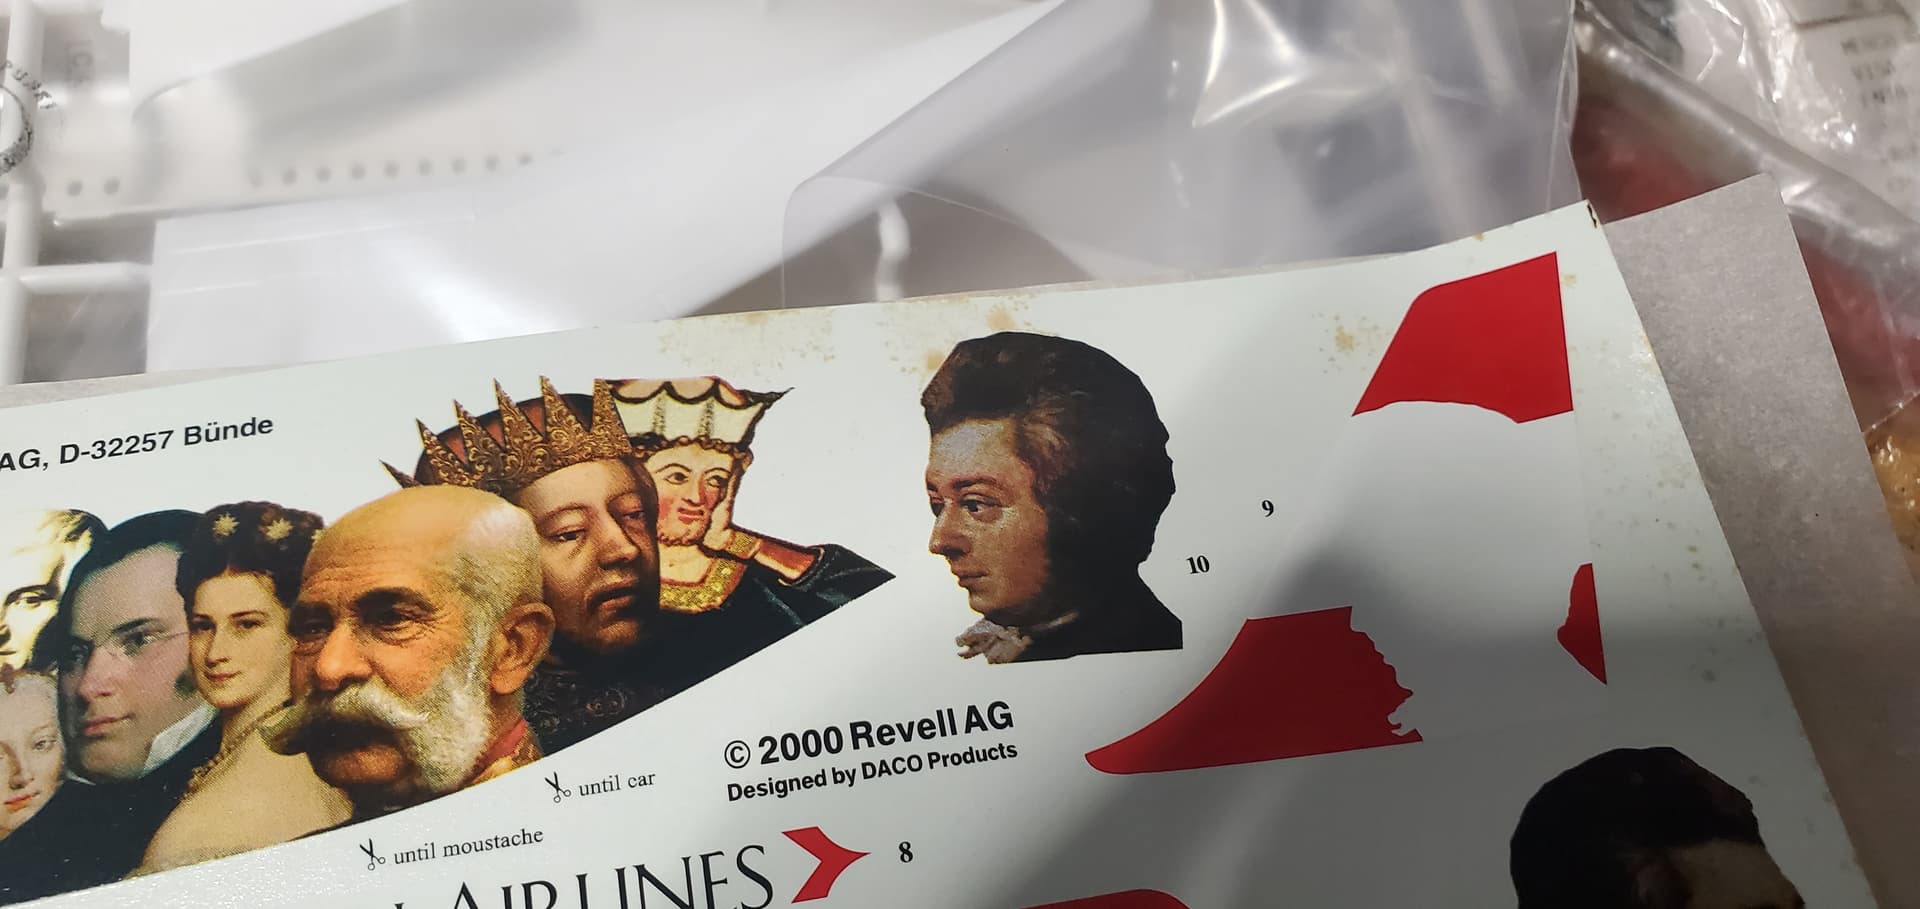
One thing I am a little concerned with are the decals. Not sure if this is something growing on them or possibly signs of bugs having gotten to this kit prior but I will be making sure to scan in the decals just incase.

As far as build progress I did get the landing gear painted and the wheel hubs also done.

There is one issue I did discover, which I will discuss in a subsequent post as those photos are on my desktop, is the color for the wings.

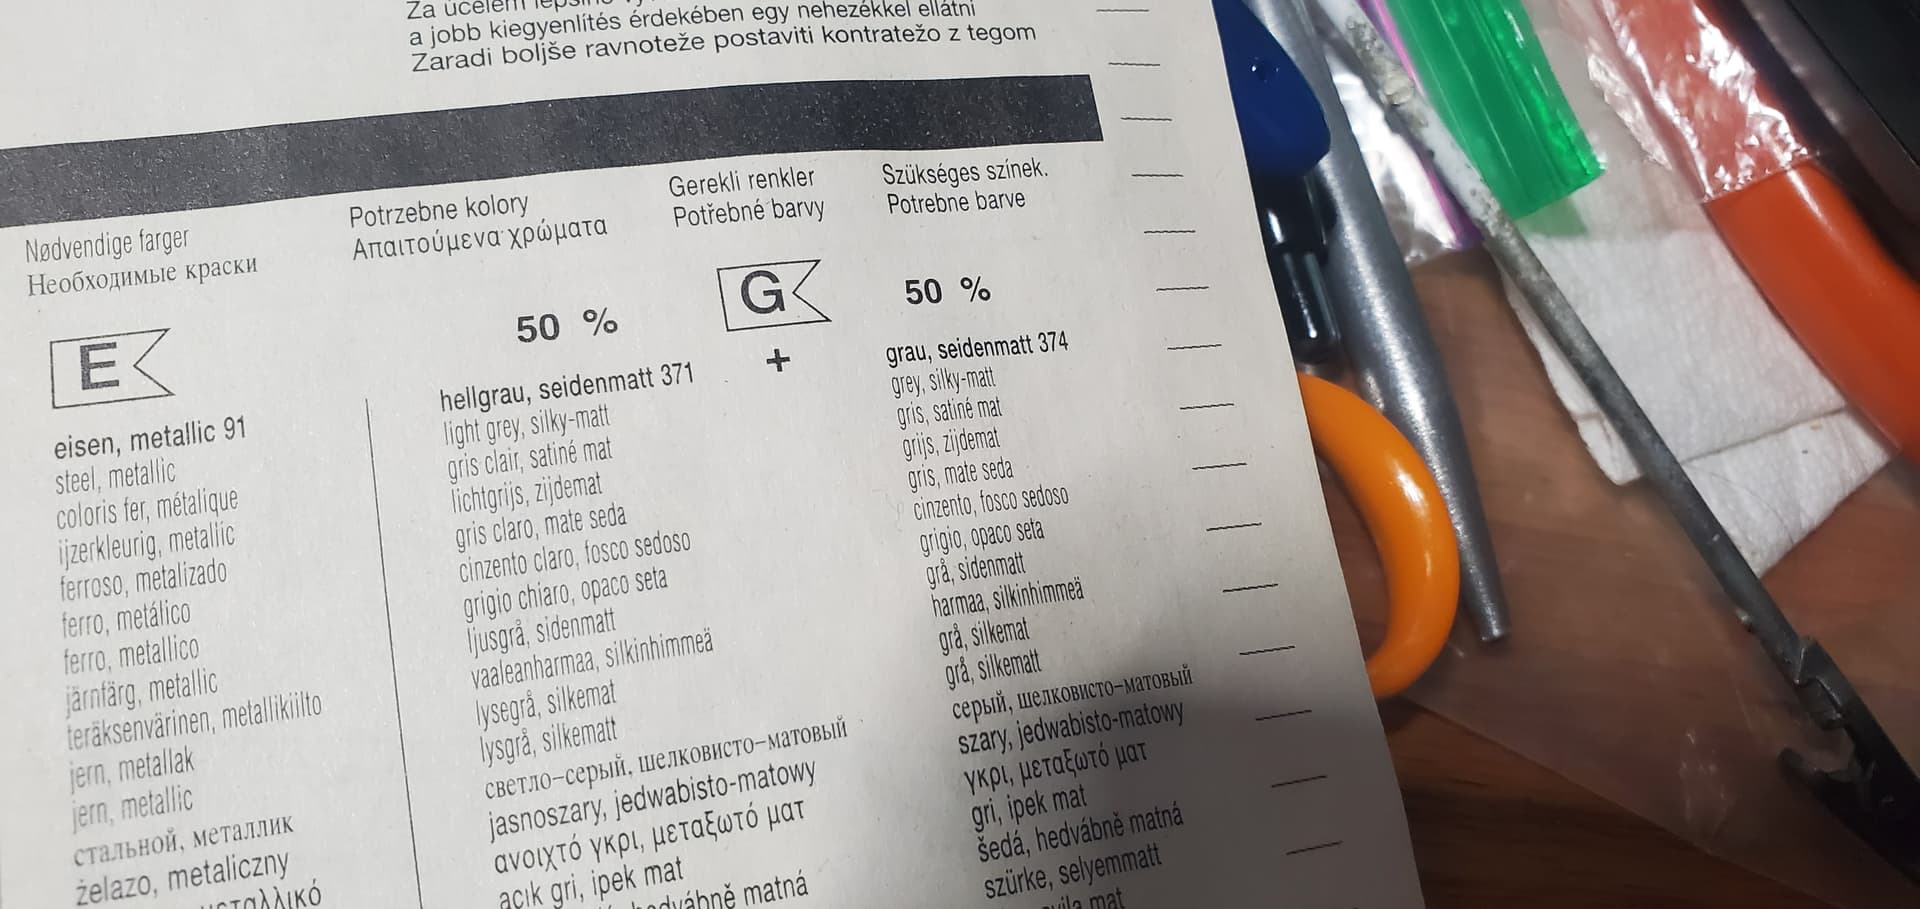
The instructions call for using a mix of Revell colors. Unfortunately both dont have a corresponding color in a paint I use. Will post some reference photos later to get opinions on what color might work.

3 Likes

Cool! Big airliner fan. Interesting livery.

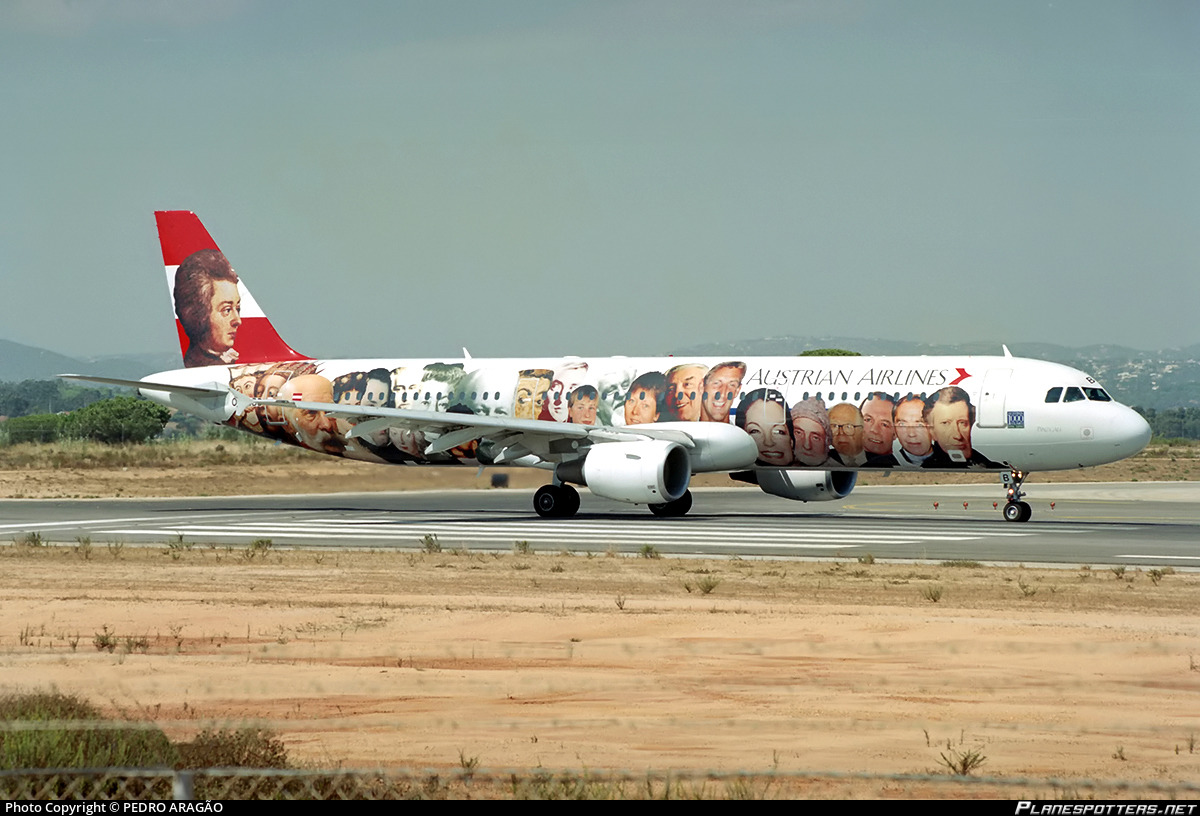
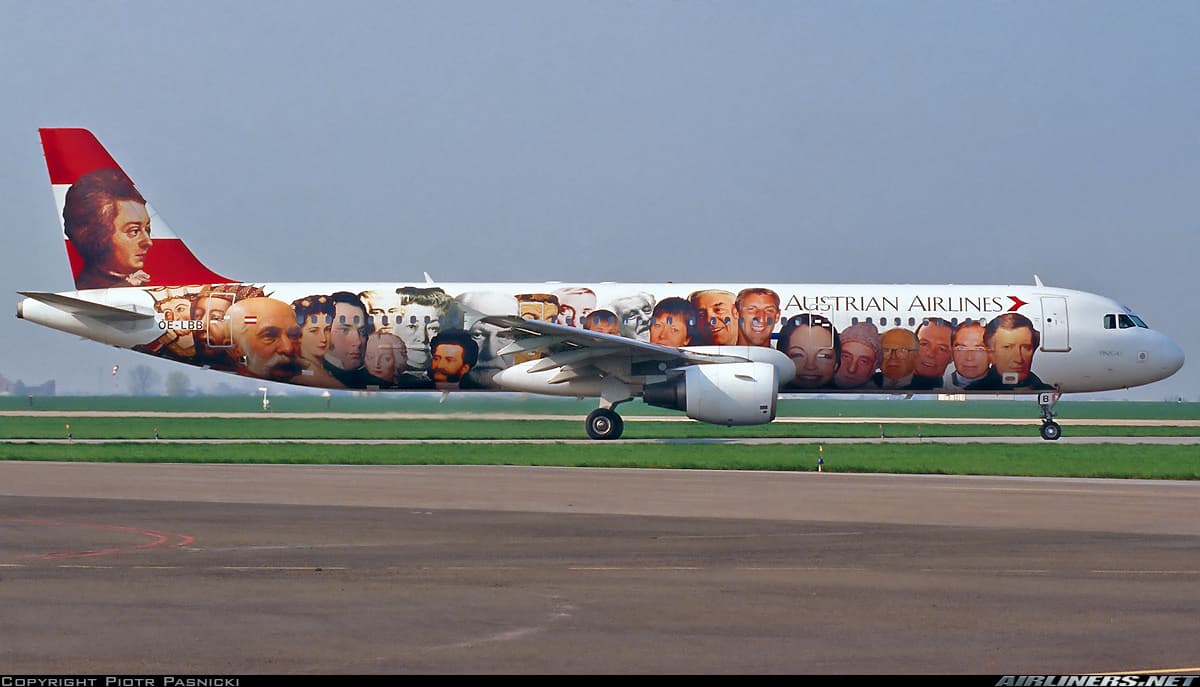
Wings are boeing gray (or airbus gray which I’ve heard is the same). MRP does a boeing gray. Darker gray panel on top of wing would be corroguard - not sure if your kit has the decal for that.

1 Like


As I mentioned in the opening post the color of the wings is what is giving me some trouble. Unfortunately, I could not find ANY photos that showed what they looked like from above. Found a couple from below, but they are obviously in shadow. It also does not help that the resolution of the photos is not as high as one would find using modern cameras. The two above images were the best I was able to find that I feel do a decent job of showing the color.

@keavdog I think that color is close to what I was actually think of using

From the images and from what I have I am thinking of going with Mr. Color C11 Light Gull Grey. I think this is what is as close as I am going to get without going out and trying to get the Revell paints to do the mix.

2 Likes

I’ve read Tamiya gray primer from their rattle can is a good substitute.

Perhaps, but I am trying to avoid buying anything for this build if at all possible.

I’m sure the C11 is close enough!

That is what I am thinking, unless some has a better photo or some information as what exact grey it is.

Got the gear bays painted

Quick dry fit

Looks like a great fit. How are going to deal with the windows. I used clear acrylic to fill the windows on my Airbus 380 - worked really well.

1 Like

Thought about doing something similar, but I decided to try using Micro Crystal Klear.

Minor update on this project as bern busy with other things.

First up I got the fan and turbine section painted and ready to go into the nacels.

They were prepped with the little side wings added on.

Lastly I got the fuselage and wings glued together and then added the winglets.

Should be at a point where I can start painting this weekend.

2 Likes

So made some progress, but have had some set backs.

First I painted the clockpit windows with clear black. This was then given a clear gloss coat to even out some imperfections in the finish. This was further followed by some polishing. In hindsight I should of polished before the clear coat as I think it would look that little bit better. The windows were then masked off for further painting.

Between painting sessions I also finished assembly on the engines. This was the first set back as my liquid masking agent may have gone bad from age as itbwas not going on right. After an attempt as masking it with tamiya tape and a circle cutter I decided I would just repaint them after painting the rest of the engines.

Then finally came time to prime. While I expected to fine some areas that might need some cleaning up, i did not expect to spill a 1/4 airbrush cup worth of primer on her. So this mean more sanding. At this point I think I will be able to get the primer layer done tomorrow, and hopefully get the first layer of paint on.

3 Likes

Sorry to hear about the mishap with the primer. Looking forward to seeing some paint go down.

Time for another larger update.

So got the fuselage primed and got the wing color on. Doing the wings first as thet will be easier to mask than the main body.

Next I masked off the inner portion of the wing to paint the pattern there.

Again I had to improvise the color as there were no good references for the upper wing surfaces when the plane was in this scheme; a number in more recent years but none that I could find that are the correct time period. So Im calling this color close enough, the app I uses says this is 98% of the color I need so is what it is.


The wings were then masked and White was applied to the main portion of the fuselage.

The engines were also masked and painted.

Unfortunately I did get some lift when I started pulling off the mask. This was one me as I apllied the grey a little thin and did not wait long enough before masking.

So did the grey touch up and am happy with the results there.

Still need to touch up the white in a couple of areas, the worst being on the engines. However we are getting there.

1 Like

Smaller update today as have not made significant progress.


So I was able to get the gloss coat on all the major sub-assemblies and odd parts. Still need to paint some of the smaller parts, antennas and the like. I also got the decals scanned in. Now before I start decalling I need to do the windows. So that is my project for tomorrow.

1 Like

Another small update.

Got the wheels finished up, and their tires painted on.

The big thing today was doing the windows. The left side, which I did first and I would say is the worse looking, turned out ok. For a first time doing a technique I am happy with it. Plus, most are going to be covered by decals so im not super worried.

1 Like

Started on the decals today, so far no issues to report.