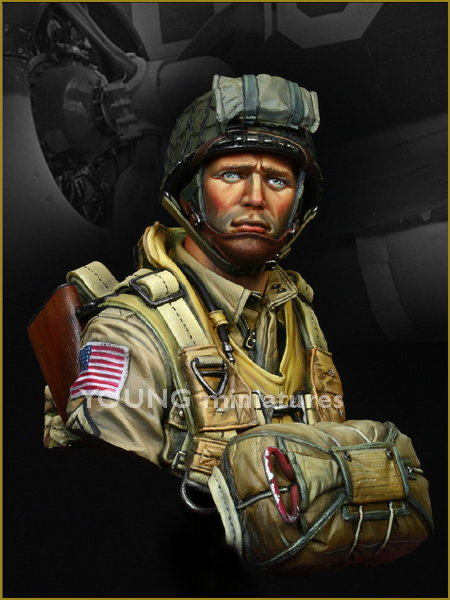
I have this bust from Youngs and I’m looking for a decal set to use in place of painting the flag and unit patches, but not sure which scale decal to use. I have found 1/56 scale as well as 1/35 scale. Can somebody please tell me the correct scale decals I need. I’m not finding either 1/10 scale or 3.2 mm.
Hmmm… I’ve seen 1/16 decals around. For the flag you need to find a 48 star decal.
I did find these though - if you don’t mind the 50 stars
BTW how are the YOUNG kits? I was looking at the Korean war US bust.
It was well done and needed only a bit of sanding. Lots of detail. I would definitely buy another. This is my first attempt at a figure and the patches are so small and detailed, but my eyes won’t accommodate it so instead of messing it up I’d rather sand them of and use decals. Thanks for the reply, the flags are a start. Now hopefully someone knows about the Airborne patch or maybe can print some. If I knew how to scale it, I may be able to print one.
The thing that throws me is the scale. Although the bust is 1:10 scale I believe, I’m not sure if that same scale is the same for the patches. Hopefully someone comes up with an answer to that. I could measure the printed one and use that measurement to print my own. Then do I need an ink jet or laser type printer. Just so many questions. It’s important to me to get this model spot on as it’s a tribute model of my father in-law who was 82nd and was captured in Italy on his first combat jump and spent two years in a German POW Camp. I’m doing it for my wife as a gift for our 22nd anniversary at the end of this month.
1 Like
Hello there- thought I would chime in with what I did on a Young Minis Airborne bust not too long ago.
This was the fig.

It is relatively simple to print decals on a normal color printer- the paper can be bought anywhere- just white printer decal paper. For the flag just measure it with a ruler then find a decent picture online of a 48 star flag. Put it into a word document. Edit it to the right size- I printed like four or five with very slightly different measurements because it can be a bit off- best to cover a few sizes in one go. Then print it at the highest quality in the printer settings- on some printers I think you can even specify a ‘decal’ setting.
Once it prints let it dry for a few minutes. Then spray a bit of clear acrylic gloss on it and let that dry. Then apply! I would not recommend using any fixatives on it though- the home printed decals can be quite delicate.
Anyway, I hope that helps- best of luck with it.
3 Likes
Good luck with this project and I can’t wait to see your updates on it.
Thanks Kar. Good info. l will pick up transfer paper tomorrow. Thank you
1 Like