crown r n7 - that’s right - everybody sees things a little different, and the way machines see and show colours is a different thing altogether. And sometimes it’s easier to see things when you know they are there… That’s when it starts getting weird…
And thanks a lot for your kind words!
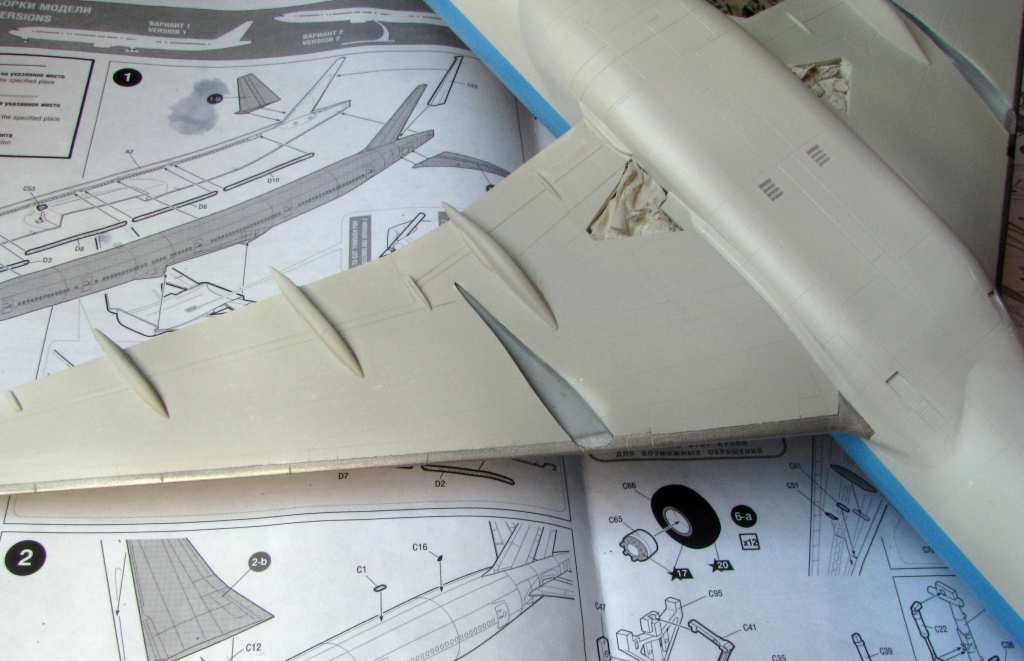
I finally painted the wings again, this time adding like 30% of Humbrol 64 gray to the mix. The result is better, this time giving subtle contrast, but it is definitely there:
I also painted the leading edge of the wings using Gunze Stainless paint. I have sealed the whole aircraft with future and now I can start putting on the decals, let’s see how this tuns out. Thanks for reading and have a nice day
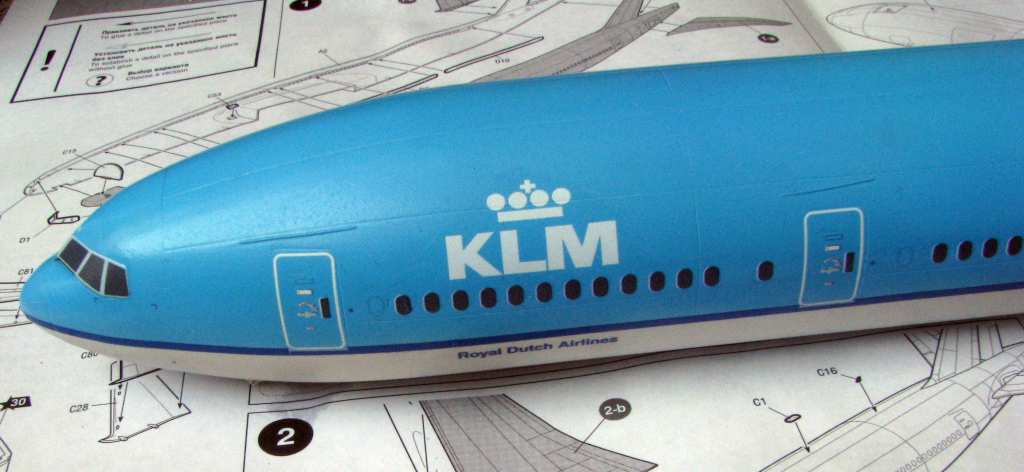
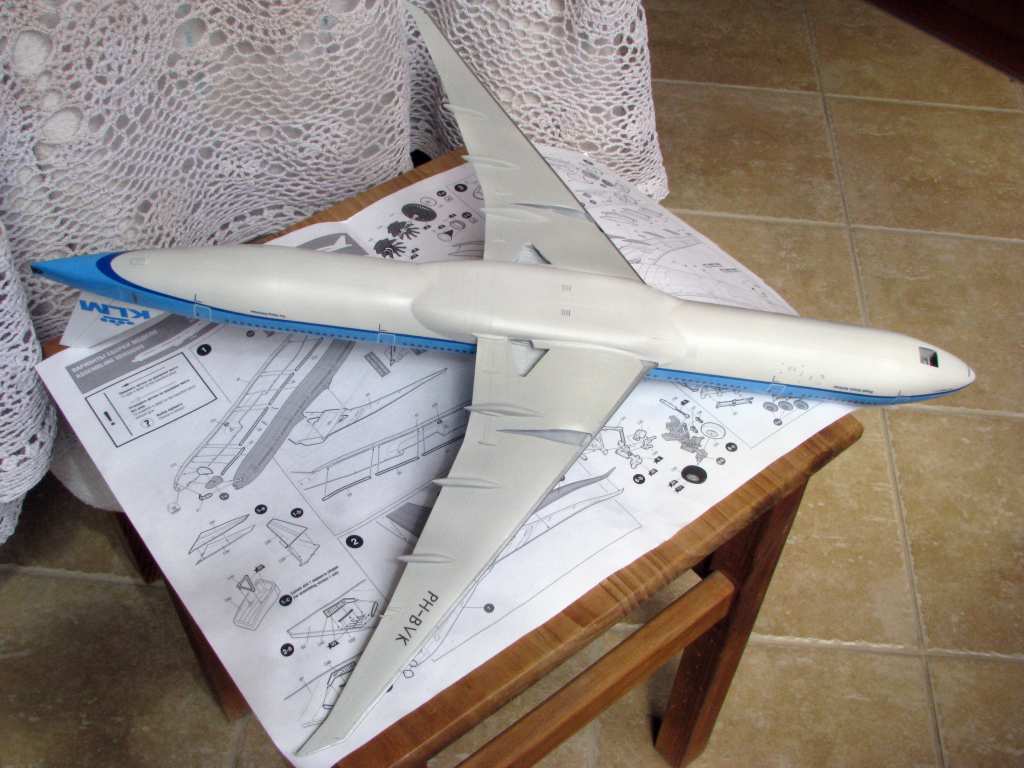
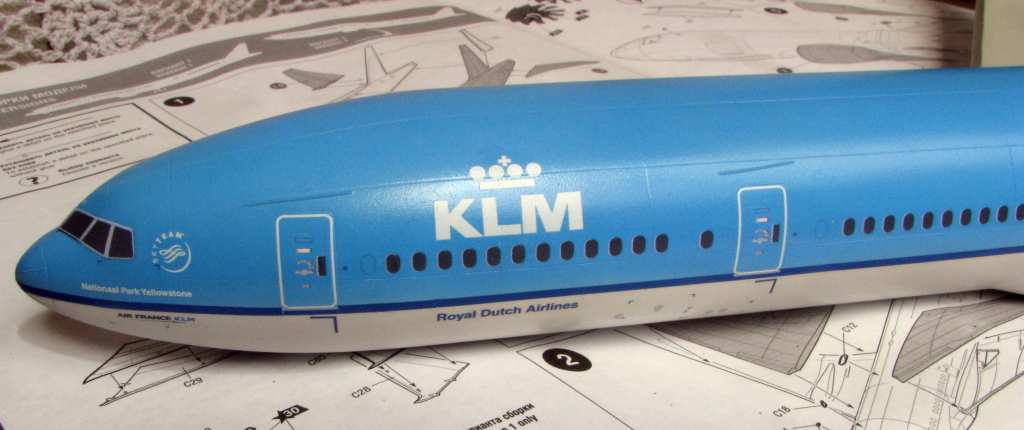
Now that the paint is on, I could start putting on the decals:
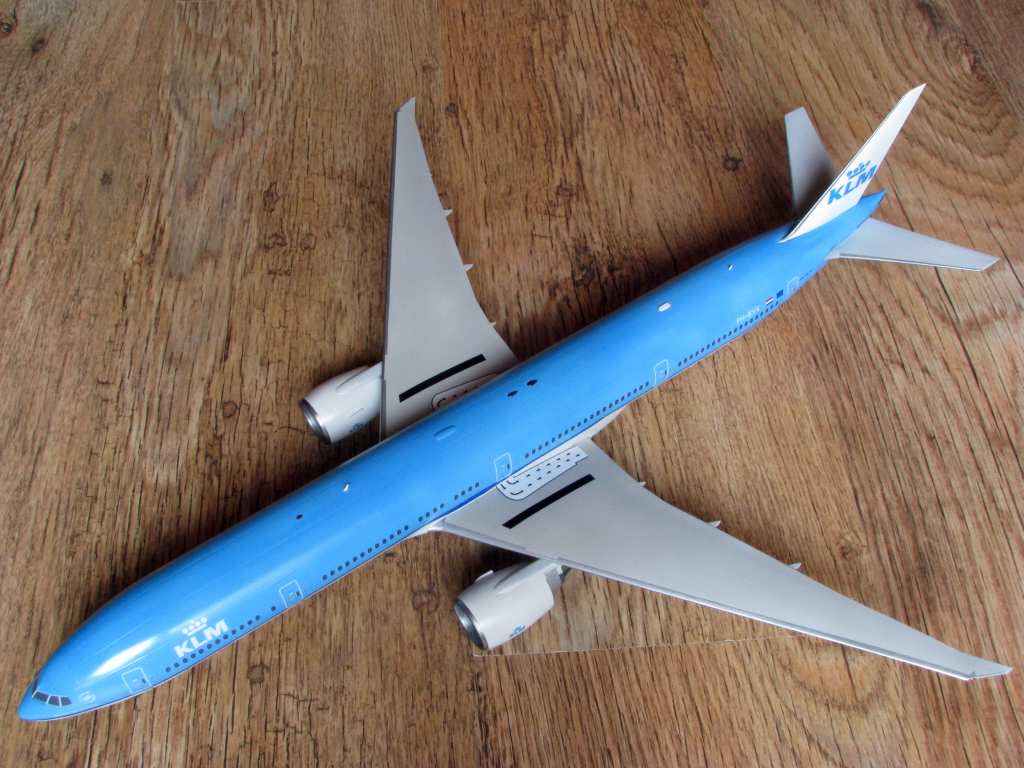
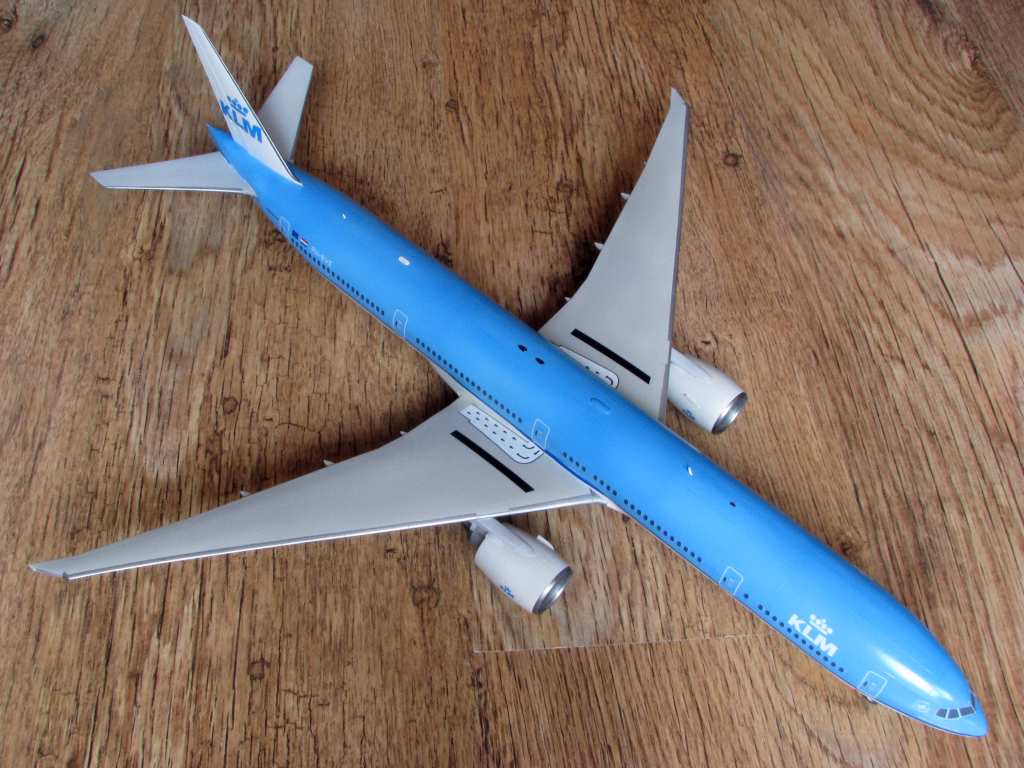
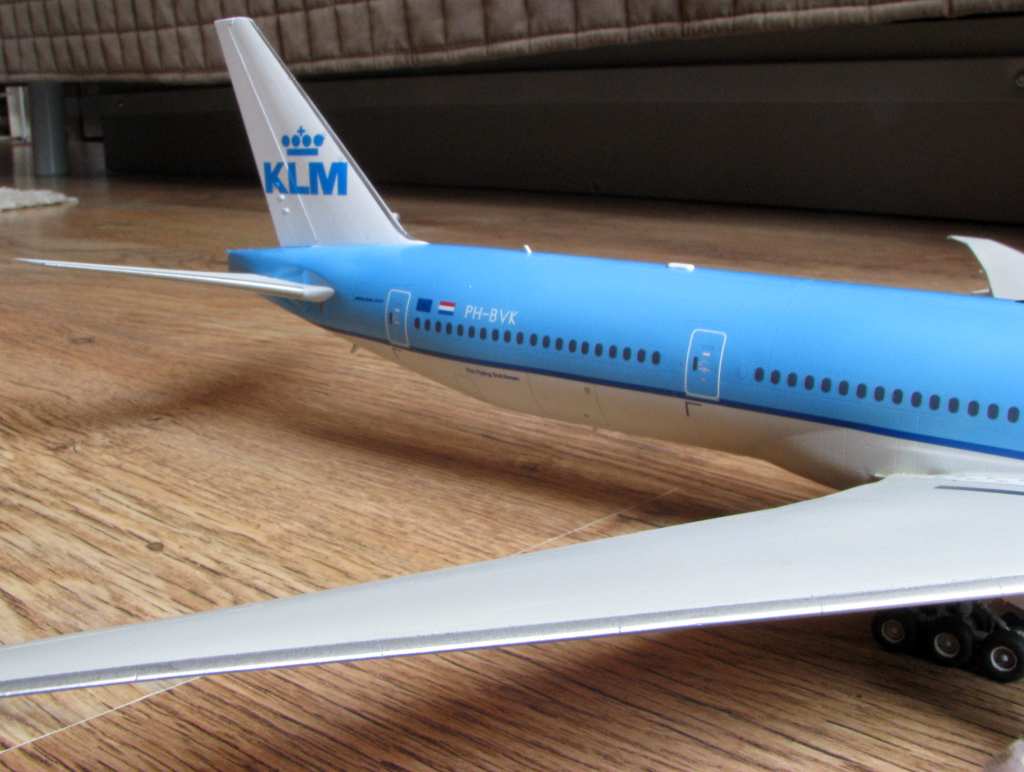
We’re talking about DRAWDecal 44s-777-18 set - the KLM 777-300ERs. On first look the set looks very nice, with lots of fine details and comprehensive instructions. When I started putting them on, I noticed that the carrier film (that’s on the whole surface of the sheet) dissolves very nicely with MicroSet/Sol. Then I put on the two large side groups, that have the dark blue stripe, the windows and two big white KLM logos. That was no more so easy. Exactly like stated in the instructions the “heavy” colours dont react to Set/Sol as readily. Even Solvaset merely touches them. They require some coercing to get into the tight corners. Also, the decal set is older than the Zvezda kit, so it doesn’t fit 100% - the distances between the windows and doors are a little off, so I had to cut those large groups in smaller portions and adjust for the doors. I was also very glad, that I have filled and sanded the windows, so that they didn’t get in the way. On the Zvezda kit the front luggage hatch is much wider than the rear one - and the decal set gives you two wide hatches, so I still have to figure out what to do with that. I also want to add two details on my own - red turbine stripes on the engines and red rectangles on the underside of the wings on the edge of the slats.
As a conclusion I’d like to recommend the DRAWDecal set - it’s a pleasure to work with if you take your time and plan ahead.
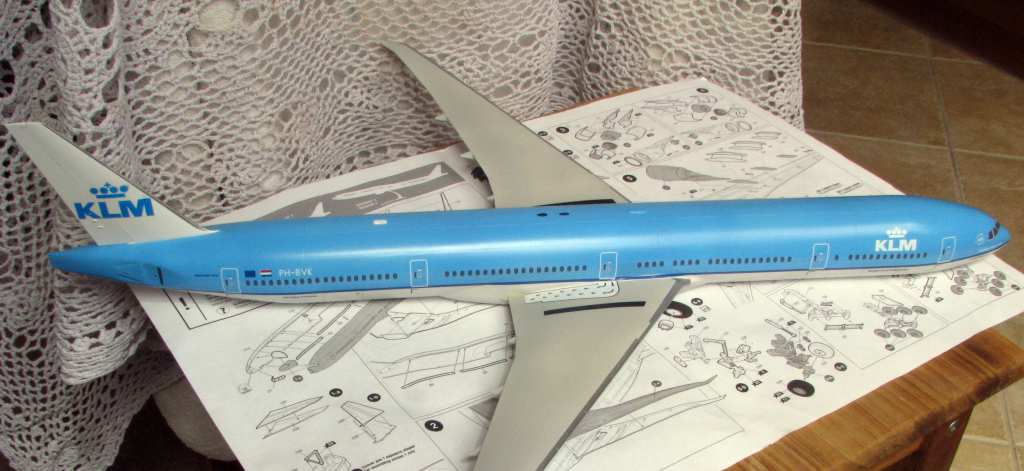
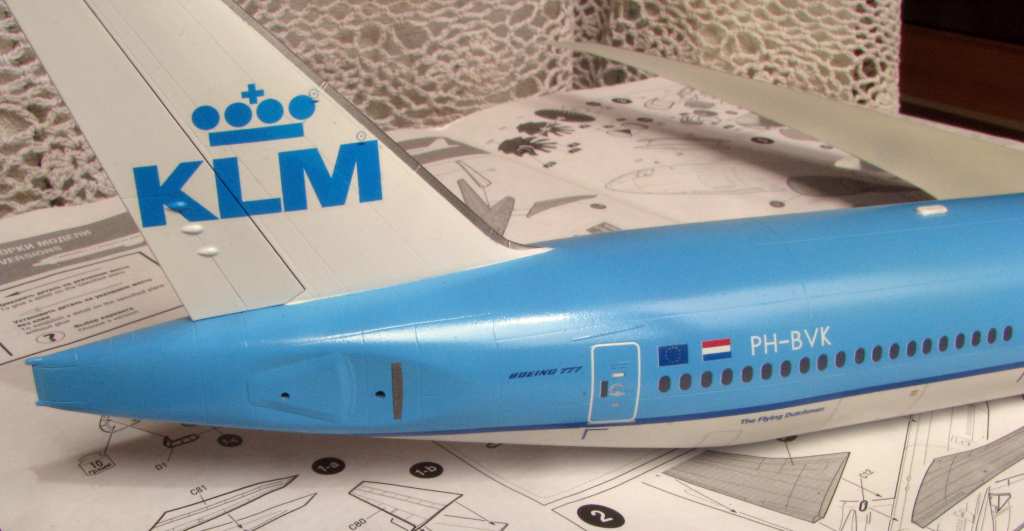
Most of the decaling is now done. Here’s how it looks like:
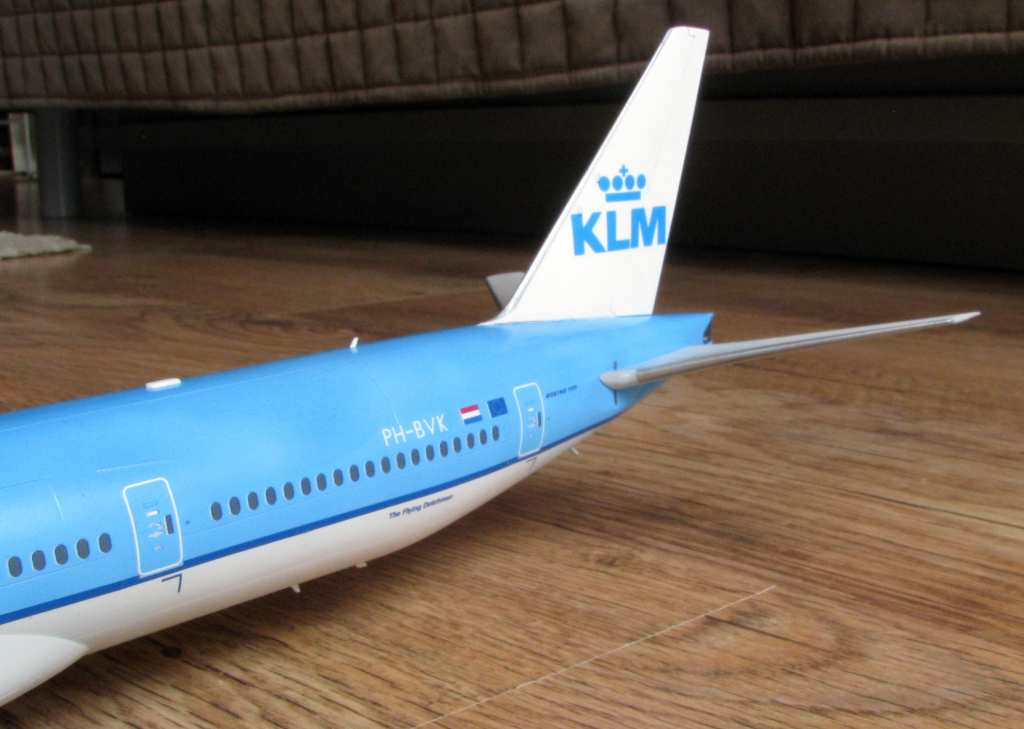
On the photo above you can see the decal I made myself - the metallic patch, where the horizontal stabilizer is going to be. I have painted a piece of clear decal film (you get a lot of that with the DrawDecal set) with Gunze Stainless paint and then I have cut out the desired shape. Applies like a regular decal.
Now I’m movin’ on to work on the landing gear. Thanks for looking, have a nice day
Thanks a lot for your comment. Nah, it was just a little hard to putthe sides on - they are supposed to come in two large groups each side. It’s best to cut them up - doors separately, stripes and windows separately - makes applying them easier. Like I wrote, DrawDecals are generally a pleasure to work with. When the chemistry works as advertised, I actually enjoy putting the decals on. Thanks for your kind words and have a nice day
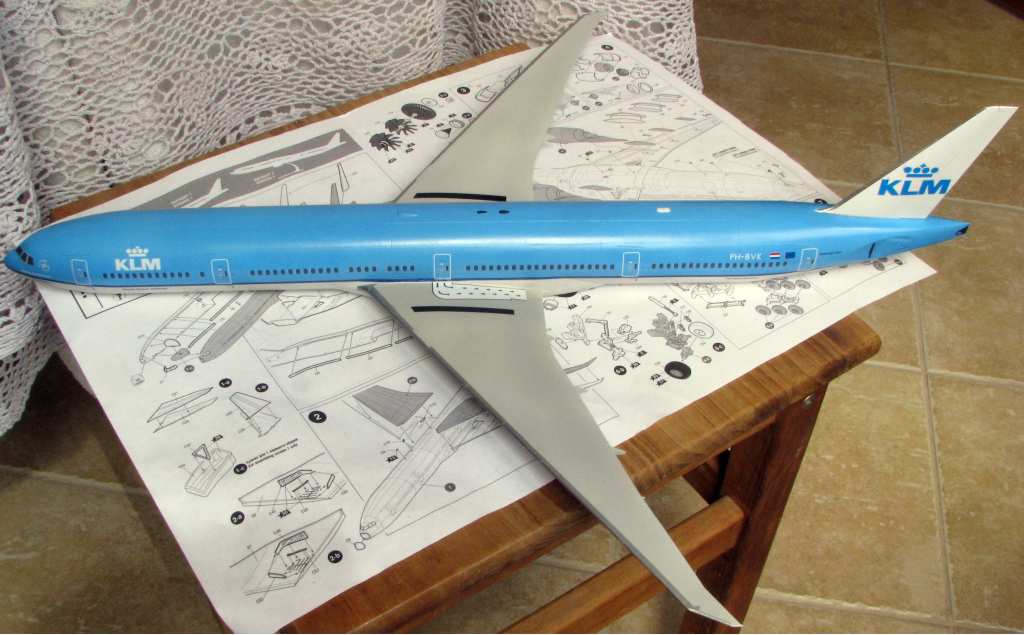
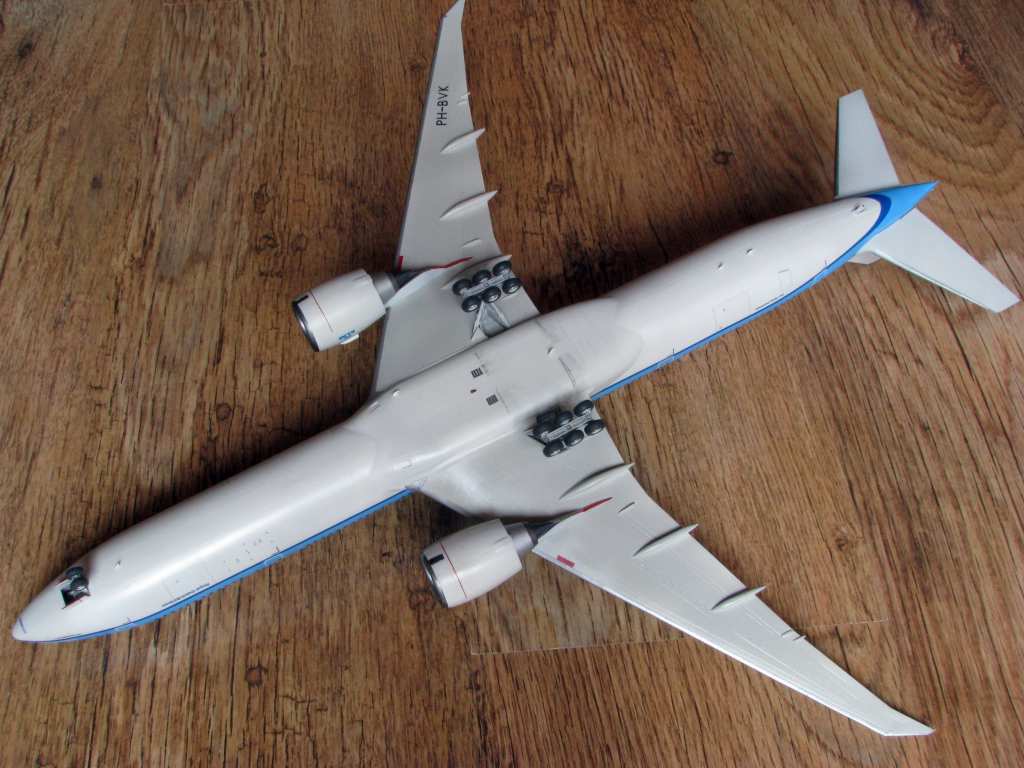
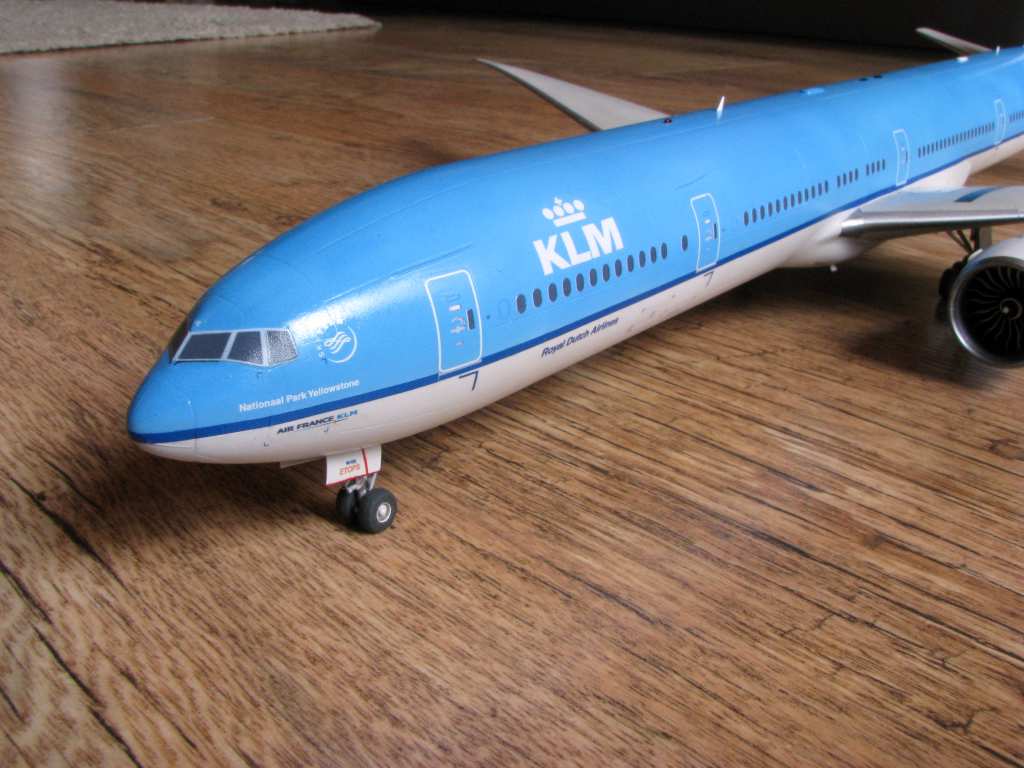
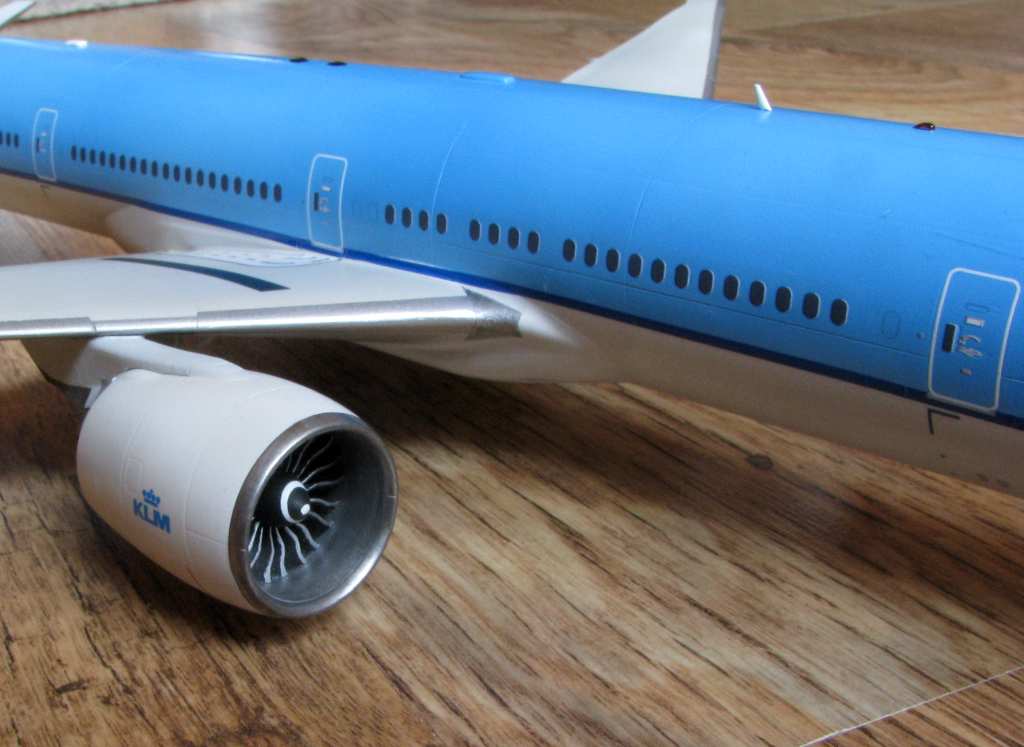
Since the last time I posted I have put up the landing gear, clear coated the whole thing with Mr Hobby Top Coat - Gloss - it’s a nice stuff, btw - Mounted the engines and added small details like the tail skid, lights and antennae. So now it’s finished, and my model looks like this:
Well I hope you like it, bro - and happy birthday once again
7474 - Thanks a lot for your kind words and I’m glad I could help you. Finding those colours wasn’t obvious - but maybe you can find even better matches?
Verly pretty…verly pretty. I love airliners but they don’t like me. It’s very tough to get the masking right and not mess up the rest of the paint job. Nicely done! [Y]
T.B. - is that a good thing or is it a bad thing?? [:)]
modelcrazy - thanks a lot! I agree, those models are not very forgiving, one wrong movement and you can start the painting over sometimes… I’m glad you like my model!