Note painted horizontal stabilizers (Most likely red, which was a 1st Bomb Wing marking, comprised of the 91st, 381st, and 398th Bomb Groups), along with the wingtips and center-section of the vertical stab being red as well) and the replaced flap on the port wing… Also of note are the fabric-covered ailerons, with the starboard one appearing to have come from a camoulfaged B-17…
A lot of guys will use an airbrush to depict exhaust stains (you need a pretty high-enf airbrush and a lot of regulator control for that), but myself and many others prefer pastels, which are soft, colored artist’s chalks, or more recently, weathering powders (I have no experience with those)…
I prefer brushing on the pastels, since you have far more control over them, can build up the stains slowly with different shades of black, brown, & grey, and if you screw the pooch, a moist tissue erases them and you can start over… They’re also cheap and old-school, and I’m all about that… You can also use lampblack, which is nothing more than the soot from a candle flameheld under a metal surface, and applied with a soft brush…
Well I forgot it was tamiya spray cans(used on model cars), I picked up the model master after I realized that was the paint I used(also got more brushes and contour puddy). Well looks like I will be working on the 1/48 now, just got home and found that the door was open to the modeling room and the damn cat knocked my magazines down along with the bomber box with it and managed to also knock my swivel stool on the ground. Wouldnt have been a big issue if I didnt keep the glue inside the box and melted the wing and part of the interior pieces… With me cursing the wifes cat knew it was in trouble… Oh well still have parts to practice on with weathering. So Hans where to get the chalk and pastels at? I havent swung by Hobby Lobby yet, is it there?
That’s the place… Although, don’t forget to go to their website and print the 40% off coupon first… Make sure to get artist’s pastels, not oil pastels… Oil pastels are like crayons and don’t work well…
Its a paint Hans recommended, krylon premium silver foil in the craft painting section in hobby lobby. Once to do a practice spray on scrap to figure the correct coating distance this paint works like a charm. With proper coats and what not its one of the best paints I have used. Im using model masters acrylic for detail painting. Thats how I was able to make the wear on the flight deck since I spayed one coat of the silver foil on the parts and acrylic on top of if, used a combo of the cut off portion of a zip tie to scrape wear on edges and then I frayed the end of automotive wire to do the other wear
A quick thanks to all involved for the tips! I’ll be starting a 1/72 Revell B17G shortly, (after a decade-plus hiatus…) and look forward to trying something more than the most basic glue/paint approach! Good inspiration and education all over this forum…again, thanks!
Im sorta in the same boat as you. Got tired of building models with no depth/realism to them and this is my first go at it. Just in the few days on this forum I already learned alot. Just got done getting the parts together for the chin turret. Had a small sheet of micro fiber cloth that comes with screen protector kits and painted the cloth and cut to size inside the turret. Turned out pretty good I think.
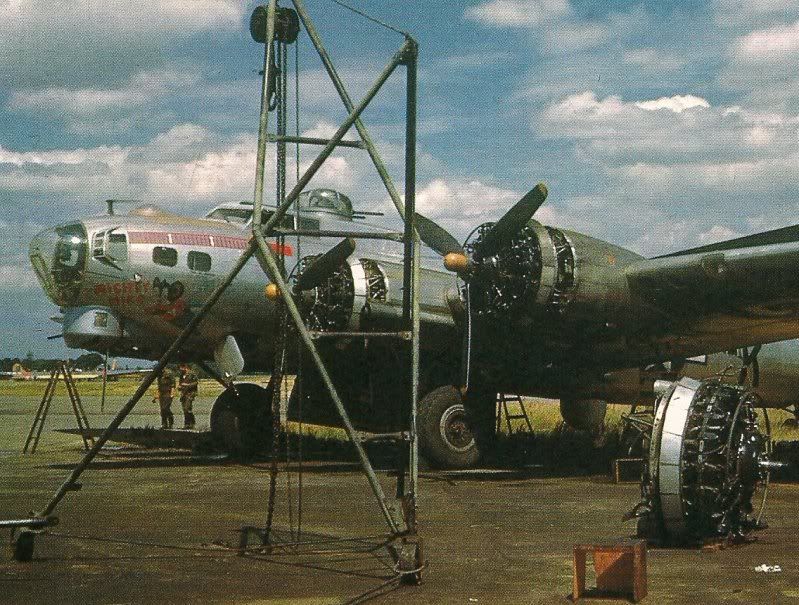
Found some pics about B-17 tail swaps for those who want to use it as a reference: (found alot of info on the plane here and other useful build, diagrams, repair B-17 info!! )
Radio room done but not alot of detail could be done like on the flight deck… (Probably will do a green radio room on the next B-17G when I do the post tail swap version)
I was on a roll of assembly that I didnt take pictures of the interior fuselage which I realized after I was taping it up.
Great work so far, I agree with hans though, wouldnt have painted the NMF on before assembly. I’ve learned the hard way that the seams on this kit can really suck. The paint you used looks reak’n phenominal though, may have to pick up a can or two of that.
I see you found the B-17 group build over on the arcf forums, hell of a lot of good info there! There’s a guy named Karl over there, he’s kind of the go to guy for pics and info, been suprised at some of the stuff he’s come up with.
I’ve got 0% experience on the 72nd scale forts, (I build in 48th alone) so cant help with that build.
I’m looking forward to more pics, this is look’n real good so far.
Im still learning too. The 1/72 fort is in the scrap yard now (aka practice bin for weathering). This paint is awesome but is exactly like Hans said in which it is a double edged sword, and I made to little mistakes and it shows but luckly unless you pick it up and look close you wont know its there… I still have one more 1/48 that when my skill improves I will do the tail swapped version of Little Miss Mischief. But I already know Im not quite there yet to tackle that. Next build after I finish this one will be a p-38 lightning with NMF and now I know to wait until it is assembled to paint it. This has been a huge learning experience and after not have built a model in years expecially this B-17 I know what I will do and not do again on the next one, one being the radio room will be more custom parts like resin than the supplied kit. And the use of wood for tables, and other little things. I will post a pic of what it looks like now, and I intentionaly left the bubble window out above the navigator because I like the little detail I did on the flight deck and I have a little LED light that will shine perfect through there so I can show my daughter the inside when it is done. Well thats I will have for this week as x-mas is coming up and have long work hours the rest of the week, if I dont have time to chat I hope you guys have a good X-mas!