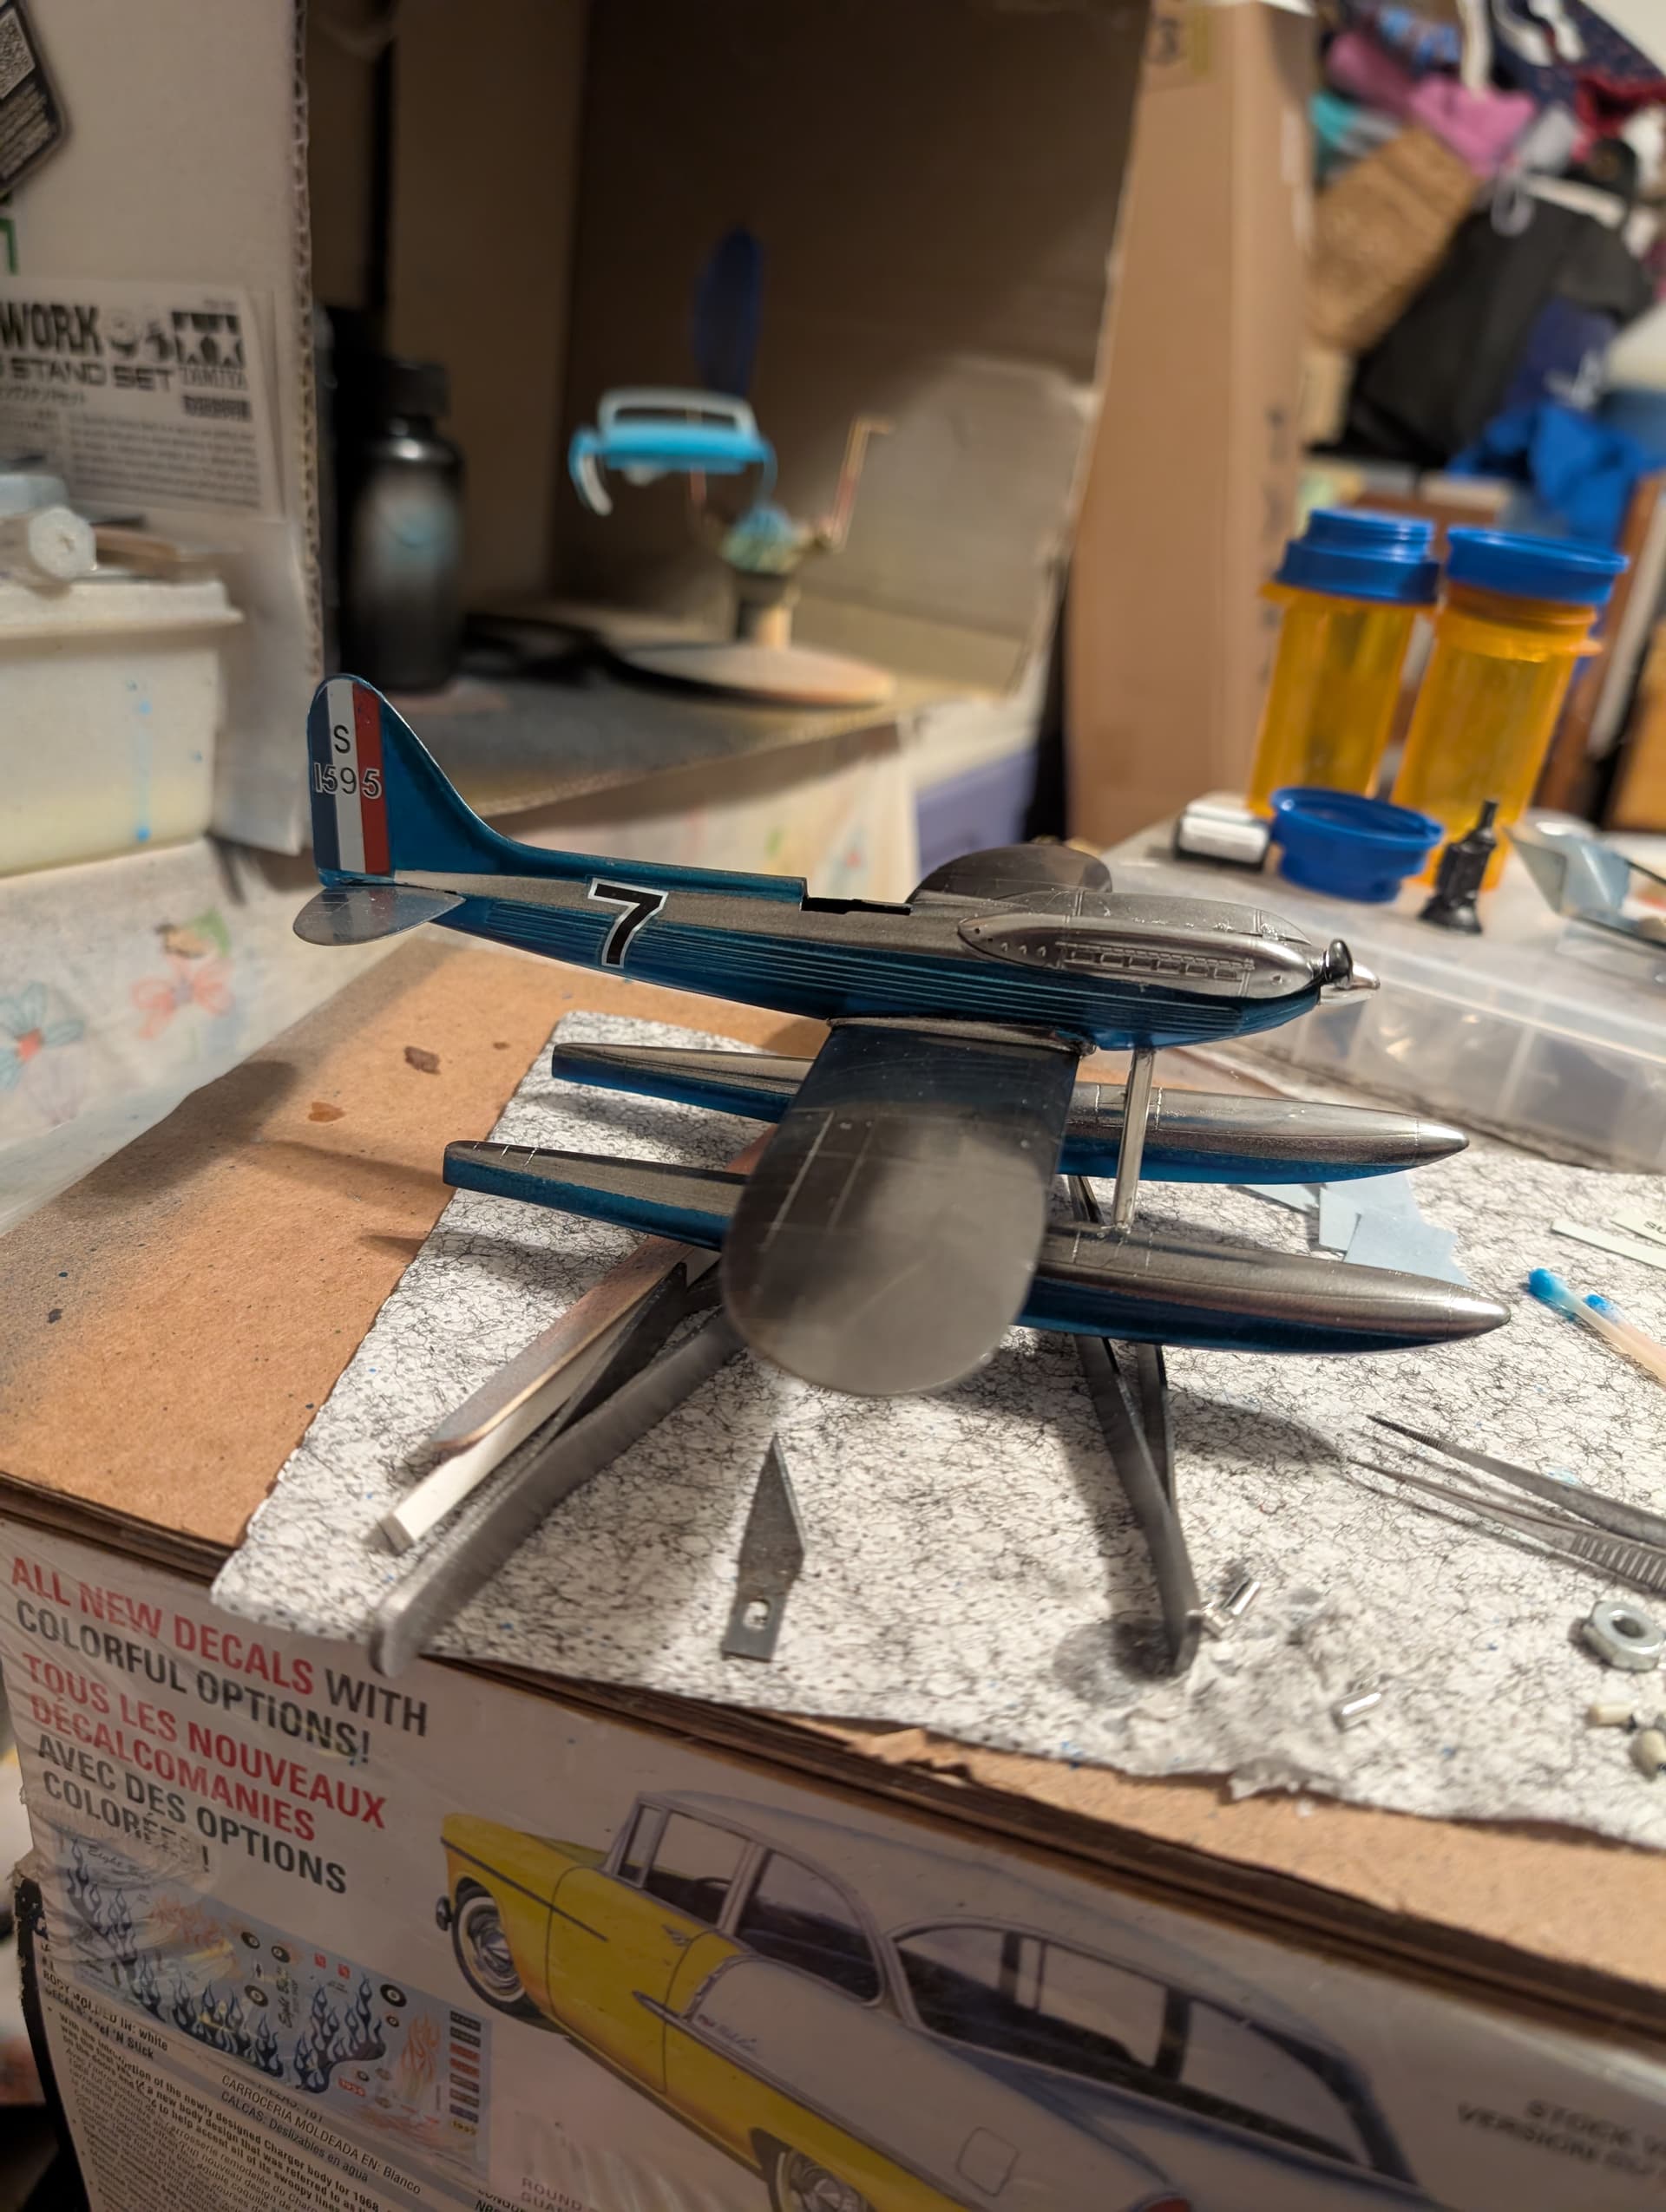
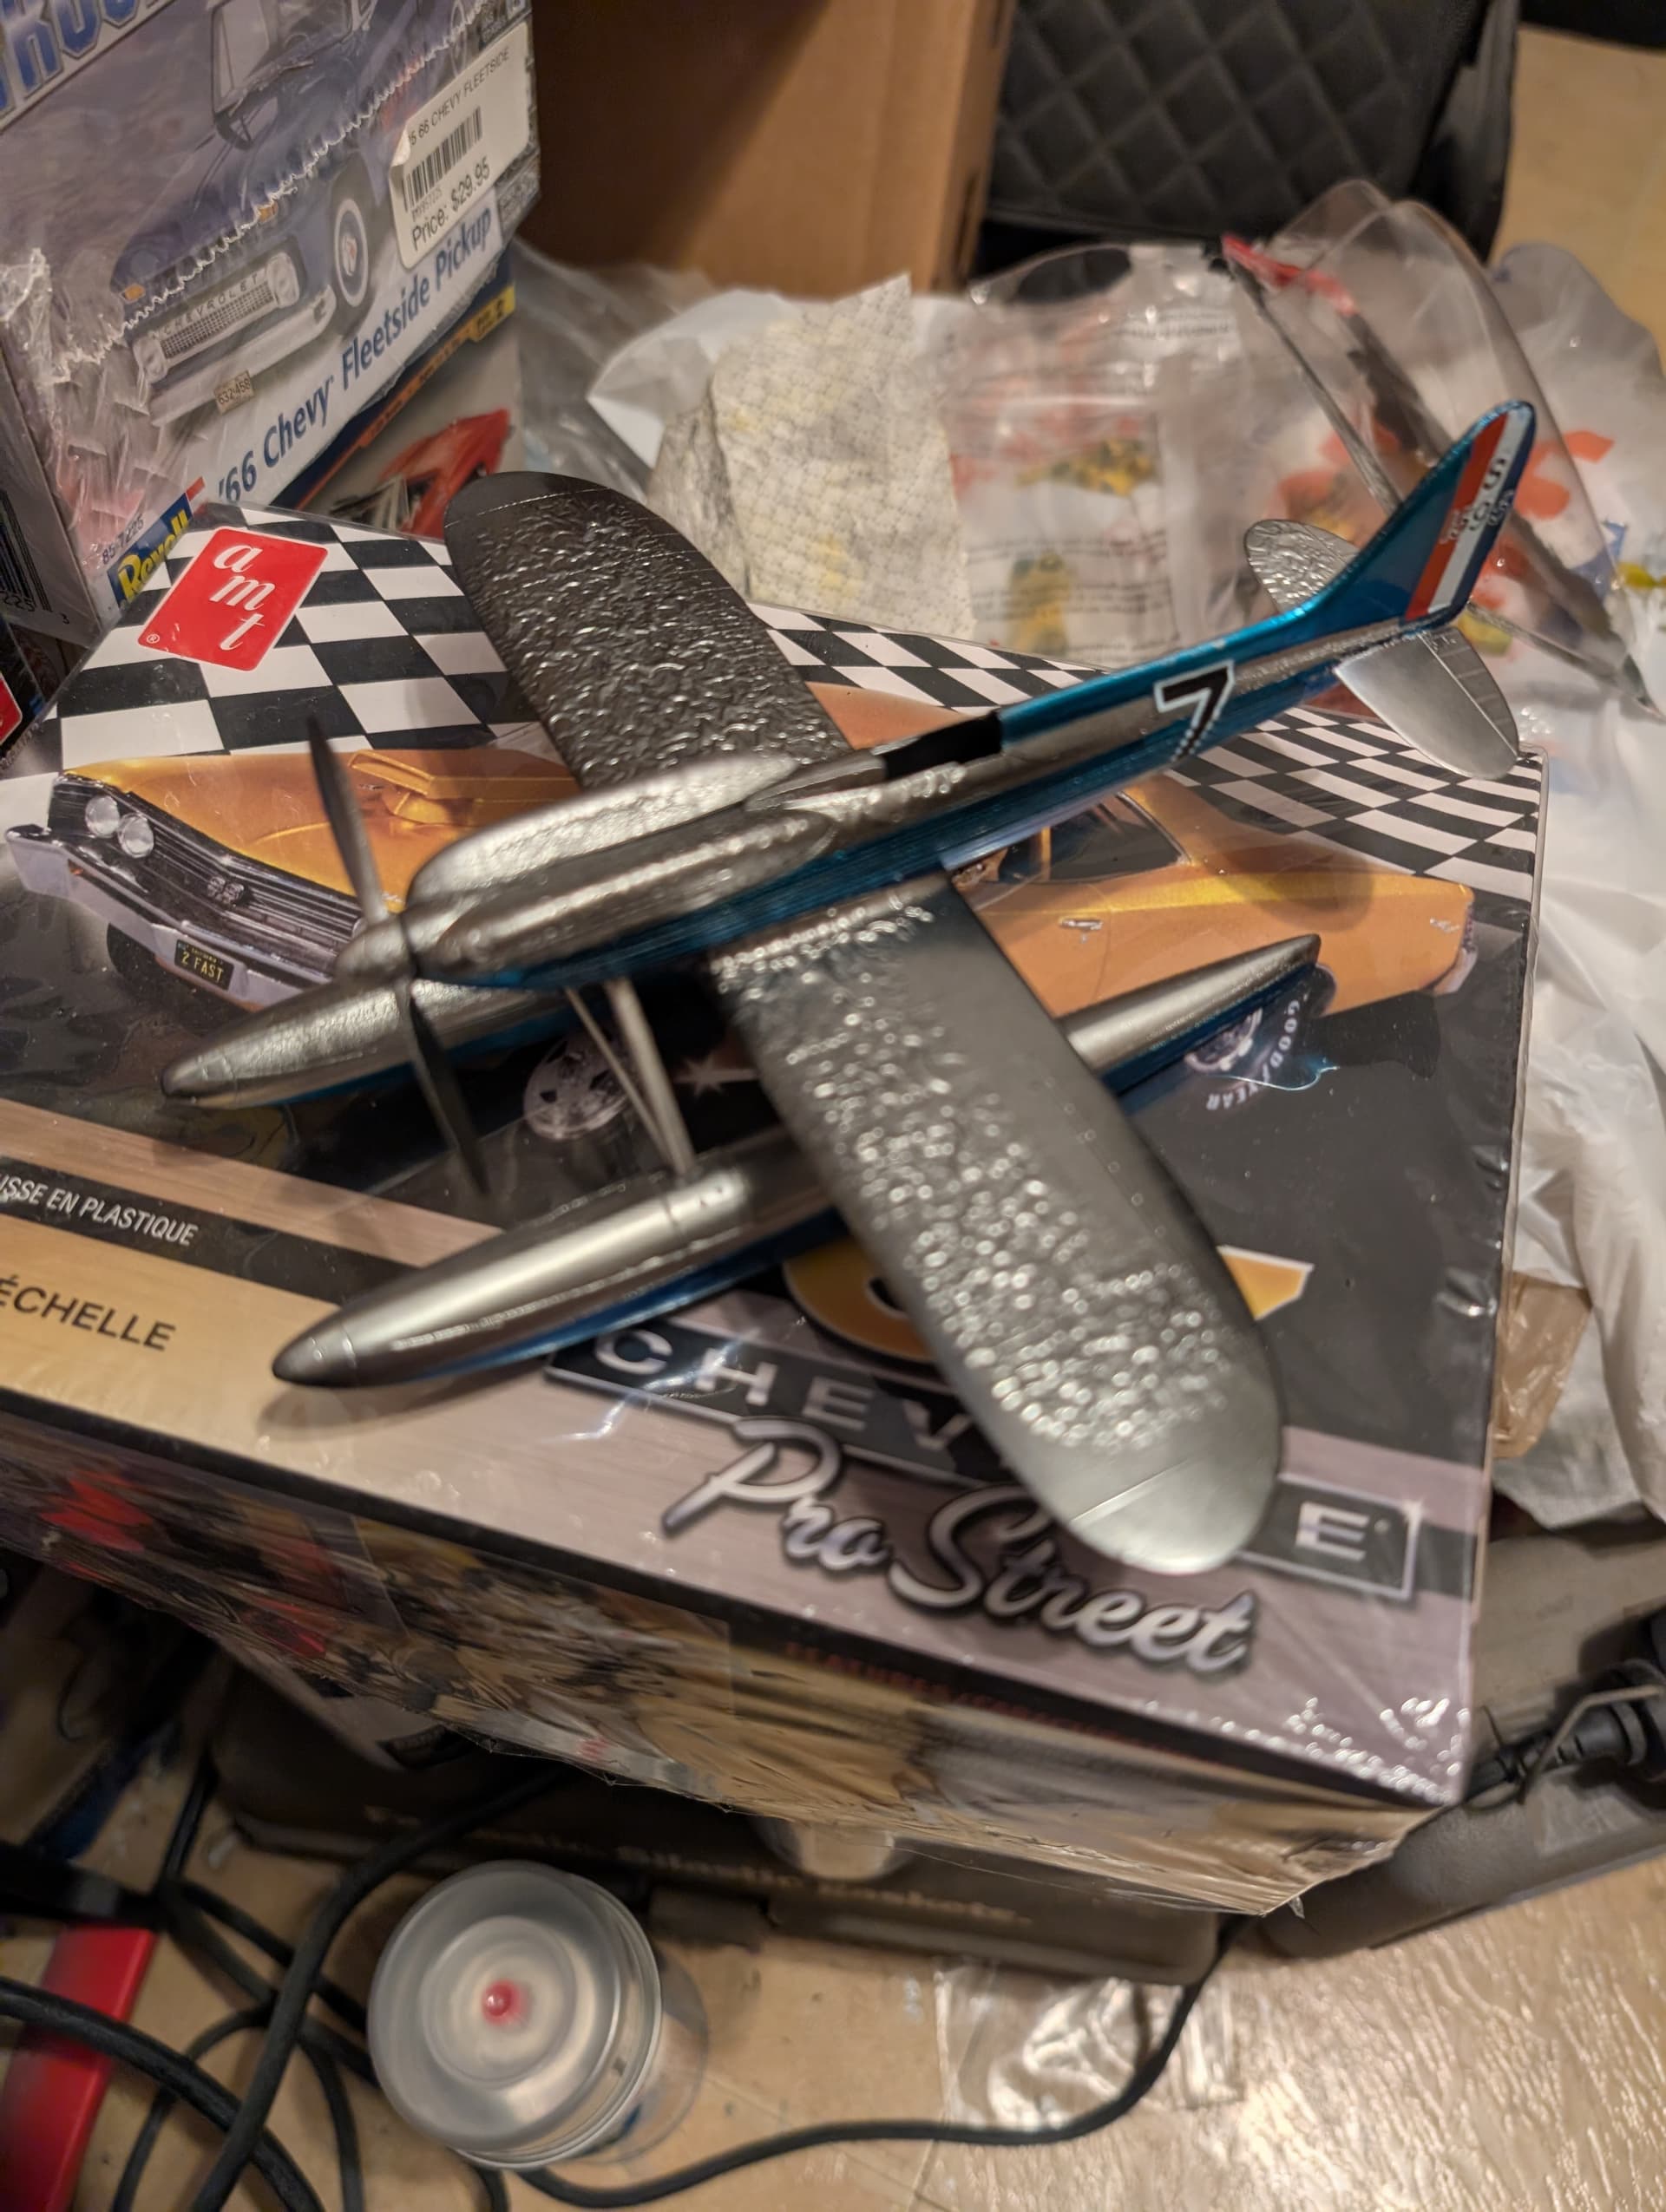
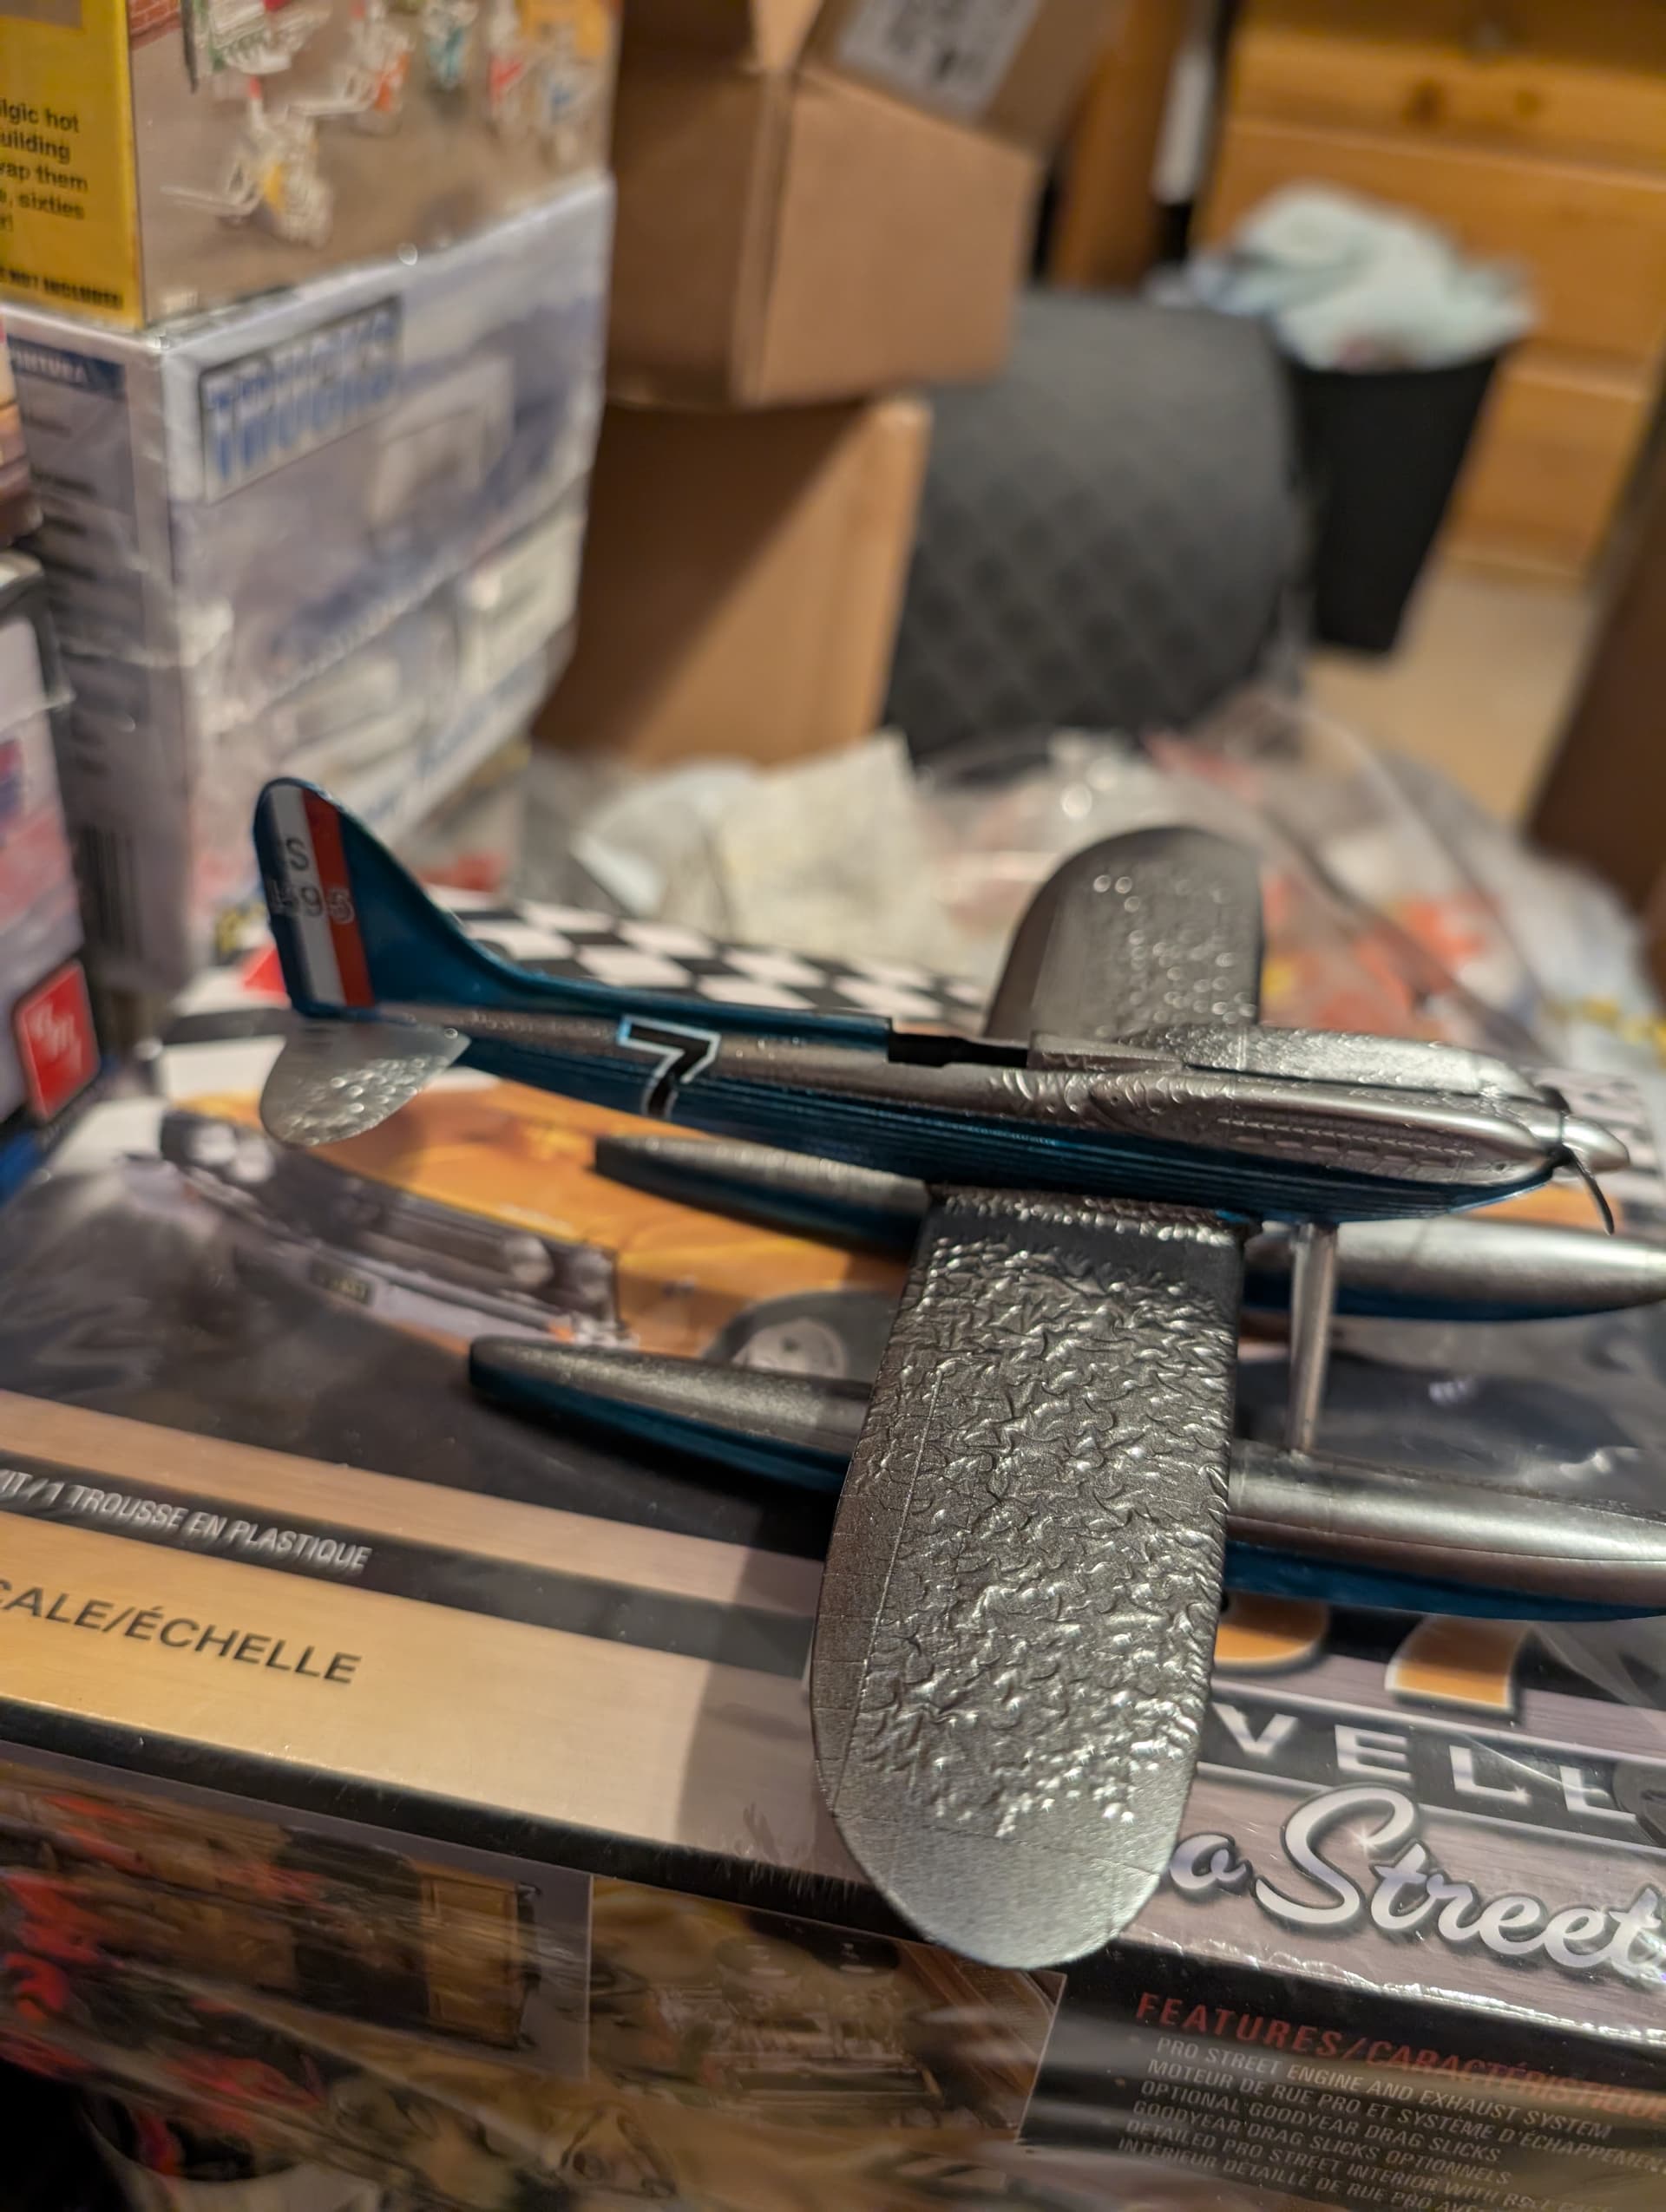
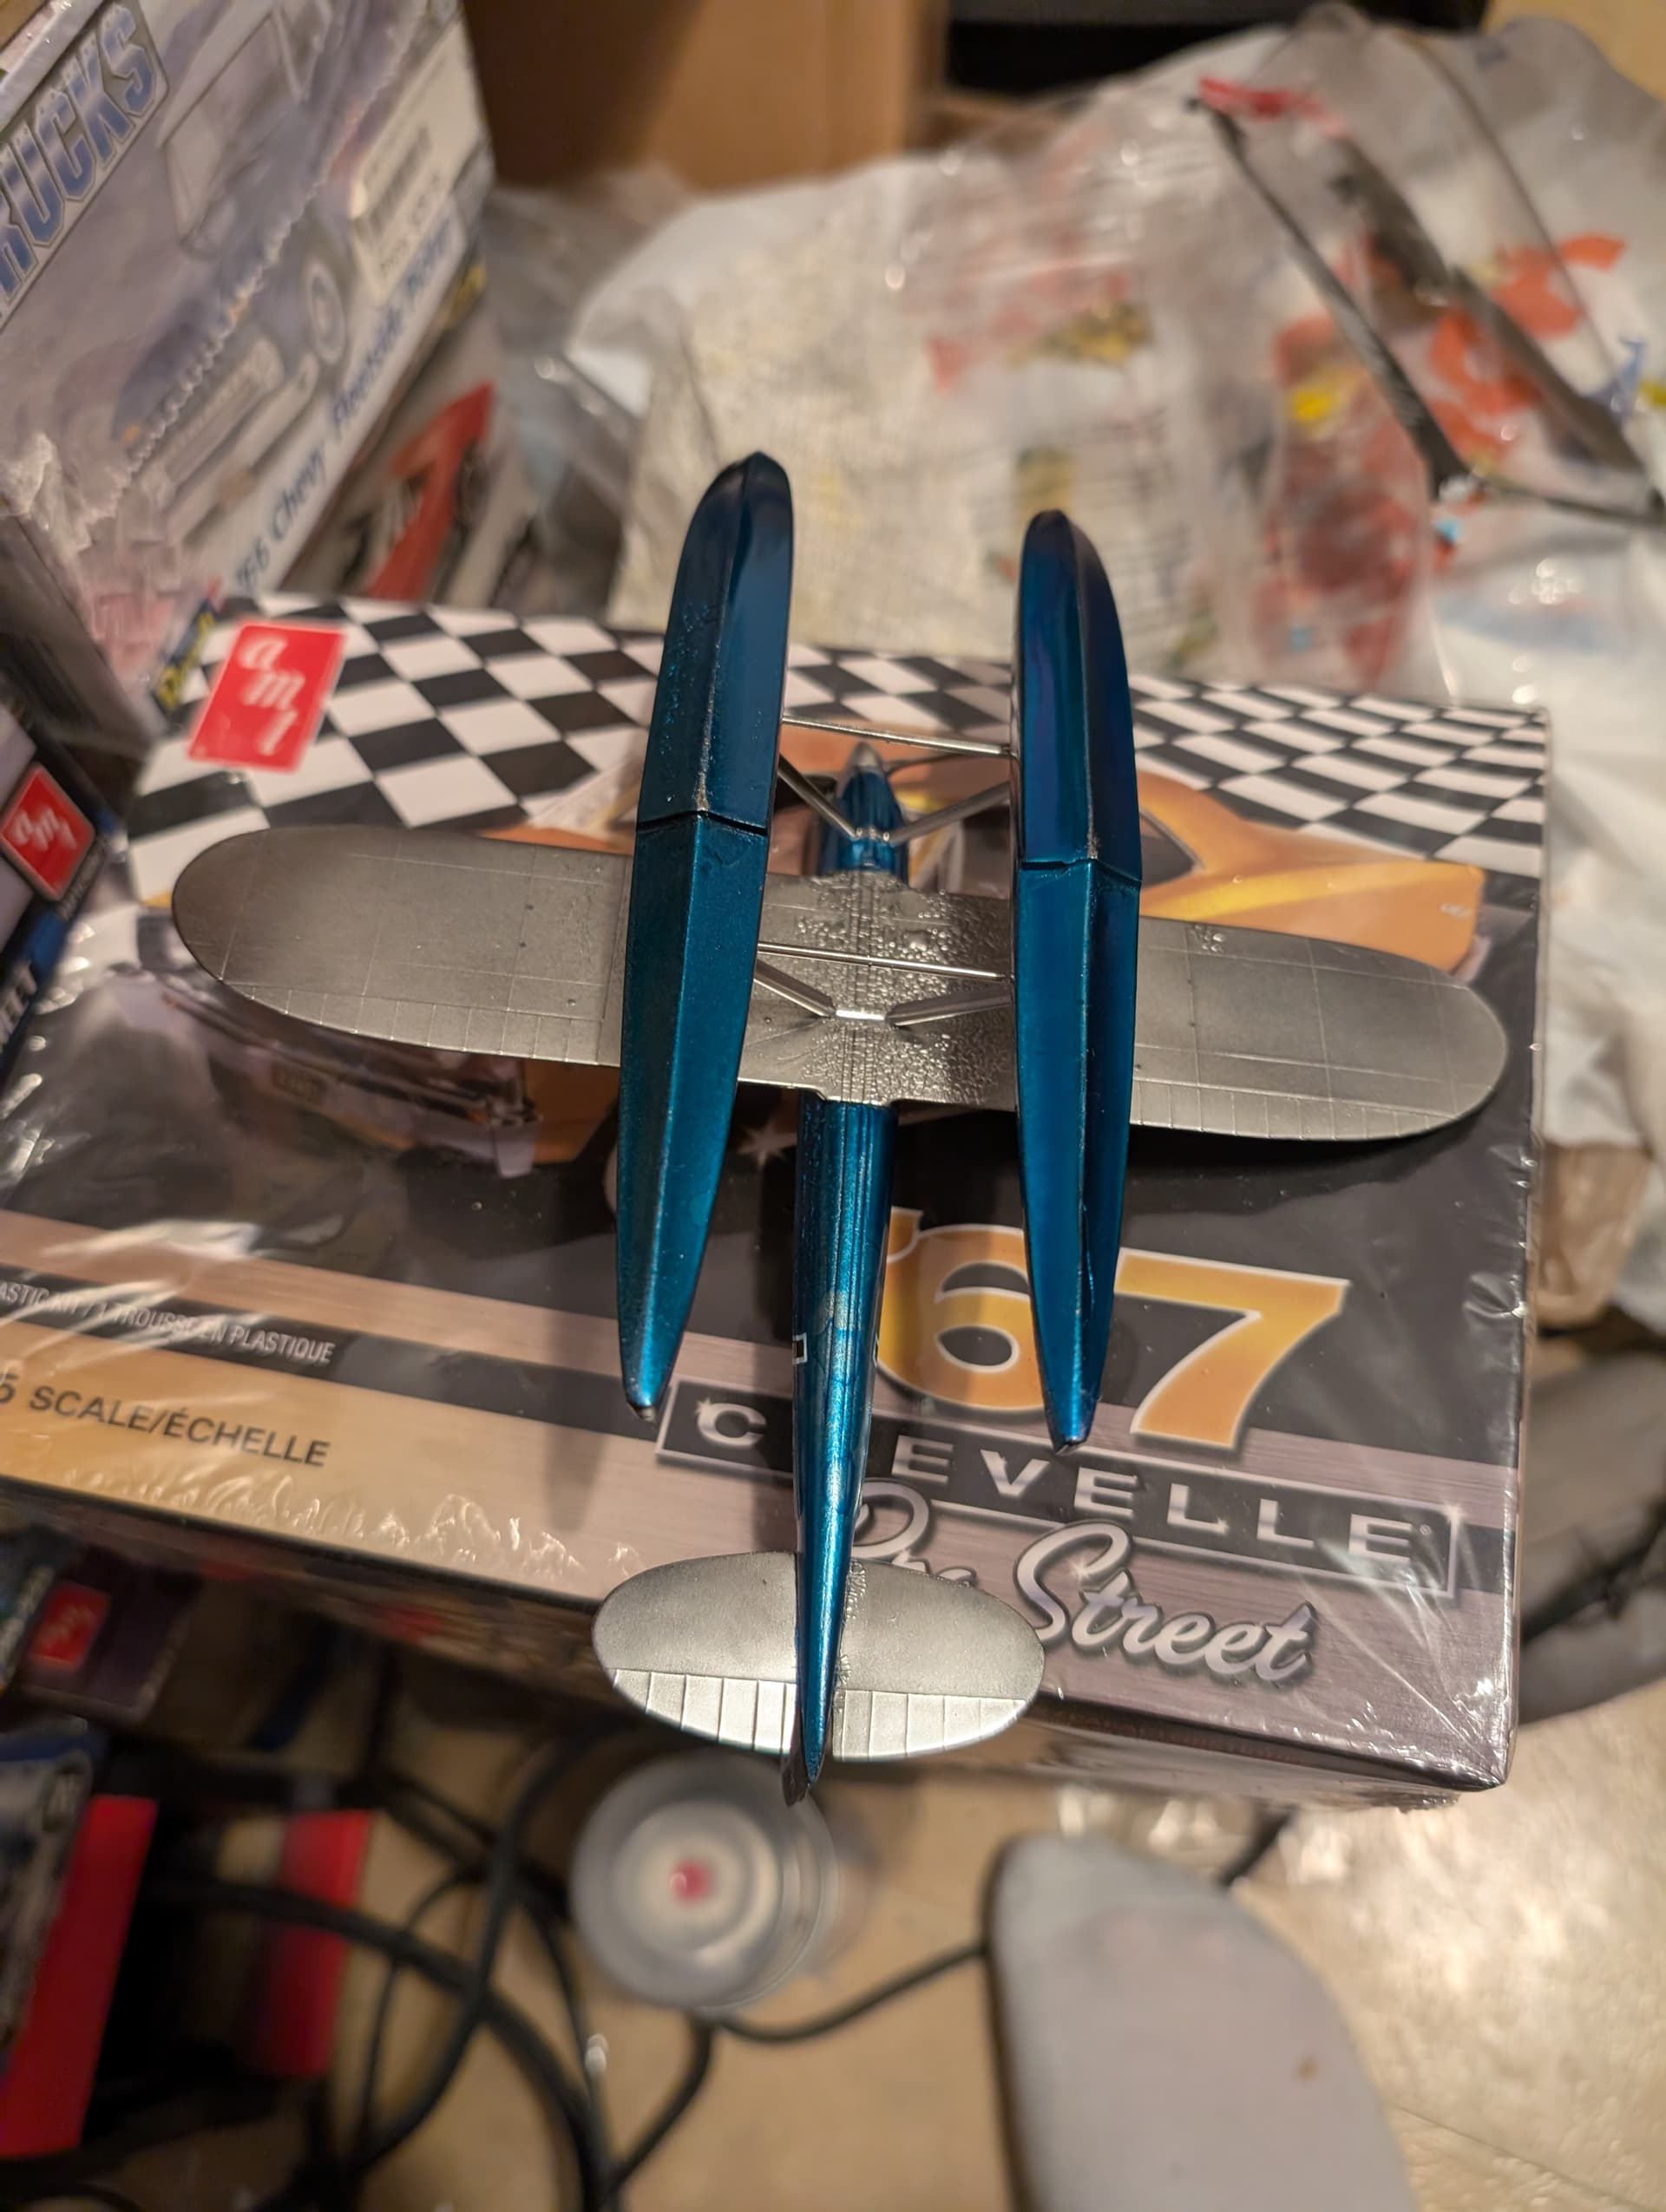
I understand about screwing it up. I had a Supermarine S6b almost completely built. I have the paint on, decals on, and it looks pretty good. Then I sprayed an acrylic clear coat over it and the good paint job went bad.
4 Likes
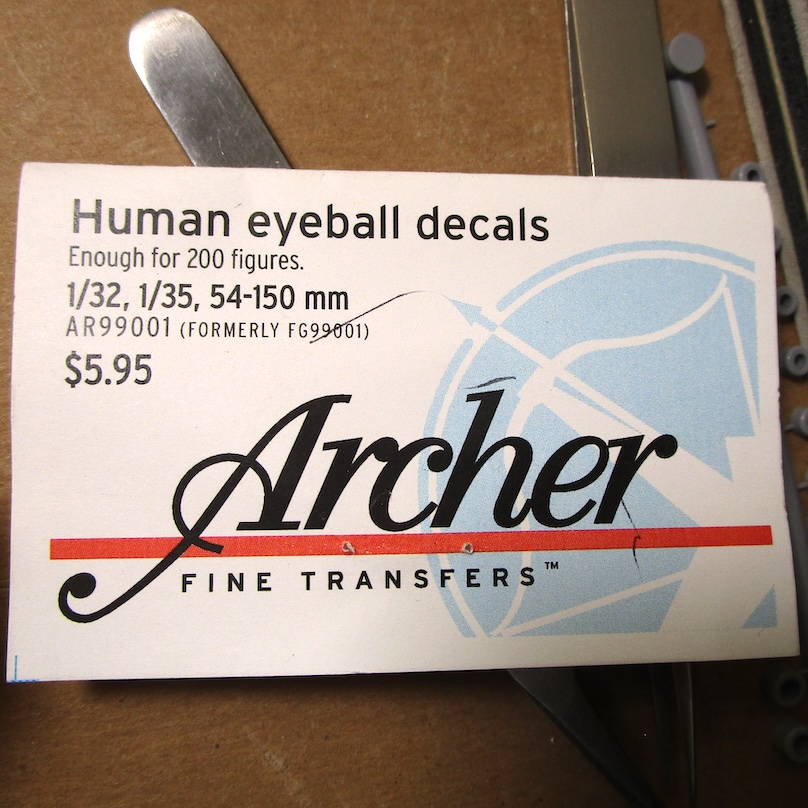
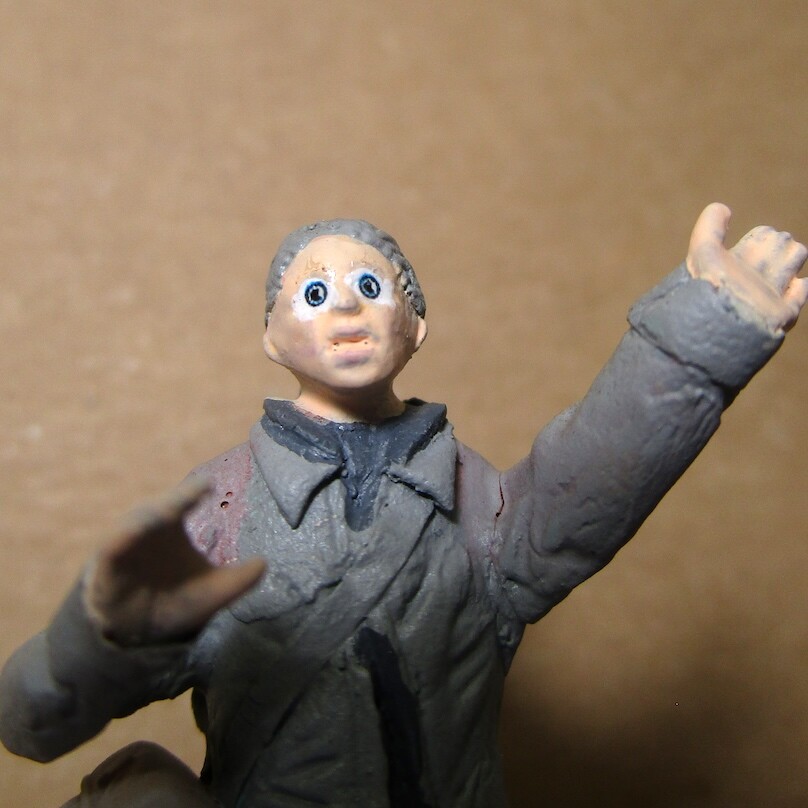
Bummer man. Yeah, just walk around the block while shadow boxing. You’ll feel better. Or take a look at these decals I’m trying out today on a 1/35 figure. Lol
12 Likes
That’s $5.95 I bet you would like back !!!
4 Likes
well I’m on the way to making my B29 at least look good at 5ft. no competition for it. I’ll get there. the rest of the model is tuff too. instructions are very poor. that’s my excuse anyway
4 Likes
Thank you Steve!! I have like a dozen or so Poly Scale paints and even some Poly-S and they are all still good!
Out of the two, Poly-S was thee best for brush painting especially for doing figures!
Heck I have a few bottles of Floquil and they too are good!
I loved their gloss/flat line until they changed up the formula especially with the flat coat.
You’d get a fogged appreance when airbrushed and soon after that, they got sold..
Happy Modeling,
Mike
2 Likes
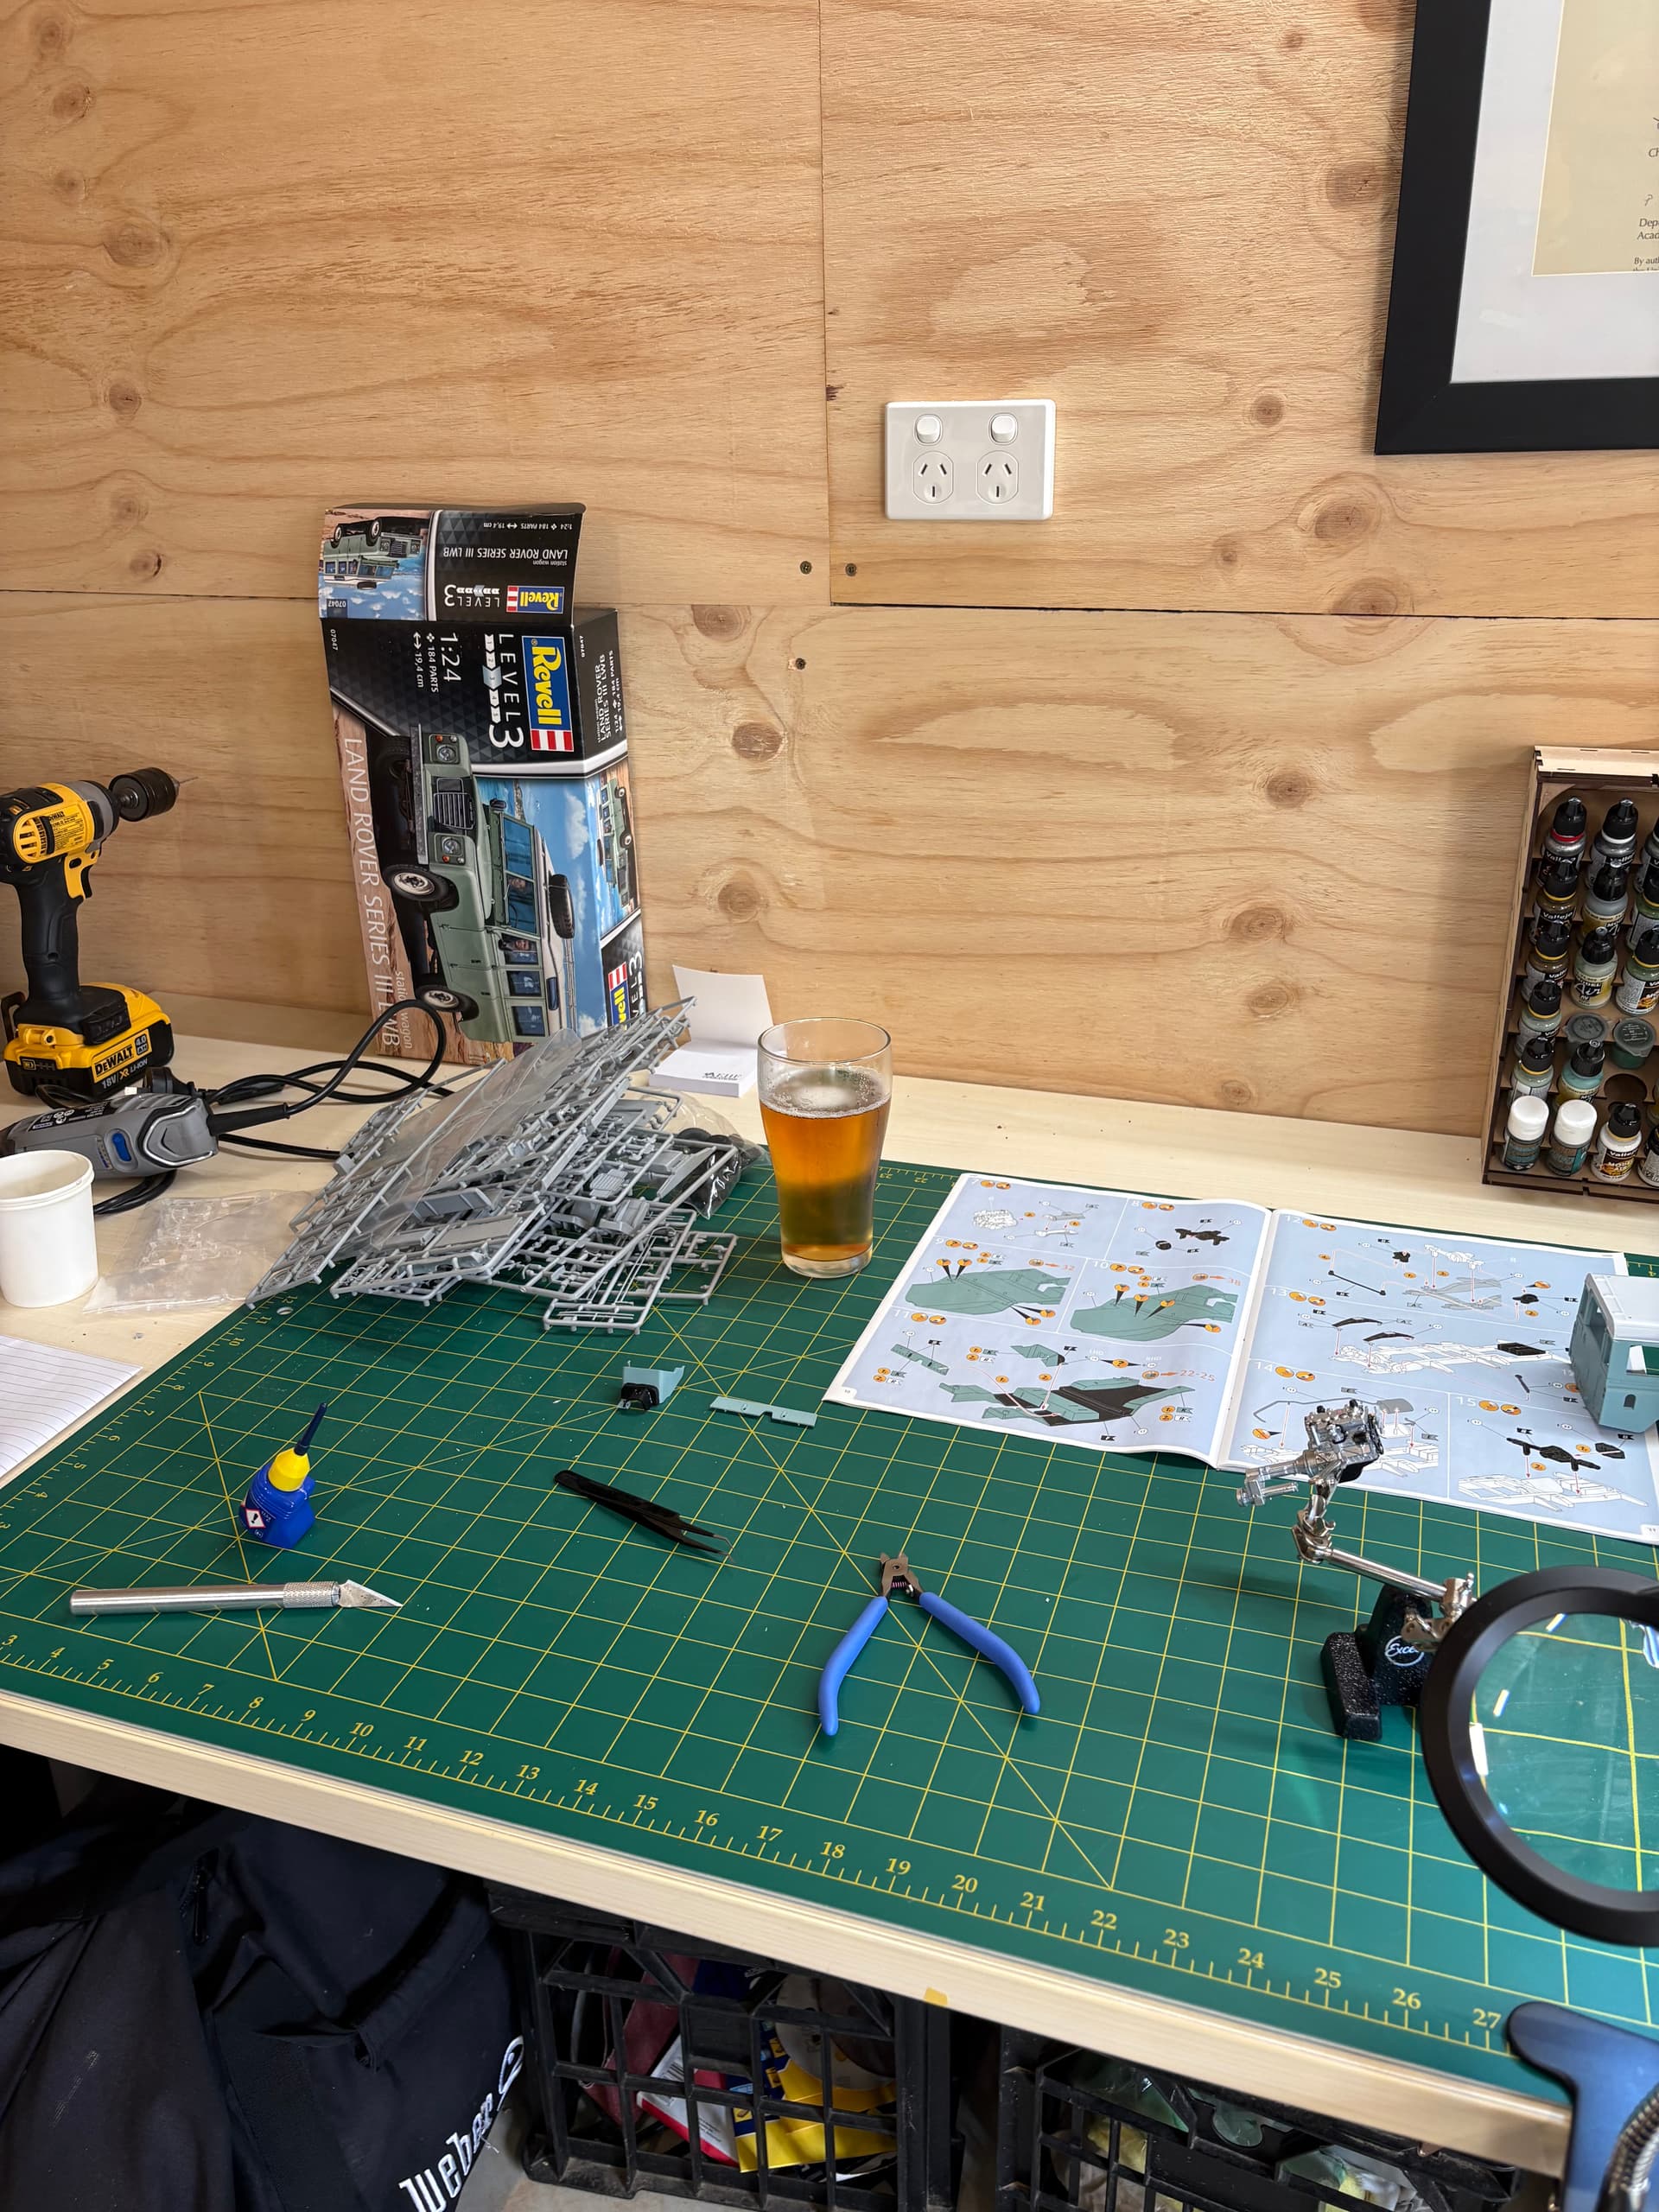
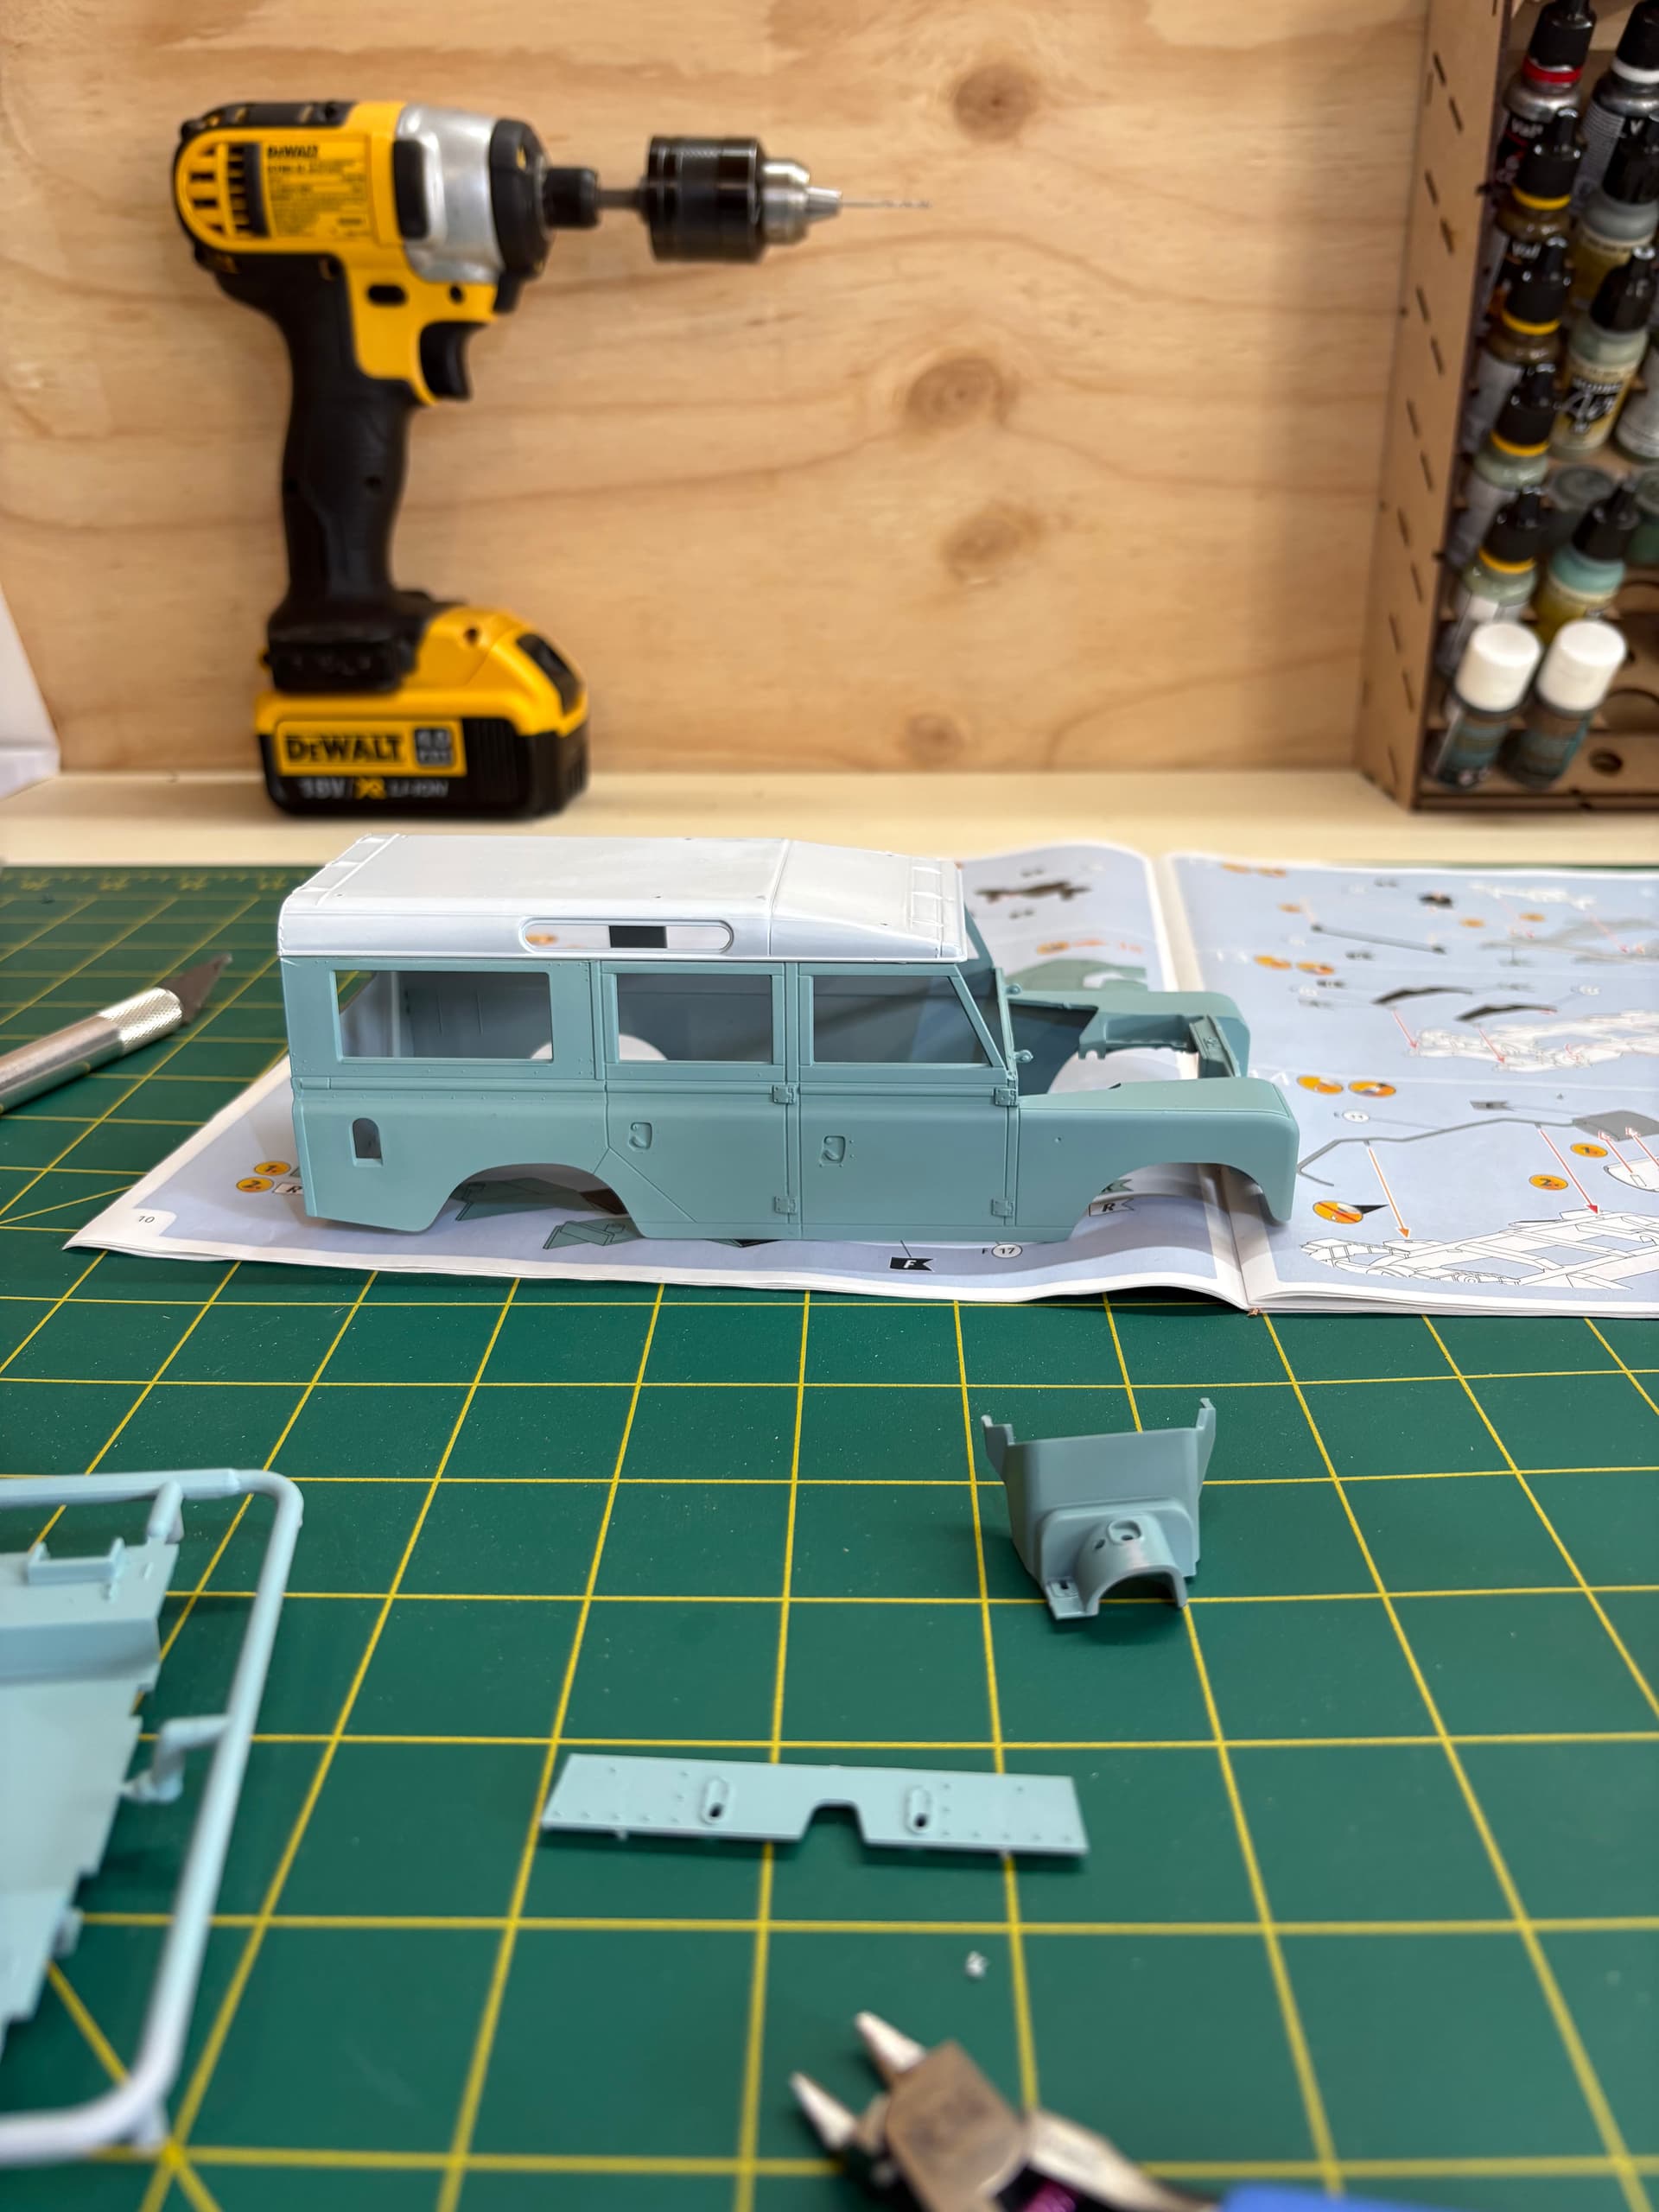
Well it has been awhile I finally got this Airbrushing gimic sort of nutted out. Nice to have a full day at the bench to have a play around a work a few things out. Now hopefully this will become a regular occurrence ! All the best
9 Likes
Hmmm, me thinks airbrushing isn’t a gimmick, rather it’s tried and true. Relatively new to it myself. Happy to hear you are having success with it. Looking good, what you’ve done. No doubt, a game changer.
Cheers,
Mark
3 Likes
@MisterMeester Yes mate, that was a bit tongue in cheek calling it a gimmick !!! gamechanger for sure, and how satisfying is it when the paint finally does what you want it to!!!
2 Likes
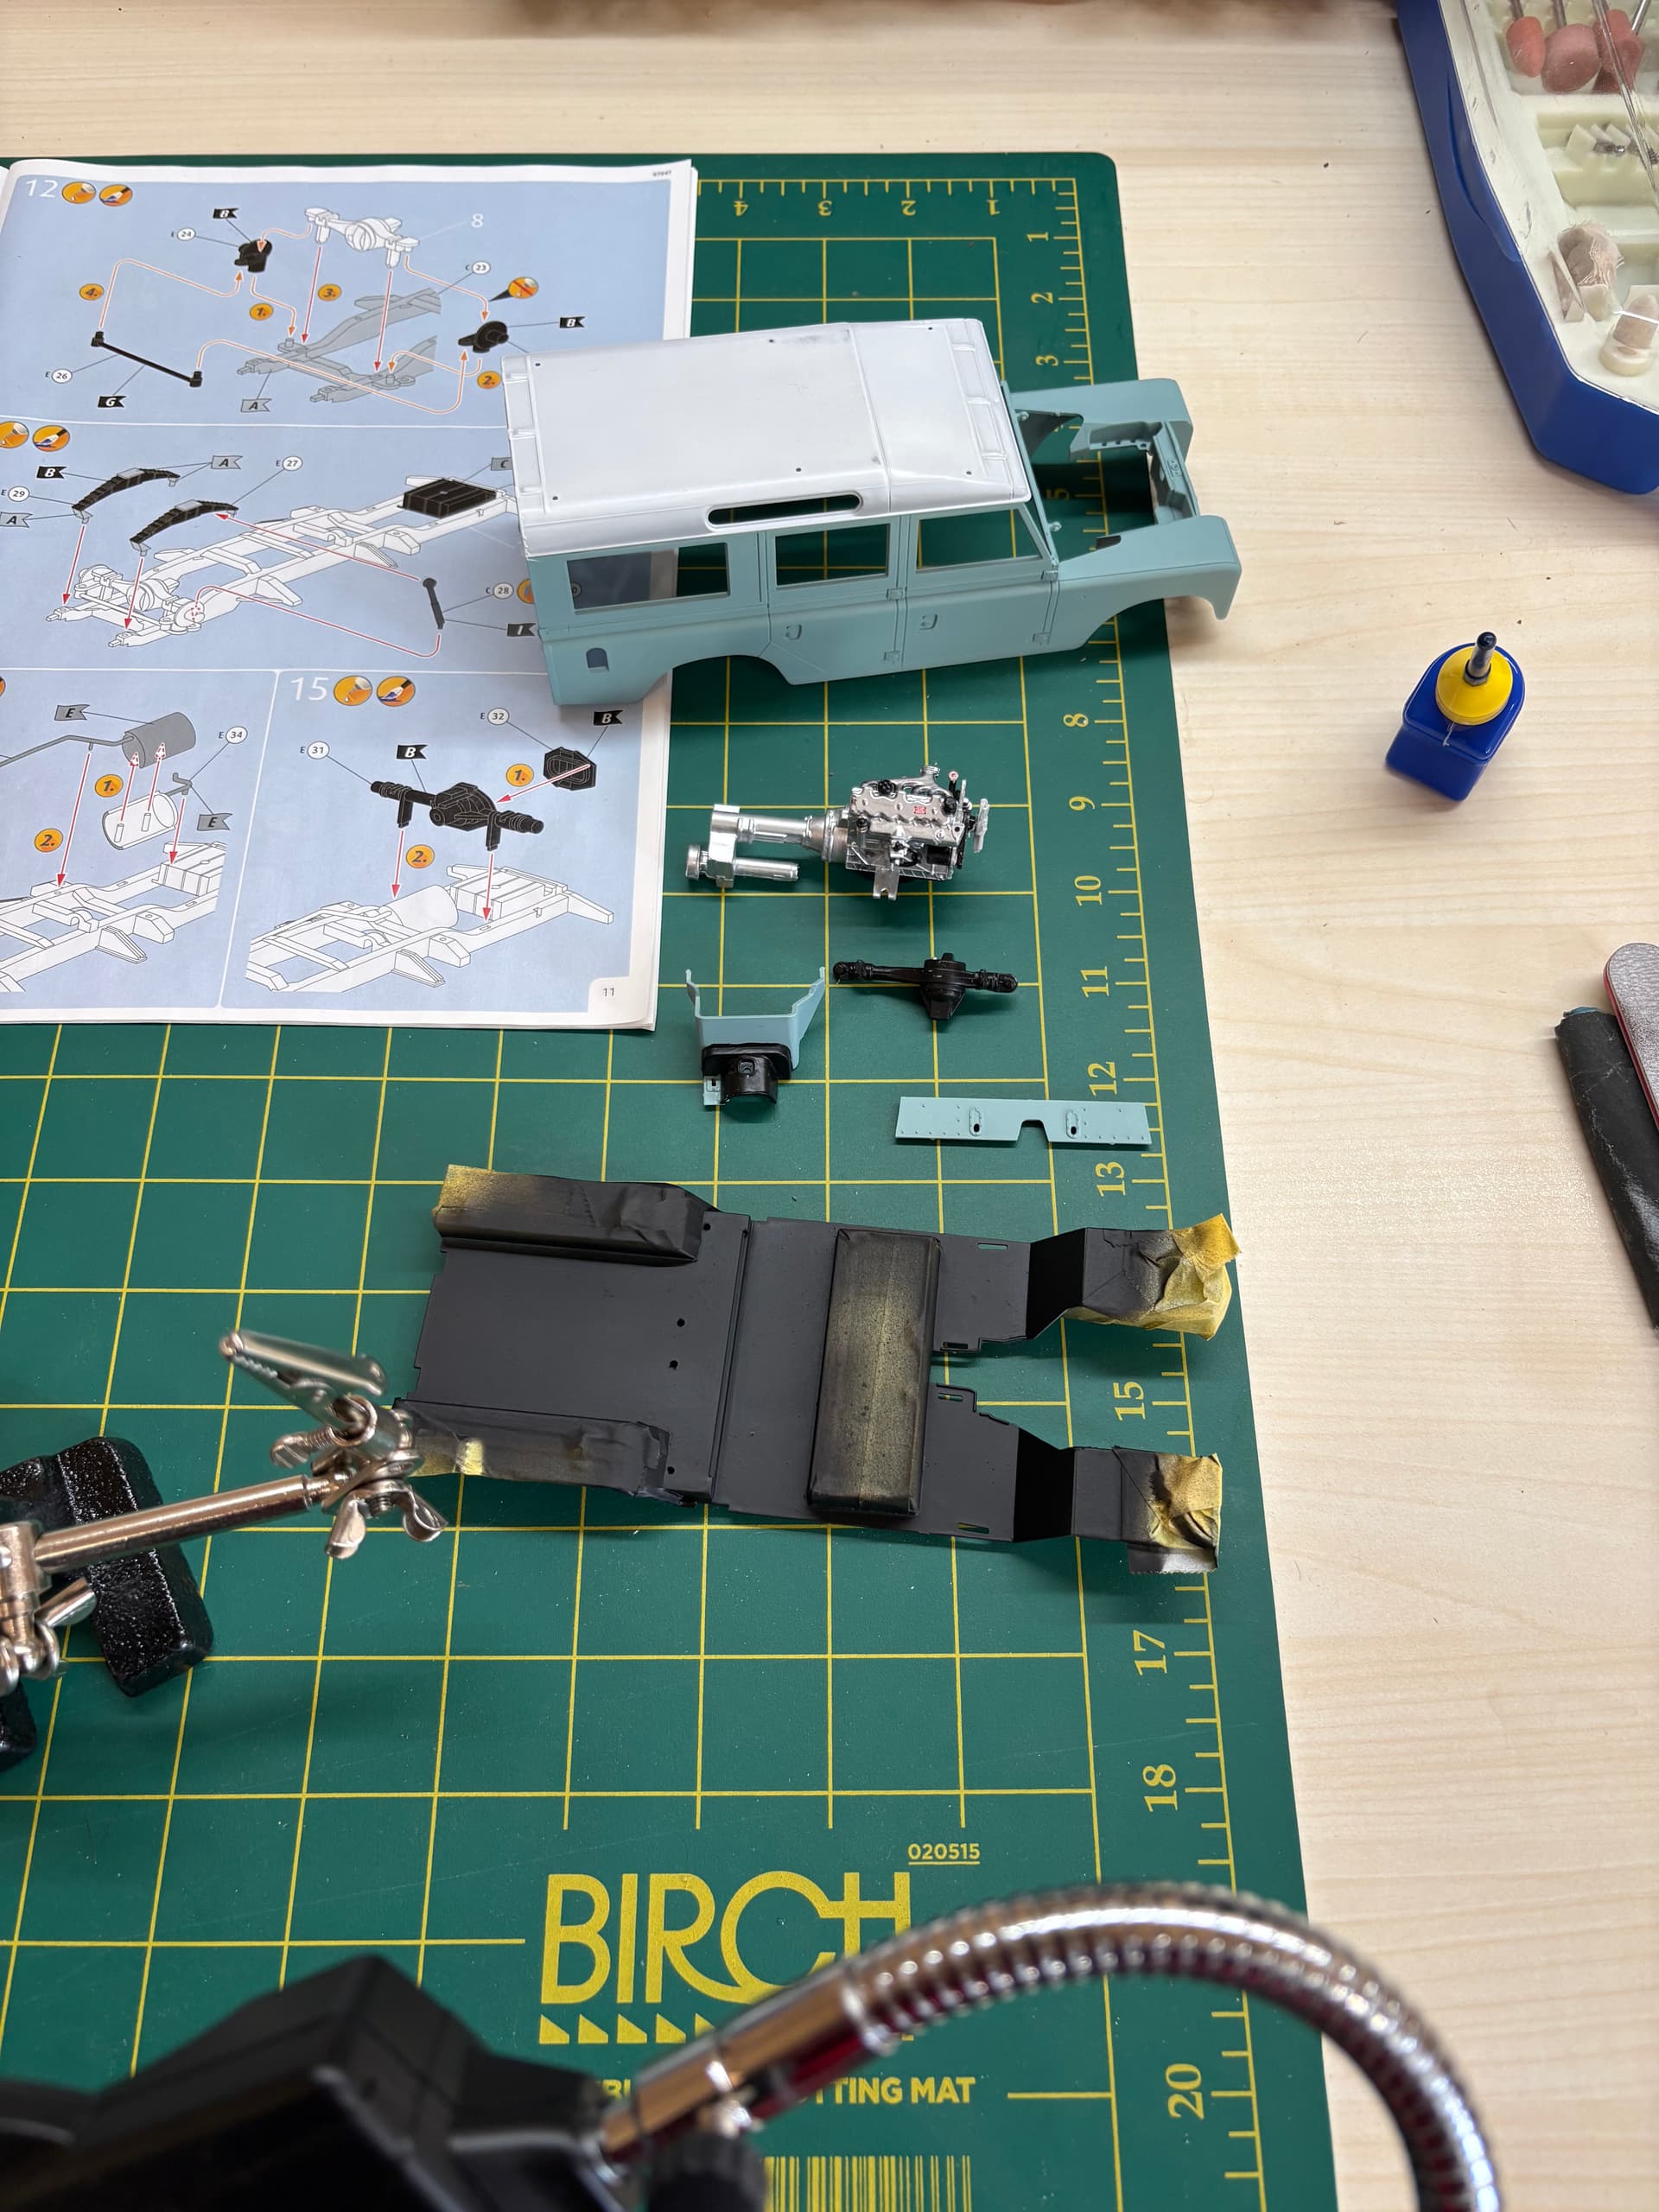
Rover is looking good @jasransm. I really enjoyed build that kit. As I recall I had some issues with the gas filler nozzle/recess but could just be me. You get lot of seats in that kit!
2 Likes
I’m reacquainting myself with a partially built Mustang Cobra kit I started years ago, to get back into modeling. I’m nearly ready to paint the body. I’ve put together a workable, if small, workbench and found most of the old tools and materials. Unfortunately my old Badger 200 airbrush, which I found stuffed in a box with no cap on it, succumbed to a bent needle, which trapped the nozzle onto it. Rather than spend money on parts in an attempt to resurrect this, I bought a new Patriot 105, which arrived this weekend. I’m looking forward to putting it to use, though I’m a bit intimidated by my first double-action airbrush. I’ll be sure to practice on something first.
3 Likes
Yonder figure looks like a Nazi who was just hit with a ray that’s in the process of turning him into a baby.
3 Likes
I’m sorry, those are funny looking eyes!
4 Likes
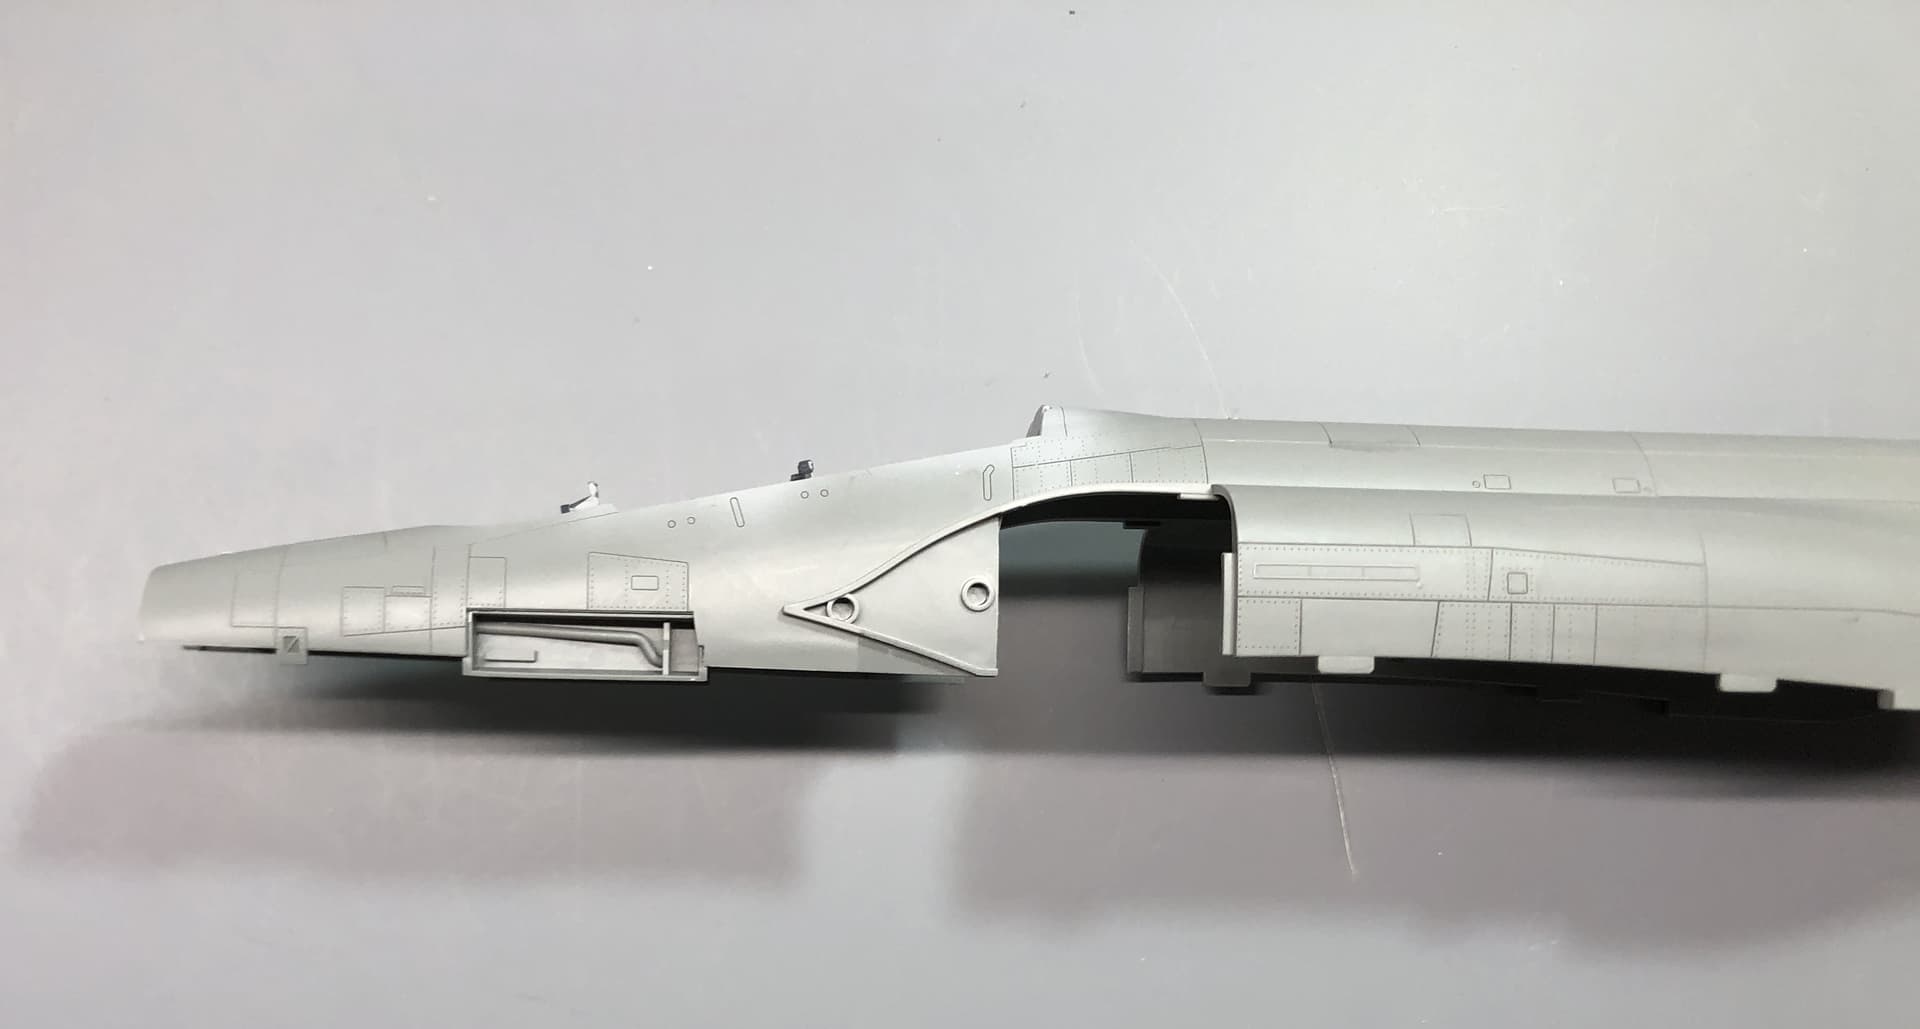
Progress on Meng’s F-4E 2020
Over the weekend I attached the upper and lower fuselage halves and the vertical fin/rudder.
Image 2017 shows the front half of the fuselage. The boxed opening is Meng’s “feature” of showing internal detail. The door, supplied as a separate part is labeled “Equipment Refrigeration Unit” the counterpart on the right fuselage is “Cabin Refrigeration Unit”. These door are not hinged they must be removed by loosening screws. I’m not sure why Meng decided to model this particular door as openable since no other panels are. They do include the internal equipment but I didn’t bother to install it. The image also shows the large tabs which fit into upper wing surface slots for a secure joint.
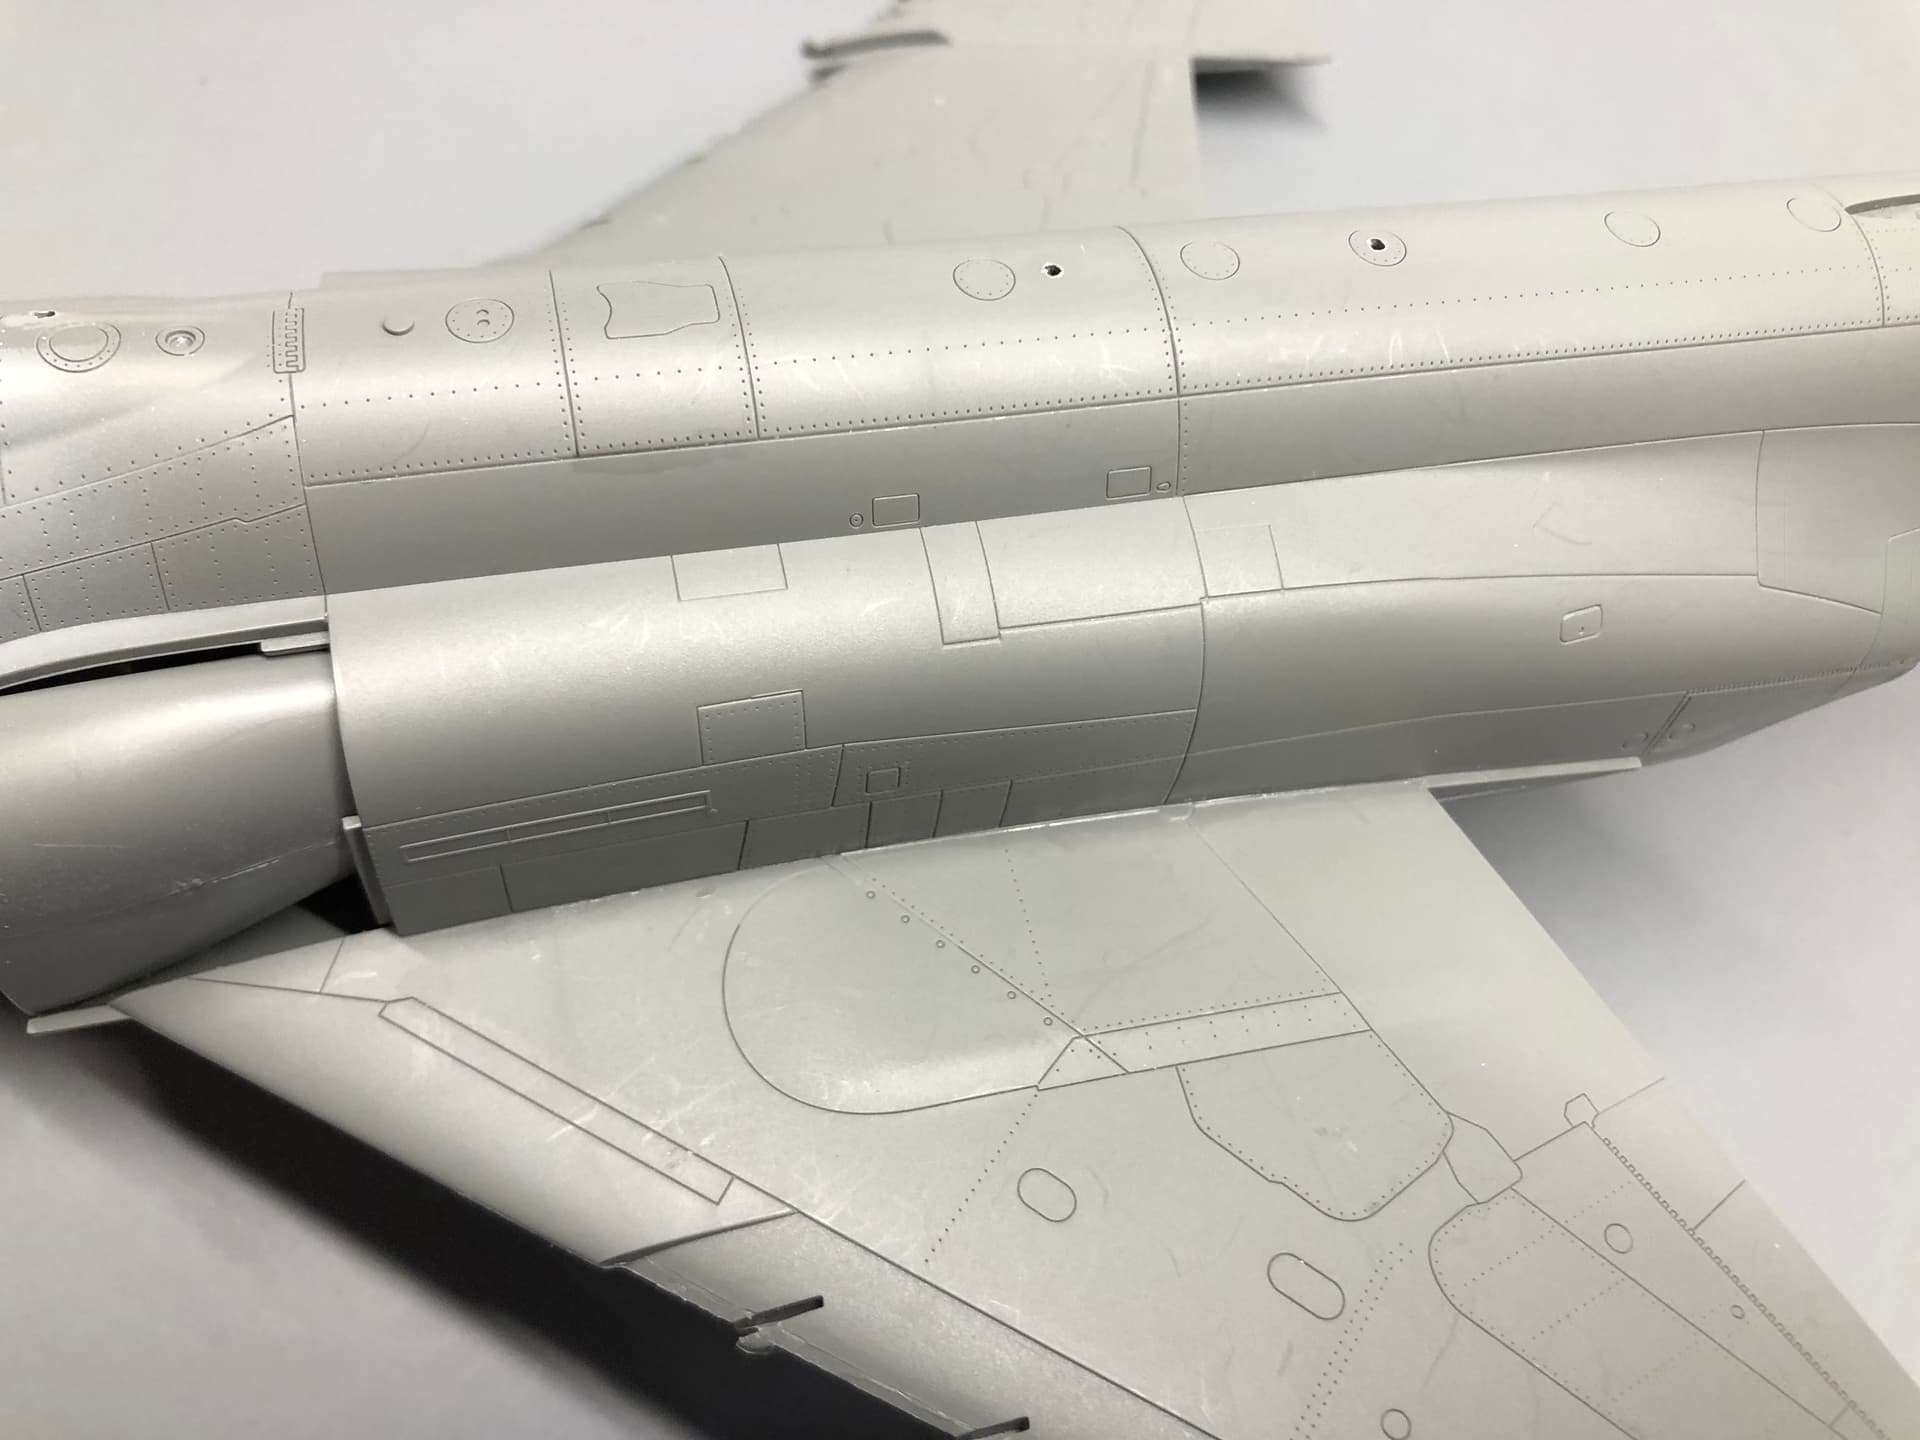
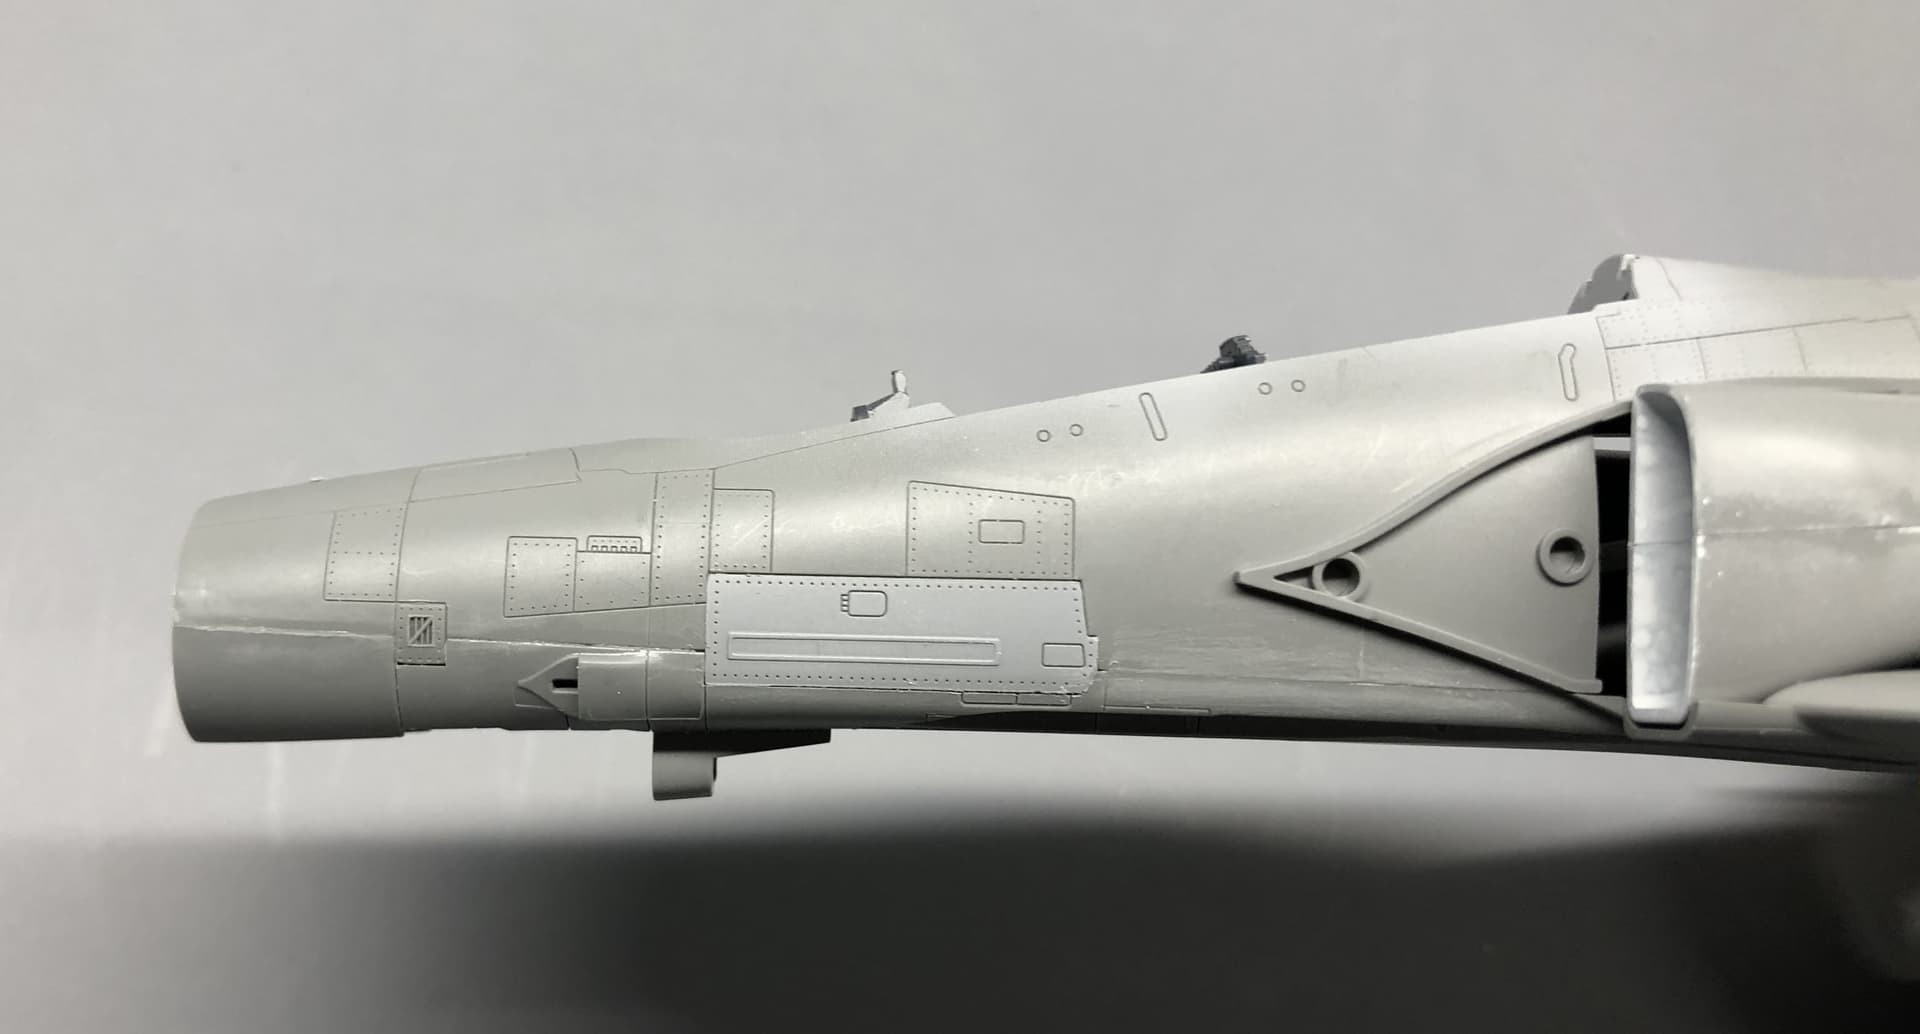
Using Tamiya thin quick-setting liquid glue I started with the center fuselage/wing joint. Excellent fit.
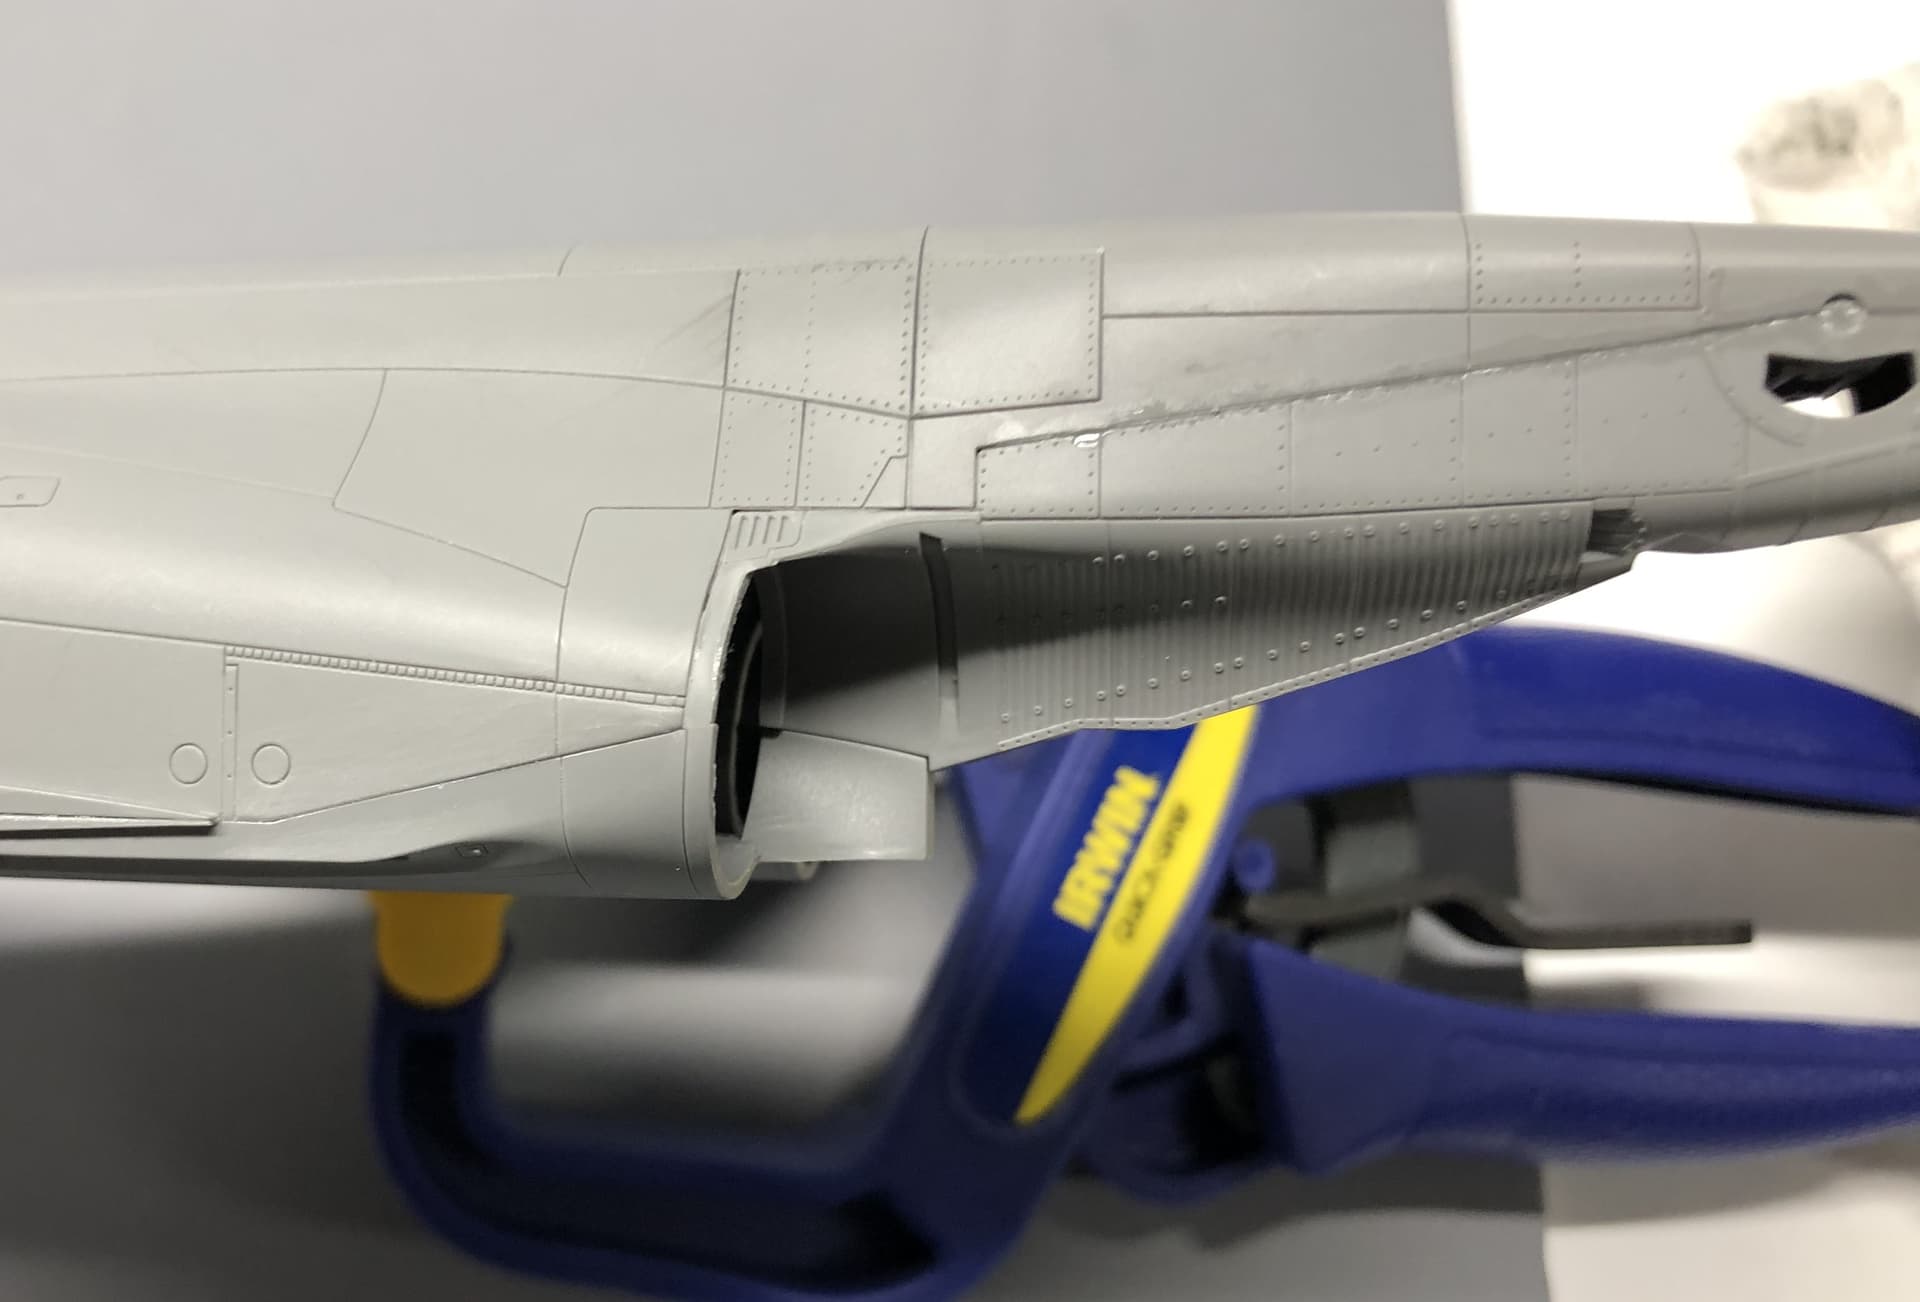
Next I clamped the fuselage halves together forward of the wings and glued applied glue. After it dried the access door was added. A surprisingly good fit. See Image 2023.
Finally I glued the aft fuselage joint. No issues, although the diagonal joint is not on any panel line. It looks like it will clean up acceptably. Image 2024.
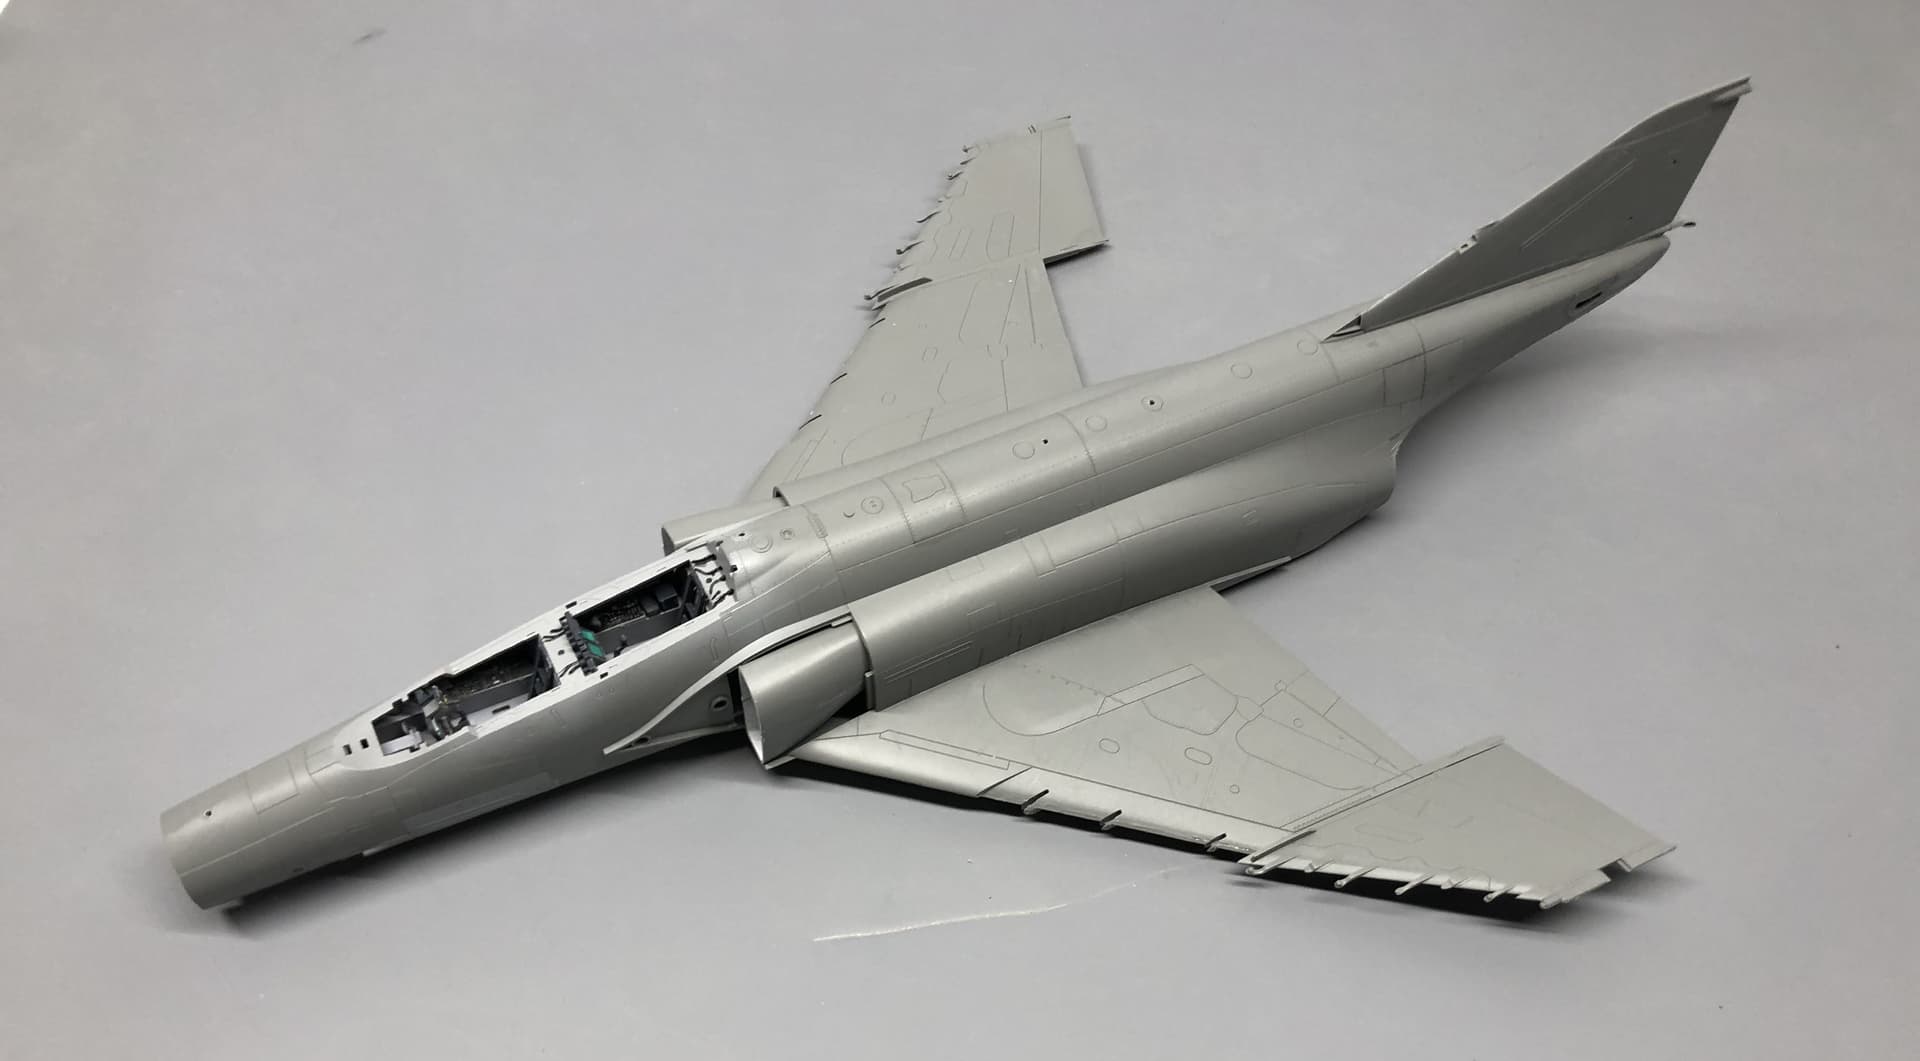
The completed wing/fuselage assembly is shown in Image 2026. After adding the fin/rudder which is modeled as a separate assembly like the Academy kit.
10 Likes
Been scratchbuilding on my 1/18 Harrier:


10 Likes
Your stowage is looking really sharp!
2 Likes
Wow! so sorry to see you beautiful paint job go so wrong. Best of luck in salvaging you efforts.
1 Like
Some great detail work!
1 Like
Wowzers that’s detailarific! ![]()
2 Likes
I have never seen a model of a lysander before now …. looks really good ![]()
2 Likes
Thank you! I had fun building it. My wife has graciously allowed it to be displayed on a prominent bookshelf in our library.
2 Likes