They are decals. Long process but really liking the results.
1 Like
I’ve been using them since 2013, they’re the only wash I use when I need to. Super easy to use and they can be purchased in the US from High Altitude Hobbies dot com.
Steve
2 Likes
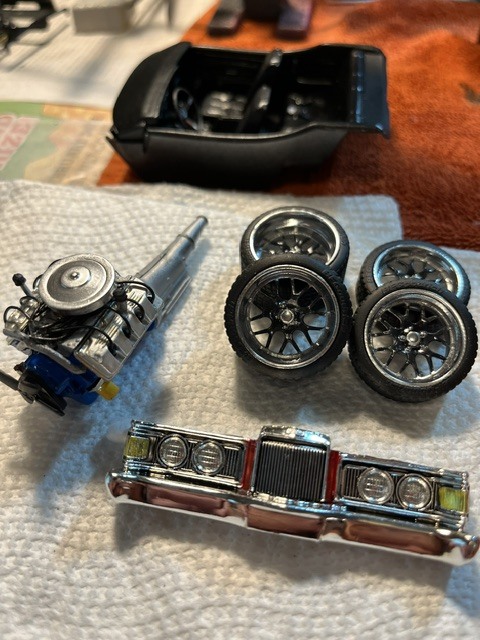
I have an AMT/Ertl 73 Cougar from 2004 on the bench today. It’ll get 21" resin wheels and a lowered stance to go with the Boss 429. Paint is Testor’s Custom Red sprayed over metallic silver. Mr. Surfacer 1000 is the primer used on this one. The Boss 429 will be wired too. Not to much to it. It should be a pretty straight forward build on this one.
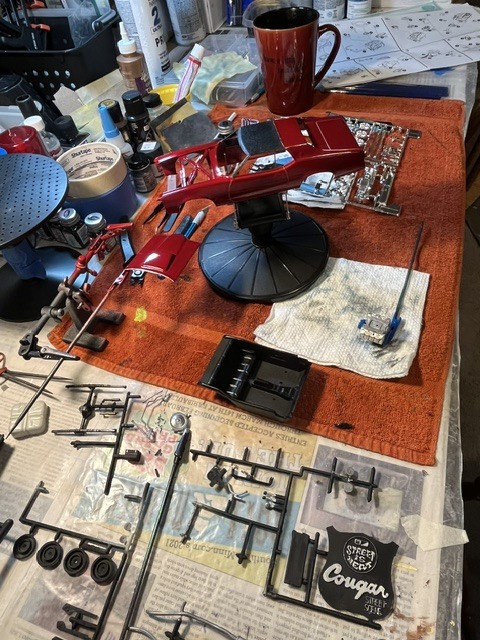
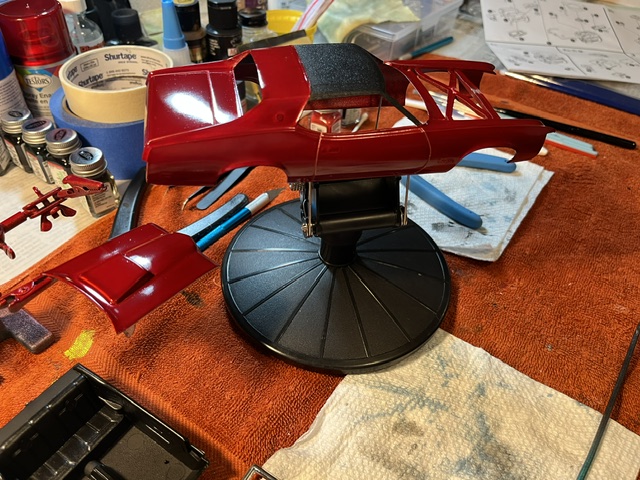
Progress 9/8/26: Wired the Boss 429, Black washed the grille, glossed the headlights, painted the turn signals, and painted the red grille accents. Painted and chromed the resin wheels.
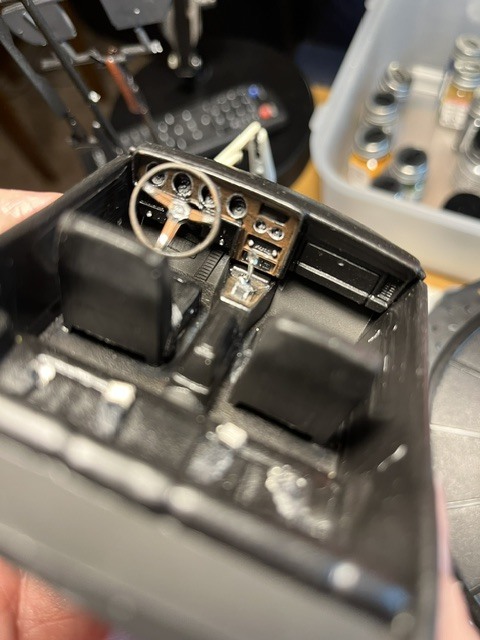
Installed photo etched seatbelts and painted the dash.
7 Likes
It never ceases to amaze me the fantastic work and great ideas on how to do stuff that I see on this site. Thanks to all those who take the time to post their projects so we can see what you are up to!
1 Like
I can definitely relate to the “long process” part. I bought a Cricut so I could learn how to create my own masks for painting, and I have yet to actually accomplish that project. But I find large decals like that to be at least as complicated as hand-painting camouflage.
The really disappointing thing about decals for me is that they go on when the aircraft is completely, or at least mostly, done, and they still have the opportunity to totally wreck the project if they don’t go down right. They tear, they wrinkle, they yellow, they silver—there are so many ways for something to go wrong. It’s heartbreaking when you’re at the very last step and one bad decal can wipe out hours and hours of work.
So yours absolutely look terrific.
Quick question.
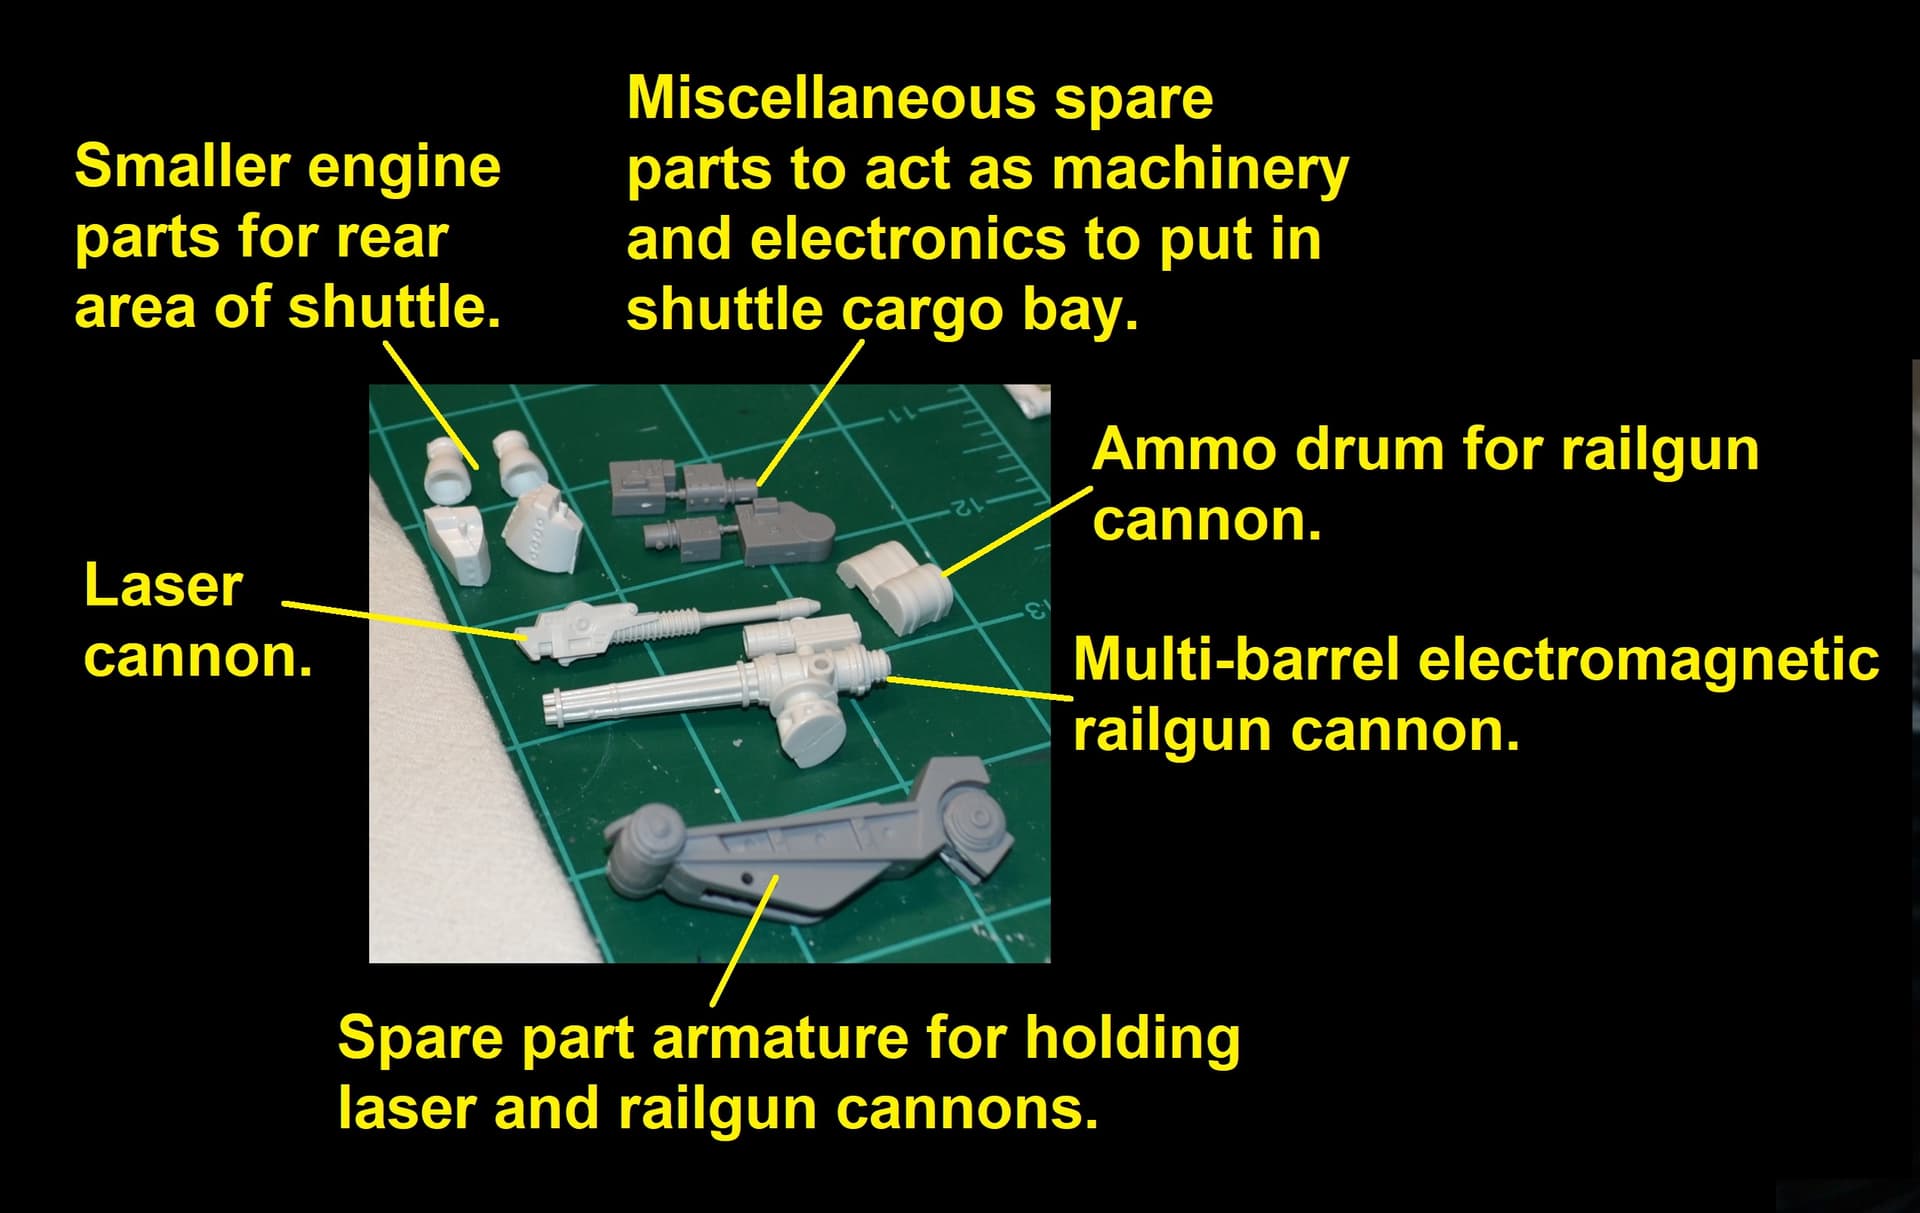
I’m currently in the process of painting various parts and areas on my space shuttle.
But I’m stuck on the following.
The laser cannon and railgun parts will probably be painted white.
But does anybody have a good color on what I should paint the armature part that holds the gun parts? Leave it gray? Paint it white? Or paint it something else?
4 Likes
Think I’m done with the Hornet


14 Likes
Wow, that was fast! Seems like we were just talking about the beginning of the weathering process, and now it’s finished. 
That came out really nice! It’s got that used, operational look without being overdone, which is exactly the way I like aircraft to look.
And seeing it all together now, those stripes really add a lot to it. All that work getting them on there was definitely worth it.
I also really like seeing the finished model alongside your reference photo. You’ve captured the look of the actual aircraft remarkably well. The markings, finish and overall feel of the model really do match the reference.
Really nice build. You should be very happy with that one!
Nice job @keavdog. Looks great, just like the photo. Amazing!!
1 Like
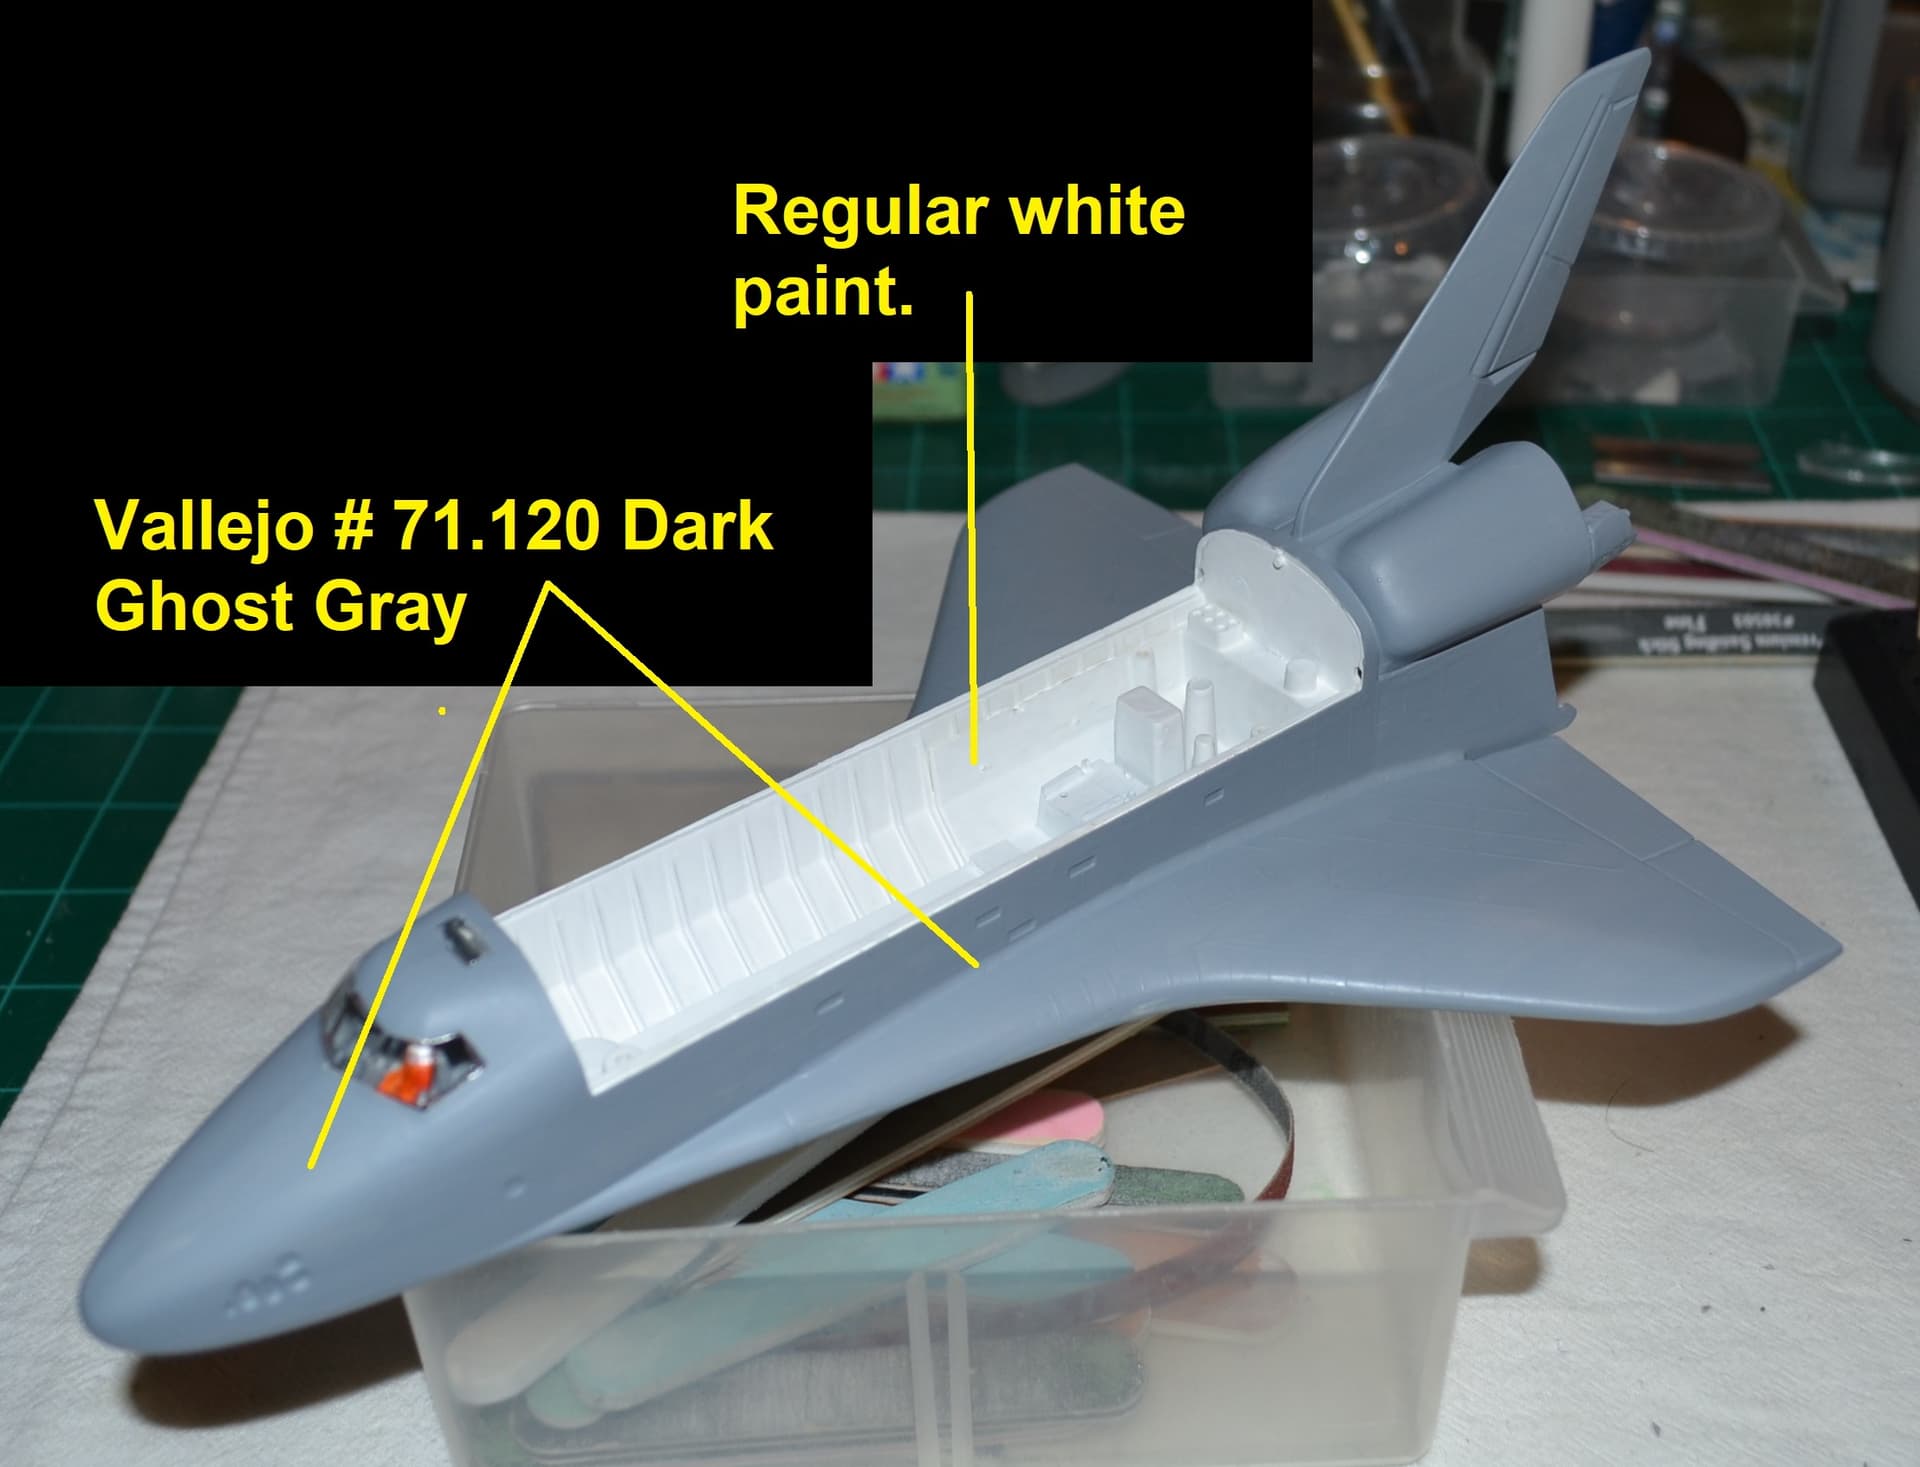
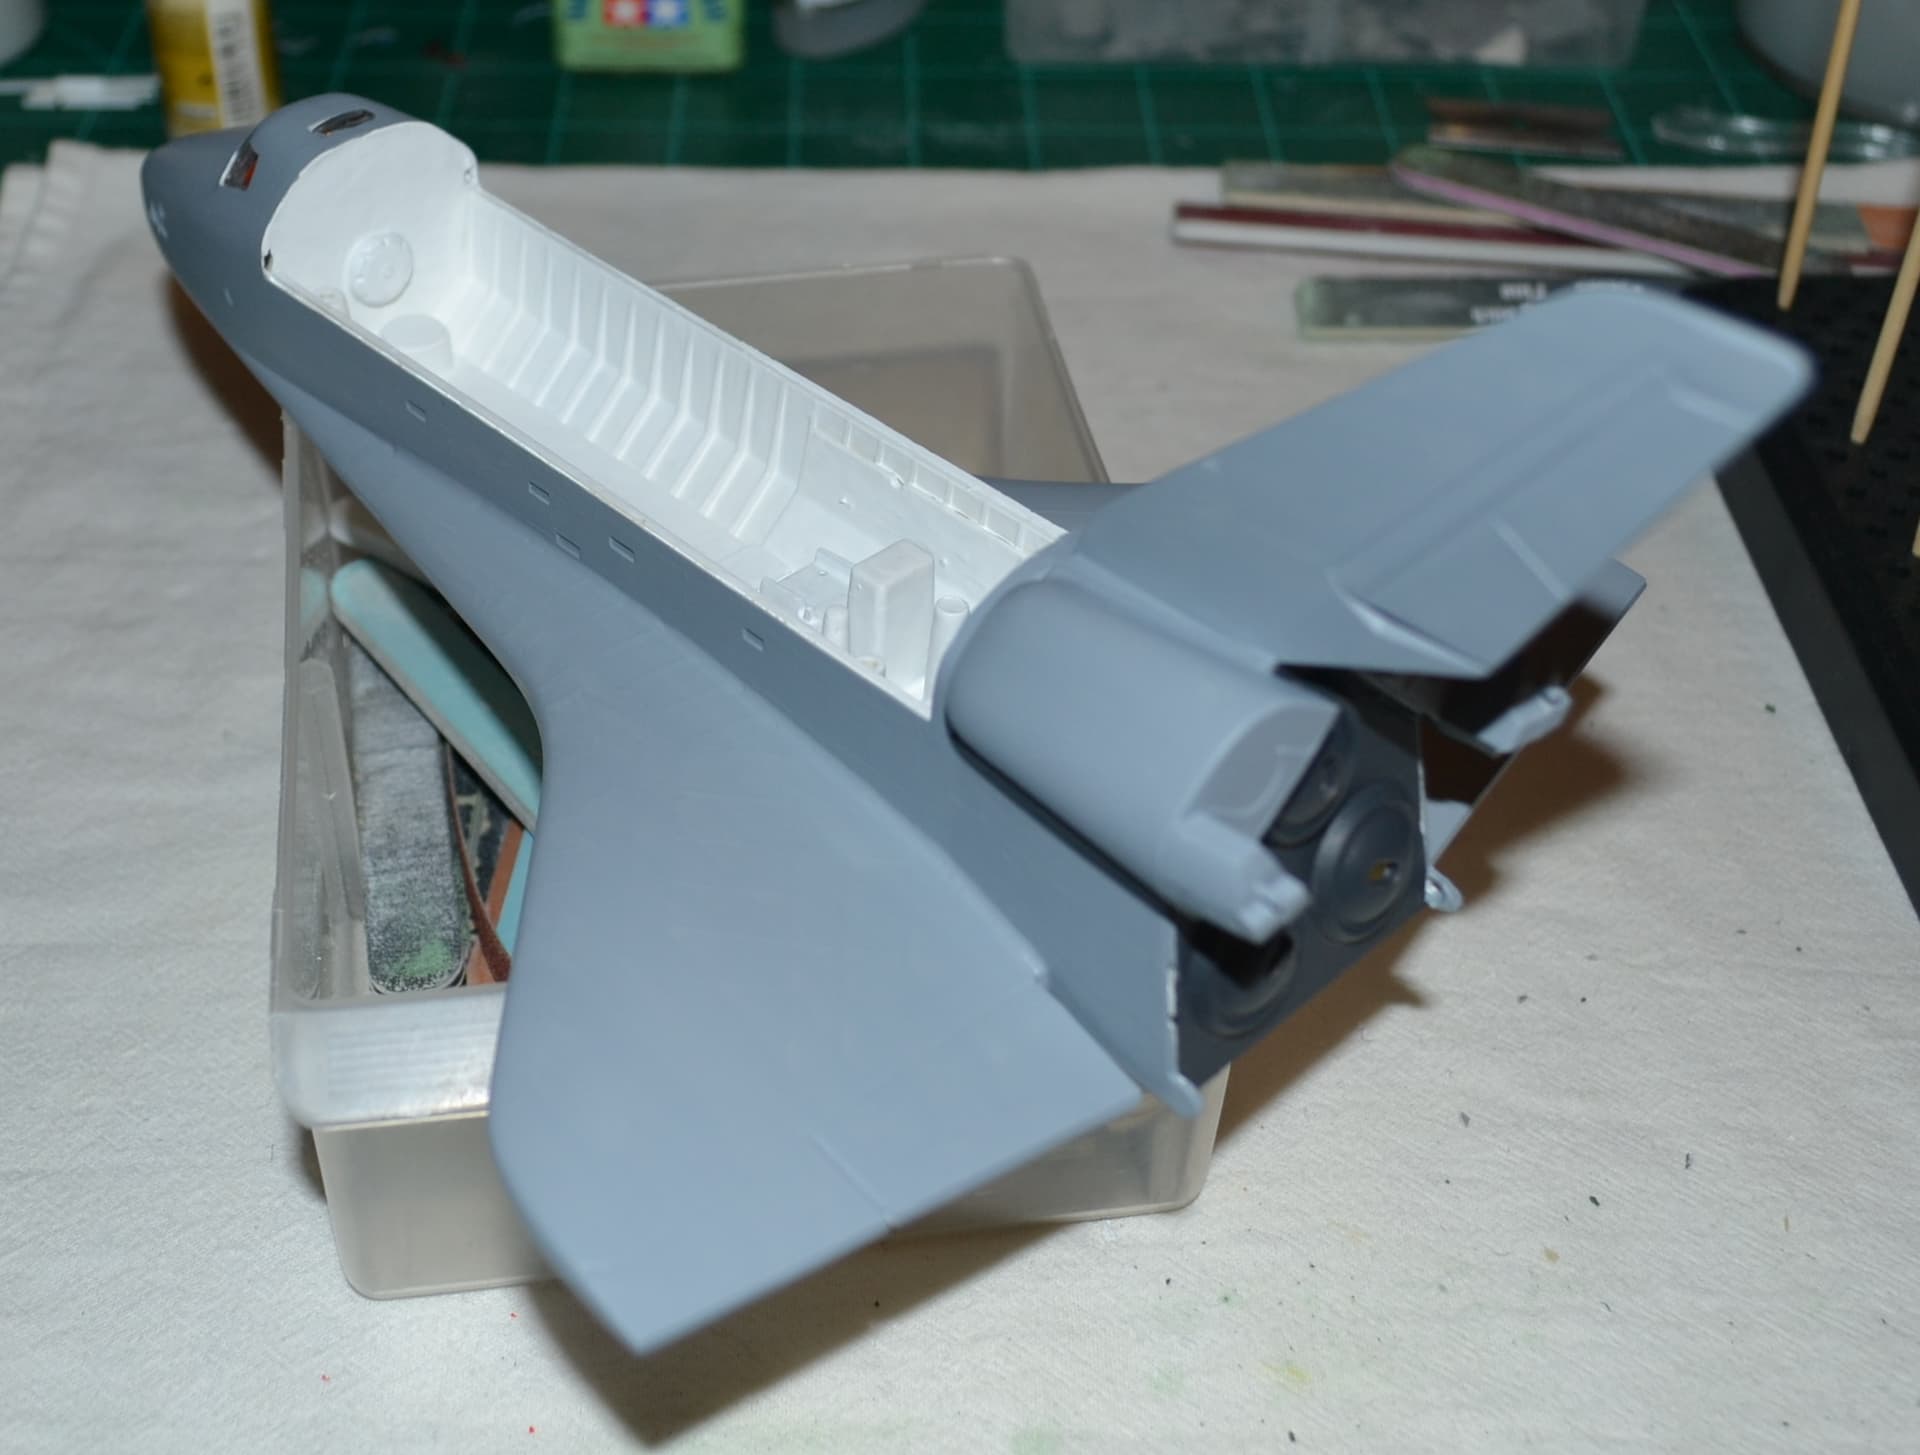
Paint has been applied to the shuttle. Instead of a clasic white shuttle, I’m going for a gray USAF type shuttle. The bottom still has to be painted yet as well as some other details. That might happen later this coming weekend.
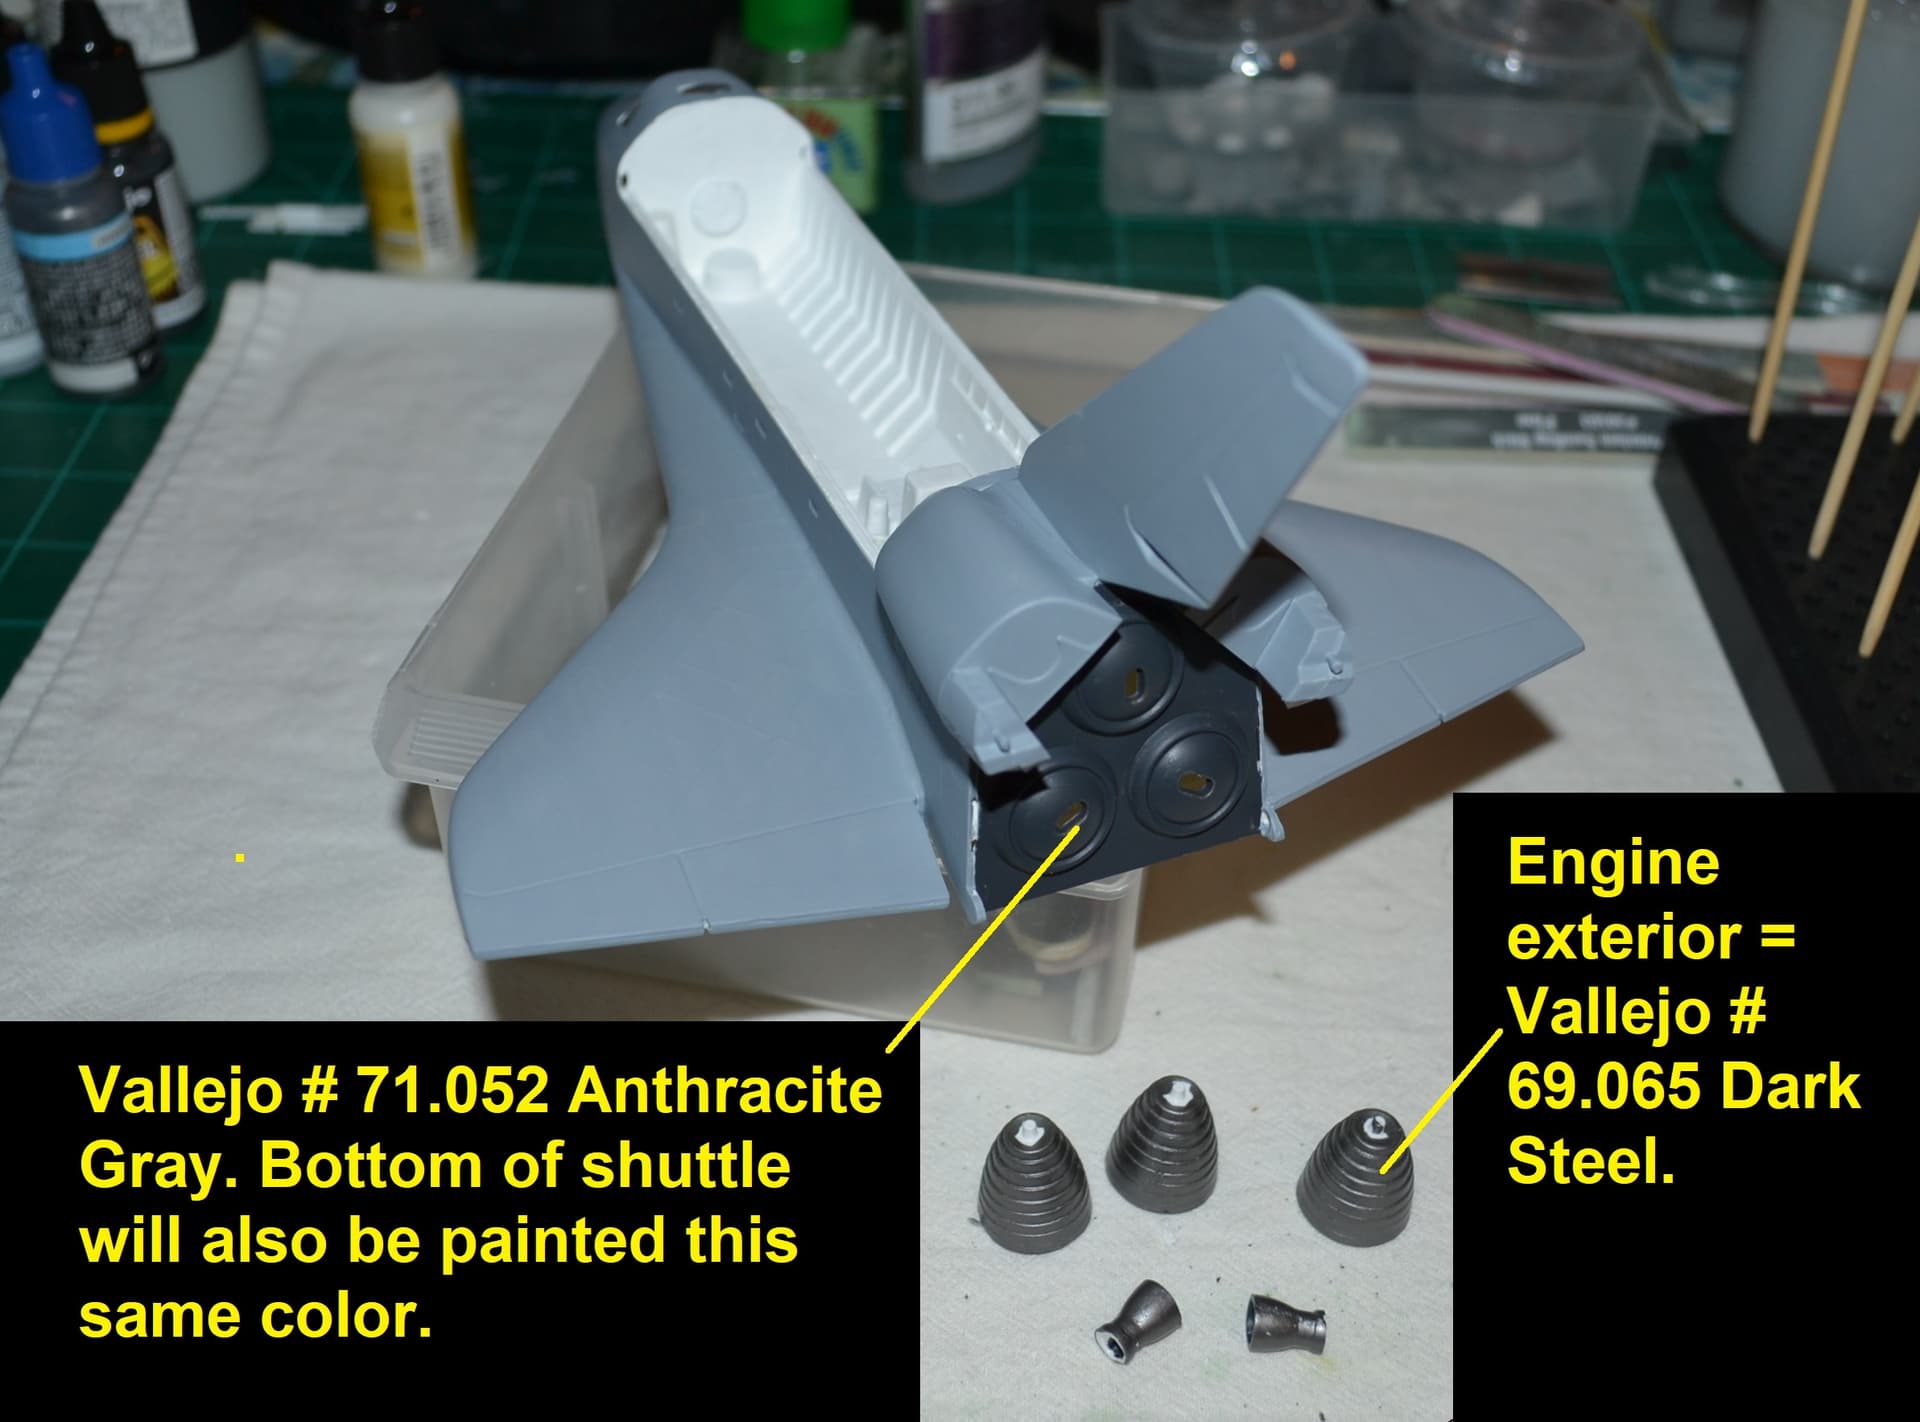
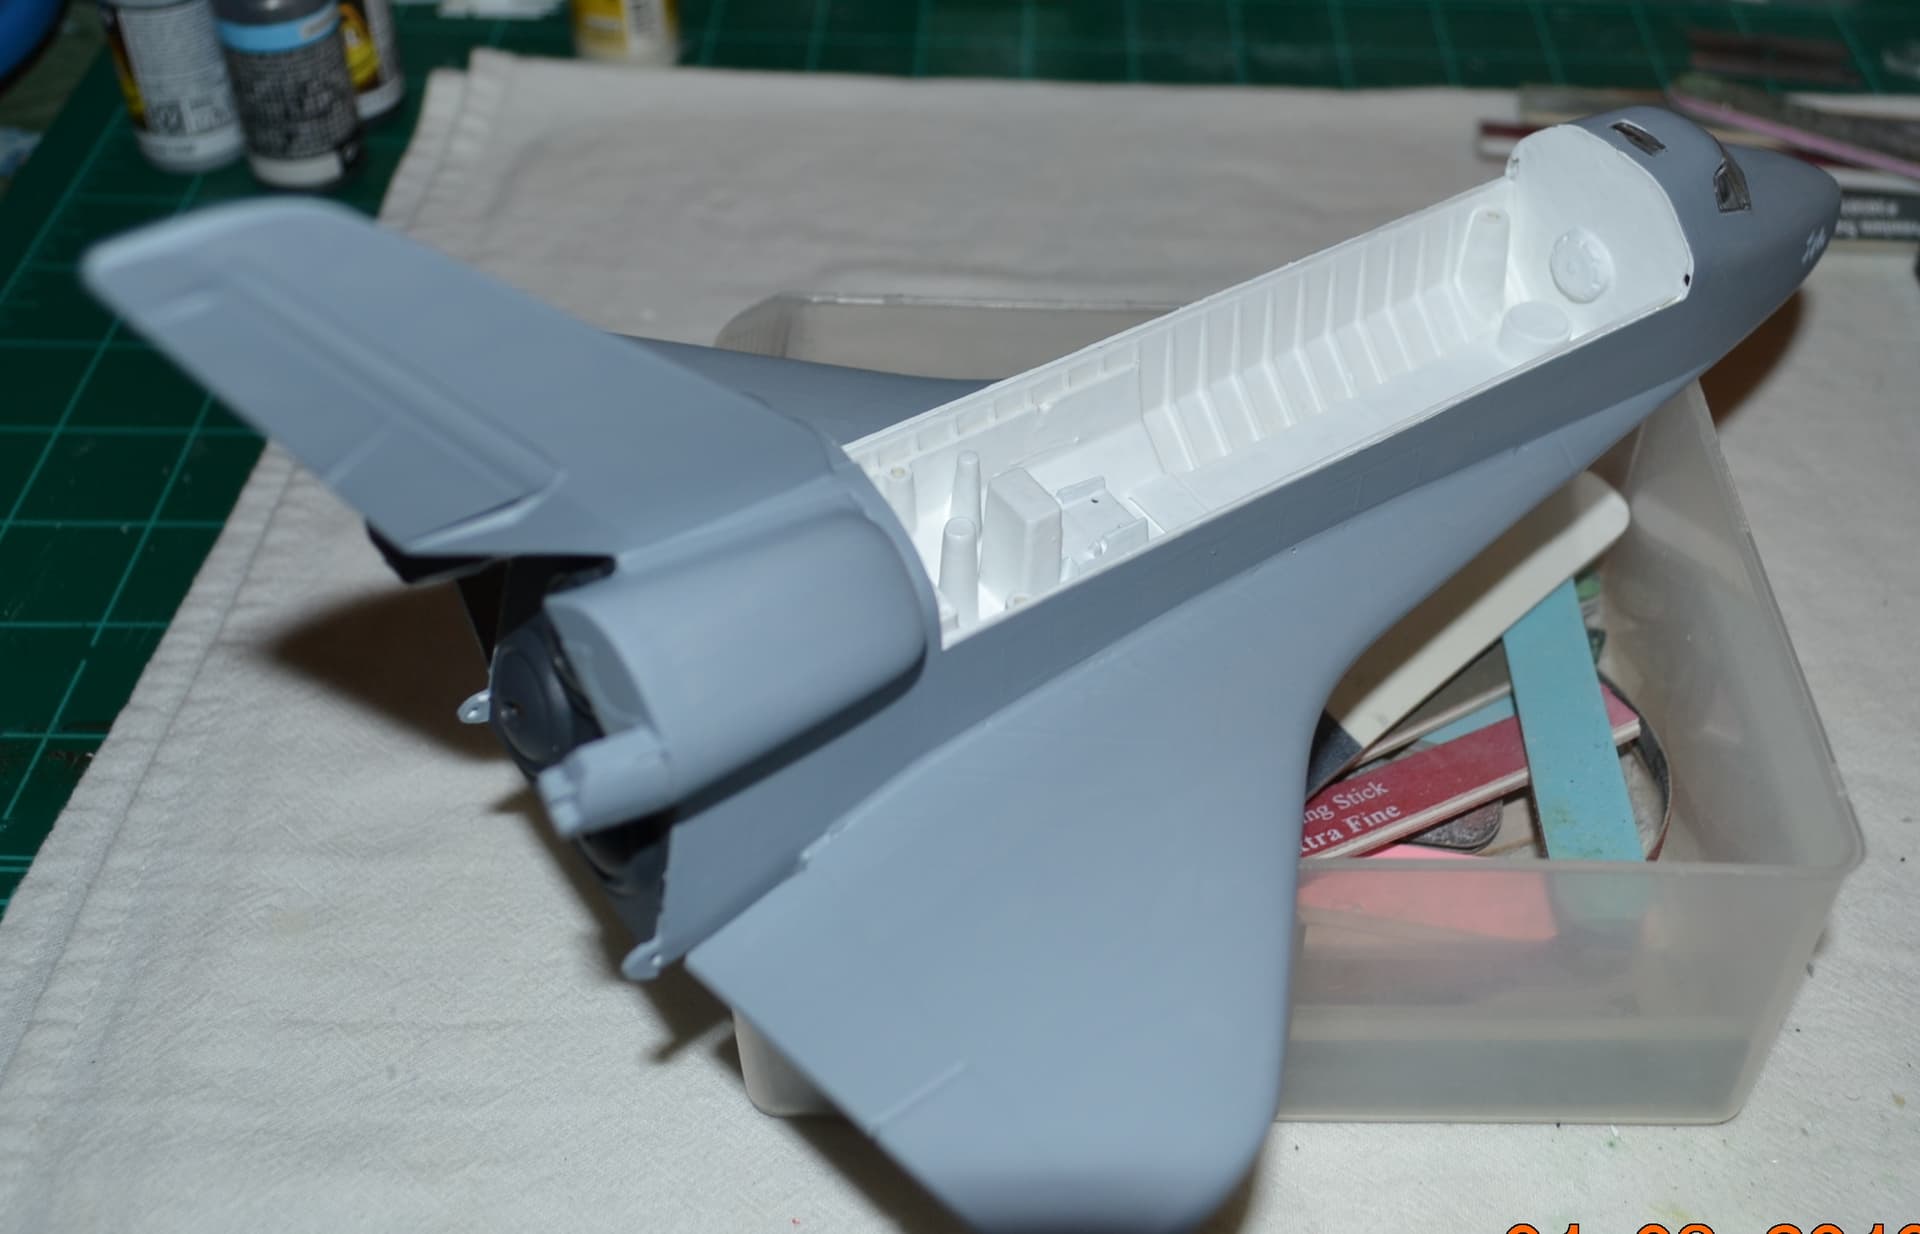

8 Likes
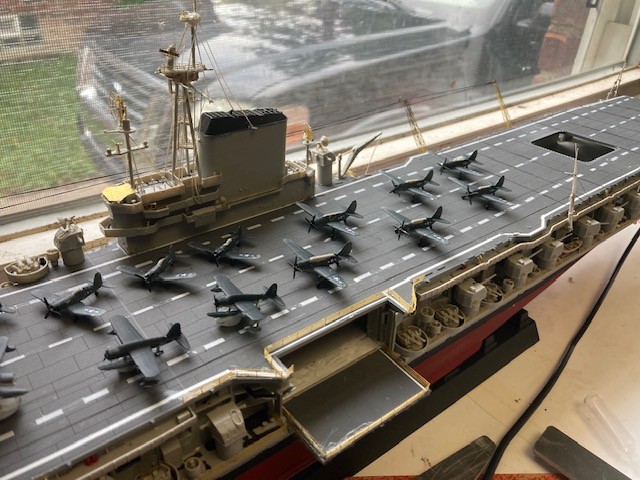
Now you’re just making it harder for me to stay out of the Midway Group Build. 
I’ve always wanted to build an aircraft carrier, but honestly, I don’t know if I have the patience to build all the aircraft that go on one. Looking at your air group isn’t exactly helping.
Of course, seeing them all lined up on the deck like that does make a pretty convincing argument that it’s worth the effort.
Okay, I’m going to have to see where you’re going with this one.
I’m having a little trouble visualizing the finished product with the gray, probably because the white and black Shuttle is so firmly burned into my brain.
Is this based on an actual USAF Shuttle proposal or paint scheme, or are you going full WhatIfRebel on us? Either way, I’m looking forward to seeing where you take it. You may just win me over in the end.
I’m a “rebel” modeler. When others are building kits straight from the box and following instructions, I’m the lone wolf so to speak who chucks the instructions right out the window. 
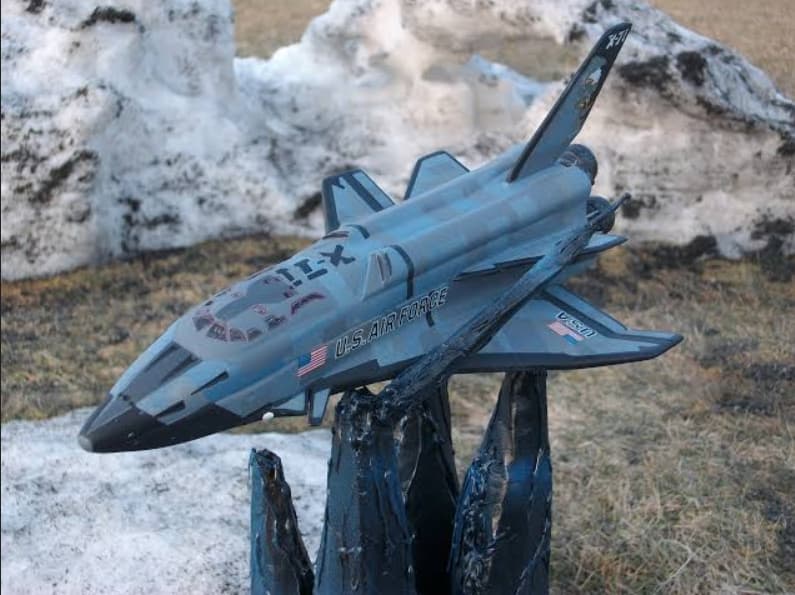
Anyway…I’m taking a “slight” cue from the shuttle seen in the Armageddon movie. Pic below. I’m slightly basing my model on that. A white shuttle is just too boring. Need to get those creative juices flowing and do something different.
10 Likes
Ahhh, okay. Now I get where you’re going with it.
I was having a hard time visualizing the outcome when I first saw the gray going on, but knowing you’re taking some inspiration from the Armageddon shuttle changes the picture completely. That’s actually a pretty cool direction to take this.
I’m still not quite sure what the finished shuttle is going to look like, but now I’m genuinely curious to see where you take it. I have a feeling this is going to get more interesting as it comes together. You may win me over yet.
F-4EJ Kai — Sealing 28 Hours of Decals
There’s always a weird mix of excitement and trepidation when you finally get to the point of sealing decals in.
What makes this one a little more nerve-wracking is that I’ve got roughly 28 hours into the decal work on this Phantom. Hundreds of stencils, lots of tiny markings, and more than a few moments where I wondered why I had chosen this particular aircraft.
Tonight was the night to finally commit.
I mixed up my own satin/semi-gloss clear using Vallejo gloss and matte at a 2:1 ratio, tested it on the drop tanks first, and got exactly the sheen I was hoping for.
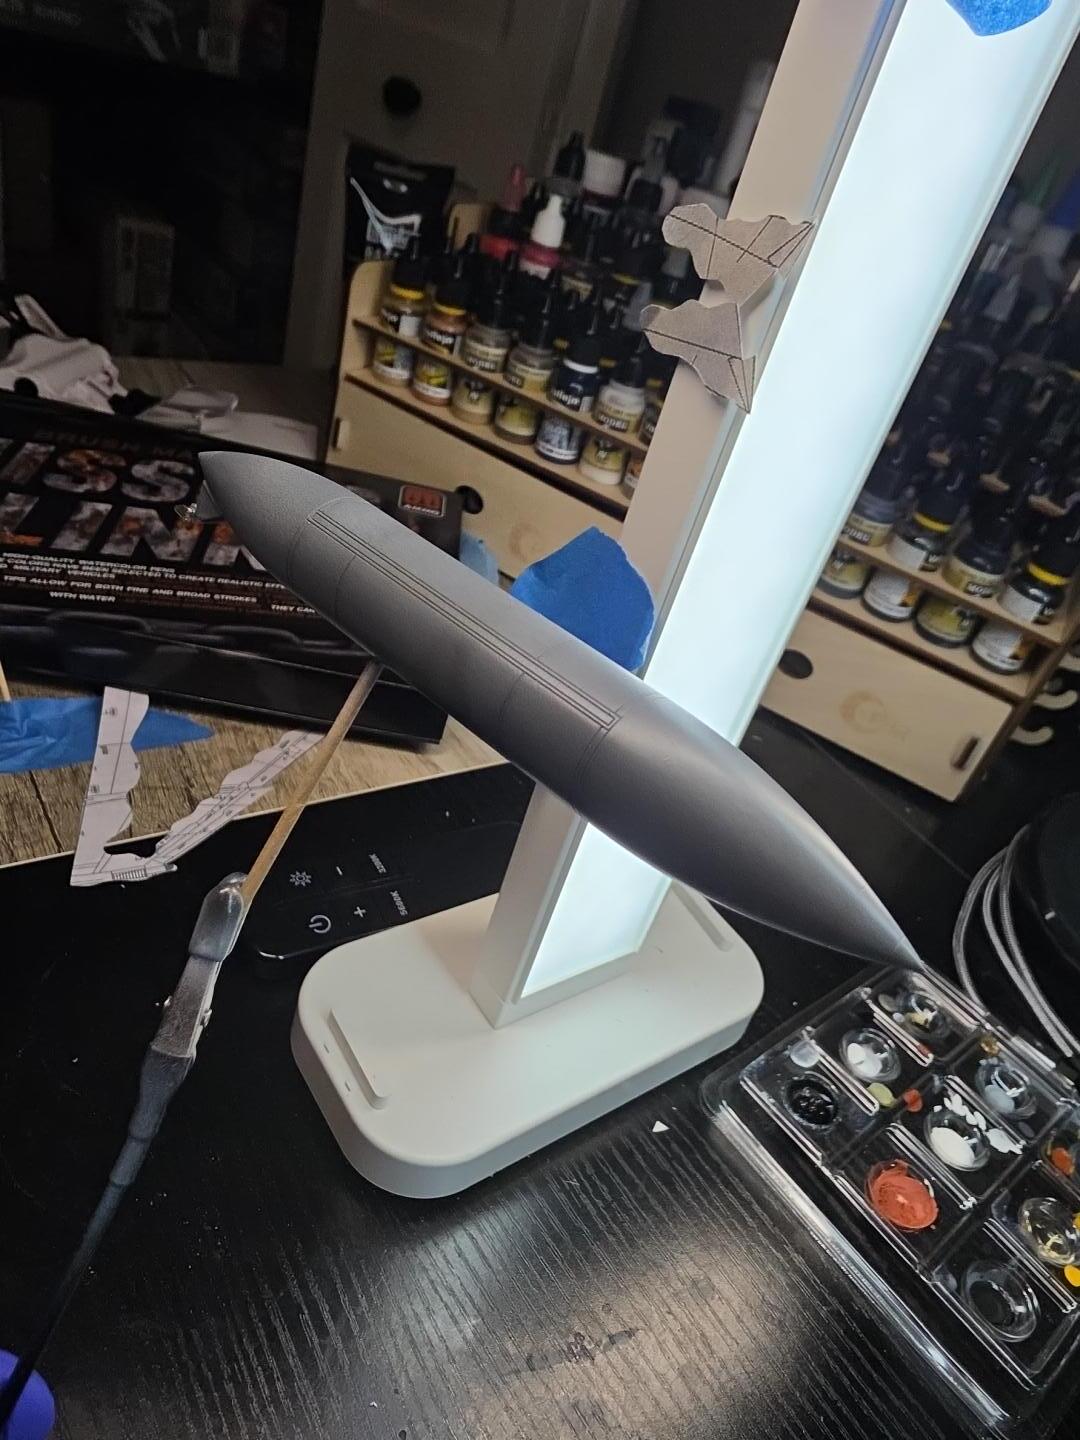
Then came the real airplane.
The underside taught me a couple of lessons almost immediately. I had a few isolated spots where the clear didn’t behave well. One was clearly a fingerprint, and the others looked like leftover decal-setting solution that I had meant to clean off before spraying and simply forgot about in my excitement to get moving. Nothing catastrophic, and fortunately it’s on the bottom, but those areas will need a little sanding once everything cures.
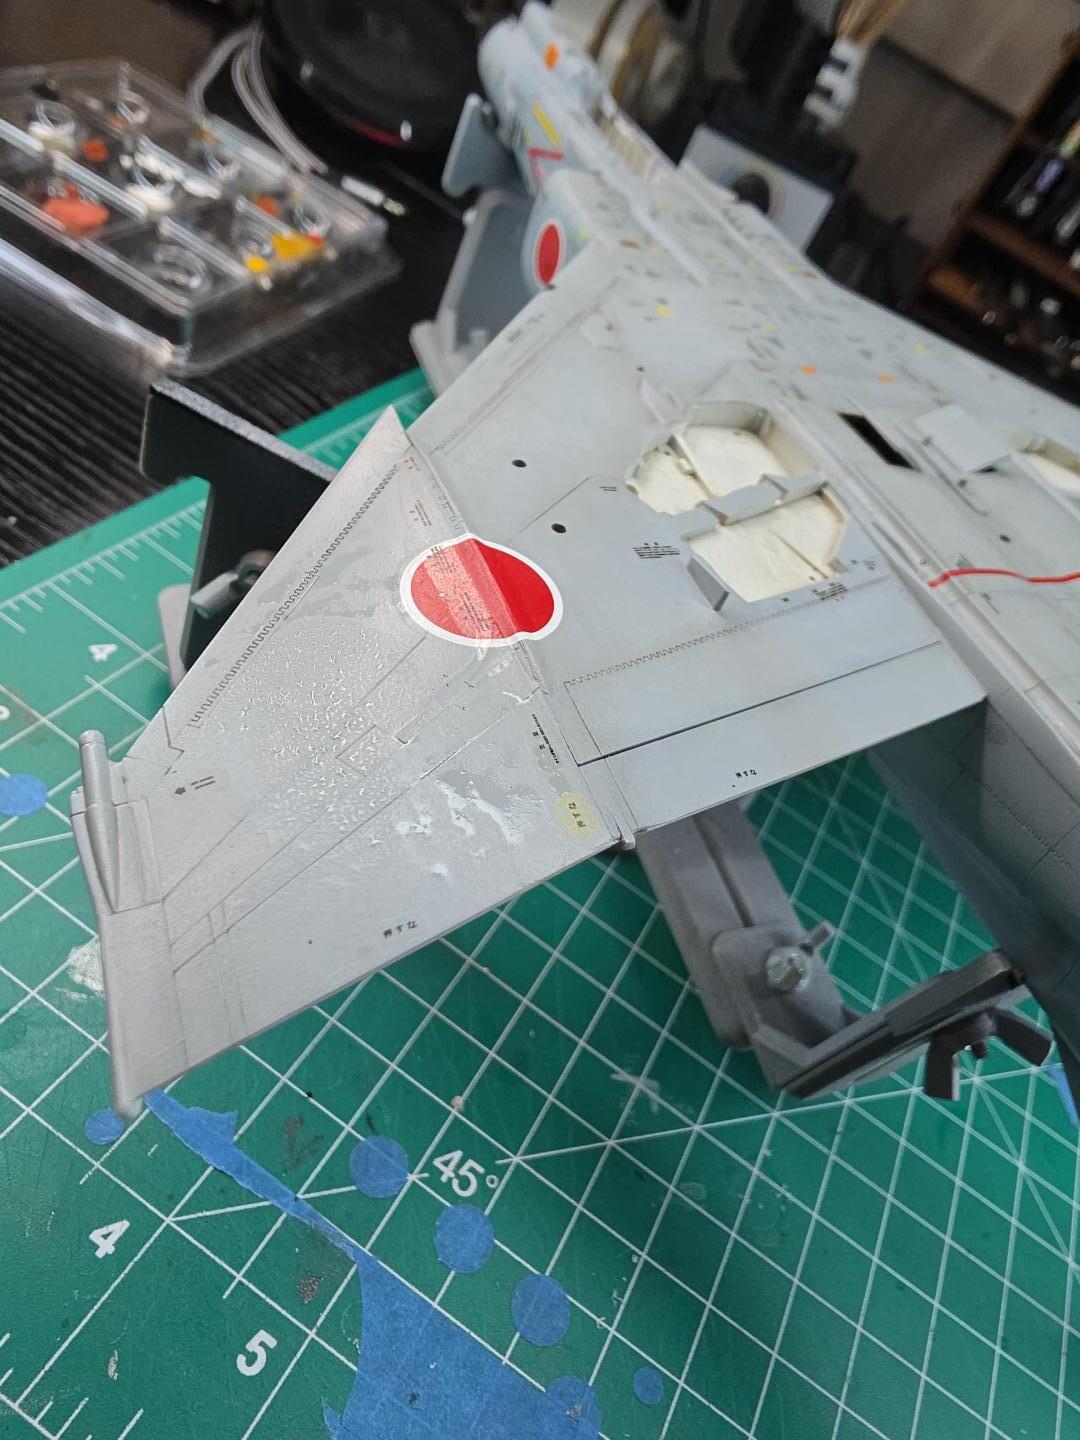
I also discovered the clear was tip-drying in the airbrush more than I liked. A small amount of the thinner/retarder mix I normally use with paint fixed that, and after that it started spraying beautifully.
The top side came out exactly the way I wanted.
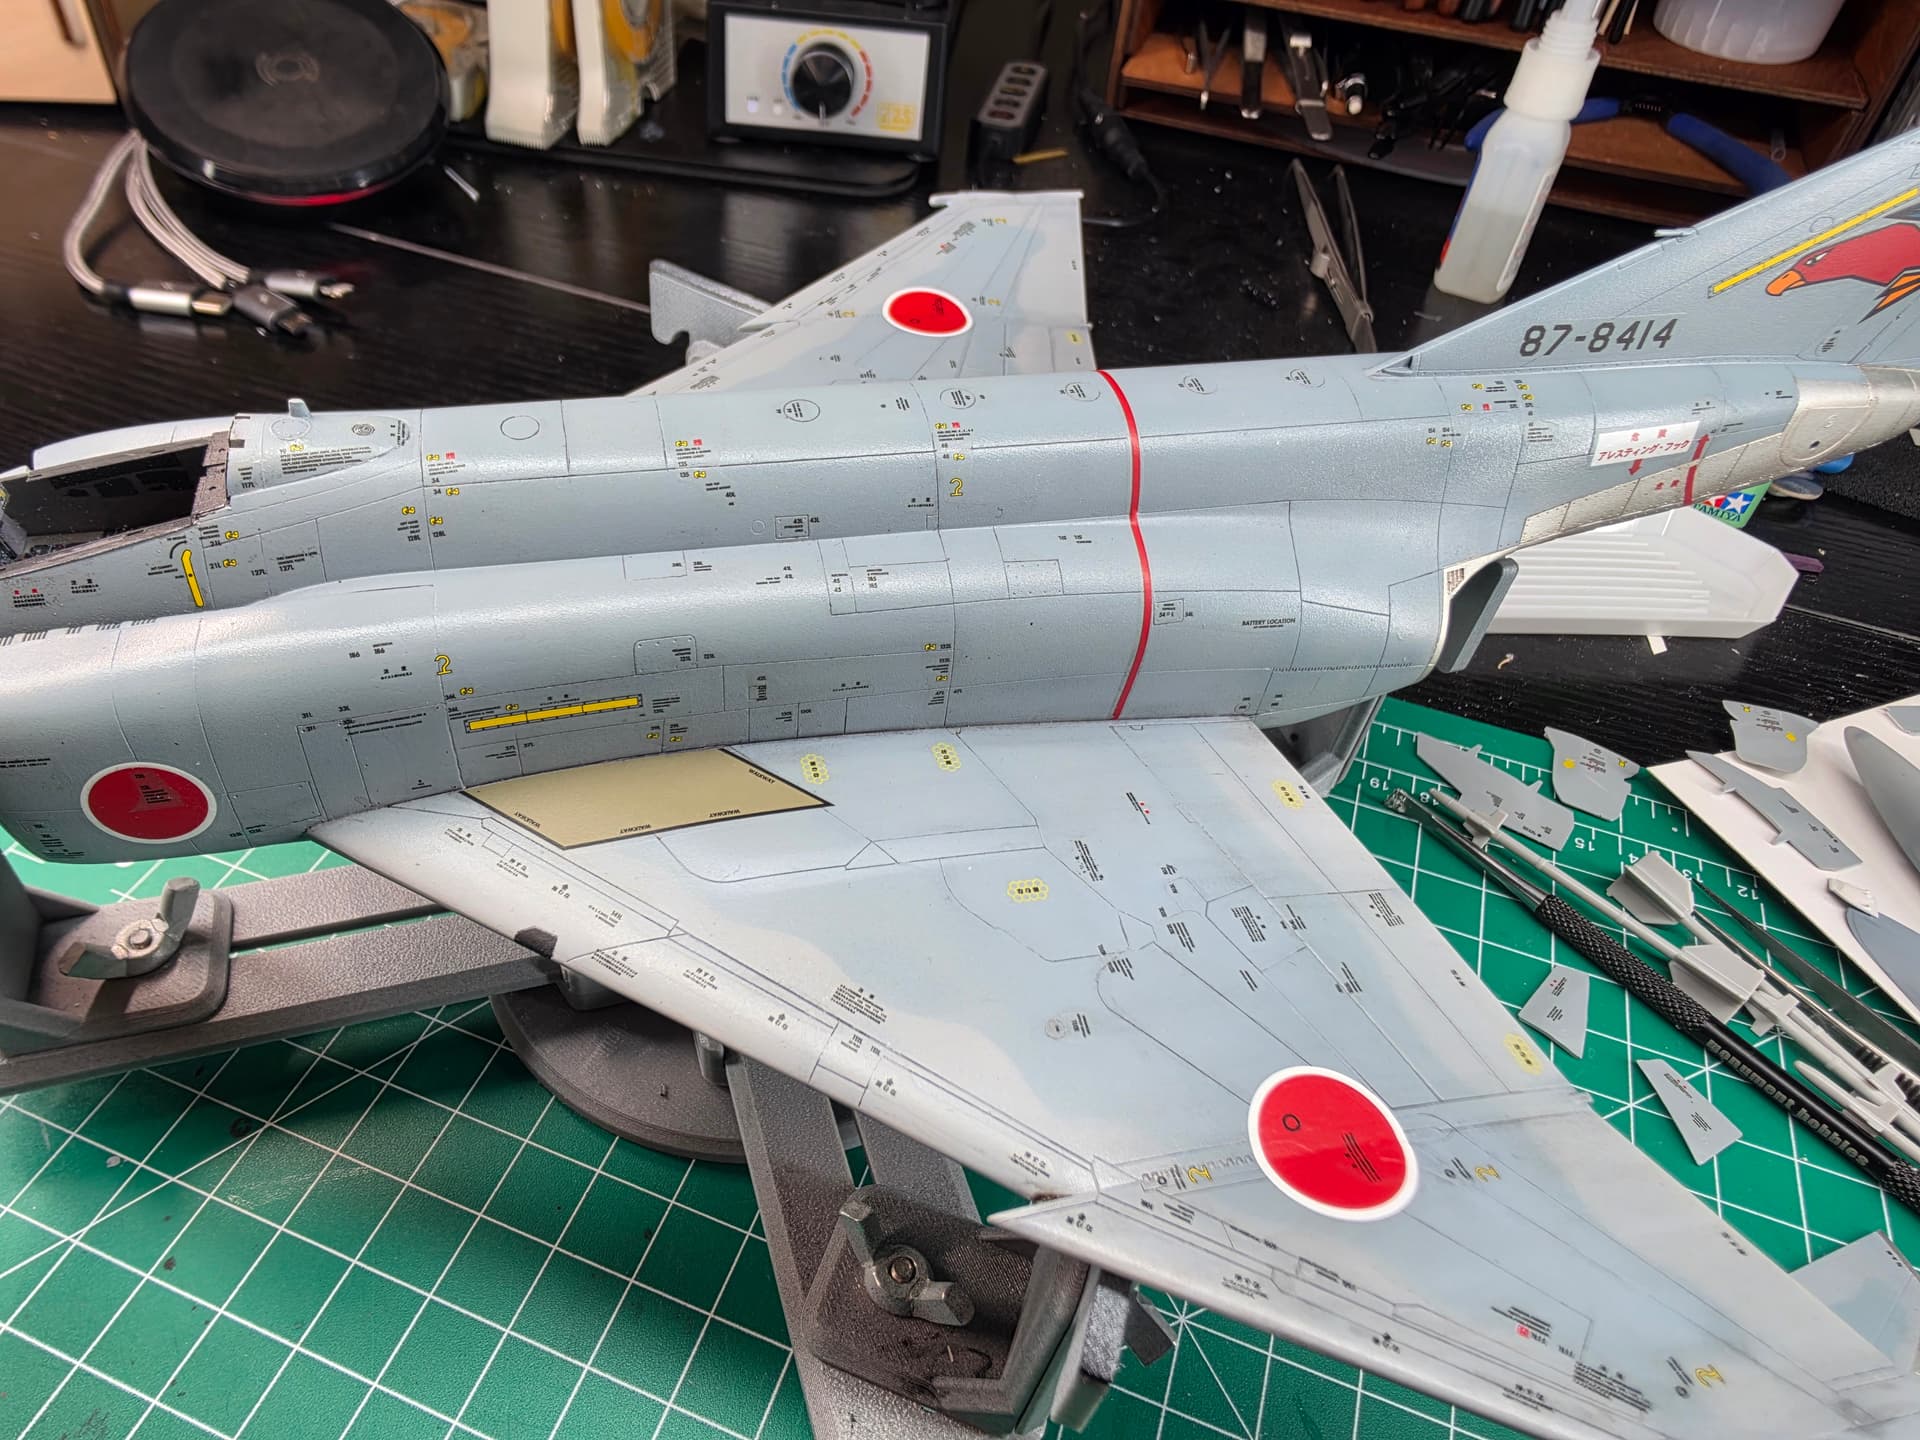
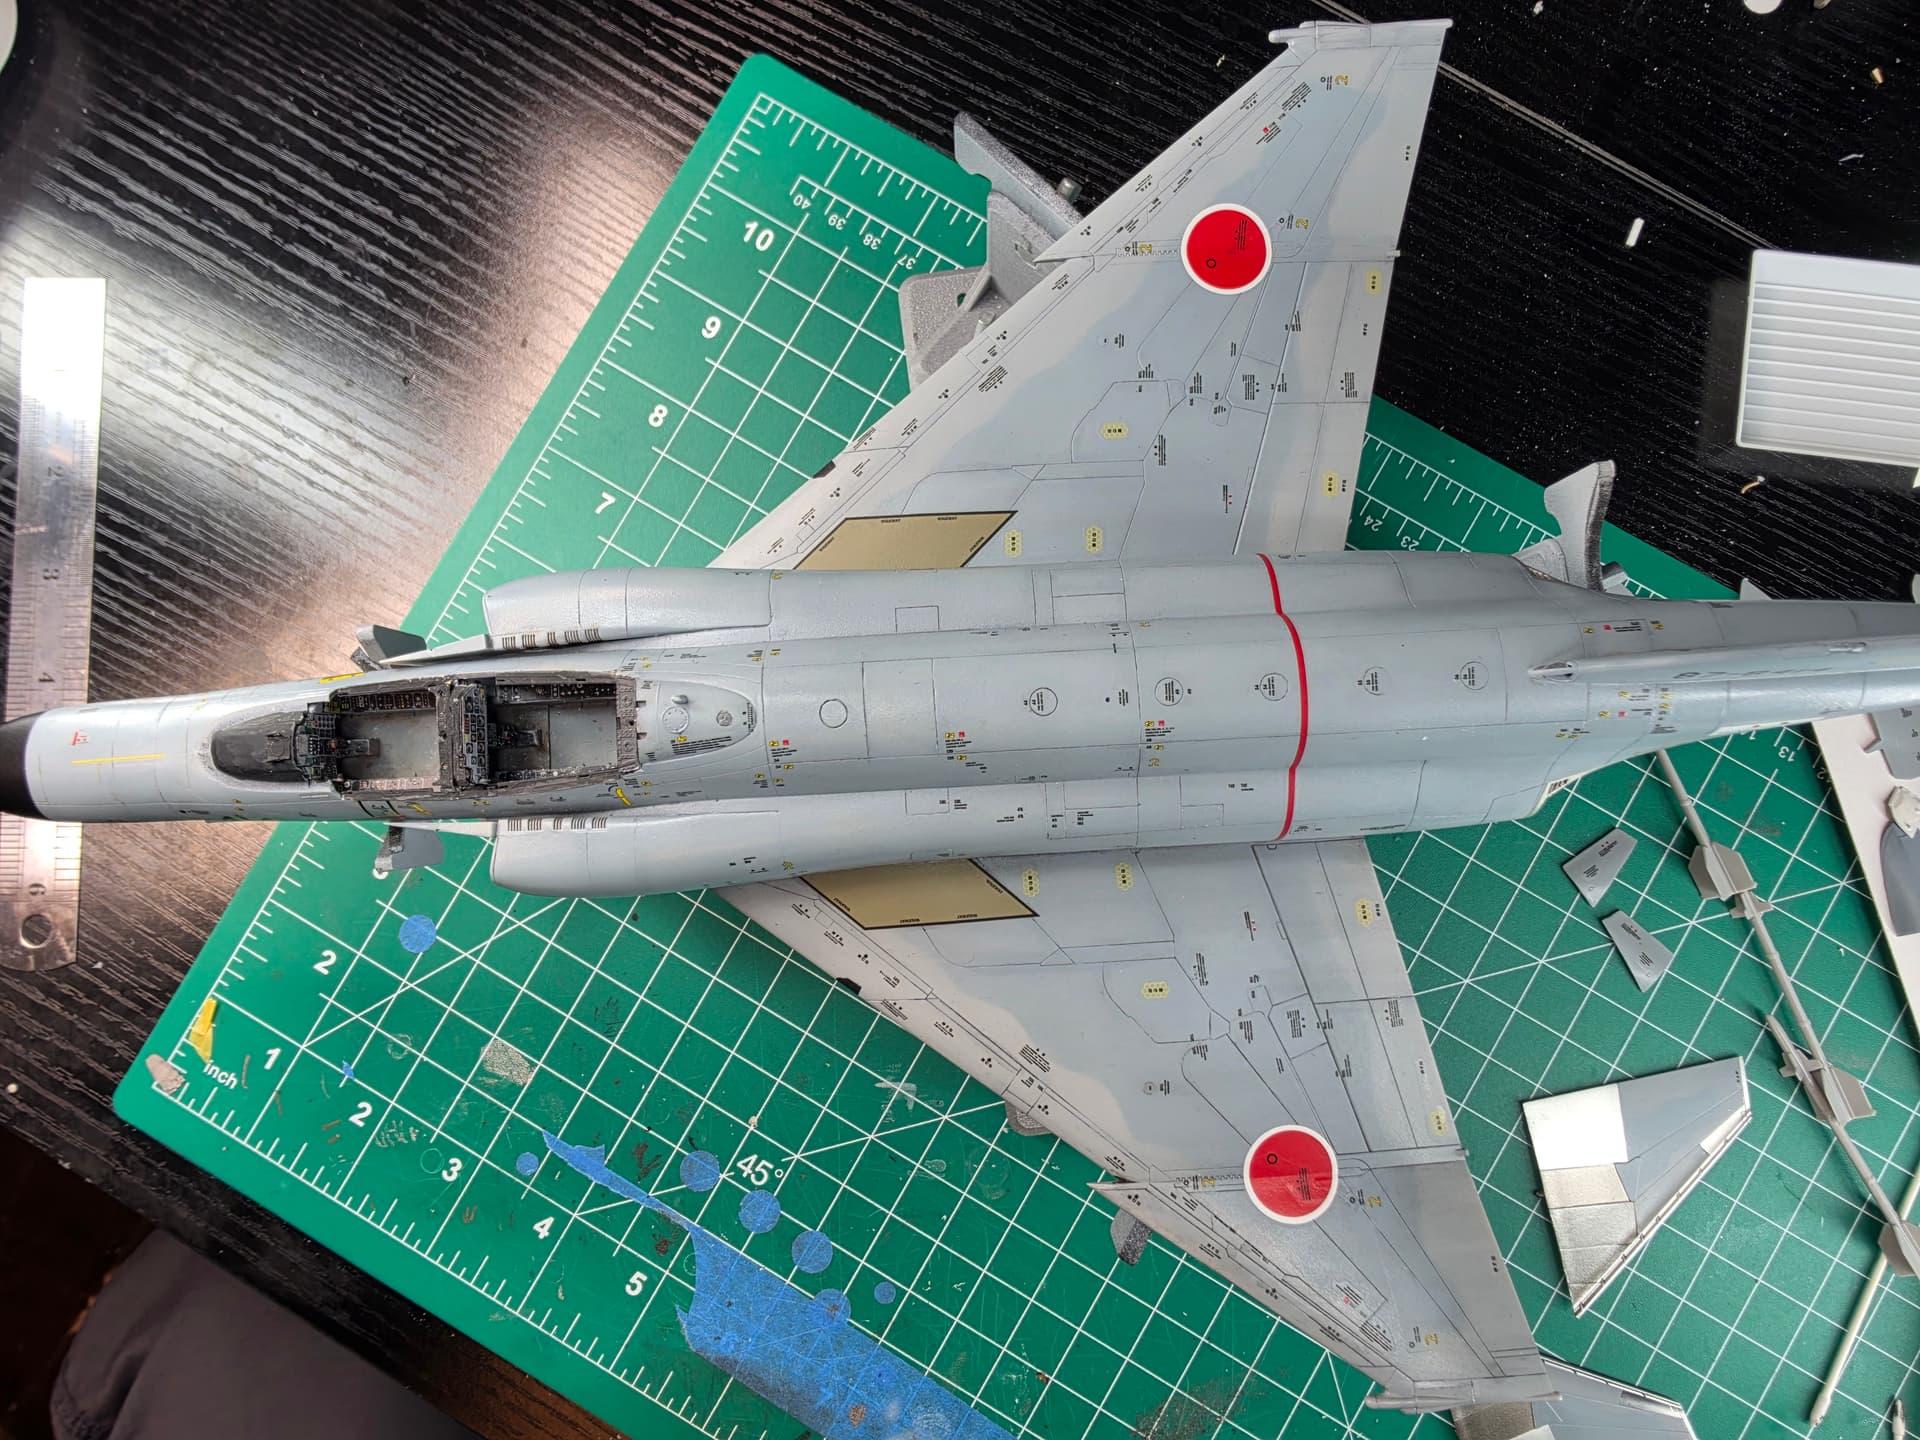
The heavy gloss is gone, the decals now look much more integrated into the paint, and the aircraft has a soft satin sheen that looks much closer to the reference photos I’ve been using. It’s sealed, protected, and finally ready for weathering.
After 28 hours of decals, pulling the trigger on that first clear coat was definitely one of those “well, here we go” moments.
Now it gets to sit overnight and cure while I work on the canopy, landing gear, missiles, and all the other little parts that still need attention.
12 Likes
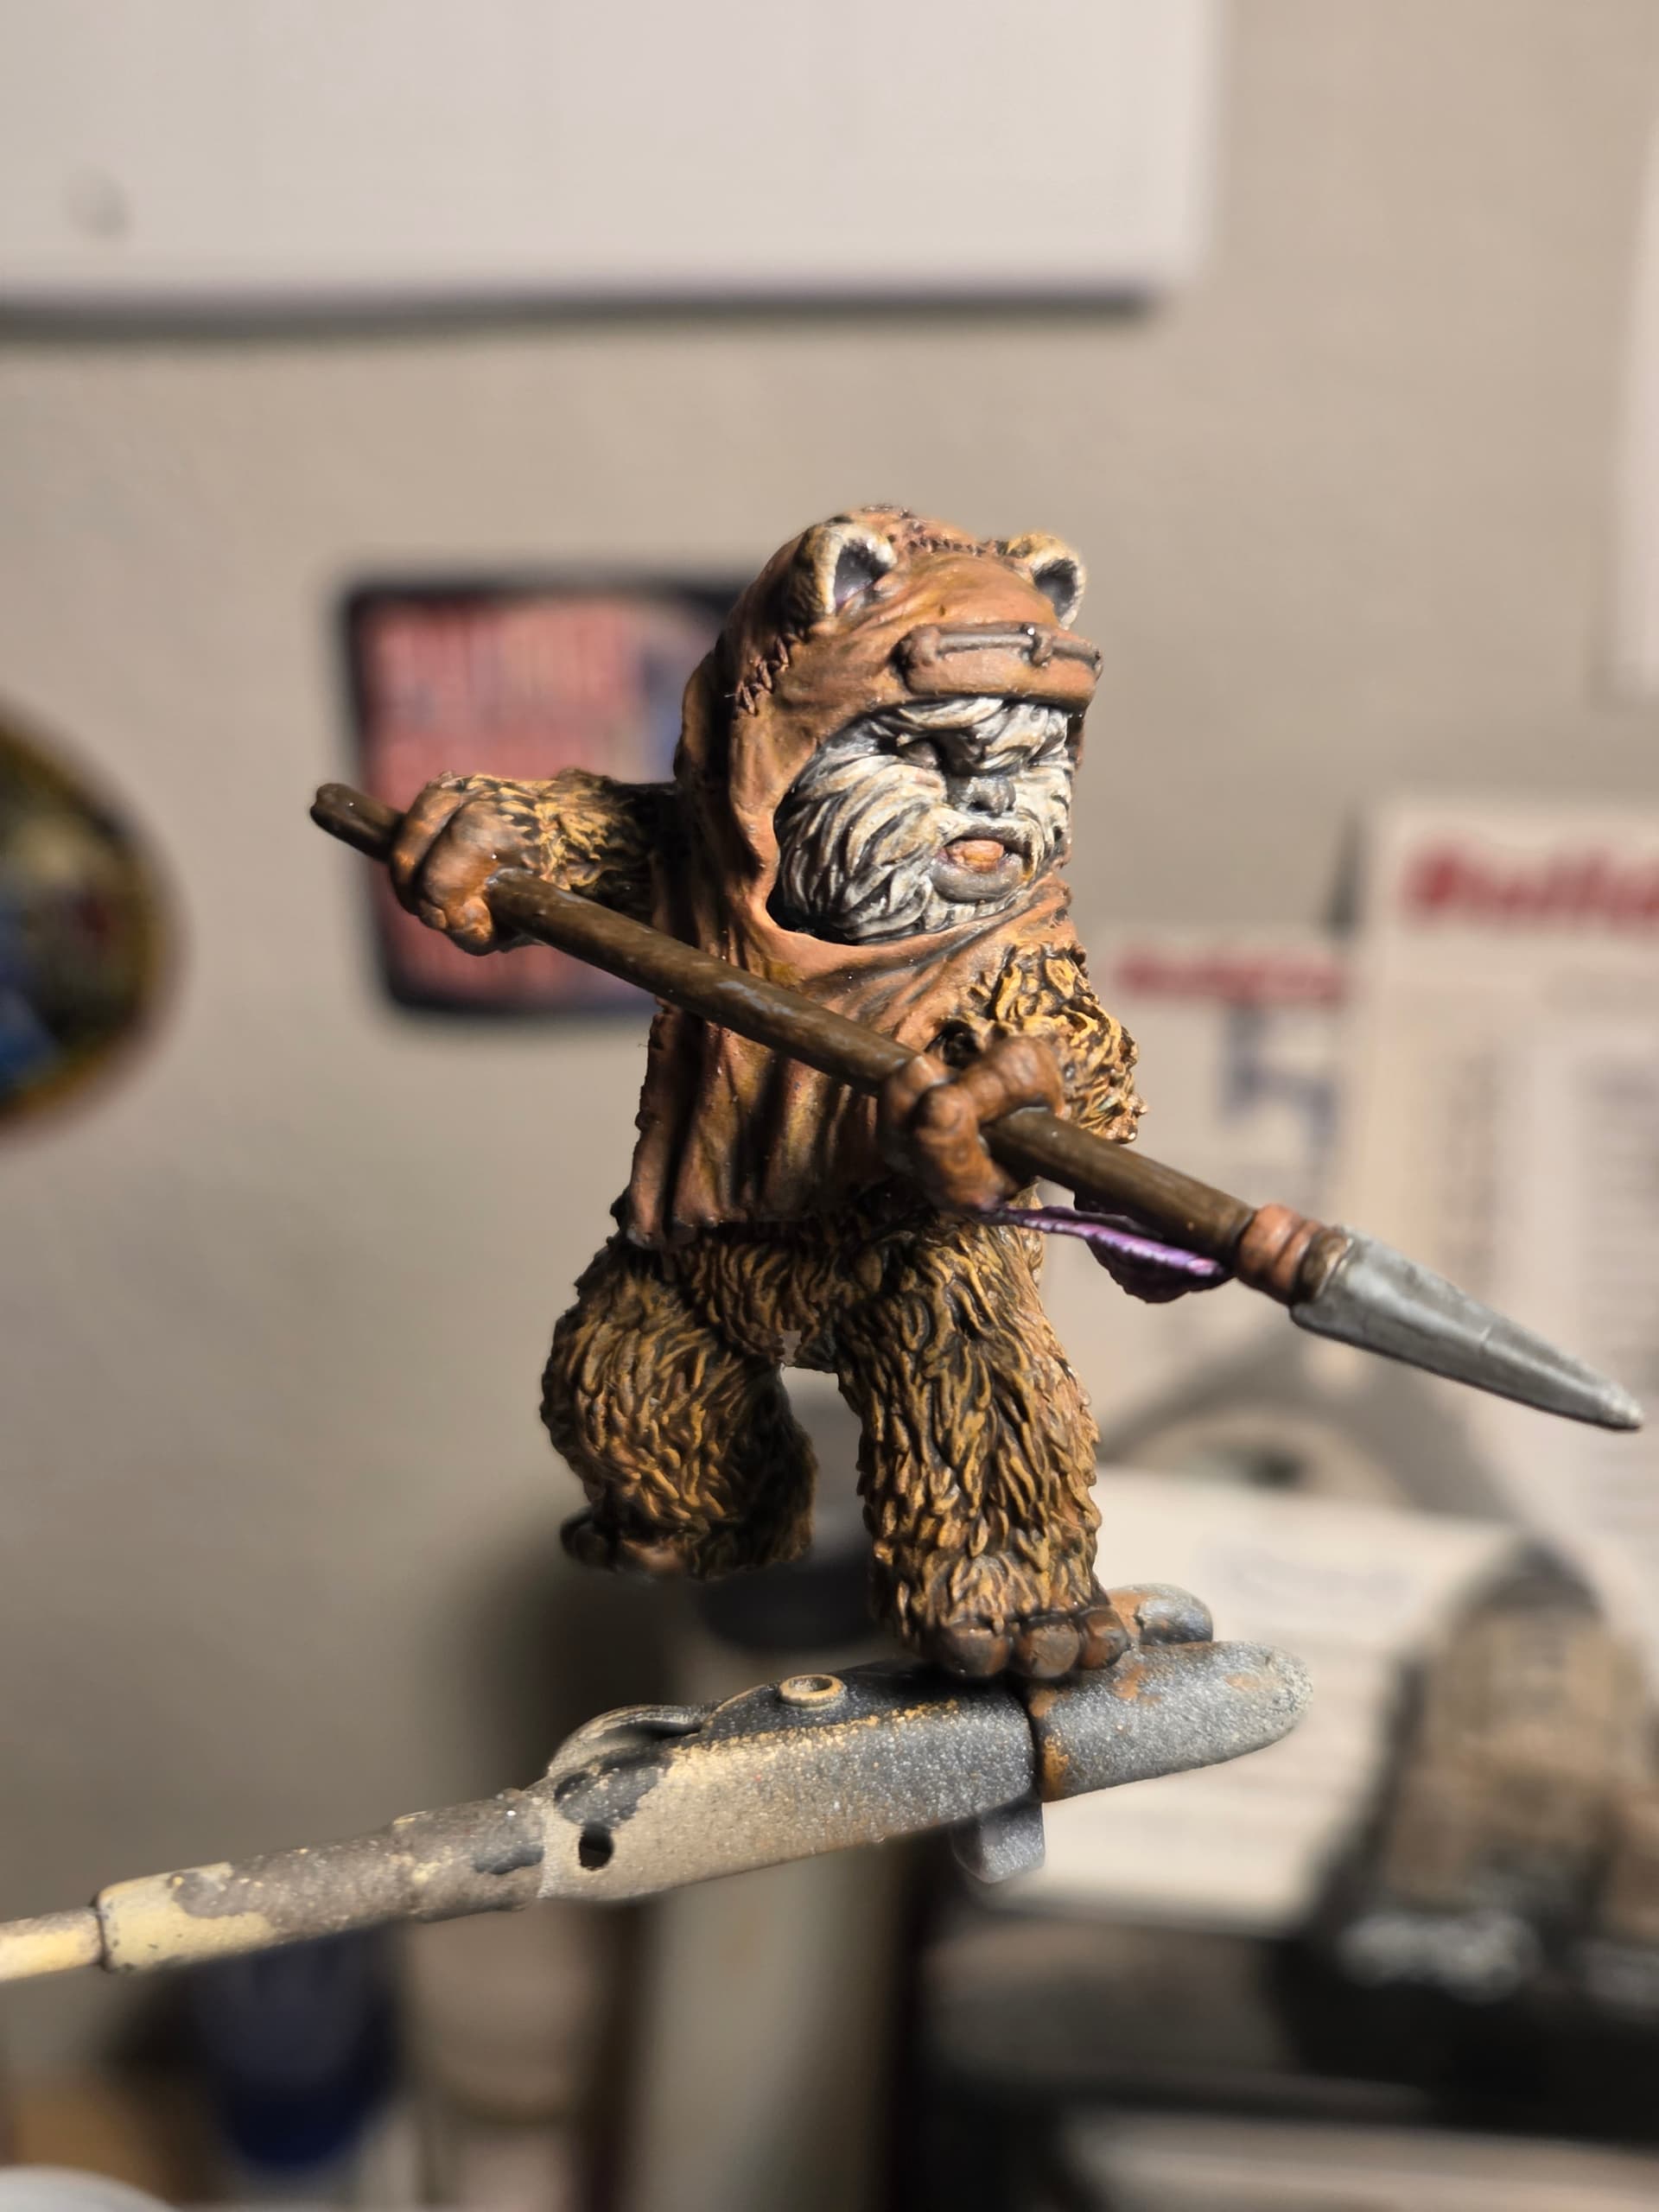
Working on an Ewok diorama. First one is Wicket. Painted with various acrylics and contrast paints.
They’re so cute when they’re mad…
14 Likes
Ewoks are savage cannibals who wear the skins and make weapons and tools from the bones of their enemies. Anyone thinking they are cute and/or cuddly are in for a nasty surprise.
6 Likes
Yep, the Empire found out the hard way…
2 Likes