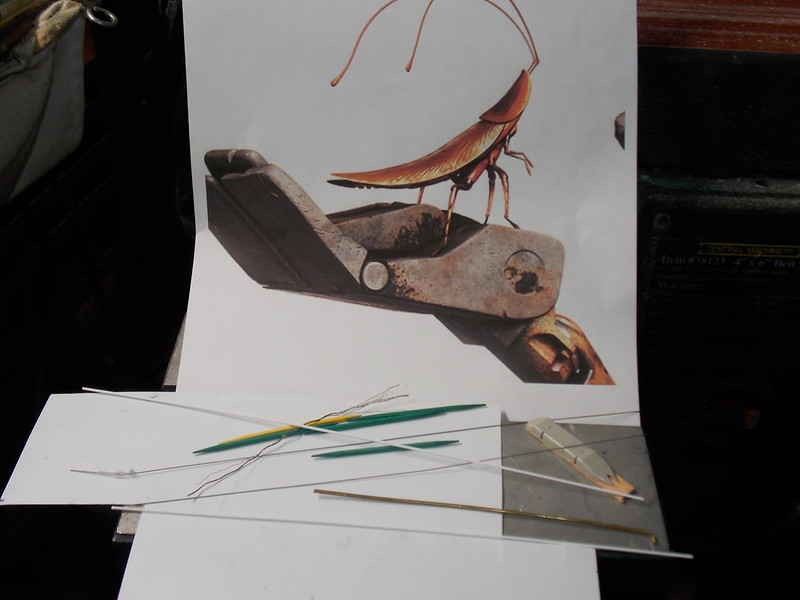
Evening … Well , just, … damn. My band saw broke this afternoon, and I was about to start on the arms which are cylinders, and I need them very cleanly cut. Oh well, I ordered the parts required to make the repair, they should be here in a day or two, so… I’m going to attempt to make a passable Hal, Wall-e’s little cockroach buddy.
I think everything showing here will do thge trick.
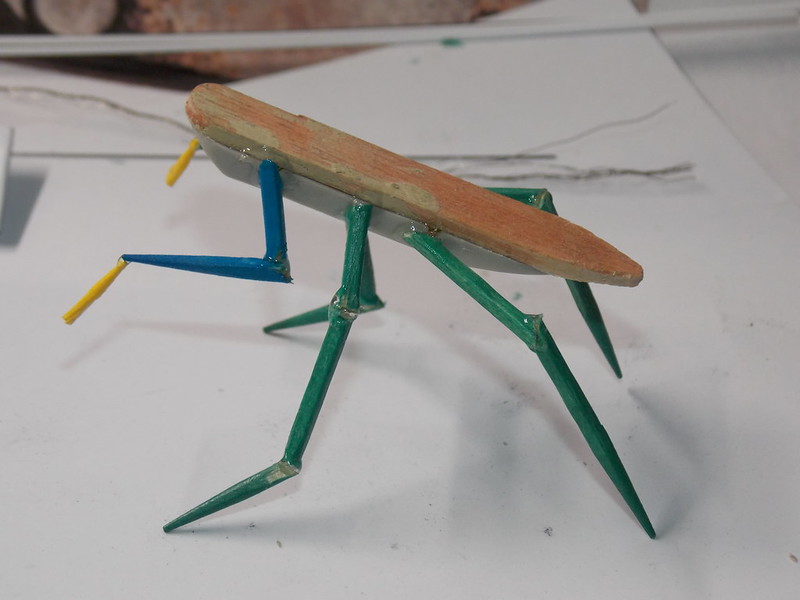
To start I use a popcicle stick, some old under wing tank parts from the spare box, and some tooth picks, glued together with one of those “ultra violet” glue devices. you just add a drop of epoxy, and hit it with the ultra violet light pen provided and it sets firm immeadiately.
Got the little front legs on…
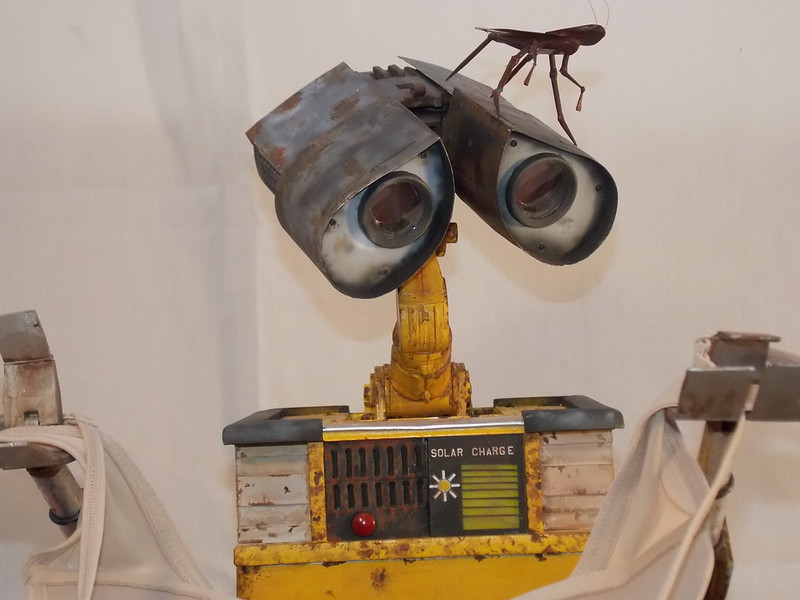
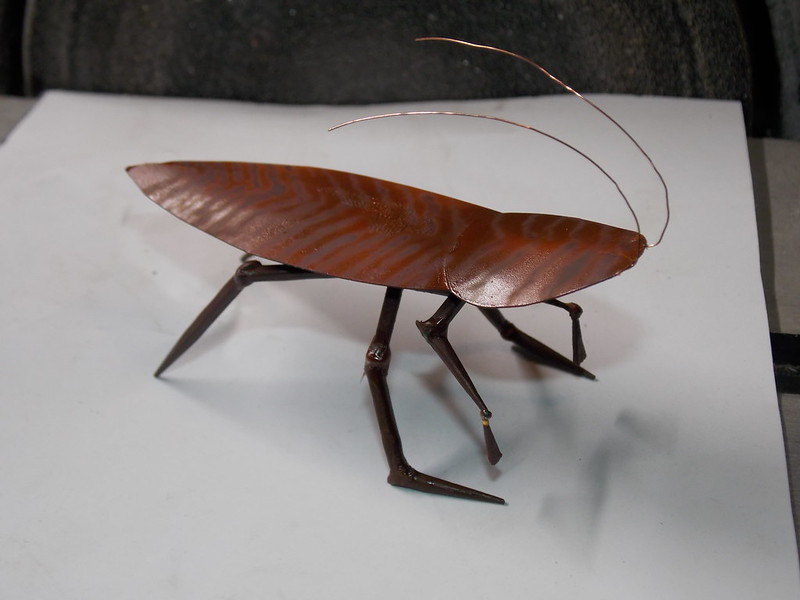
A little .010 folded plastic sheet for the wings and head, a dab of paint airbrushed on, some copper wire for feelers, and hes about finished.
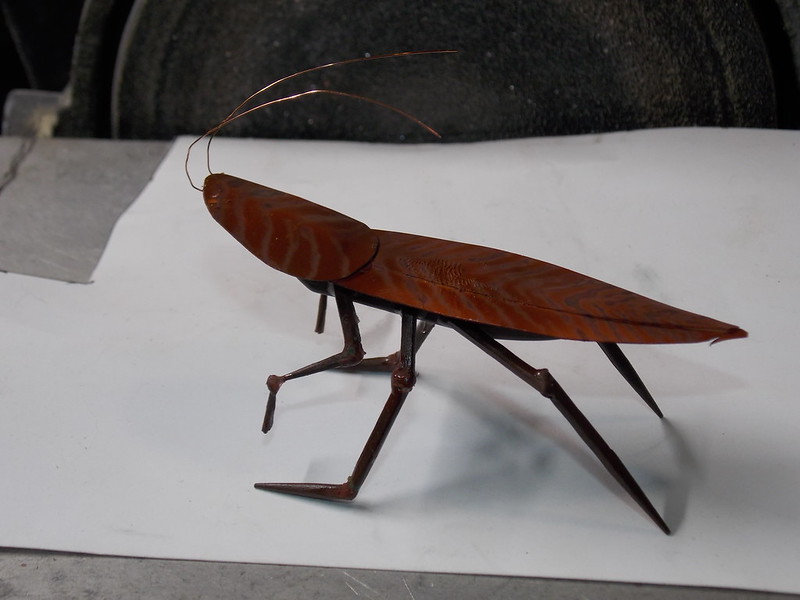
And I think that’ll do. Maybe tomorrow the tracks will be here per the shipping tracker, and I can start the track assys, or maybe get what I can done on the rusting and weathering… Any how, Thanks again for looking! Take care all!
Steve 5 , Pawel, Thank you both for the kind words! I pretty happy with the way hes going. I guess hes somewhere around the 50 - 60% done range.
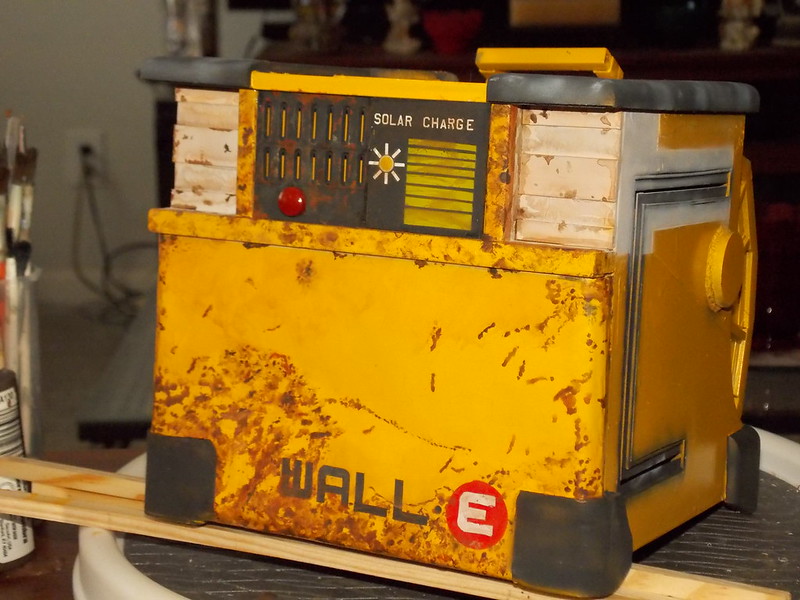
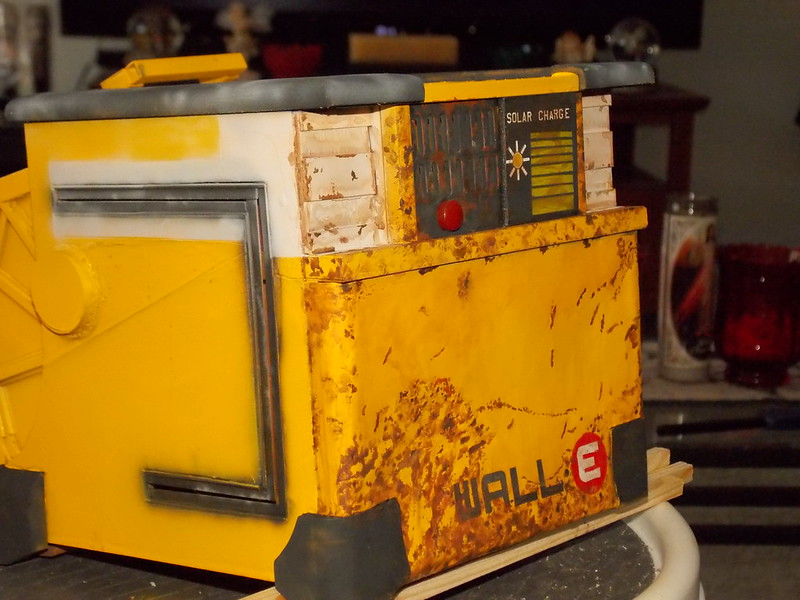
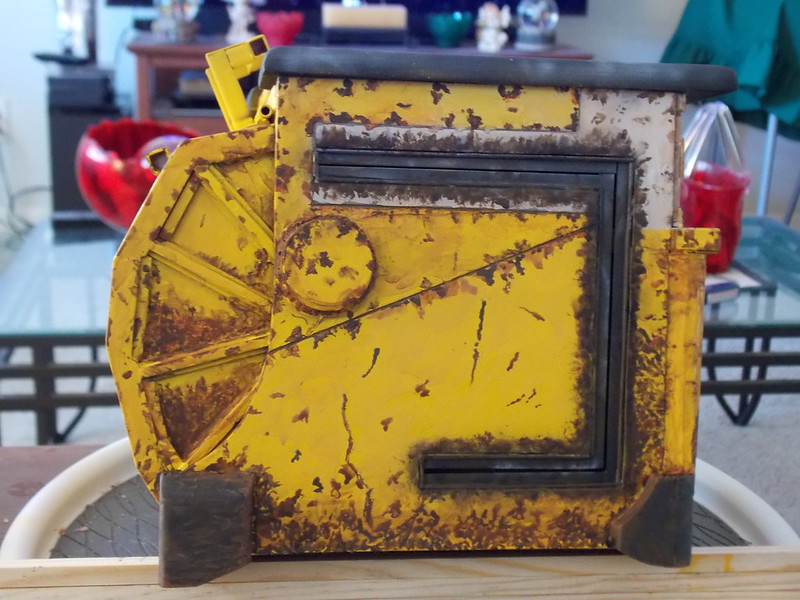
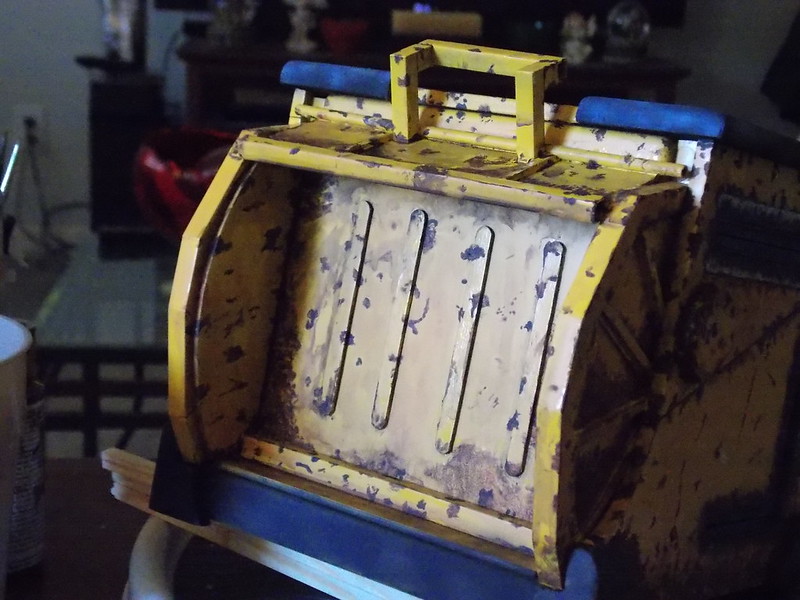
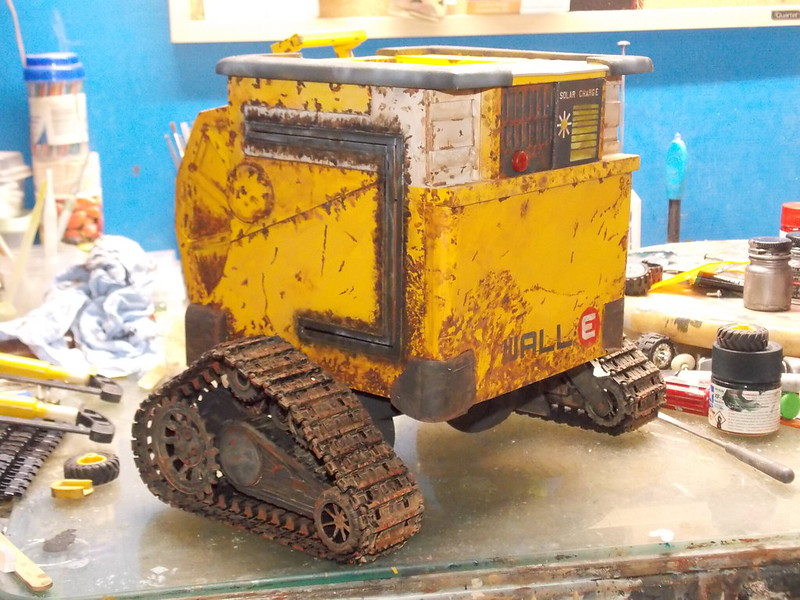
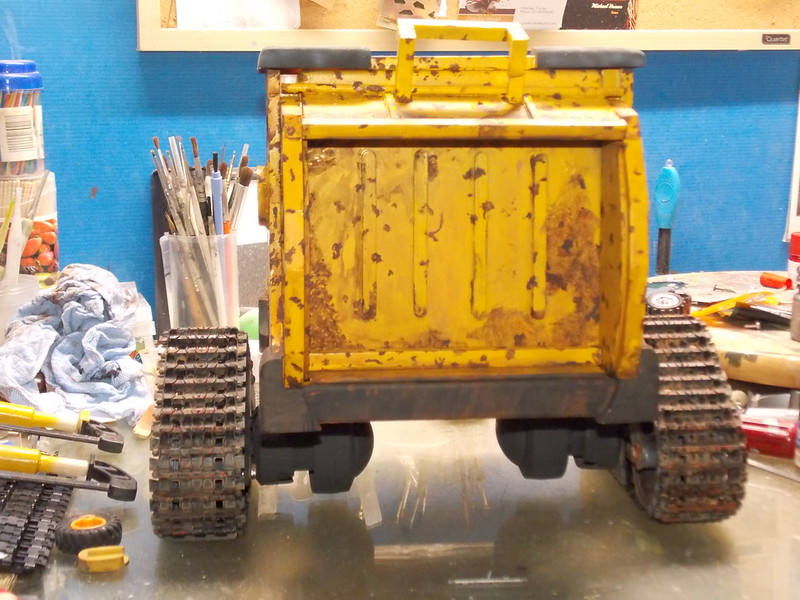
Well… My saw parts didn’t arrive yet, so yesterday, I started the rust and weathering on the body, I was up about 05:00 this morning with coffee near at hand, going at it again. I think I’ve got the bulk of the rusting/weathering done now…
And thats about where we’re at for now… Have a good weekend! Thanks…
Thank you Greg! Very kind of you, and I’m glad your enjoying…
OK, Got my parts for the band saw and made repairs yesterday, and am coming along with the tracks now…
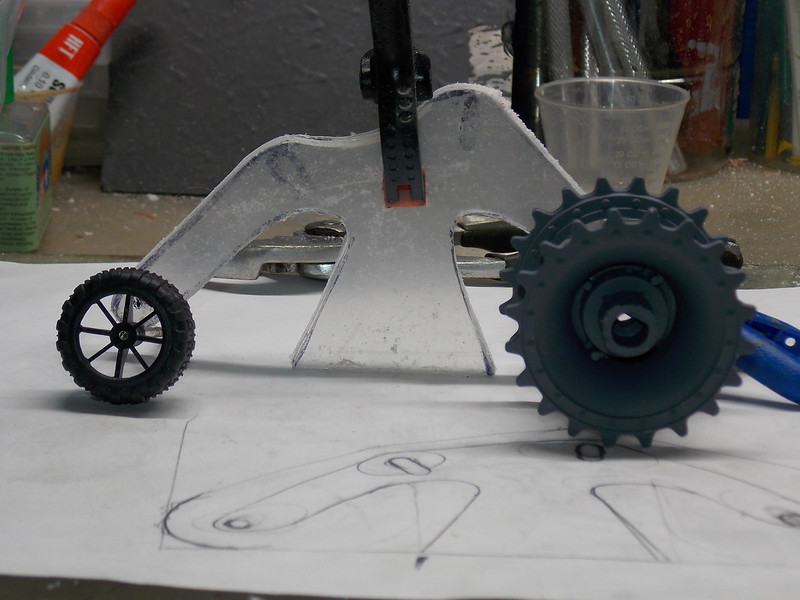
This is the initial design and arangement. The support piece is the .093 plastic, and other then some drive wheels I bought at the local Hobby Shop for 1/16 Tanl. the rest is again parts removed from old second hand toy store toys.
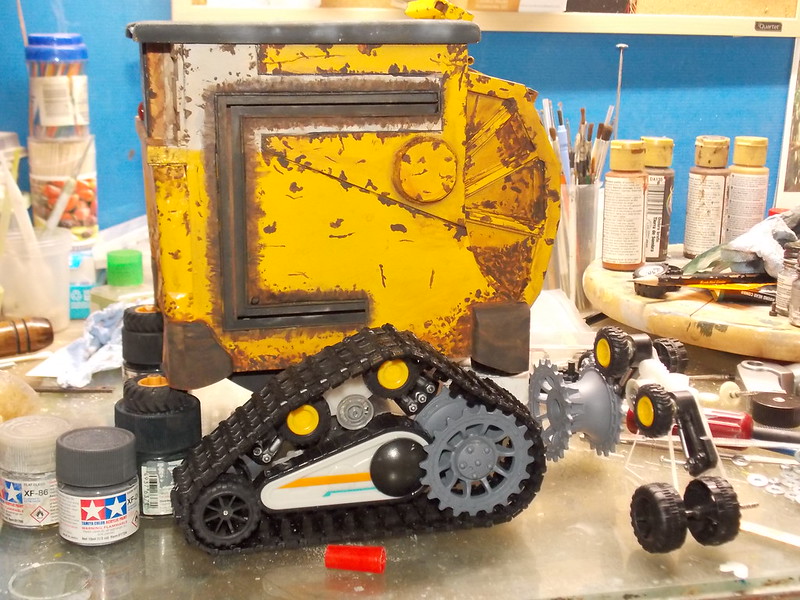
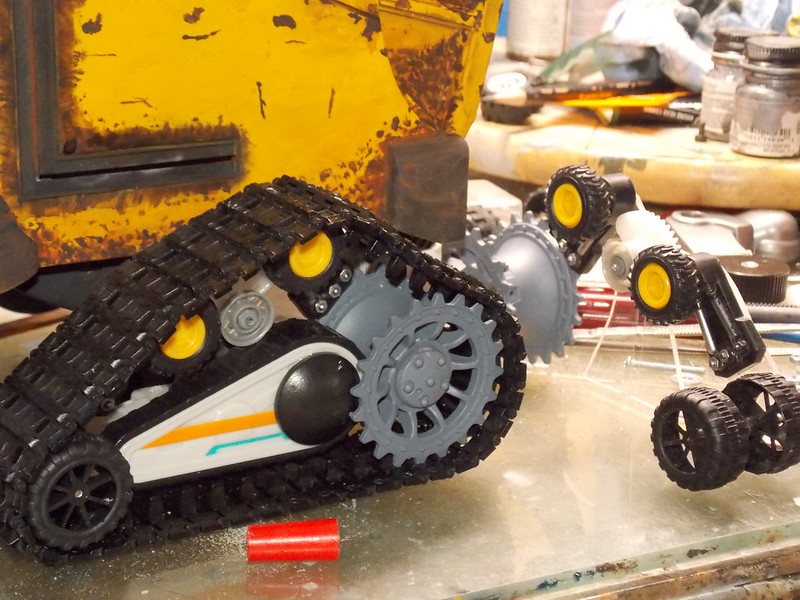
One asyembled, and one being assy.
I’ll try to get painted and weathered today, so I can start on arms tomorrow…
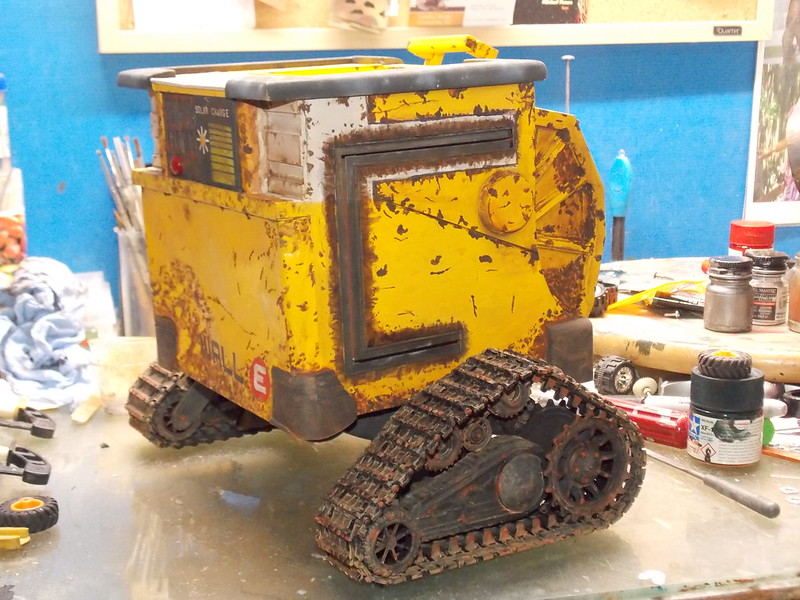
Evening all! I got my track assys painted, weathered and epoxied on today, and started on his arms…
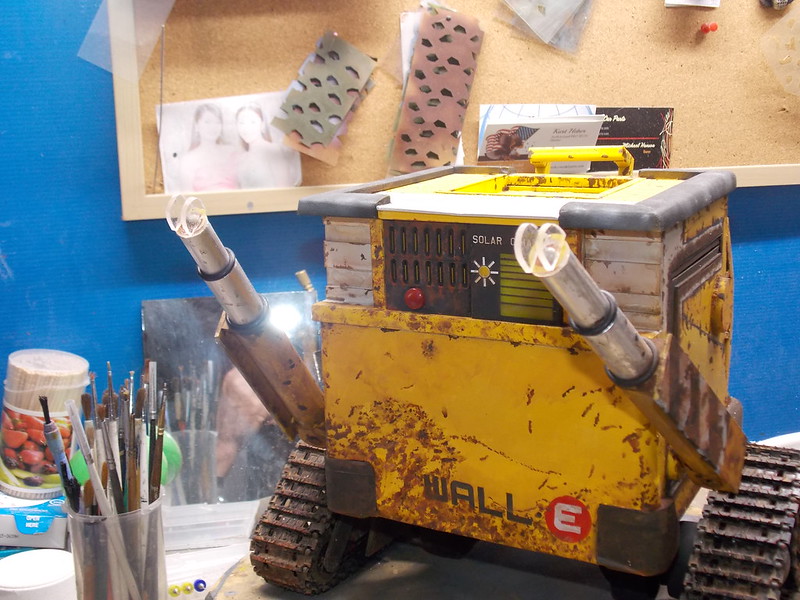
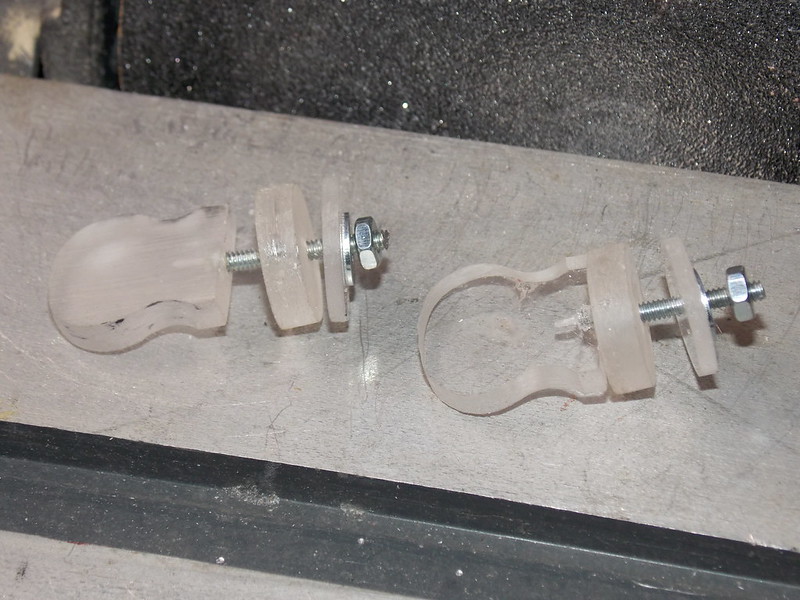
These are the clevis anchors that will mount the arms to the body.
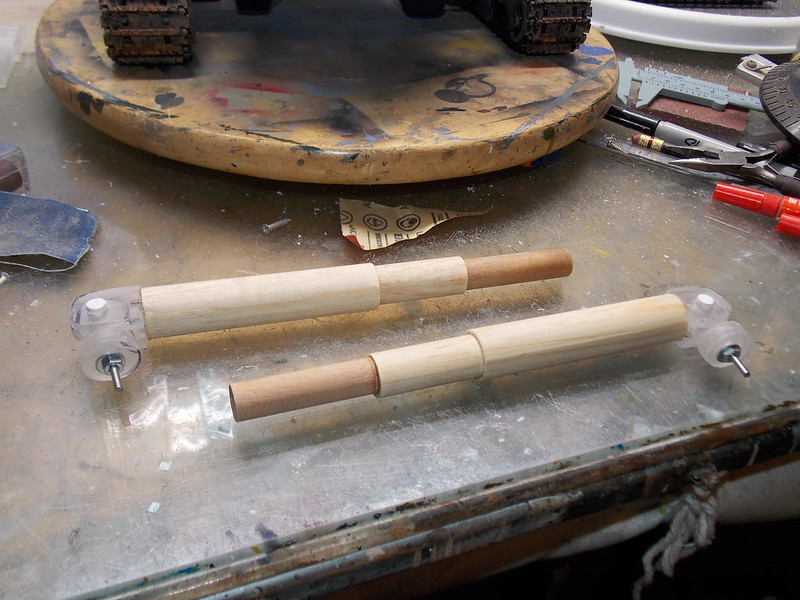
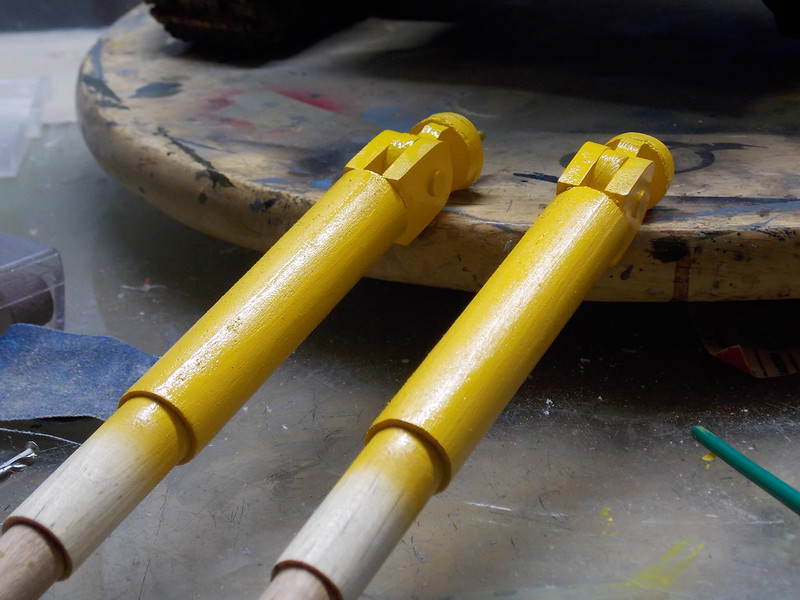
And these cylinders will become the arms. The clevis and anchors are already attached here. Thats about it for now. I should have them finished by tomorrow along with the rear hatch cylinders… Take care…
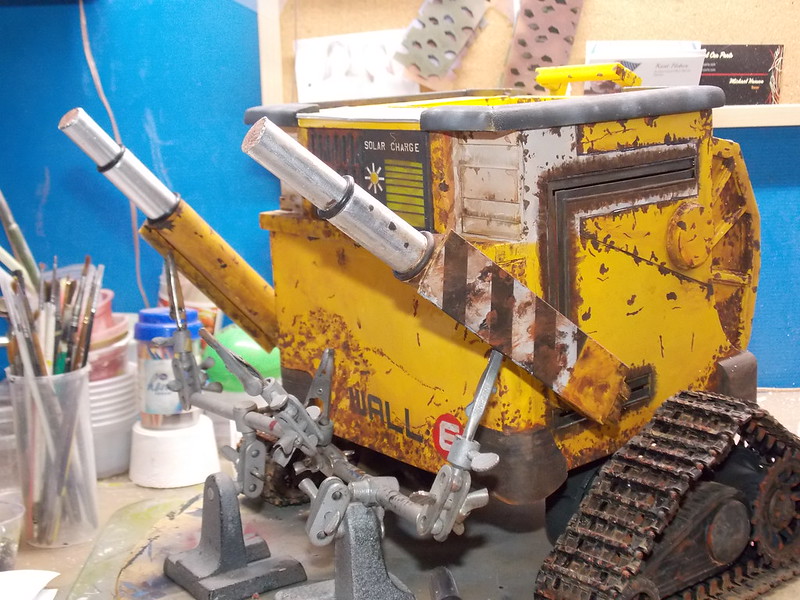
Evening everyone! Got Wall-e’s arms done and am awaiting the epoxy to set up! I can see the completion in sight now and am anxious myself…
Painted them early this morning,
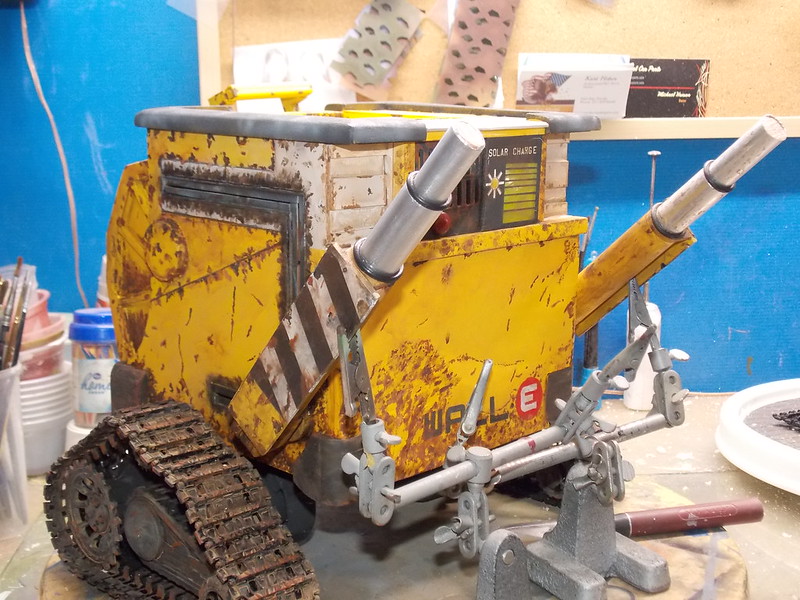
I added the "warning flats to them. I wish I had thought to take a picture, but at the front where there is just a bit of yellow on the first rod, there is a small piece to level the flat plate to the cyl barrel… That so far has been the hardest little part to make. I tried shaping the piece and then drilling… No way, I made about 4 sets until I figured out , Drill FIRST, then cut out and shape…DUH.
OK again, got a bit ahead of taking the pictures and had them finished and ready to install befor realizing it, but… The "chrome " on the rods is chrome foil from LHS, the “wiper rings” around the rod caps are just o-rings, and they are painted , weathered and aged, and installed.
And thats it for now! Wishing everyone a blessed Easter weekend! Thanks…
Evening everyone! Hope everyone had a good weekend… Able to get some more done today,
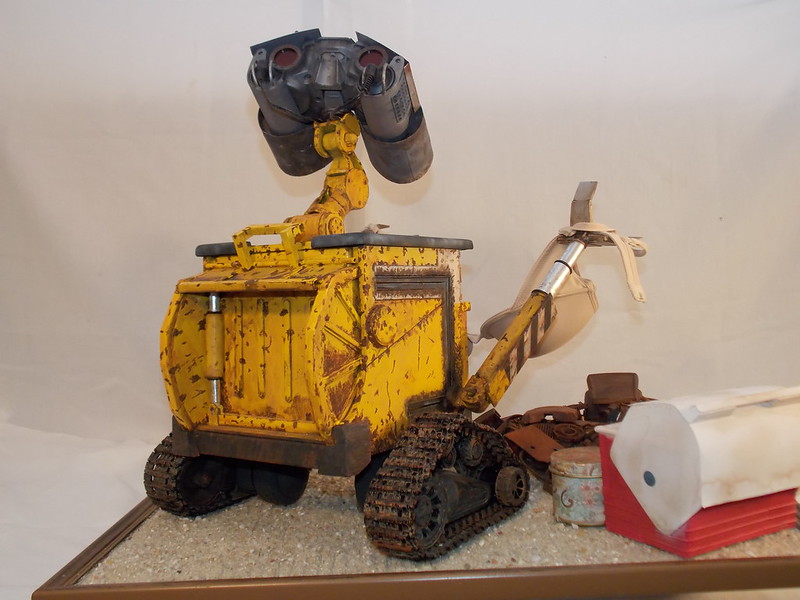
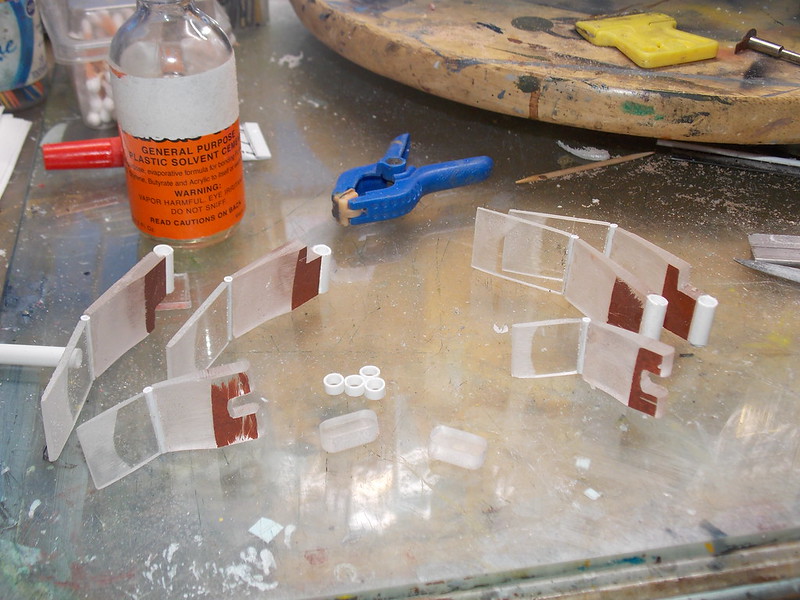
OK, I got the hand pieces made…
The material is both the .220 and .093 plastic, plus some 1/4 in plastistruct tubing The pieces were taper sanded (along with a tad bit of skin) on the belt sander, then glued to the tubing.The small pieces of tubing are going to be spacers, and the small clear bean shaped pieces are what connects the thumb to the fingers.
And this is roughly how they will look when mounted.
And lastly for now, the clevises are attached to the rod ends, and when dried they will be assy to the “fingers” . Of course all this will be finished in a rusty steel look. After this its just a matter of making his dio and putting his head and neck on. Give me a day or two, and I think He’ll be all but done!
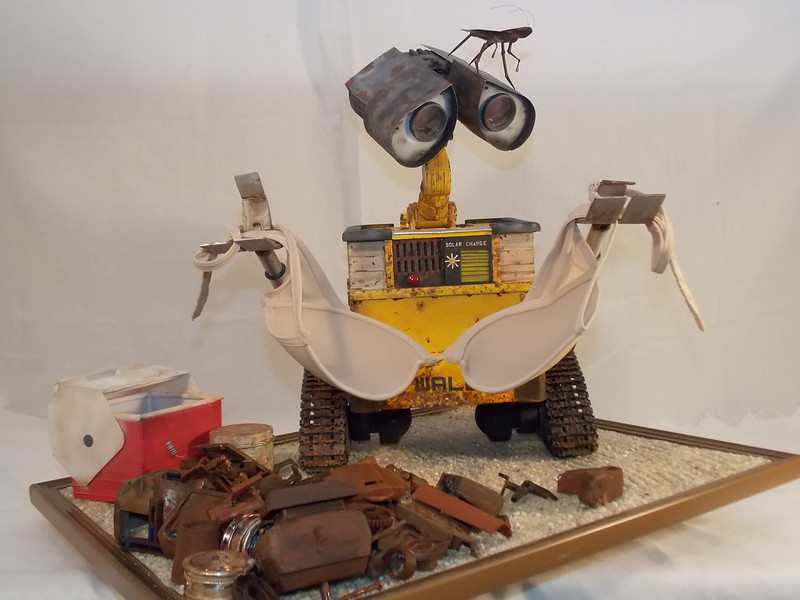
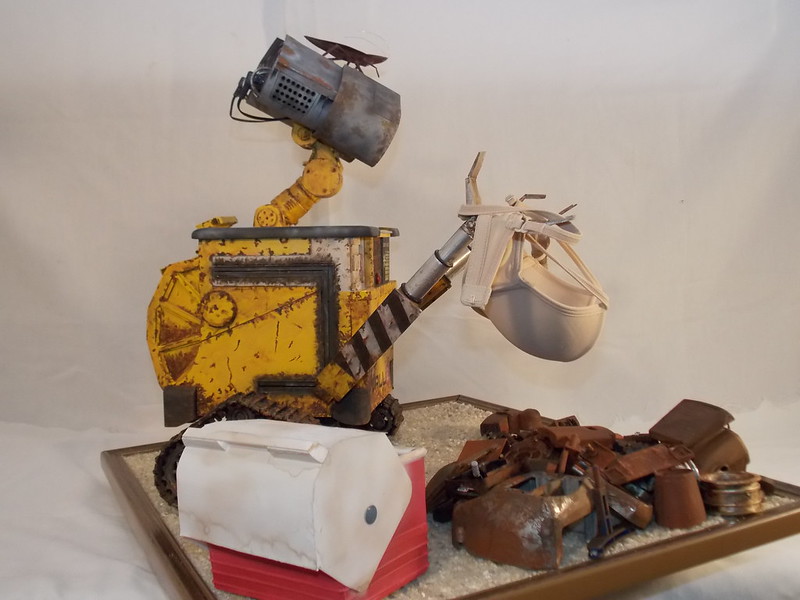
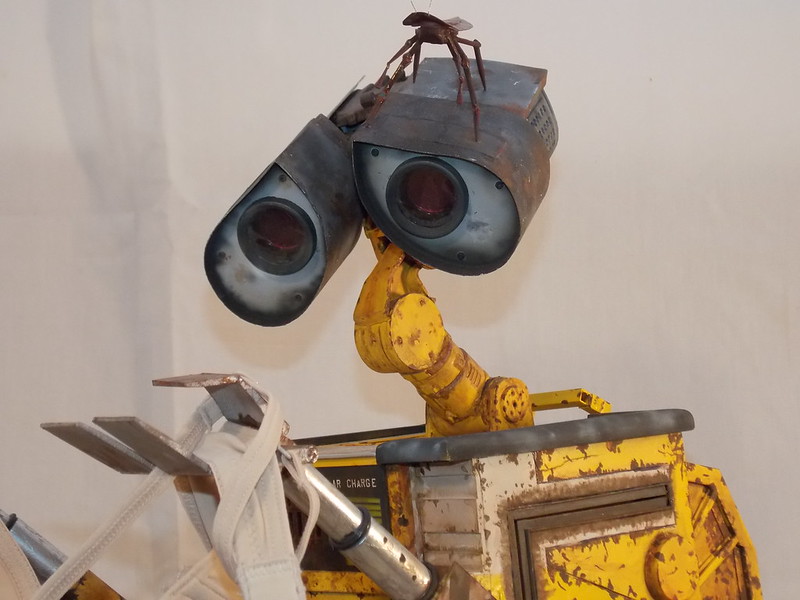
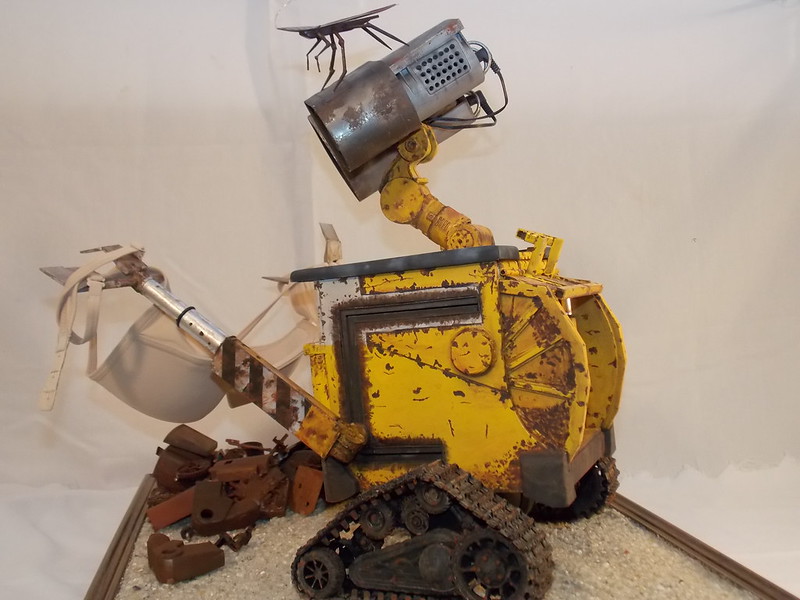
Good morning all! Well, Hes done! I have worked on his dio for a day or so and finally have him assembled.
His little cooler is scratch built from plastic sheet .010 thick, and assorted other plastistruct shapes and pieces. The “junk” around him is just left over pieces of toys I dissassembled to get things to use to build him, “rusted” and glued down on the dio.
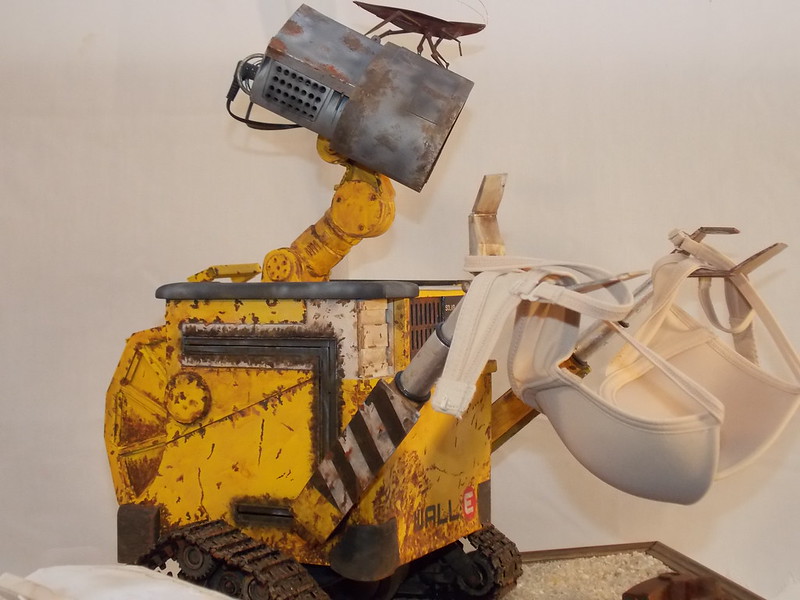
The base is just a large picture frame with sand and such white glued to it, I mix about 1/4 glue and the rest water in an atomizer and spray it until damp, then allow to dry.
Should have seen the funny looks I got walking into the store asking for the smallest bra they had! lol…
Well, thats about it… It was a fun ,interesting and different build for me. I want to Thank, each and every one for the interest, comments and encouragement during the build. Take care one and all, and I hope that you not only enjoyed but got a laugh out of some of this! Thanks again…
Hey Doug, I missed the building of this, but just went through the whole thread. I know this was a “for fun” build, but holy cow! Really inventive use of different types of materials. The end product is magnificent! I absolutely love the cockaroach on his head.
Kept shaking my head is disbelief at how you were able to pull this together. I tip my hat sir. [:D[
Thanks Dman…as we all get older I have no idea how much longer I’ll be able to do models… So, I’m trying to push my abilities a bit before it’s too late! Thank you so much for the compliment and glad you njoyed!
Wow ! I never thought anyone would Scratch - Build Wall-E . I am Humbled by your skill Sir ! I remember that scene and that I laughed so hard I spilled my coffee all over myself . Aw H*&& it was worth it for the unspoken mood !
One of the sleeper movies about which direction Mankind could be headed in if they don’t wake up ! But in a gentle way . And fun too . I have done Wall-E in LEGO . The parts and pieces came from construction equipment sets .
He’s a whole lot smaller . T.B. Couldn’t find anything LEGO for the Cockroach though .


 The material is both the .220 and .093 plastic, plus some 1/4 in plastistruct tubing The pieces were taper sanded (along with a tad bit of skin) on the belt sander, then glued to the tubing.The small pieces of tubing are going to be spacers, and the small clear bean shaped pieces are what connects the thumb to the fingers.