Thanks a lot, Gino!
Yeah very cool Pawel, the grill cover looks great! [Y]
Very nice work. The Zil is such a cool looking truck. Looking forward to seeing more.
BK
Gamera, Brandon - Thanks a lot for your comments and for your kind words!
The work is slowly going on.
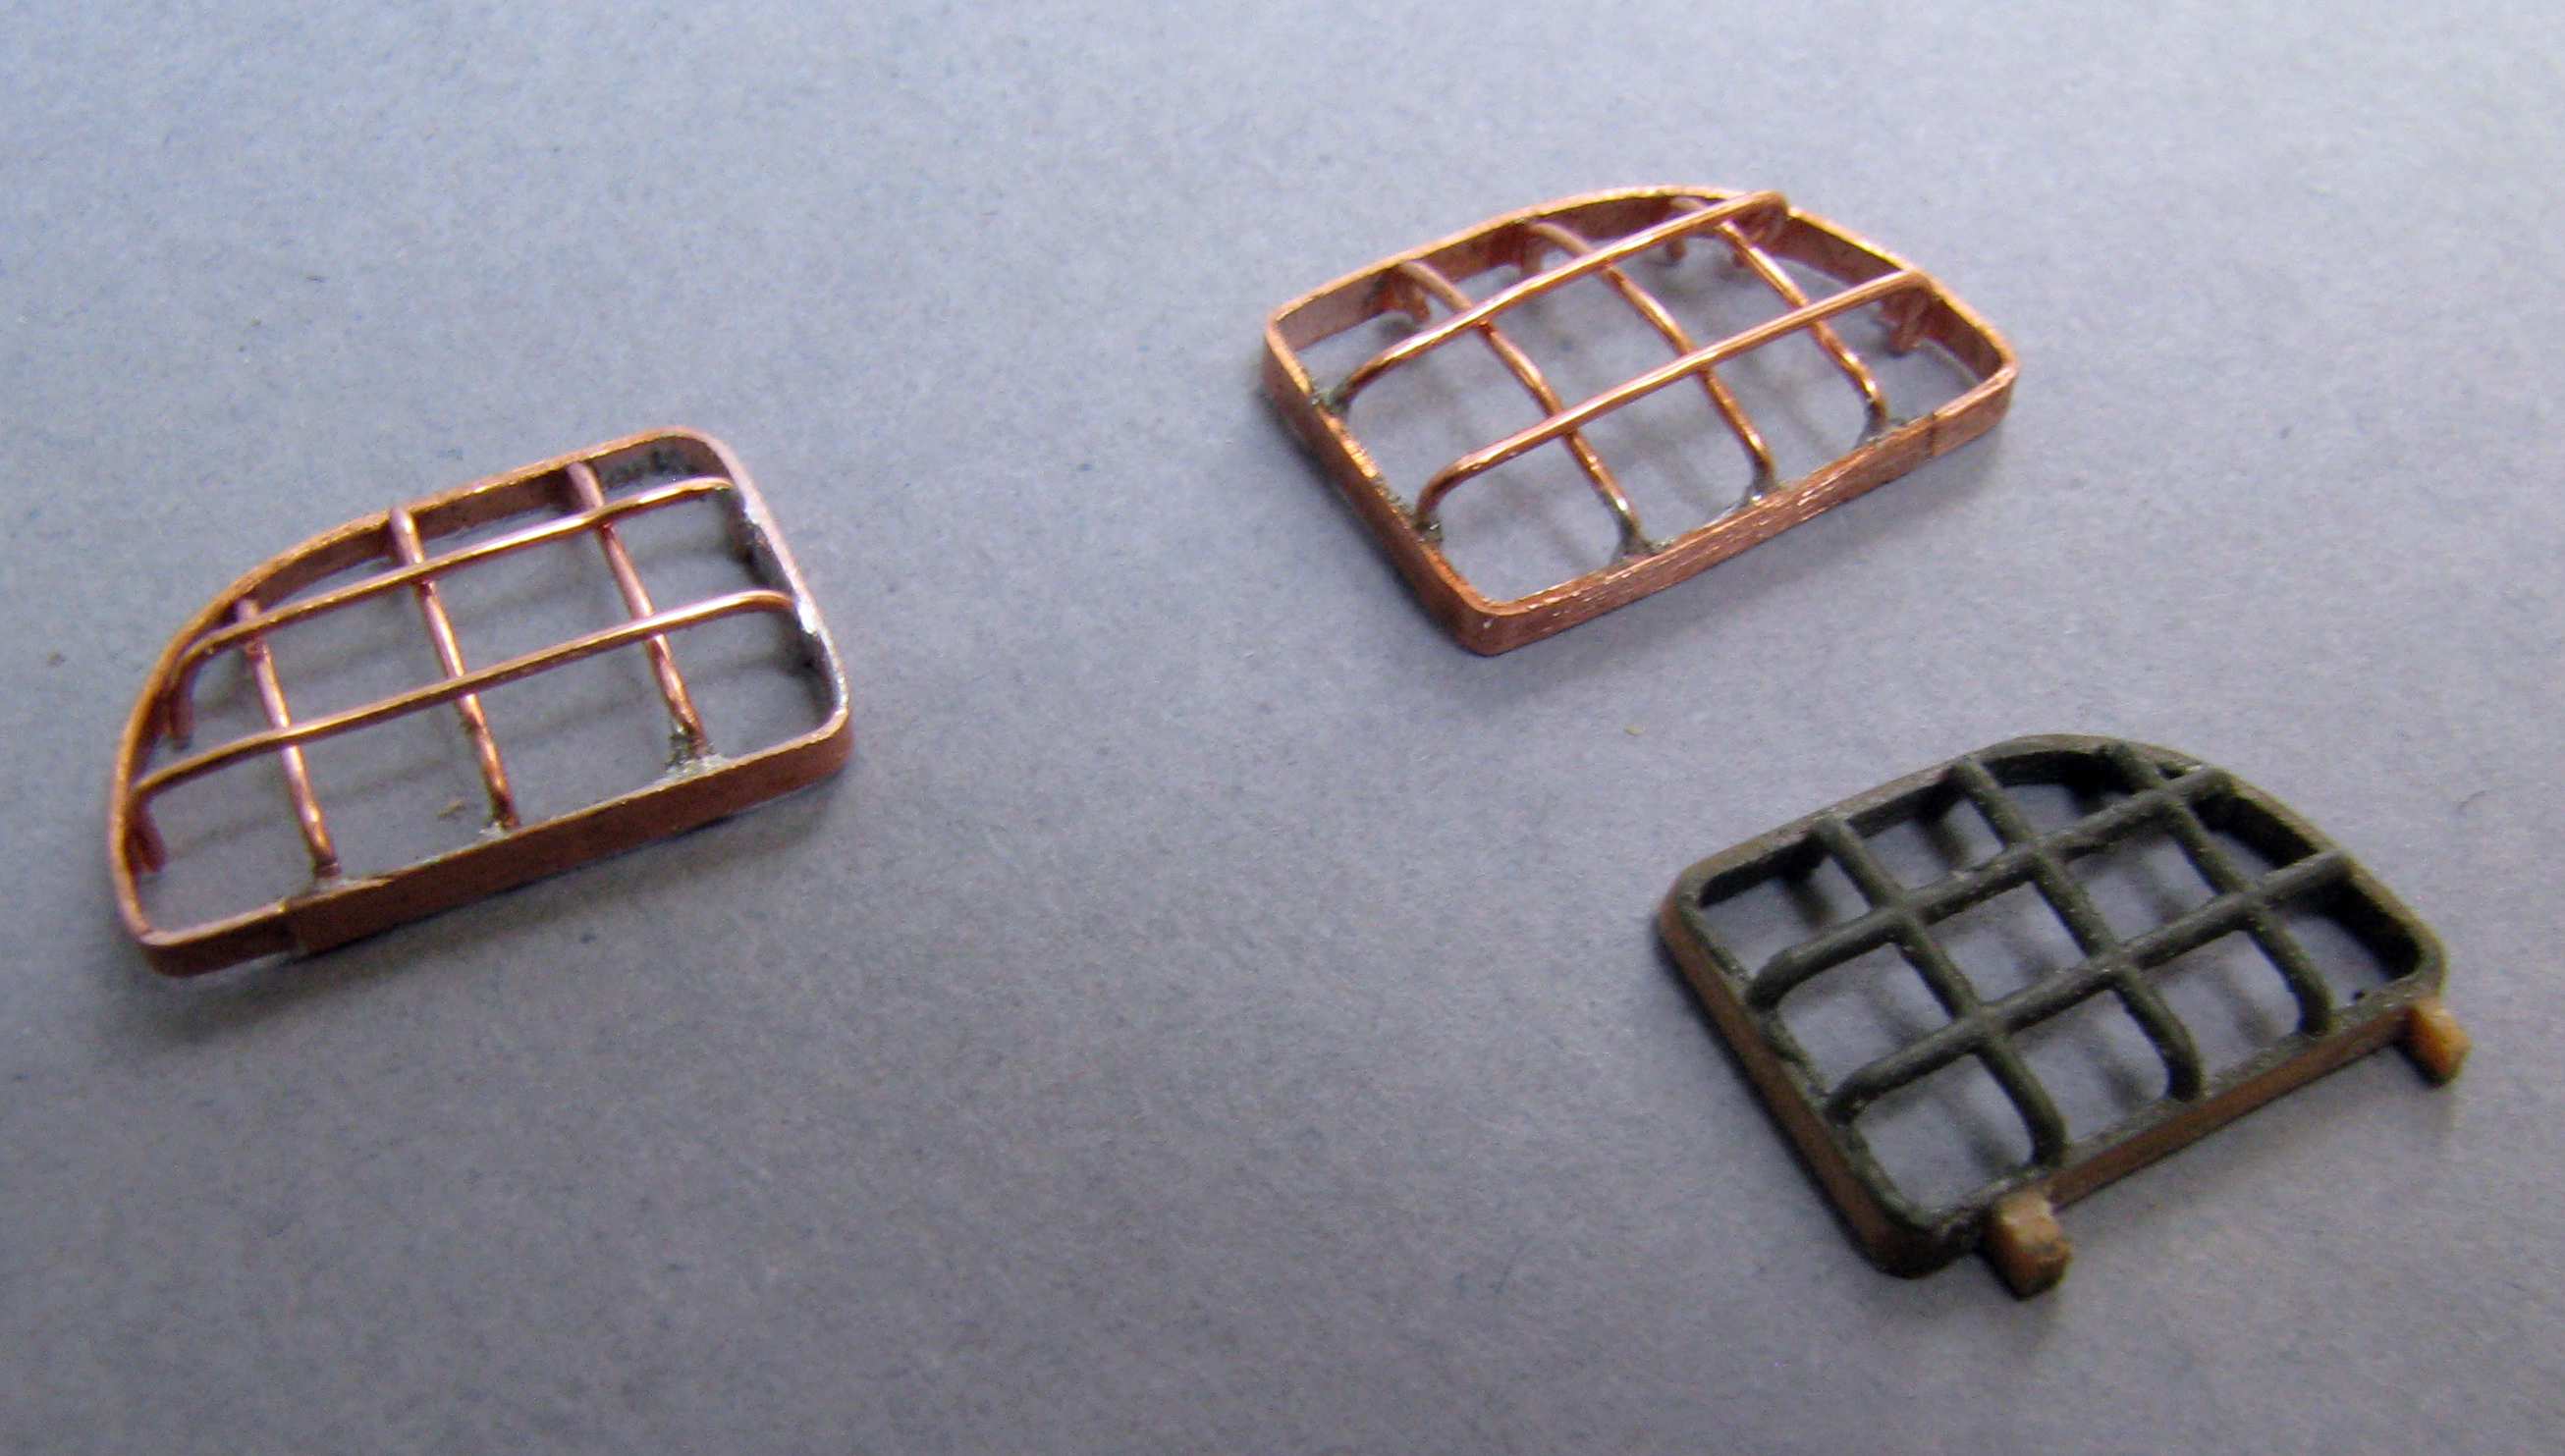
Among other things I tried if I can improve on the kit’s (pretty nice) headlight guards.
I took some copper strip and wire and started soldering…
As you can see I’m using masking tape to help me position the wires, and I bent the wires in an U-shape so that they hold their position relative to each other. After some cutting and bending the result looks promising:
When doing work like this the main concern is that when you heat a joint to solder it the next one can get hot and let go - that’s why each wire is only soldered at one end and glued with CA on the other end. The place where the “rim” joins is also glued with CA.
So here’s the comparison with the kit part:
There is some progress and I wonder if I could away with using thinner copper wires and strip - but I’ll stay with what I got so far.
Thanks for looking and have a nice day!
Paweł
Great job on the light guards.
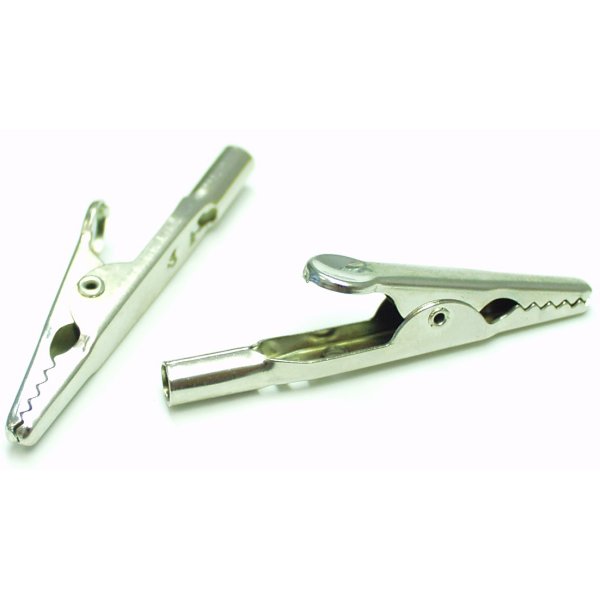
A soldering tip: Use an alligator clip between the two solder joints and you will be good. The alligator clip acts as a heat sink and keeps the heat from reaching the previous joint so it doesn’t melt the solder there.
I agree that it’s interesting model and good job has done. Paweł, you found interesting real model for idea.
Will you use photo etching and what about interior of kung?
I also use the micro-sized “bulldog” clips, too. They can be more “grippy.”


A little liquid flux brushed onto the area to be soldered helps tremendously too. It makes the heat transfer more efficient so the solder flows without having to get the whole piece screaming hot.
I absolutely agree with the other posts here. Outstanding work on the guards. They look wonderful, as does the rest of your work on this project.
Hello everybody!
Thanks a lot for your comments!
Gino, Cap’n, Eaglecash867 - thanks a lot for the soldering tips, solid advice I’ll use next time I’ll tackle something like this!
M1GarandFan - Thanks a lot for your kind words!
Vladimir - somehow this is such a cool foto! You can see that ICM has created the box art based on it and yet they didn’t go with that paint scheme… Maybe because of the window configuration?
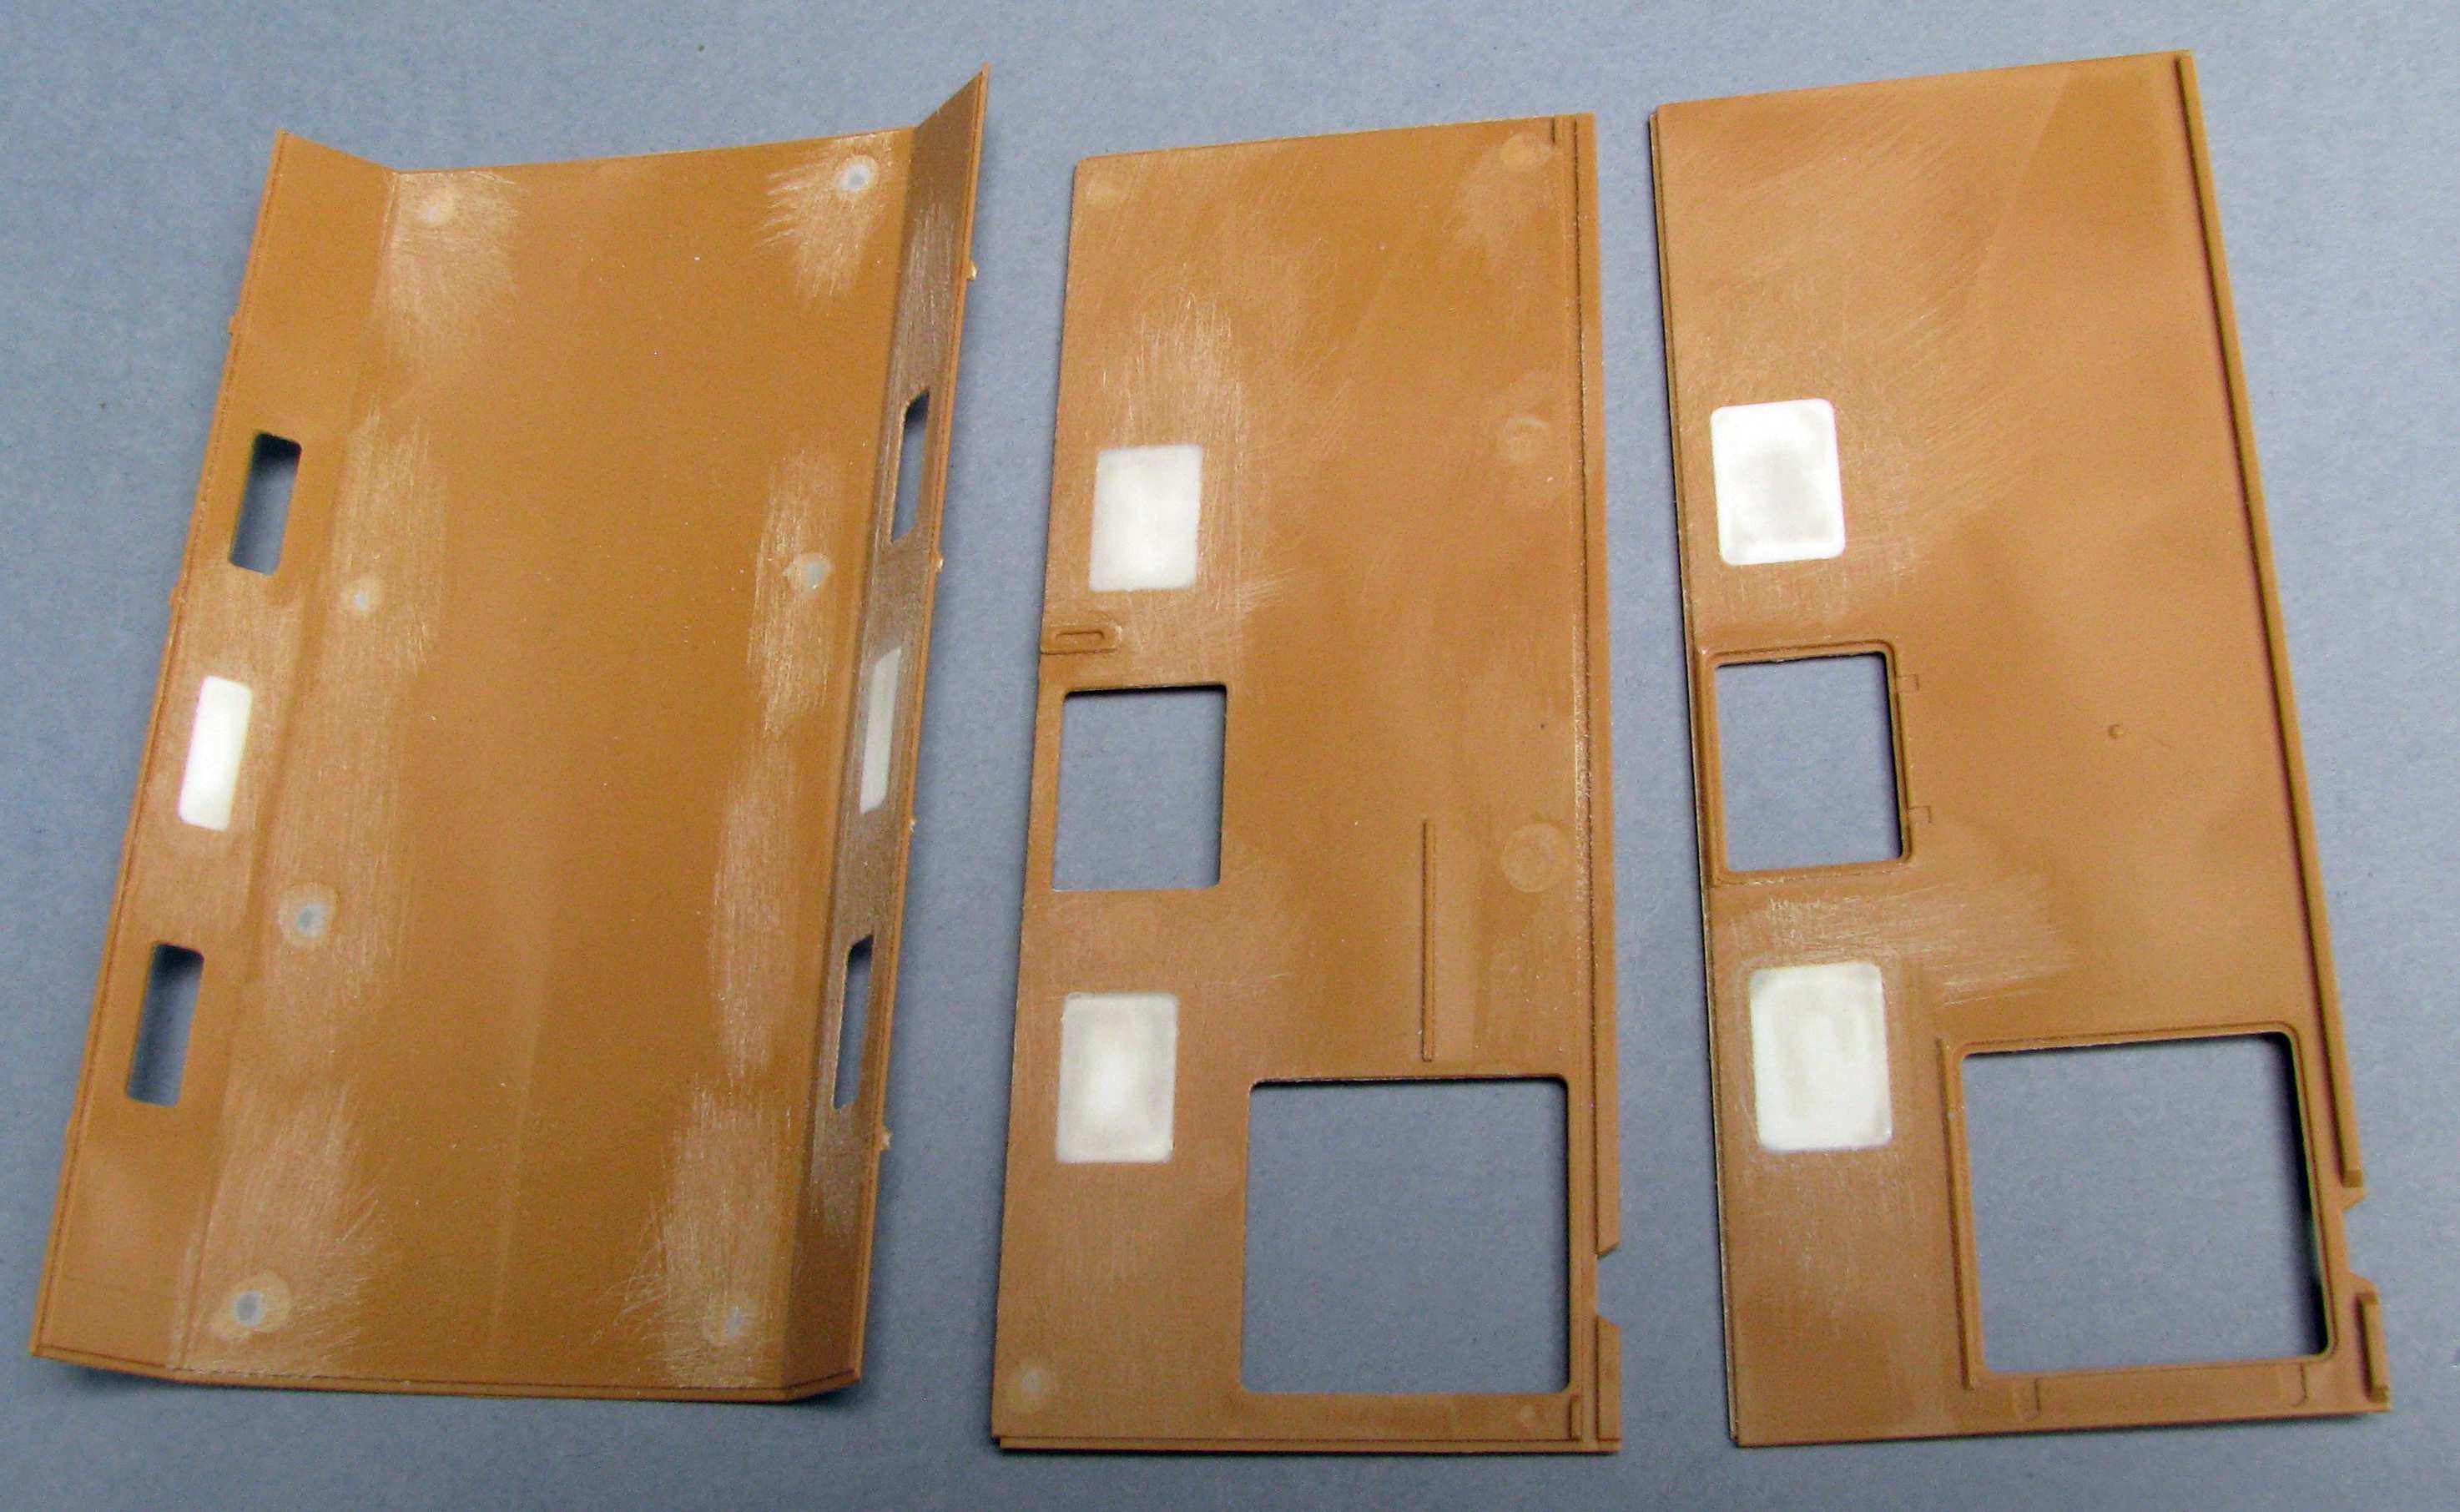
That shelter with three (instead of six) windows on the side is a command post shelter (as opposed to a mobile workshop shelter) but I will put the kit supplied workshop interior inside, anyhow, because it is so nice.
Any idea why it’s called kung?
And no, I don’t think I will use any photoetch here, I try to keep this build on budget.
I started to fill the unwanted windows with two layers of 0,5mm styrene sheet:
Thanks for reading and have a nice day
Paweł
I like the look of these Brutish looking Trucks and you are doing a lovely Job on Him…Cheers mark
Looks great Pawel! Nice work on correcting the windows. And I know only the most basic skills of soldering- your work looks perfect to me. [Y]
Mark, Gamera - I’m sorry for replying so late and thanks a lot for your kind words!
In the meantime I was working on the interior of the workshop. The work was draggin’ on and somehow I didn’t make in-progress photos… Until now - so here’s where I am with the workshop:
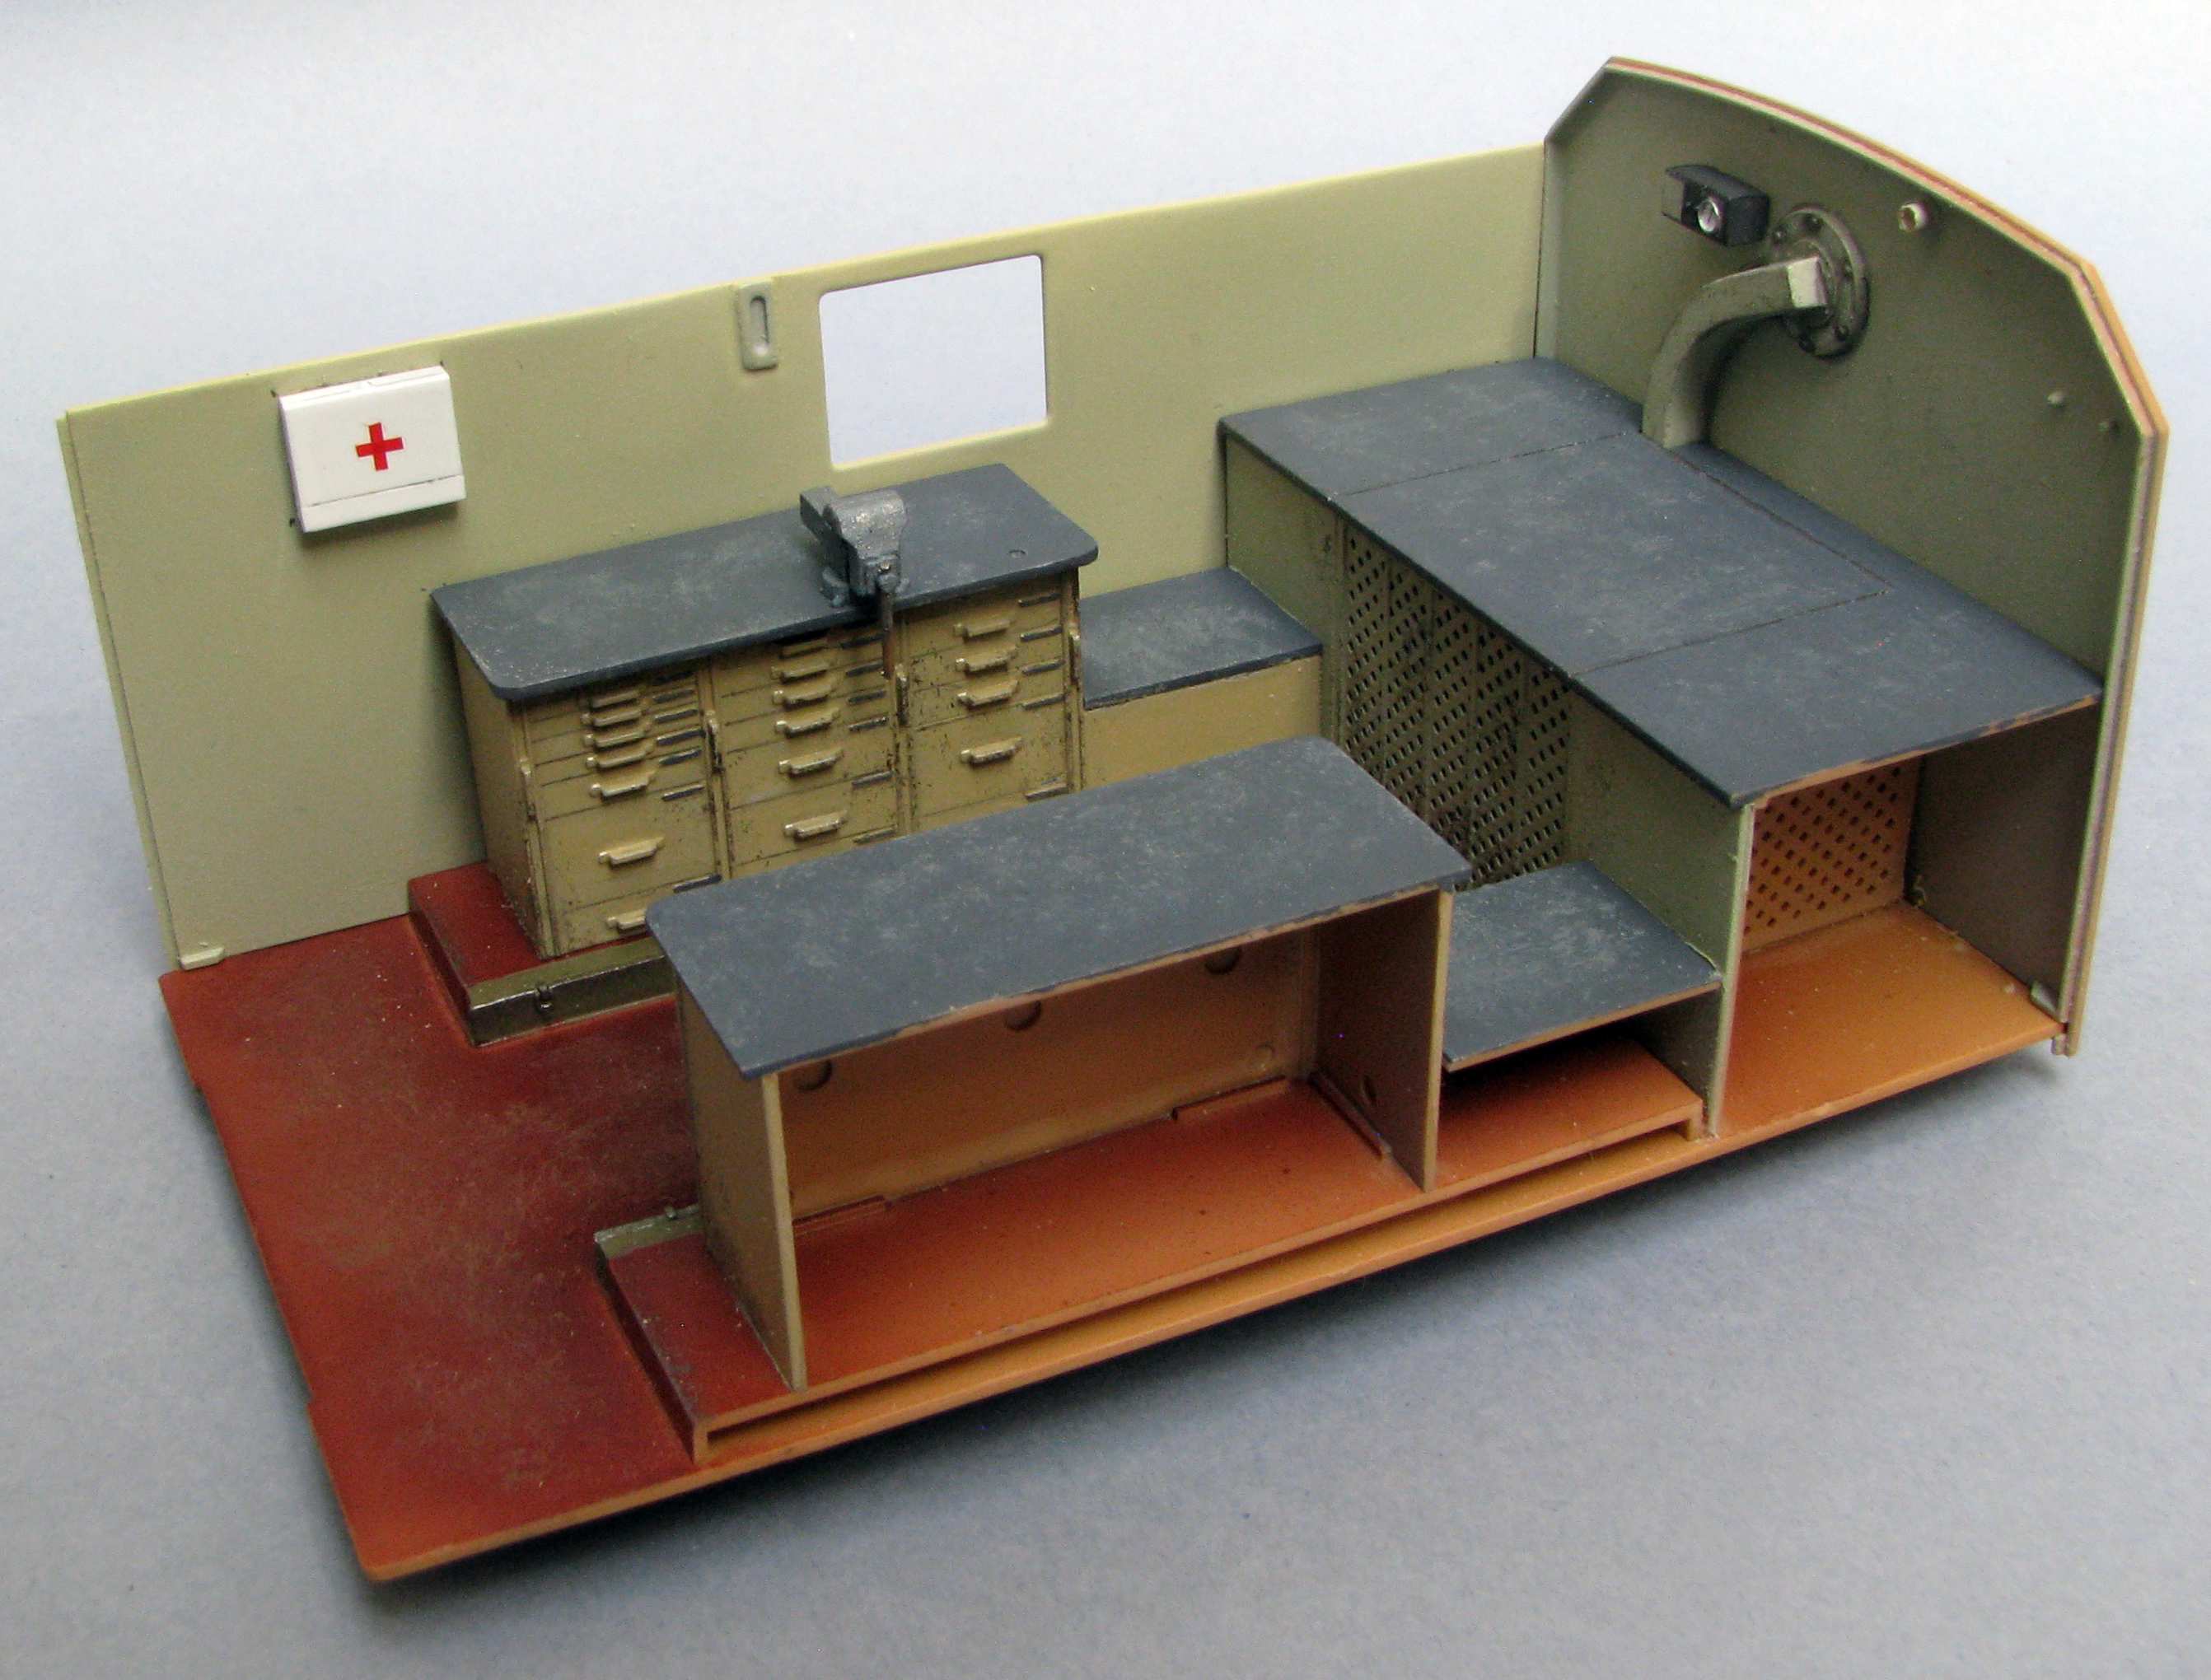
How do you like it?
Thanks for looking and have a nice day
Paweł
Looks great Pawel! I assume you’re adding some tools and parts on the work shop tables? That’s all it needs is some clutter!
Very nice. The interior looks great.
Gamera, Gino - thanks a lot for your kind words!
Gamera - I just thought if I put too many loose objects there in real life they would create a real mayhem once the truck starts movin’ (the roads in the east aren’t all too good, you know).
Friends on the Polish forum try to trick me into lighting the interior with LEDs…
Thanks a lot for your comments and have a nice day!
Paweł
Sounds reasonable!
Again nice work!
Hello!
Awright, I let them talk me into it…
About exactly 2$ worth of materials:
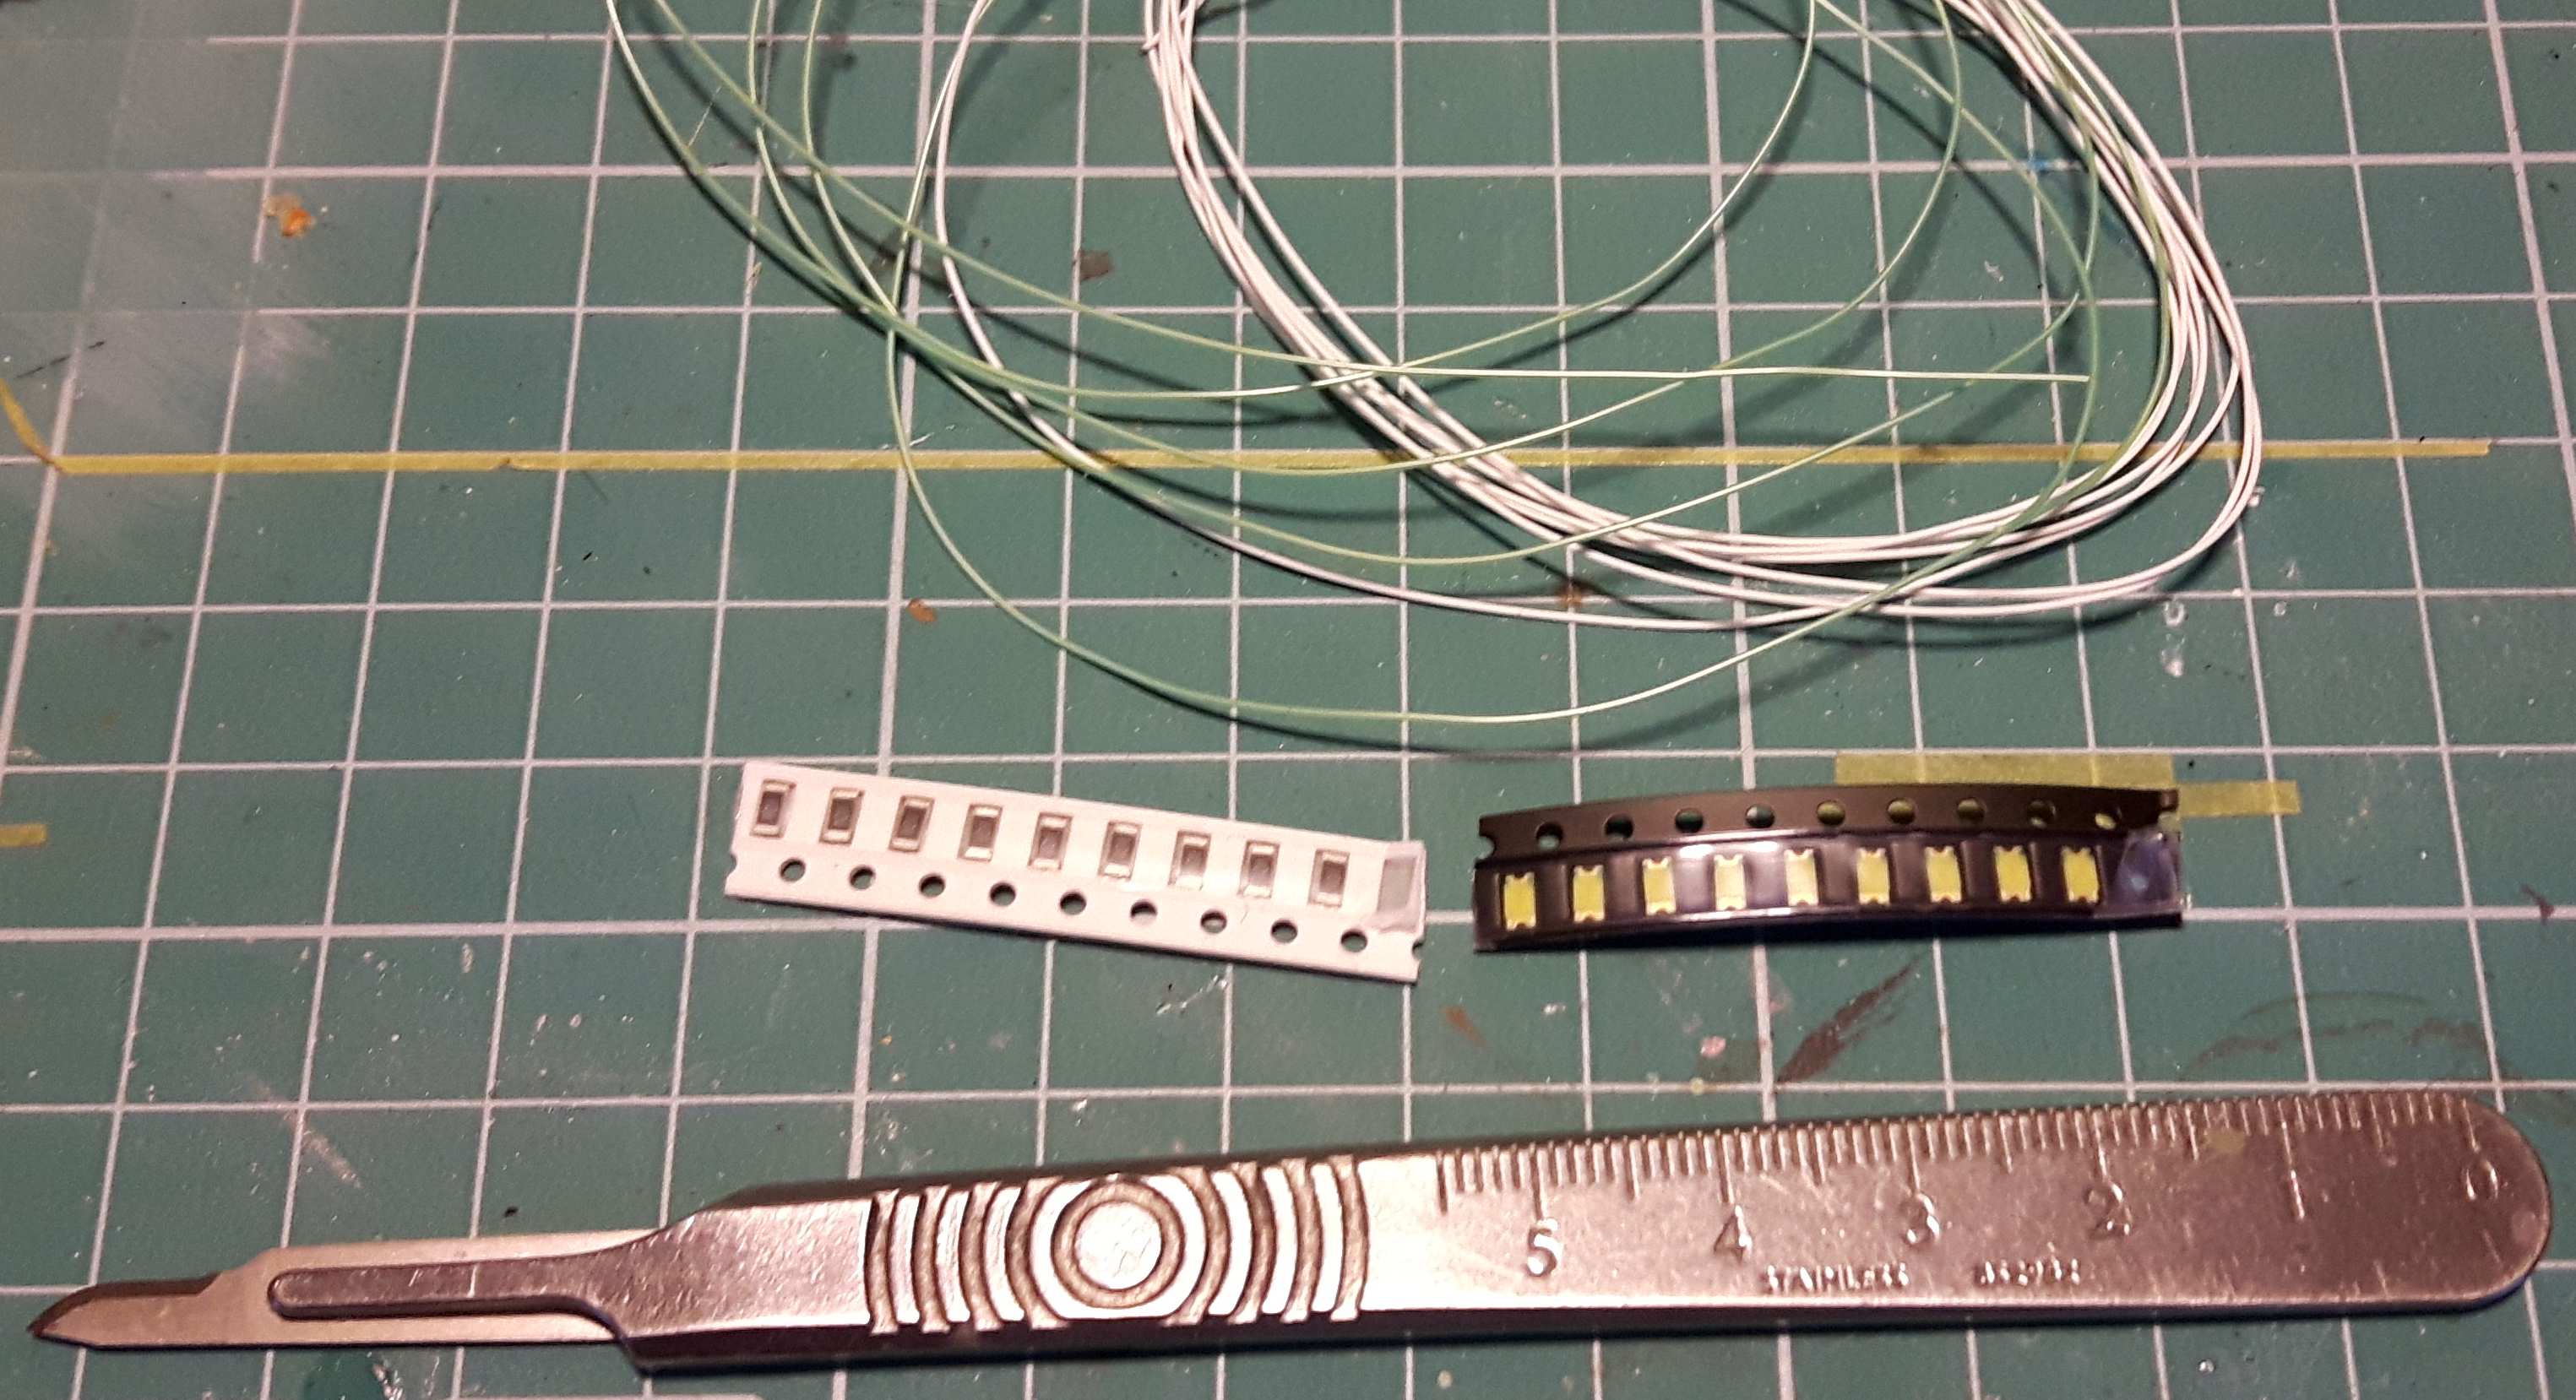
10 white LEDs, 10 100 Ohm resistors and 2 meters (about 6 feet) kynar wire.
Surprise: Israeli Jerry Cans!:
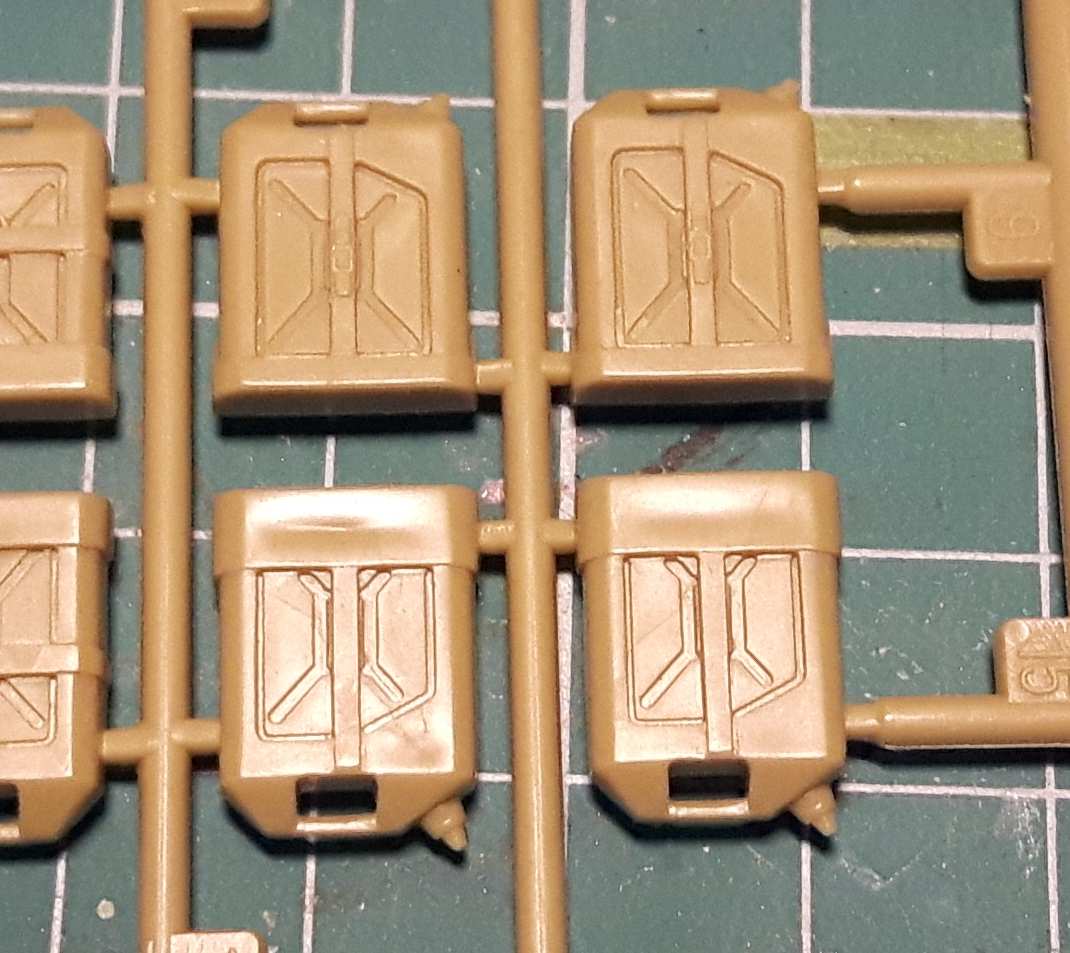
The plan is to make lamps bodies out of them!
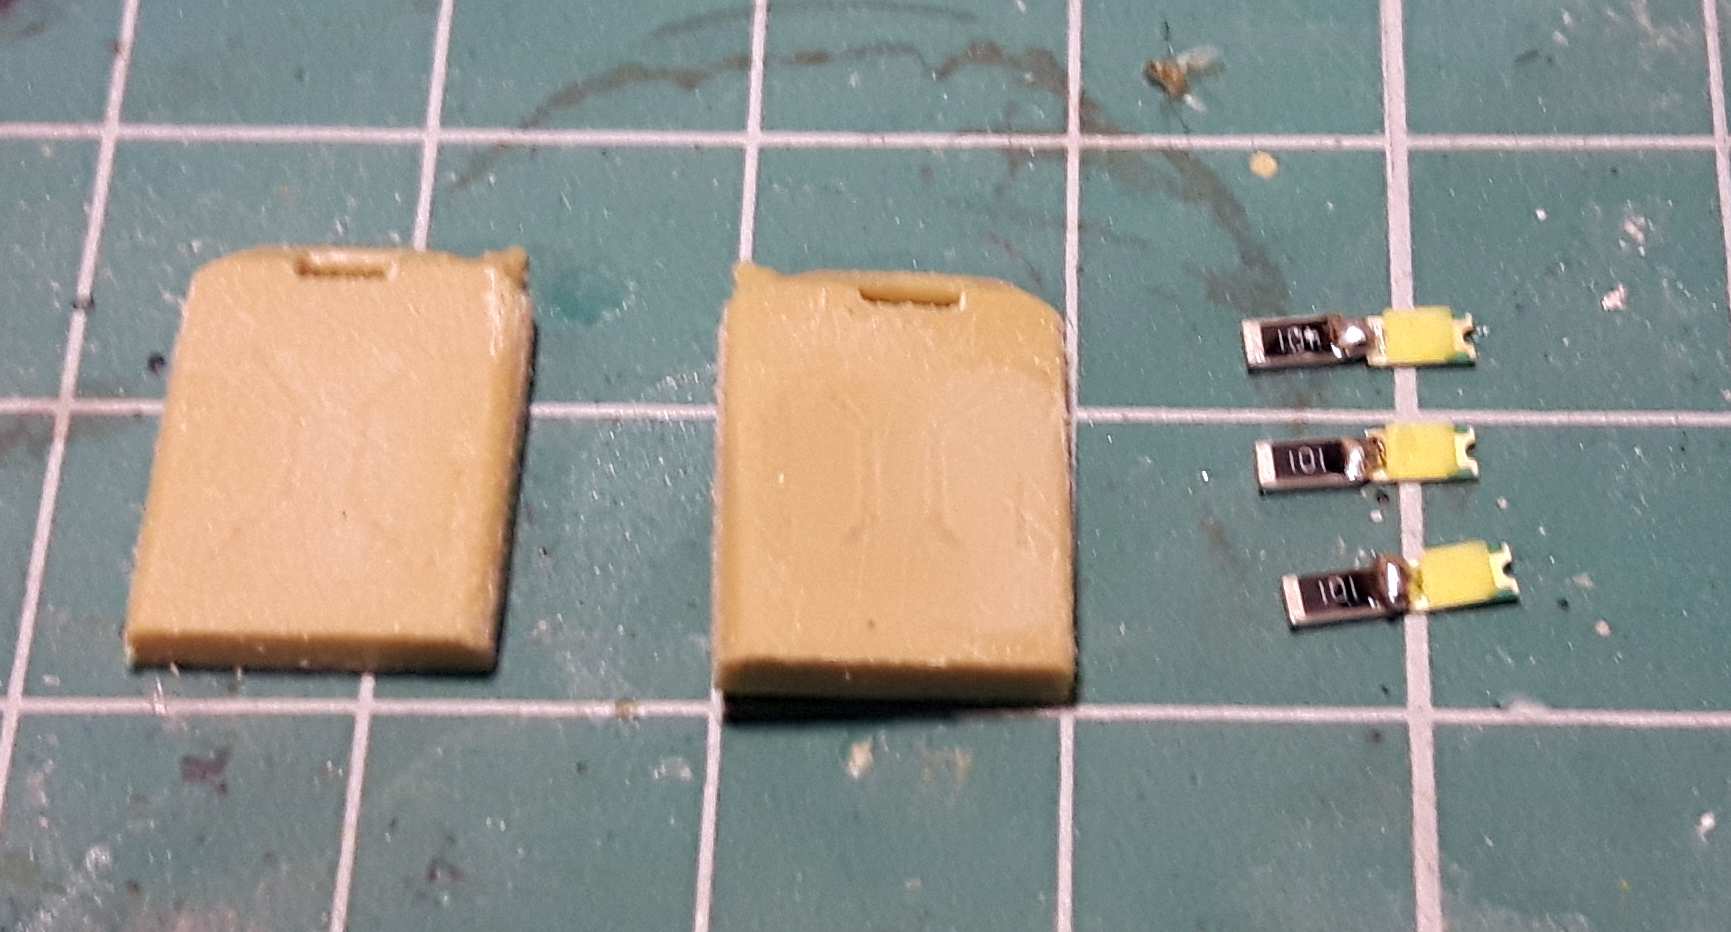
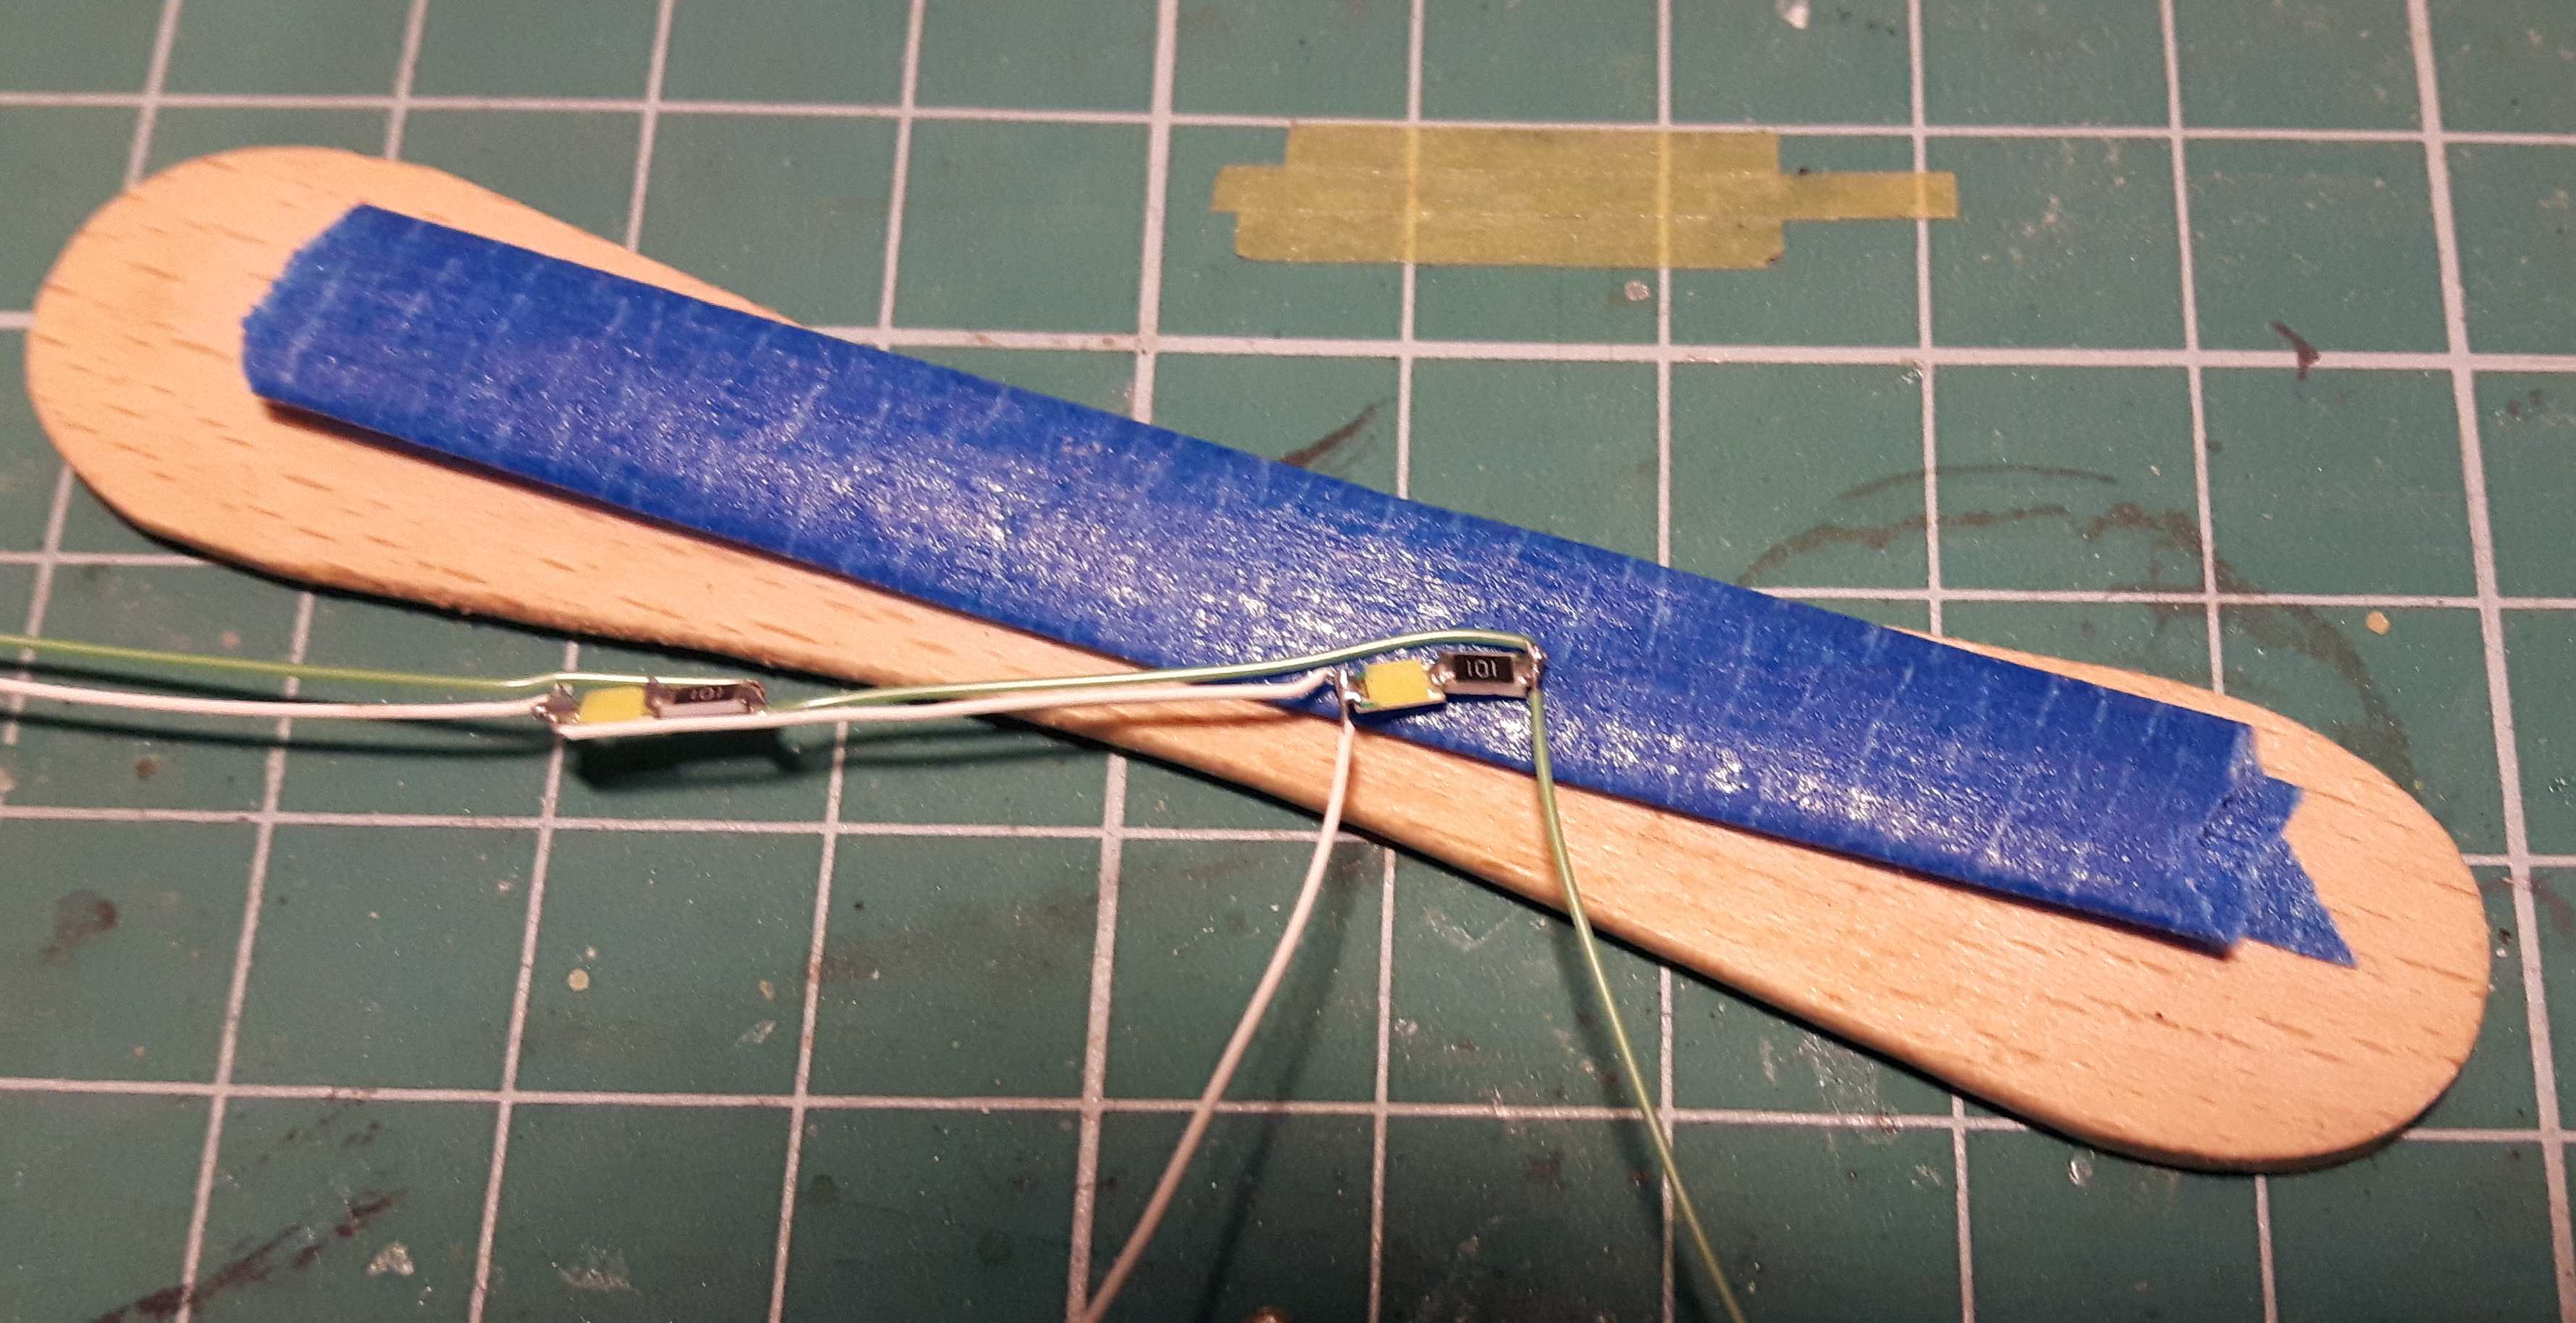
Here are the cans sanded up and LEDs soldered together with the resistors. This will giva a current trough the LED of about 15mA
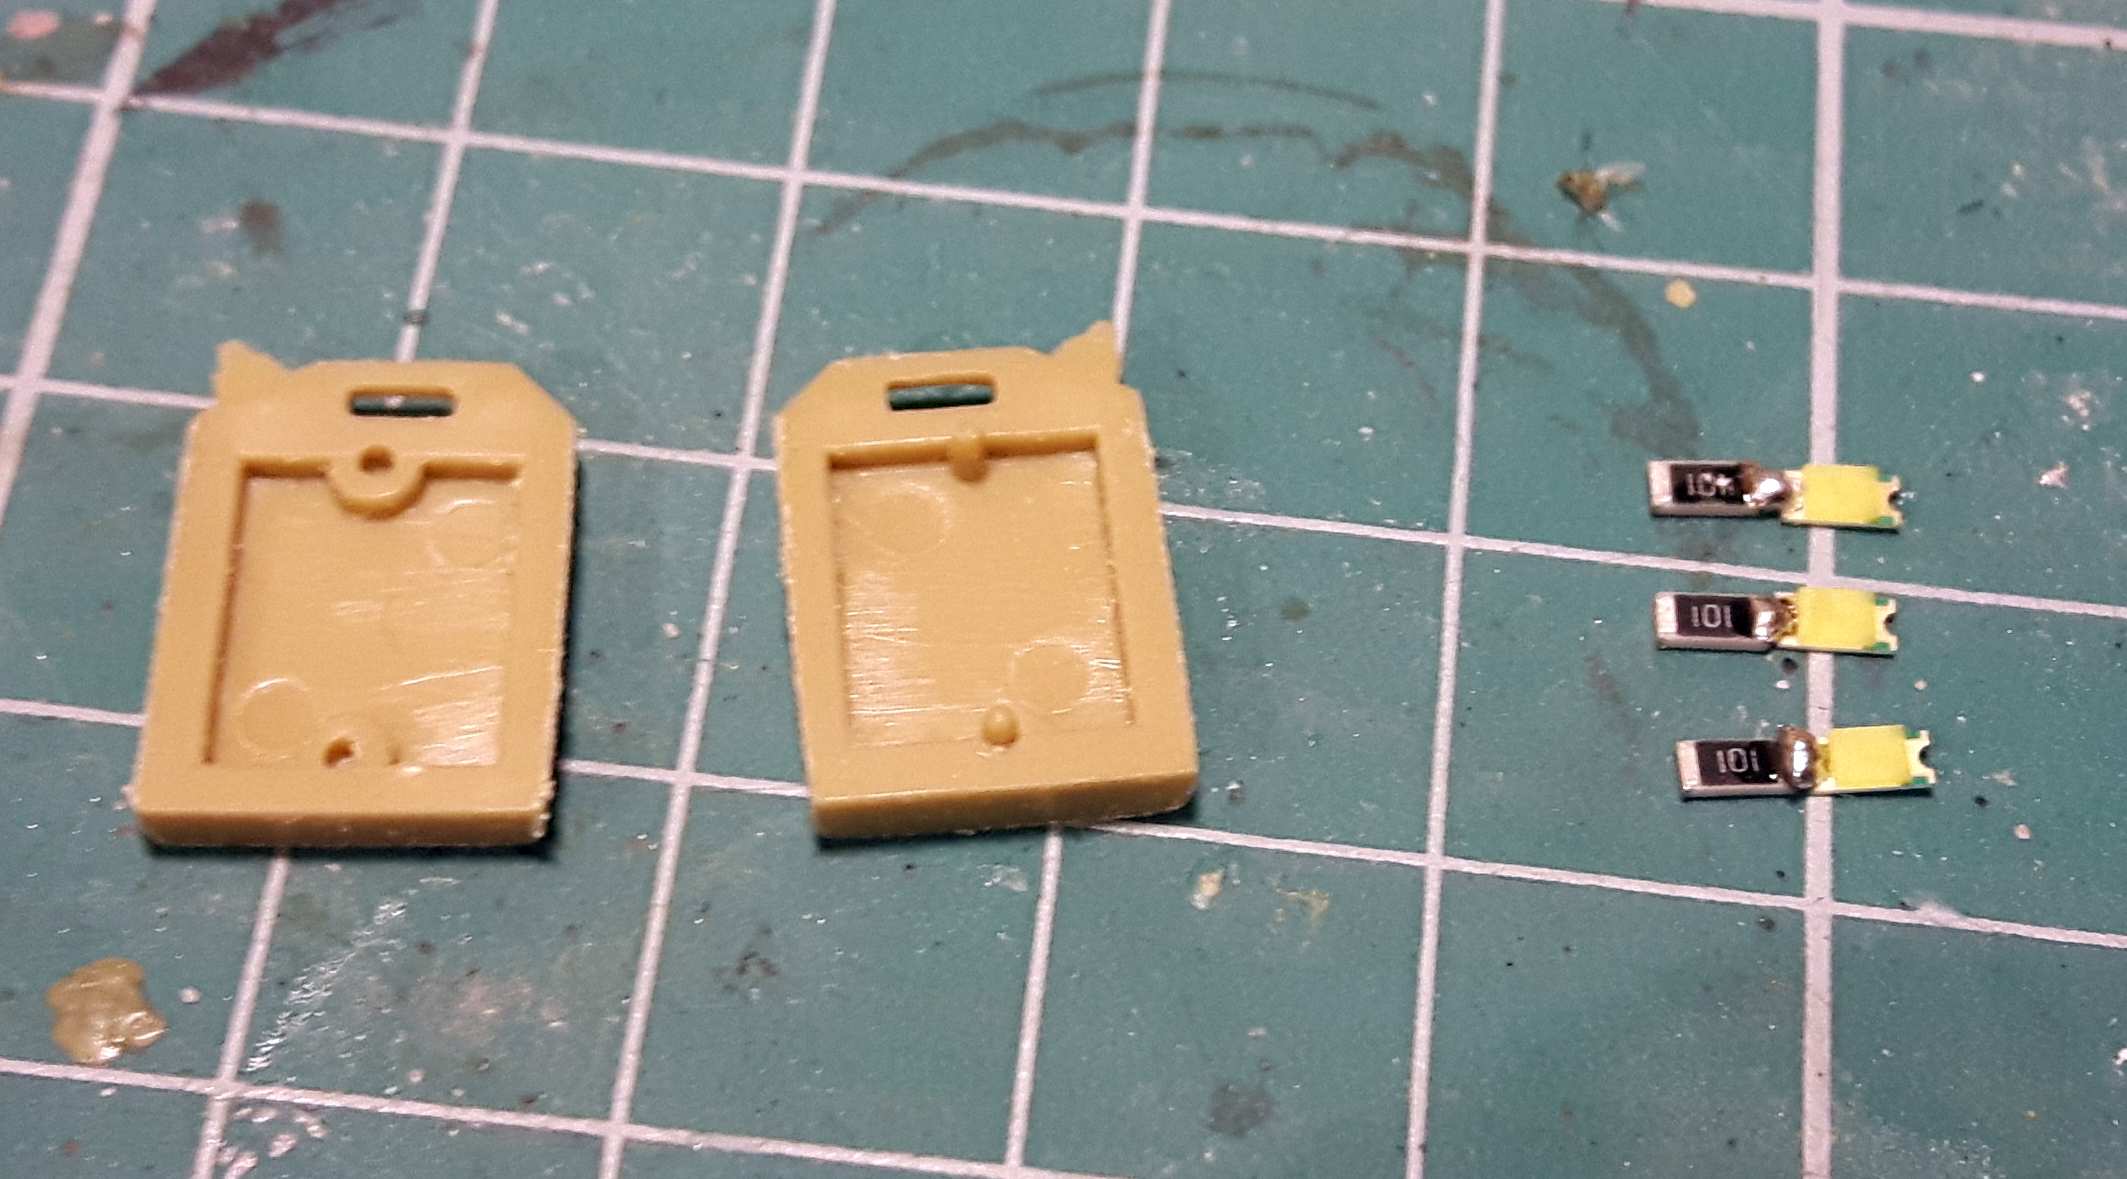
I want to cut the jerry cans up in slices about 1mm thick, shaped like shallow Cs…
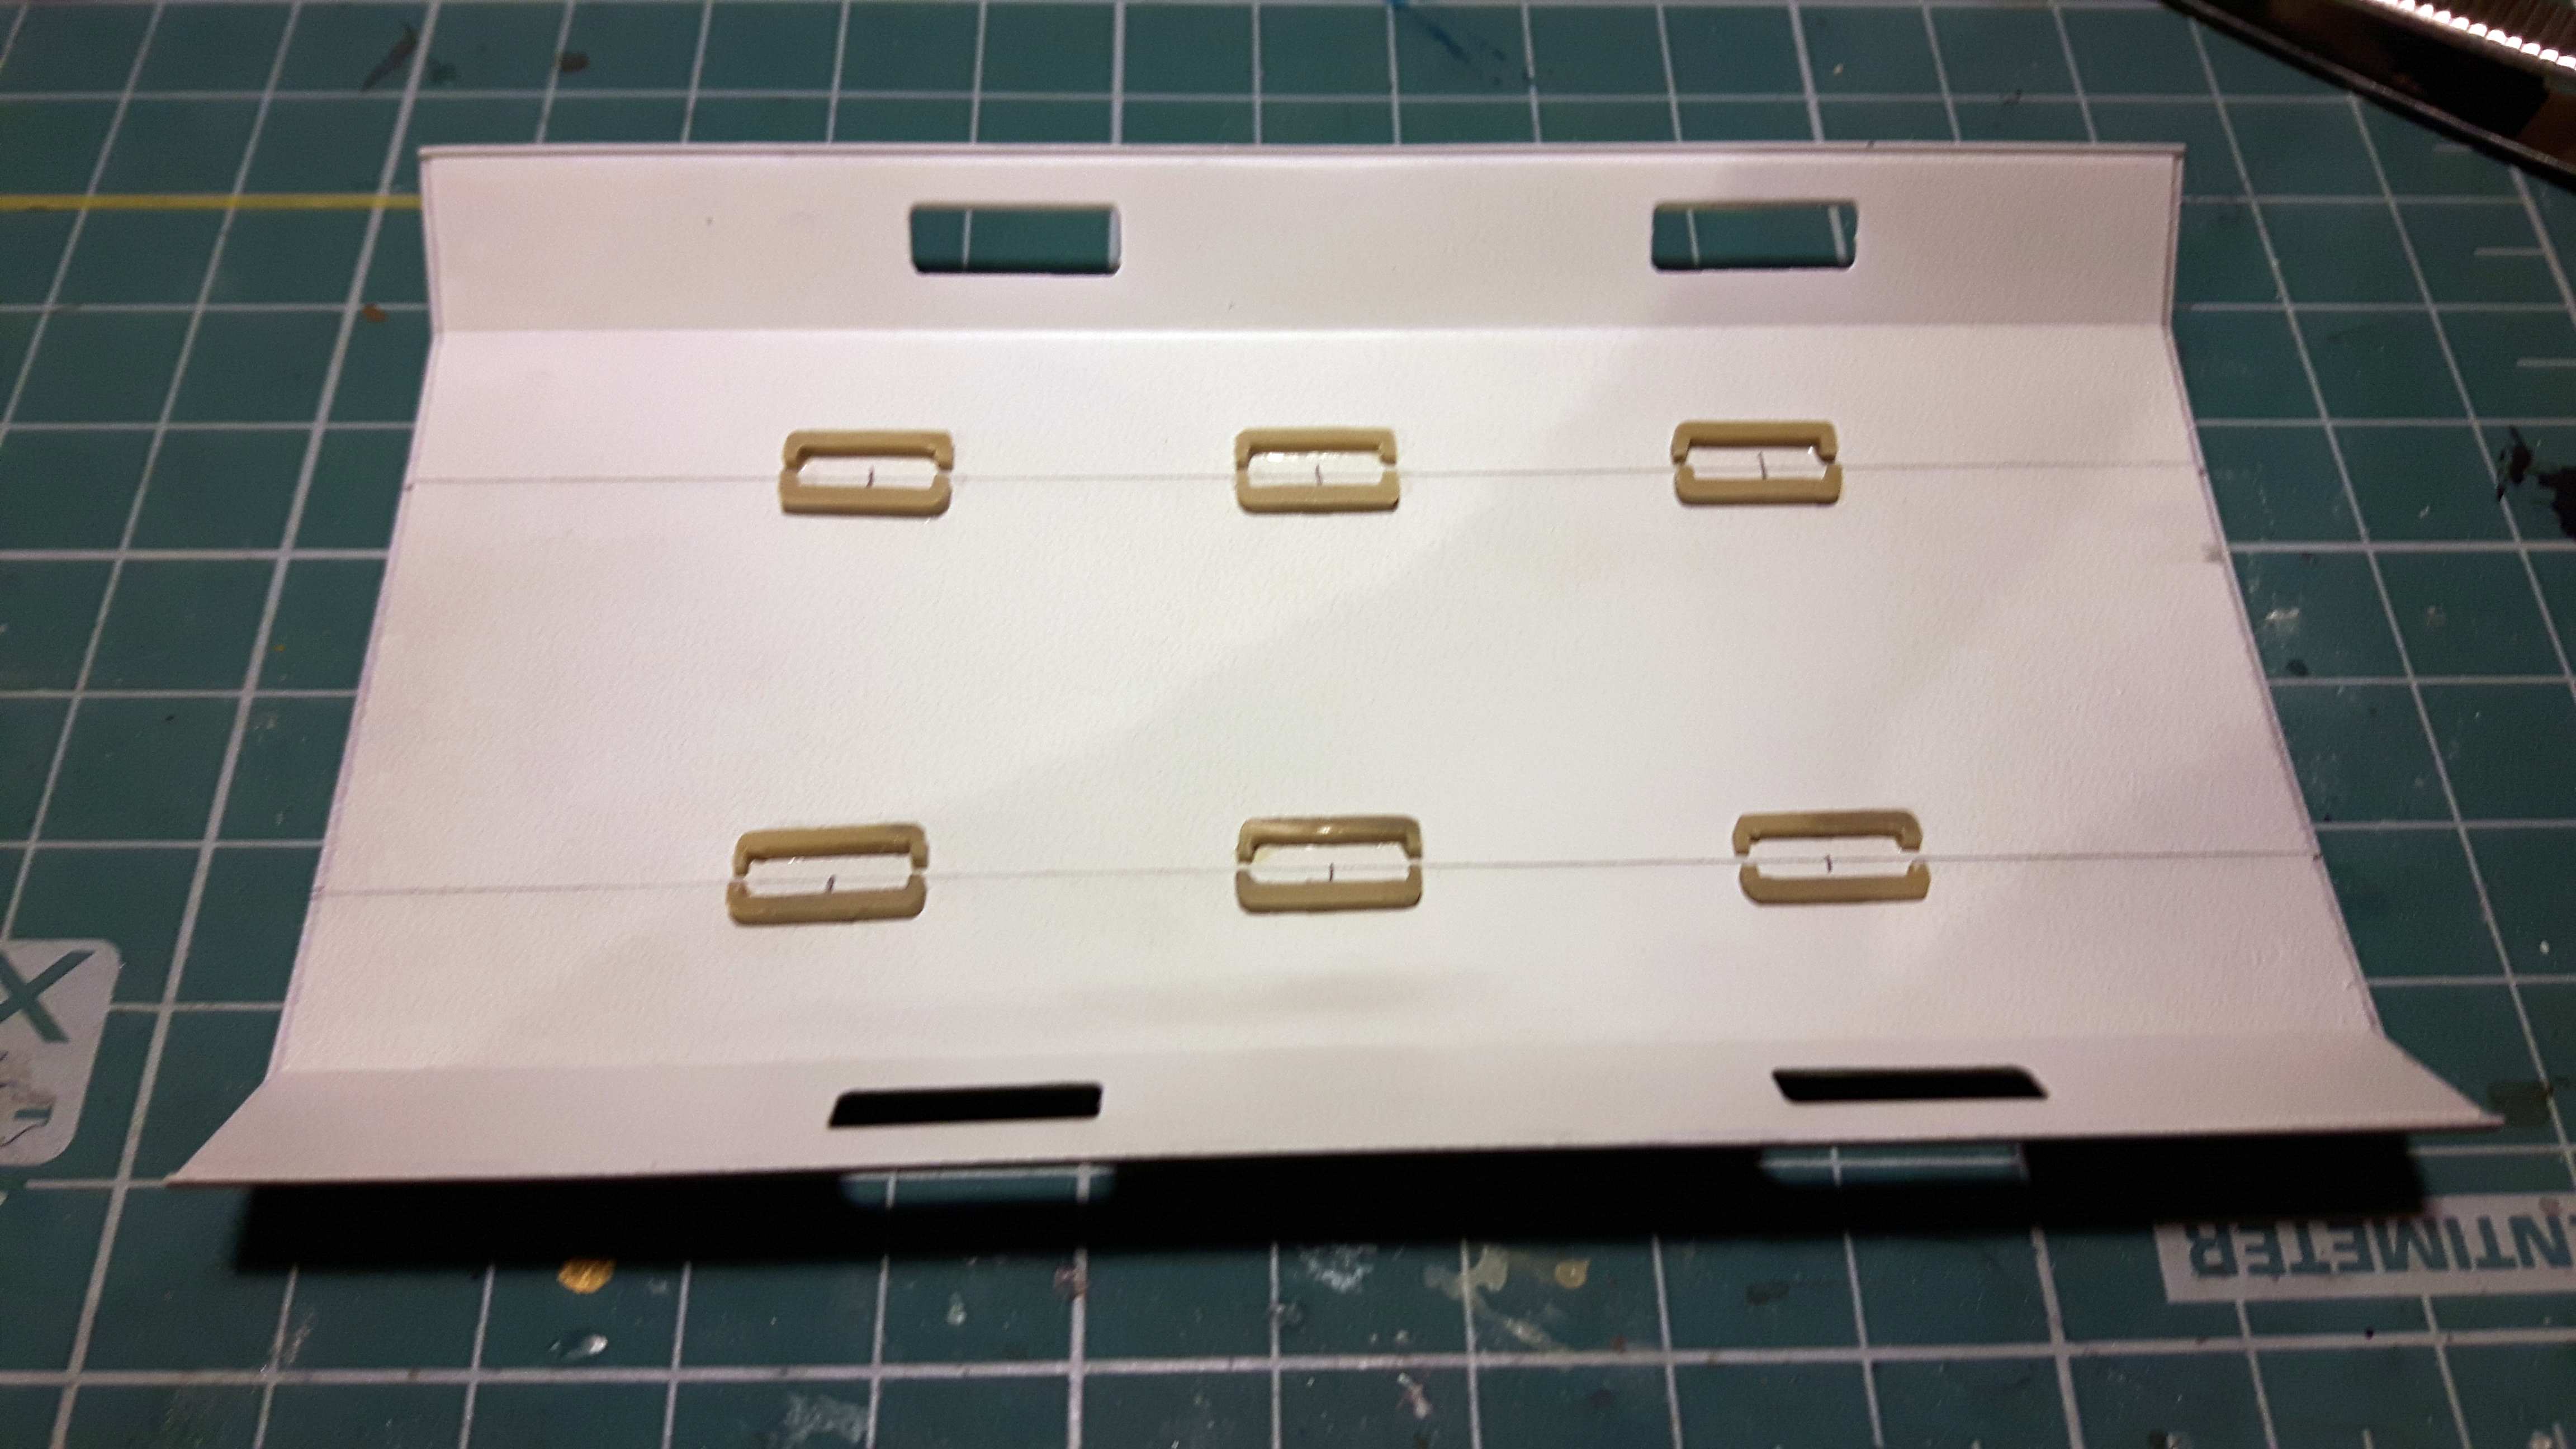
…and two such parts would form the lamp housing when glued to the roof. Connections:
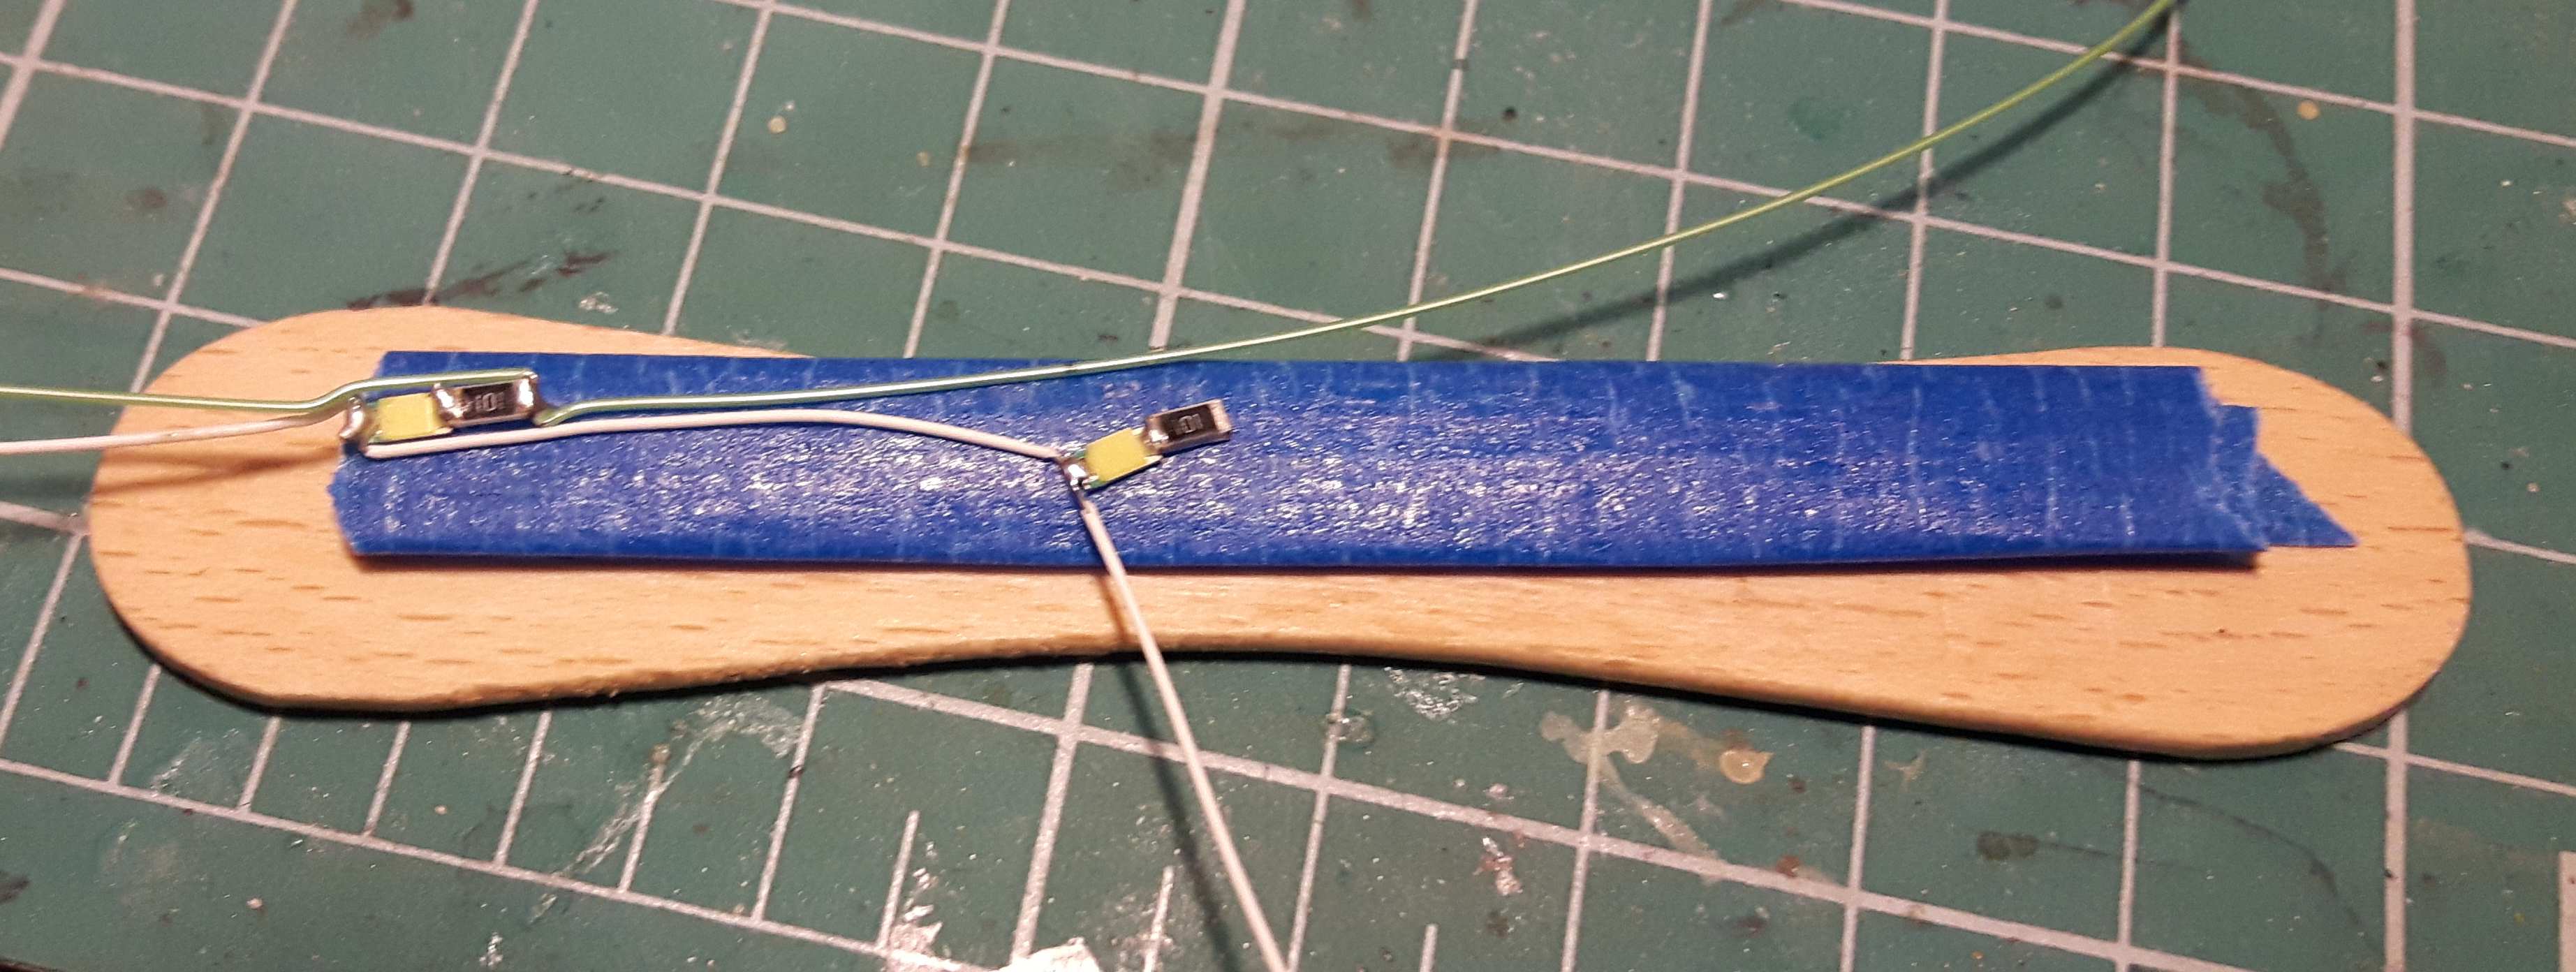
“Minus” on white wire, “Plus” on green wire. A popsicle stick with masking tape sticky side up really help hold those little parts before soldering:
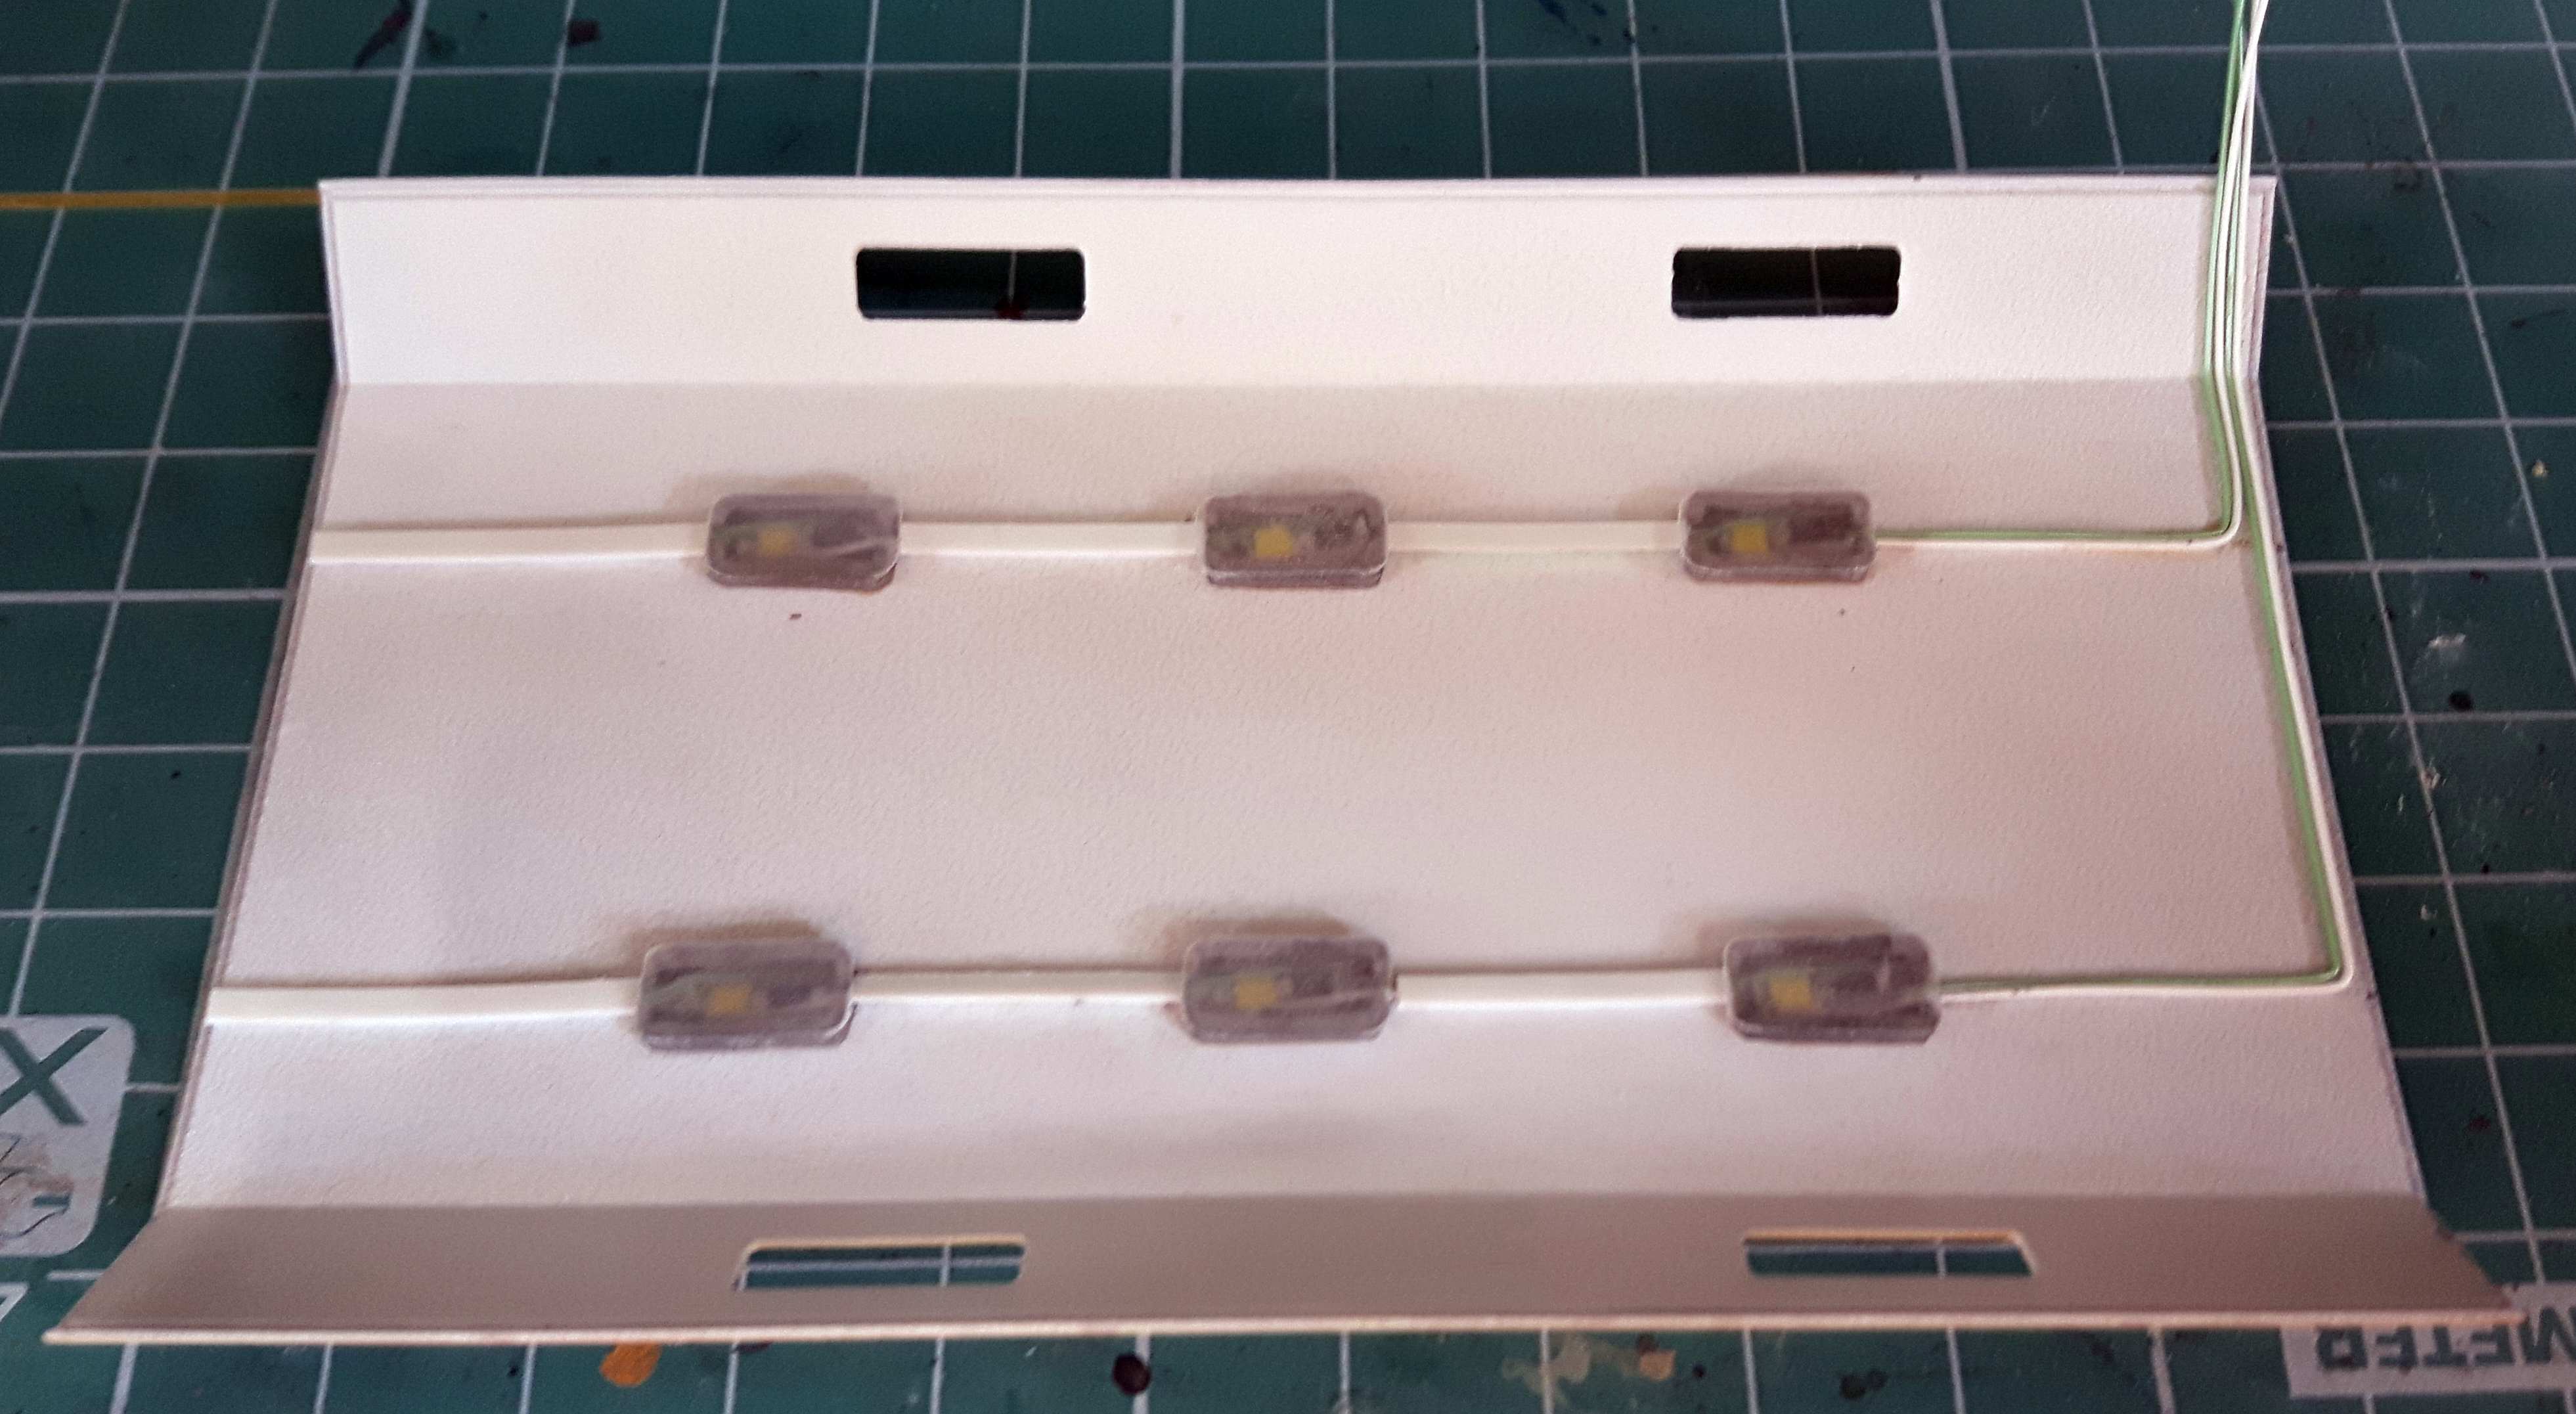
After soldering the LEDs fit into their housings:
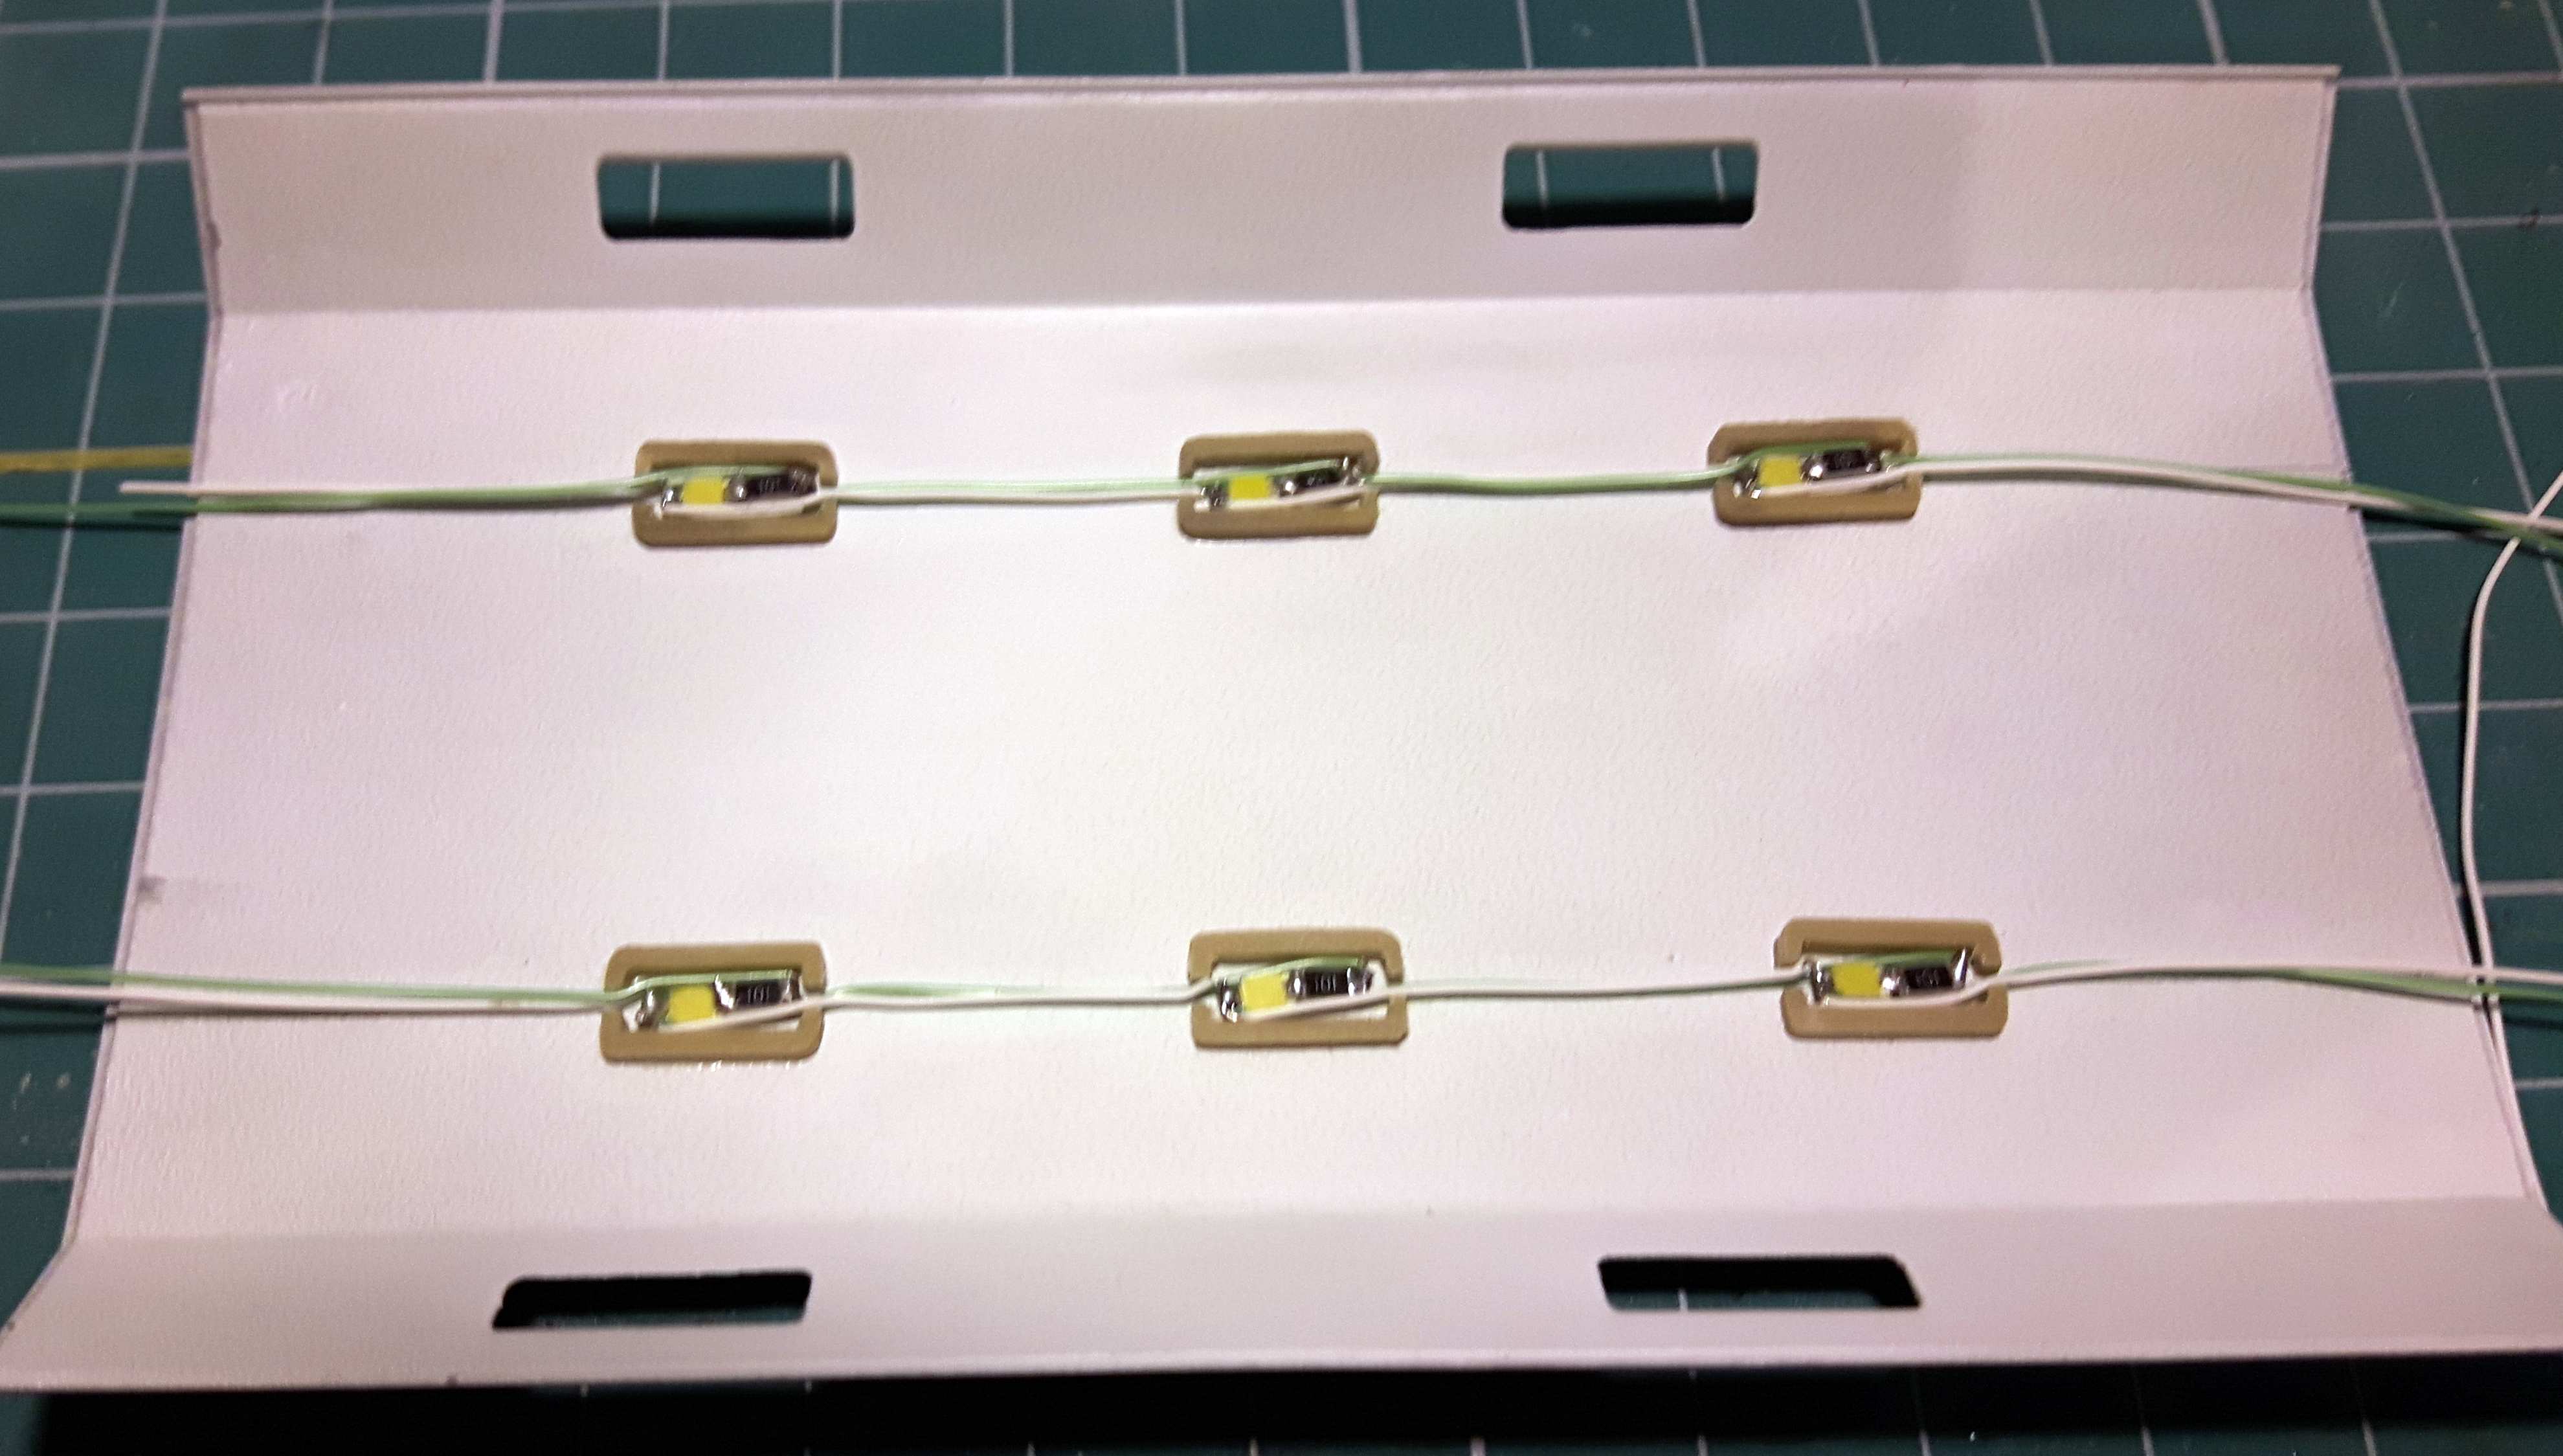
Now it’s a time for a test:
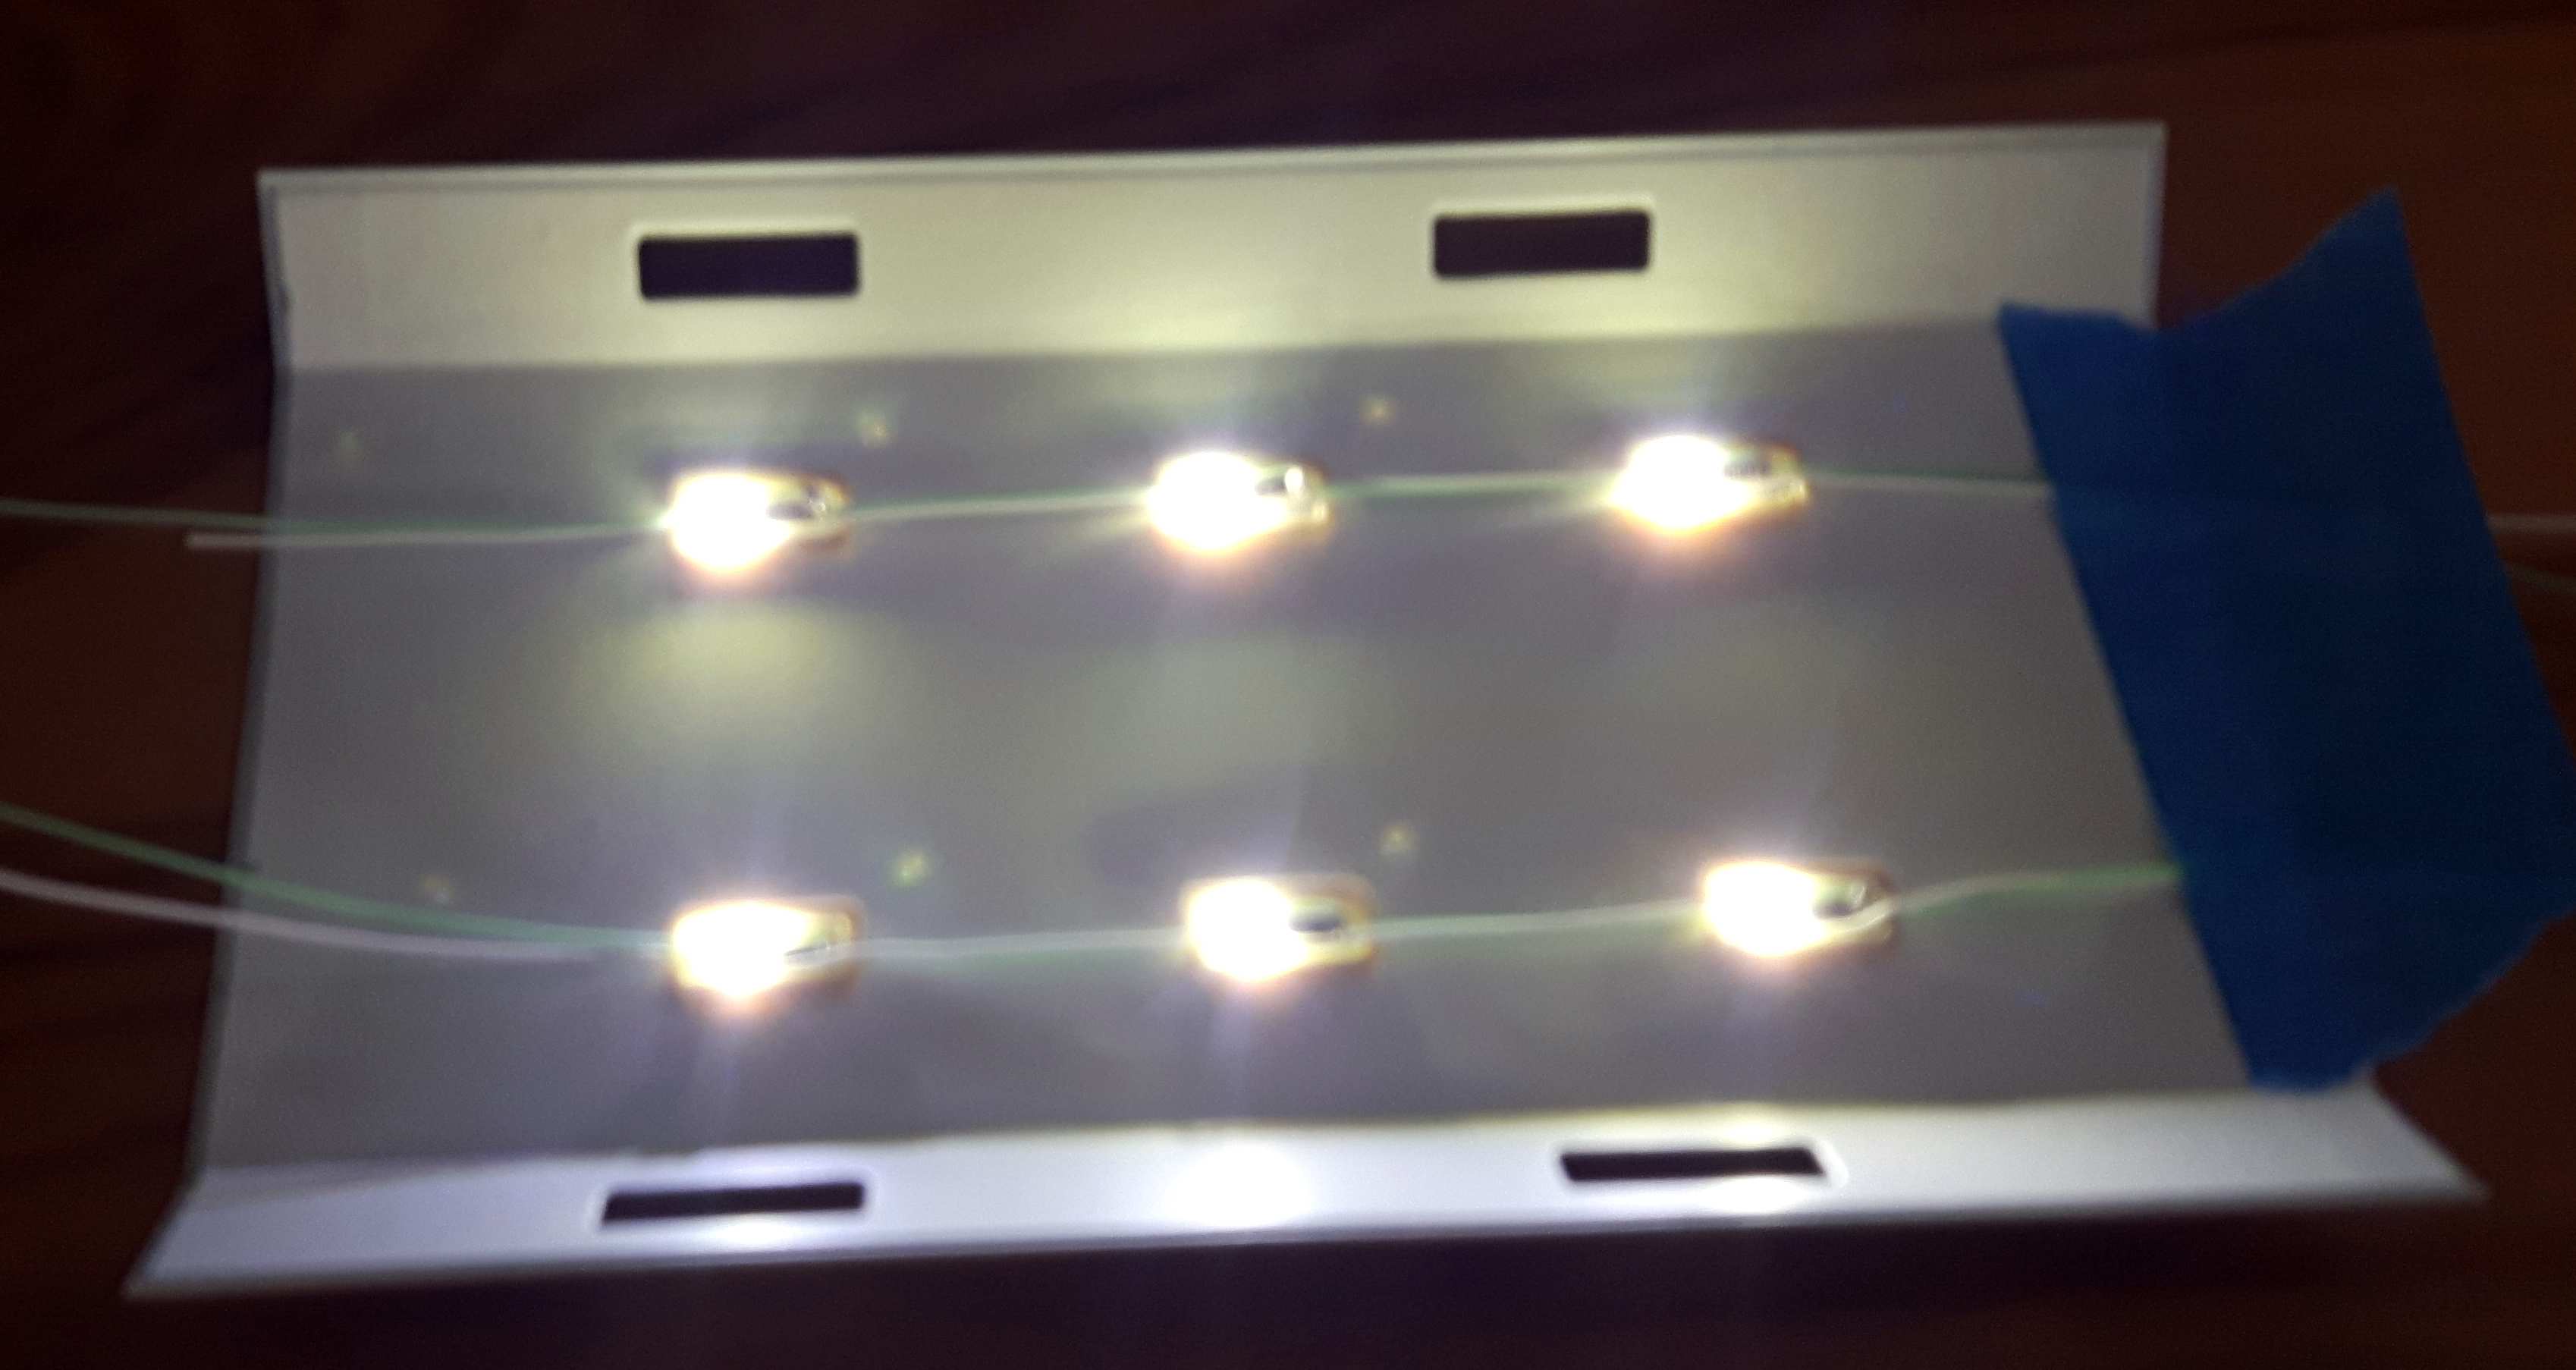
It works! (although I have to tell you that for the first time one of them didn’t work - some investigation revealed a faulty resistor). One more thing to do was to add lenses made out of matted clear sheet and cabling channels made out of strips of sheet styrene:
Now I have to quickly finish the interior and put it all together. The plan is to power this baby with an USB cable that would connect to one of the boxes under the rear of the van. Thanks for reading and have a nice day
Paweł
That is fabulus Pawel. Great job. Was wondering if they would talk you into wiring it. You did an excellent job. I realy like the job you did on everything.
Oh that’s so neat Pawel!!! Clever thinking!!! [Y]