Hello!
Cool, now it looks even better! Good luck with your build and have a nice day
Paweł
Hello!
Cool, now it looks even better! Good luck with your build and have a nice day
Paweł
Hey Mike !
Good save , guy ! T.B.
Well it’s going rather slowly. I’ve had my problems with the join between the two hull halves - they kept coming apart on one side. I finally used good old Testors Plastic Cement to weld the section of join area that would not stay together. So far, so good. Keeping my fingers crossed.
I also realized that I was not happy with the obvious join area of the hull halves - that is to say it was too visible. I’ve since sanded and filed a lot in the areas that were annoying me. It’s not perfect now but it’s better and I’m satisfied.
I’ve had a rough time trying to do the boot stripe on this model. I suppose I can lay part of the blame for that on the armor plating, the join line, and the imperfect fit I created for the stern section of the mating of the two hull haves. I’ve ordered some 2mm Tamiya masking tape which won’t be here until the end of next week. I’ll paint a swath of black along the hull which will extend a bit higher and lower than the width of the actual boot stripe. When that’s cured I’ll run the 2mm tape around the hull at it’s proper position and make sure it’s burnished down really well. At that stage I’ll mask off the hull from the middle of the 2mm tape either up or down and paint either the Navy Blue or the Hull Red and then, when that’s dry, mask the opposite side and paint it.
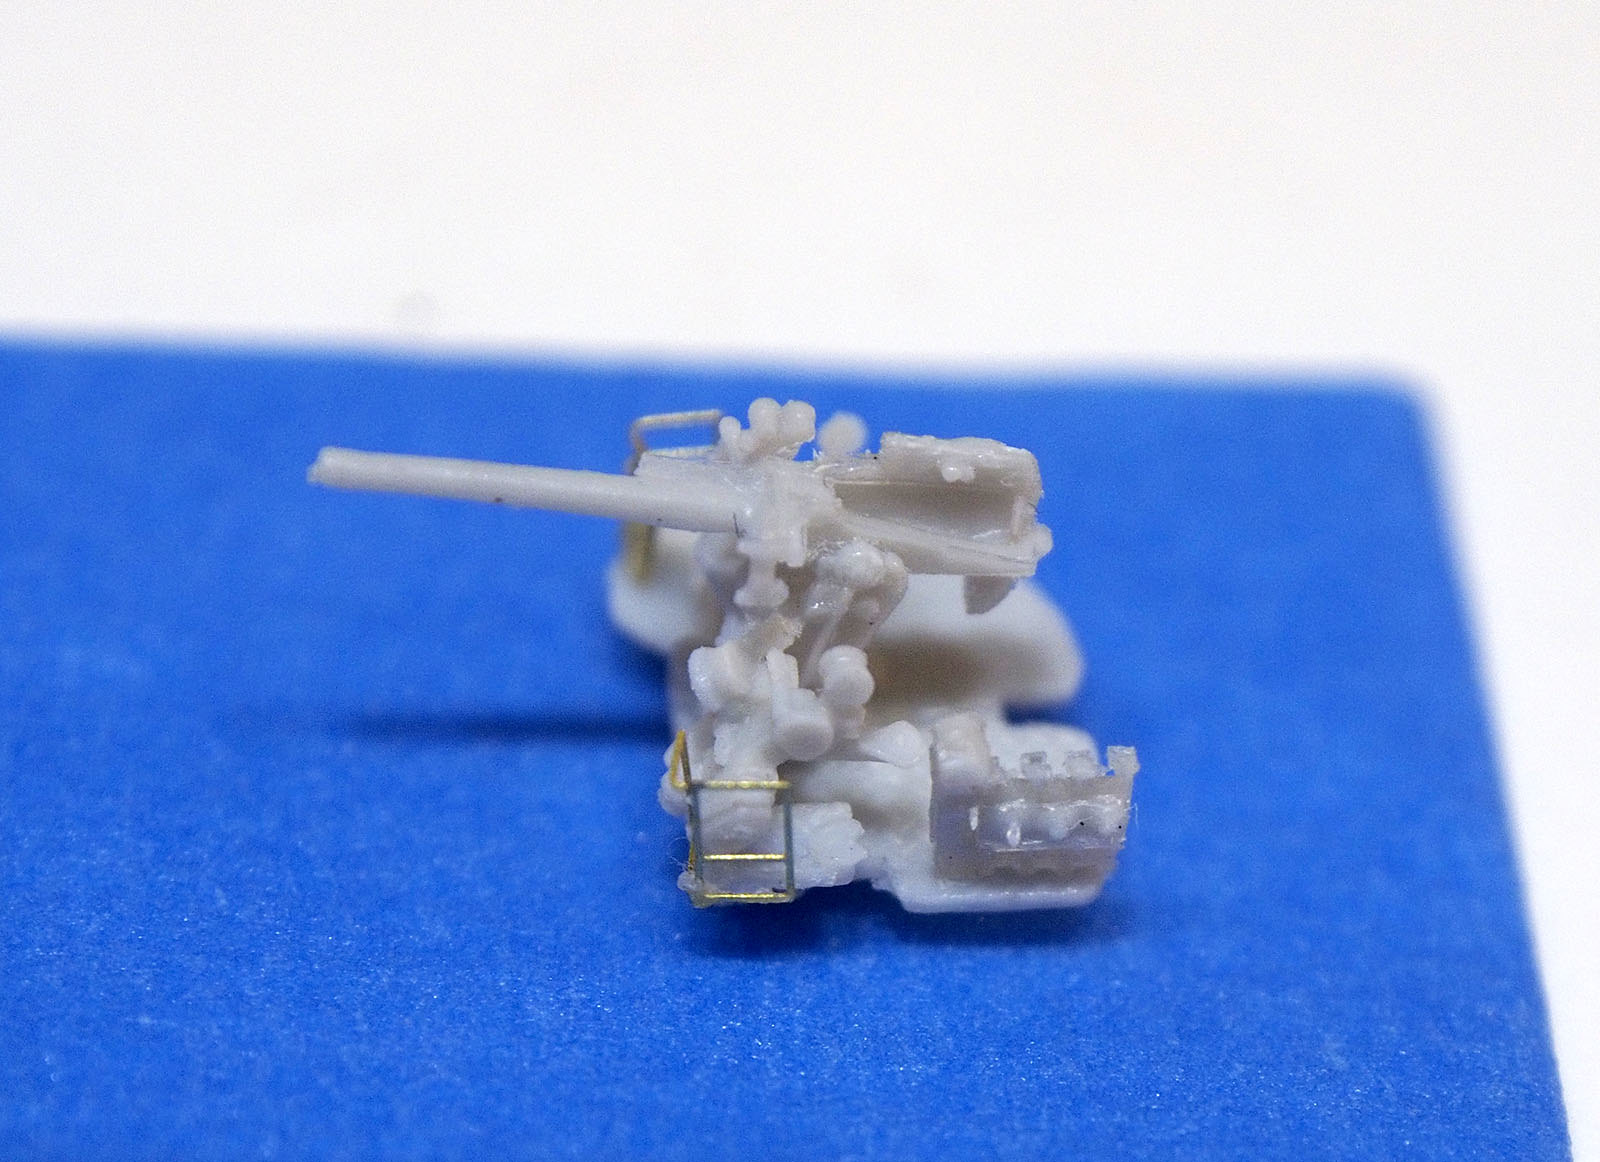
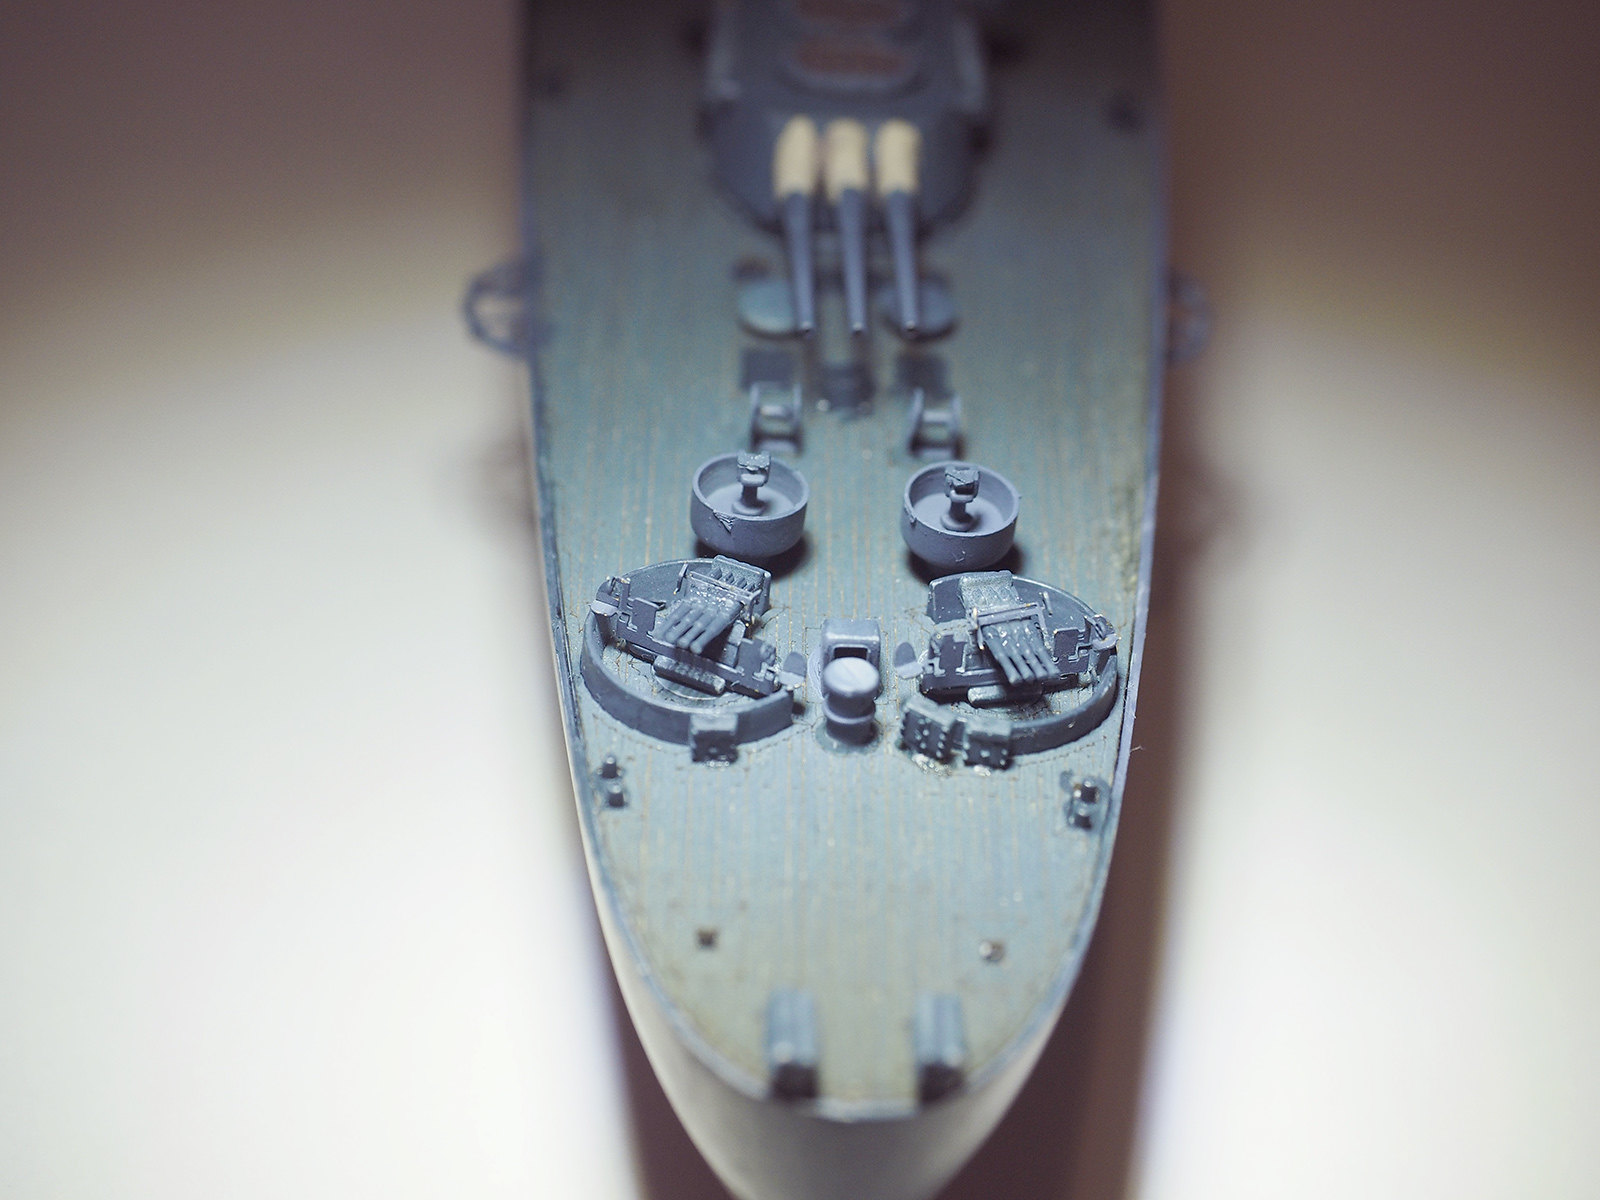
In the mean time I’ve been working on several other small (but, for me, time consuming) things on this model. I bought two boxes of the Veteran Model 1/350 5"/25 single gun (open mount) resin guns (Four sets in each box) to replace the eight guns the kit provides. I’m not sure why I wanted to do that other than the pictures I saw on the 'net looked as if they were really detailed. They’ve been a little bit of a hassle for me to put together but after a few days of working a little bit on them they’re done. Not painted yet but as good as I can make them.
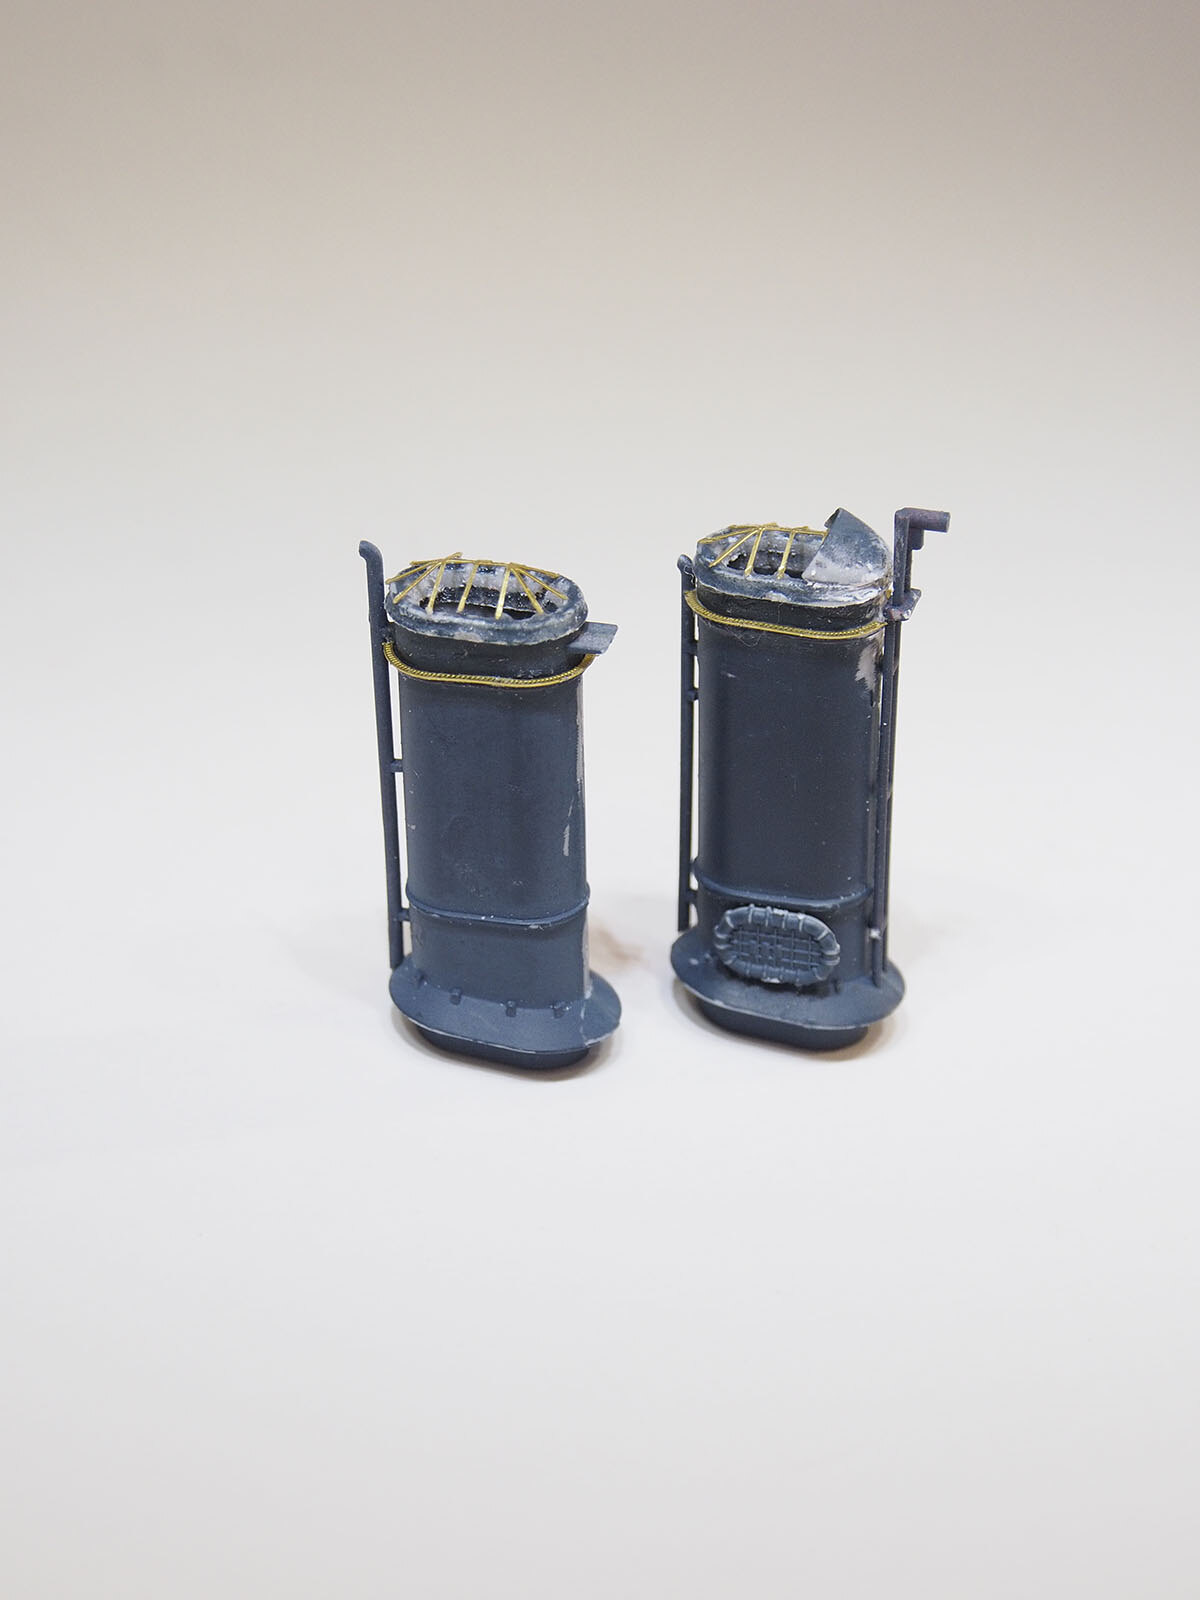
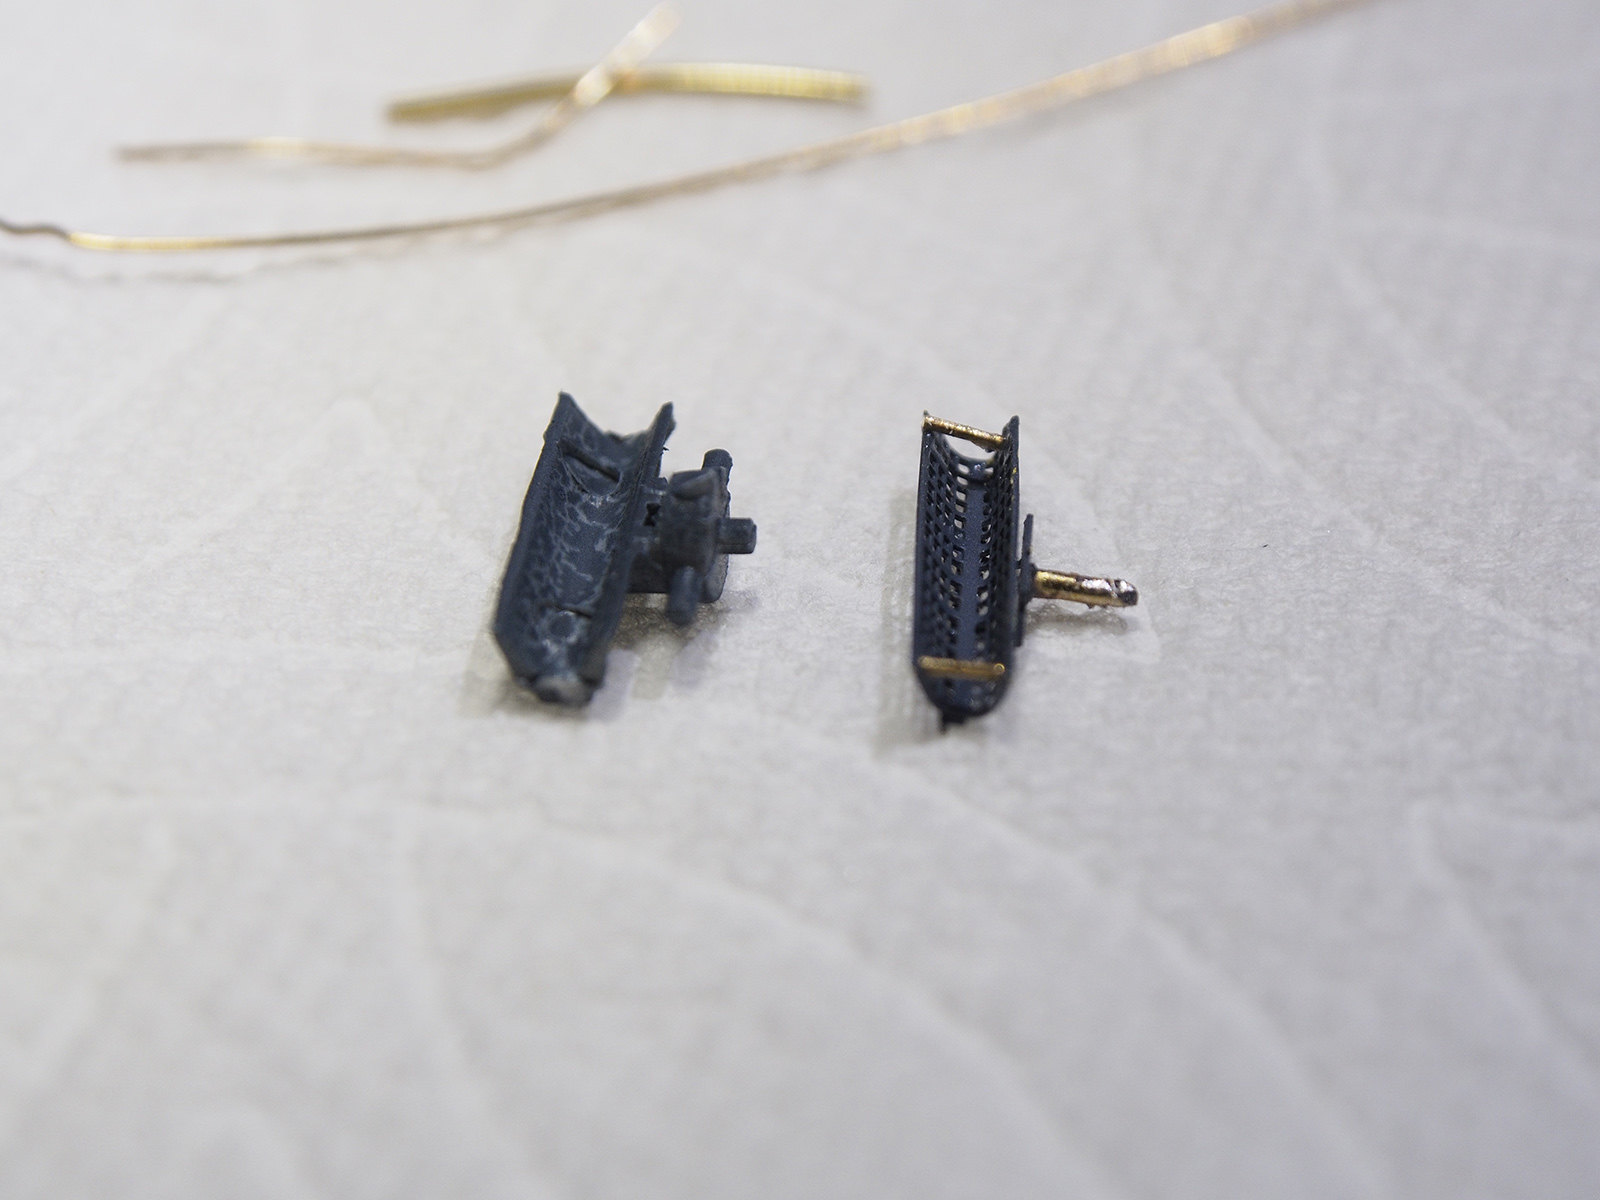
I also put together the GMM PE for the depth charge racks and finished building the stacks with the GMM PE. Again, not painted yet.
That’s about it for now.

The little fiddley bits that generate large swear words look great! Two steps back and three forward, she will get there, doing well.
Your PE work is top notch. PE and AM for ships REALLY make a difference.
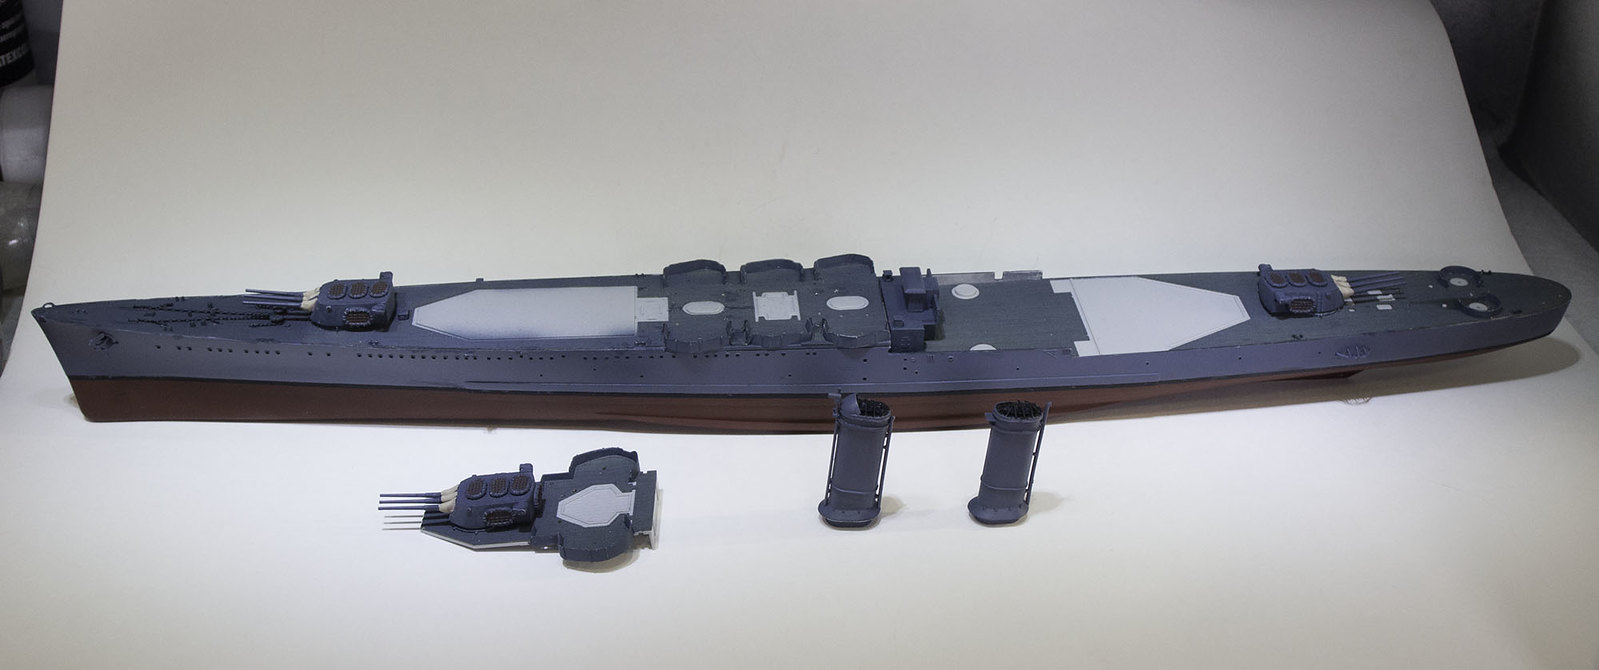
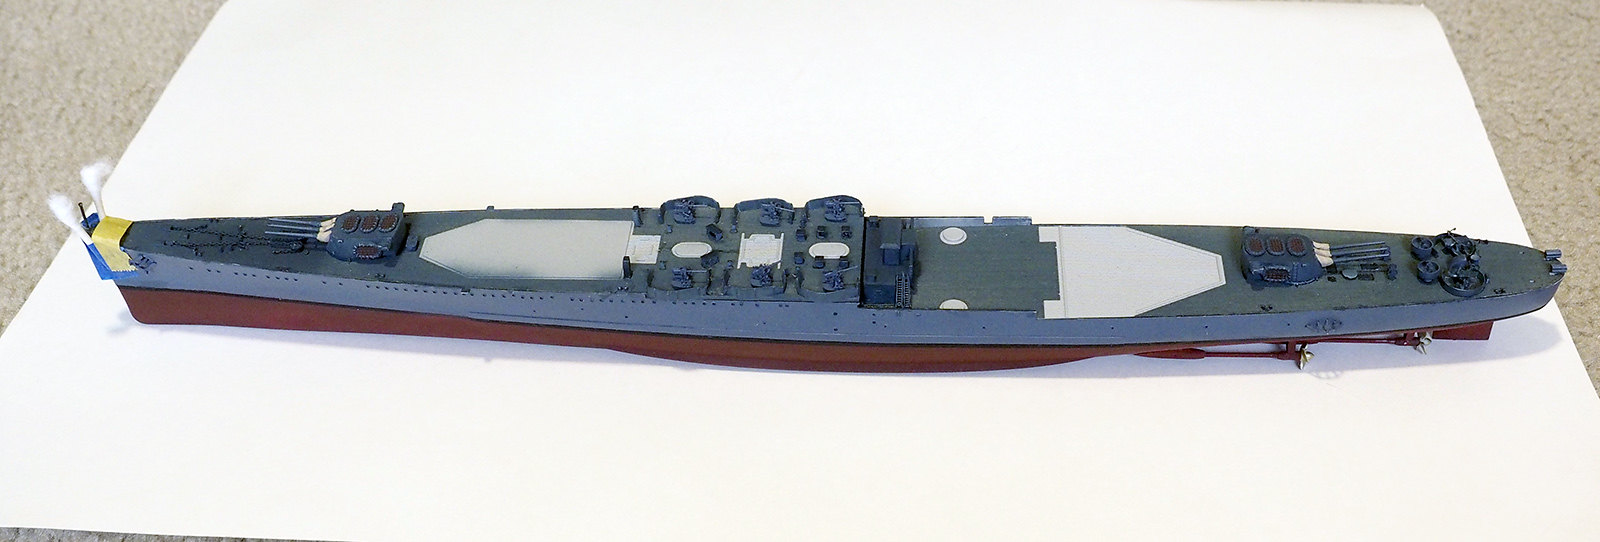
Another brief update. After what seems like a loooong time trying to get the hull halves sanded/filed to my satisfaction and patiently (for me) waiting on some 2mm masking tape to finish painting the boot stripe and the rest of the hull, I’ve managed to get steps #1 and #2 completed [:)].
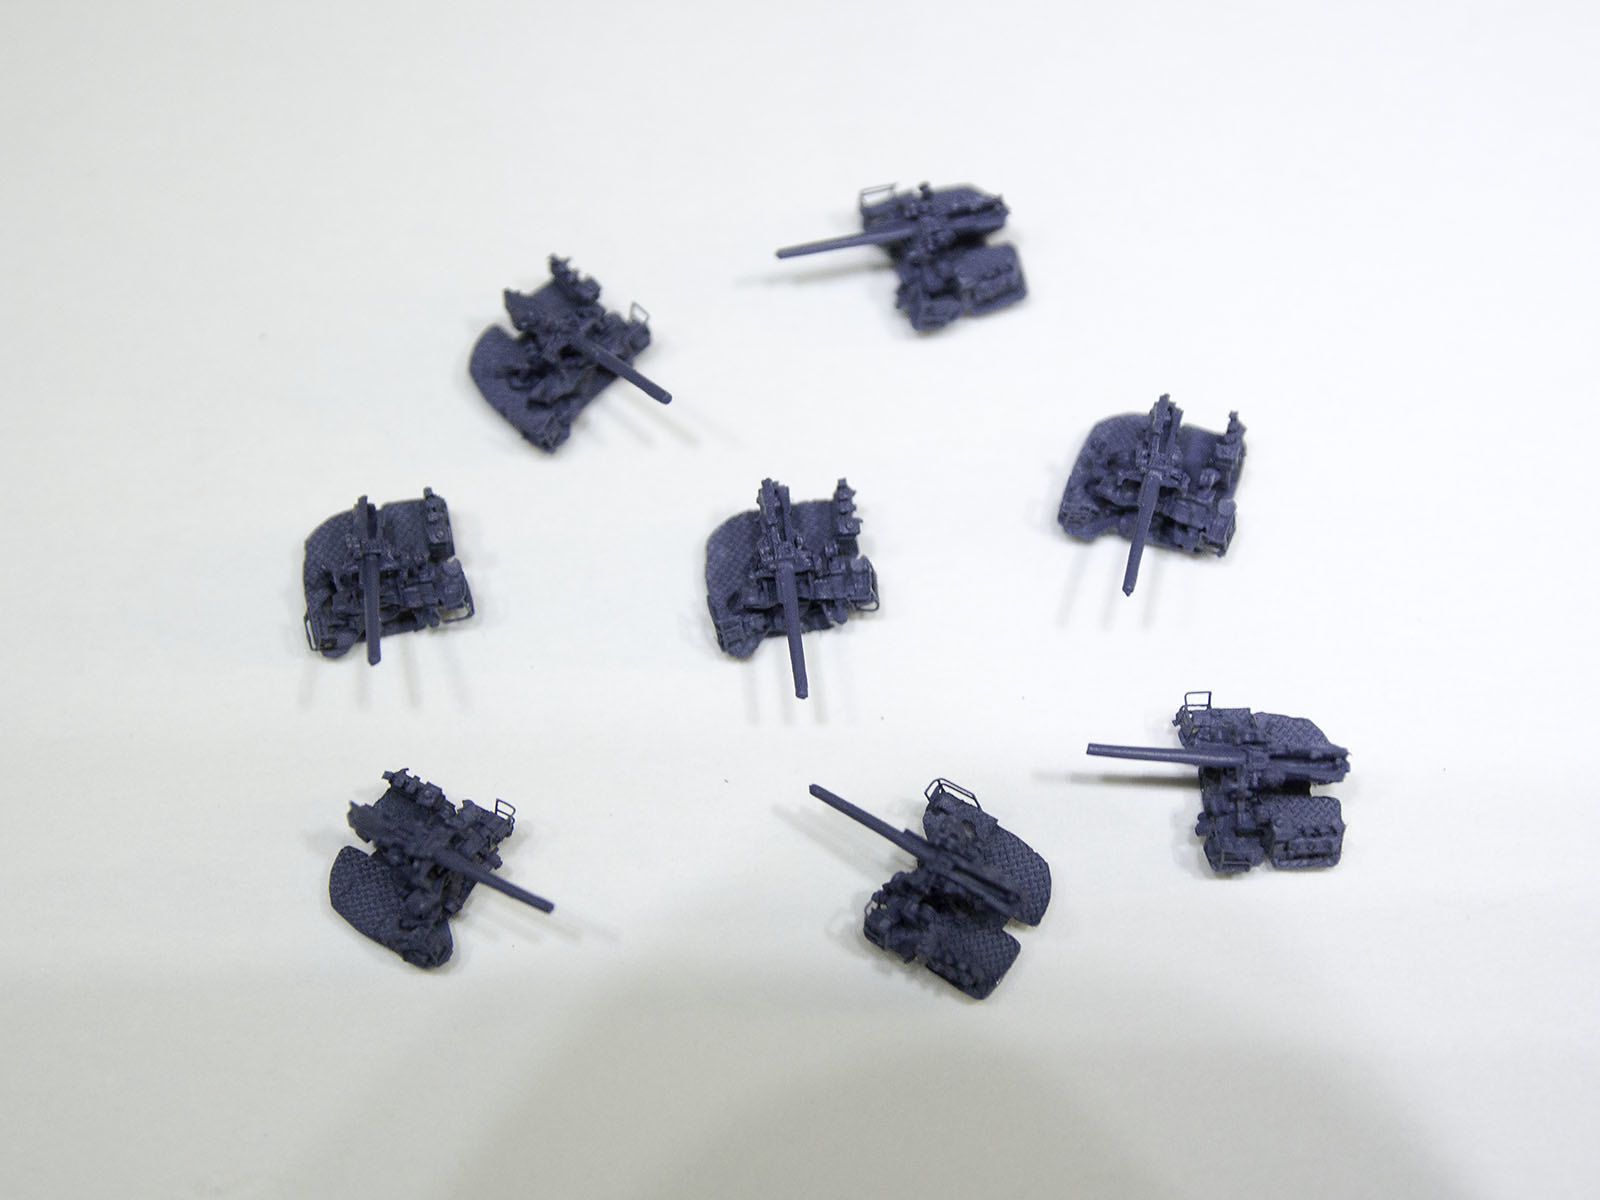
I also painted the 5" guns.
Not a major update but it will have to do for now.
As an aside, I’m always nervous about displaying close ups - they show all my mistakes and sloppiness to a degree about which I’m grateful (for the information in order to correct/redo) but embarrassed by the less than stellar work. Oh well, that’s the way this works when I do a WIP.
Hello Mike!
That’s just why posting a WIP is a good thing on many levels - helps you build a better model! Good luck with your build and have a nice day
Paweł
Slow progress. Some hours spent putting together the 1.1 inch machine guns and adding the GMM PE. They look OK from a distance but not so great close up. I’m just not that talented when it comes to assembling these little parts. Nonetheless, it’s progress.
I also attached the 5" guns to the deck and added the props, shafts, and rudder.
Please don’t laugh too hard about my method for protecting the forward flag staff [:$].
I really should have left it off until near the end of the build.
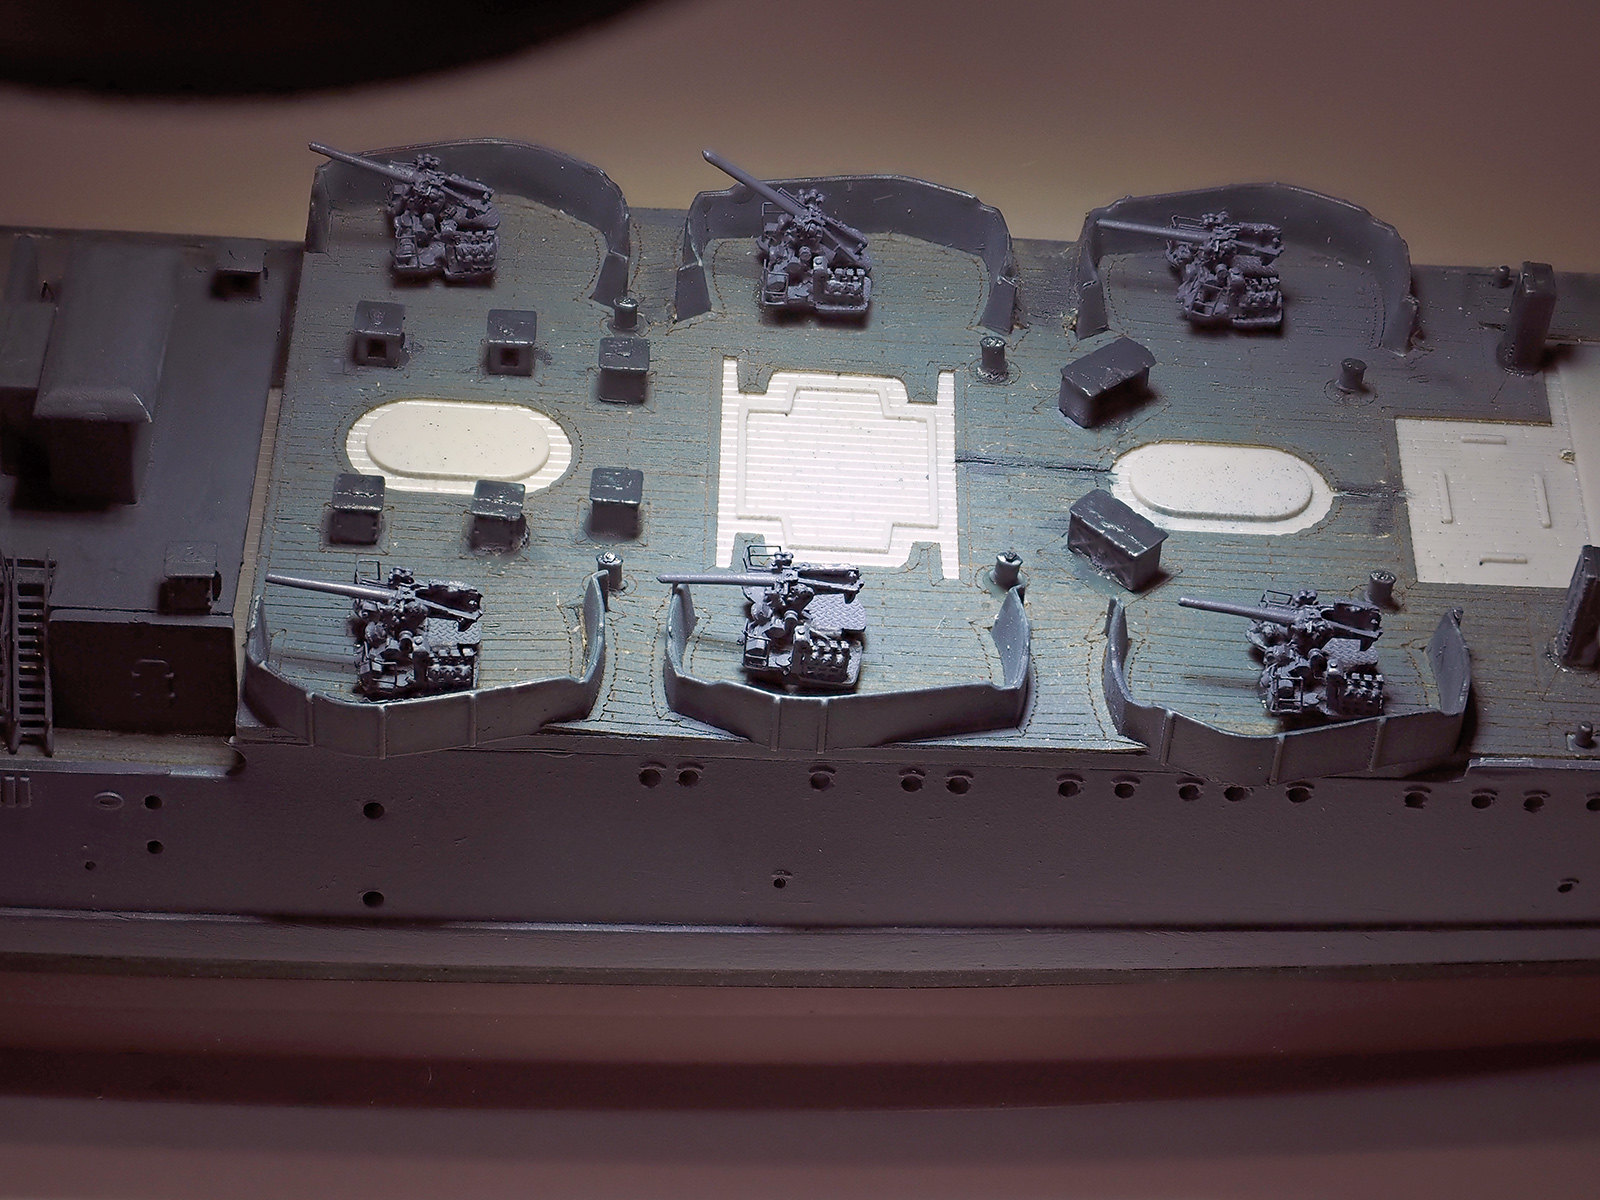
OK, I’m going very, very slowly! The 20mm AA guns I’m putting together with the GMM PE are taking me much longer than I had thought they might. C’est la vie. That’s the nature of the modeling game. I have twelve to put together (4 PE parts, a small bit of surgery on the original plastic parts, and some bending of two of the PE parts per gun) and these minuscule rascals are trying my patience. I can do about two per day or I’ll go nuts. However, I should have another update before the weekend is through - my car’s in the body shop until Monday, we have snow and freezing rain coming in tonight and tomorrow morning, so I wouldn’t have any use for my handsome steed anyway for a few days. (2013 Subaru Outback [:D]).
that is some very nice work mike , we have a balmy 30 degree’s here , in your lingo that’s about 87 F .
Hi Mike, yeah those PE guns will drive a guy nuts! I can’t do but just a few per daymyself, in fact that’s why I stoped on the Fletcher for now. Those tiny 20 mm Oerlikon’s are hard.
Looks good!!
…is that the Princeton???
Steve,
I spoke on the phone to my cousin in Greymouth, NZ a couple of hours ago and forgot to ask her about the weather. Weather.com shows she’s got about a week of rainy/showery weather ahead with daytime high temps around the mid 60’s (F) or 16° or 17° C. I guess I can’t conclude anything about similarities weather-wise between Australia and New Zealand except they’re both upside down [:D].
Modelcrazy,
Thanks for the empathy. I know my PE work is not the greatest but, from a reasonable distance it will look passable.
I have another step that I’ve created for myself that will also test my patience - since I’m substituting the GMM PE depth charge racks for the kit parts, I have to create some depth charges to put in them. I ordered (and received today) some 3/64" (1.2mm) evergreen styrene rod which I’ve cut up and painted. Tomorrow while I watch the ice forming on the steep inclined alleyway where my garage apron is located, I’ll be glad to be housebound for a day or two until the rains come on Monday (Tuesday in your world). I may actually get a few of the depth charges installed in each rack.
Hello Manny!
Like I wrote, it’s USS Belleau Woods. the next ship in the Independence Class after the Princeton.
Have a nice day
Paweł
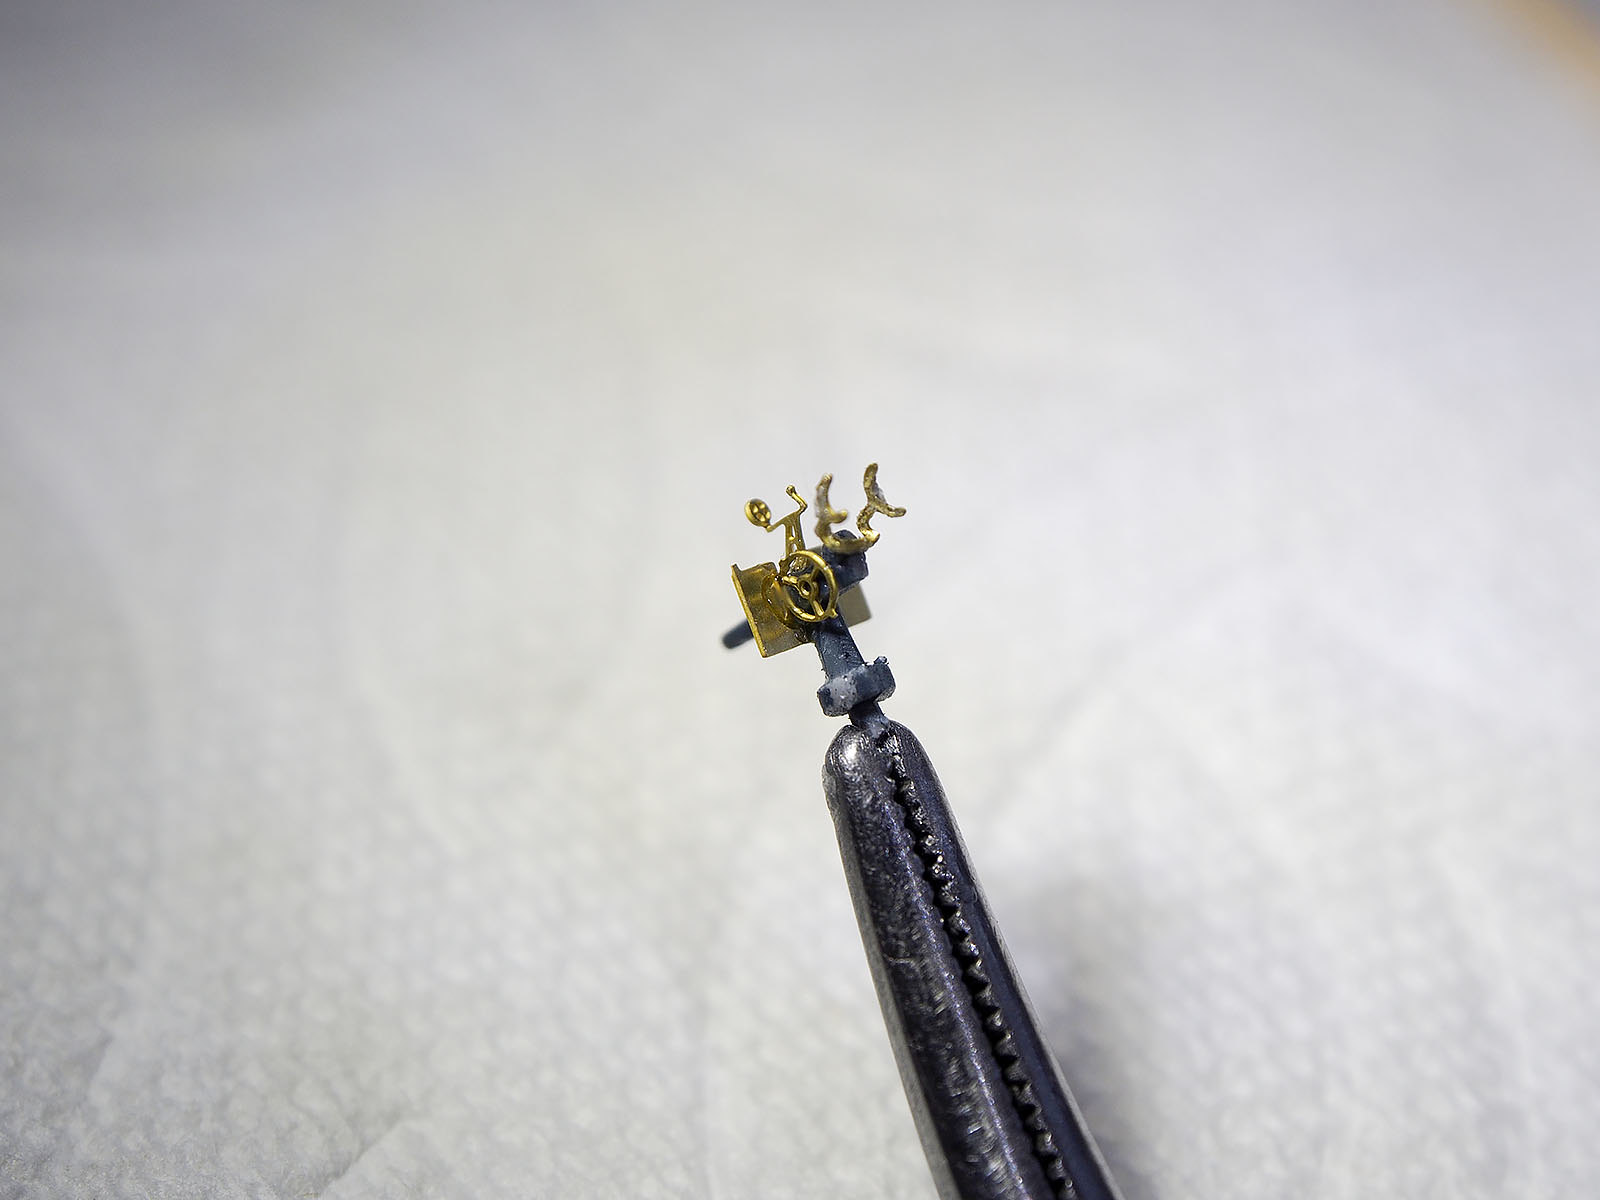
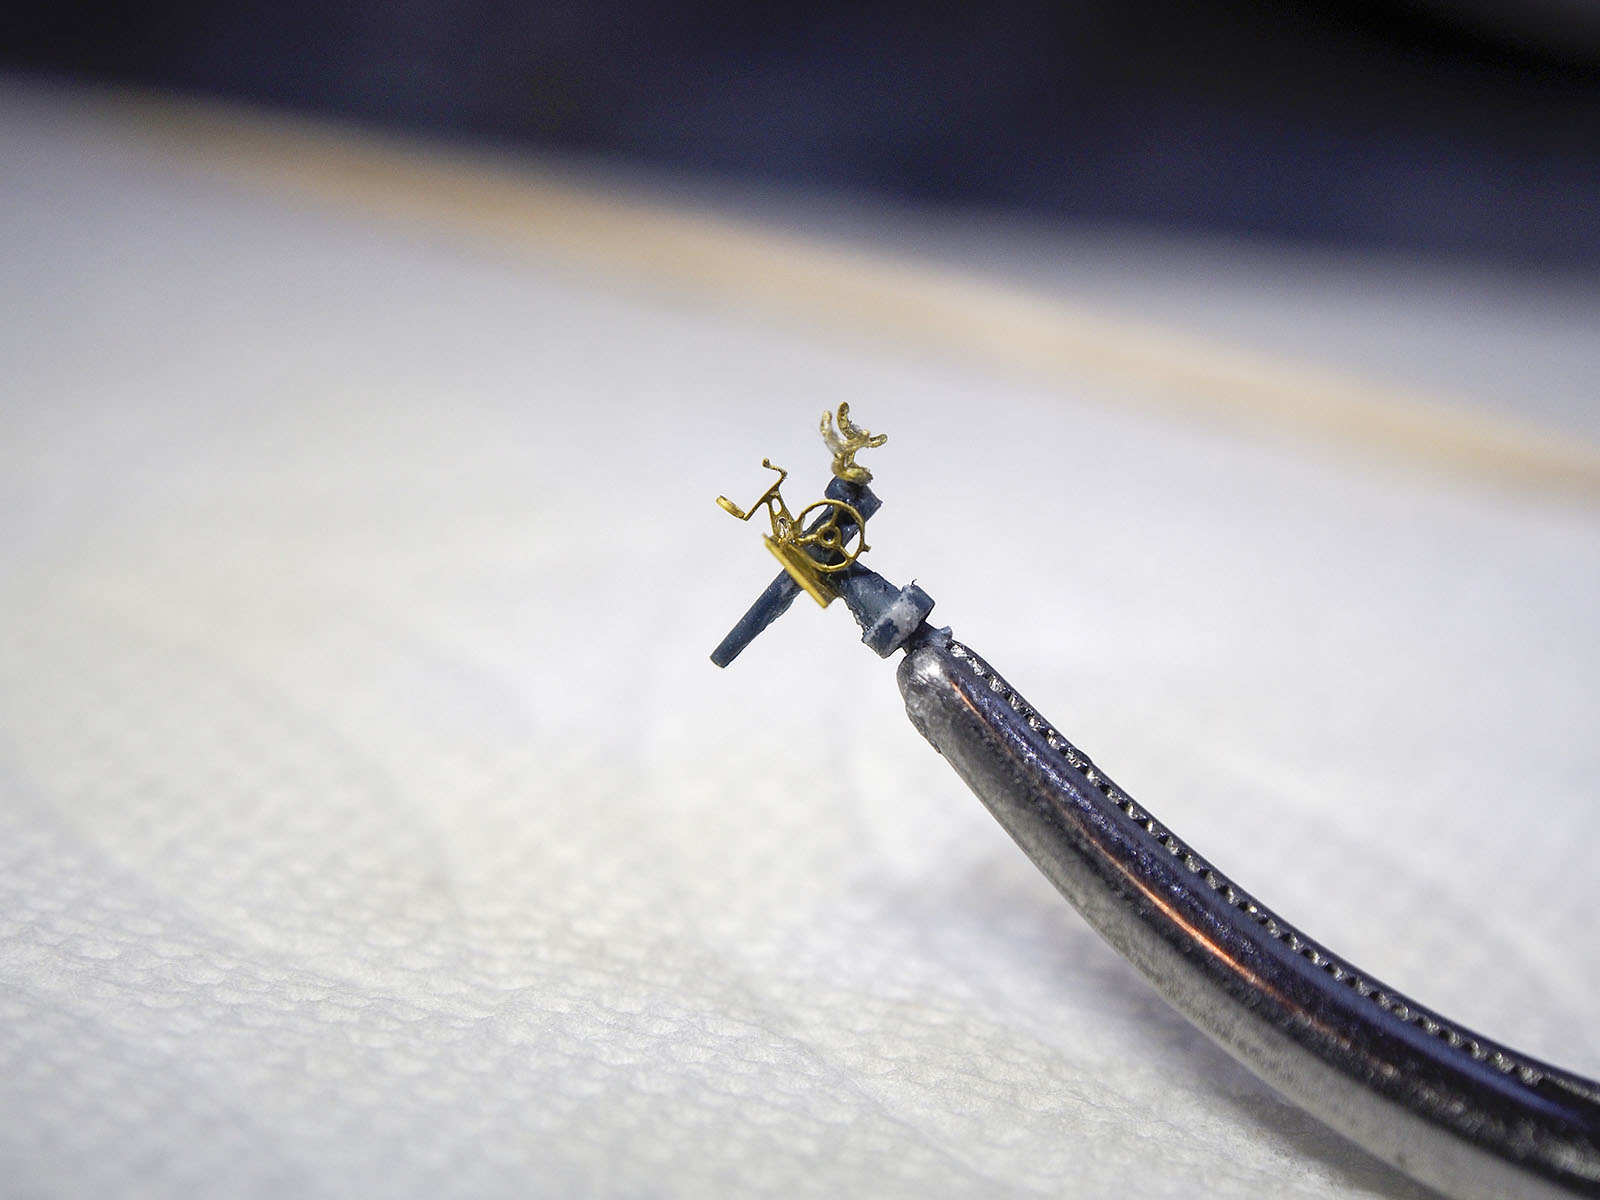
Today I worked on the 20mm (got four more done, four more to go) and part of the rear superstructure (not sure what it’s called). I also attempted to put together the PE Mark 3 radar. In the picture I’m posting of that radar I did see the out of kilter brace and I’ve straightened it out as best I could - no picture of that yet. I spent way more time on it than I thought I might. I hope it looks better than the plastic kit part. All ready for more deck blue (20B) airbrushing. That’ll be tomorrow.
THat is some nice work you have done so far my Friend…Cheers mark
Thanks Mark.
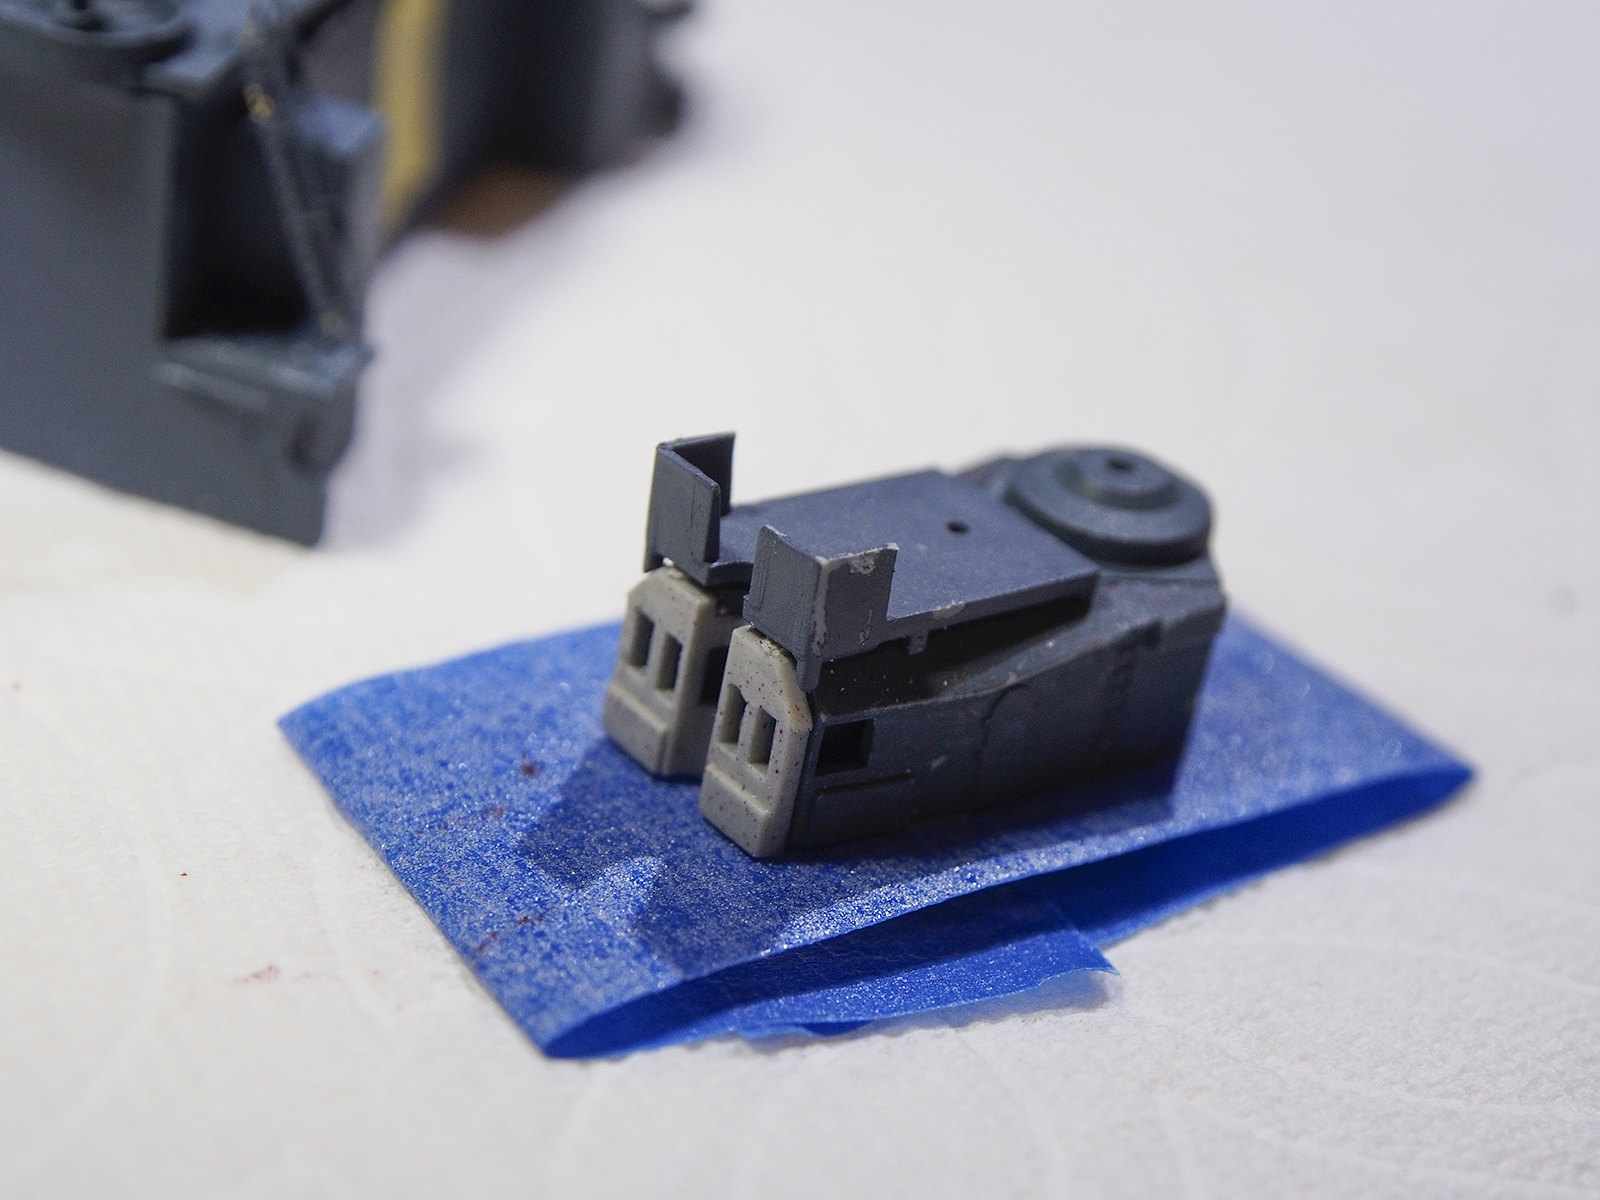
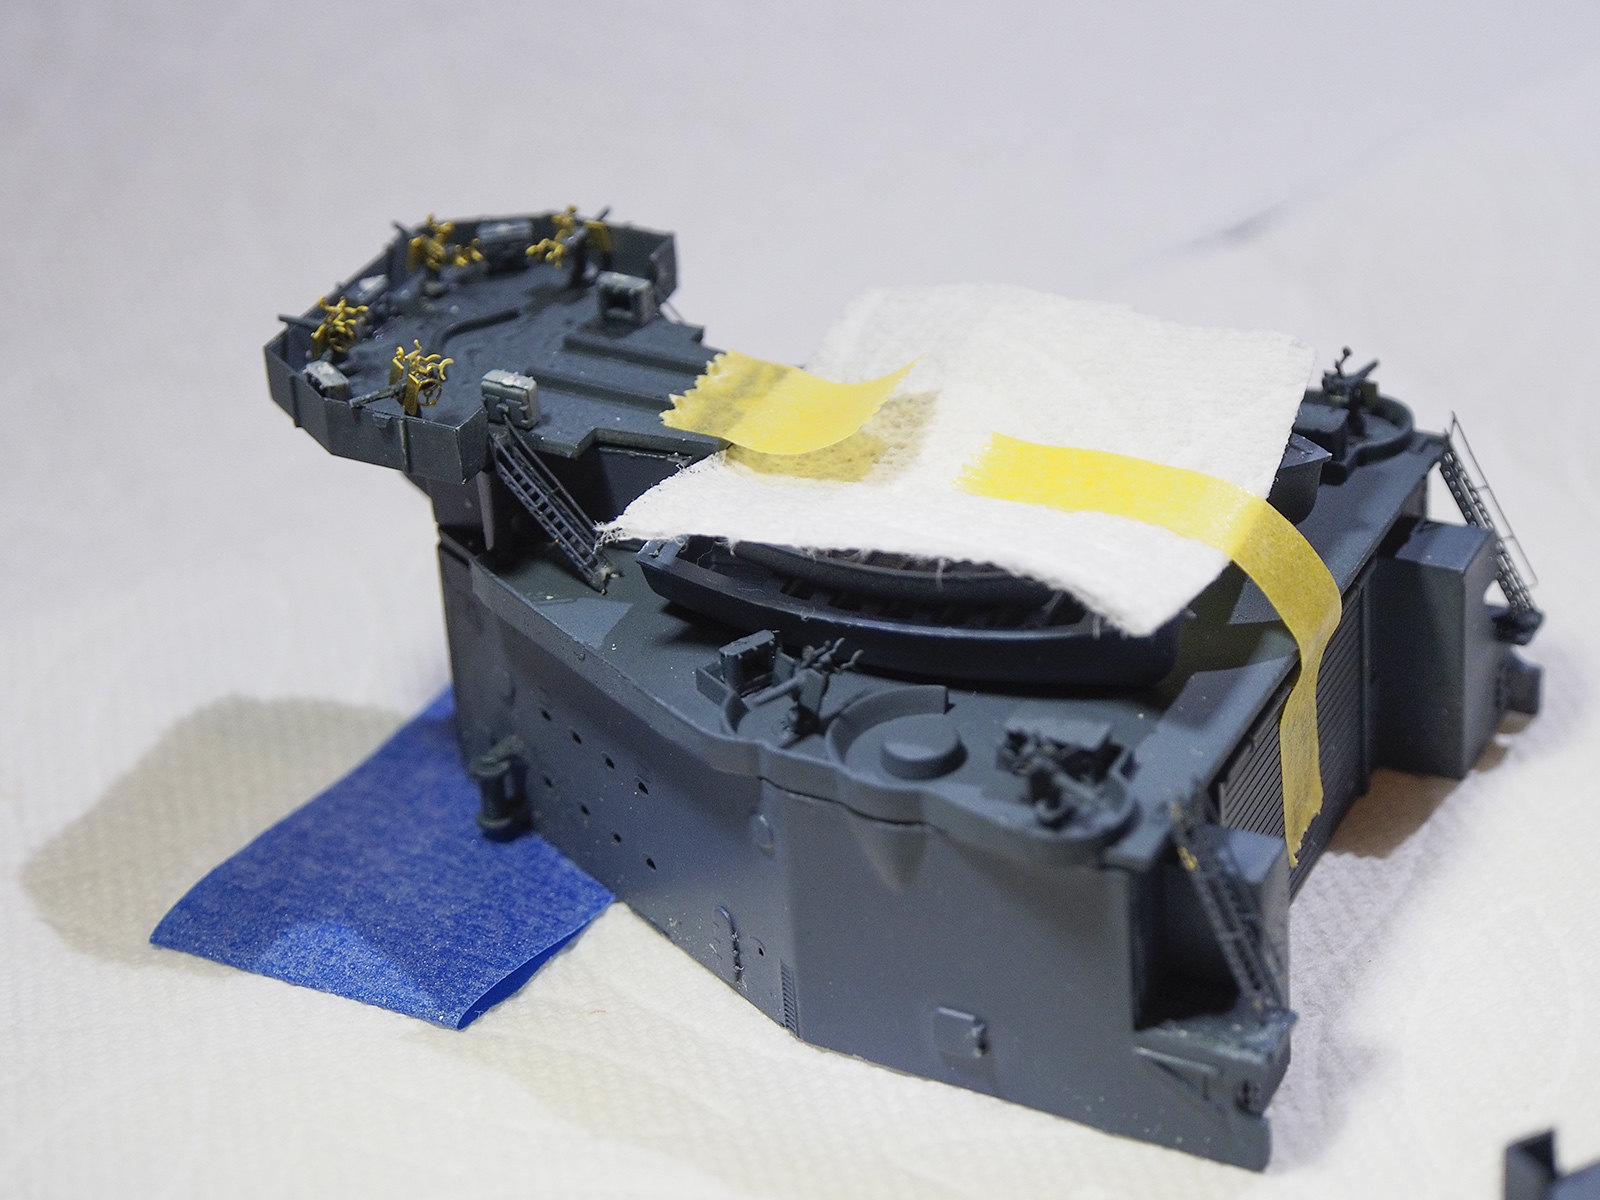
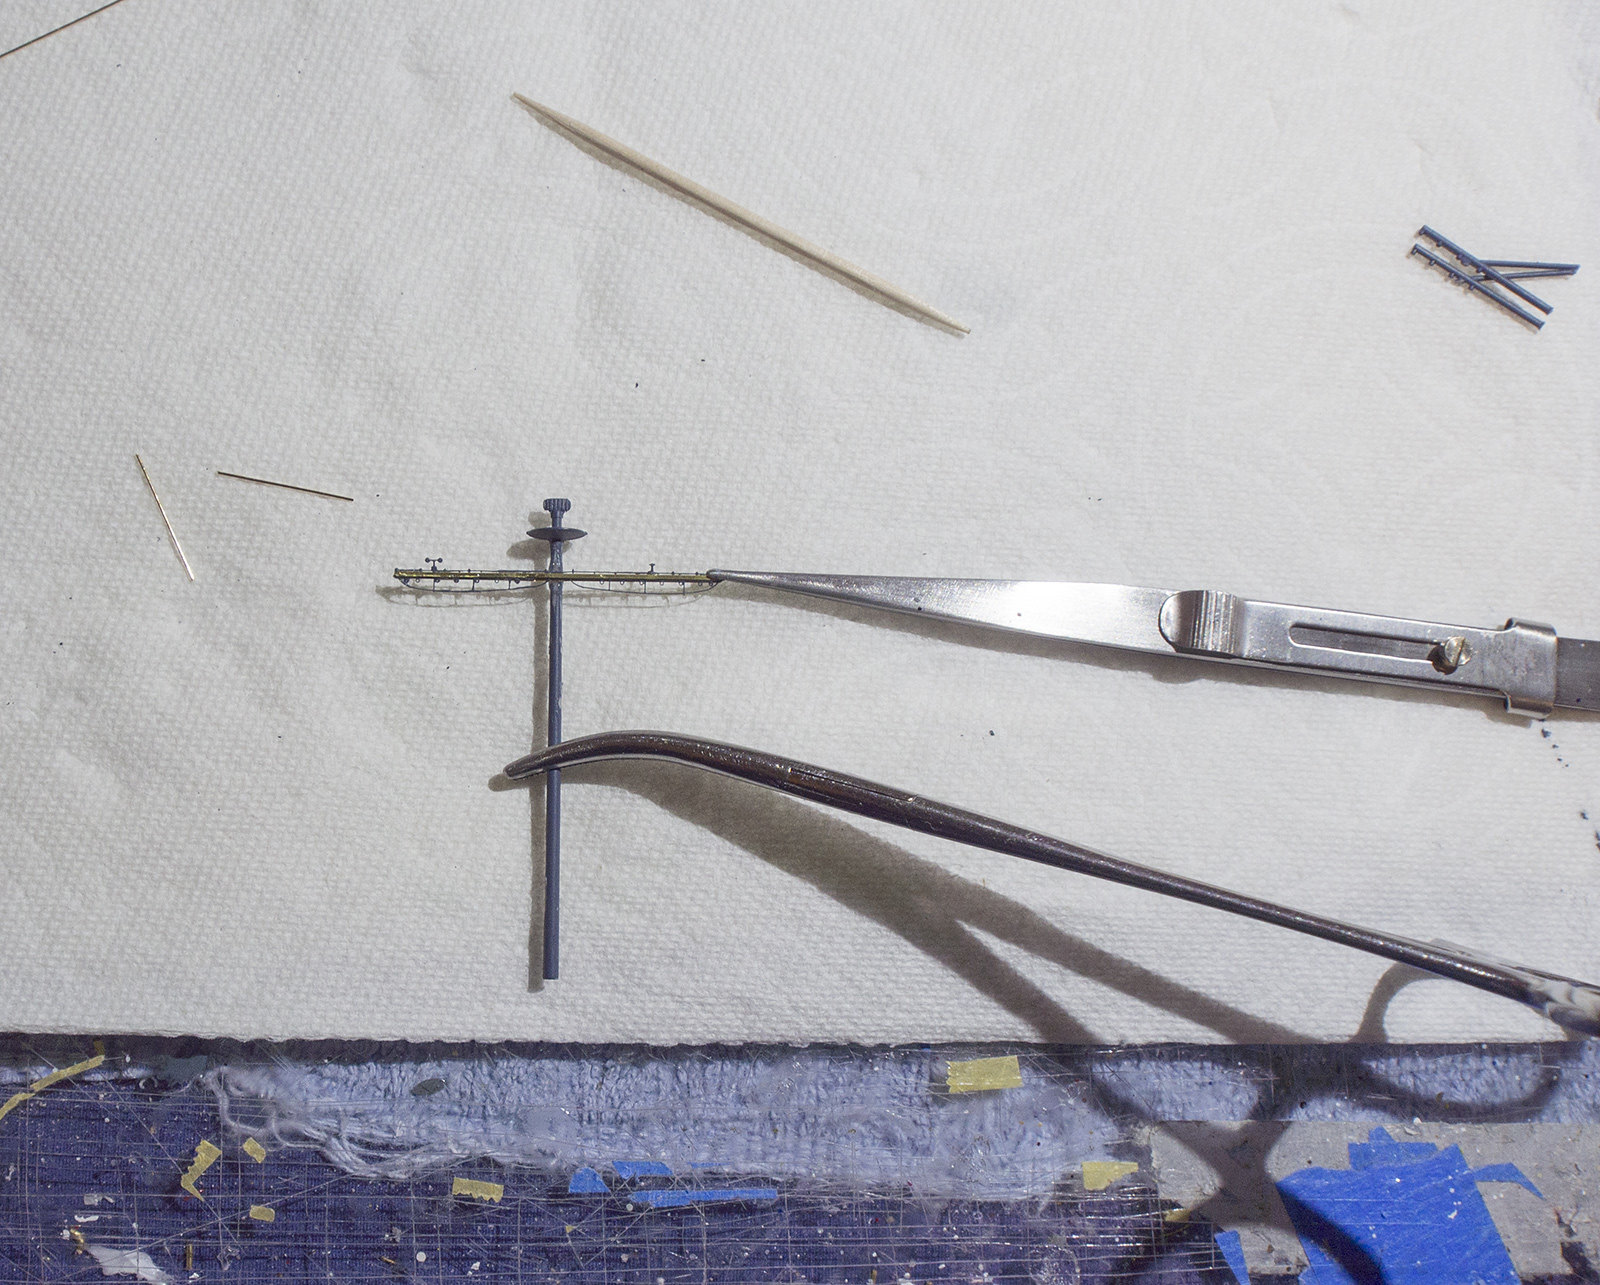
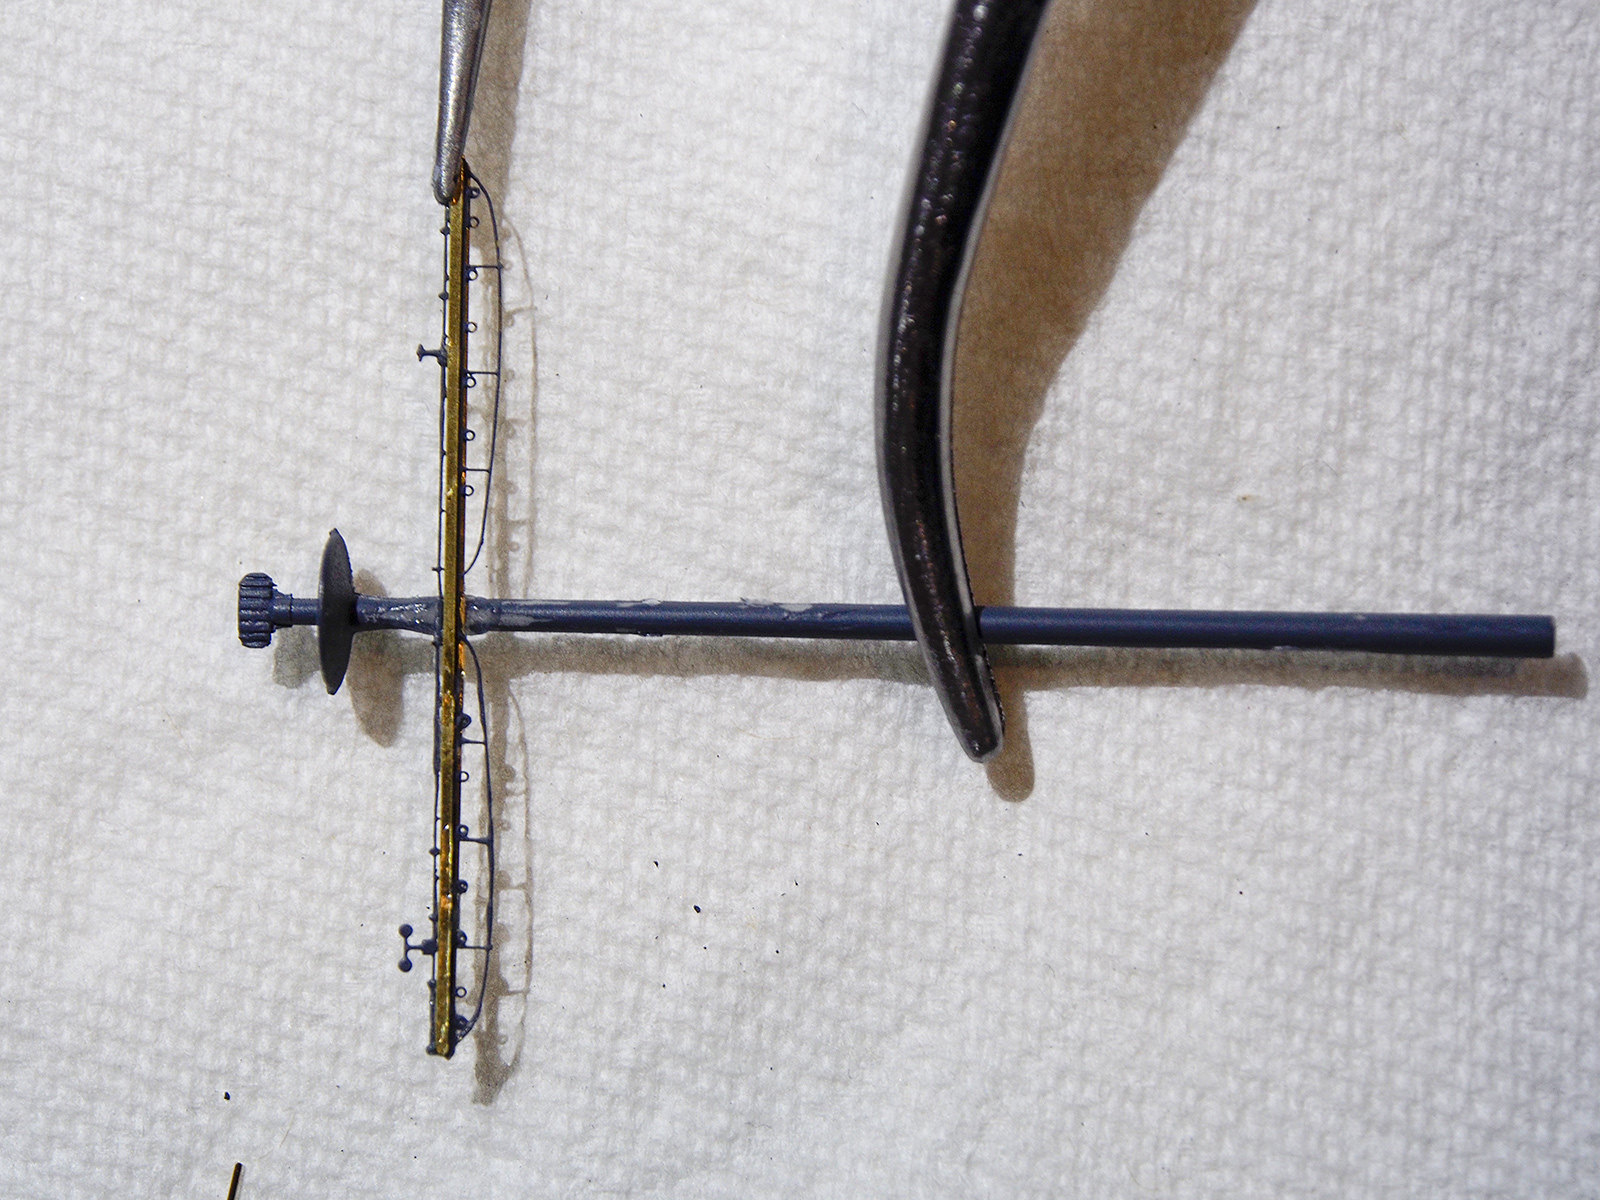
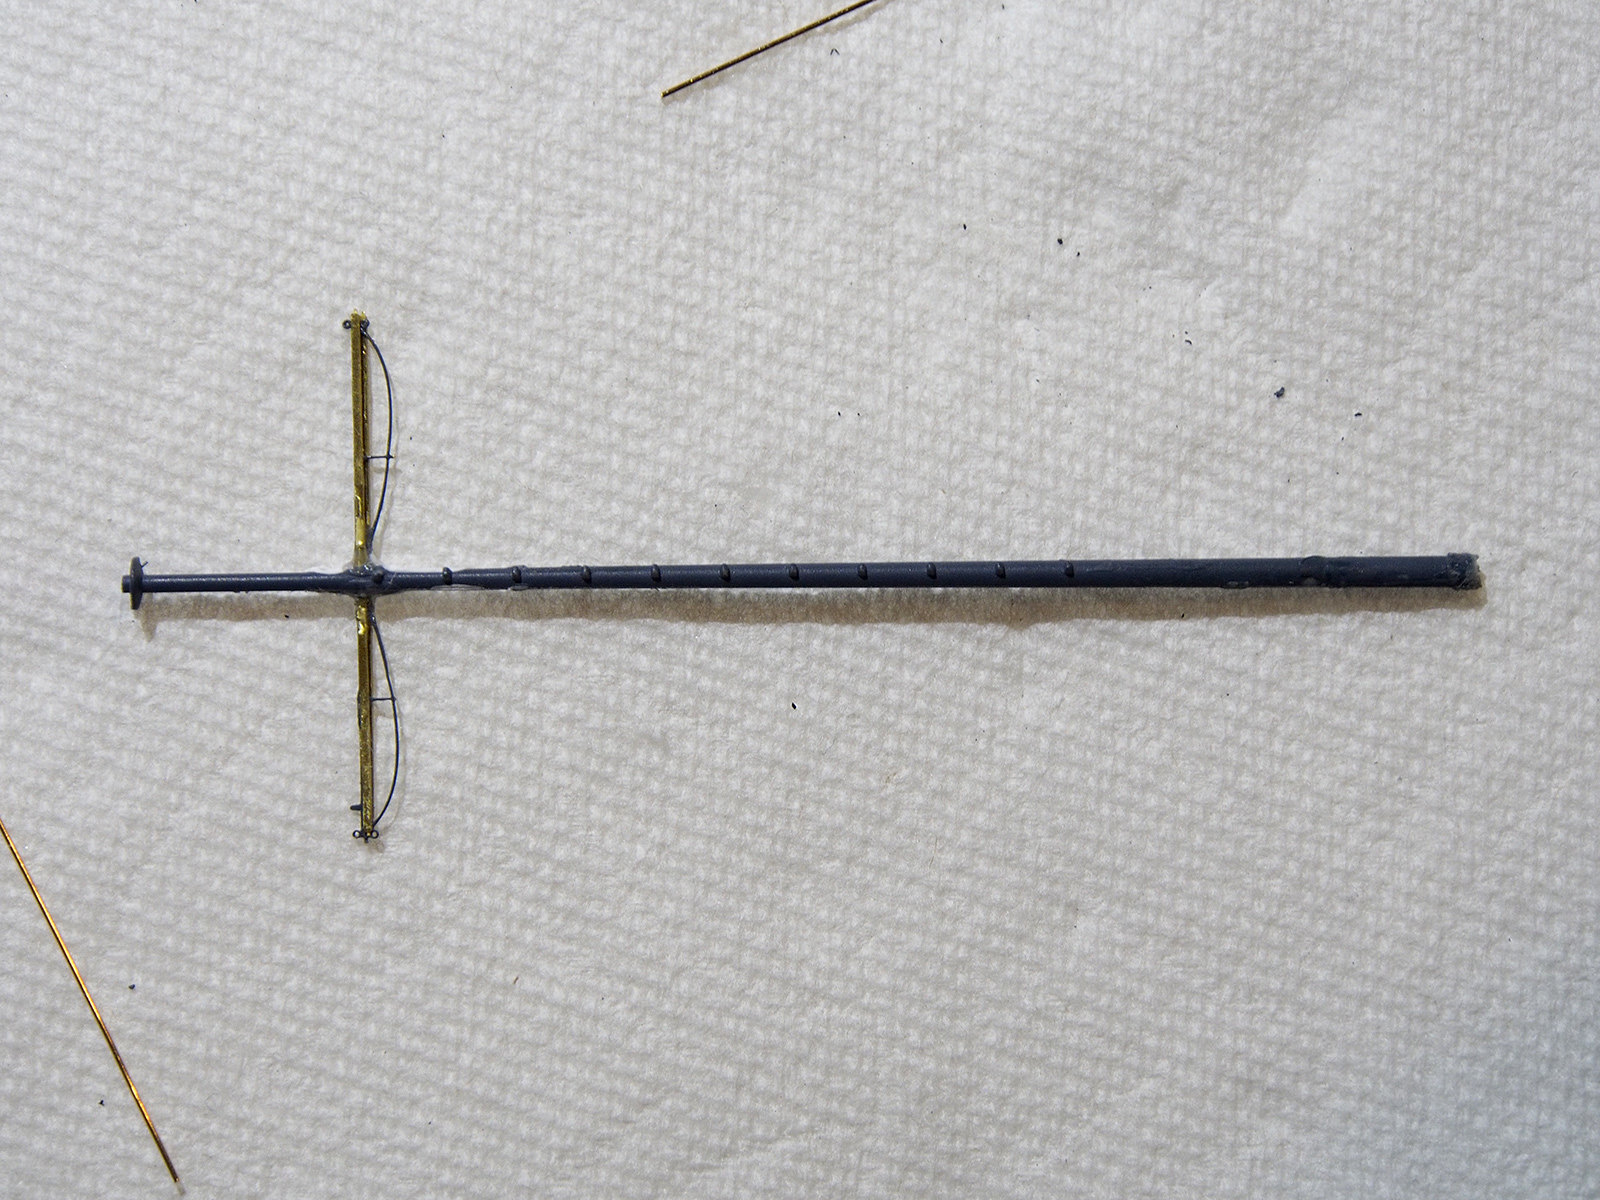
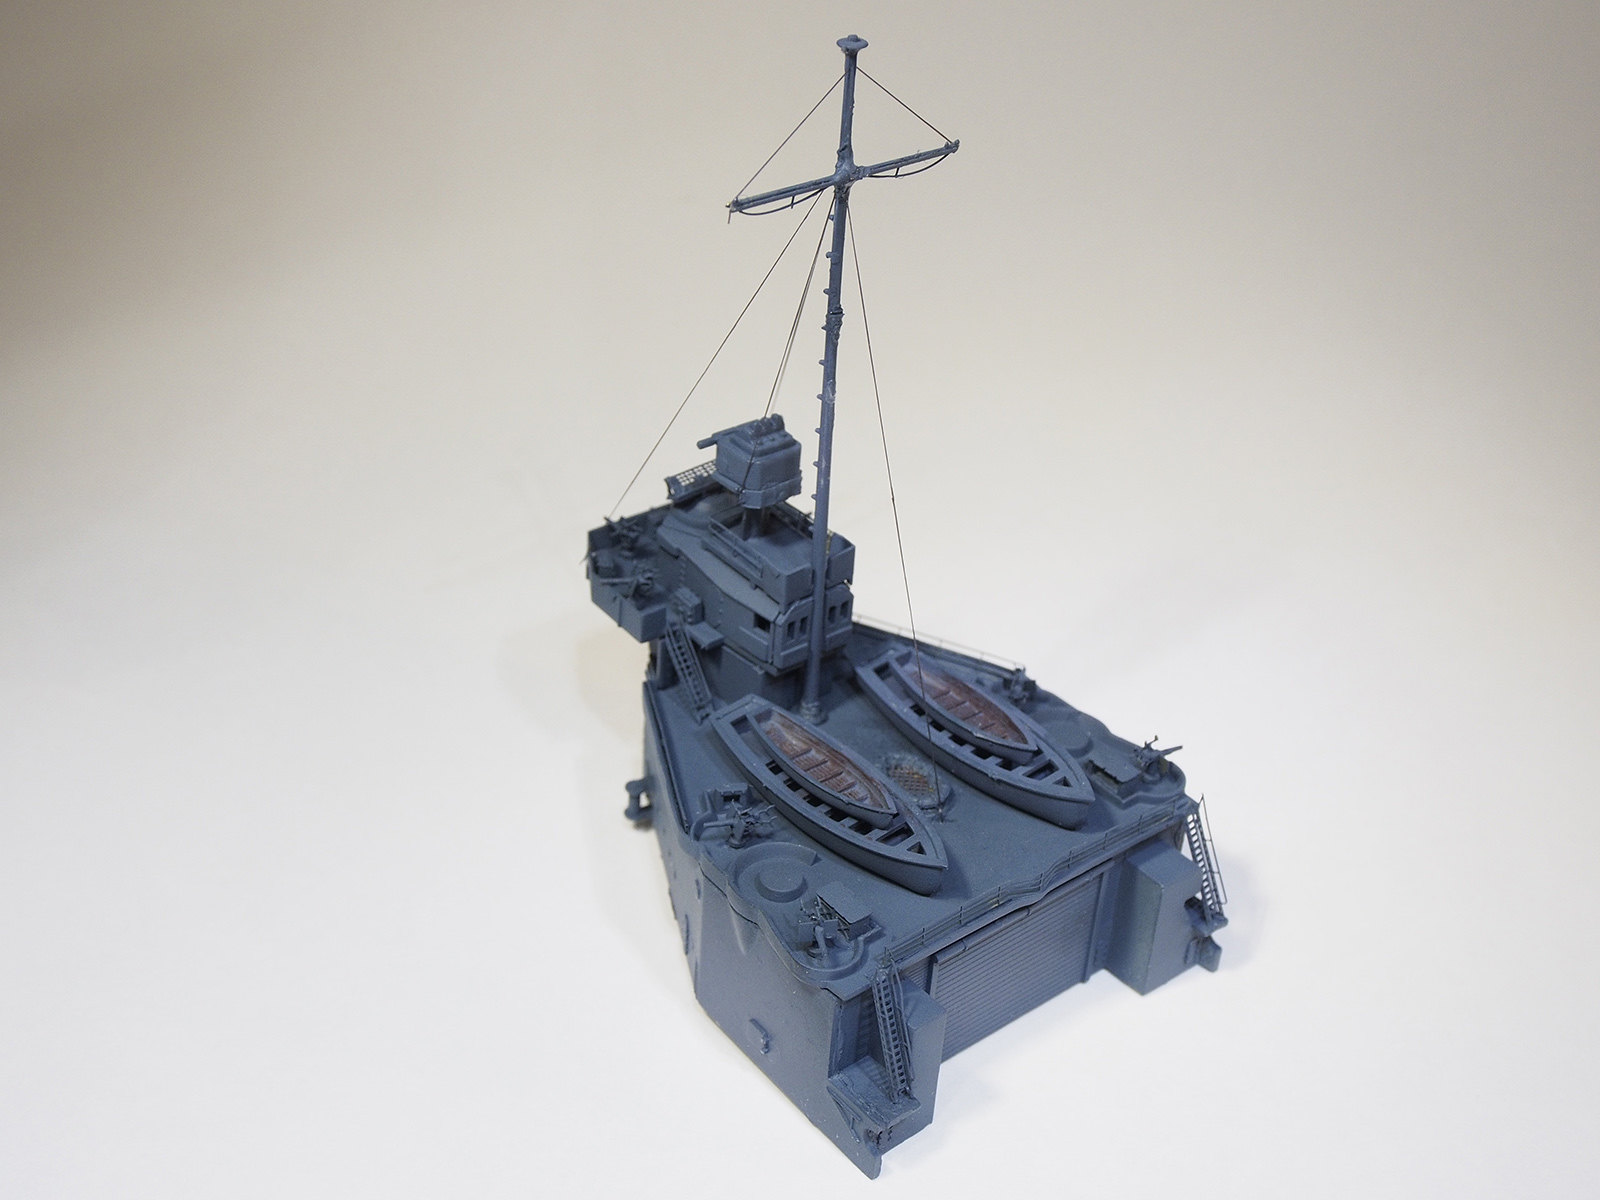
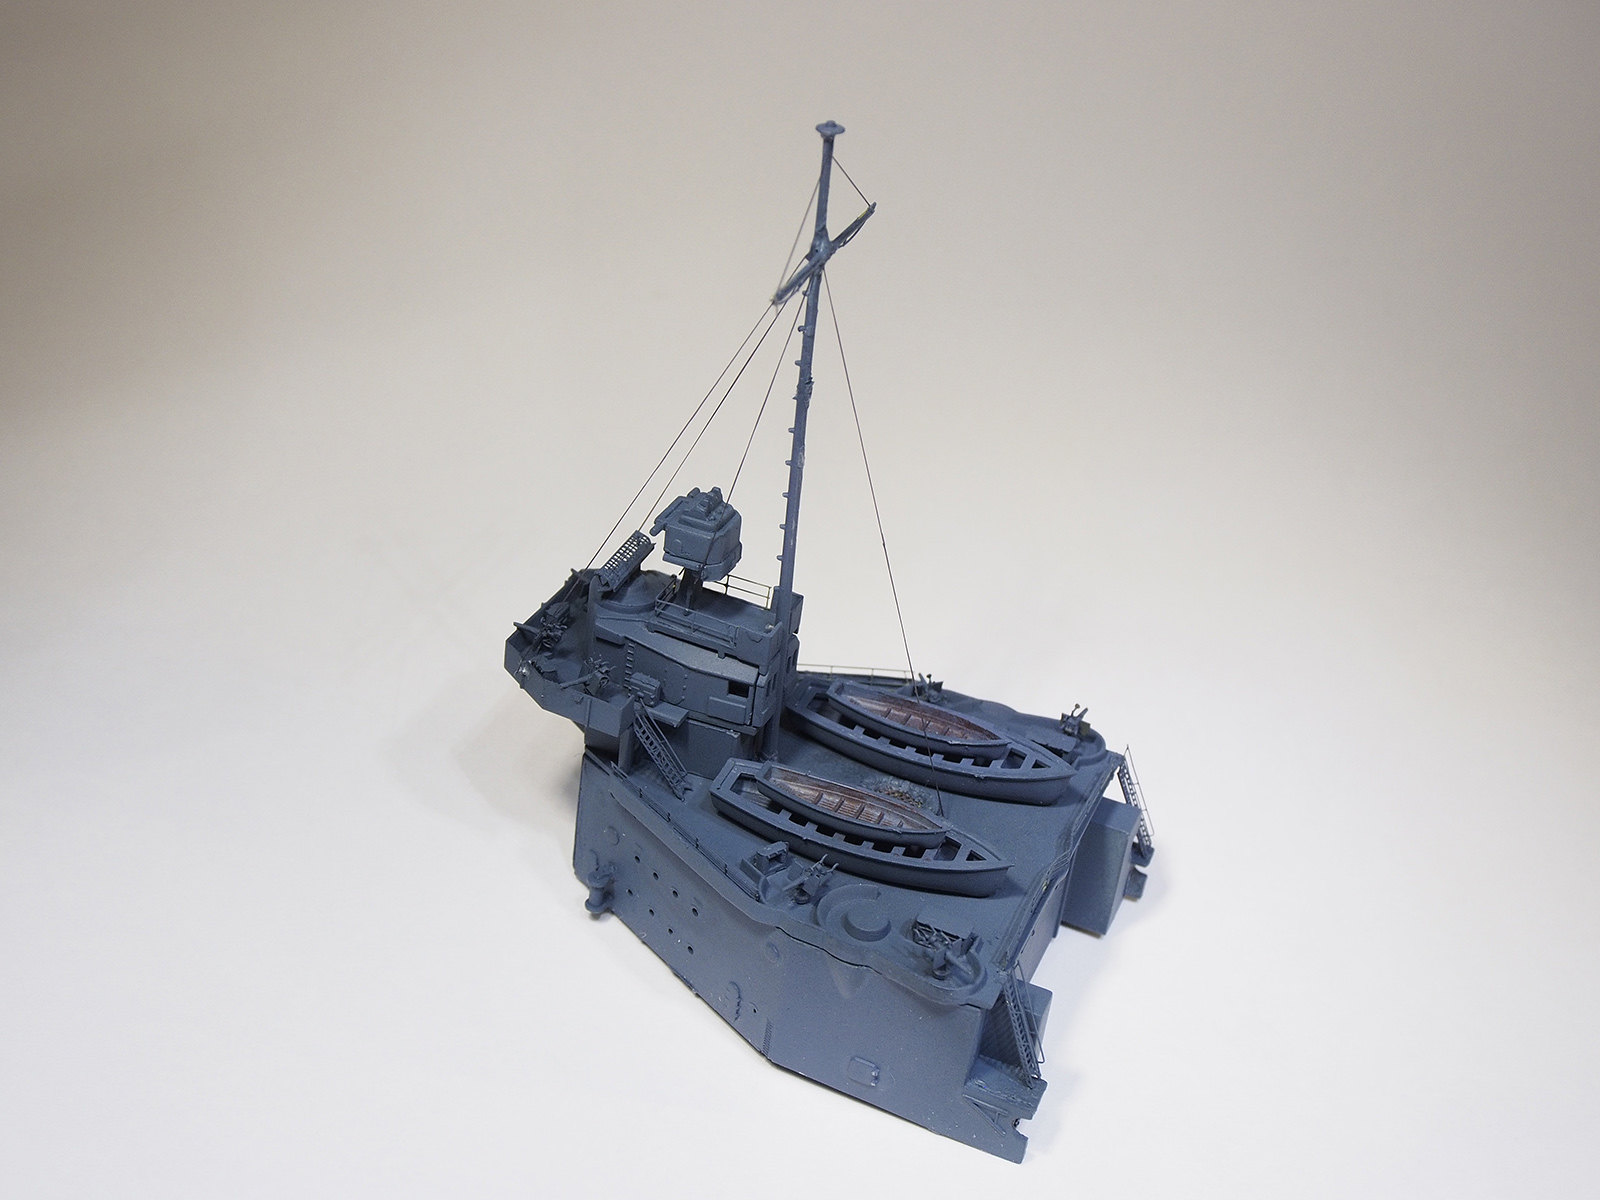
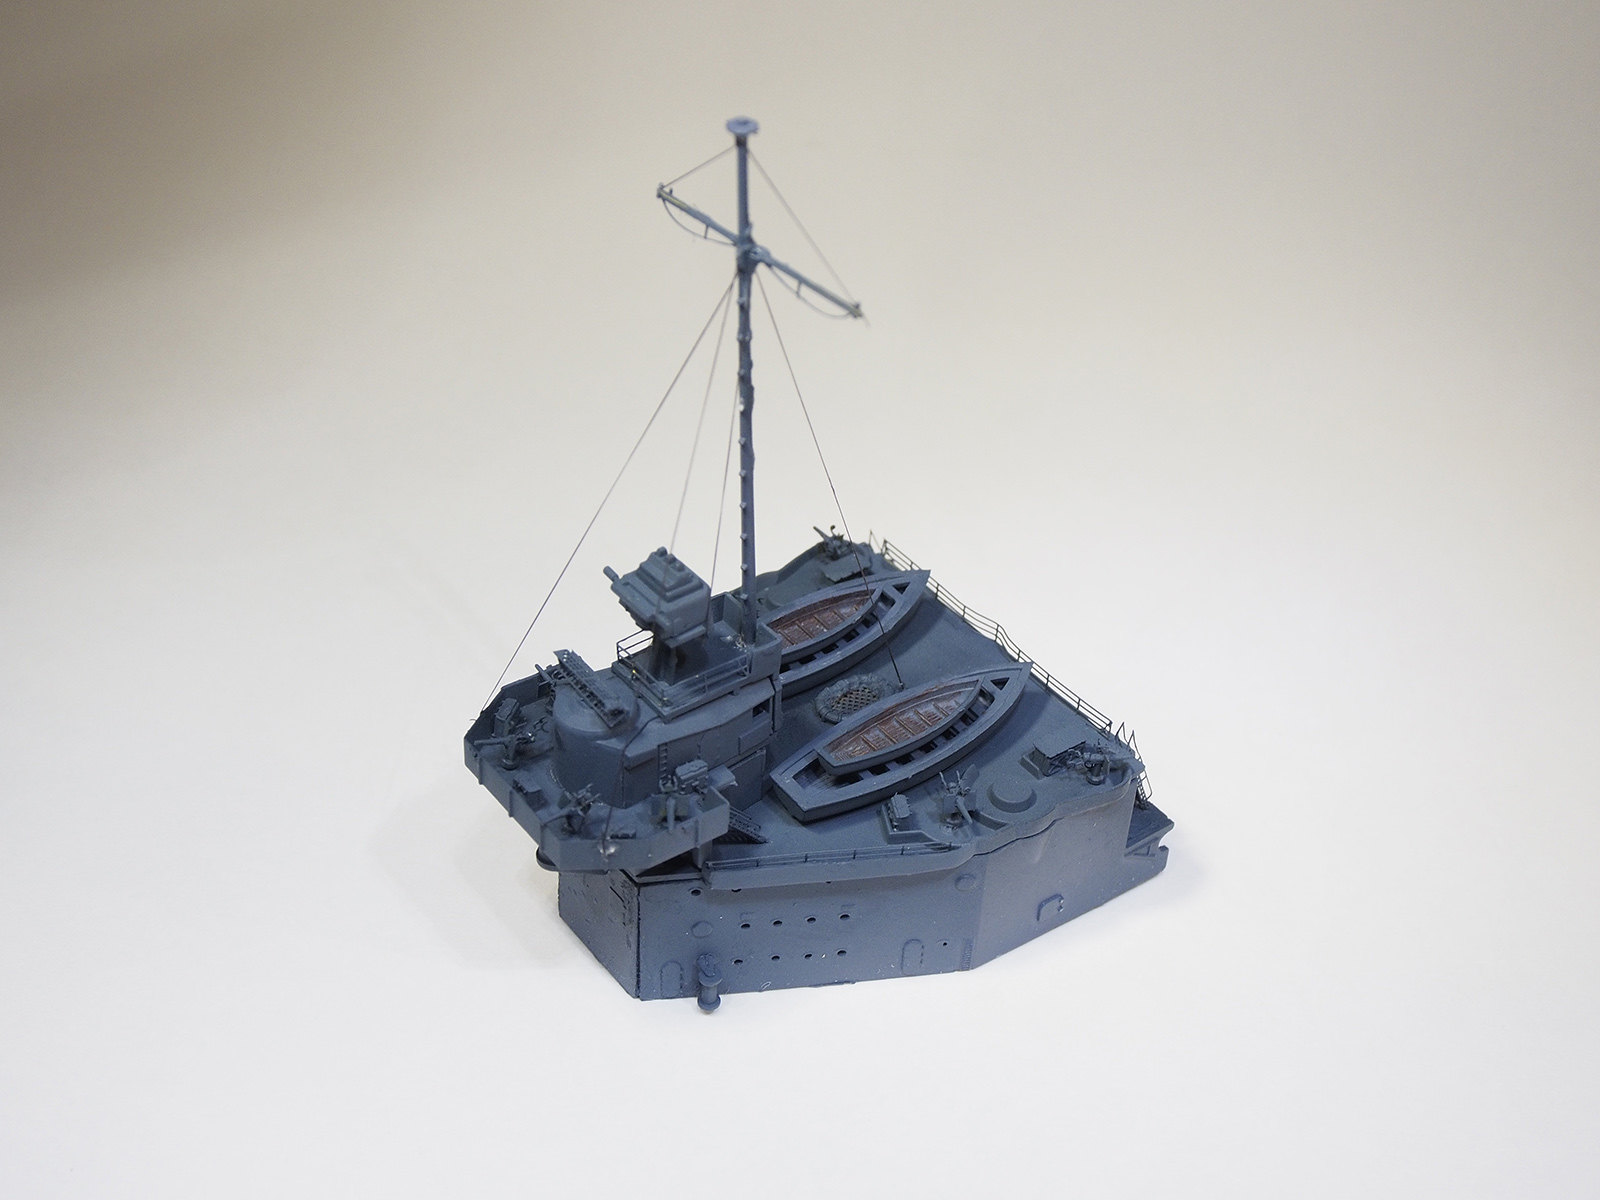
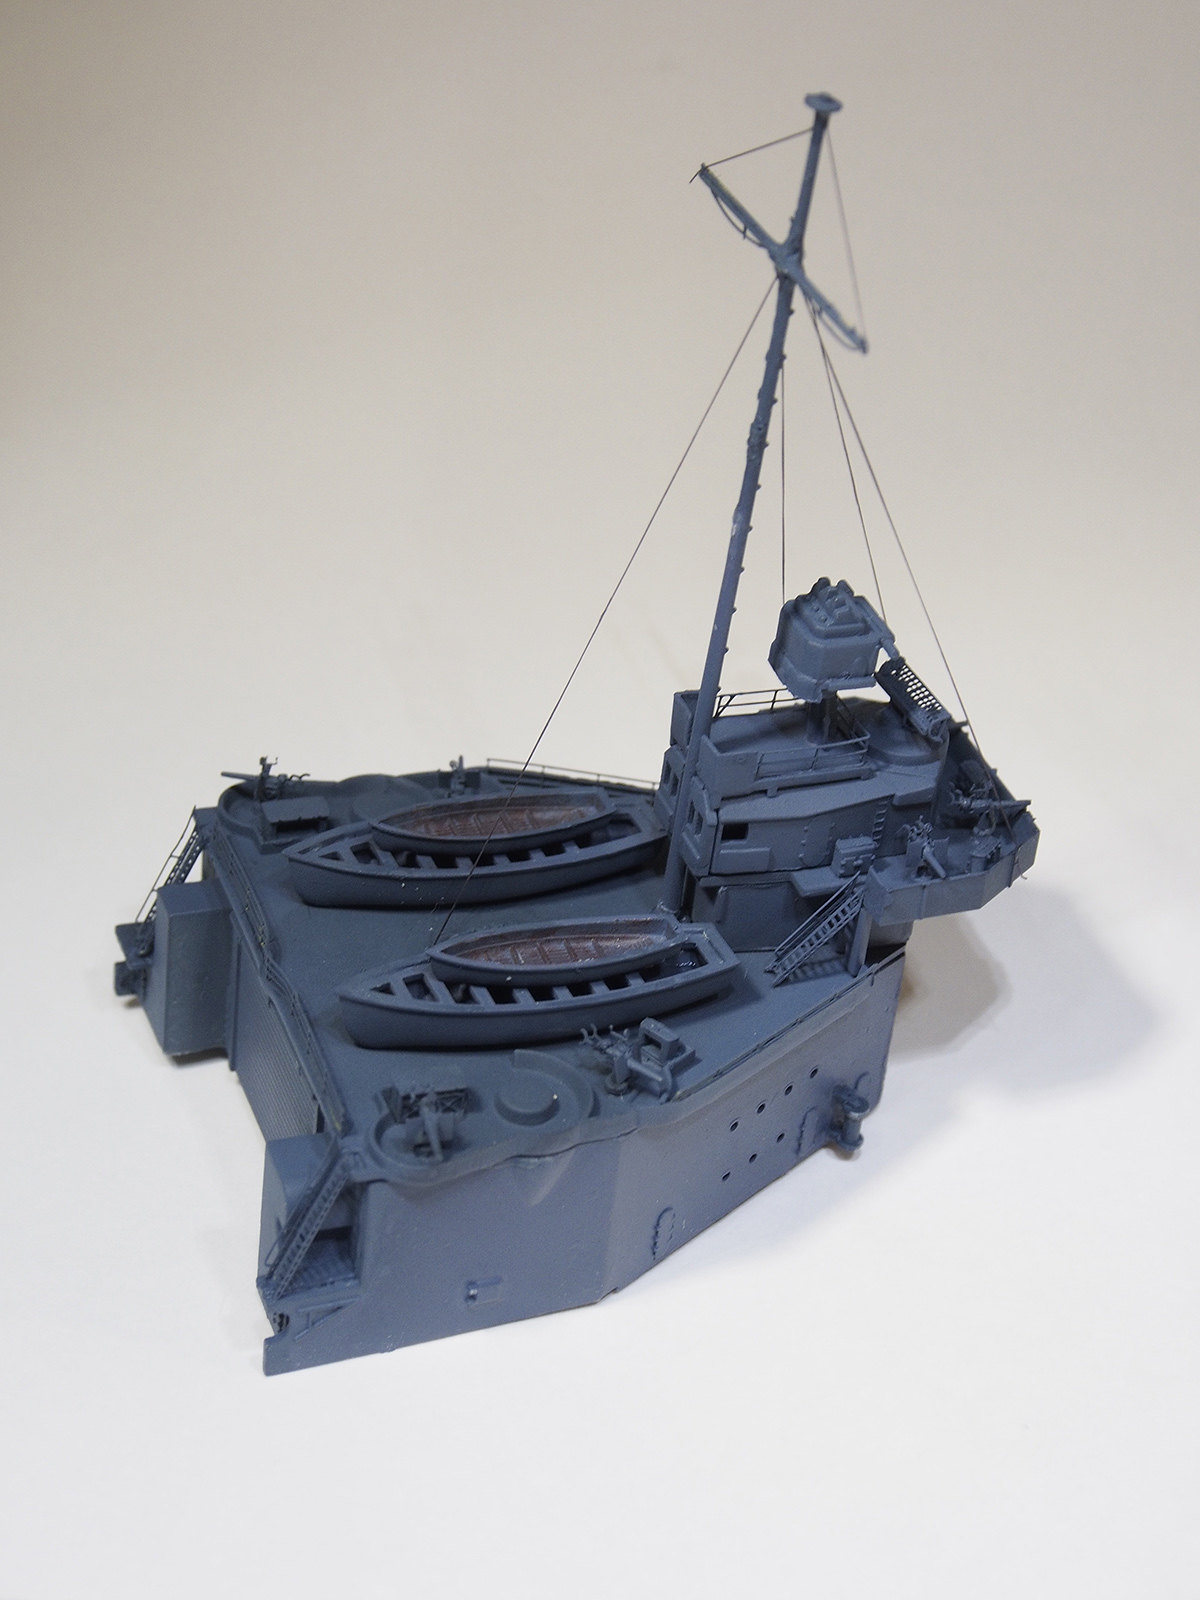
Some painting and a bit more progress on the aft island/hangar. Started adding the PE yards to the fore and mainmasts. Up to steps 13, 14, and 15 of 25. Need to go back to add some parts to both sides of the hull in step 4 that I left off for fear that I’d break them off while handling the model.
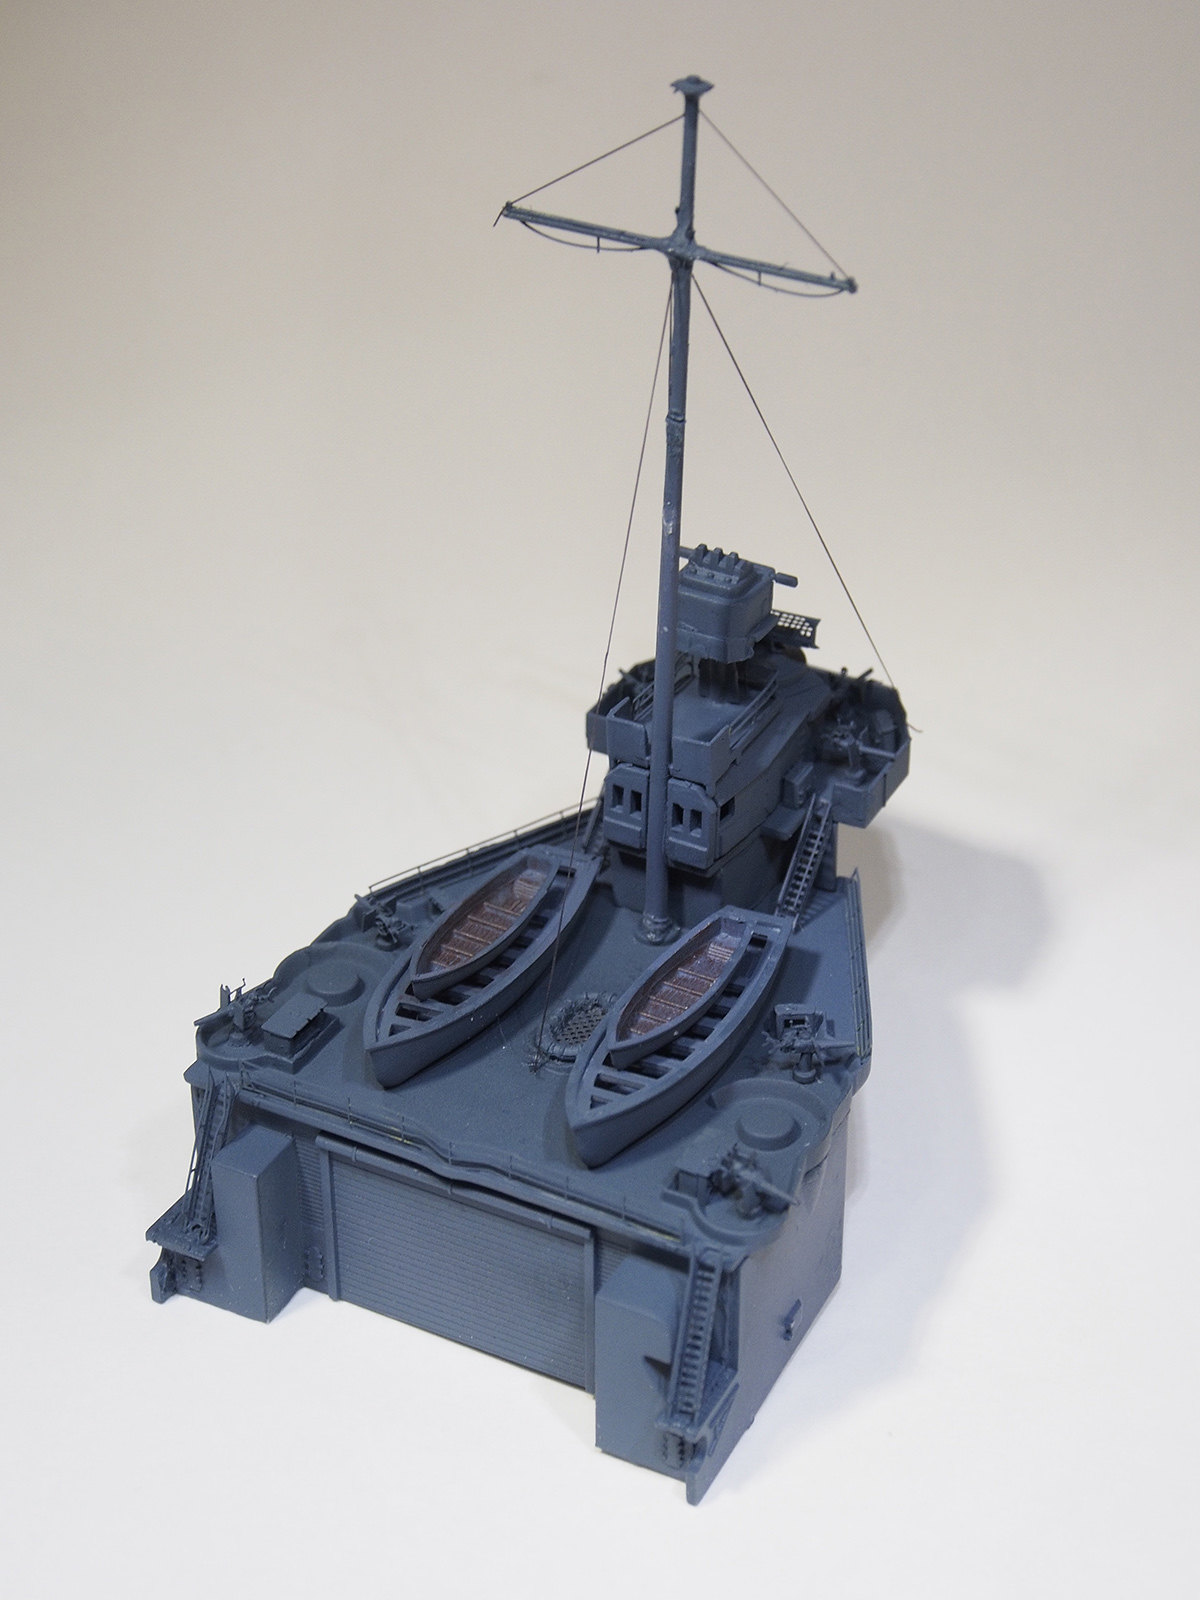
Well, I finished up the aft hanger/superstructure today. Some touch-up work needs to be done but I’m satified with it.
Mike, I like the idea of rigging prior to instalation, I going to try that.