Well, guys, it’s getting there. Most of the fiddly bits are in place. All that remains to do is the gun mount, the rear engine intake grille, headlight, tool box on the right side and align and glue down the running gear and tracks. I’d better get to the painting stage soon because I’m starting to feel I’ve been working on this thing way too long.
Acehawkdriver - Looks great … really like paint camo and weathering (rust) … enclosed photos of my Pz III progressing along with the magic track … found the left more diffcult due to individual links wouldn’t remain together but the right side links stayed together … enclosed picture of kits from xmas – future projects to look forward …
AceHawk & DaveB- Sorry how in the world I missed your recent posts! I may have been too focused in building a Huey for last few days.
Ace- Love the stowage especially the wood box and bullet holes on the metal sheets,. Great details! Can’t wait to add your build to the Hall of Fame soon! [:D] Don’t worry if your wife doesn’t like it, I’d be more than happy to offer your StuG a nice home…
Dave- Now your little tank is really looking GOOD. Dig the barrels attached to the rear… only Russians like to do this kind of thing.
86- Are you trying to tell us you are a die hard Pz III fan? All kits you got for Xmas is Pz III! Bet you are thrilled about this GB… your tracks look good by the way.
Eric When I first saw a photo of the SU-76i I just had to build one…even though no kit or conversion is currently available in 1/35th. There’s something about the mix of German and Russian features that make it especially cool. I hope to get to the point of putting some paint on this weekend.
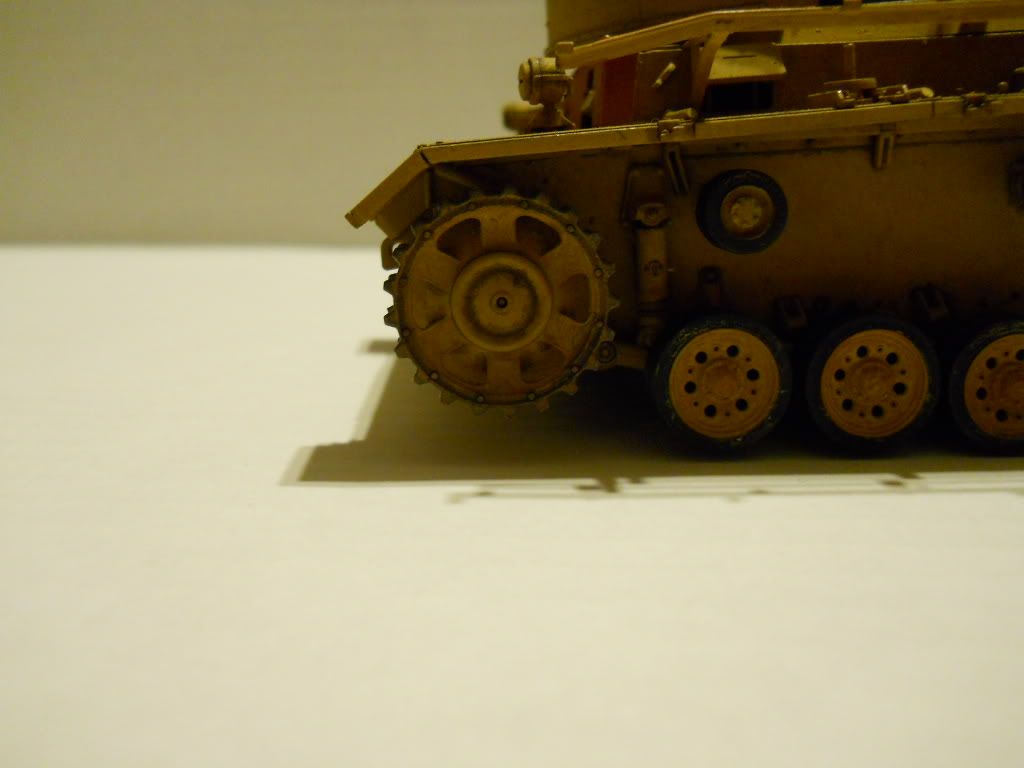
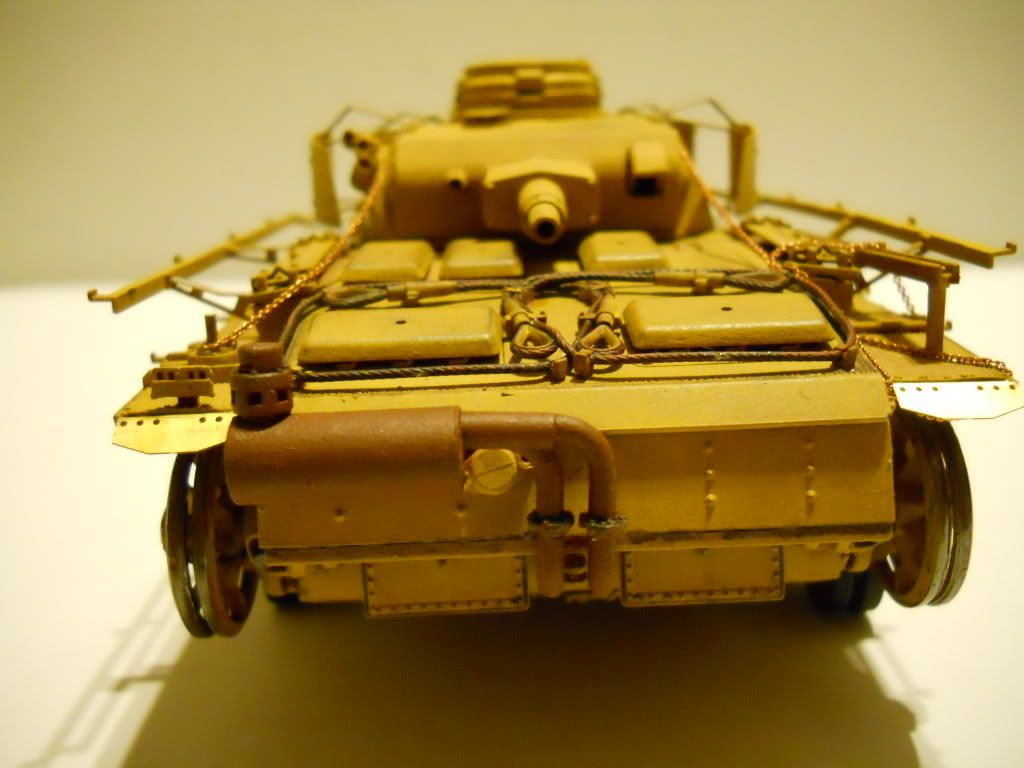
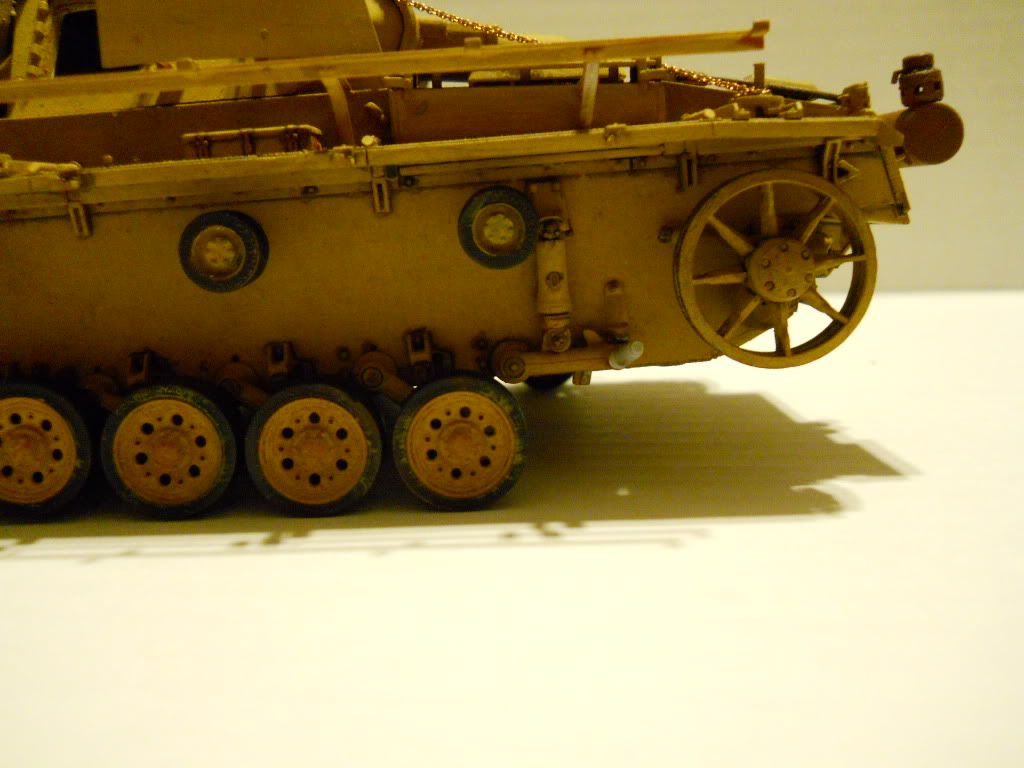
Early Pz. III J - Initial Production - finished the magic track … had to rework and lengthen the right side … retouch portions … Used Vallejo Model Color - Track Primer as base coat, rust wash, and then a couple of layers of Pigment Powders of rust photos below. Used Vallejo Oily Steel and dry brush edges and where metal made contact.
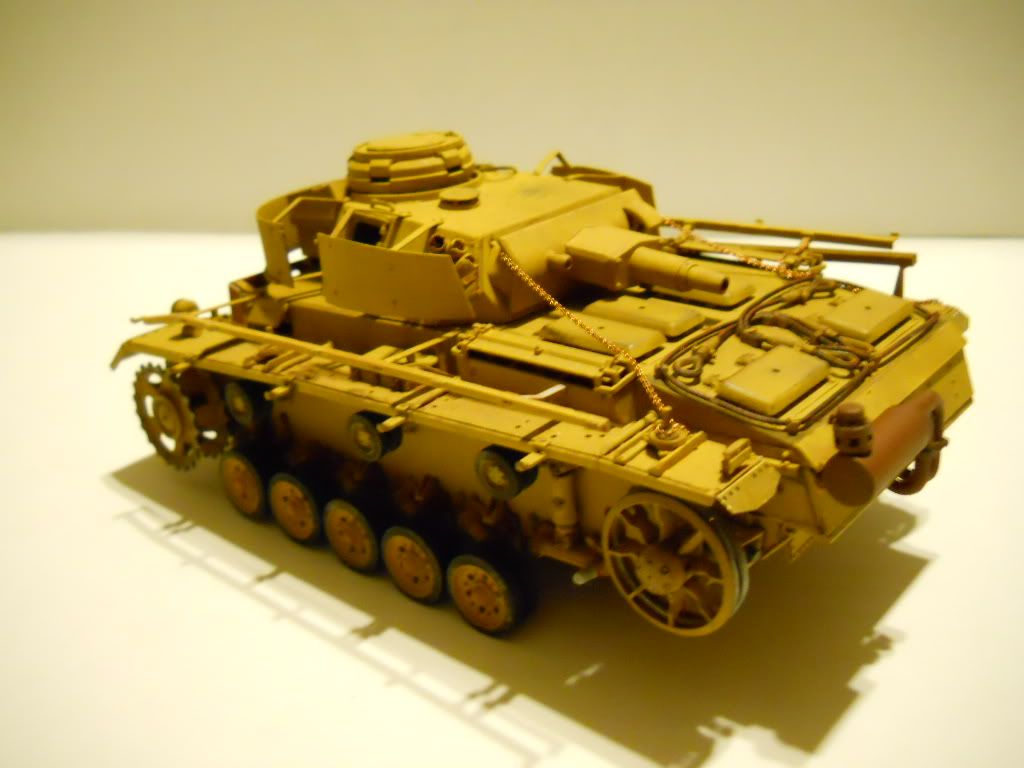
Next set of photos after using ModelMakerZ Pigment Powder - Panzer Fading liberally brush over the German Grey paint …
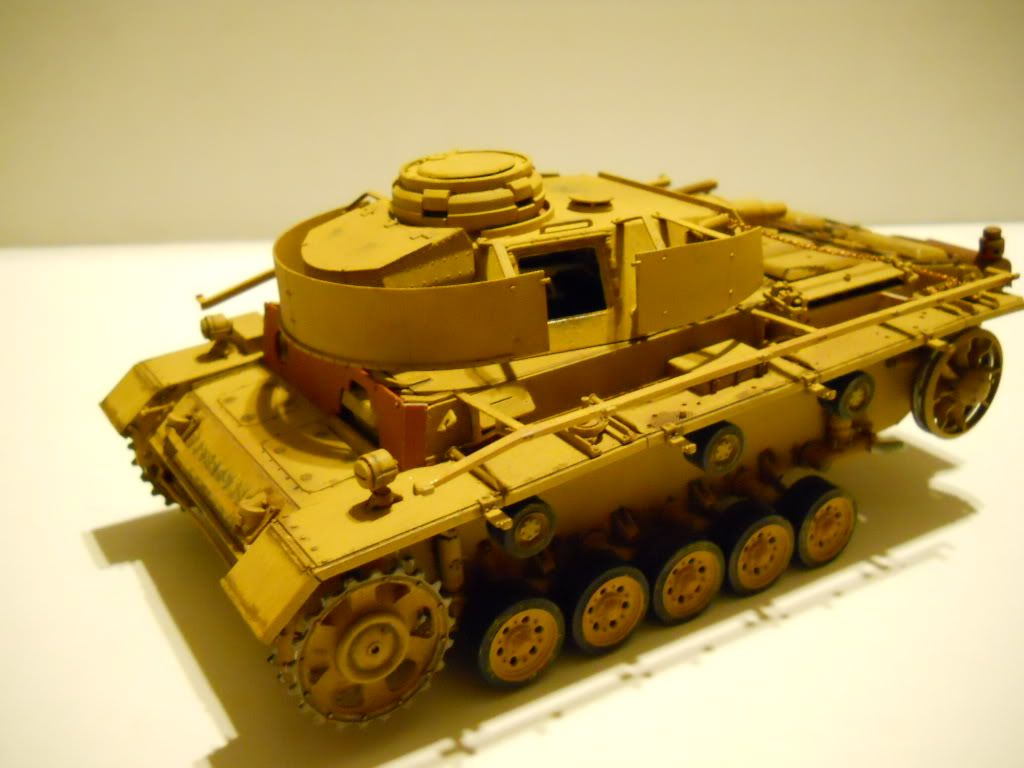
Next step returning to storage, accessories, tools, tow cable and other details … Armor86
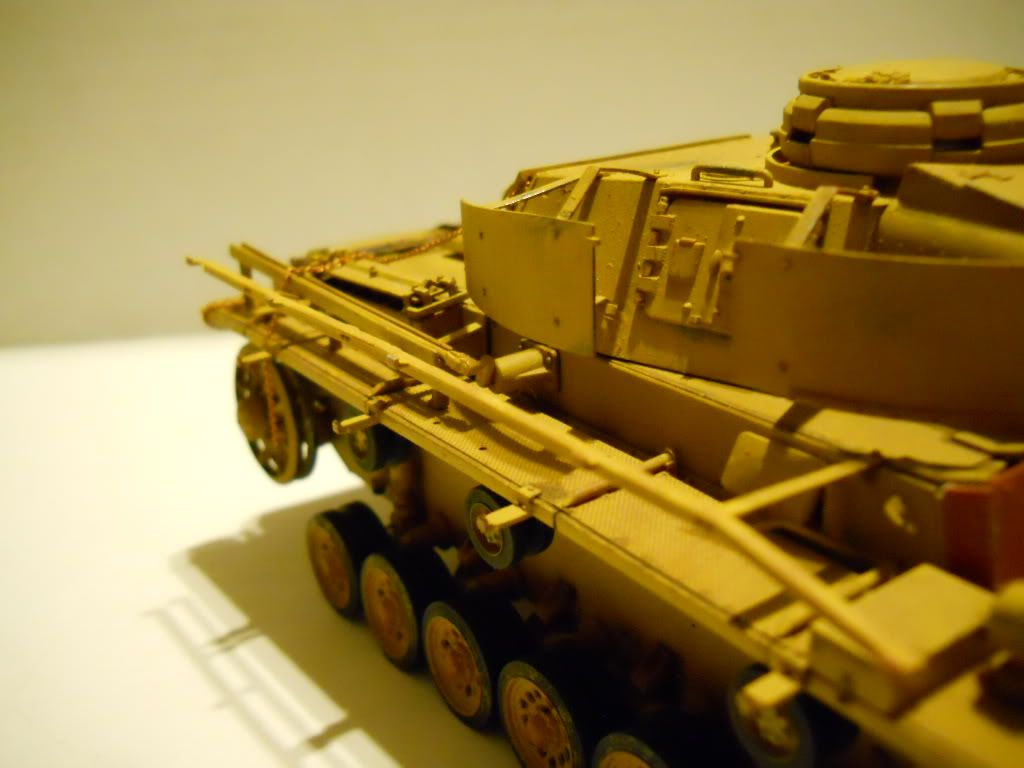
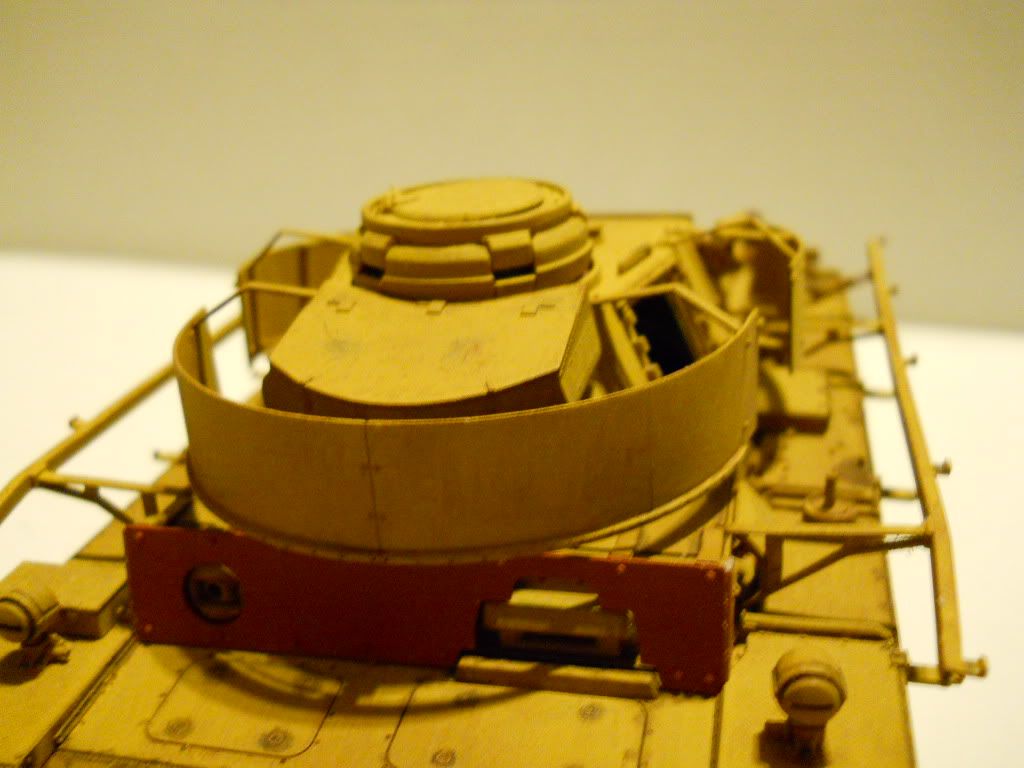
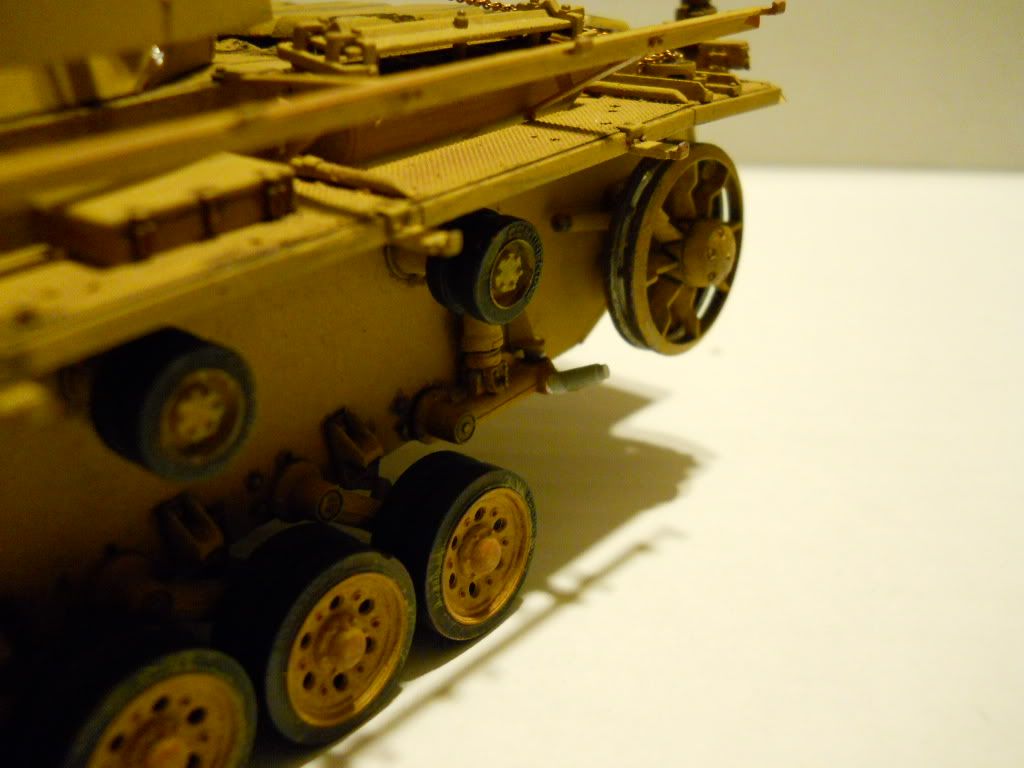
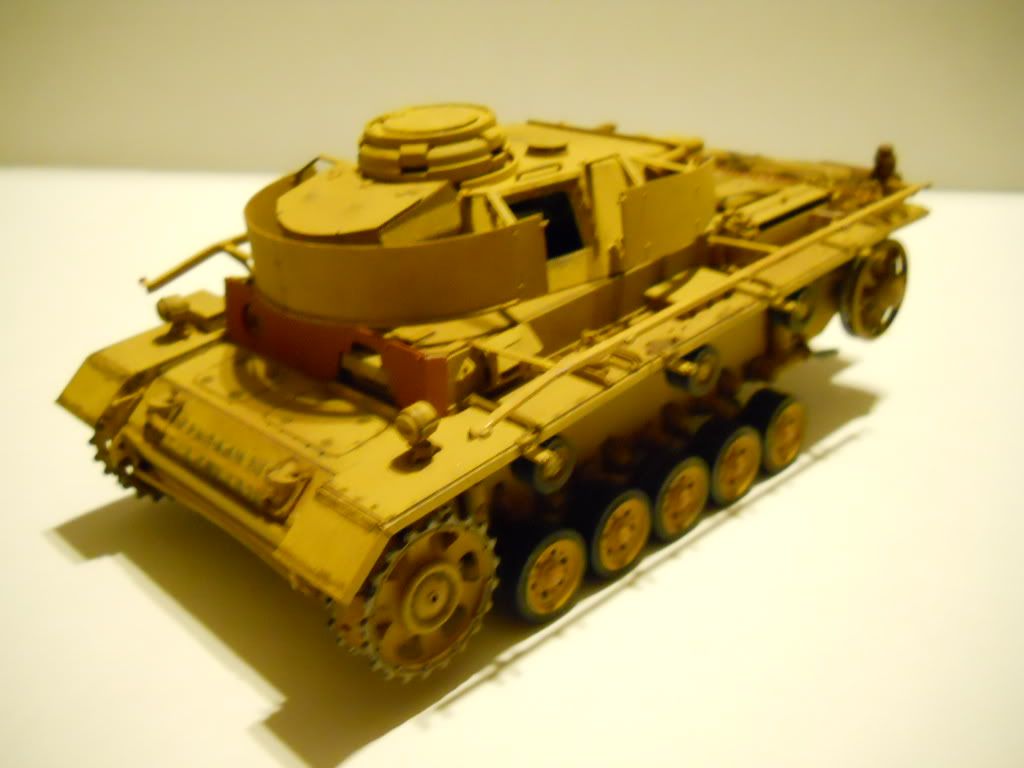
So work on the panzer III N continues while I decide what or how the jib crane on the berge-panzer should/or could be stowed. So without letting dialogue take up anymore space heres some pics.
Hey my friend Greg… your Pz is looking real good! I can’t remember this because I have been on med for cold for two days. Are you planning to keep that red primer on the front extra armor plate? If so, that would be cool. Assuming it was done on the field in a rush and they haven’t had the chance to paint it.
It was lost amongst the in progress pile and I glued it in place so I would not lose it again.But your idea is a good one.Sorry to hear you too are sick. My wife and alot of people I know are ill.
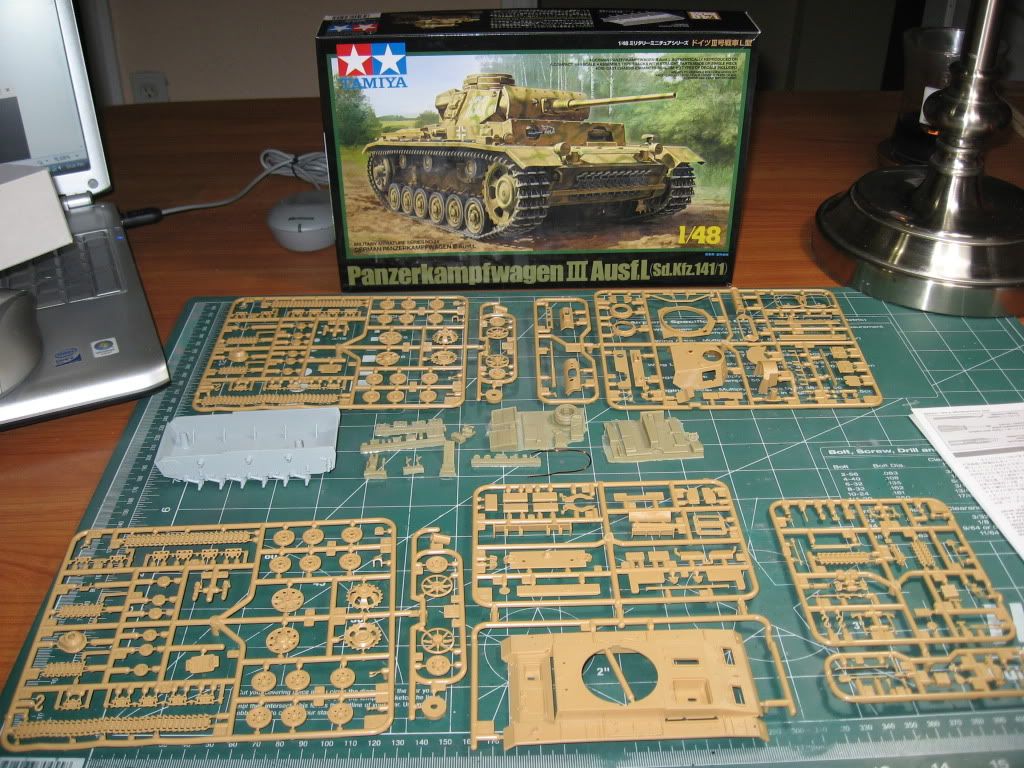
OK…been away for a while…I was finishing up some other builds for the Japanese GB ( take a peek…nice stuff over there)…now on to my III…heres the kit laid out…
Tamiya’s 1/48 Panzer III Ausf L with Verlinden resin interior.
nice kit…great detail and I like that the scale is the same as my planes…they display well together. I like the detail of the Verlinden set but have one complain…nice detail in the drivers compartment but only in the rear. Theres no detail up front except for a lone seat and just one…I dont get it…you can see the front thru the hatch and if you take the turret off, so why not add those parts too AT LEAST THE SECOND SEAT!!! So scratchbuilding time…too lazy to go to my LHS I started to look around for spares and “raw material”. I researched a bit the compartment and found some pics of the front compartment…seats, levers the transmission and assorted fiddly bits.
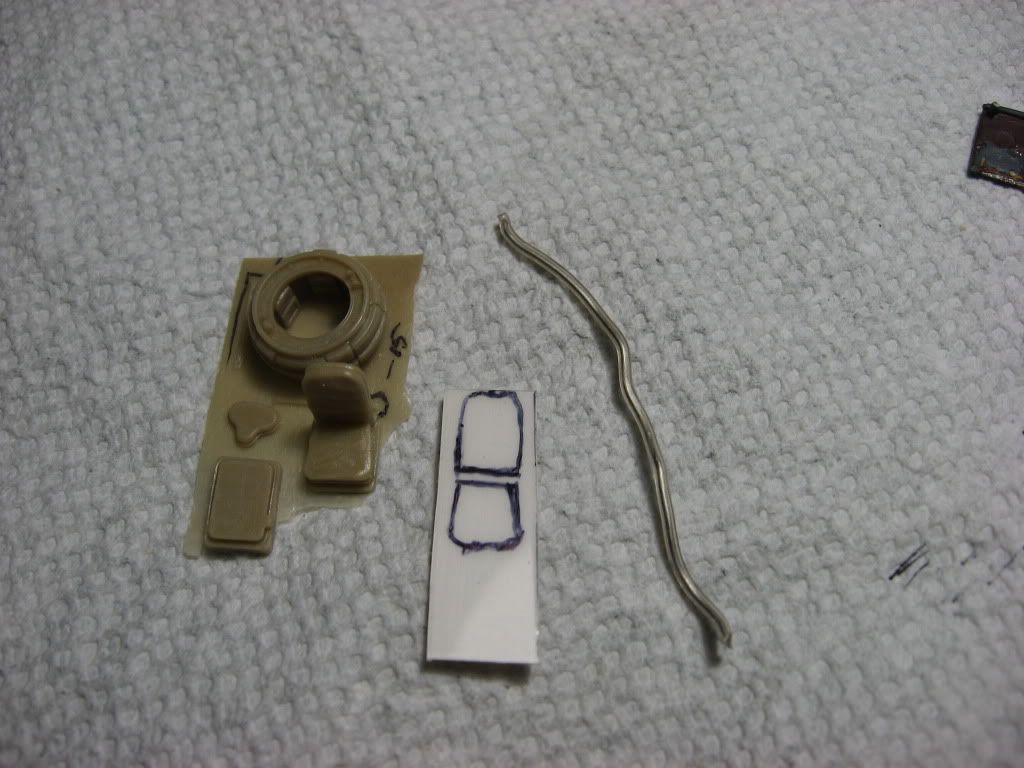
so using the plastic my insurance card came in I made the transmission housing
and an old piece of the engine front from a Nichimo Kate I am shaping to form the shaft housing…you can see the outline I drew of the housing front on the plastic…I know its not true in shape but hey…I couldnt get it right so…close enough for gov’t work…(artistic liberty)
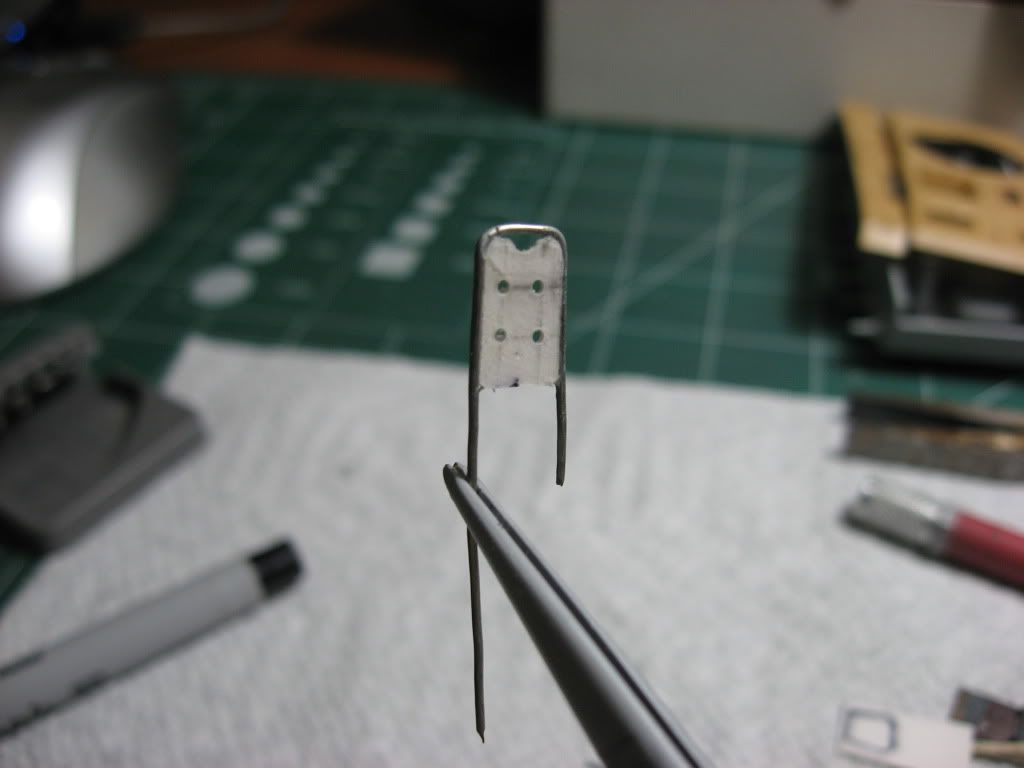
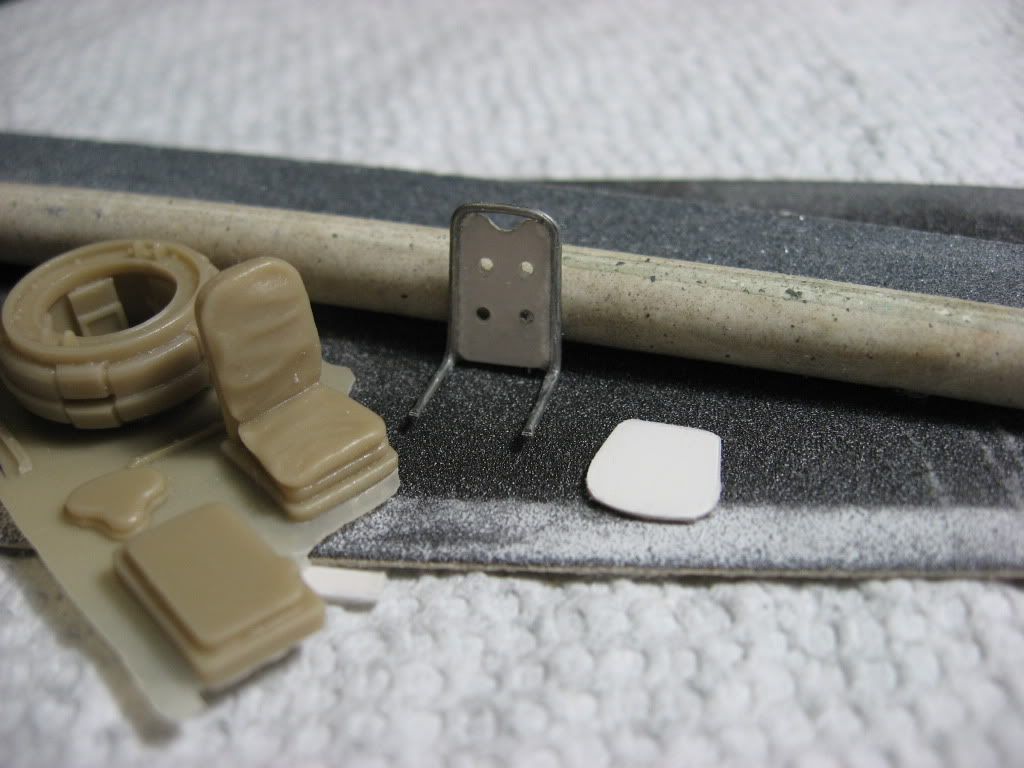
so on to the seat…here you see the resin seat and what I used to make the other one…same card plastic and the wire from a thick twist tie
from some pics, I saw it has a tube frame and lightening holes in the back
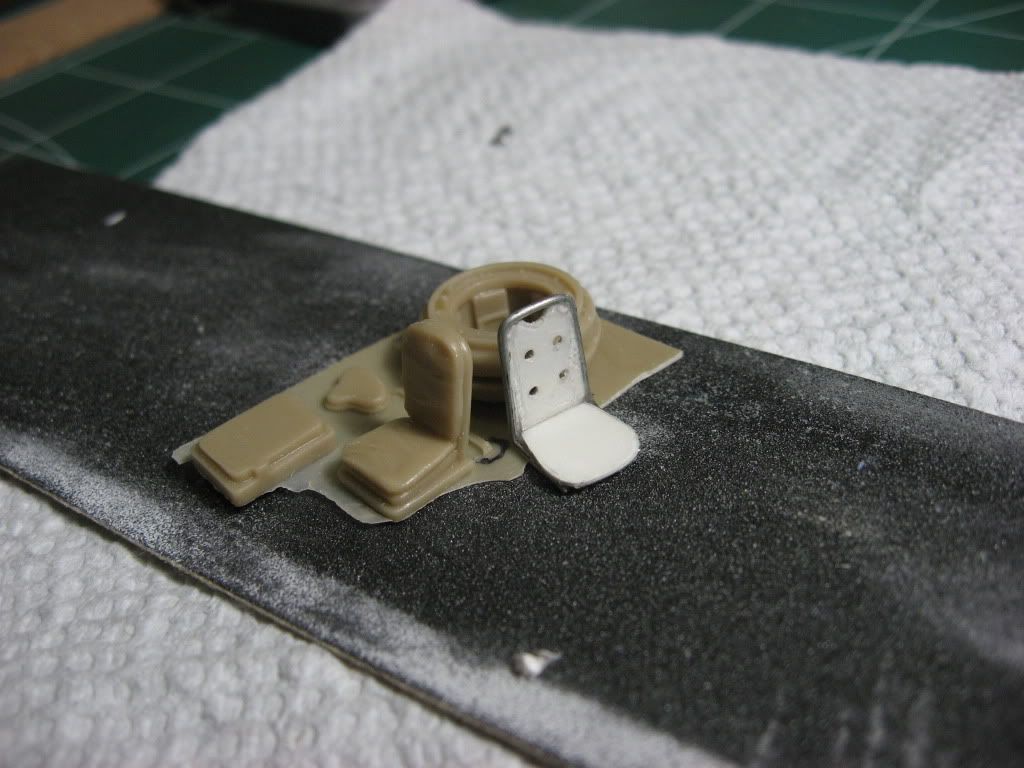
and here are the two…now I need to find something to make the seat padding
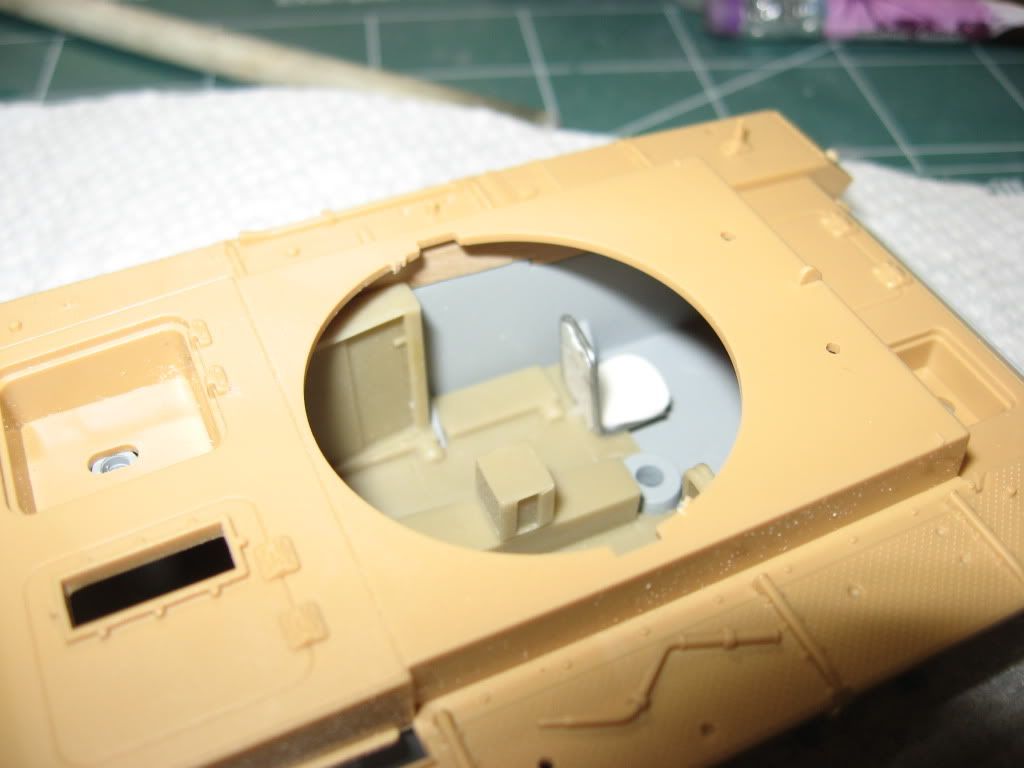
here they are with the compartment …I just fixed them with white glue for now…and you can also see the transmission…I still need to sand and shape it some more and add some bolts and maybe some more fiddly bits,
and as you can see…like I said…you can see the compartment from through the top…
so…Im having fun…and happy so far,wadda’ya think…I’m not a big armour builder so any suggestions are VERY welcomed.
Chazzer- Welcome back! Yeah I notice it has been quiet for a while but I don’t think it will stay that way for long.
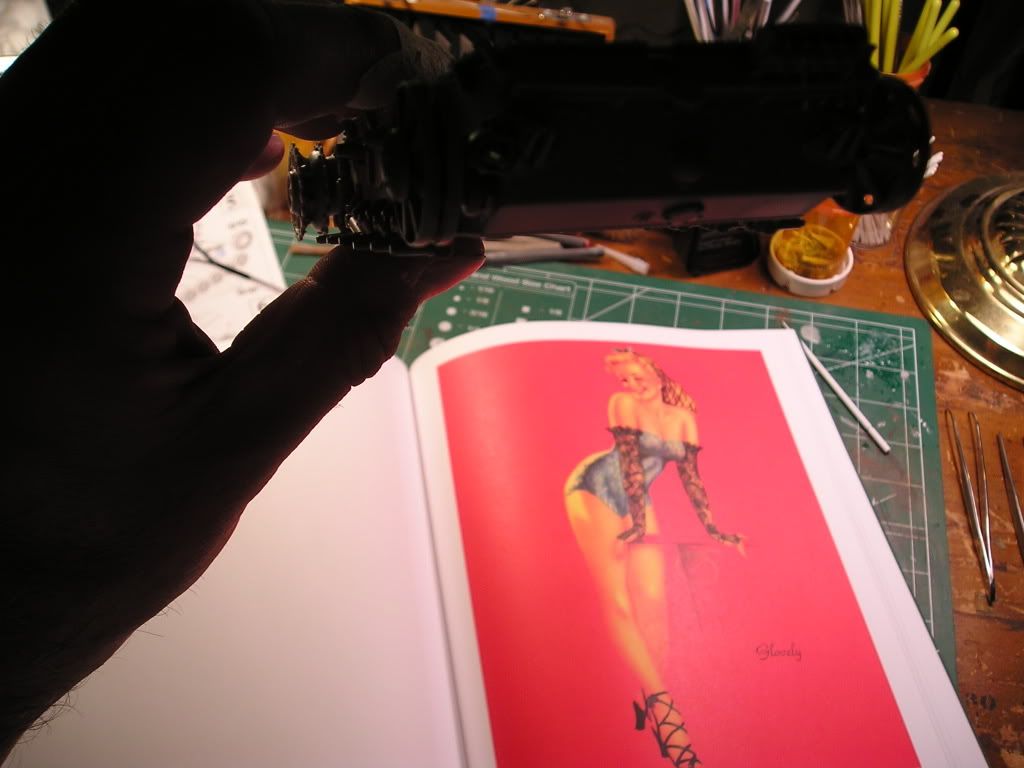
Carlos- WOW! Great scratch building there. Hope you got my emails with pictures of the interior I sent today… please do not let the pin up pictures distract you!
Can’t really do paintwork on my living room bench (construction only!), so I hauled out my second build last night - the Pz.Beobs.Wg III Ausf. H. Another DML Imperial Series kit for the shelf!
Hey Boyd! Good having you back! I am really looking forward to follow another Imperial WIP… I don’t think I have seen many Imperial kits built in a GB. So far I count four… maybe more? Carl (Shellback), Greg (detail freak), mine and yours.
Hate to say this but I am rooting for the Giants… with my city being the host for Super Bowl I will try to be nice to your Patriots fans. [;)]