I will also build a F4E 1/72 Hasegawa, decals for Spunky VI flown from “Korat”
Cheers
I will also build a F4E 1/72 Hasegawa, decals for Spunky VI flown from “Korat”
Cheers
Dang Beck’s, ya cuda’ jess’ lied![;)]
No, not really; integrity and all that hokey stuff.
Probably going to finish the RAAF Phantom that I didn’t do for the 2011 Build, but also a Tigermeet RF-4 and an IAF F-4E
The two F-4Es will be Hasegawa and the RF-4 - Revell.
An interesting note: I ended up painting the bottom of my “F” with a gray color instead of silver as I was afraid of using Testors chrome silver as I have had less than good results when I sprayed it. A trip today to the LHS revealed to me a bottle of enamel paint labeled as German Silver Metallic #2714:
http://www.testors.com/products/136542
I wasn’t aware of this and it’s a bit late to go back now. I did buy a bottle as I still want to get that Revell/Germany F-4F and will have to give it a go. I will test a bit of it in the mean time and let you other Luftwaffe Phantom builders know how it works.
I believe it to be an automotive finish, but it might work if toned down with a semi-gloss finish.
I’m not at home now and I will have to update you on the progress of the current "F"build later on.
Jim
“hokey stuff”?[:|] - never
Hey, your seat build looks great.
Just wondering because most guys, me included, can’t paint a spiral on a wire that small.
Looking forward to the rest of your office.
Berny posted some pics of the ejection seats, i think they were Baker, back on the original thread, you may have to go back a bit to around page 28 or so, but guys help out here if you can.
As for your additional upholstery efforts, that’s lookin’ about as comfy as an F-4 can get!
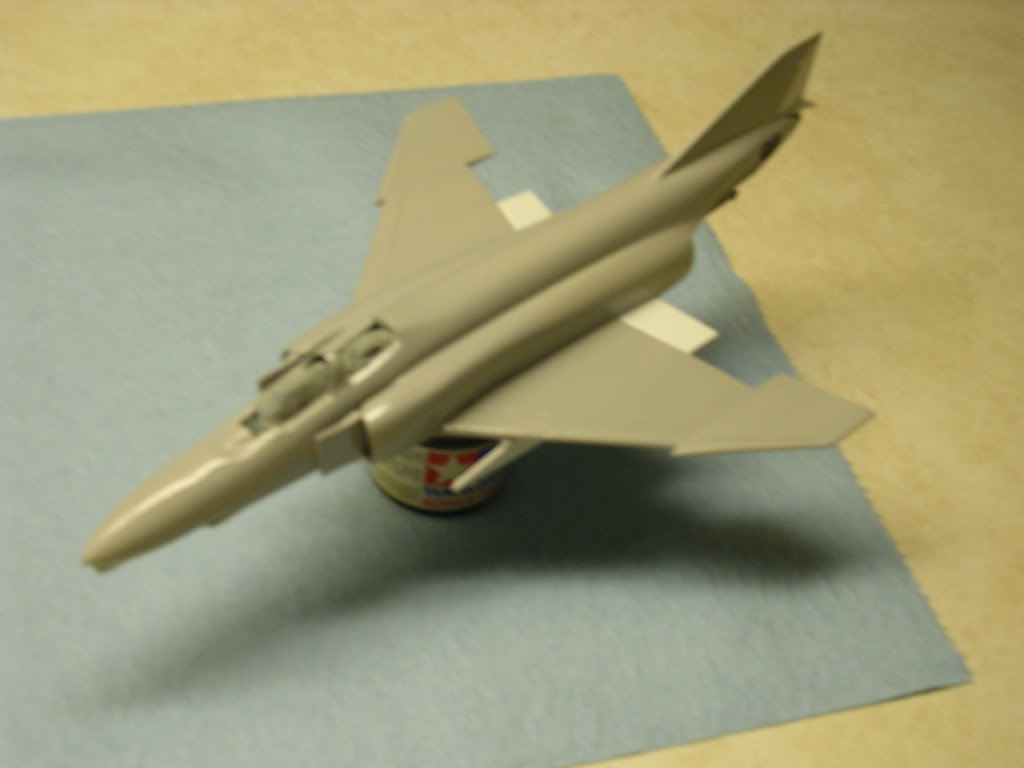
A quick teaser cell-phone photo of my 1/72 Airfix F-4B. Just out of the paint shop with its shiny gull gray paint. Will be doing some trim painting this weekend for the VF-51 “supersonic can opener” scheme ( red wing tips and black anti-glare & cockpit surround). More progress photos this weekend.
Mark
T-bolt - count me in! I’ve missed out on the past couple versions of the GB, but this time I know I’m good because I’ve already started the build!
Cracked into the Revell 1/32 RF-4C last weekend…adding some True Detail seats and wheels, AMS Resin FOD covers, Xtradecals, and I’m planning on confiscating the LORAN towel-rack antenna from my Tamiya C/D boxing as well. Might have some extra cockpit bits from that kit to use since that one will be replaced with the Verlinden offering.
Pics soon!
Hey all, I just wanted to stop in and do a quick update of my WIP. Still slow going as it is hard to find the time. Still messing with the bottom bits and other small details.

I stripped all the masking off the back and then realized I intended to spray the rest of the model with my flat finish before jumping into the metal parts… now I have to go back and remask! Oh well!

By the way, that stab is just stuck in there temporarily for looks.
Also painting the tanks and adding wash to those panel lines:

Still haven’t decided my next Rhino build, as now I’m looking into some Airdoc decals for my RF-4E. Problem is: am I ready to do another Norm 72 German aircraft?
Dupes – welcome aboard, I’ve added you to p1. Jim – looking great, it’s a long process but the result will be top notch!
M/TB379
Did some trim painting over the weekend on my MPC/Airfix F-4B. Needs some touch-up here and there, but making some progress:
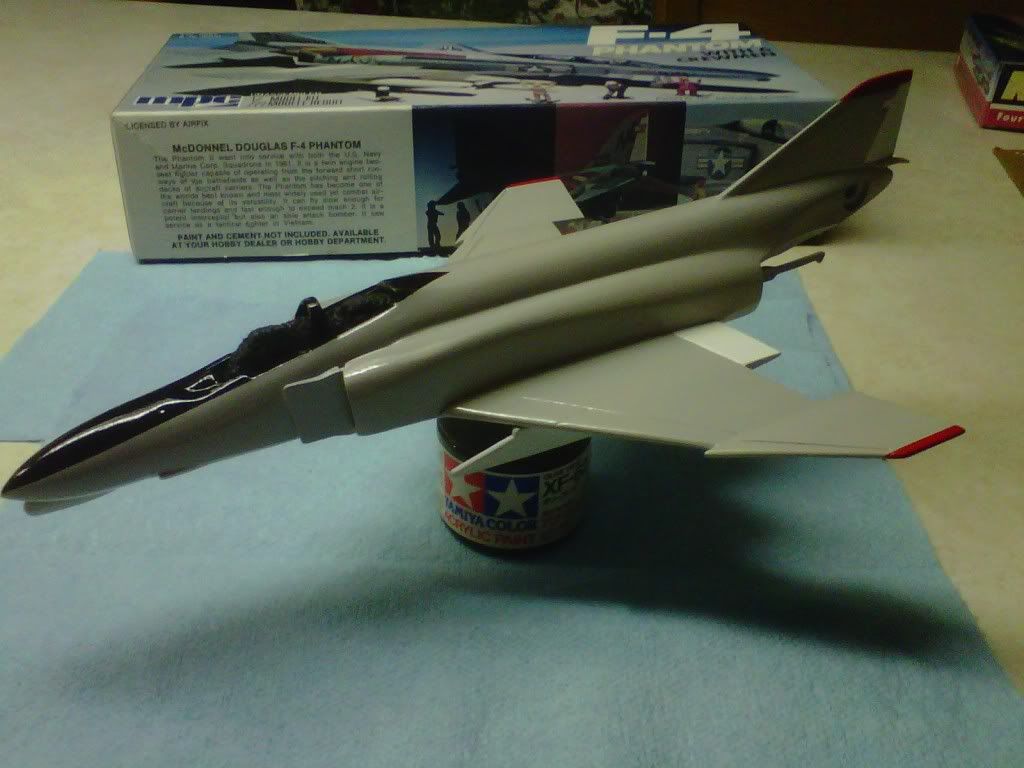
I love old Airfix kits. Very basic detail and some fit issues, but the overall shape is pretty good. It’s fun to see how good you can make them look.
This is going to be pretty much out-of-the-box, mostly just to show off the colorful VF-51 markings and to look good on a shelf. As you can tell from the photos, I did cut off the flaperons so I can droop them. Not doing anything to the cockpit, but may add some paper harnesses and wire ejection handles before I seal it up.
I just plan to use the centerline tank, so I cut the pylons off the wing tanks and will add them later (I also figured that was easier than filling and sanding the slots on the wings.)
One of the characteristics of this kit is the sides of the fuselage are warped in, creating an unintentional coke-bottle effect. I made some sprue spacers to spread it out, straightening the sides of the fuselage and helping to minimize the gap between the fuselage sides and wing top.
Using this this kit as a warm-up for the 1/32 Revell F-4J Blue Angel waiting on my bench…
Mark
Hi Mark,
I remember building that kit when i was a kid, I still have it in a box somewhere. It’s great to see older models given TLC and modern techniques, and this one should look great when those markings go on!
One point – the Phantom was of course an area-ruled design, so it was meant to have at least some ‘wasp-waist’ effect to the fuselage. It’s fairly apparent on most of the marques, though the bigger engines in the British birds pretty much put paid to the effect, which in itself would have contributed to them being the slowest Phantoms around. Do you feel that Airfix took this characteristic too far in their tooling? Or were the parts just really warped? ![]()
Cheers, Mike/TB379
The Airfix fuselage is molded with an open bottom and the thin sides warp in, leaving a huge gap with the top of the wing. The worst spot is about mid-span where there was about a 1/4" gap on each side. I made sprue spacers to spread the bottom of the fuselage back out to minimize the gap with the wing. Not hard, just takes some trail & error fitting. Had the same thing with every Airfix Phantom I’ve built, going back to the 70’s. The fuselage of Monogram kit (which I think is the best 1/72 F-4 on the market) actually has a molded bottom to alleviate this problem.
Mark
Ouch! That’s old fashioned Airfix, I guess! I remember struggling as a kid with their Orion spaceplane the same way, long fuselage parts with no bottom spacer. Well done on the re-engineering! Hasegawa and Fujimi have spacers molded in too, with varying degrees of success – Fujimi re-engineered their approach in their later kits to get a better result.
Cheers, looking forward to seeing this bird done!
M/TB379
As always, my work is going slow as ever. I did finally start the exhaust area of the “F”, and managed to mask and shoot one of the colors. This was after remasking the soon-to-be metallic areas when I removed the original masking too soon.

It is still difficult to find time and with today being Saturday, it should be a nice day to relax and work on models. However, the snow here in Denver is finally letting up and there is the matter of 18+ inches of snow in front of my house and a similar amount piled up around my elderly mothers house as well. If I live through the day, perhaps I shall find 5 minutes or so to relax and work on my kits.
Jim
Jim – Oh, you’re in Denver? I have a friend in Longmont and she’s had 24" +, so I know where you’re coming from on the blizzard! No worries, take your time, there’s plenty of it – and I think the F looks fantastic!
Cheers M/TB379
Hello, My name is tsculton. I would like to join this group build with a 1-48 Hase F-4C/D in Missouri ANG markings and a n 1-72 Hase F-4E in Missouri ANG markings also. I may also throw in an Testors 1-48 F-4G just for fun if time allows. This is my first GB here so if there is anything else I need to do please let me know.
Thank You
tsculton
Welcome aboard, TS! I hope your first GB is a memorable and fun experience, and you’ll find a fund of experience and Phantom info here. I’ll add your builds to page 1 – feel free to dive into those kits whenever you like!
Cheers, Mike/TB379
Well, after way too long and 3 Rhino GBs, my F-4C is done! I learned a whole lot on this build. I had been out of the hobby for probably 15 years, so all my skills were rusty. Those skills are better now, but there is still room for improvement. I hope Bernie would approve of my work.
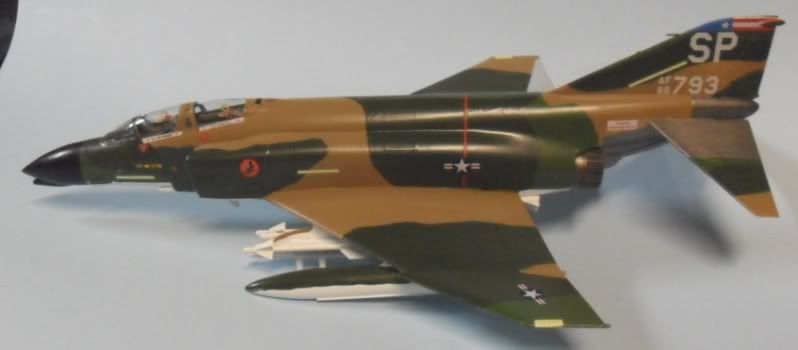
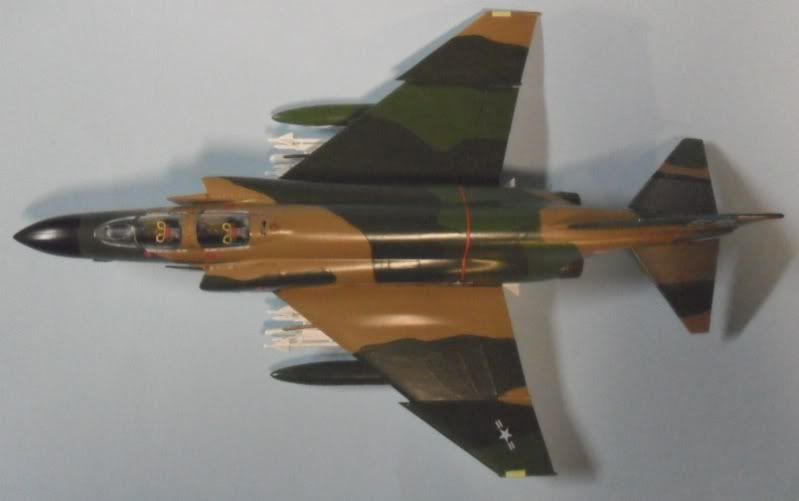
Well done, Jim – a nice, clean job you can be proud of! Is it going on a stand? Will you be taking more pics, or should I use one of these for the gallery? Because… You are our first completion of Rhinos III!
Cheers, M/TB379