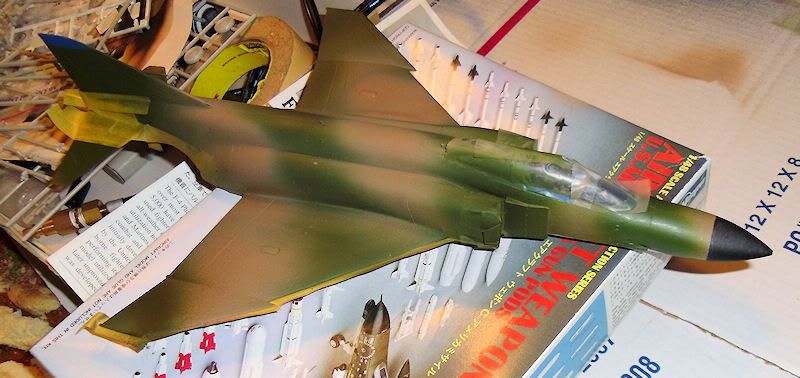
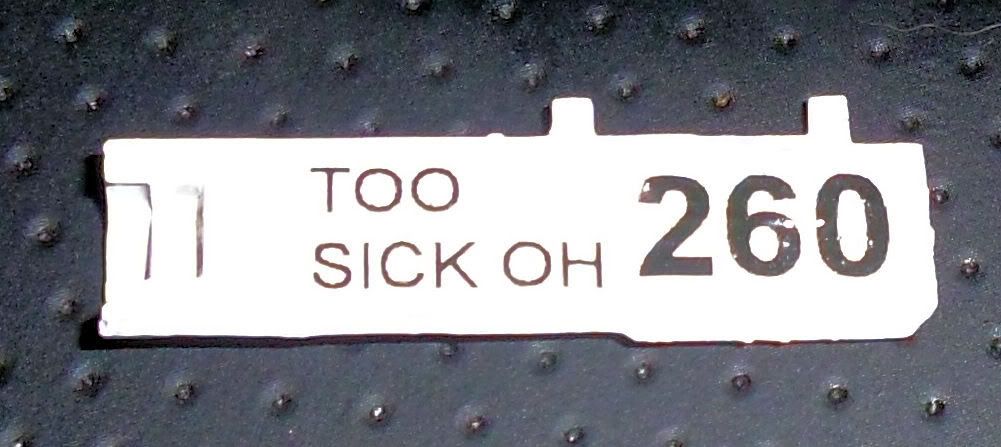
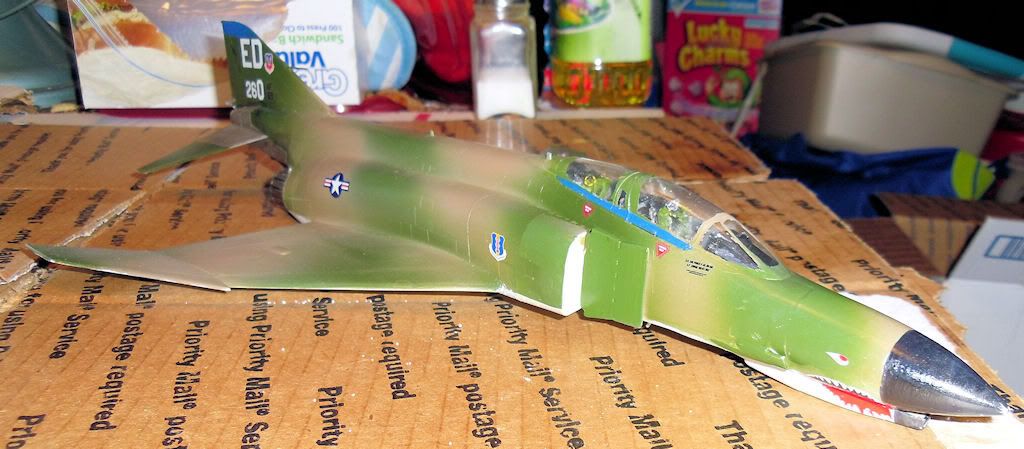
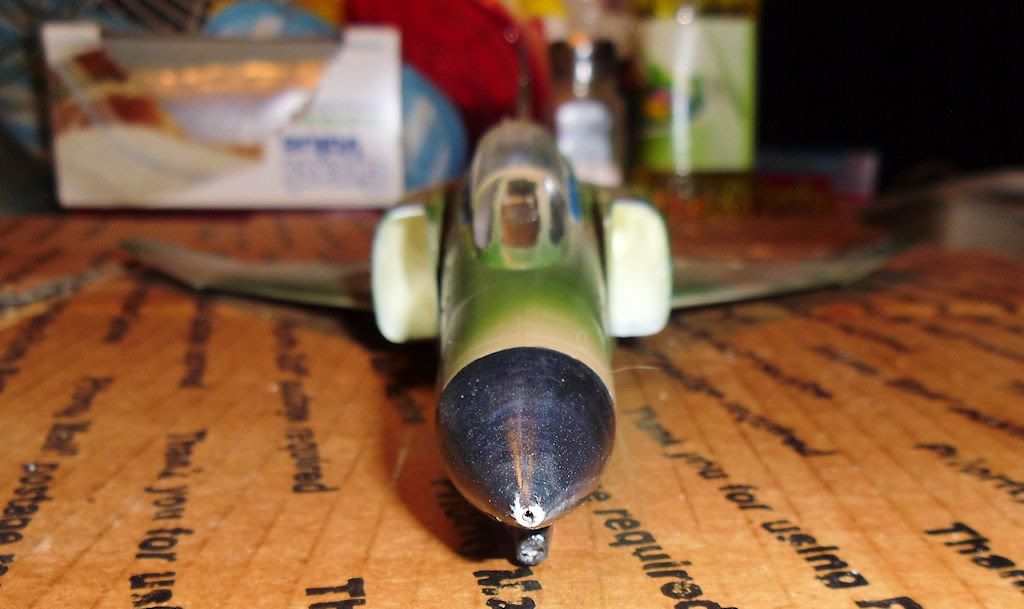
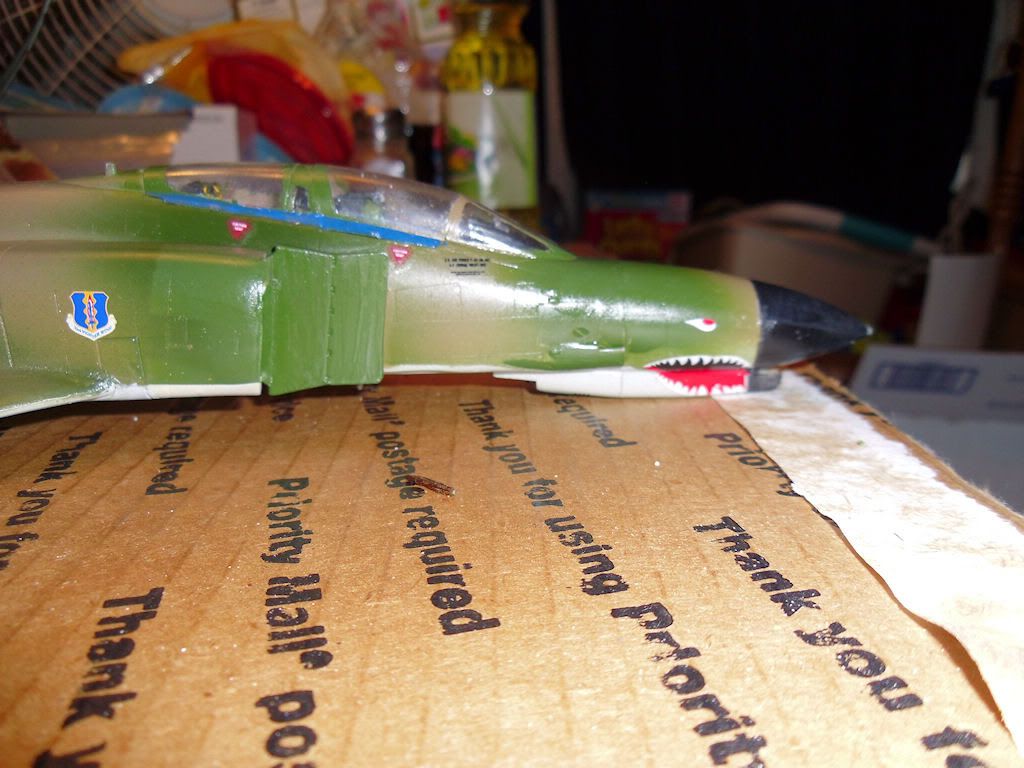
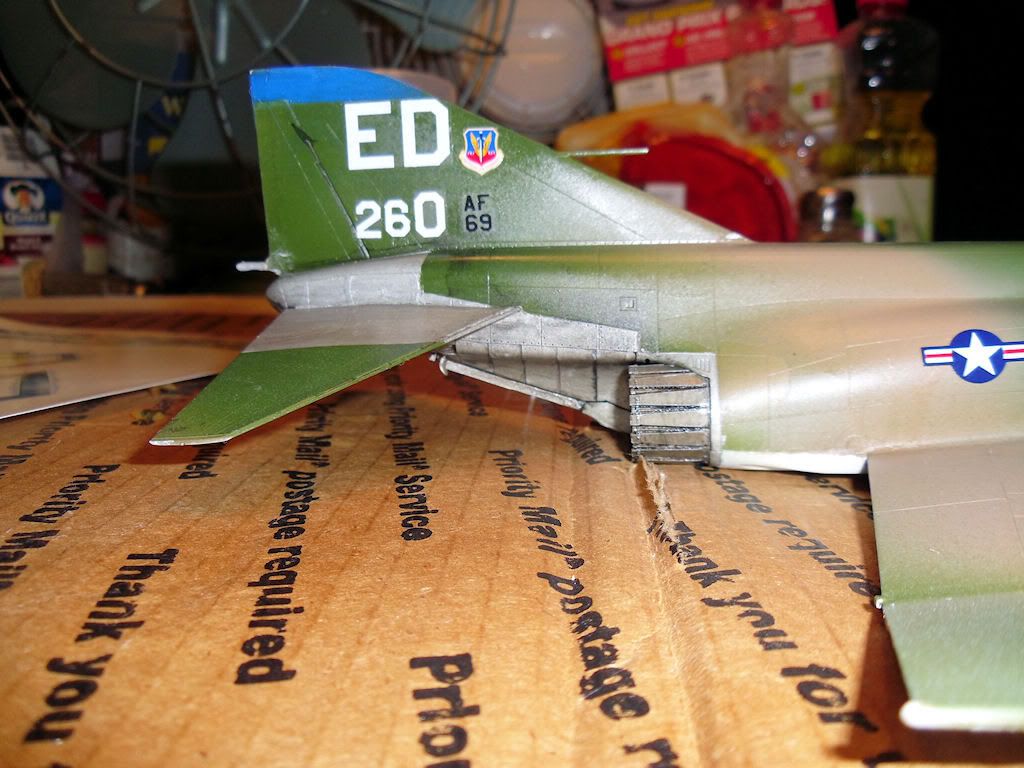
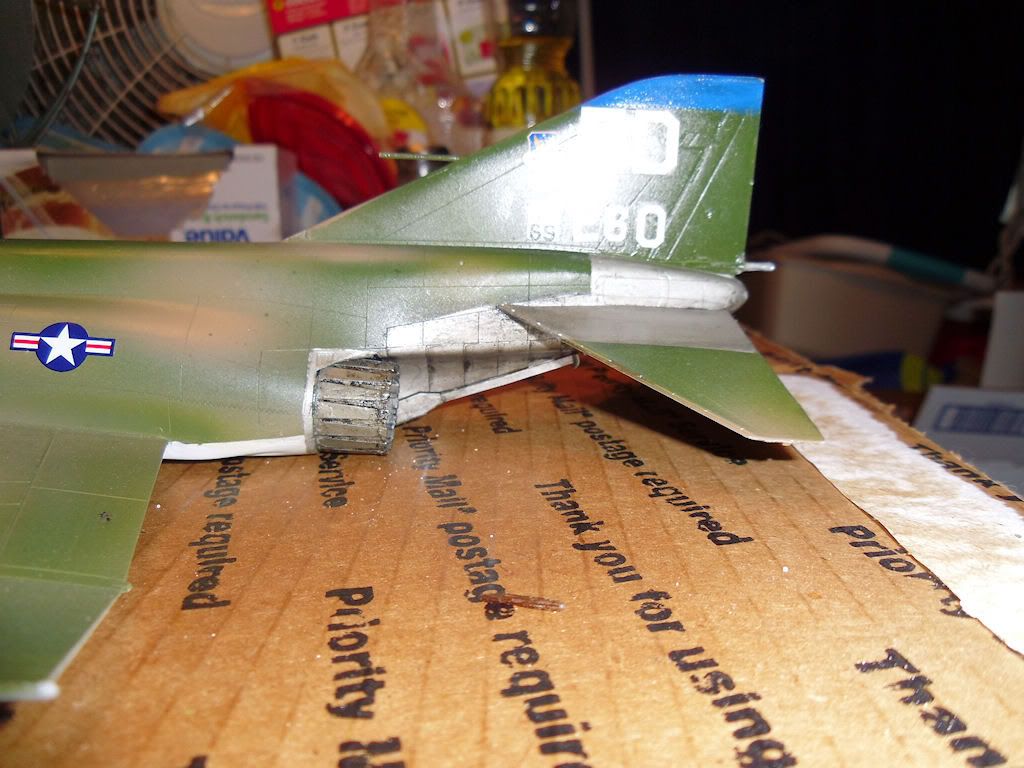
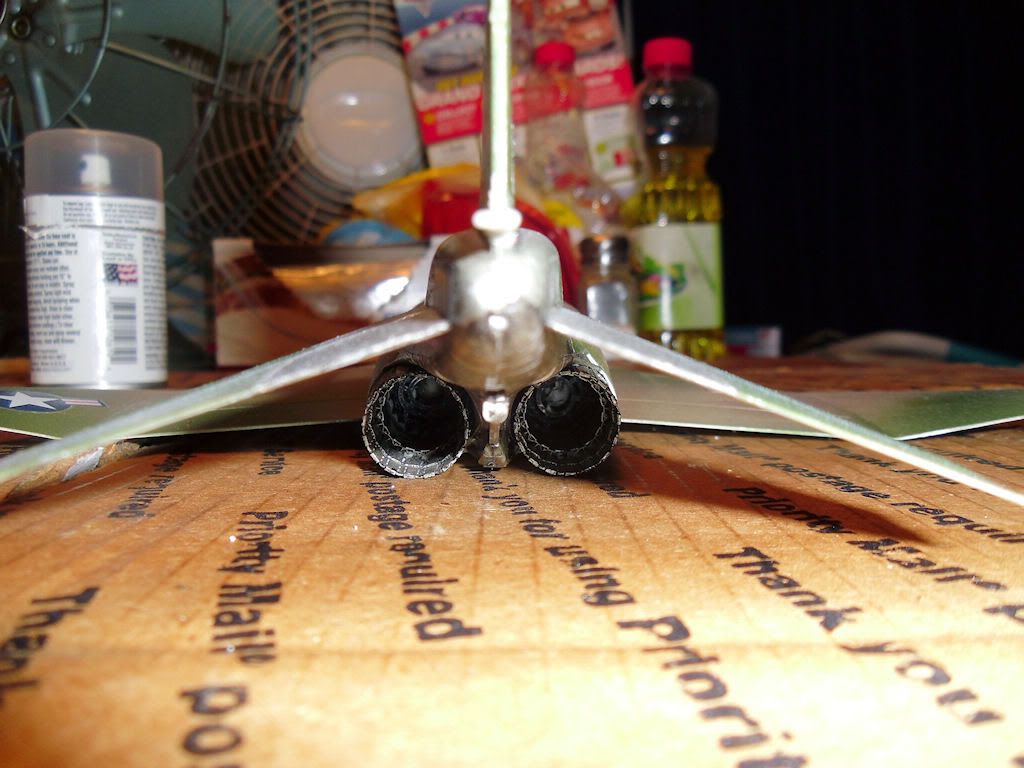
Now that Bernie has his 260, I am putting up images of it. This will hopefully qualify as one of my entries into the group build. The landing gear and underwing stores were left off so they wouldn’t get trashed in shipping. So without further ado, the “Too Sick Oh!”
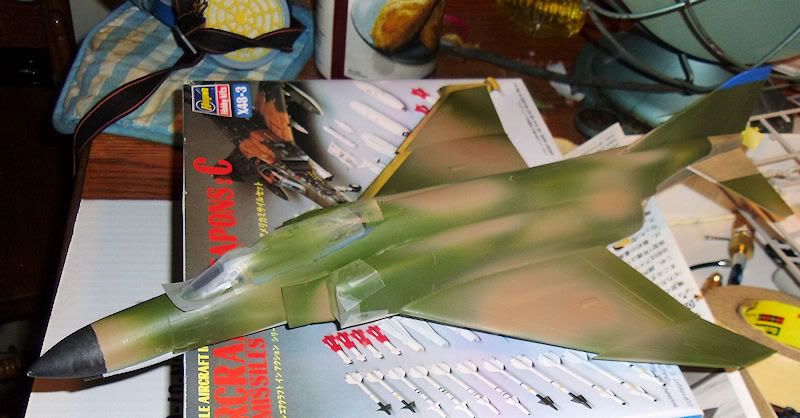
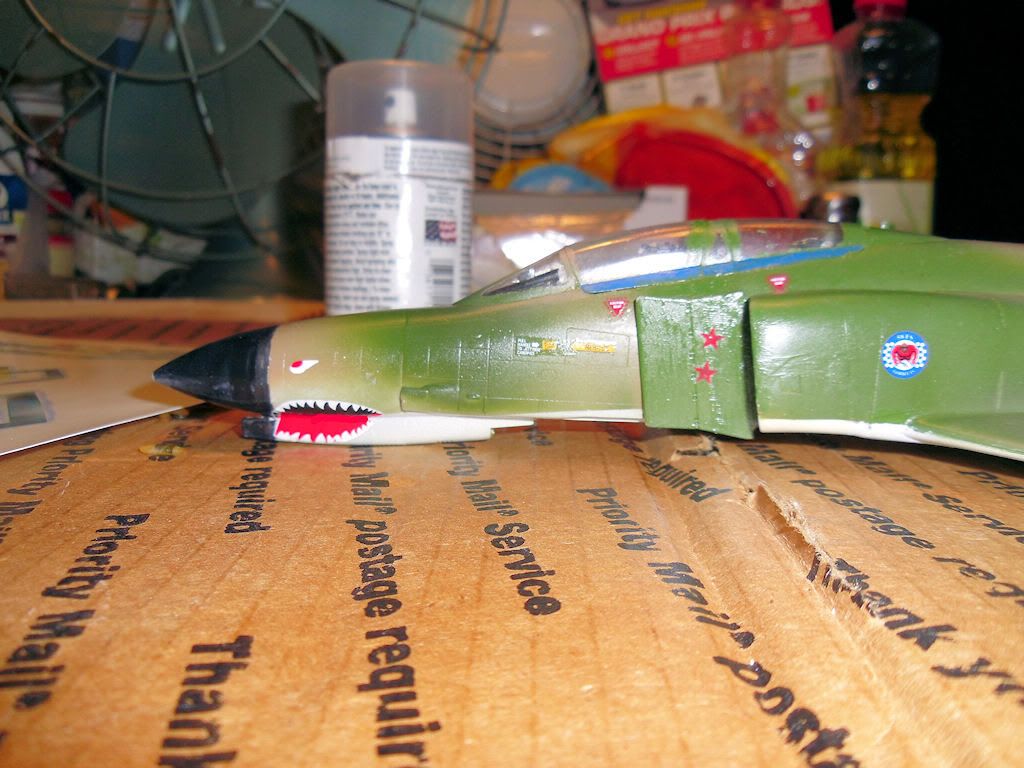
First, before decaling
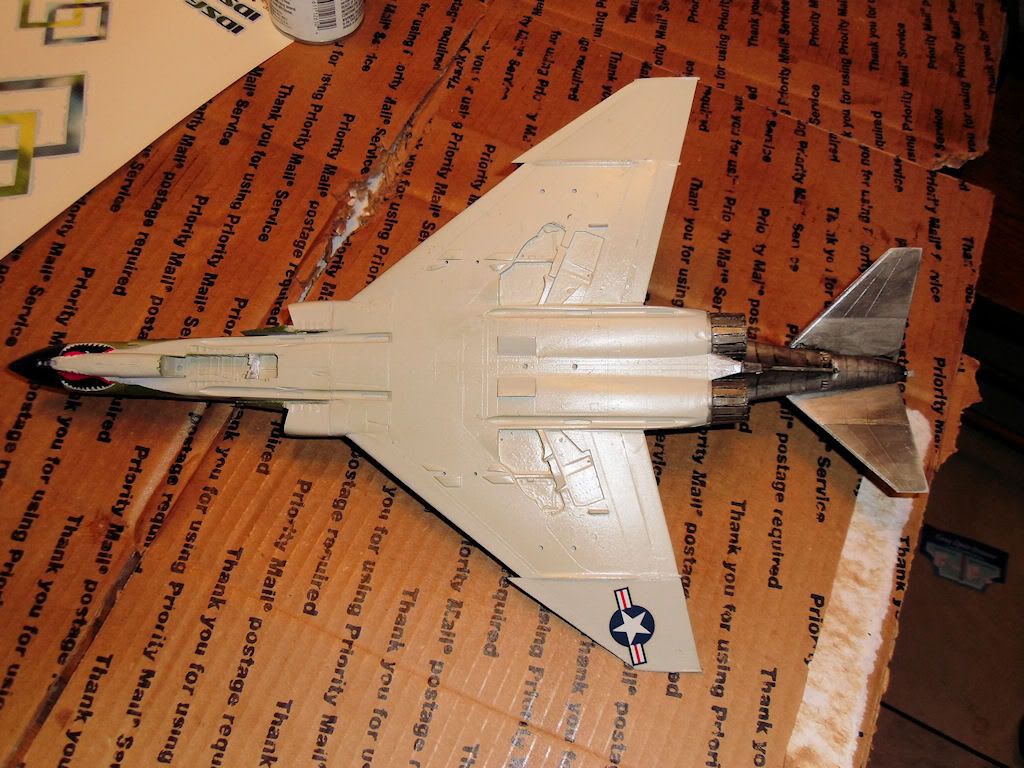
And now for the main event…
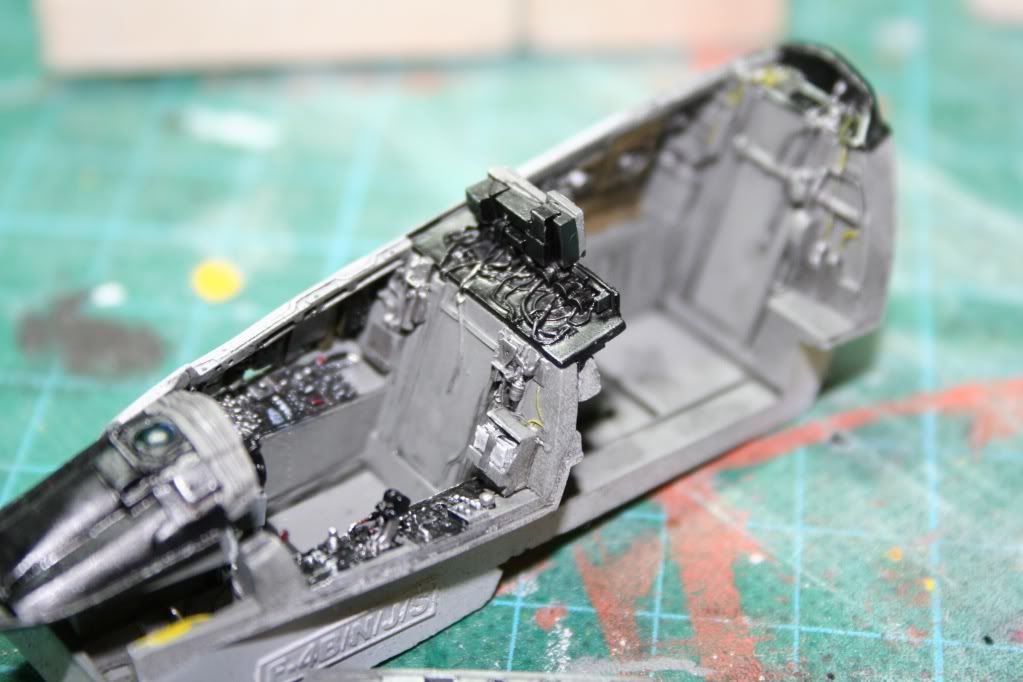
That’s it on this one. I am now back to work on my FGR.2. I received replacement parts to fix what the idiot cat destroyed, and I purchased new cockpit PE parts, new MB Mk7 seats, and new Resin intakes. The cockpit is finished and the seats are under way. I have mounted the cockpit in half of the fuselage but I have a bit of sanding and stuff to do to get the fit right when I put the other fuselage half together. I will send up images soon.
Very welcome…Rich provided the graphics for the shirt, and I provided the kit and some AM parts for Rich’s 69-260, and Ken provided the coordination/AF protocol for the trip…it was a team effort…just our way of saying thanks Berny. Your stories and humour alone were worth the effort!
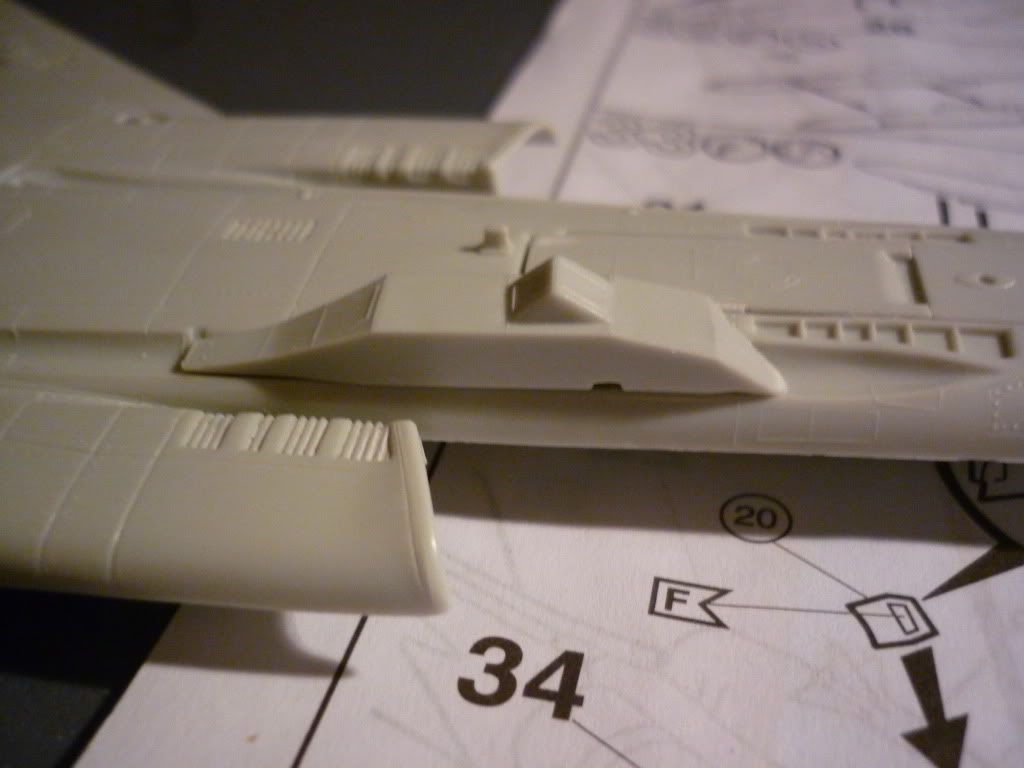
Another question; does this look about the correct placement for the missile status camera? Revellograms itructions are vague and I can’t seem to find and clear pictures of one installed. Not even in my walkaround book.
An interesting and phun philled Phantom phact I just ran across: In the 60’s, MD had proposed and lobbied for a swing-wing variant of the Phantom. It would have had shoulder height mounted variable sweep wings. The drawing I saw had the landing gear mounted in the fuselage and looked a lot like a MIG-23. The Navy wasn’t interested in a redesign of an old plane and wanted a new one: the F-14 Tomcat.
I had a link to a website that spoke of this, but now can’t seem to find my way back to it. I’ll post it if I can find it again.
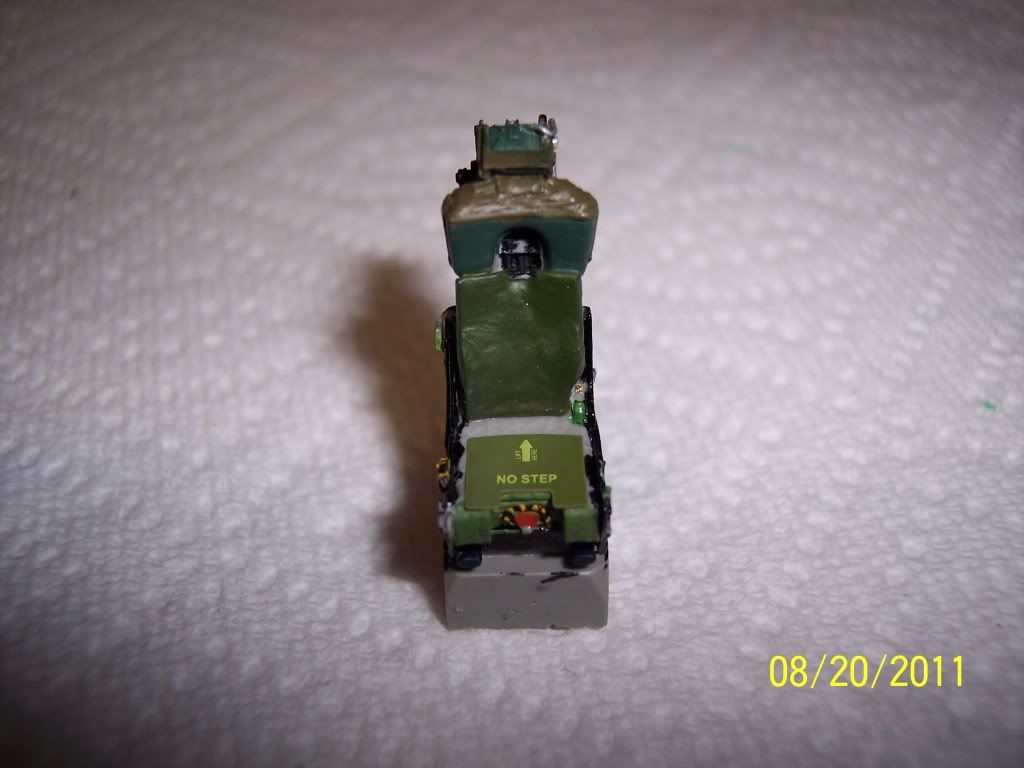
I am finally getting to the ejection seats. I purchased the Eduard color photo etched parts for the ejection seat to use on the Aires seats. As luck would have it, the scale is off. Here is a picture of the bottom seat cushion from the Eduard set sitting on the Aires seat:
The first thing I am going to do is try to match the color used on the Eduard photo etched part. This will take a little time since the color will change when the paint dries. I am going to use acrylic since I can use it in the plastic contact lens case. The lens case is a good size for mixing the paint. When I have the color matched, then I will trim the photo etched part to fit the front of the Aires seat. When that is done then I will paint the edges of the Aires seat and with the paint still wet apply the Eduard piece.
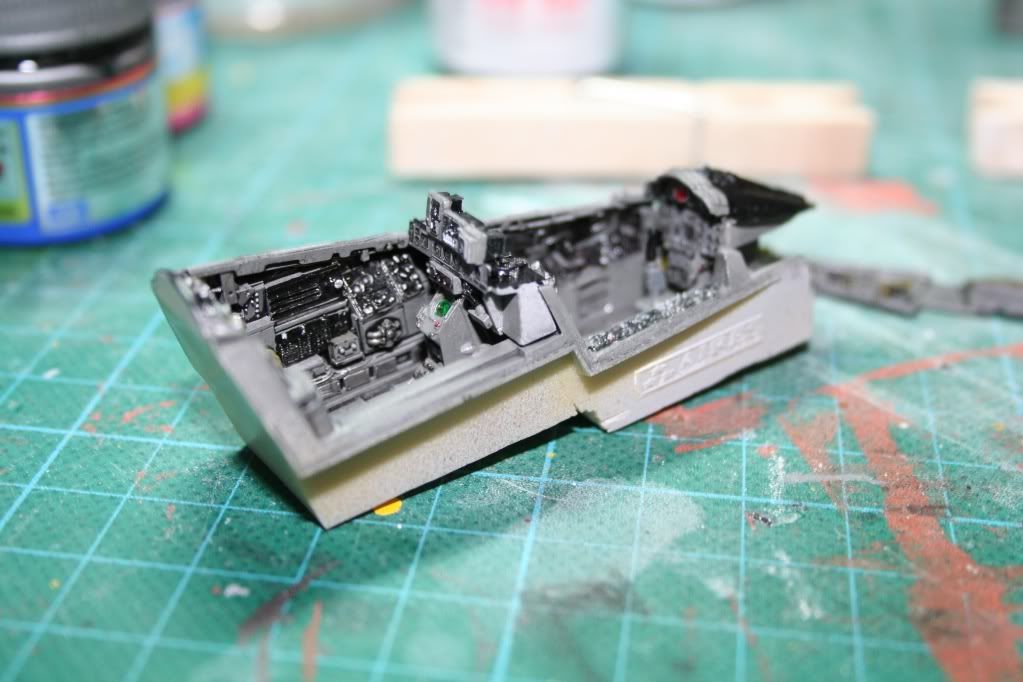
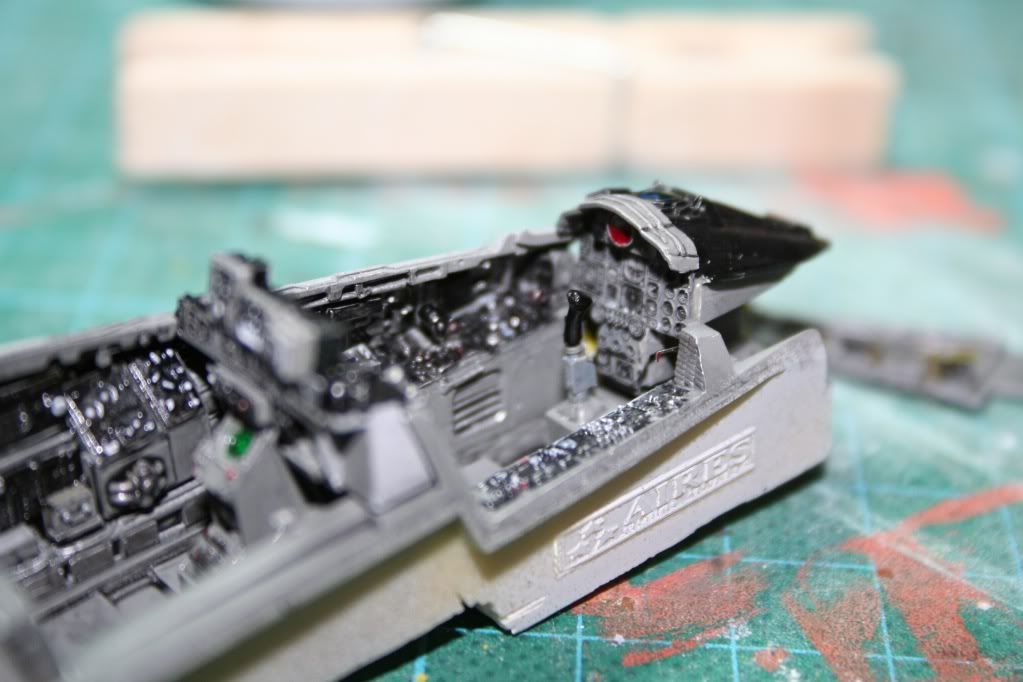
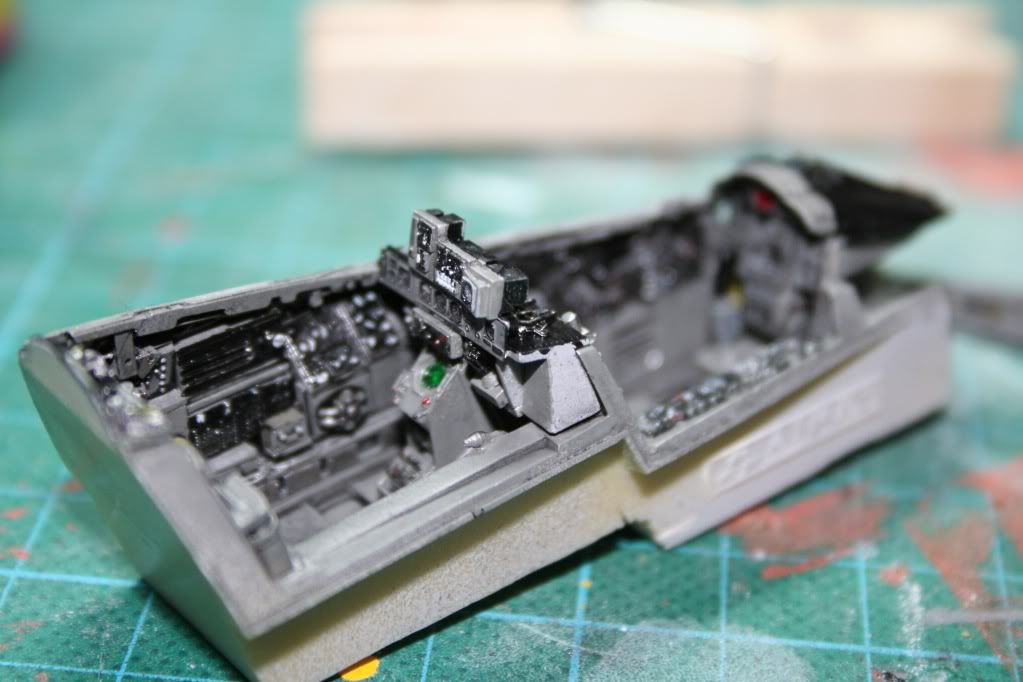
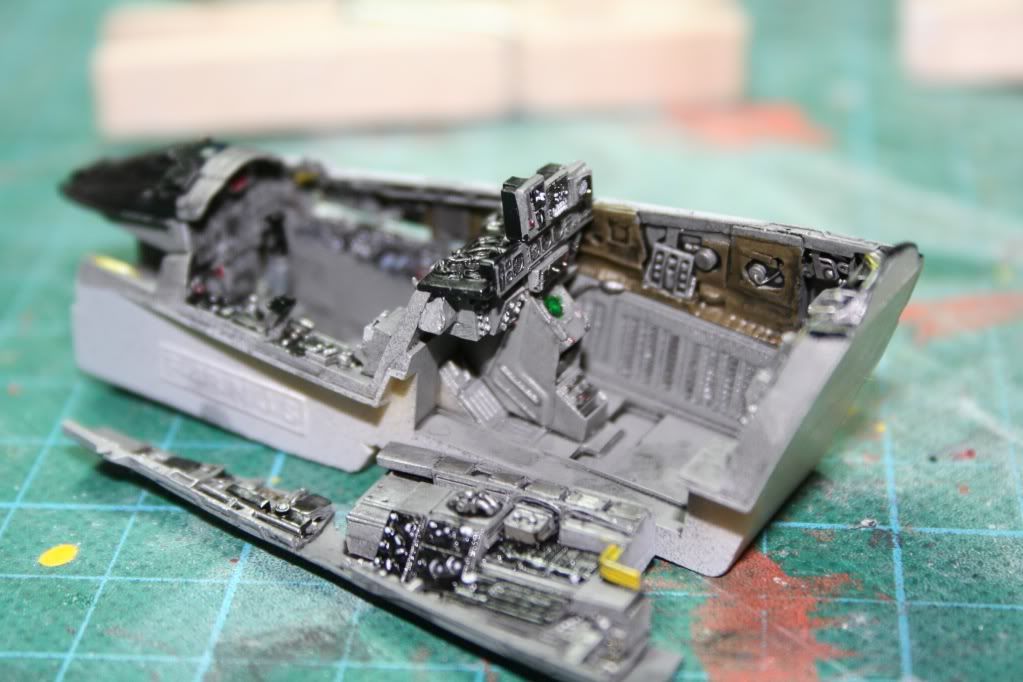
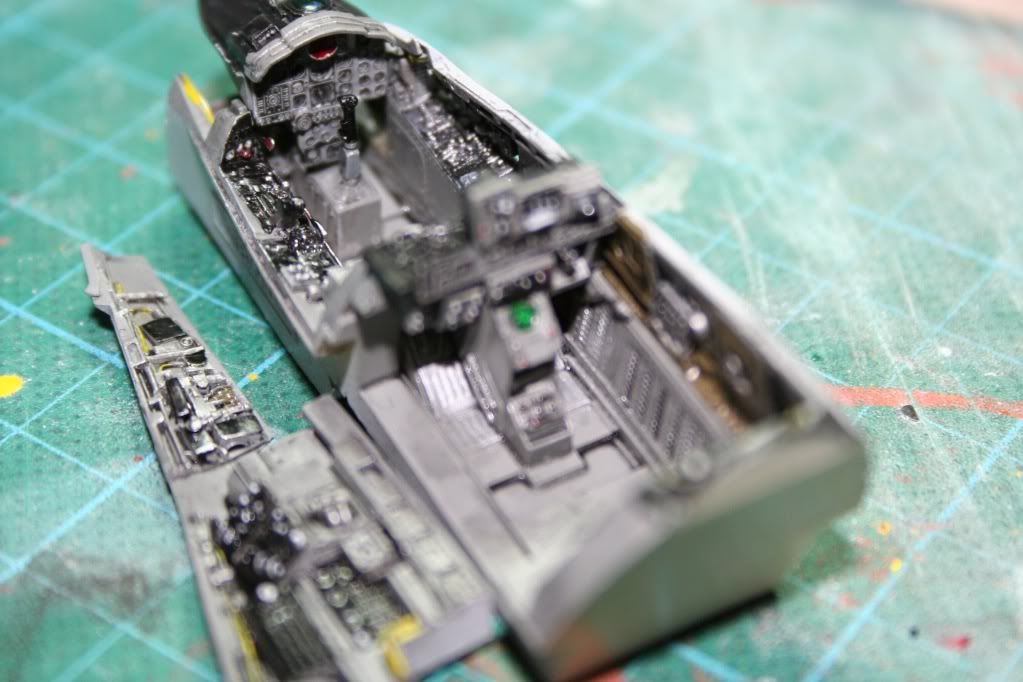
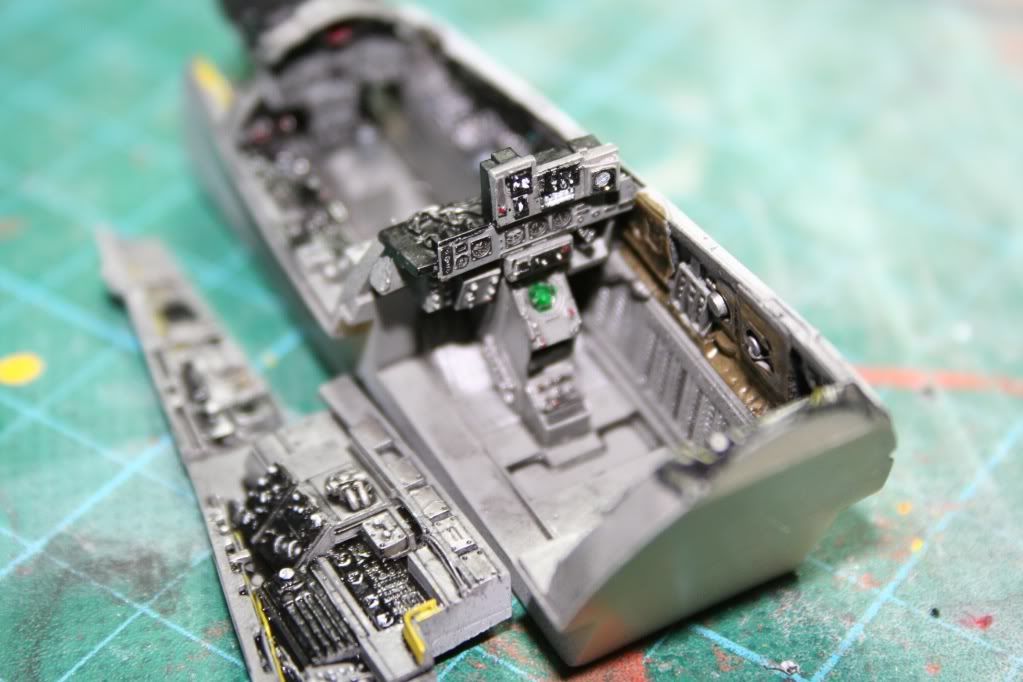
Got a few hours done on the cockpit this weekend. Was really pleased with the Aires film and PE panel faces. A bit of dry brushing and a medium-heavy oil wash and I think I’m done!
Next will be seeing if this baby fits into the kit fuselage!
Thanks for everybody’s kind words! For me the cockpit is usually my favourite part for the detailing but it is nice to have it done and move onto the main body of the plane, and don’t worry I did extensive test fitting and made sure the resin tub all fits.
My greatest accomplishment this week has been to mask and paint the inside frame work of the canopies and wind screen. Loads of fun on a 1/72 scale kit when you have fingers that seem as large as sausages![bnghead]
But hey! It wouldn’t be fun if it wasn’t a challenge, now would it?[proplr]
I am still trying to match the color on the Eduard photo etch. Like I said before, it is going to take some time since I have to wait for each new mix to dry before I can compare. I am on my 9th mix. So far I have used two different shades of green, some brown, and yellow. It would be nice to be able to use one of those computerized systems that scans the color and then gives the mix ratios to match it.
I’m not sure about accuracy, but, why not scan a sample of the correct color into a program like Paint Shop Pro, and then get the RGB value, or CMYK then find a conversion tool on the net somewhere to convert it to FS numbers, or mixing ratios.
